Give your friends $10 off their first order!
Refer a FRIEND


WHAT YOU WILL NEED:
White card blank 6 x 8"
White card
Vellum
Changing Seasons A6 Painted Mounts
Autumn A6 Embossing Folder
Thankful For You Lamination
Create Together Celebration Box Cotton Pines: Stag stencil
All Surfaces Bronze 8 x 8" Paper Pad
Distress Ink/Oxide Ink Pad: Walnut Stain, Black Soot, Lost Shadow
Blending Brush
WOW Embossing Ink Pad
WOW Gold Powder
Anti-static bag
Gold gilding wax
Paint brush
Imala white gel pen
Eureka 101 Watercolour Tablet
SBM A3 Magnetic glass mat
Paper Trimmer
Glue, double-sided adhesive tape
Die Cutting machine
[click image to enlarge] 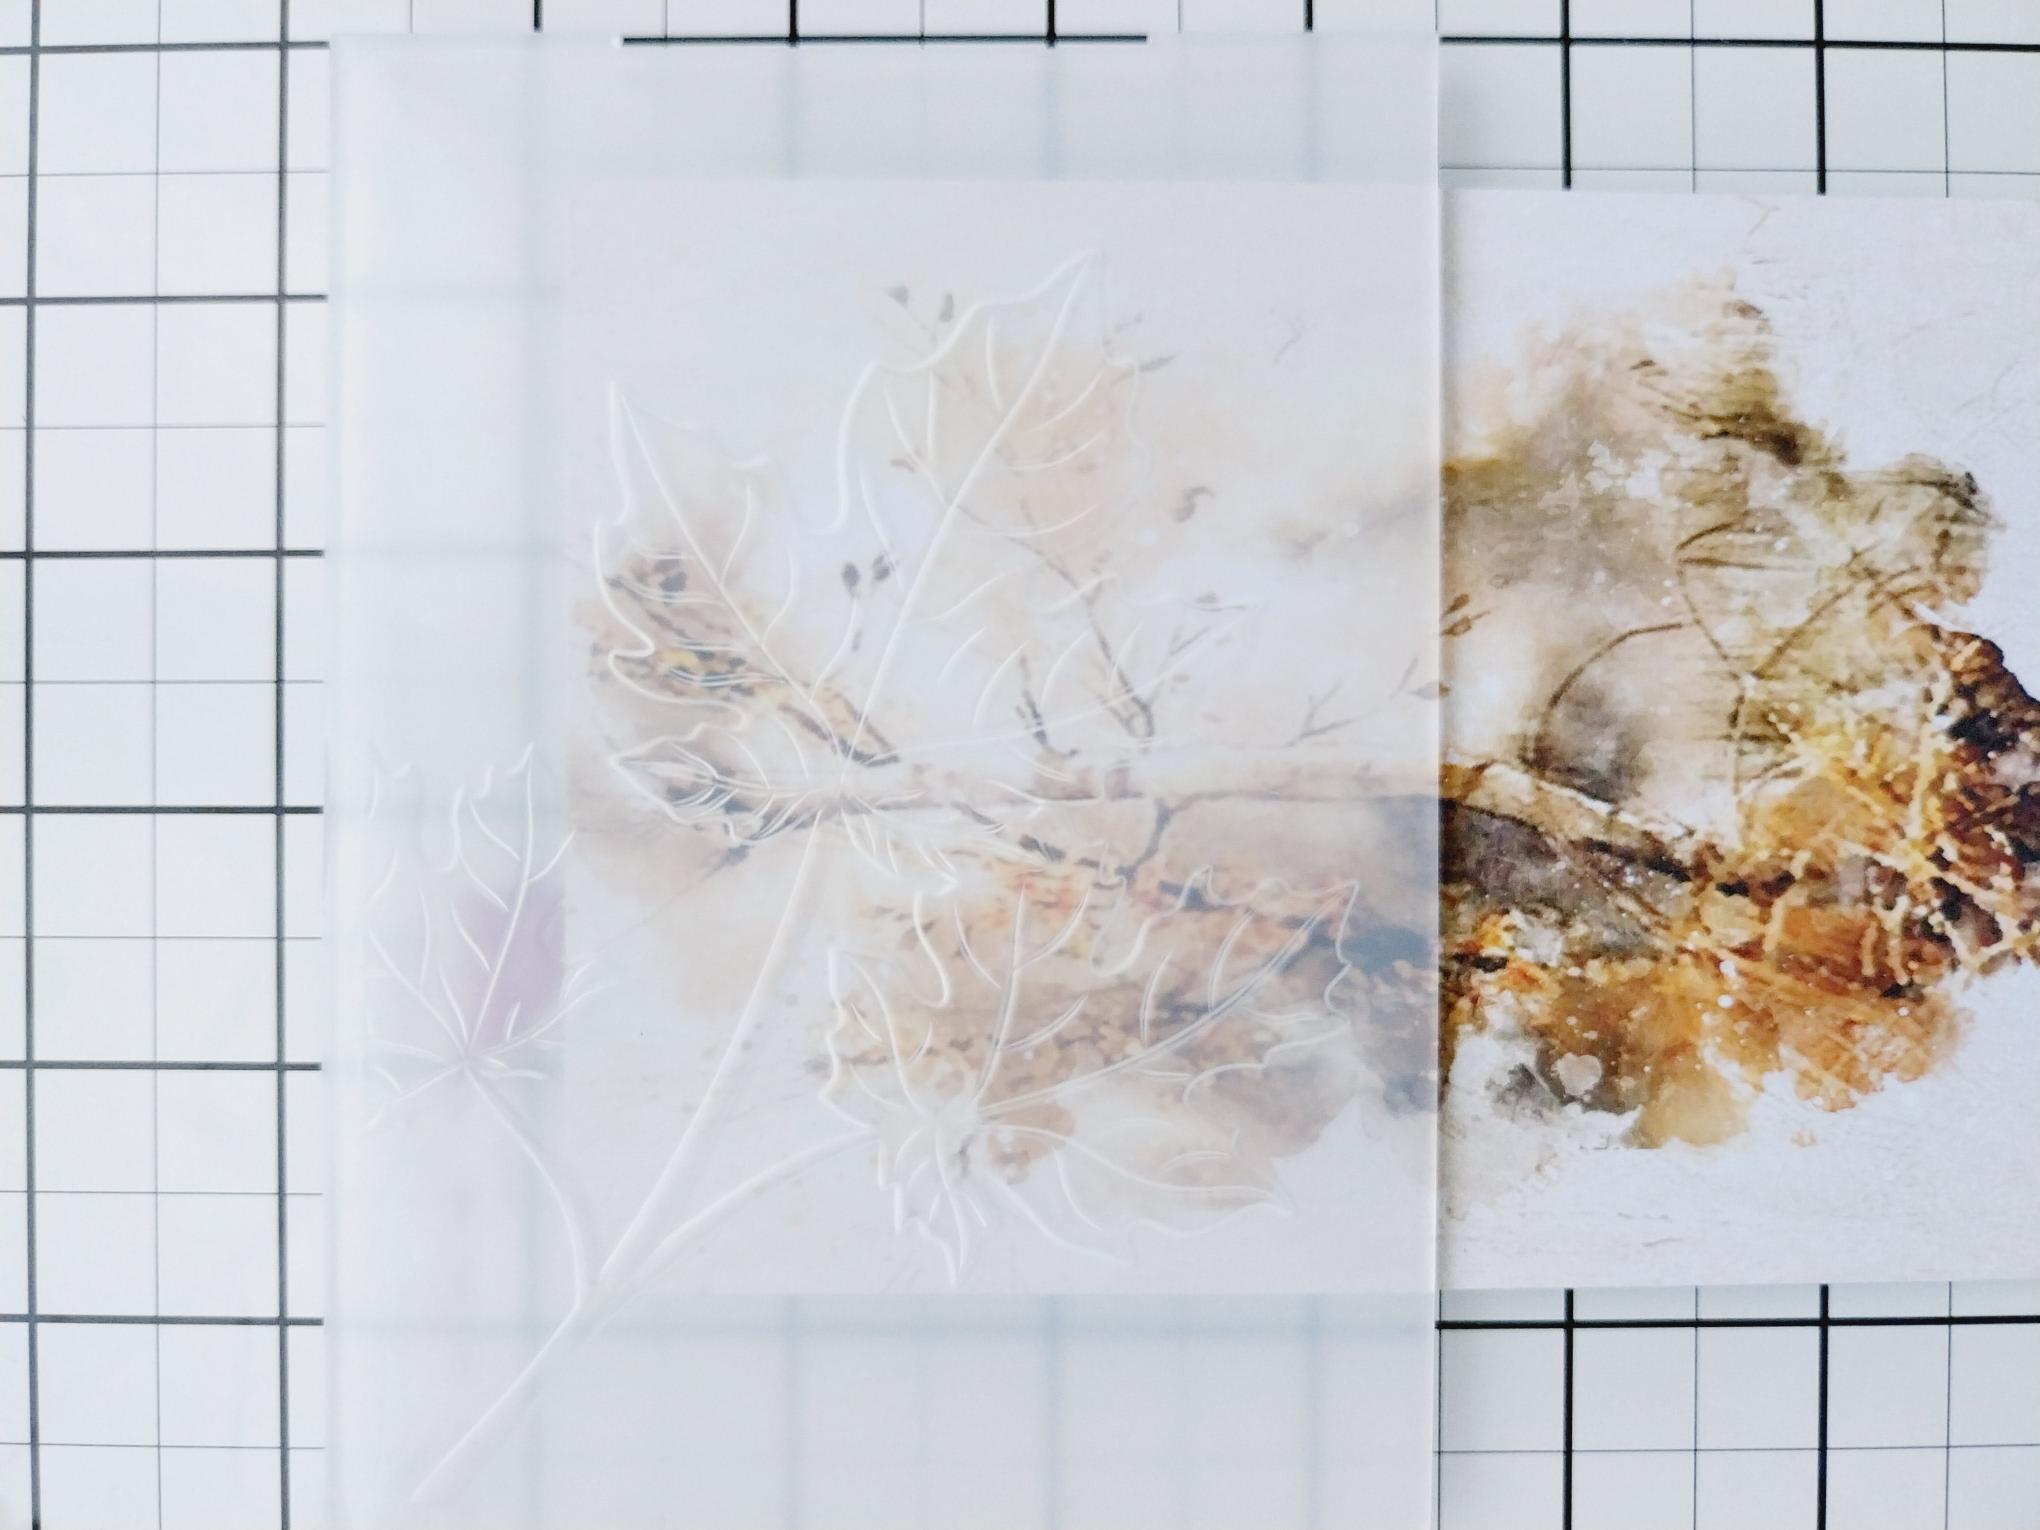
|
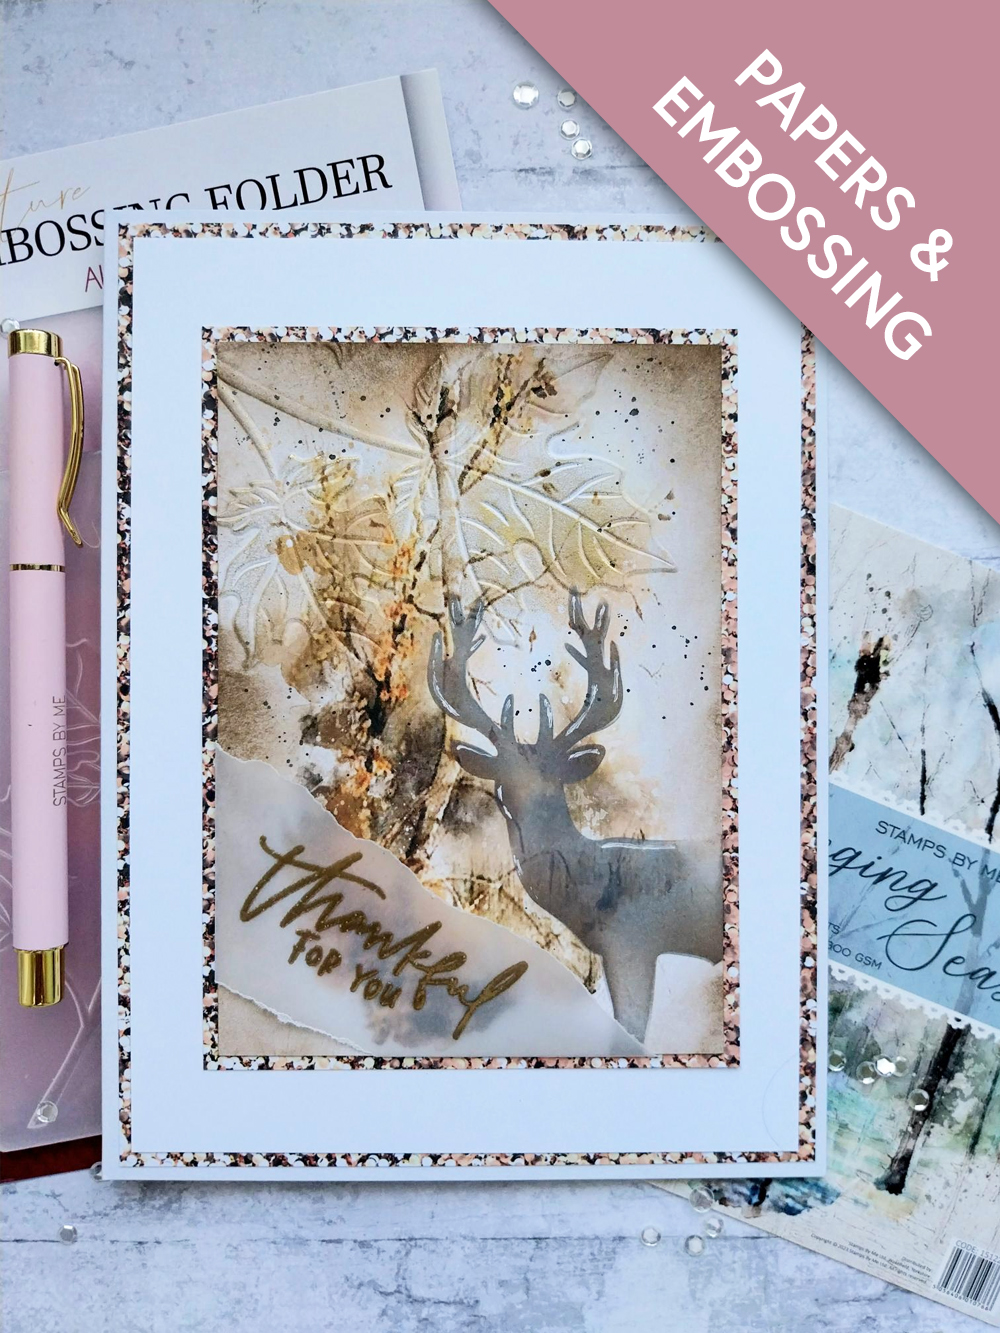
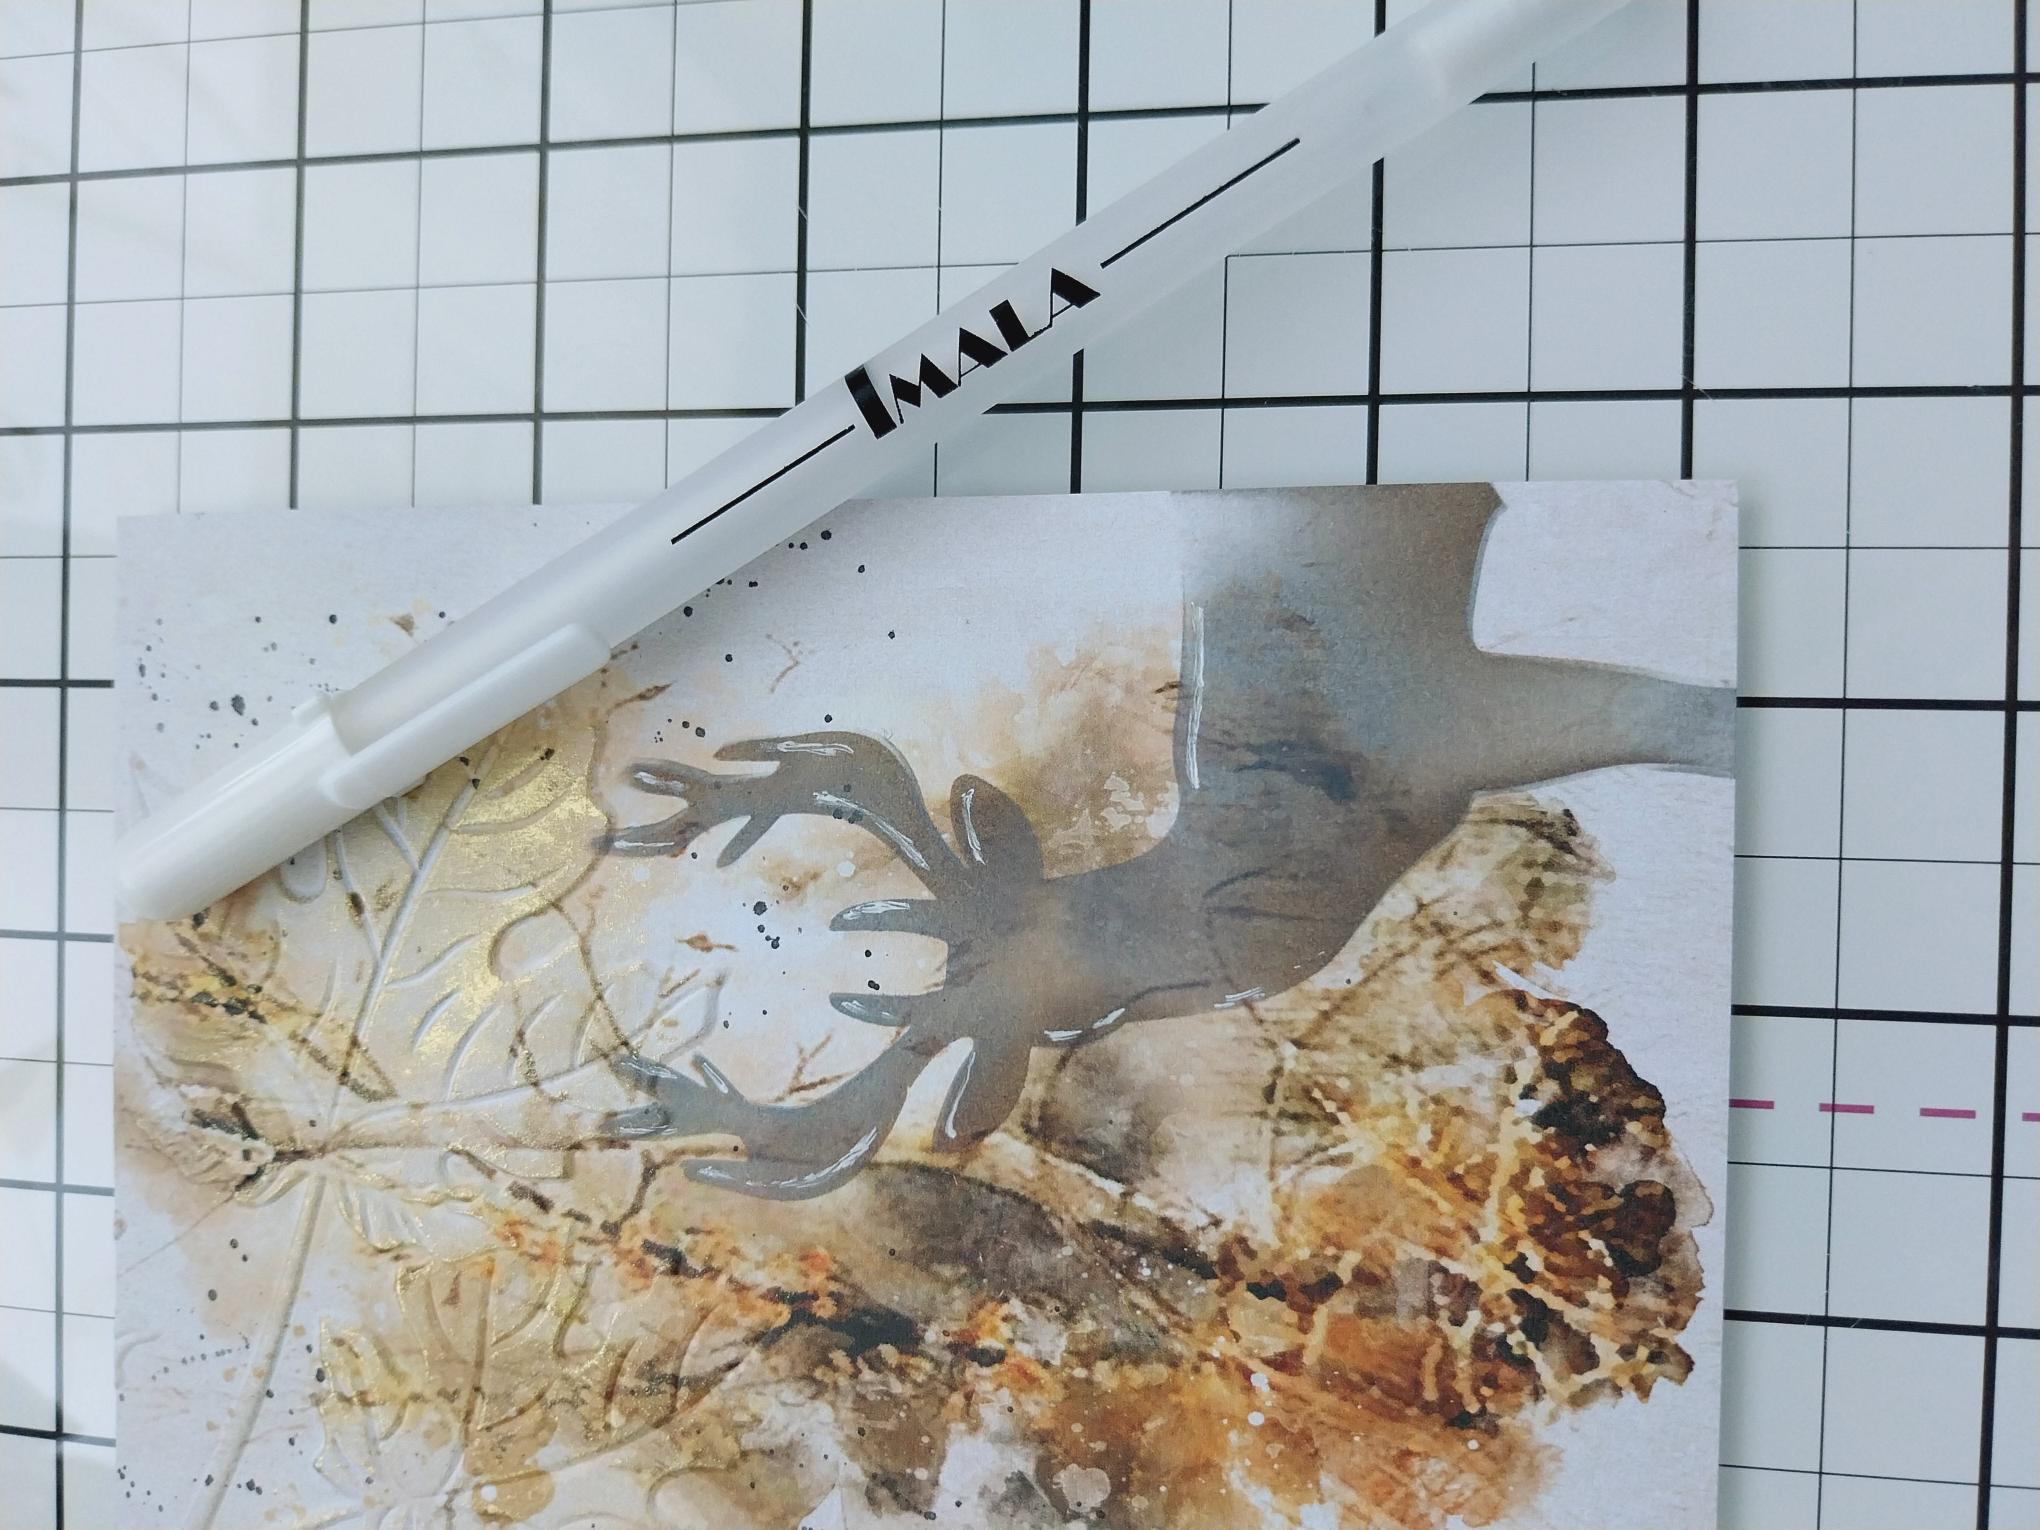
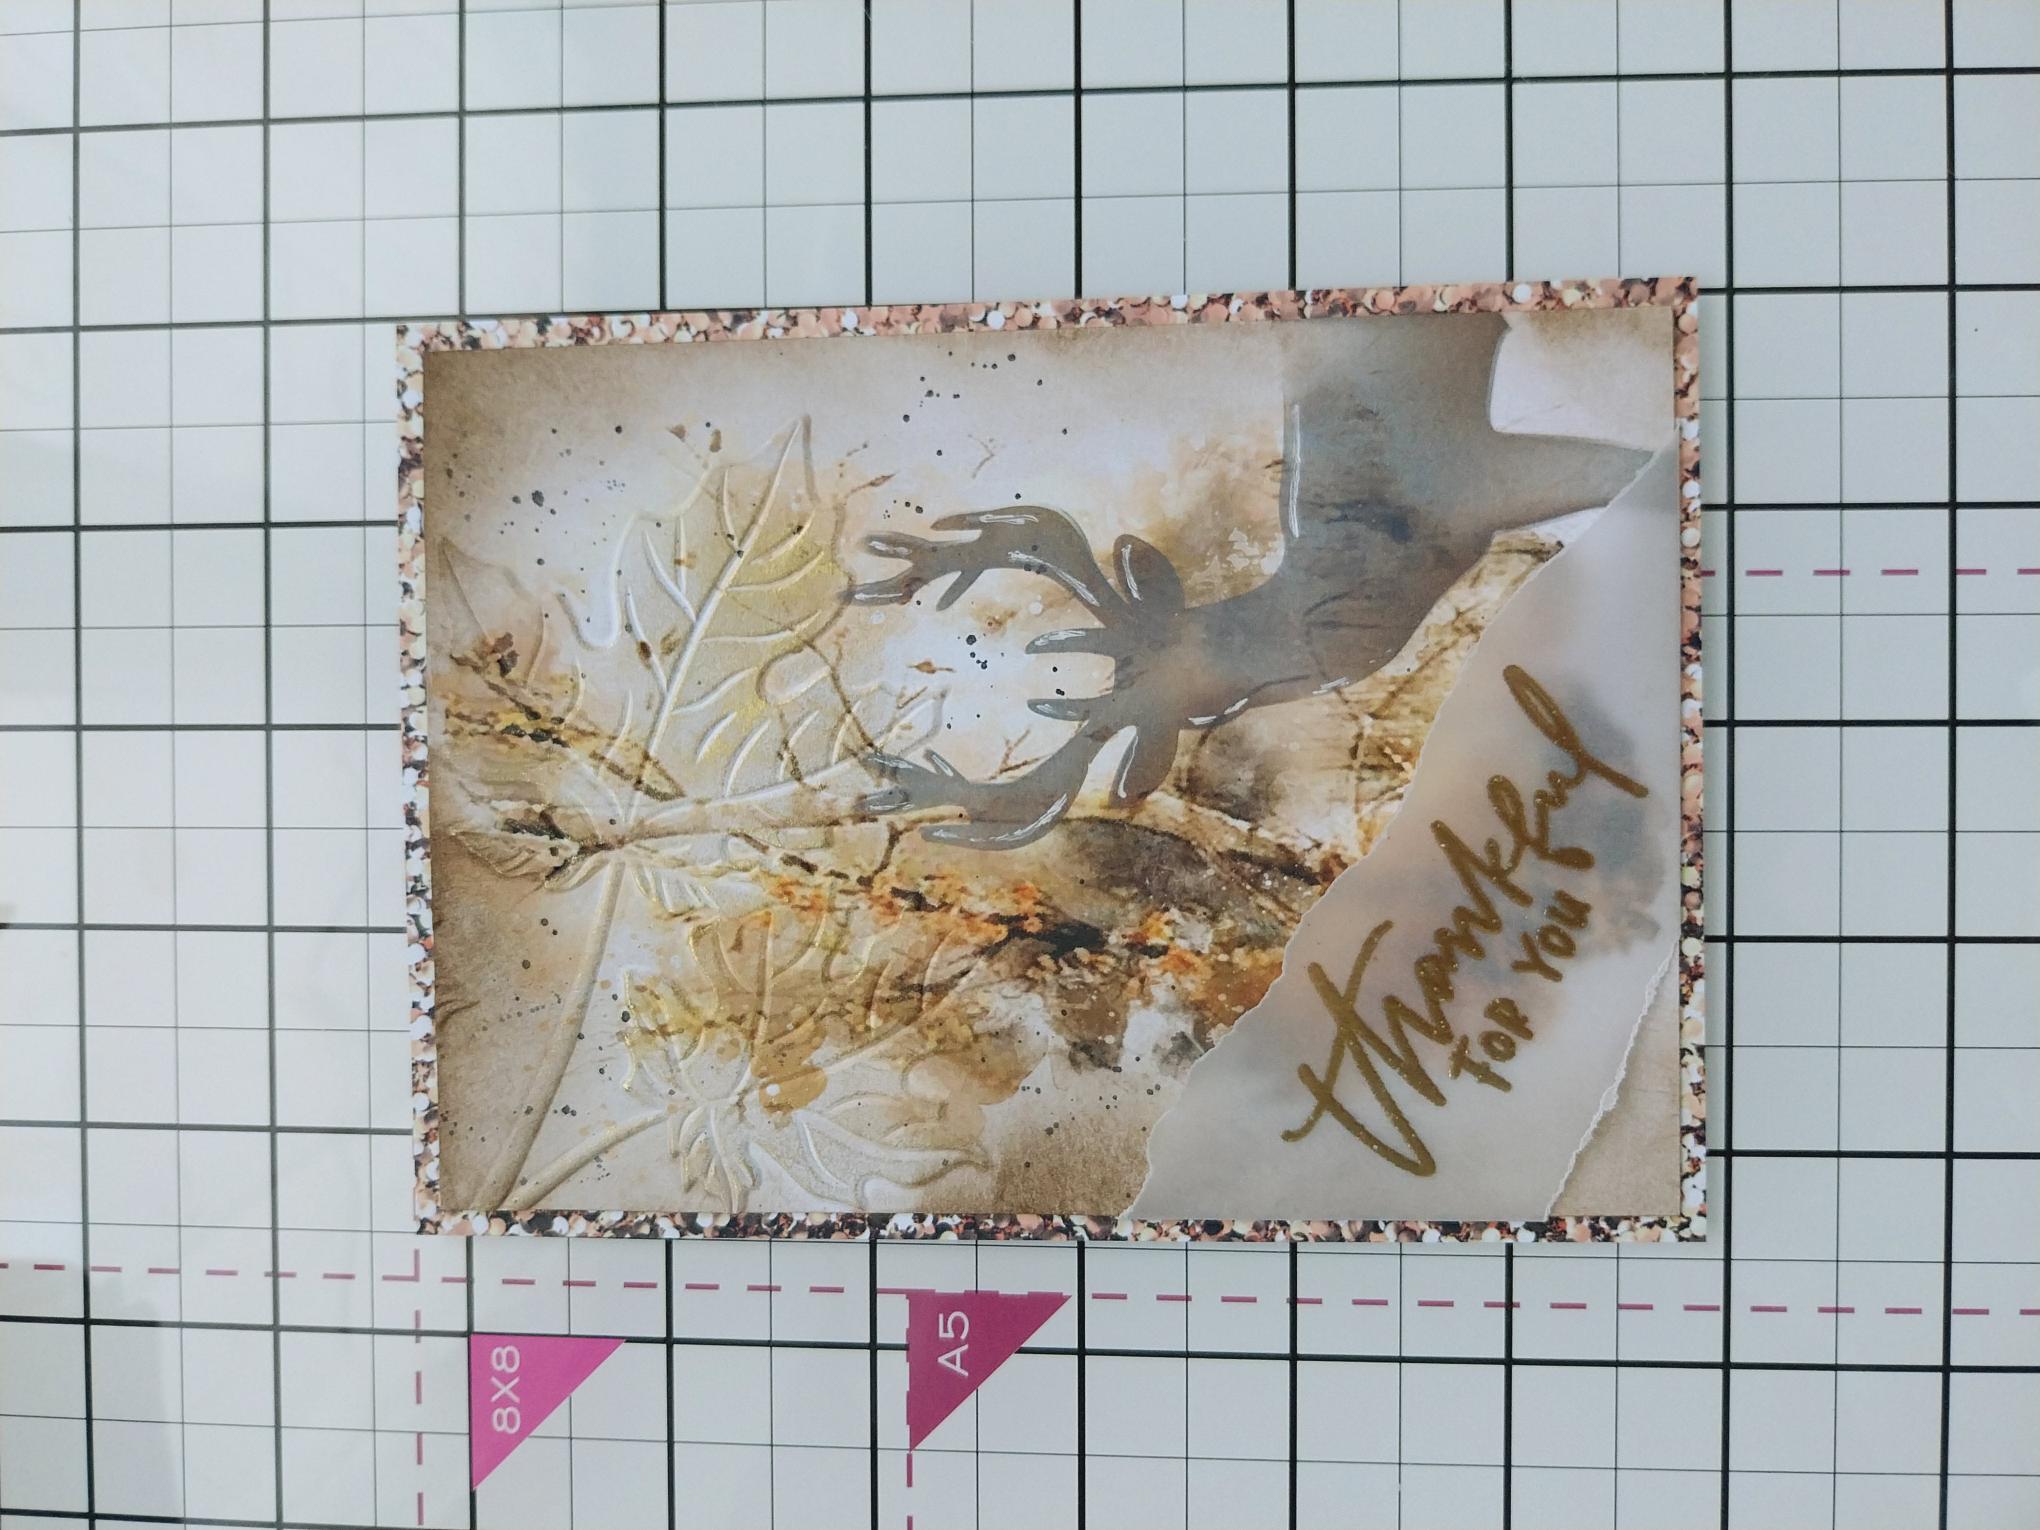
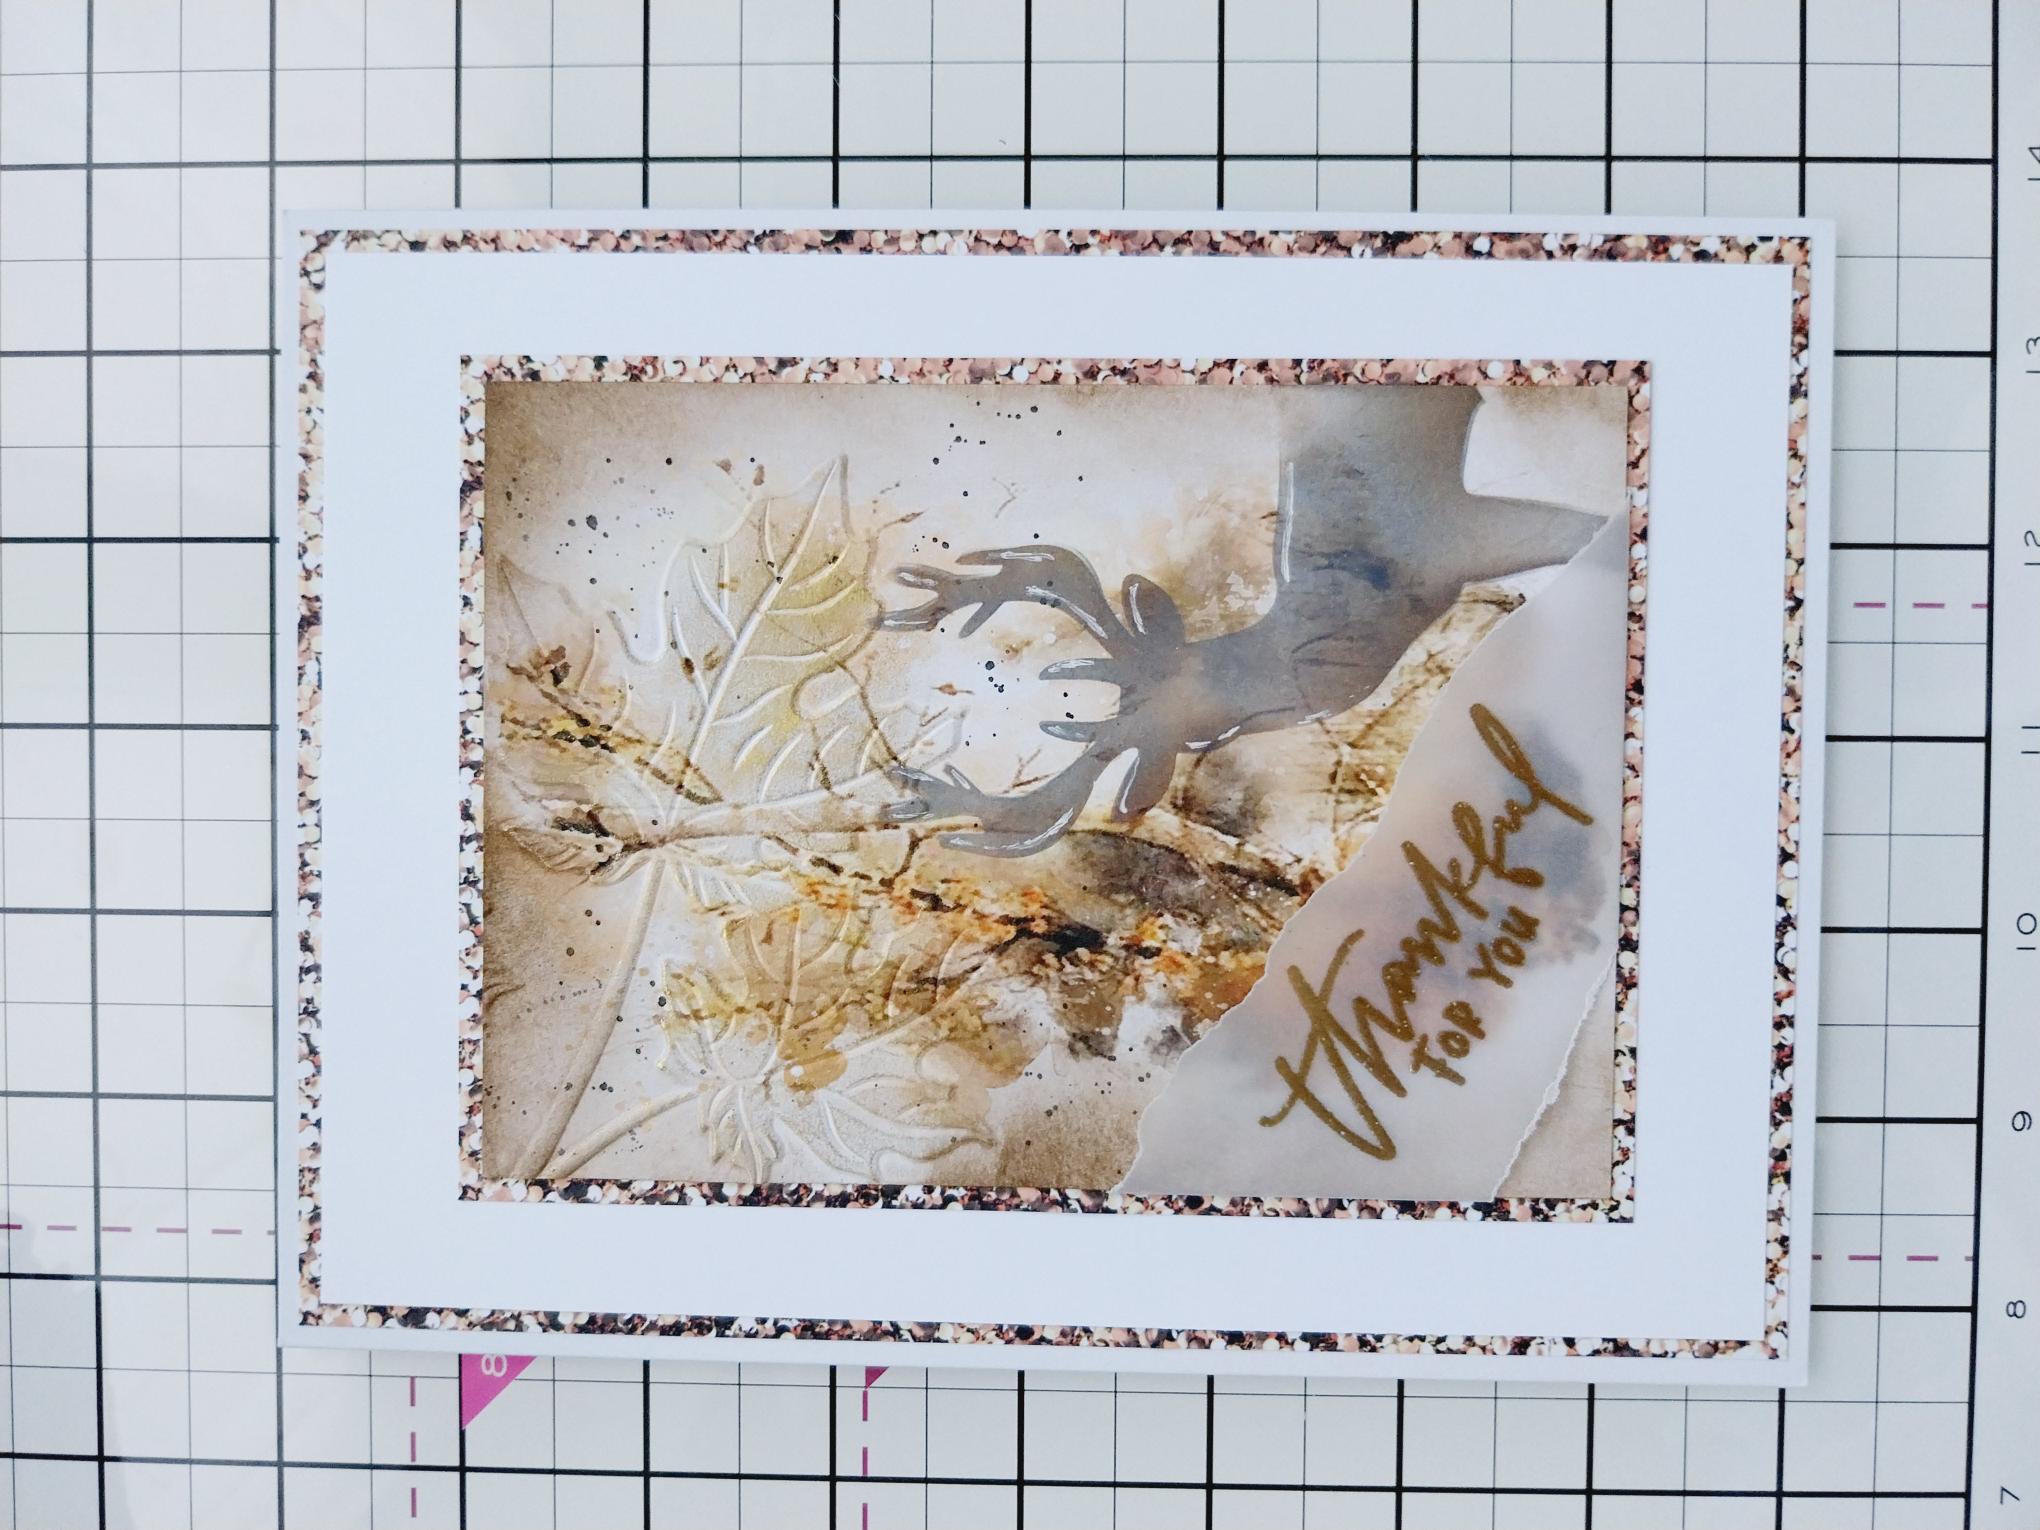
Place this beautiful painted mount, from the Changing Seasons pack, inside the Autumn embossing folder, so the leaves are coming down from the top left. Run through your embossing machine. |
|
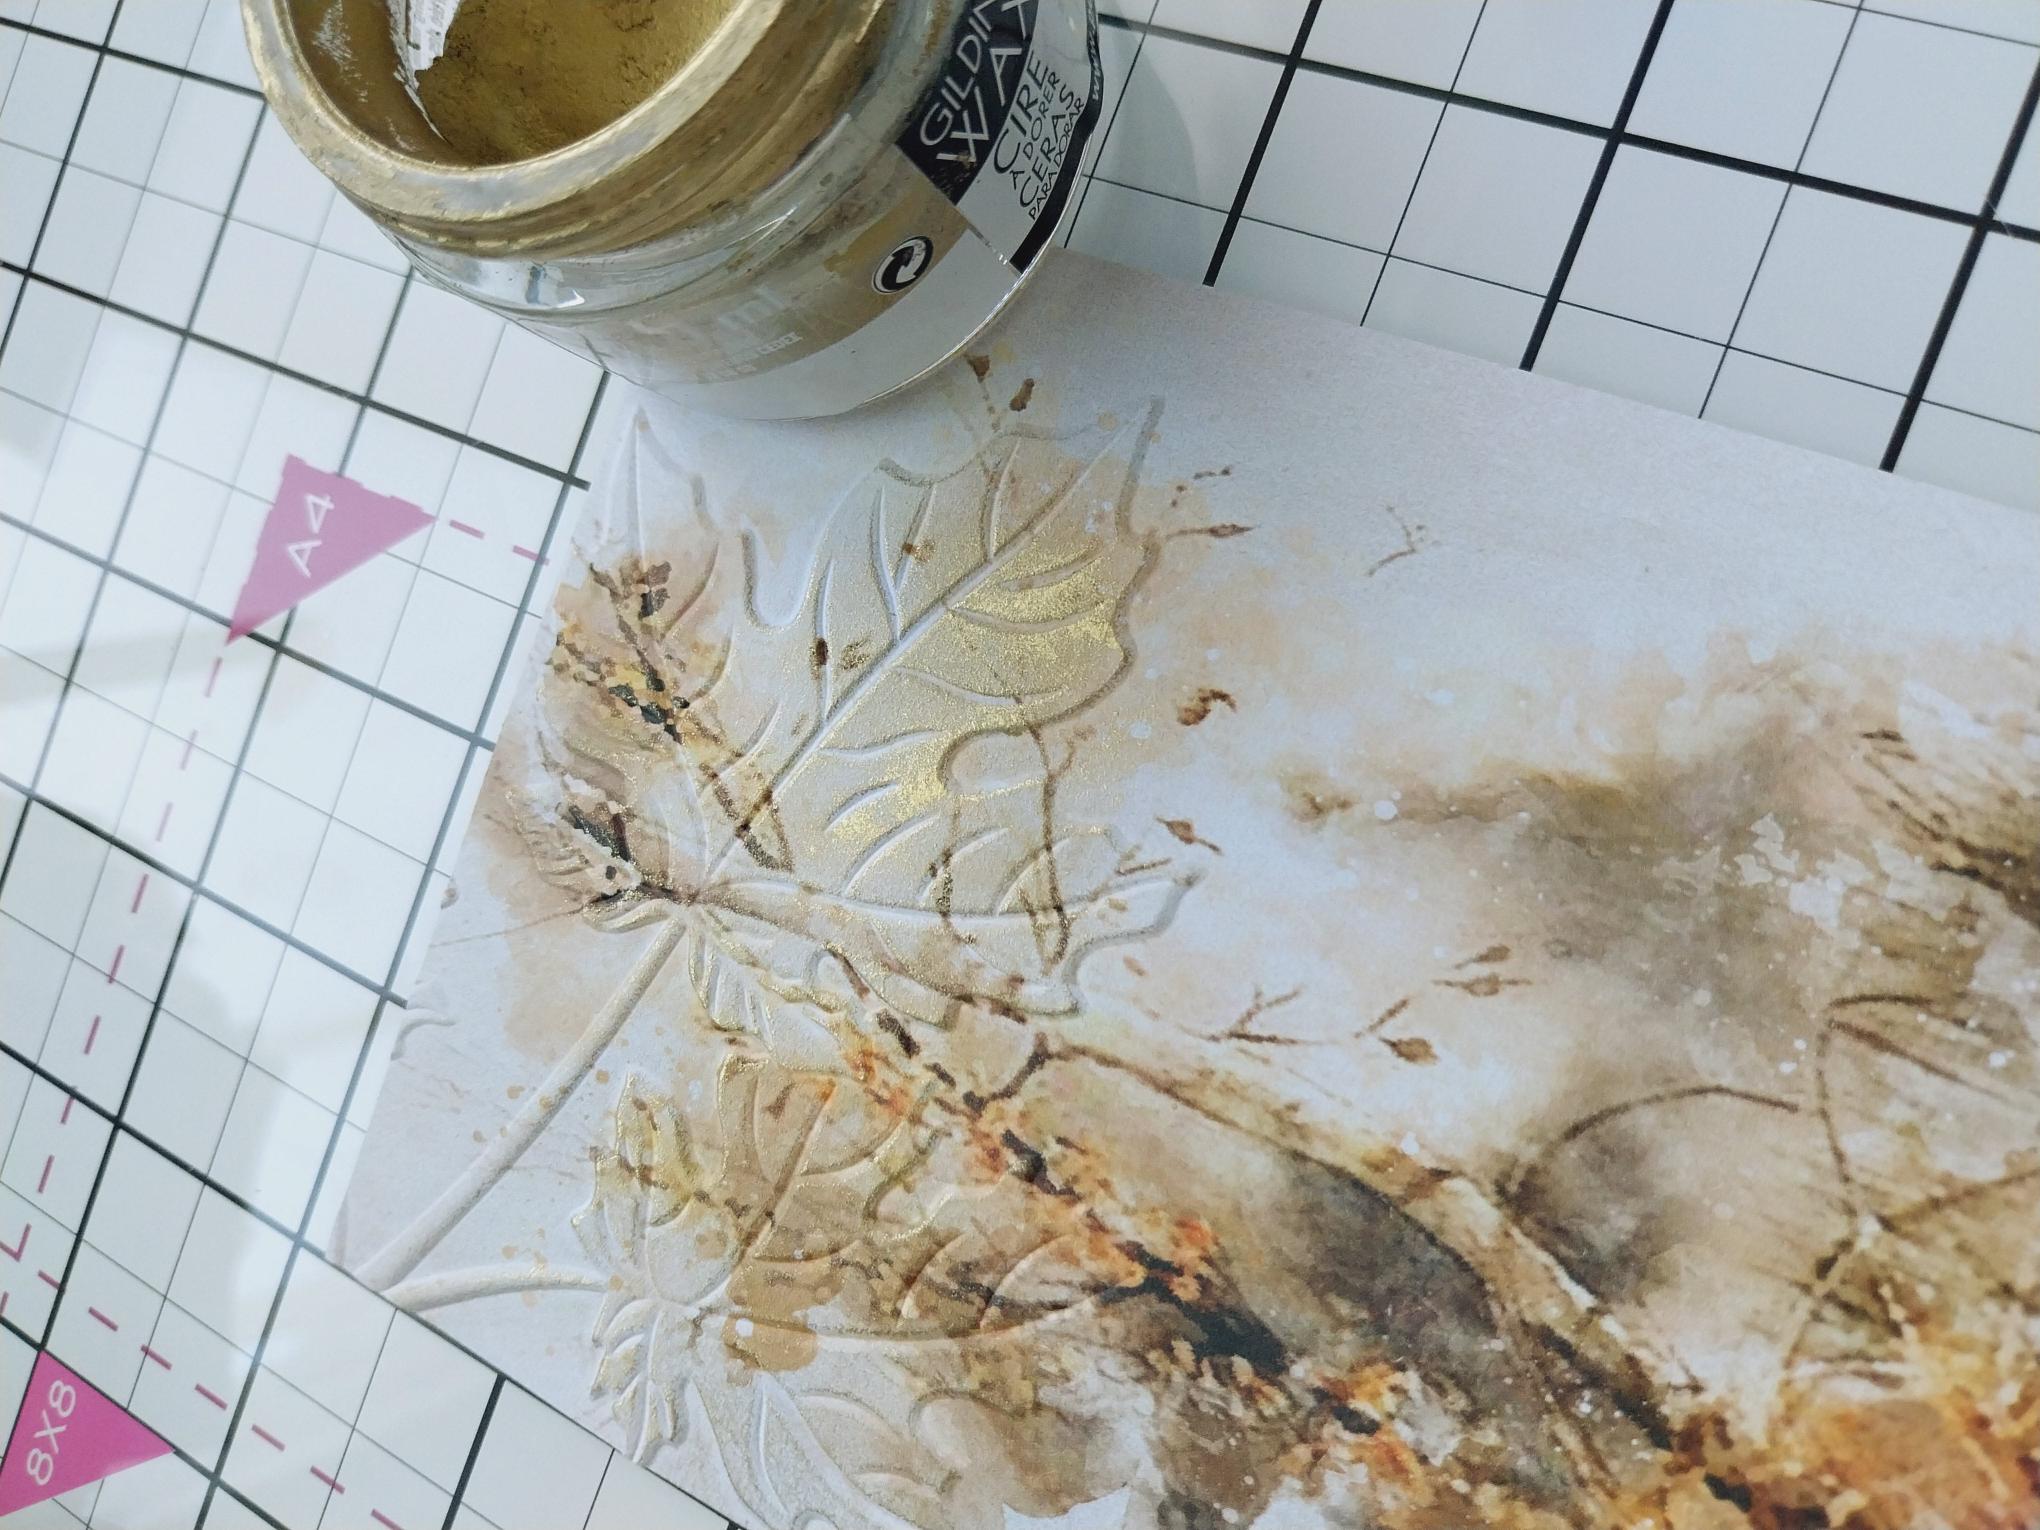
Lightly apply Gold gilding wax over the embossed image, before buffing with a soft cloth, to intensify the shine. |
|
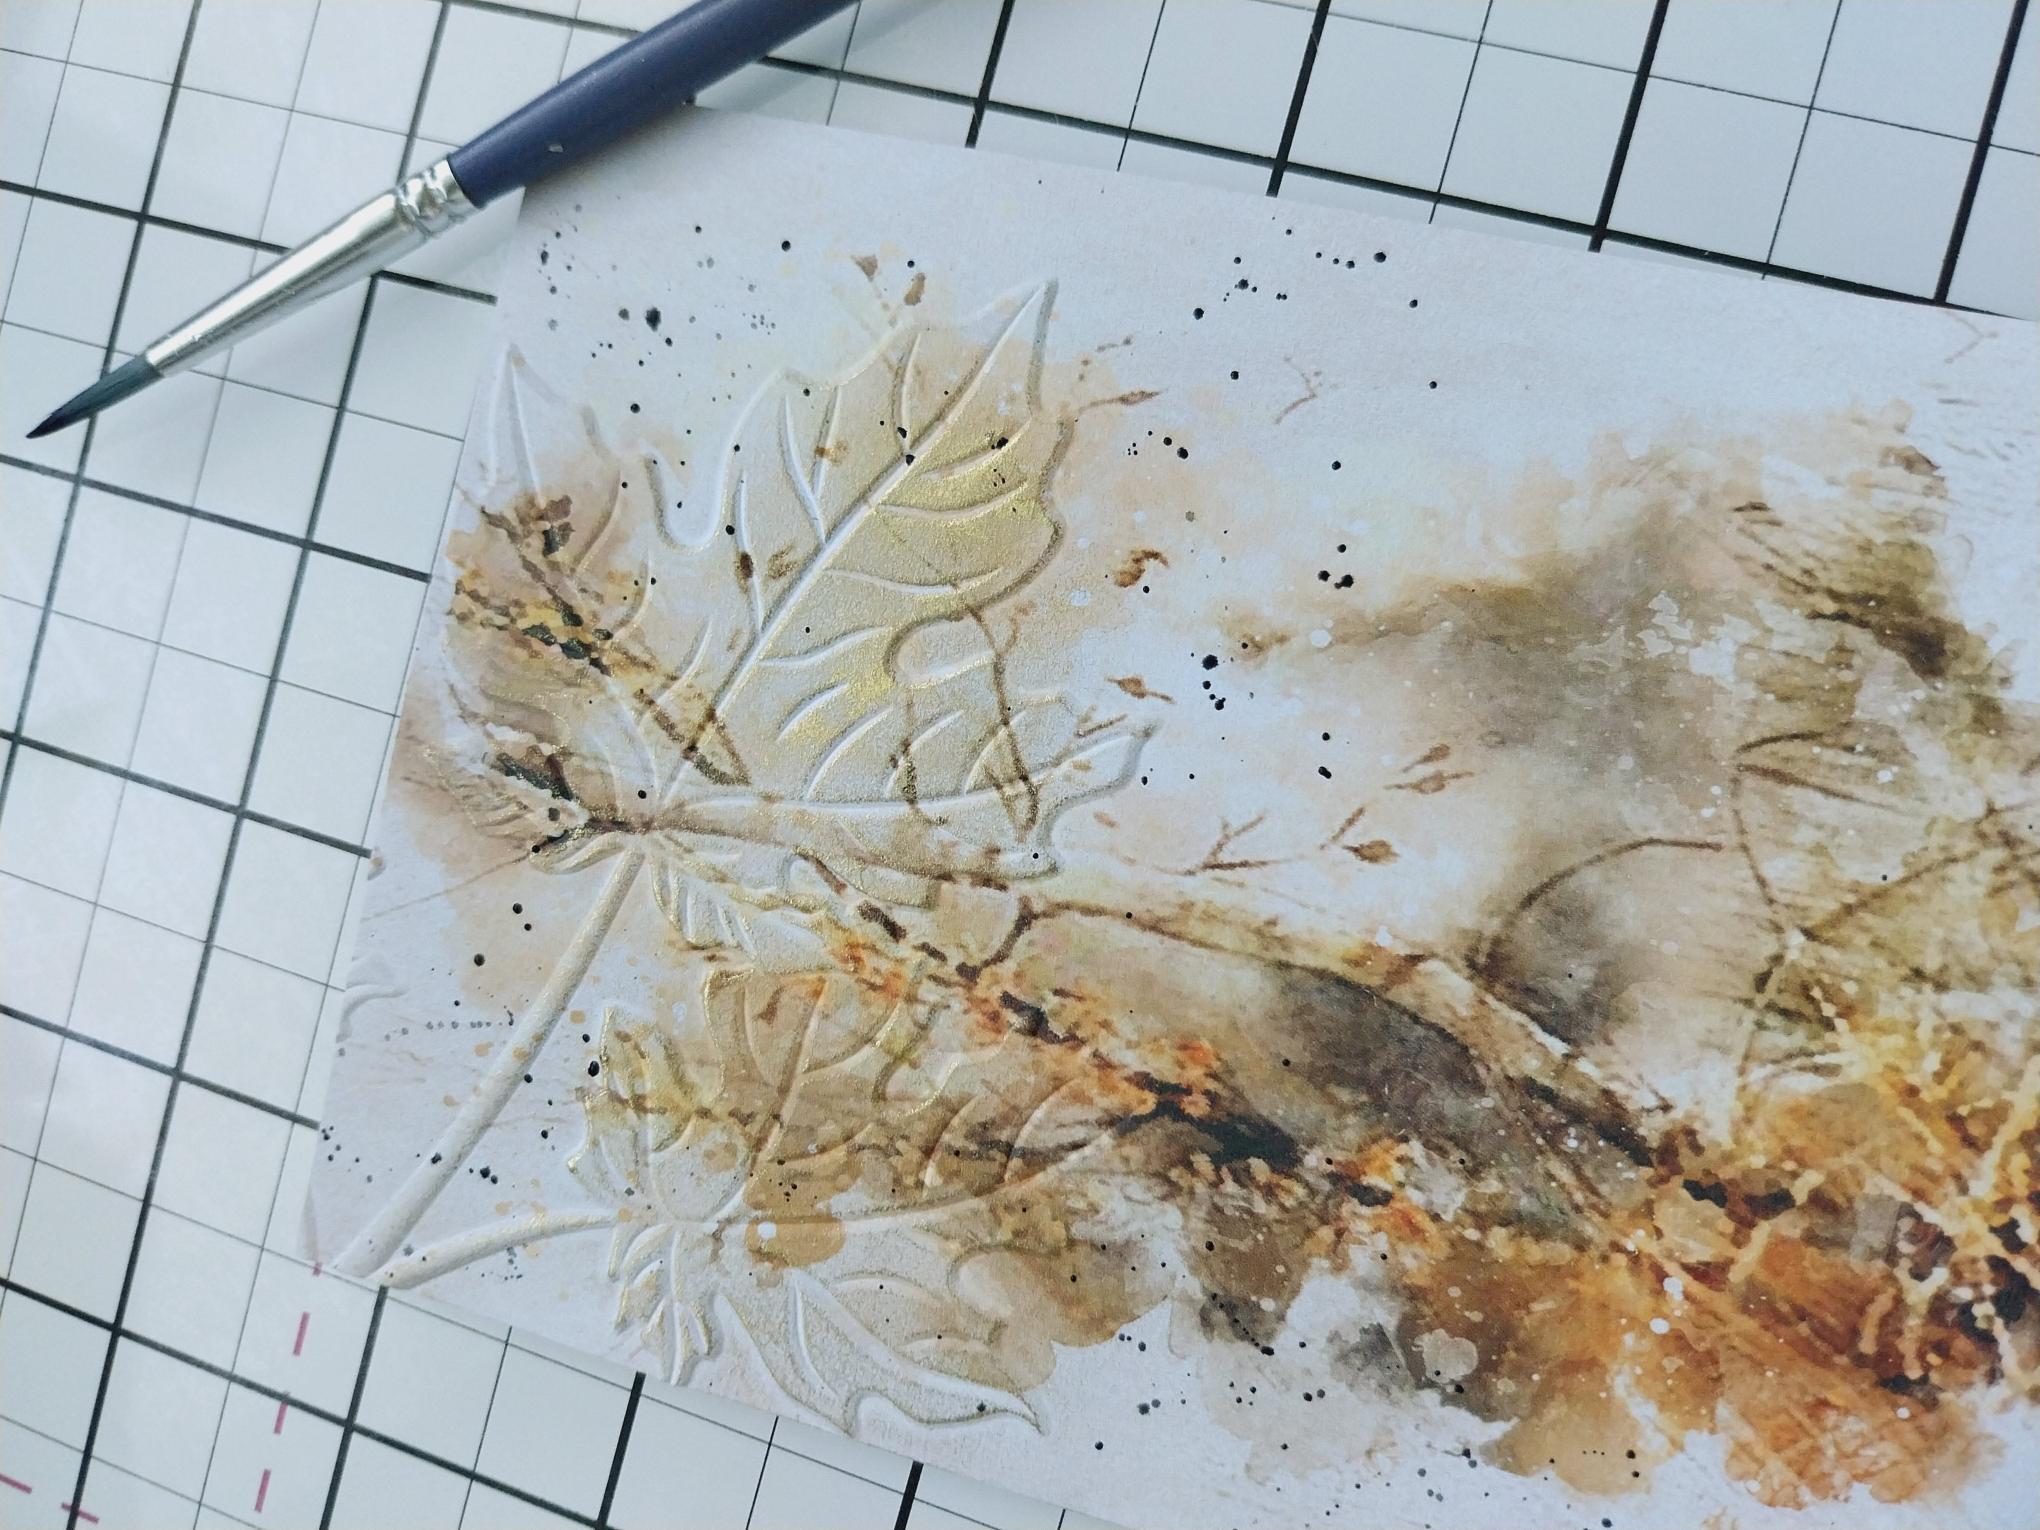
Use a paint brush to splatter Black Soot over your artwork. |
|
Once the splats are dry, blend Lost Shadow through the Stag stencil. You can add a touch of Walnut Stain or Black Soot, to enhance depth and shadow within your stencilled image. Once the ink is dry, use a white gel pen to add accents and highlights. |

|
Blend Walnut Stain around the edges of the mount, fading the ink out as you move inwards. Pop to one side to dry. |
|
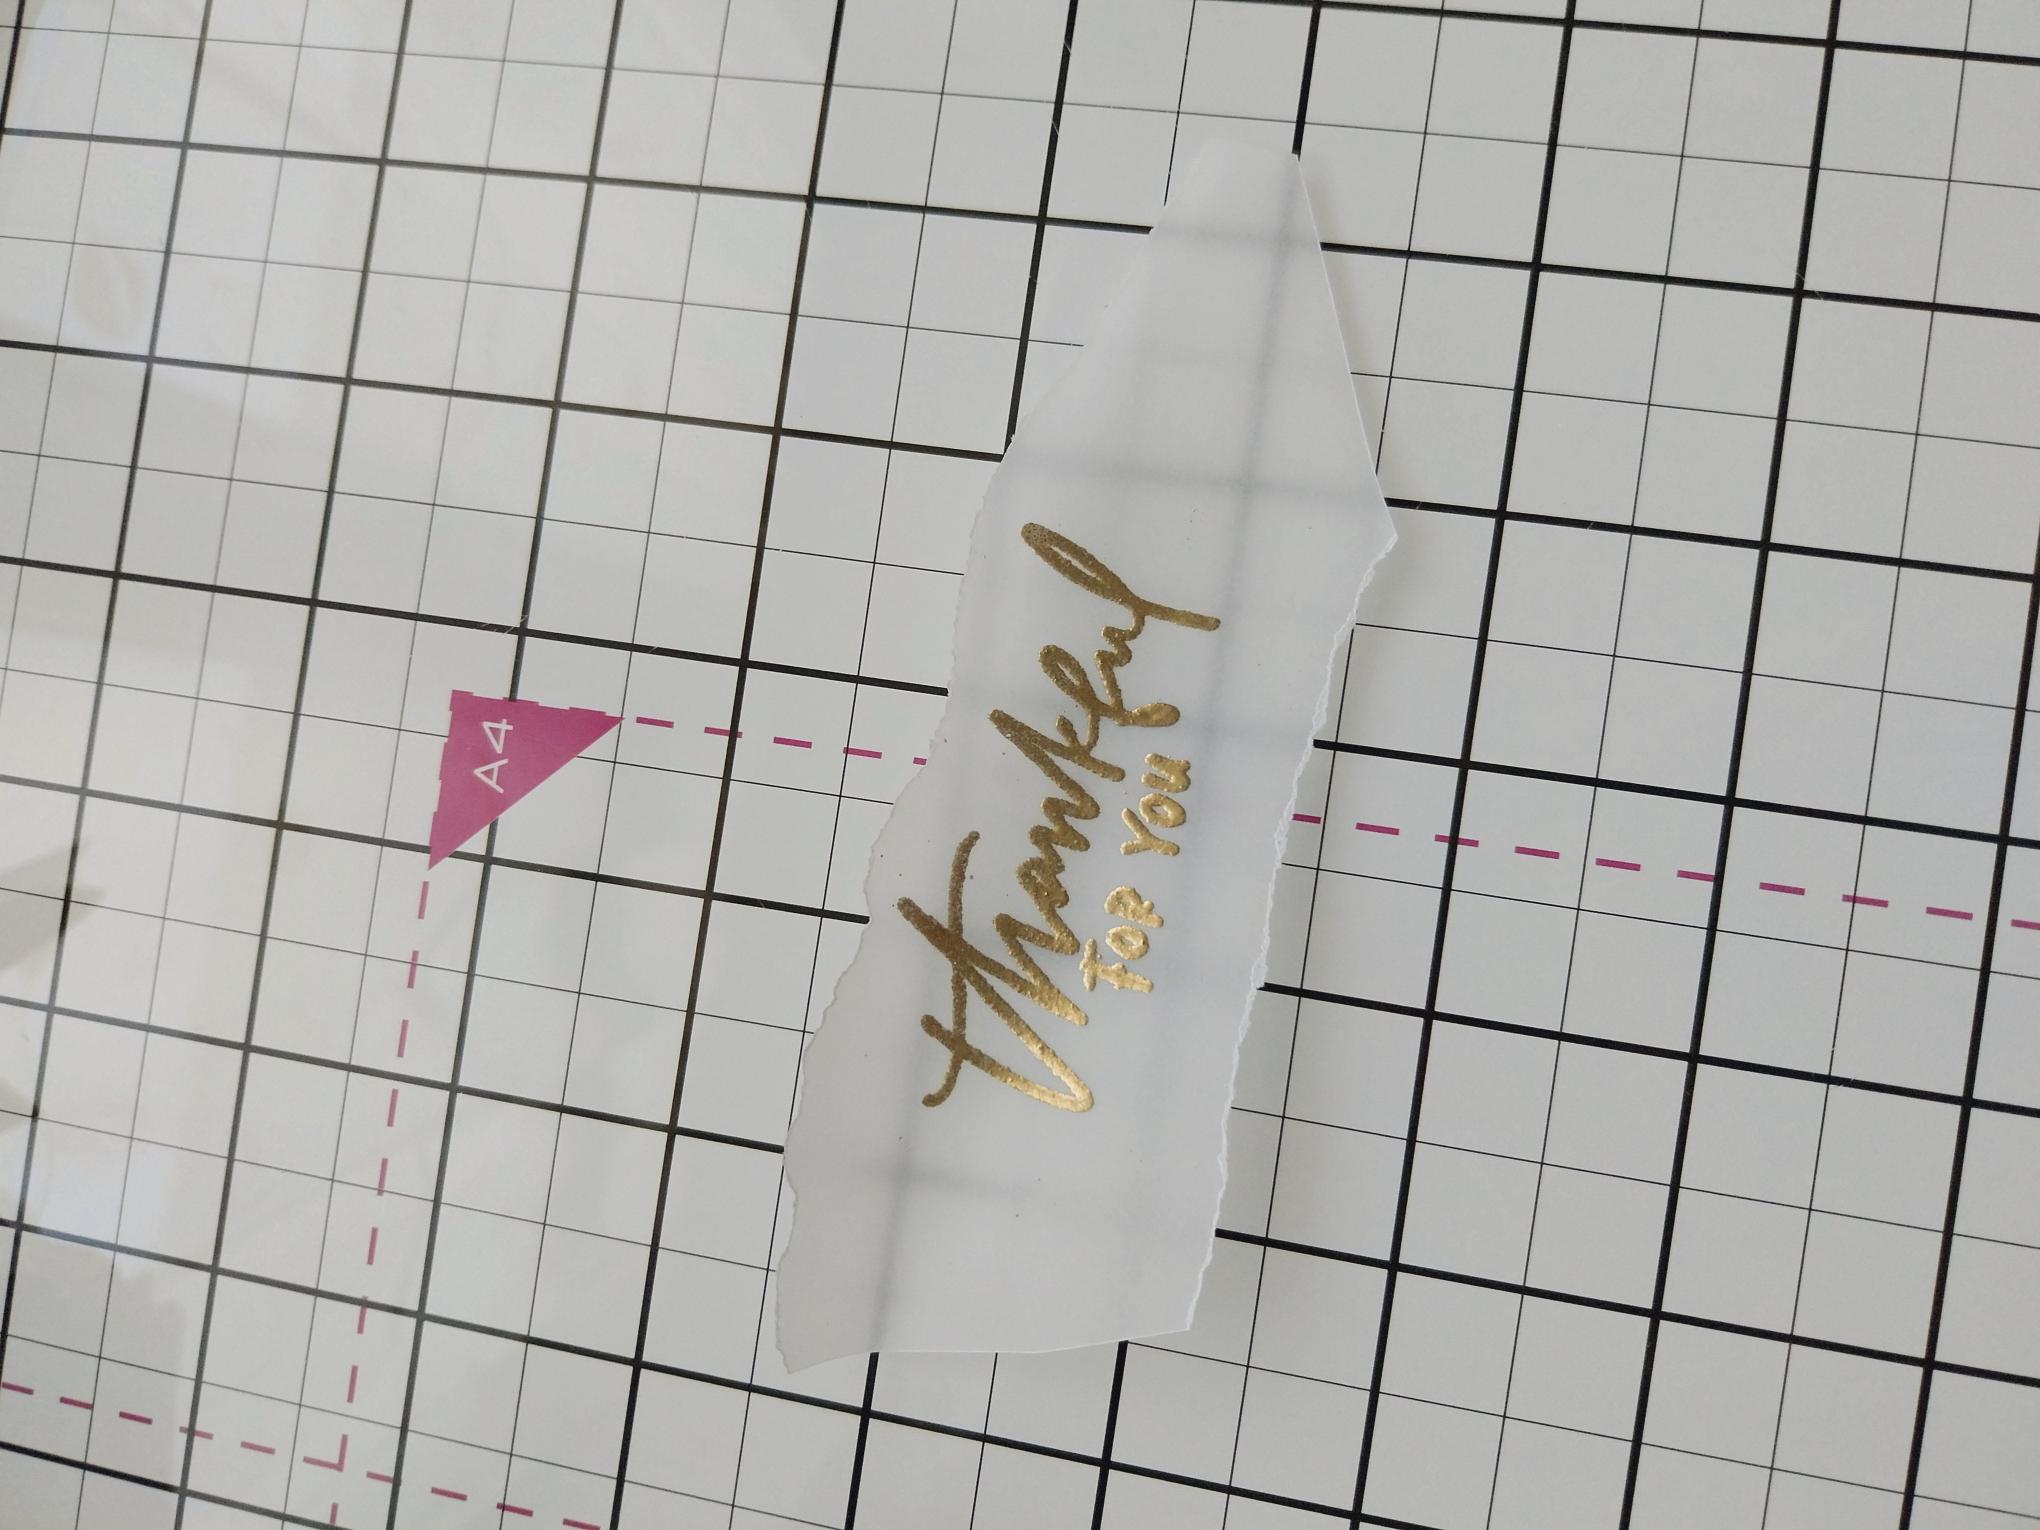
Tear a panel of vellum that will lay diagonally, across the bottom left of your mount. Use the sentiment stamp, from Thankful For You, as a size guide. Wipe the anti-static bag over the vellum, stamp the sentiment in the sticky embossing ink and apply the gold embossing powder over the top. Having got your heat tool hot first, heat set the powder. |
|
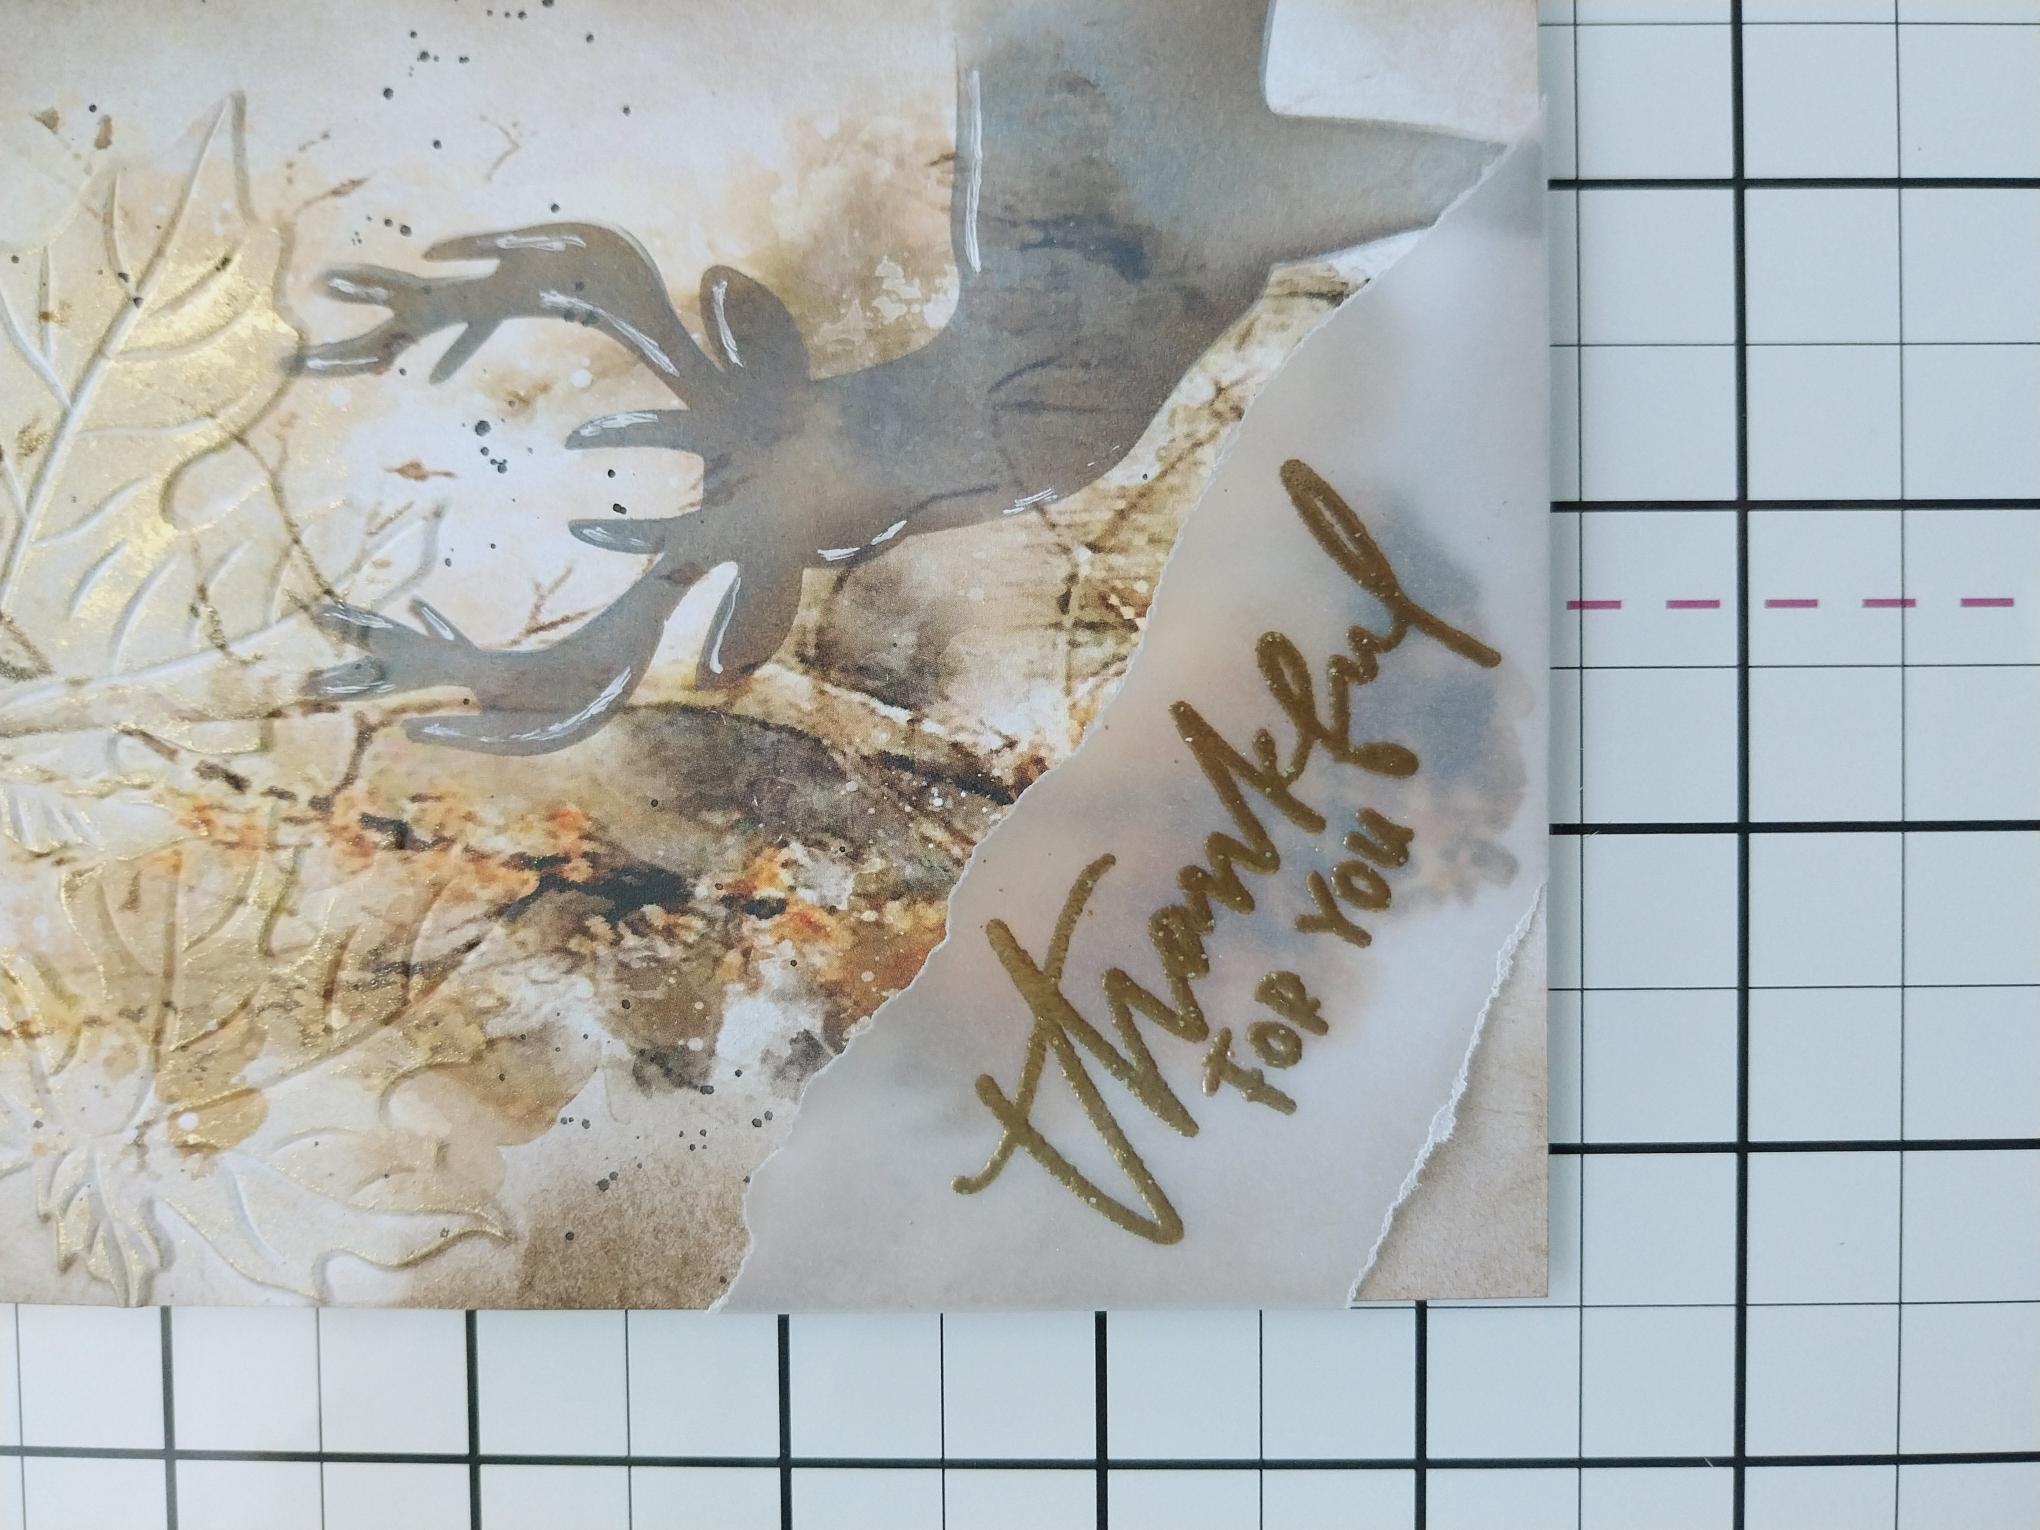
Lay the embossed vellum in place, tuck the ends of the vellum over the edges of the mount and secure on the reverse, with double-sided tape. |
|
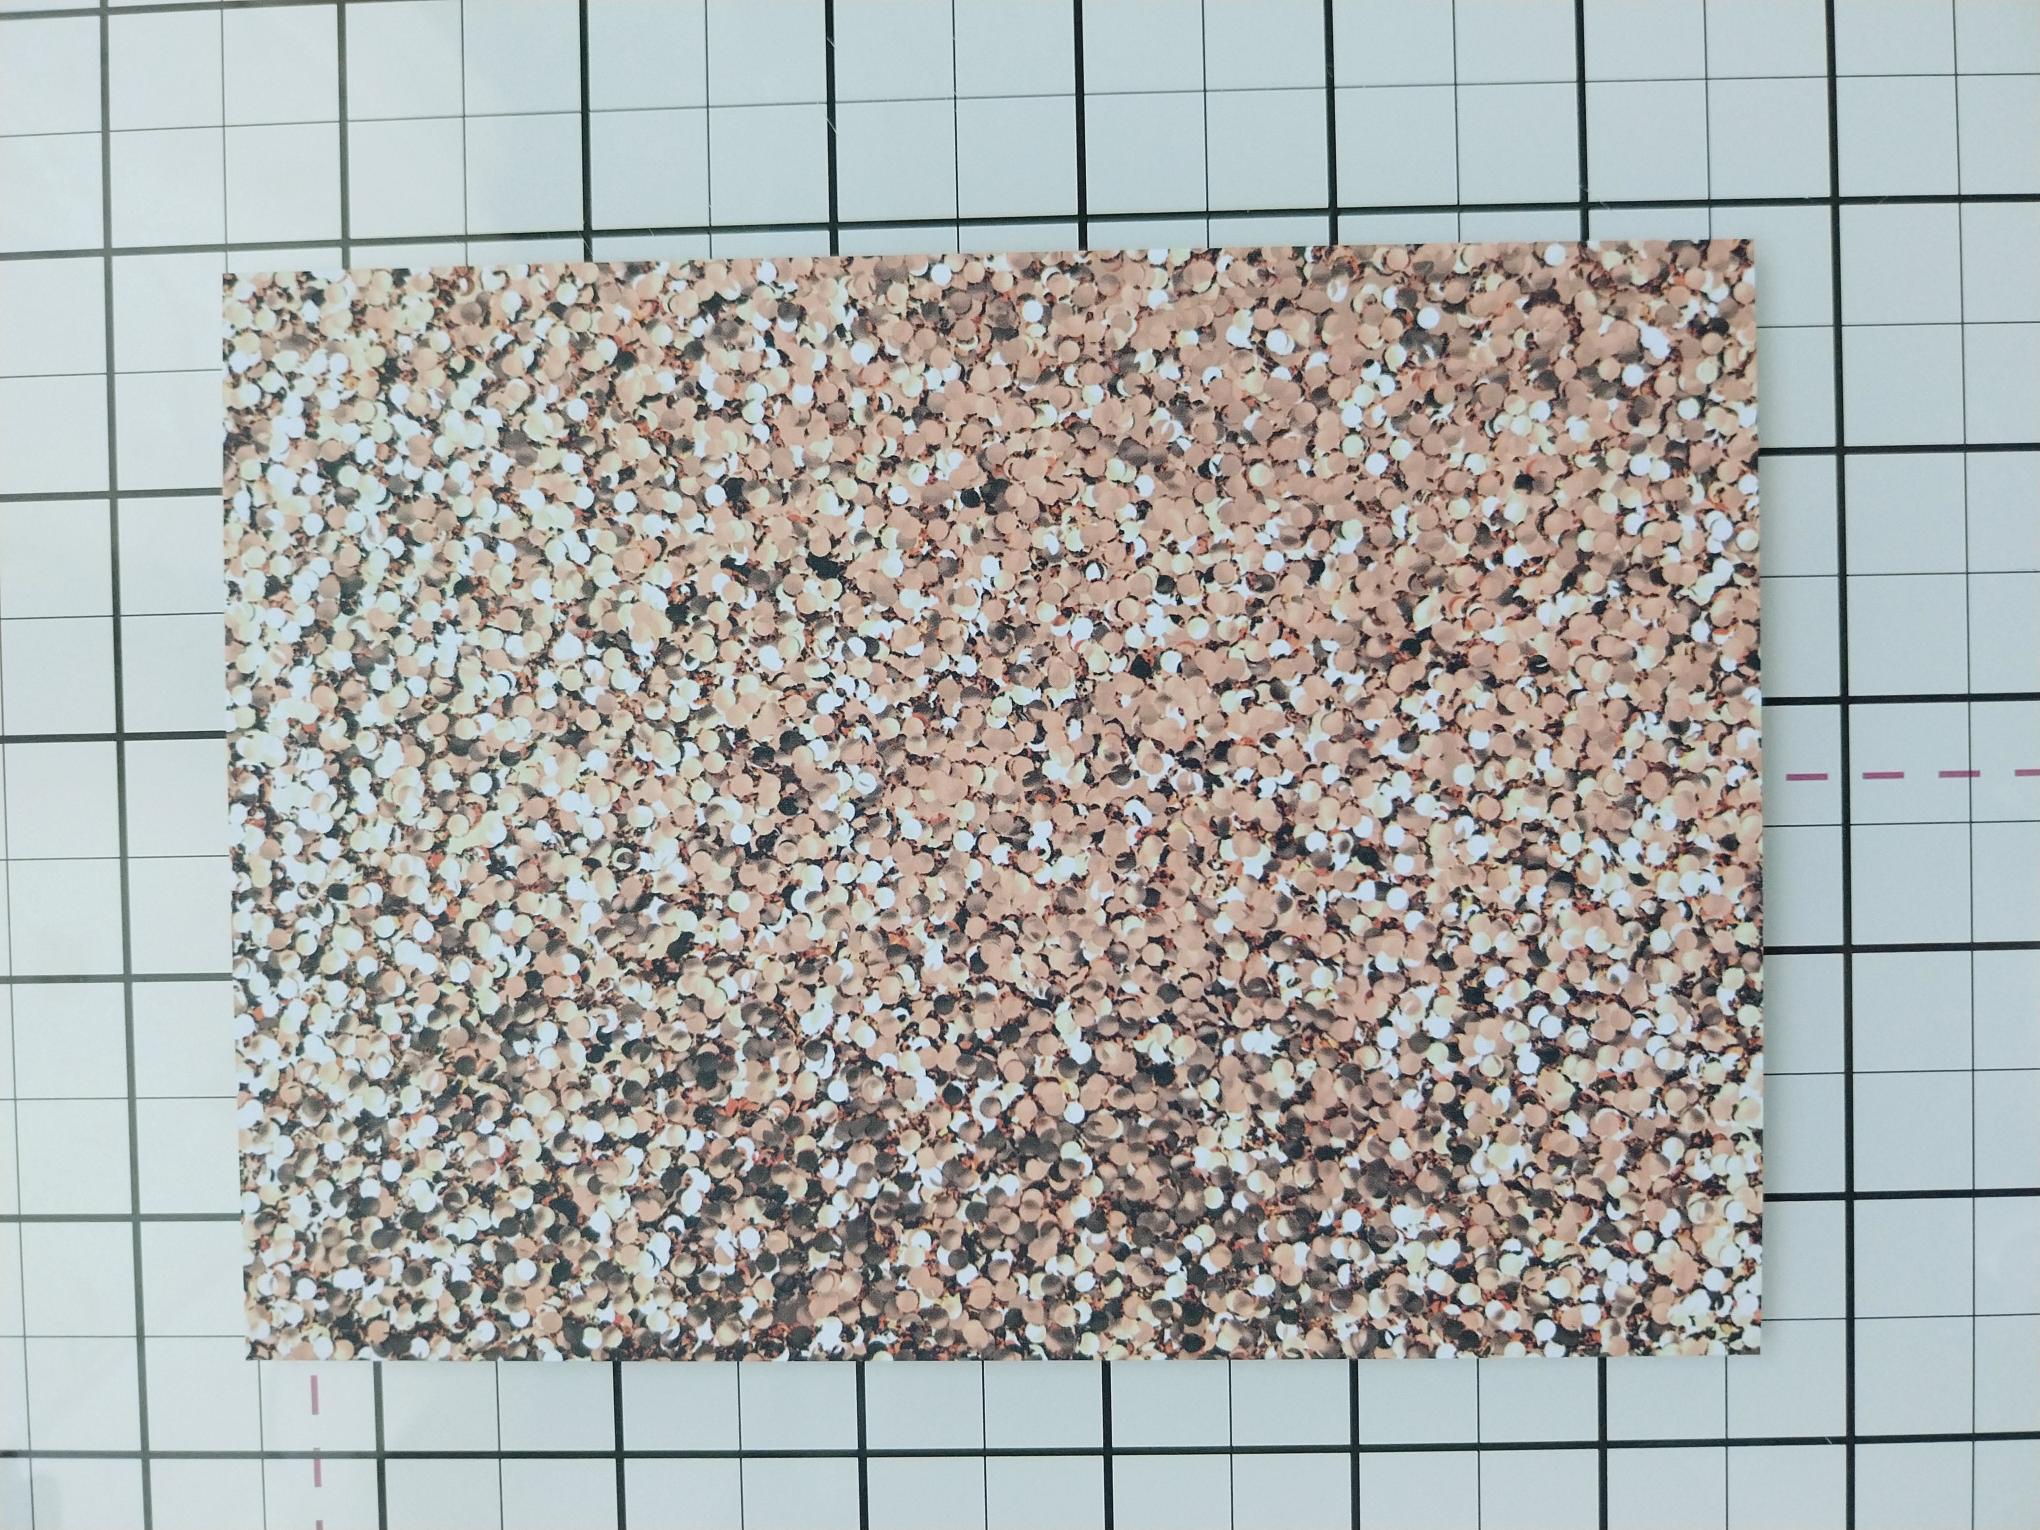
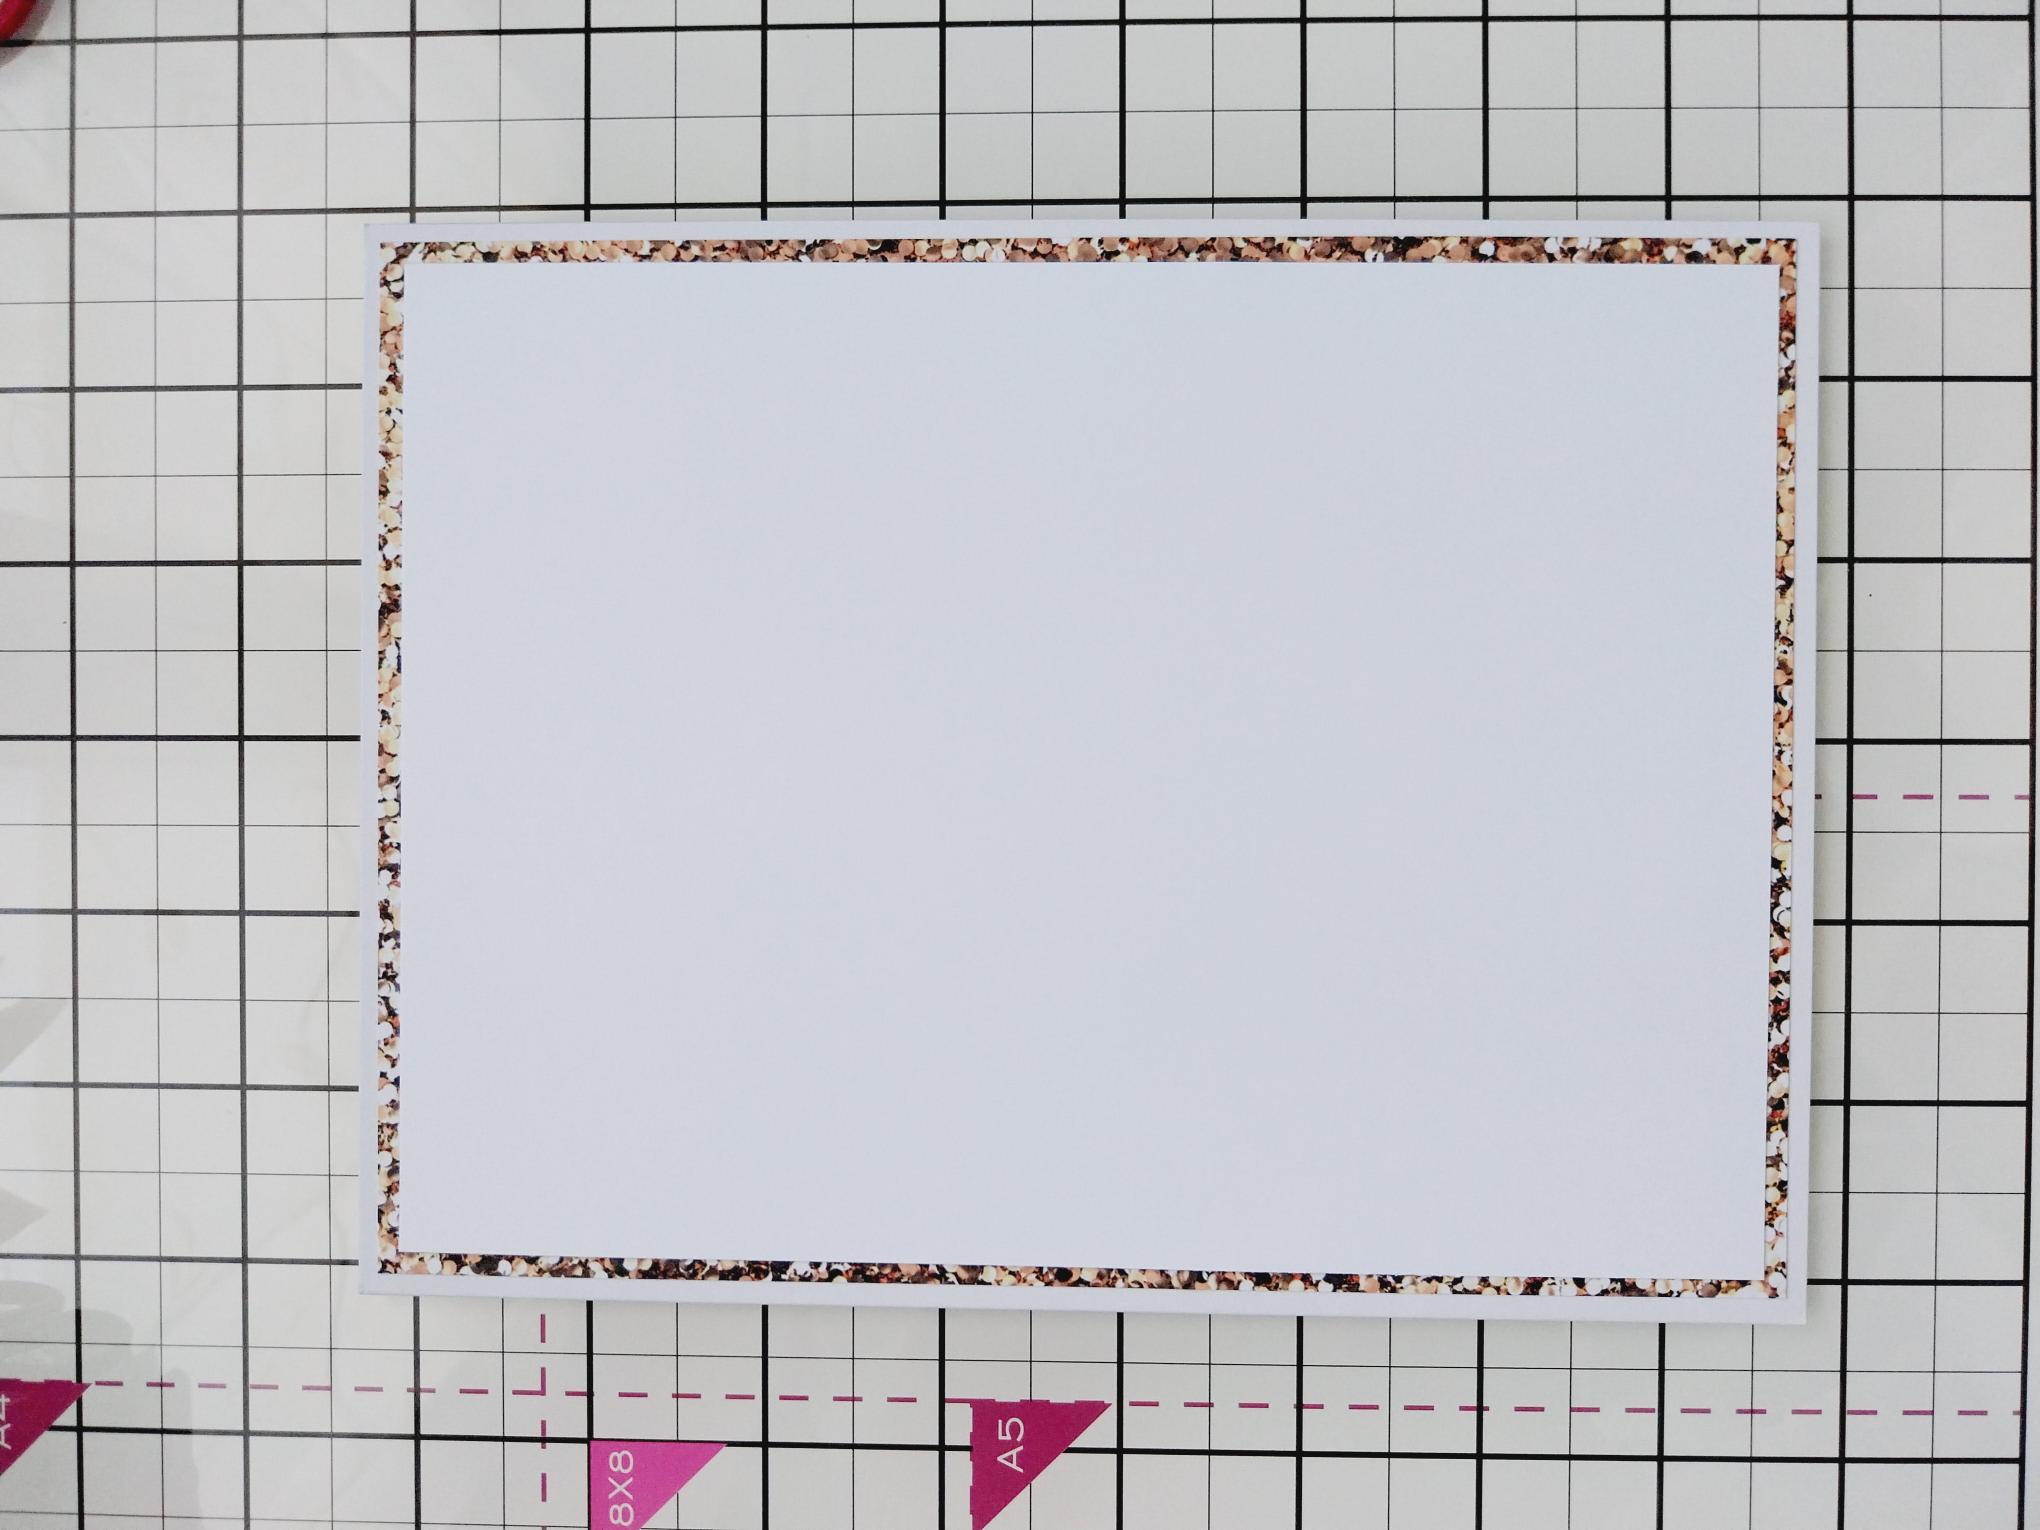
You will need TWO of these decorative sheets, from the Bronze paper pack. Cut one to 6 x 4 1/4" and the second to 7 3/4 x 5 3/4 setting the larger mat to one aside. |
|
Mat your artwork on to the smaller mat and set aside. |
|
Adhere the larger decorative paper mat on to your white card blank. Trim a piece of white card to 7 1/2 x 5 1/2" and affix this to the patterned paper. |
|
Adhere your artwork to the centre of your layered card blank, to complete your make. |