Give your friends $10 off their first order!
Refer a FRIEND


WHAT YOU WILL NEED:
Teal card blank 7 x 7"
A4 white card
White card 6 x 6"
Midnight Times Stamp and Die
Time To Breathe Stamp and Die
Magical Elegance 8 x 8" Paper Pad
Typewriter Tabs Washi and Die Set
SBM Hybrid Ink Pad: Midnight
Versafine Ink Pad: Smokey Grey
Izink Dye Spray: Morning Mist
Izink Shiny Spray: Blue Clair, Rose Poudre
Media Colourless Chunky Glitter
Gossip Sparkle Pen; Yellow
HIMI Oil Pencils: Yellow
Eureka 101 Watercolour Tablet
SBM A3 Magnetic glass mat
Paper Trimmer
Glue/Foam pads
Die Cutting machine
[click image to enlarge] 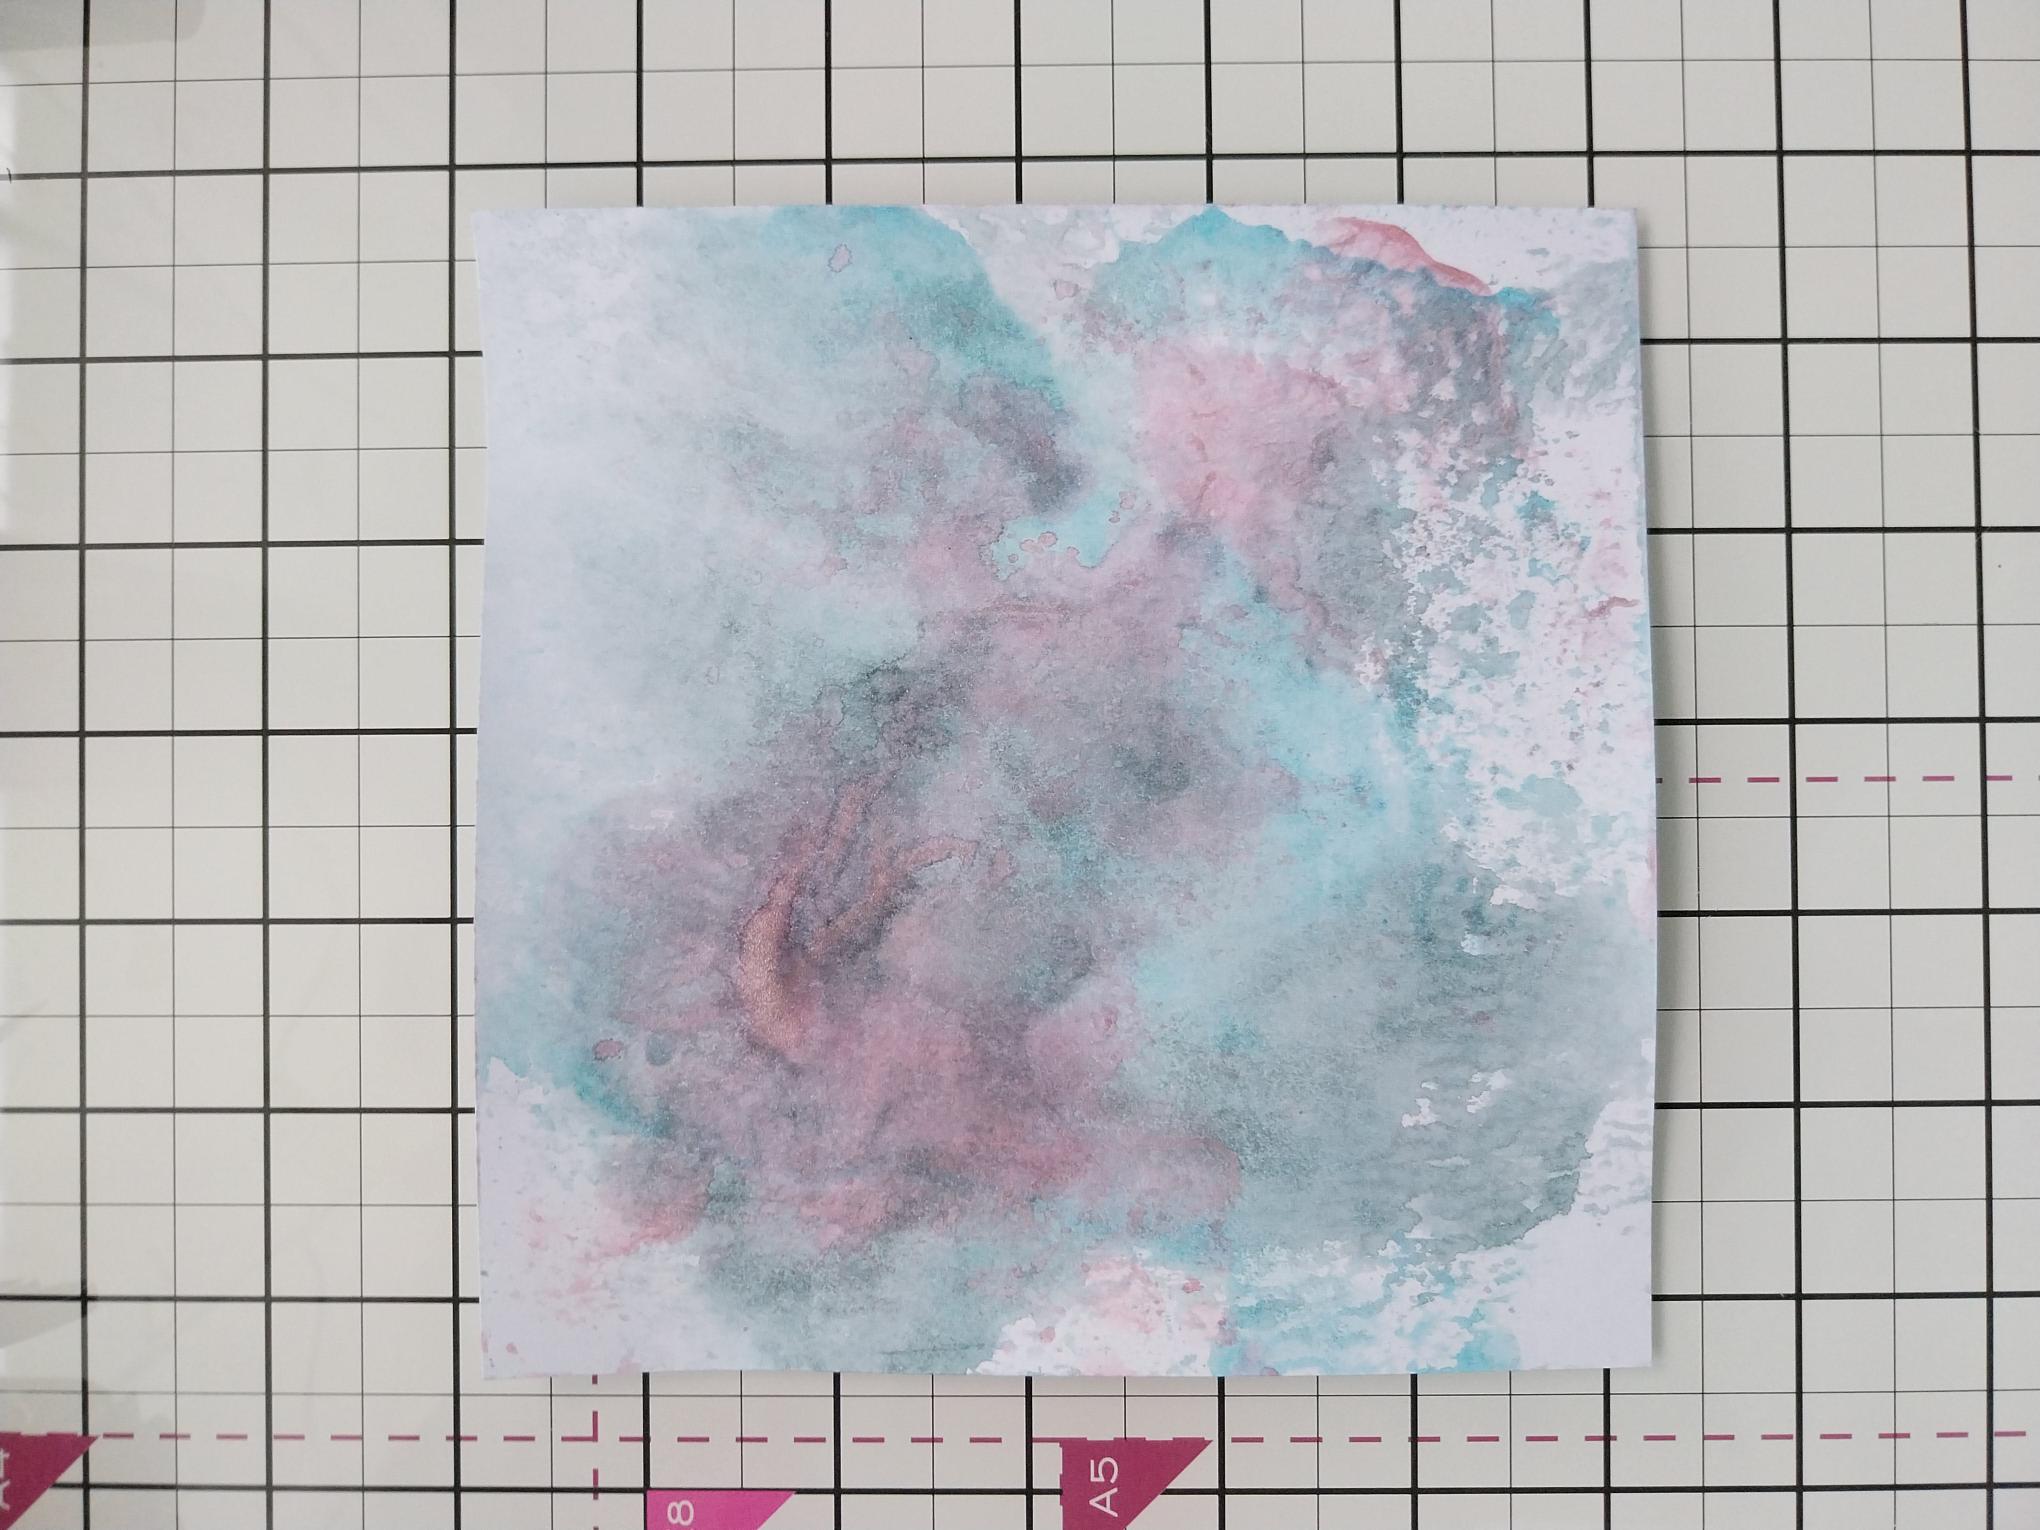
|
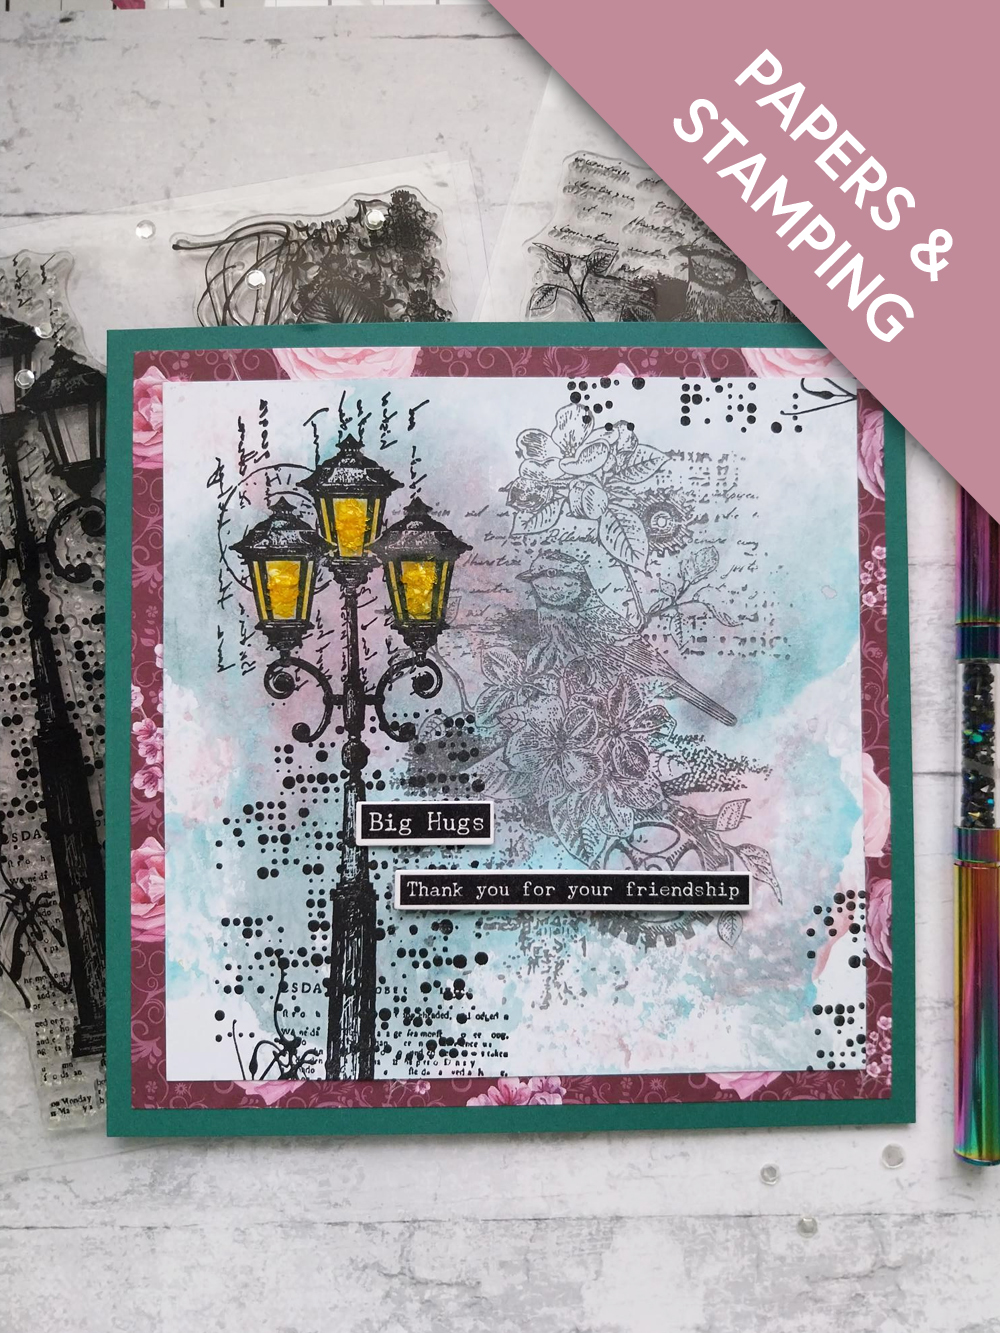
Spray the Izinks on to your glass mat, either one at a time or combined. Smoosh the 6 x 6" white card in to the inks. Allow to dry or blitz quickly with a heat tool. |

|
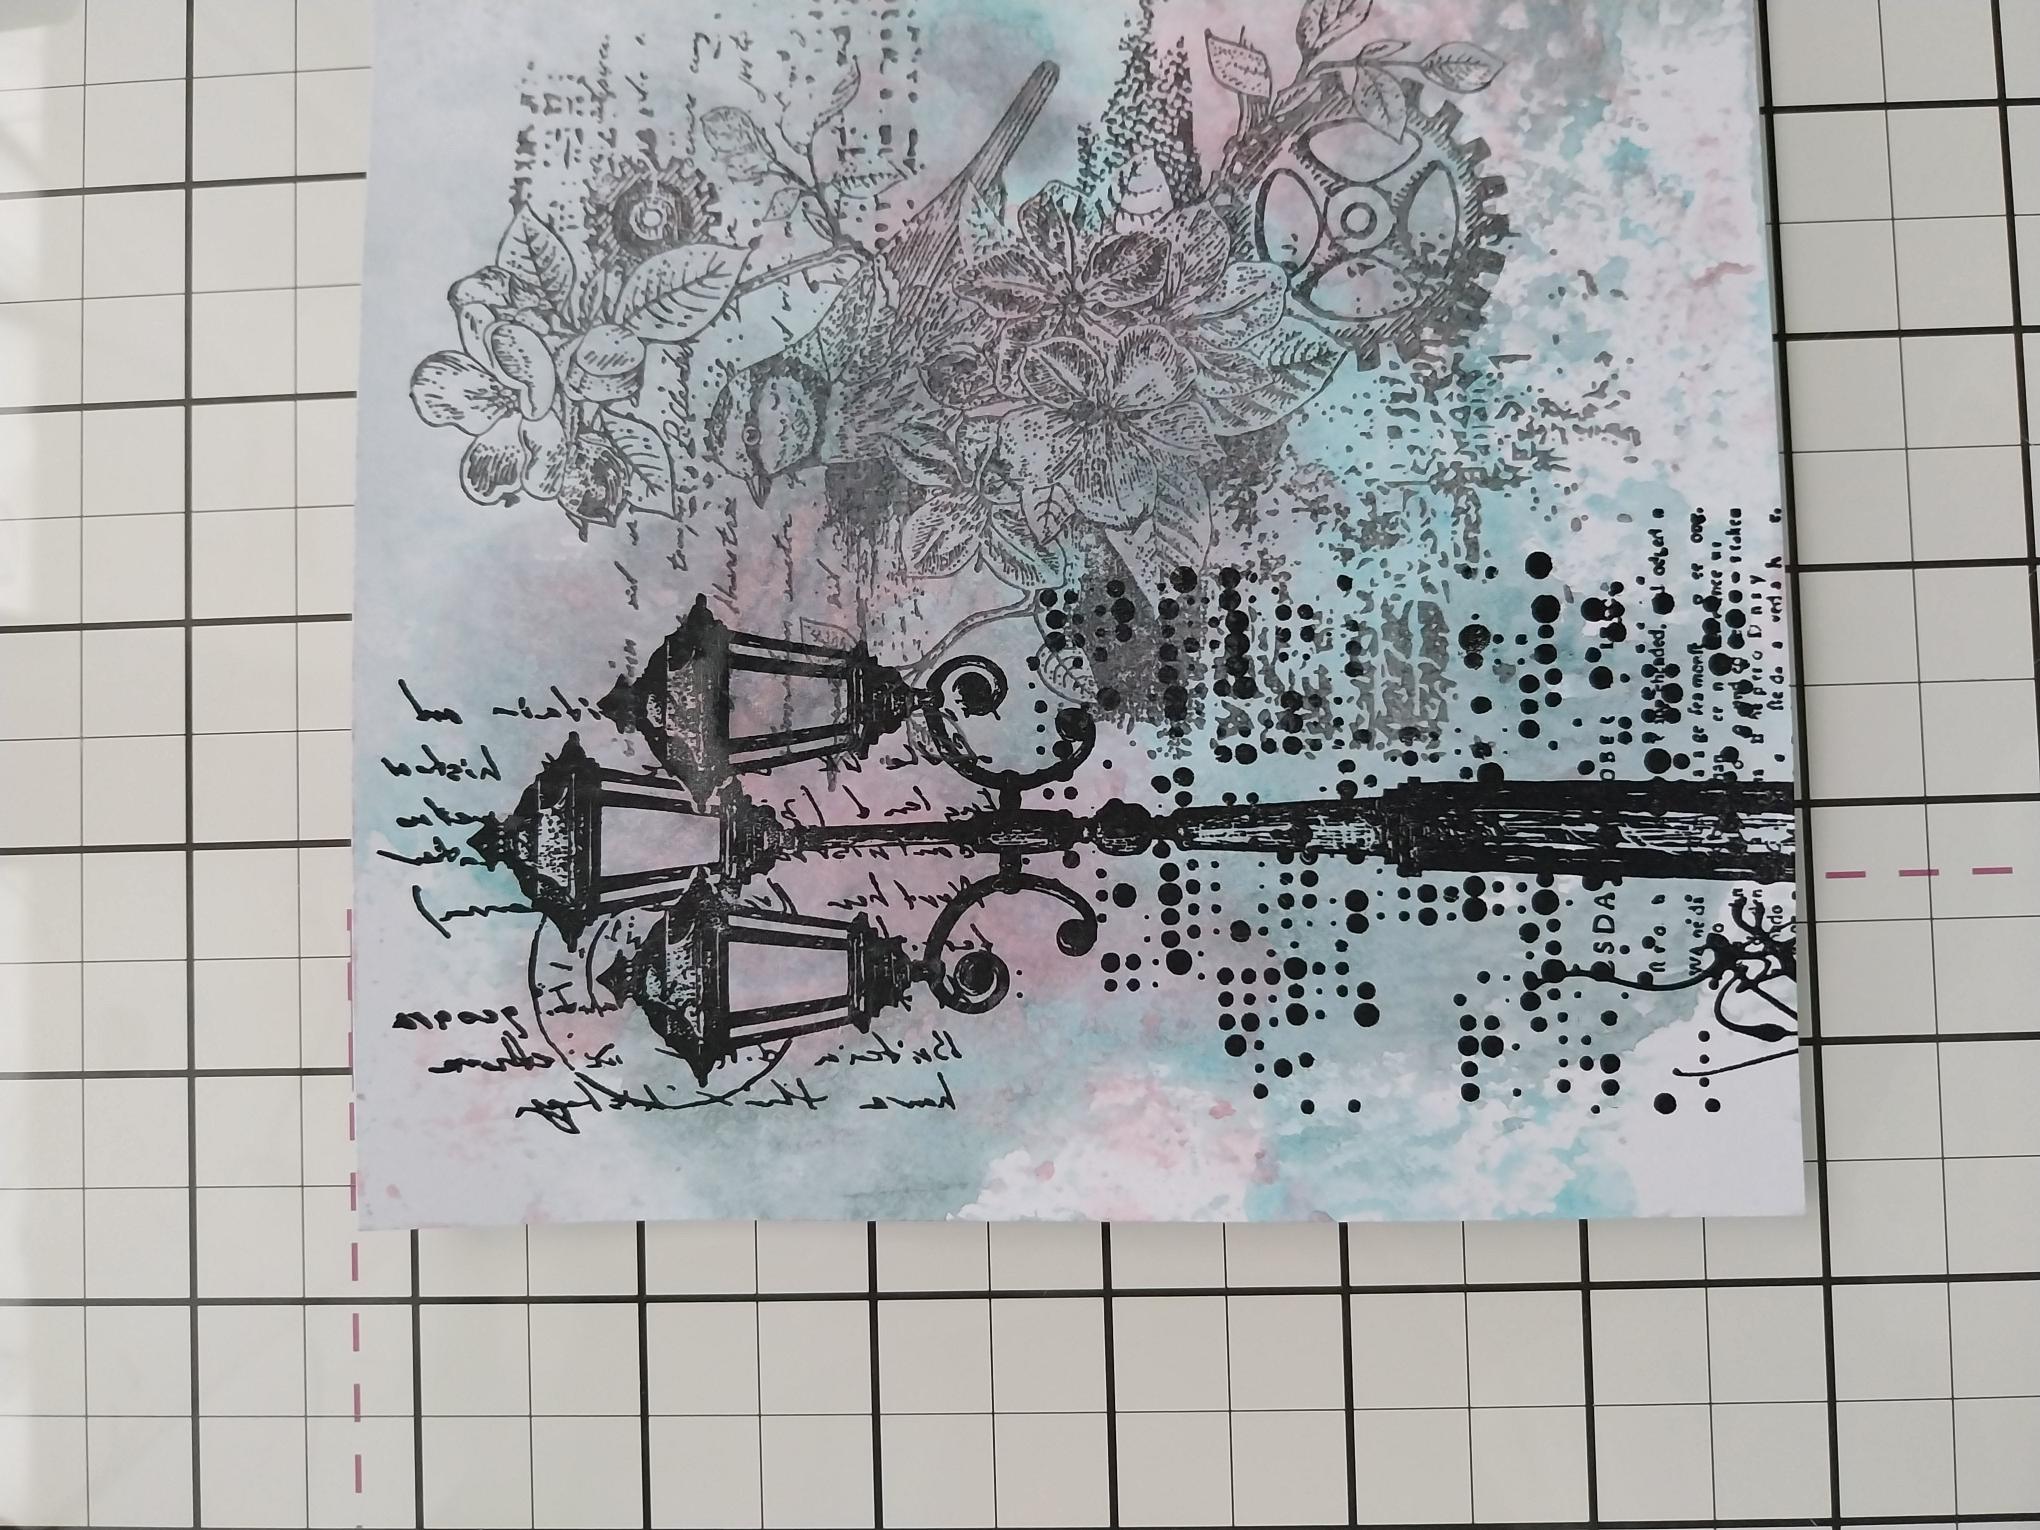
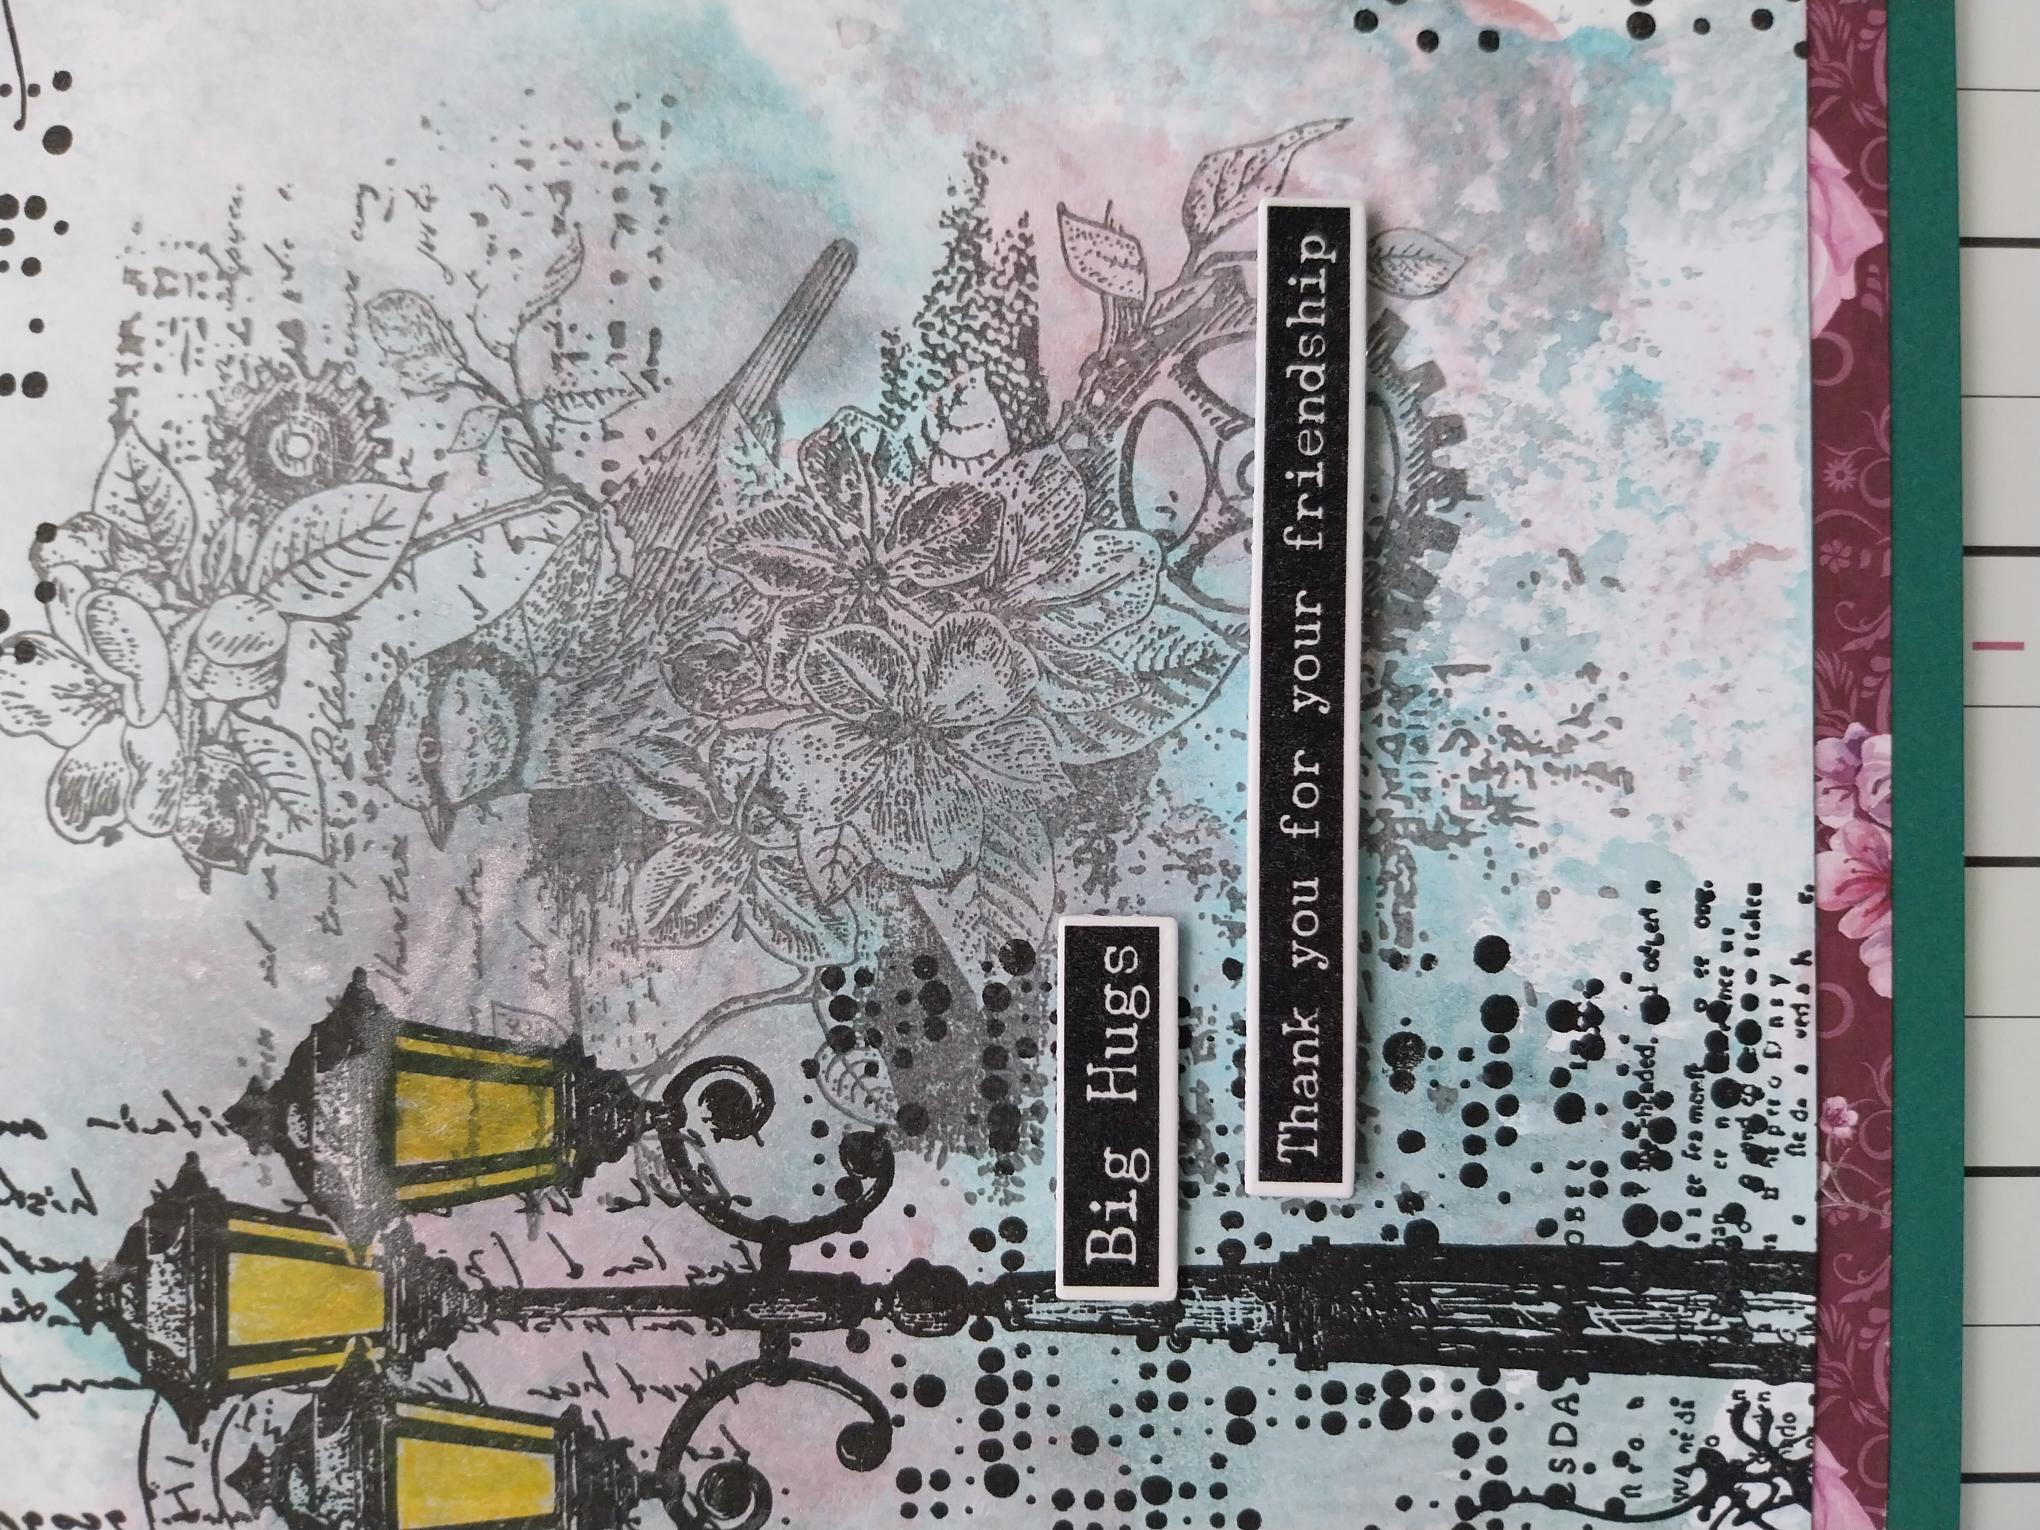
Ink up the Time to Breathe image, with the Smokey Grey Versafine and stamp just to the right of your inky background. |
|
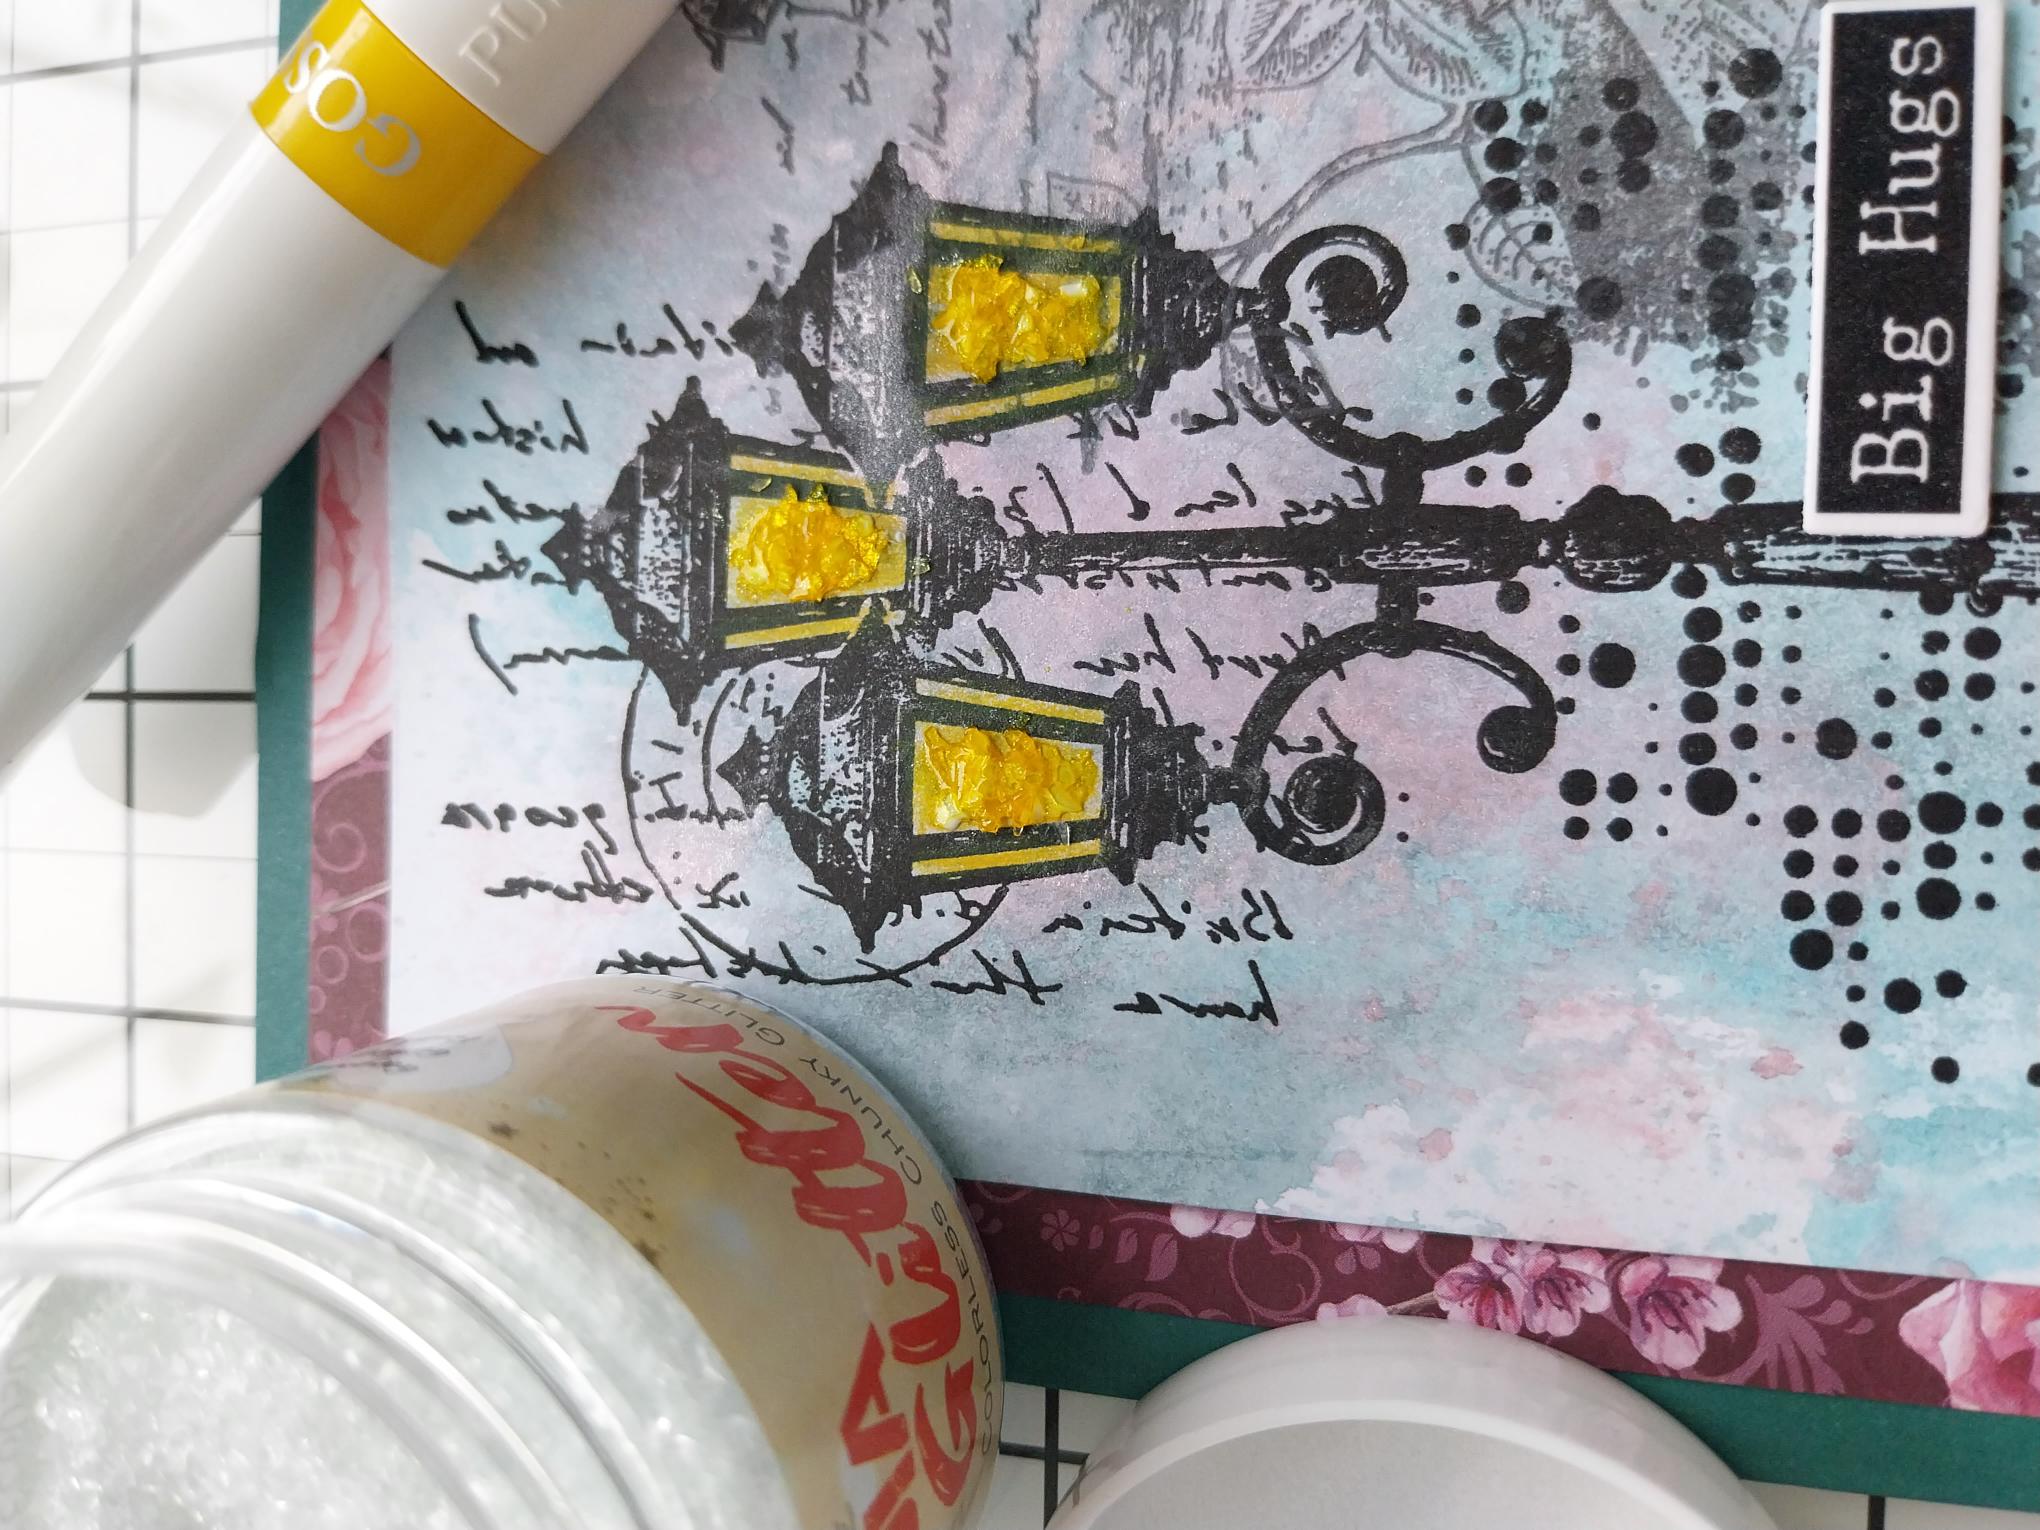
Ink up and stamp the lamp post, with the Midnight ink, to the left of the stamped artwork. |
|
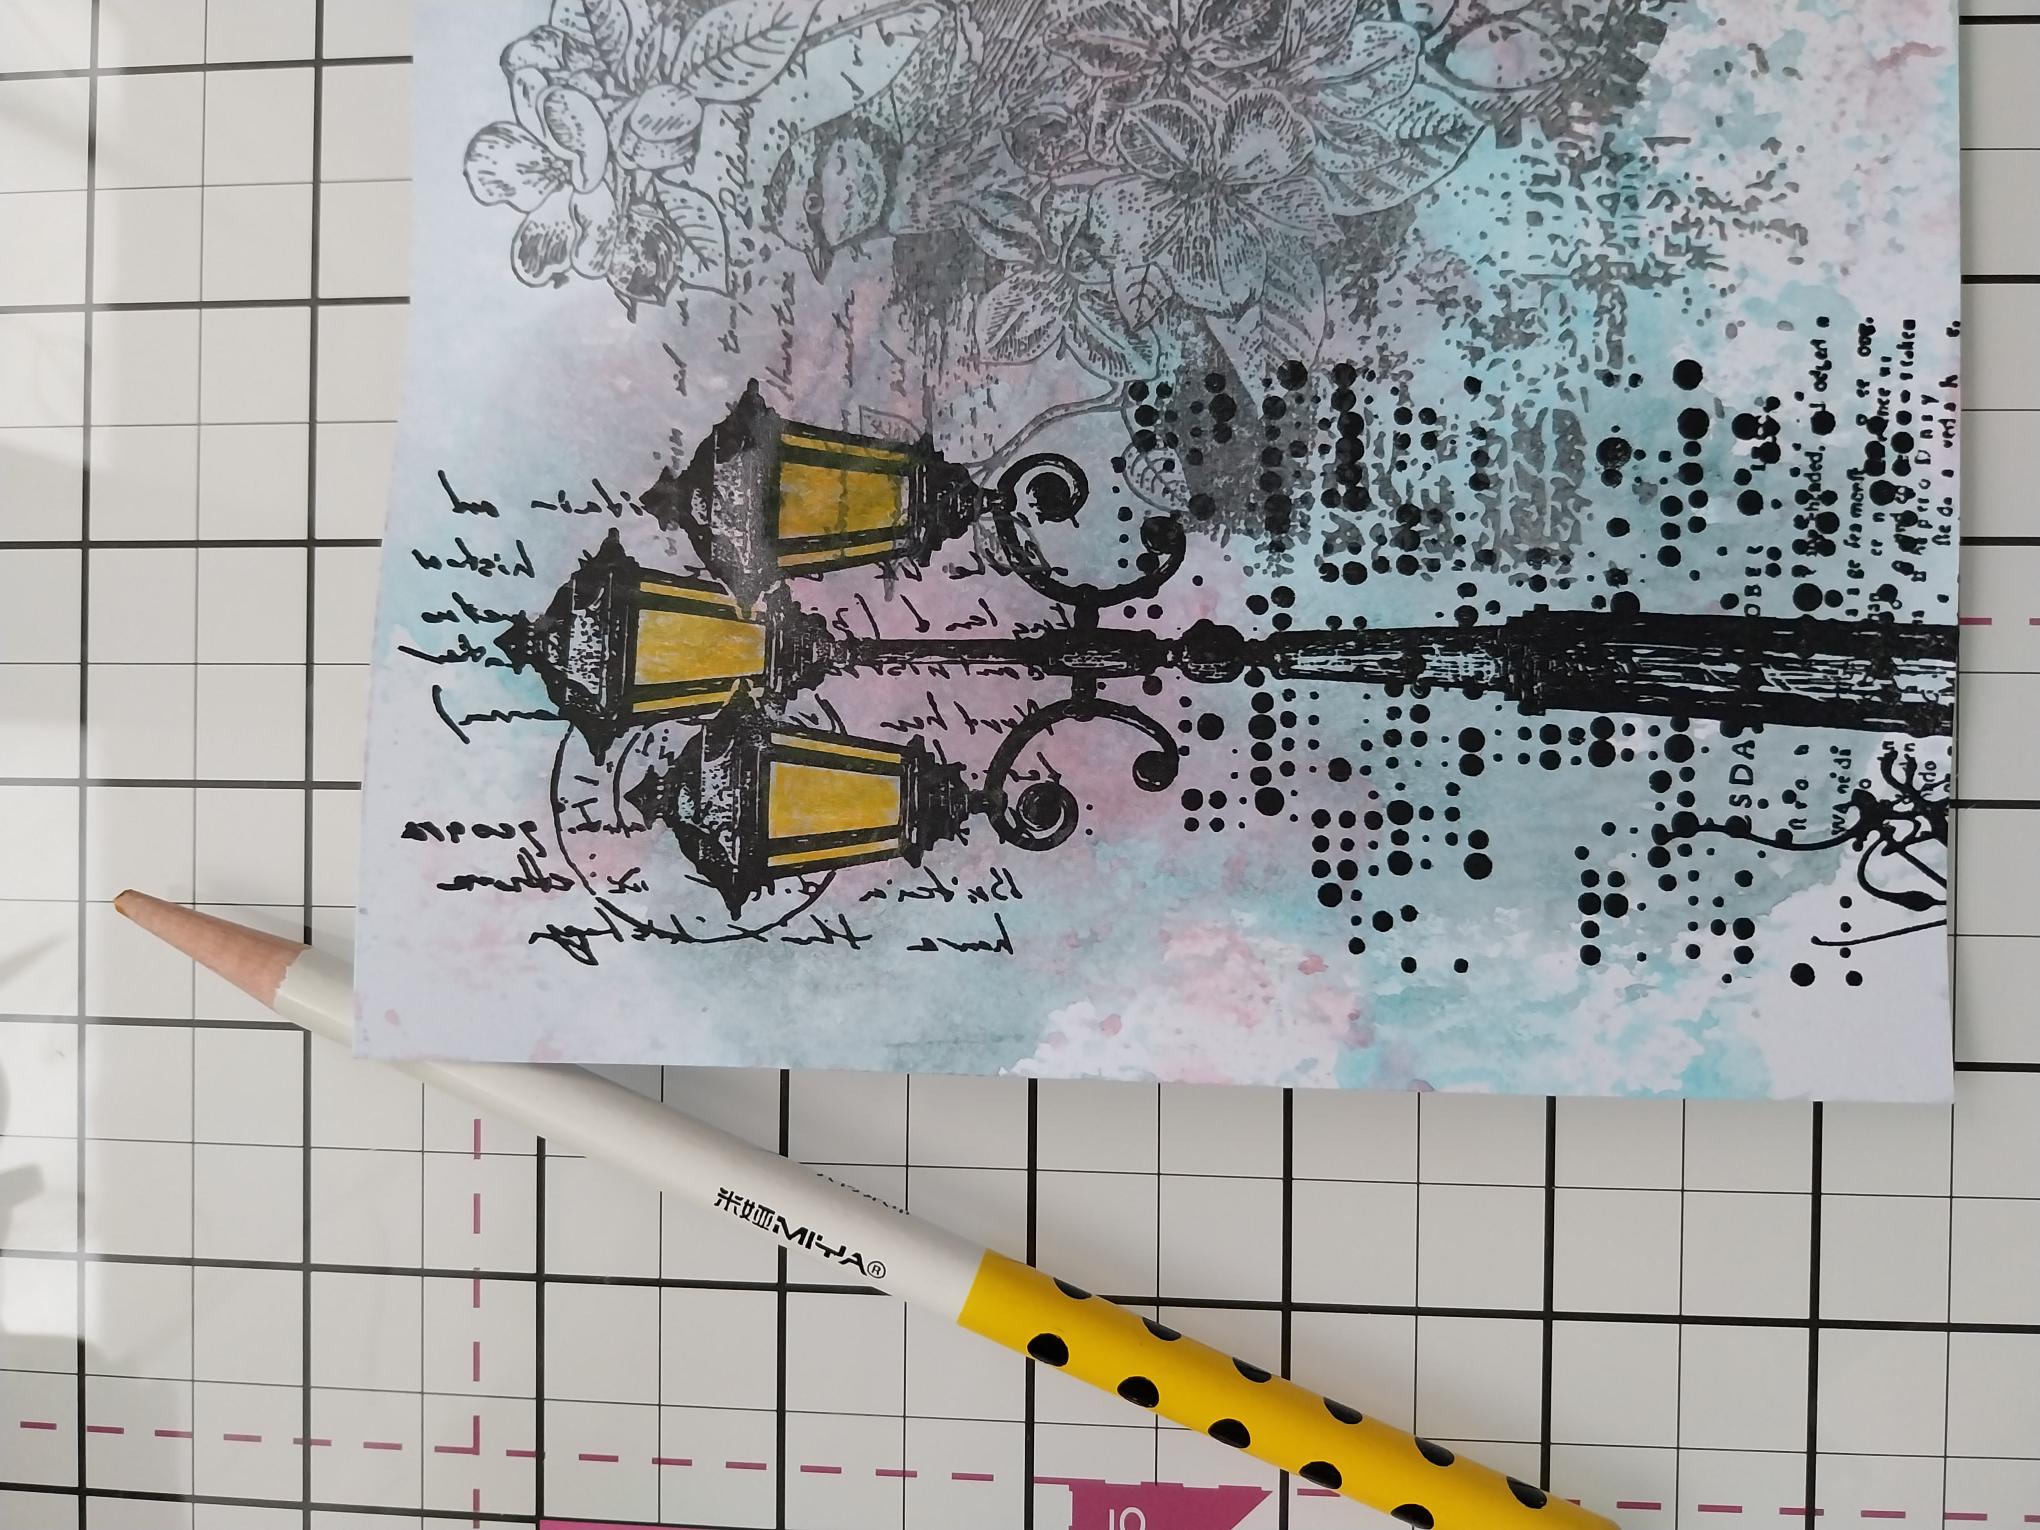
Use your HIMI oil pencil to add colour to the "lights". |
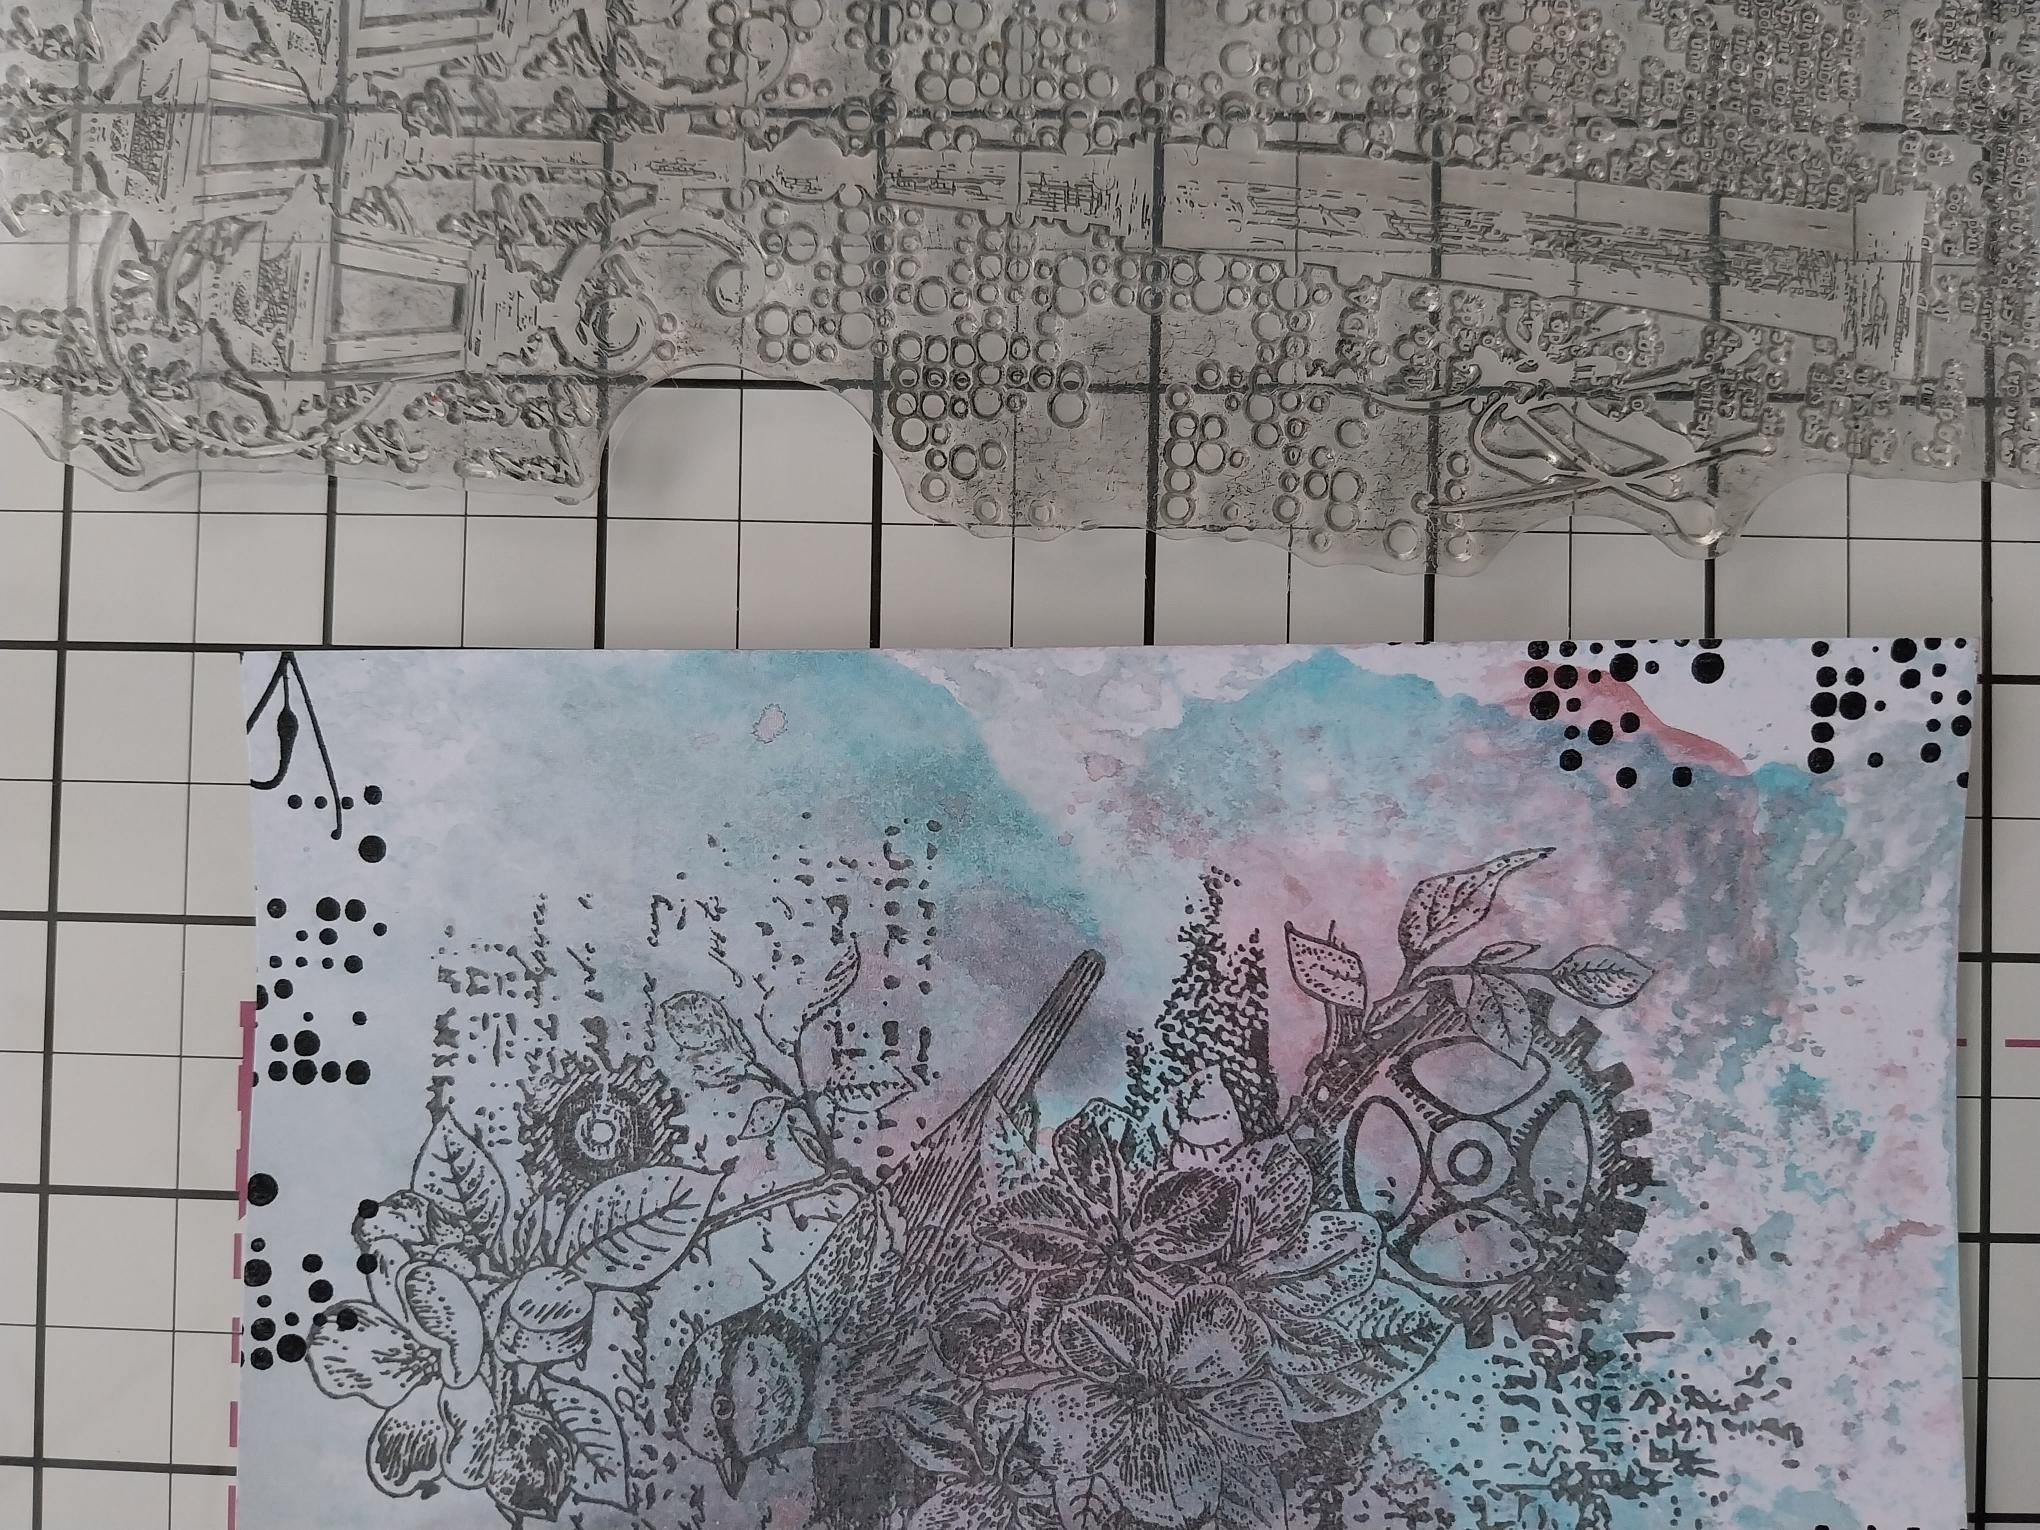
|
Randomly stamp the textured areas of the image, in Midnight, around your artwork. |
|
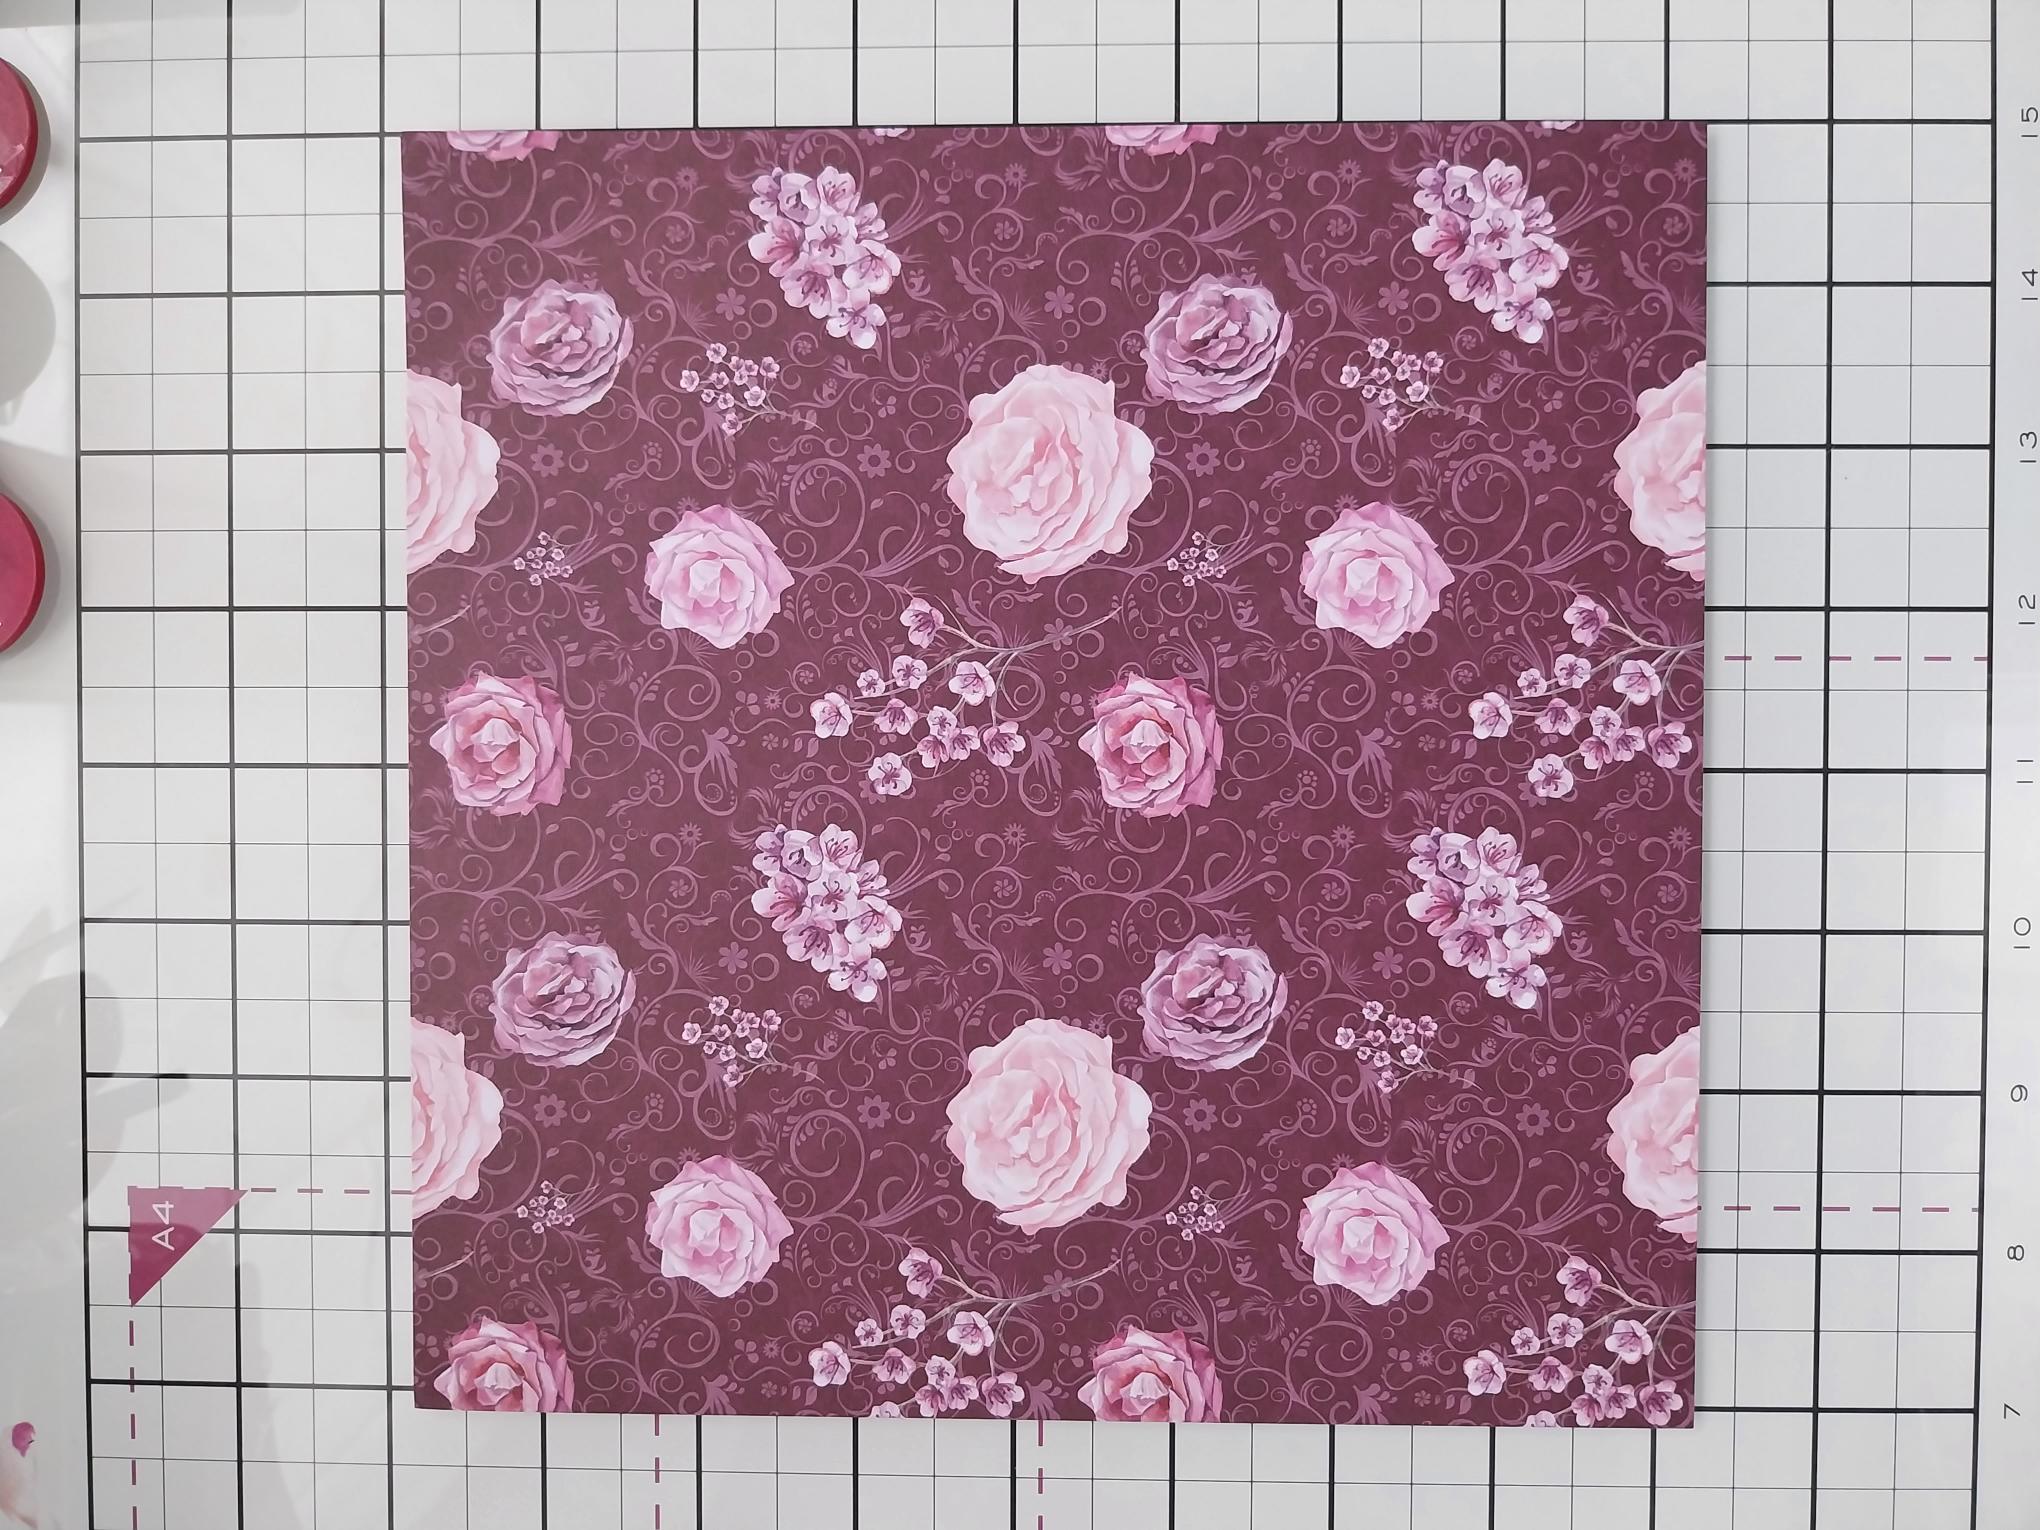
Trim this decorative paper, from the Magical Elegance paper pack, to 6 1/2" square. |
|
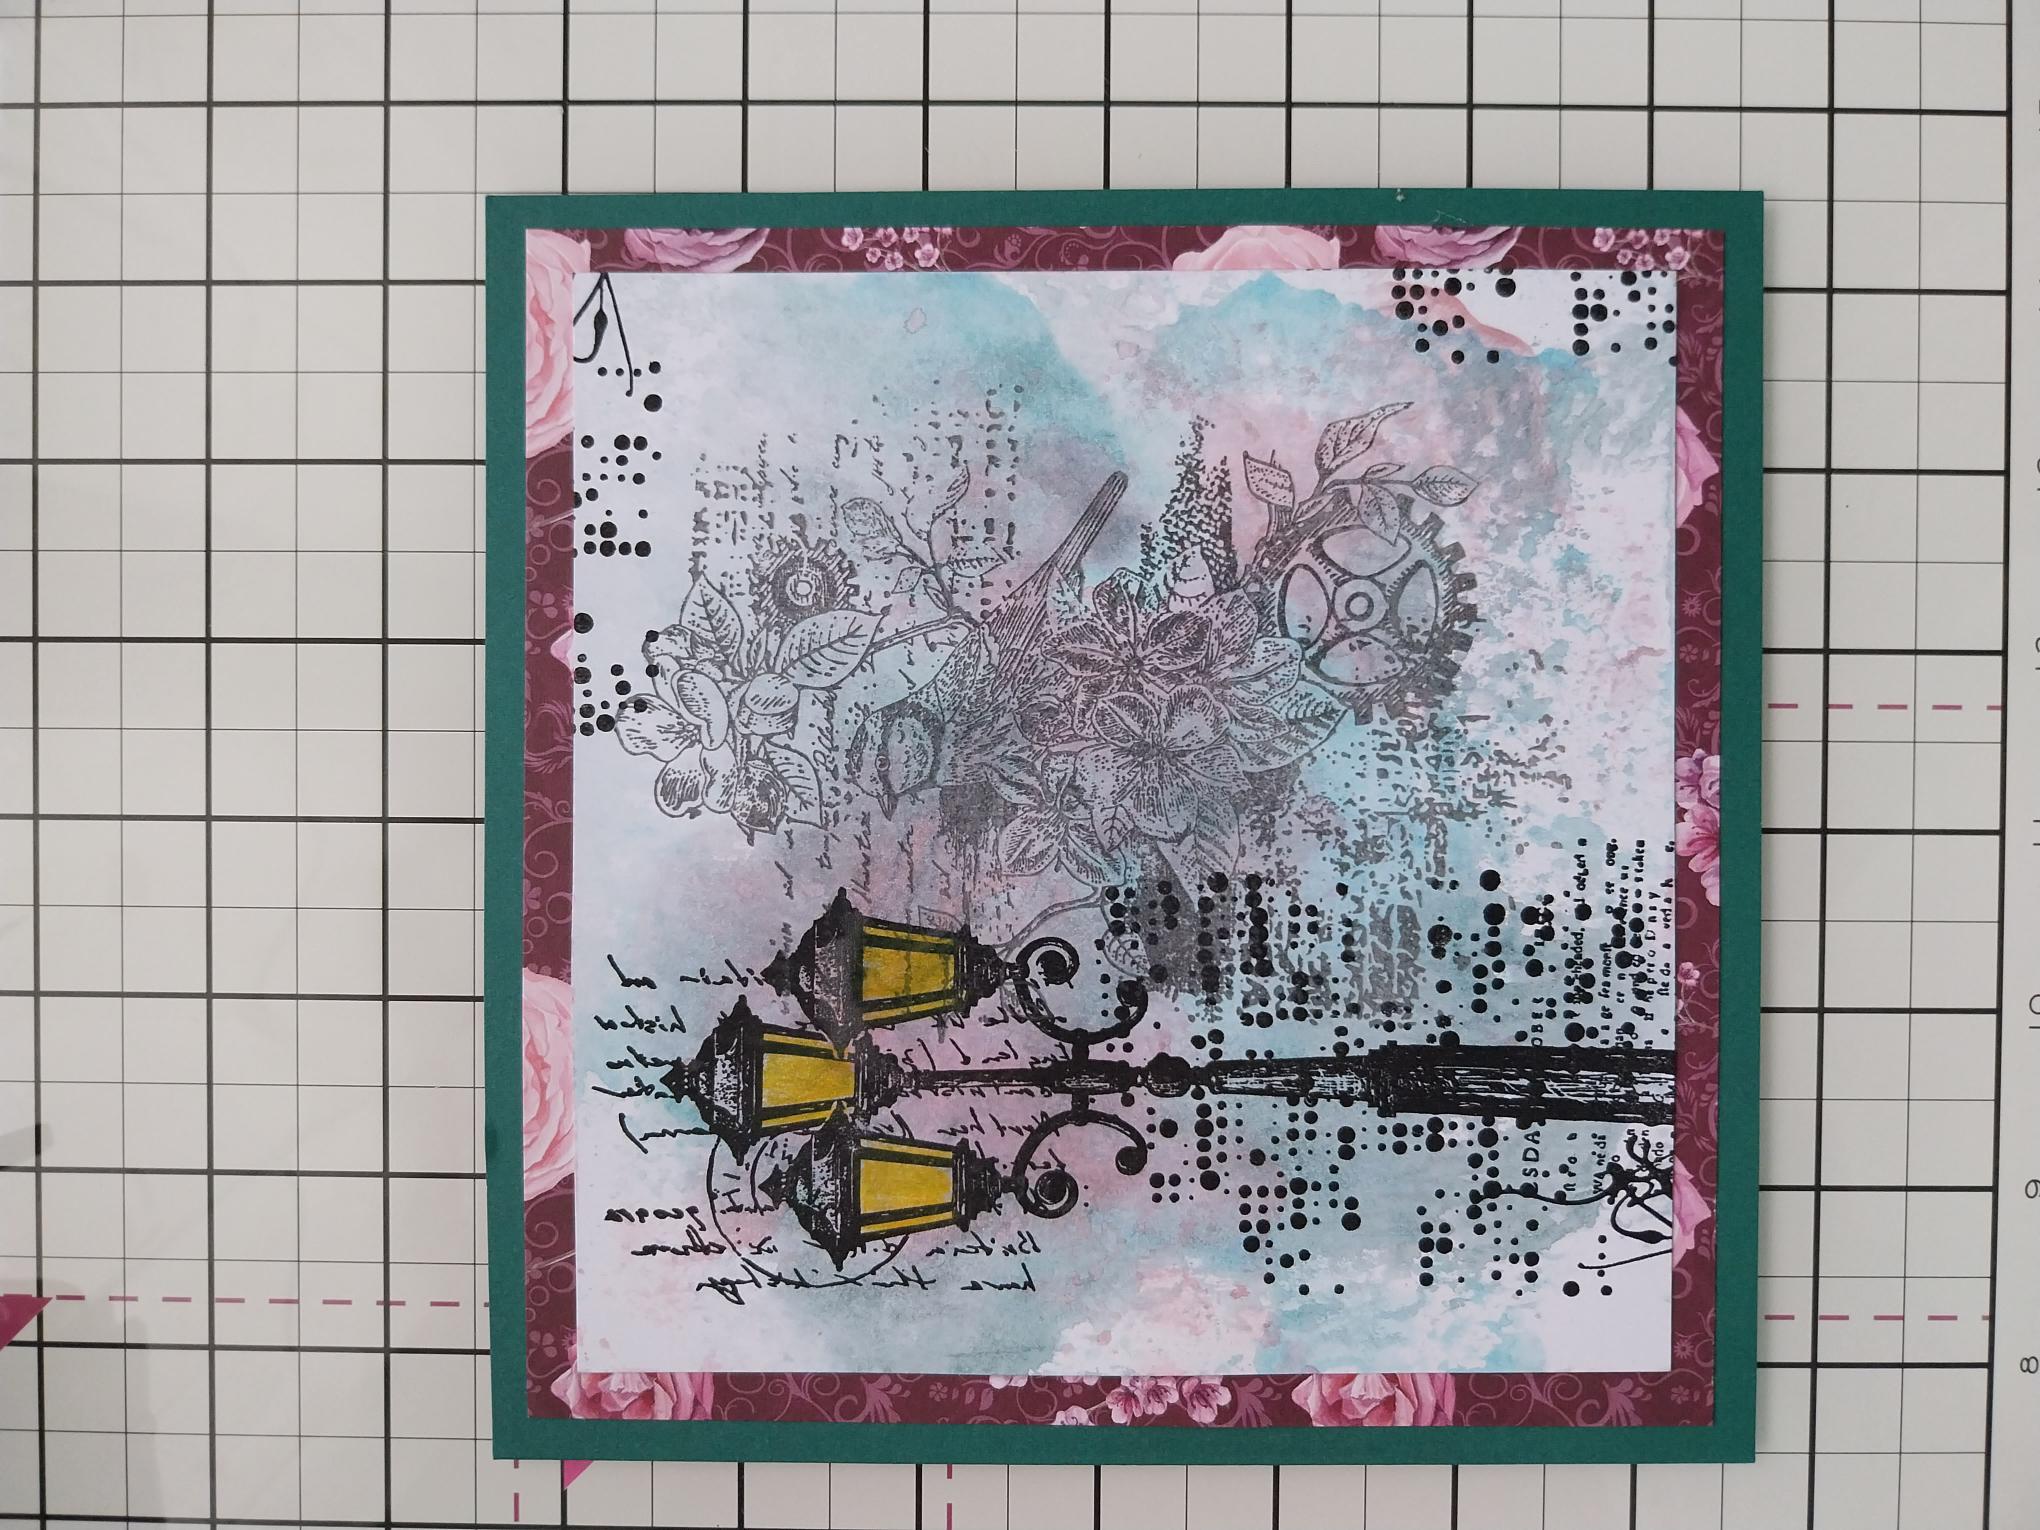
Mat your artwork on to the decorative paper and then on to your teal card blank. Pop to one side. |
|
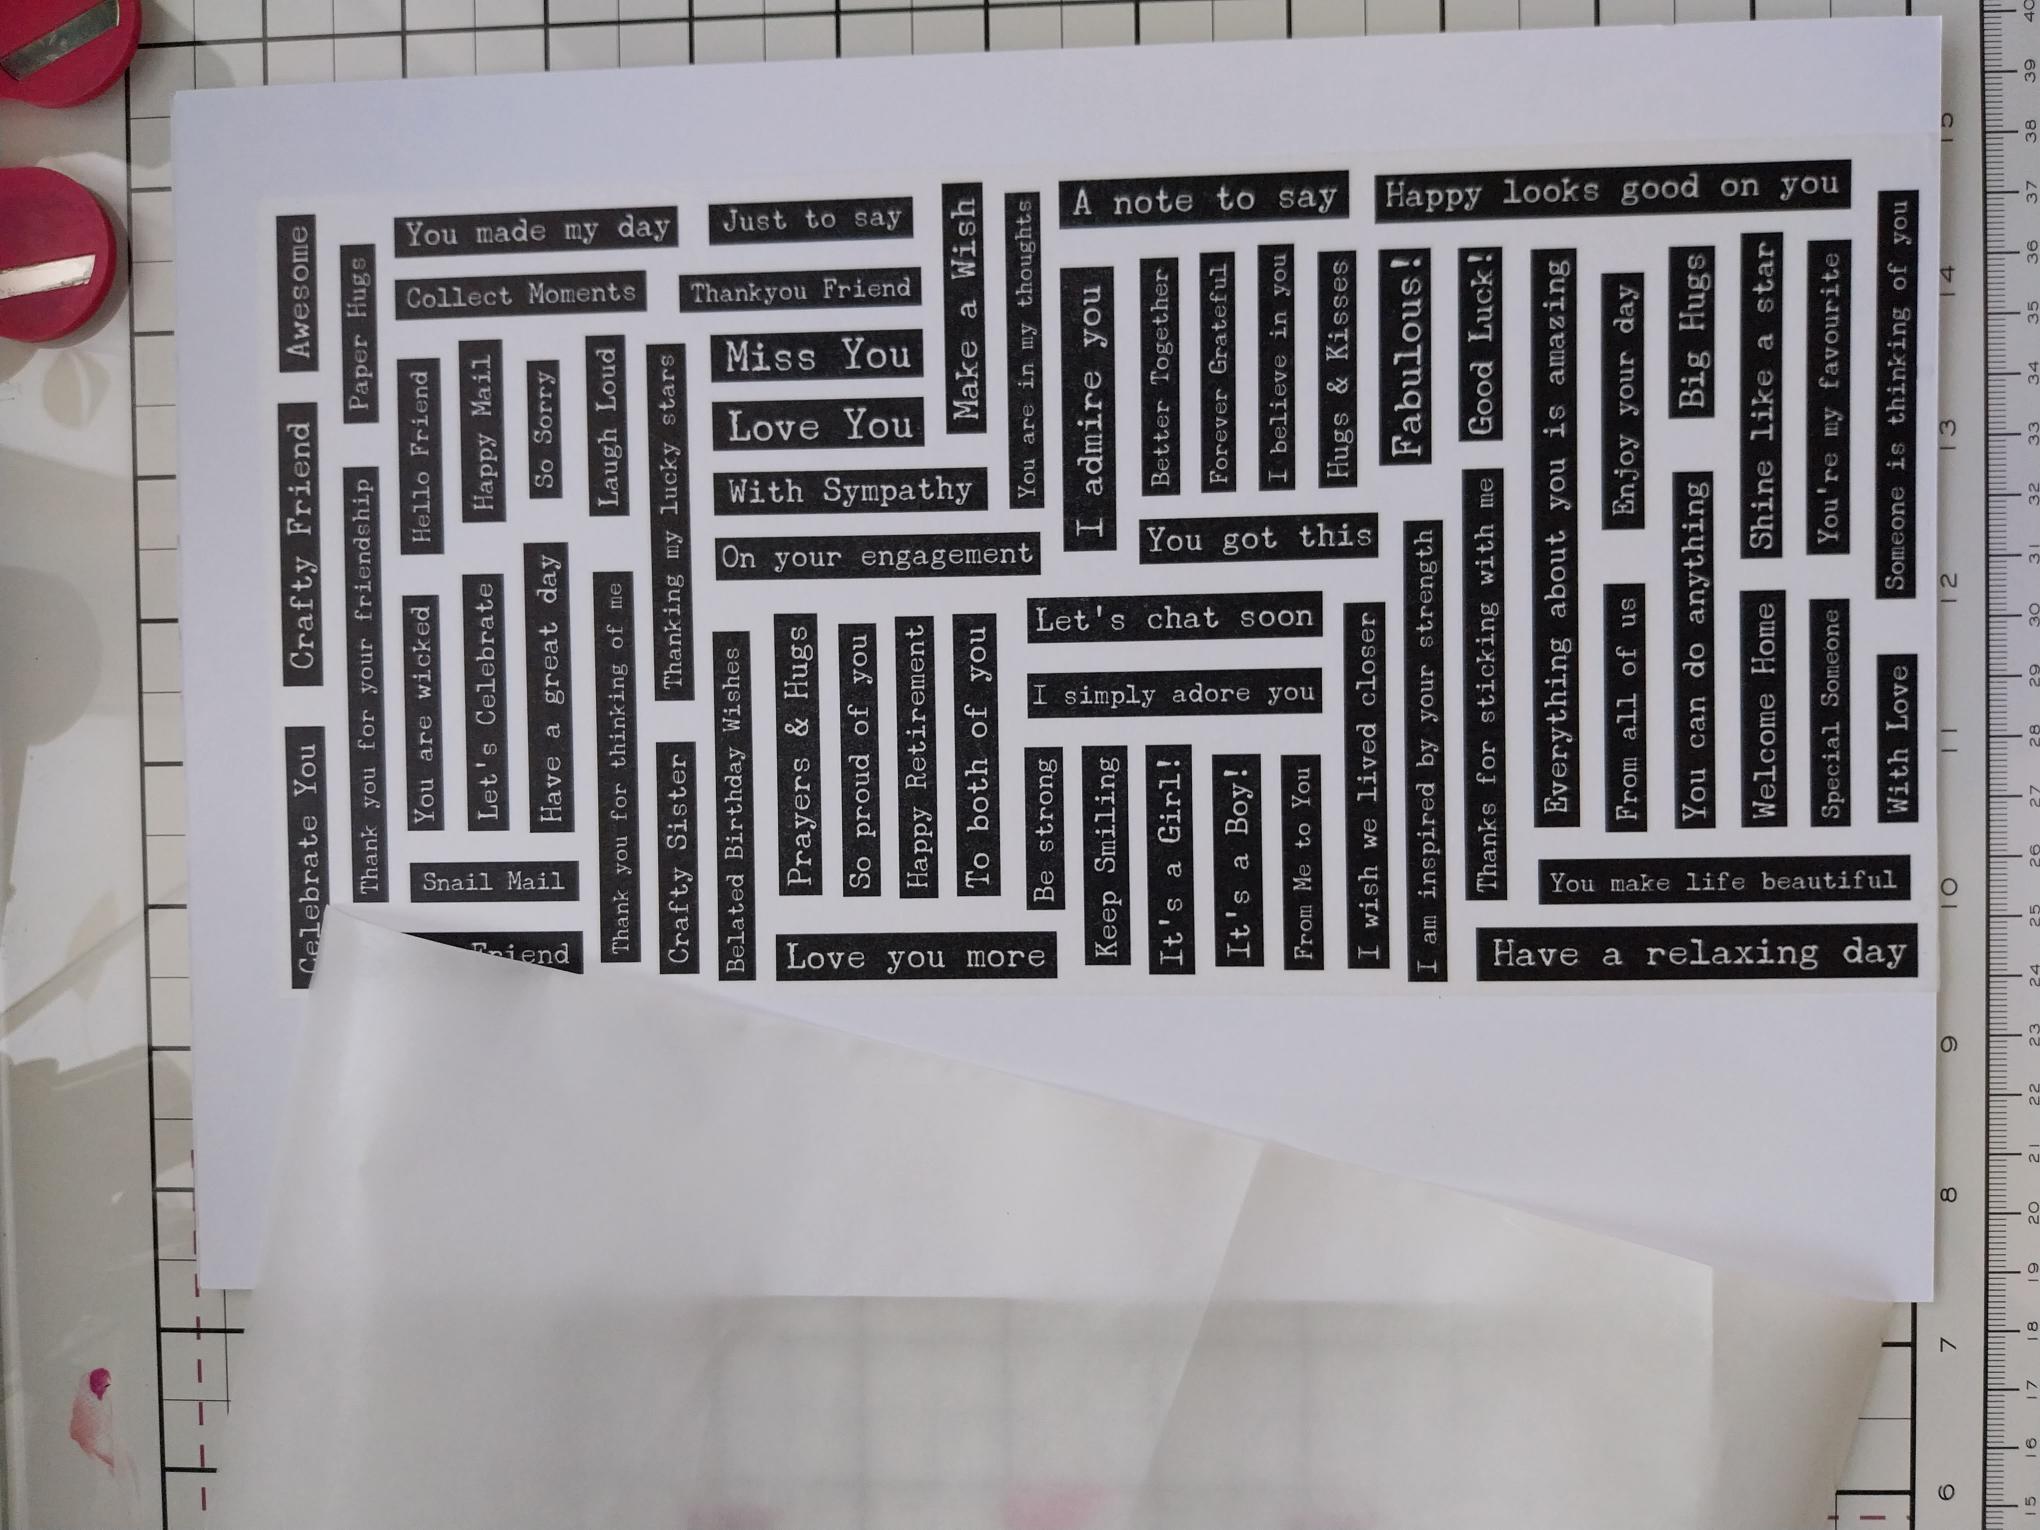
Using the dies as a guide, cut ONE drop from the typewriter washi roll. Lift up the backing sheet along one end of the tape and adhere across the top of an A4 sheet of white card. Slowly peel away the backing, as you use your hand to smooth the washi tape down on to the card. Once the backing has been fully removed, you can burnish the washi to ensure there are no air bubbles or creases. |
|
Line up the first die and run it through your machine. |
|
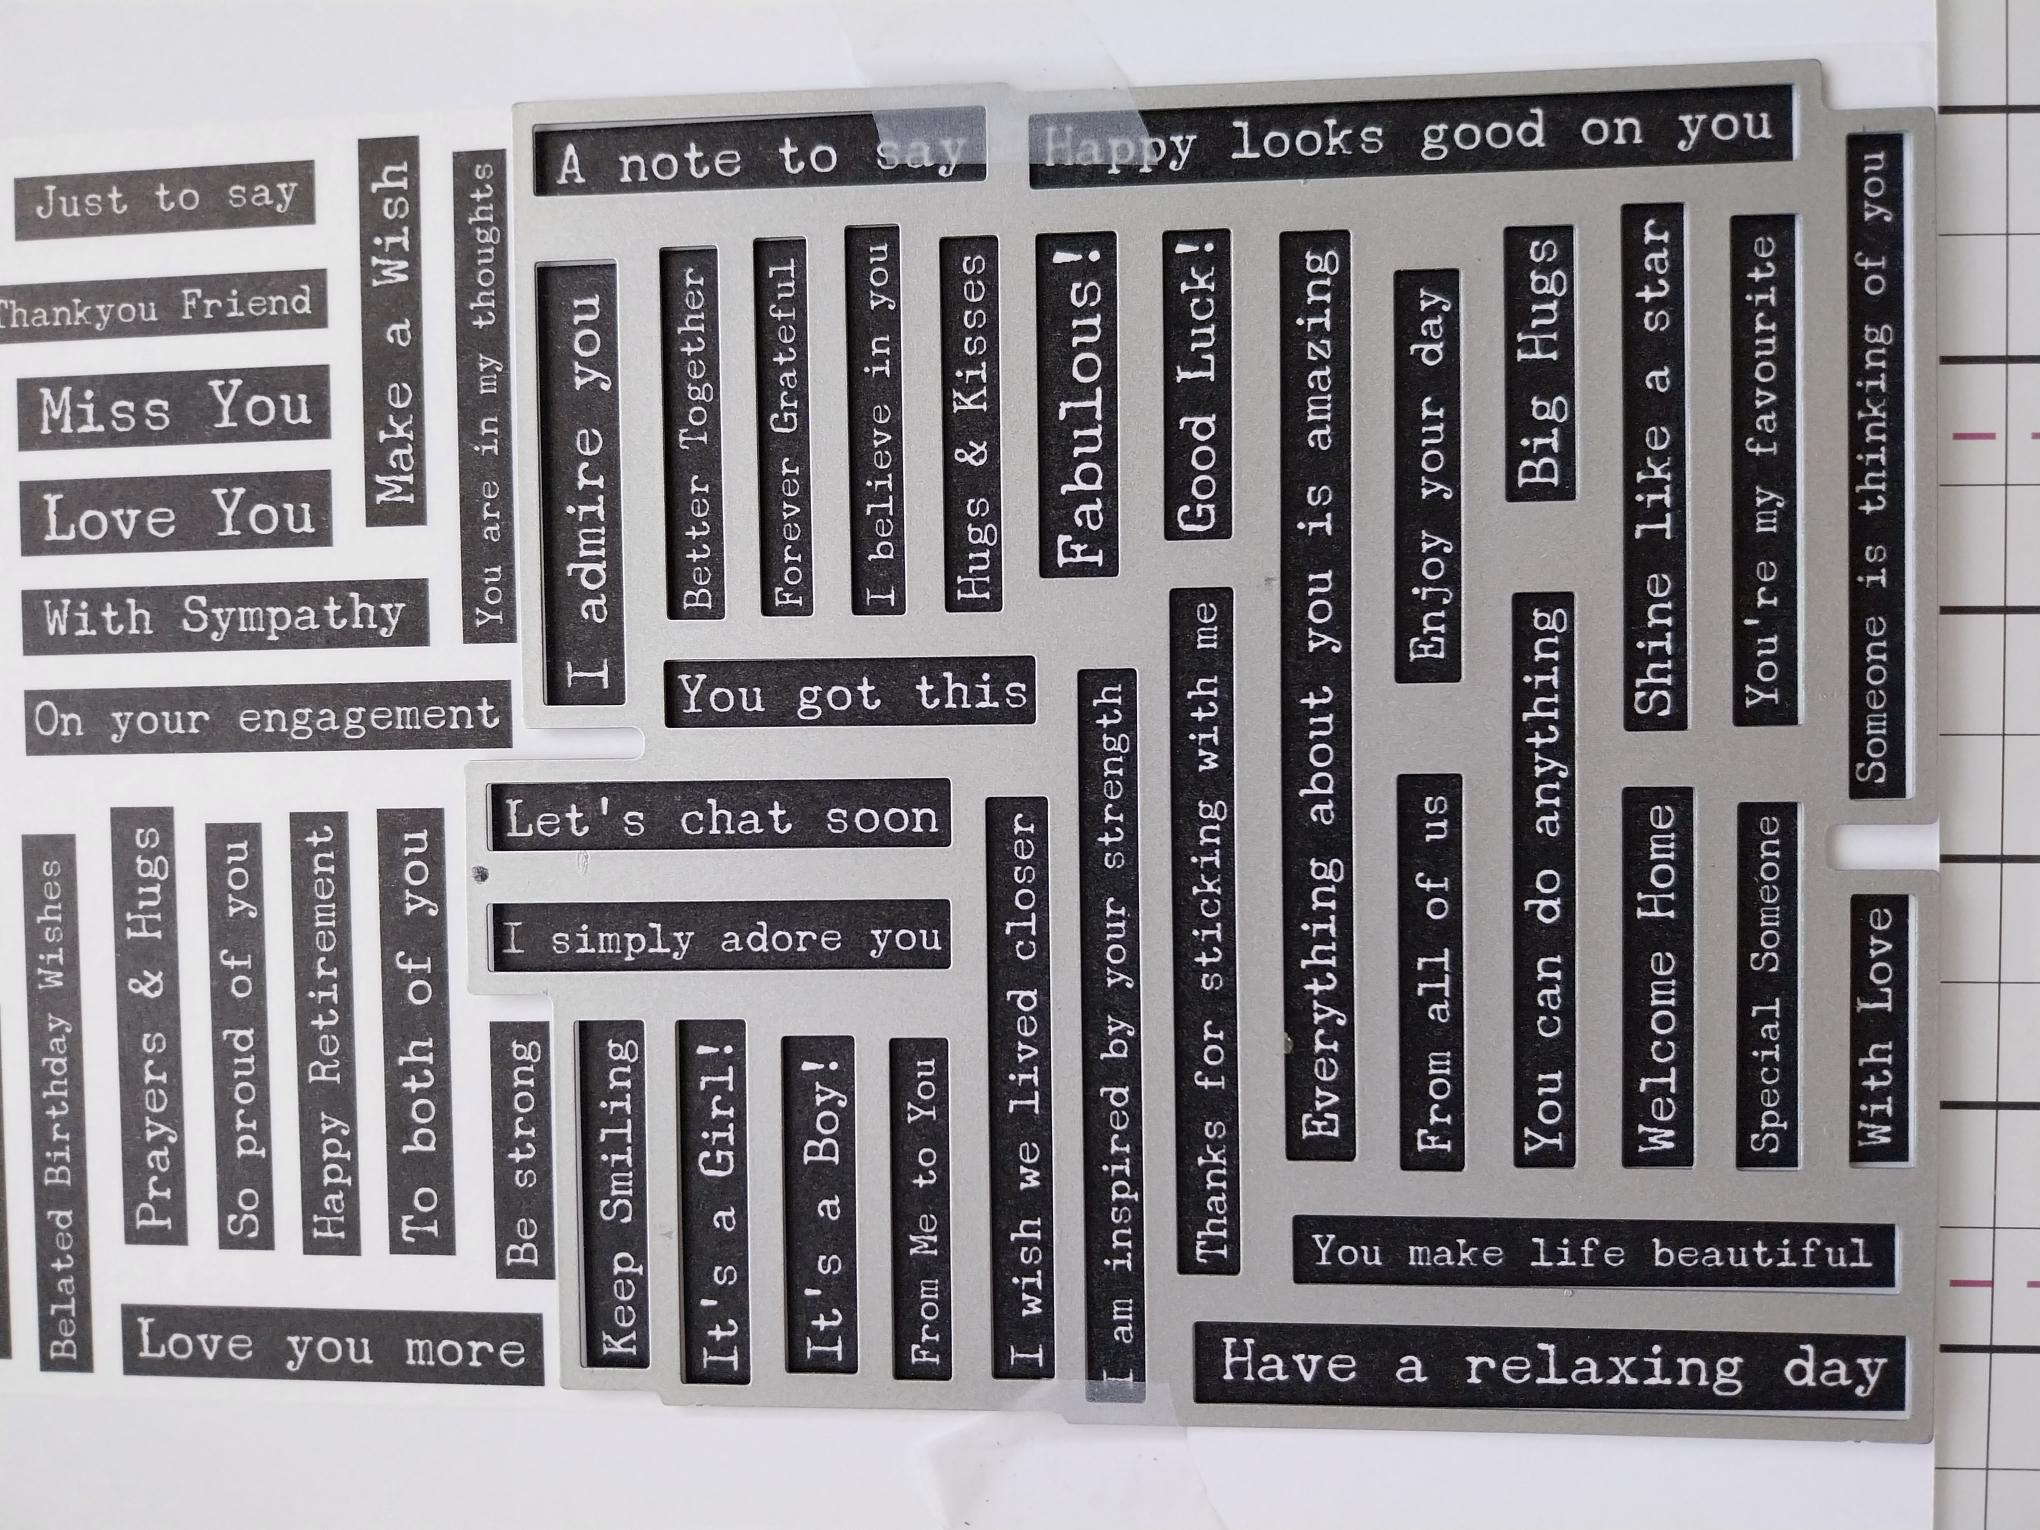
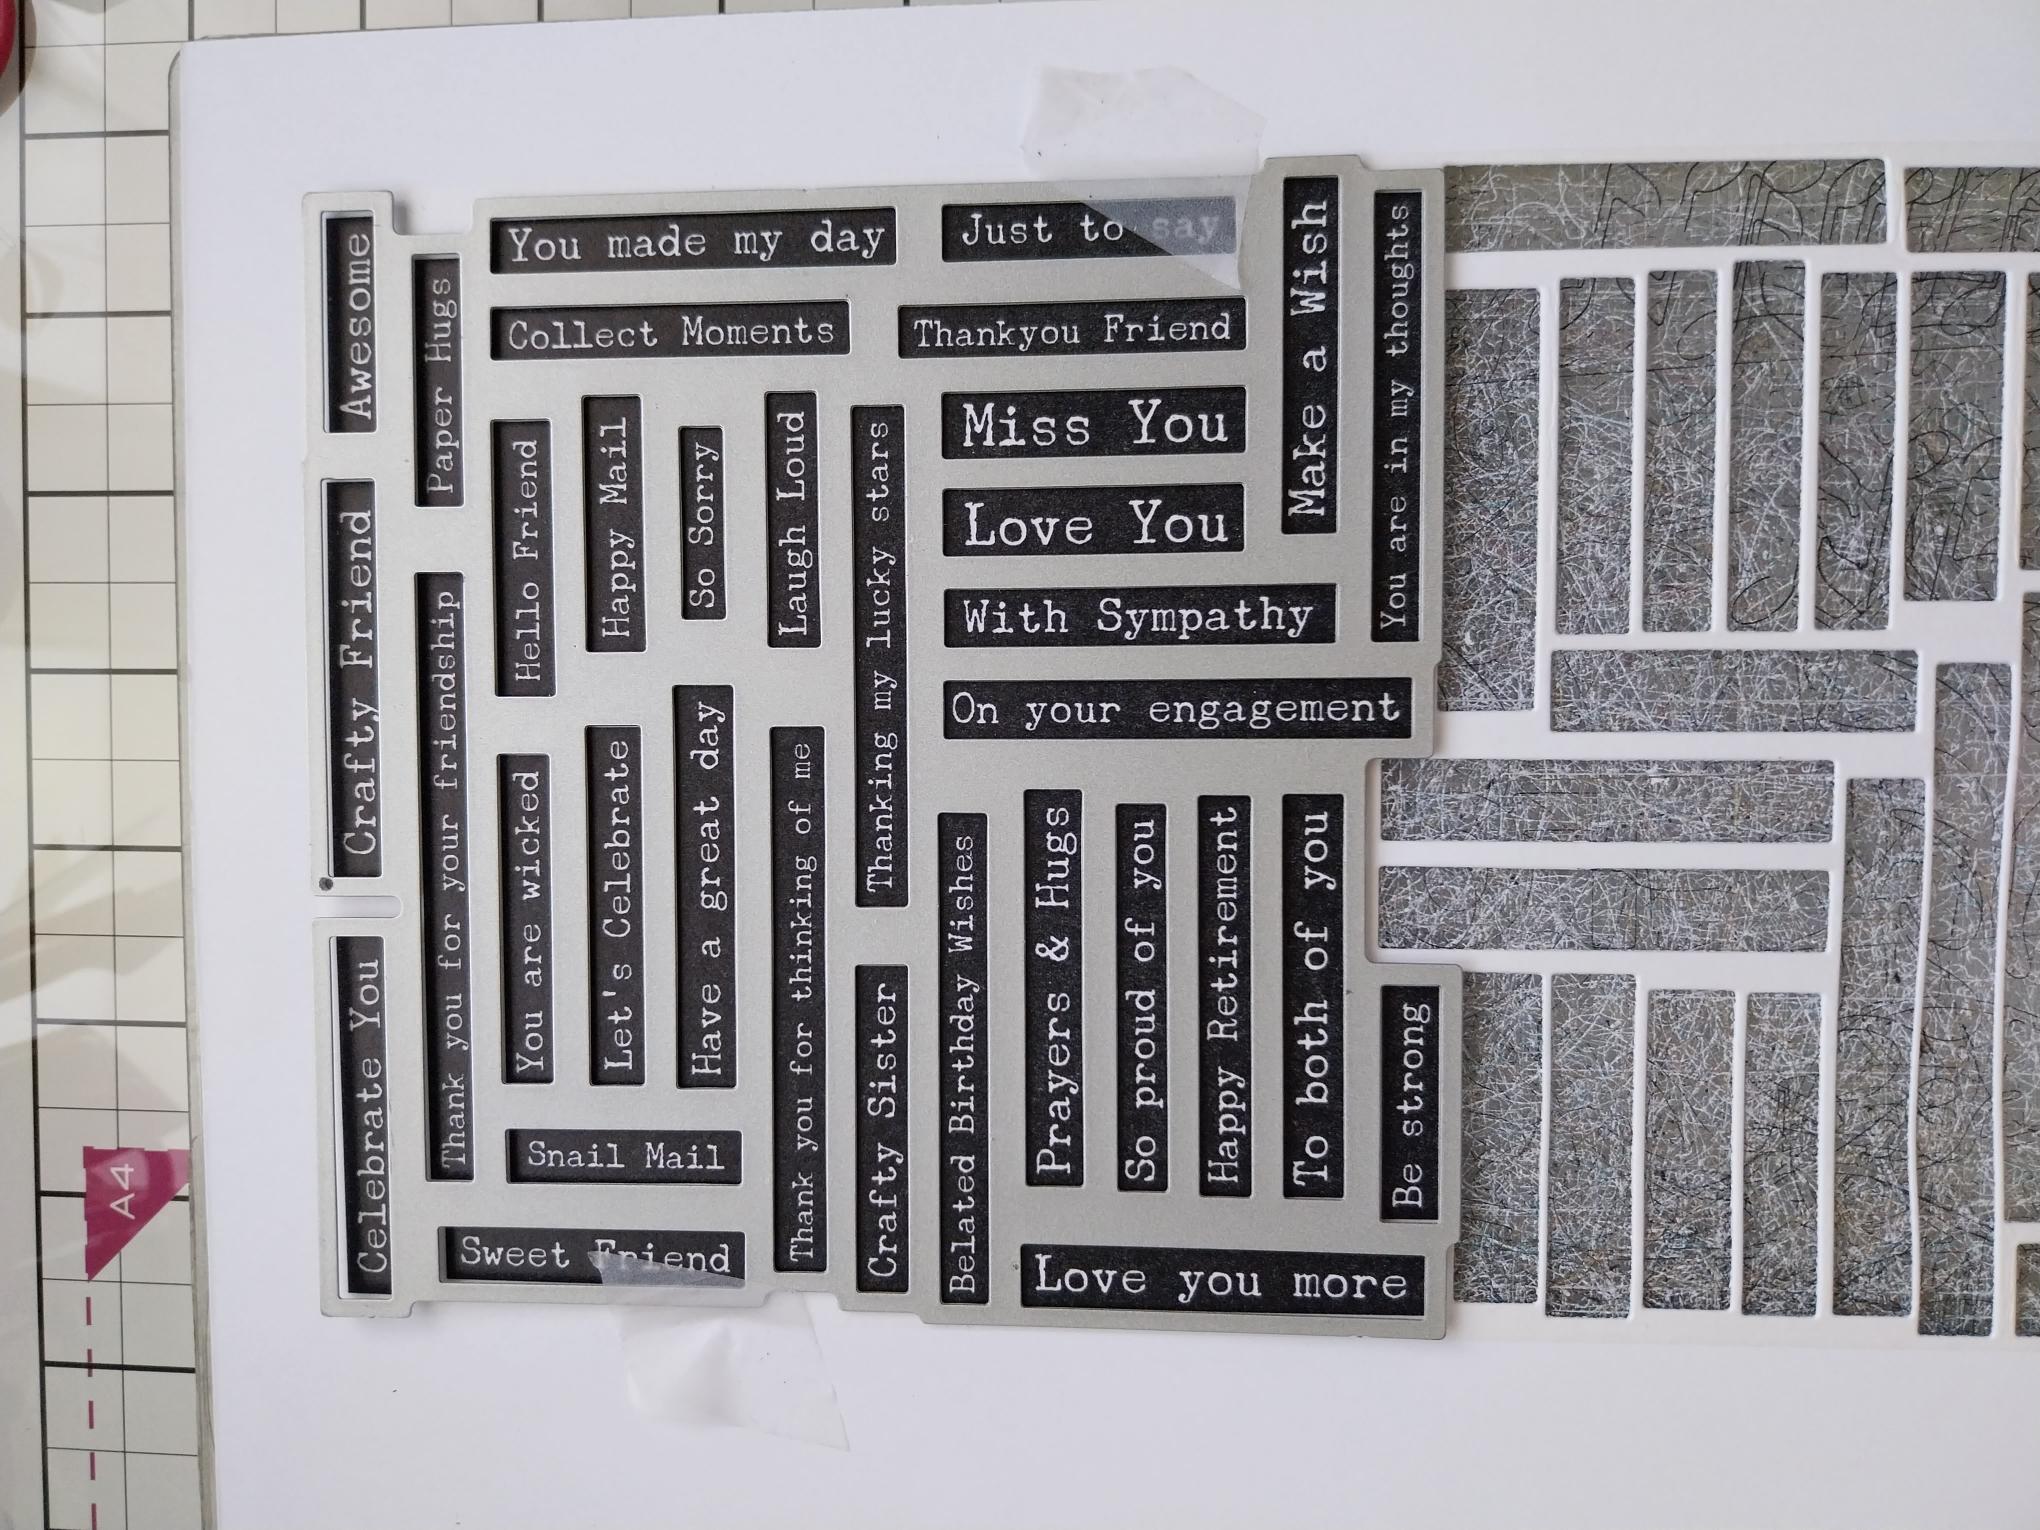
Line up the second die and run it through your machine. Pop out all the sentiments, pick out the one you are using for this project and keep the rest in a tub for future projects. |
|
Adhere your sentiments, with foam pads, to the right of the lamp post. |
|
Adhere the chunky media glitter on the lights and add a little of the yellow sparkle ink to the glitter, to finish your project. |