Give your friends $10 off their first order!
Refer a FRIEND


WHAT YOU WILL NEED:
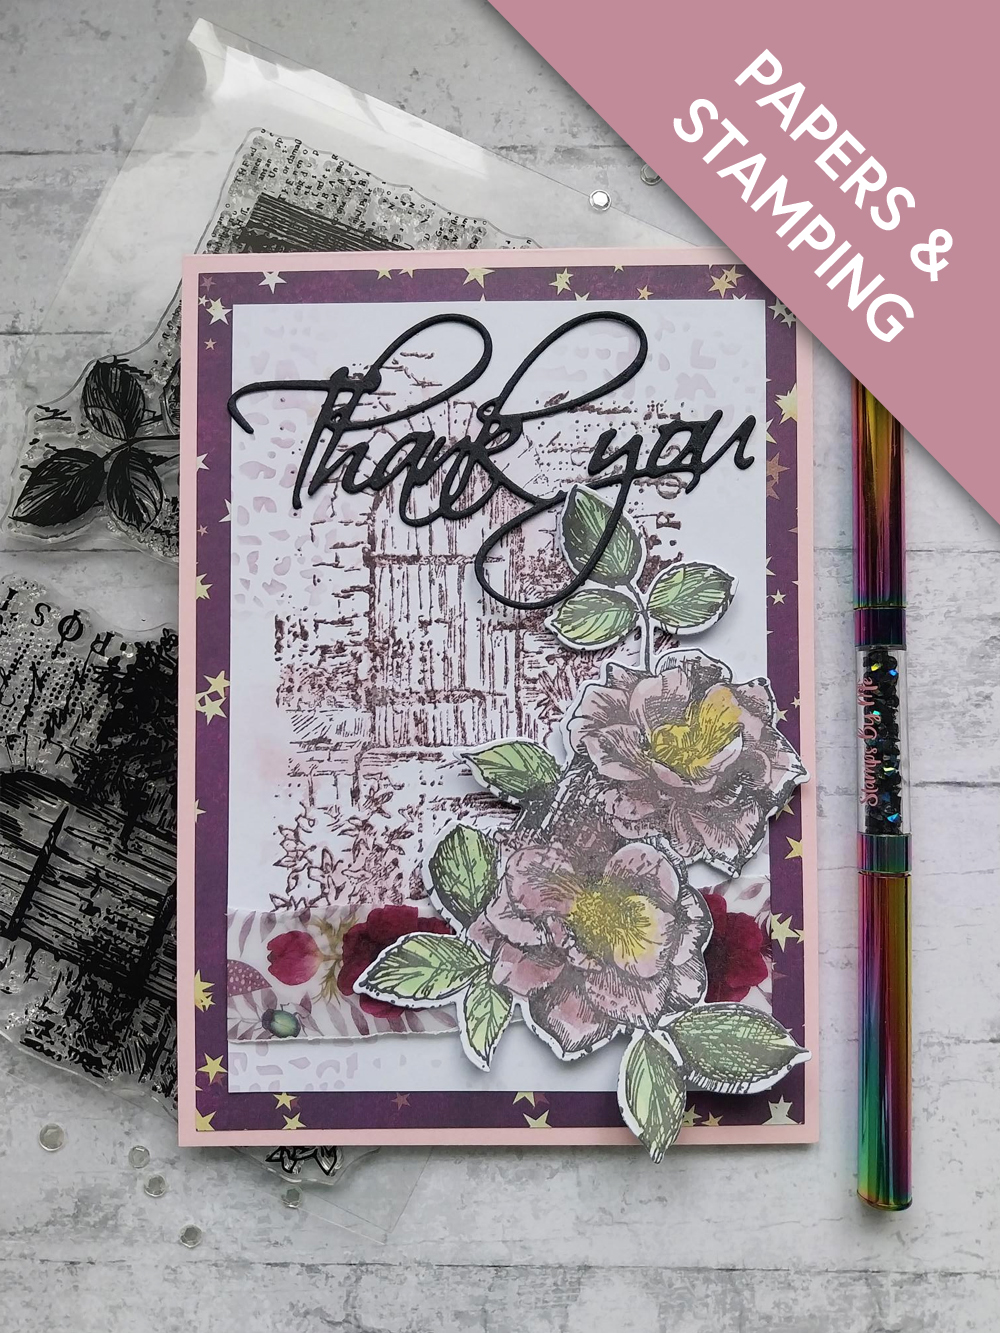
Pink card blank 5 x 7"
White/black cardstock
Happy Place Stamp And Die Set
Ruby Blooms 5 x 7" Vellum Pack
Imala Grunge Texture Stencil
Happy Haunting Reflection Collection Papers
Versafine Ink Pad: Smokey Grey
SBM Premium Dye Ink Pad: Heather, Limeade, Hedgerow
Distress Oxide Ink Pad: Fossilized Amber
Paint brush
Water spray bottle
Eureka 101 Watercolour Tablet
SBM A3 Magnetic glass mat
Paper Trimmer
Glue/Foam Pads/Double-sided adhesive tape
Die Cutting machine
[click image to enlarge] 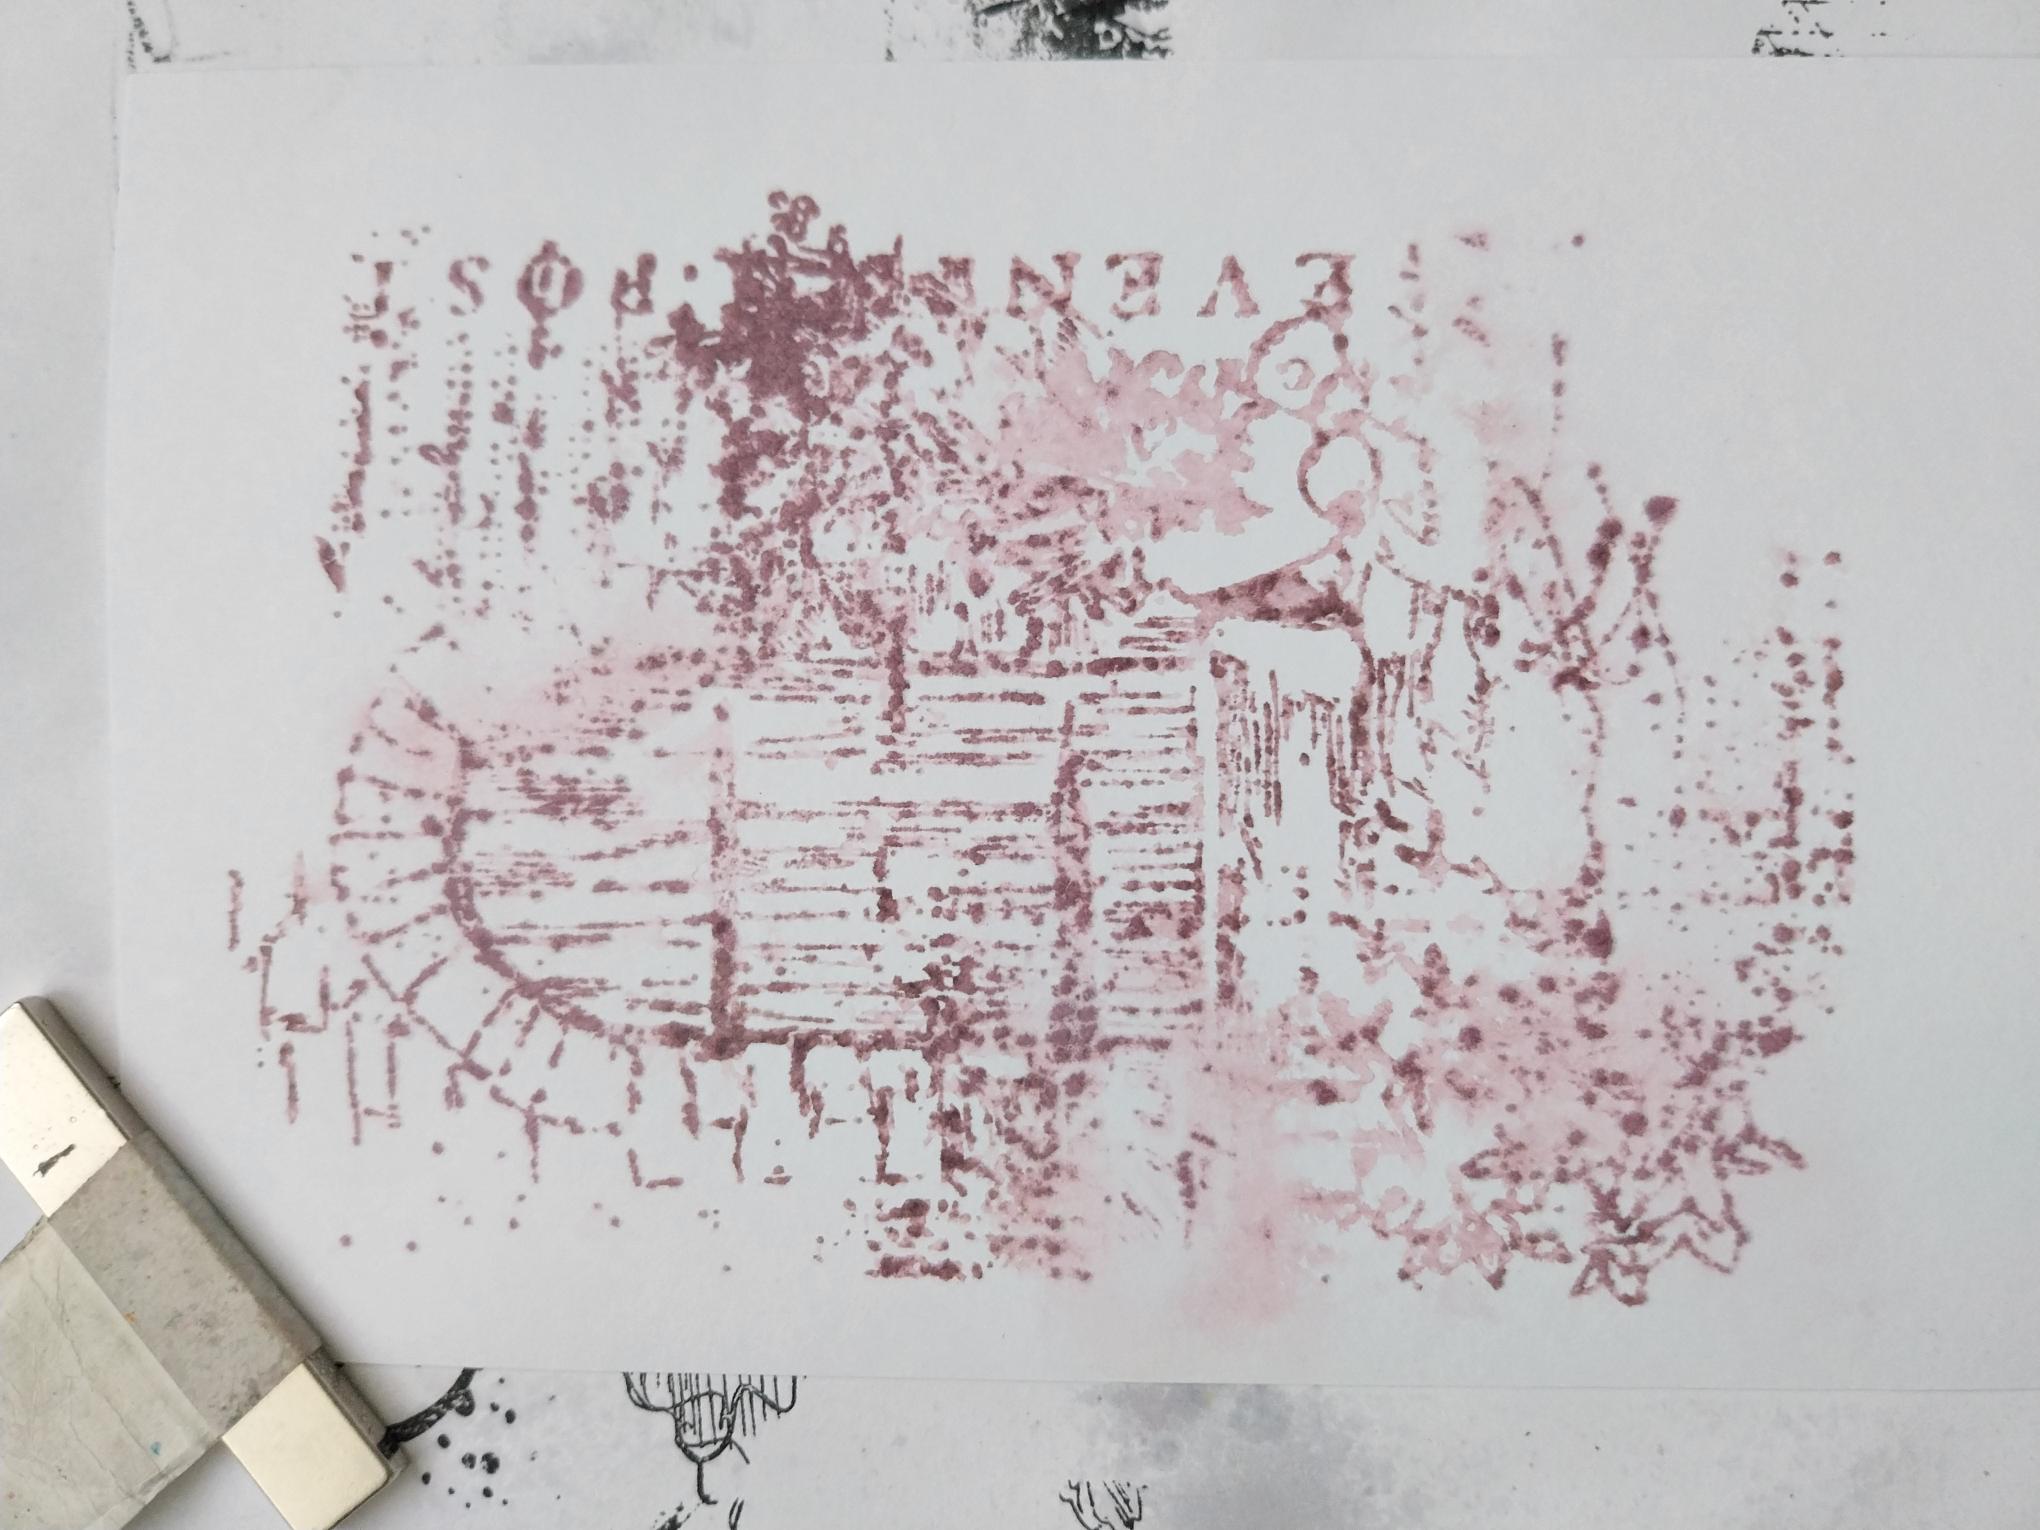
|
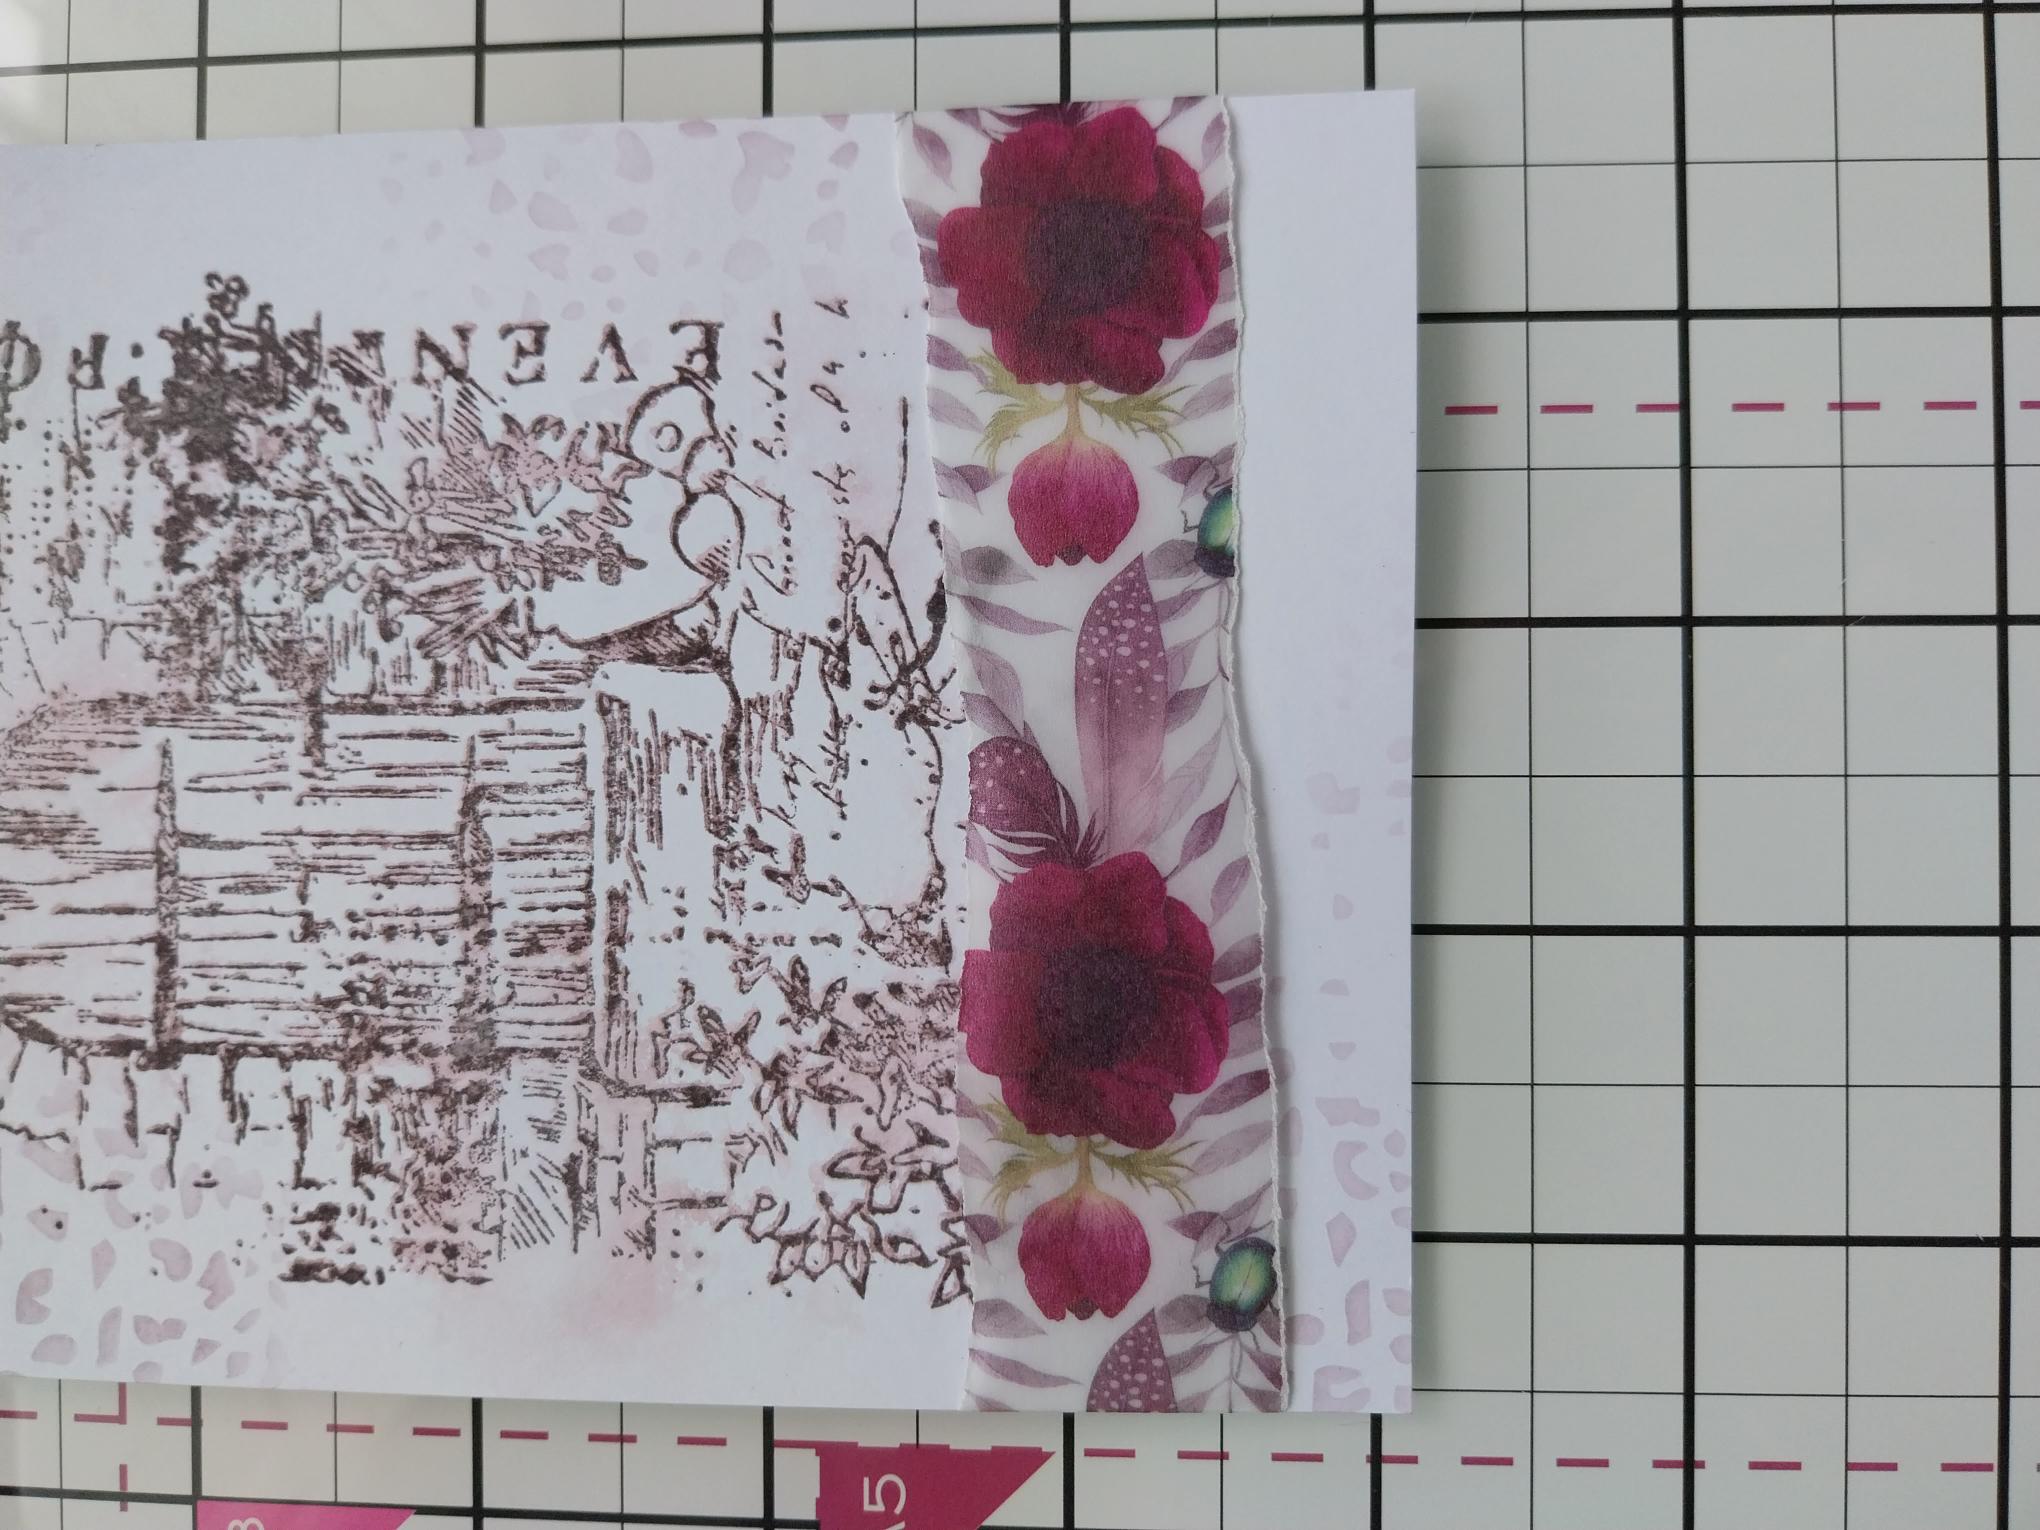
Cut white card to 6 1/4 x 4 1/4". Using your Eureka 101, ink up this beautiful stamp with Heather, spritz the stamp with water and stamp in the centre of the white card. DO NOT MOVE the stamp or card at this stage..... Spritz the stamped image with water and allow the ink to "bleed". Mop up any excess water and allow the ink to dry naturally or blast with a heat tool if you're impatient like me!! |
|
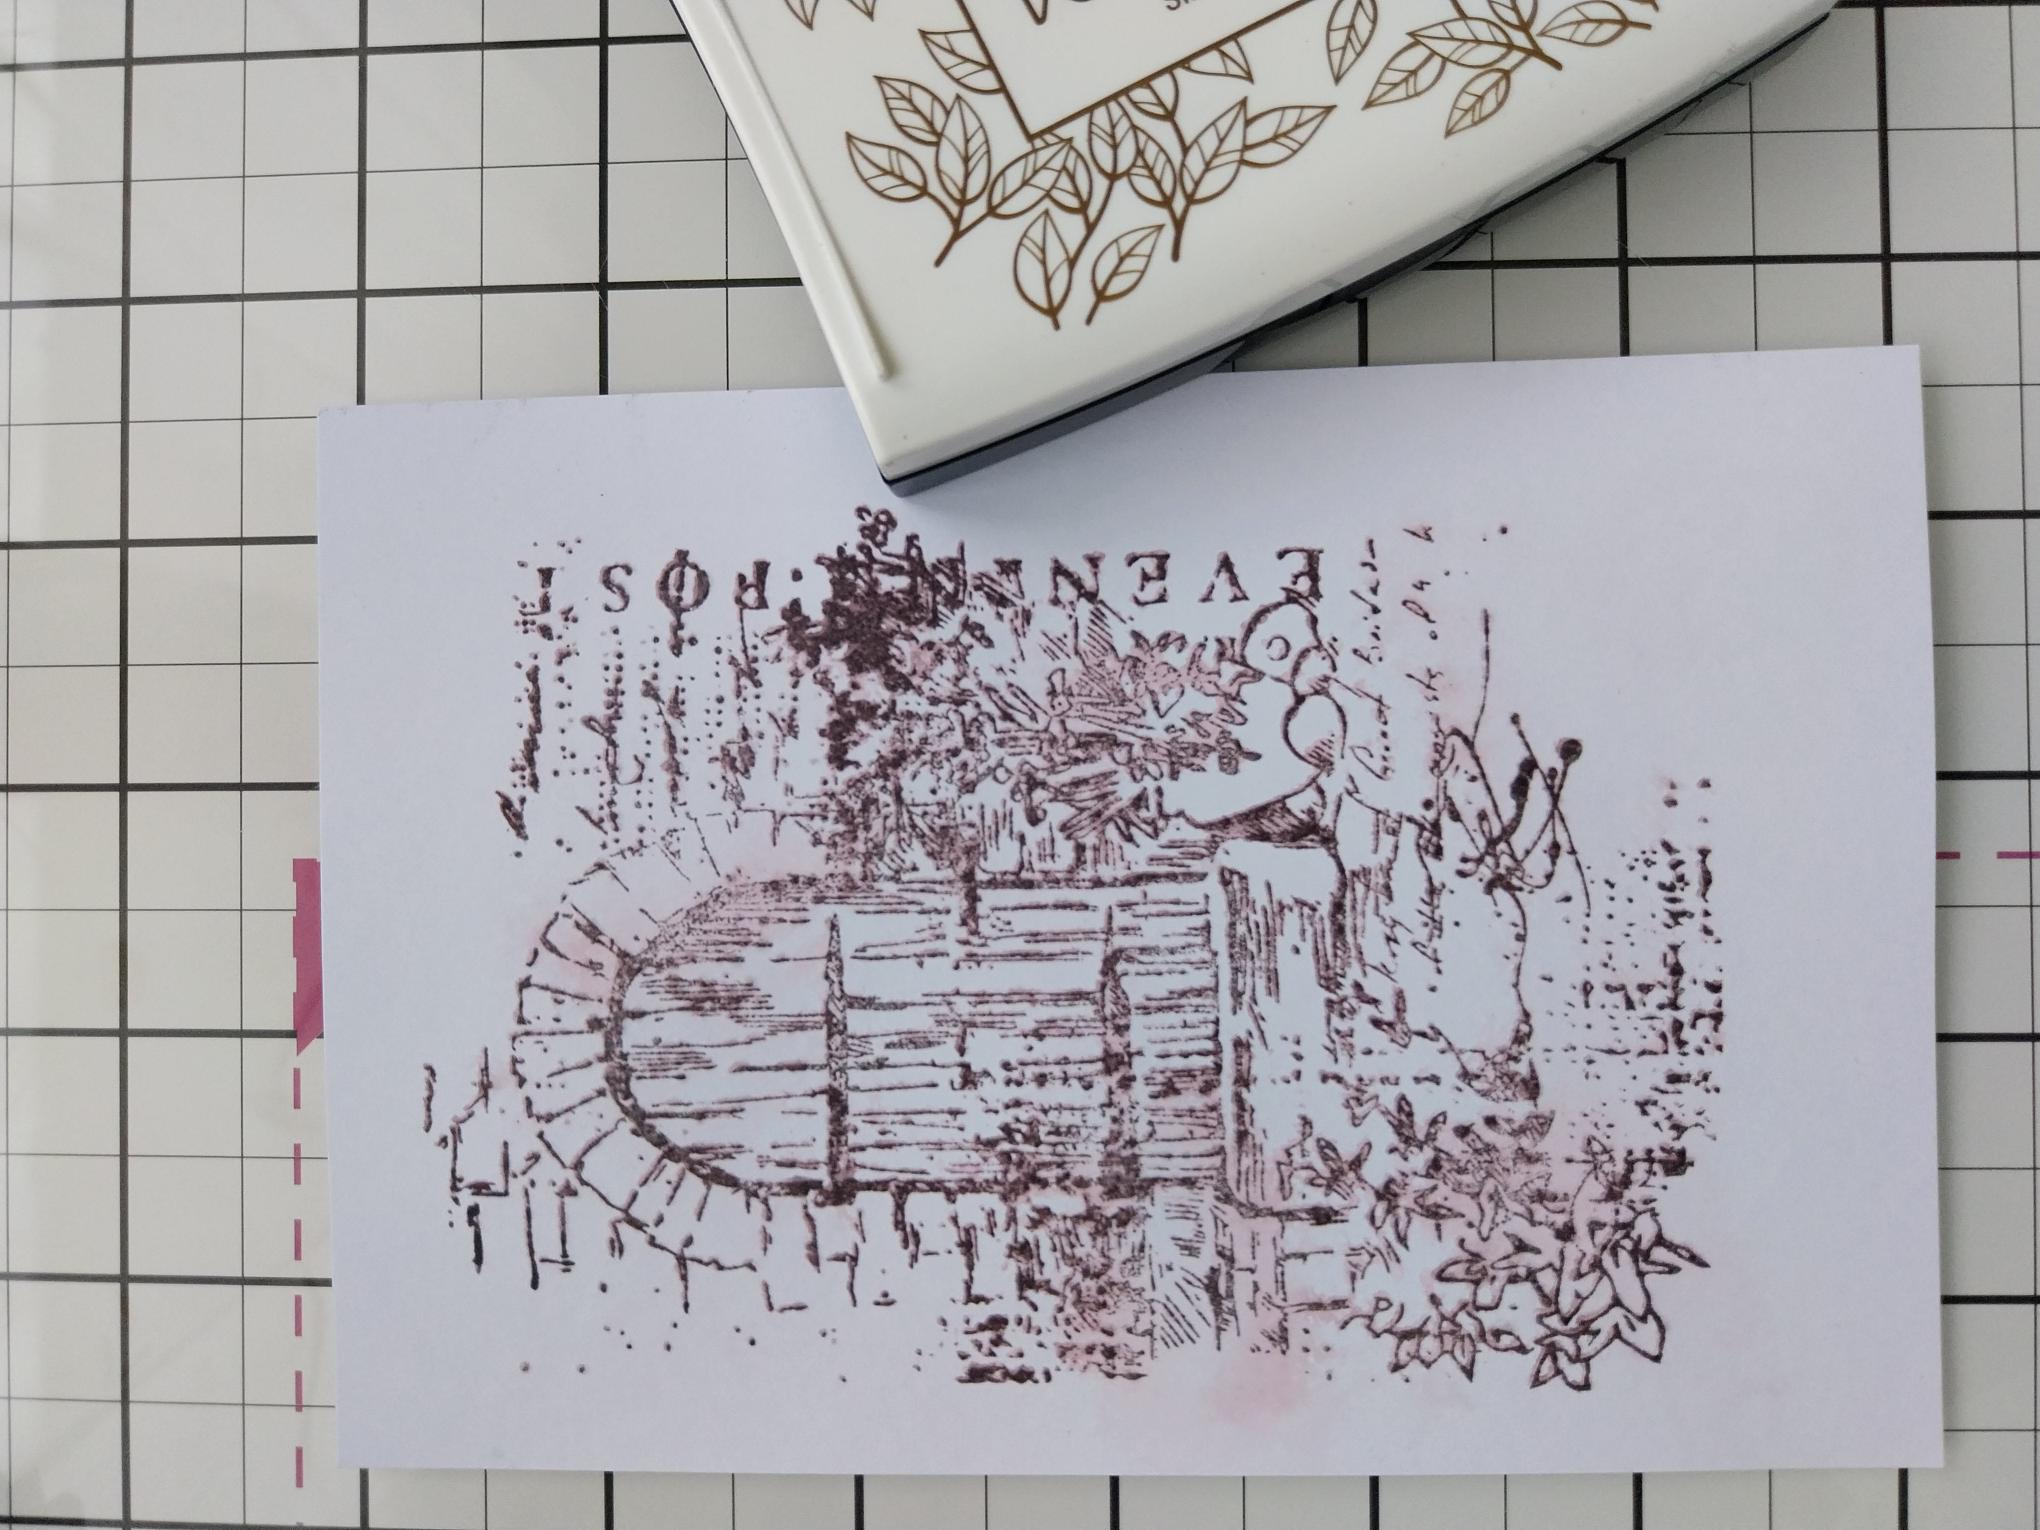
Once your artwork is dry, stamp back over the image with the Smokey Grey Versafine. |
|
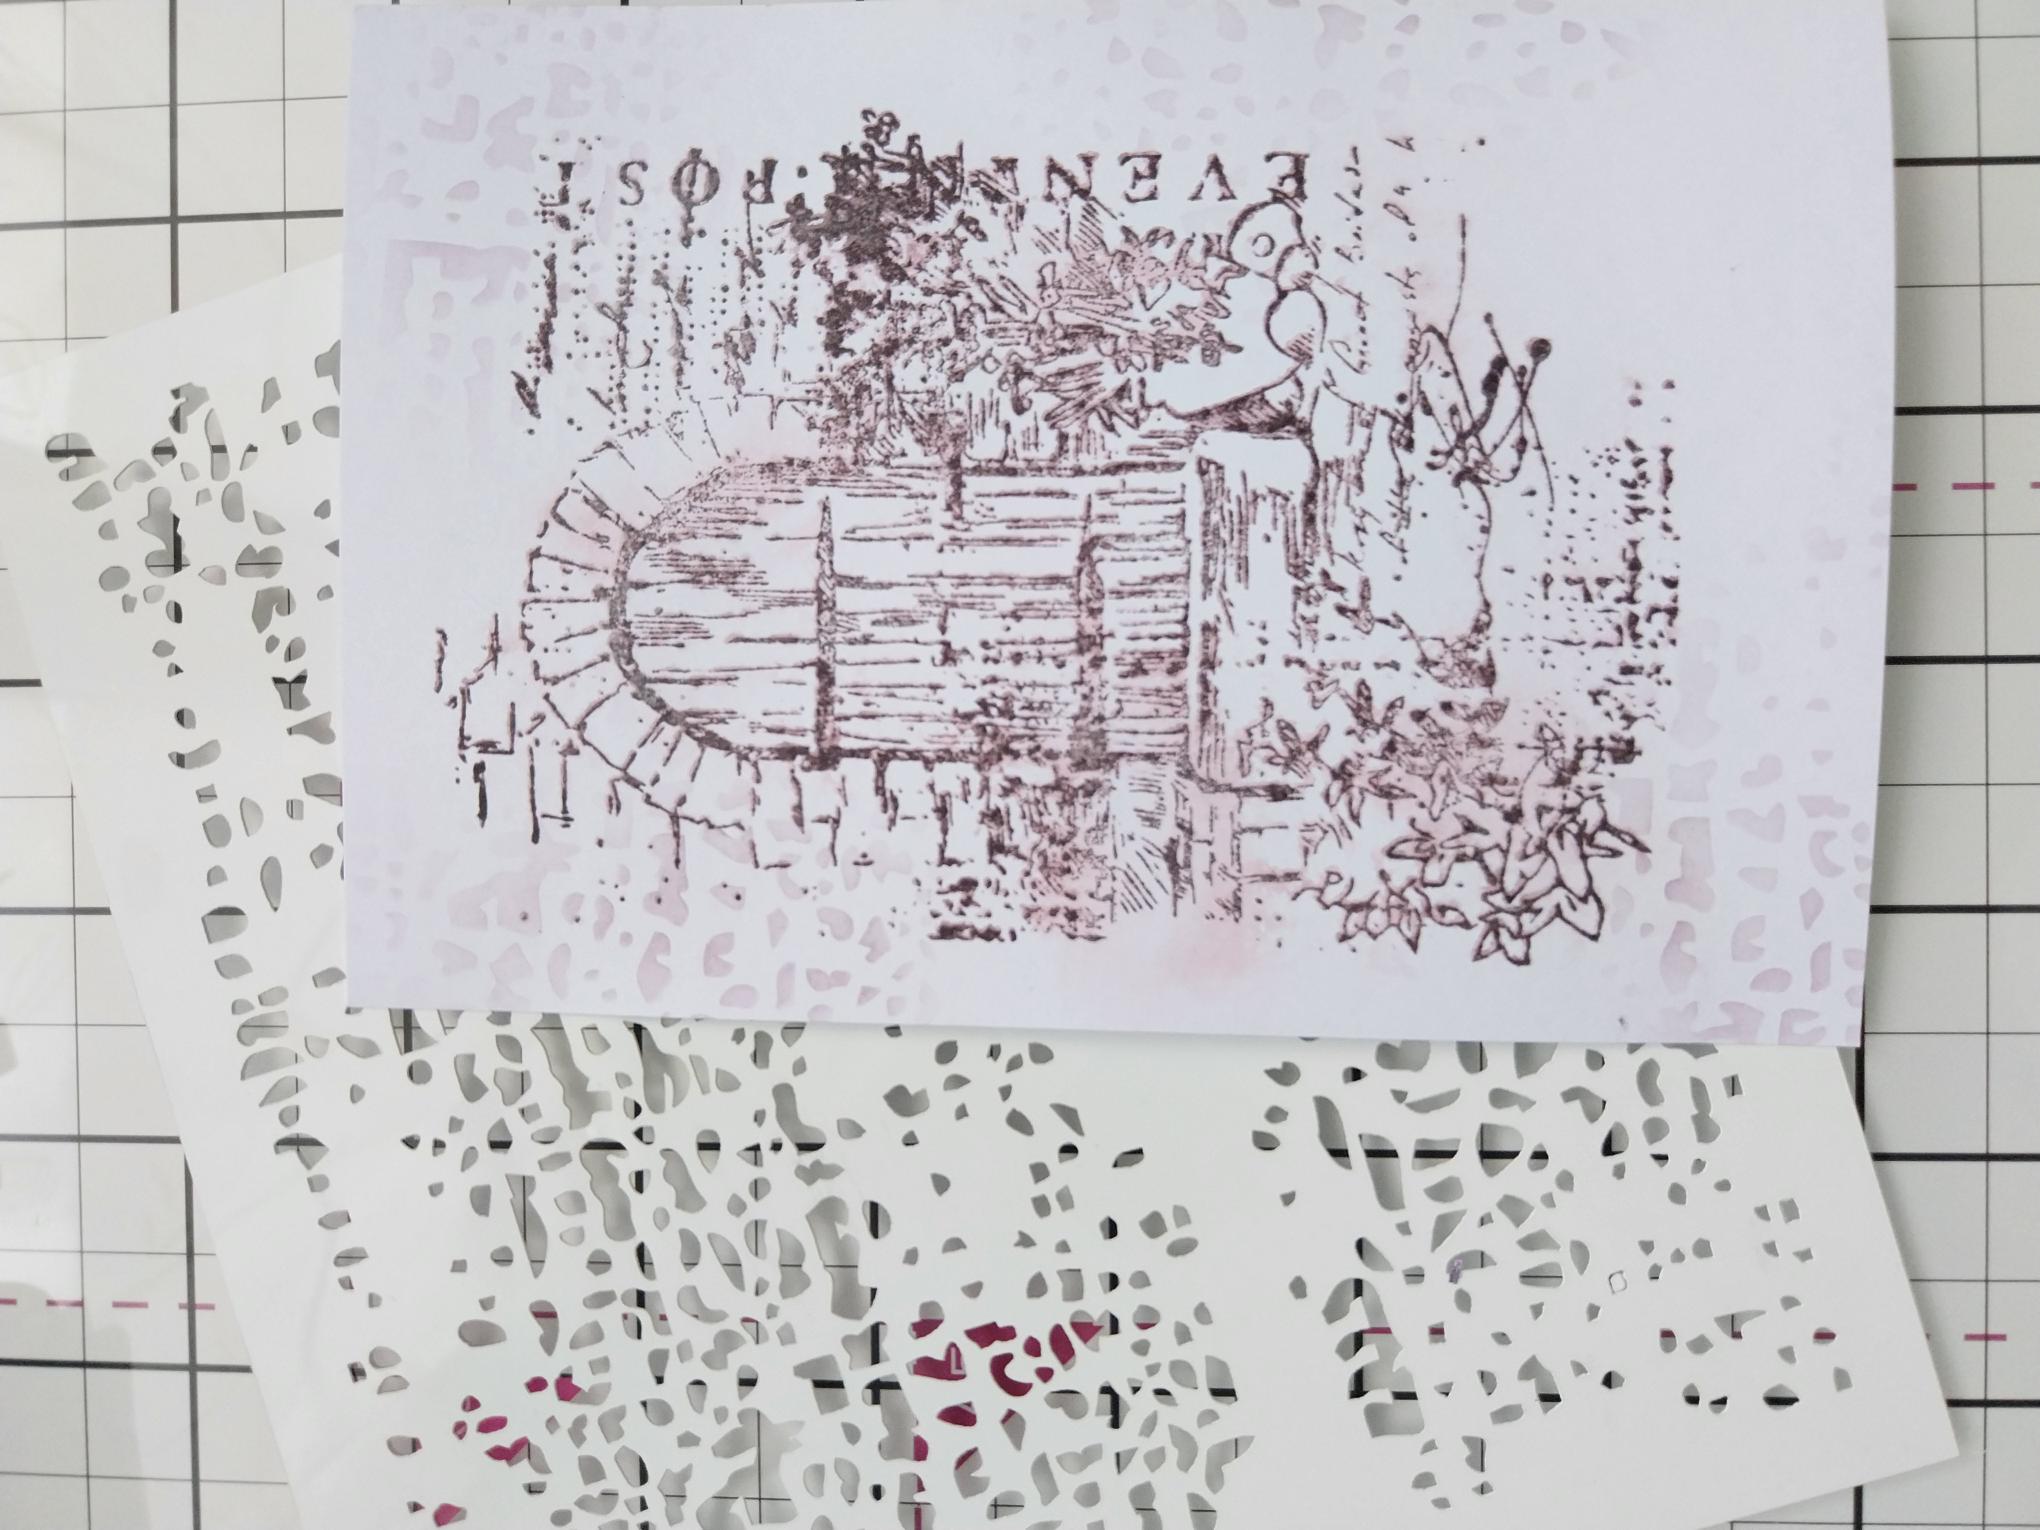
Randomly blend the Heather through the Grunge stencil, adding a touch of texture to your artwork. |
|
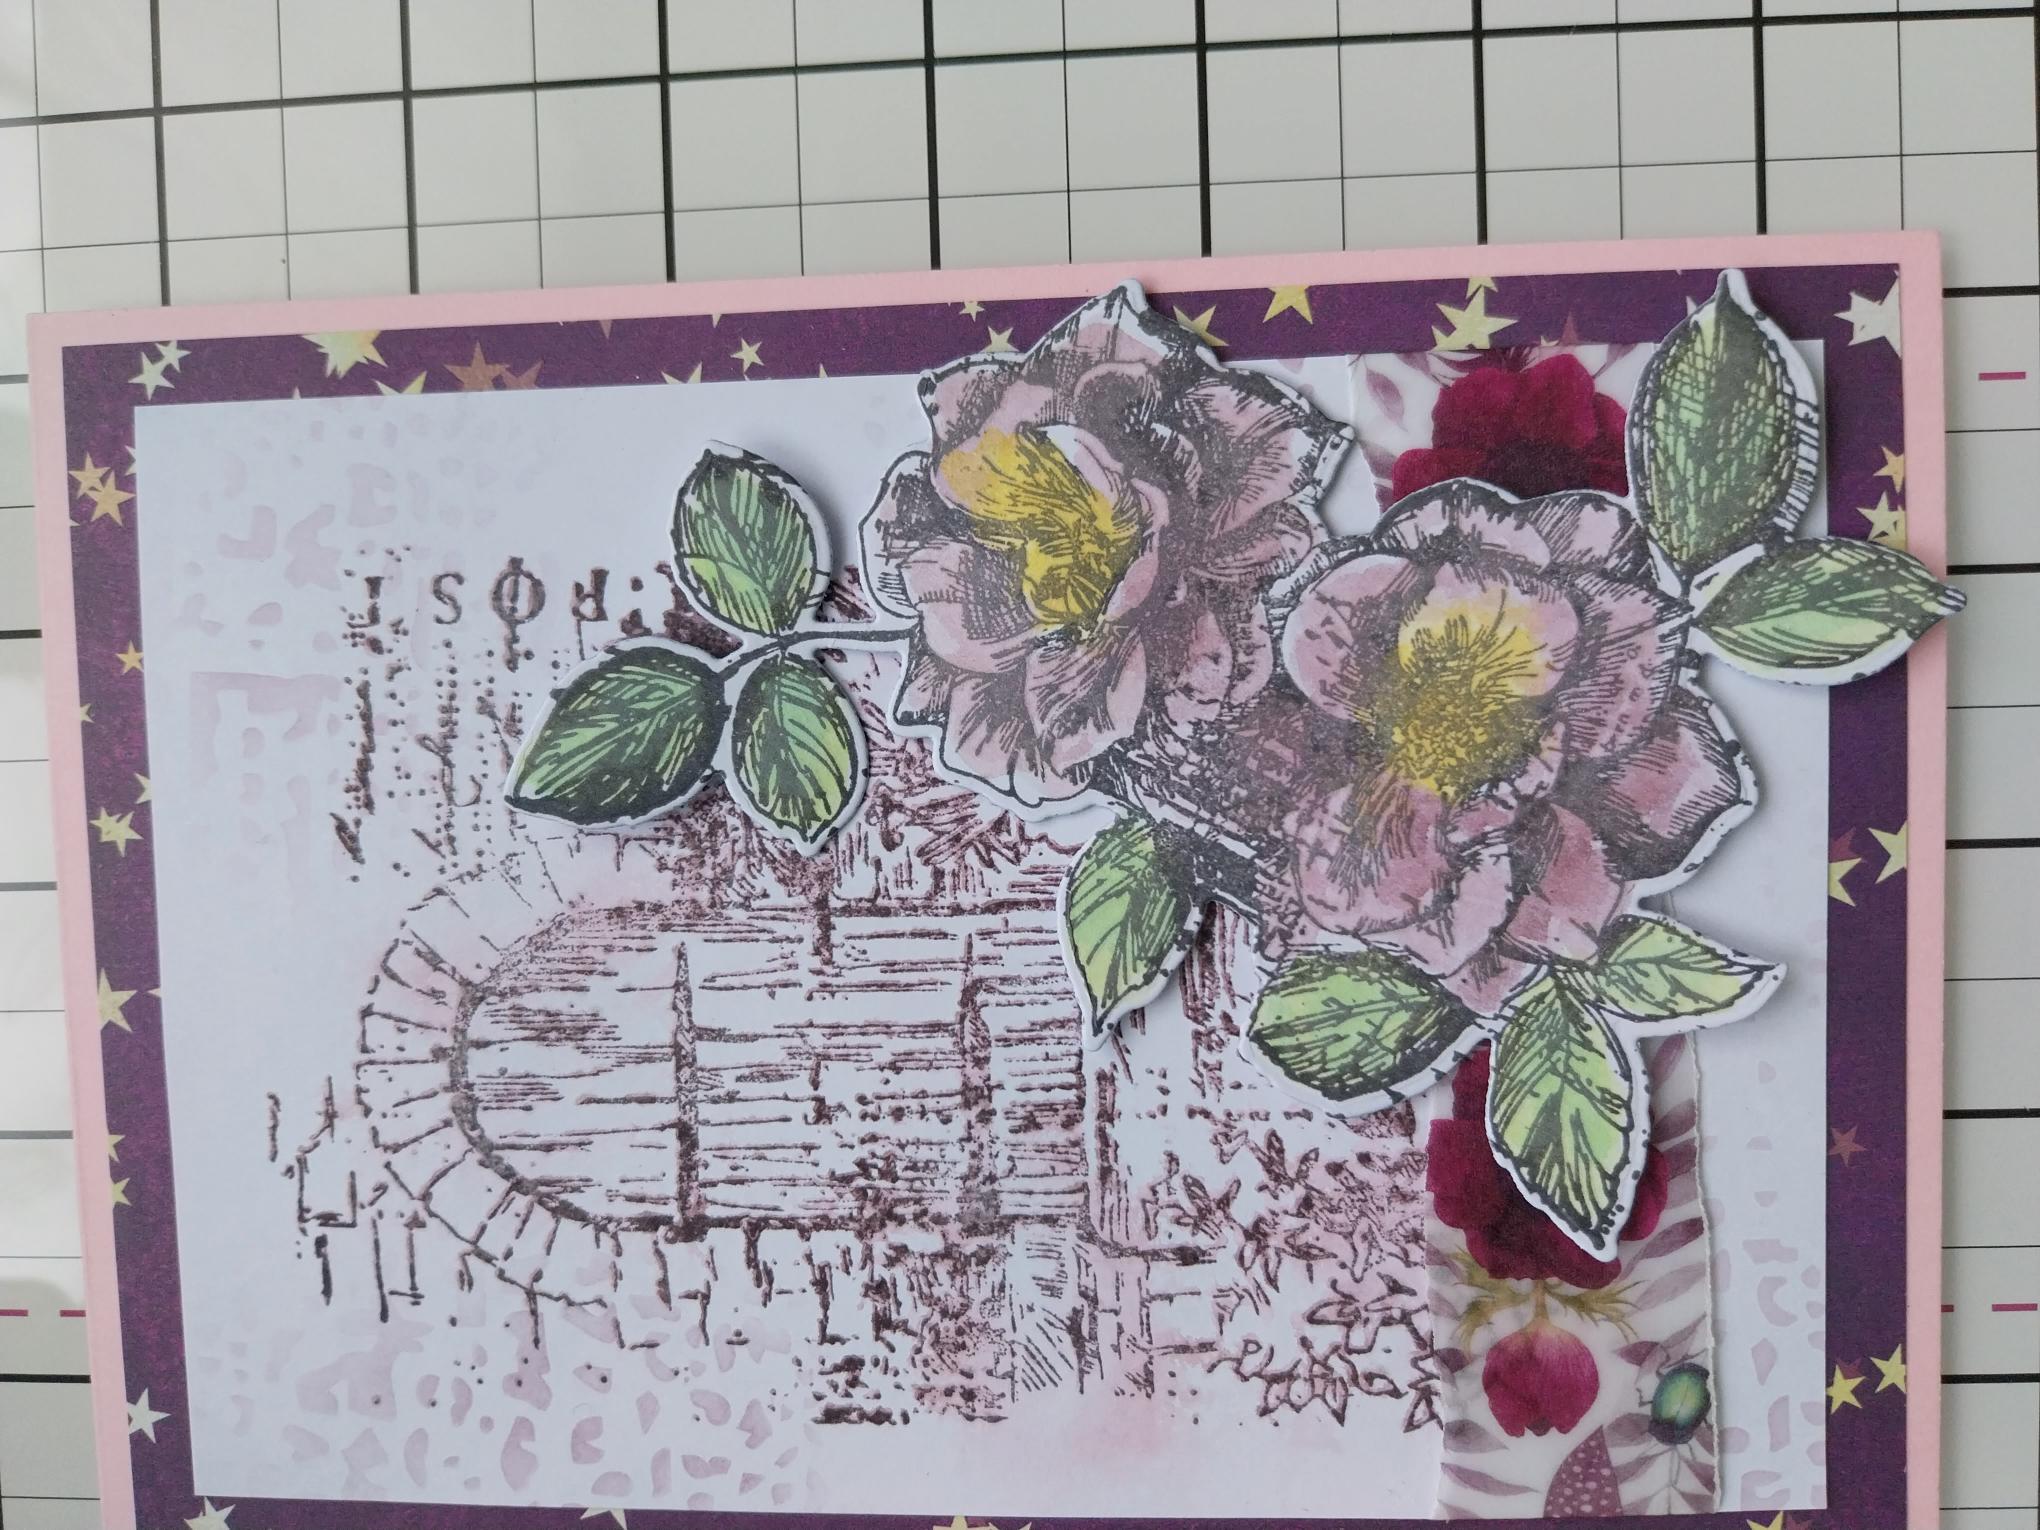
Tear a panel of vellum from the Ruby Blooms Vellum pack, place across the bottom third of your artwork and secure the overhanging vellum on the reverse of the card, with double-sided tape or a tape runner. |
|
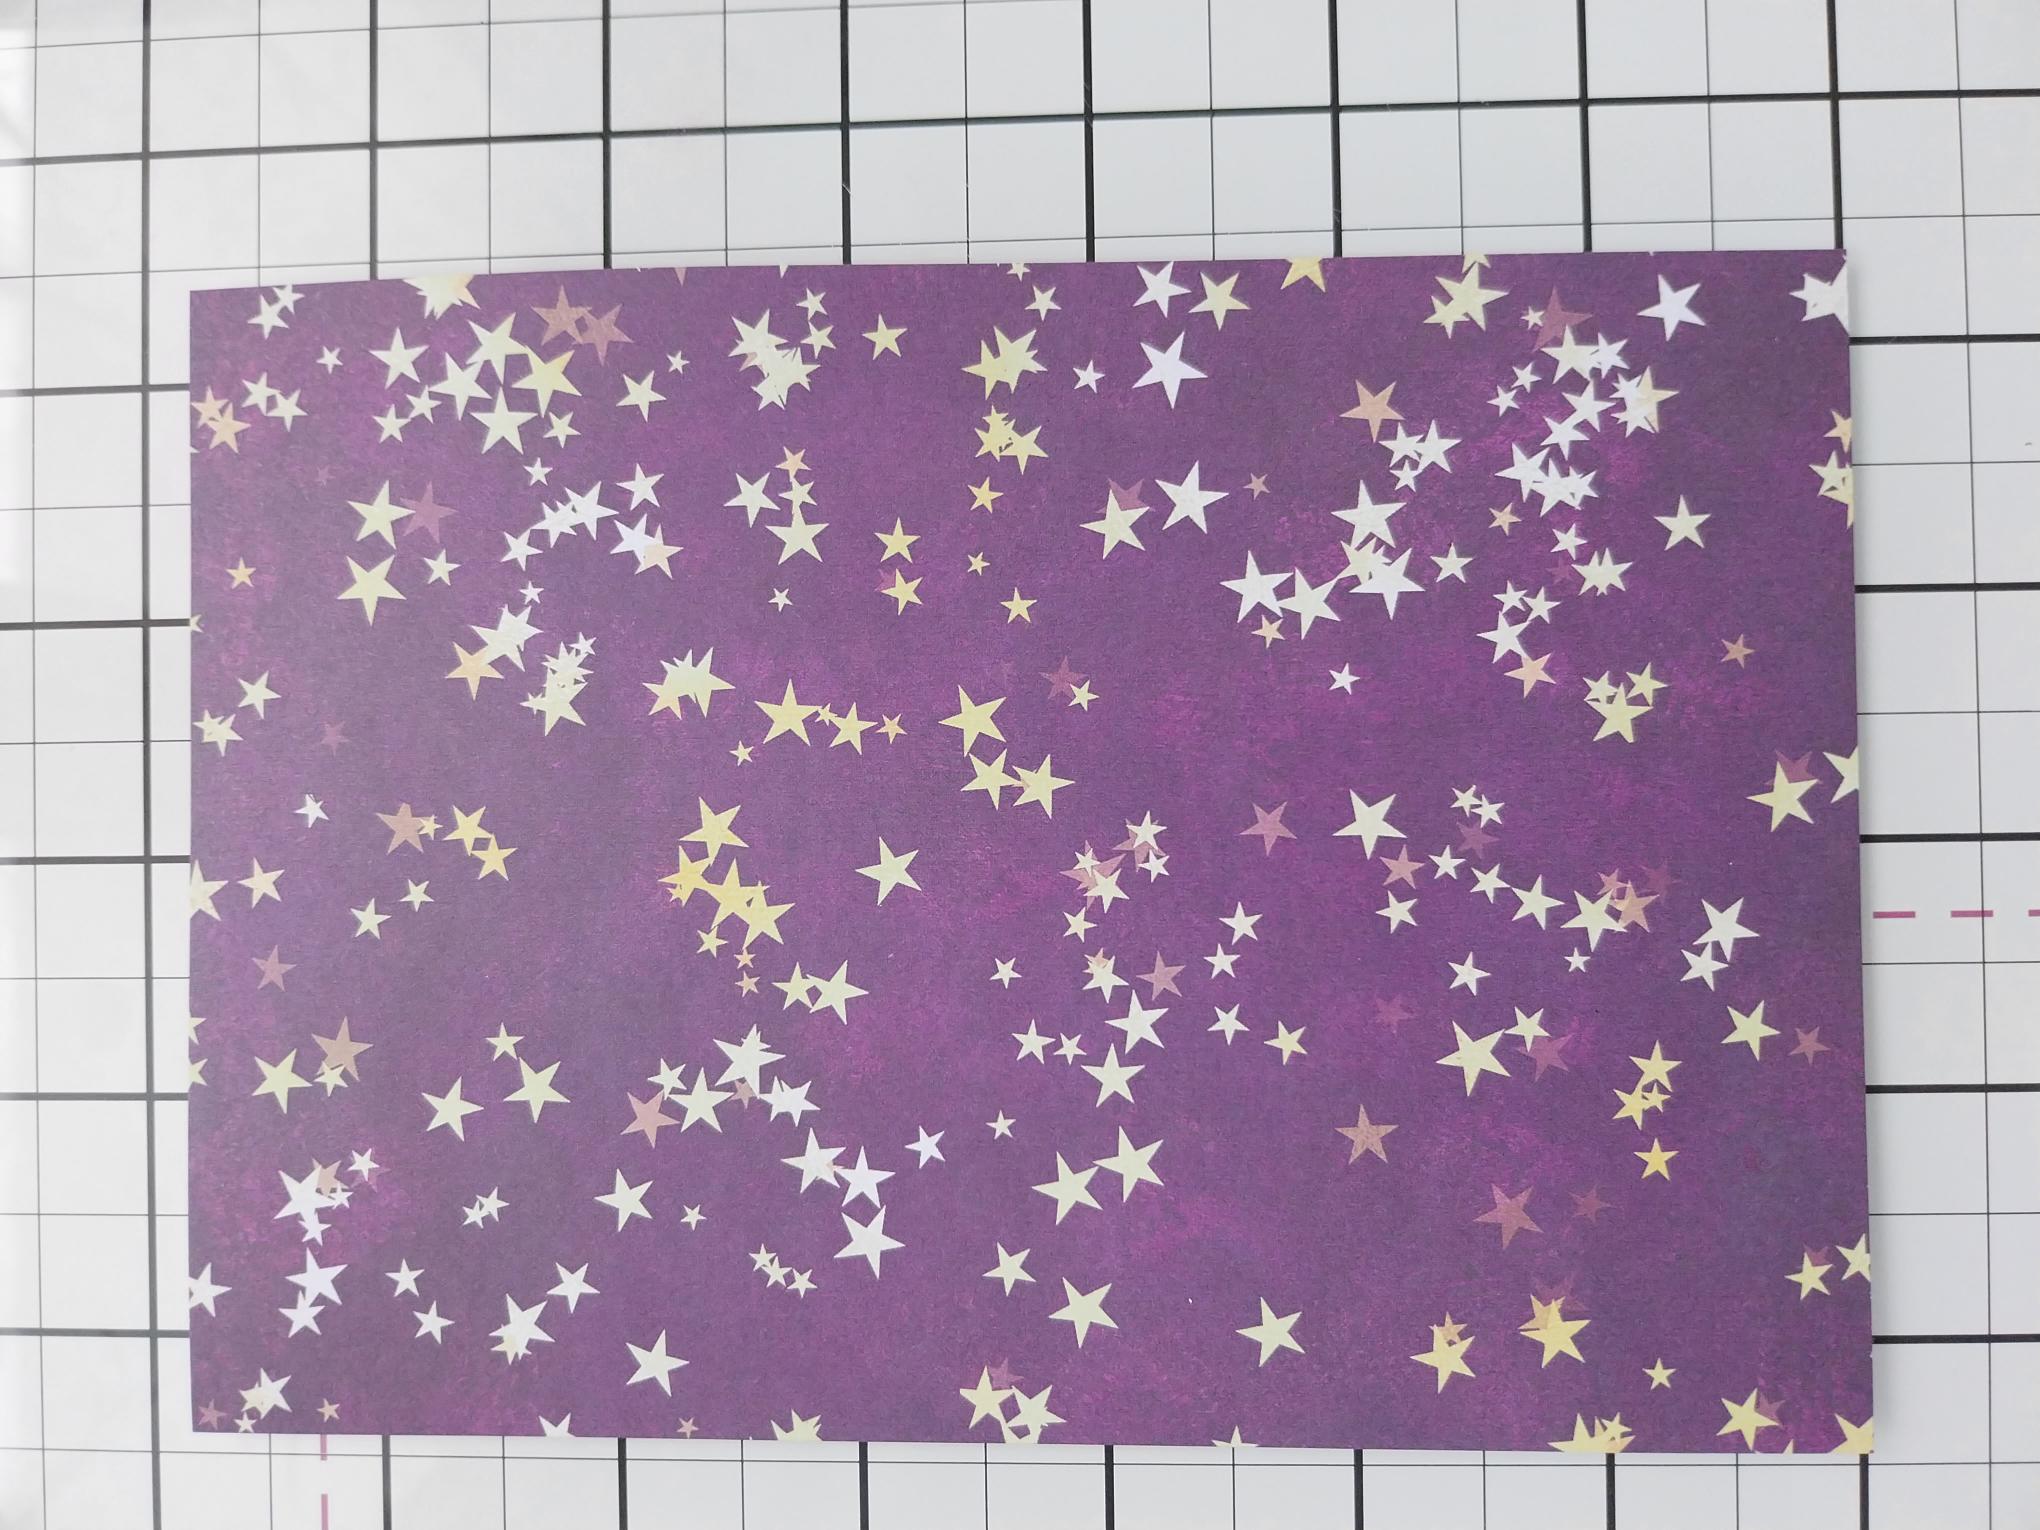
Cut this decorative paper, from the Happy Haunting paper pack, to 6 3/4 x 4 3/4". |
|
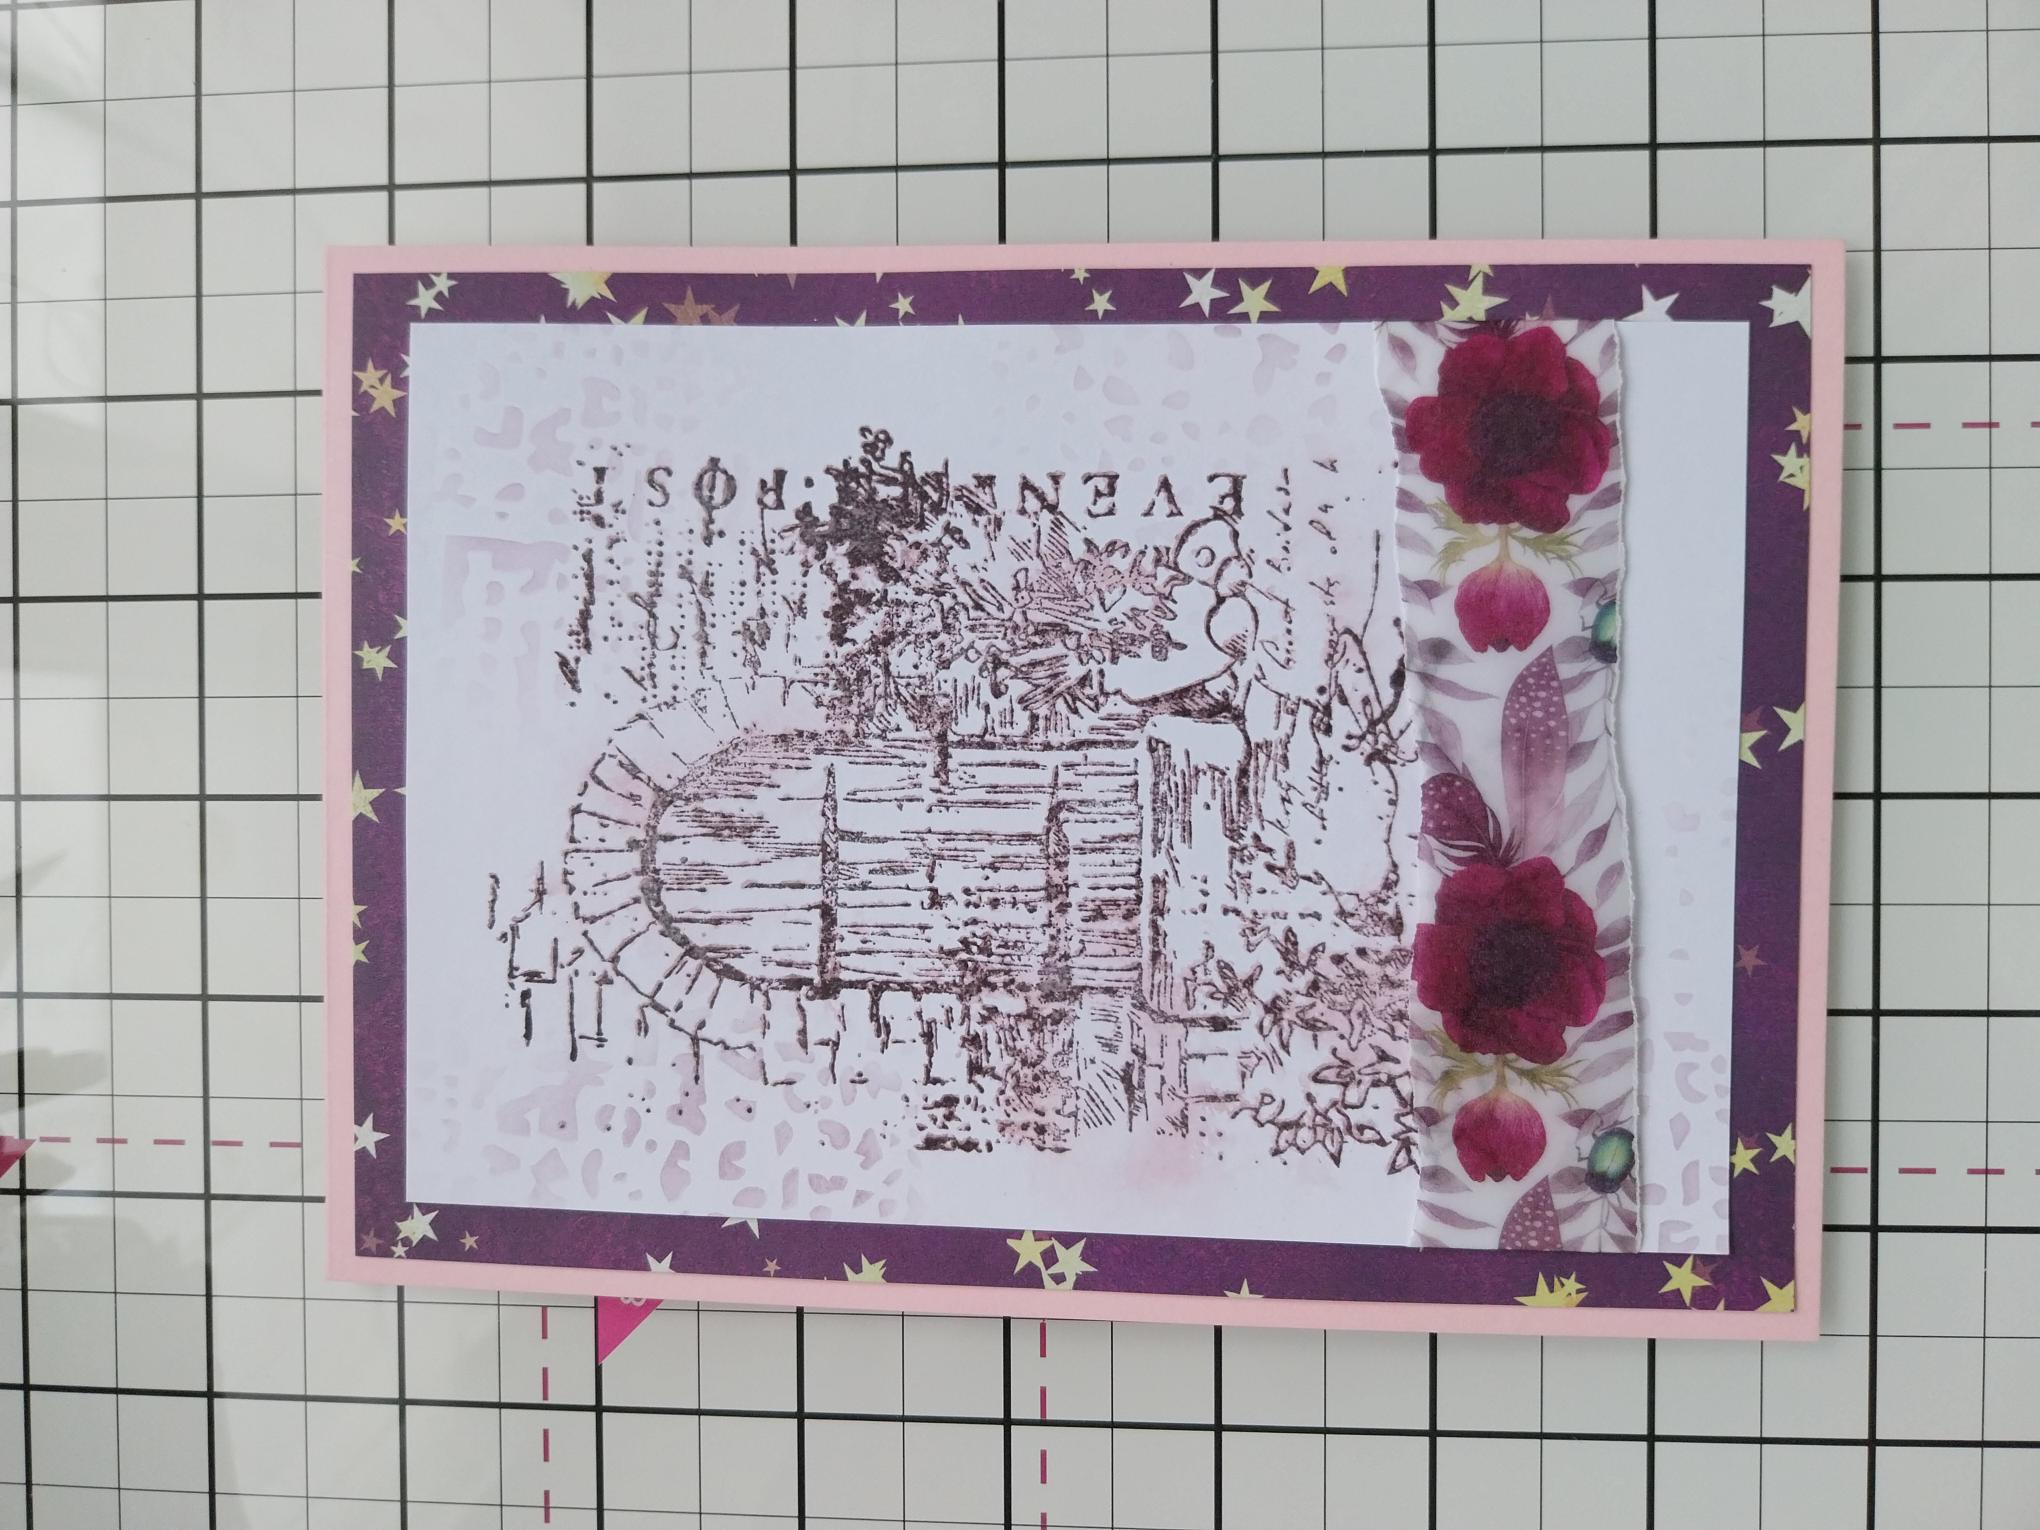
Mat your artwork on to the decorative paper and then on to your pink card blank. Pop to one side. |
|
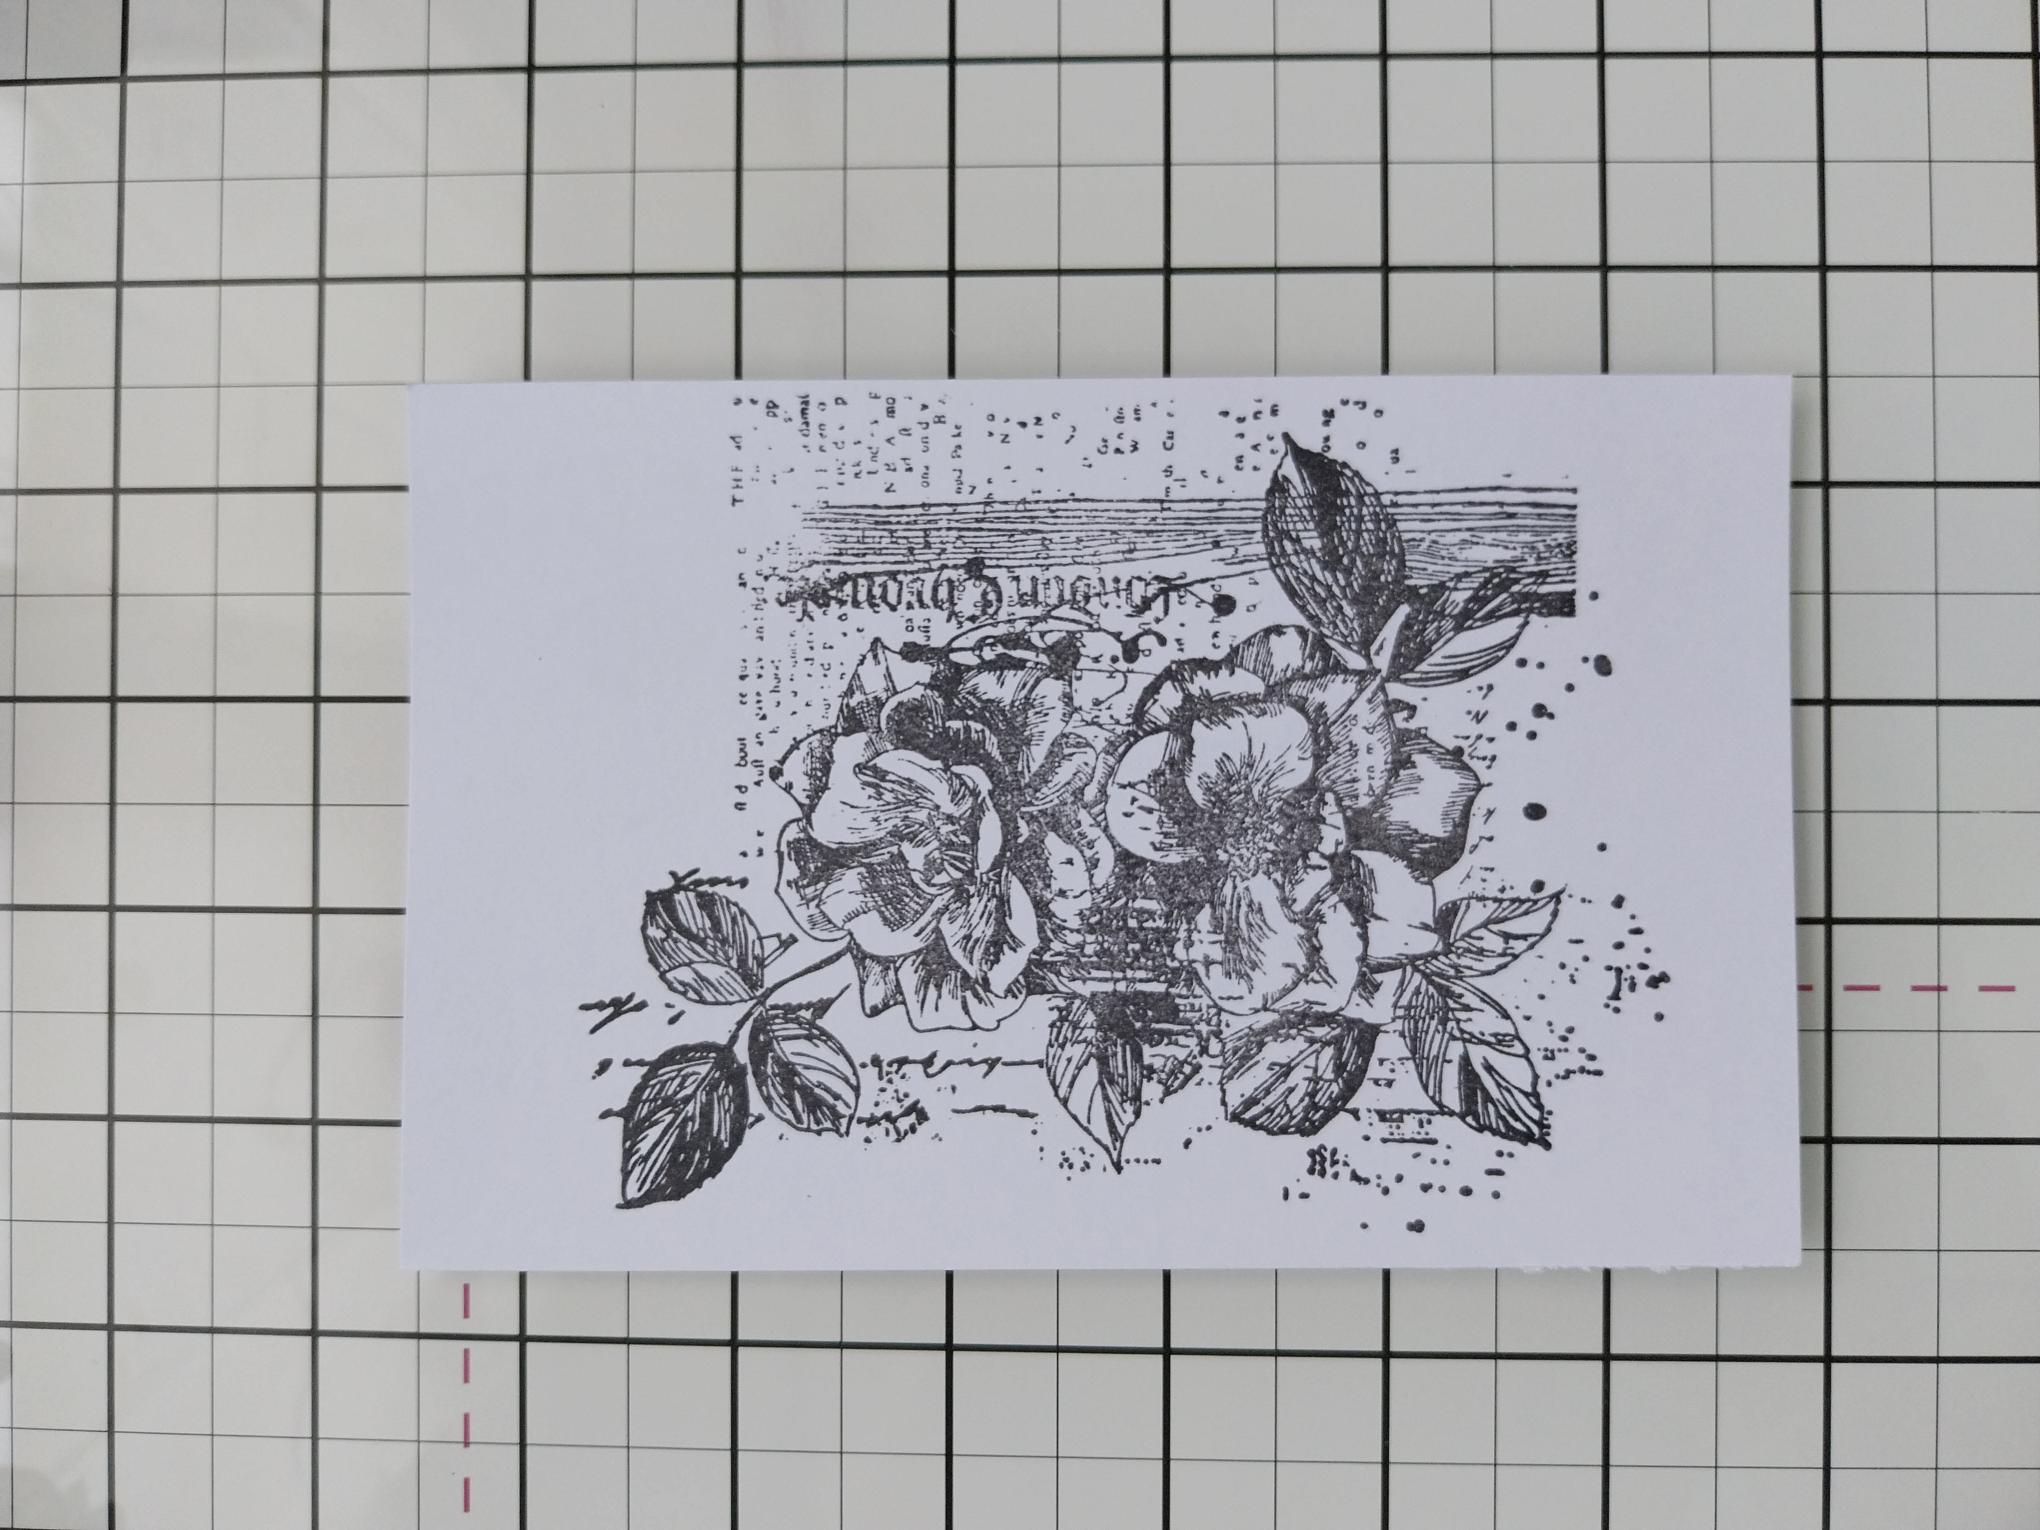
Stamp this image on to white card, in the grey Versafine. |
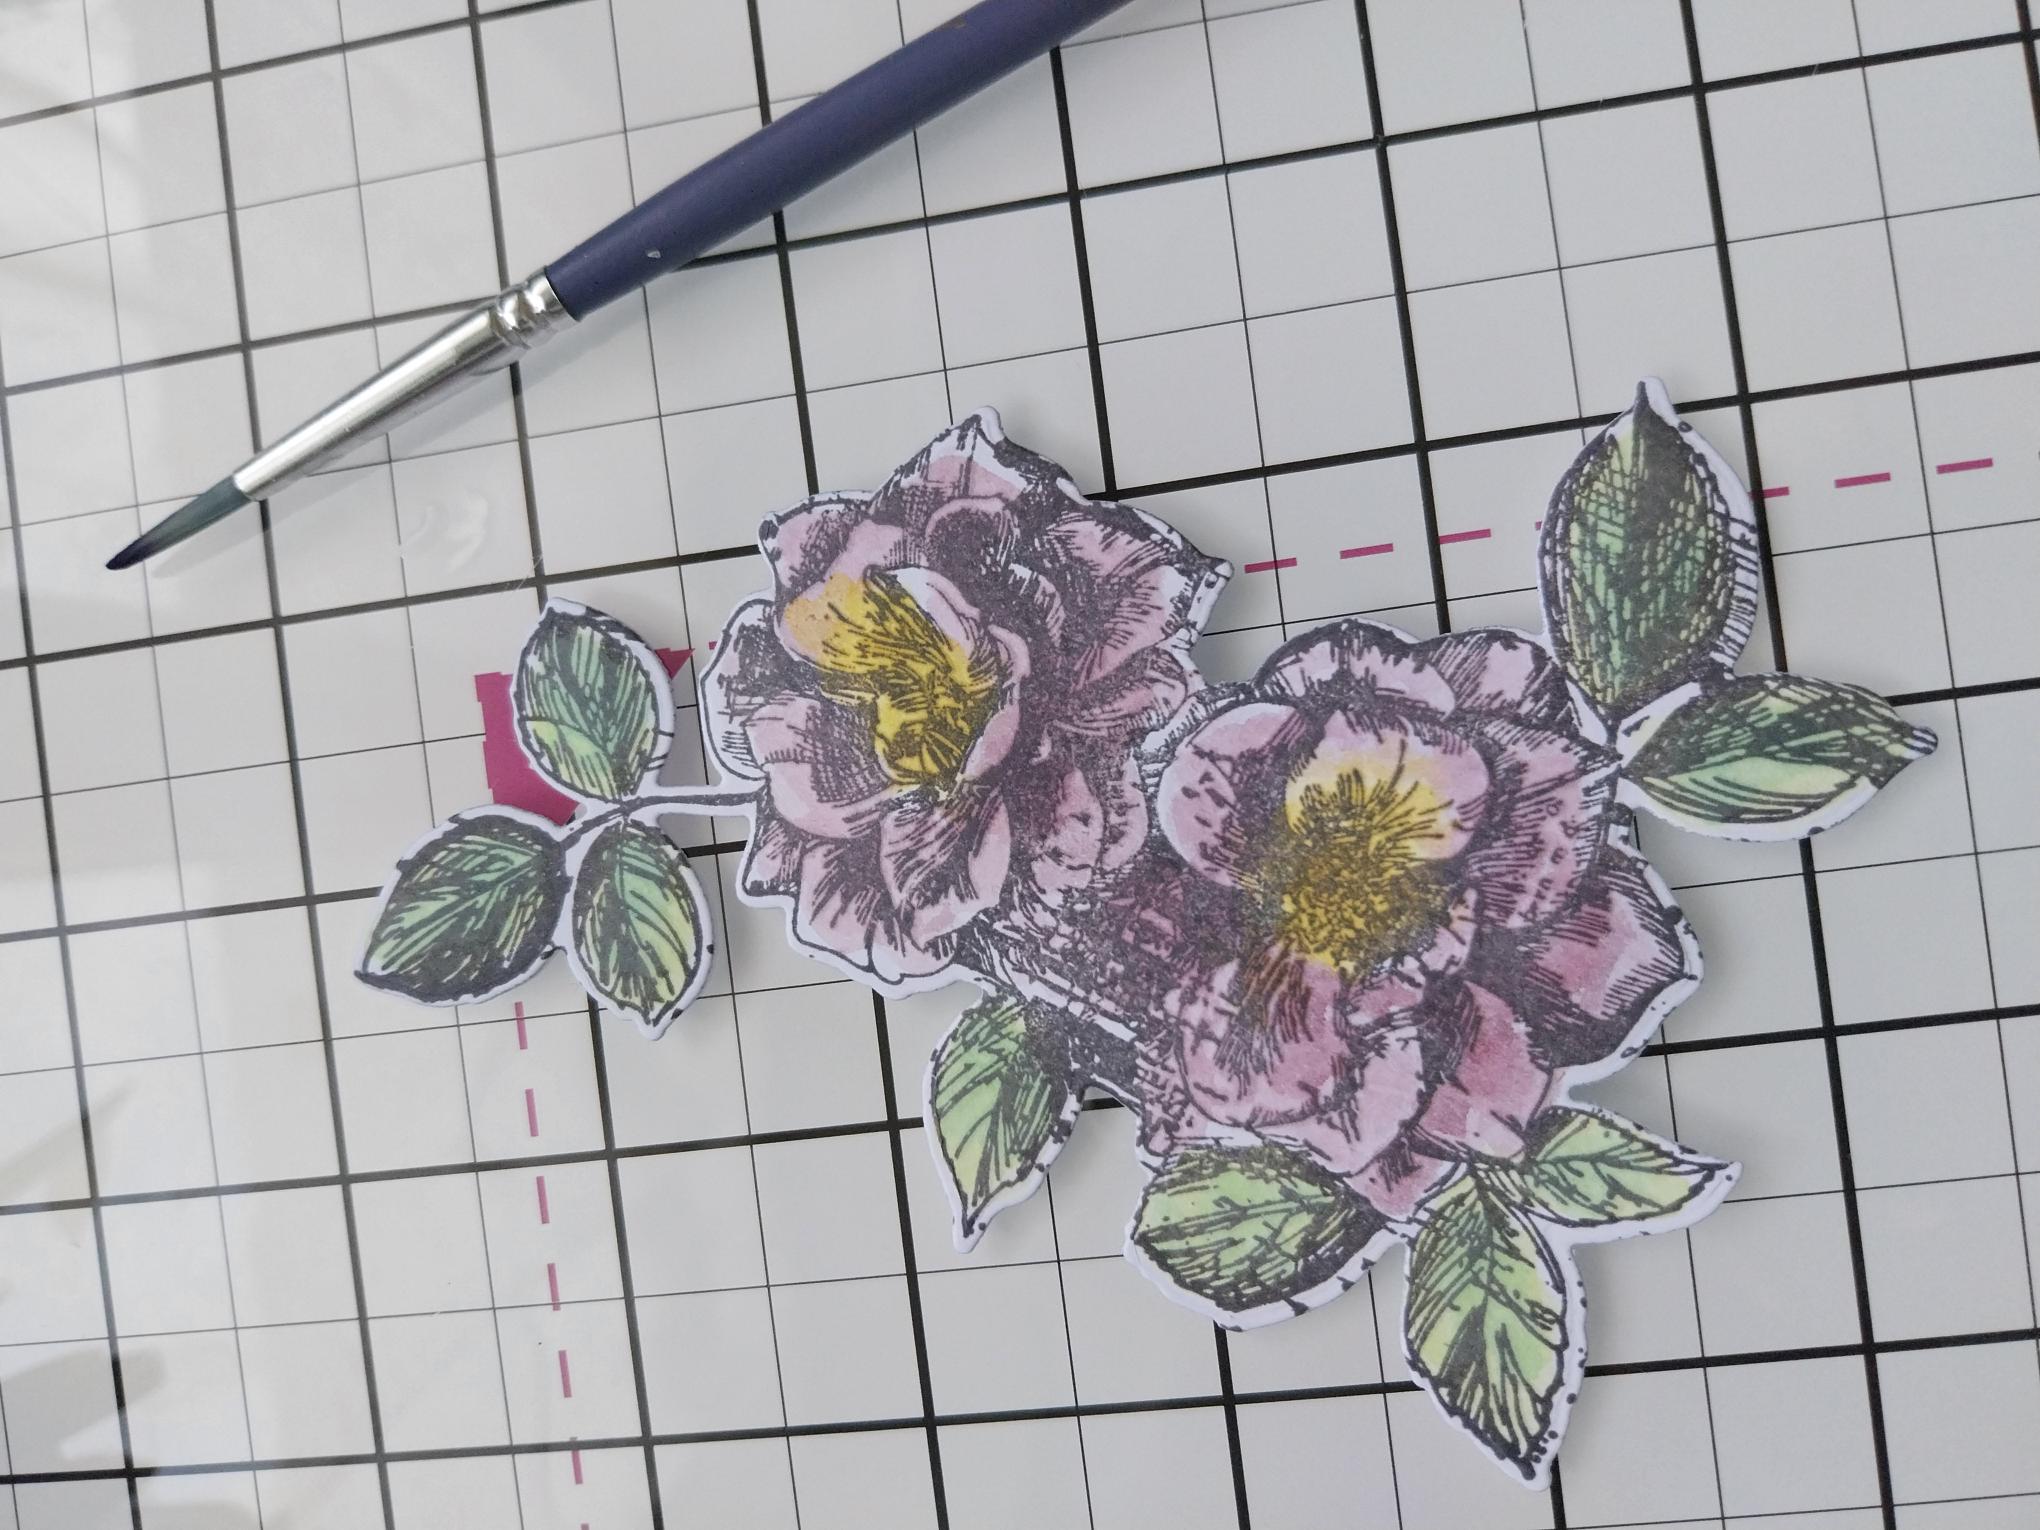
|
Fussy cut the floral aspect of the image and paint using your Premium dye ink pads and a paint brush. |
|
Use foam pads to adhere your floral element around the bottom right corner of your card. |
|
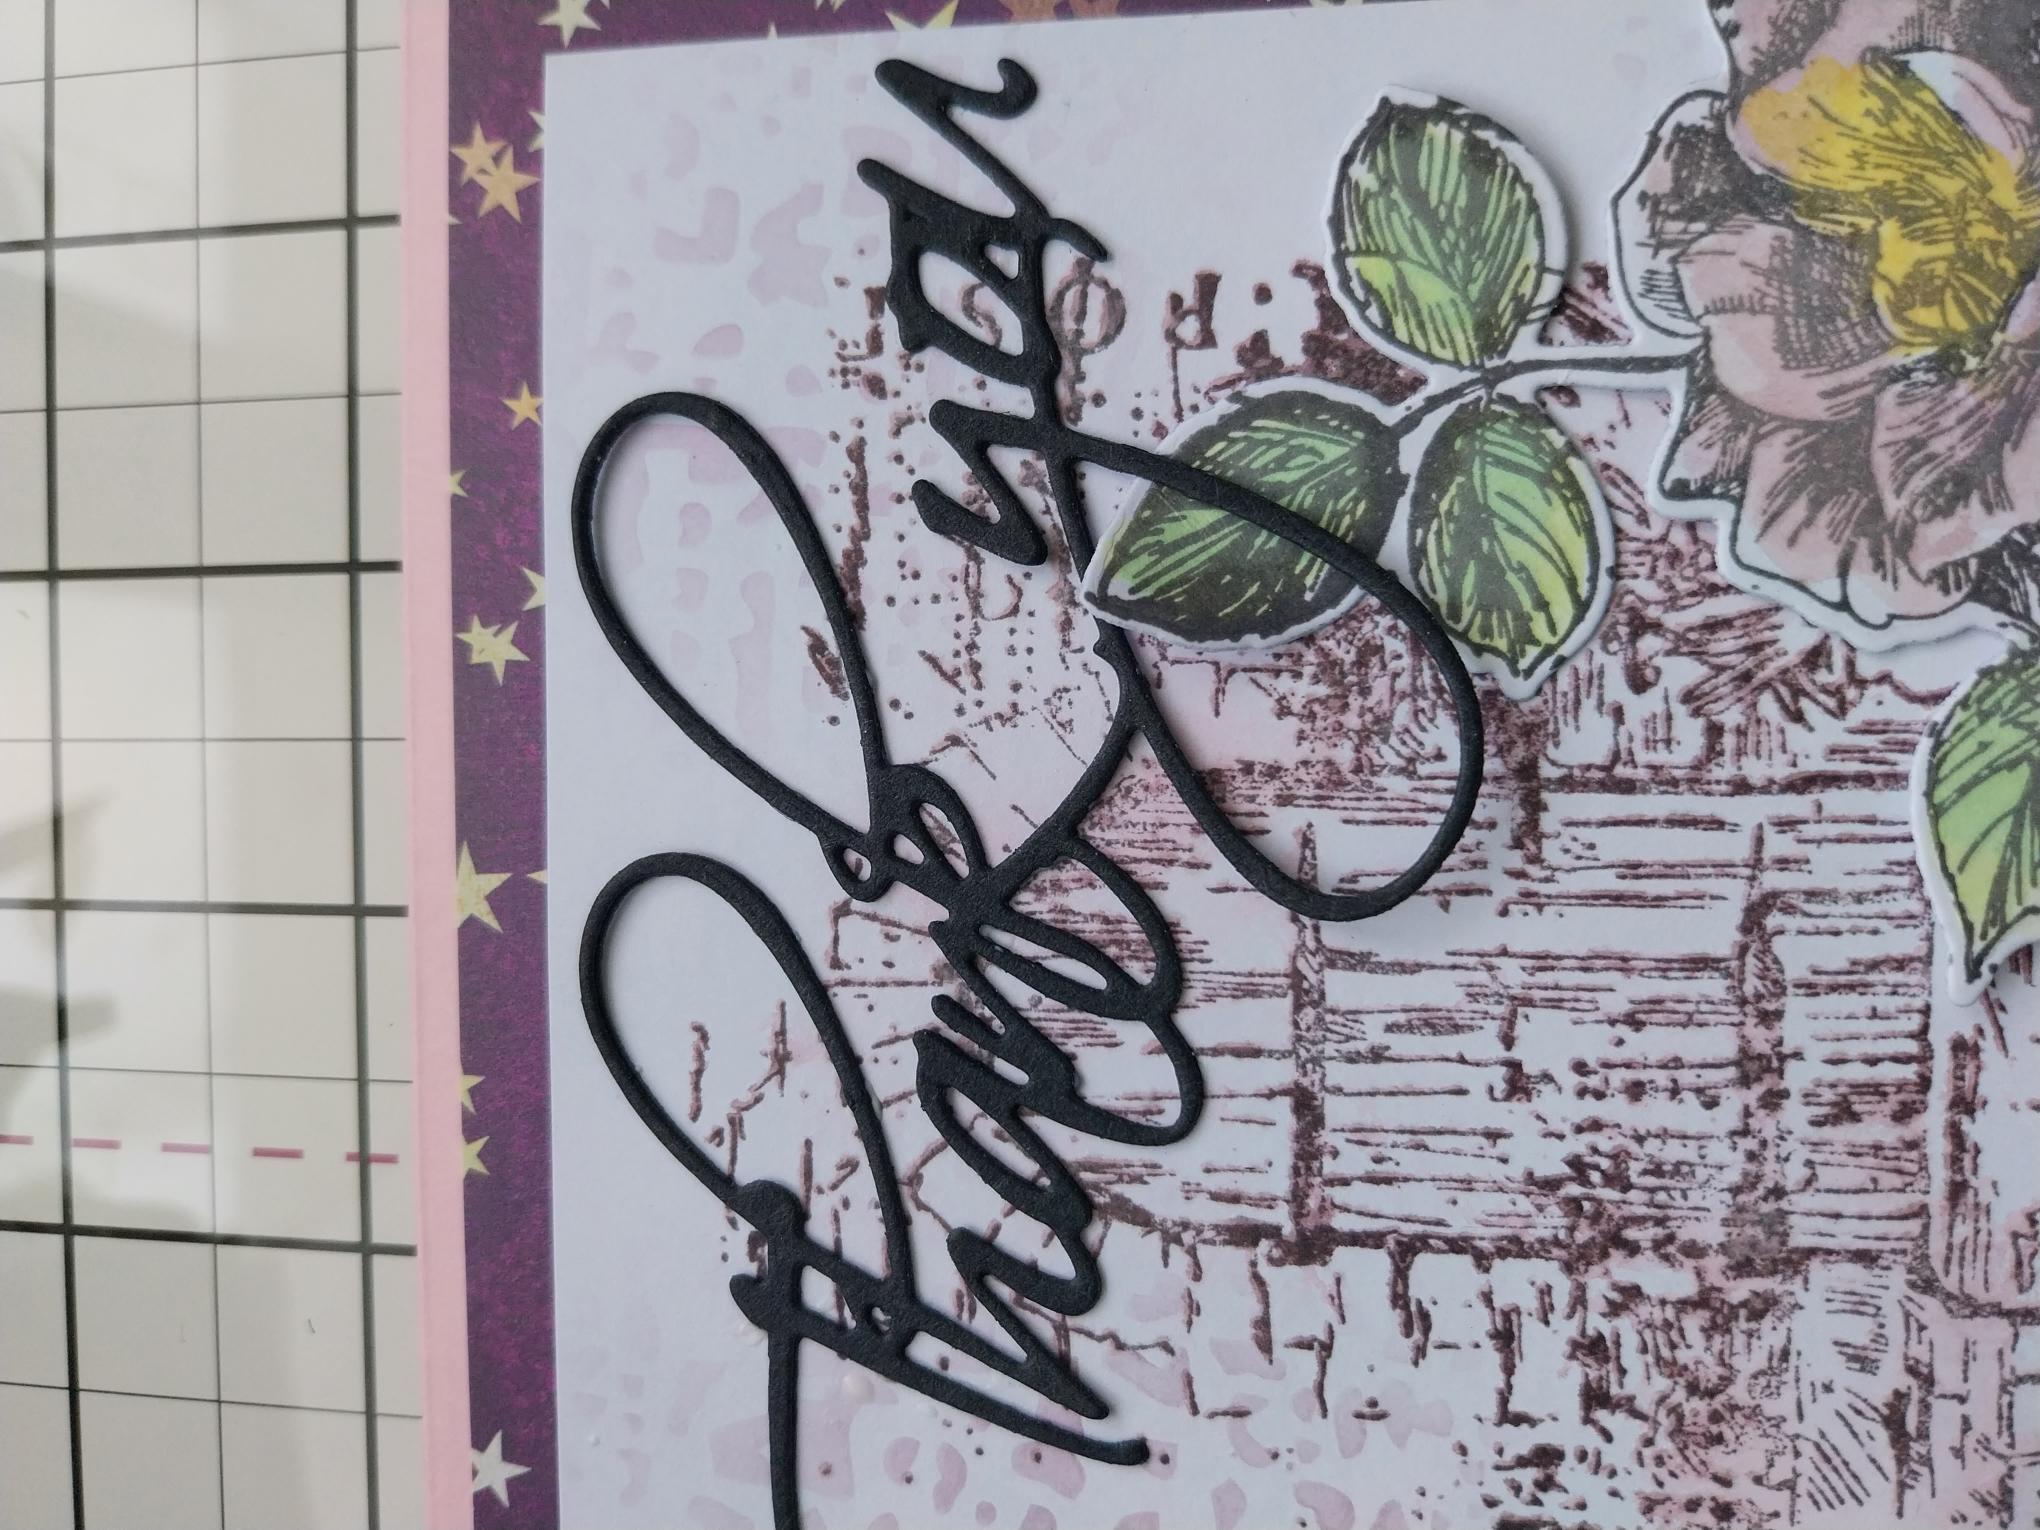
Die cut "Thank You" from black card and adhere across the top right, to finish. |