Give your friends $10 off their first order!
Refer a FRIEND


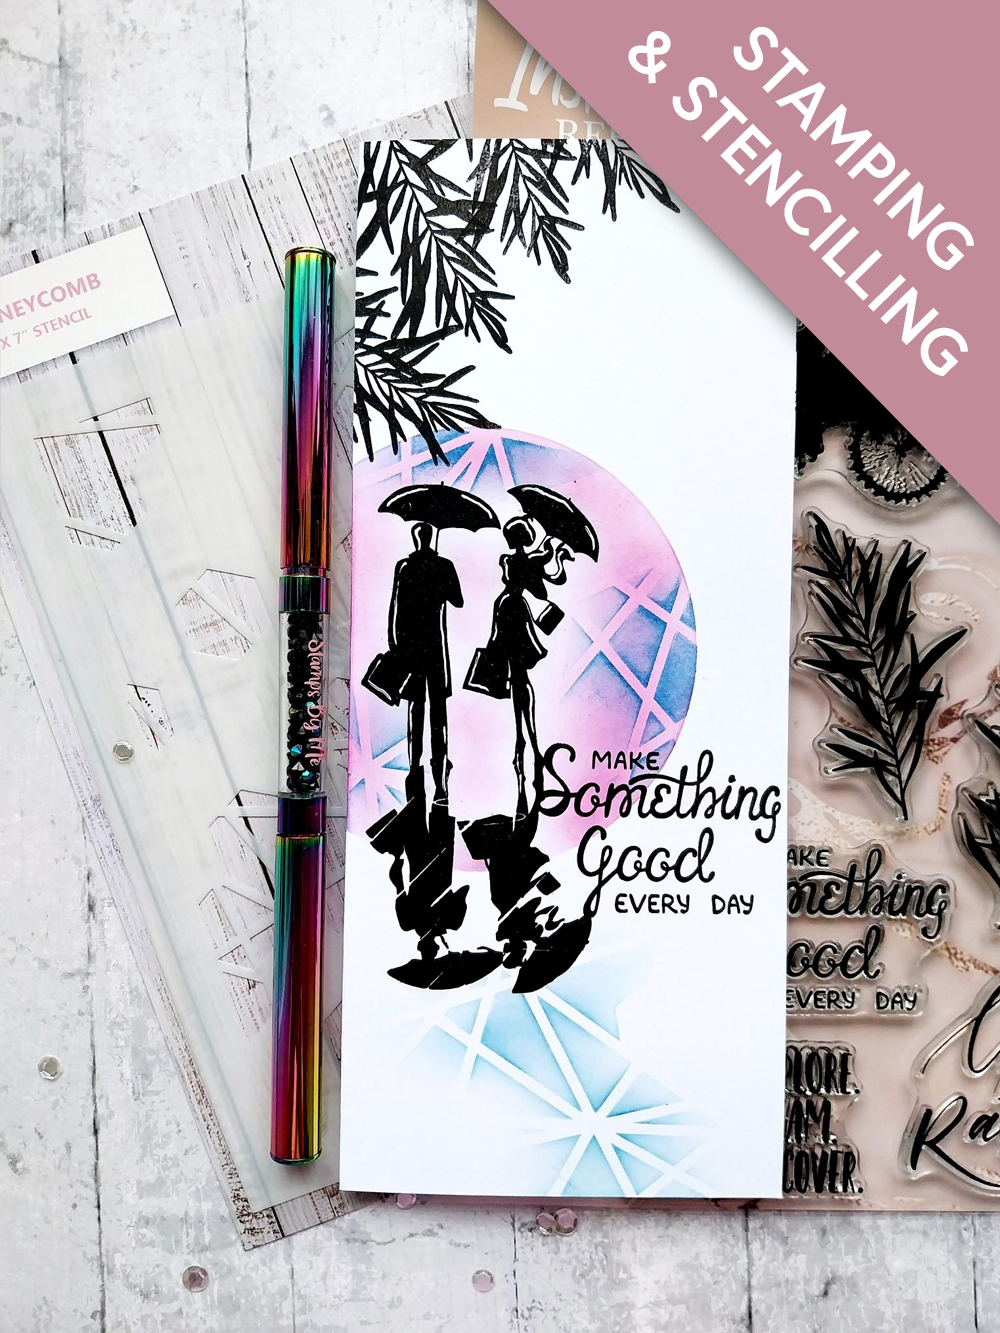
WHAT YOU WILL NEED:
DL white card blank (8 x 3 1/2")
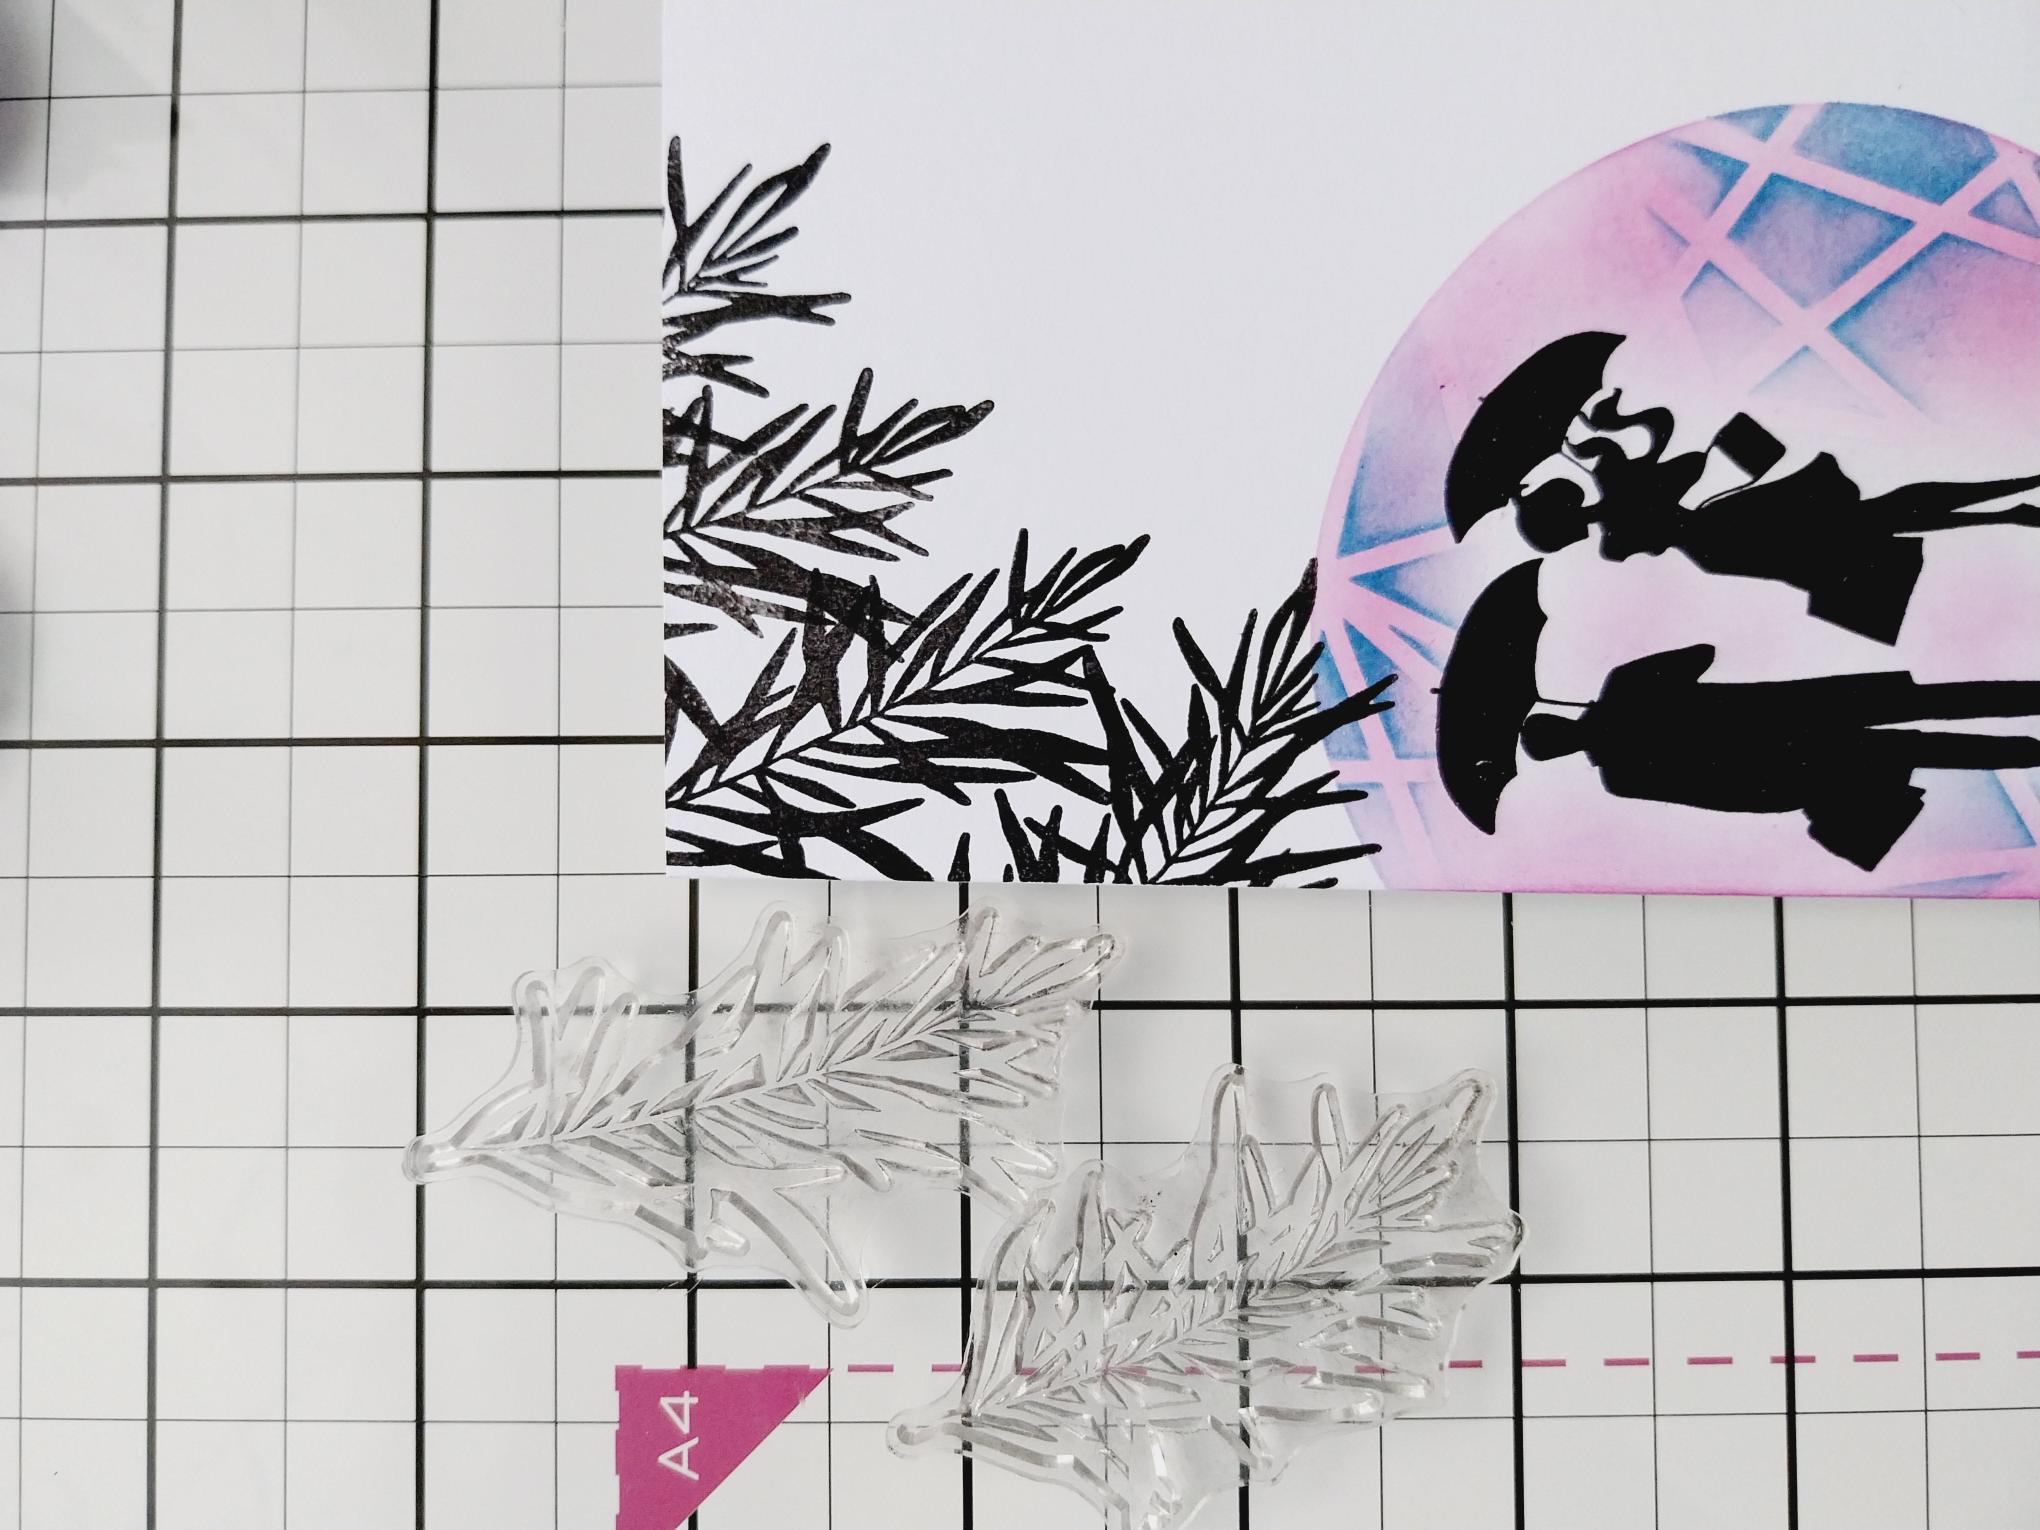
Instant Artist Reflection A4 Stamp Set
Honeycomb 7 x 7" Stencil
Halloween Reflection Bundle (Moonlight Stencils)
SBM Hybrid Ink Pad: Midnight
SBM Premium Dye Ink Pad: Fandango, Tiffany
Blending spot brushes
Imala white gel pen
Eureka 101 Watercolour Tablet
SBM A3 Magnetic glass mat
[click image to enlarge] 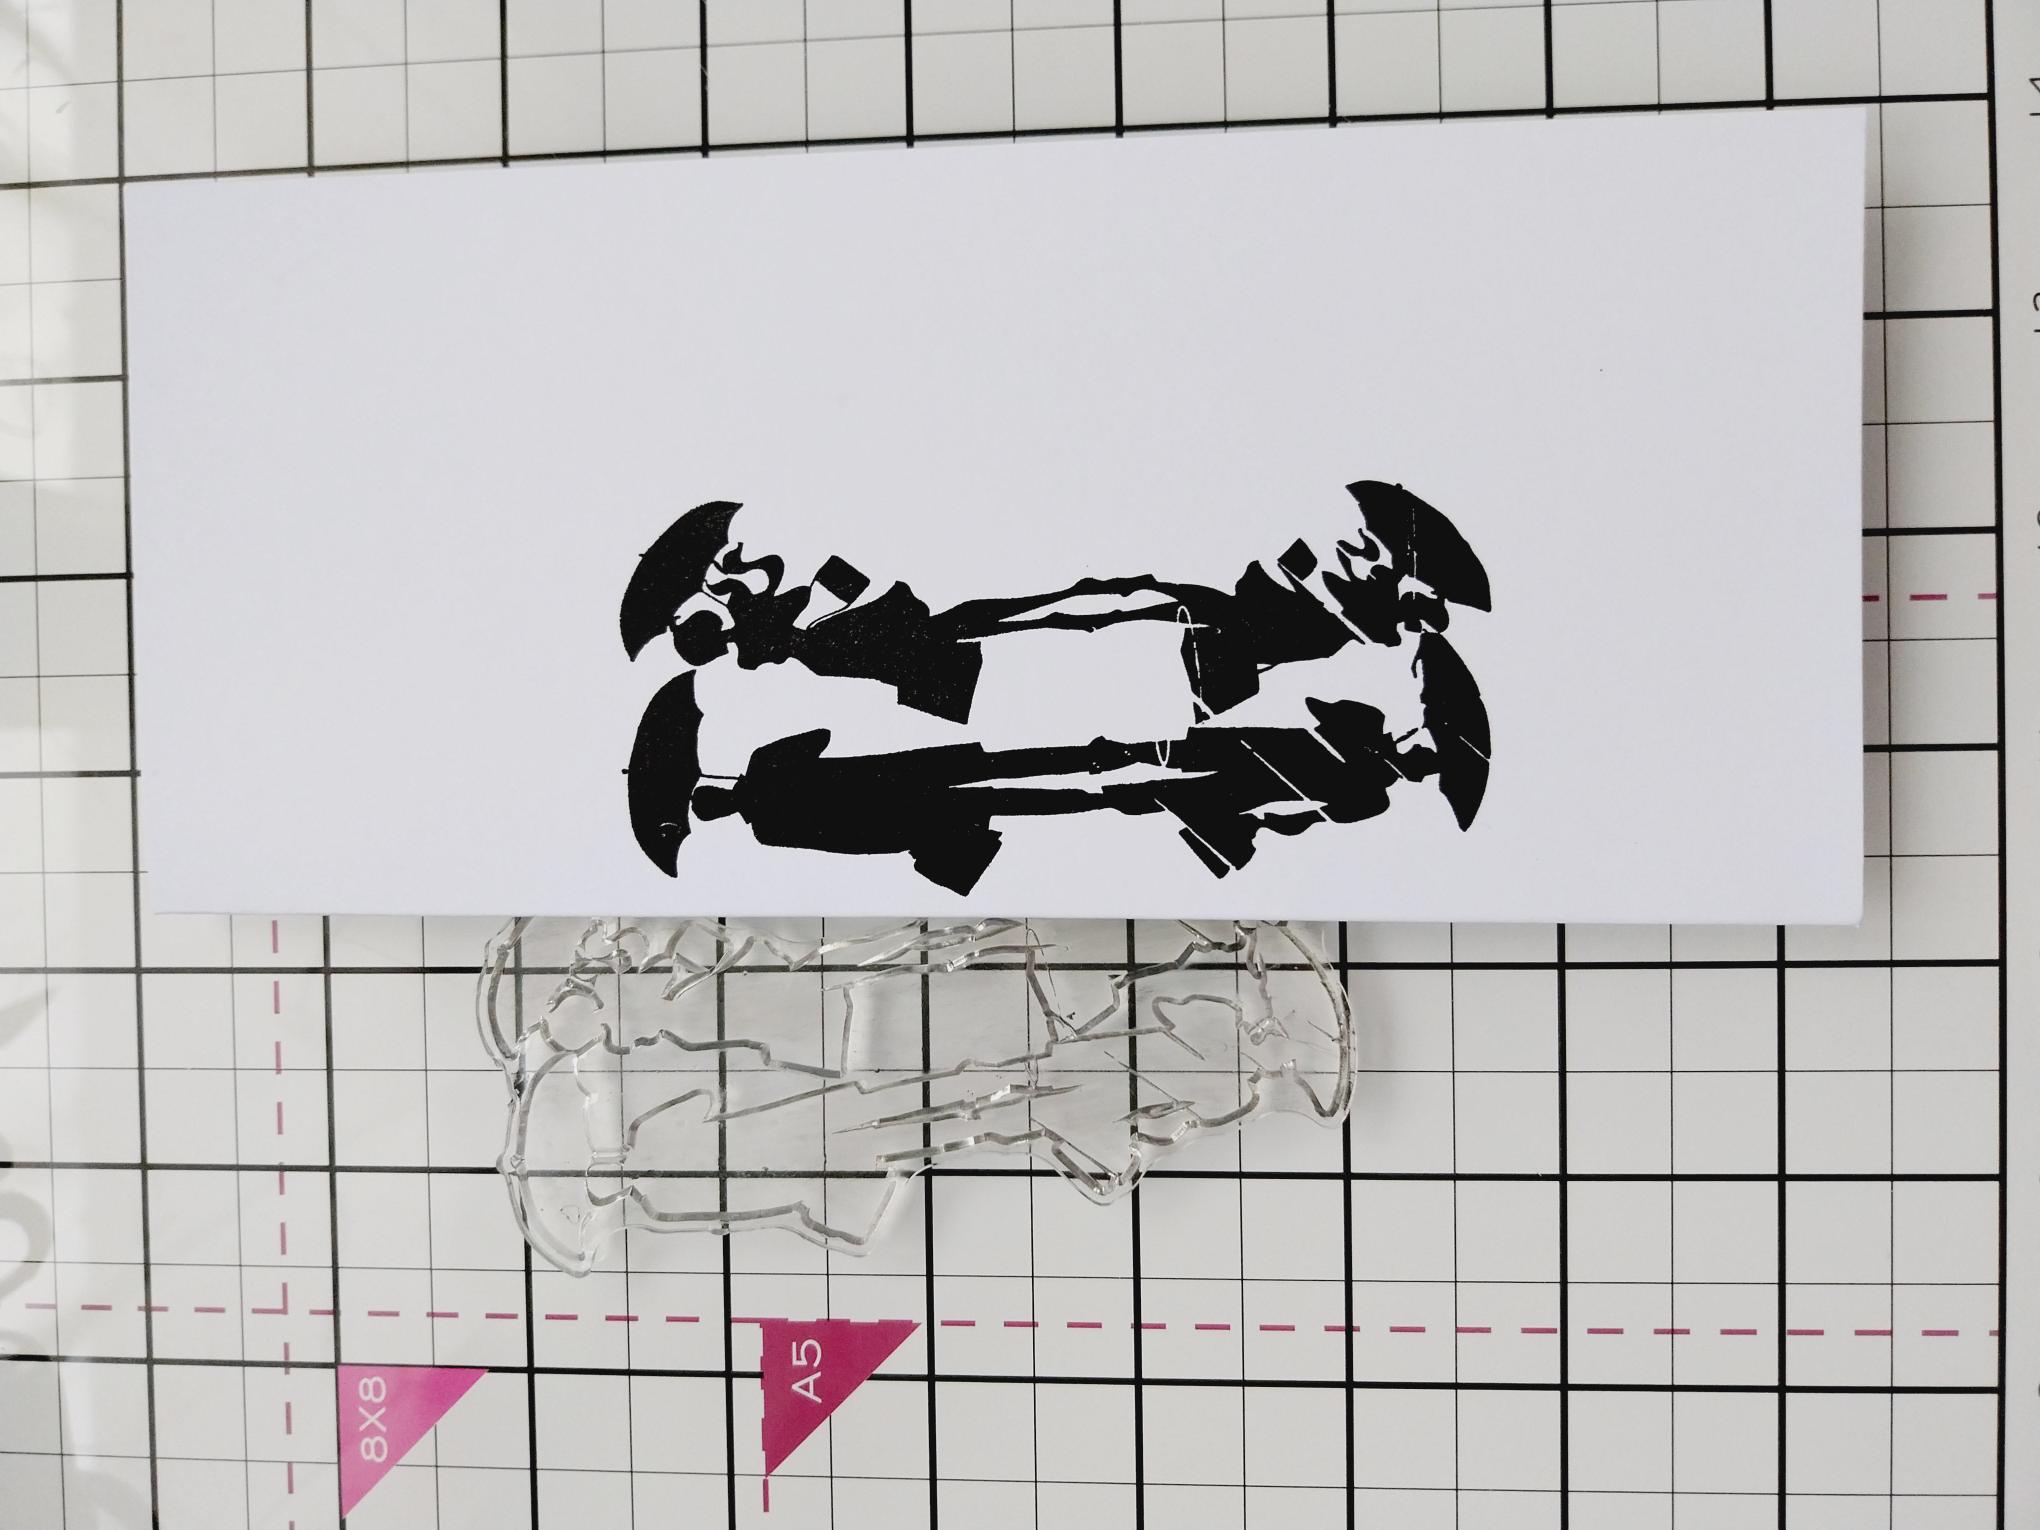
|
Ink up your reflective couple with the Midnight ink and stamp them centre left, on the front of your DL card blank. |

|
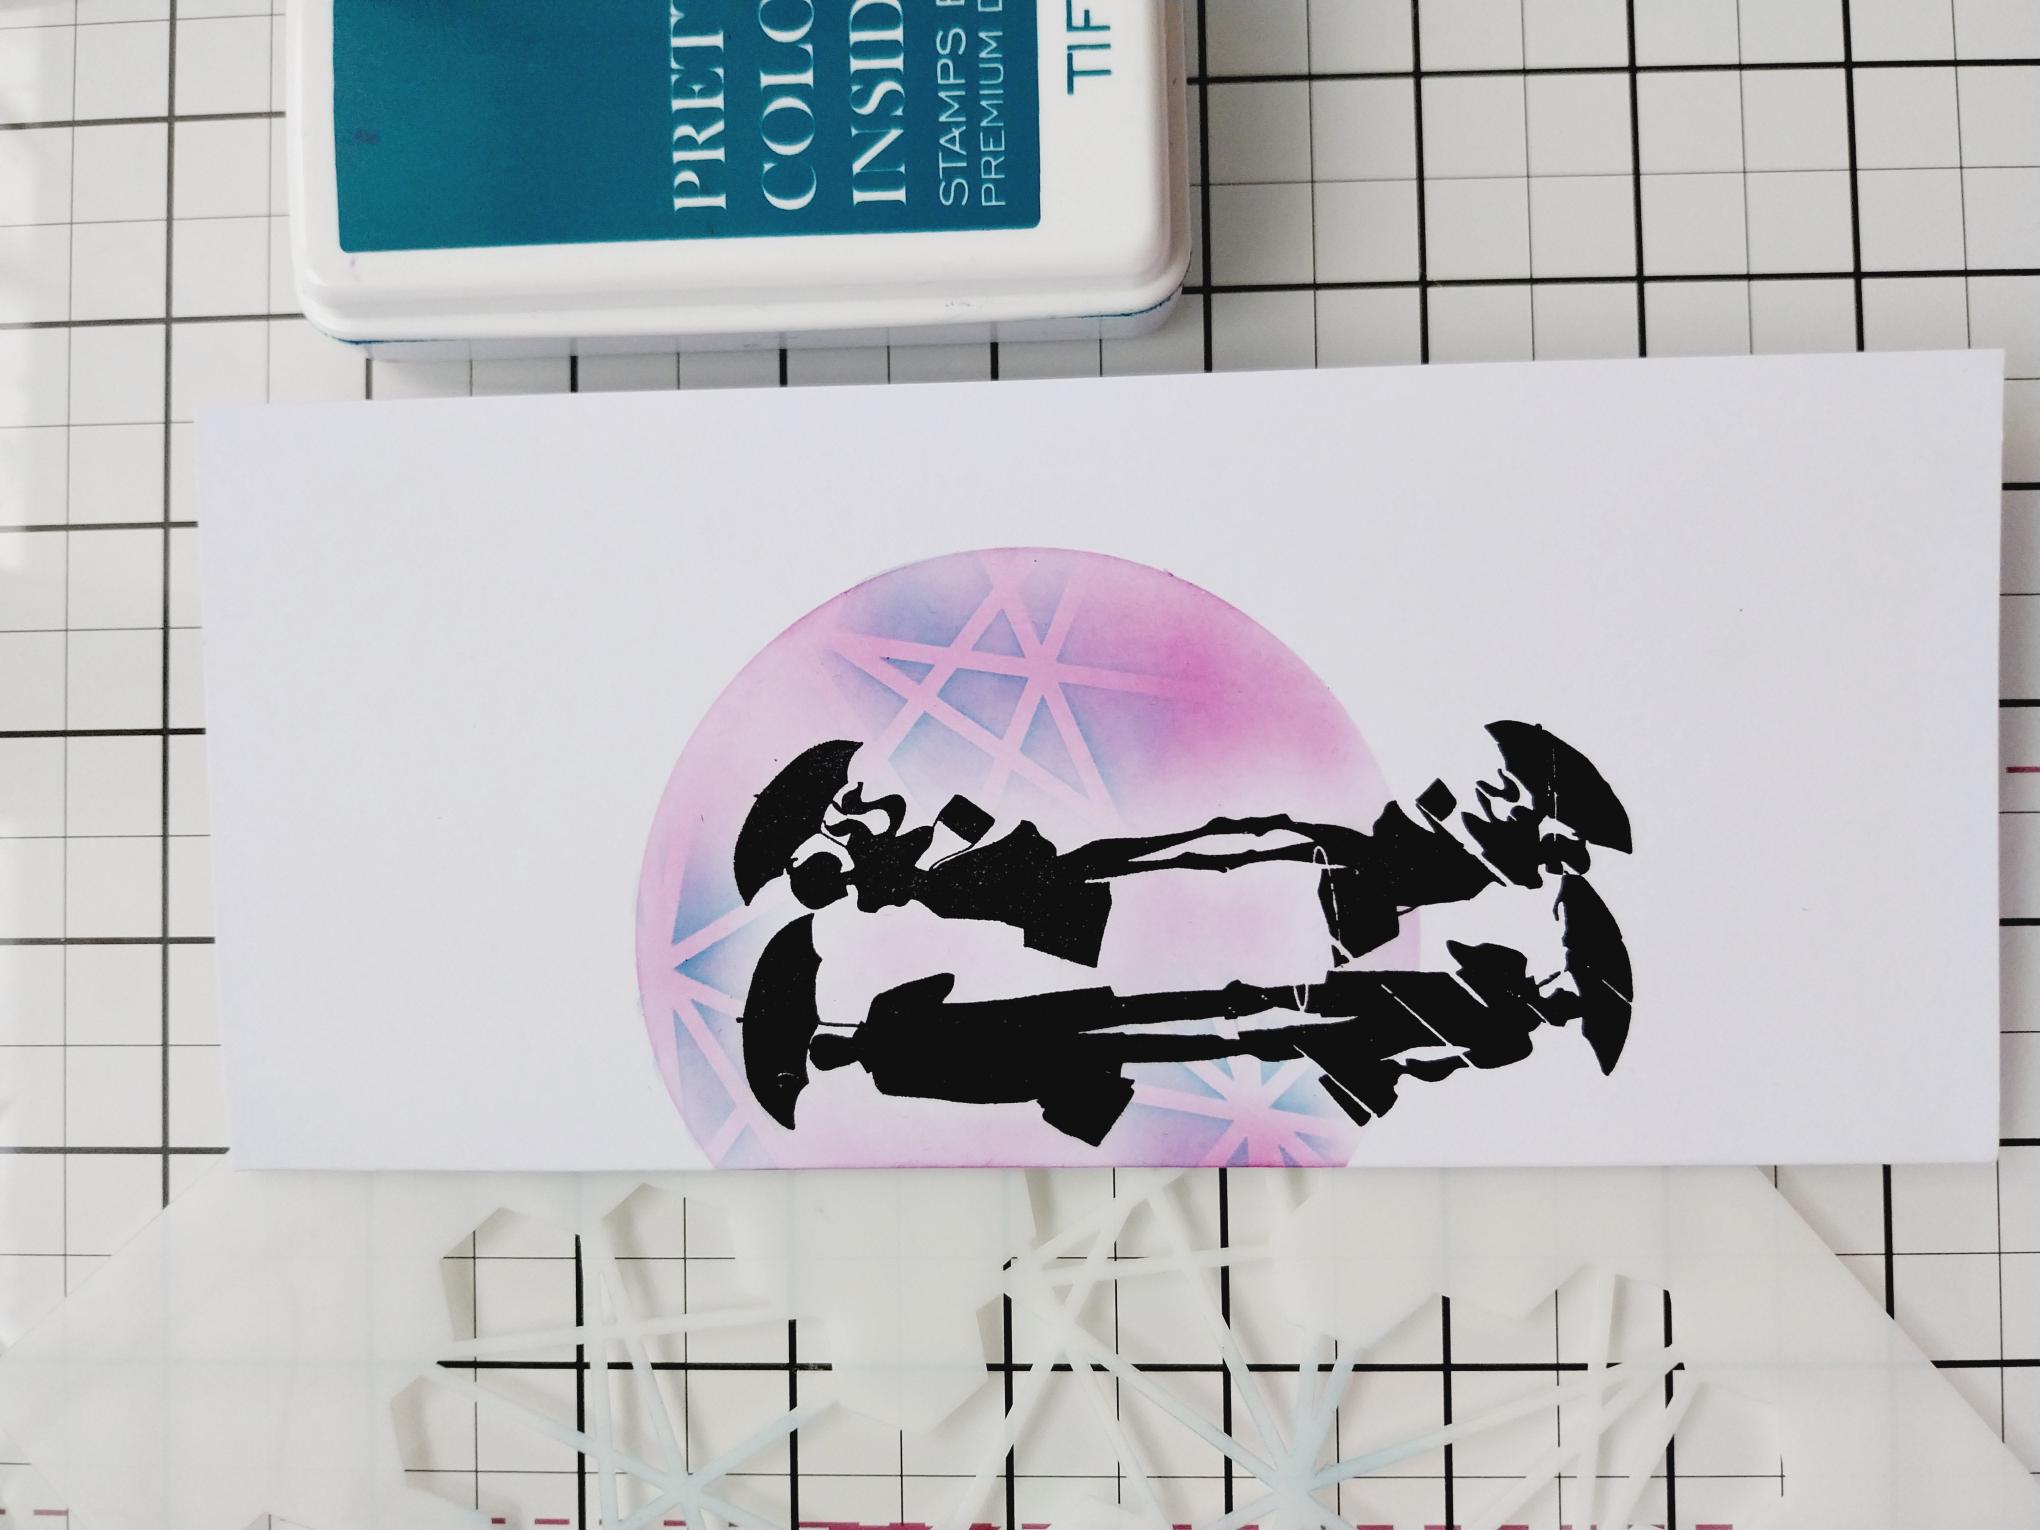
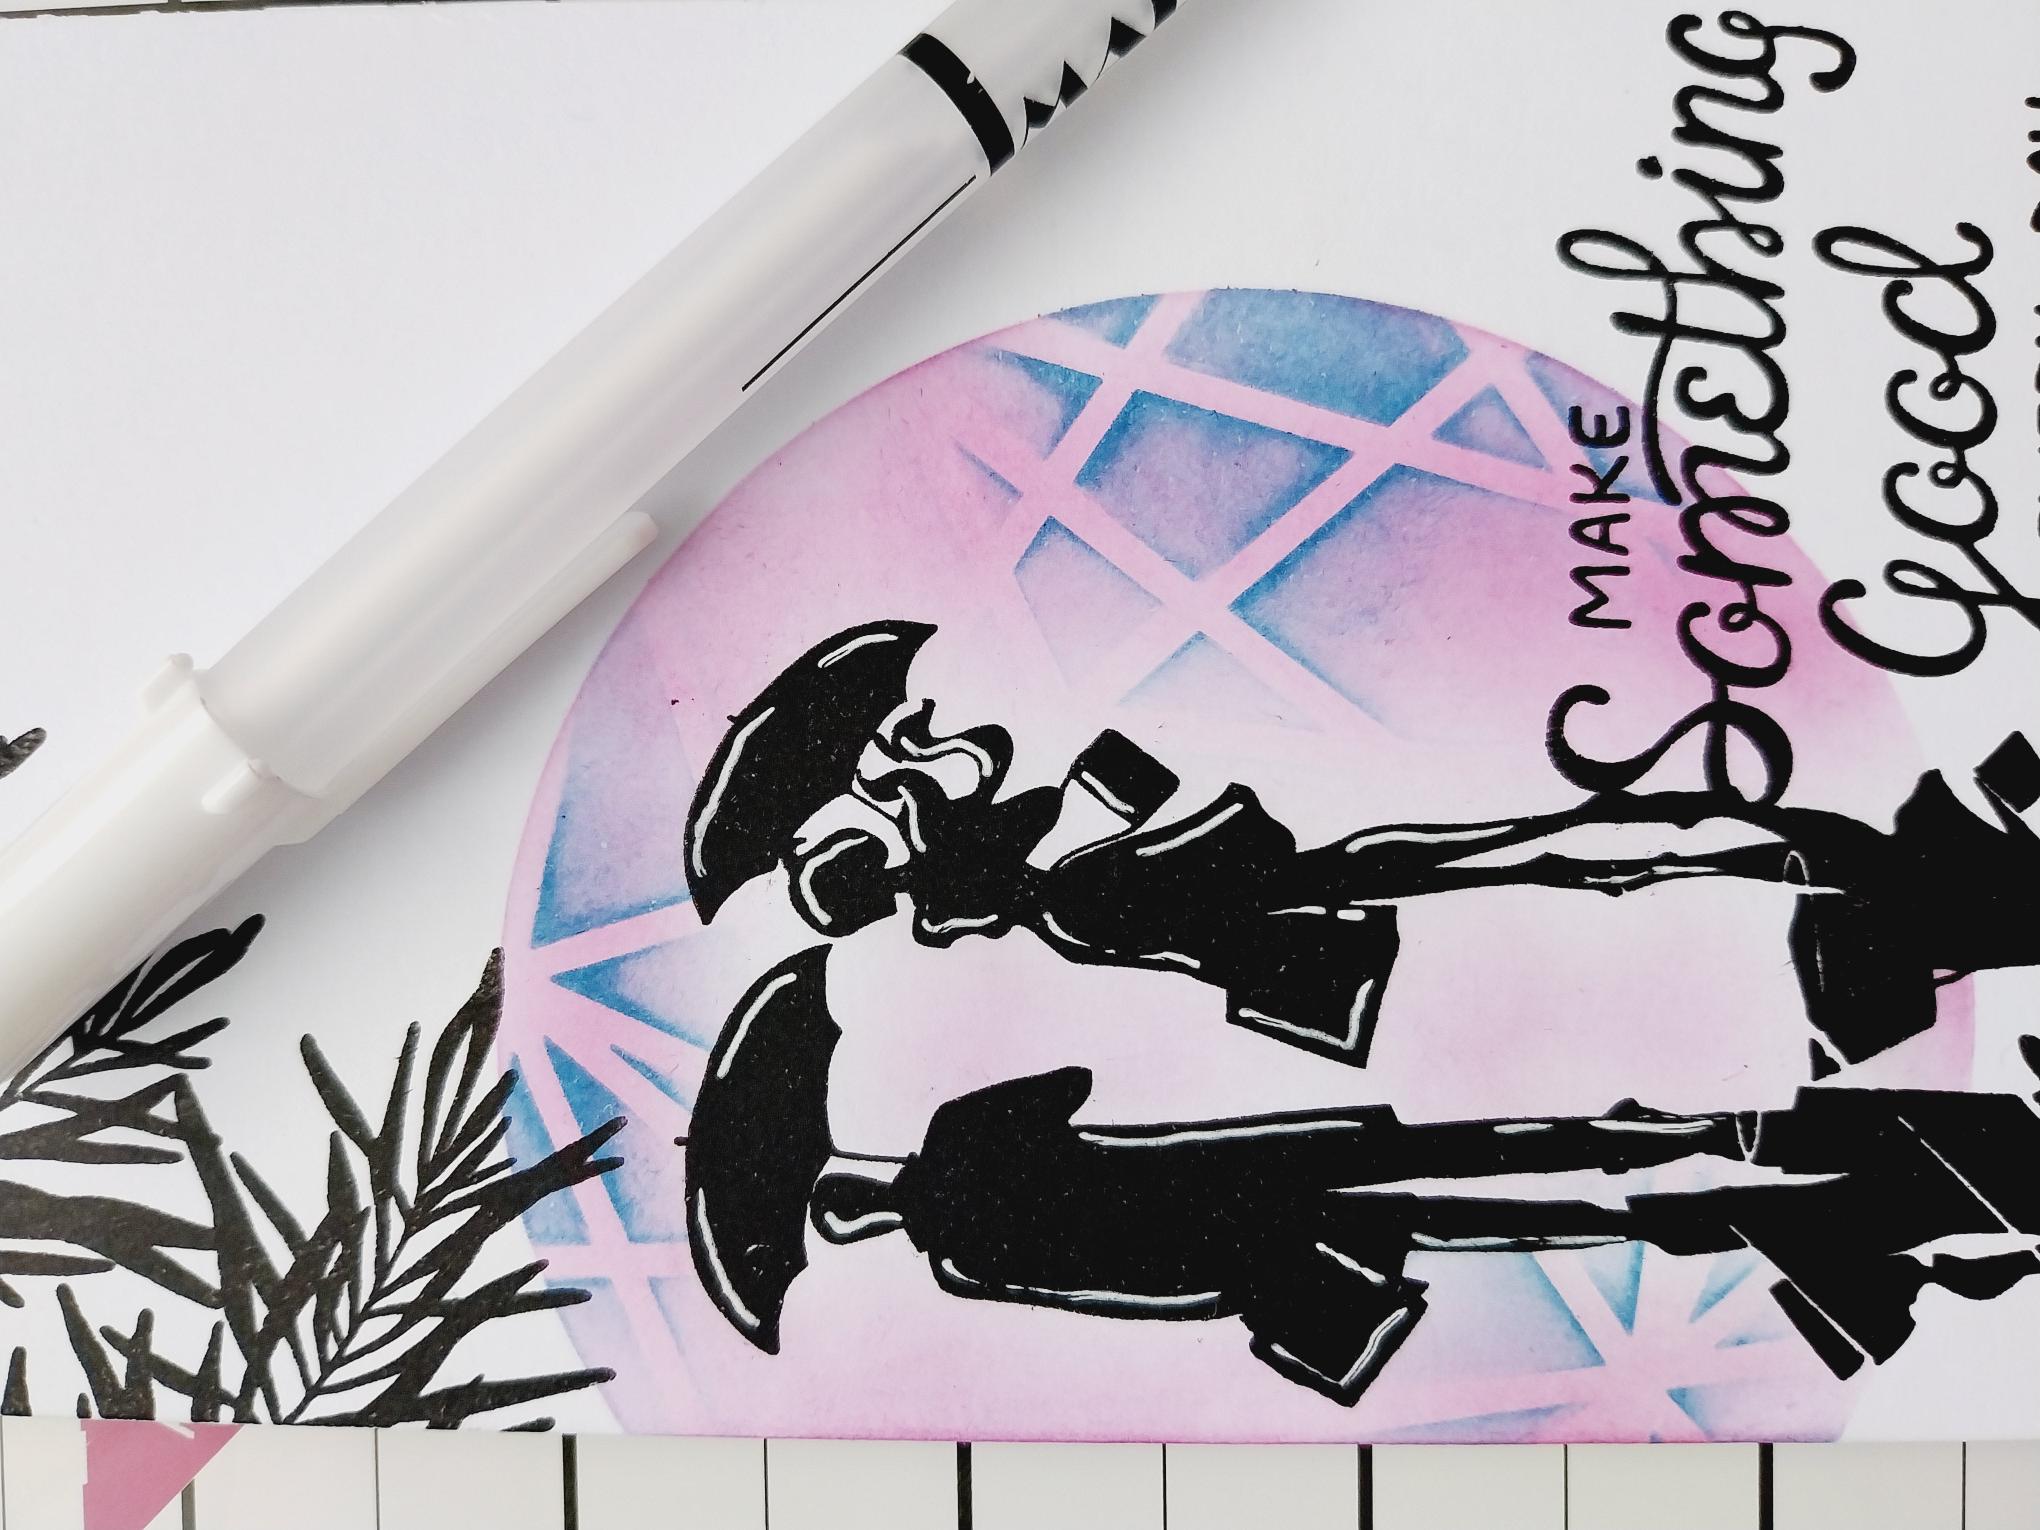
Position your circle aperture stencil so it encompasses the top half of your artwork. Blend within the aperture, around your stamped image, with Fandango, keeping it darker around the outer edges, fading out as you move inwards. |

|
With the circle aperture stencil still in place, position your Honeycomb stencil so it sits above the aperture, as seen here. |
|
Blend lightly with Tiffany to add effect within the inked circle only. Remove your circle stencil. |
|
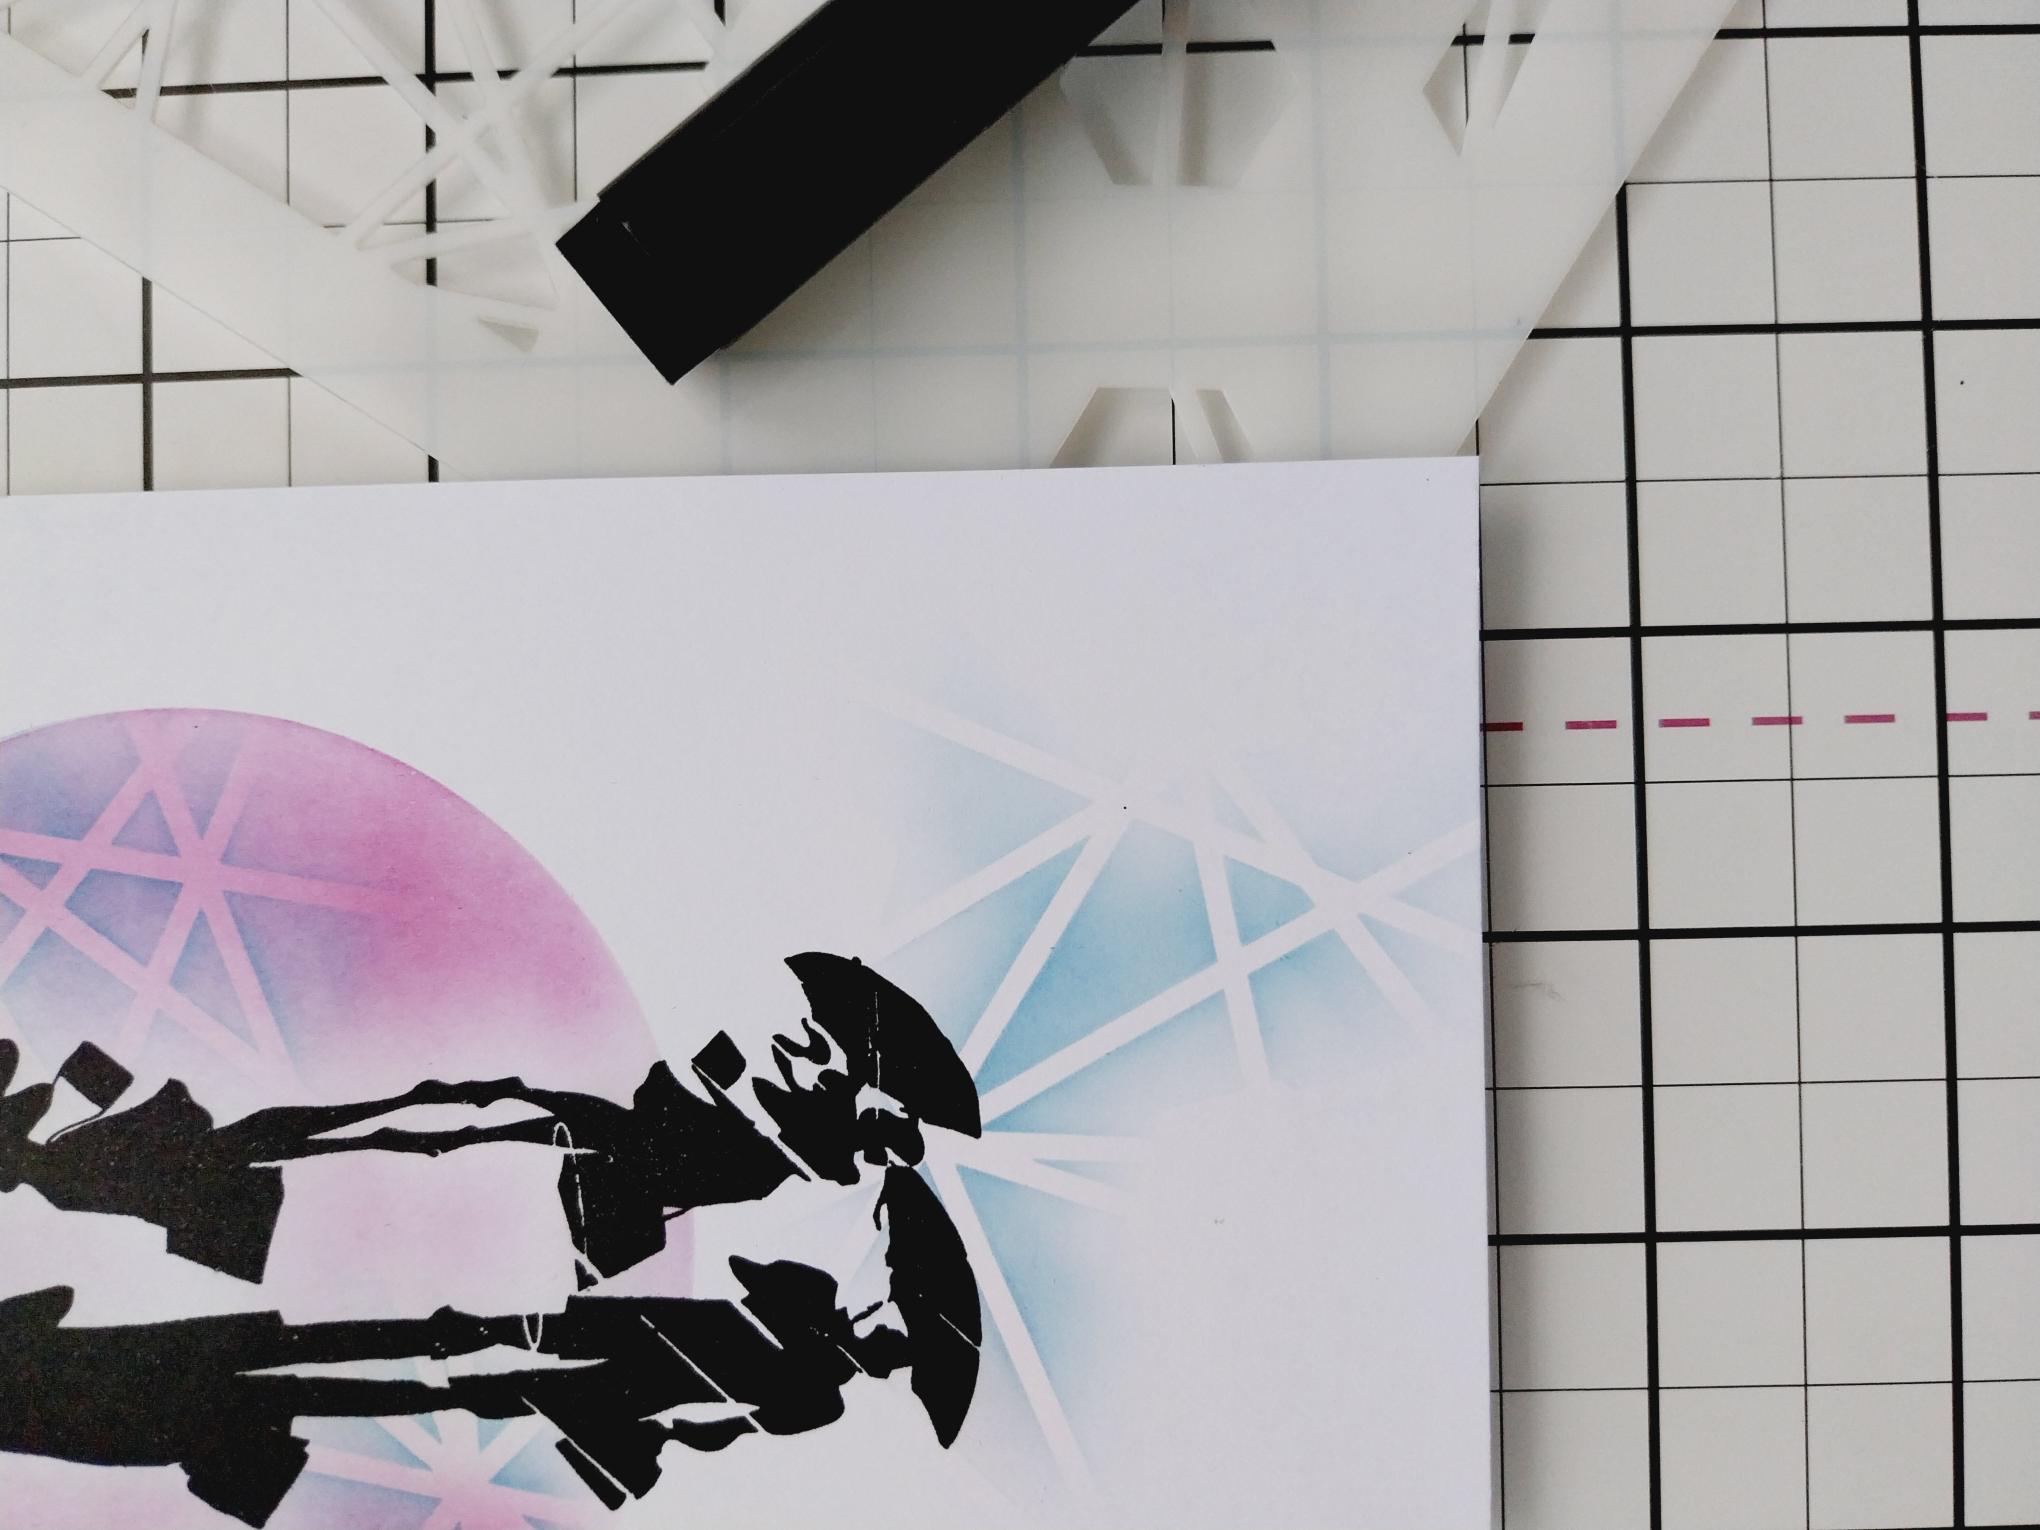
Using Tiffany and the Honeycomb stencil, add texture so it extends the reflective element of your stamped artwork. |
|
Using Midnight, stamp foliage coming down from the top left corner. |
|
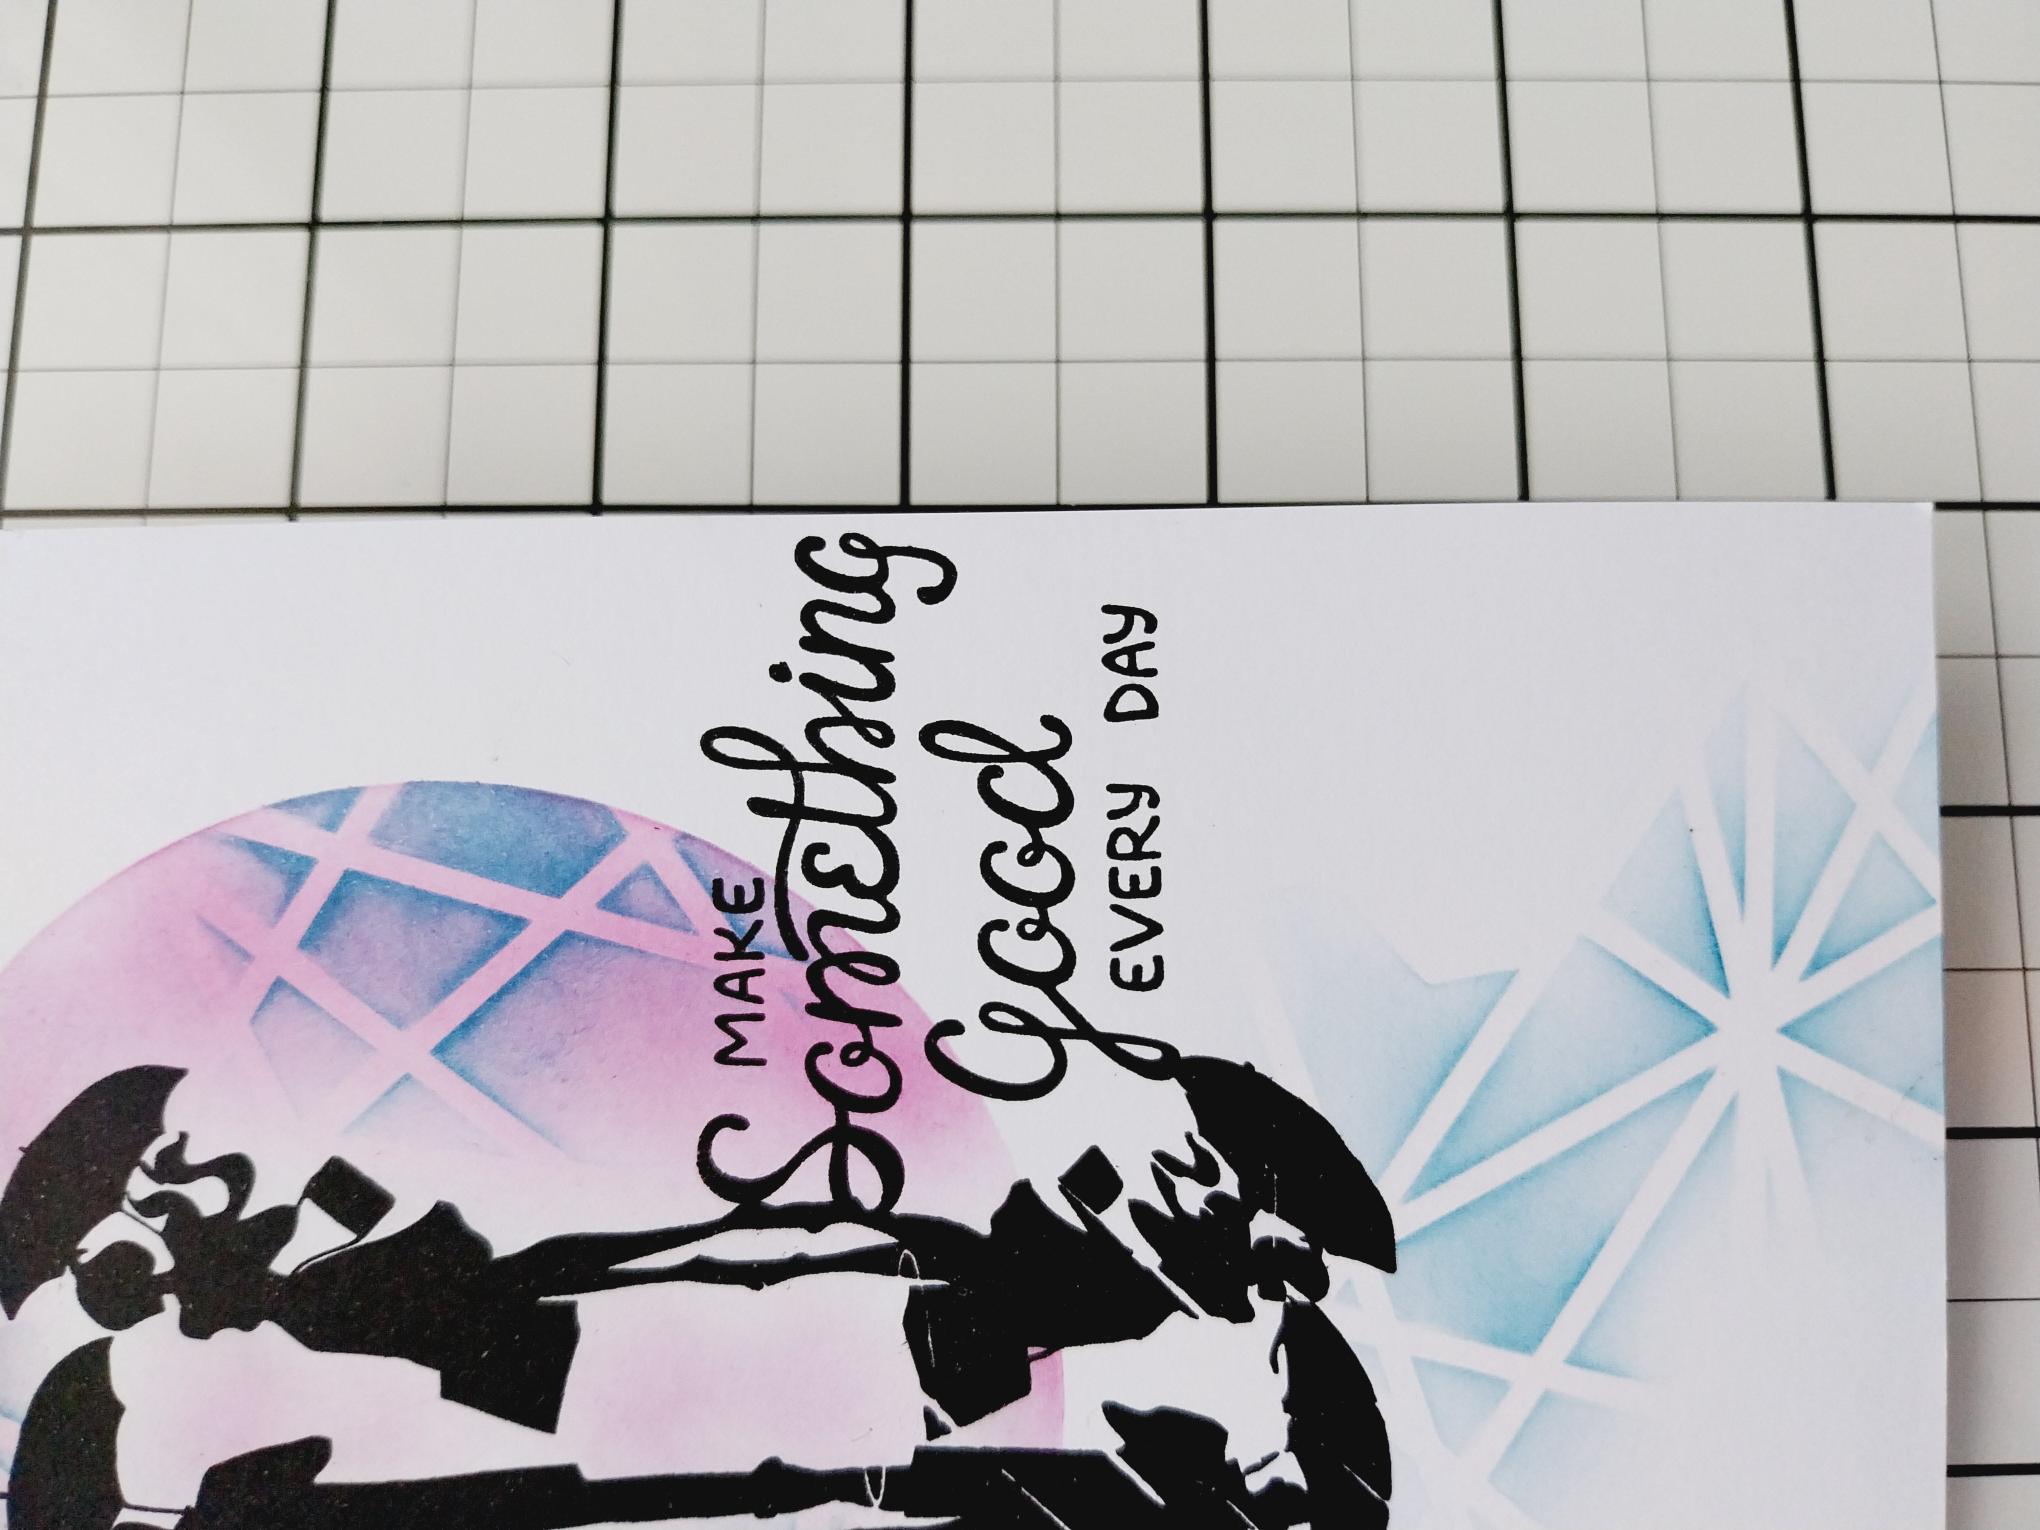
Stamp the sentiment, in Midnight, bottom right of your stamped artwork. |
|
To finish, use a white gel pen to add accents and highlights to your silhouette image. |