Give your friends $10 off their first order!
Refer a FRIEND


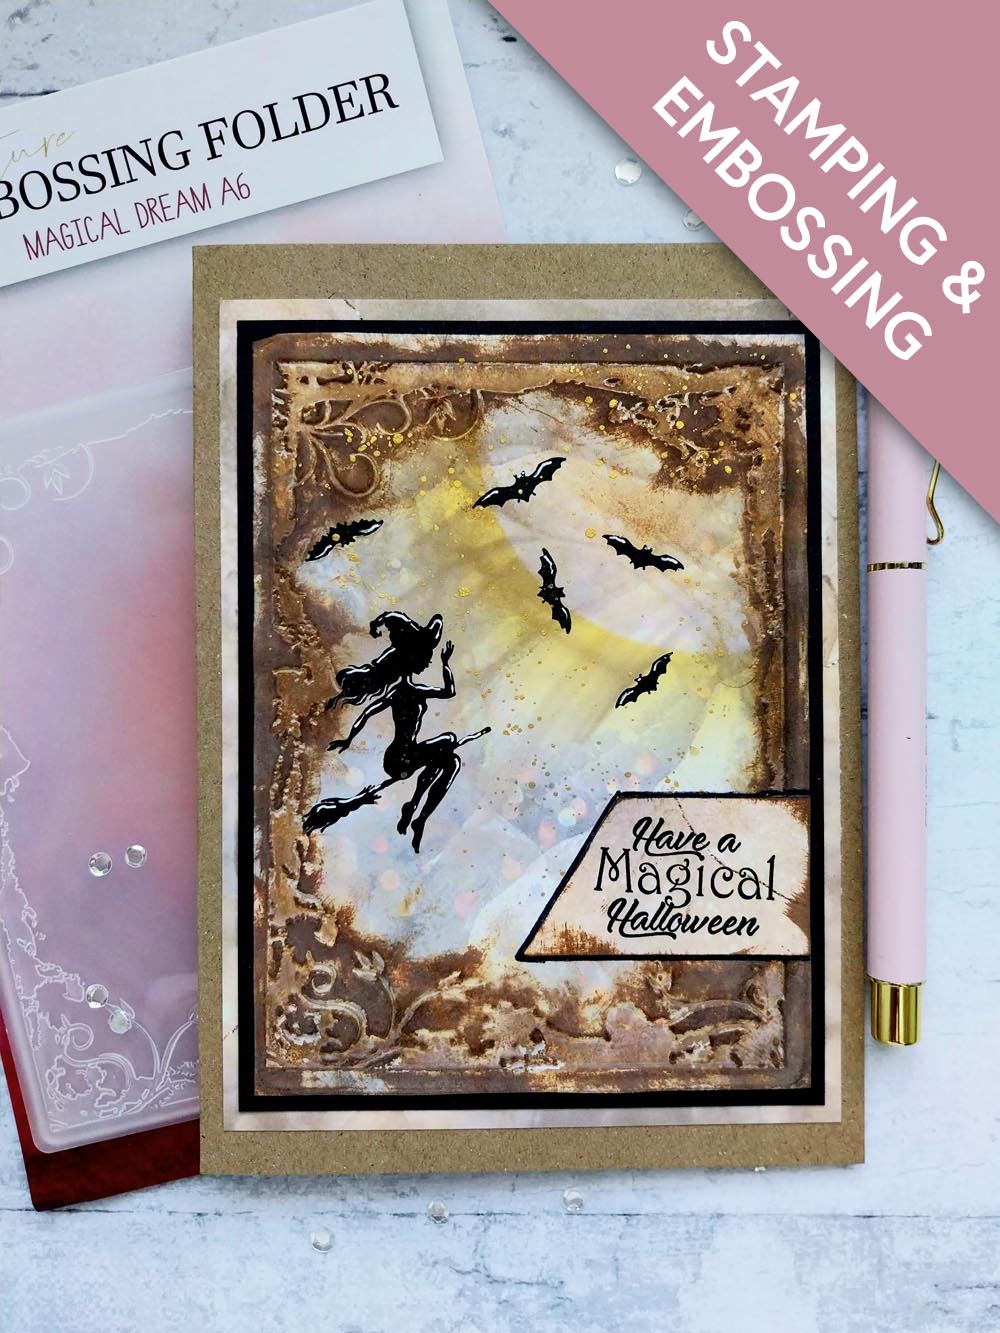
WHAT YOU WILL NEED:
Kraft card blank 5 x 7"
Black cardstock
Signature Embossing Folder Magical Place 4 x 6
All Surfaces Elegant Gold 8 x 8" Paper Pack
Halloween Reflection Collection Bundle
SBM Hybrid Ink Pad: Midnight
SBM Premium Dye Ink Pad: Sherbet
Distress Ink/Oxide Ink Pad: Vintage Photo
Confetti Ink: Goldmine
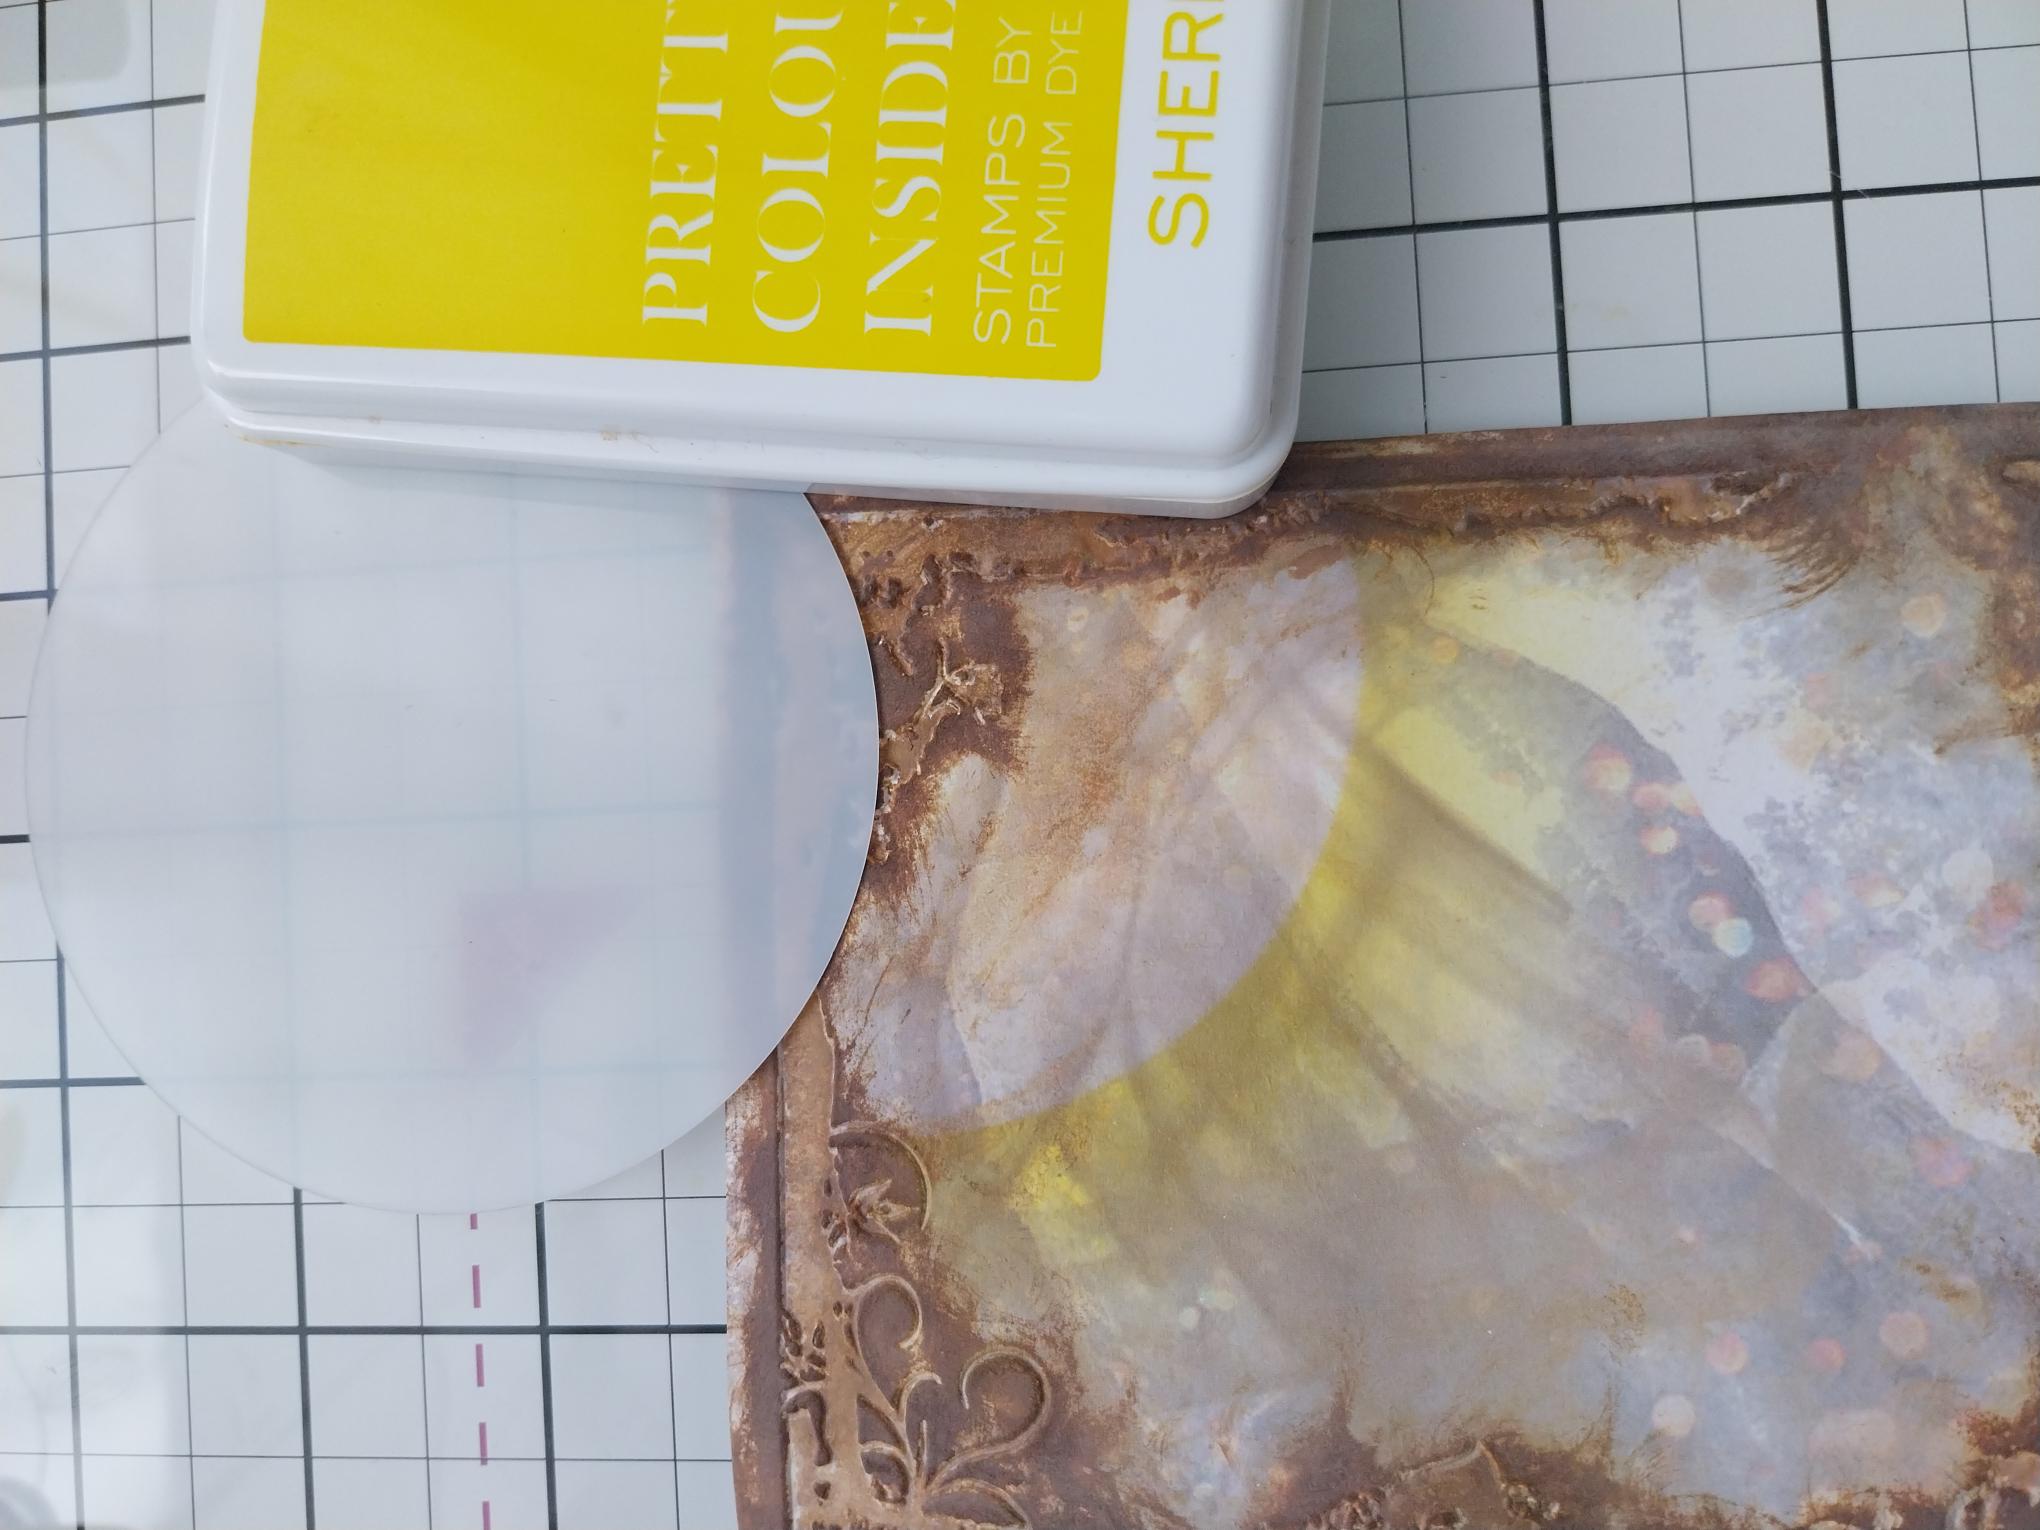
Circle mask (Sun)
Blending brush
Water spray bottle
Paint brush
Imala white gel pen
Black pen
WOW heat tool
Eureka 101 Watercolour Tablet
SBM A3 Magnetic glass mat
Paper Trimmer
Glue
Die Cutting machine
[click image to enlarge] 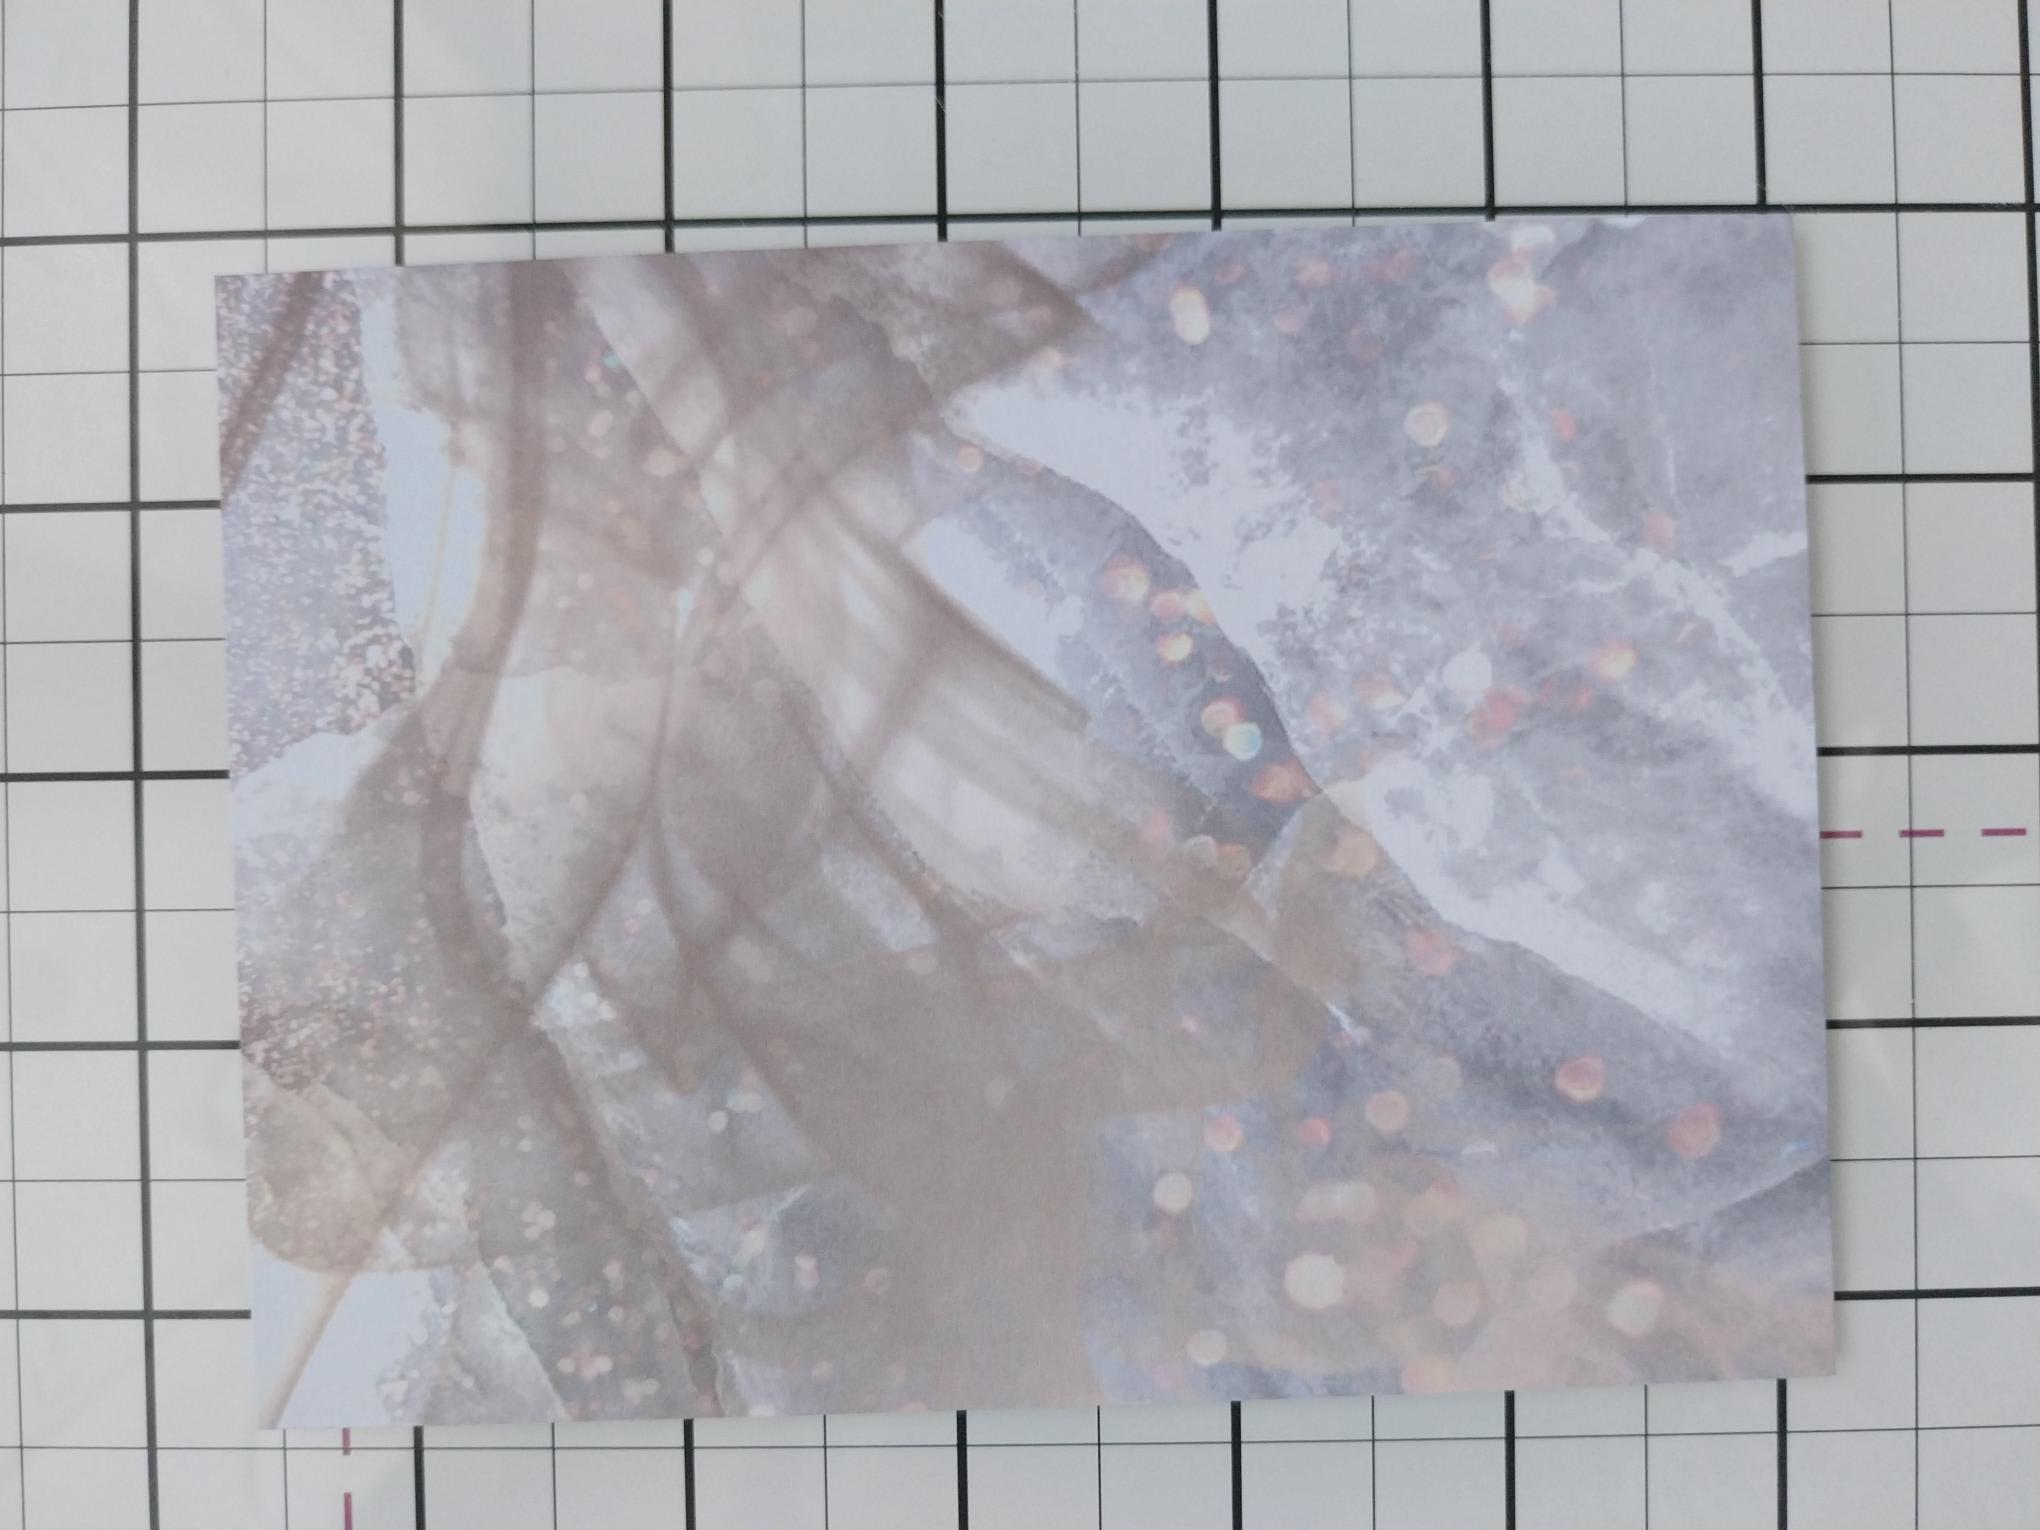
|
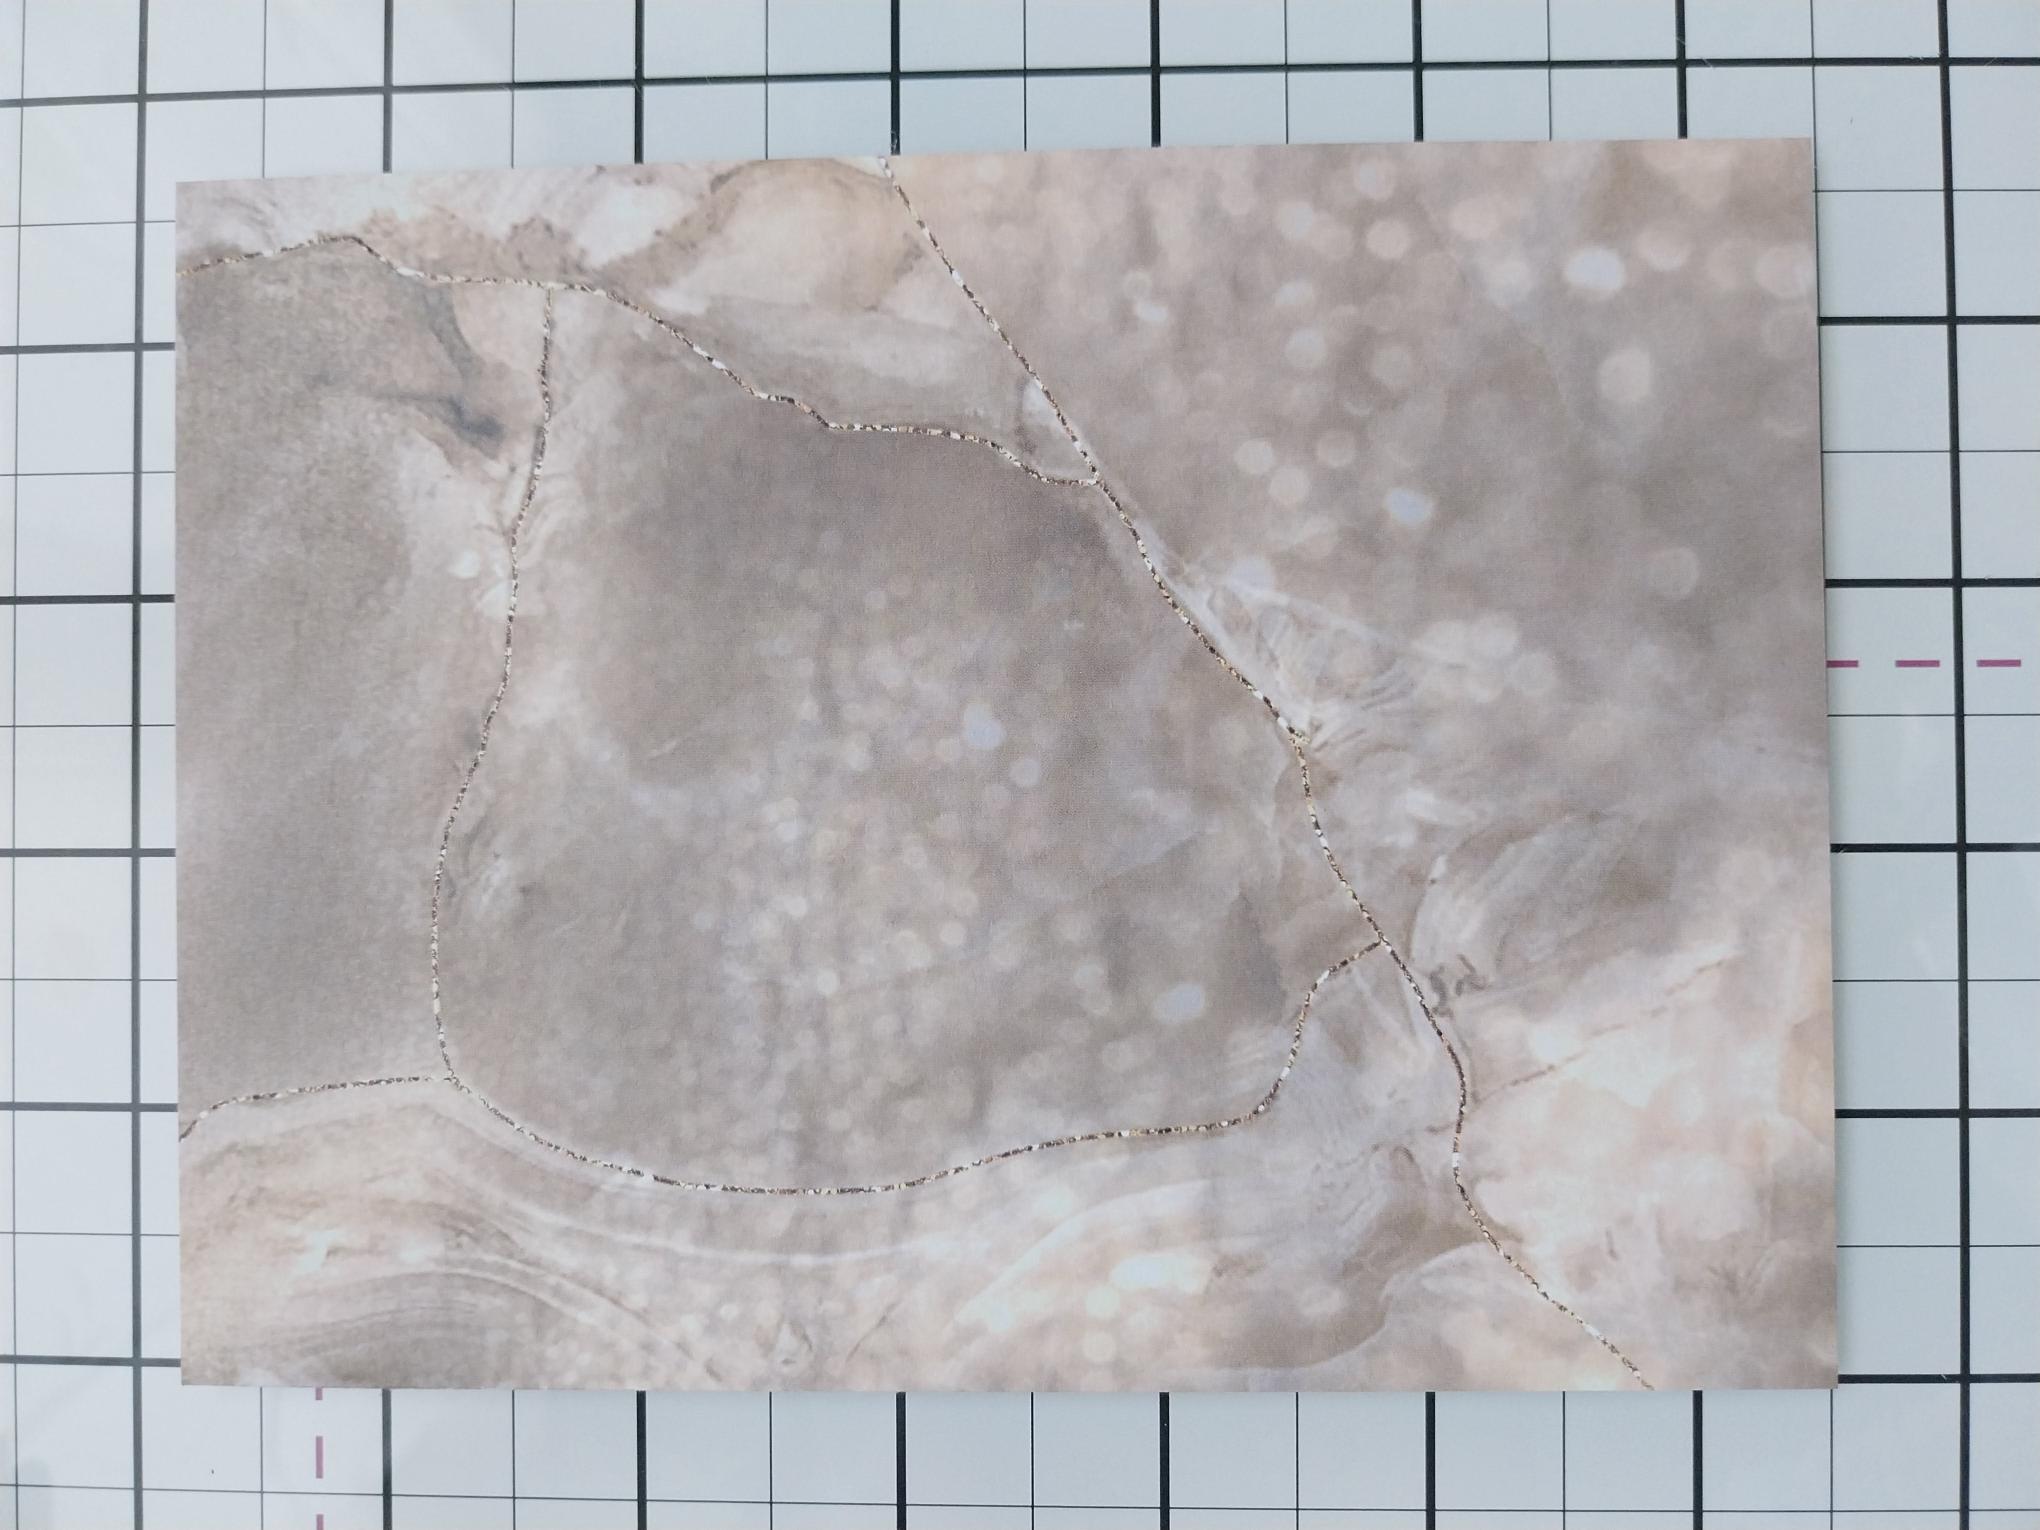
Cut this beautiful paper, from the Elegant Gold paper pack, to 5 3/4 x 4 1/4". |
|
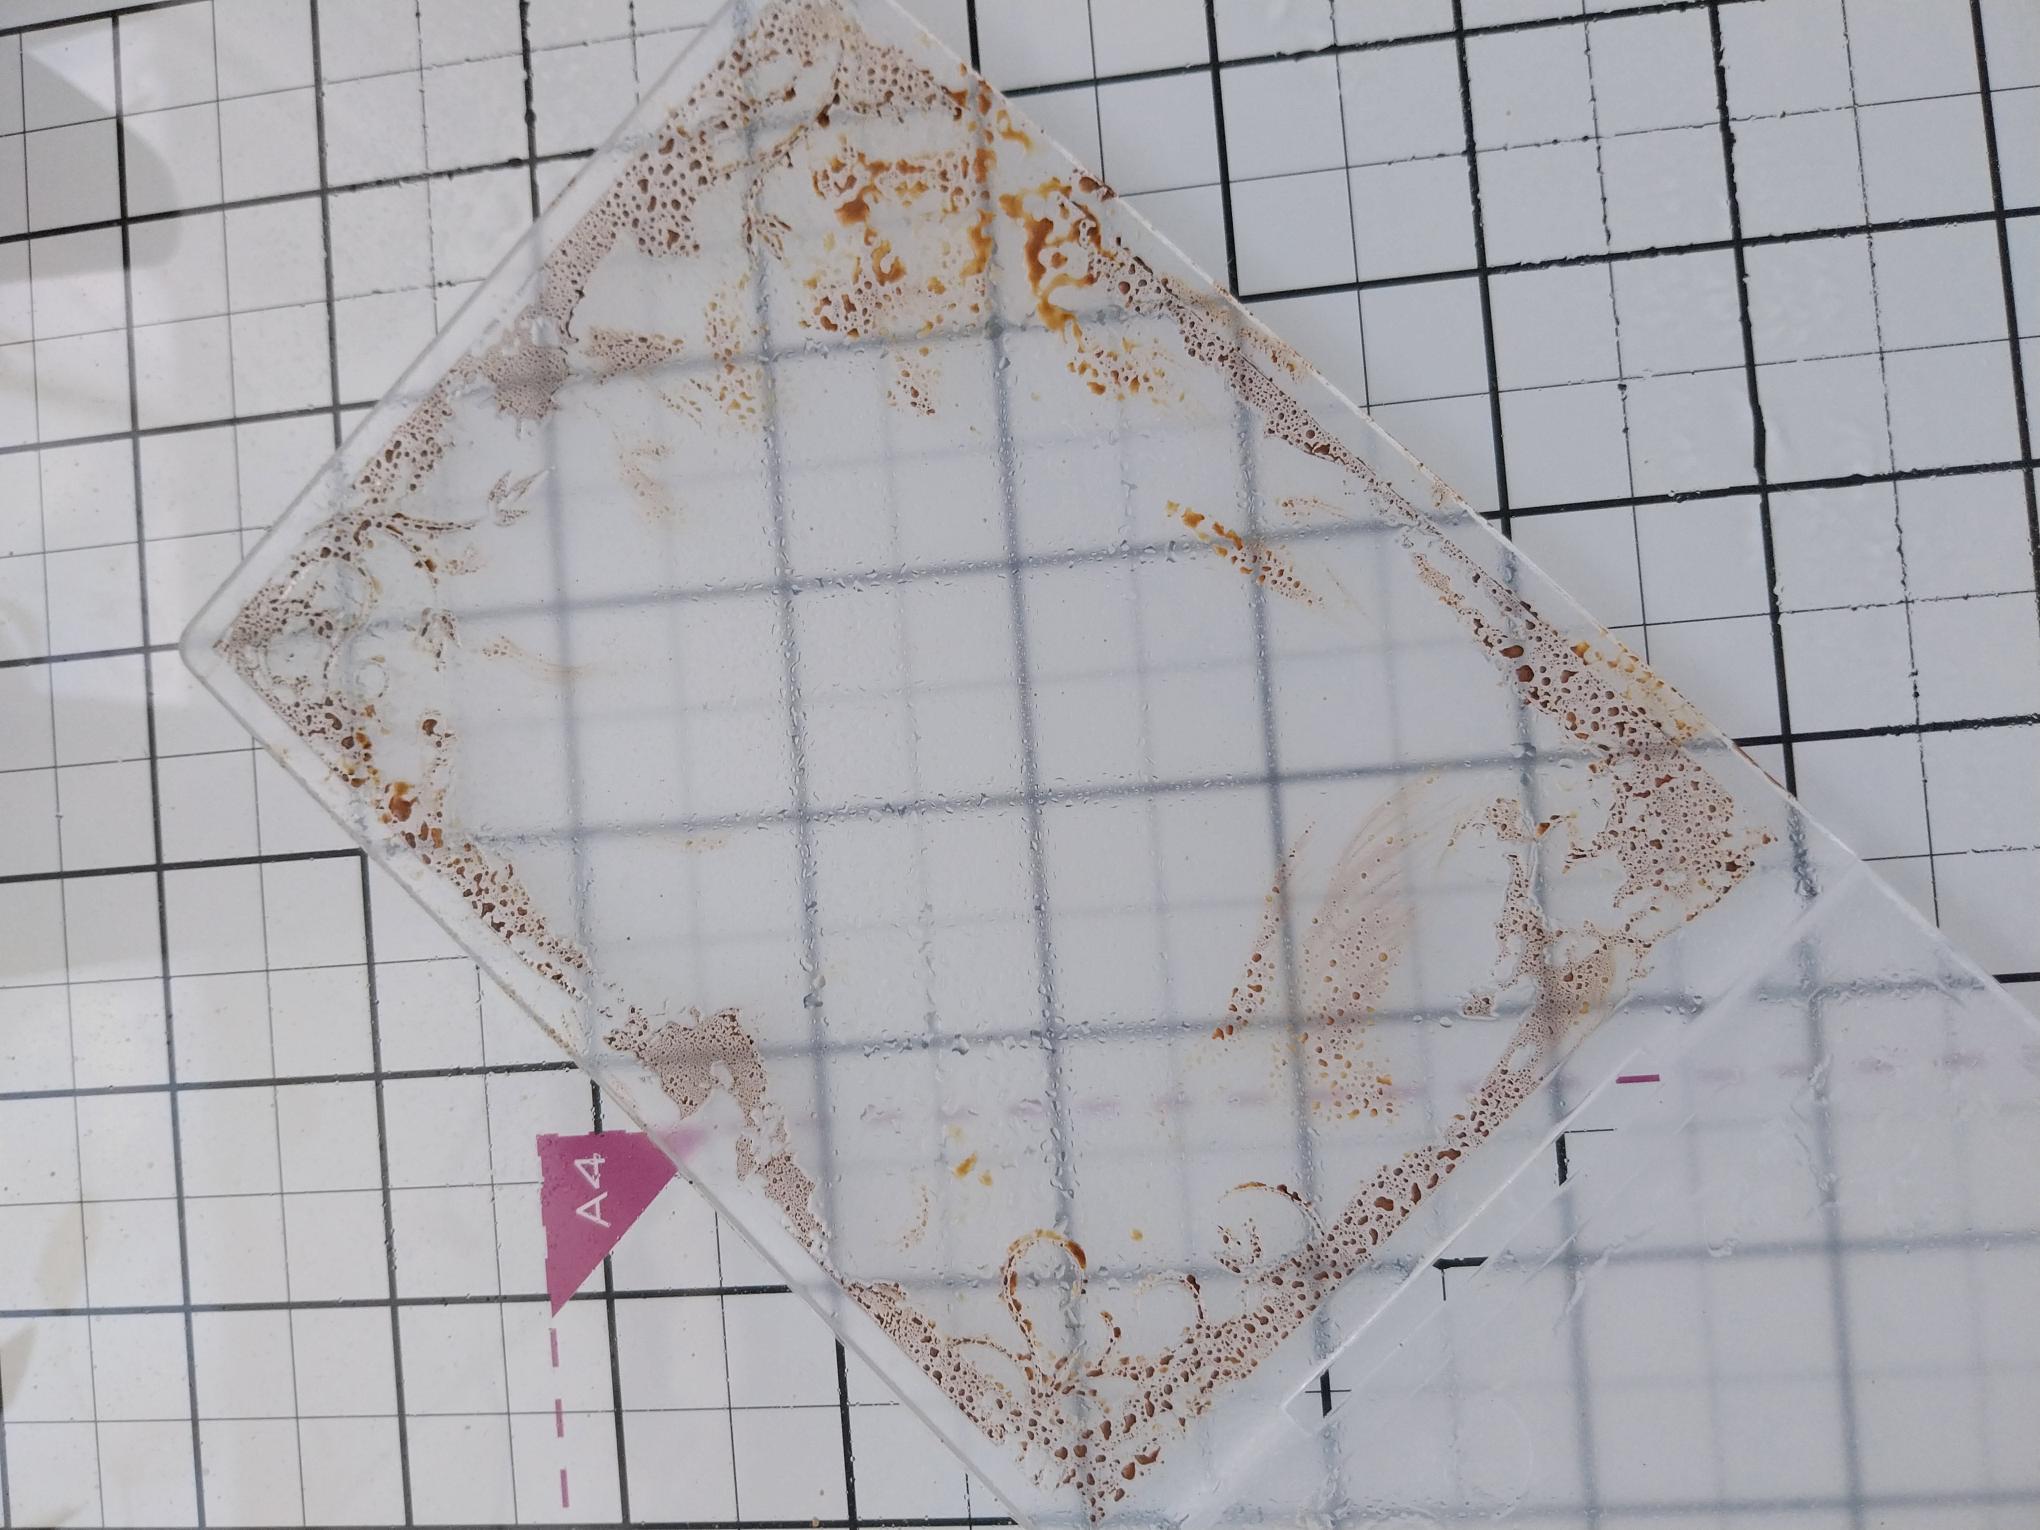
Ink on the EMBOSSED side, around the edges of the Magical Dream embossing folder, with the Distress Vintage Photo ink pad and spritz lightly with water. |
|
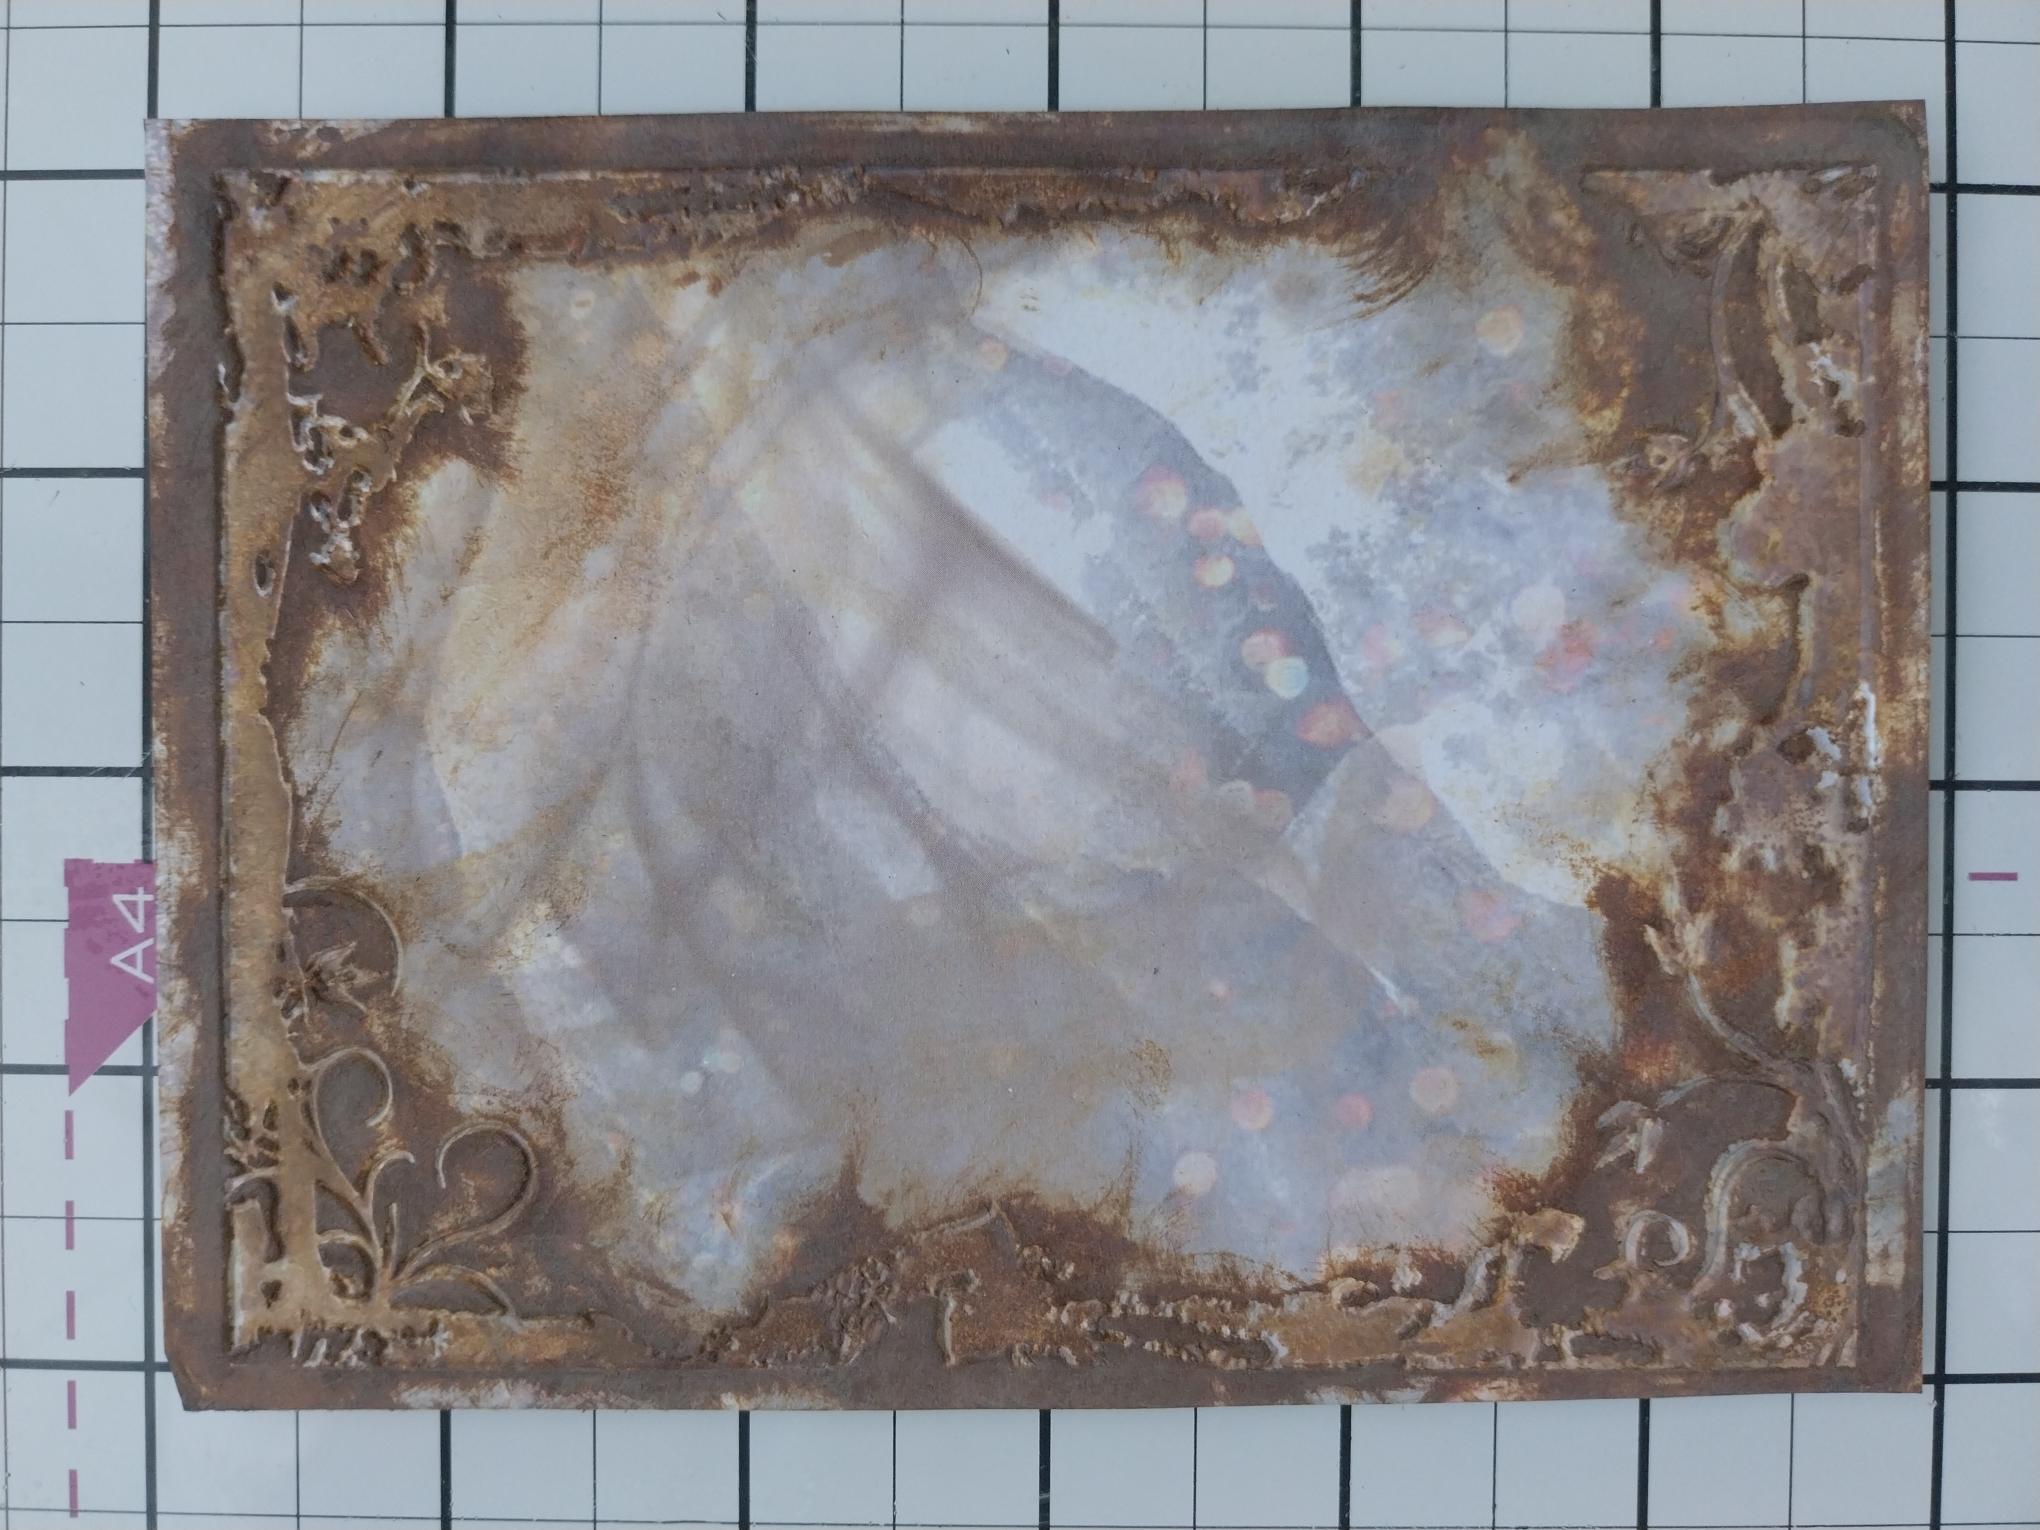
Place the decorative paper inside the inked folder and run it through your embossing folder. You can add more ink to your embossed background, with your blending tool and then dry thoroughly with your heat tool. |
|
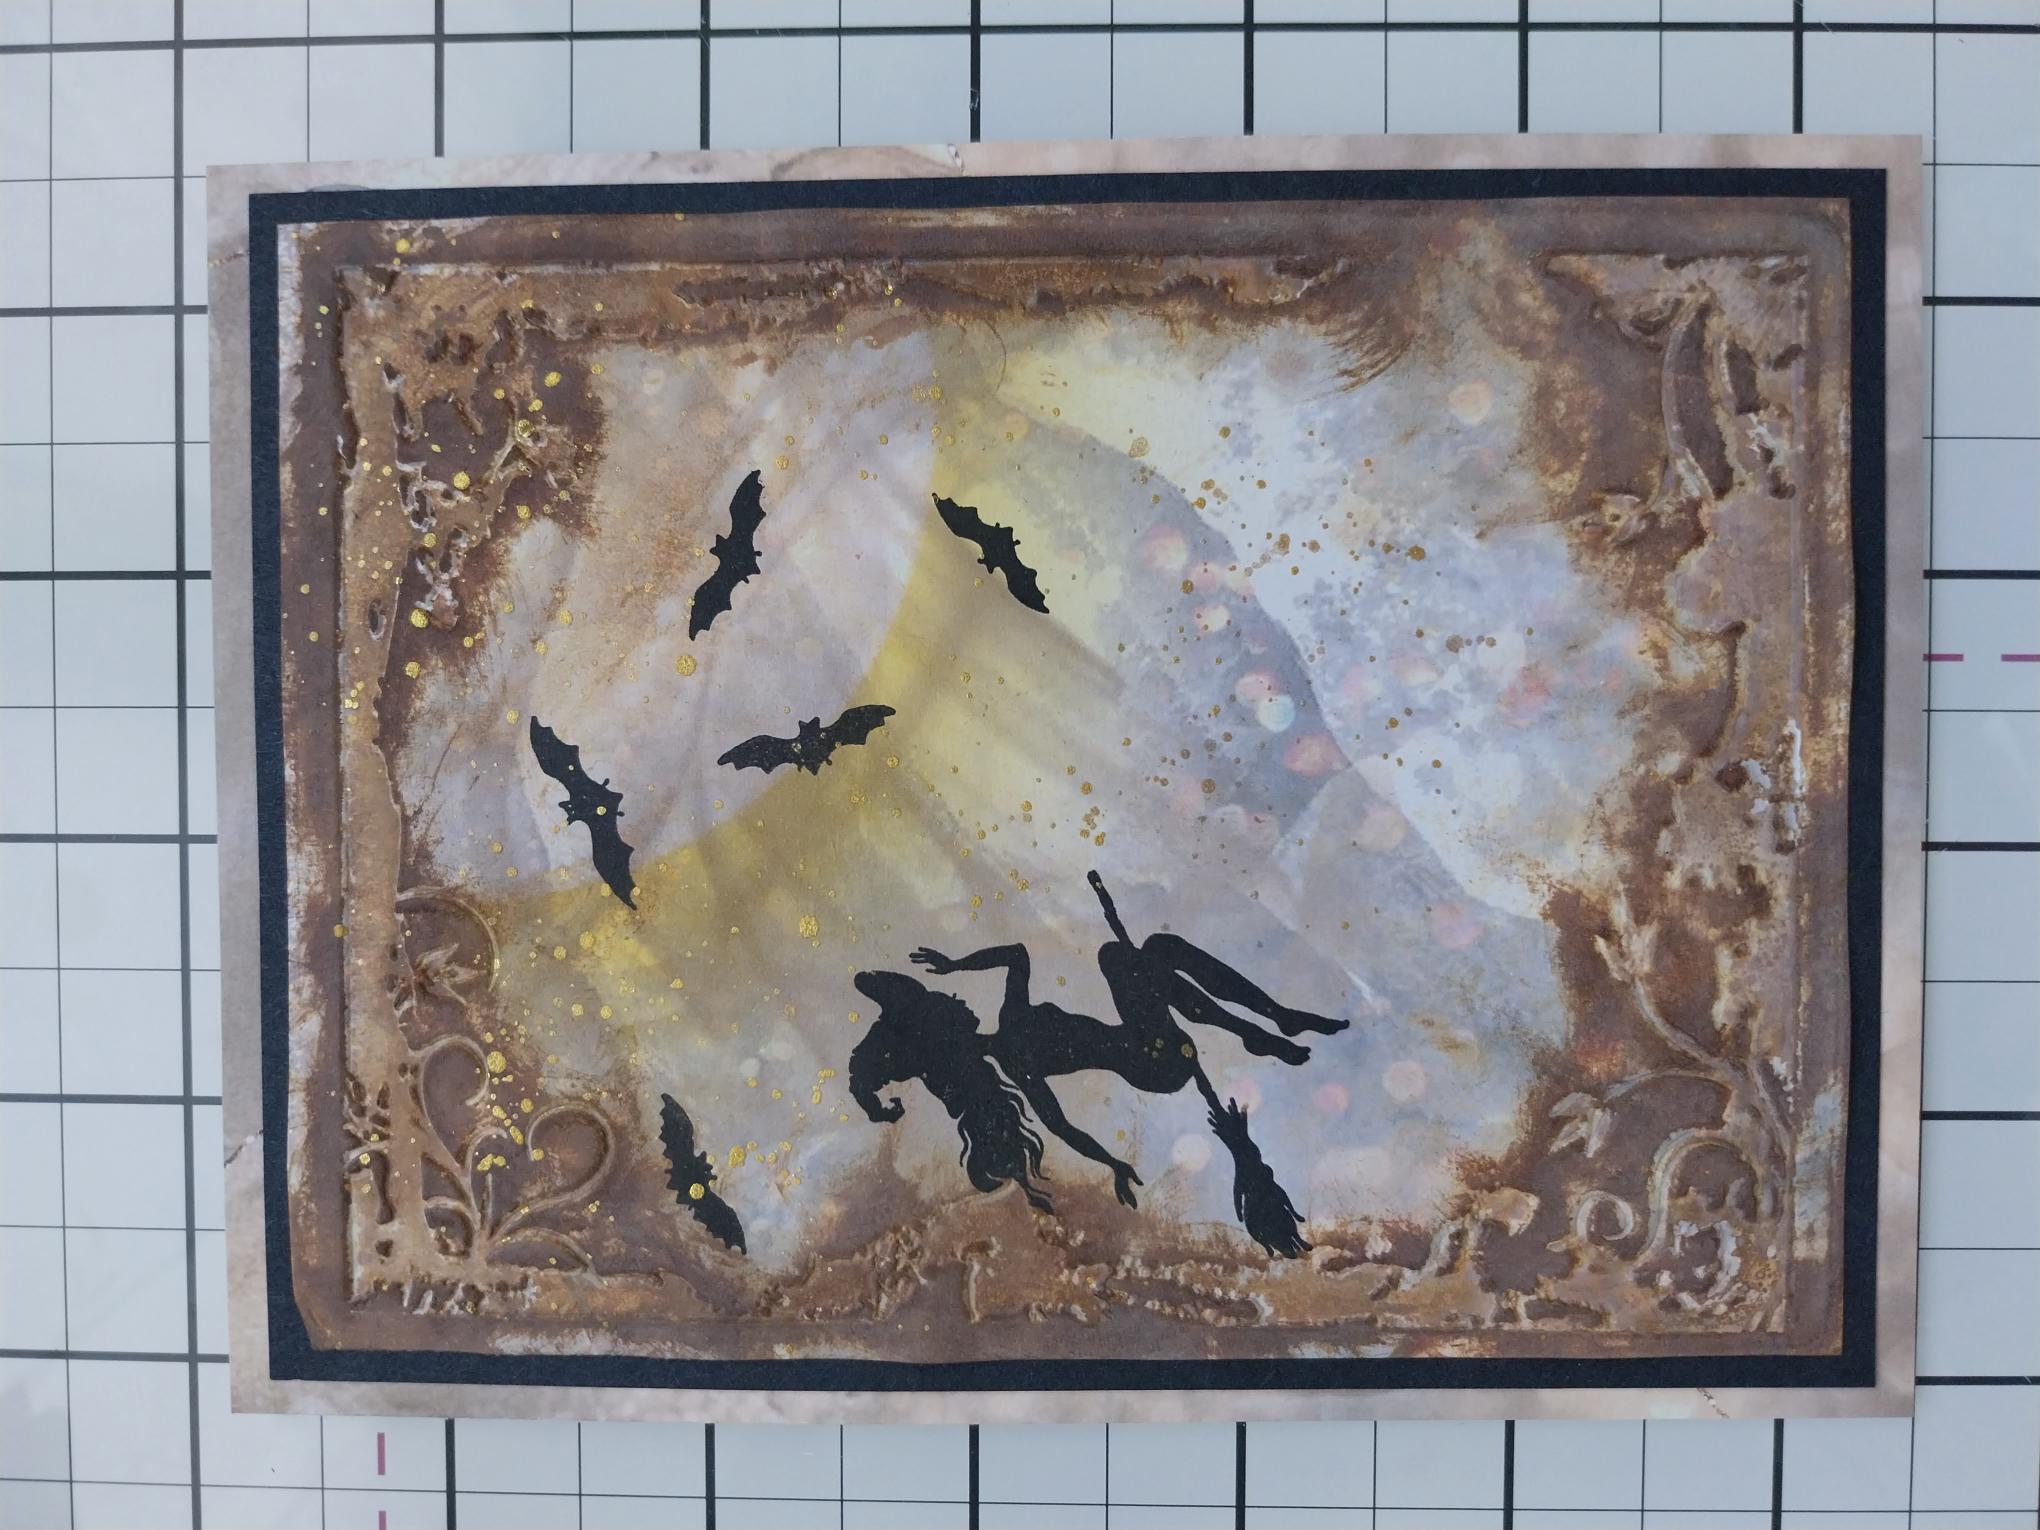
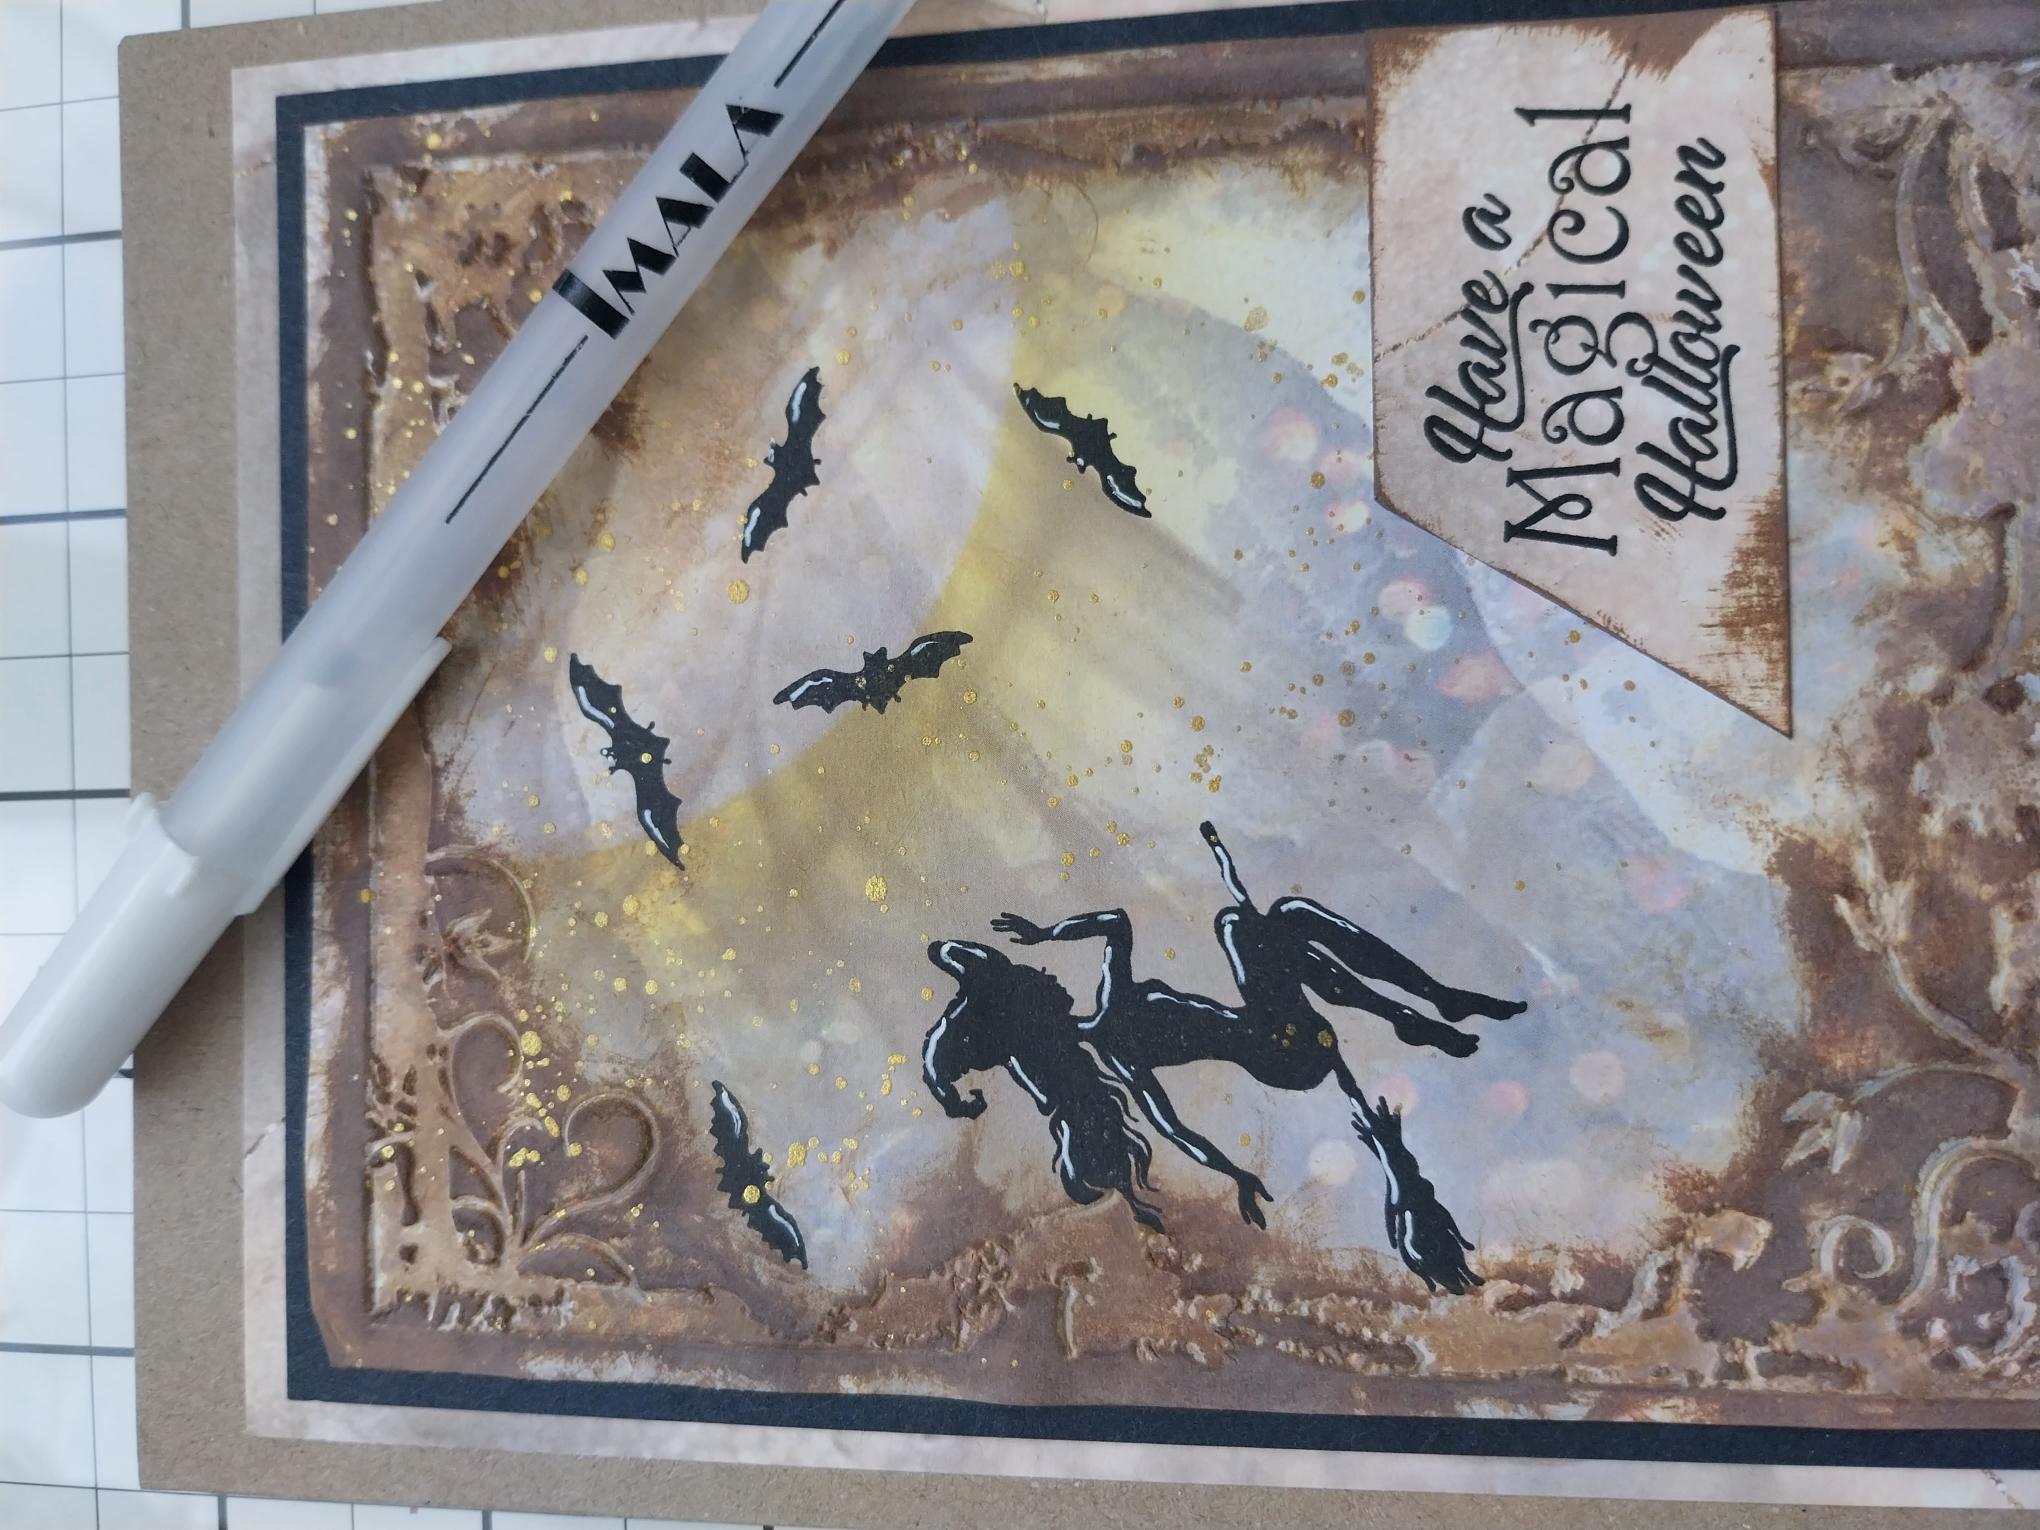
Place your circle mask in the top right corner and blend out from the mask with your Sherbet ink, to create your Sun. Dry with your heat tool. |
|
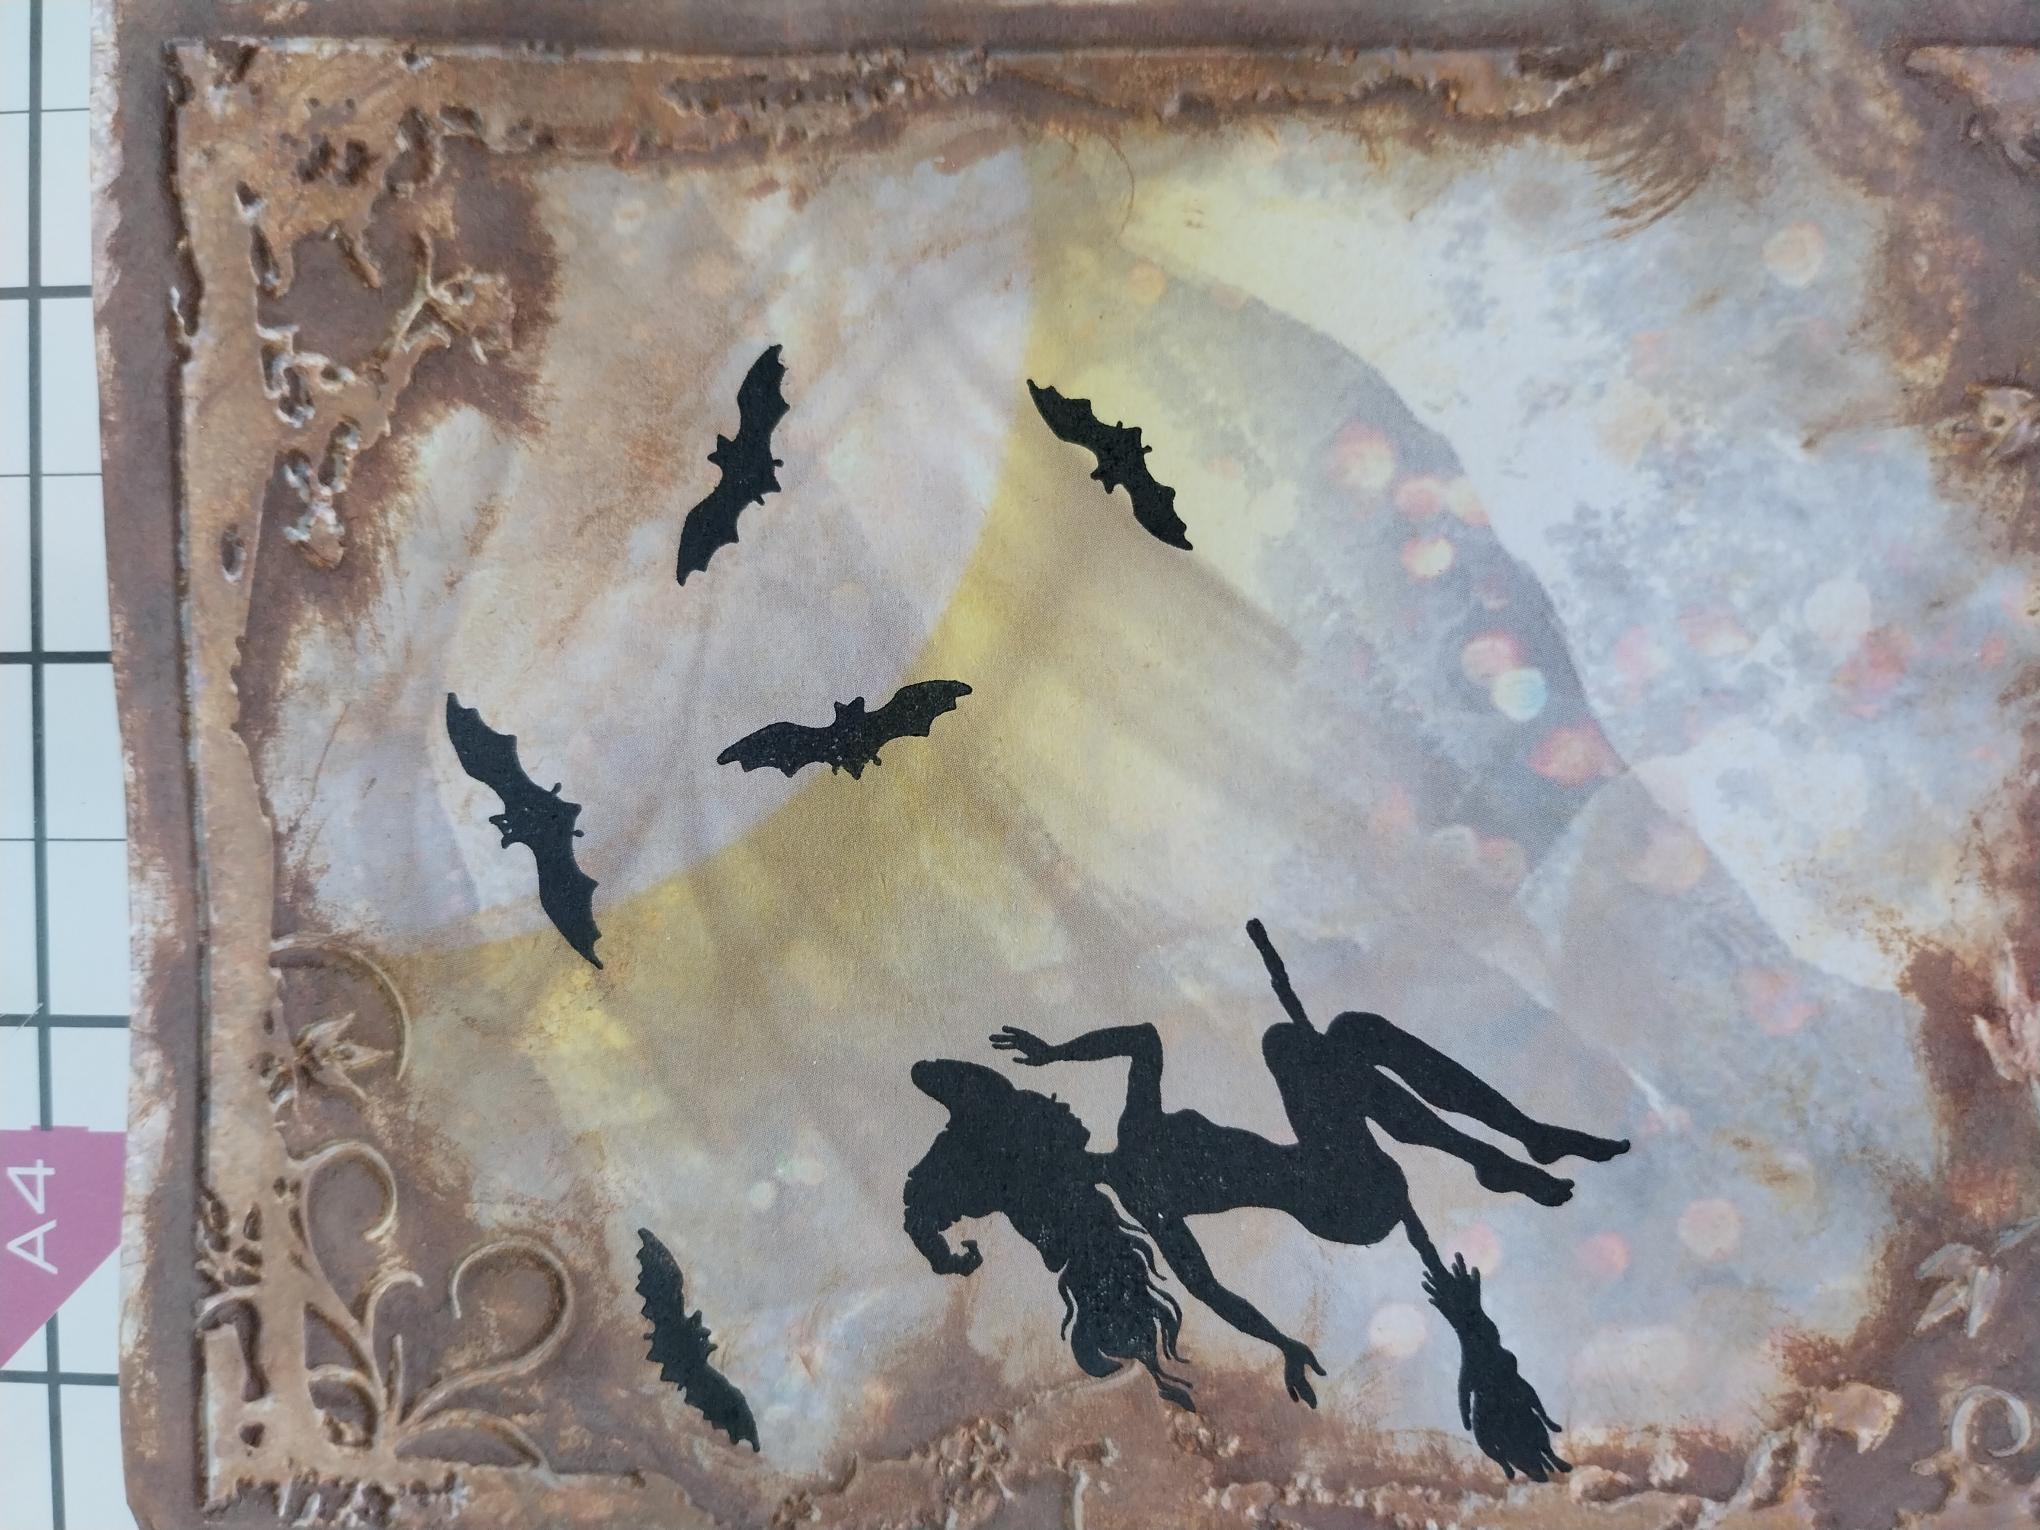
Stamp the witch and bats, from the Halloween Reflection bundle, in the Midnight ink, to create your "scene". |
|
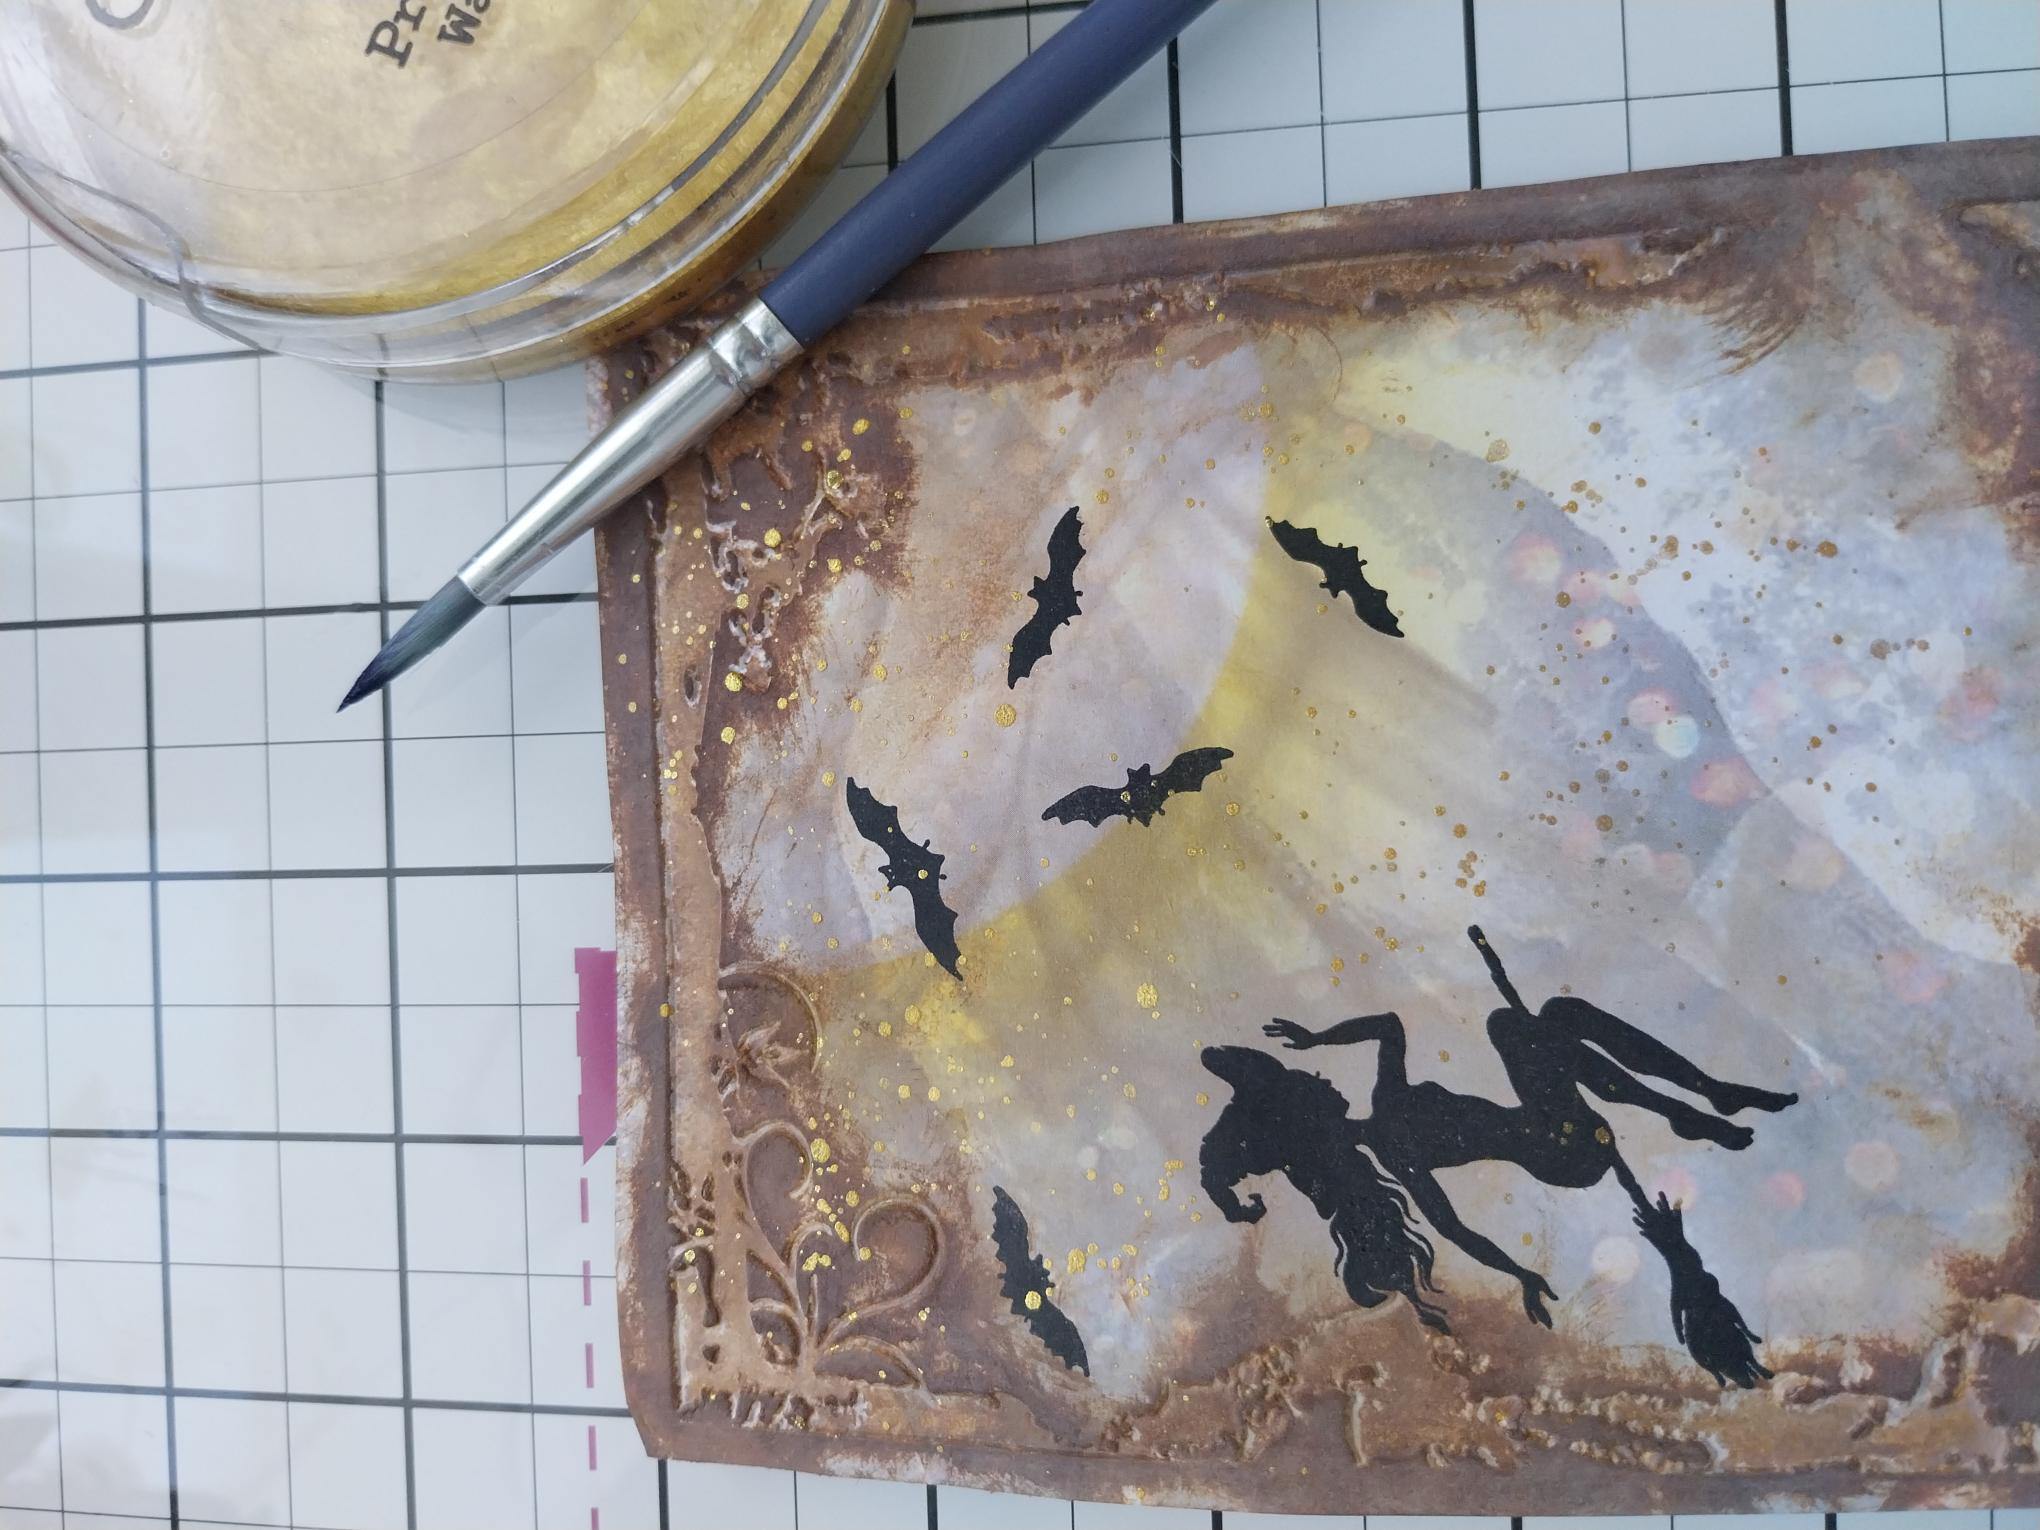
Add water to your Confetti Ink and use a paint brush to splatter over your artwork as little, or as much, as you like. I like lots of splats!! |
|
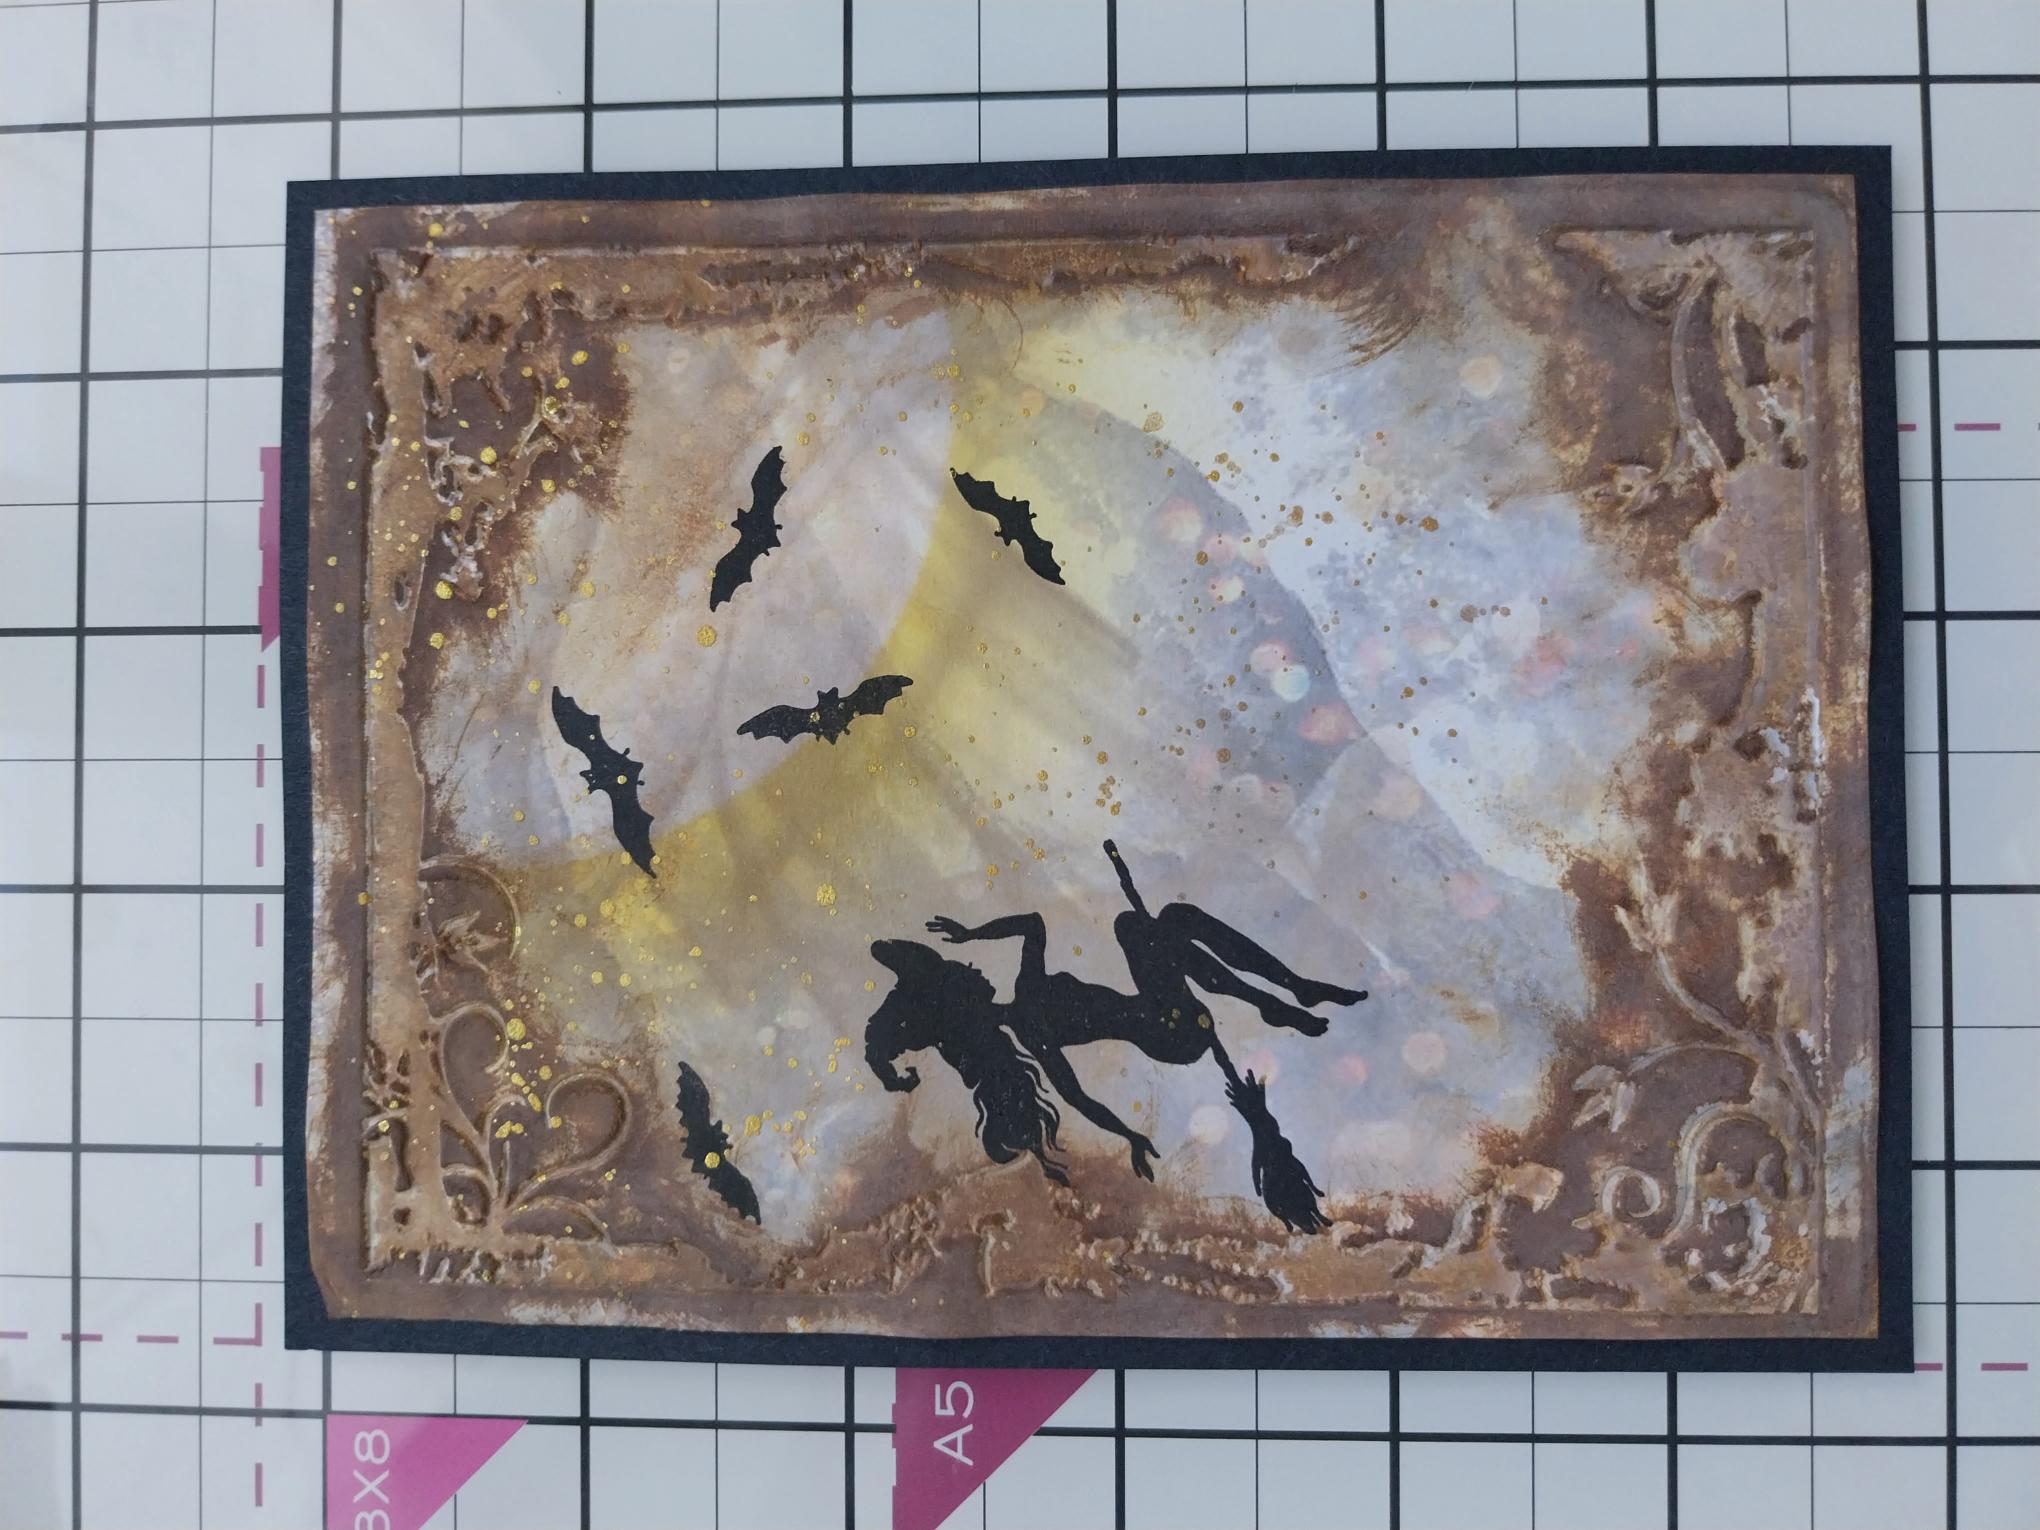
Once your artwork is completely dry, adhere to black card cut to 6 x 4 1/2". |
|
Cut another coordinating decorative sheet, from the Elegant Gold Pack, to 6 1/4 x 4 3/4". |
|
Adhere your artwork on to the decorative paper. |

|
Adhere on to your kraft card blank and pop to one side. |
|
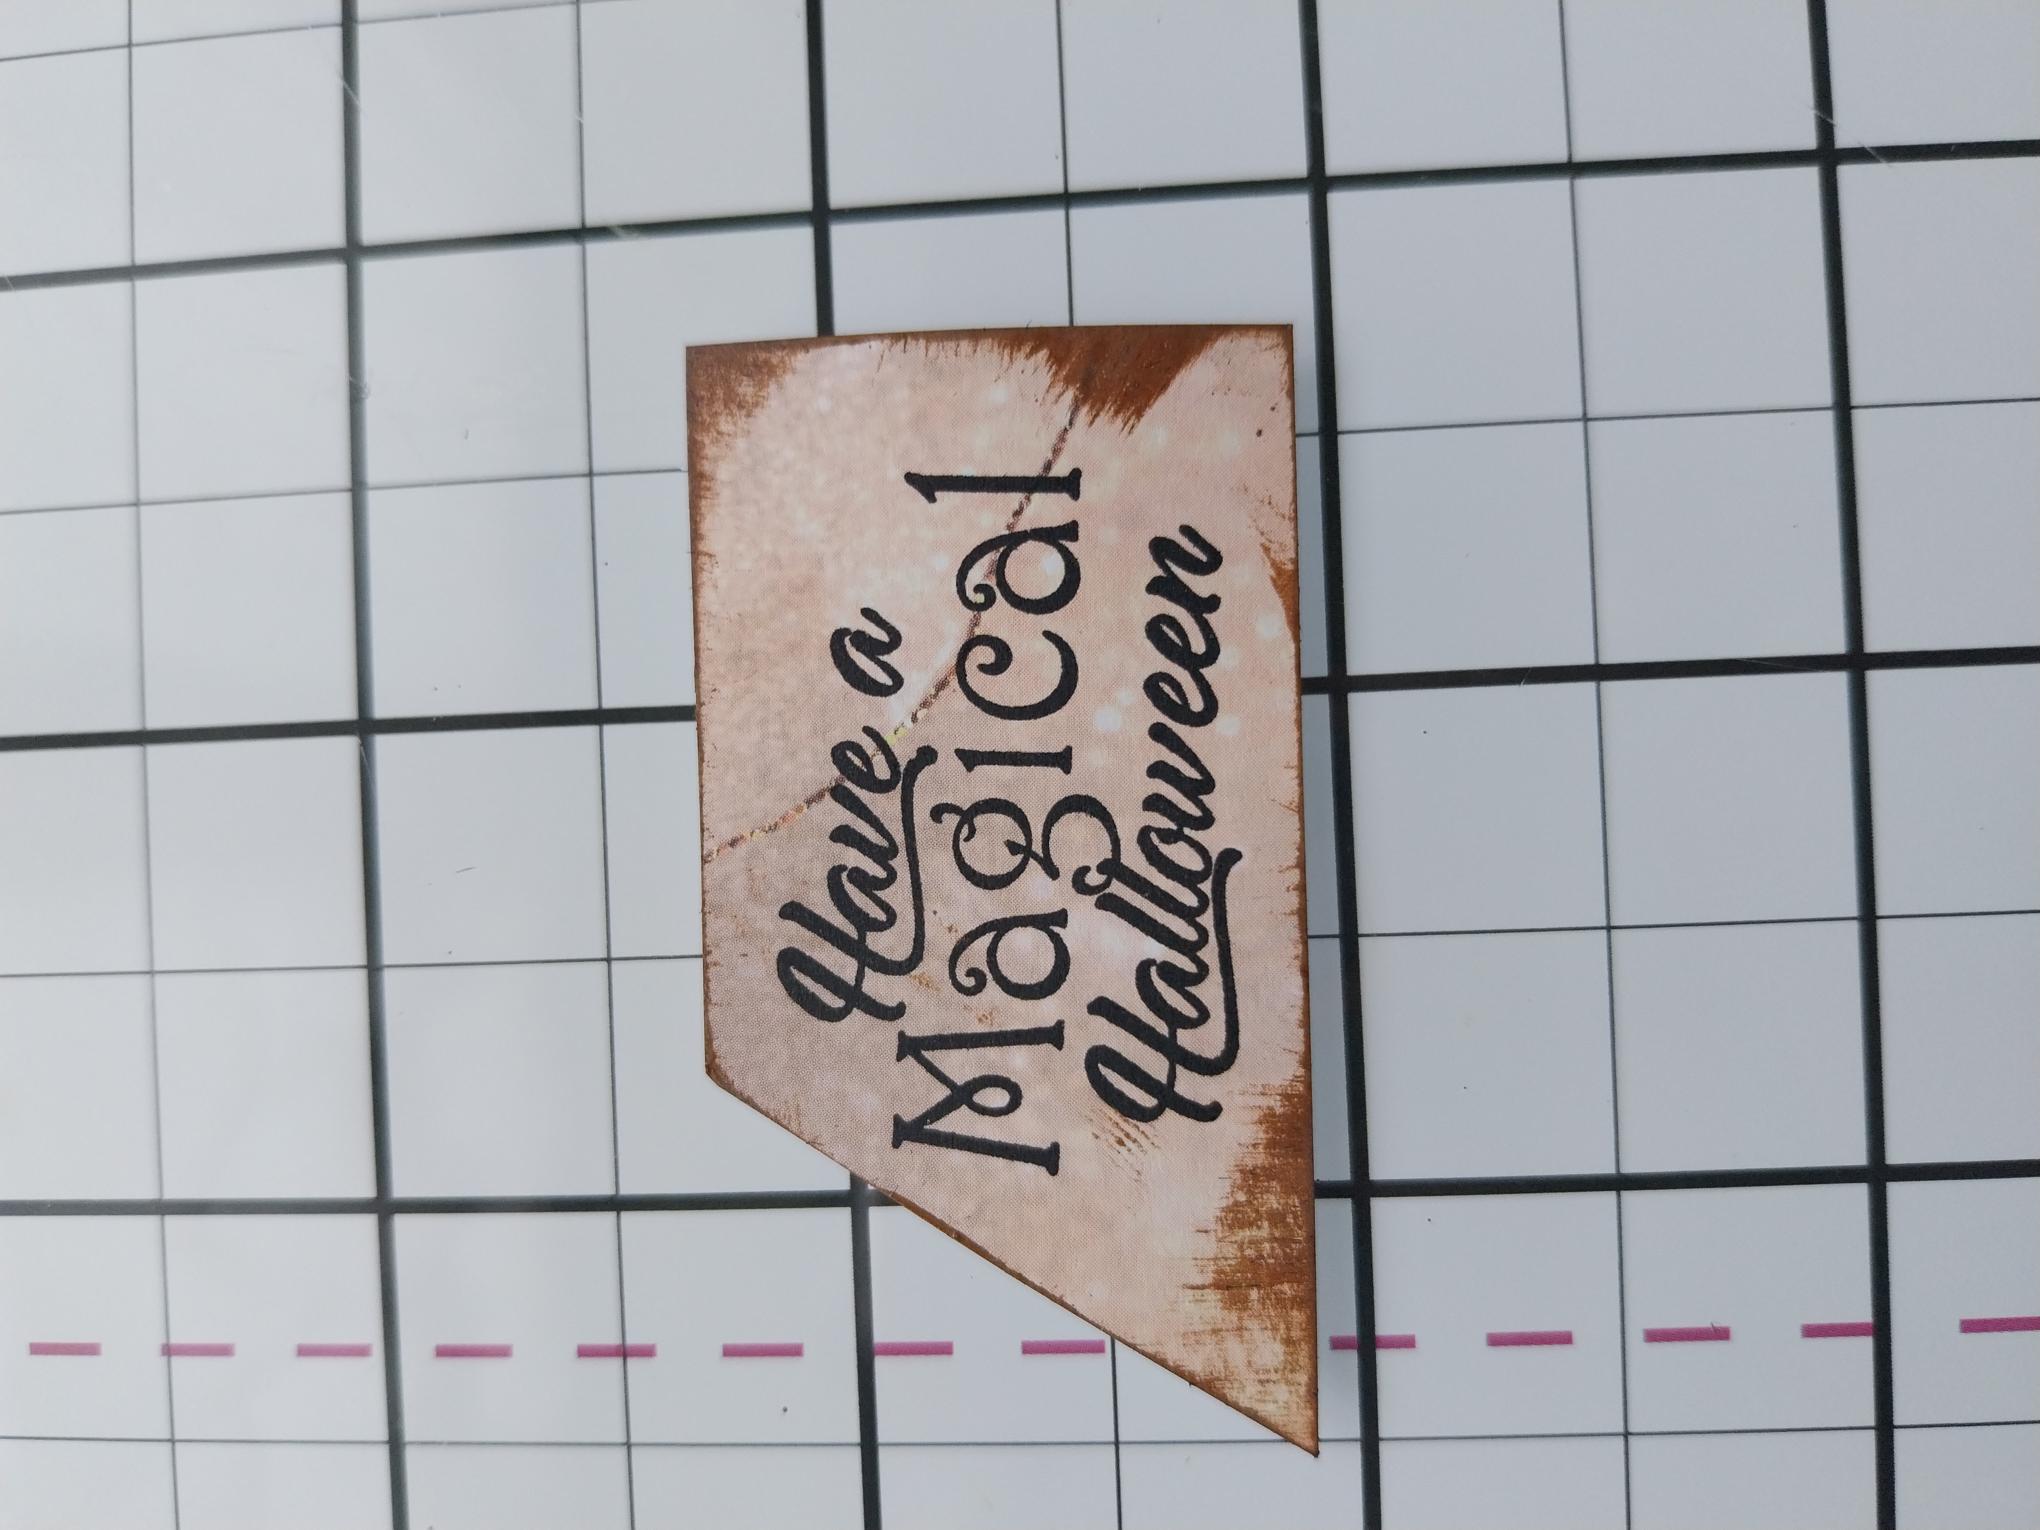
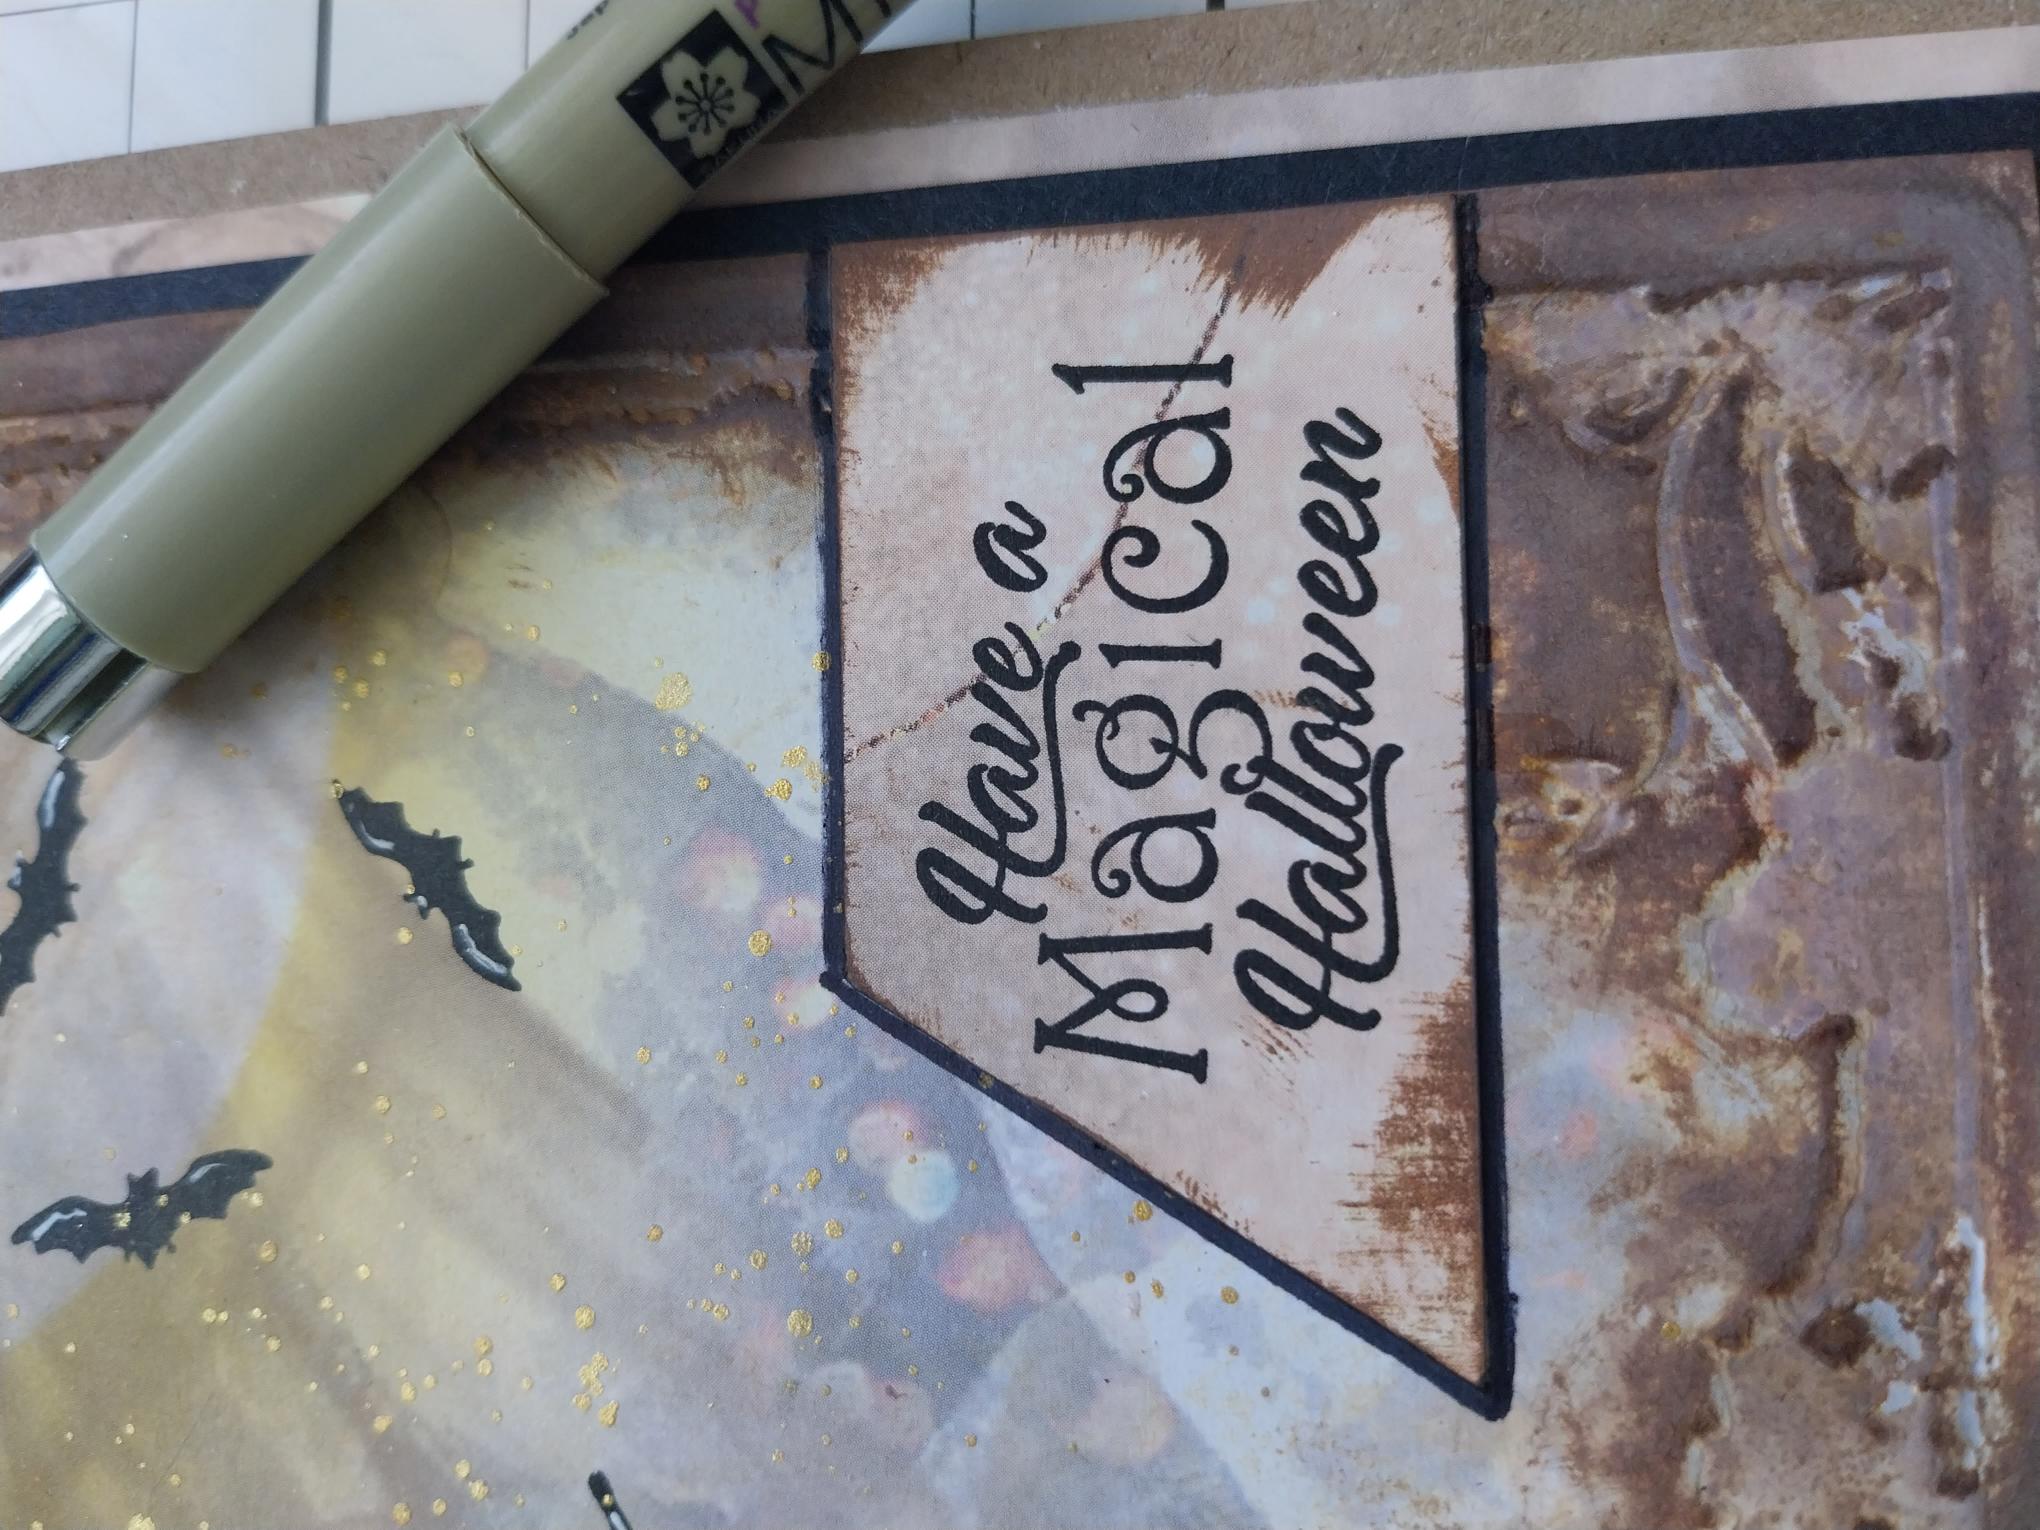
Stamp the sentiment from the Halloween collection, on to a piece of leftover decorative paper. Trim to size, with a straight edge on the right and a jaunty angle (your choice) on the left. Ink around the edges with the Vinatge Photo Distress ink. |
|
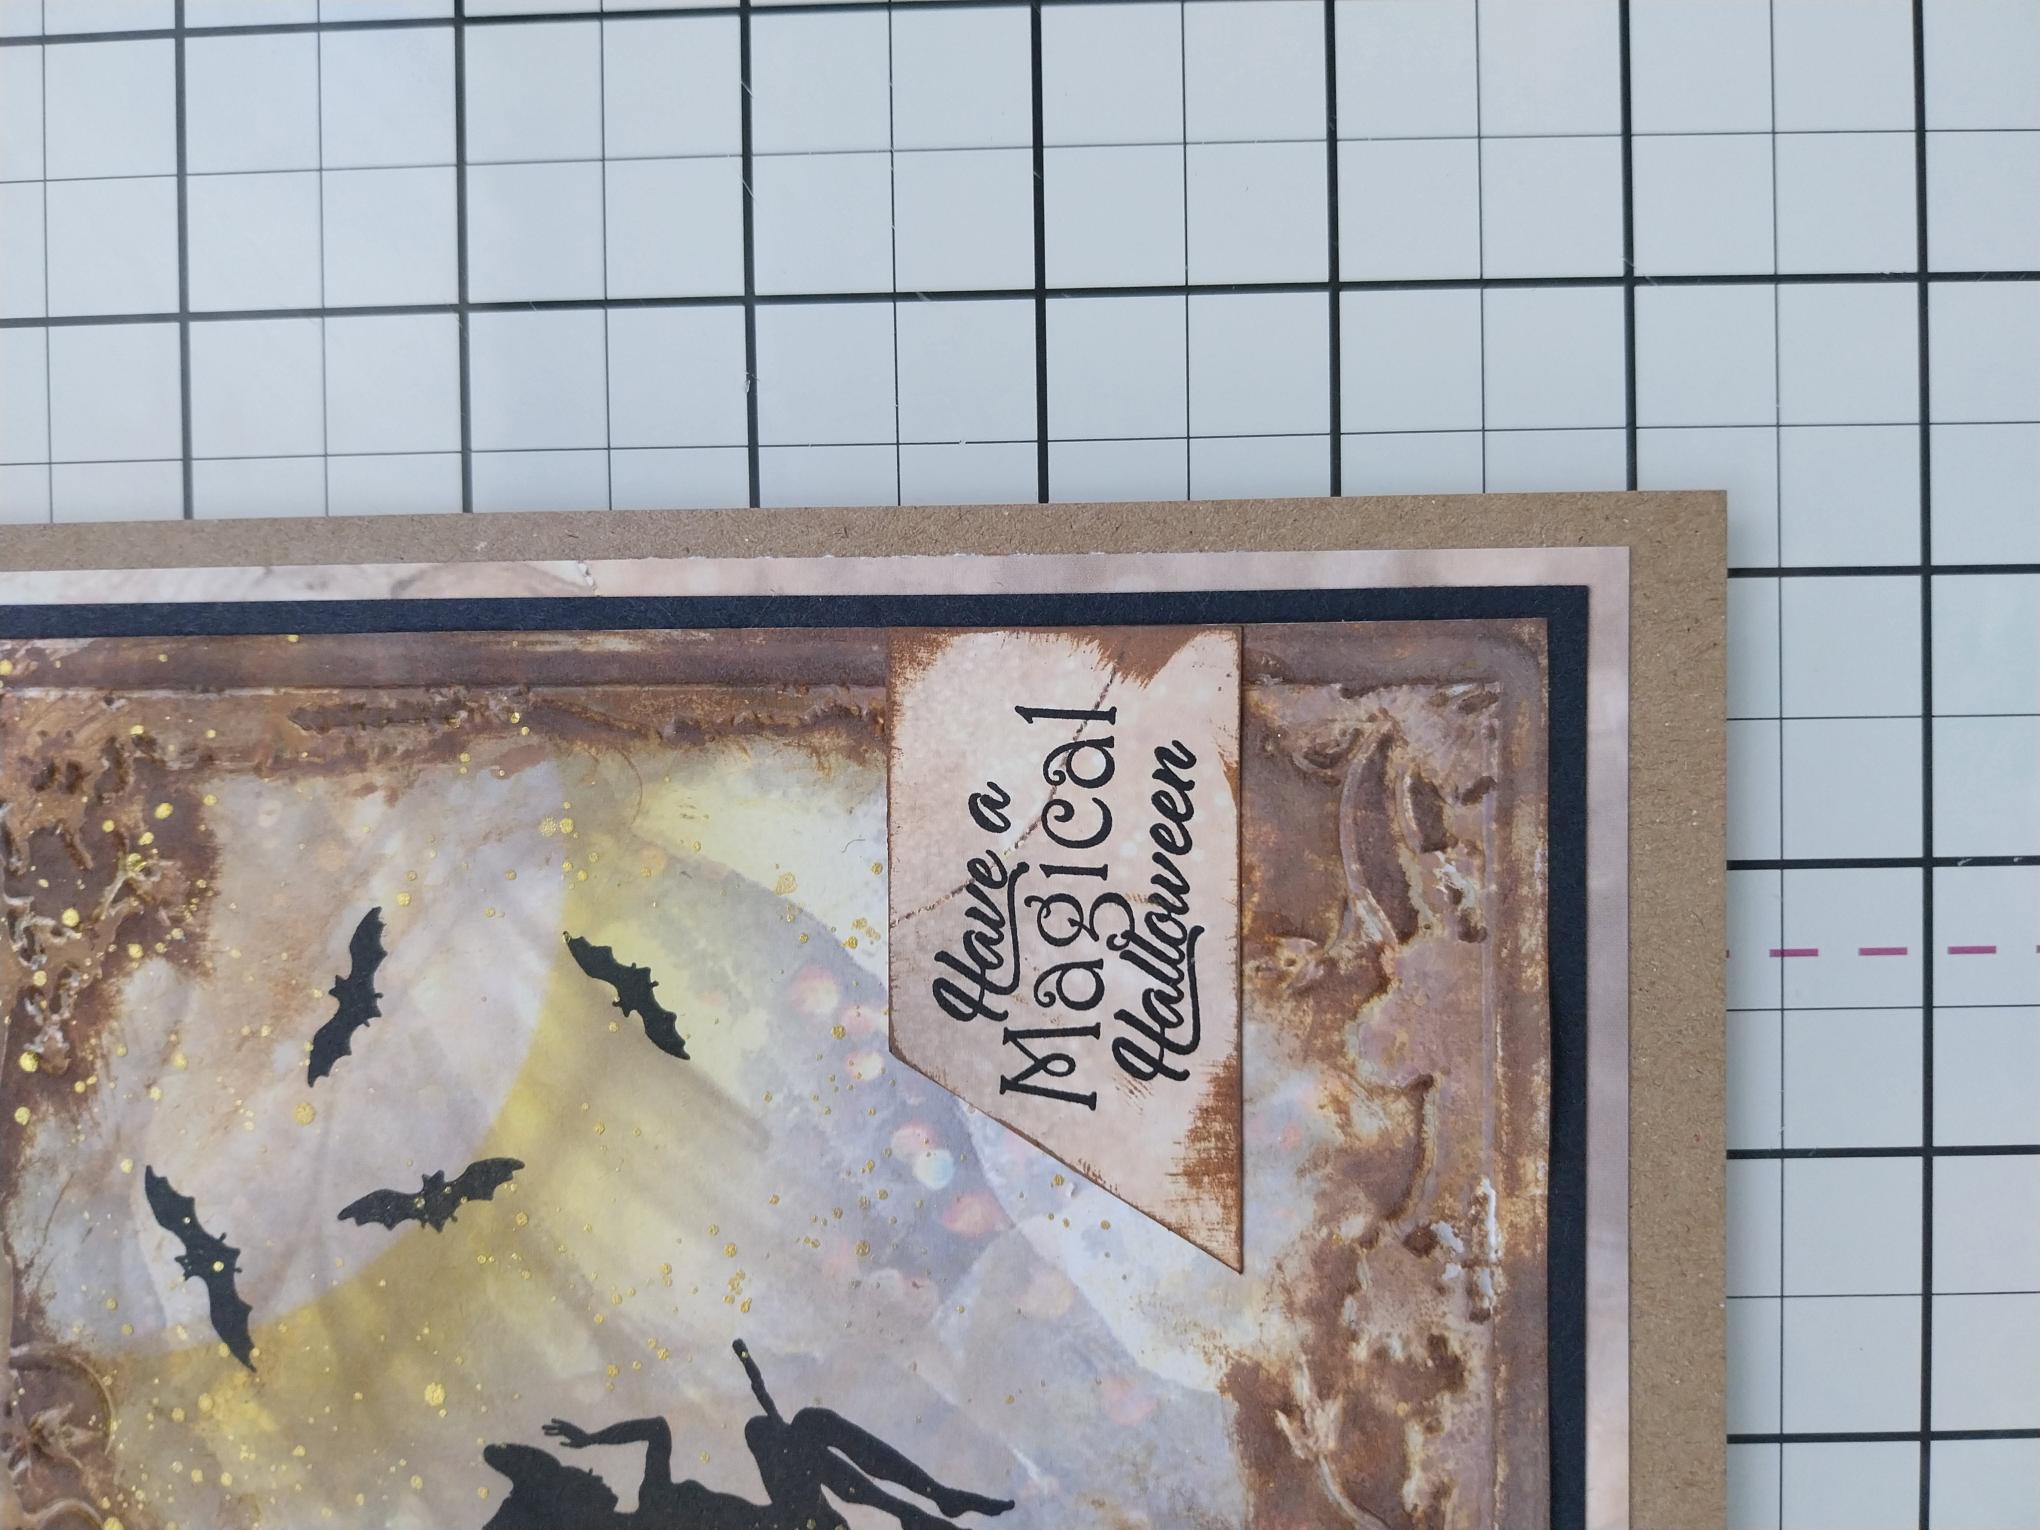
Adhere your sentiment flush with the right edge of your embossed card. |
|
Use your white gel pen to add accents and highlights to your silhouette images. |
|
Finally, draw a black line around the outer edges of your sentiment, to make it "pop" against your artwork. |