Give your friends $10 off their first order!
Refer a FRIEND


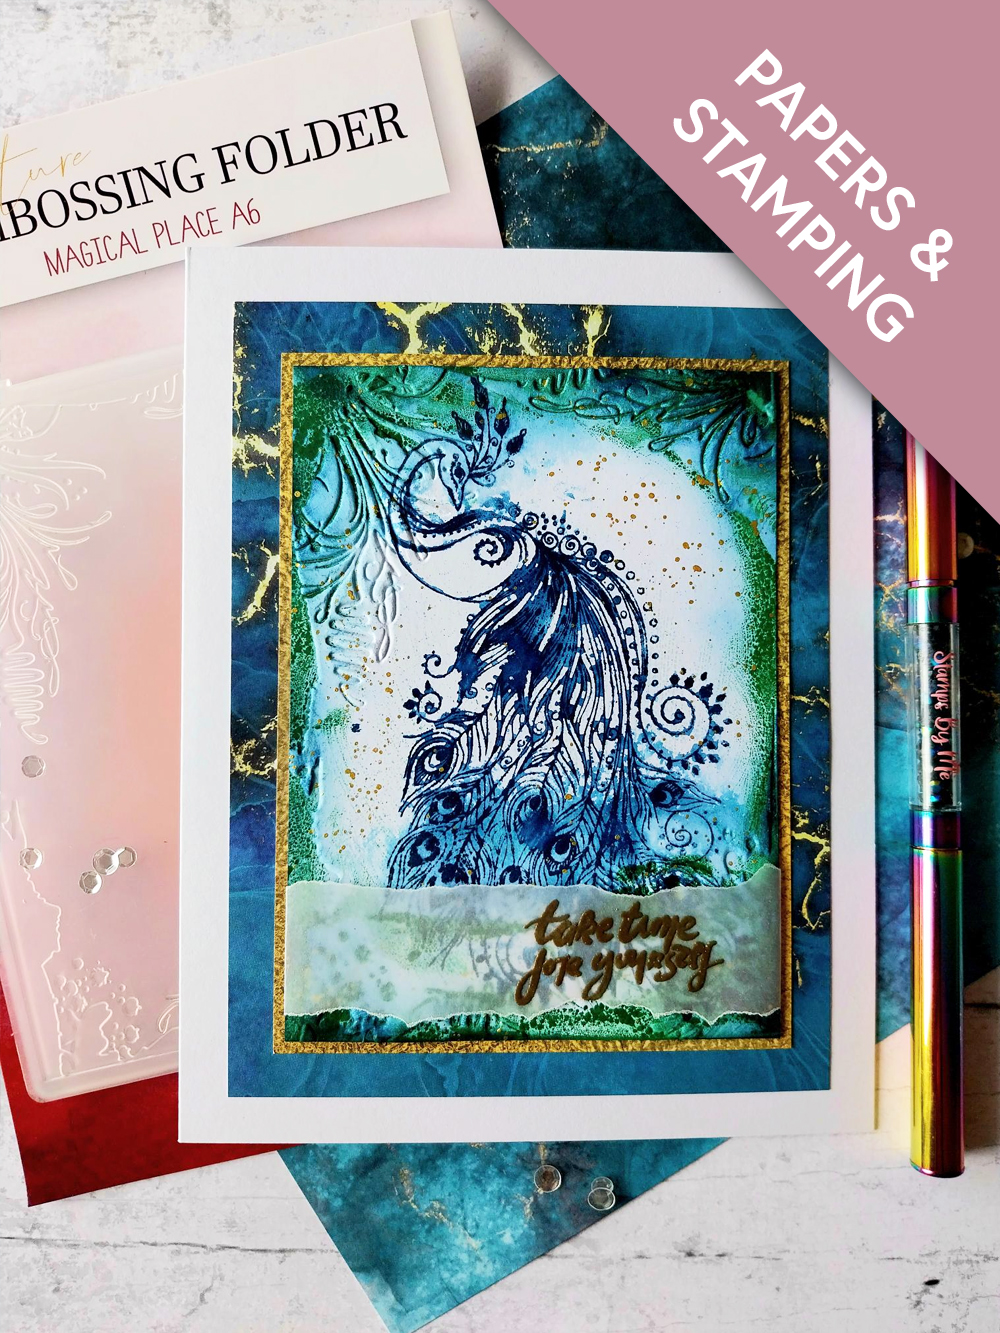
WHAT YOU WILL NEED:
White card blank 5 1/2 x 7" (cut down your 7 x 7 card blank)
White card
Vellum
Signature Embossing Folder Magical Place 4 x 6
Paperchain Magical Elegance I Can And I Will Stamp and Die Set
Paperchain Magical Elegance 8 x 8" Foundation Pack
SBM Premium Dye Ink Pad: Ocean, Hedgerow
Confetti Paint: Goldmine
WOW Embossing Ink Pad
Anti-Static bag
WOW gold embossing powder
WOW heat tool
Water spray bottle
Blending brush
Paint brush
Eureka 101 Watercolour Tablet
SBM A3 Magnetic glass mat
Paper Trimmer
Glue
Double-sided adhesive tape
Die Cutting machine
[click image to enlarge] 
|
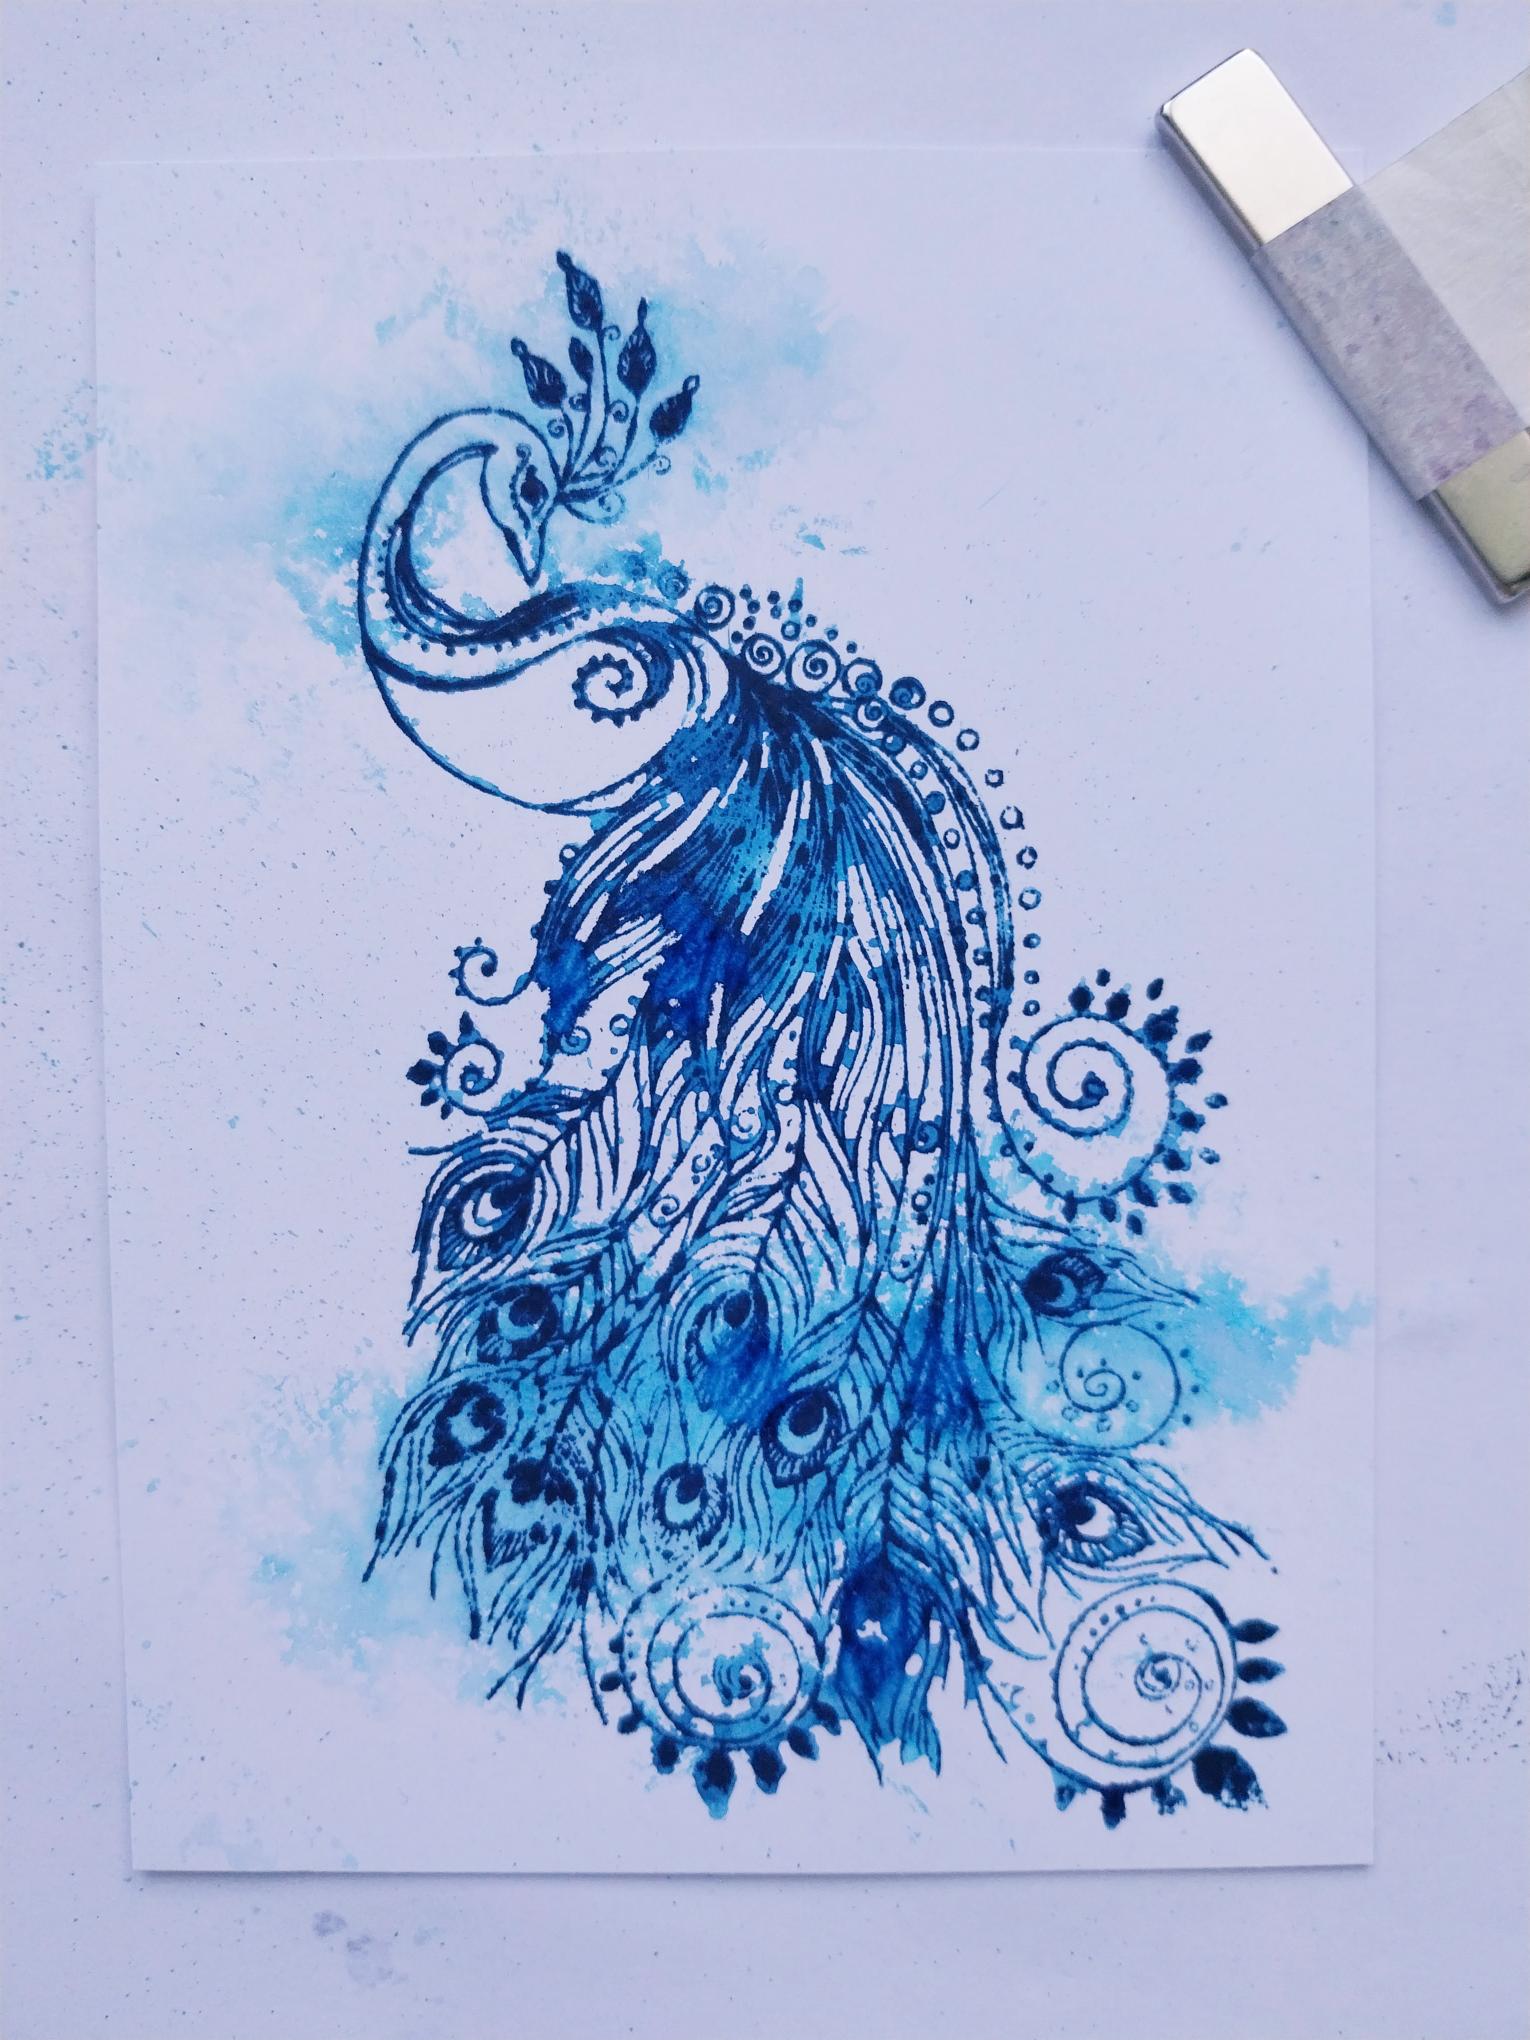
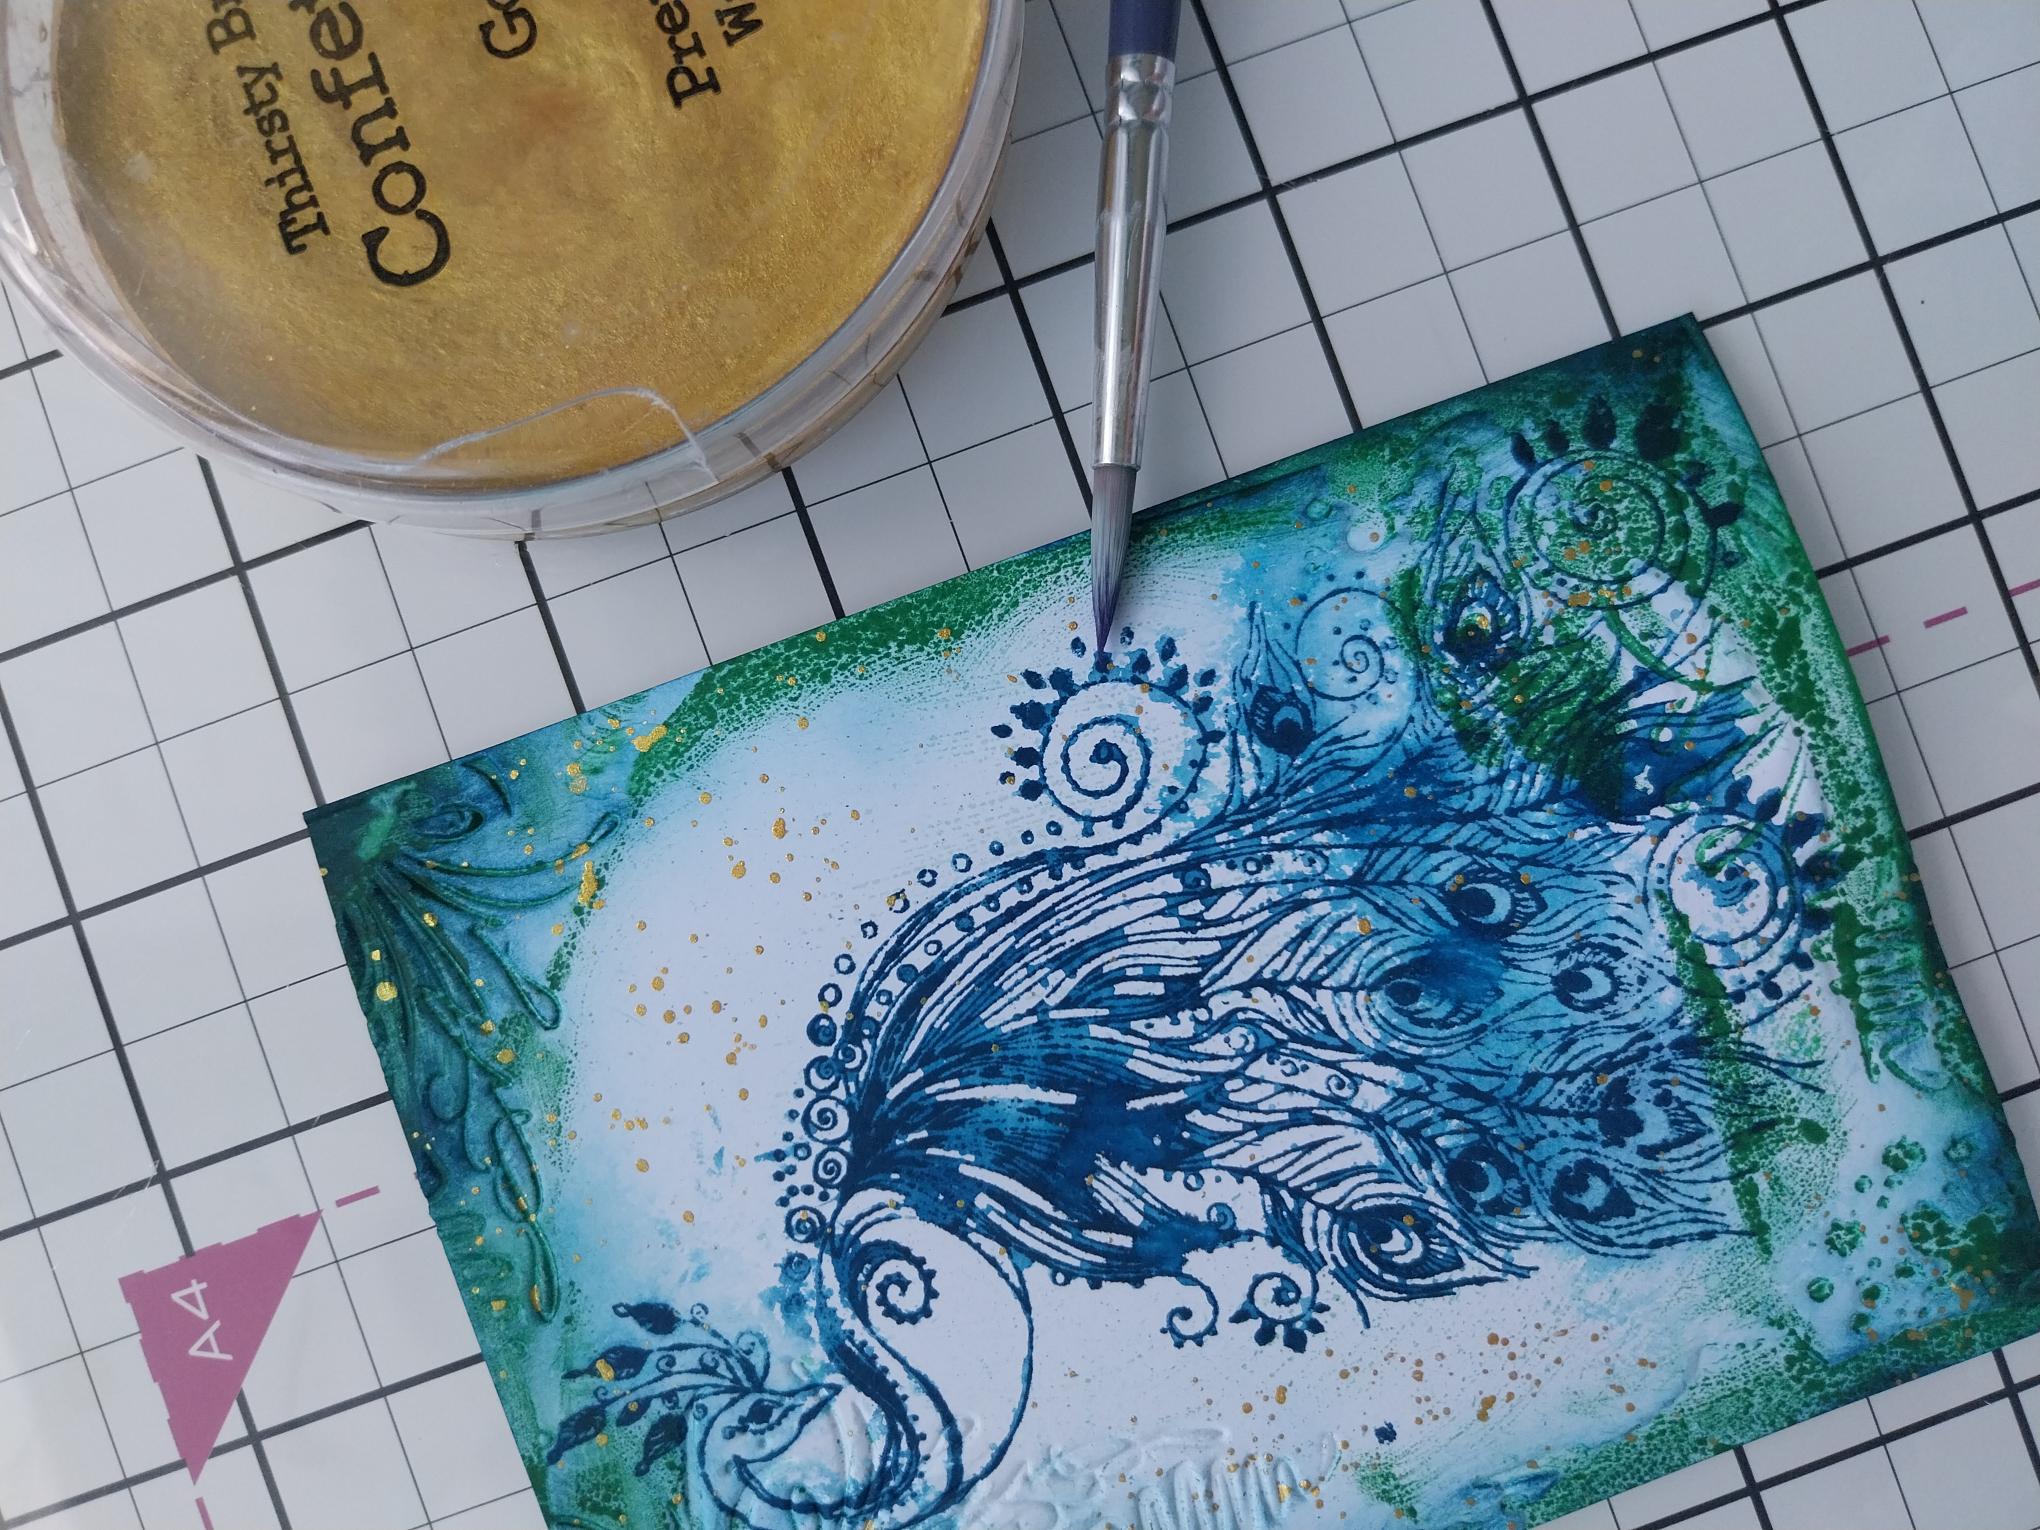
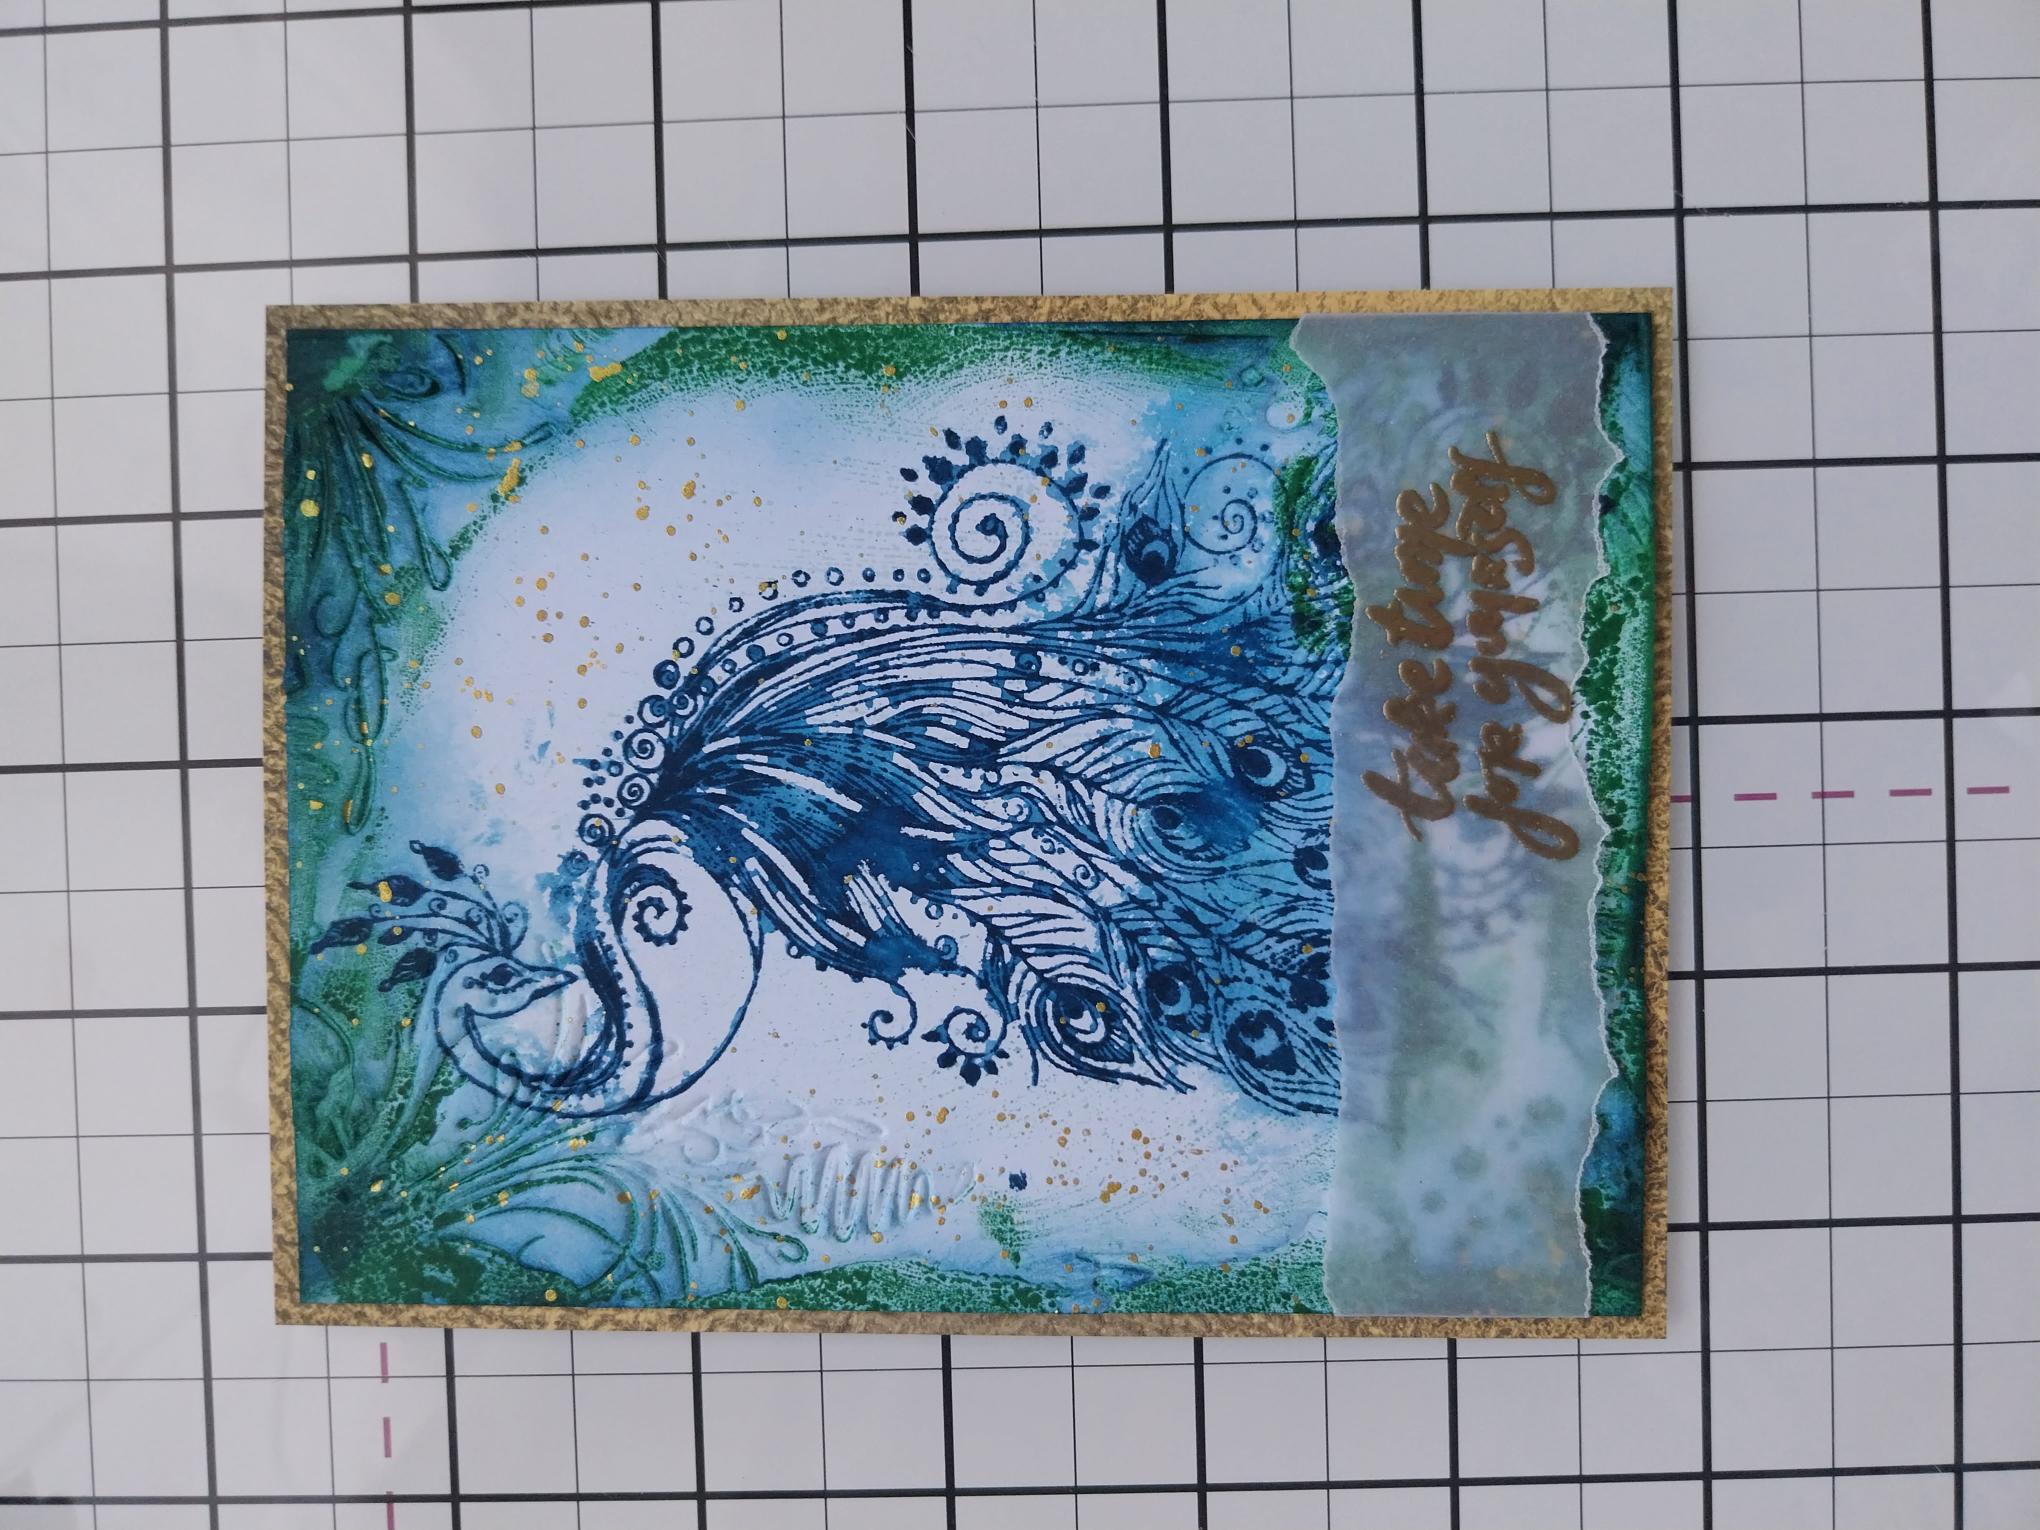
Cut a piece of white card 5 1/4 x 3 3/4". Stamp the beautiful Peacock in Tiffany (DO NOT move the stamp or card at this stage), lightly spray the stamped image and allow the ink to "bleed". Mop up any excess water, then blast dry with your heat tool. How much you allow the ink to bleed, is your choice! |
|
Re-ink and stamp back over your image, re-defining the detail. Dry with your heat tool. |
|
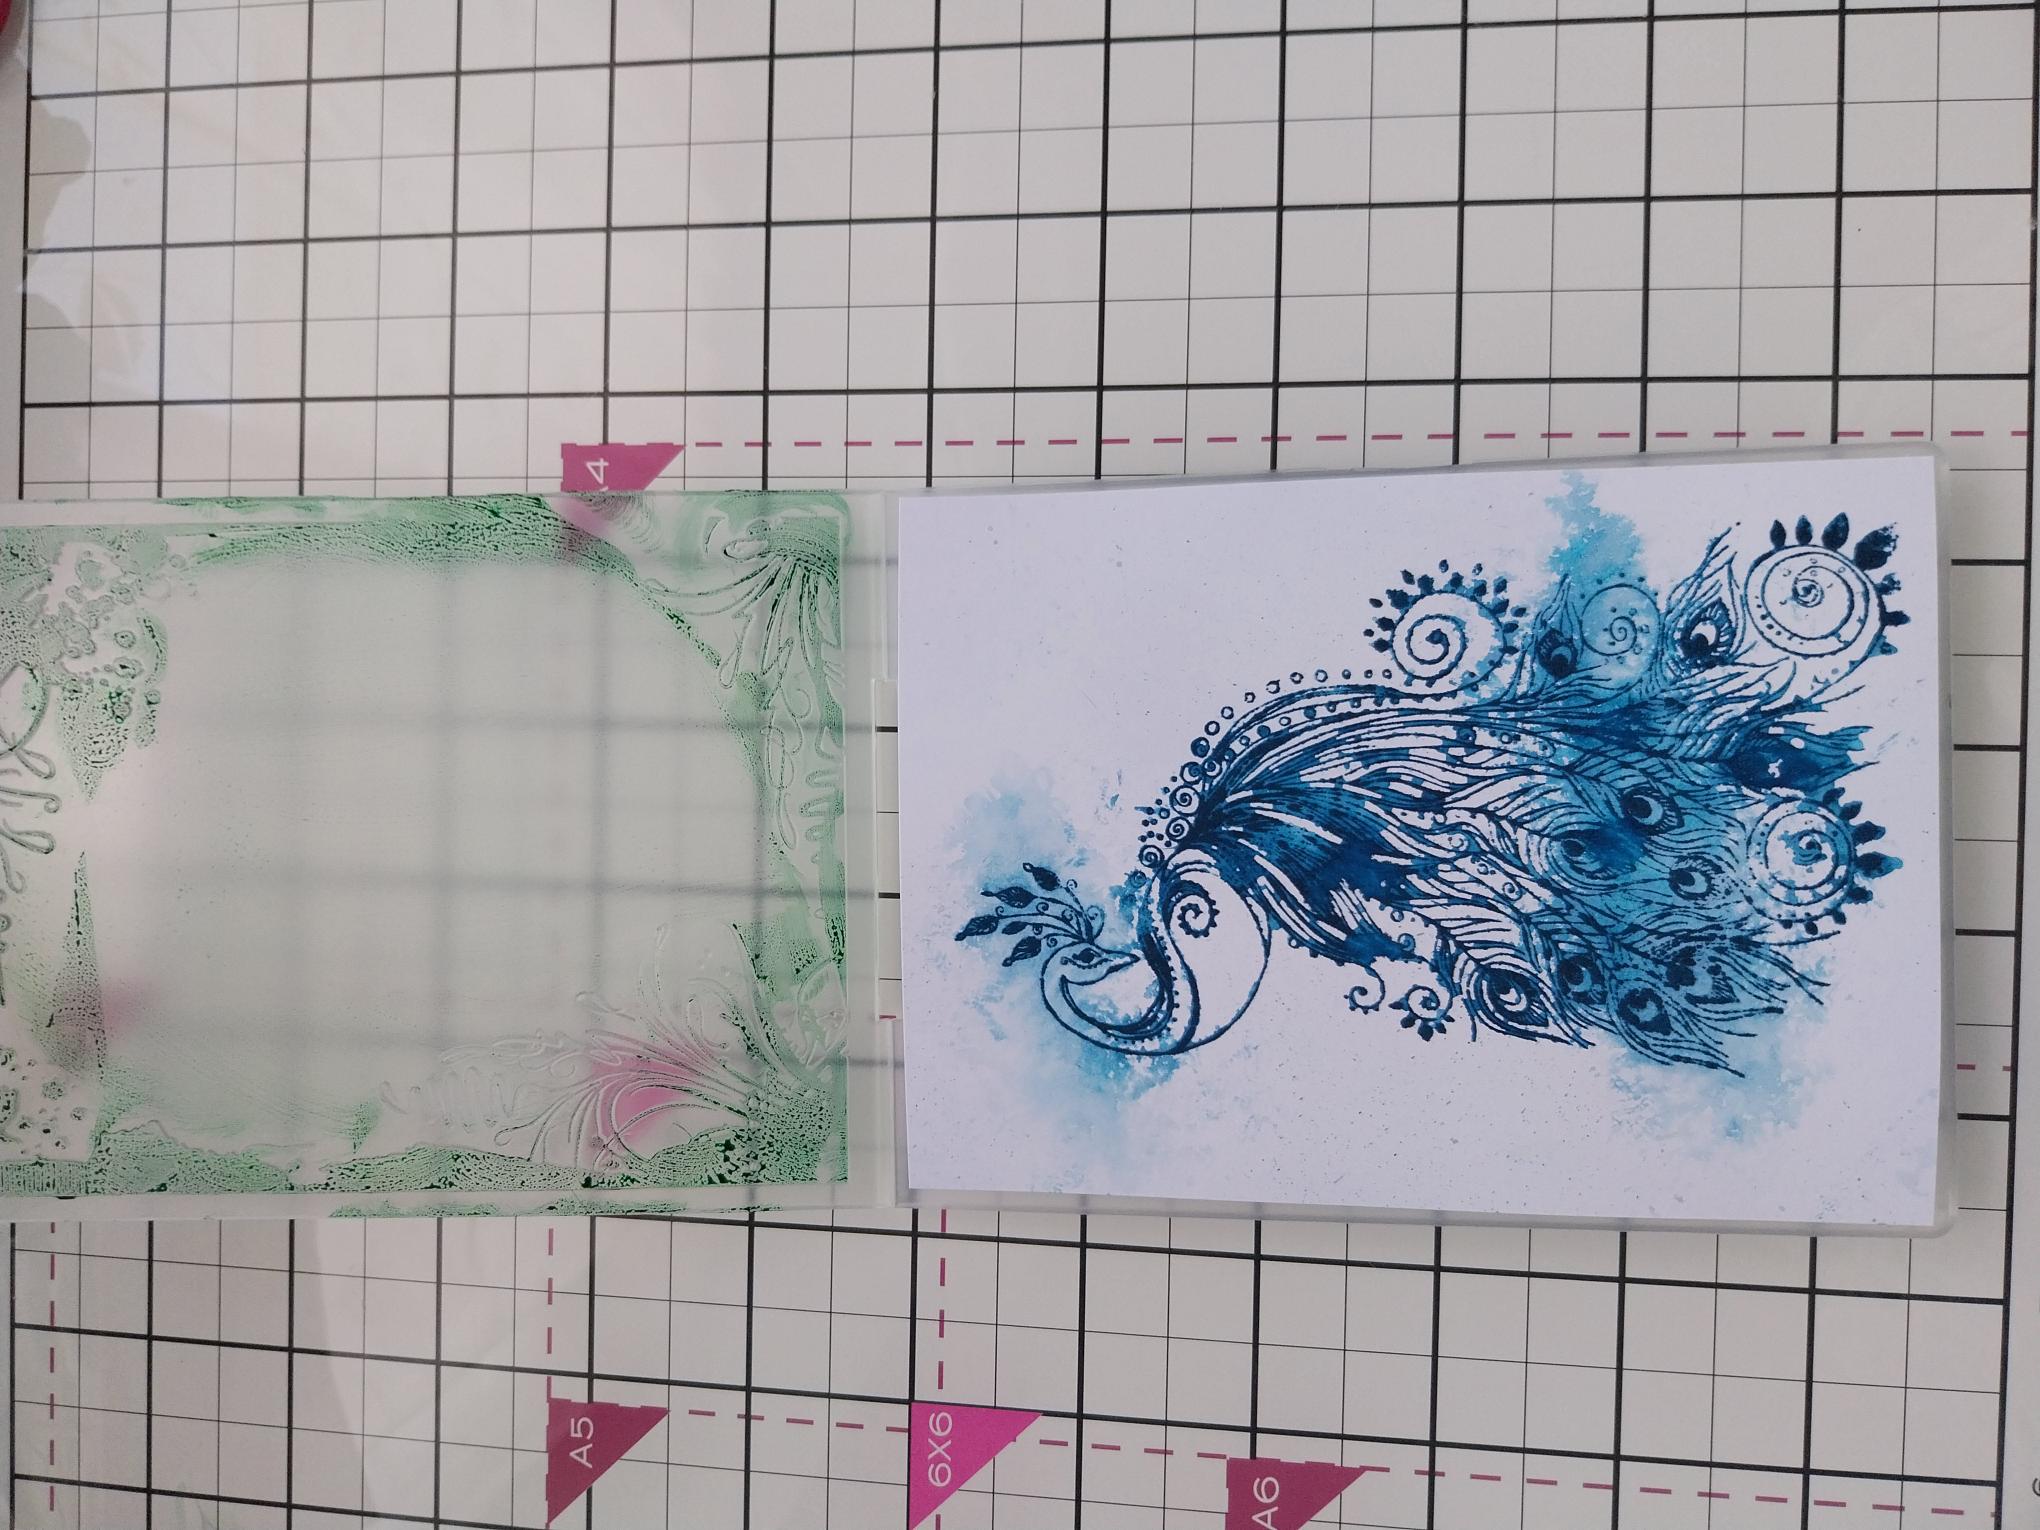
Using your Hedgerow ink pad, ink around the DEBOSSED edges of the Magical Place embossing folder. |
|
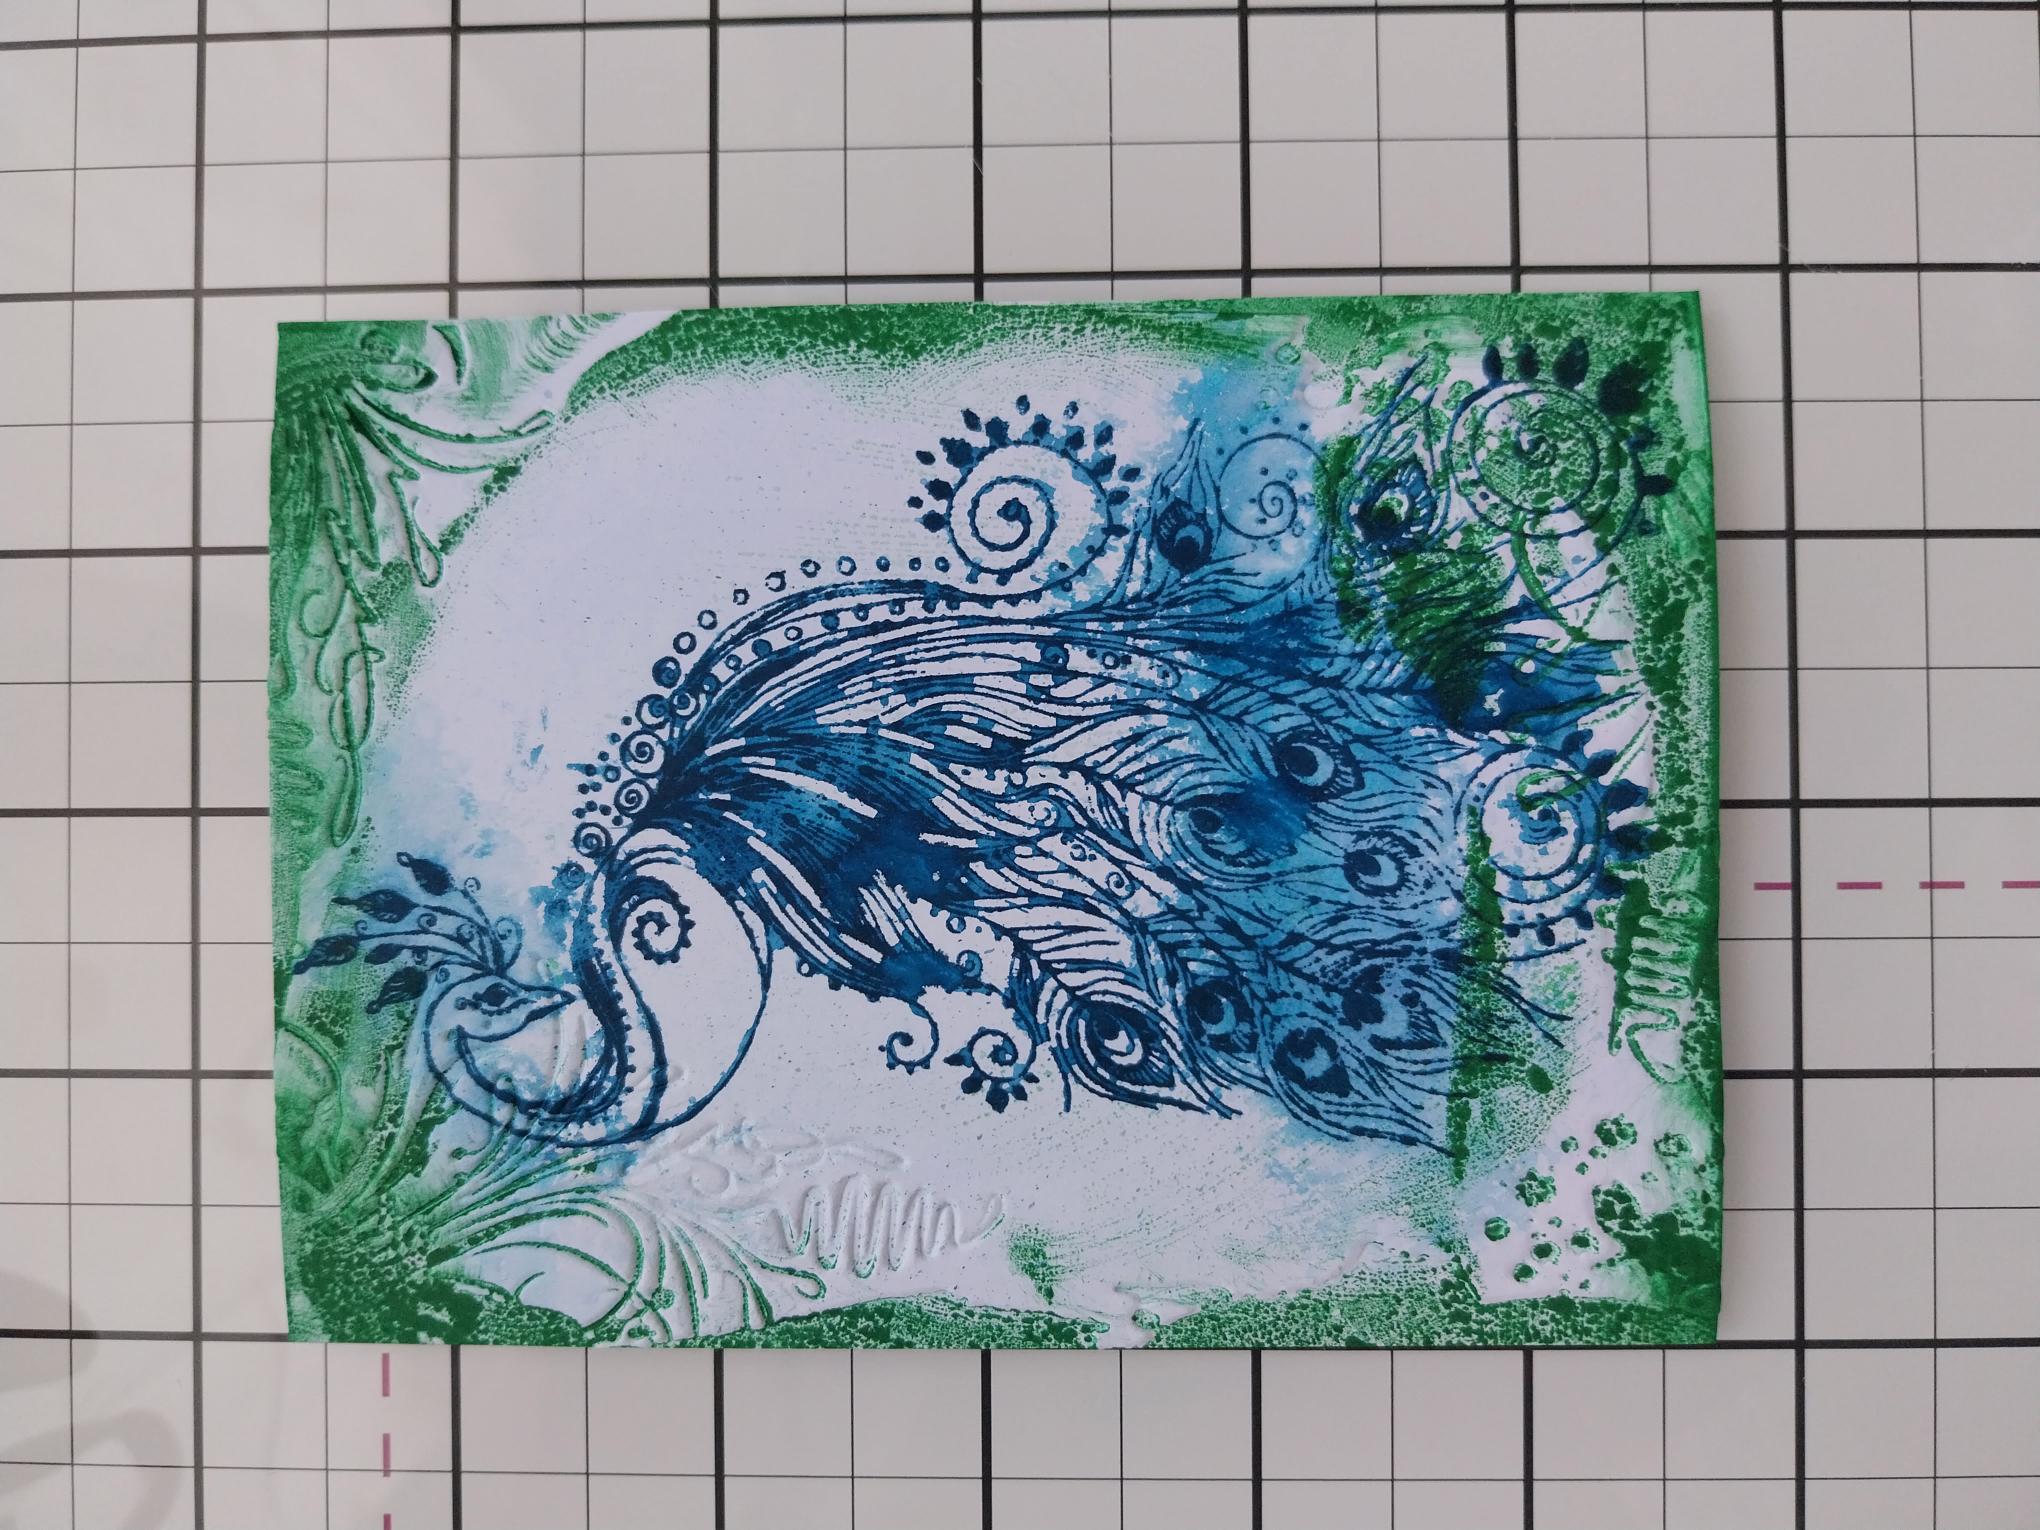
Place your stamped card inside the inked folder and run it through your machine. Dry with your heat gun. |

|
Use your blending brush to add Tiffany around the edges, making the embossed areas of the frame "pop". |
|
Spritz a little water on to your Goldmine paint and splatter over your artwork with a paint brush. You can add as few or as many splats as you want....I like a lot!! Dry with heat tool then set to one side. |
|
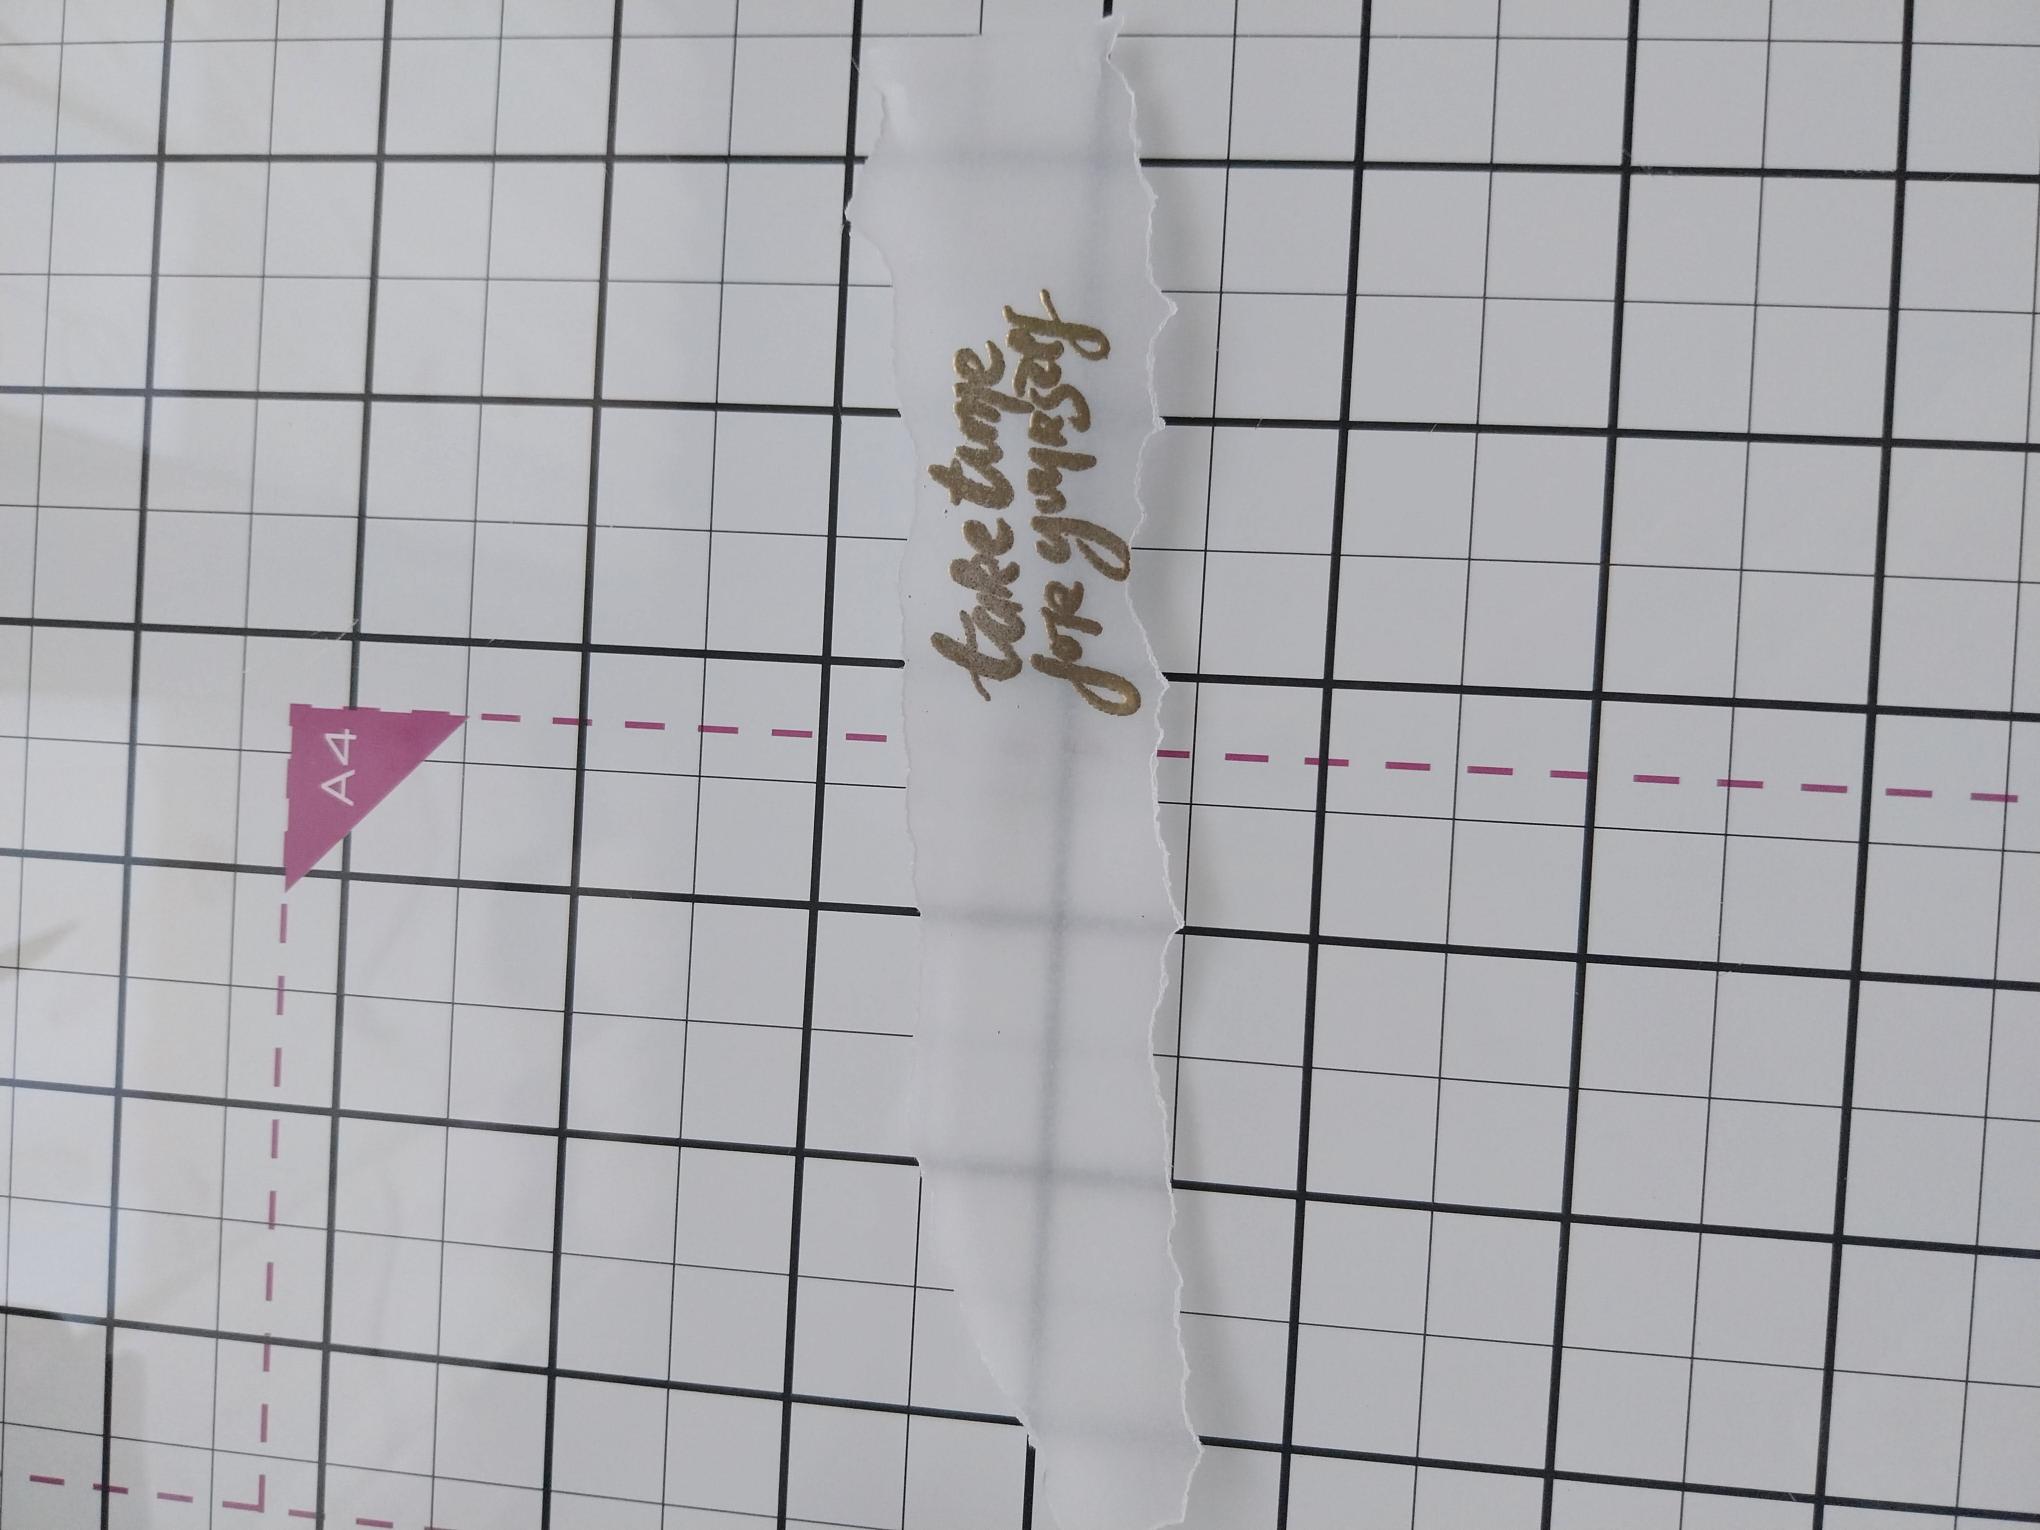
Tear a panel of vellum 4 1/4" in length and wide enough for your sentiment to fit. Wipe over with an anti-static bag. Stamp the sentiment, from I Can And I Will, in the WOW sticky embossing ink, to the right of the vellum panel. Apply the Gold embossing powder over the sticky ink, shake off the excess powder, then heat set with your heat tool. Ensure the heat gun is hot before you take it to the vellum, thus reducing the warping of your vellum. |
|
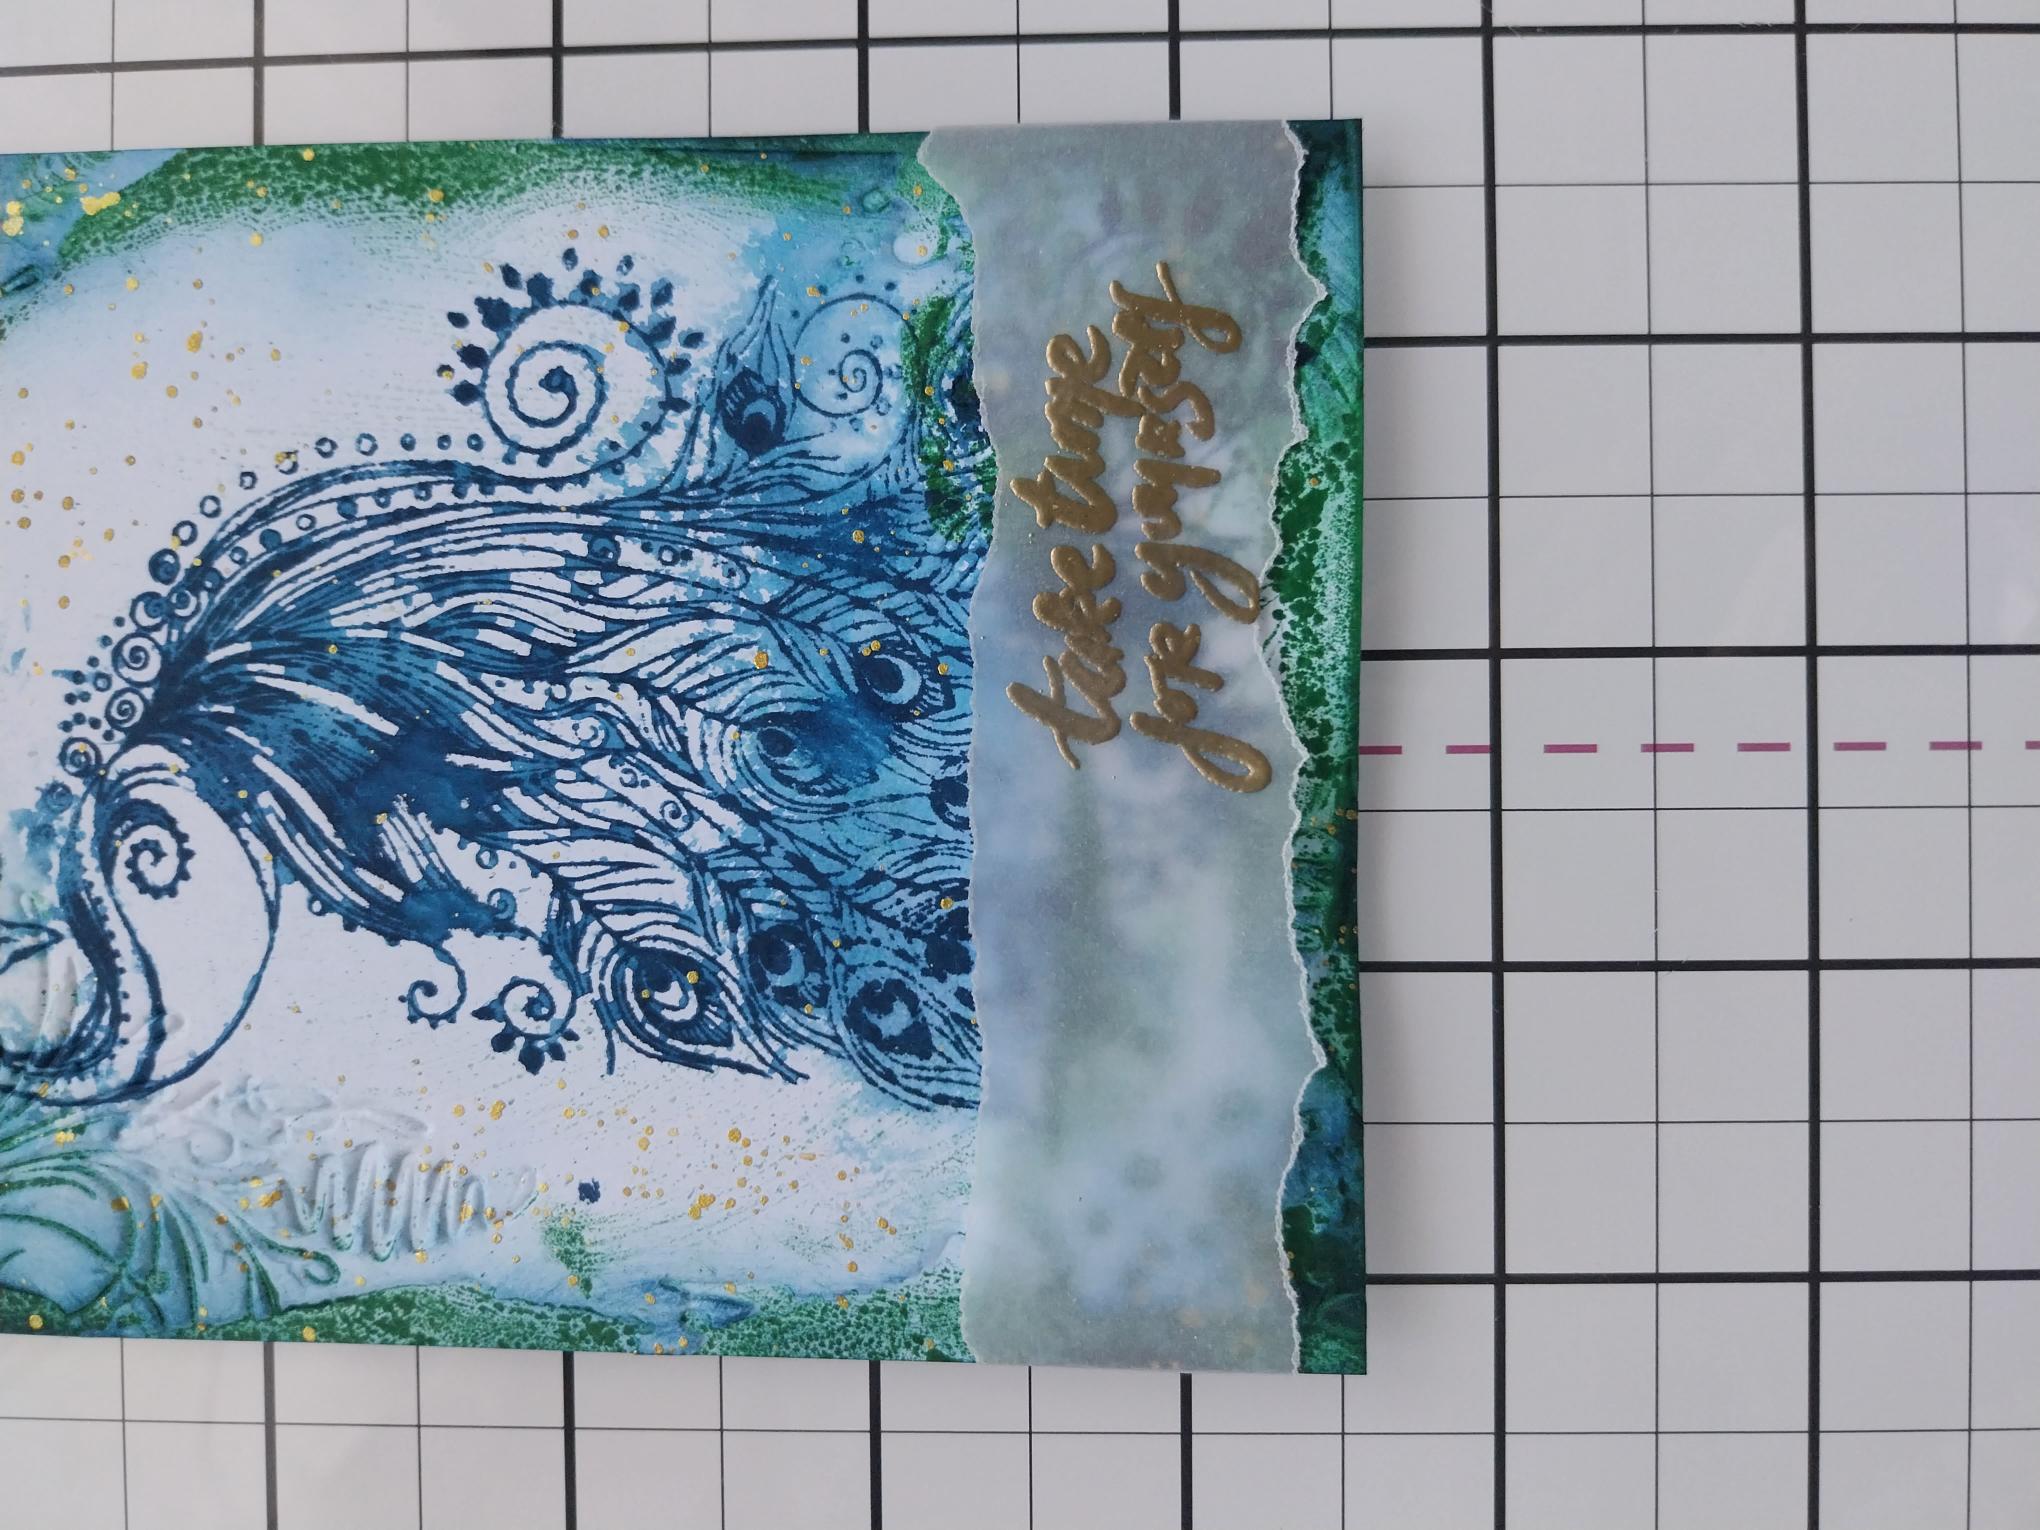
Place your embossed vellum across the bottom of your artwork, tuck the edges over and secure on the reverse of the card with double-sided tape. |
|
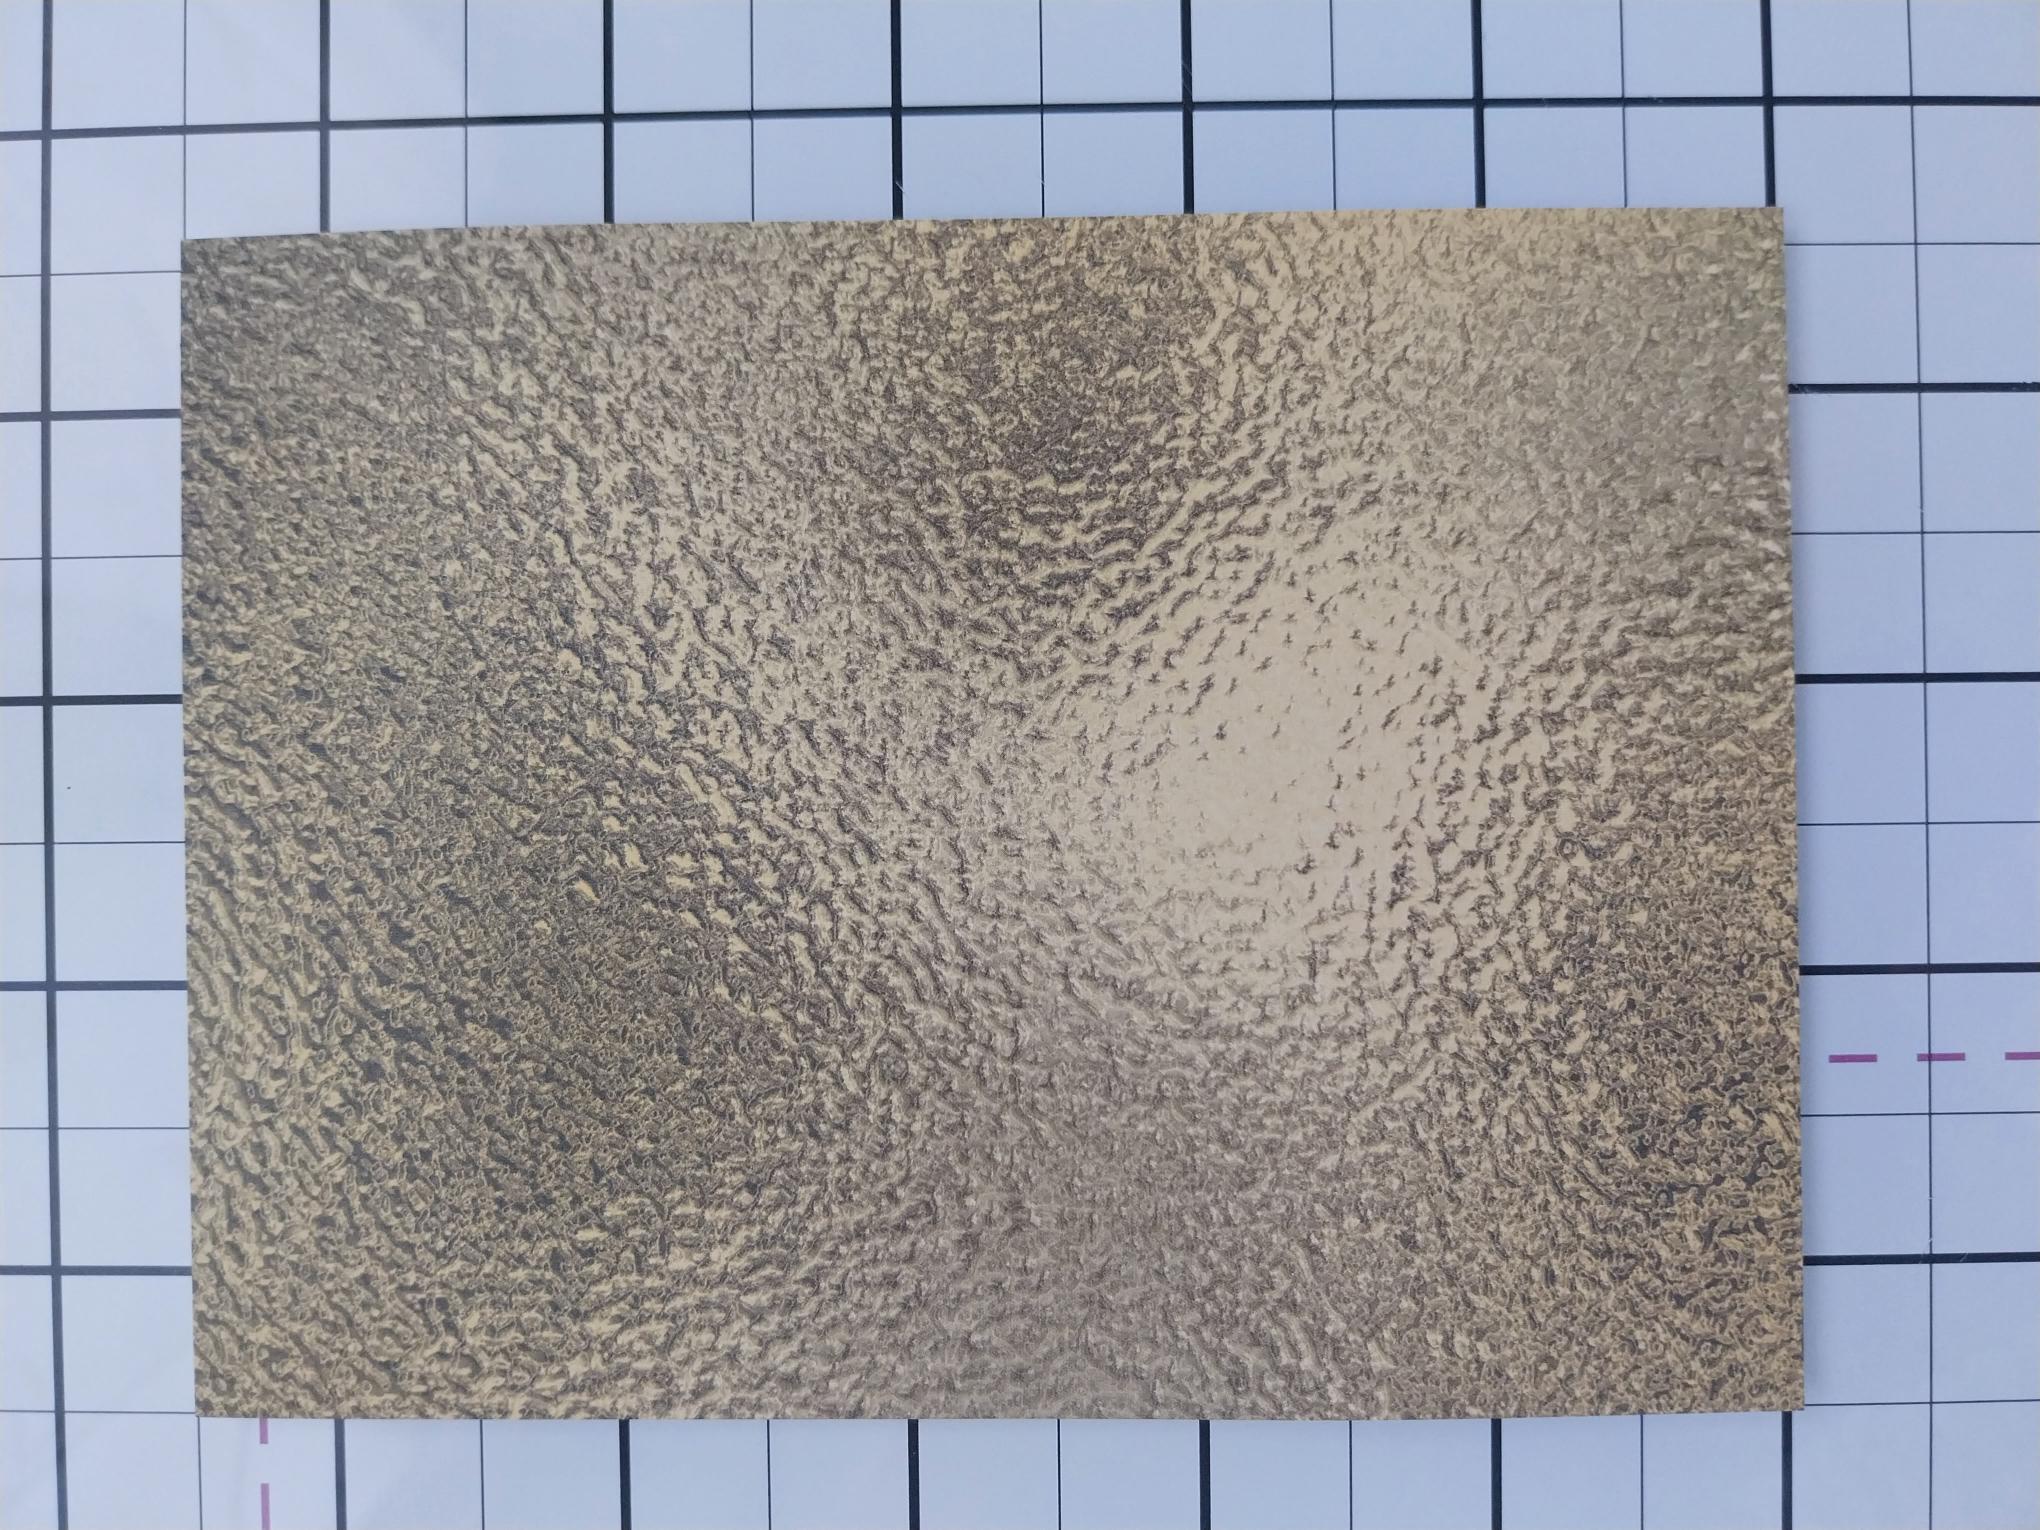
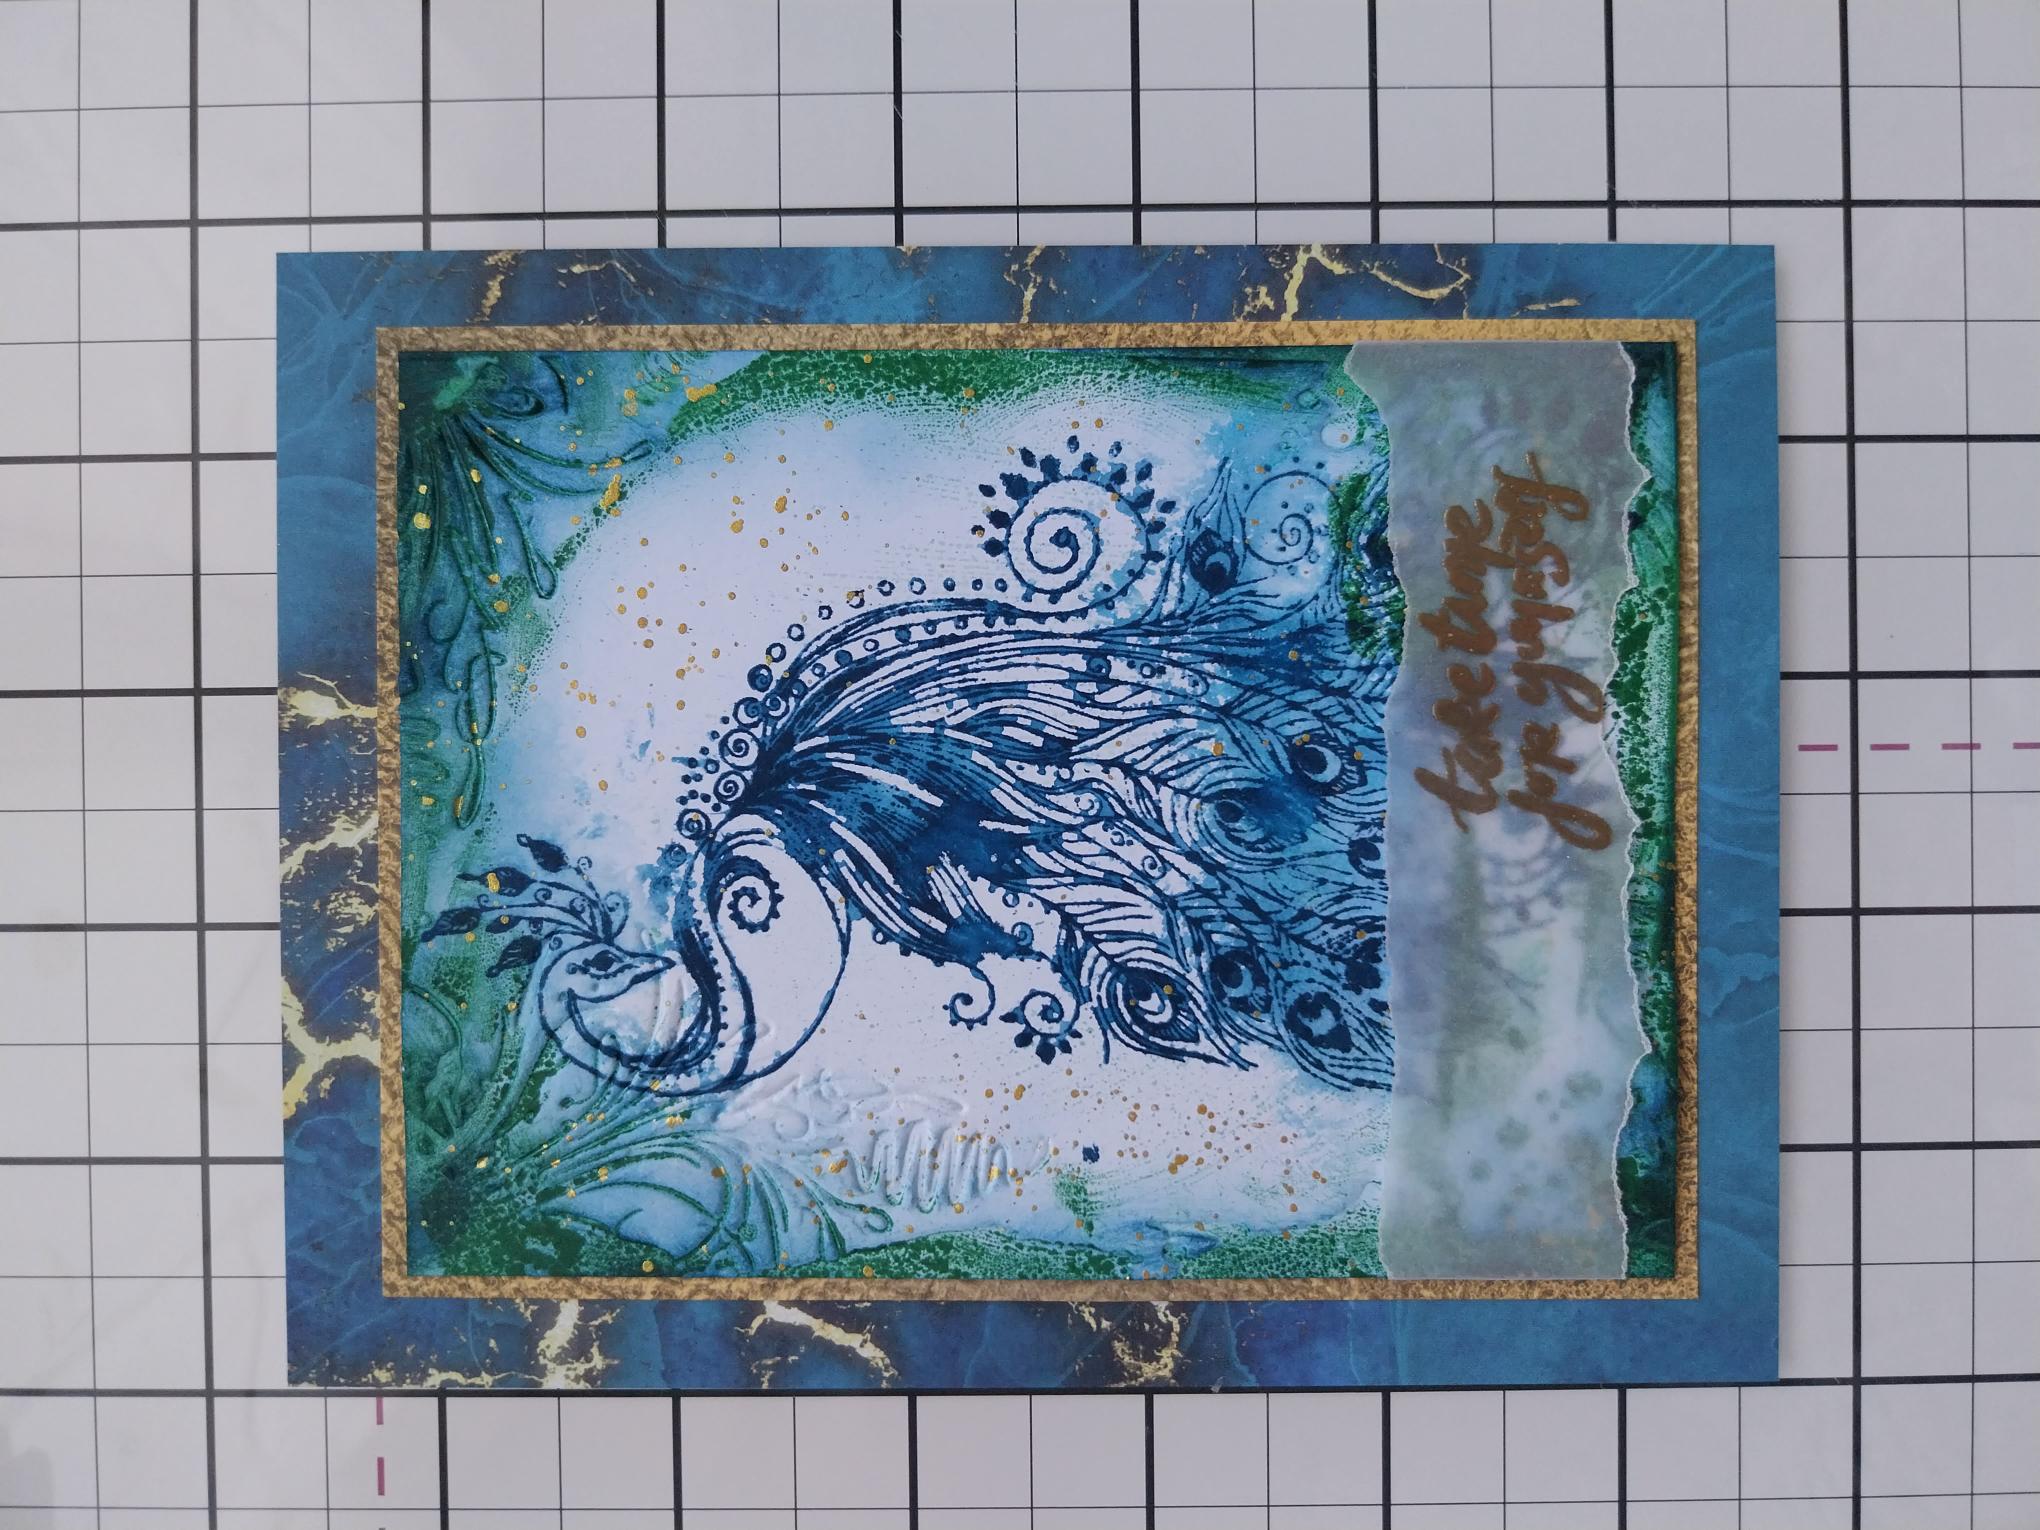
Trim this gorgeous gold paper, from the Magical Elegance Foundation Pack, to 5 1/2 x 4". |
|
Adhere your artwork on to the gold paper. |
|
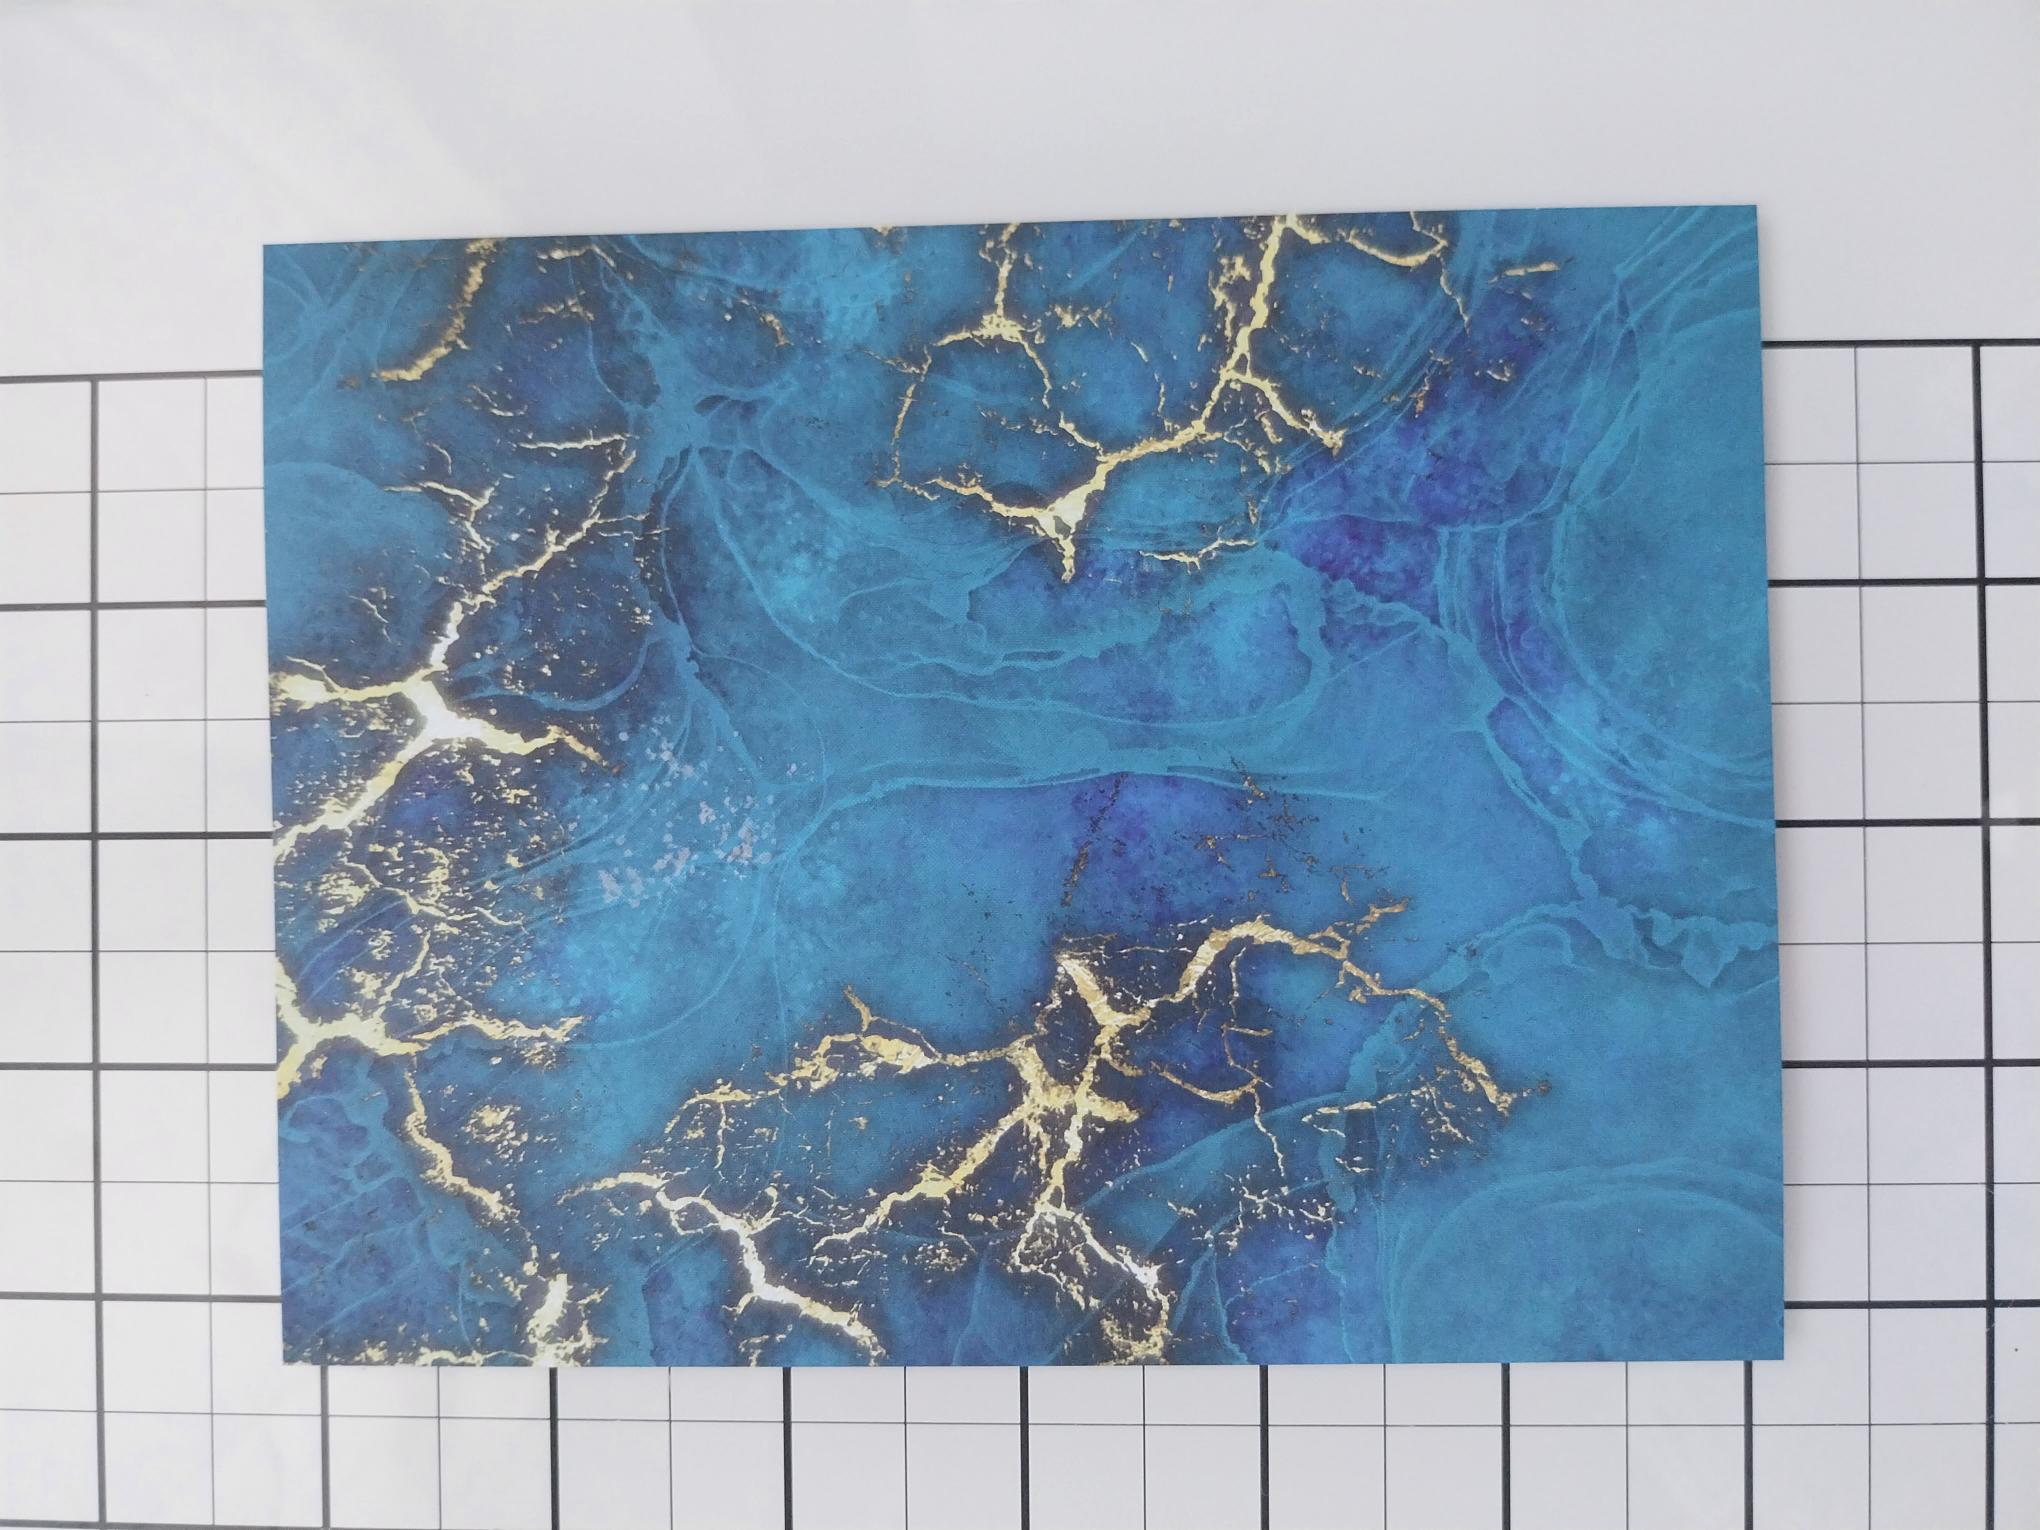
Cut this stunning blue/gold marble paper, from the same pack, to 6 1/4 x 4 3/4". |
|
Adhere your artwork on to this. |
|
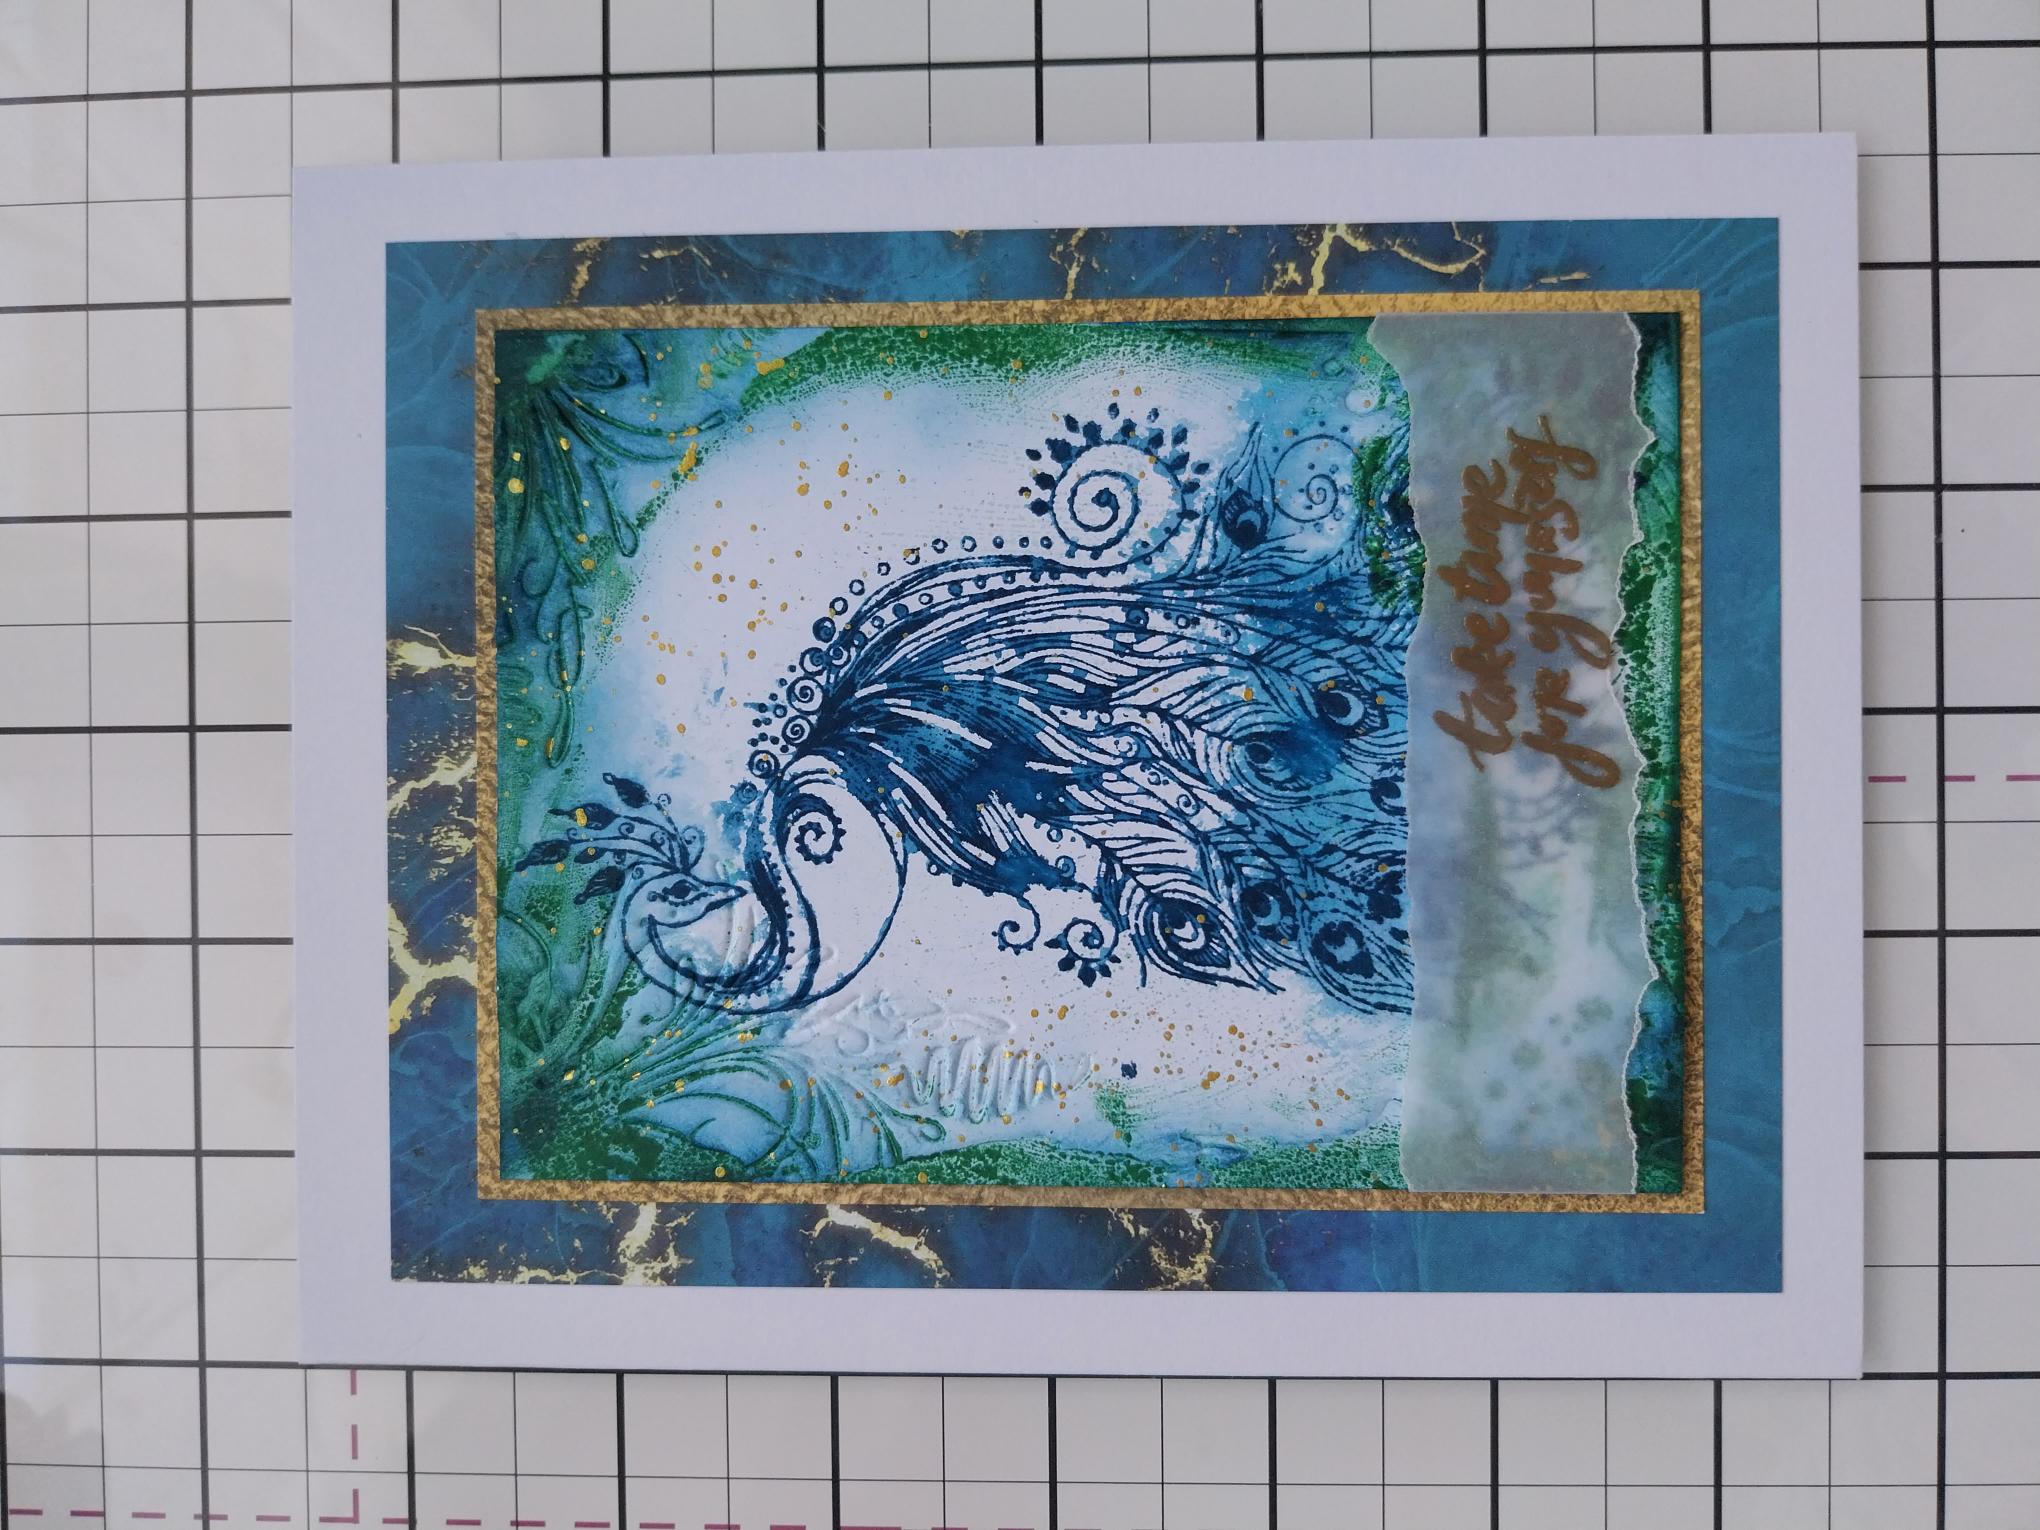
Adhere to the front of your 7 x 5 1/2" white card blank, to complete your card. |