Give your friends $10 off their first order!
Refer a FRIEND


WHAT YOU WILL NEED:
Grey card blank 6 x 8"
White card
Signature Embossing Folder Snowflake Frame 5 x 7
All Surfaces Elegant Gold 8 x 8" Paper Pad
Paperchain Sunshine In My Pocket 8 x 8" Textured Paper Pad
Quattro D Christmas Is Coming Collection
Typewriter Tabs Washi Tape and Die Set
SBM Hybrid Ink Pad: Midnight
SBM Premium Dye Ink Pad: Sherbet, Redwood
Distress Ink/Oxide Ink Pad: Tattered Rose, Black Soot
Water spray bottle
Blending brush
Gold Gilding Wax
Eureka 101 Watercolour Tablet
SBM A3 Magnetic glass mat
Paper Trimmer
Glue
Foam pads
Die Cutting machine
[click image to enlarge] 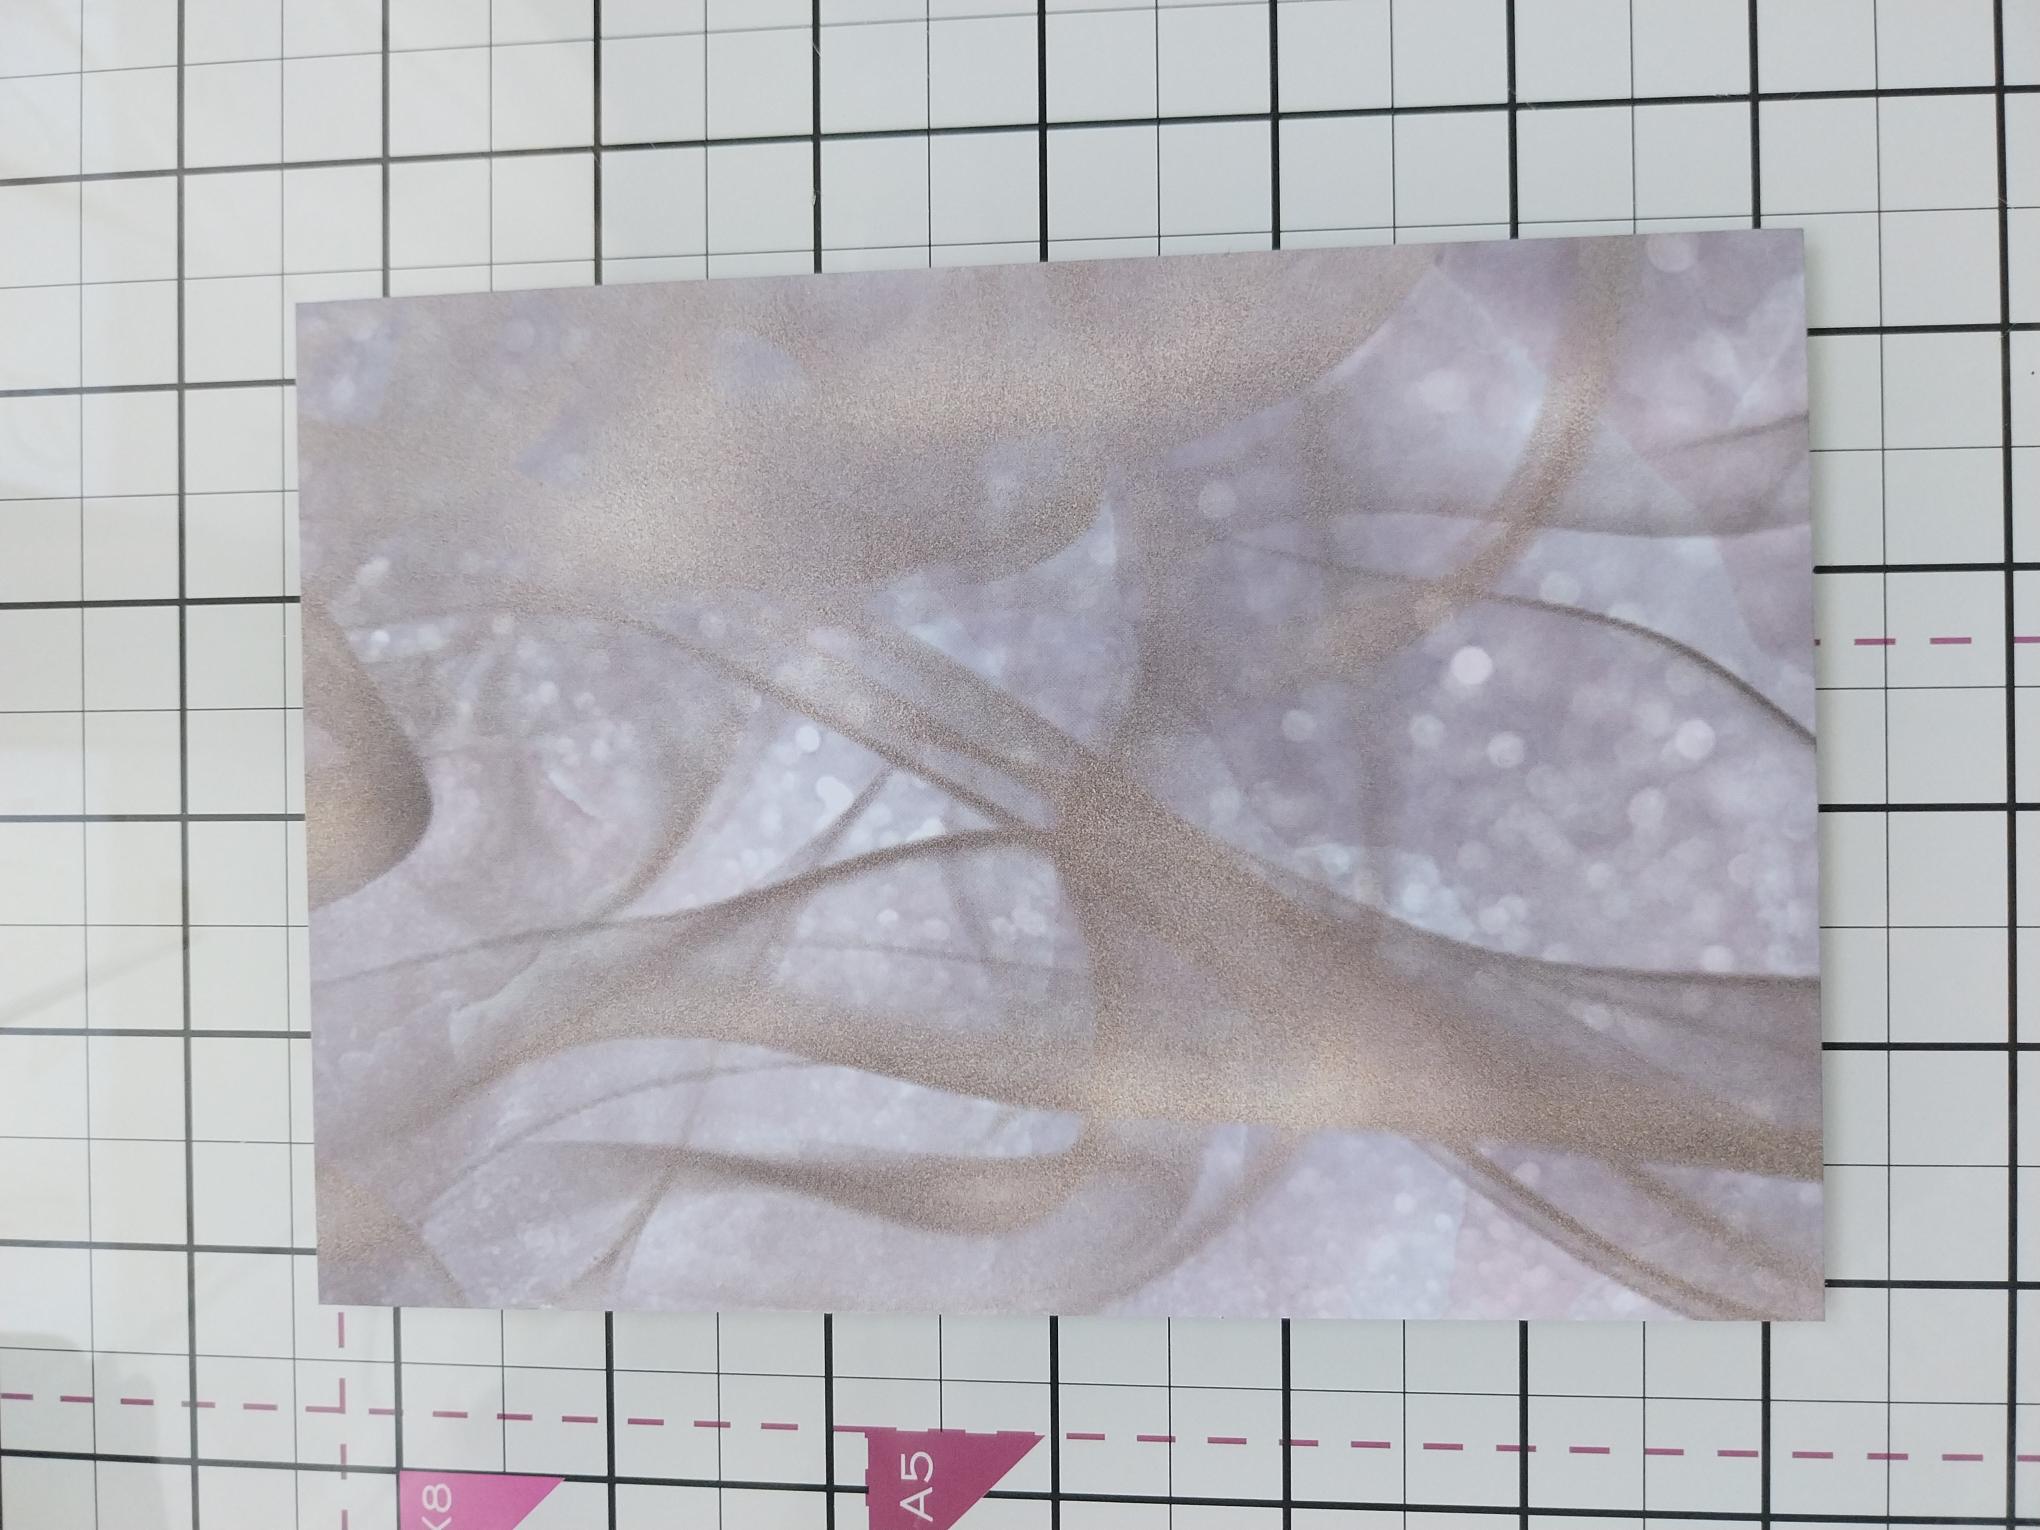
|
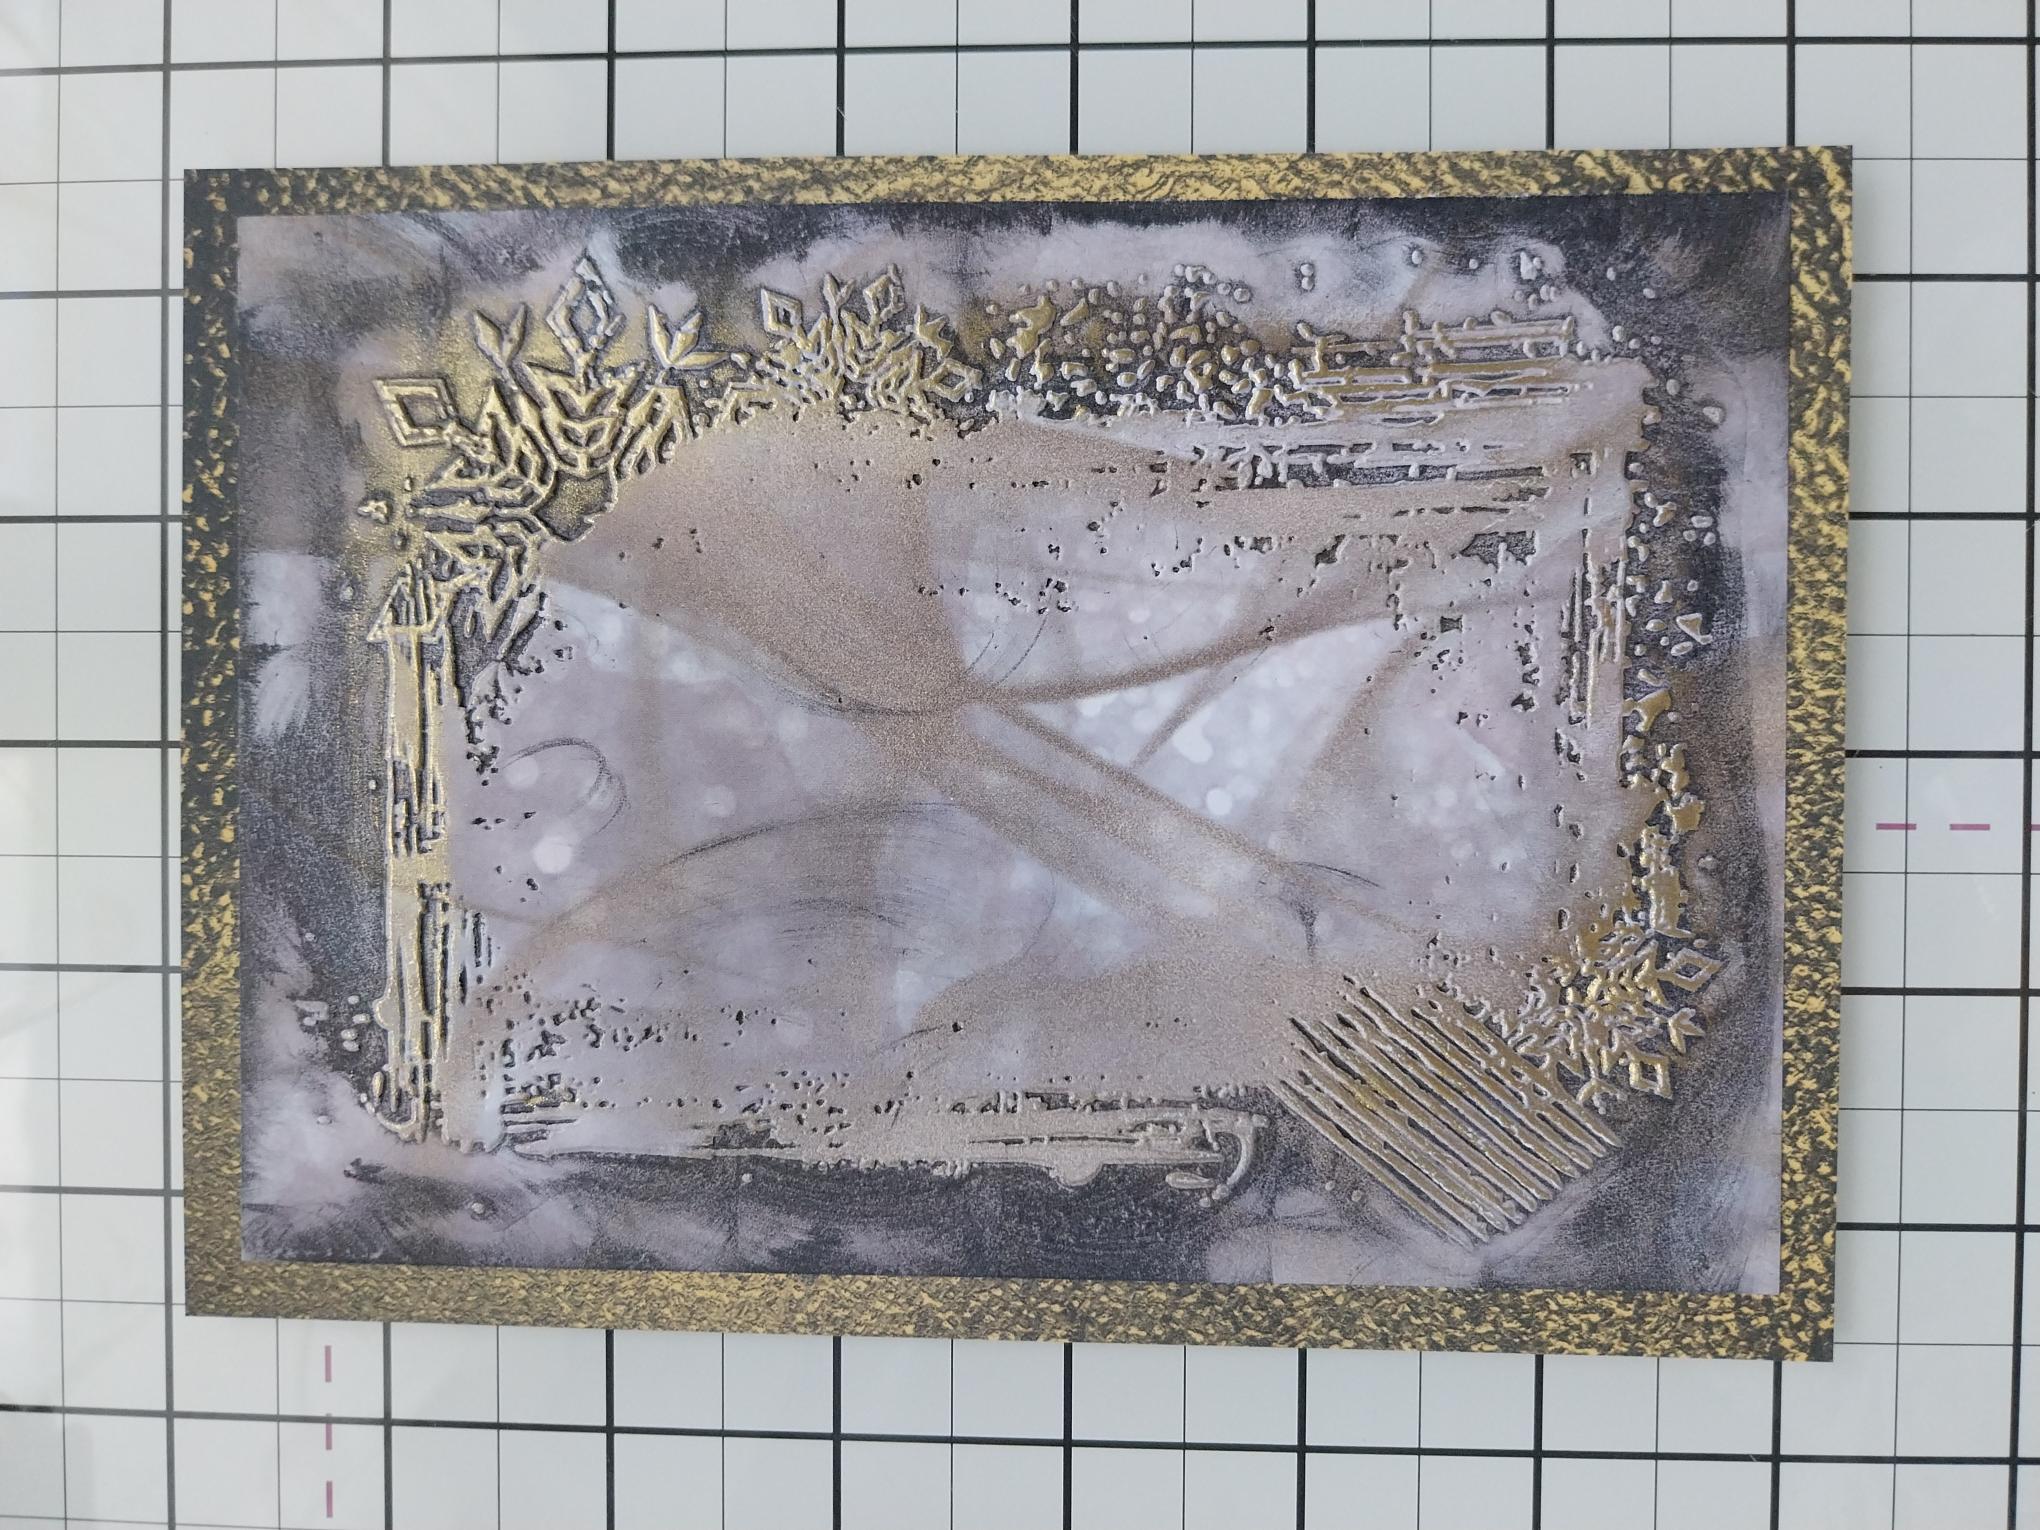
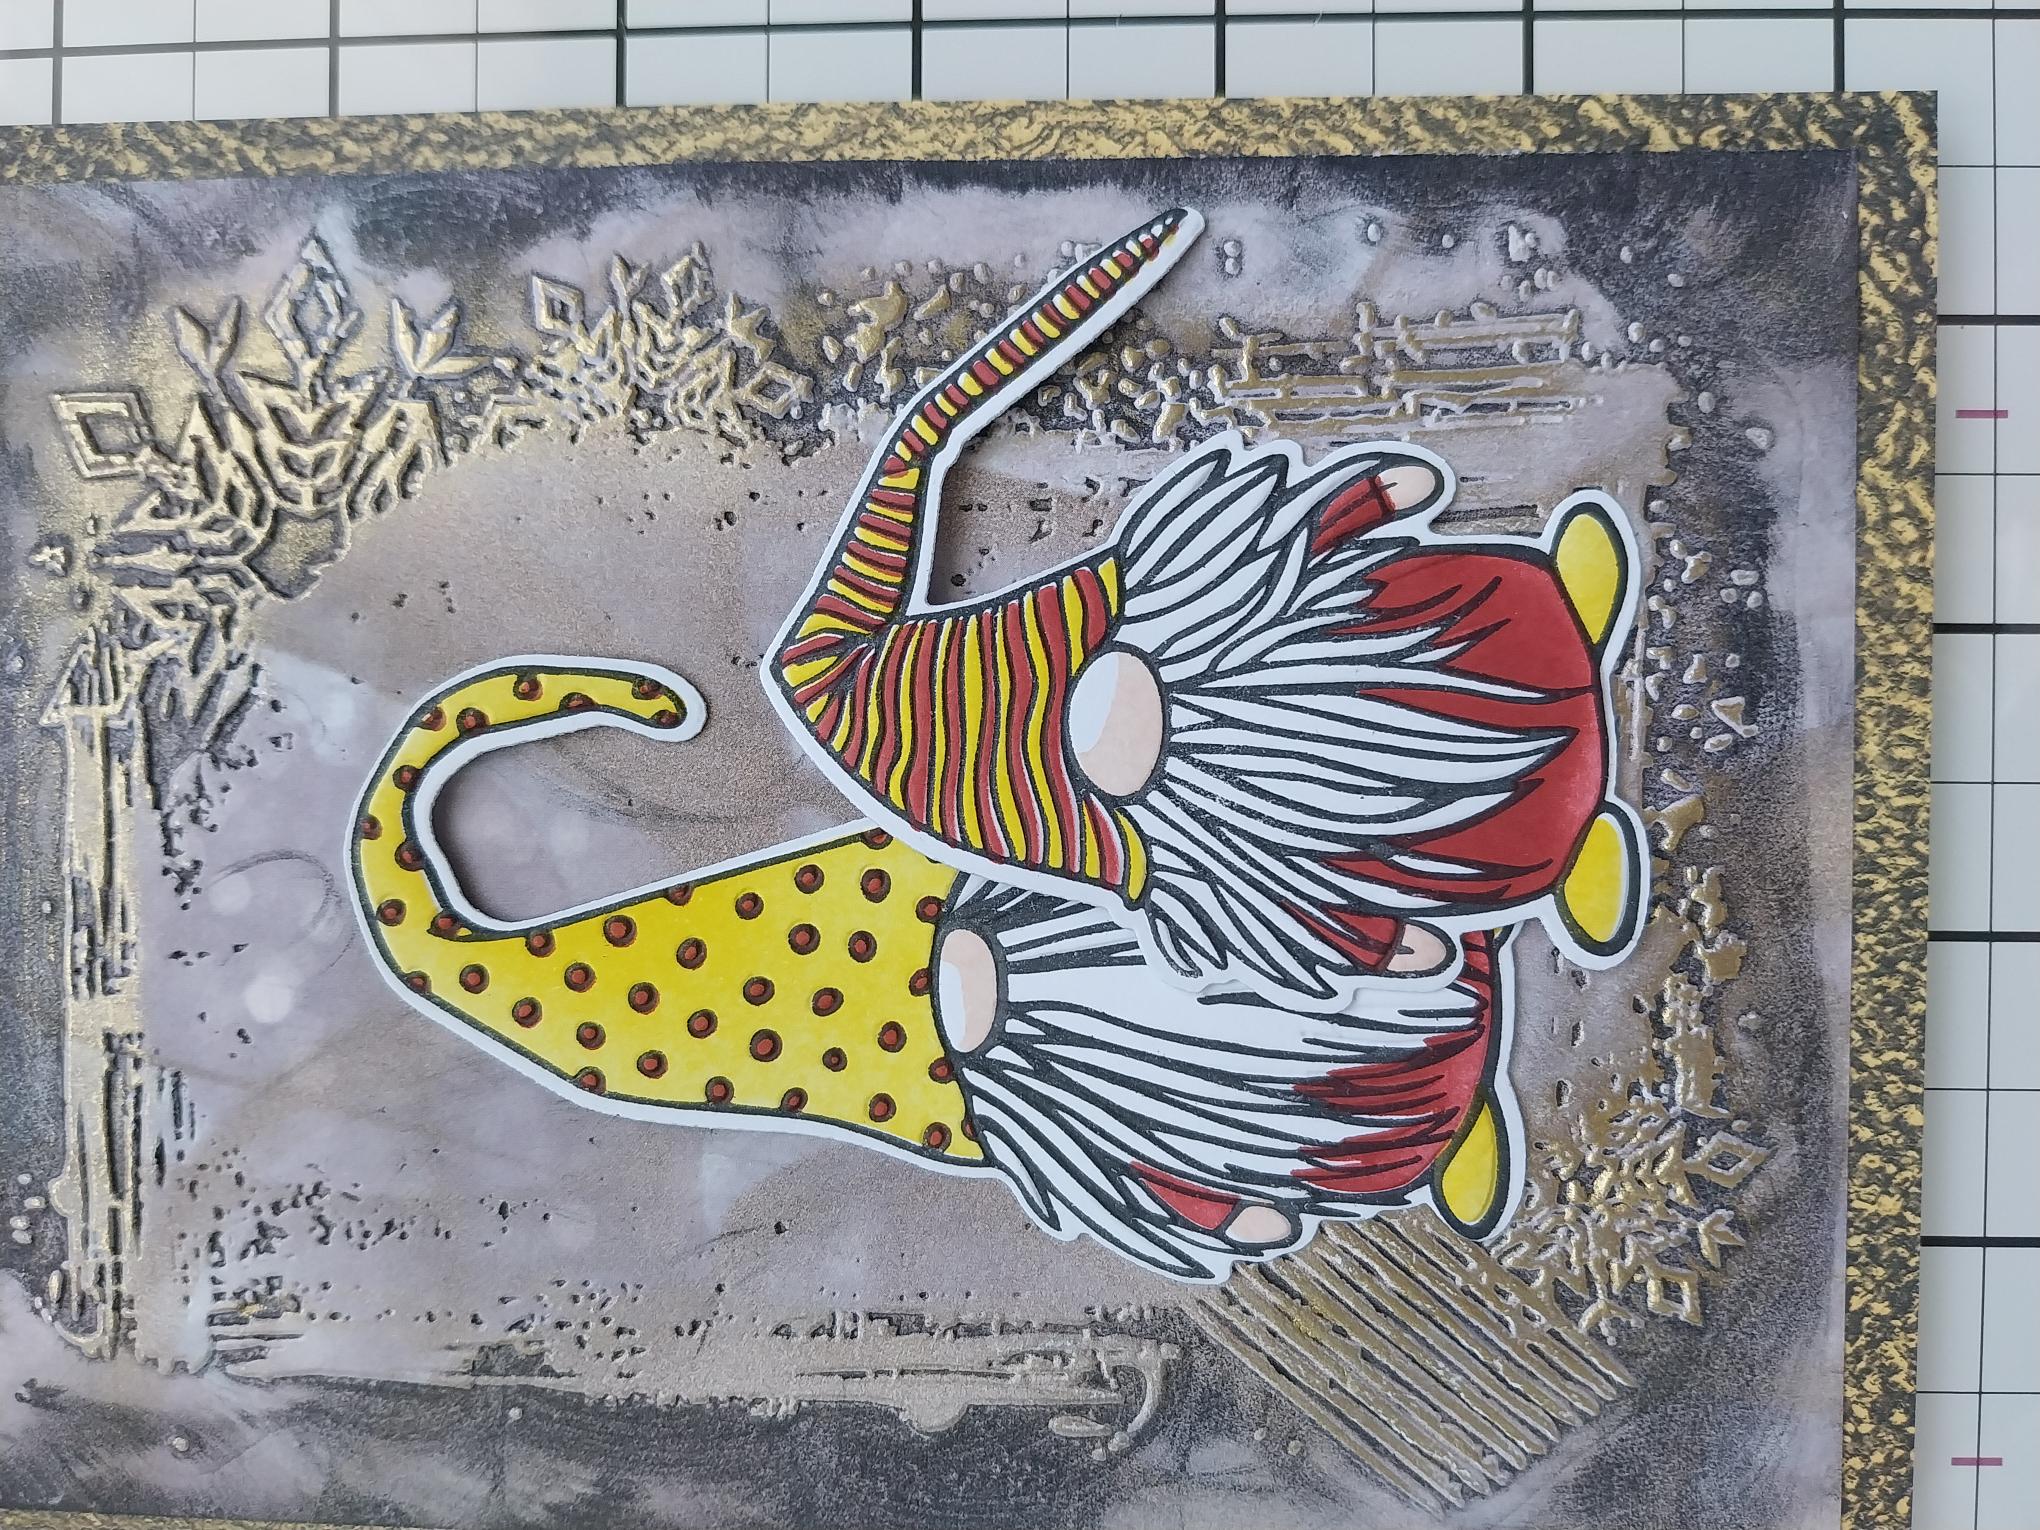
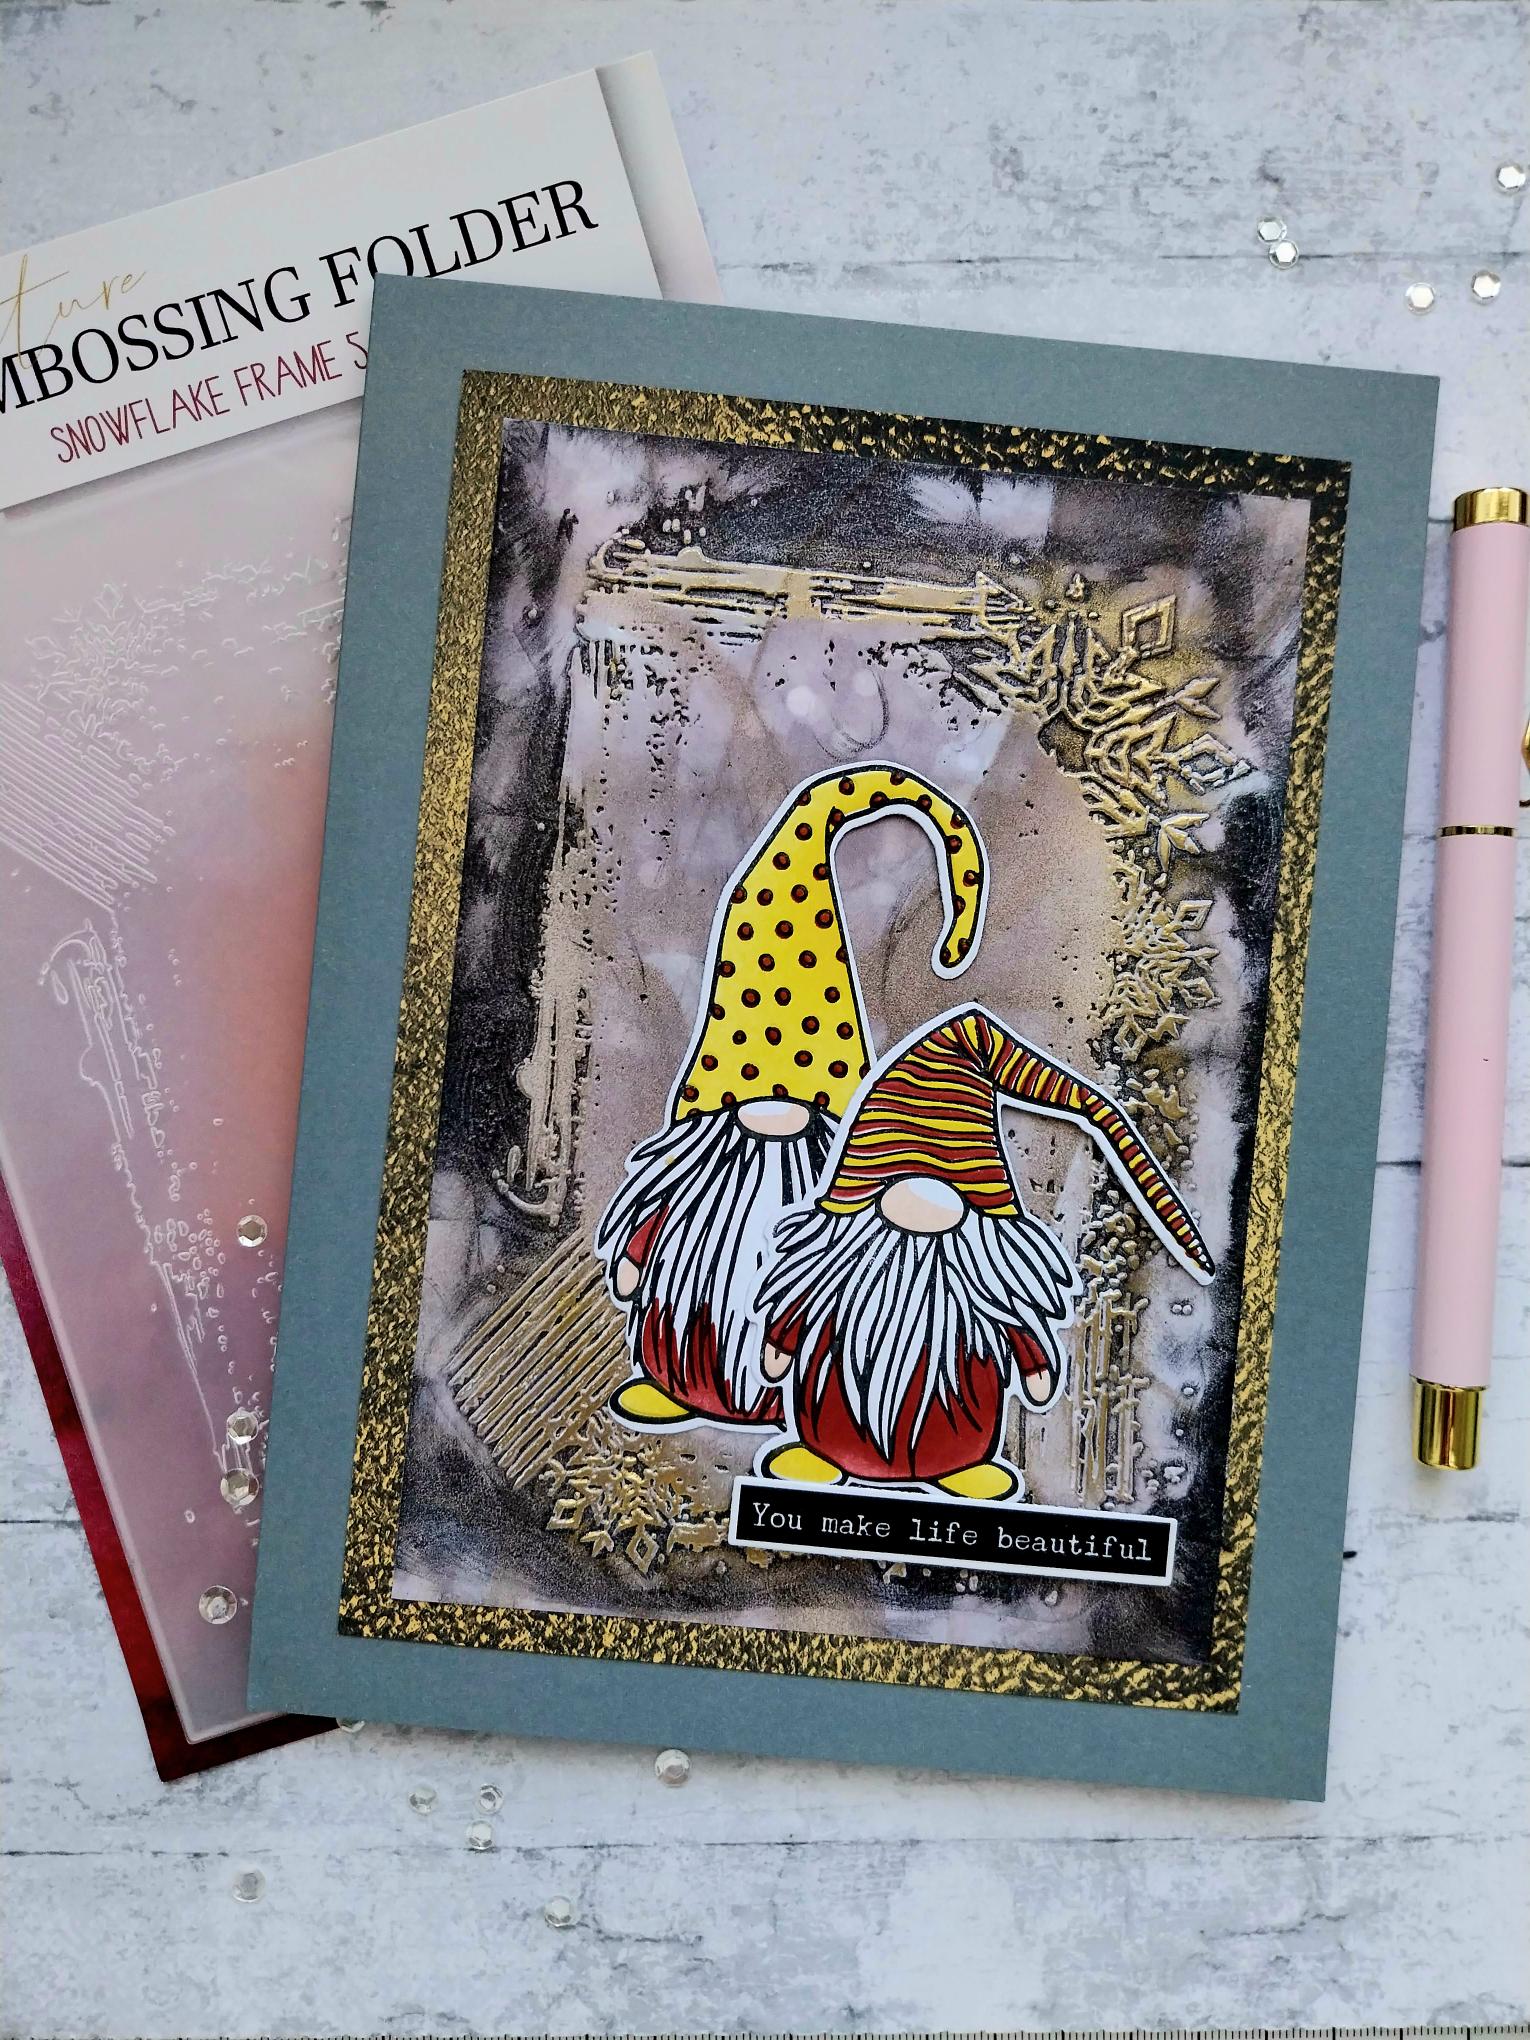
Cut this beautiful paper from the All Surfaces Elegant Gold pack, to slightly smaller than 7 x 5", so it will fit inside the embossing folder. |
|
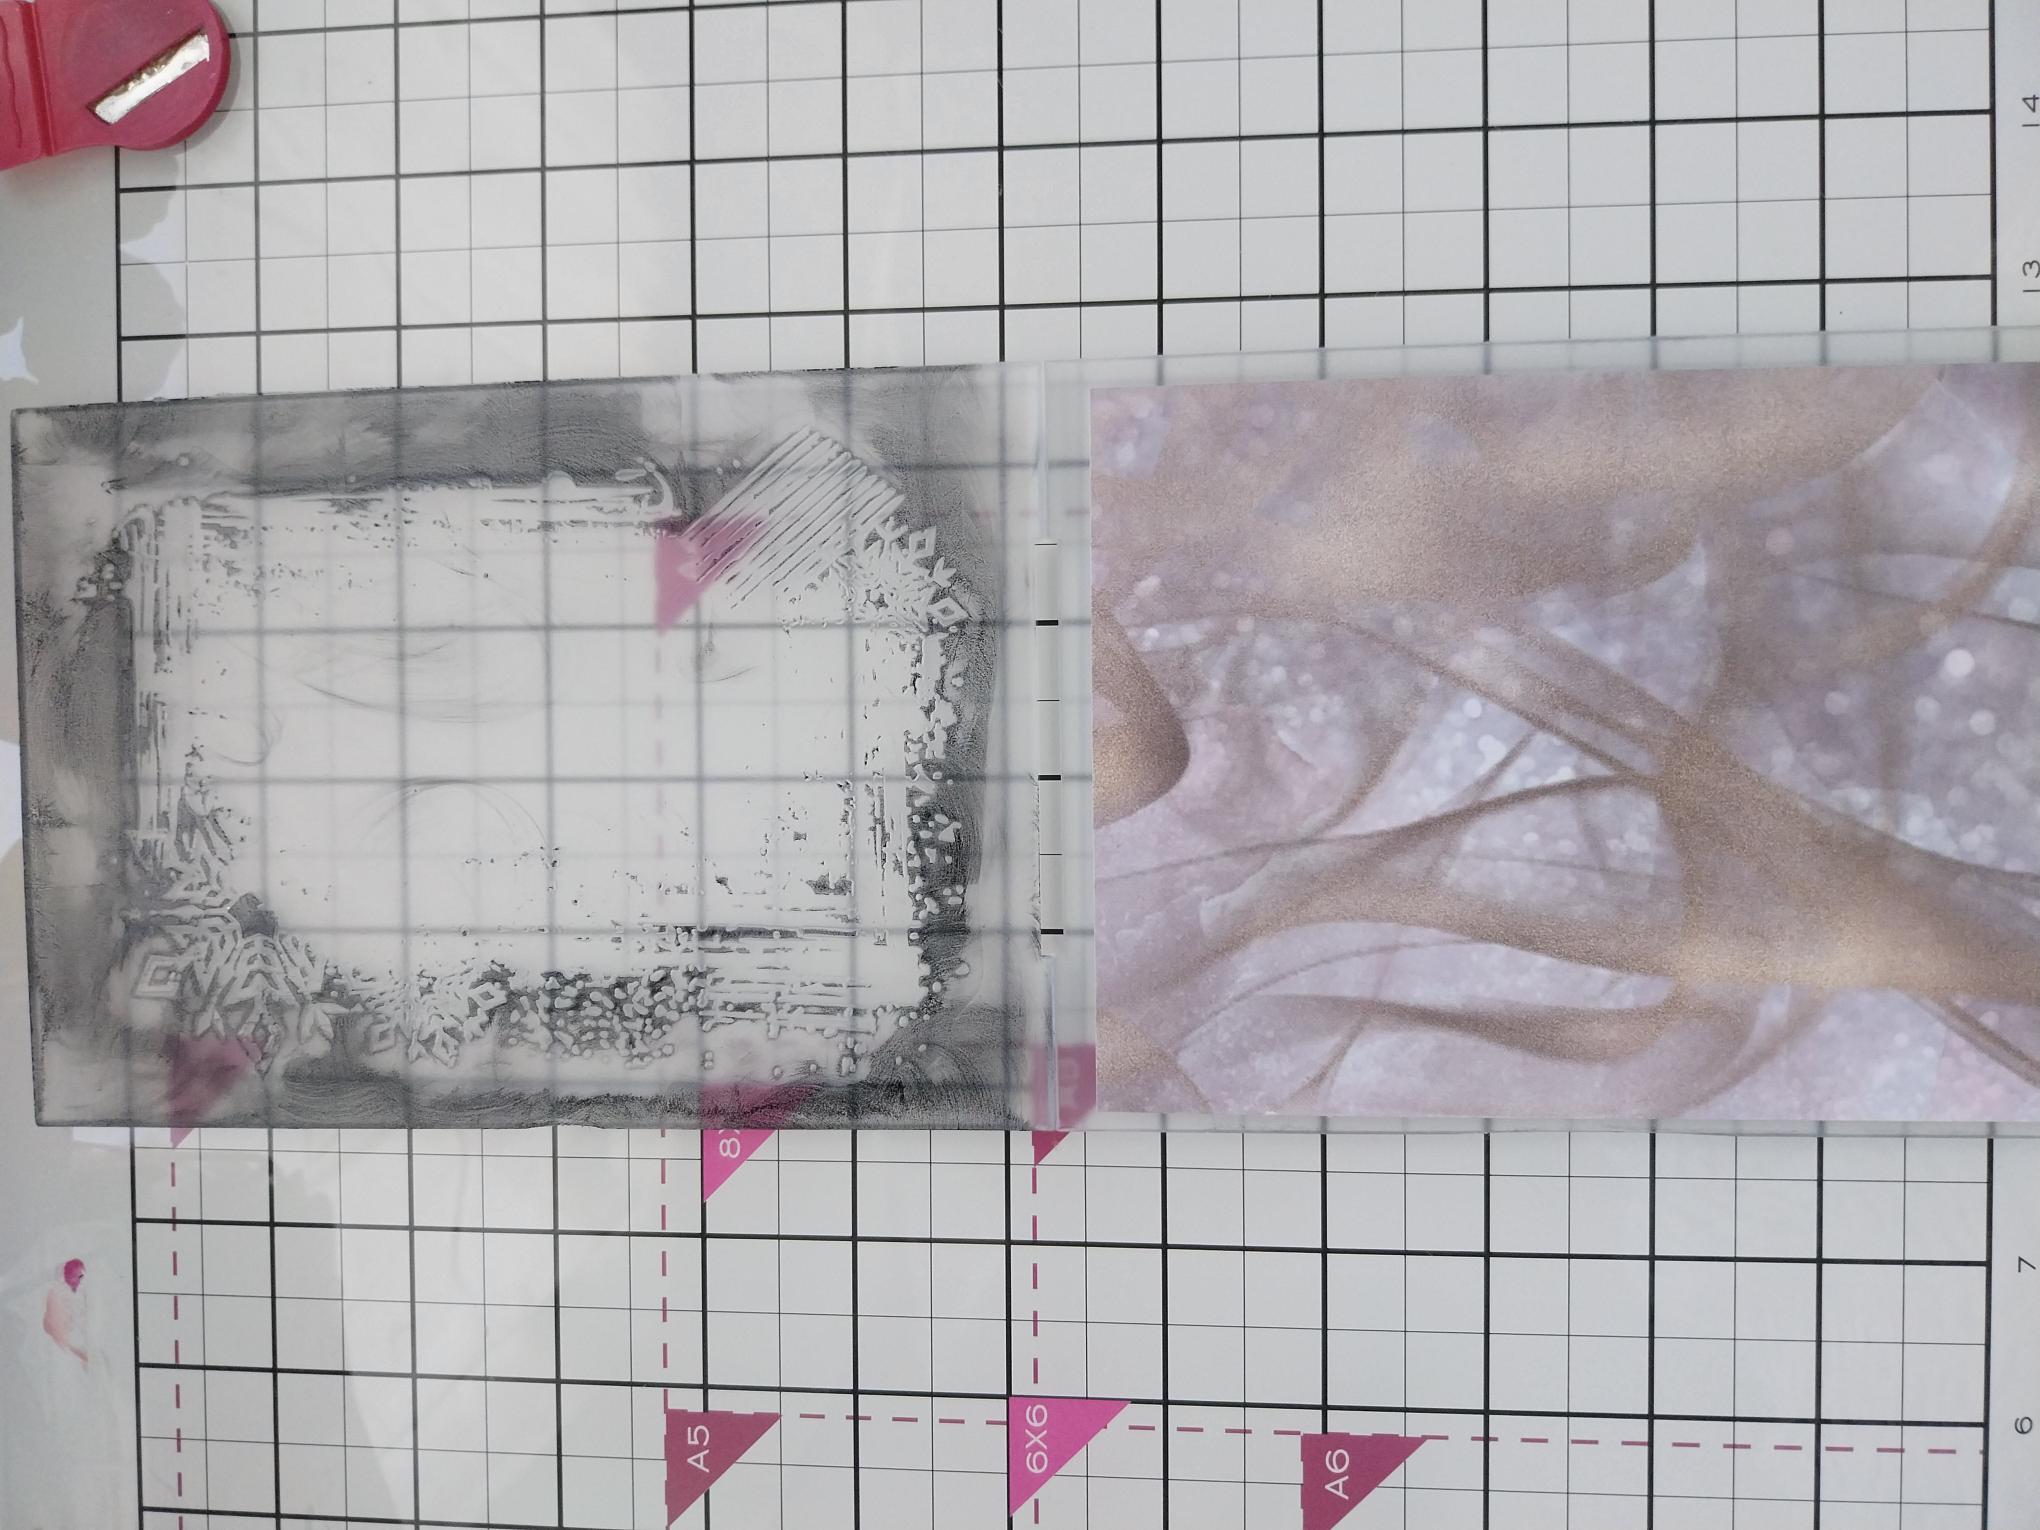
Swipe the Black Soot ink pad around the debossed side of the folder and spritz with water. |

|
Place the decorative paper inside the folder and run it through your machine. Use your blending brush to add more Black Soot around the outer edges of your background, to intensify the colour. |
|
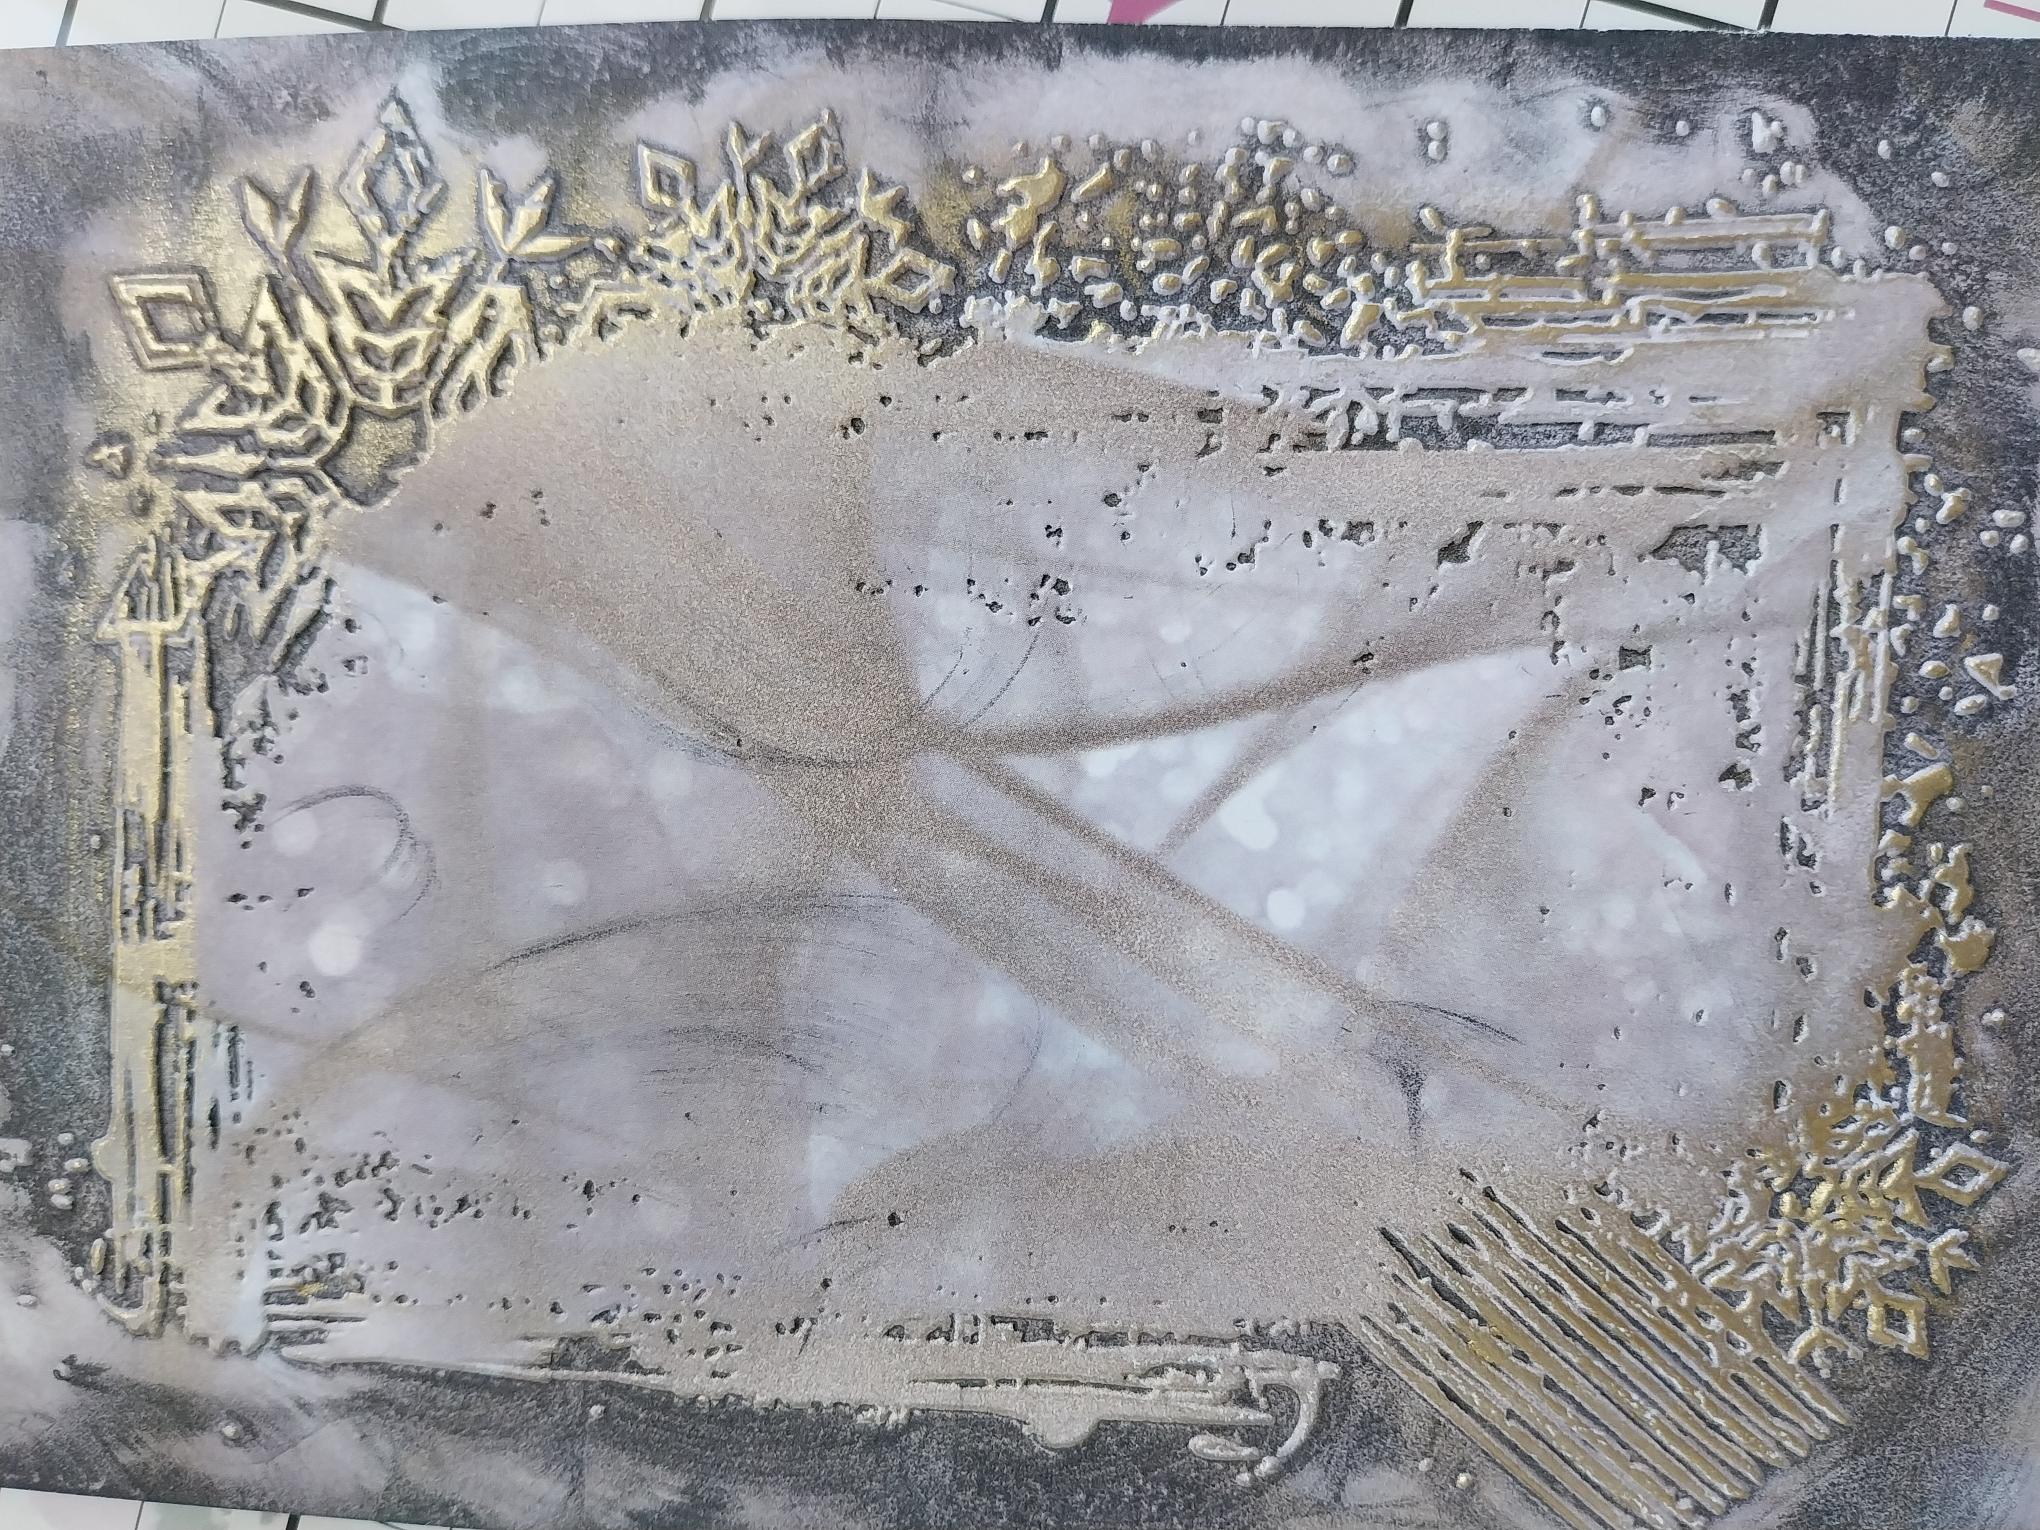
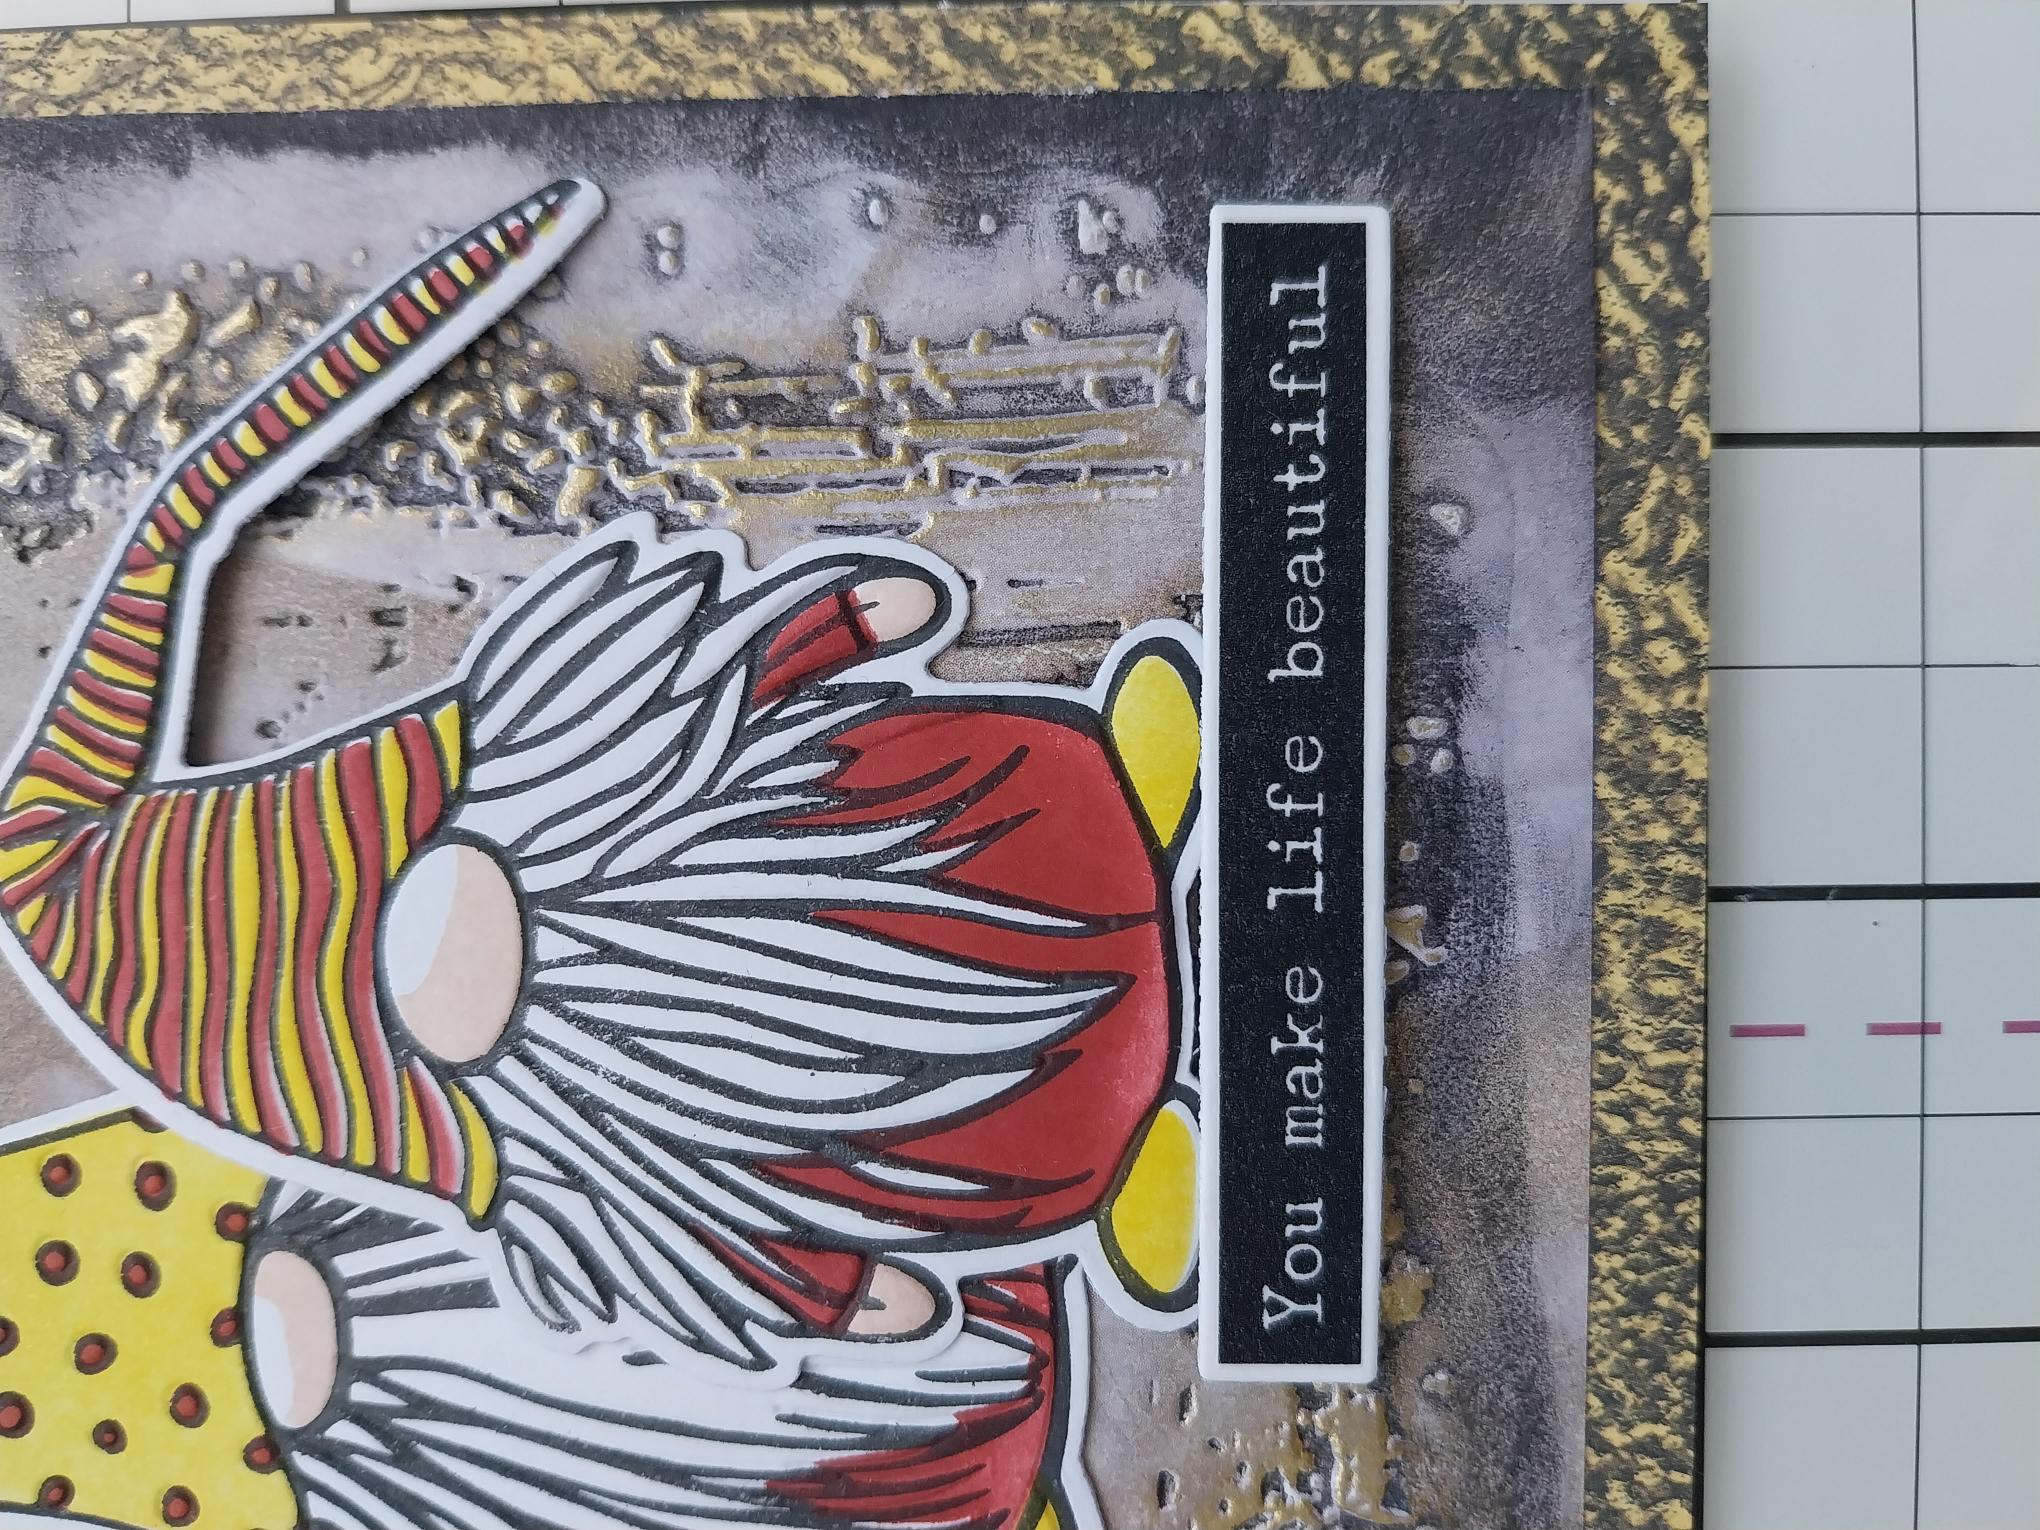
Once the ink is dry use your "ring" finger to lightly apply Gold gilding wax over the embossed areas of your frame. You can always add more wax but you can't remove it, so always start off lightly and build up the intensity, until you are happy with the result. Buff over the wax with a clean, soft cloth to enhance the shine. |
|
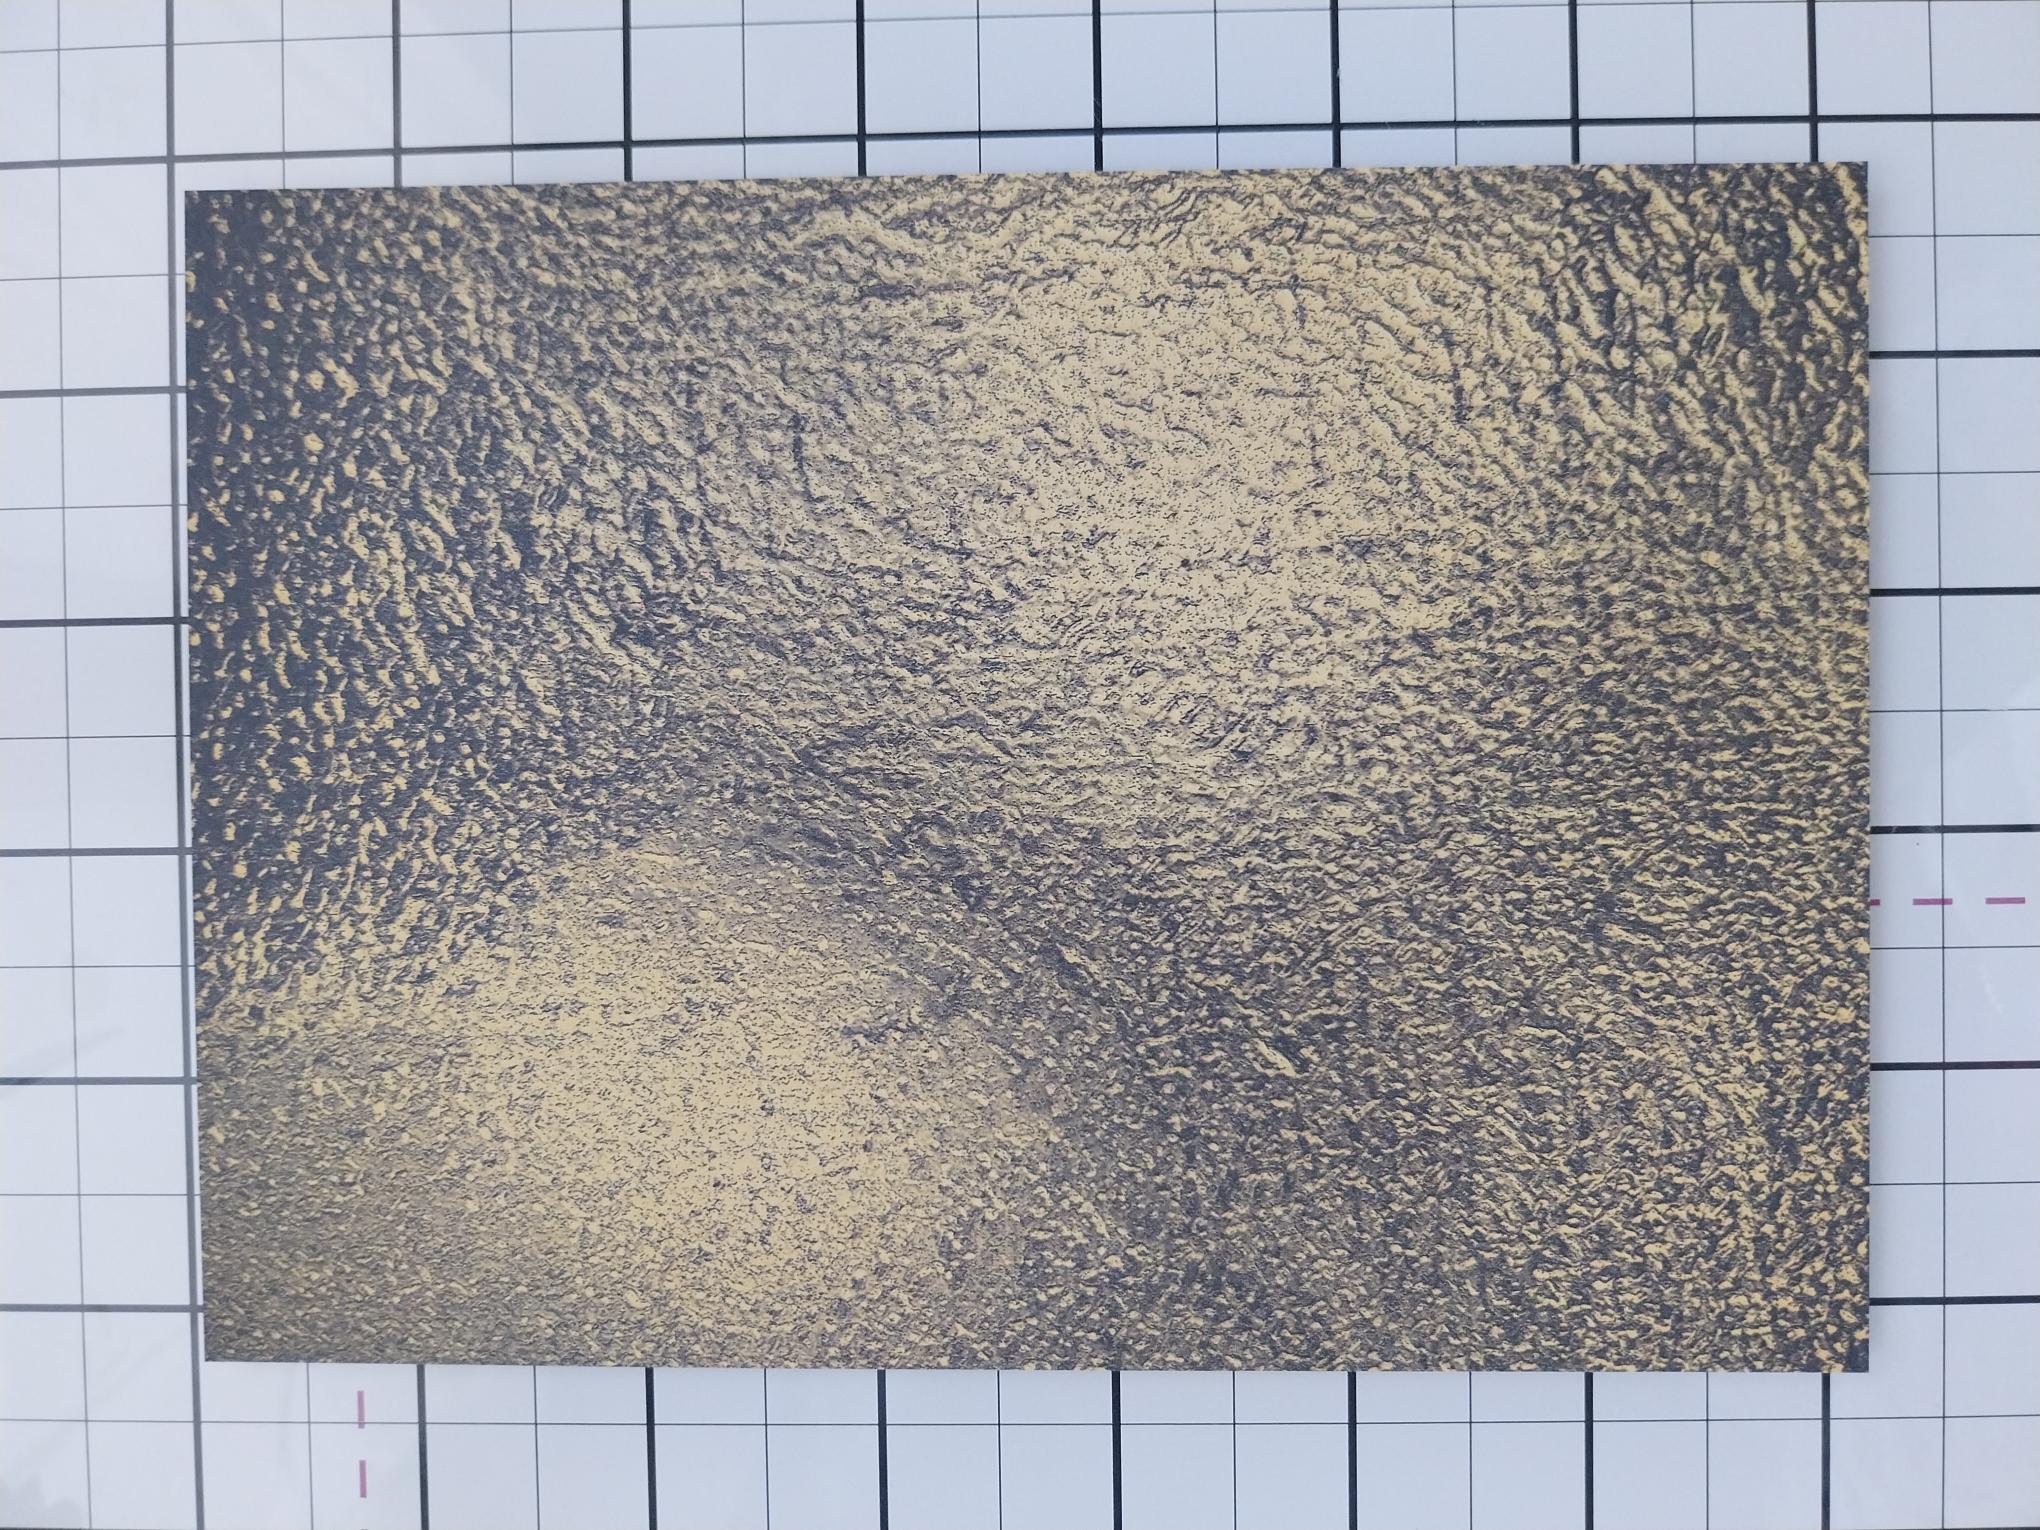
Trim this beautiful paper, from the Sunshine In My Pocket paper pack and cut 1/4" bigger than your embossed paper. |
|
Adhere the embossed background on to the texture paper and pop to one side. |
|
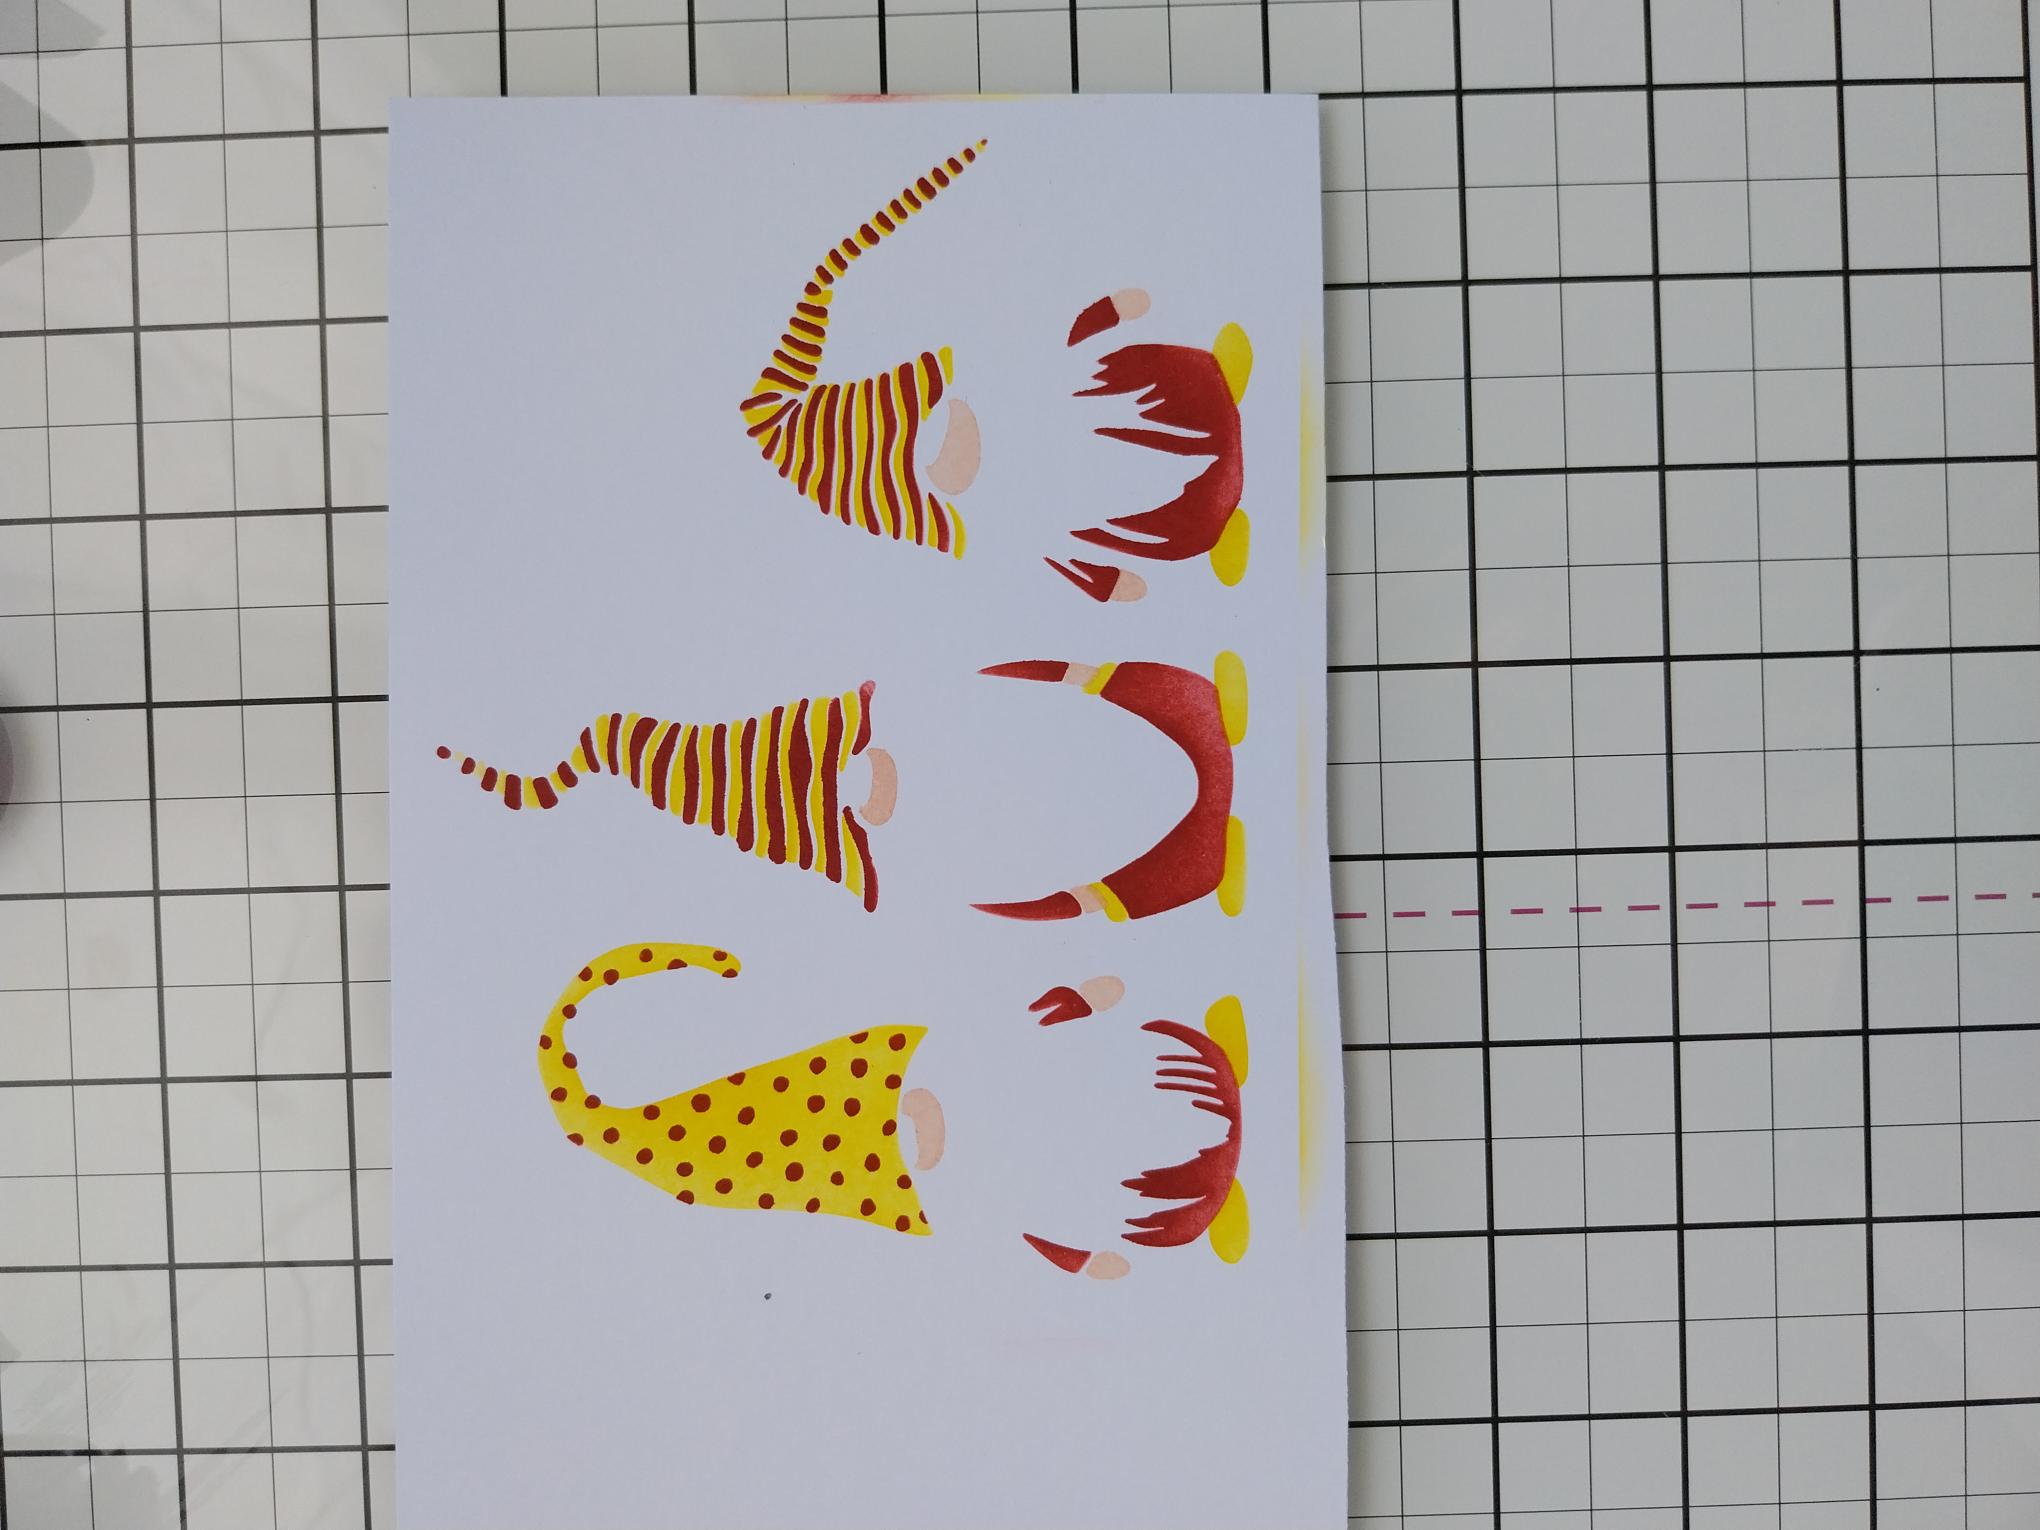
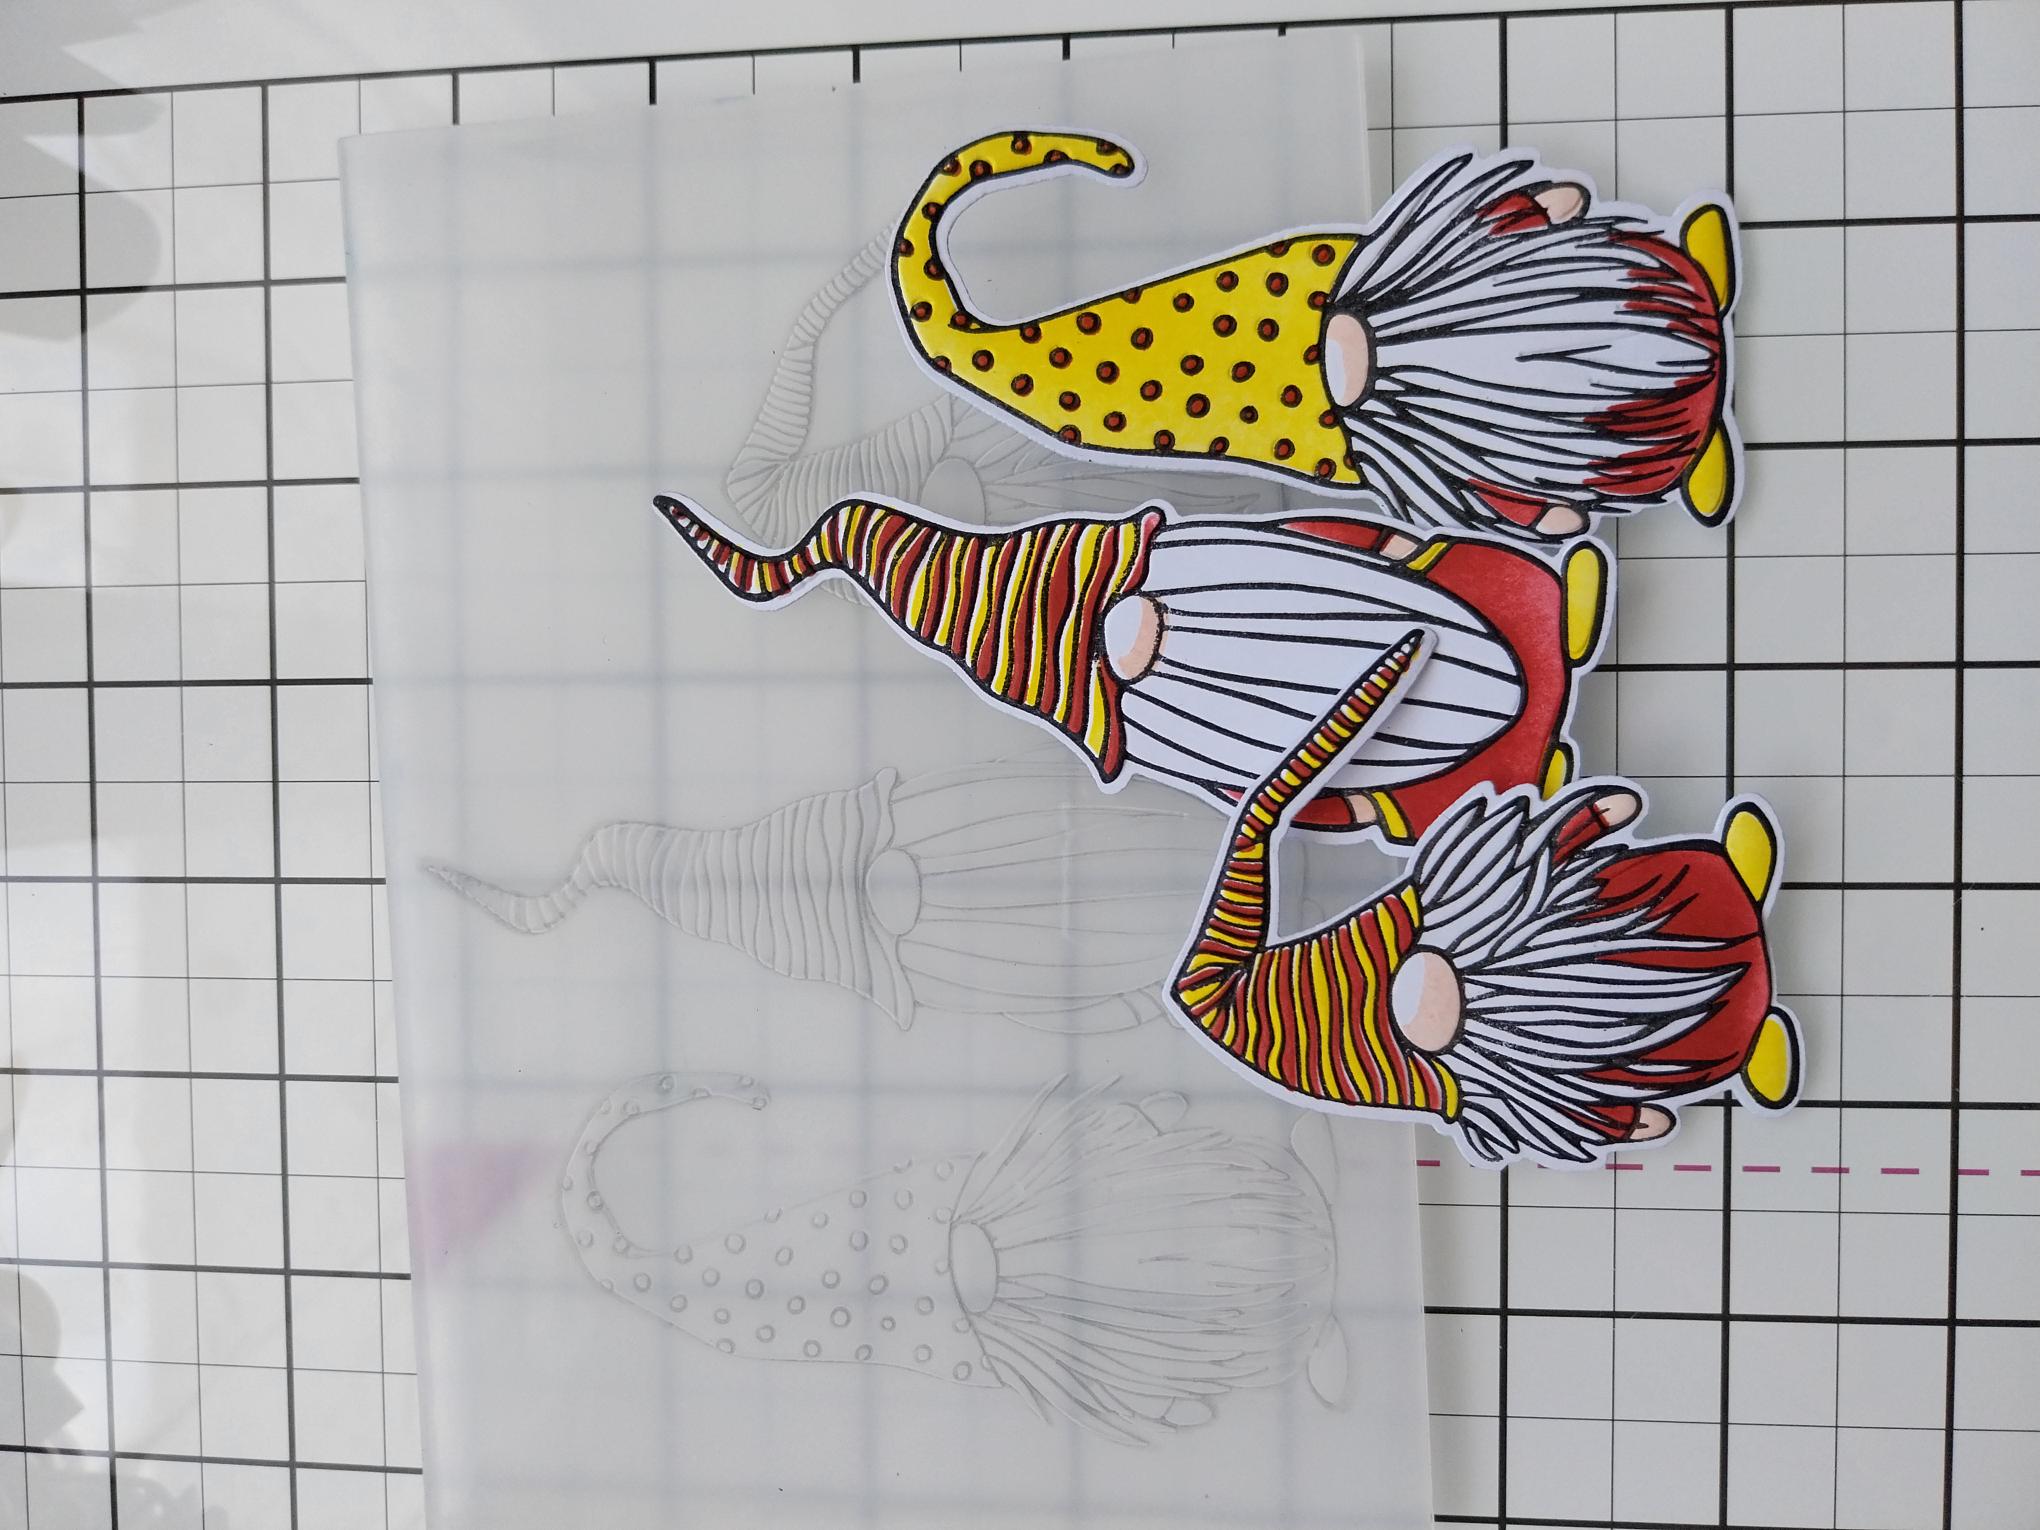
Each of the stencils in the Quattro D Christmas Is Coming collection are numbered and have hearts in the corner to help you line each one up, if required. Use your blending tool to apply ink through each stencil, on to white card trimmed to 7 x 5", as follows: Stencil 1 Sherbet, Redwood where desired. Stencil 2 Use the same colours but alternate the placement of each, for their clothing. Stencil 3 Tattered Rose
|
|
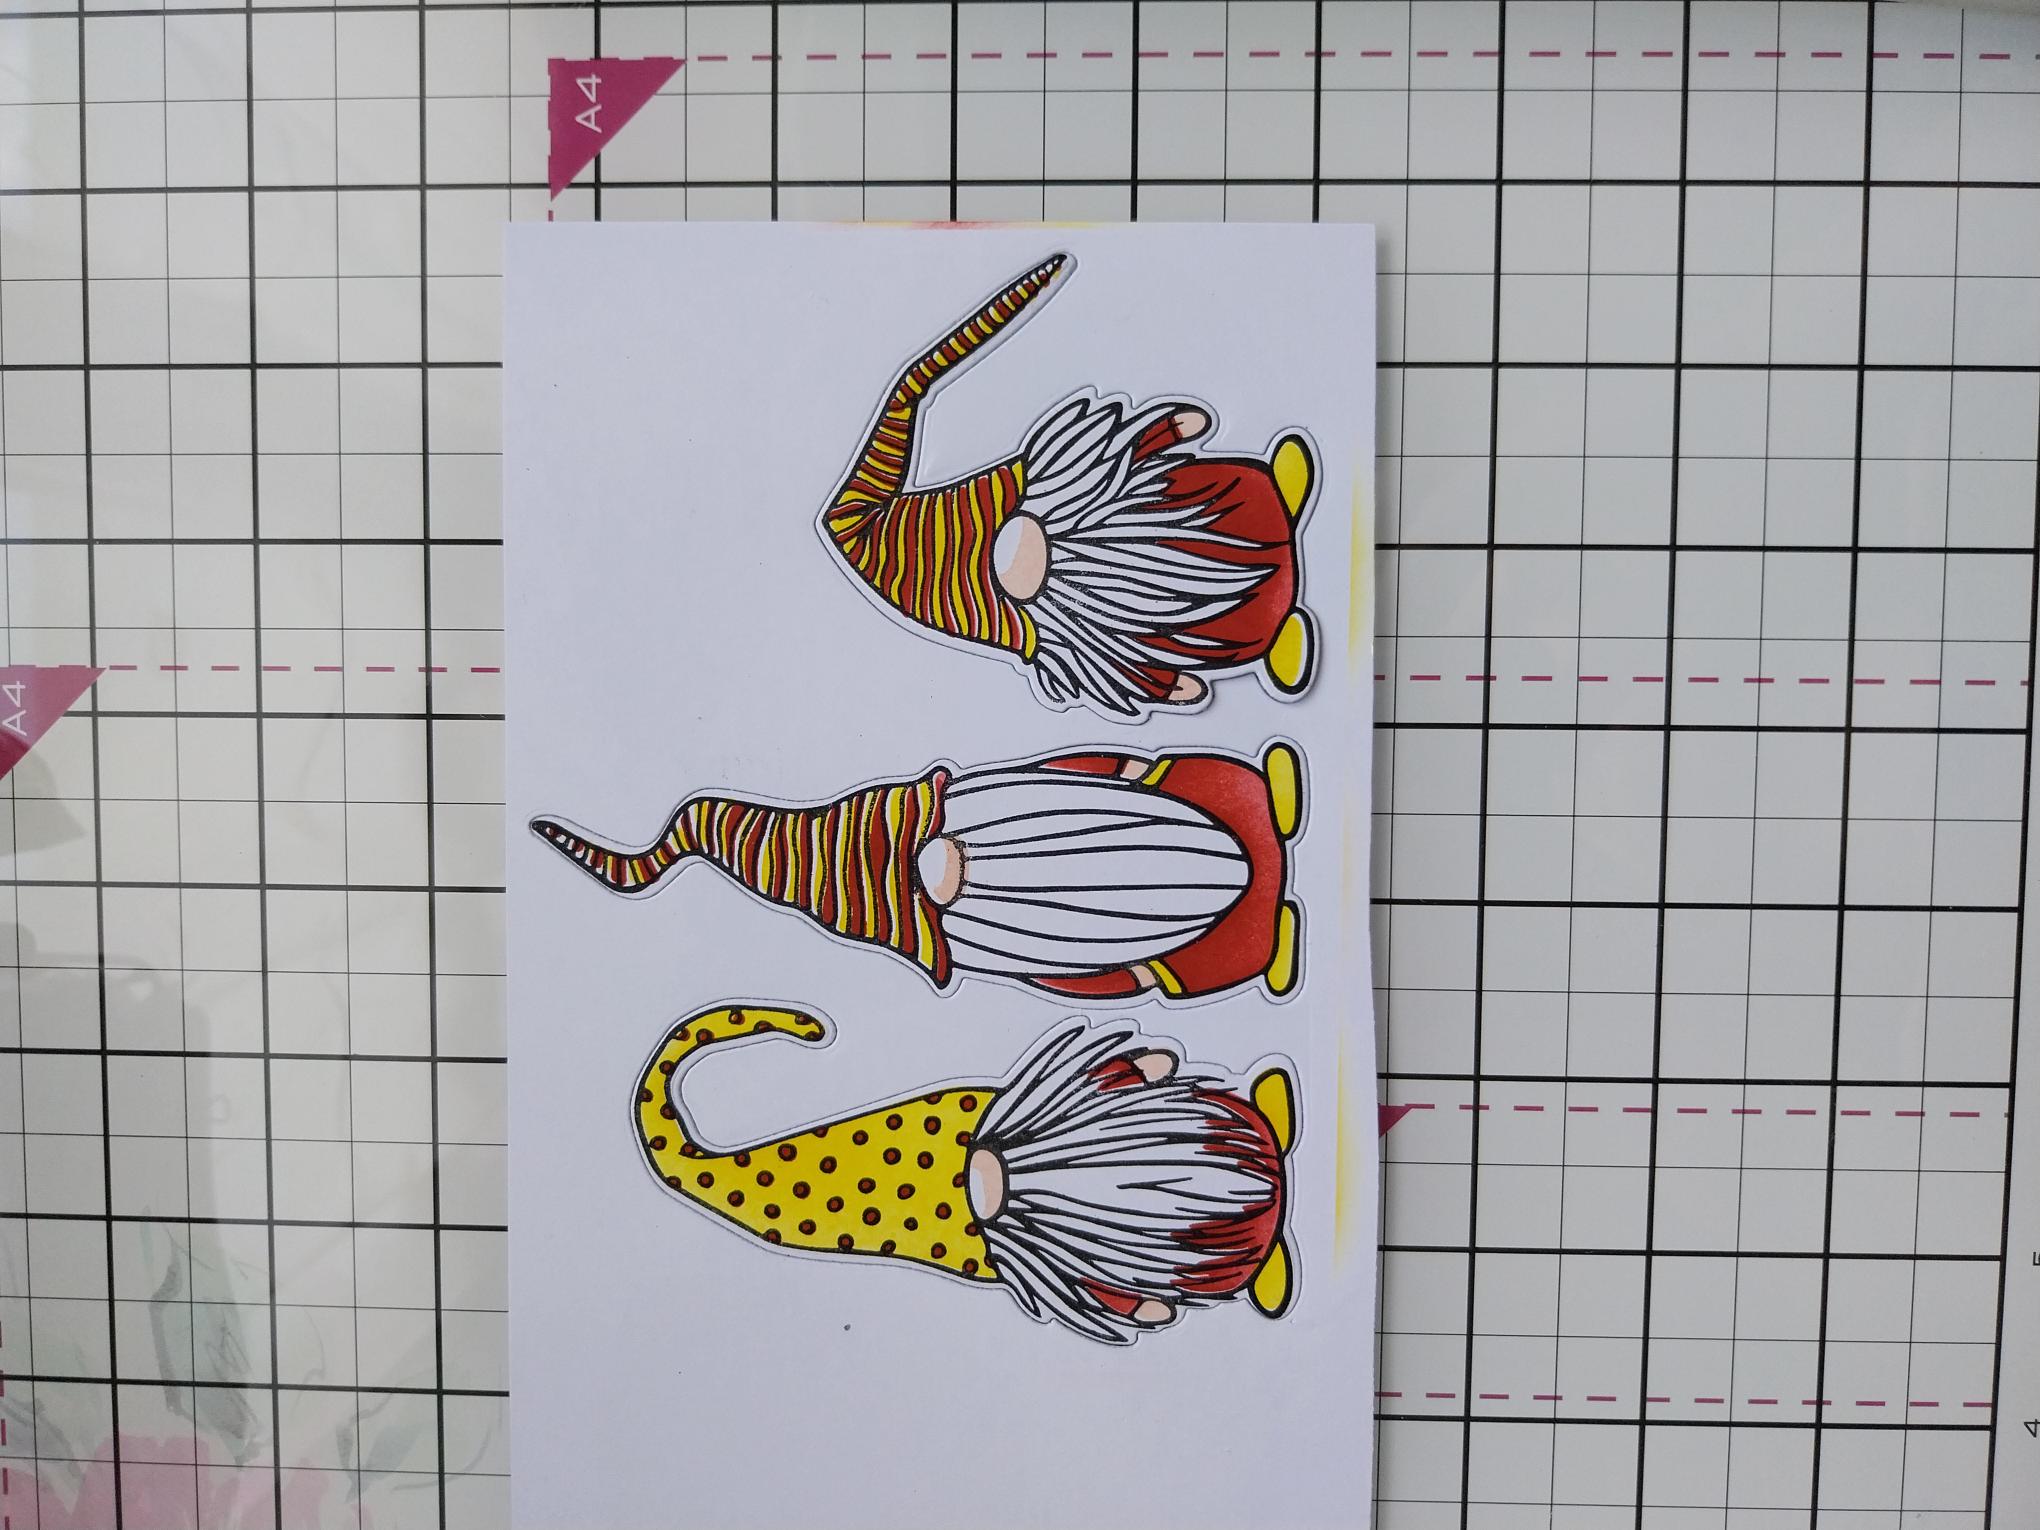
Stamp over the stencilled images with the coordinating stamp, in the Midnight ink. |
|
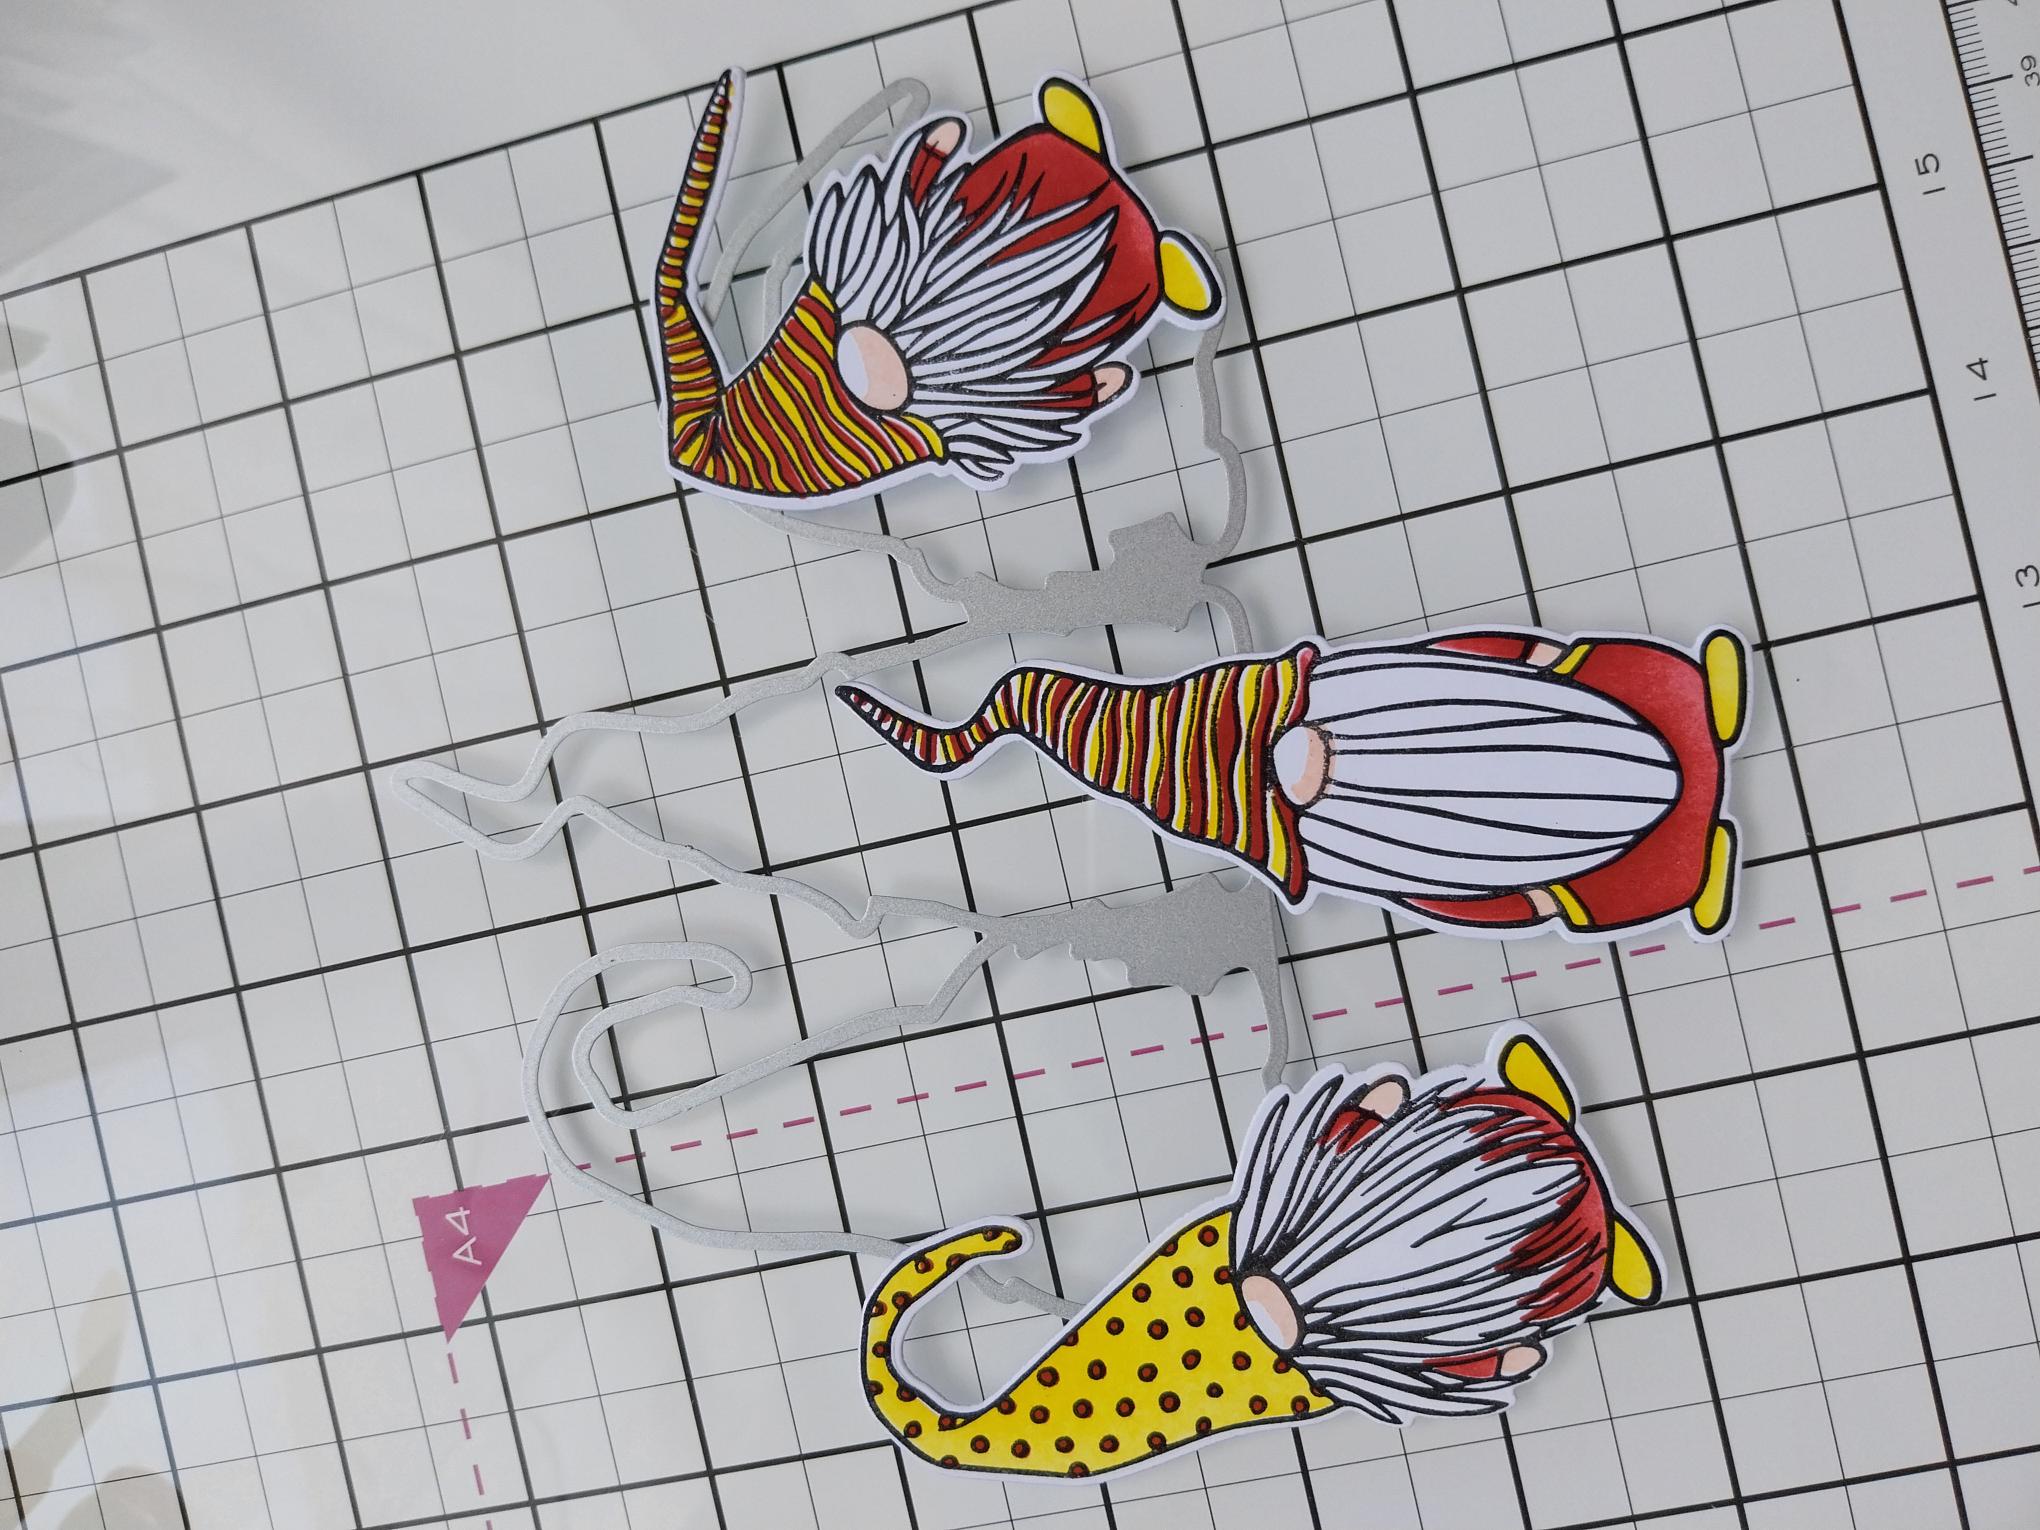
Use the coordinating die to cut them out. |
|
Place in the embossing folder and run through your machine. You can emboss them all at the same time, by securing in place with low tack tape but I prefer to emboss each one individually. |
|
Use foam pads to adhere two of the Gnomes within your embossed frame, keeping the third Gnome for another project. |
|
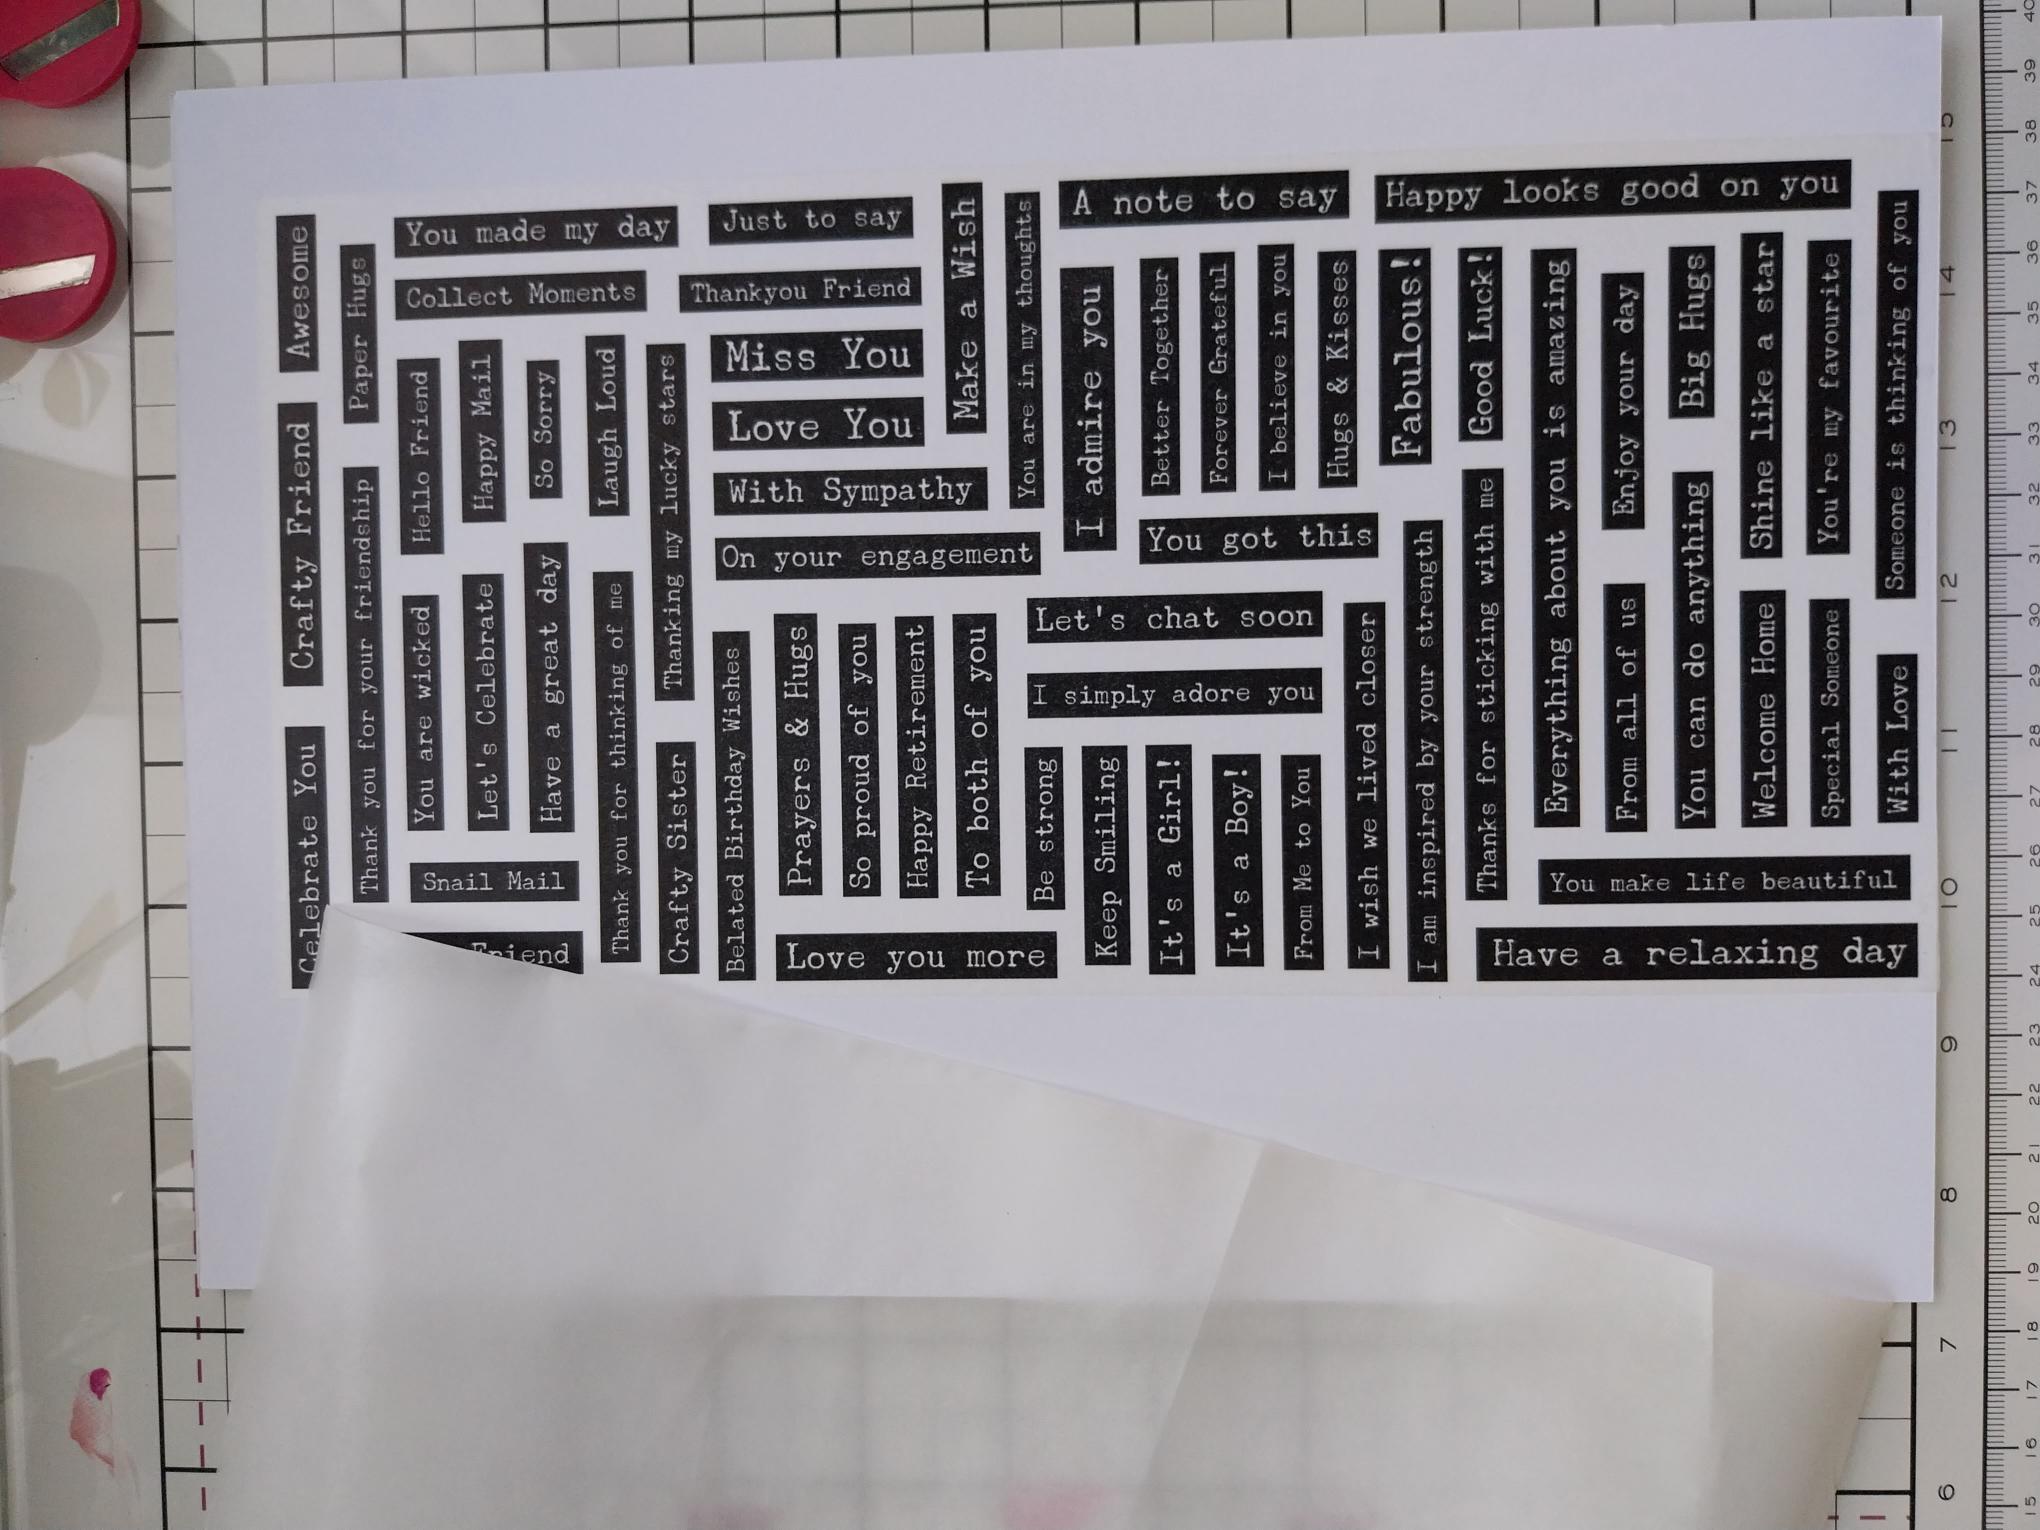
Using the dies as a guide, cut ONE drop from the typewriter washi roll. Lift up the backing sheet along one end of the tape and adhere across the top of an A4 sheet of white card. Slowly peel away the backing, as you use your hand to smooth the washi tape down on to the card. Once the backing has been fully removed, you can burnish the washi to ensure there are no air bubbles or creases. |
|
Line up the first die and run it through your machine. |
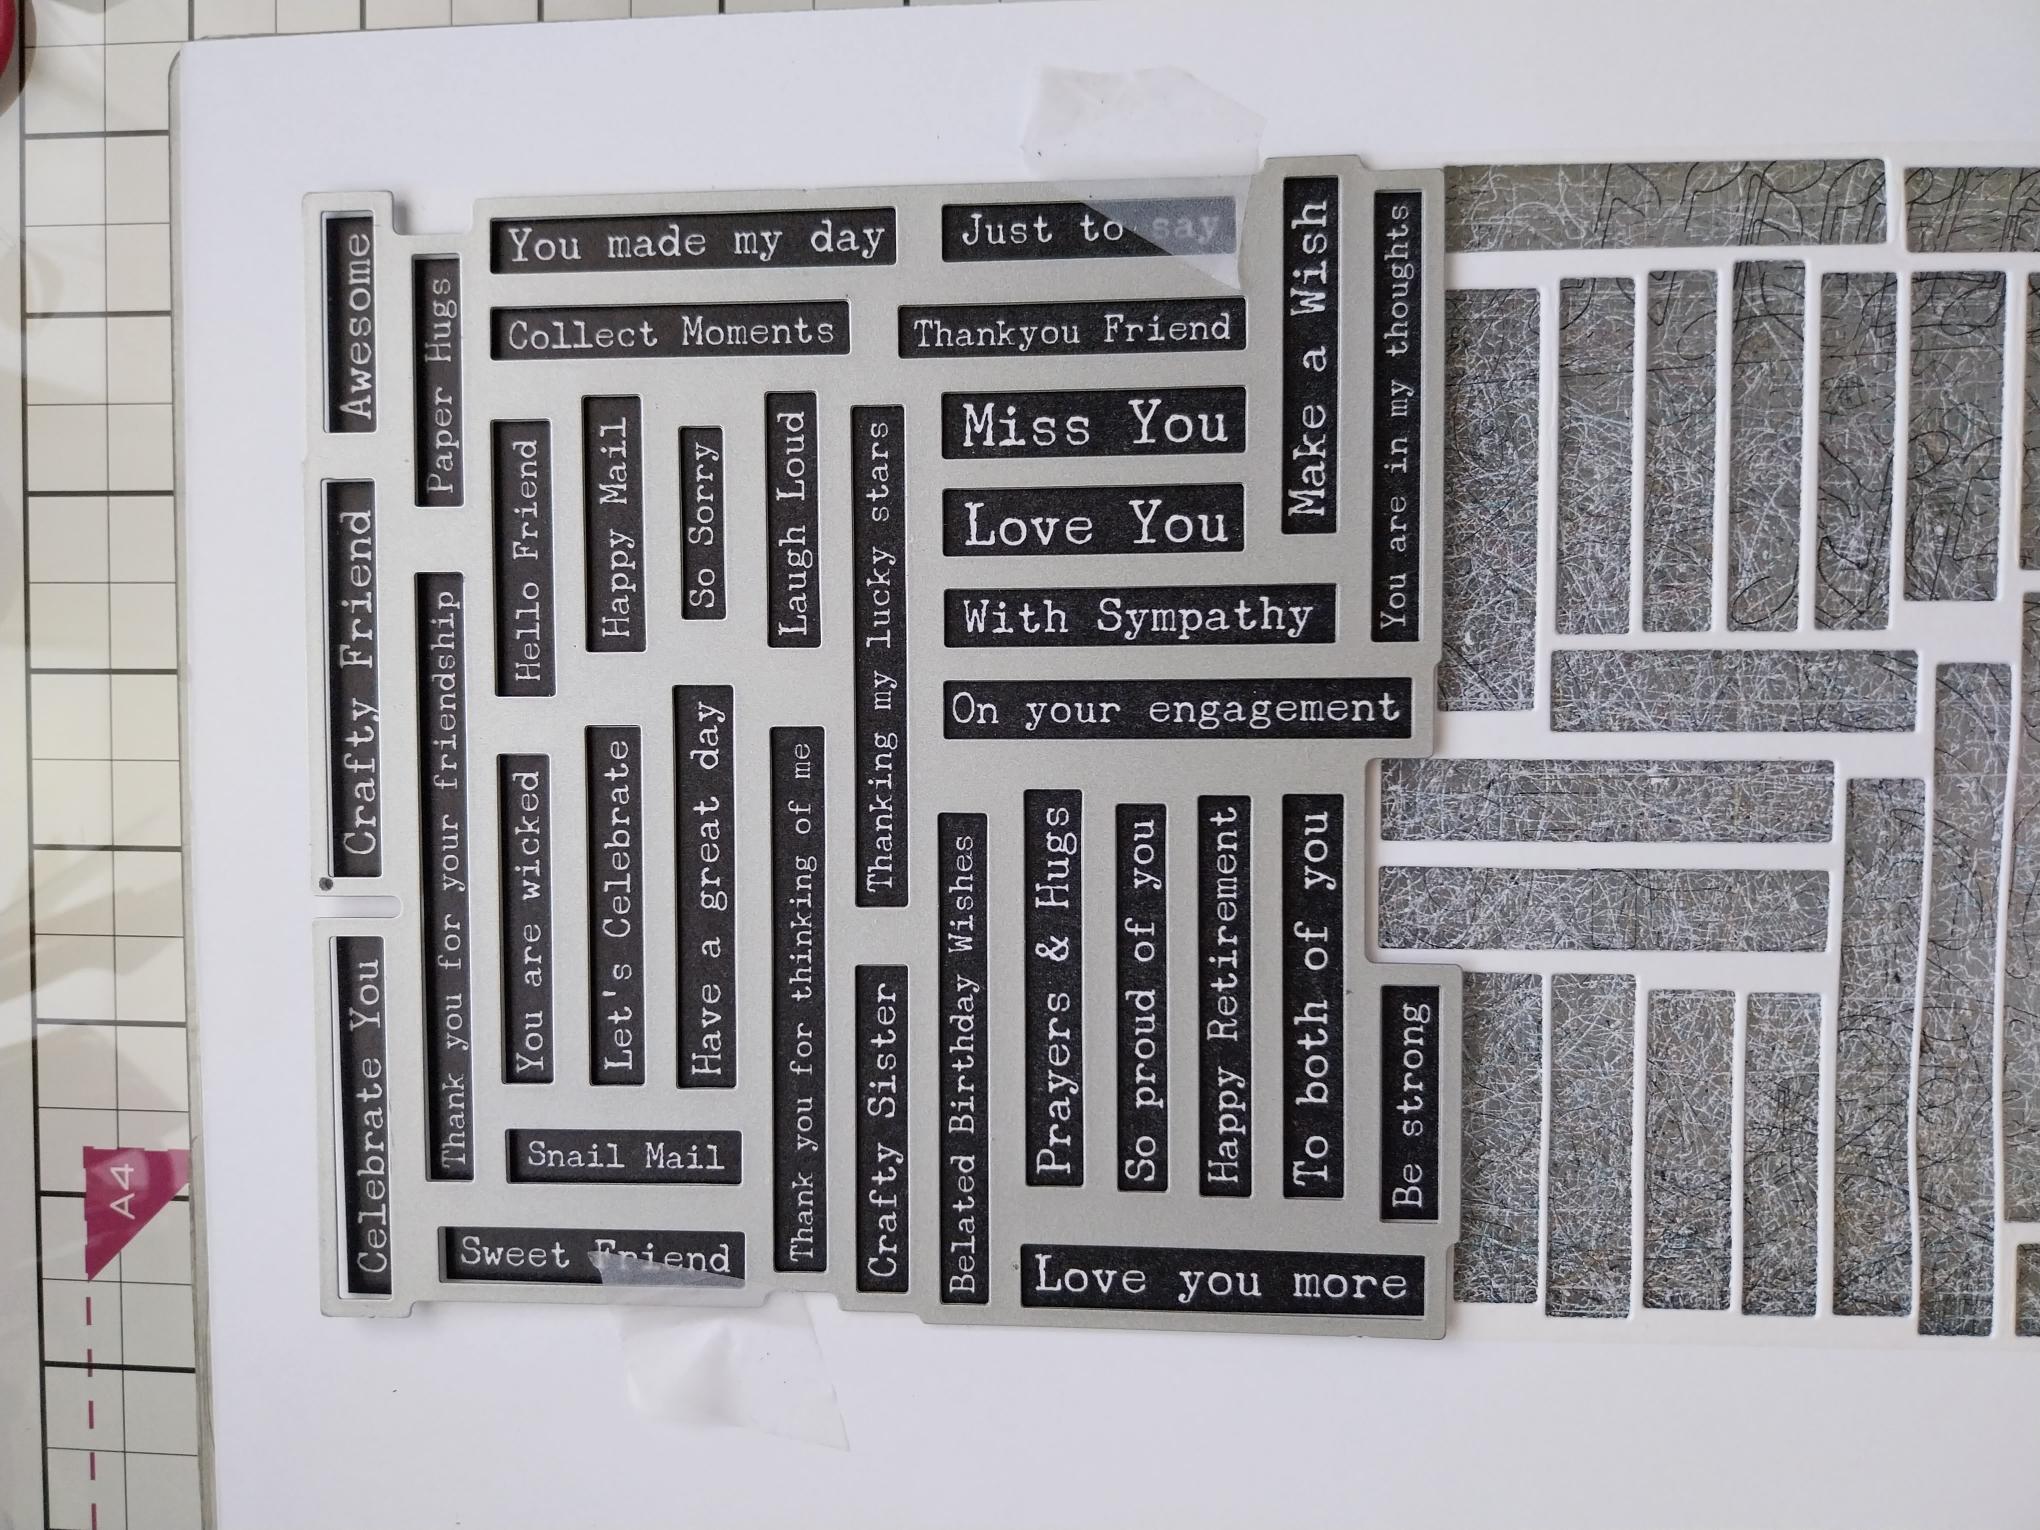
|
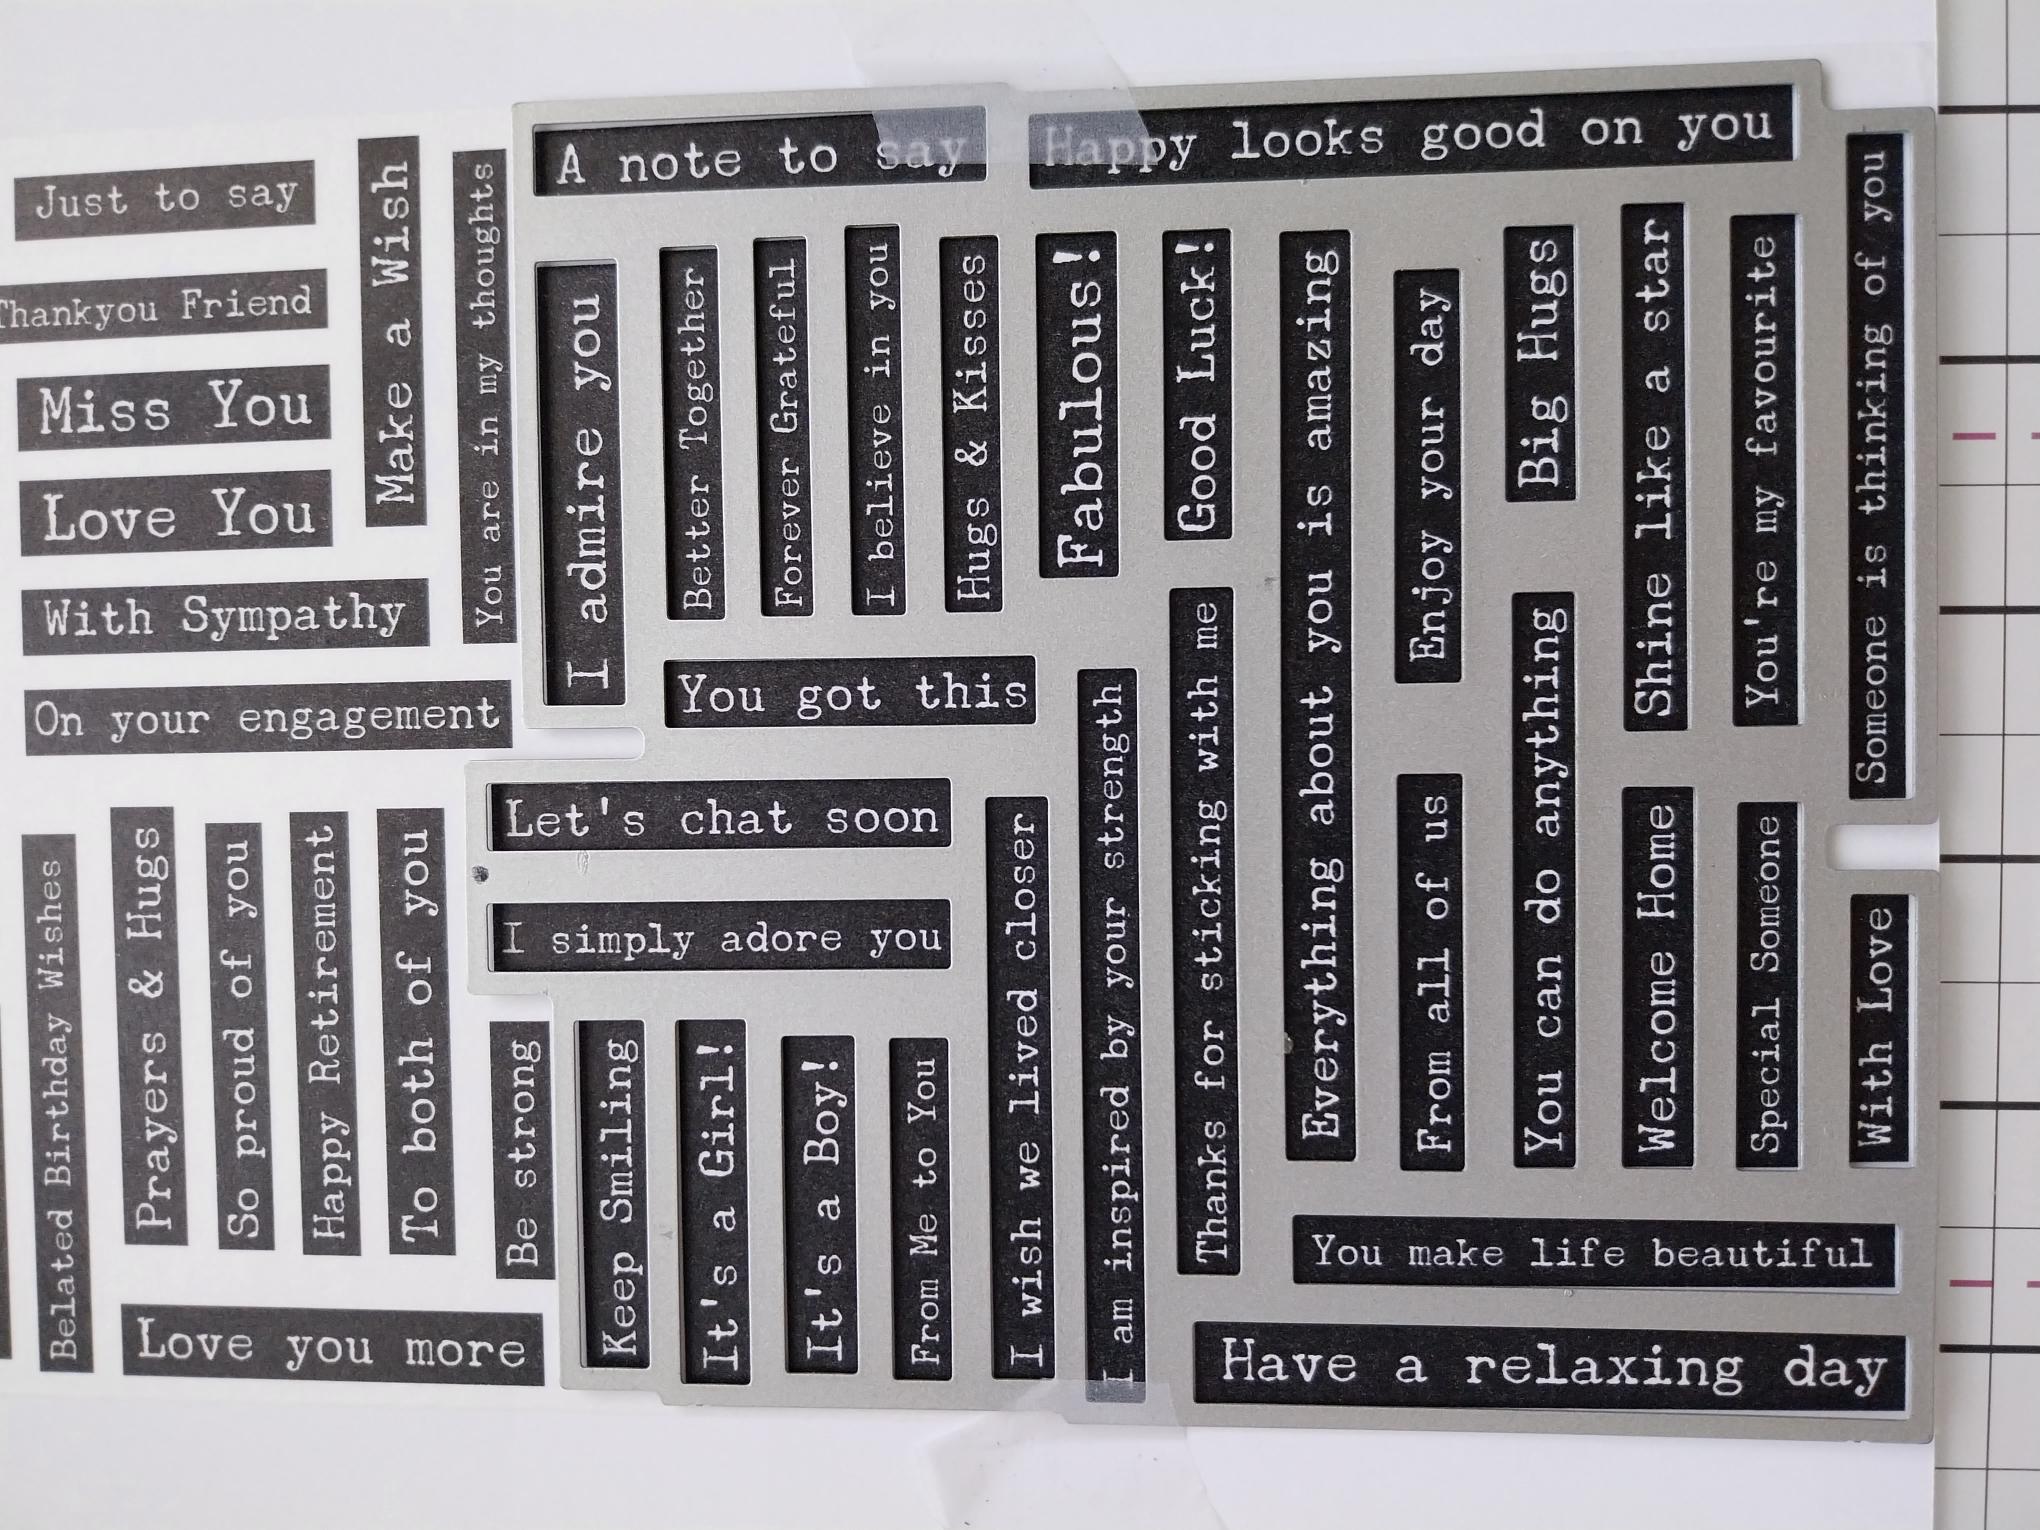
Line up the second die and run it through your machine. Pop out all the sentiments, pick out the one you are using for this project and keep the rest in a tub for future projects. |
|
Secure your washi tab in place, with foam pads. |
|
Adhere your artwork on to your grey card blank and voila!! |