Give your friends $10 off their first order!
Refer a FRIEND


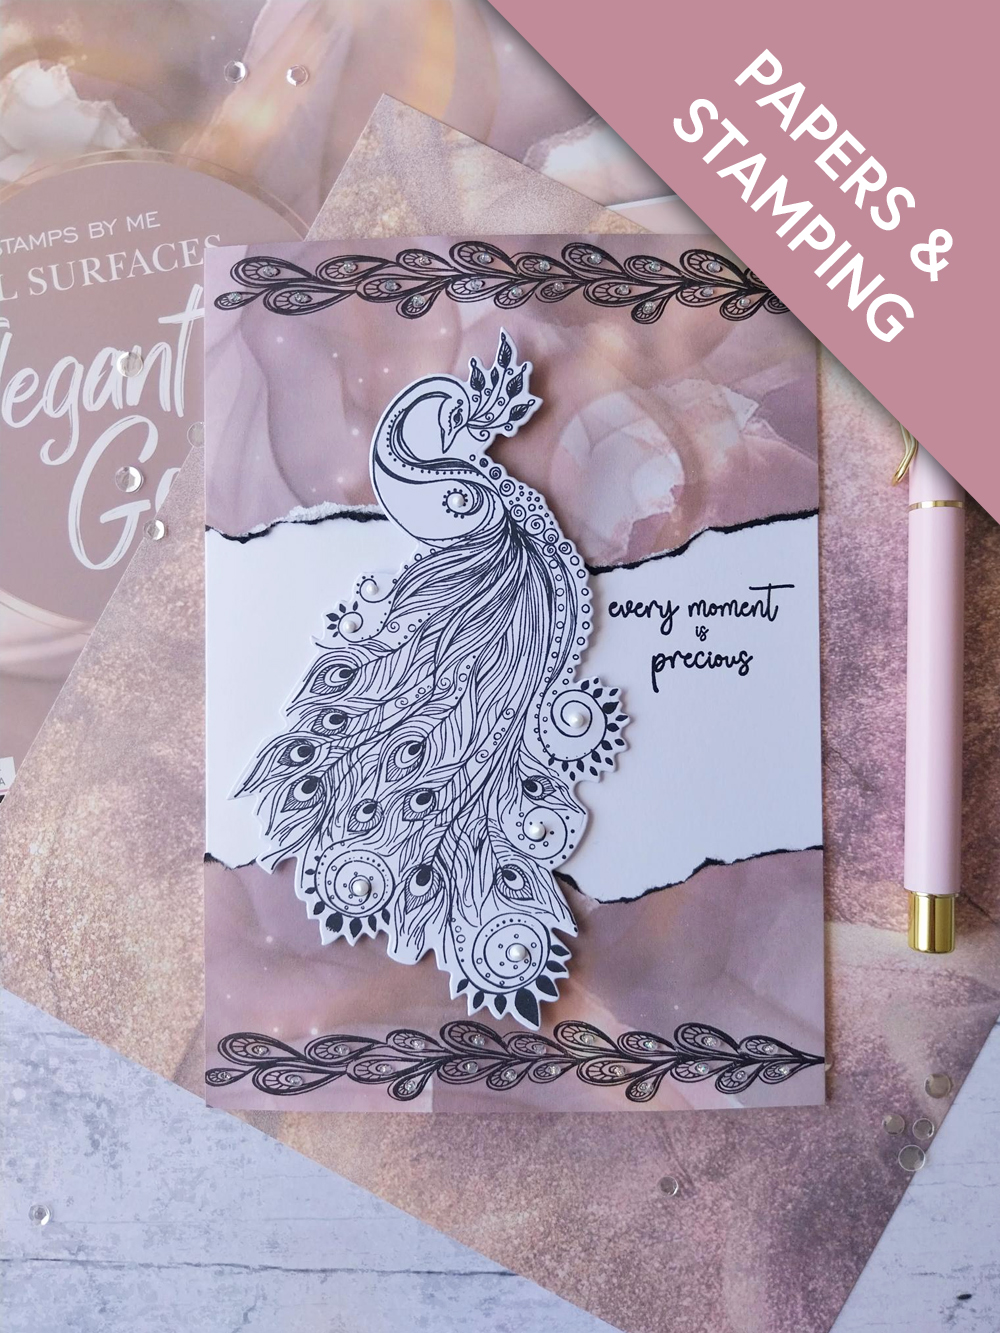
WHAT YOU WILL NEED:
White card blank 7 x 5"
All Surfaces Elegant Gold 8 x 8" Paper Pad
Paperchain Magical Elegance I Can And I Will Stamp and Die Set
SBM Hybrid Ink Pad: Midnight
Ranger Liquid Pearl Drops: Opal White
Ranger Stickles: Diamond
Eureka 101 Watercolour Tablet
SBM A3 Magnetic glass mat
Paper Trimmer
Glue
Foam pads
Die Cutting machine
[click image to enlarge] 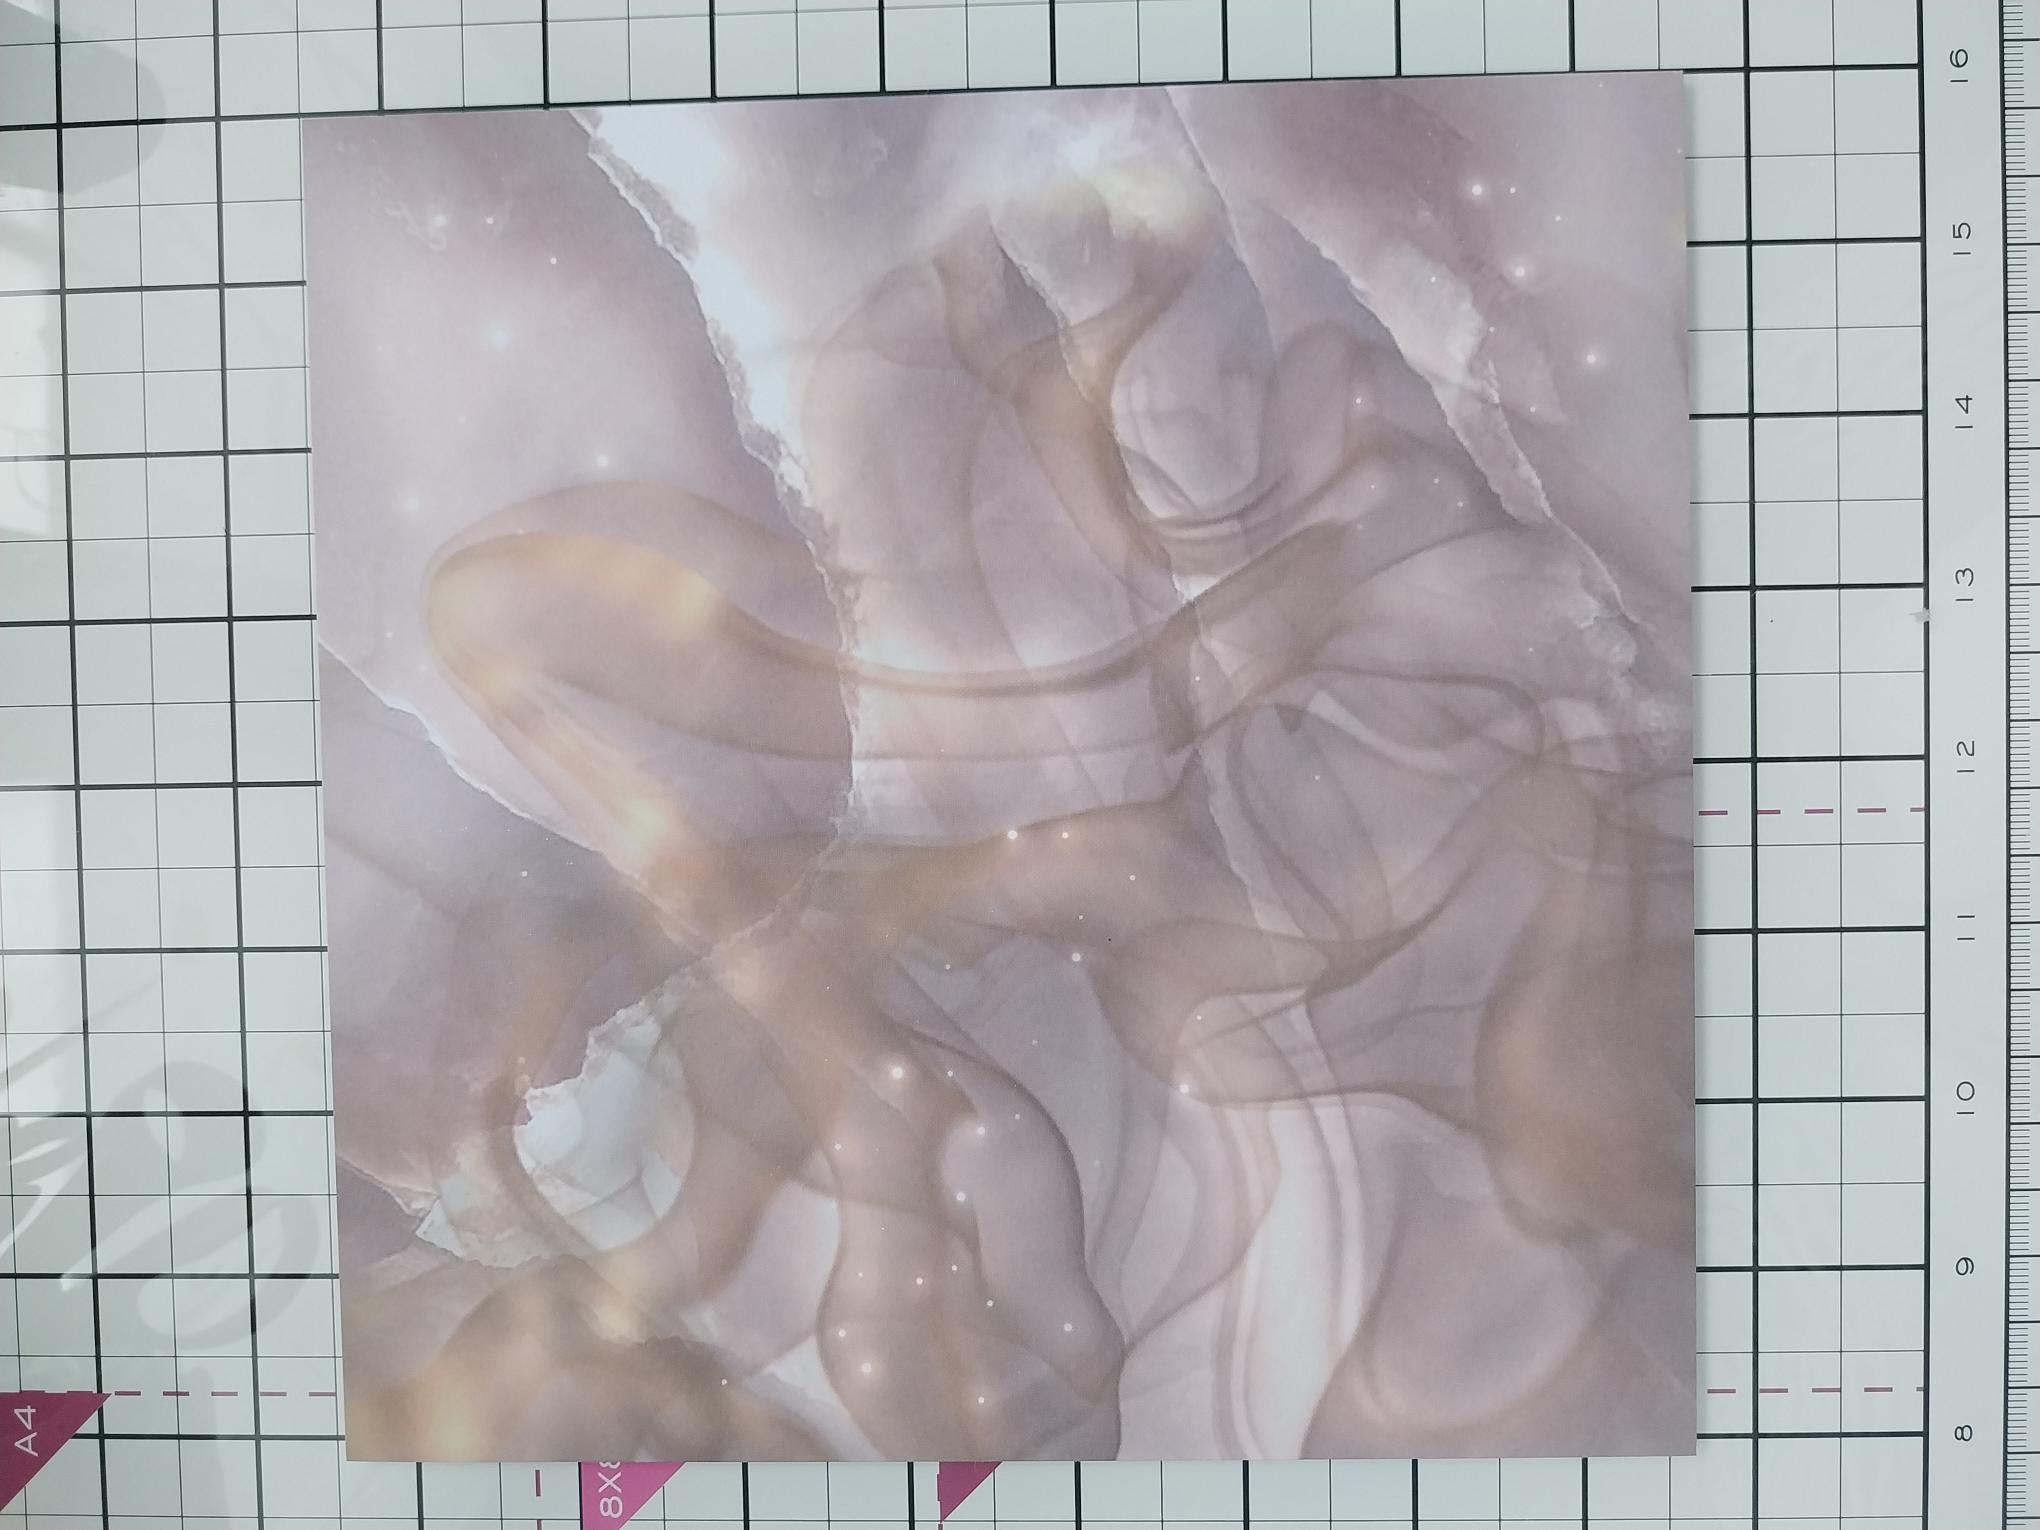
|
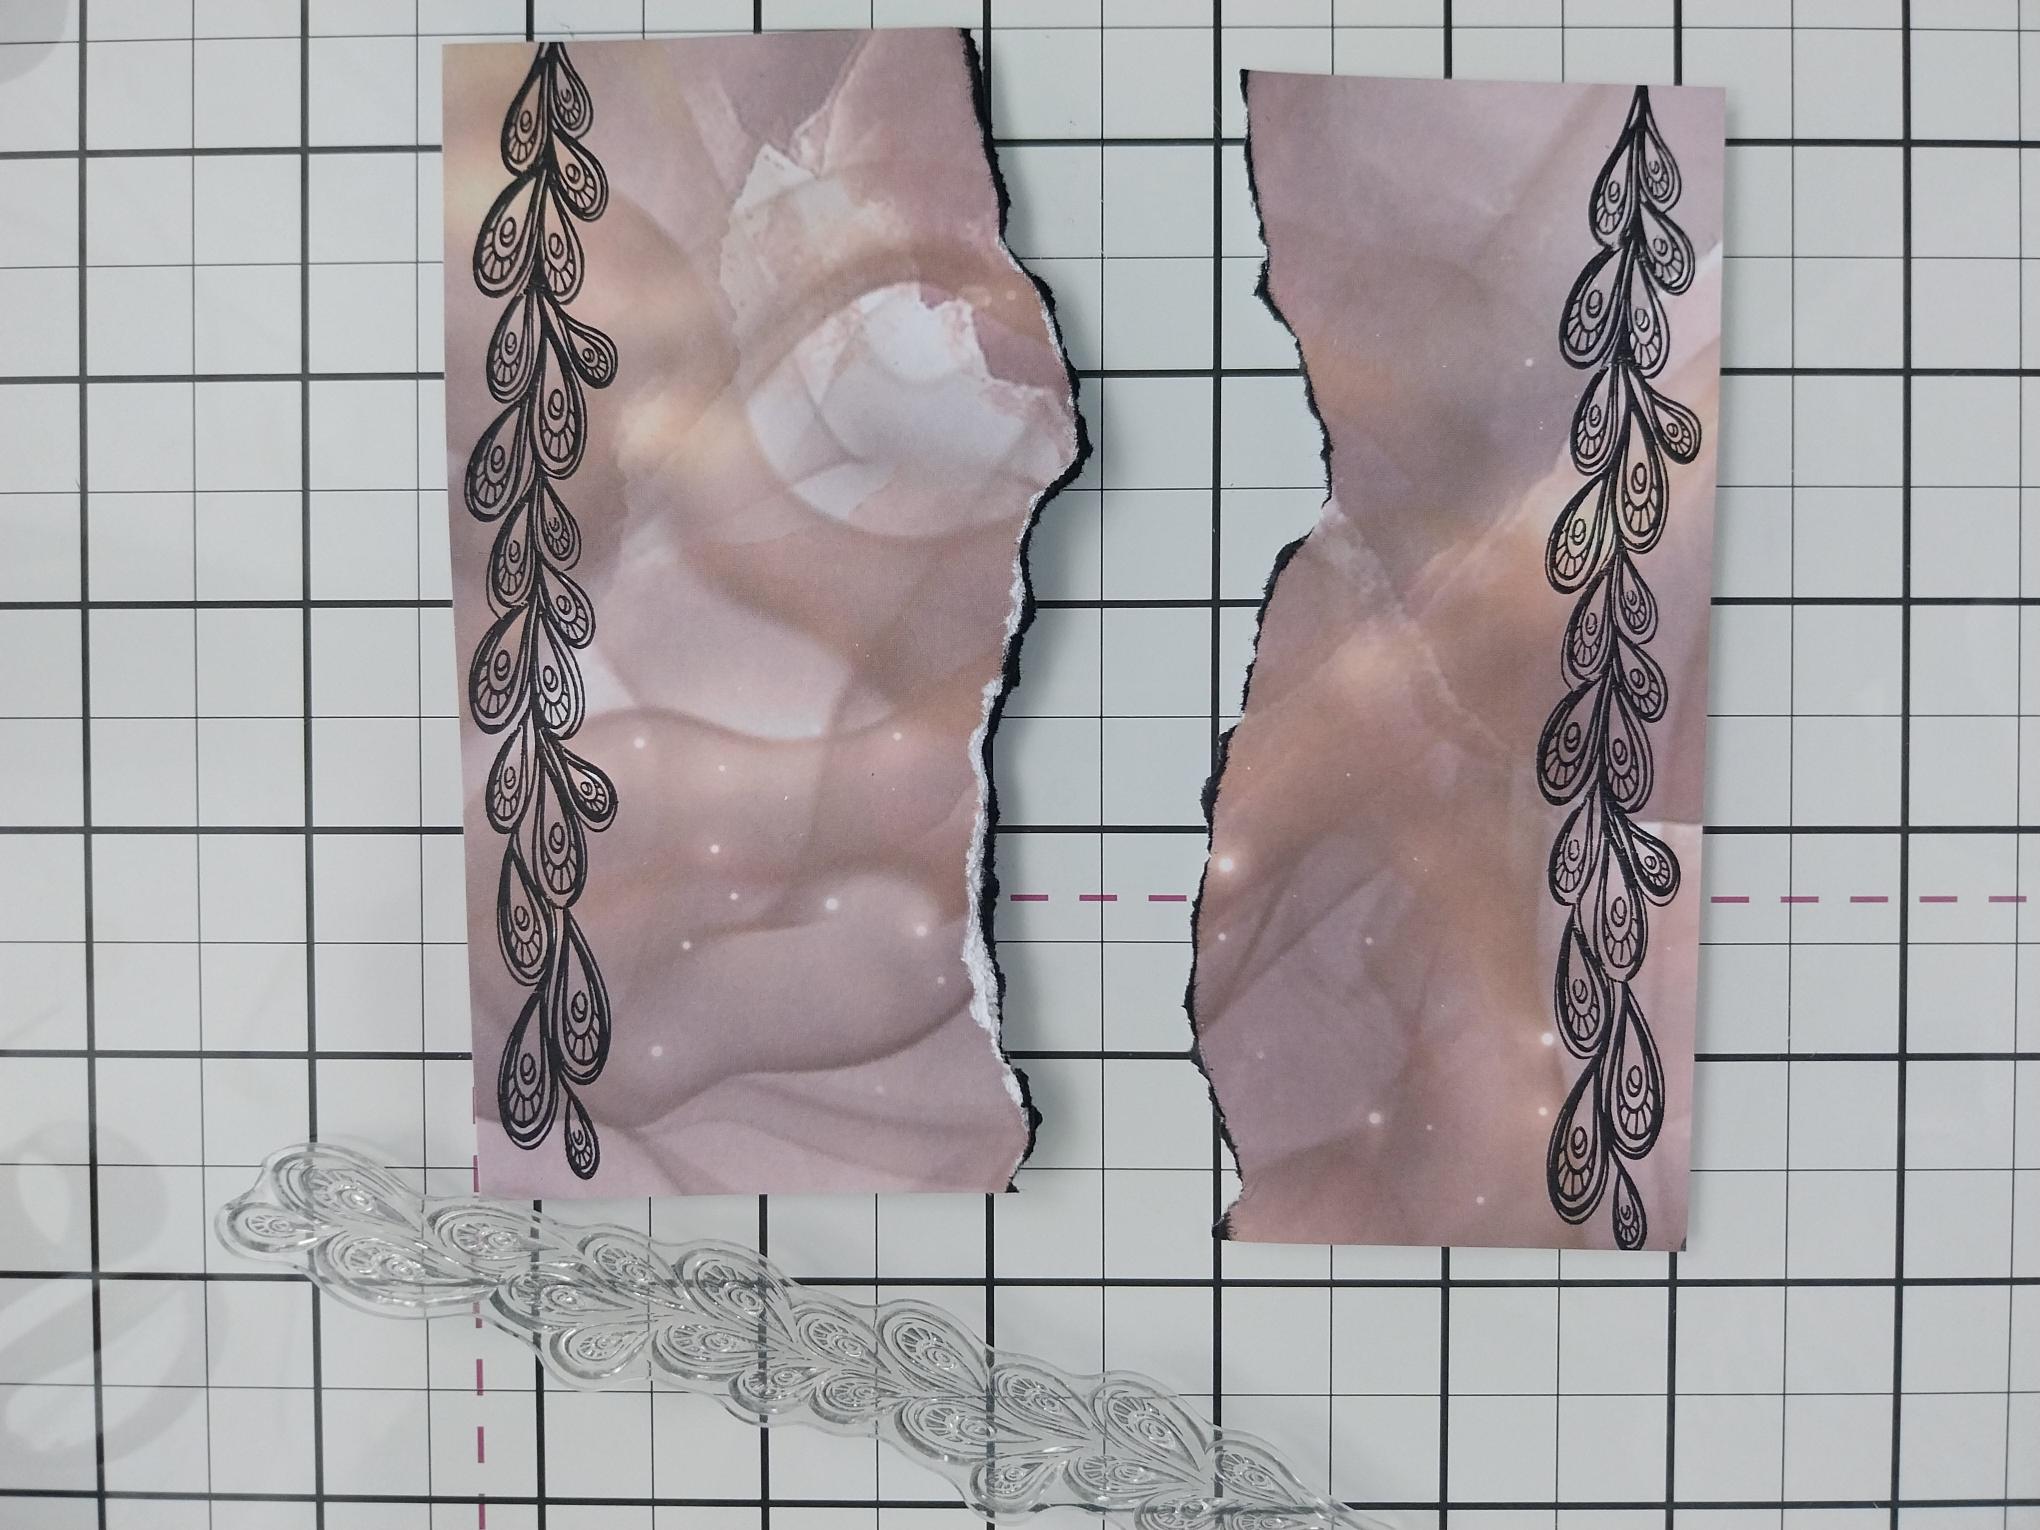
Take out this beautiful paper from the All Surfaces Elegant Gold paper pad. |
|
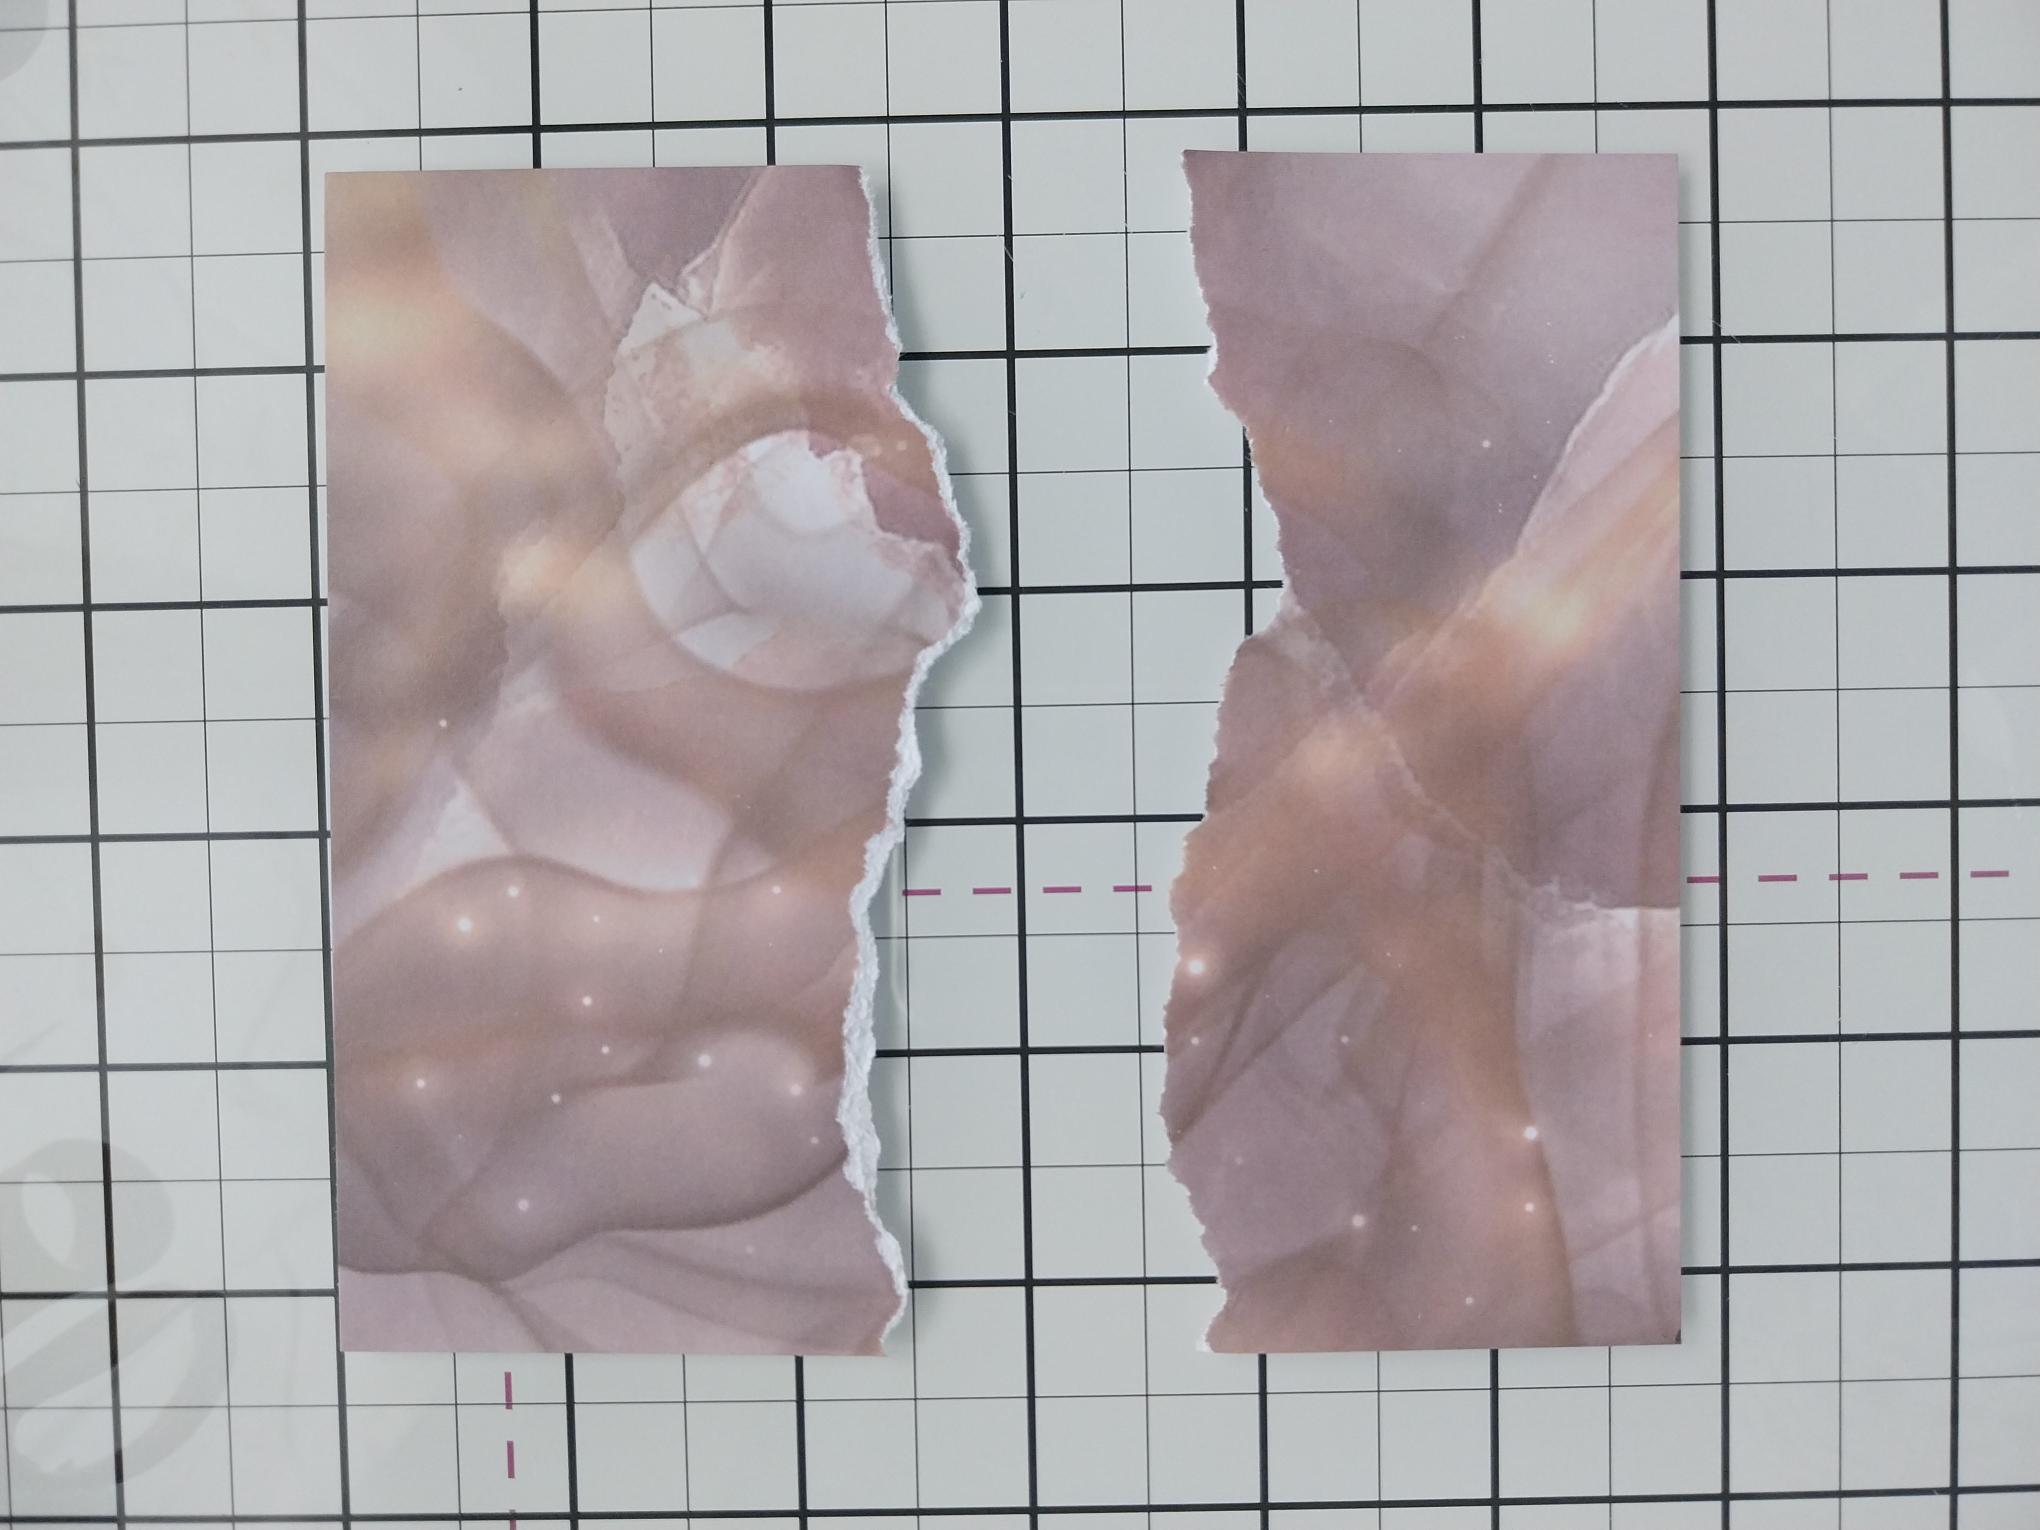
Tear TWO panels. They need to be 5" in width (same width as your card blank) and as deep as you want, thinking about the end result of your card design. |
|
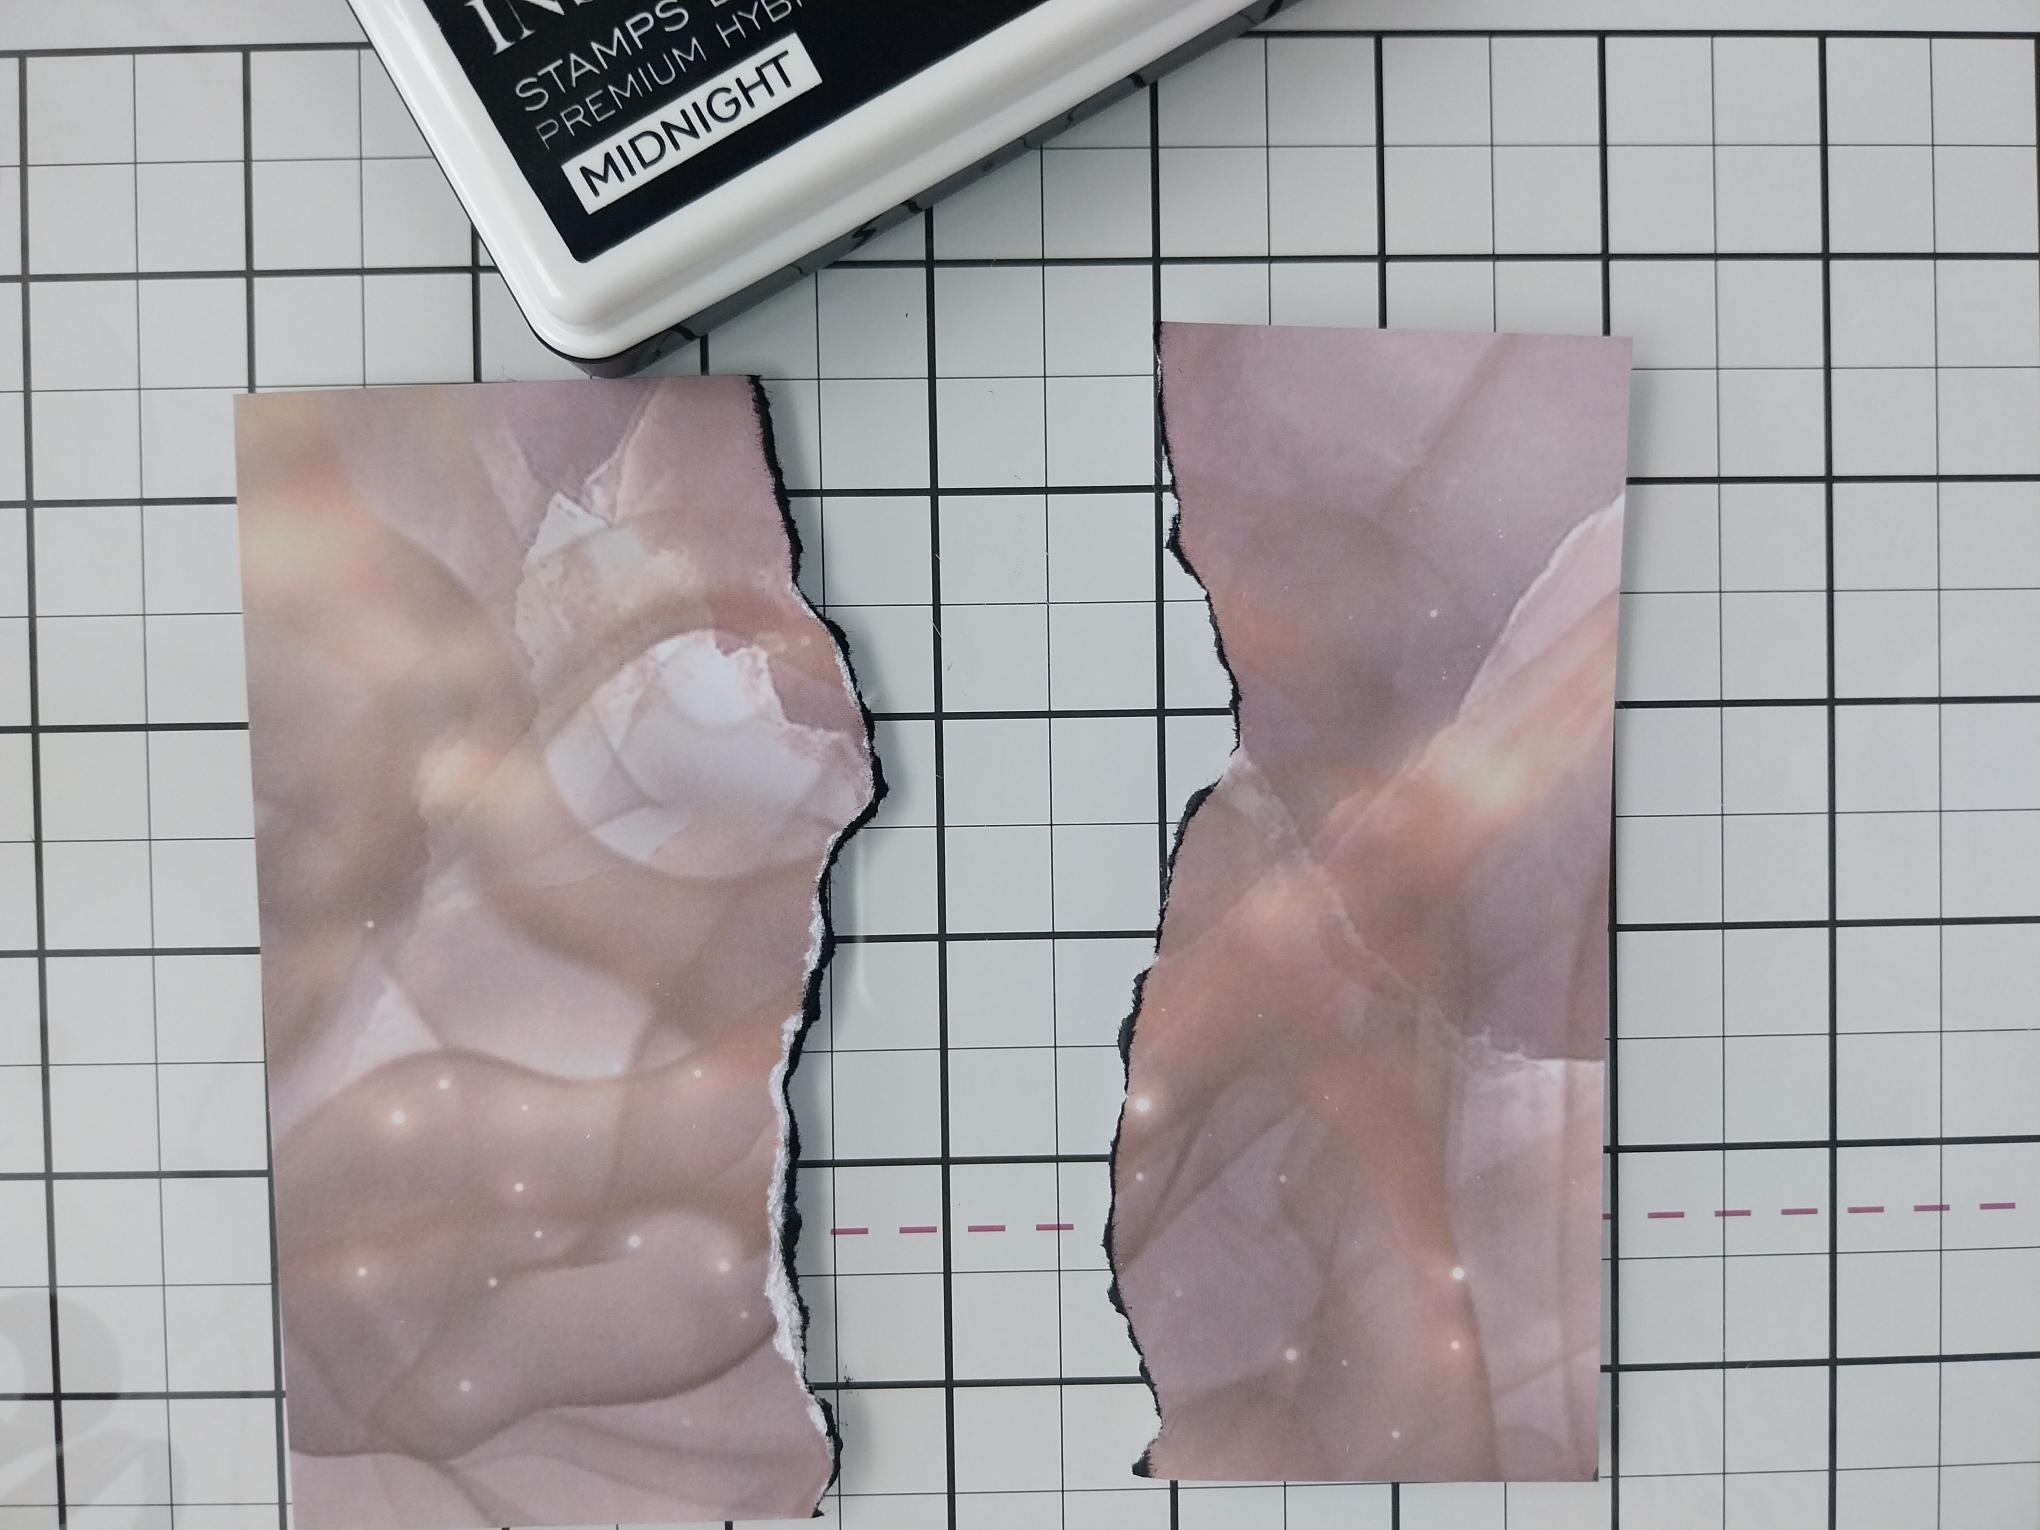
Scrunch and lift the torn edges of the papers, then swipe along with your Midnight ink pad. This will make them "pop" from the card. |
|
Stamp the beautiful feather border, from I Can And I Will stamp set, along the top of the "top" paper panel and the bottom of the "bottom" panel. |
|
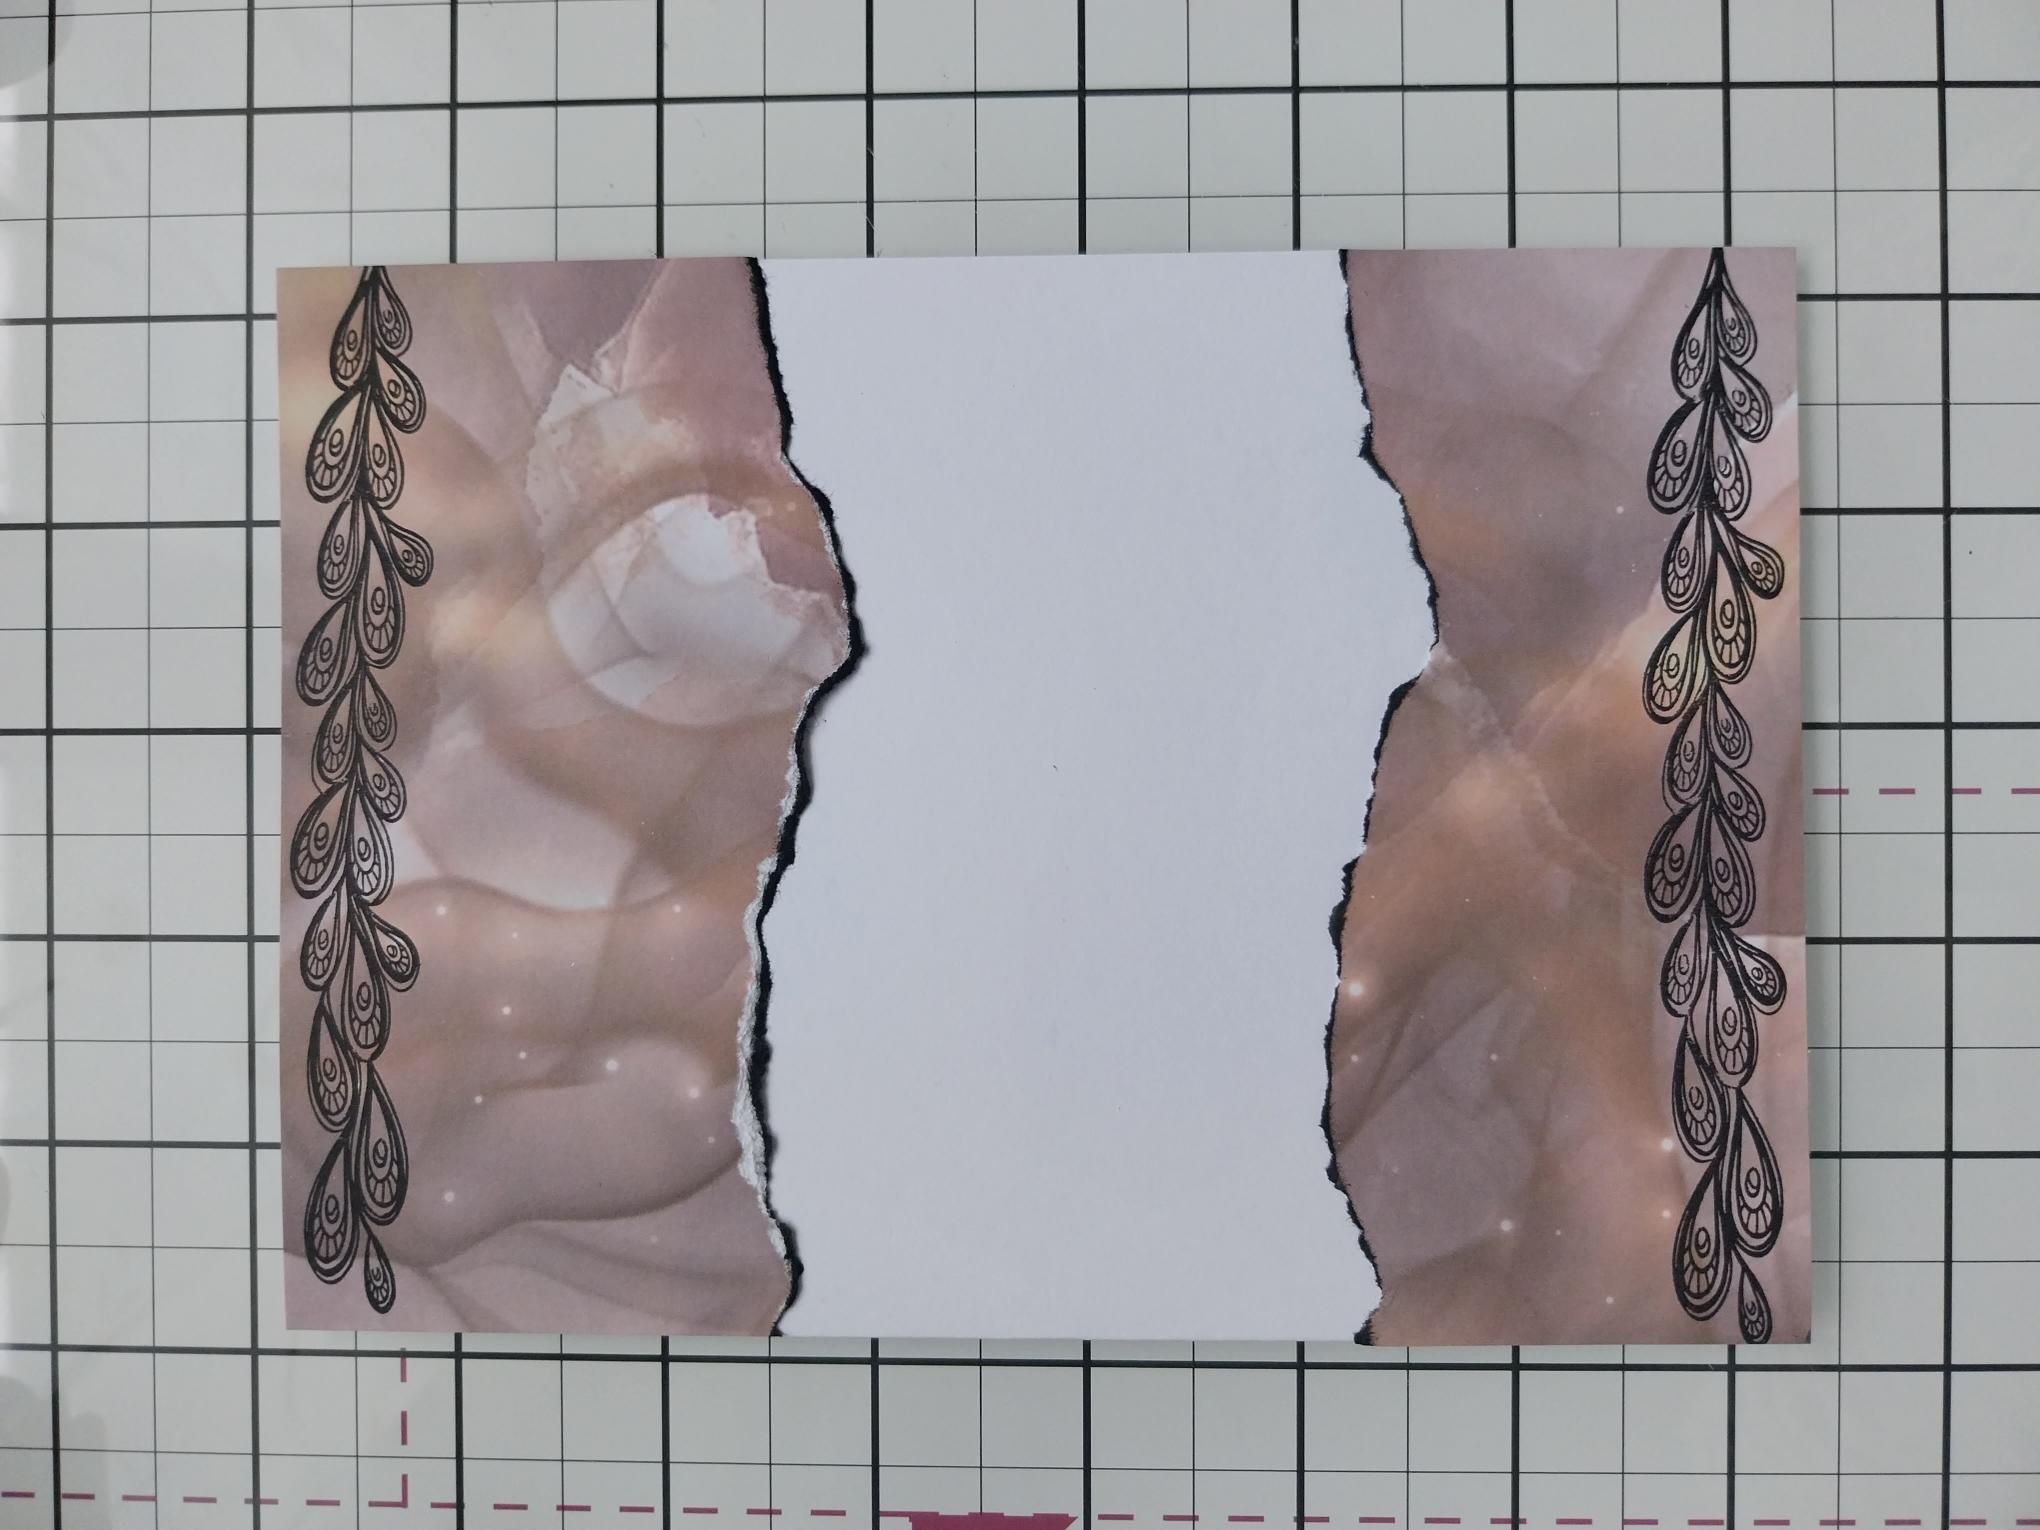
Adhere the papers flush with the top, bottom and sides of your card blank, leaving the torn edges loose. You can lift these more once on the card. Pop your card to one side. |
|
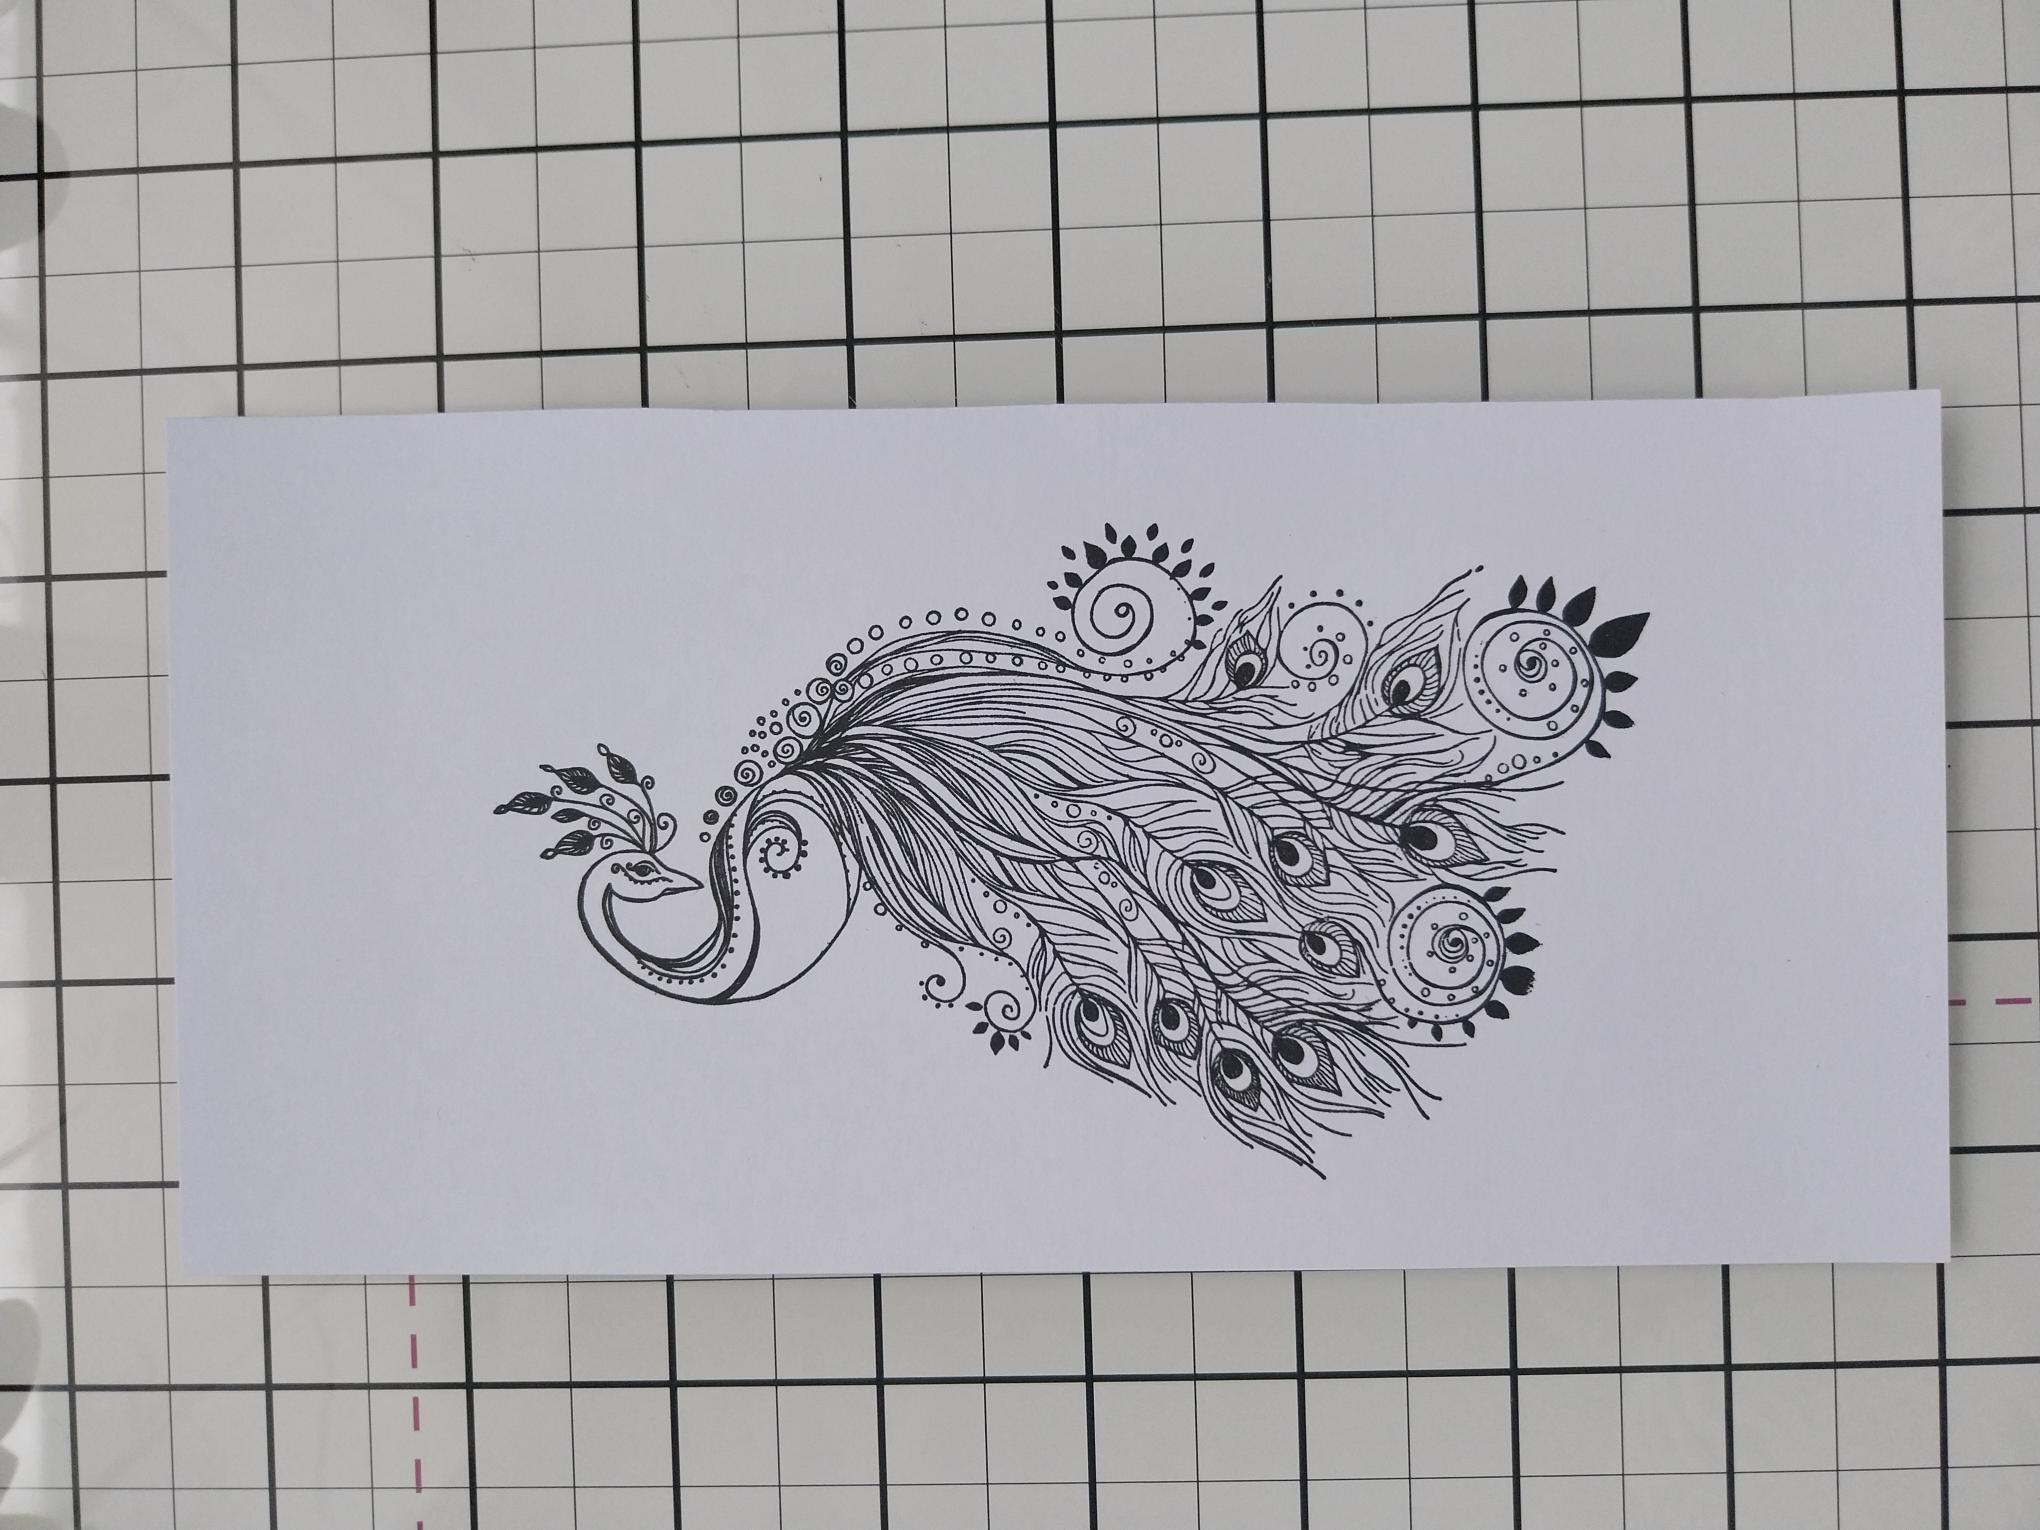
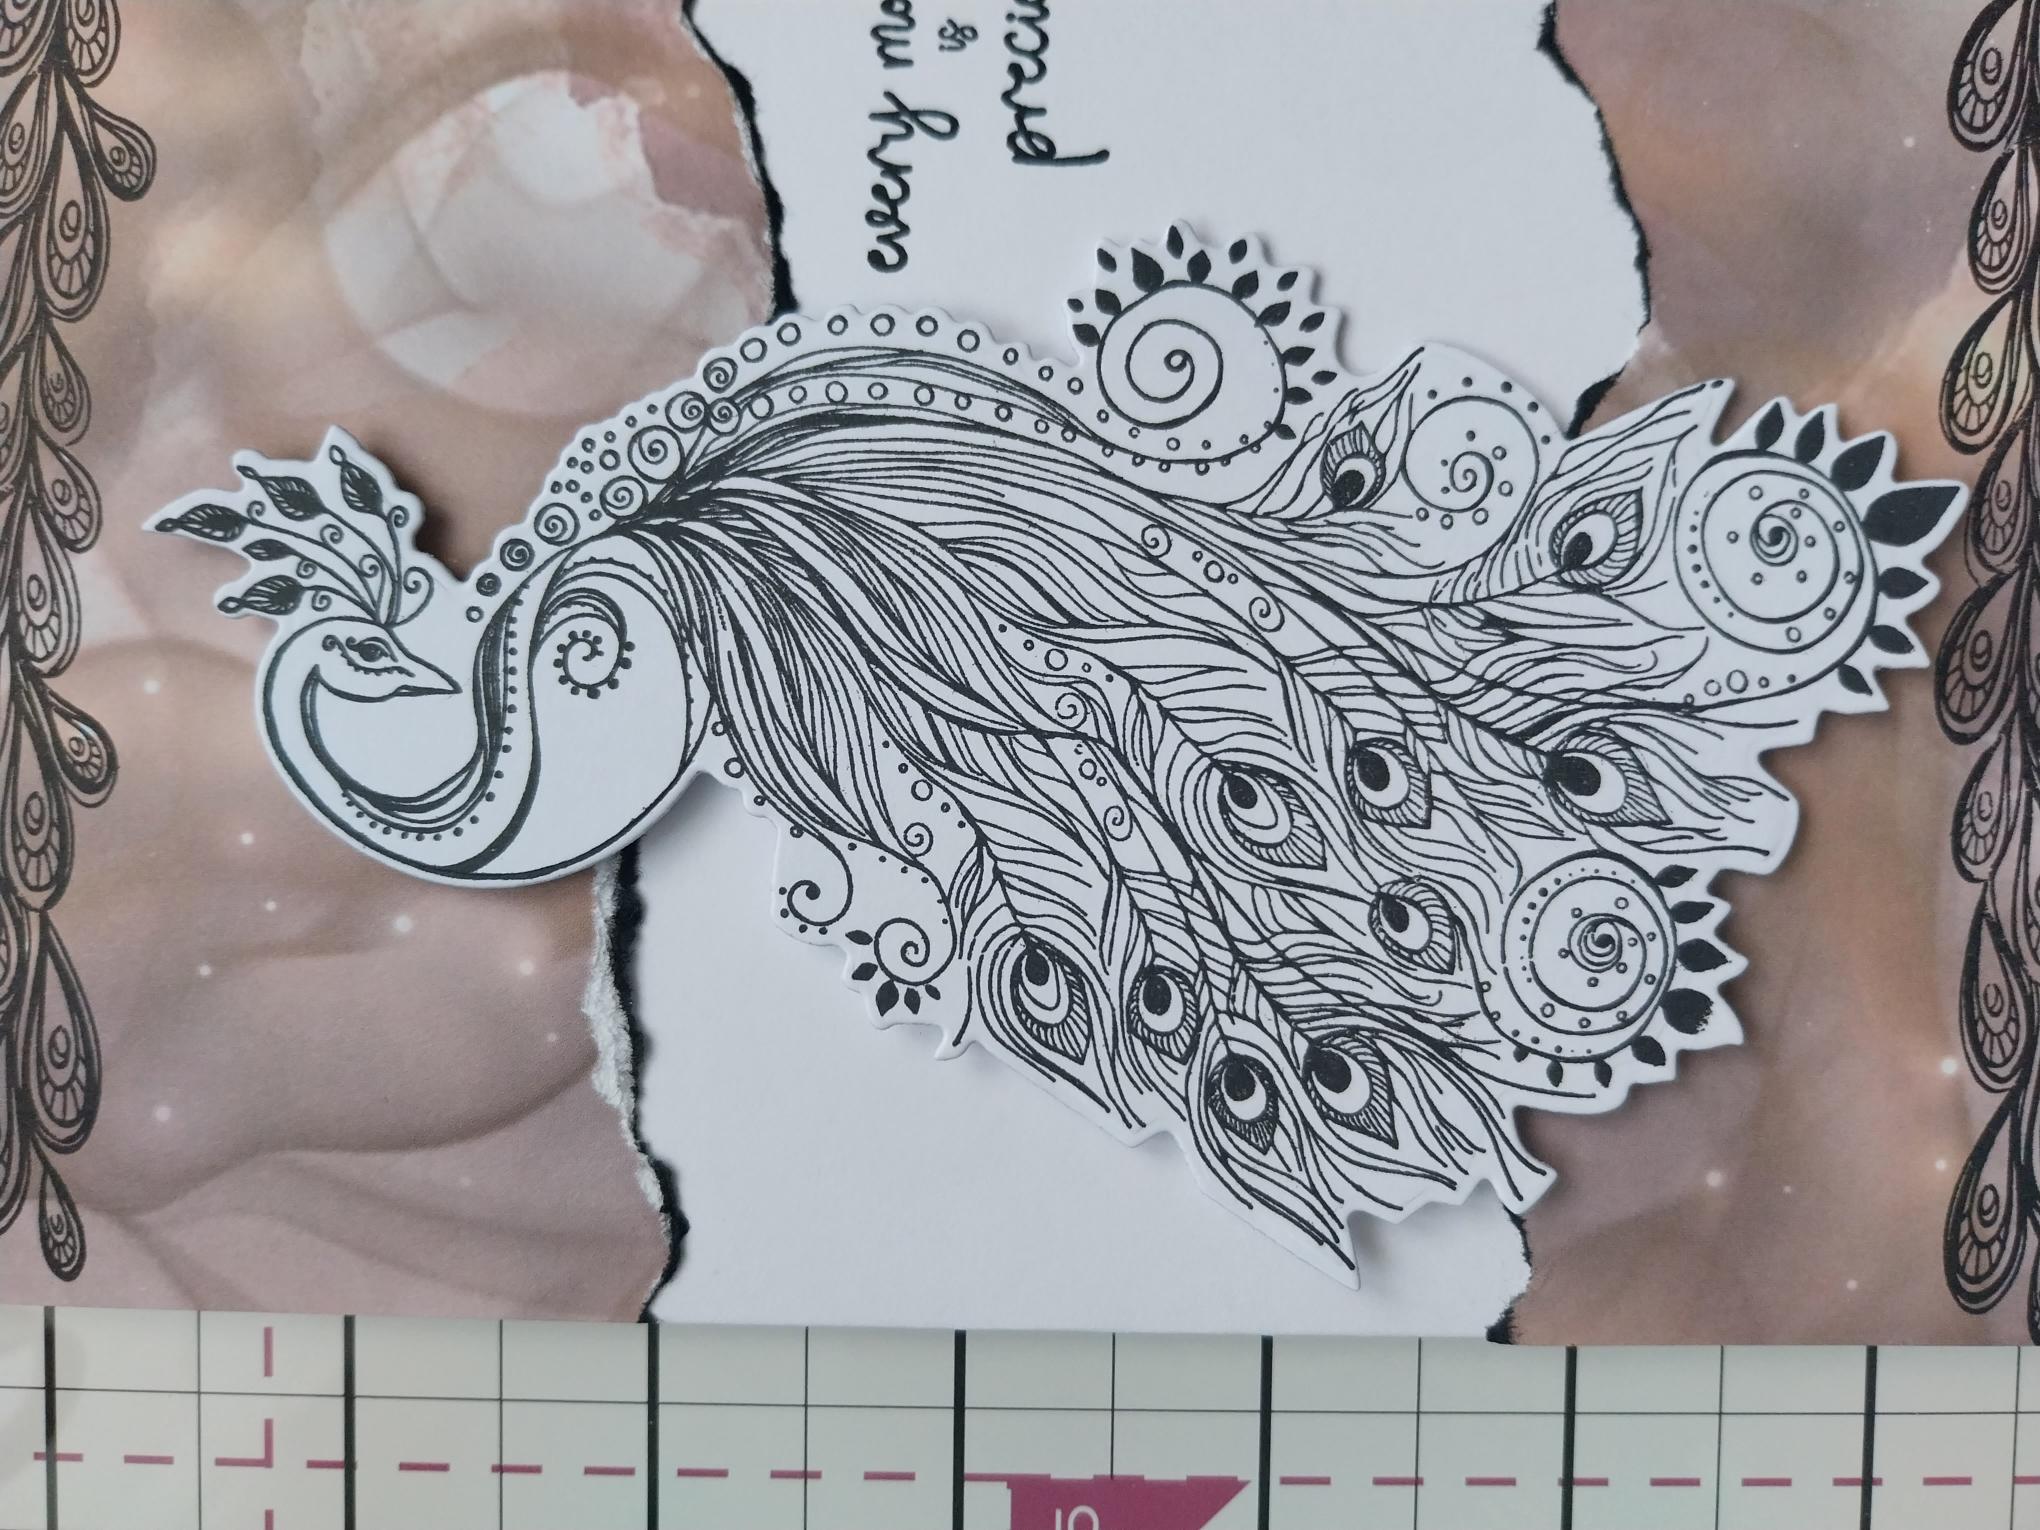
Stamp your lovely Peacock in the Midnight ink, on to white card. |

|
Use the coordinating die to cut it out. |
|
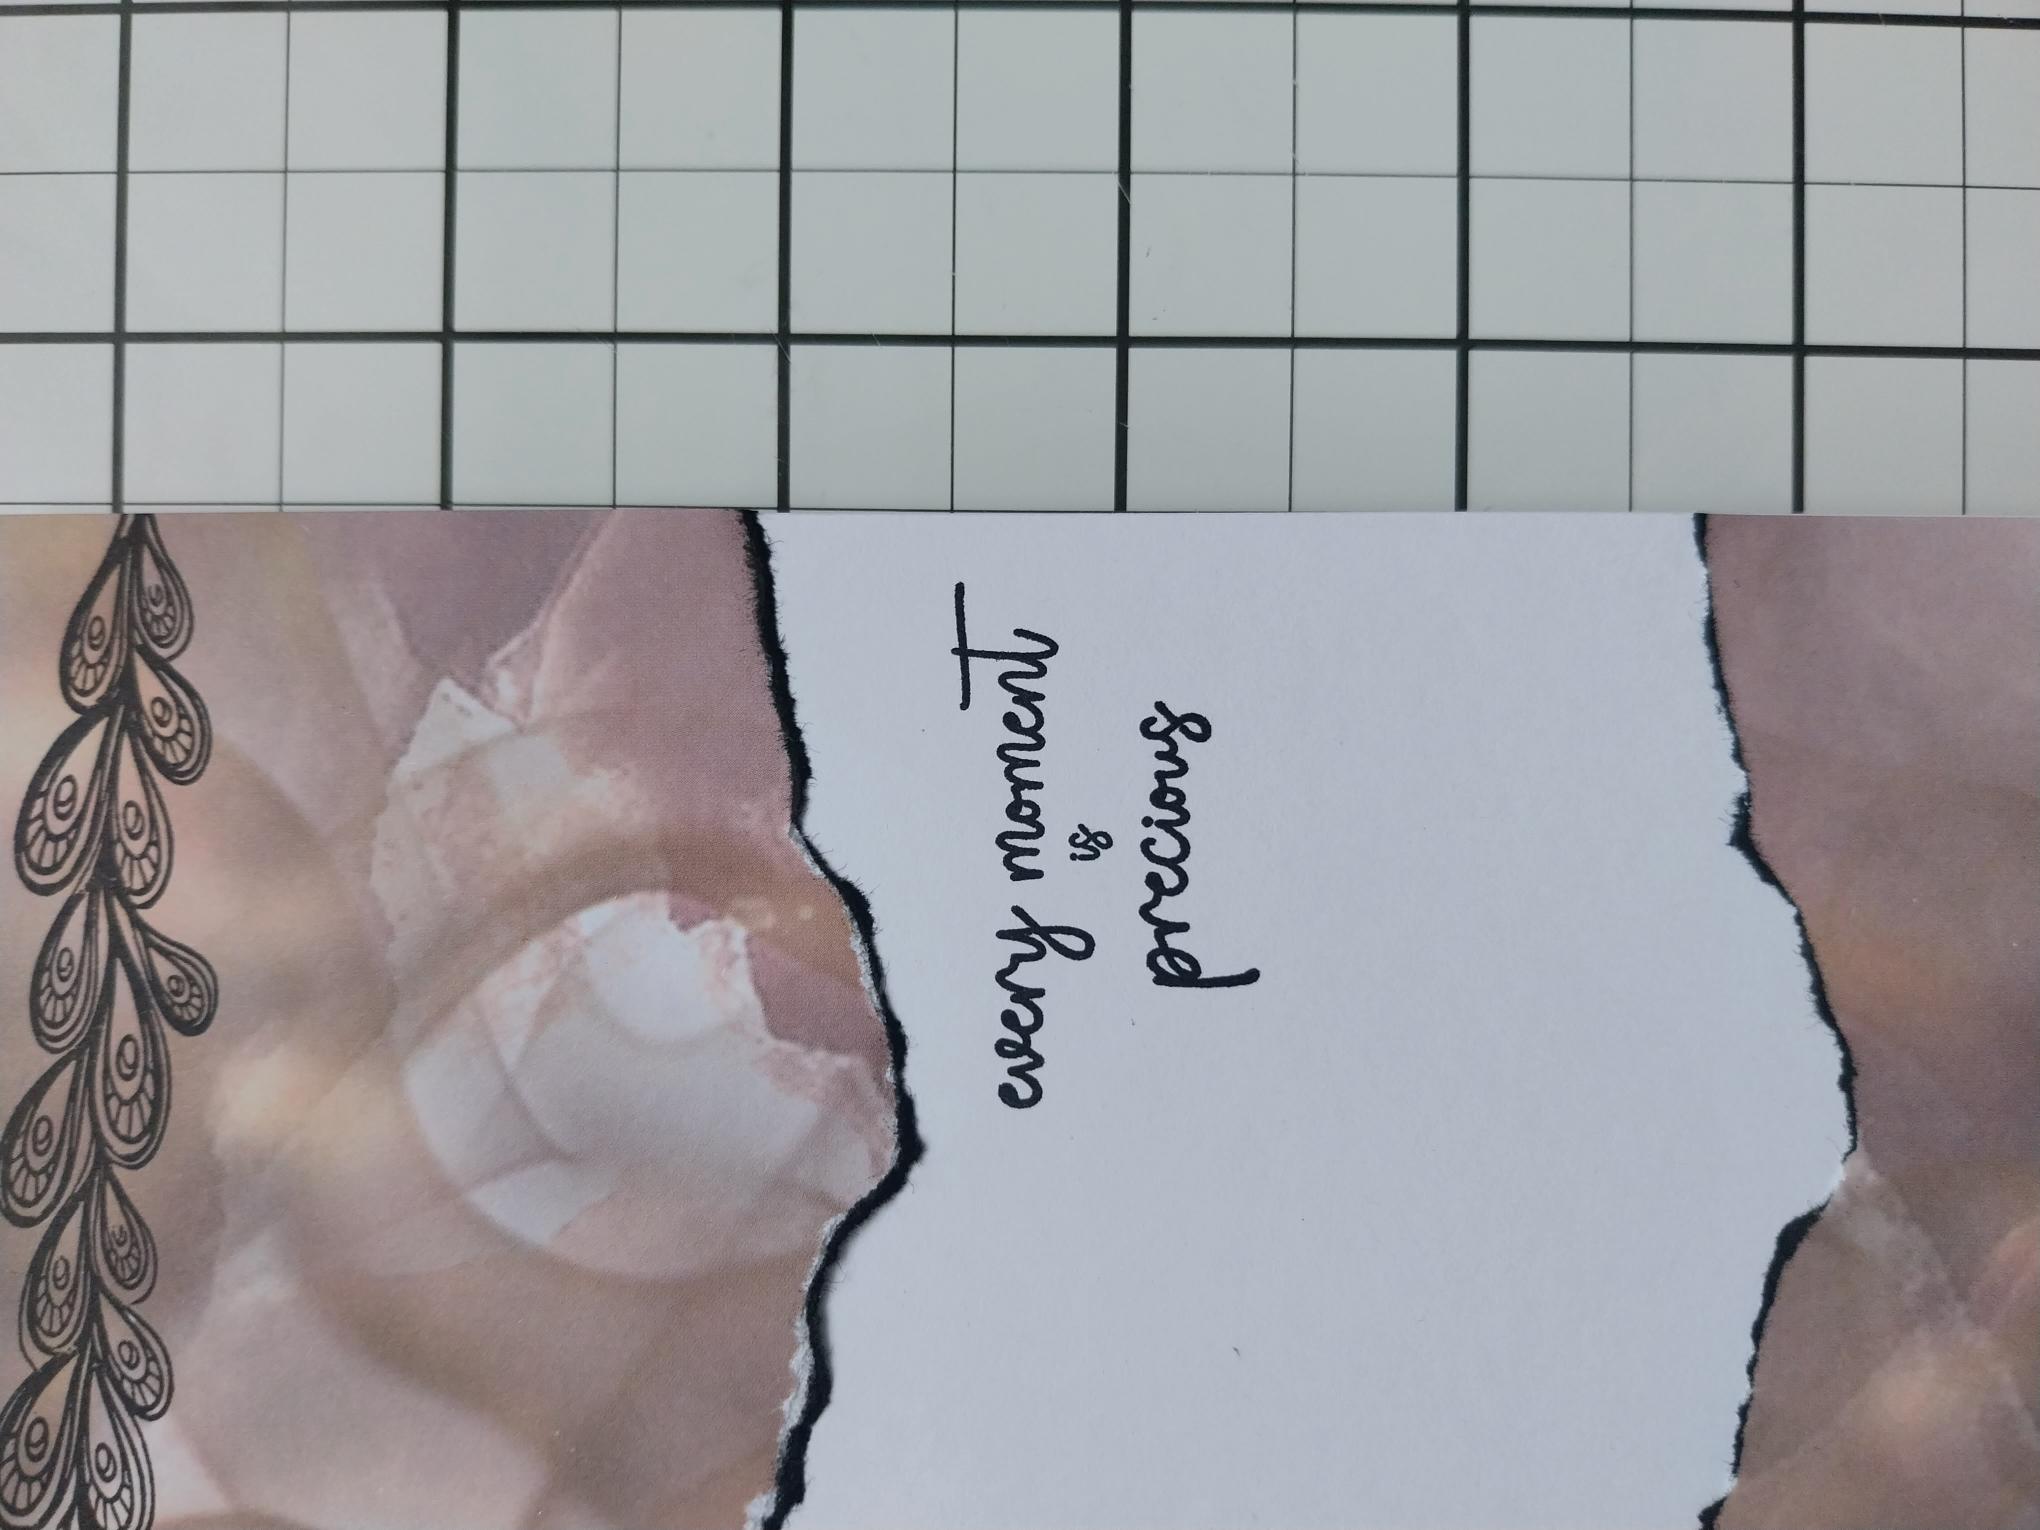
Using your die cut Peacock as a placement guide, stamp your sentiment so it's positioned top right. |
|
Use foam pads to adhere your Peacock in place. |
|
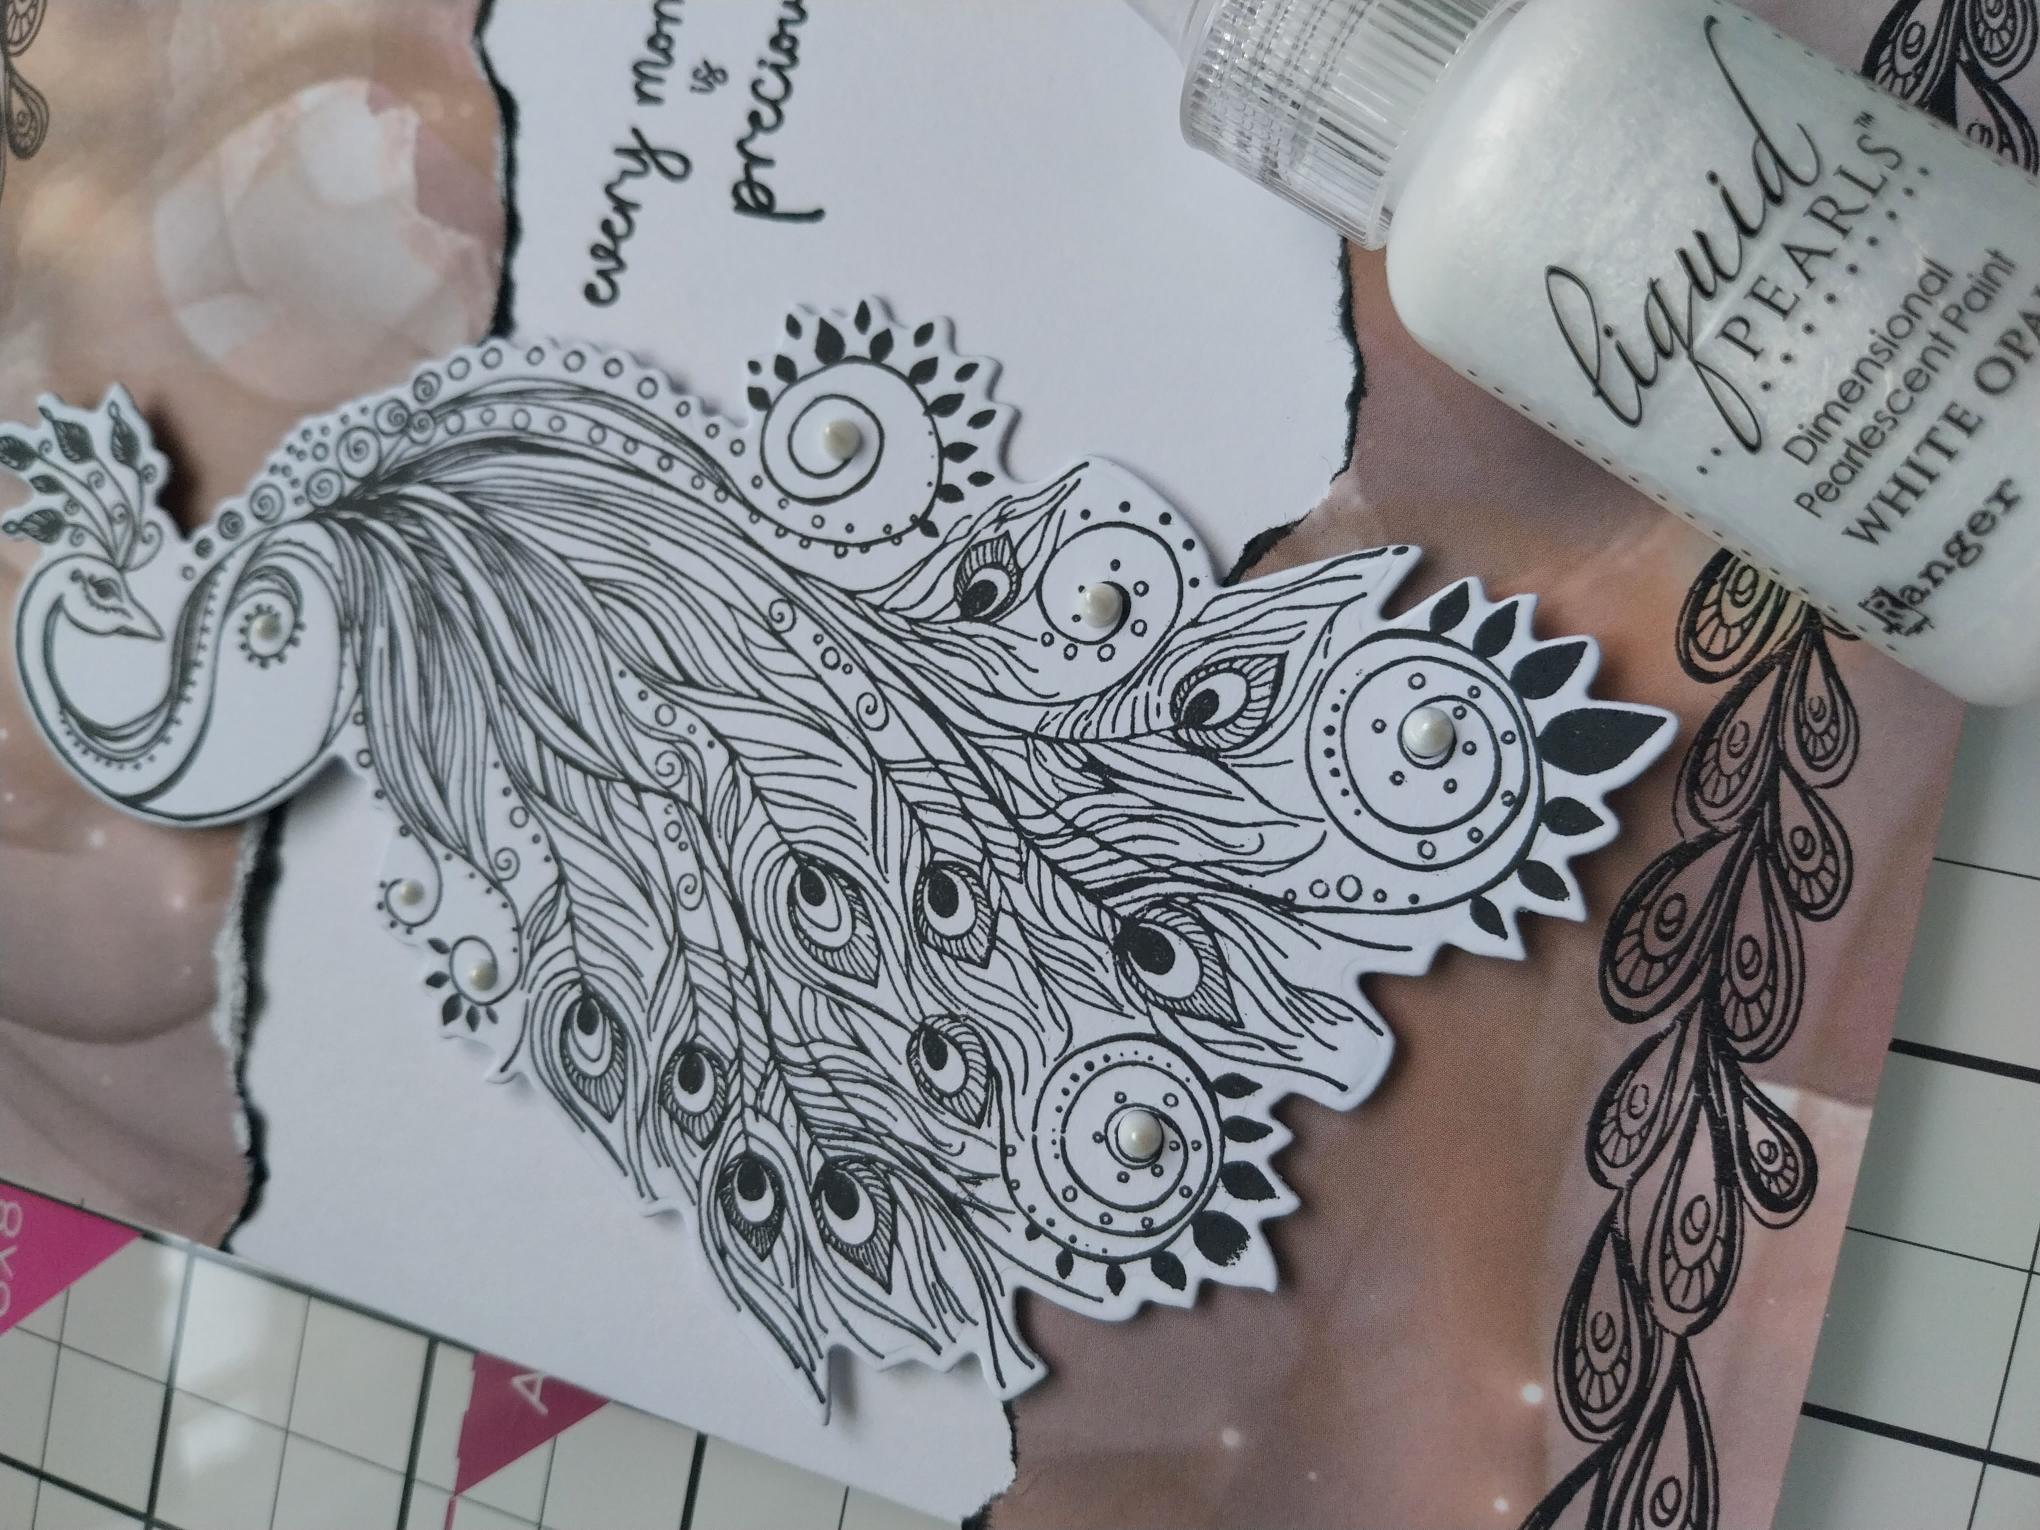
Add the Ranger Liquid Pearl Drops to all the centre points of the swirls, on your 3D Peacock. |

|
Use your Stickles to add glitter to the circles on each of the feathers, in your stamped borders. |