Give your friends $10 off their first order!
Refer a FRIEND


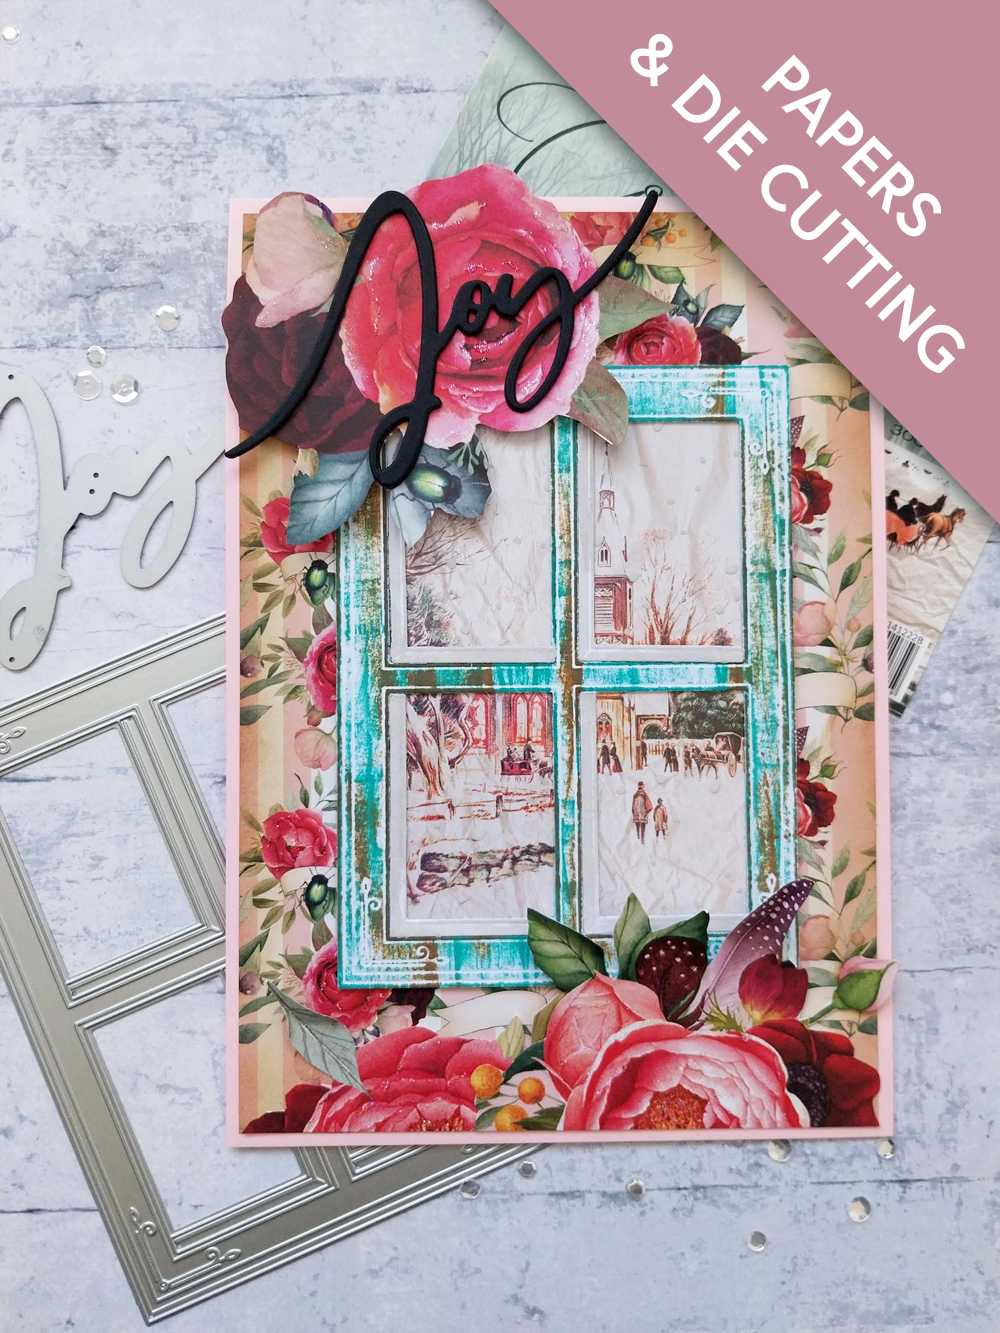
WHAT YOU WILL NEED:
Pink card blank 8 1/4 x 5 3/4"
White/black cardstock
Christmas Window Die Beautiful View
Joy Die Set
In The Countryside 6 x 6" Painted Mounts
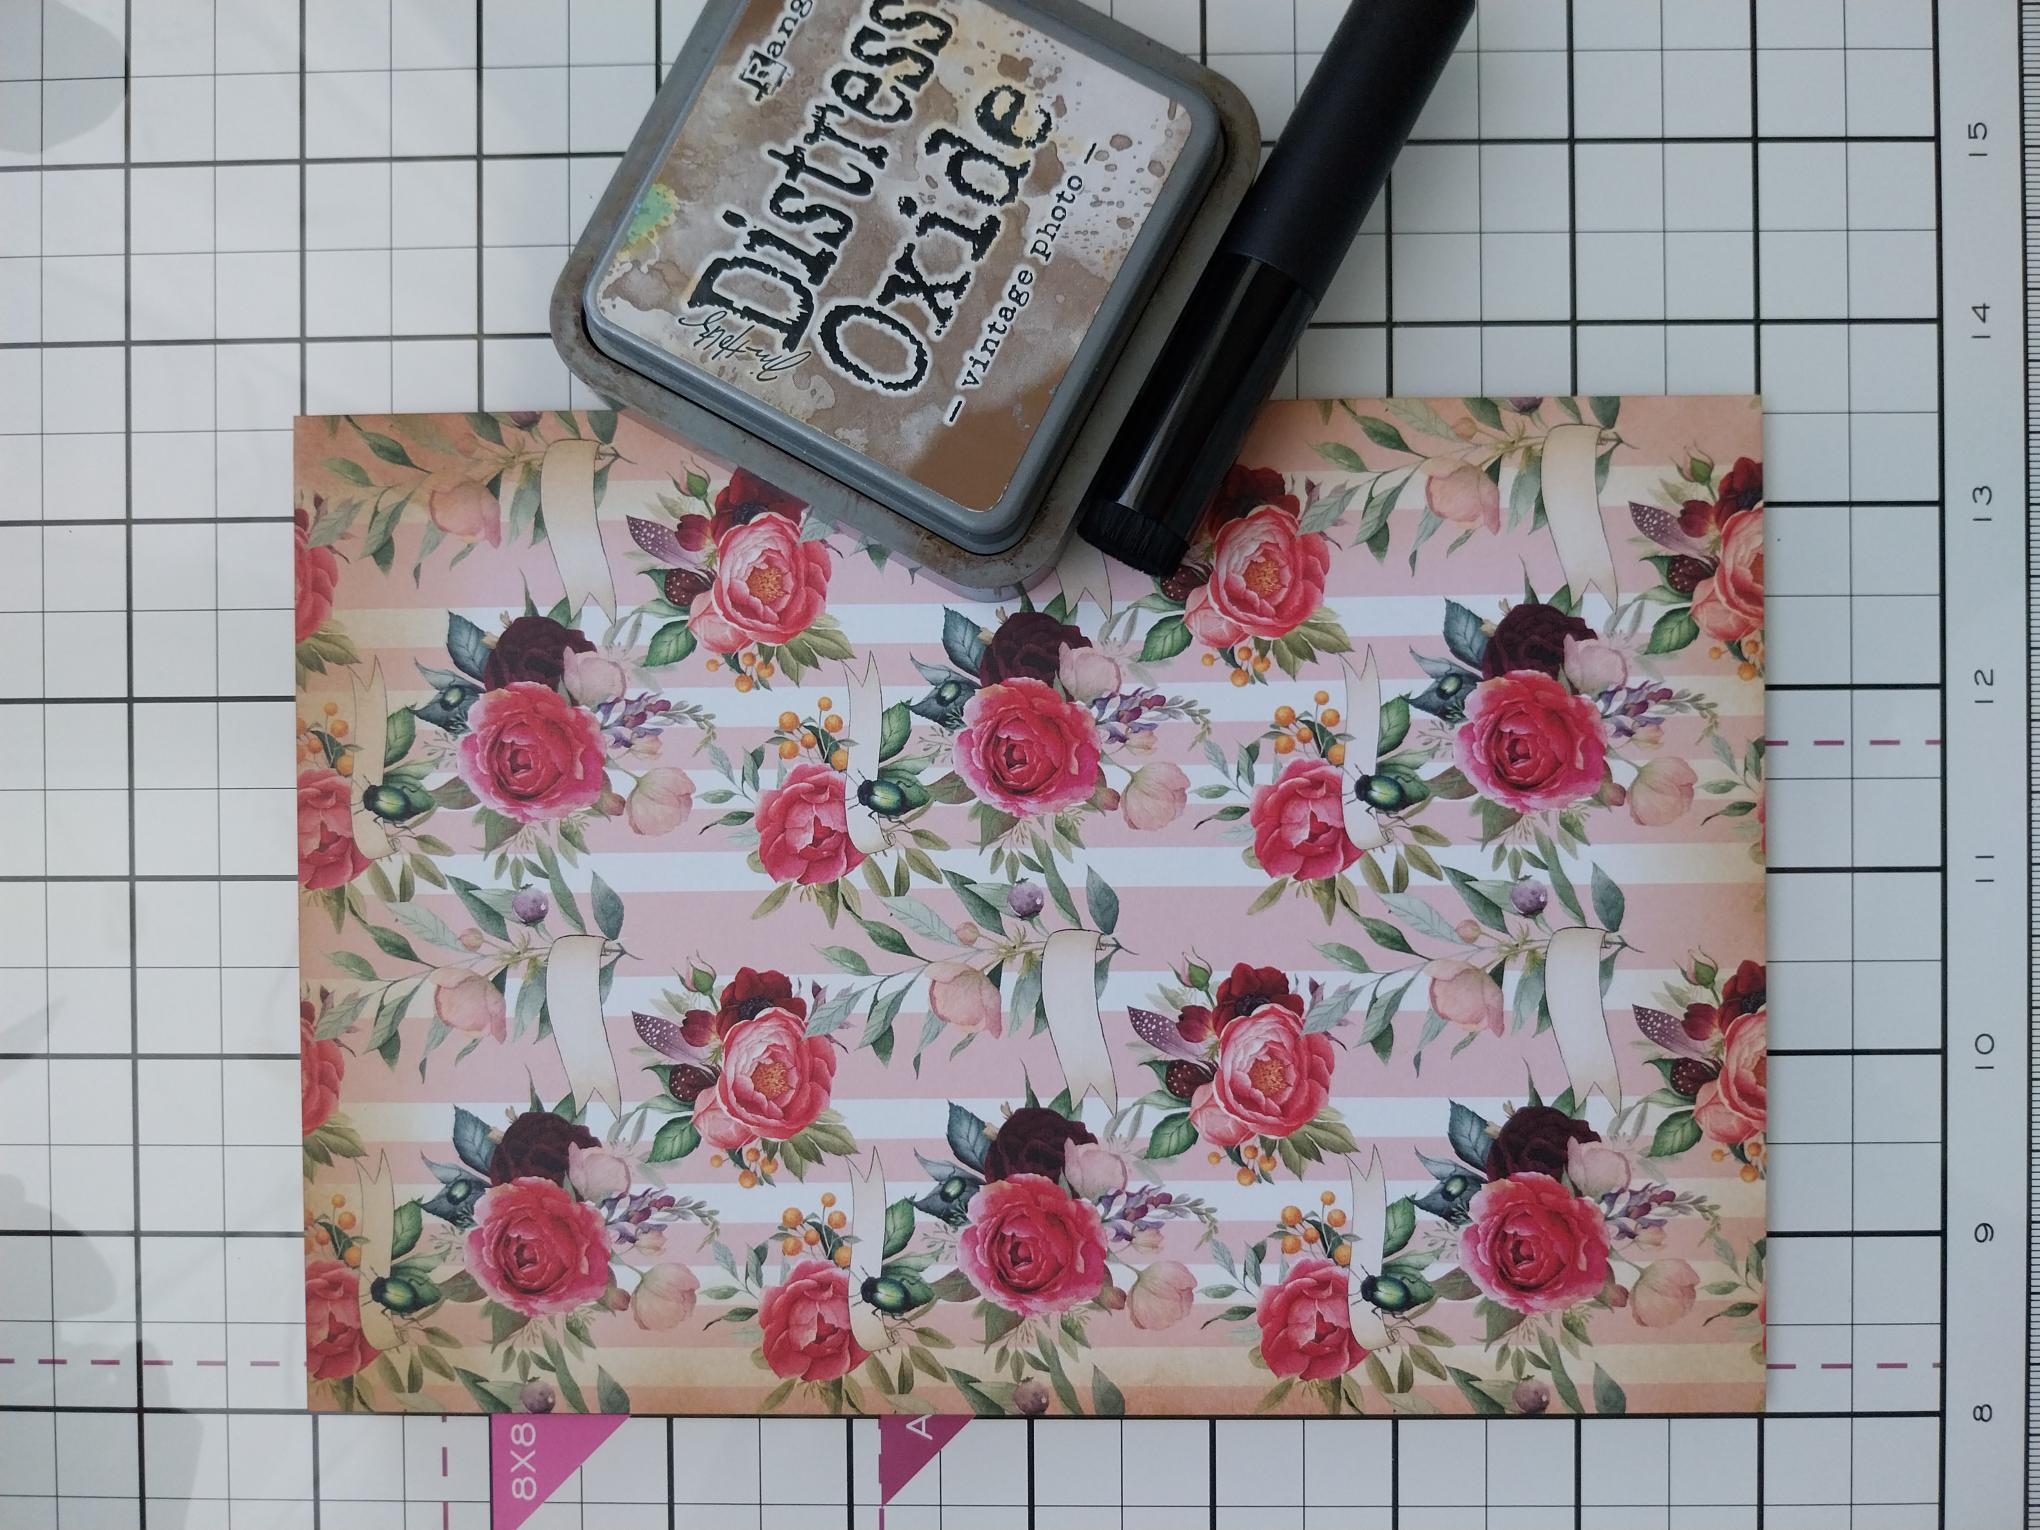
Distress Ink/Oxide Ink Pad: Peacock Feathers, Vintage Photo, Lost Shadow
Snowfall or clear acetate
Ruby Blooms 8 x 8" Paper Pack
Blending brush
Stickles: Star Dust
SBM A3 Magnetic glass mat
Paper Trimmer
Glue/foam pads/red liner tape
Die Cutting machine
[click image to enlarge] 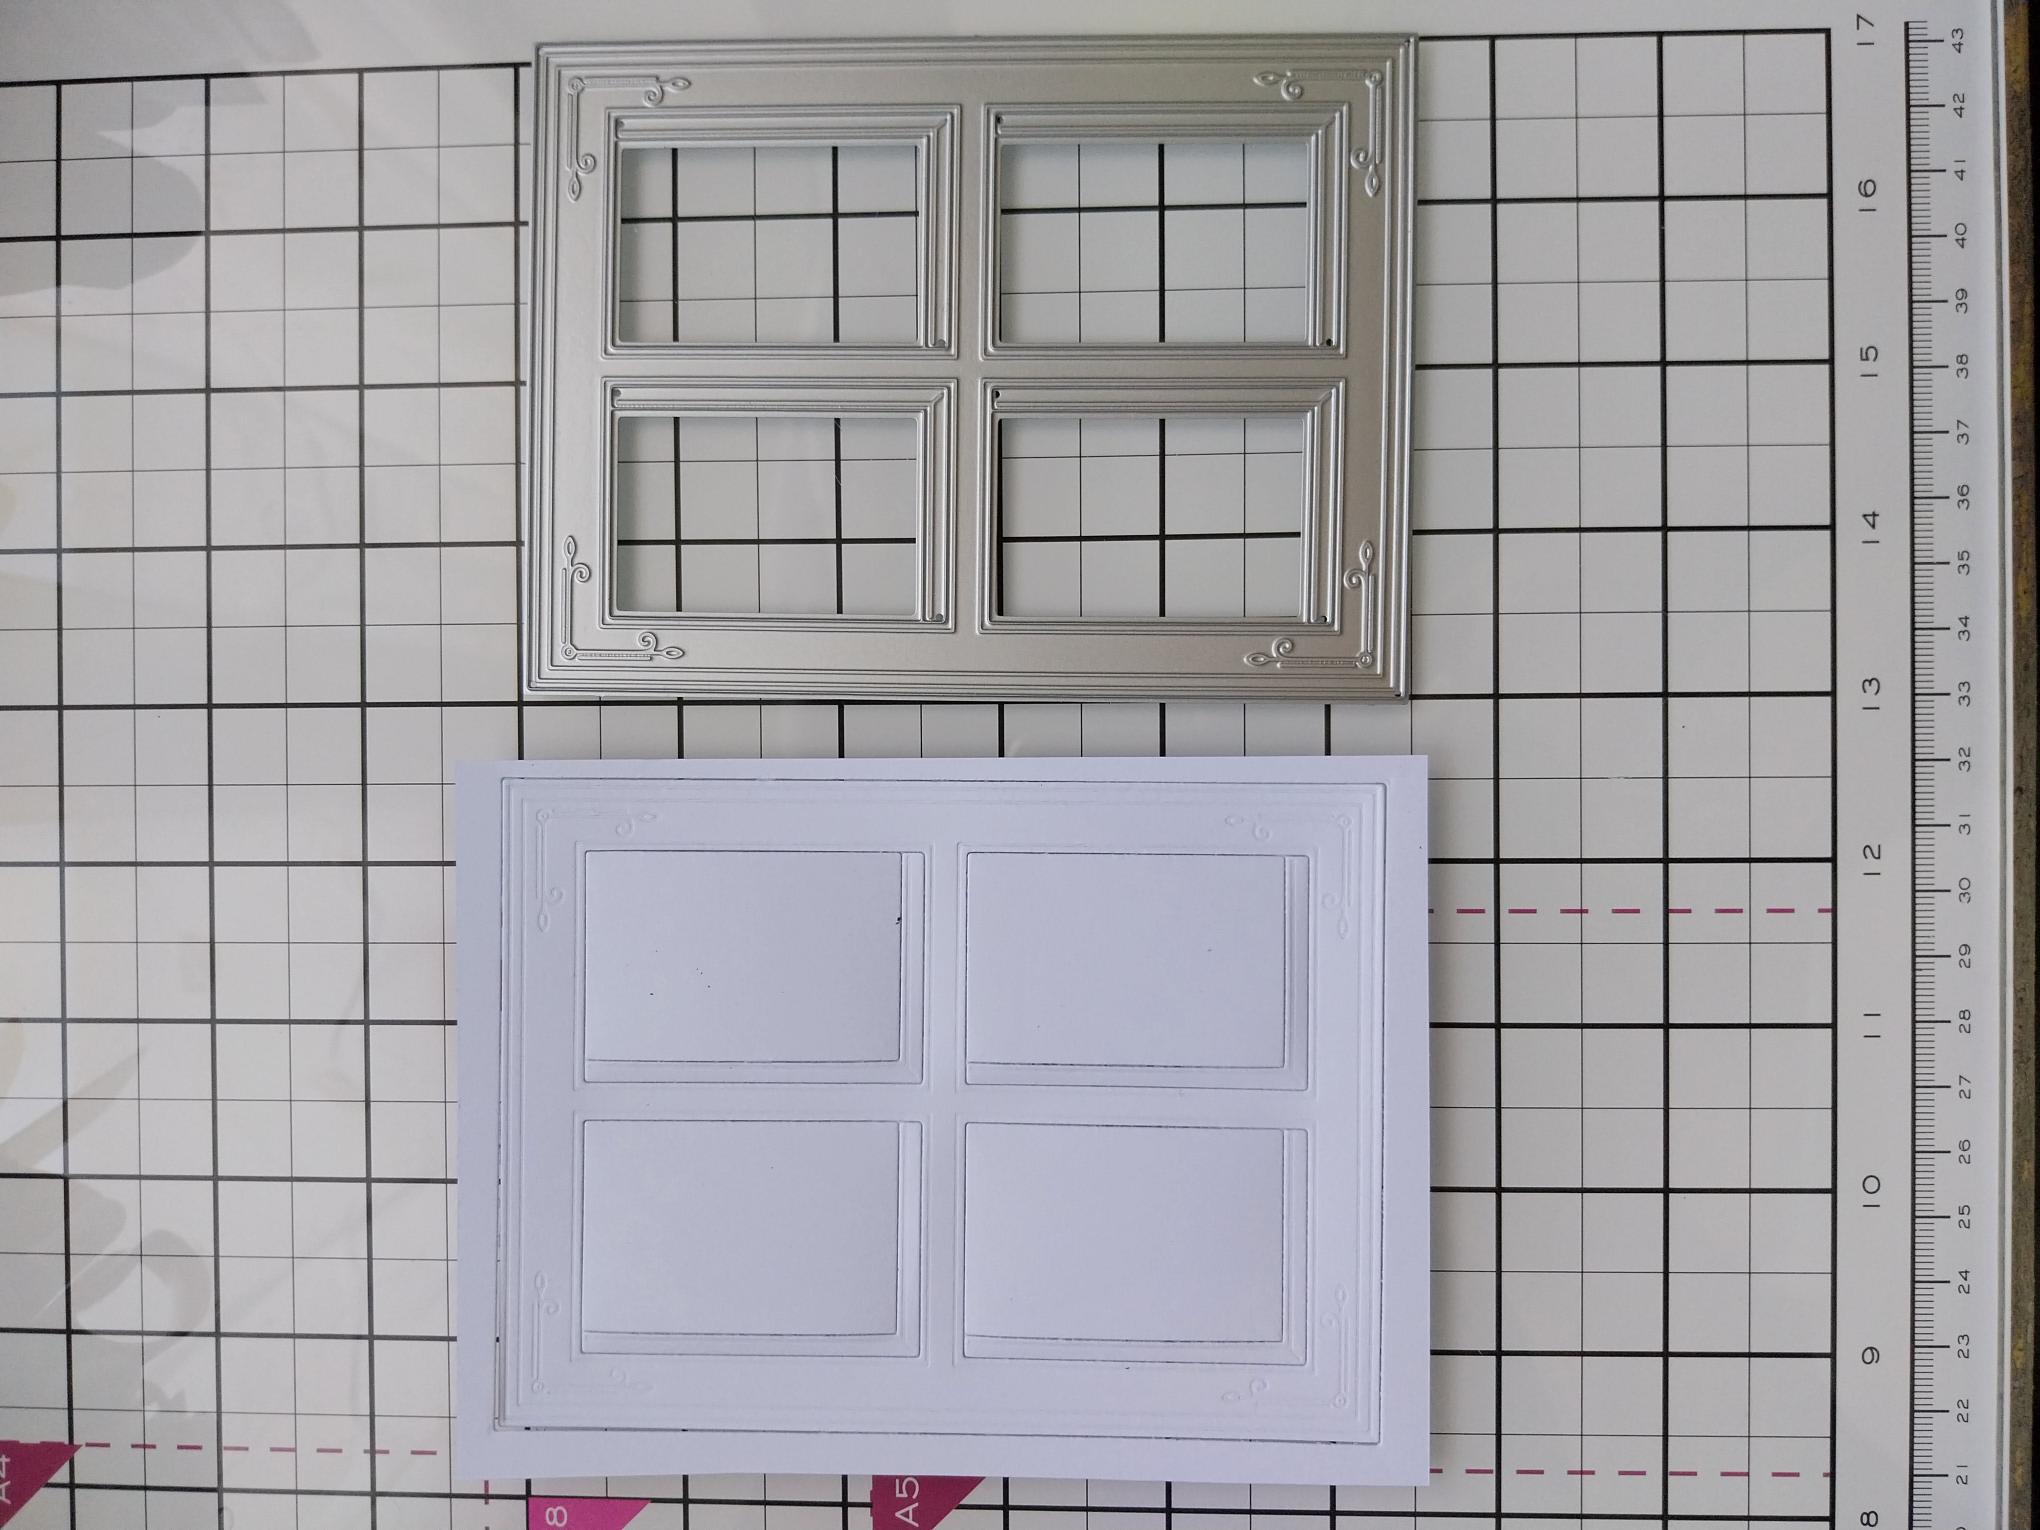
|
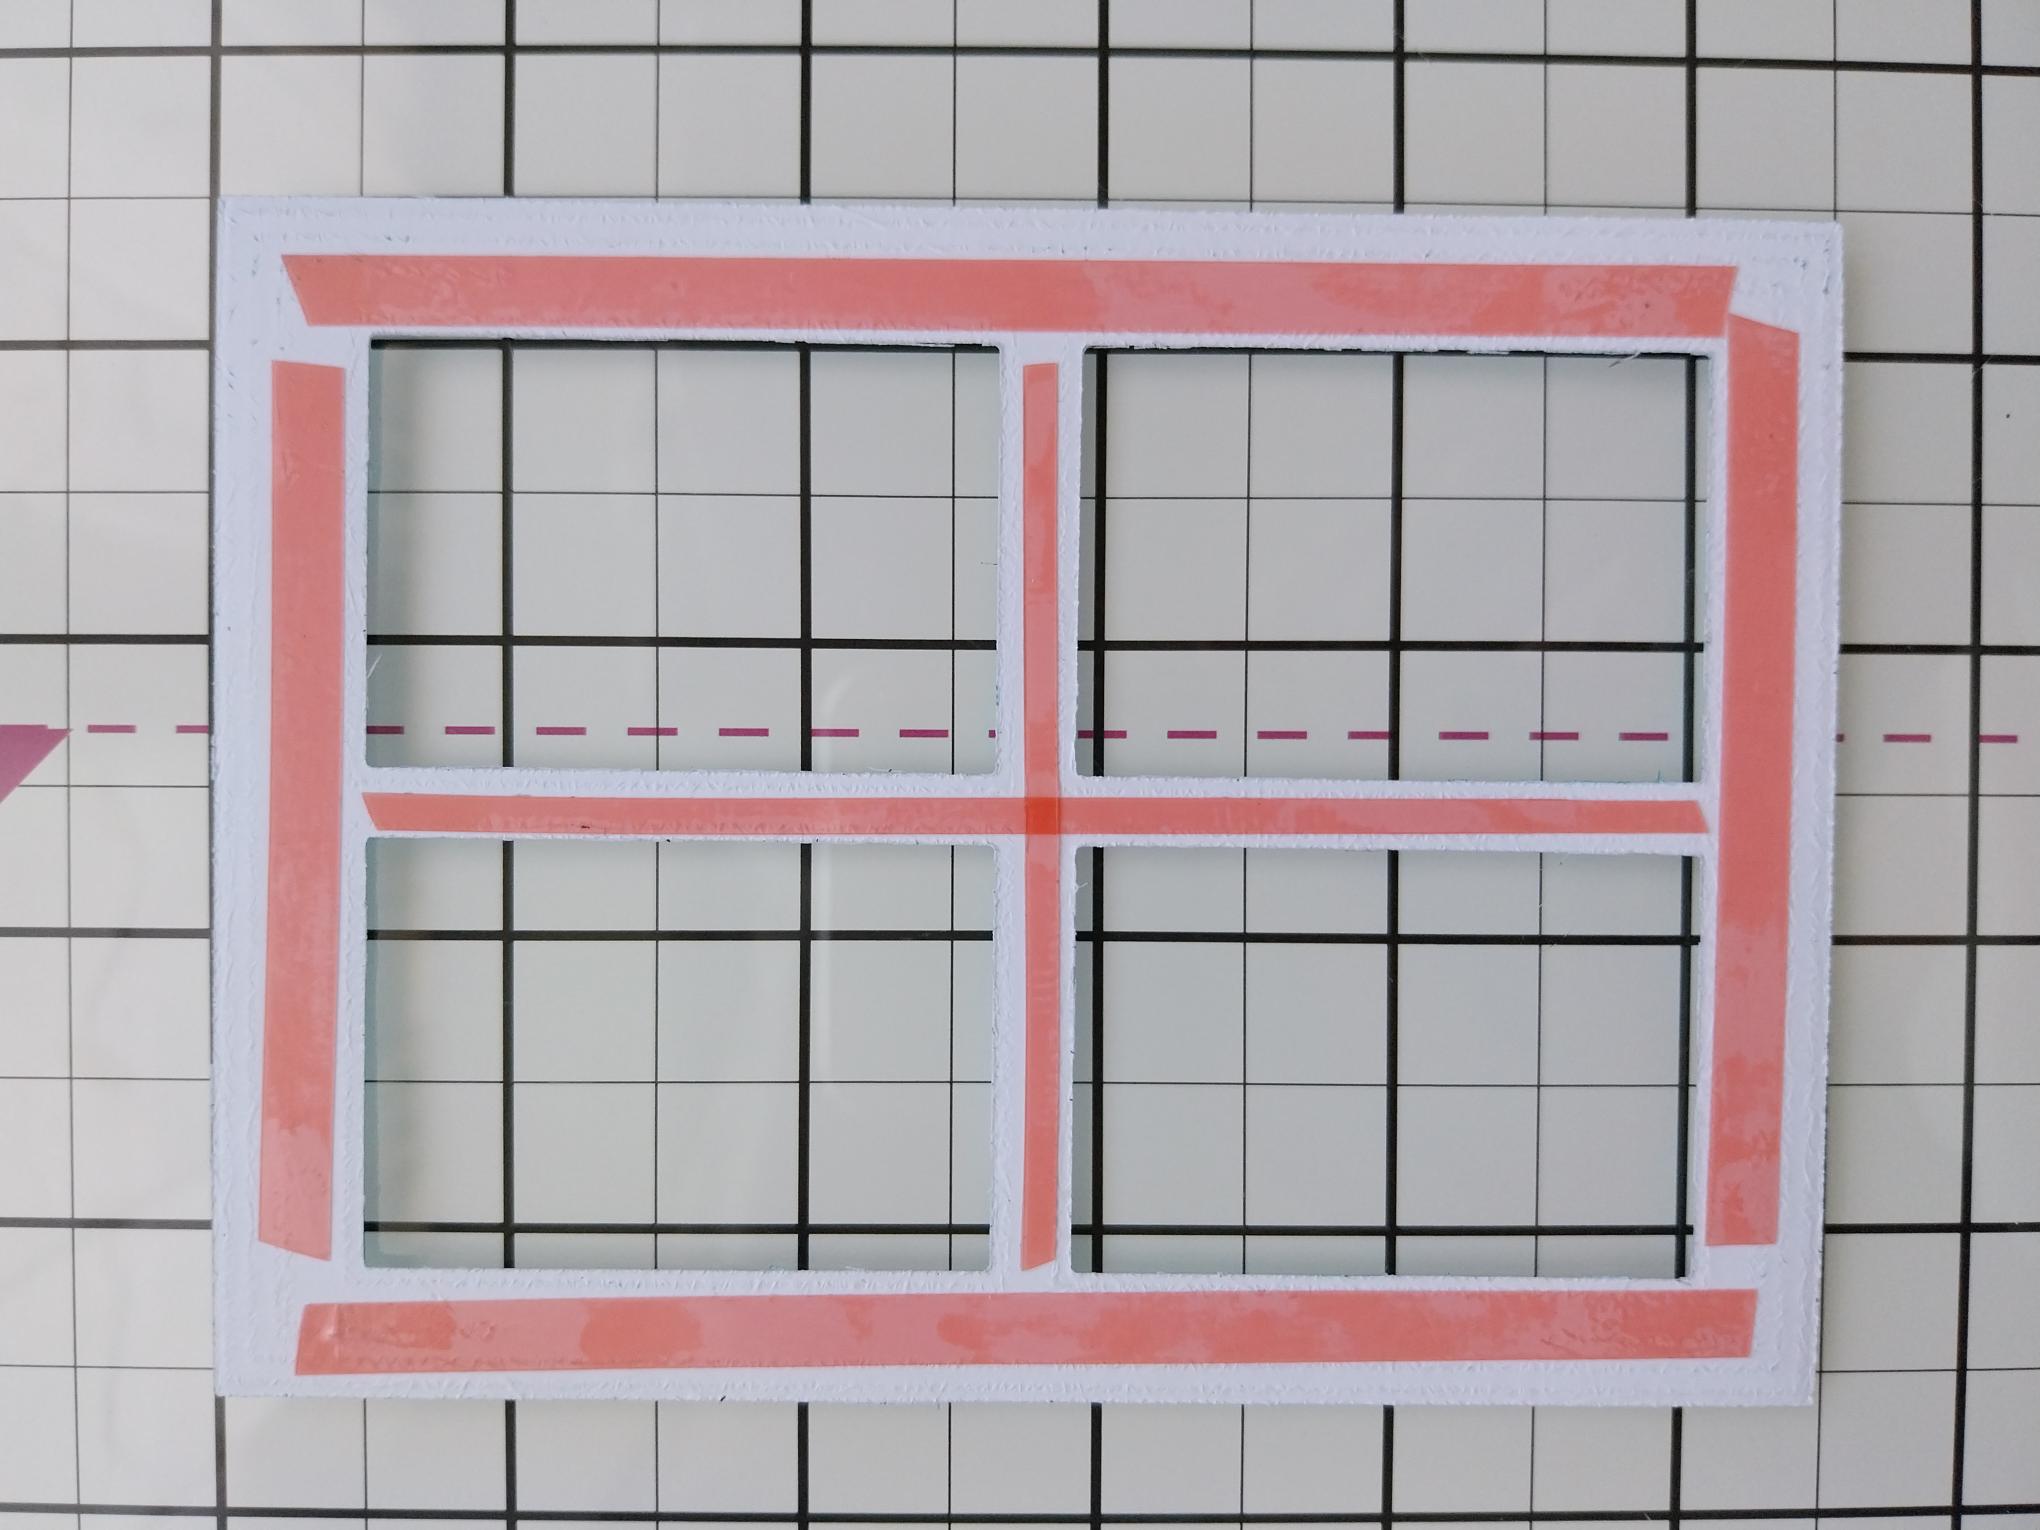
Place the window die on white card trimmed to 7 x 5" and run it through your die cutting machine. |
|
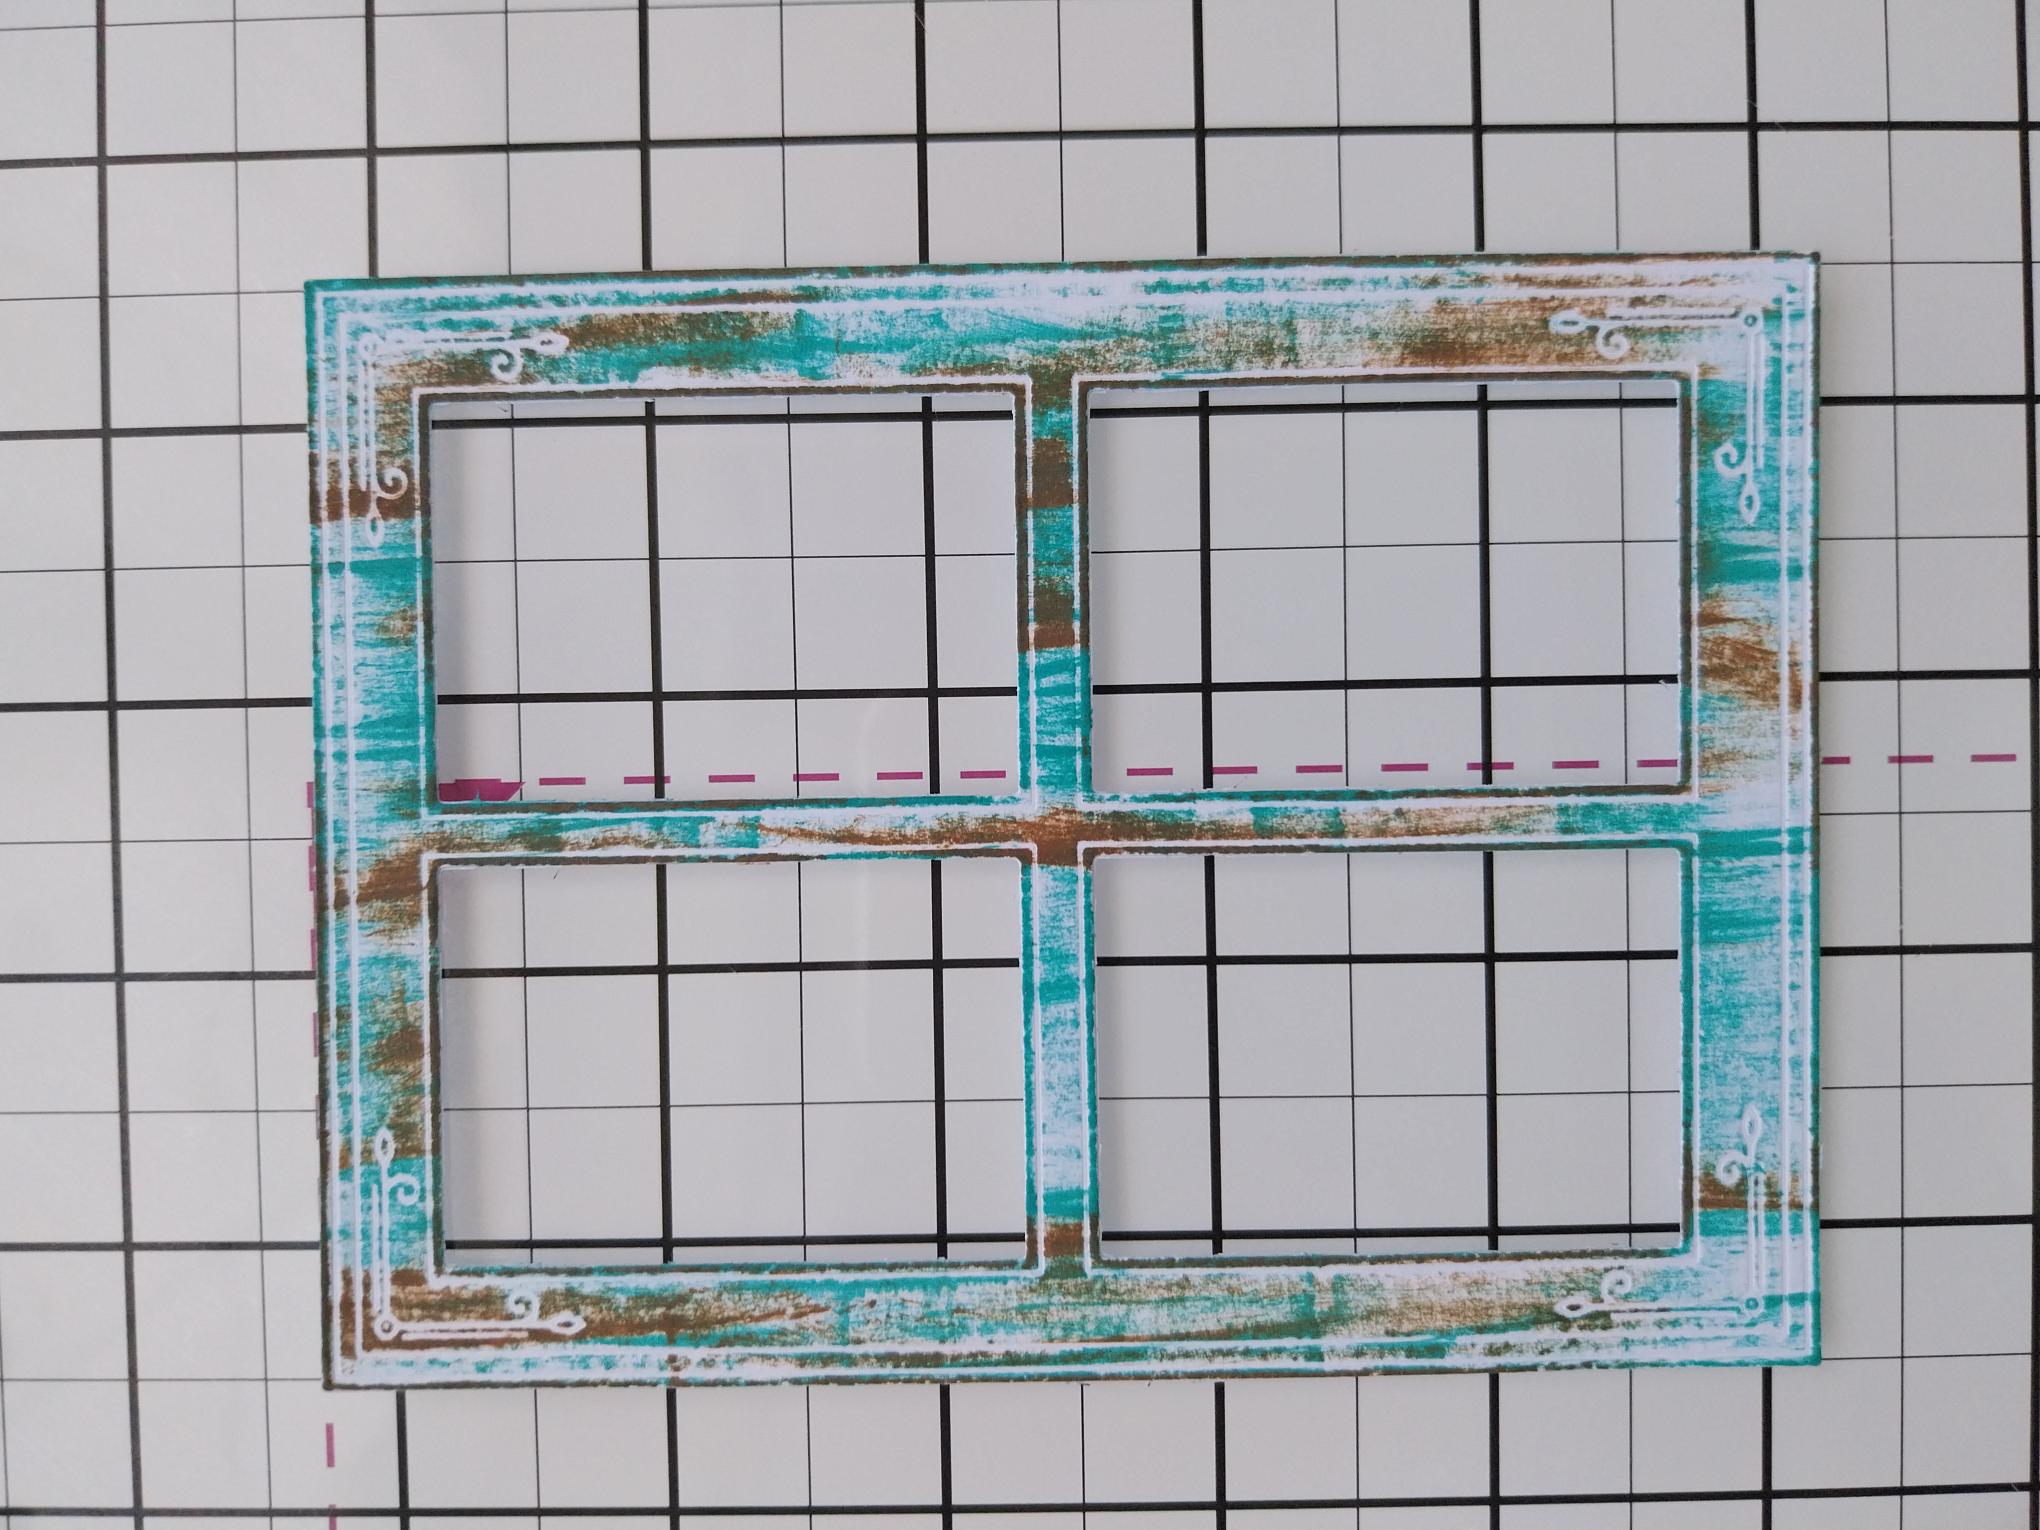
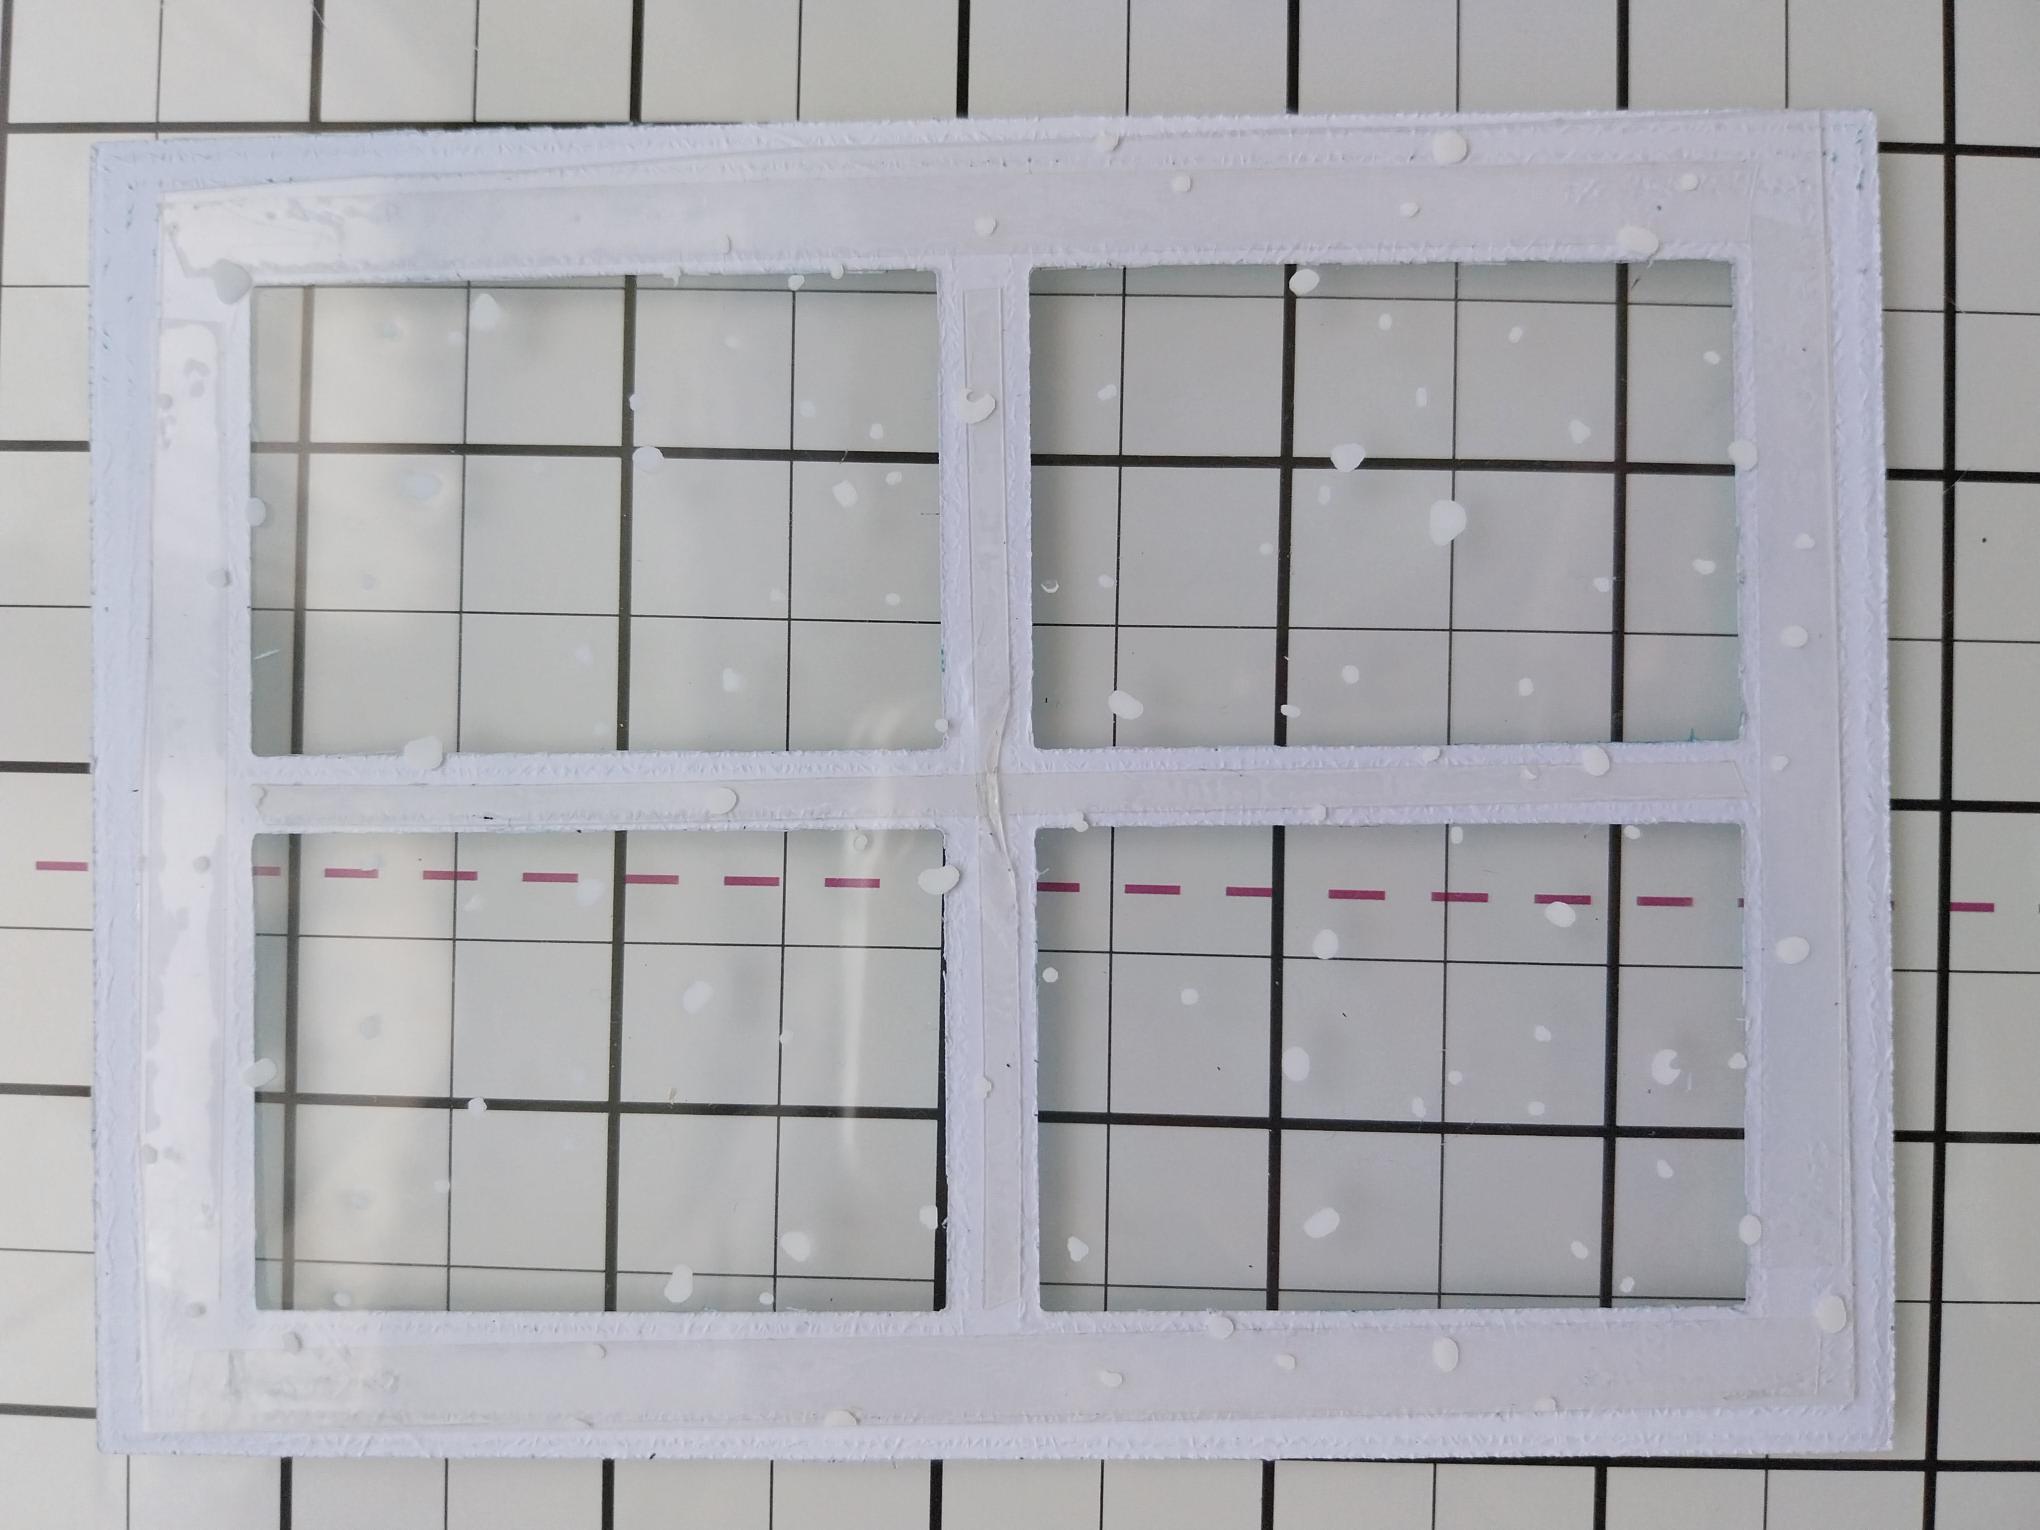
Pop out all the die cut elements and set the "shadow" die cut elements to one side. Swipe the Peacock Feathers and Vintage Photo ink pads directly around your window, adding a distressed, textured look. |
|
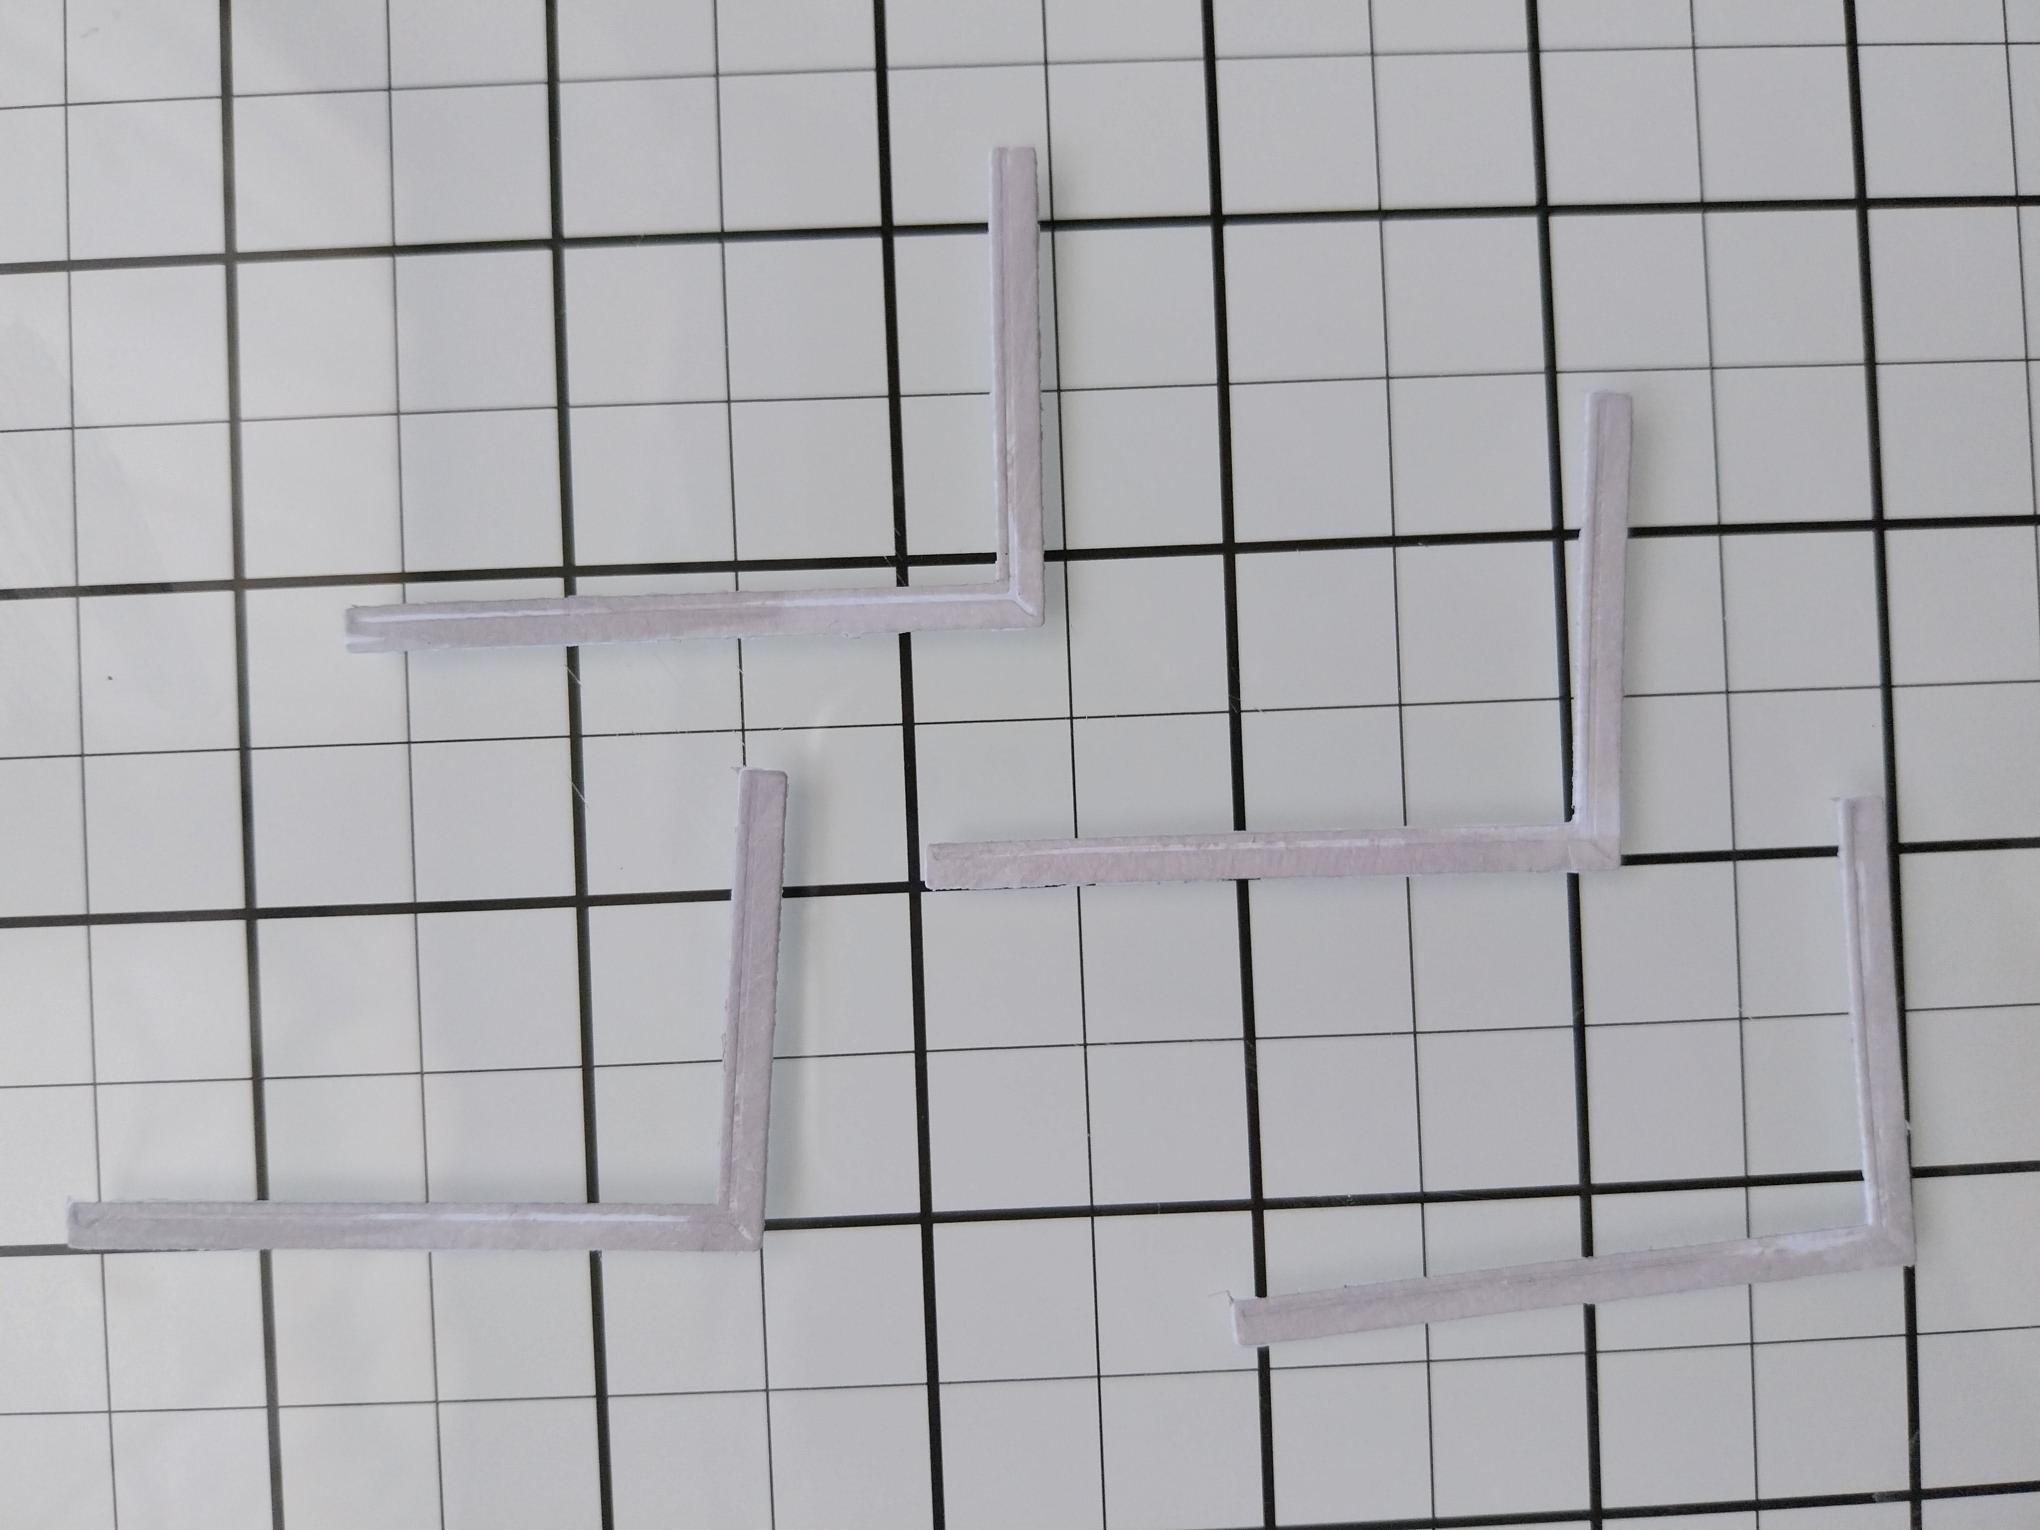
Ink the "Shadow" die cut elements with the Lost Shadow ink. |
|
Apply red liner tape to the back of your window. |
|
Cut your acetate slightly smaller than your window and adhere to the back. |
|
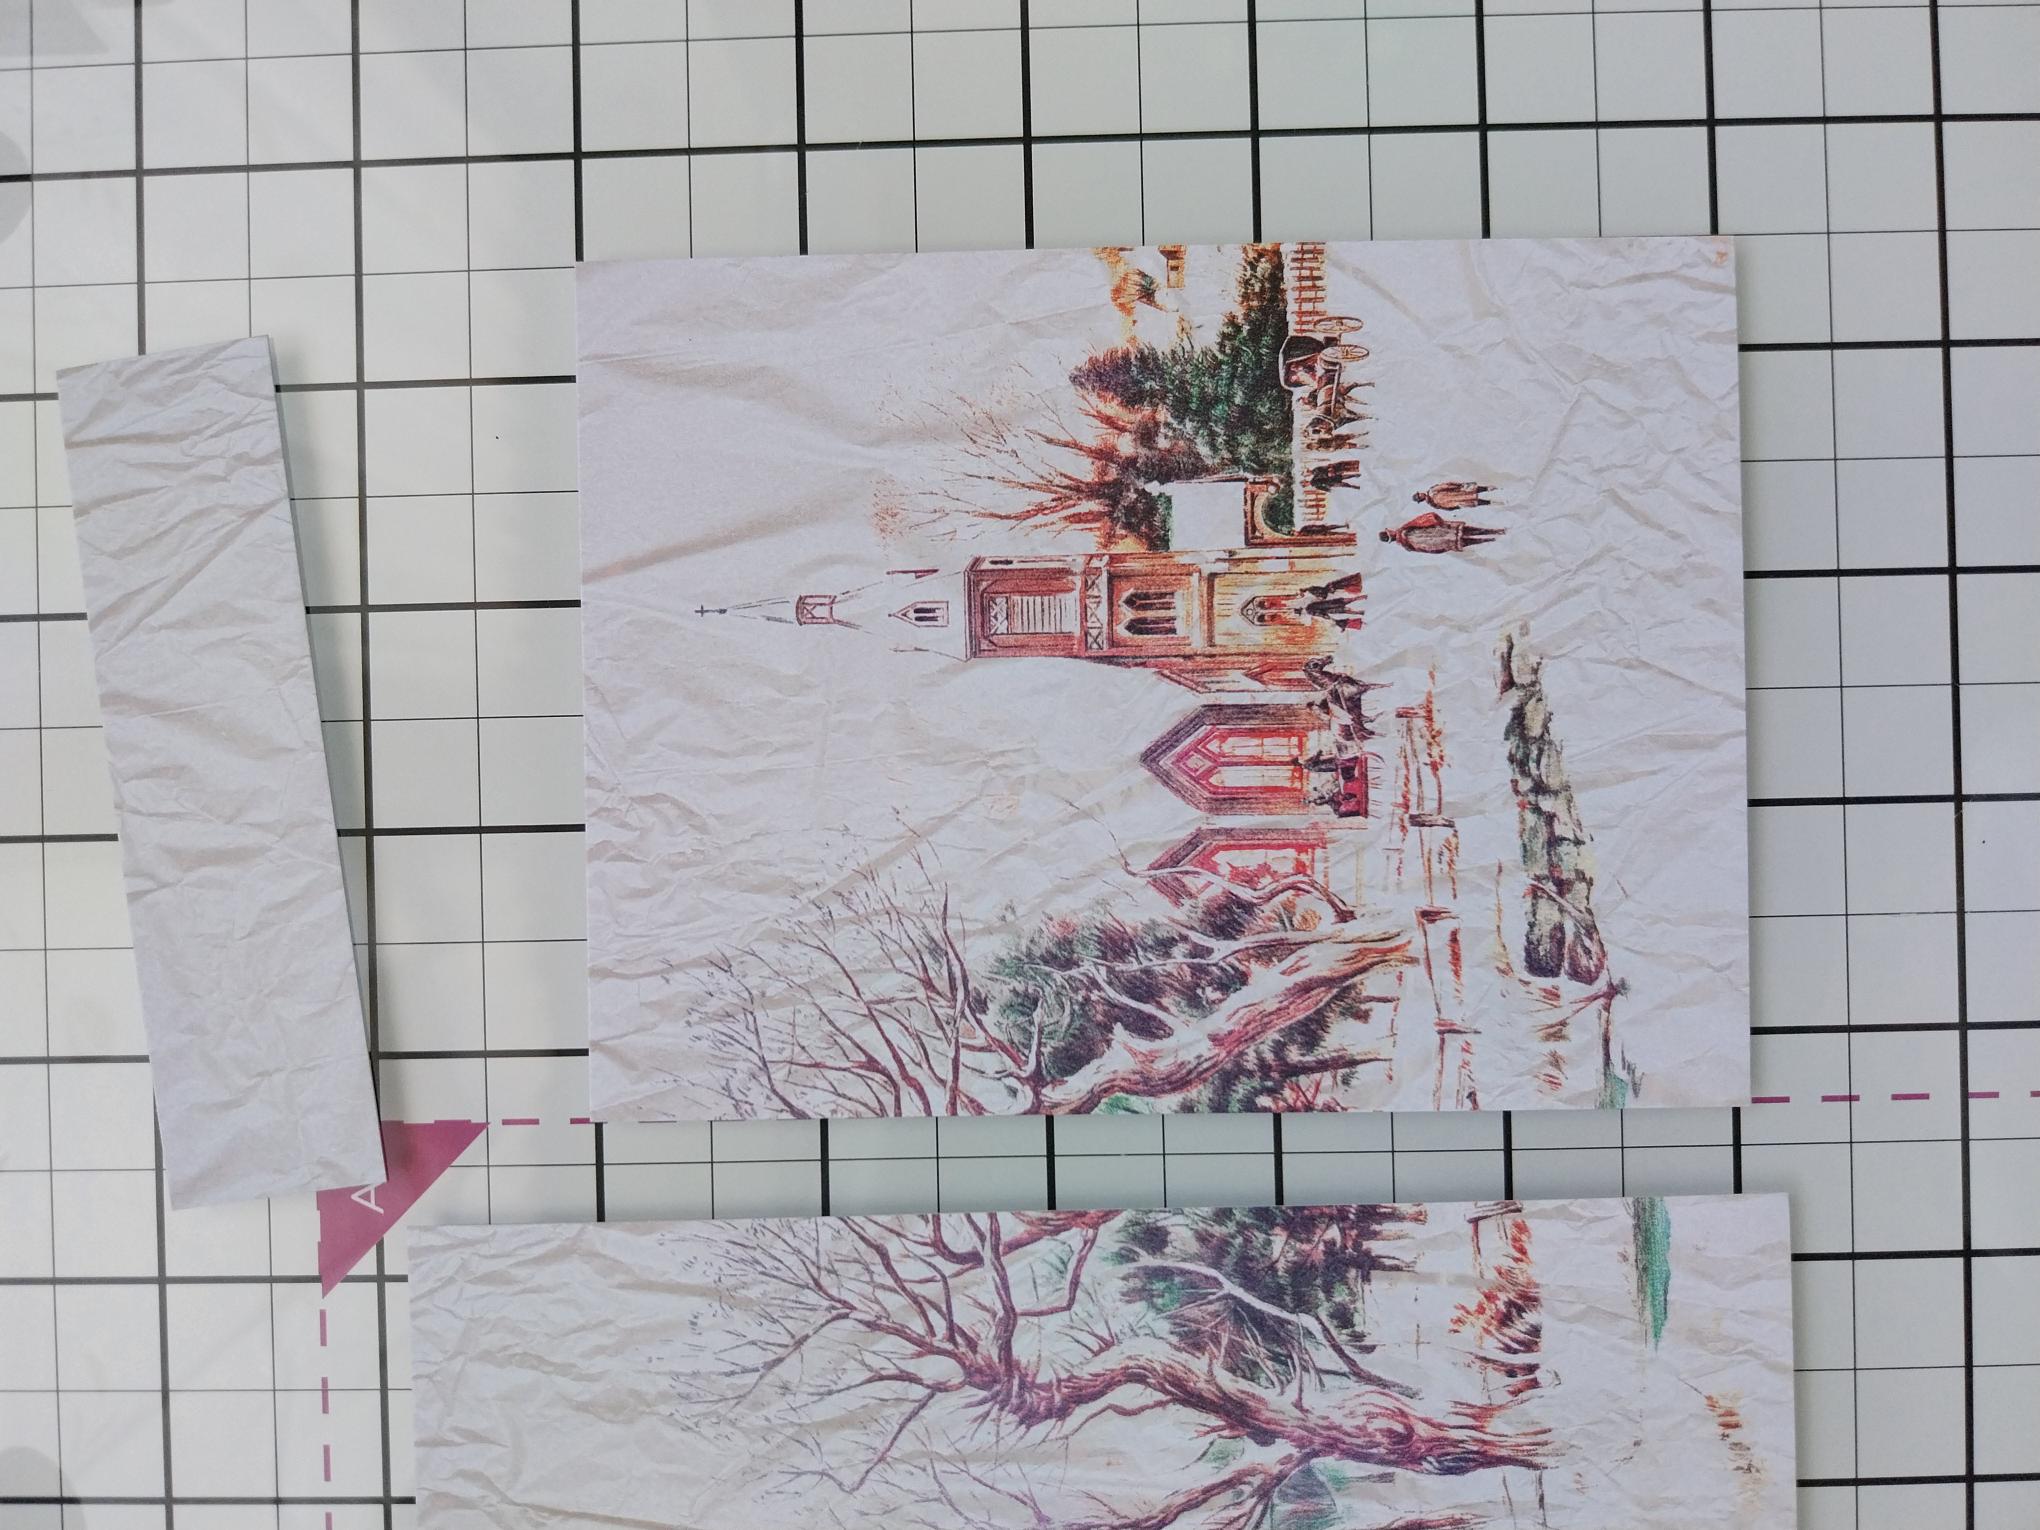
Trim this beautiful mount, from In The Countryside, slightly smaller than your window. |
|
Adhere behind your window and pop to one side. |
|
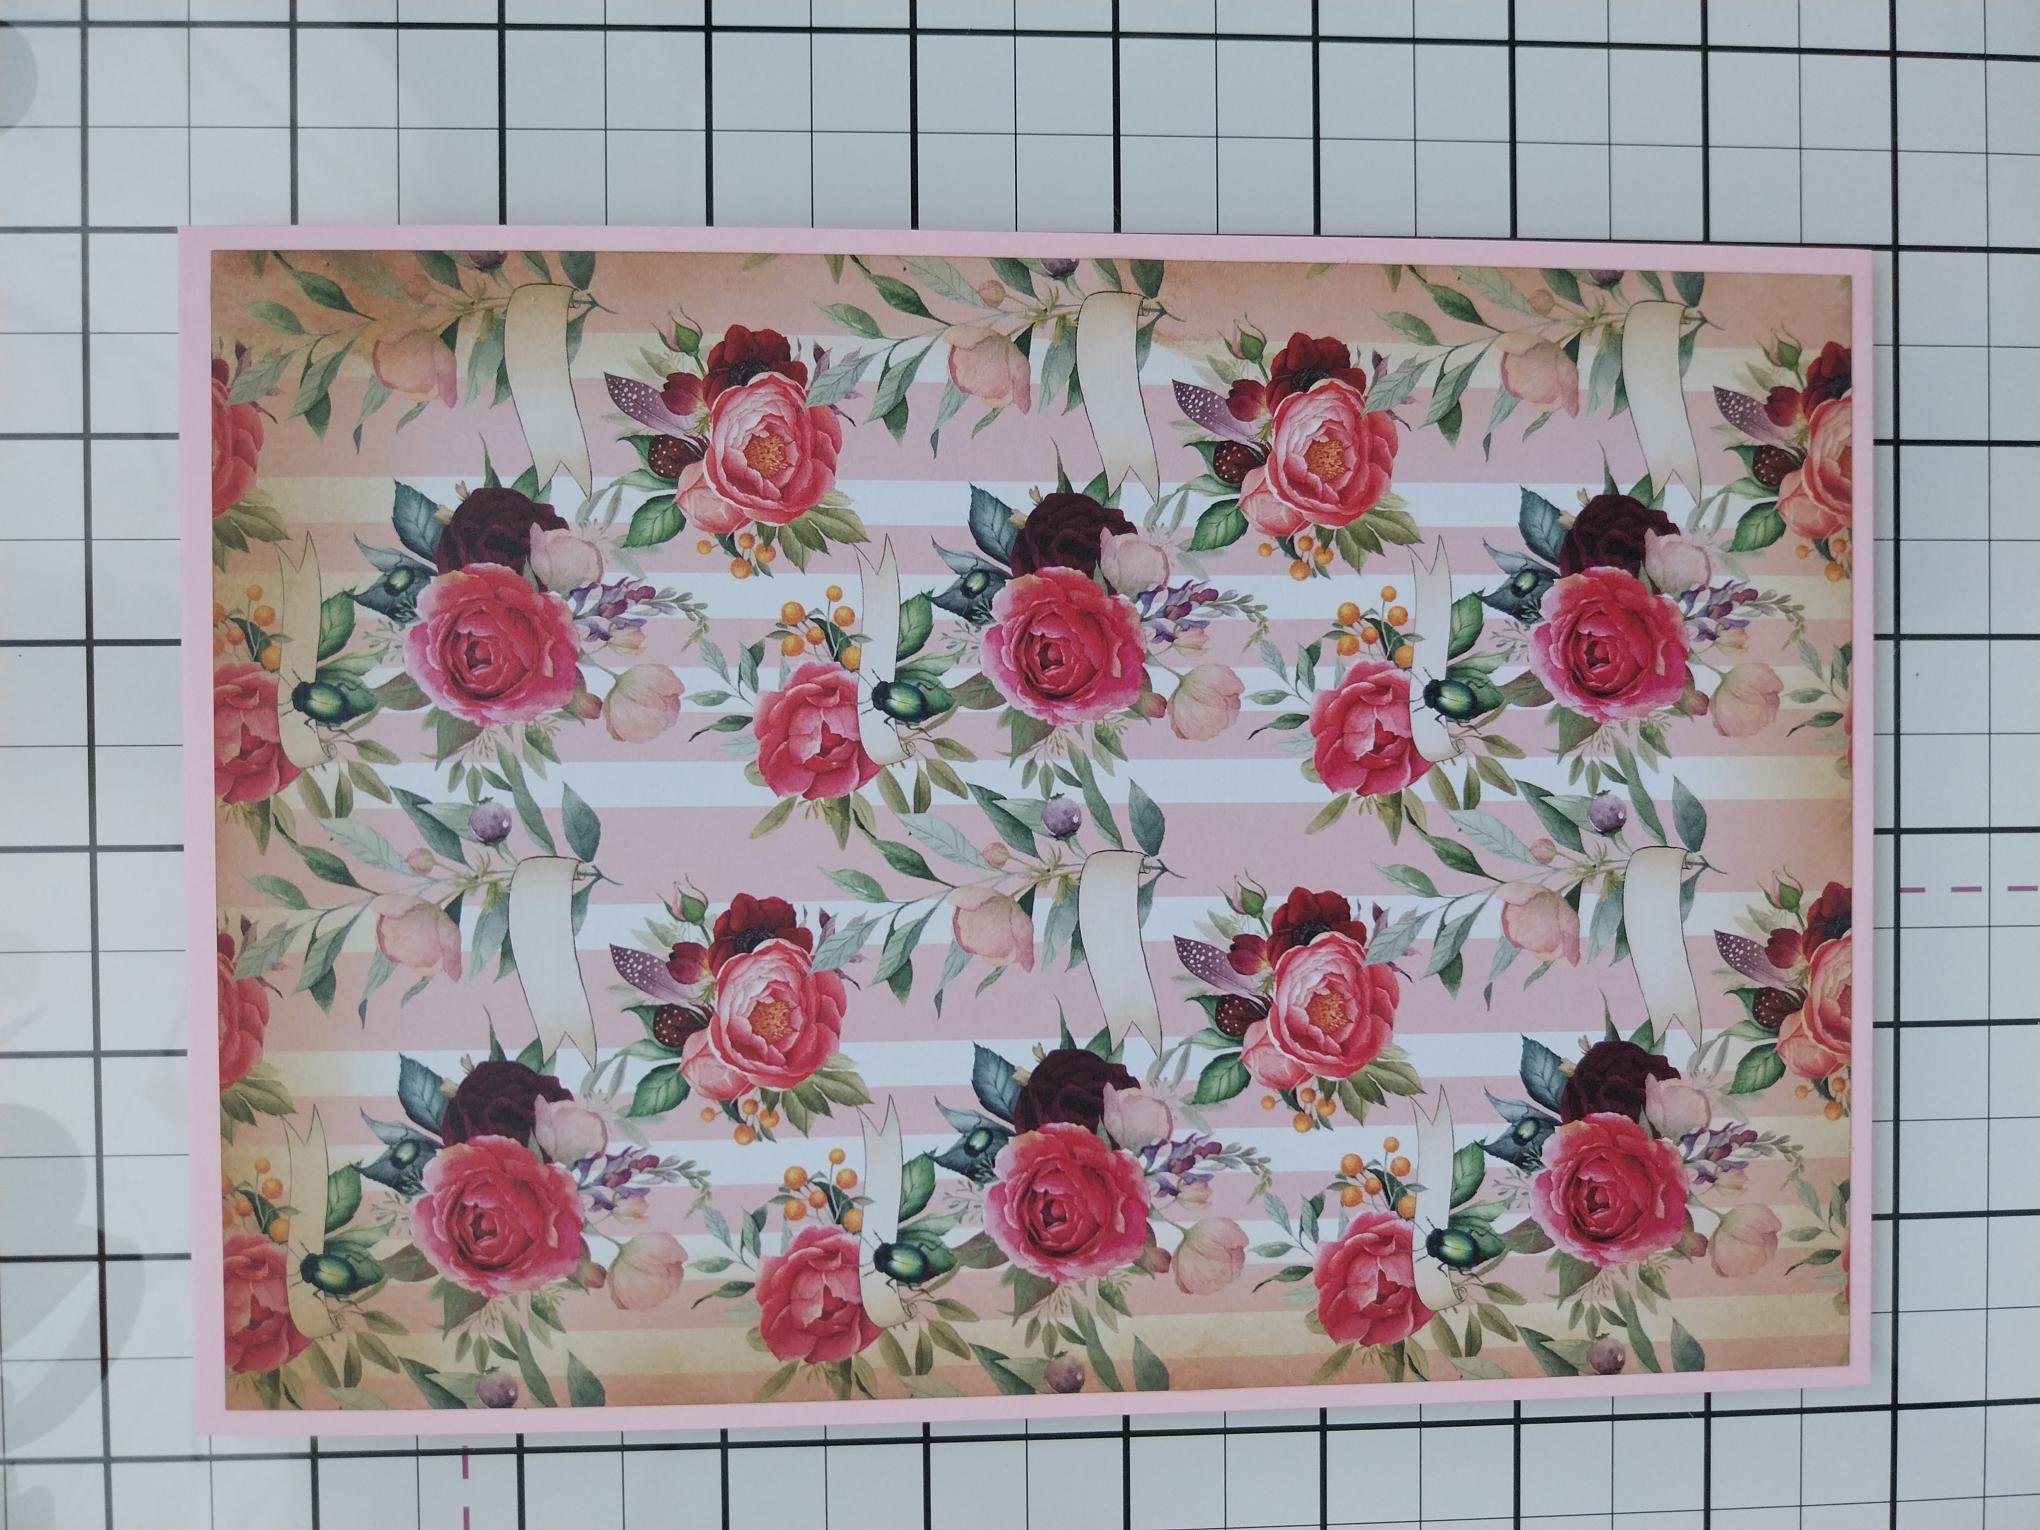
Trim this beautiful decorative paper from the Ruby Blooms pack, to 8 x 5 1/2". Use your blending brush to apply the Vintage Photo around the edges. |
|
Adhere to your pink card blank. |
|
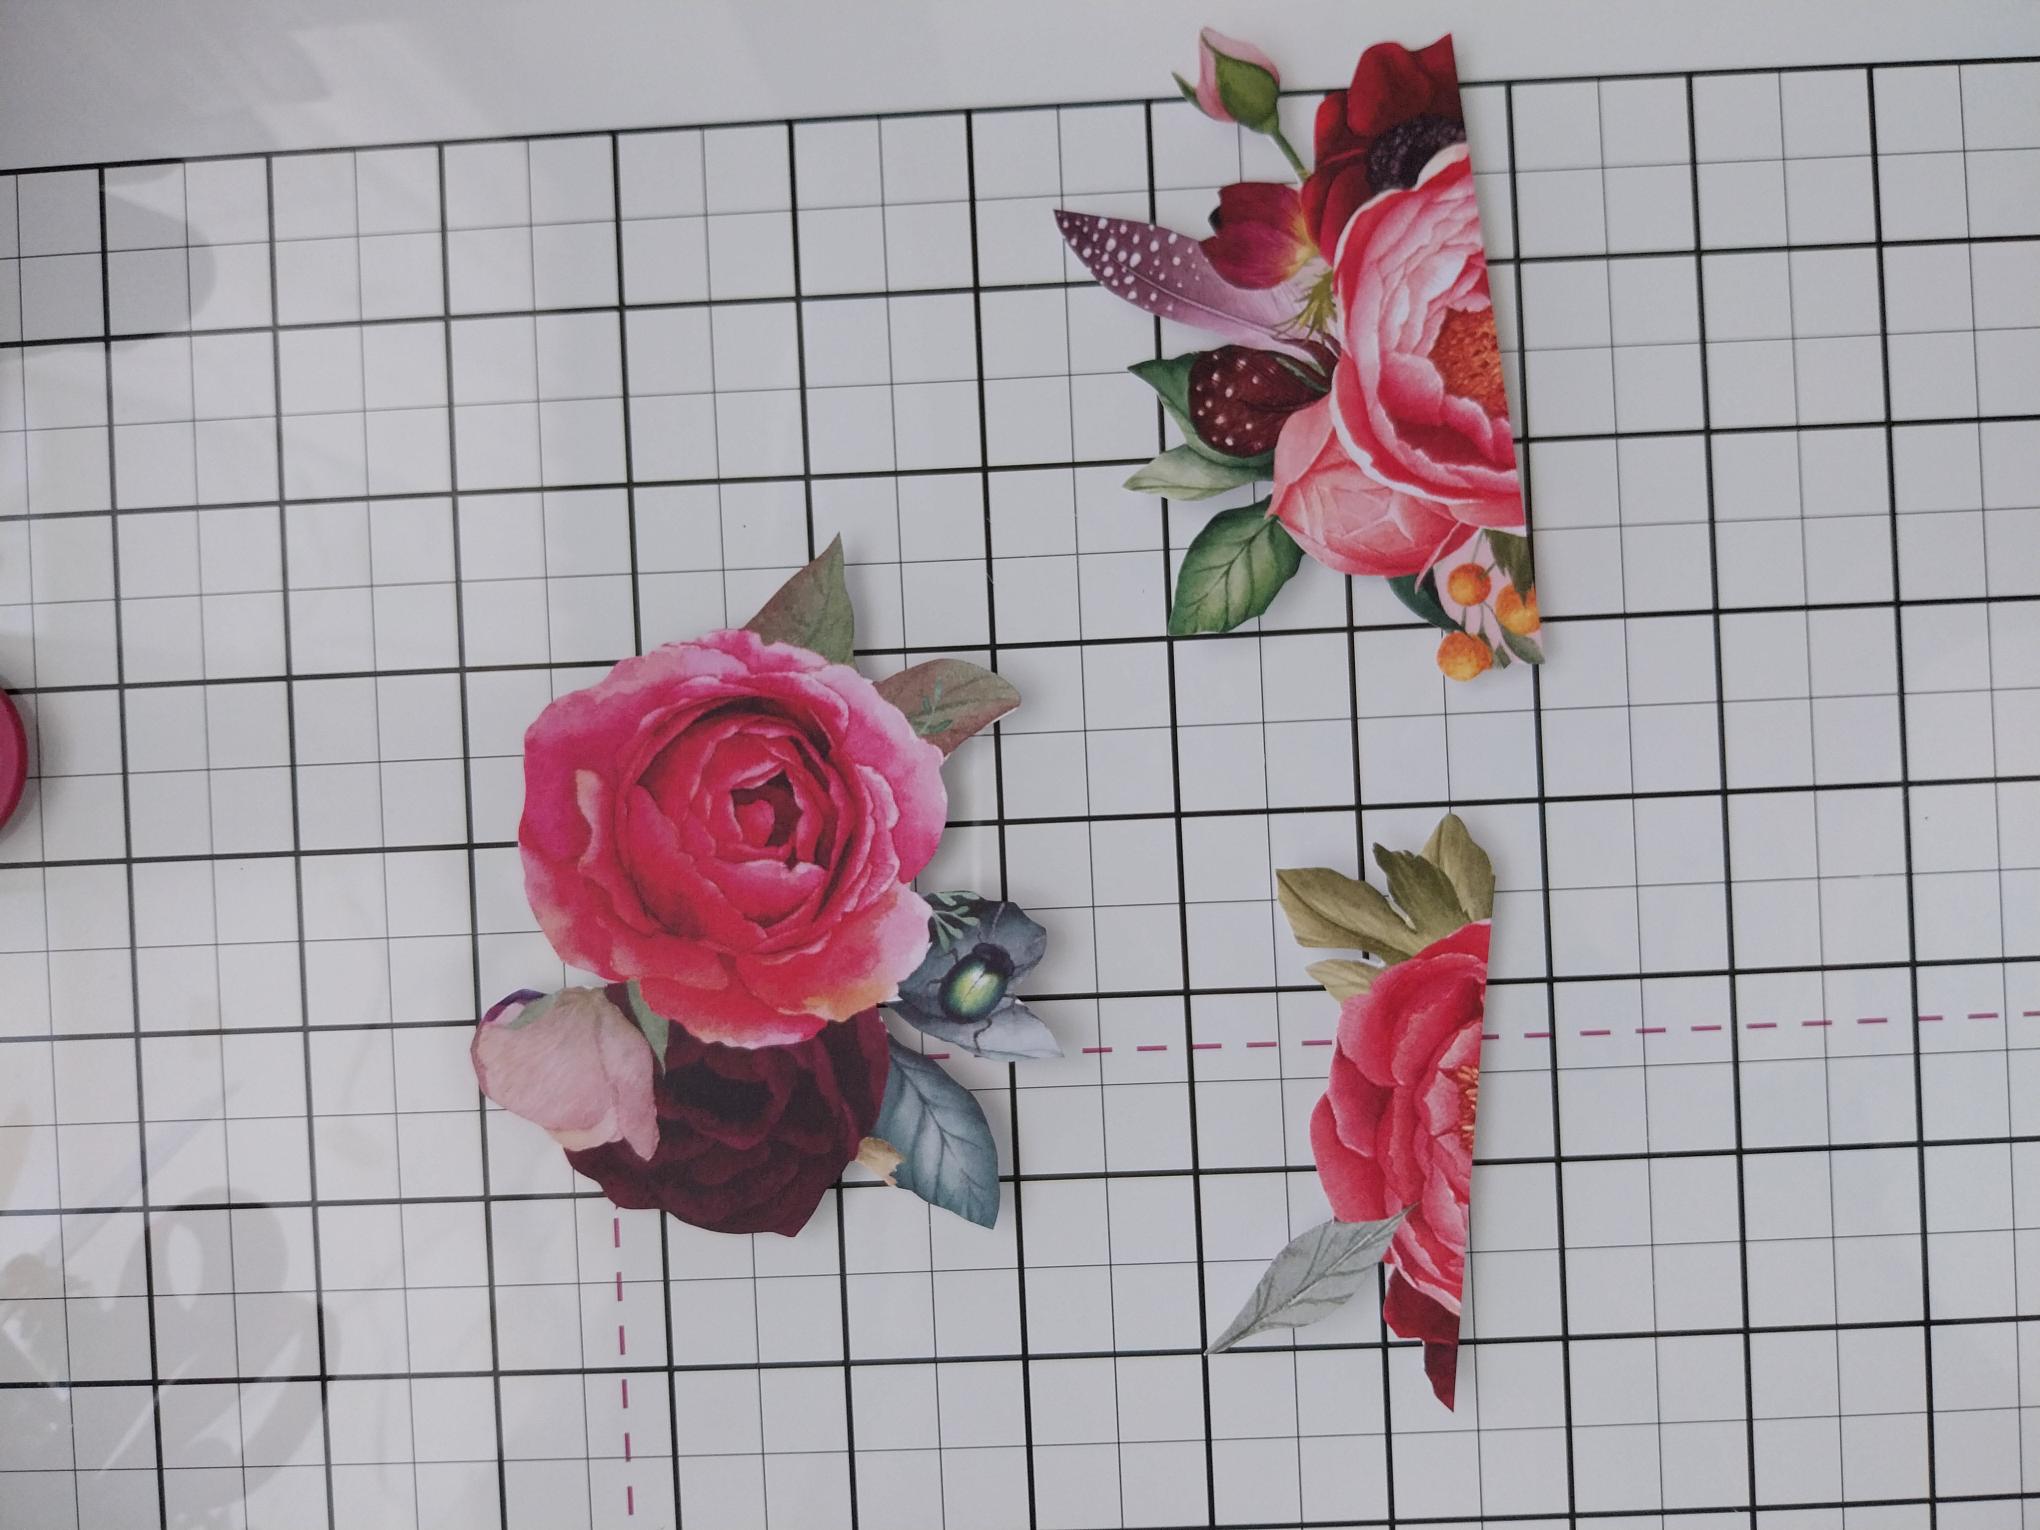
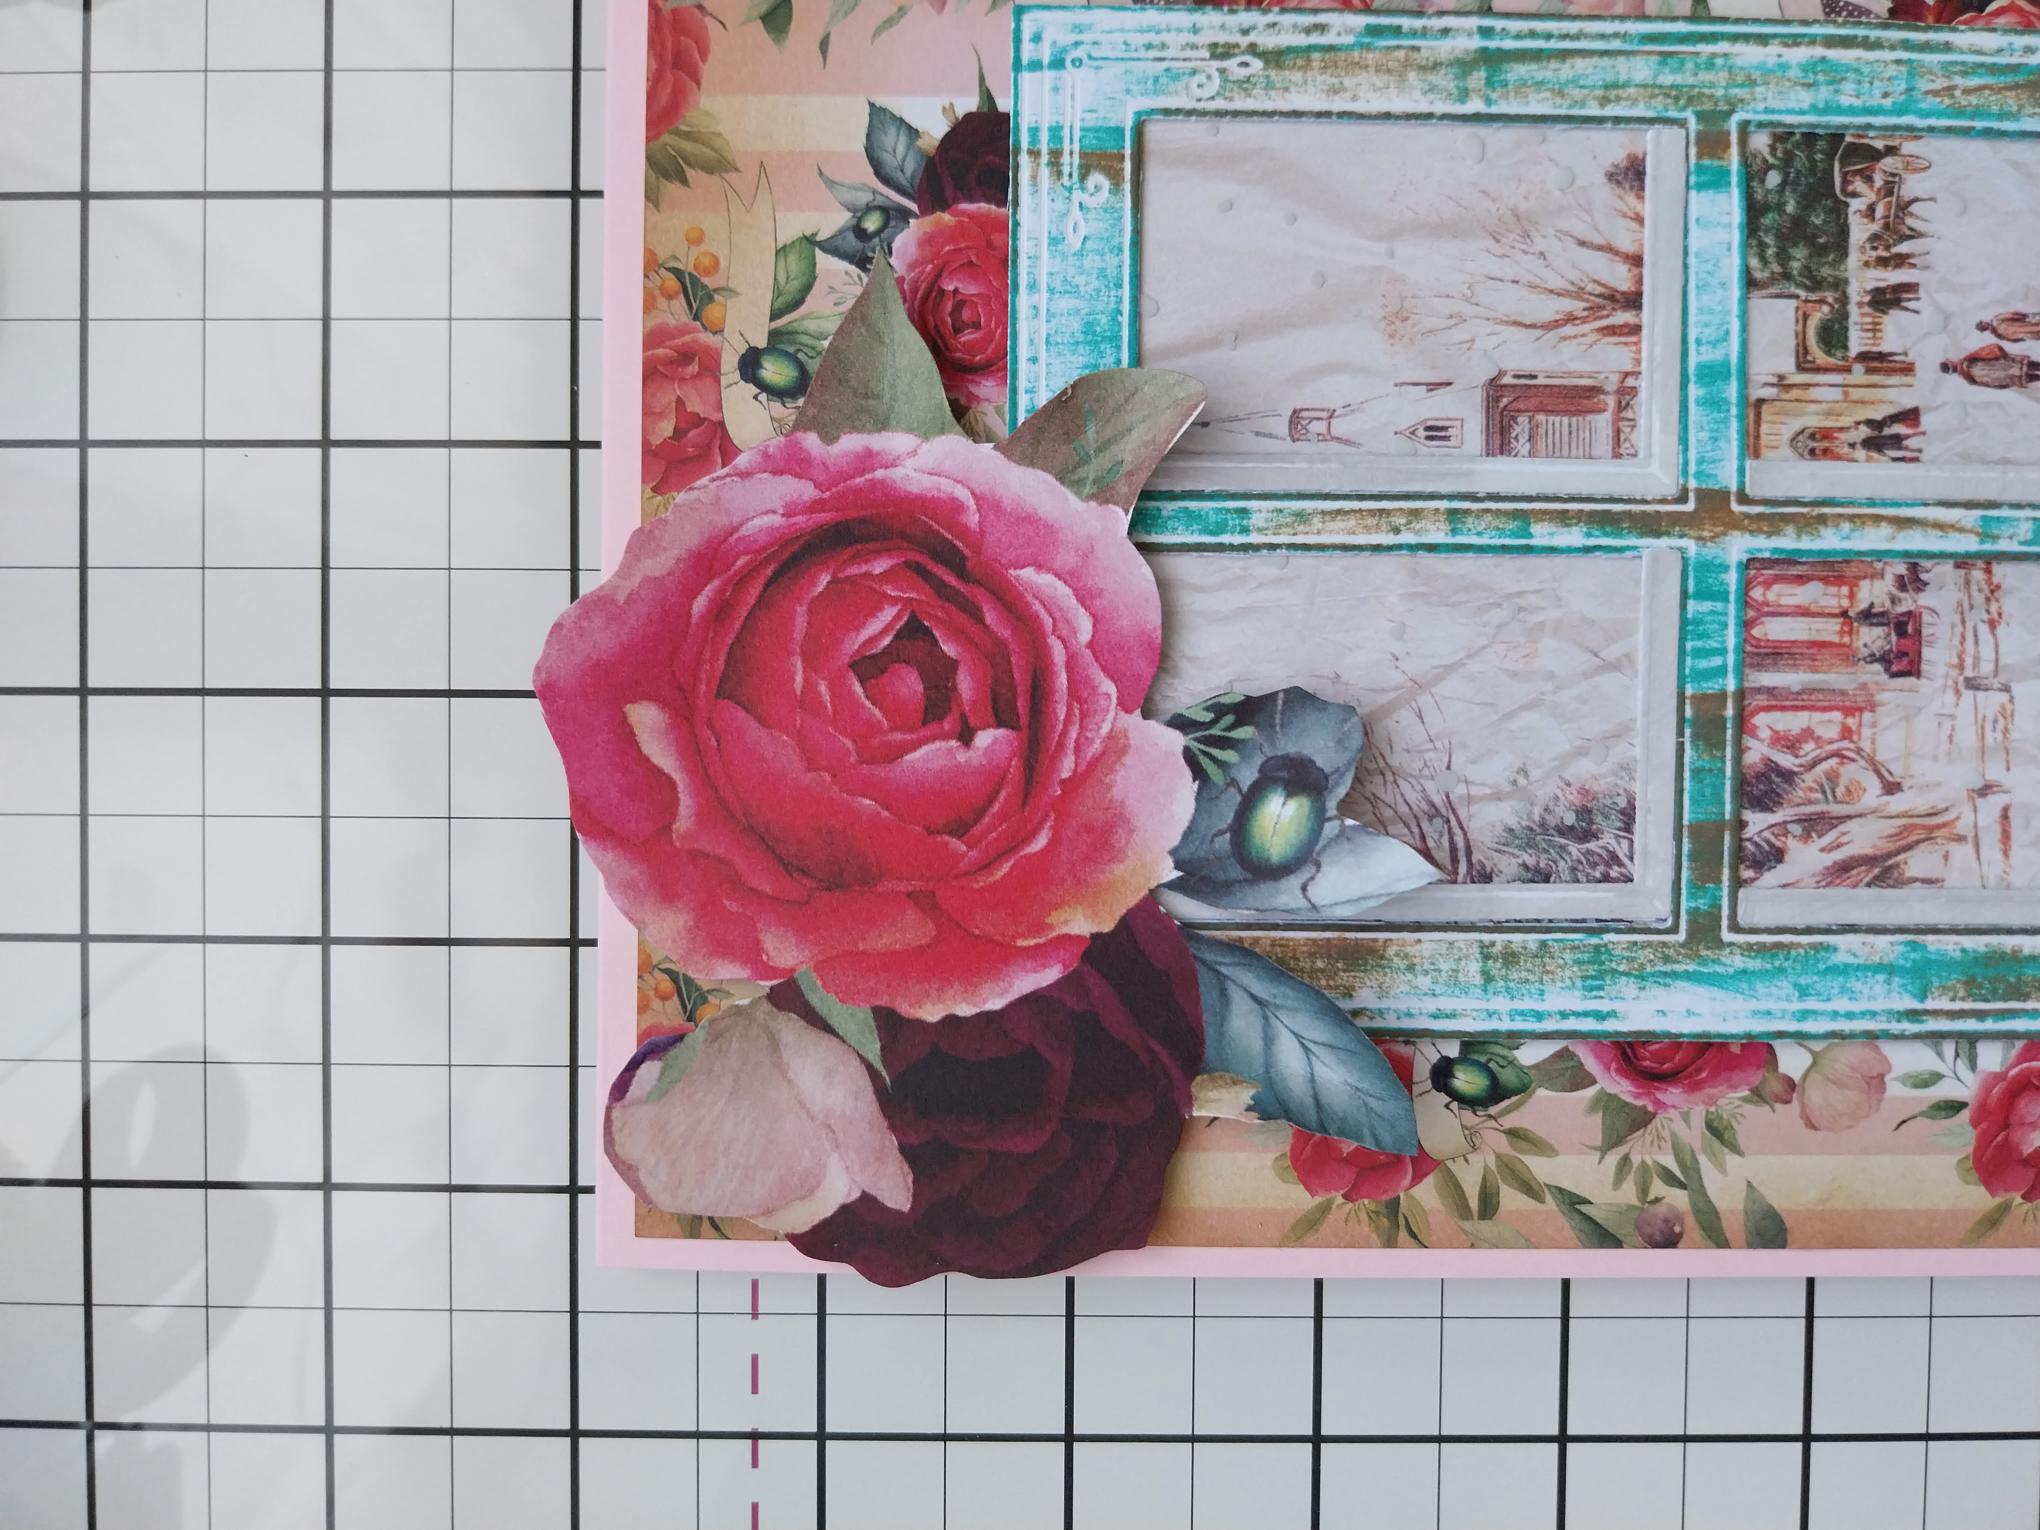
Fussy cut floral elements from another of the Ruby Blooms decorative sheets. |
|
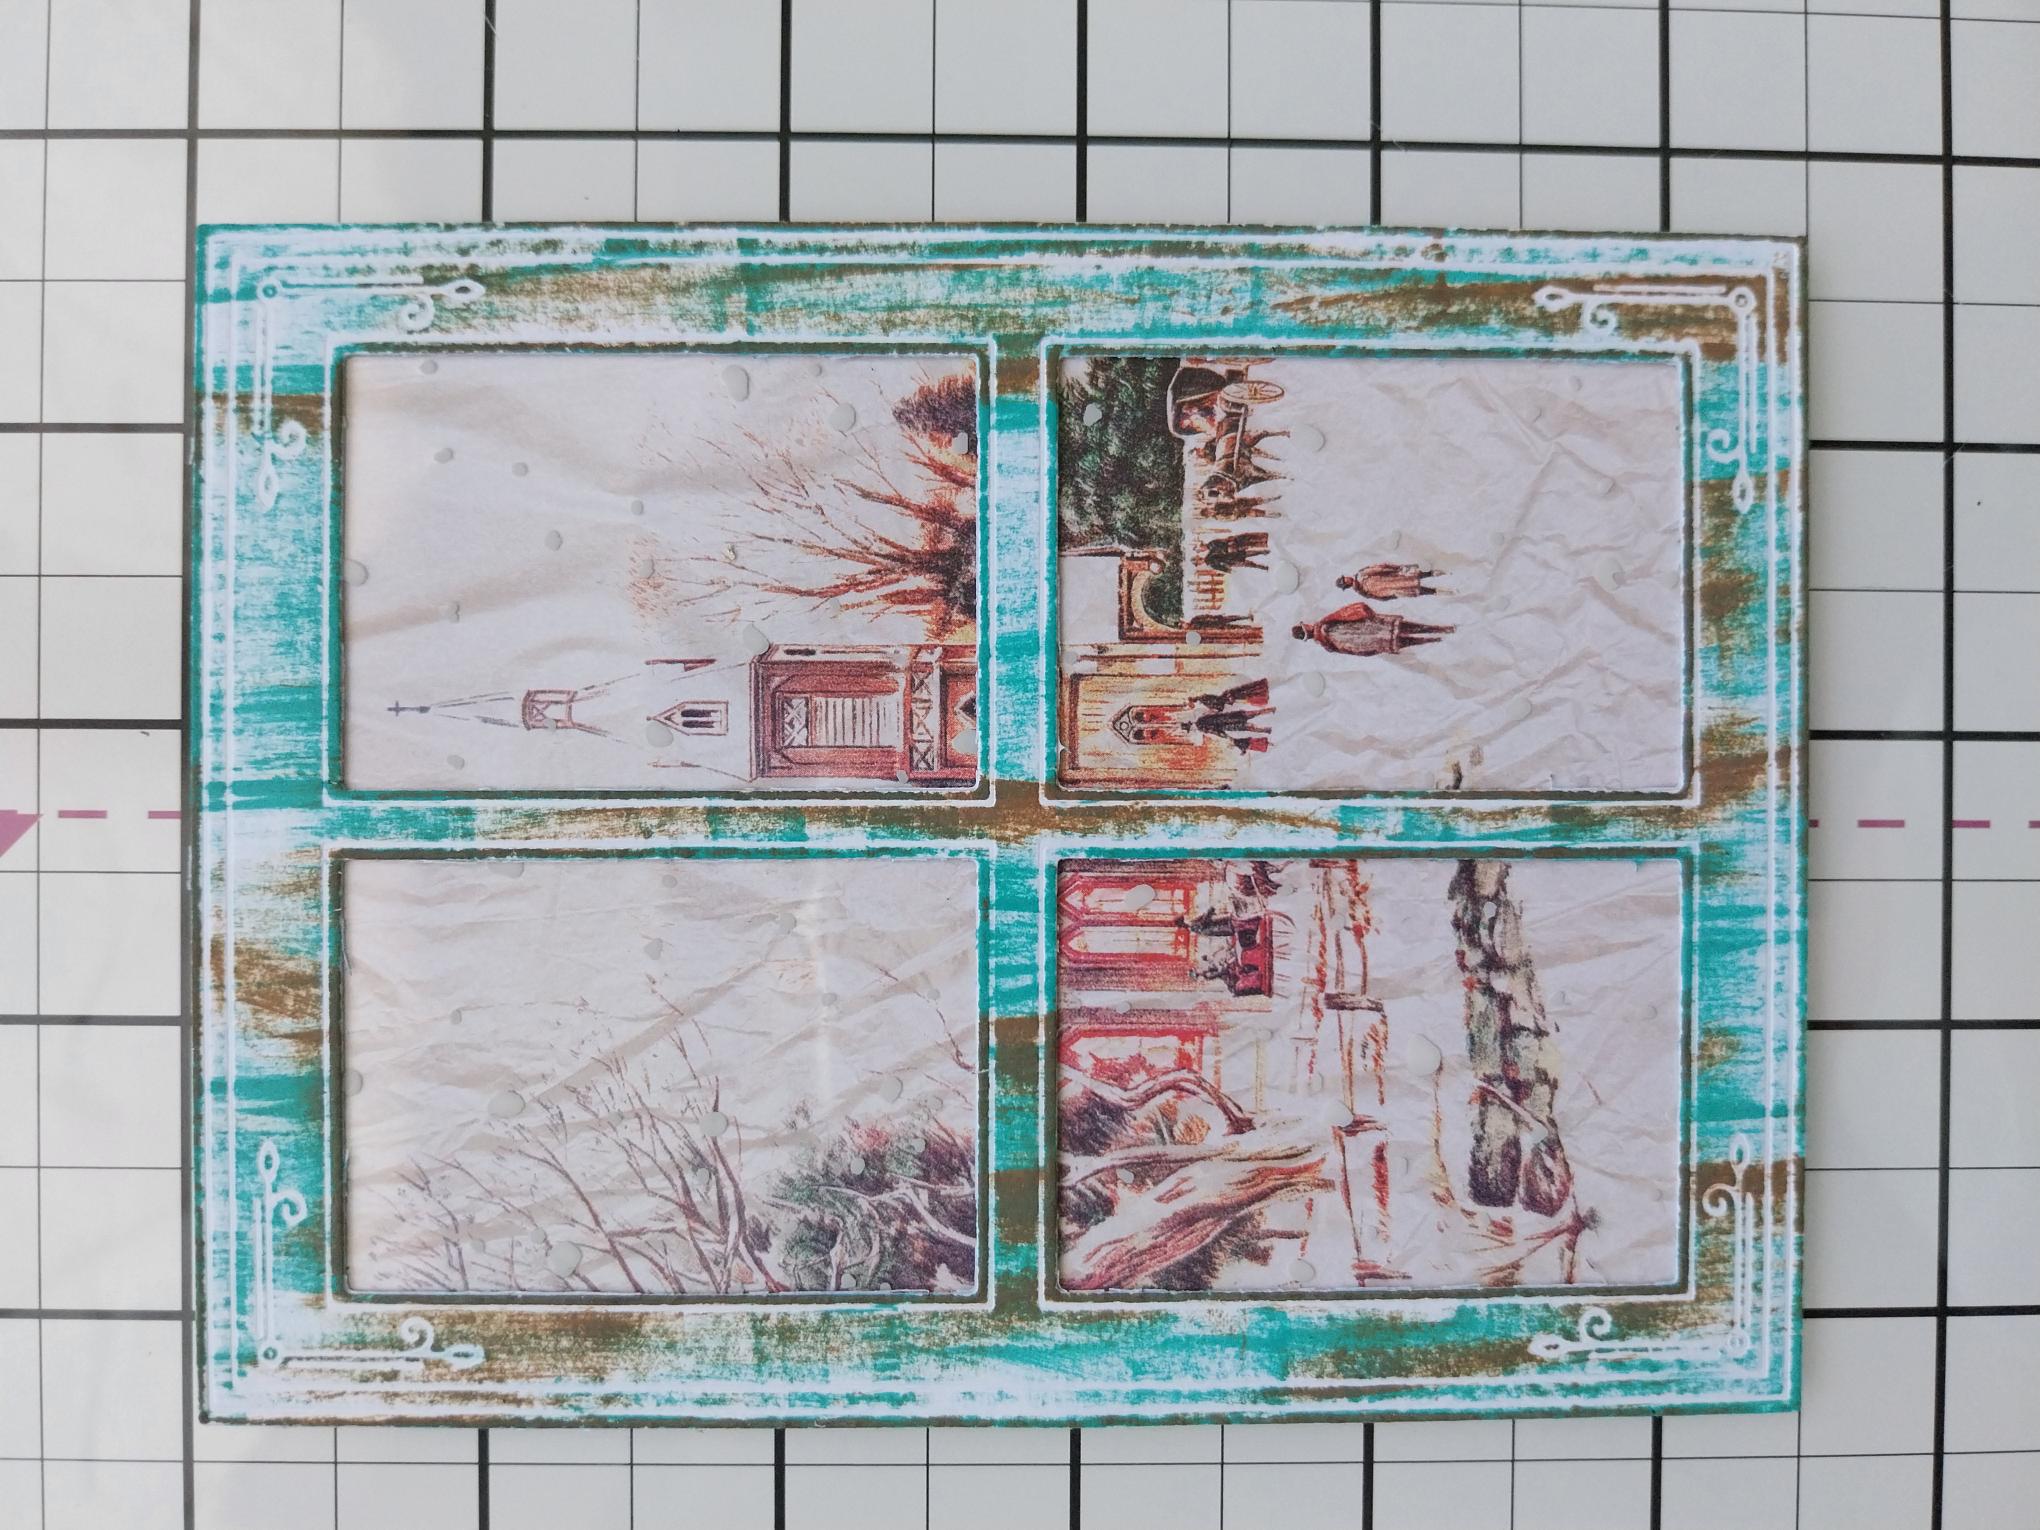
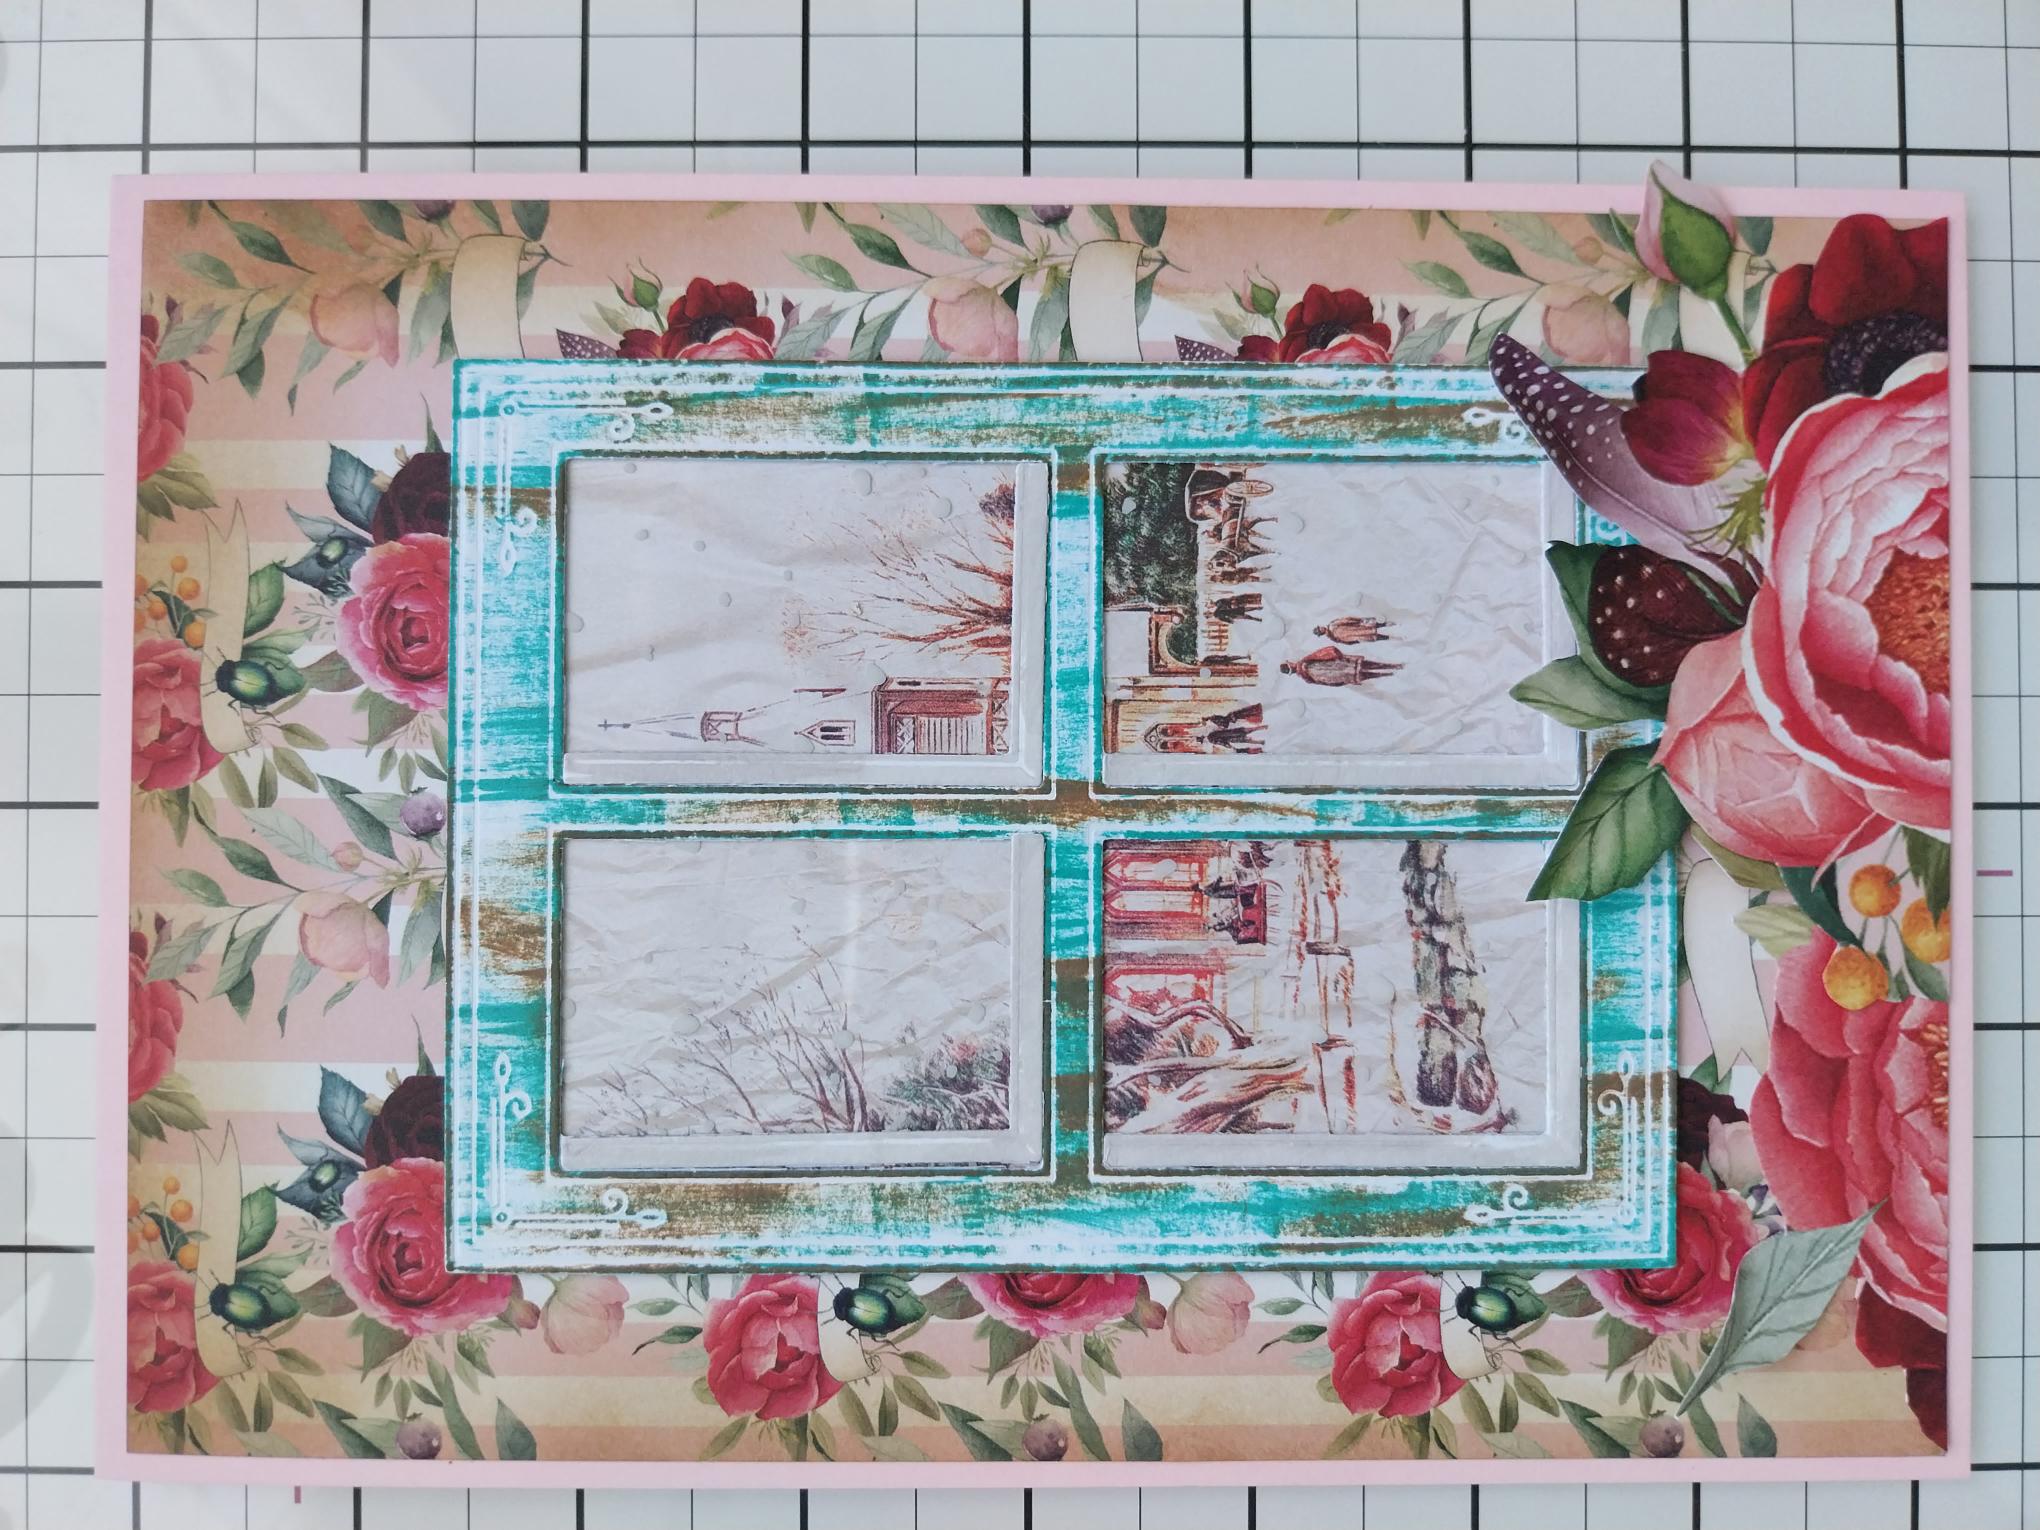
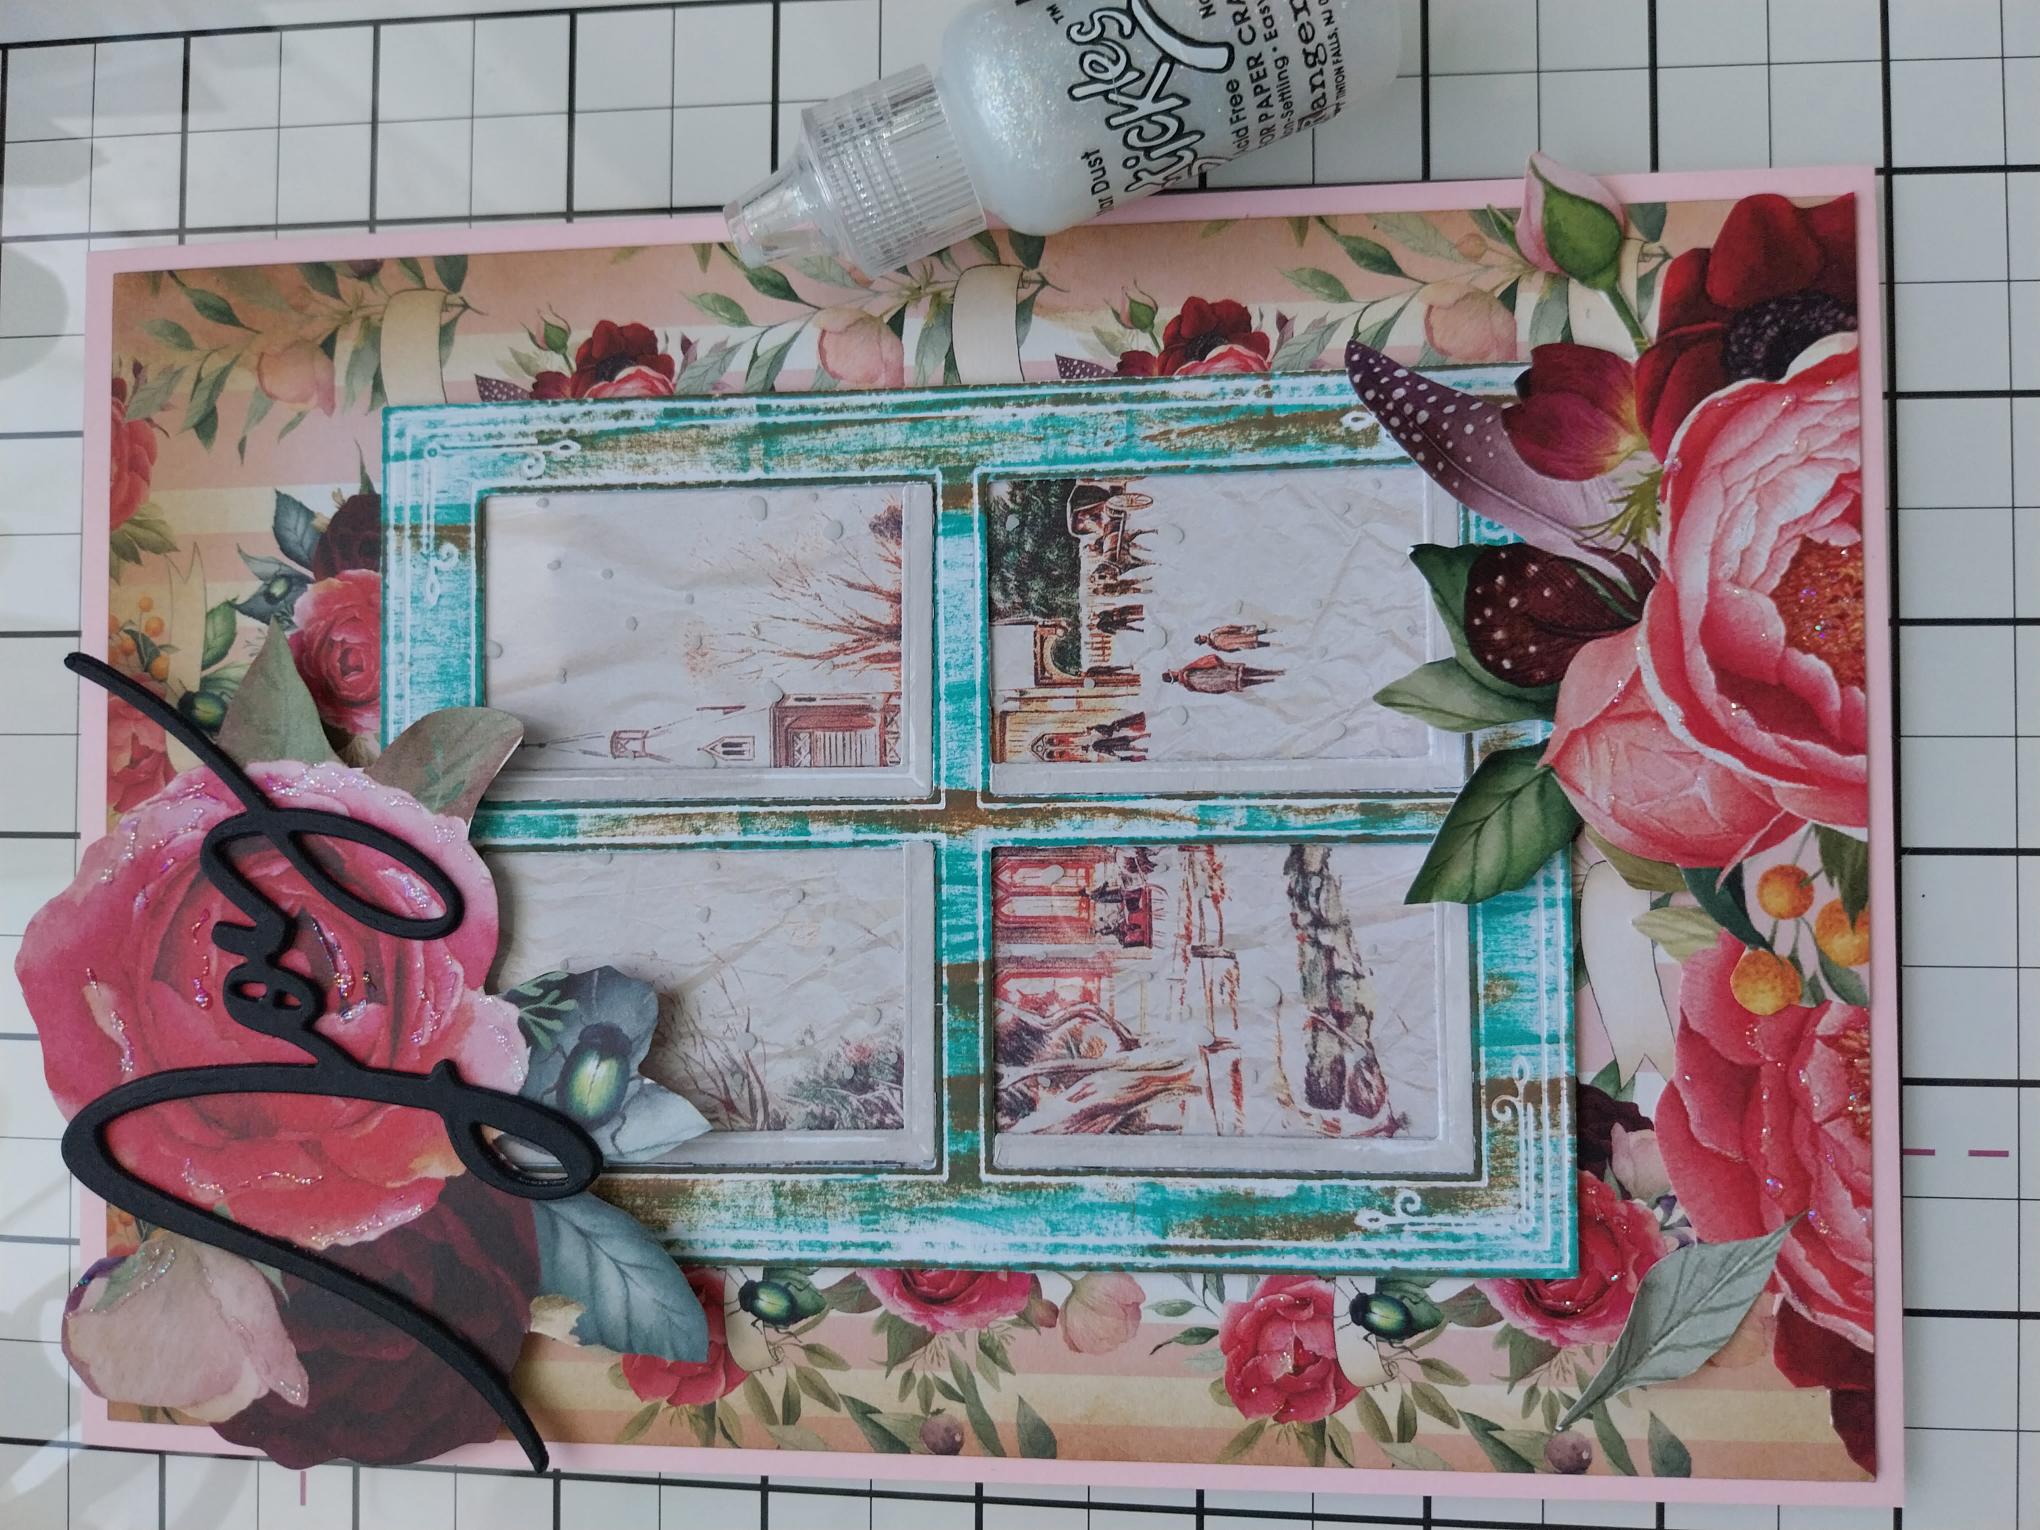
Adhere your window to your prepped card blank and adhere the "shadow" die cuts in place. Arrange and adhere some of the 3D floral elements, along the bottom edge of your card, so they peek above the bottom of the window. |
|
Adhere the rest of your florals around the top left corner before setting your card aside. |
|
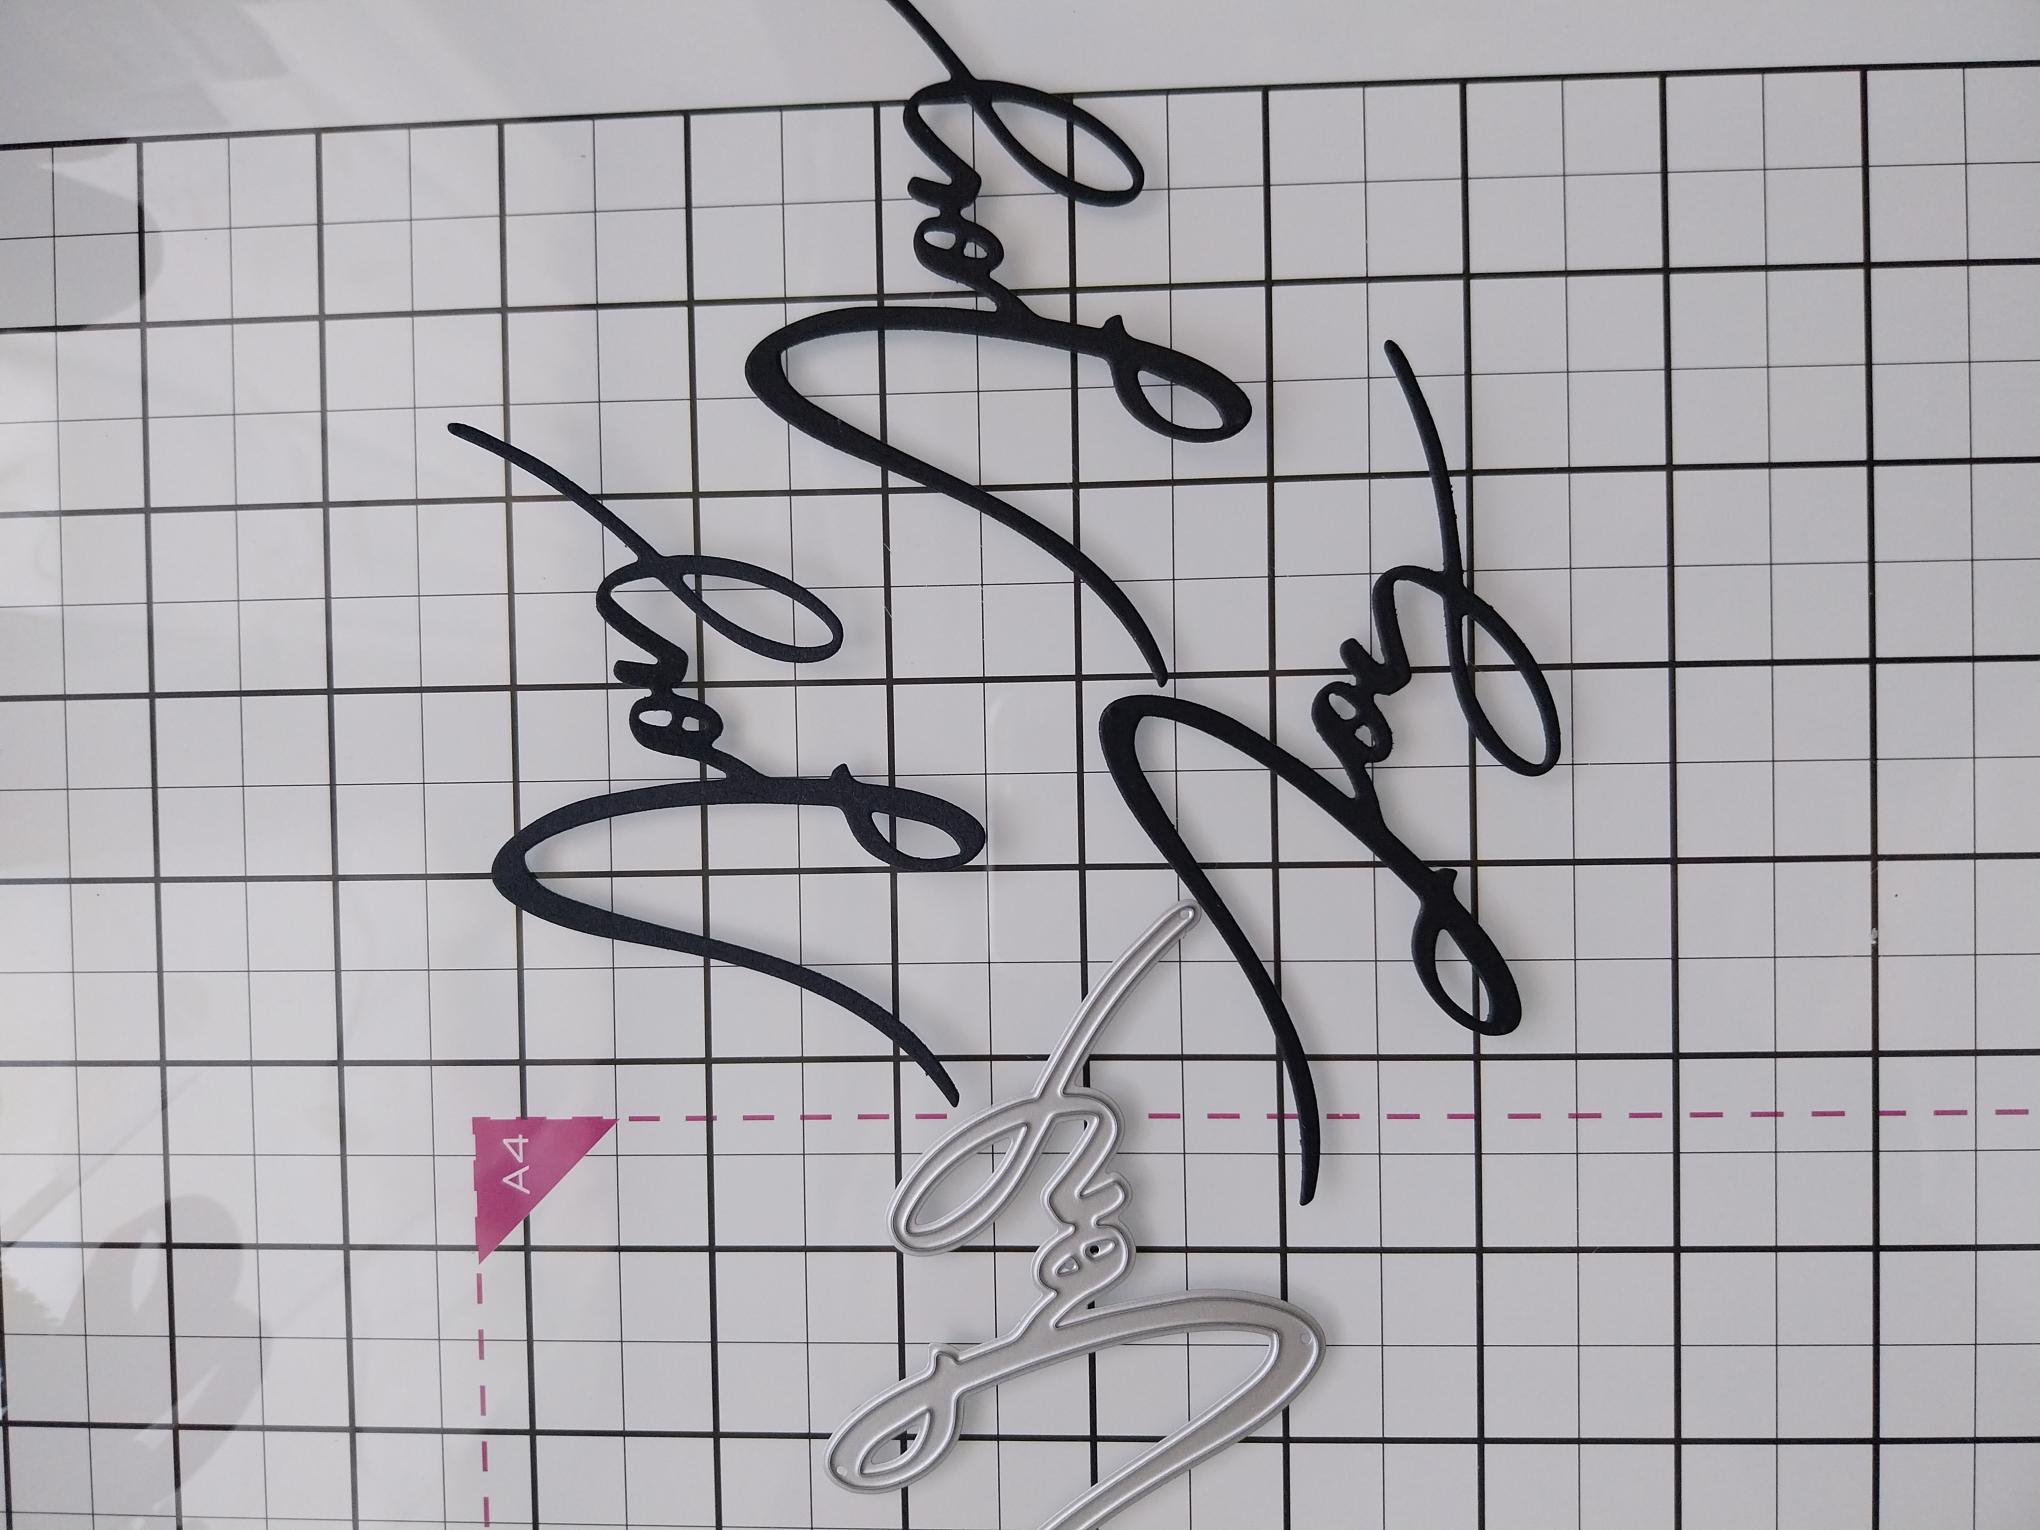
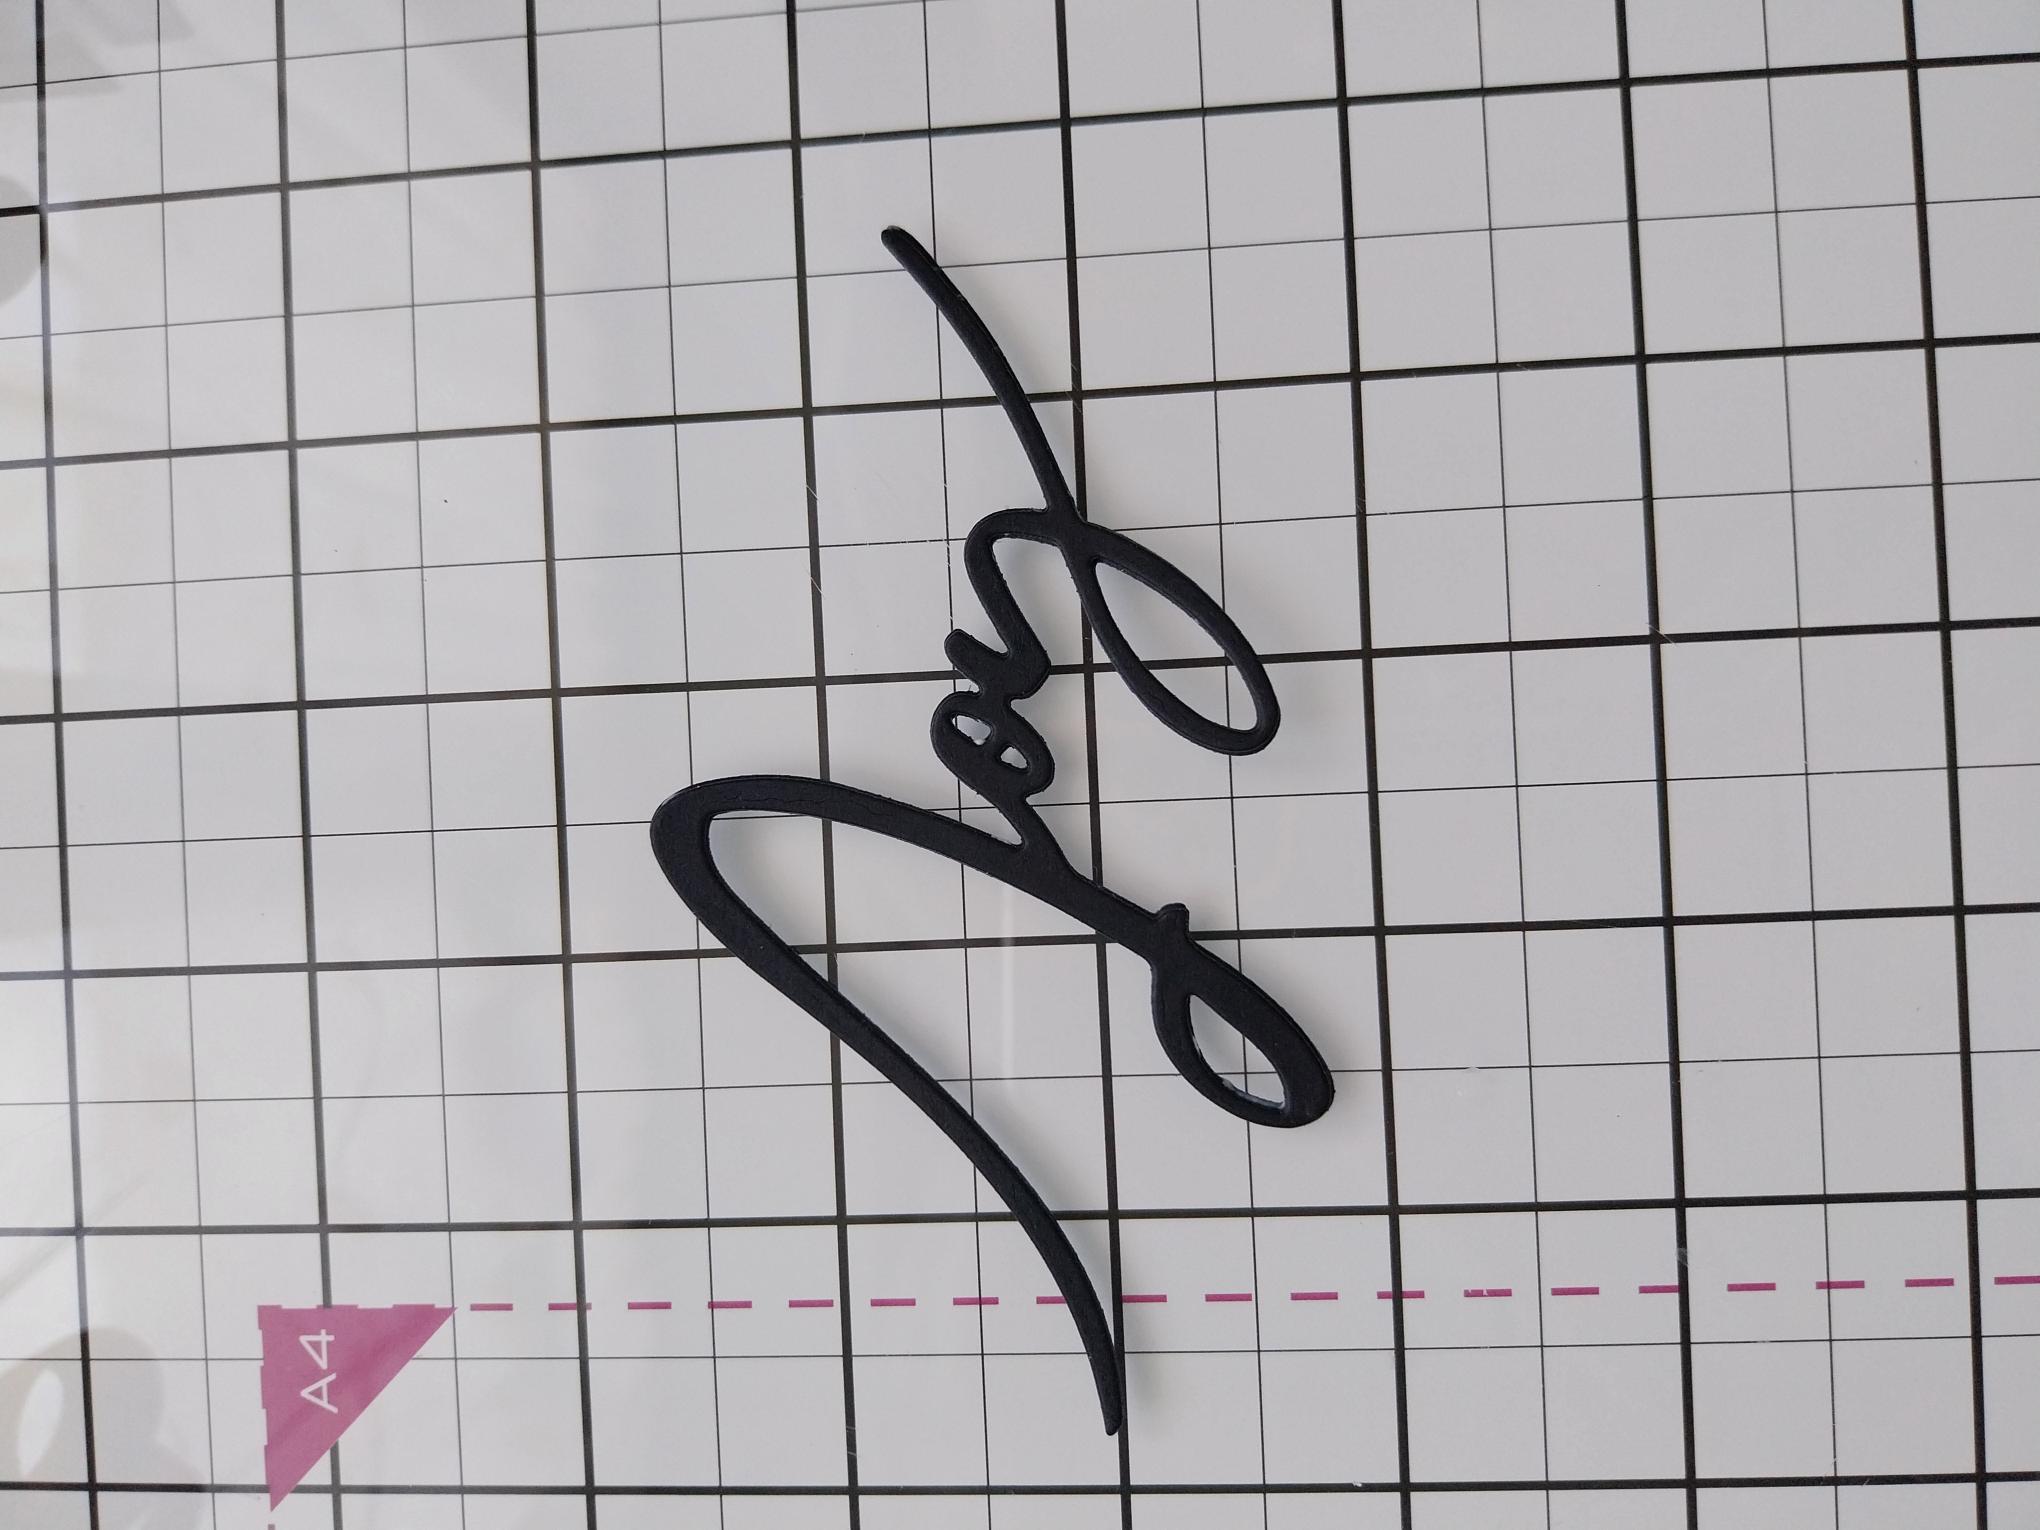
Die cut 3 "Joy" elements, from black card. |
|
Glue together to create a more substantial 3D sentiment. |
|
Adhere your sentiment across the florals elements, at the top of your card before using your Stickles to add a touch of festive sparkle to your project. |