Give your friends $10 off their first order!
Refer a FRIEND


WHAT YOU WILL NEED:
Red card blank 8 1/4 x 5 3/4"
Kraft cardstock
Festive Friends 5 x 7" Painted Mounts
Winter Magic Slim Line Painted Mounts
Christmas Snow Drift Die Winter
Funky Fossil Snowflakes Stencil
SBM Premium Dye Ink Pad: Tiffany
Blending brush
Stickles: Star Dust
SBM A3 Magnetic glass mat
Paper Trimmer
Glue
Die Cutting machine
[click image to enlarge] 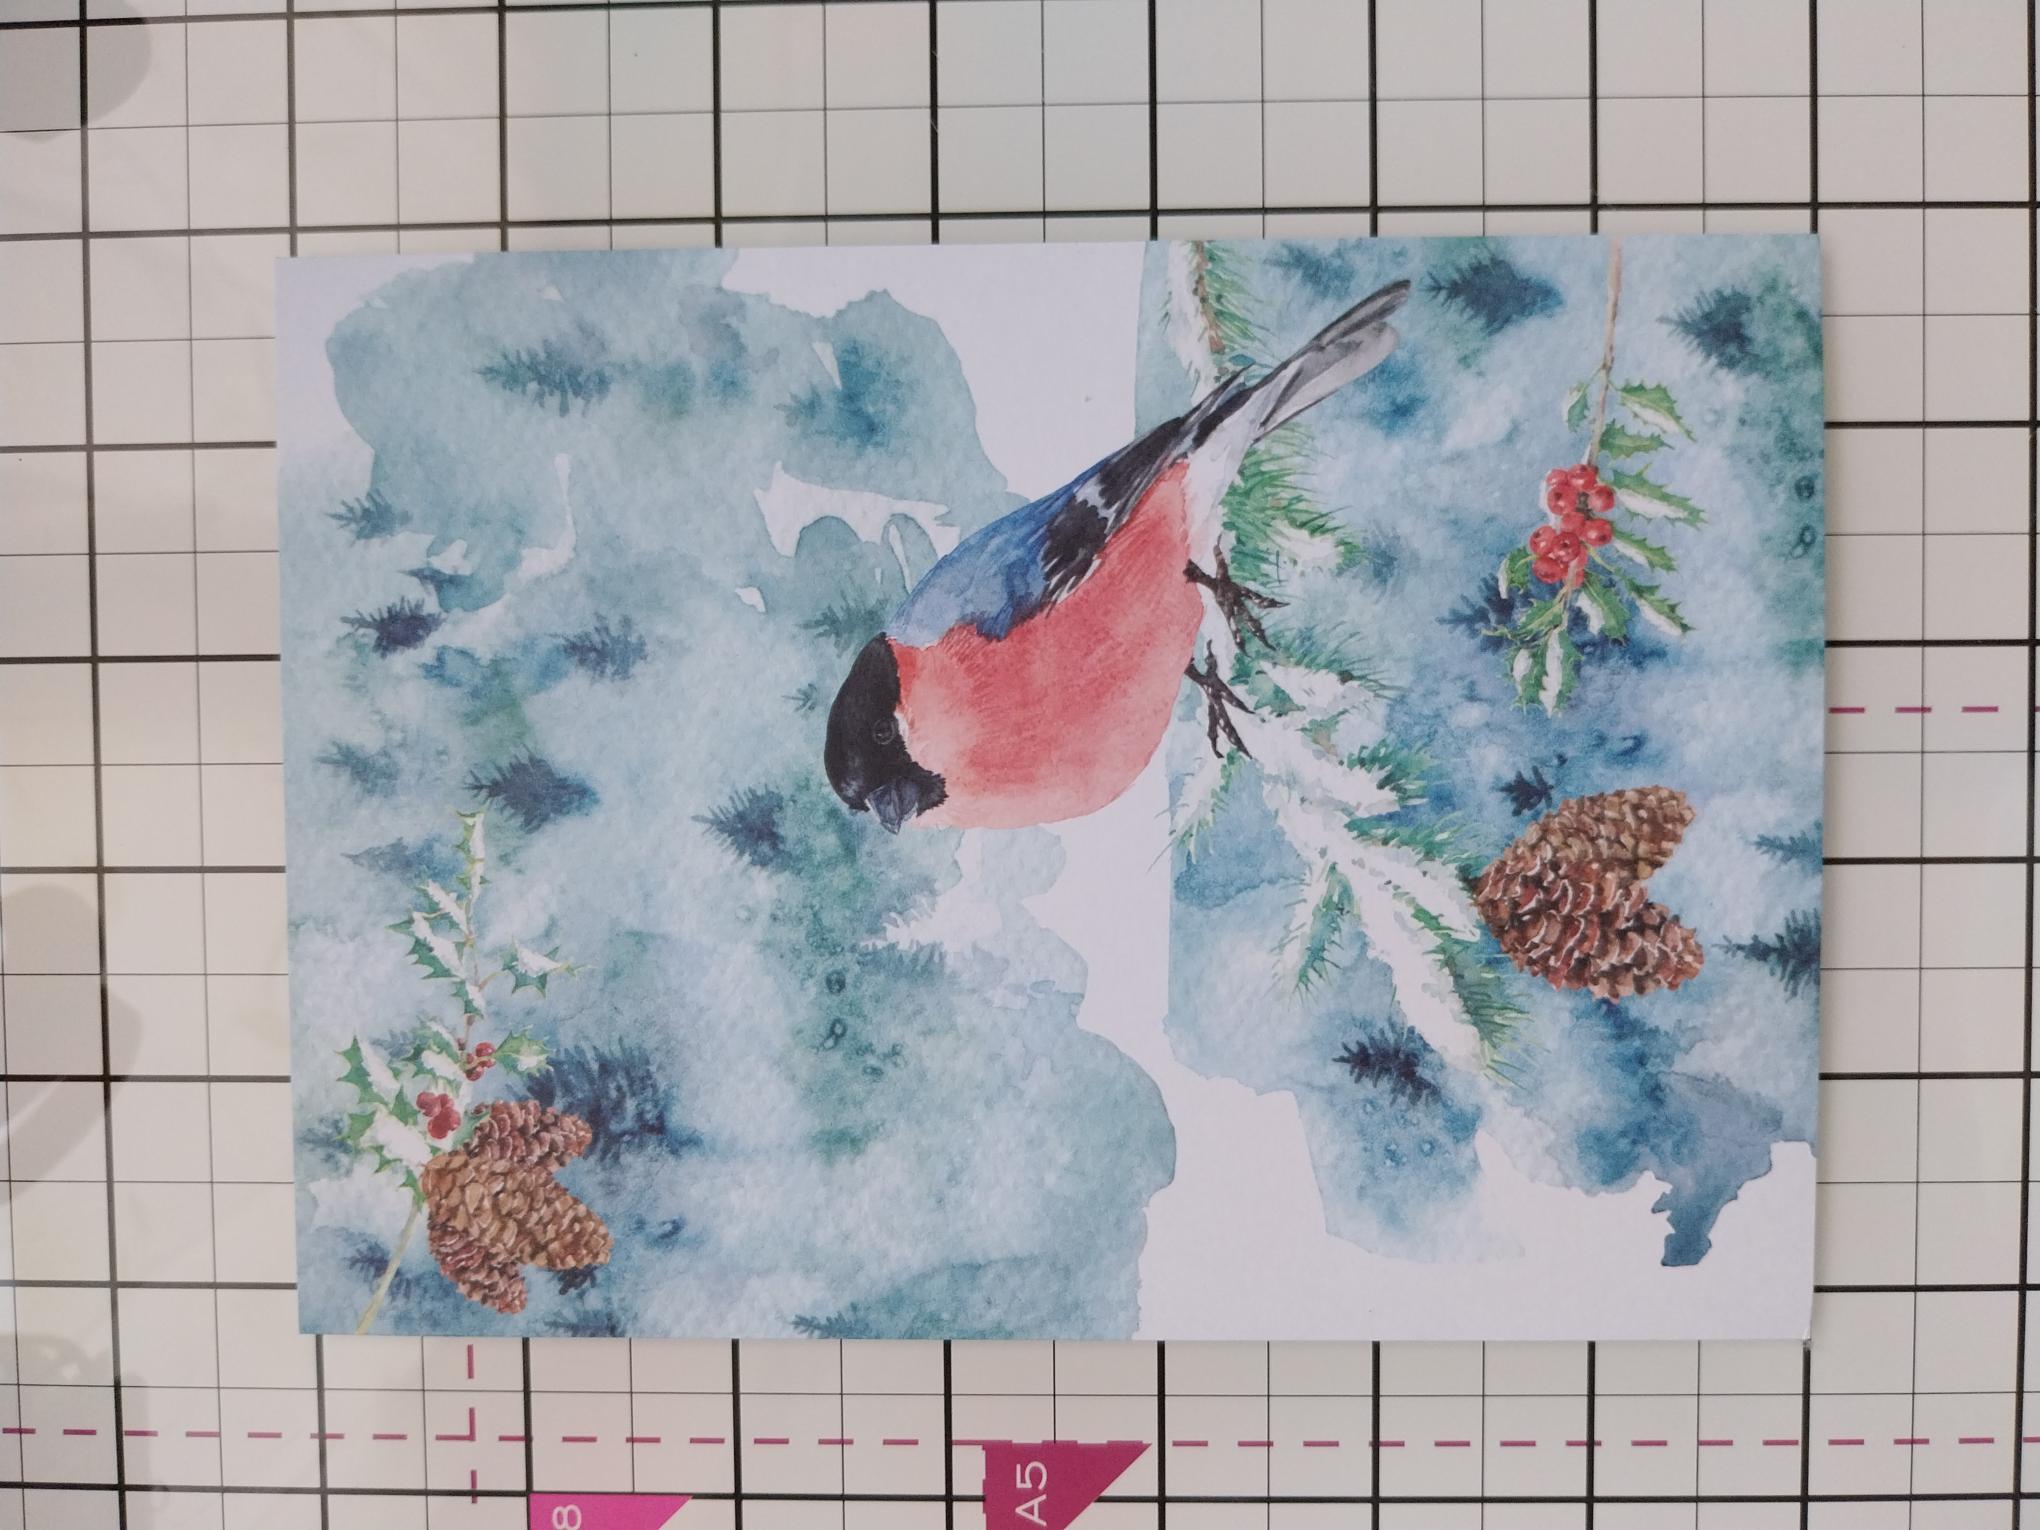
|
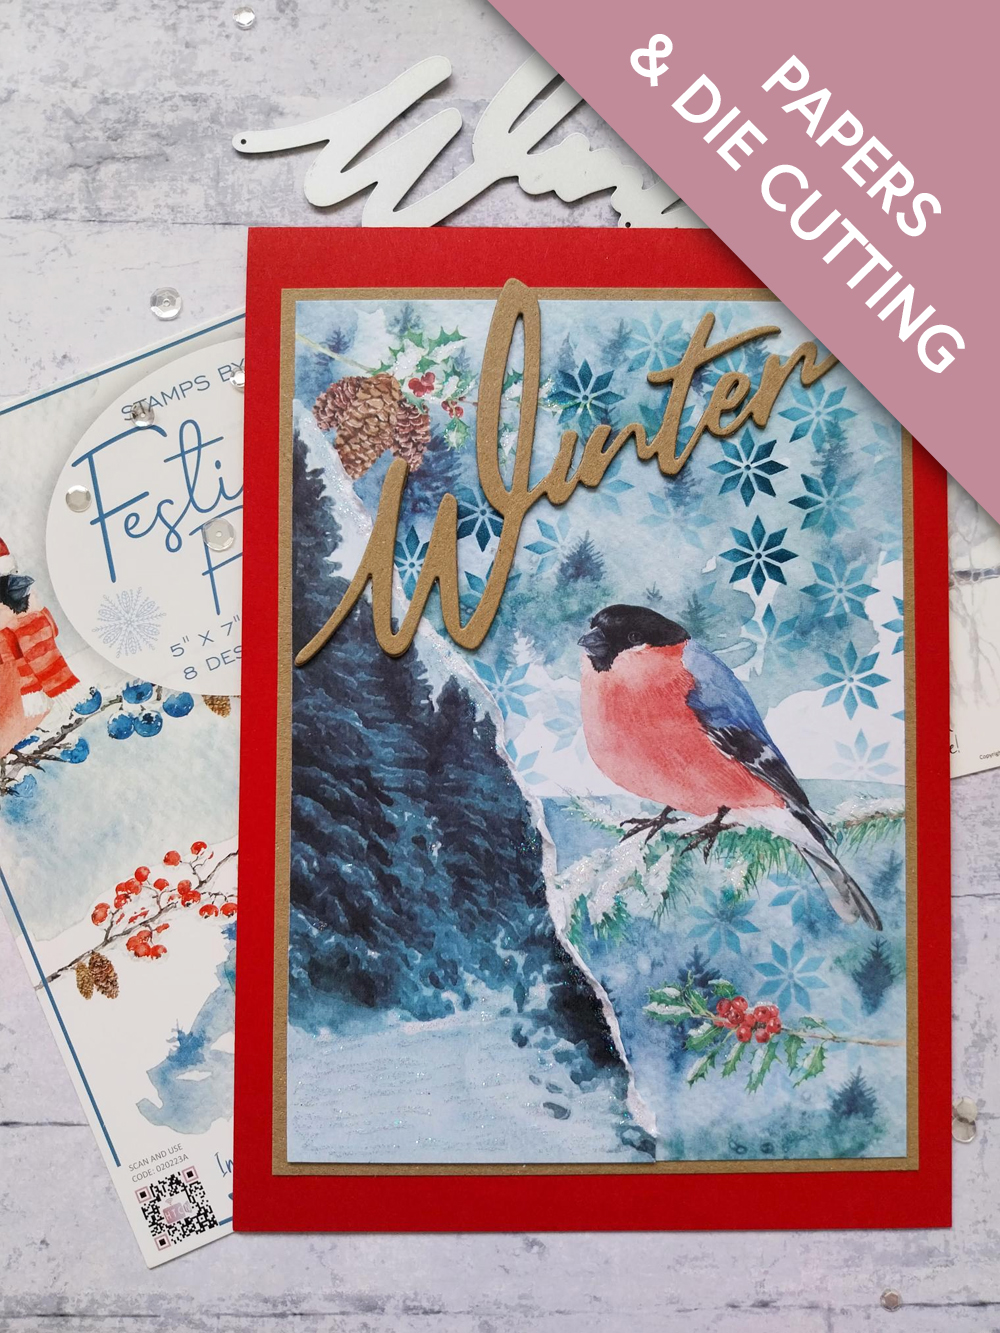
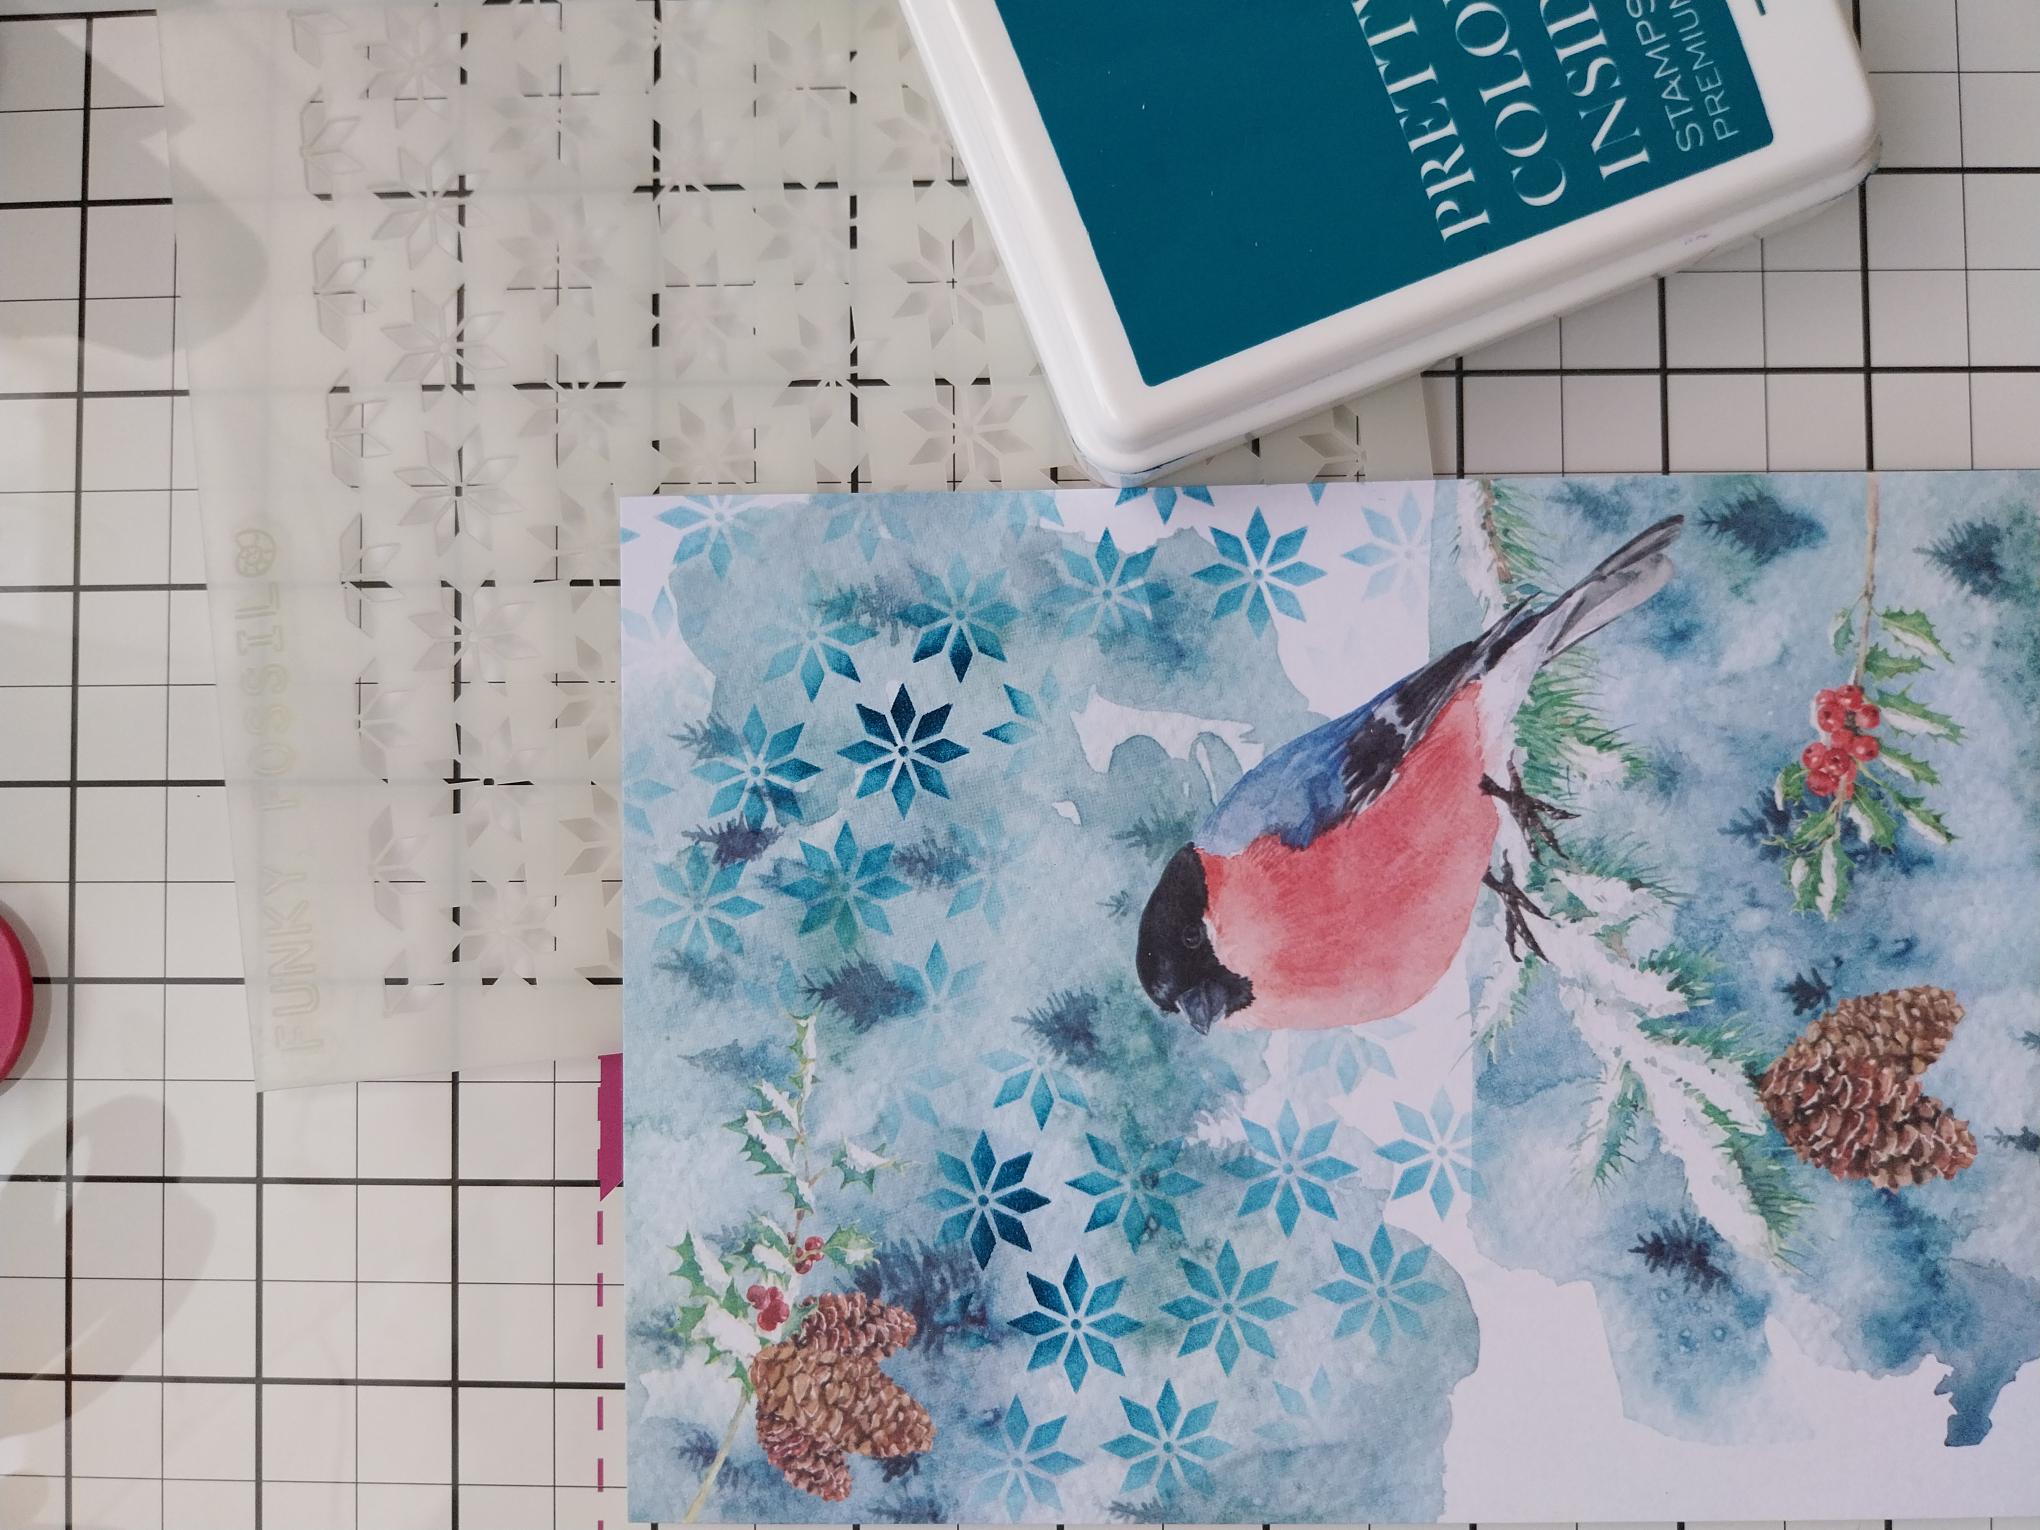
Choose one of the painted mounts from the Festive Friends pack. |
|
Using your blending brush, randomly blend the Tiffany through the snowflakes stencil. |
|
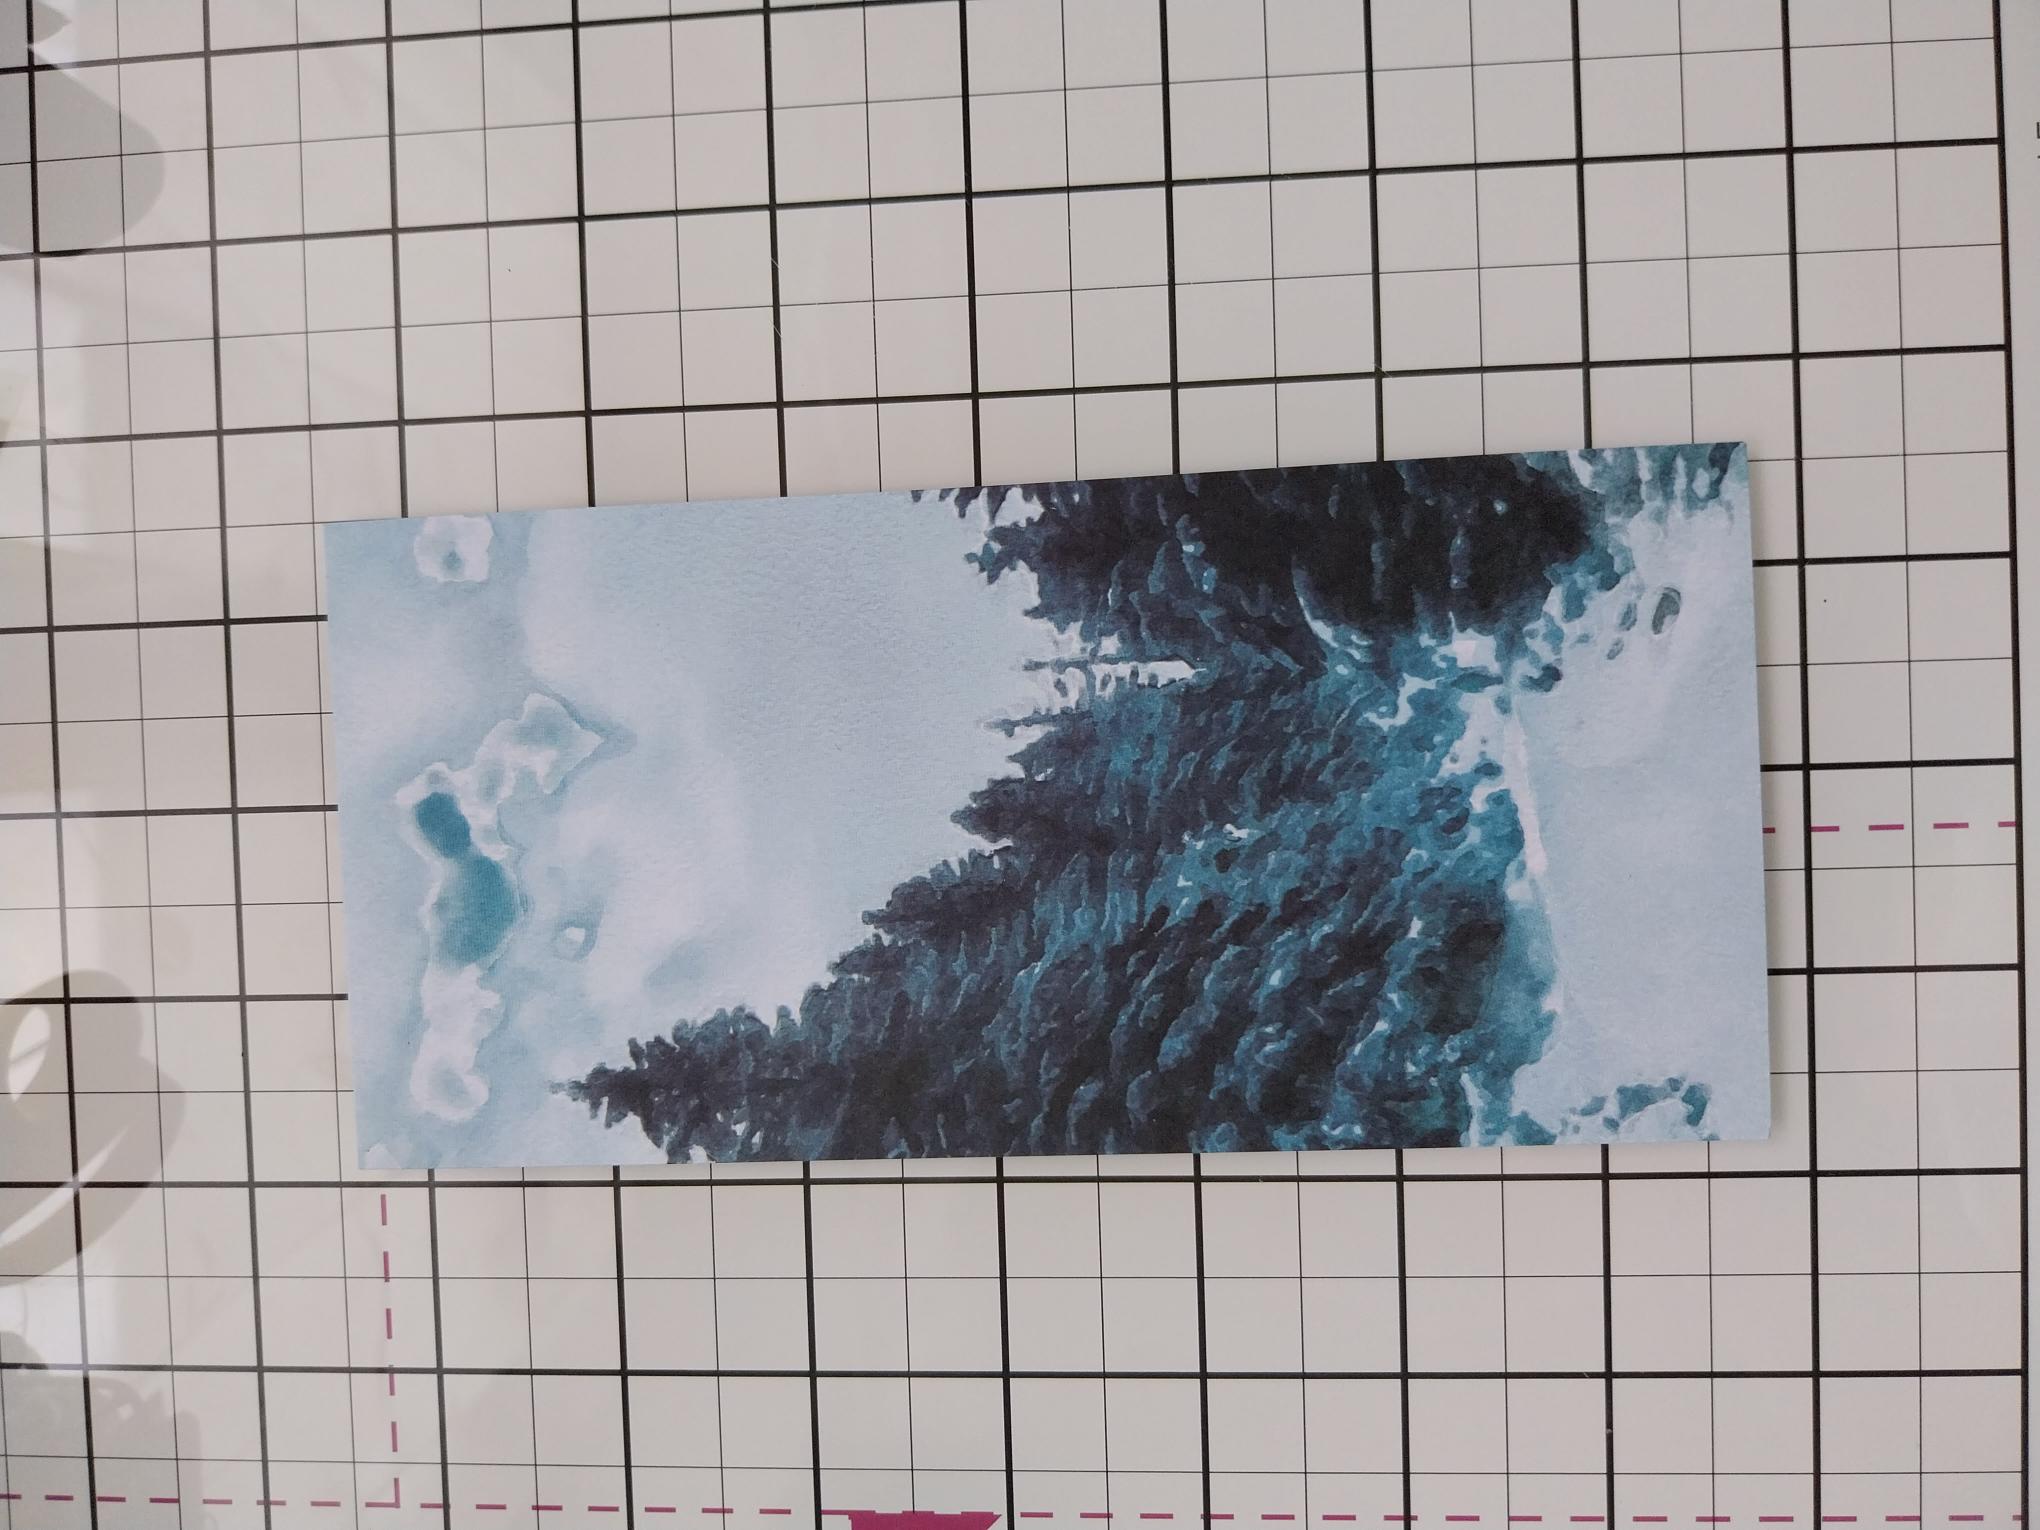
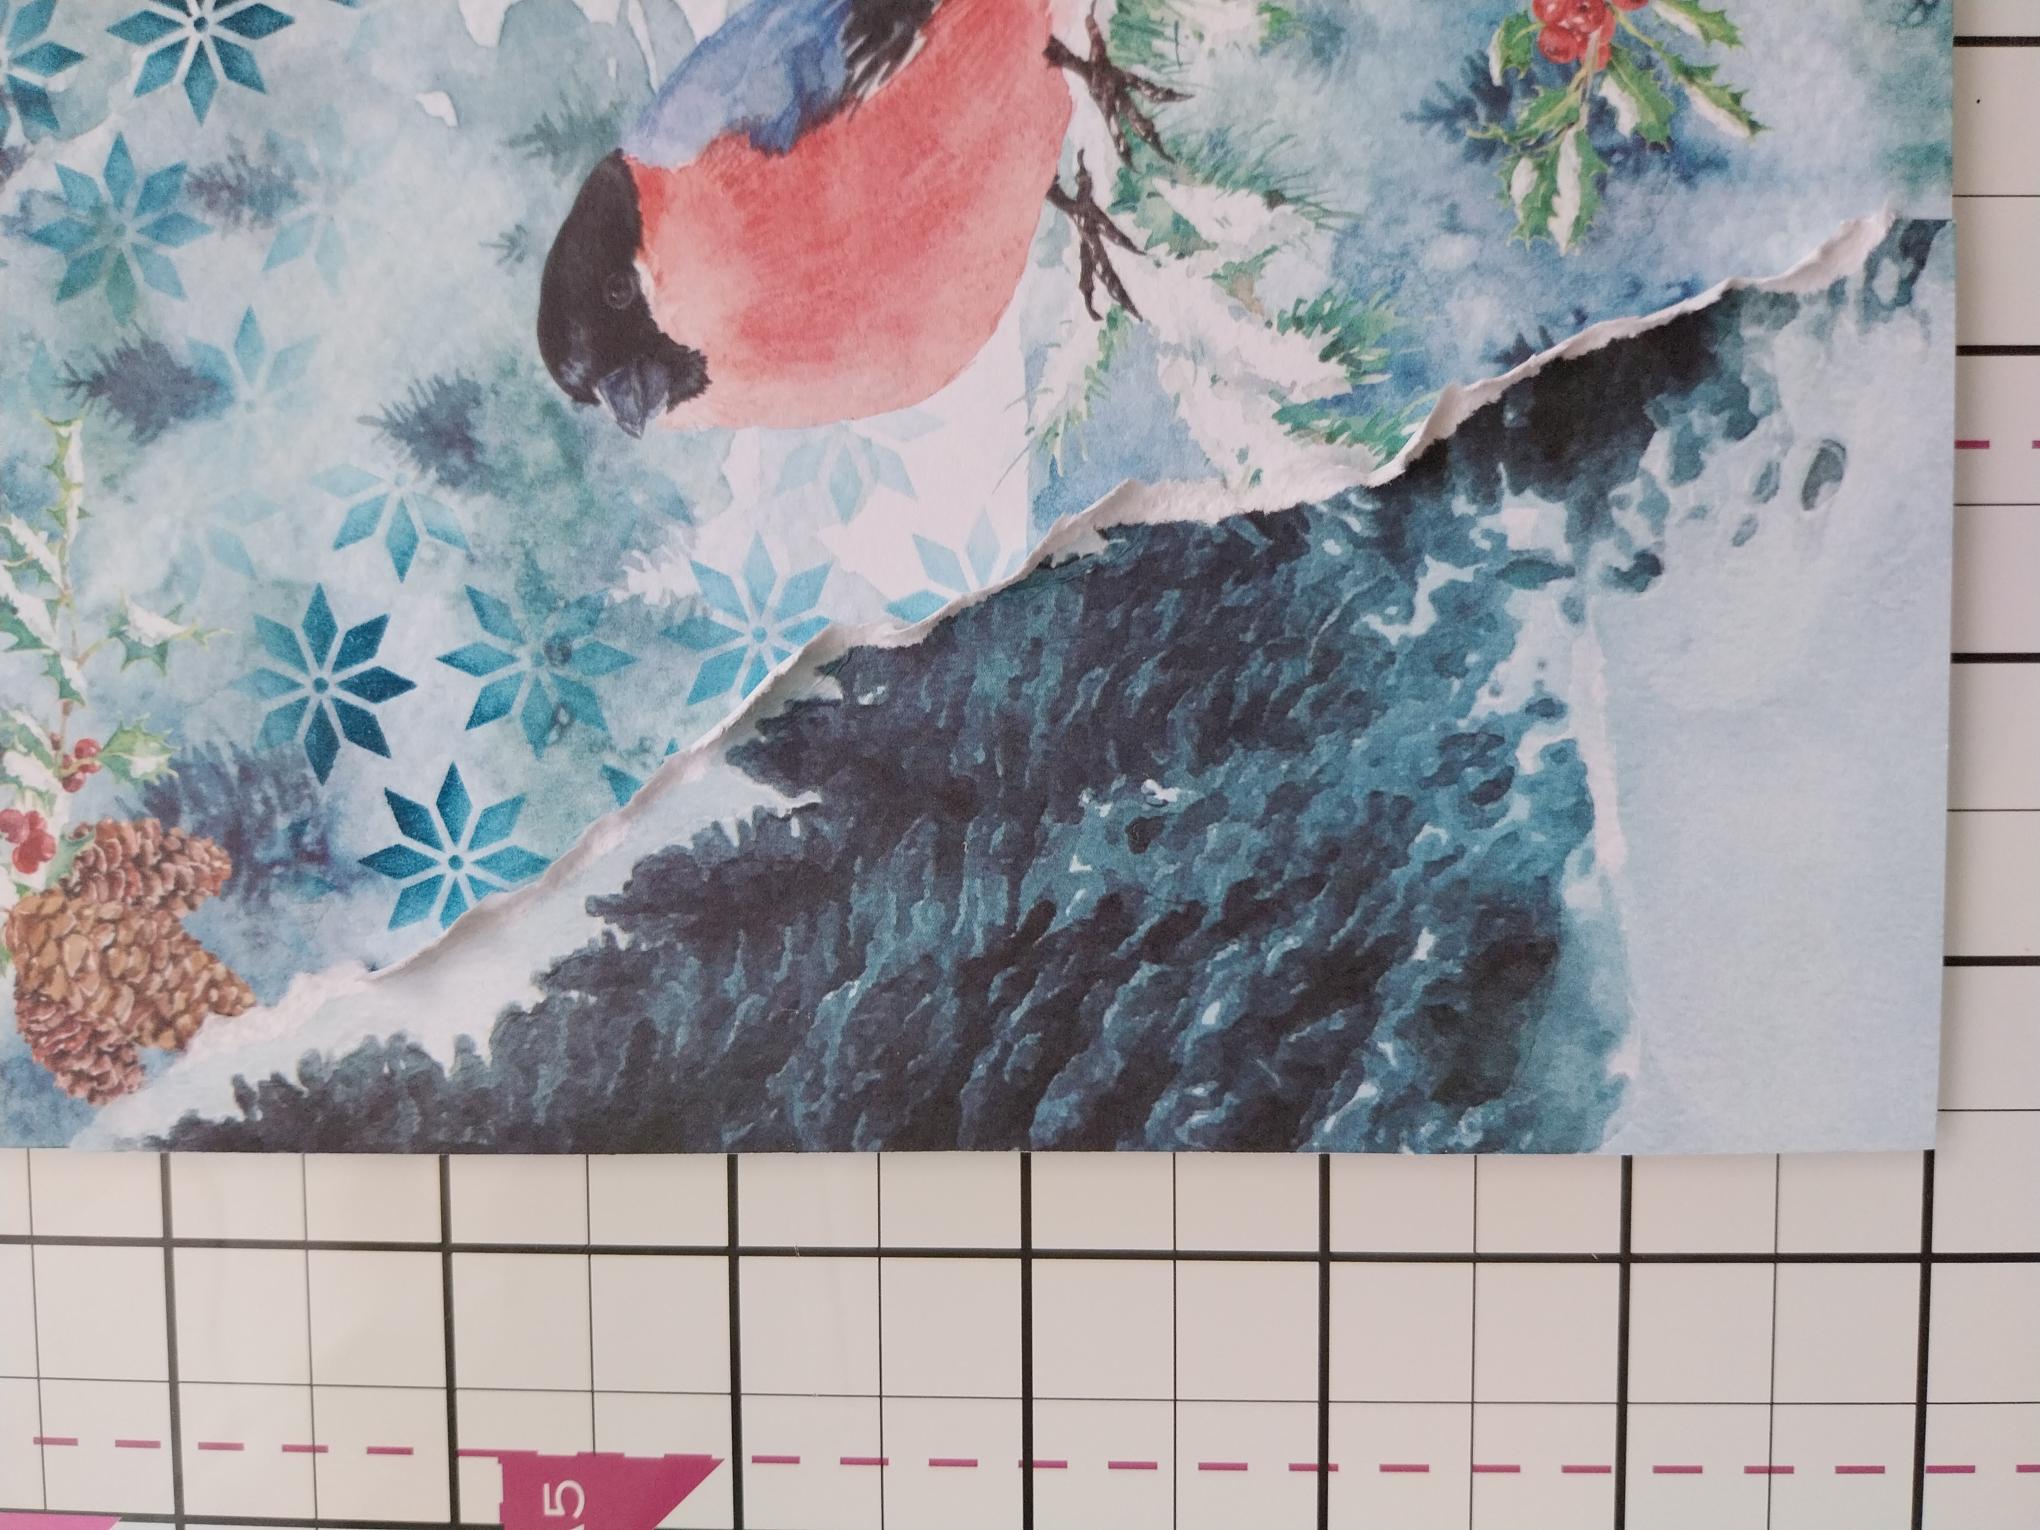
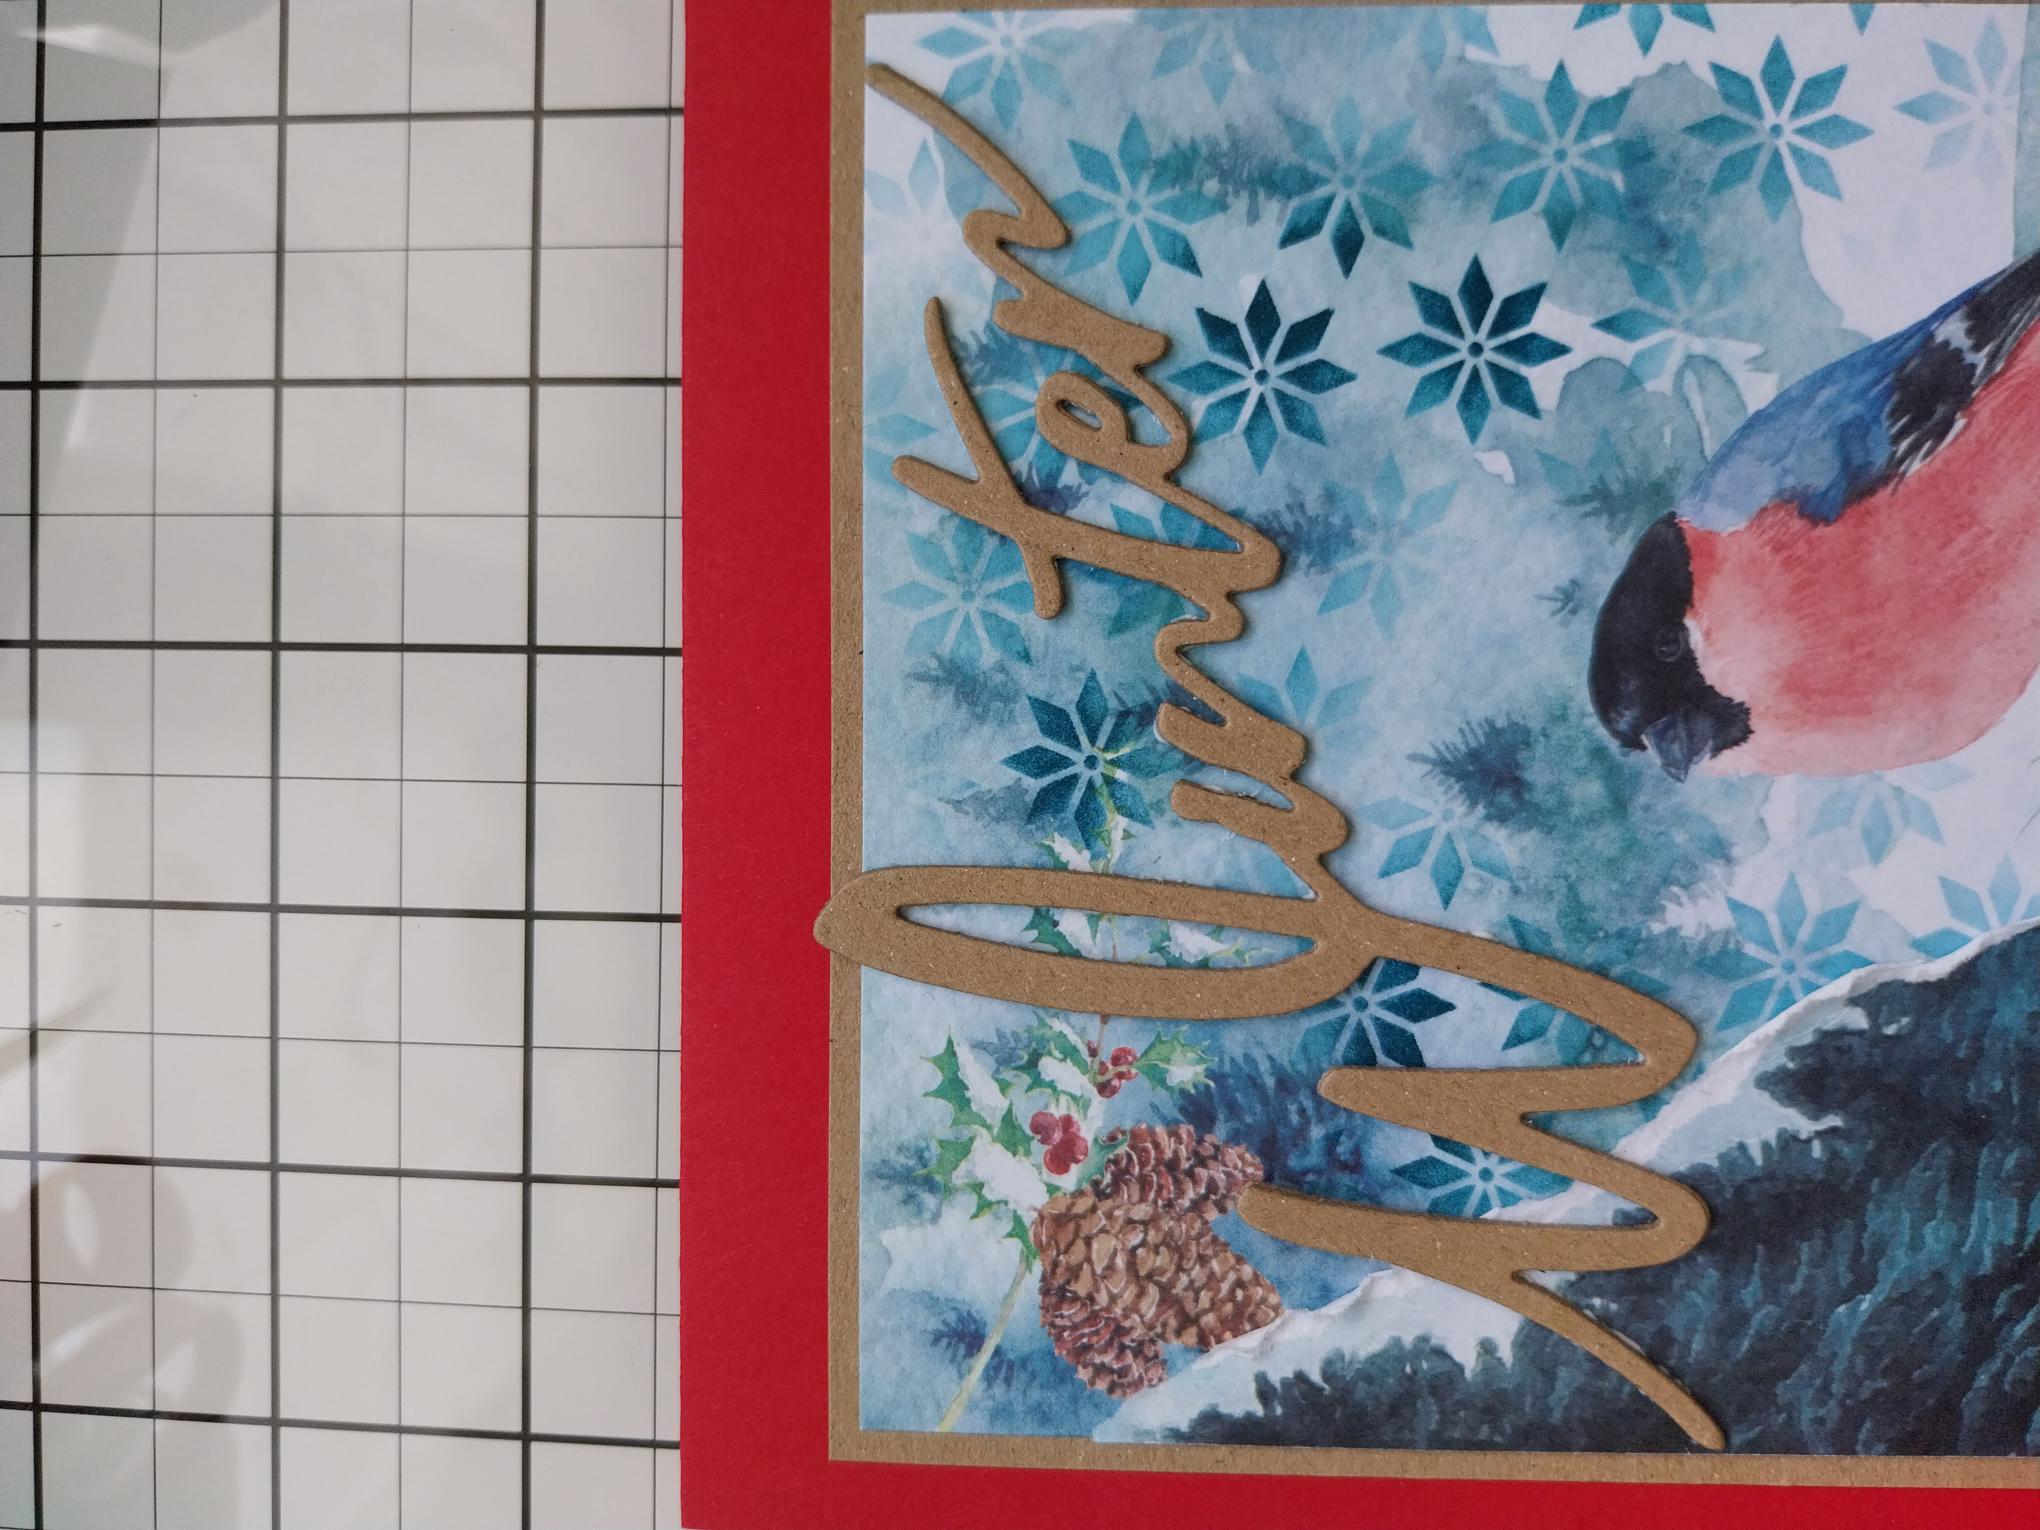
Remove this painted mount from the Winter Magic pack. |

|
Using your stencilled mount as a guide, tear this painted mount, ensuring it won't cover up our beautiful bird. |
|
Scrunch up the torn edge before adhering it flush with the left and bottom edges, of the stencilled mount. |

|
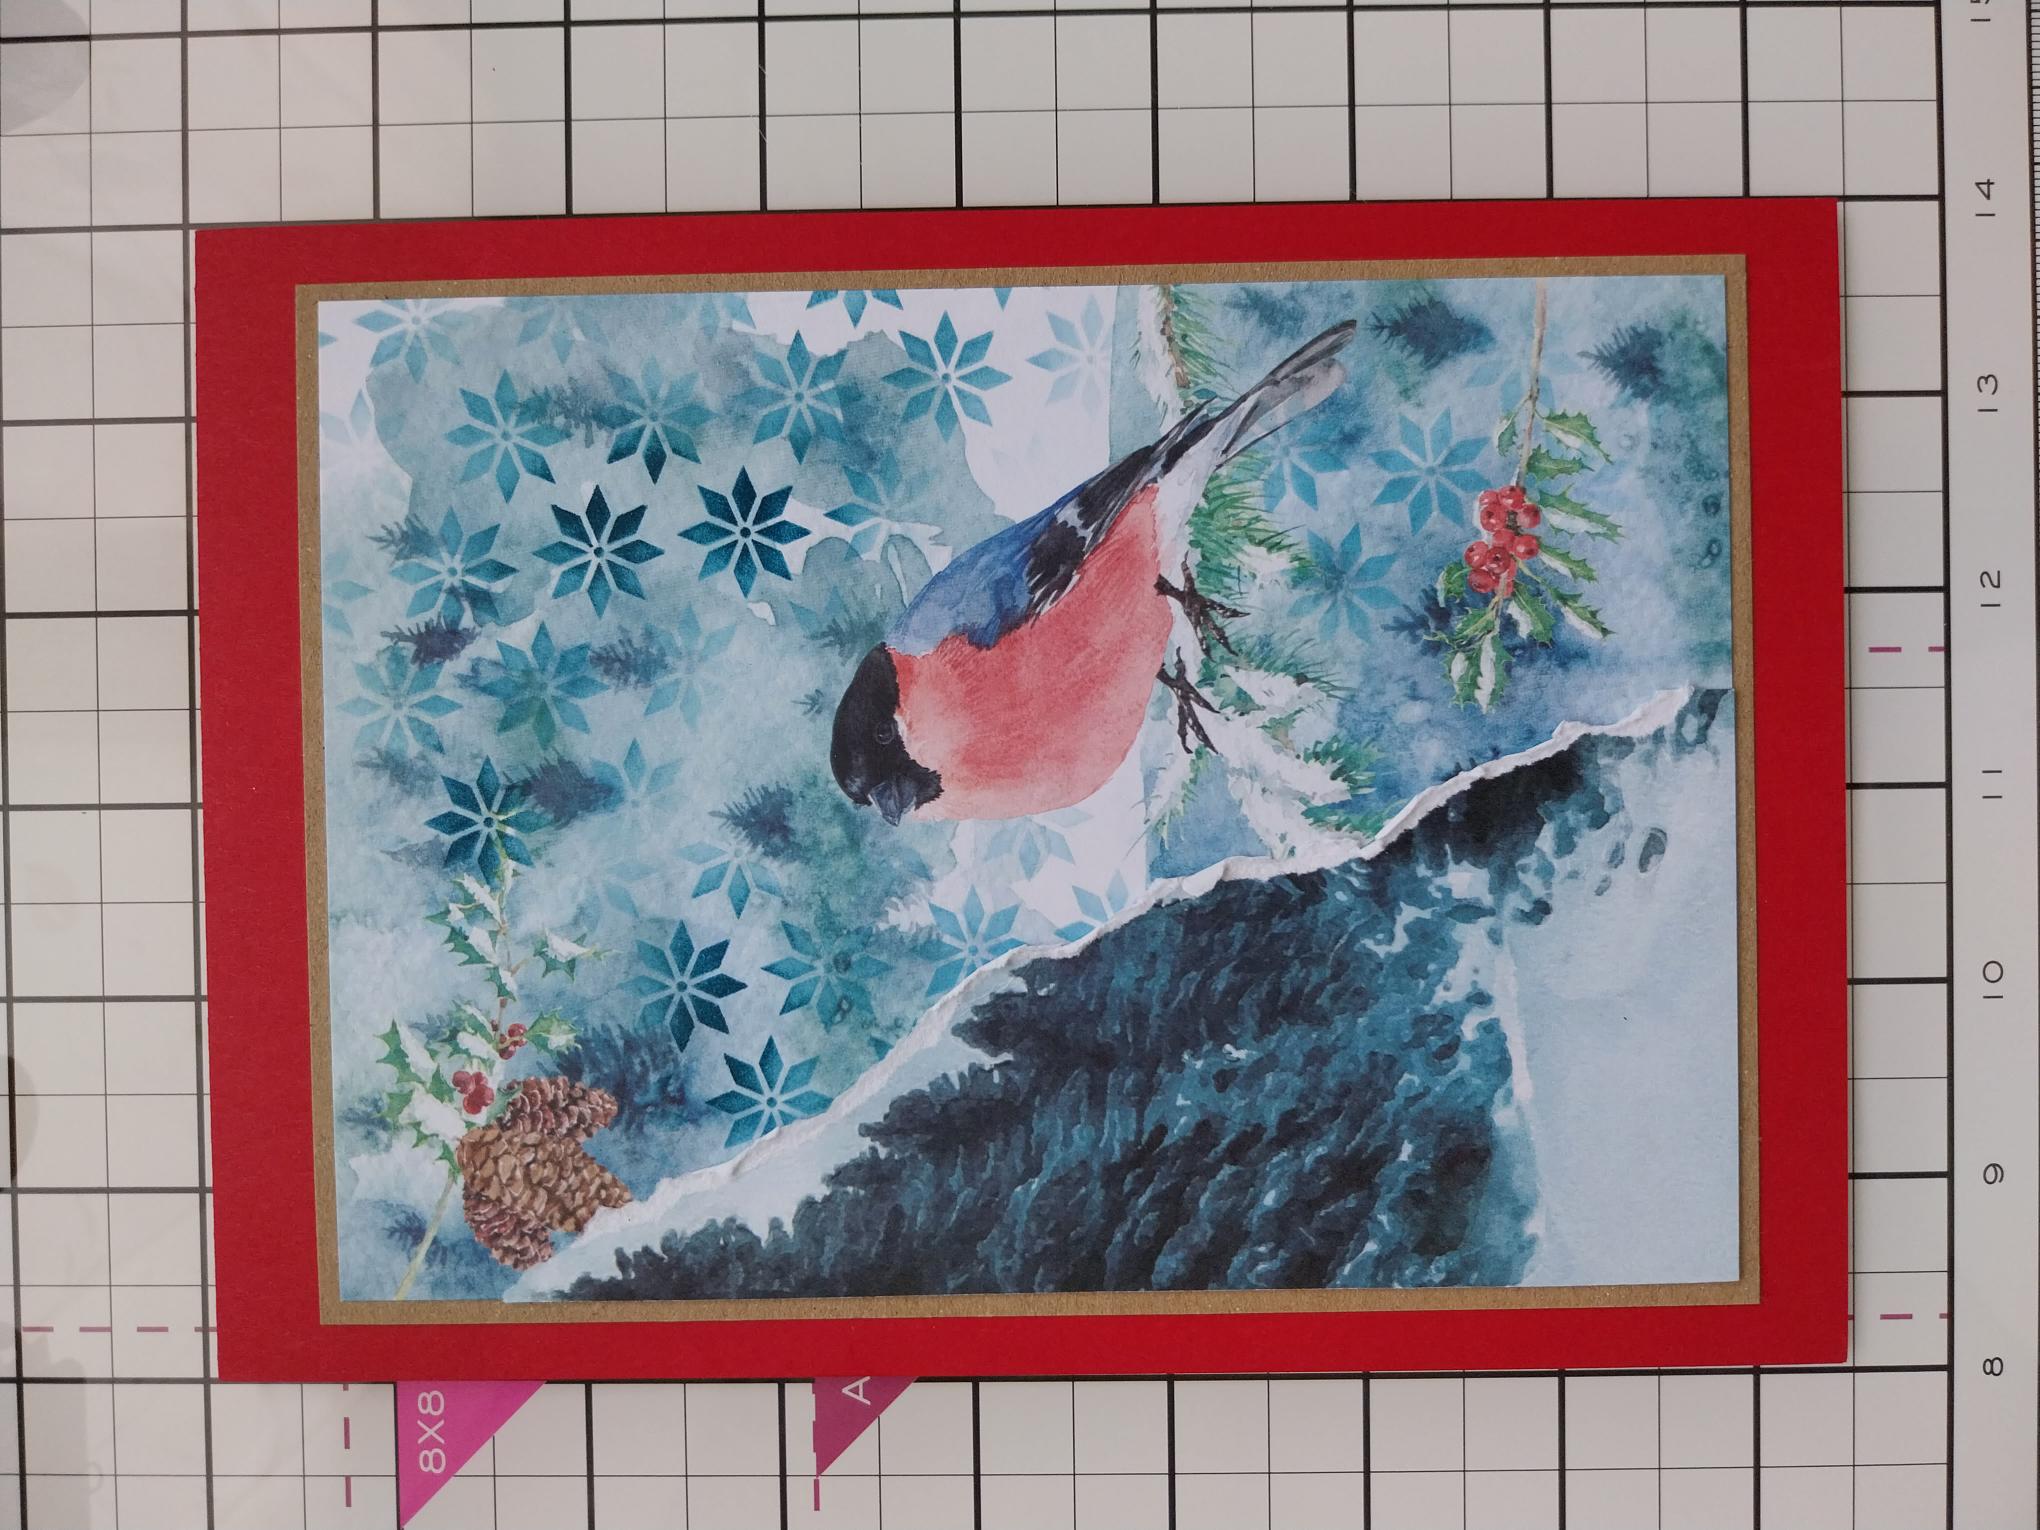
Adhere to kraft card cut to 7 1/4 x 5 1/4". |
|
Adhere on to the front of your red card blank and set to one side. |
|
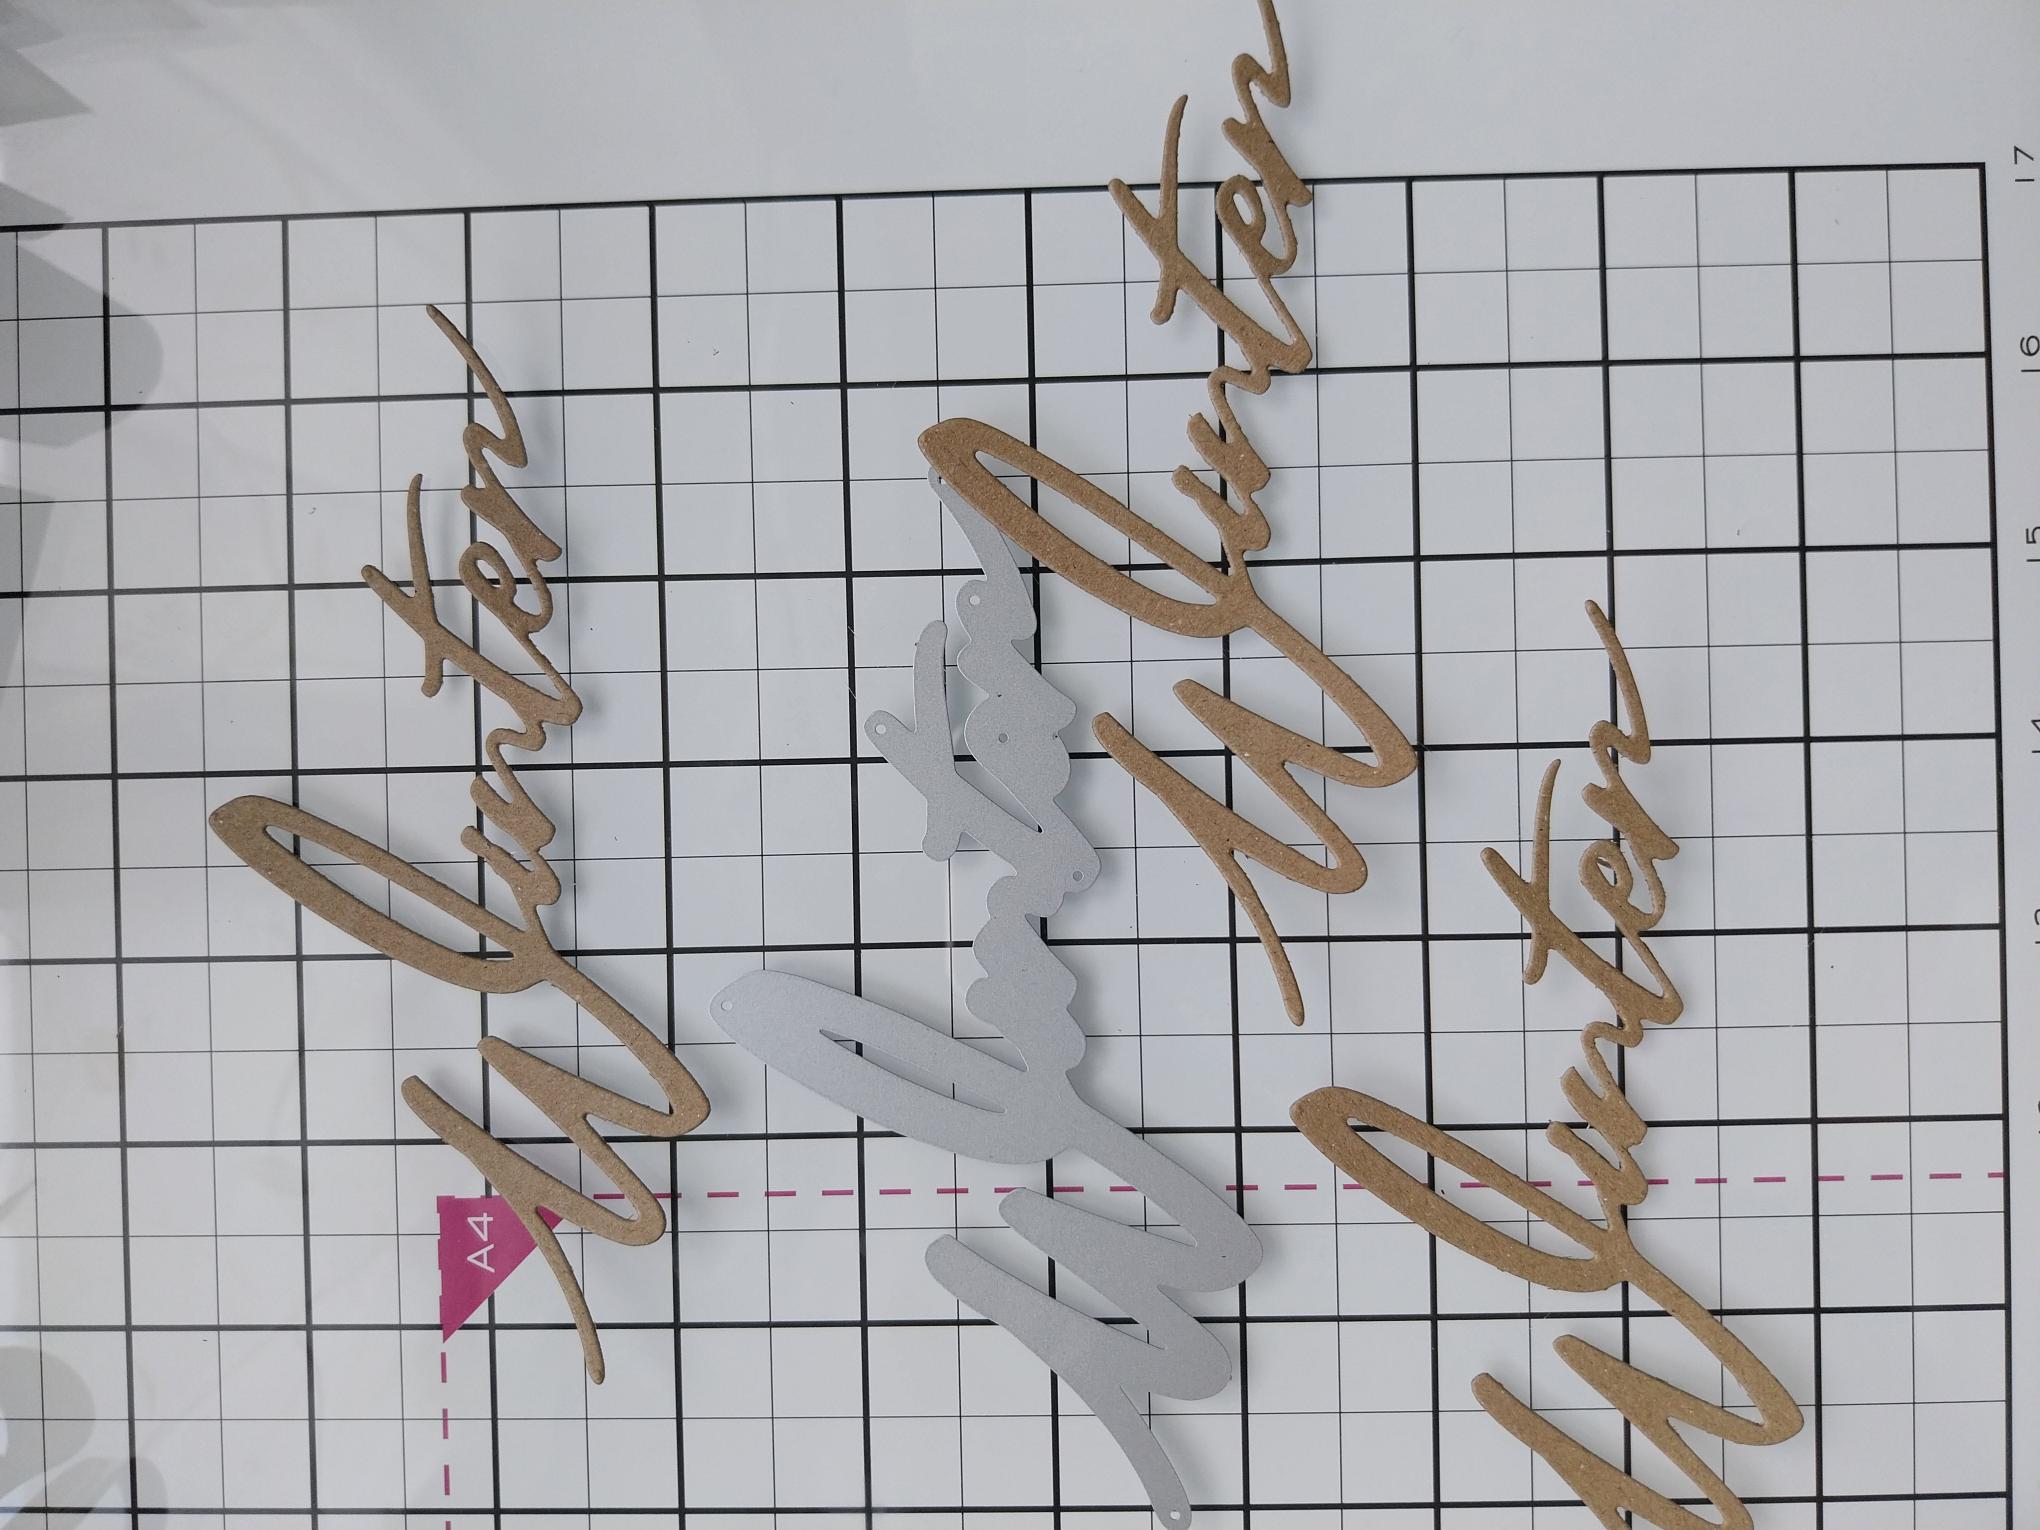
Die cut THREE "Winter" elements, from kraft card. |
|
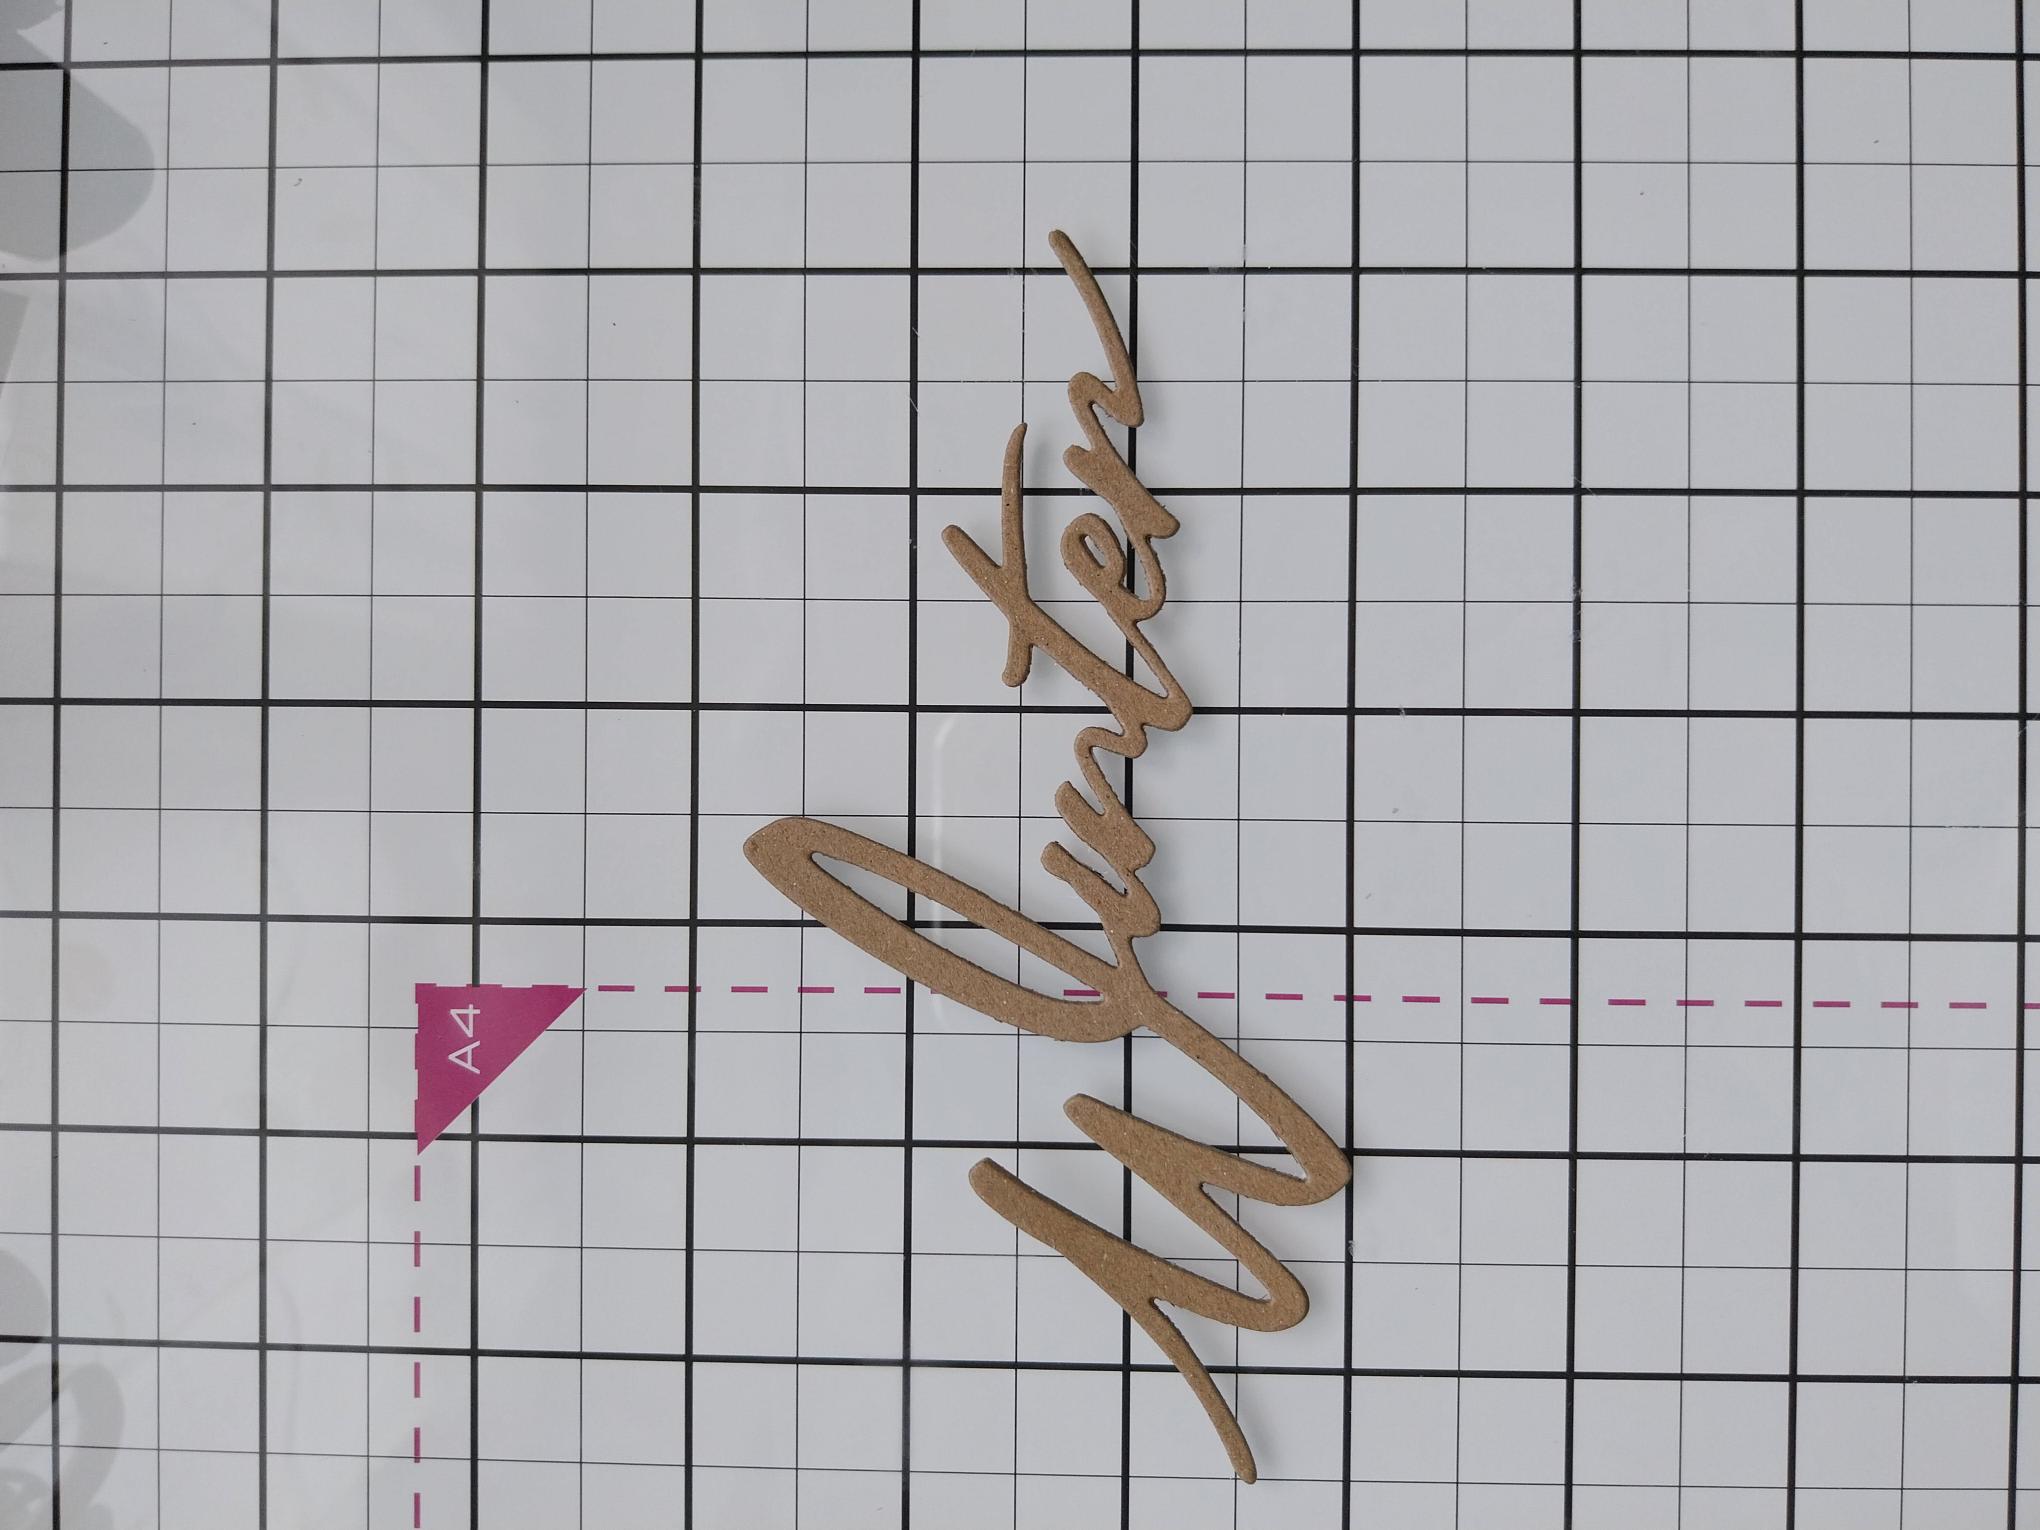
Glue them together to create a more substantial 3D word element. |
|
Adhere your sentiment across the top left corner of your card. |

|
To complete your project, use your Stickles to add a touch of festive sparkle. |