Give your friends $10 off their first order!
Refer a FRIEND


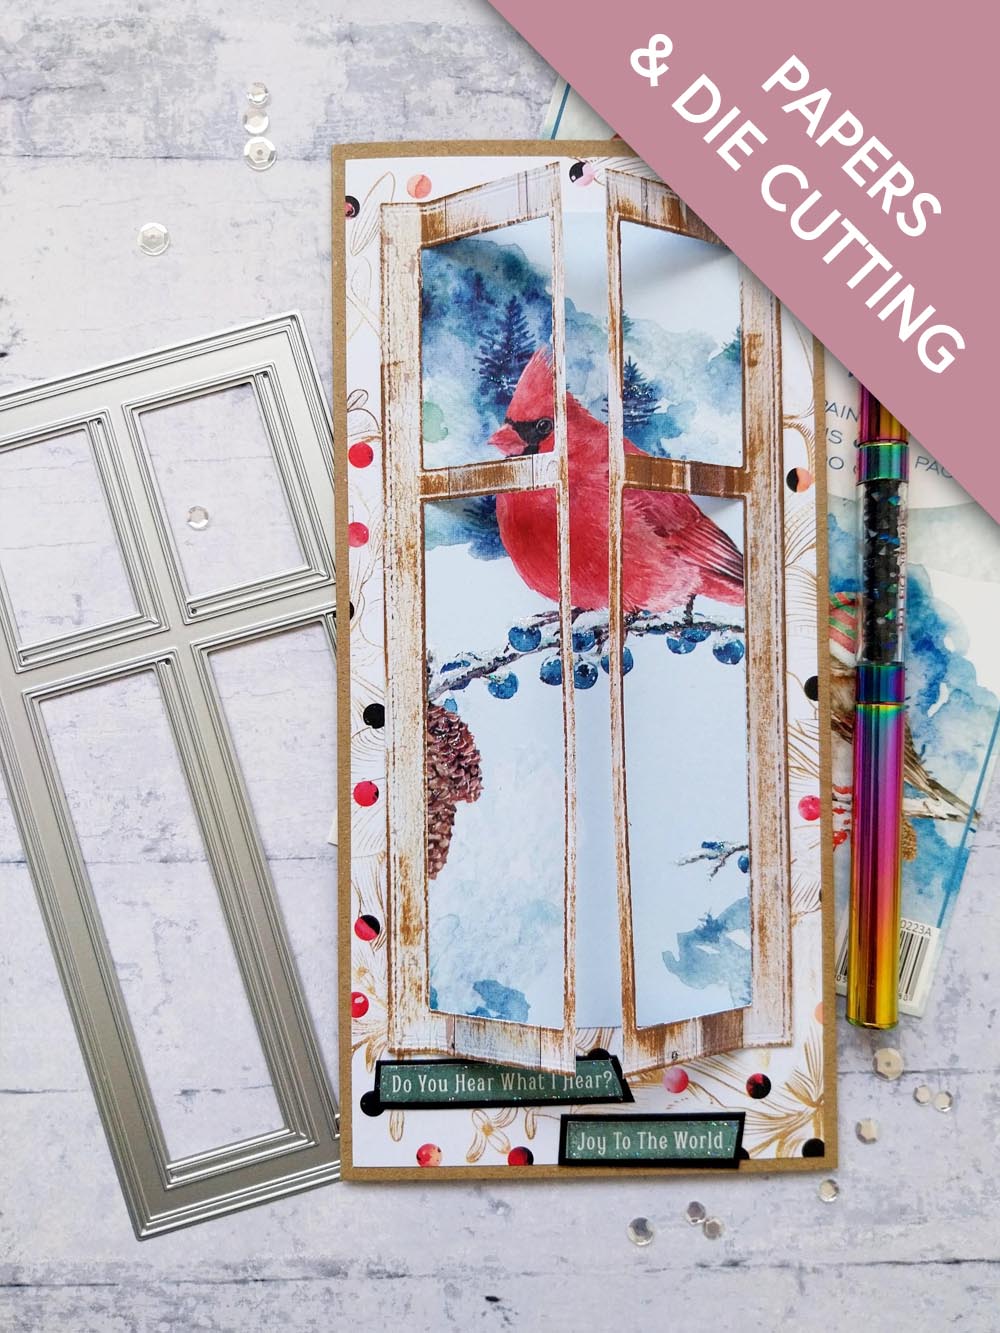
WHAT YOU WILL NEED:
Kraft DL card blank 8 1/4 x 4"
Black cardstock
Christmas Window Die Look & See
Festive Friends 5 x 7" Painted Mounts
A Winter Story 8 x 8" Foundation Pack
Bloom & Wild 8 x 8" Paper Pack
Cotton Pines Create Together Celebration Box Sentiment Tabs Sheet
SBM Midnight Hybrid ink Pad
Stickles: Star Dust
Distress Oxide Ink Pad: Vintage Photo
Score board and score tool
SBM A3 Magnetic glass mat
Paper Trimmer
Glue
Die Cutting machine
[click image to enlarge] 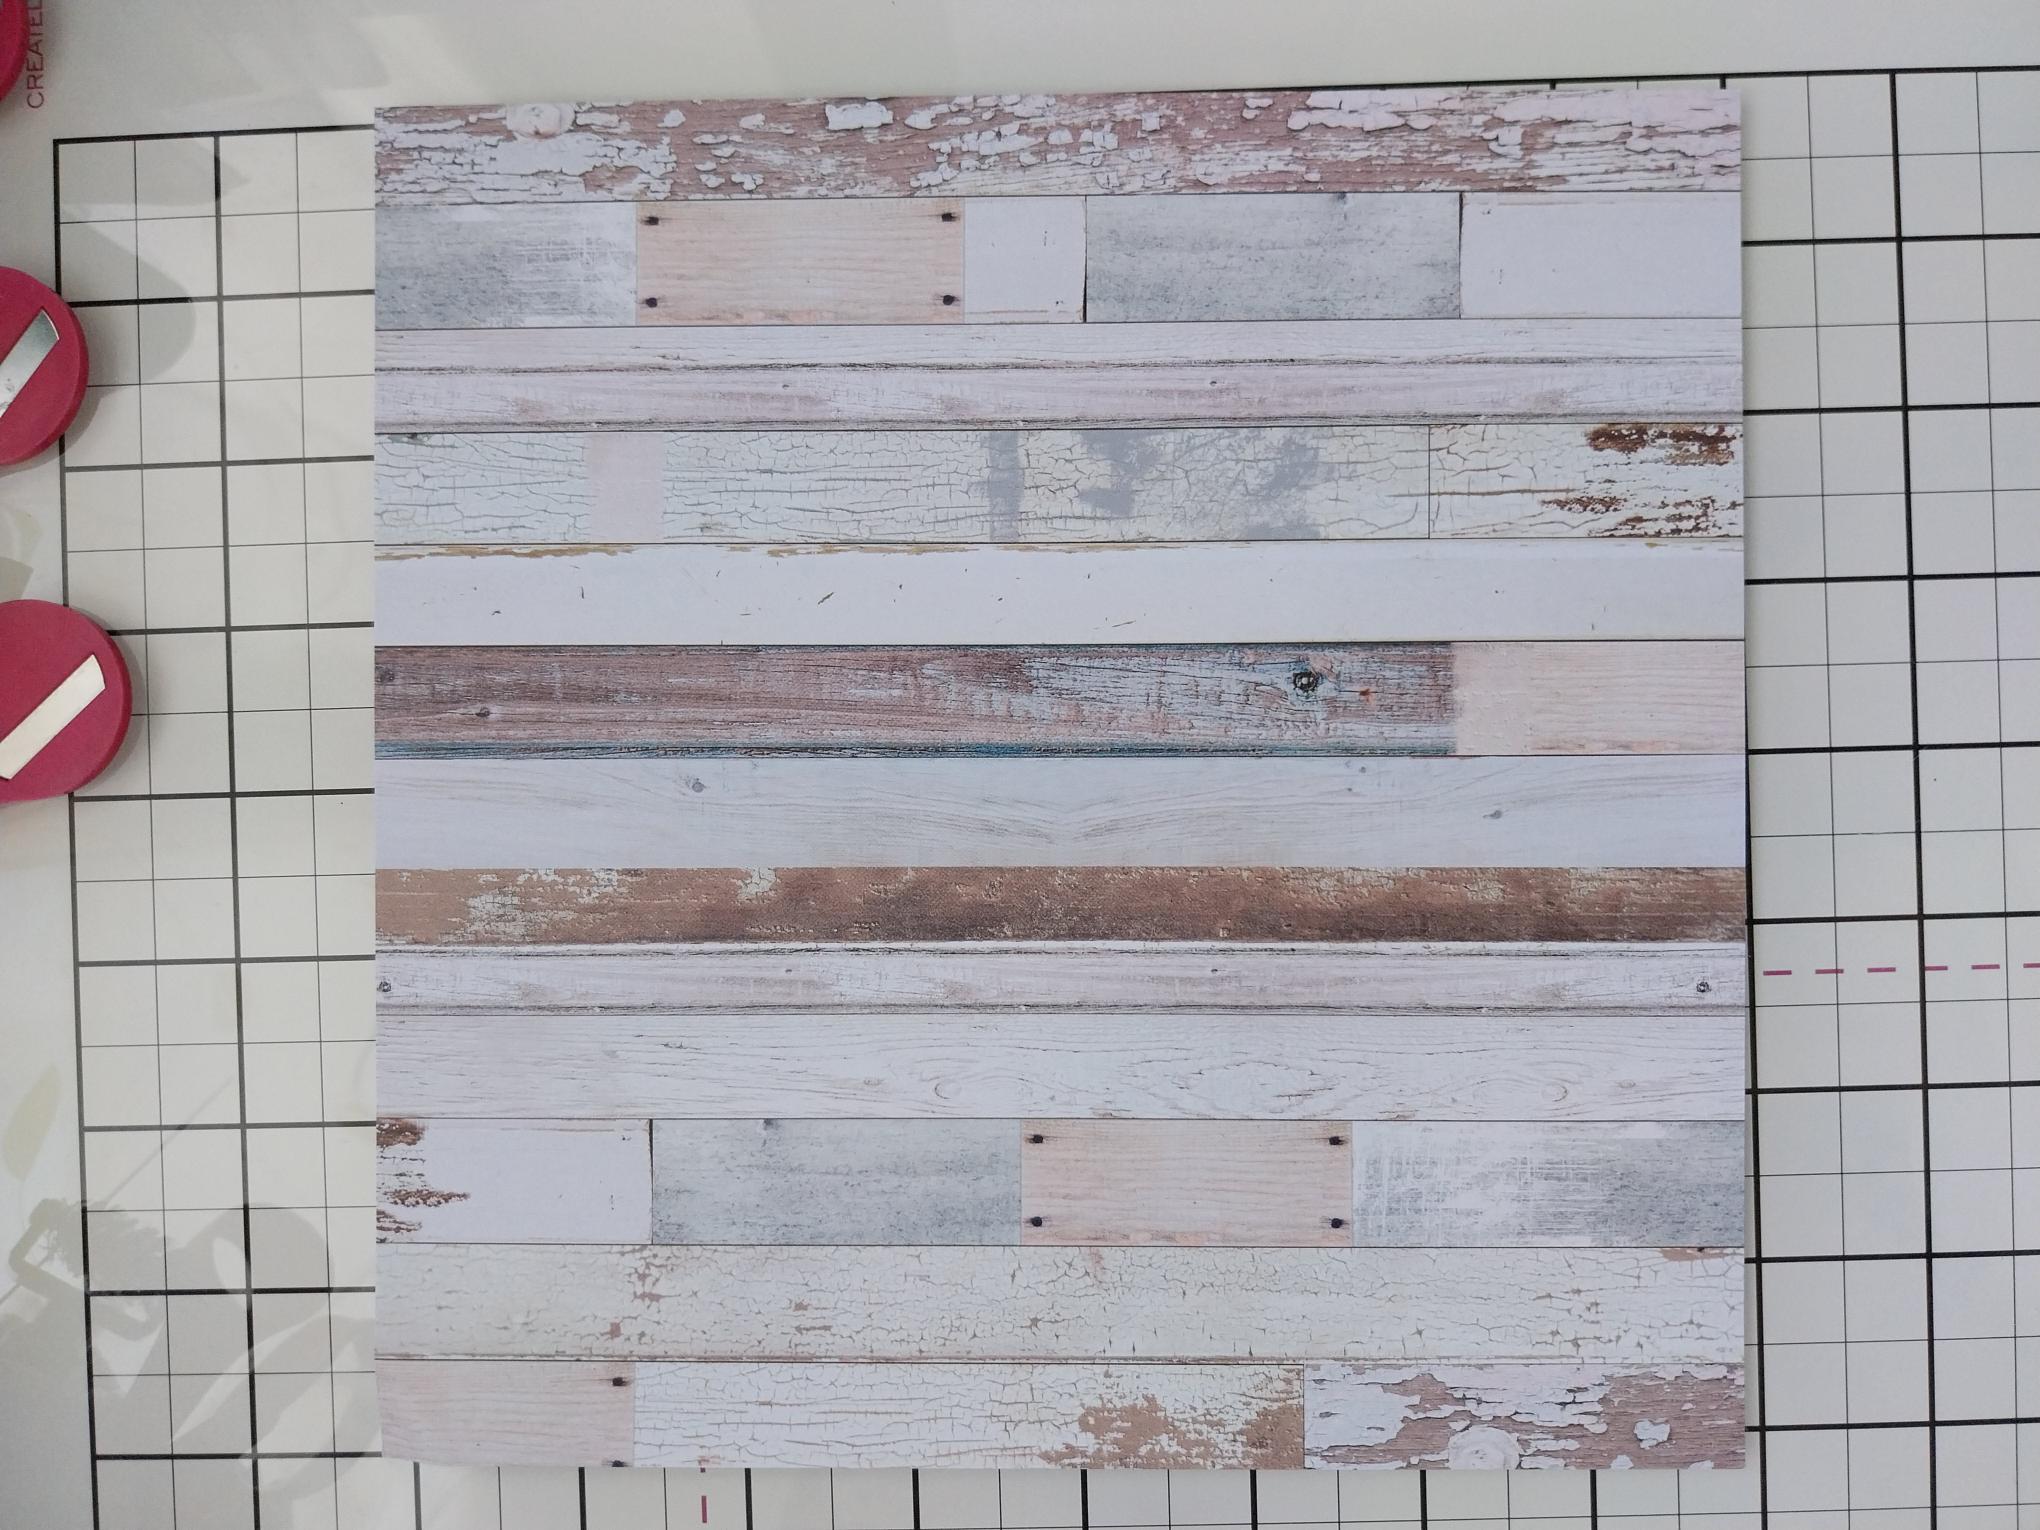
|
Choose one of the papers from the Winter Story Foundation pack. |
|
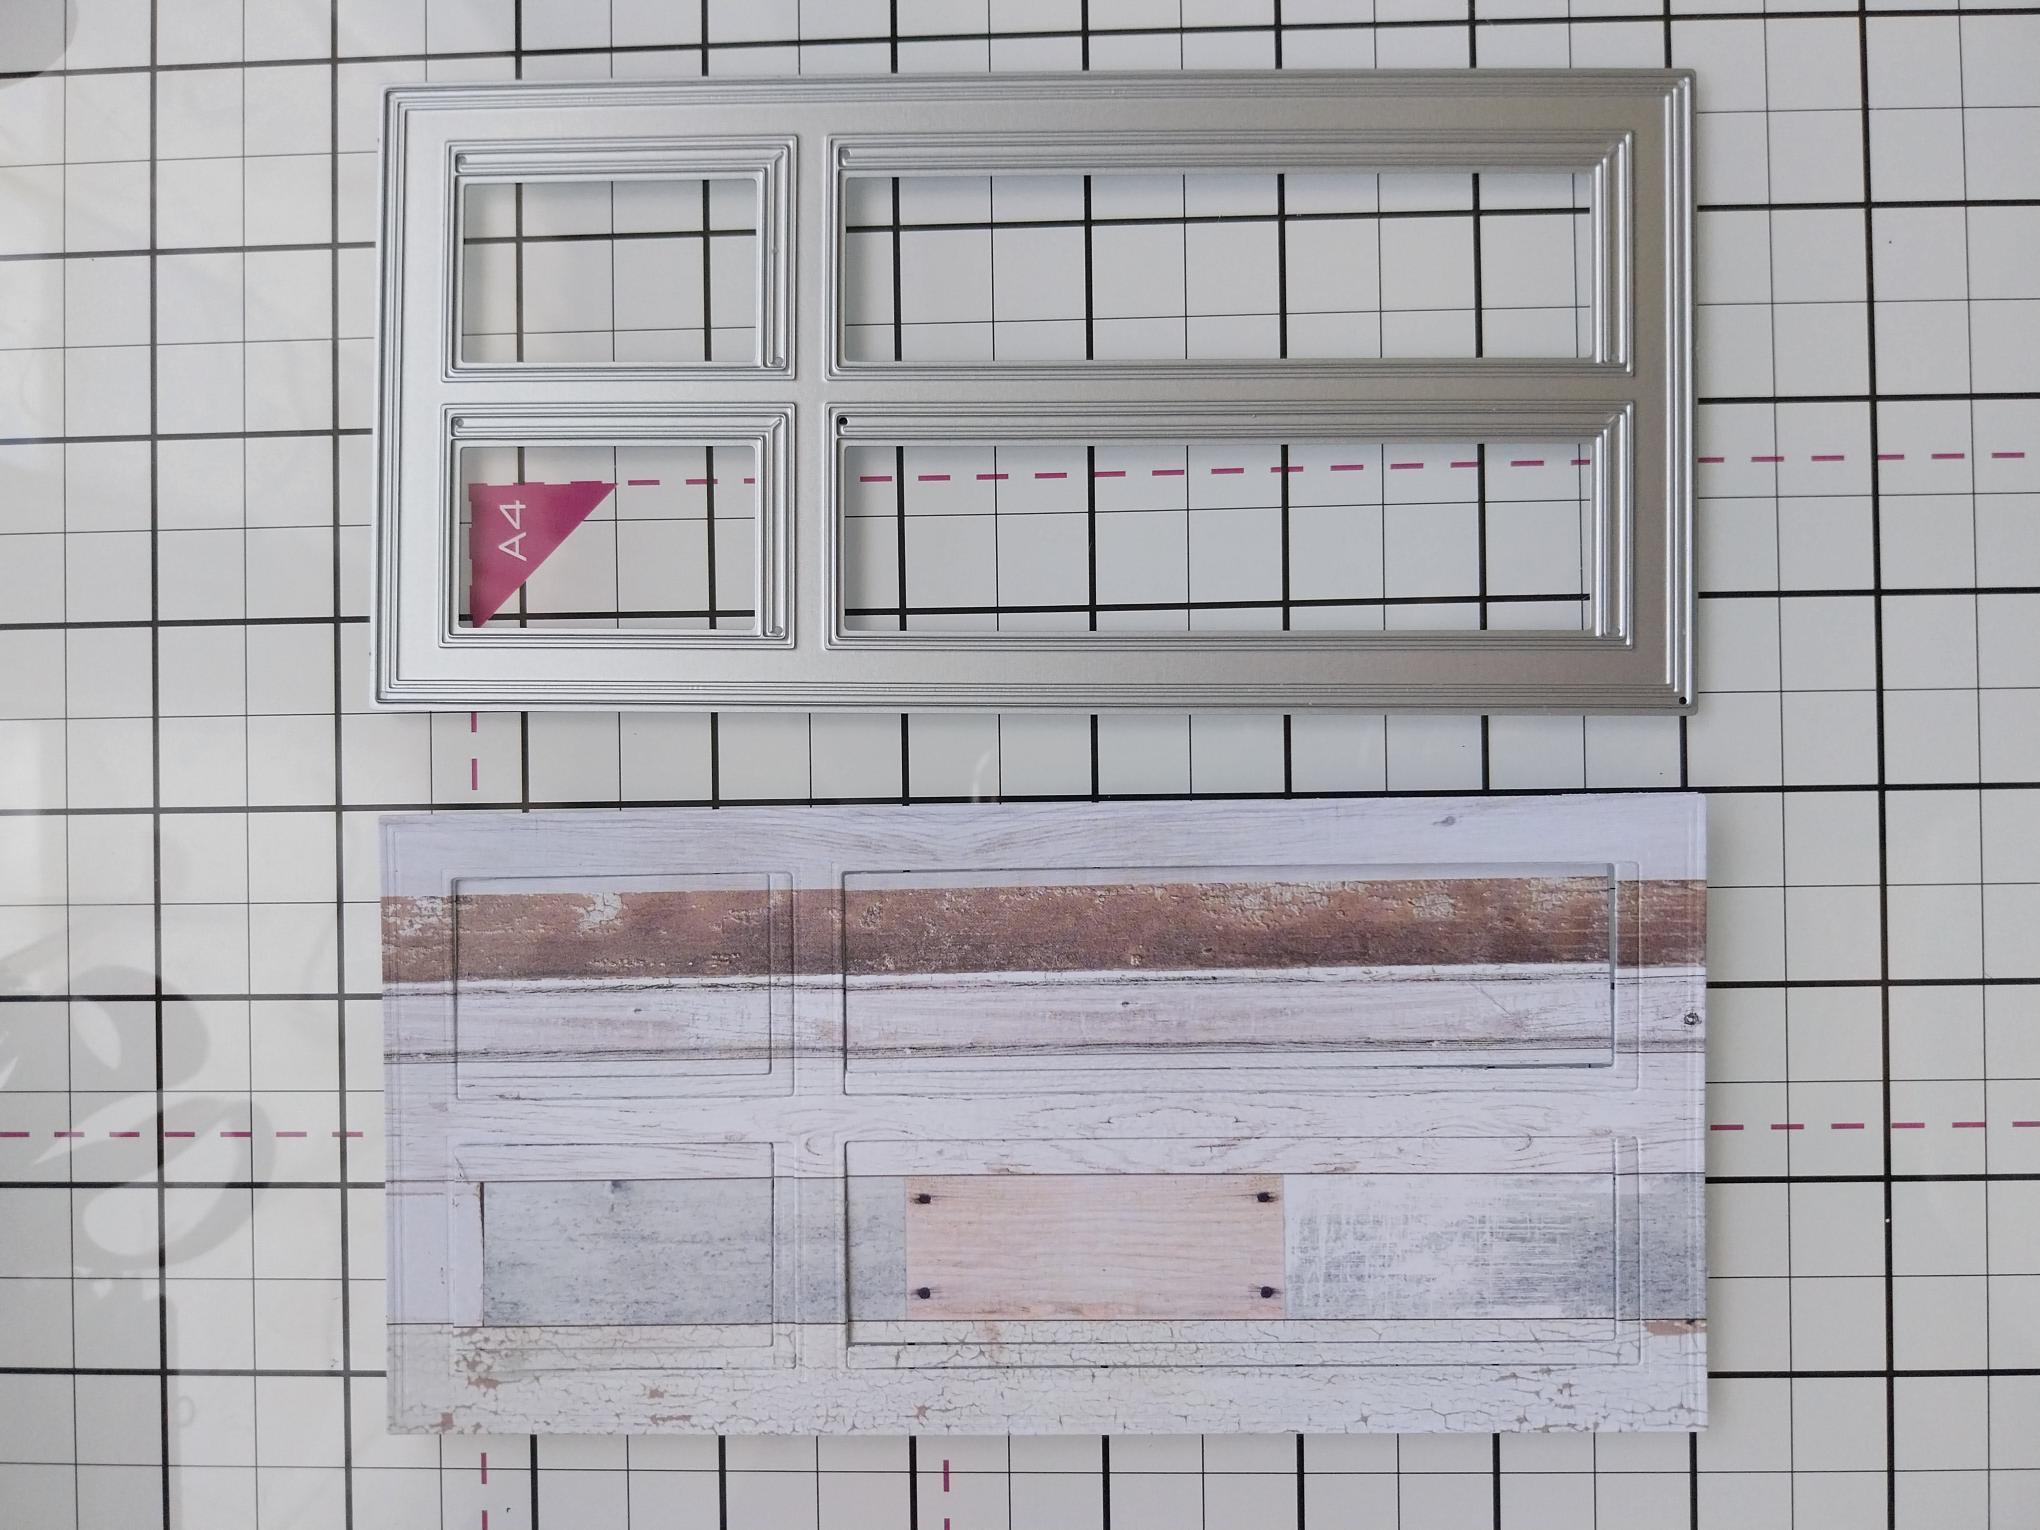
Trim your paper so it's slightly bigger than your window die, ensuring the wood panels are vertical. |
|
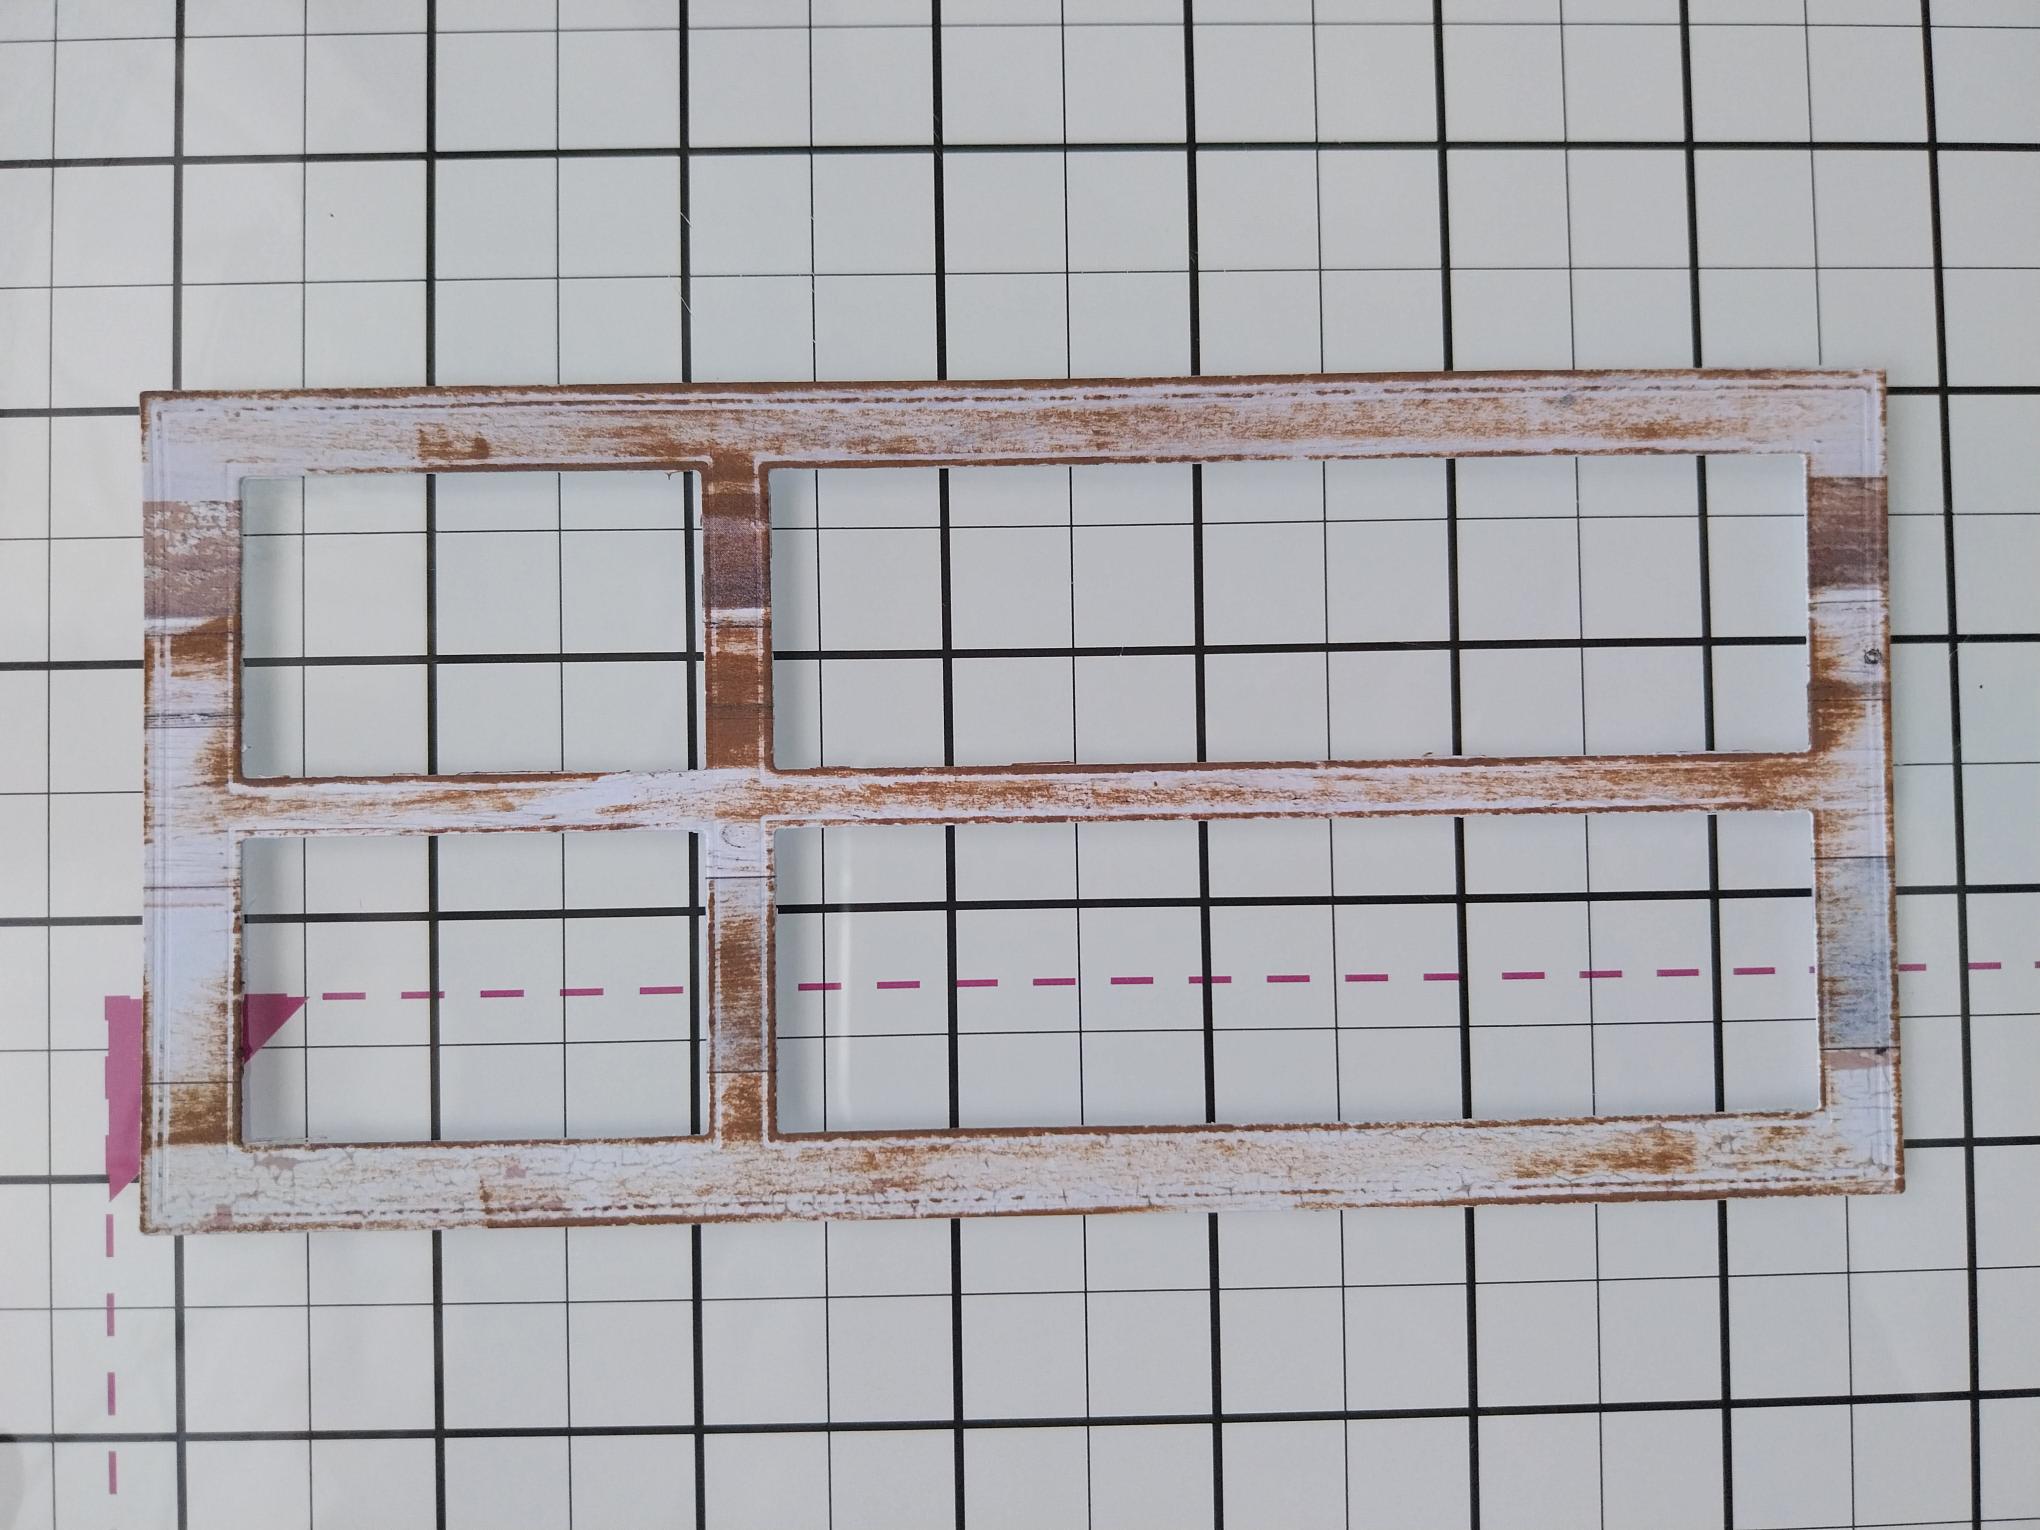
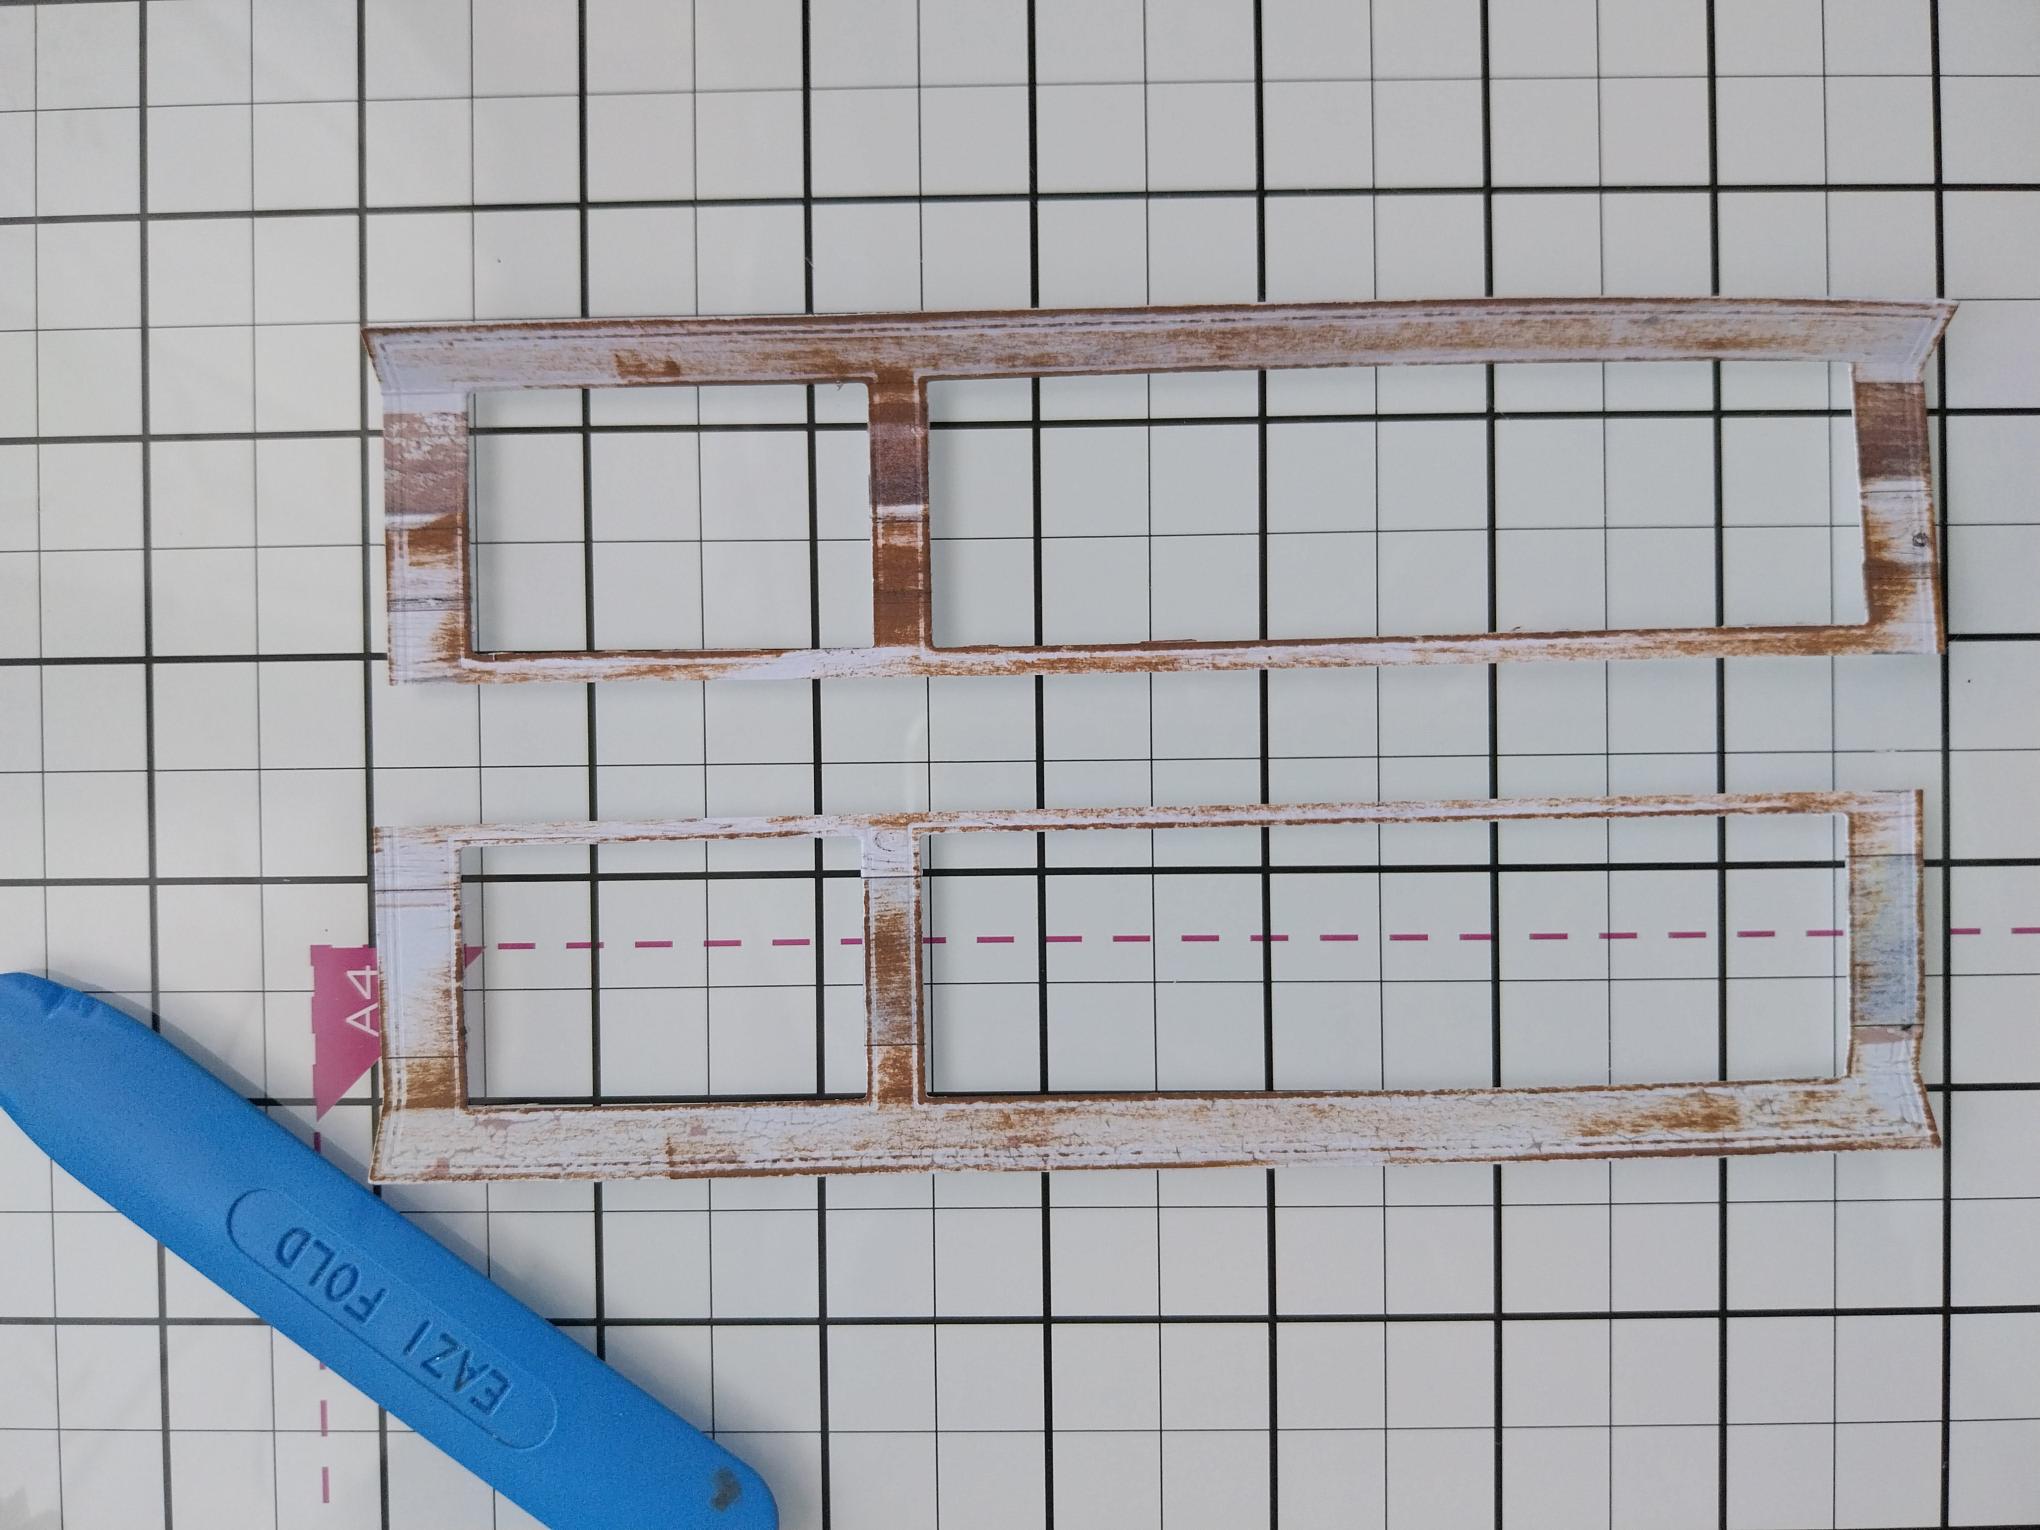
Place the die on the paper and run it through your die cutting machine. Swipe the Vintage Photo ink pad around the die cut window, adding a distressed look to the "wood". |
|
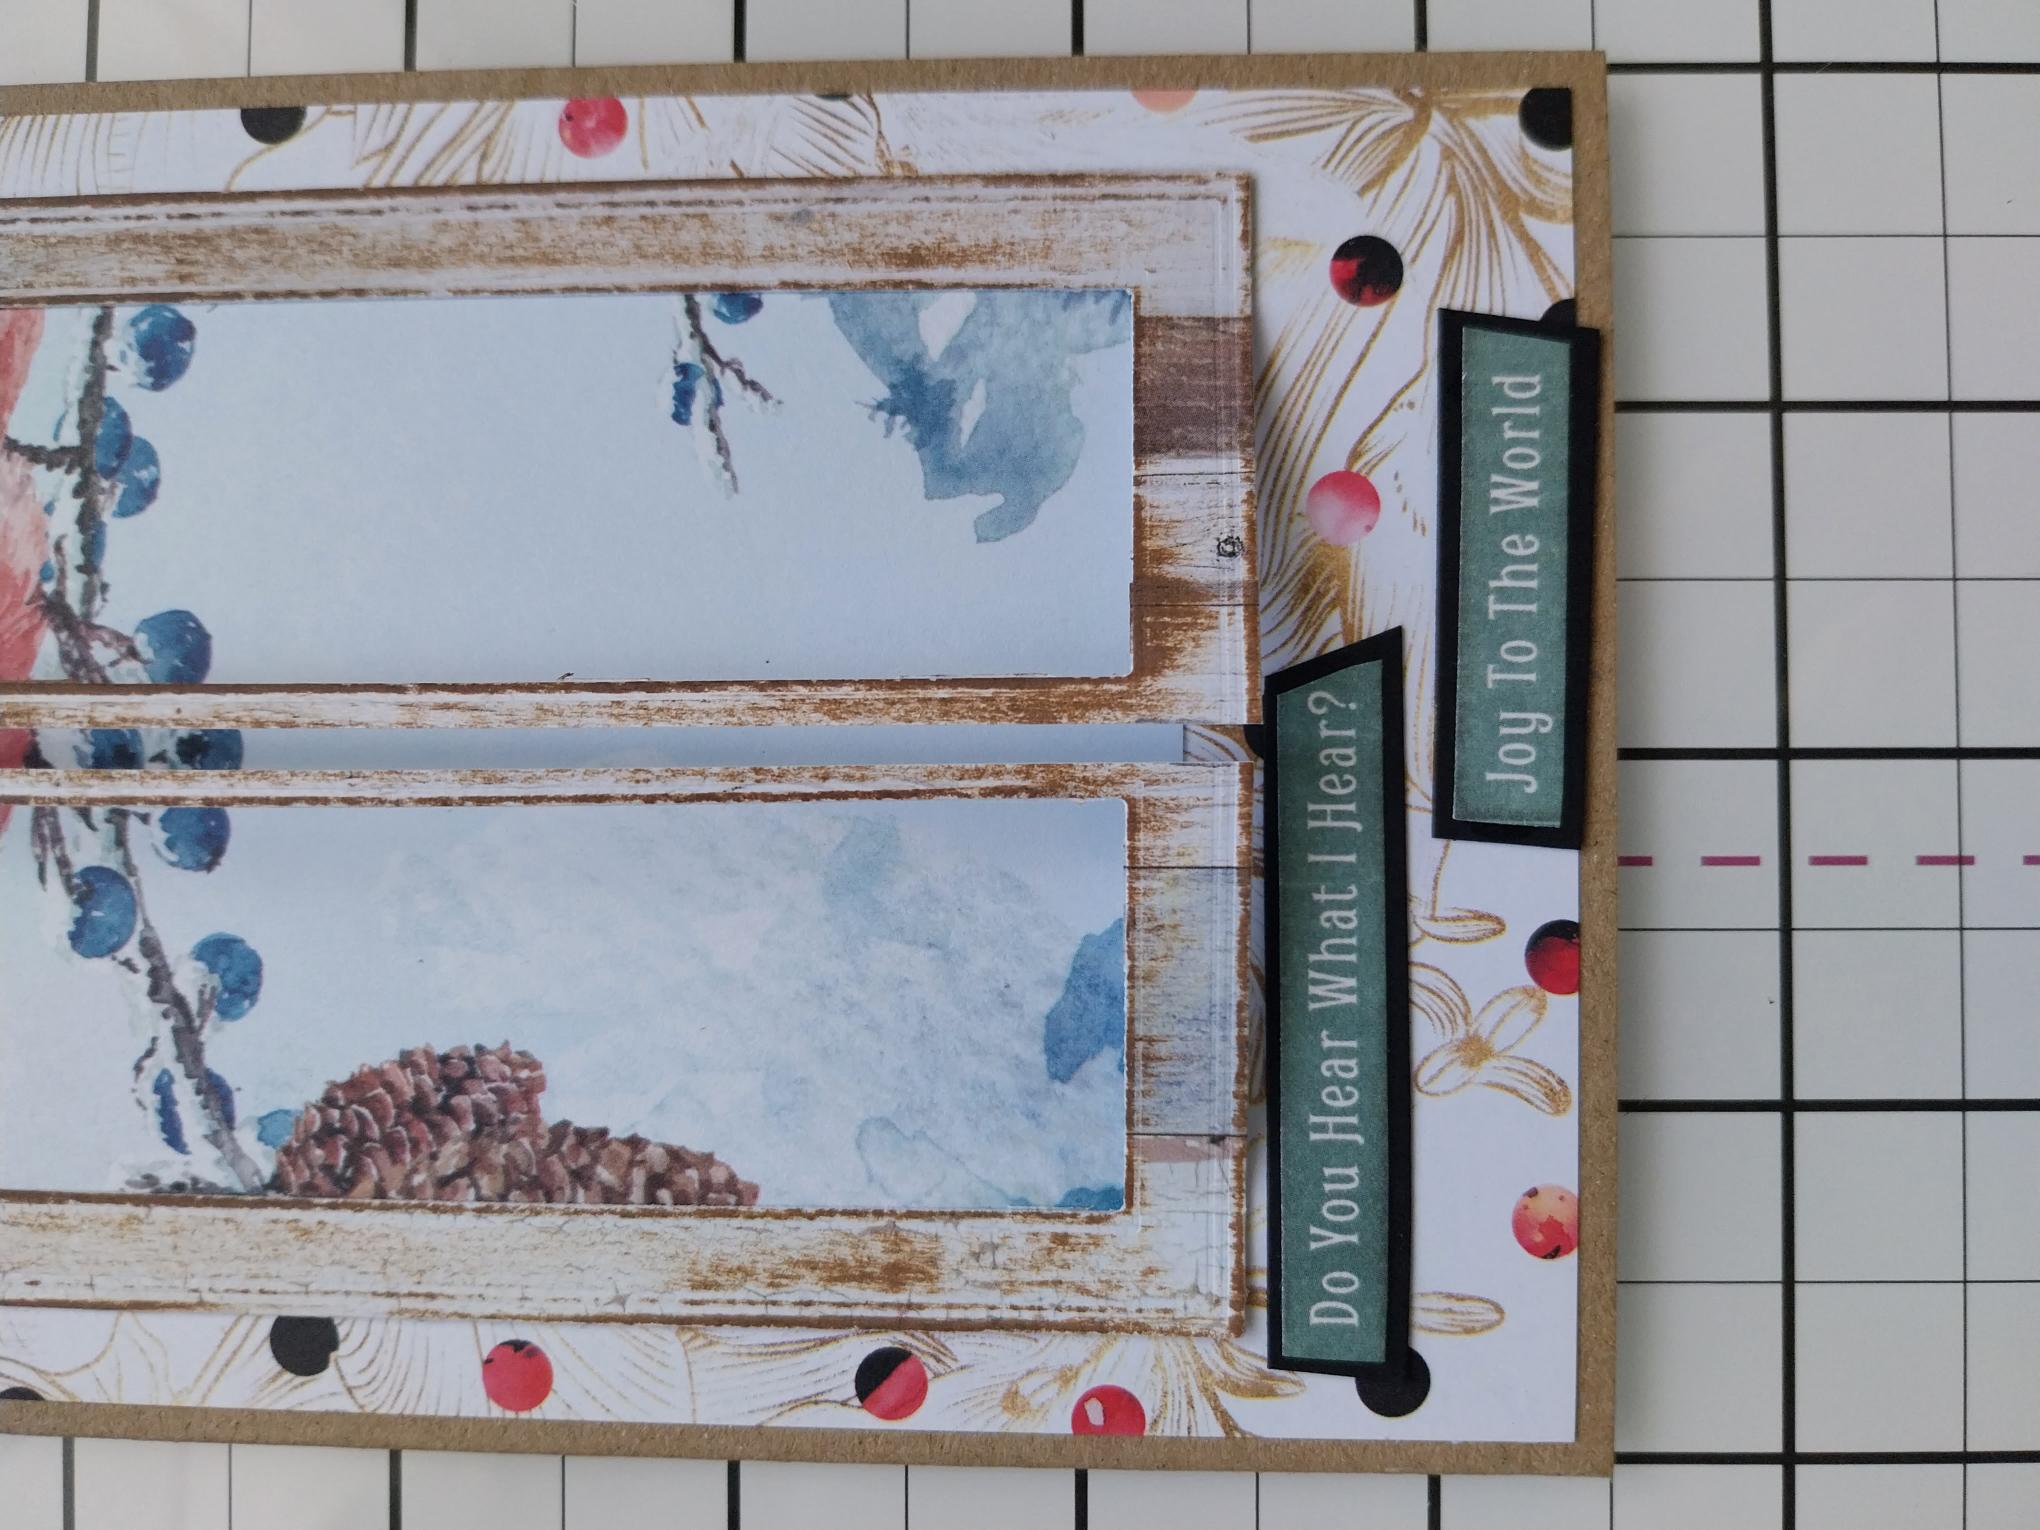
Carefully cut down the centre of your window. Score a line on the top and bottom of each, creating a "hinge" and allowing each window to be opened. |
|
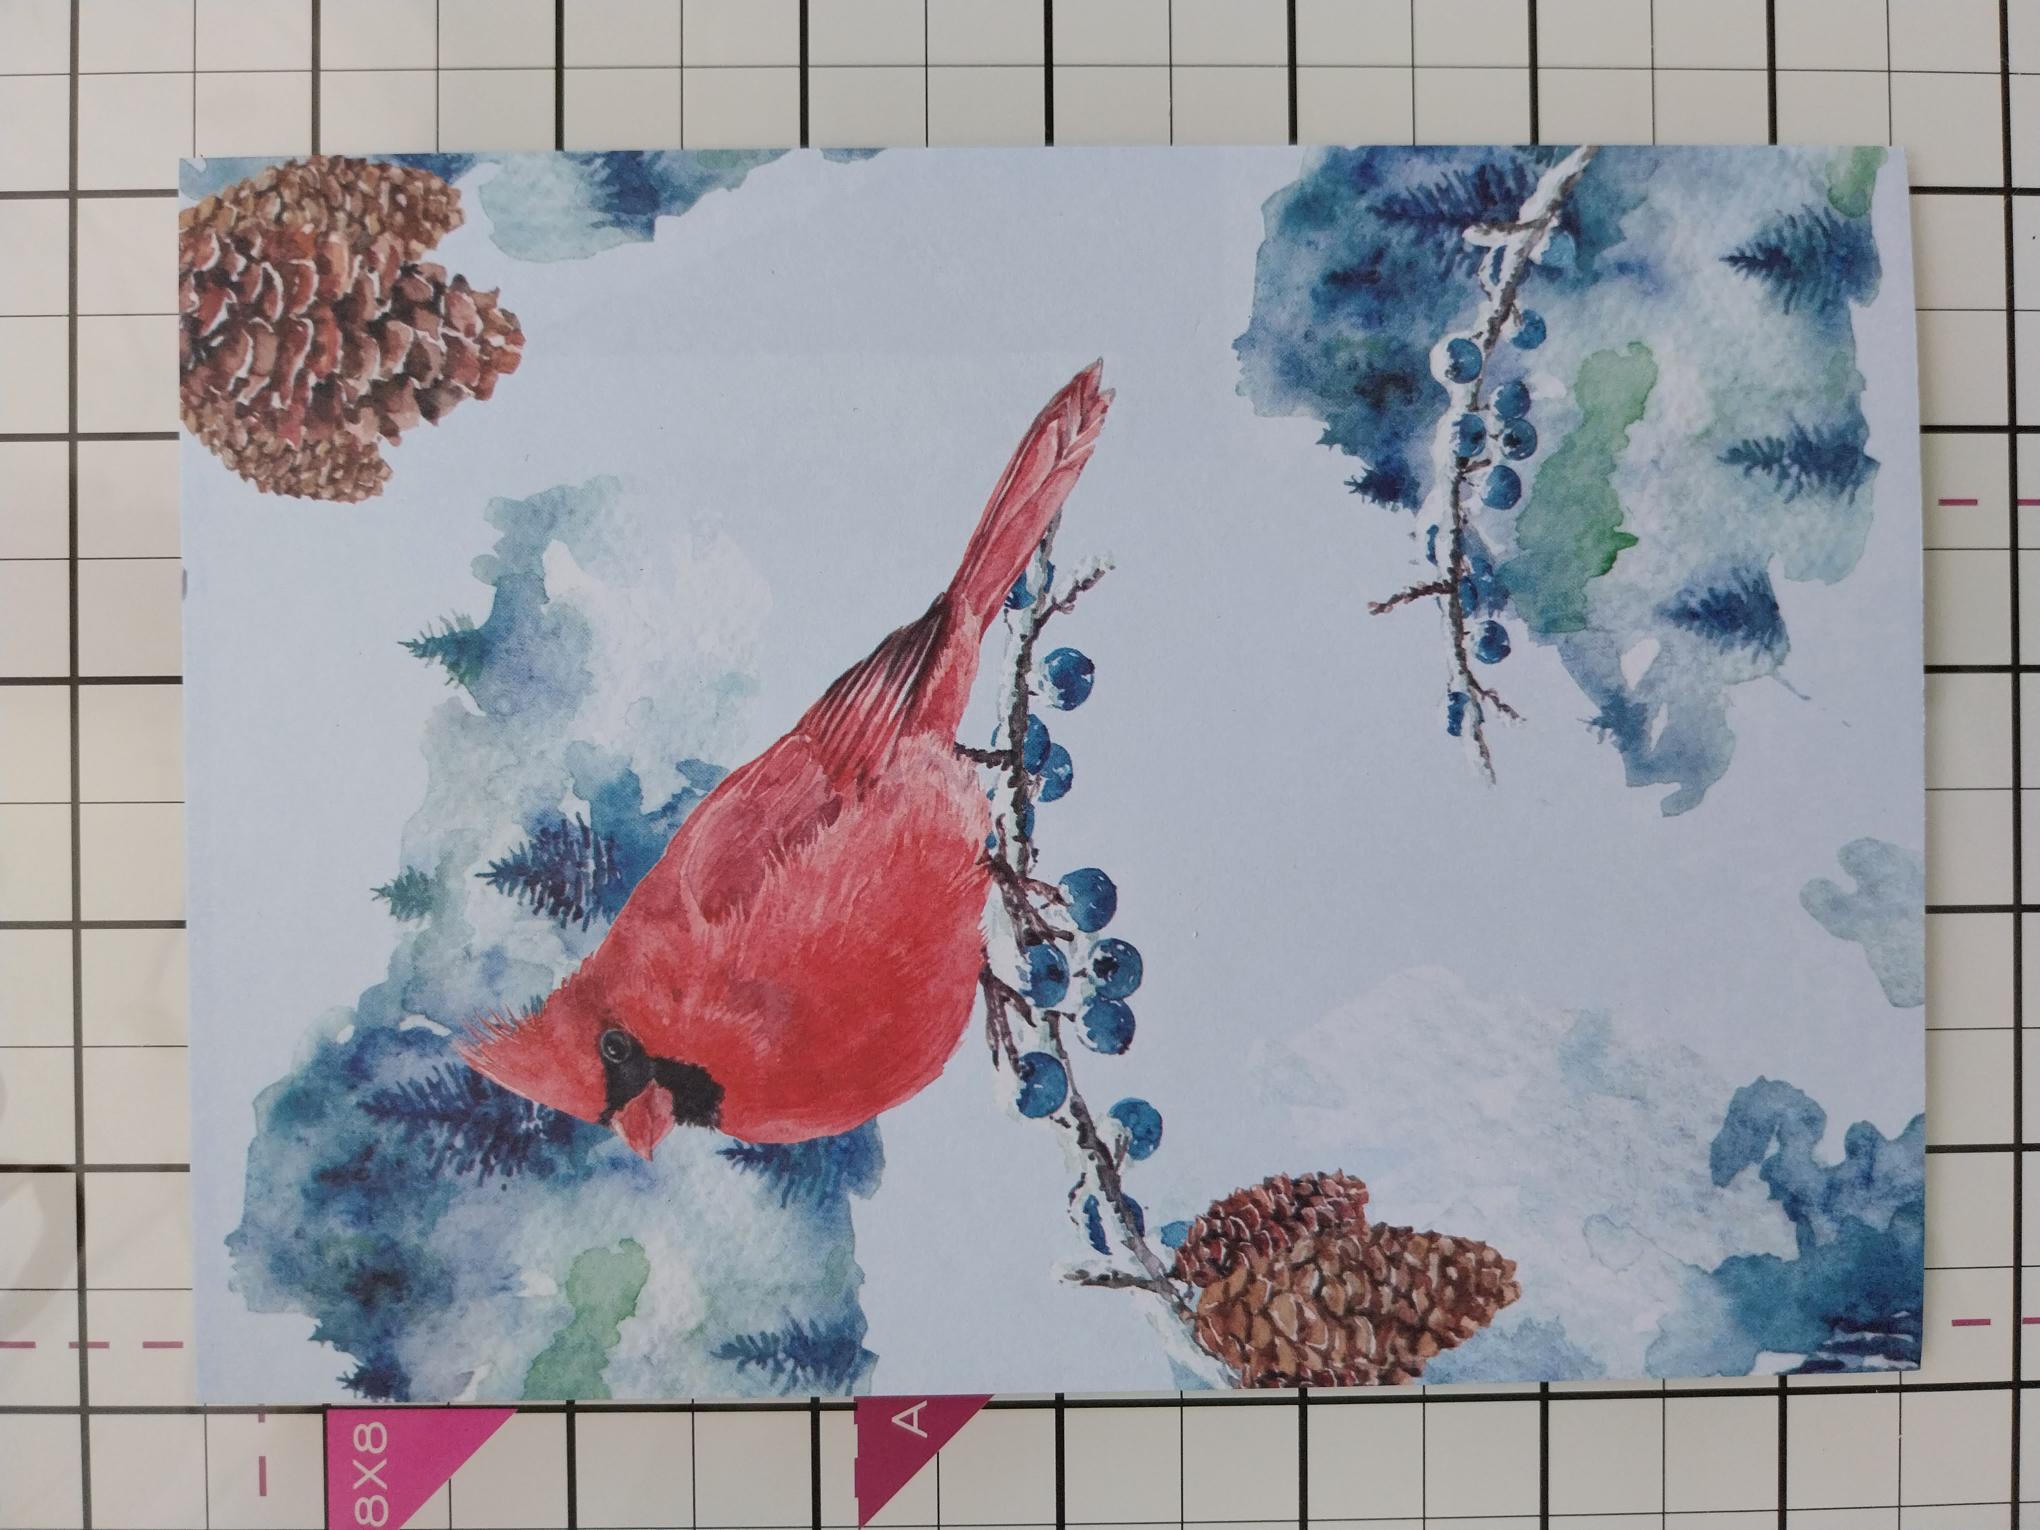
Take this painted mount out of the Festive Friends pack. |
|
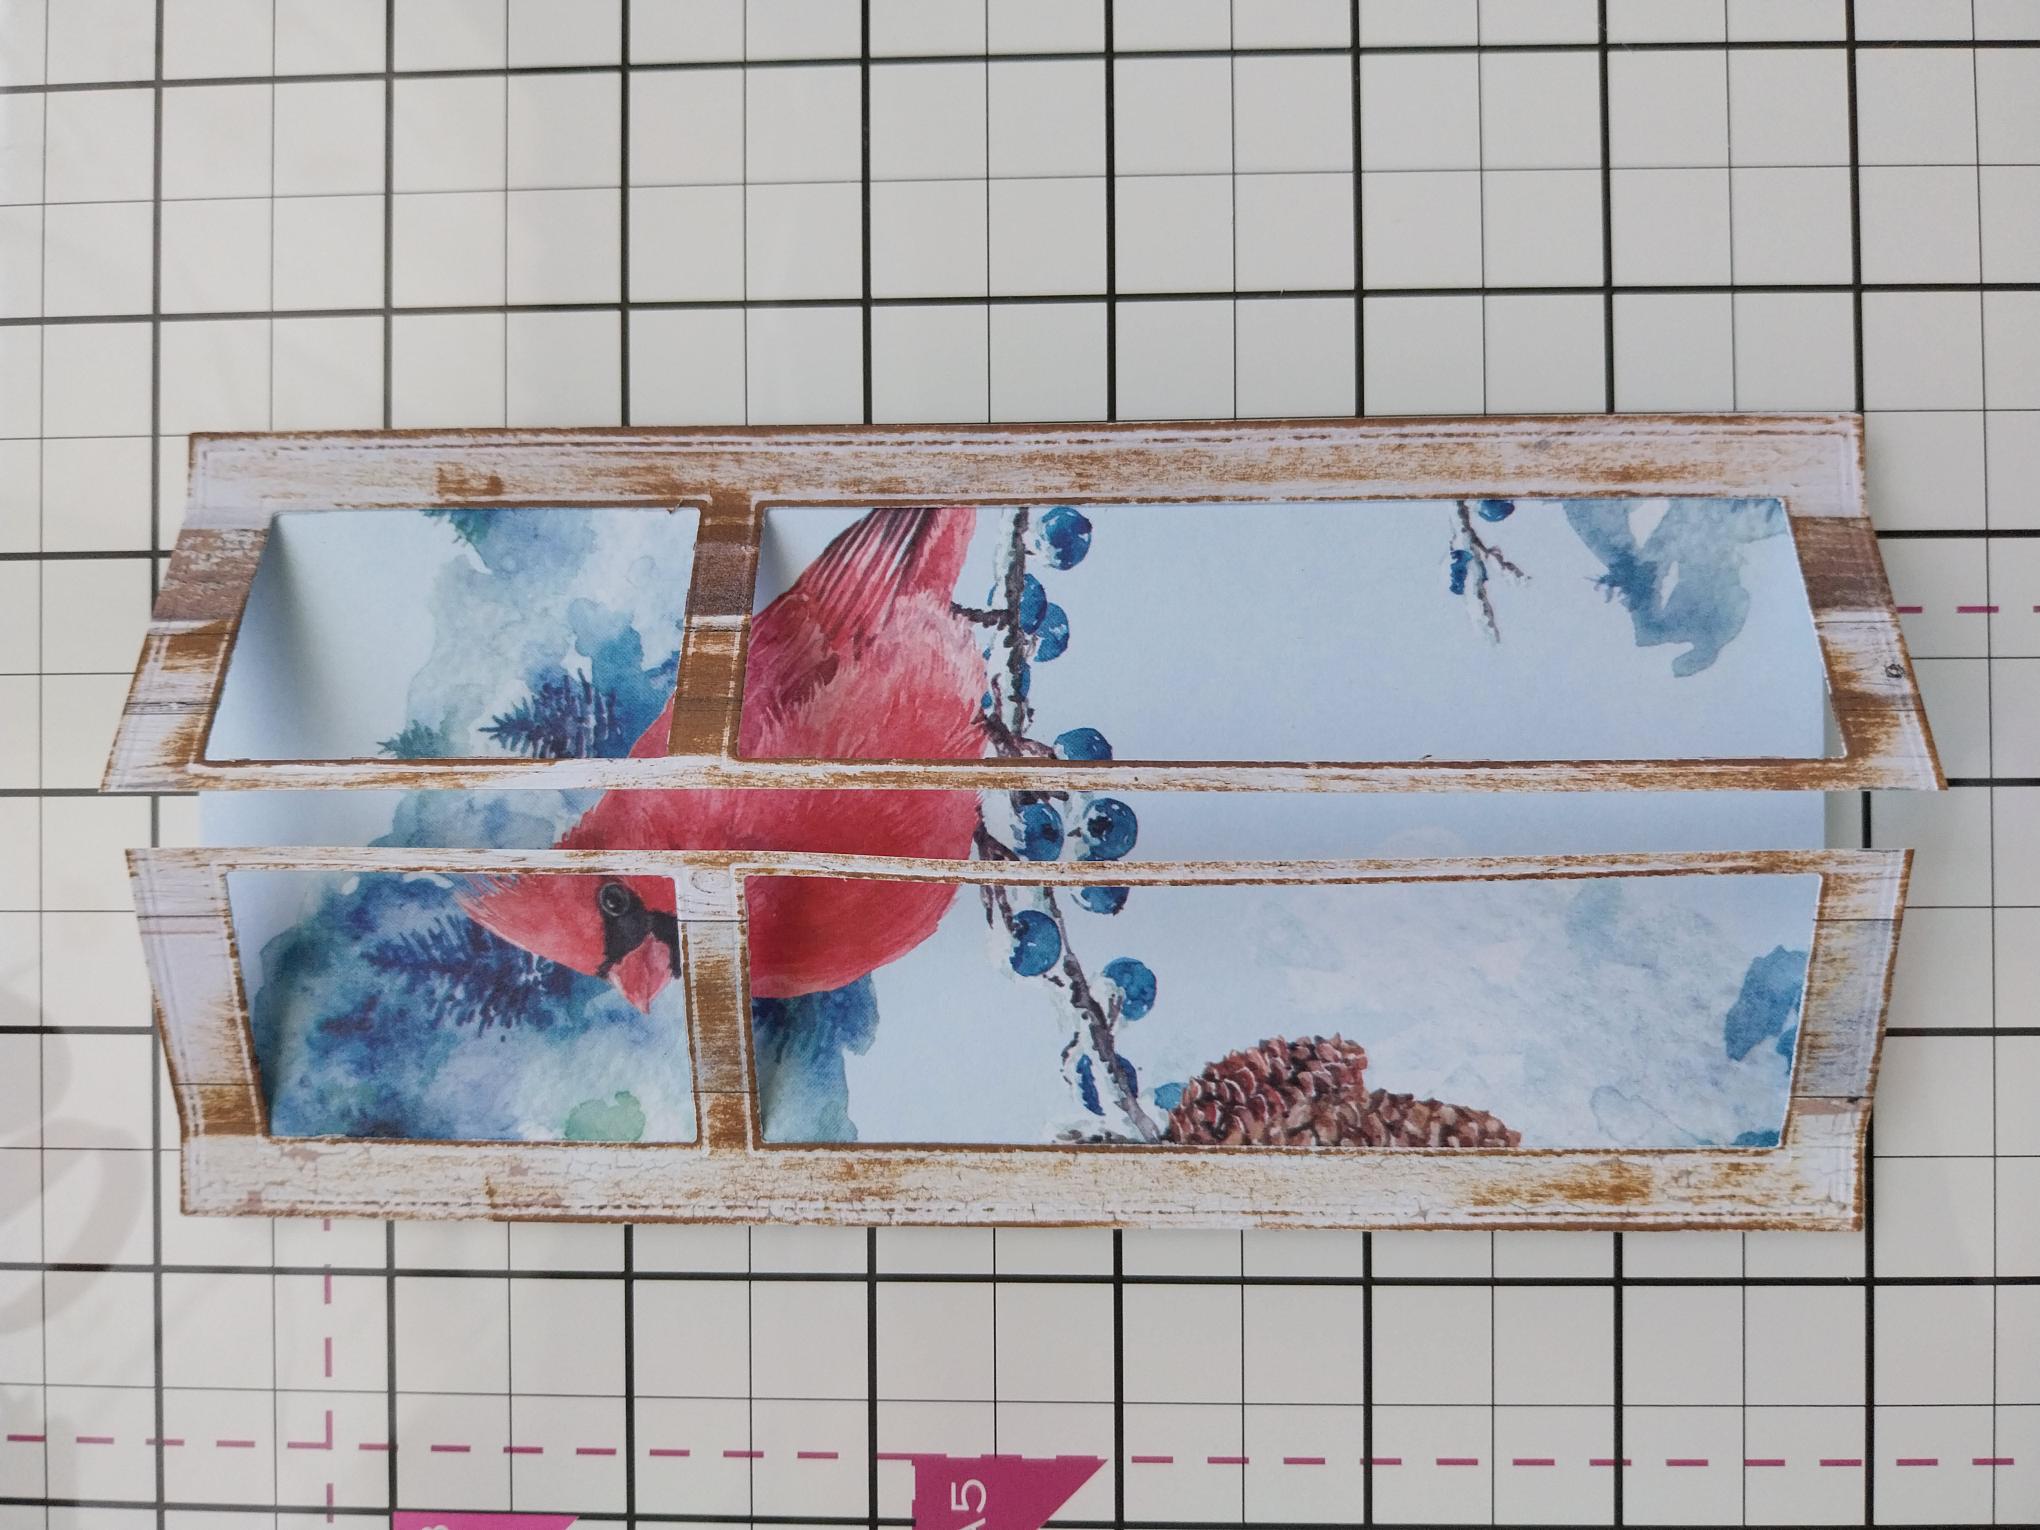
Trim to the size of the window die, adhering each "hinge" down the left and right hand edges of the paper, ensuring the "closed" windows meet down the centre. |
|
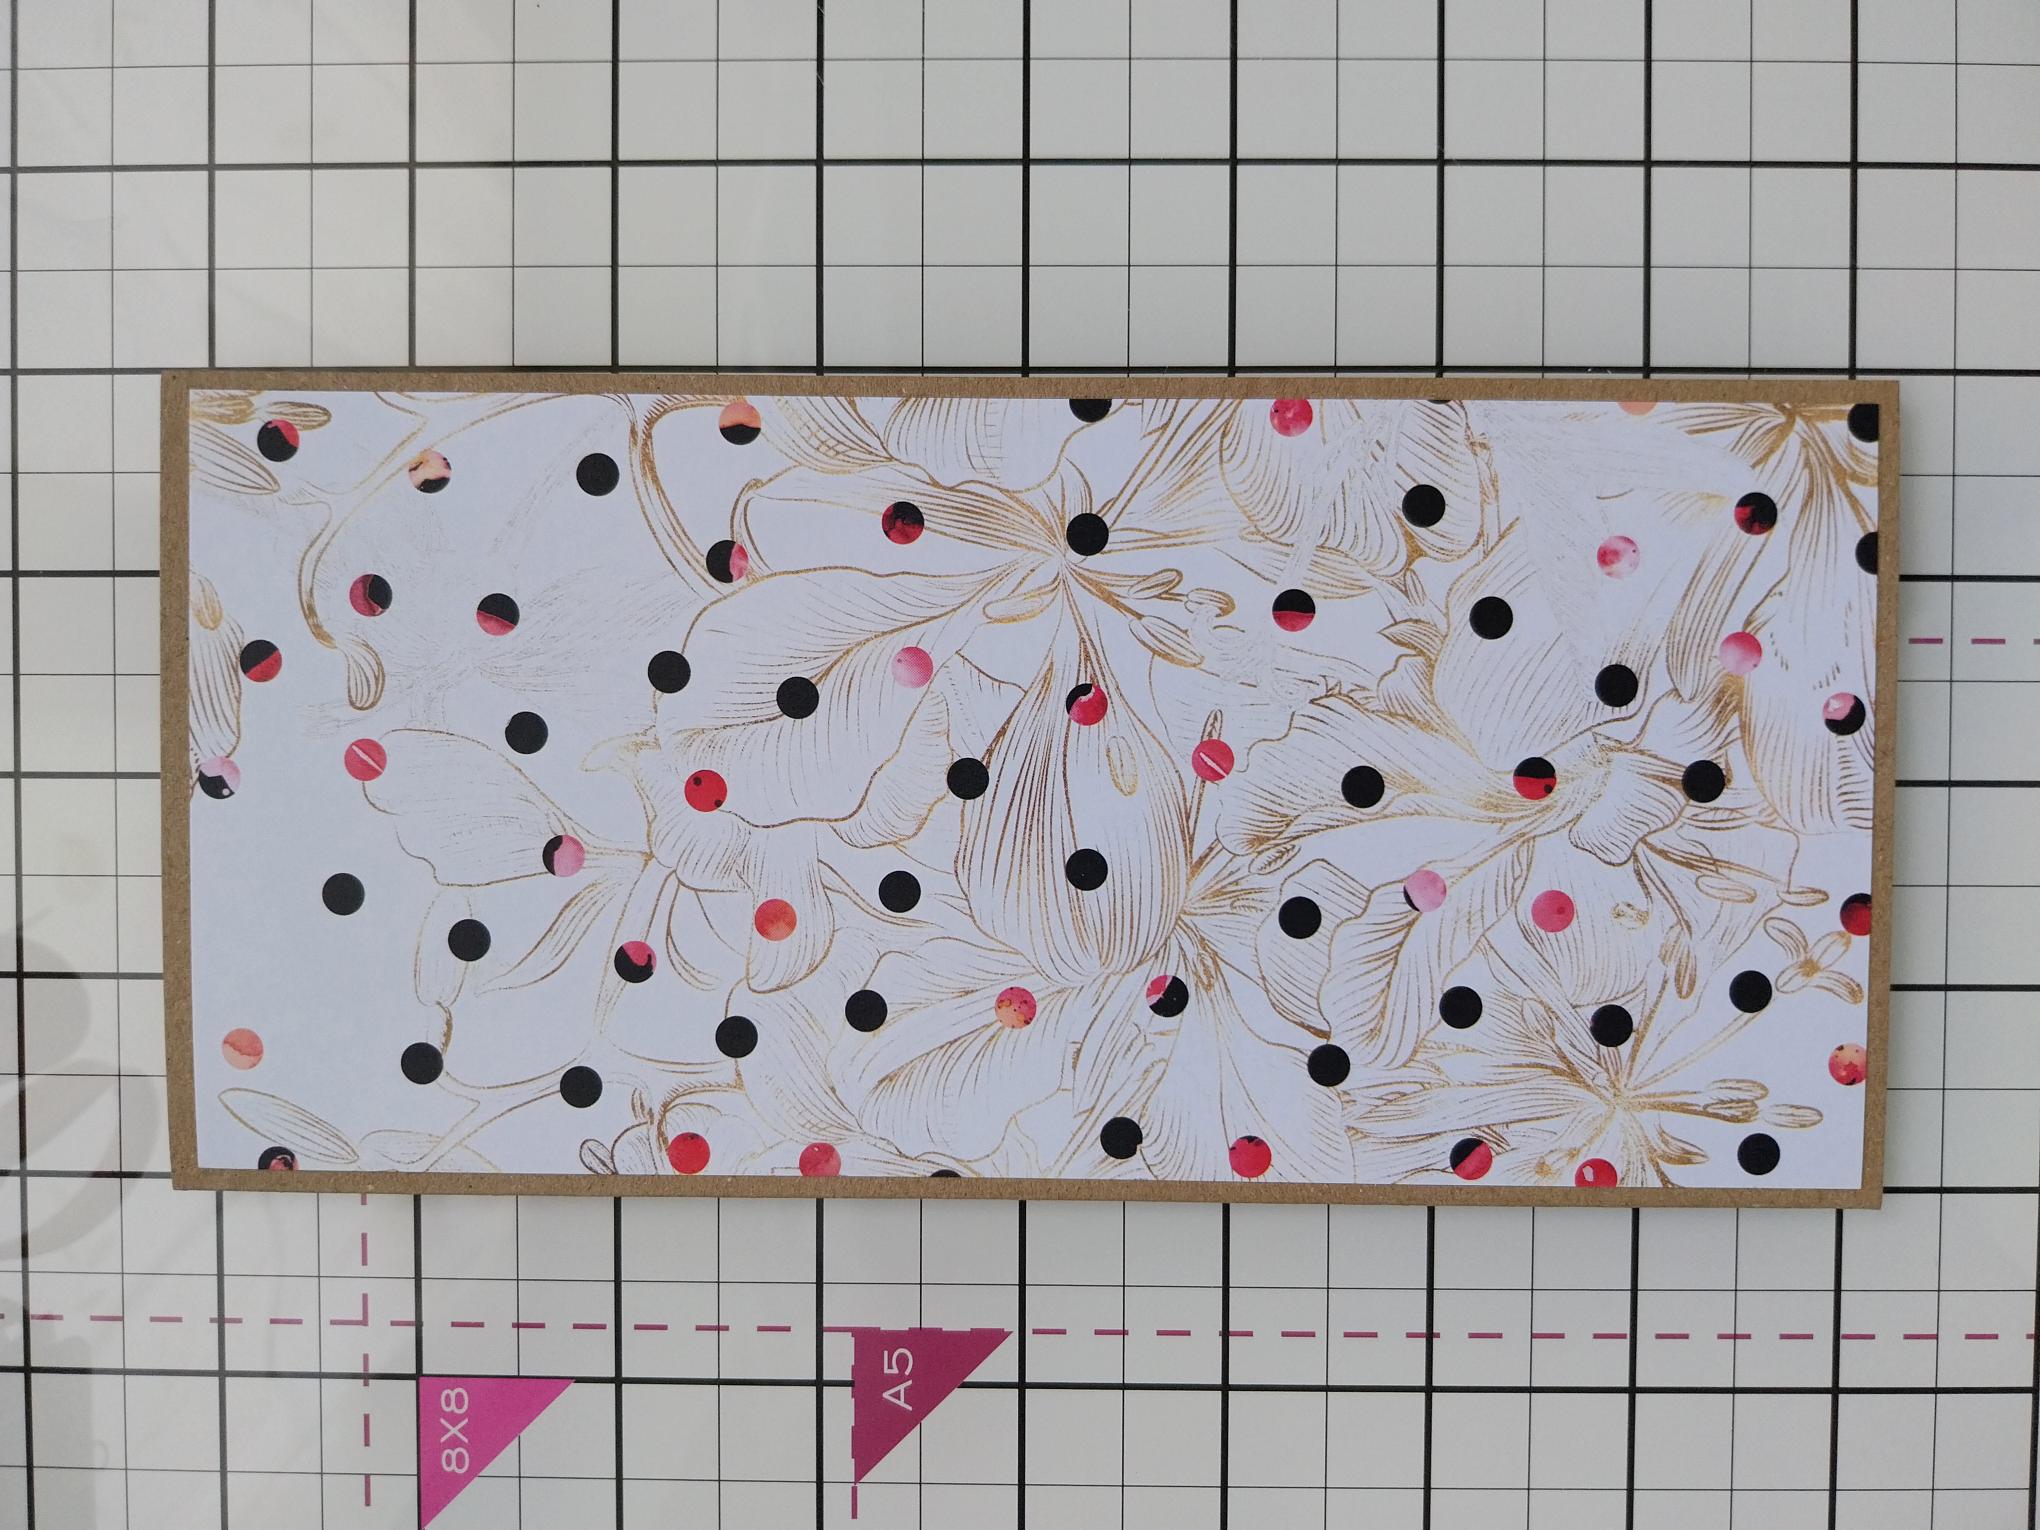
Trim this decorative paper, from the Bloom & Wild paper pack, to 8 x 3 3/4". Adhere to the front of your kraft card blank. |
|
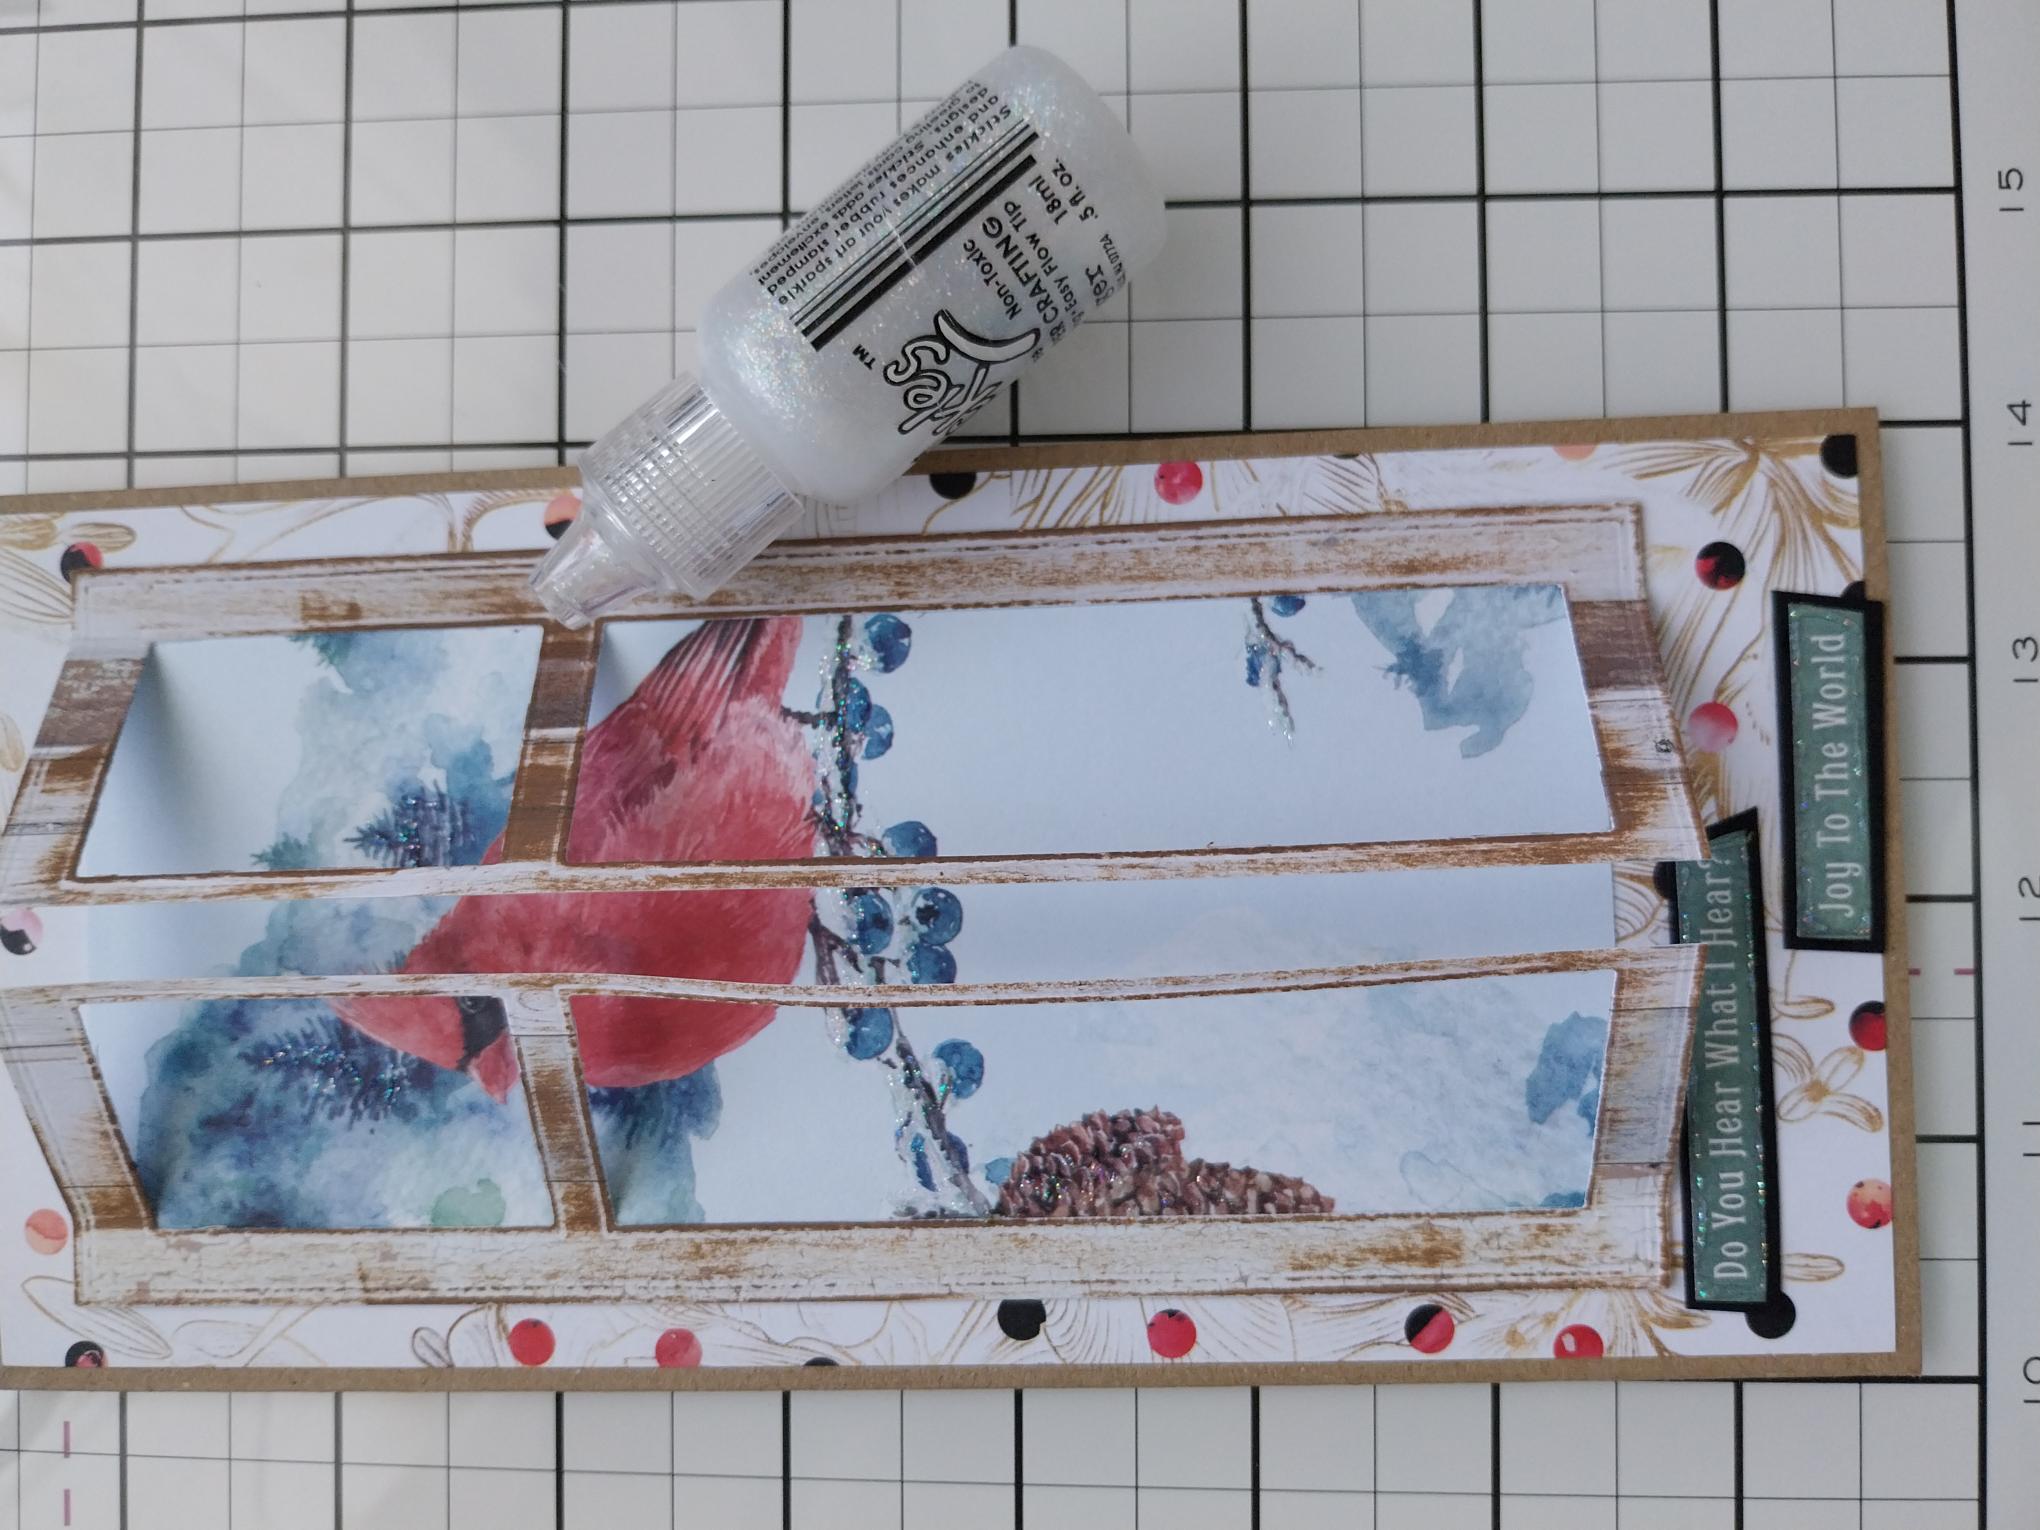
Adhere your window on to your card. Cut out these sentiments from the Cotton Pine sentiments tabs sheet. Swipe around the edges of your tabs with your Midnight ink pad, before adhering under the window. |
|
Use your Stickles to add a touch of winter sparkle as required. |