Give your friends $10 off their first order!
Refer a FRIEND


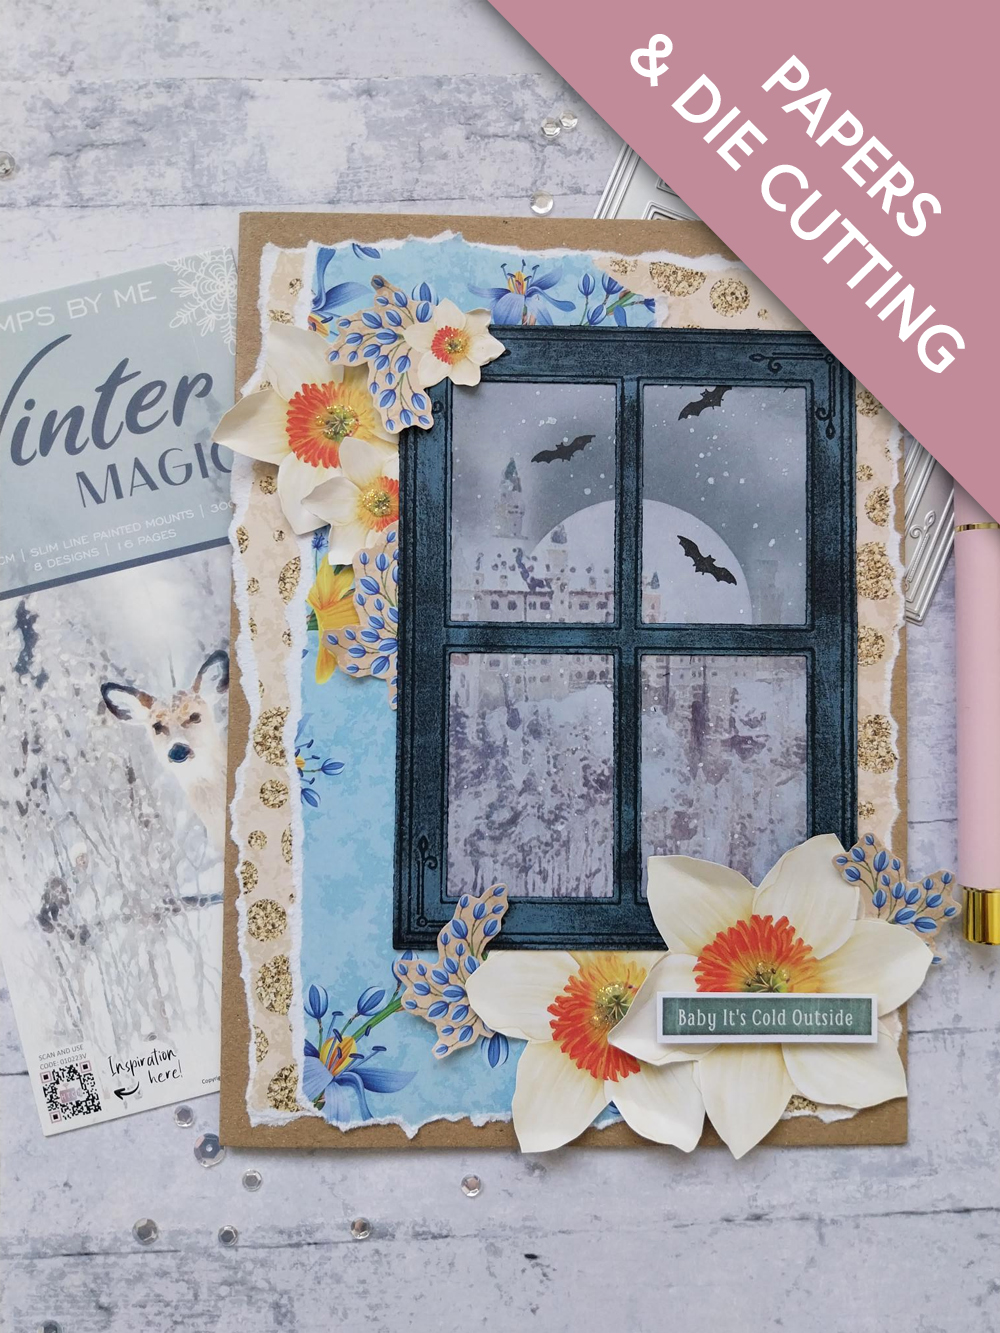
WHAT YOU WILL NEED:
Kraft card blank 8 x 5 1/2"
Black cardstock
Winter Magic Slim Line Painted Mounts
Beautiful View Die Set
Trick or Treat Stamp Set (Halloween Reflection Bundle)
Paperchain Cotton Breeze 8 x 8" Paper Pack
Cotton Pines Create Together Box Sentiment Tabs Sheet
SBM Hybrid Ink Pad: Midnight
SBM Pigment Ink Pad: Cotton
Distress Oxide Ink Pad: Lost Shadow
Blending brush
WOW heat tool
Circle mask (Moon)
Paint brush
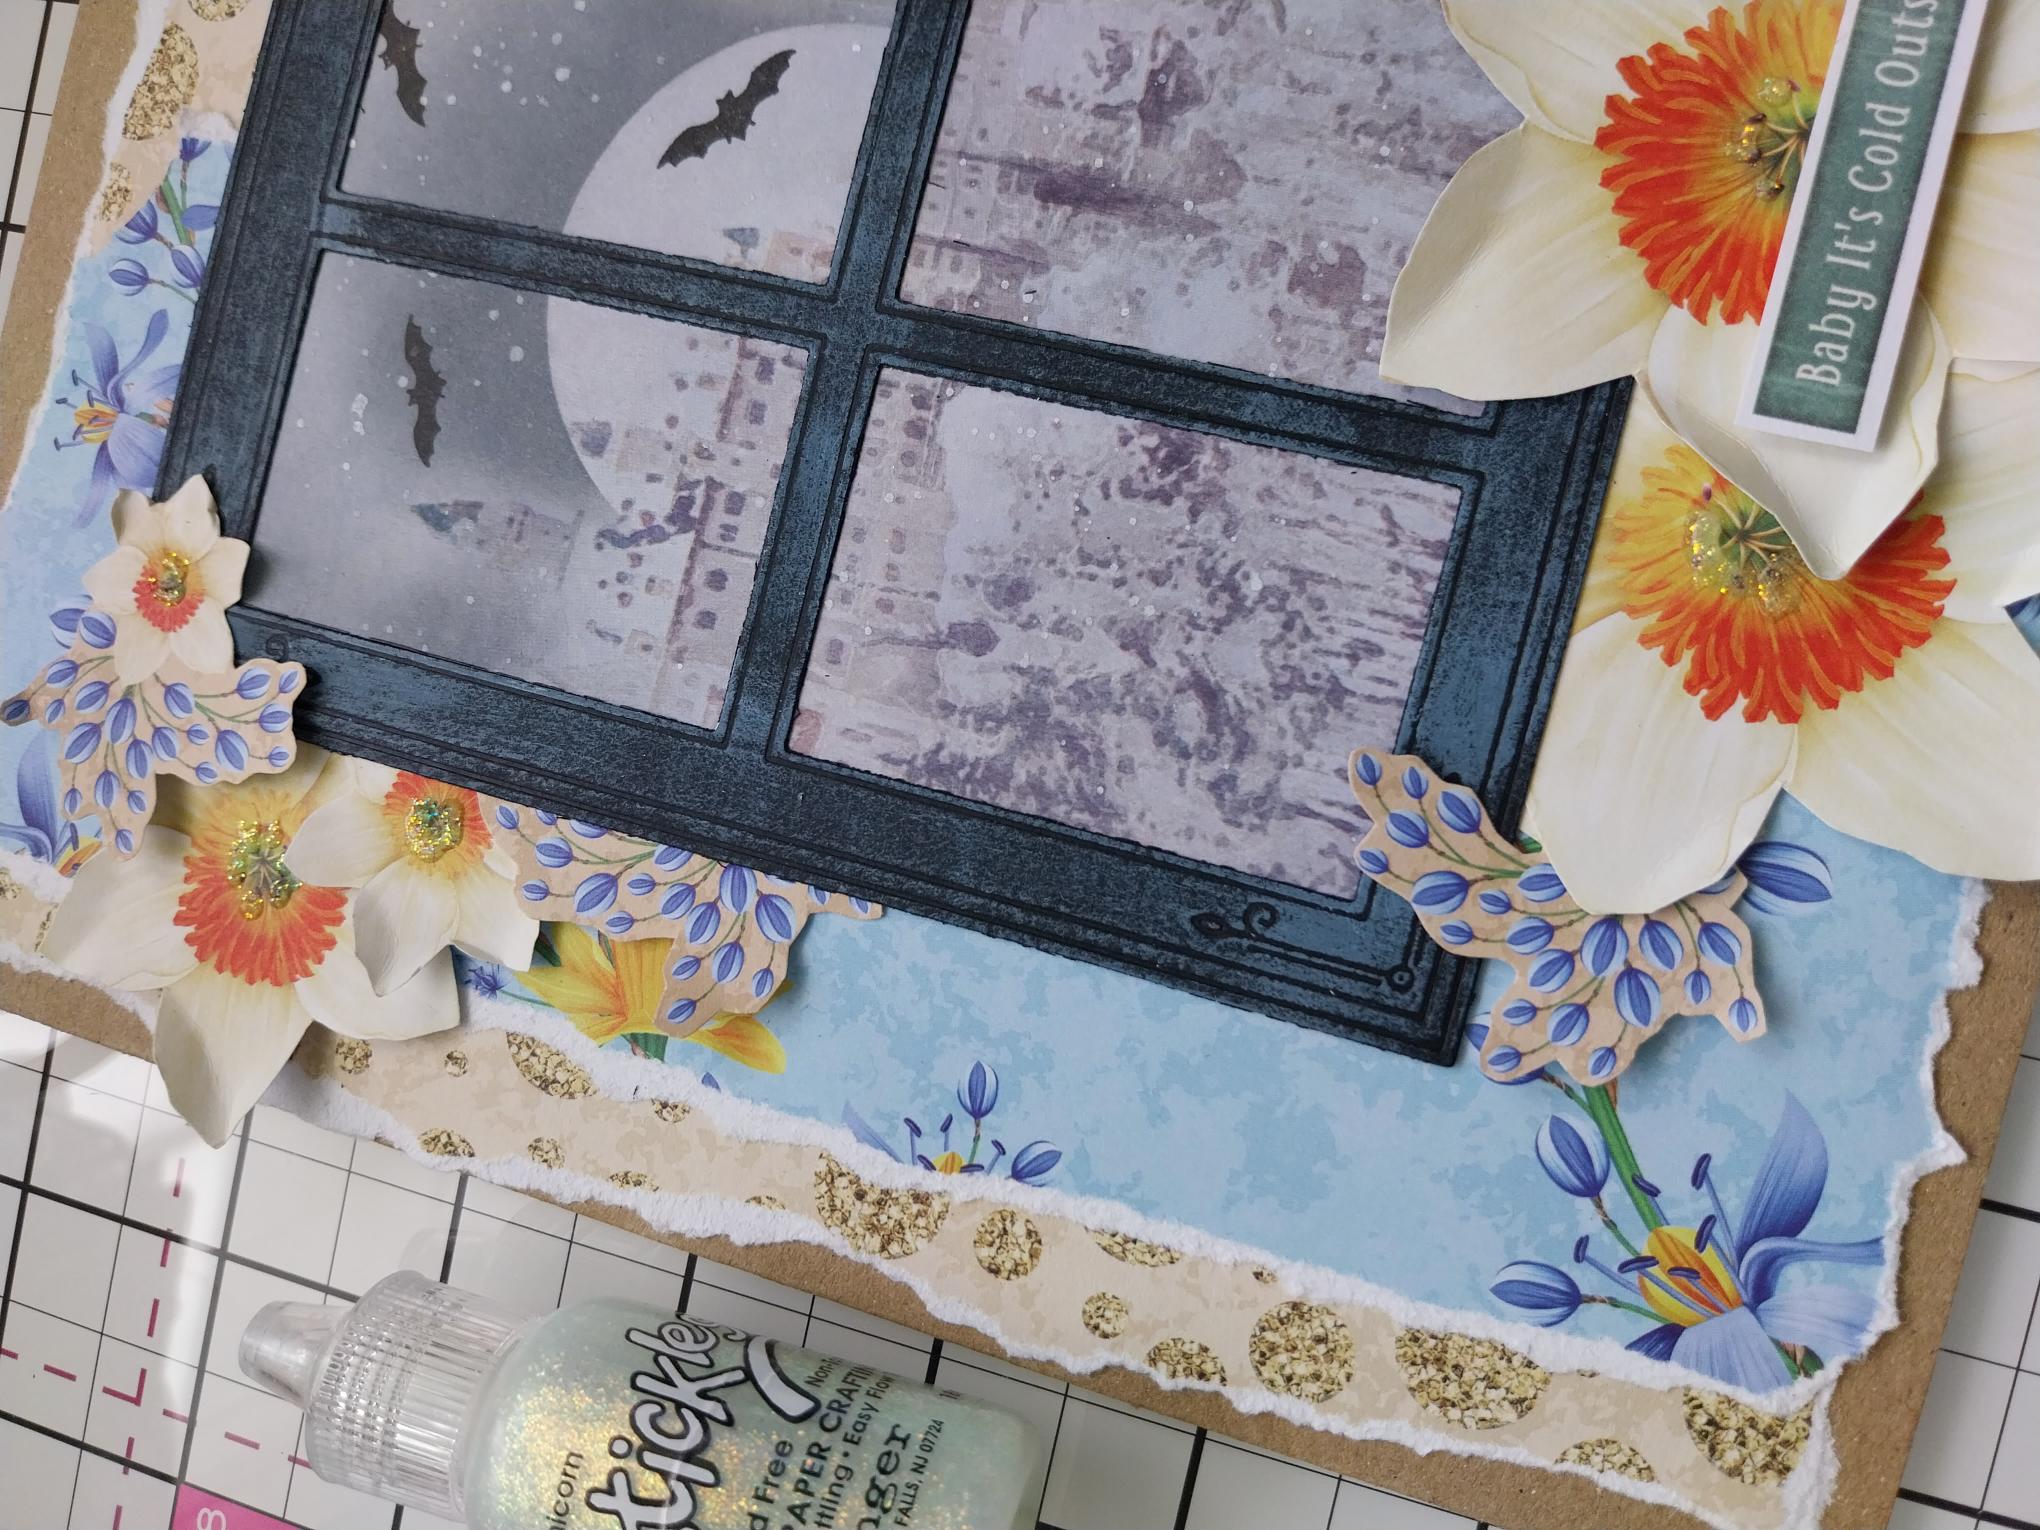
Stickles: Unicorn
Eureka 101 Watercolour Tablet
SBM A3 Magnetic glass mat
Paper Trimmer
Glue
Die Cutting machine
[click image to enlarge] 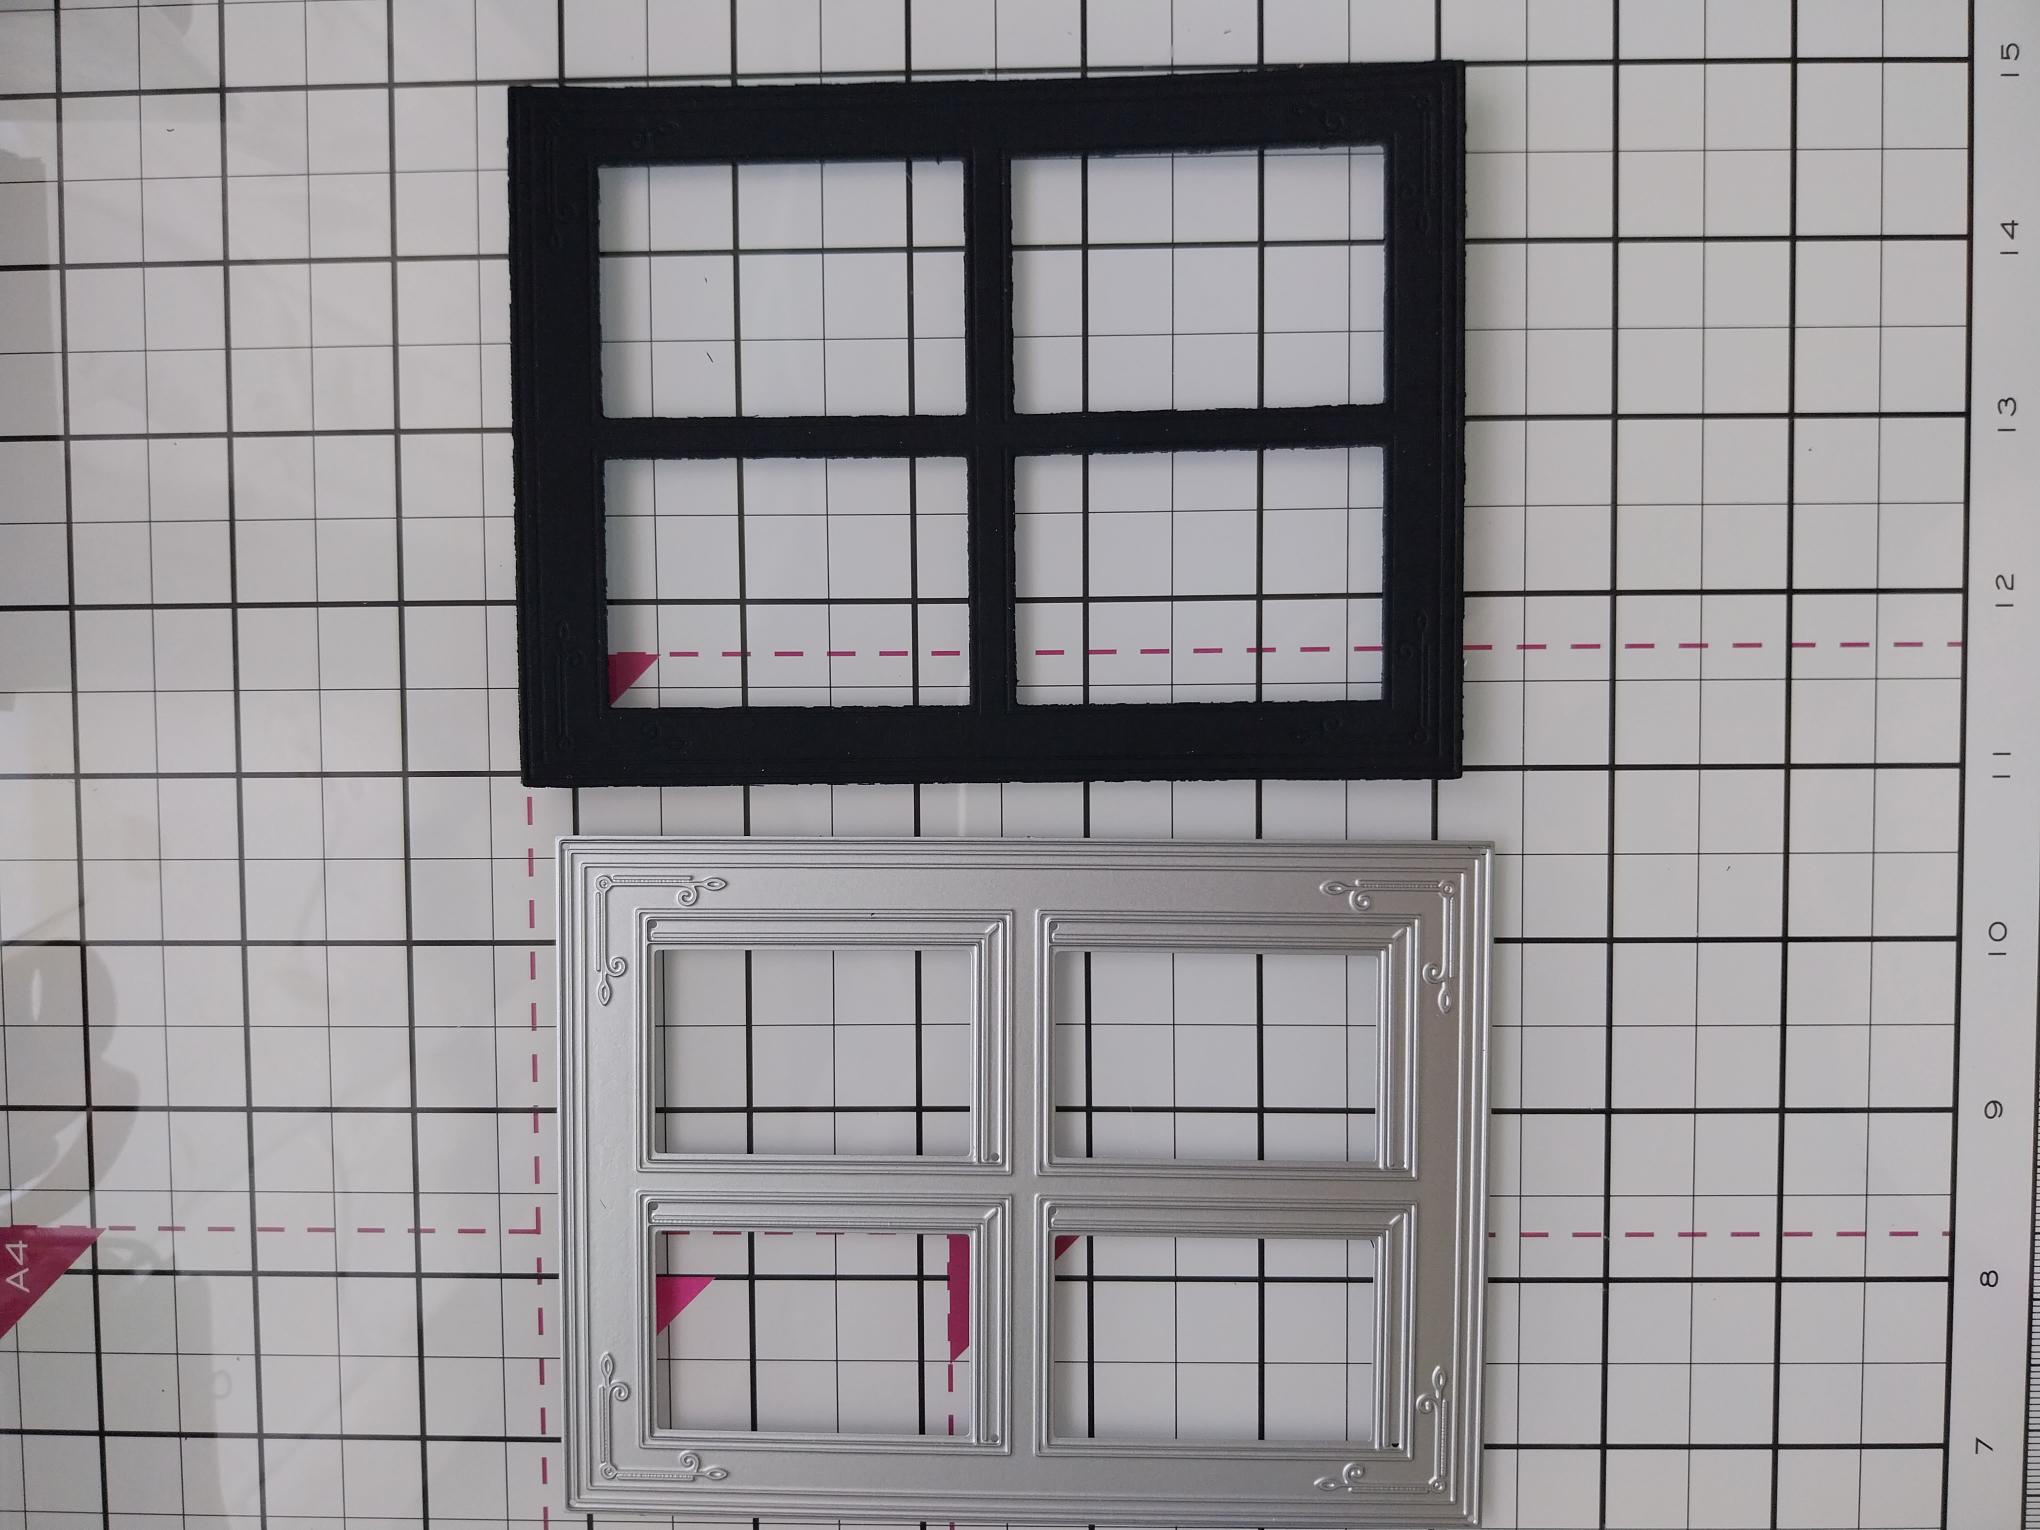
|
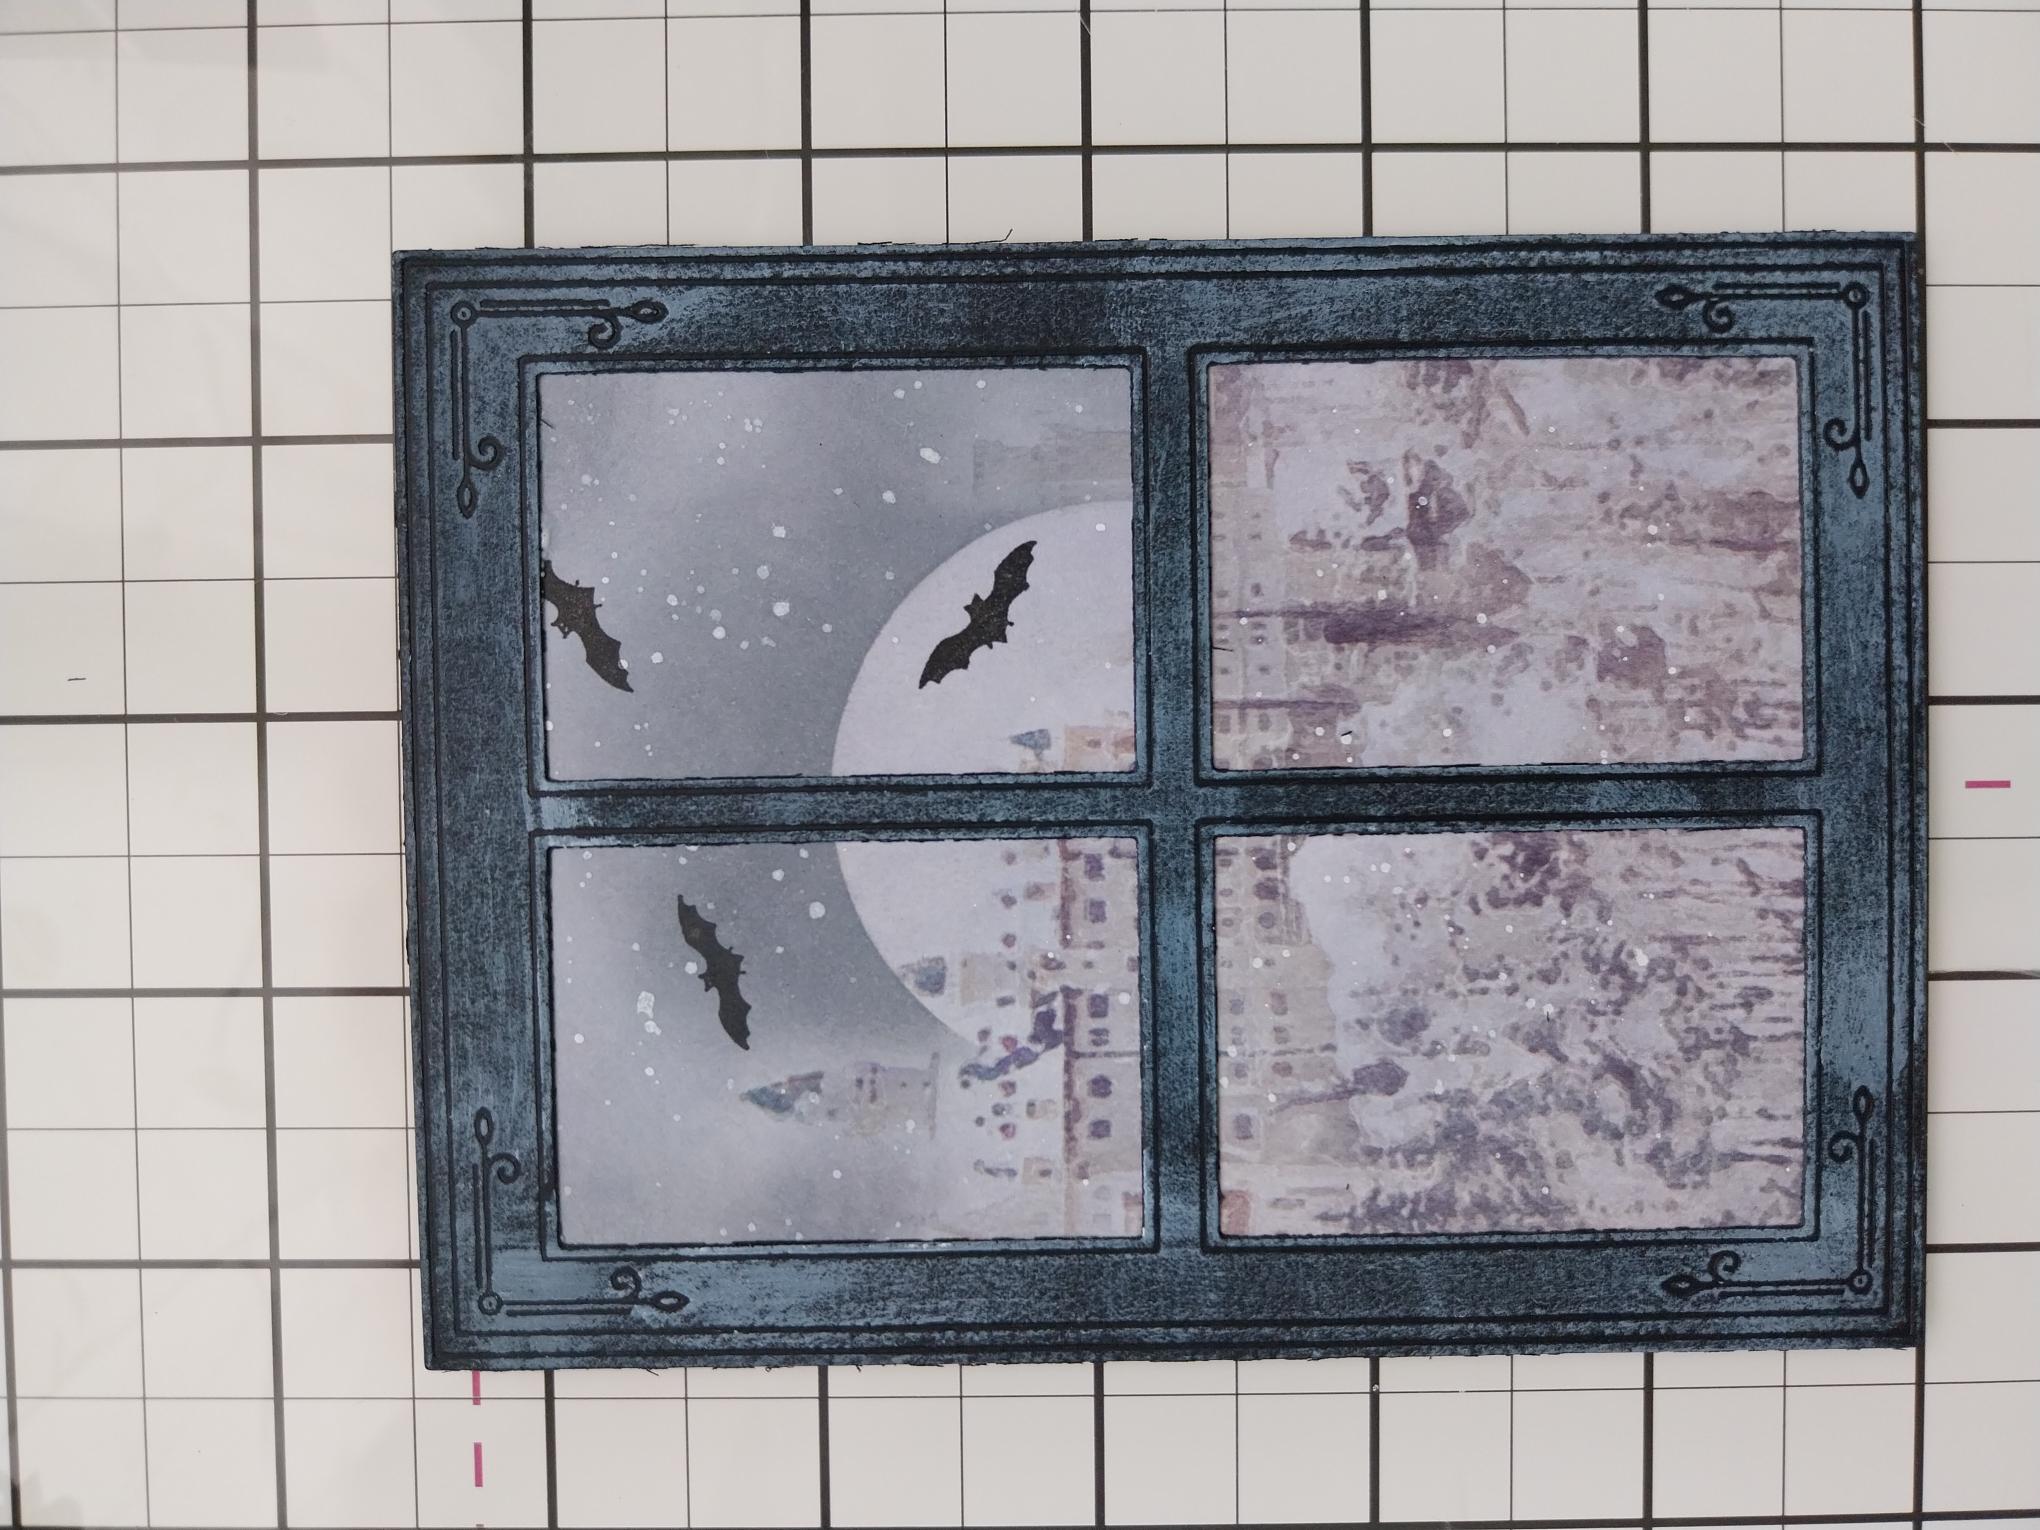
Place the window die on a piece of black card and run it through your die cutting machine. |
|
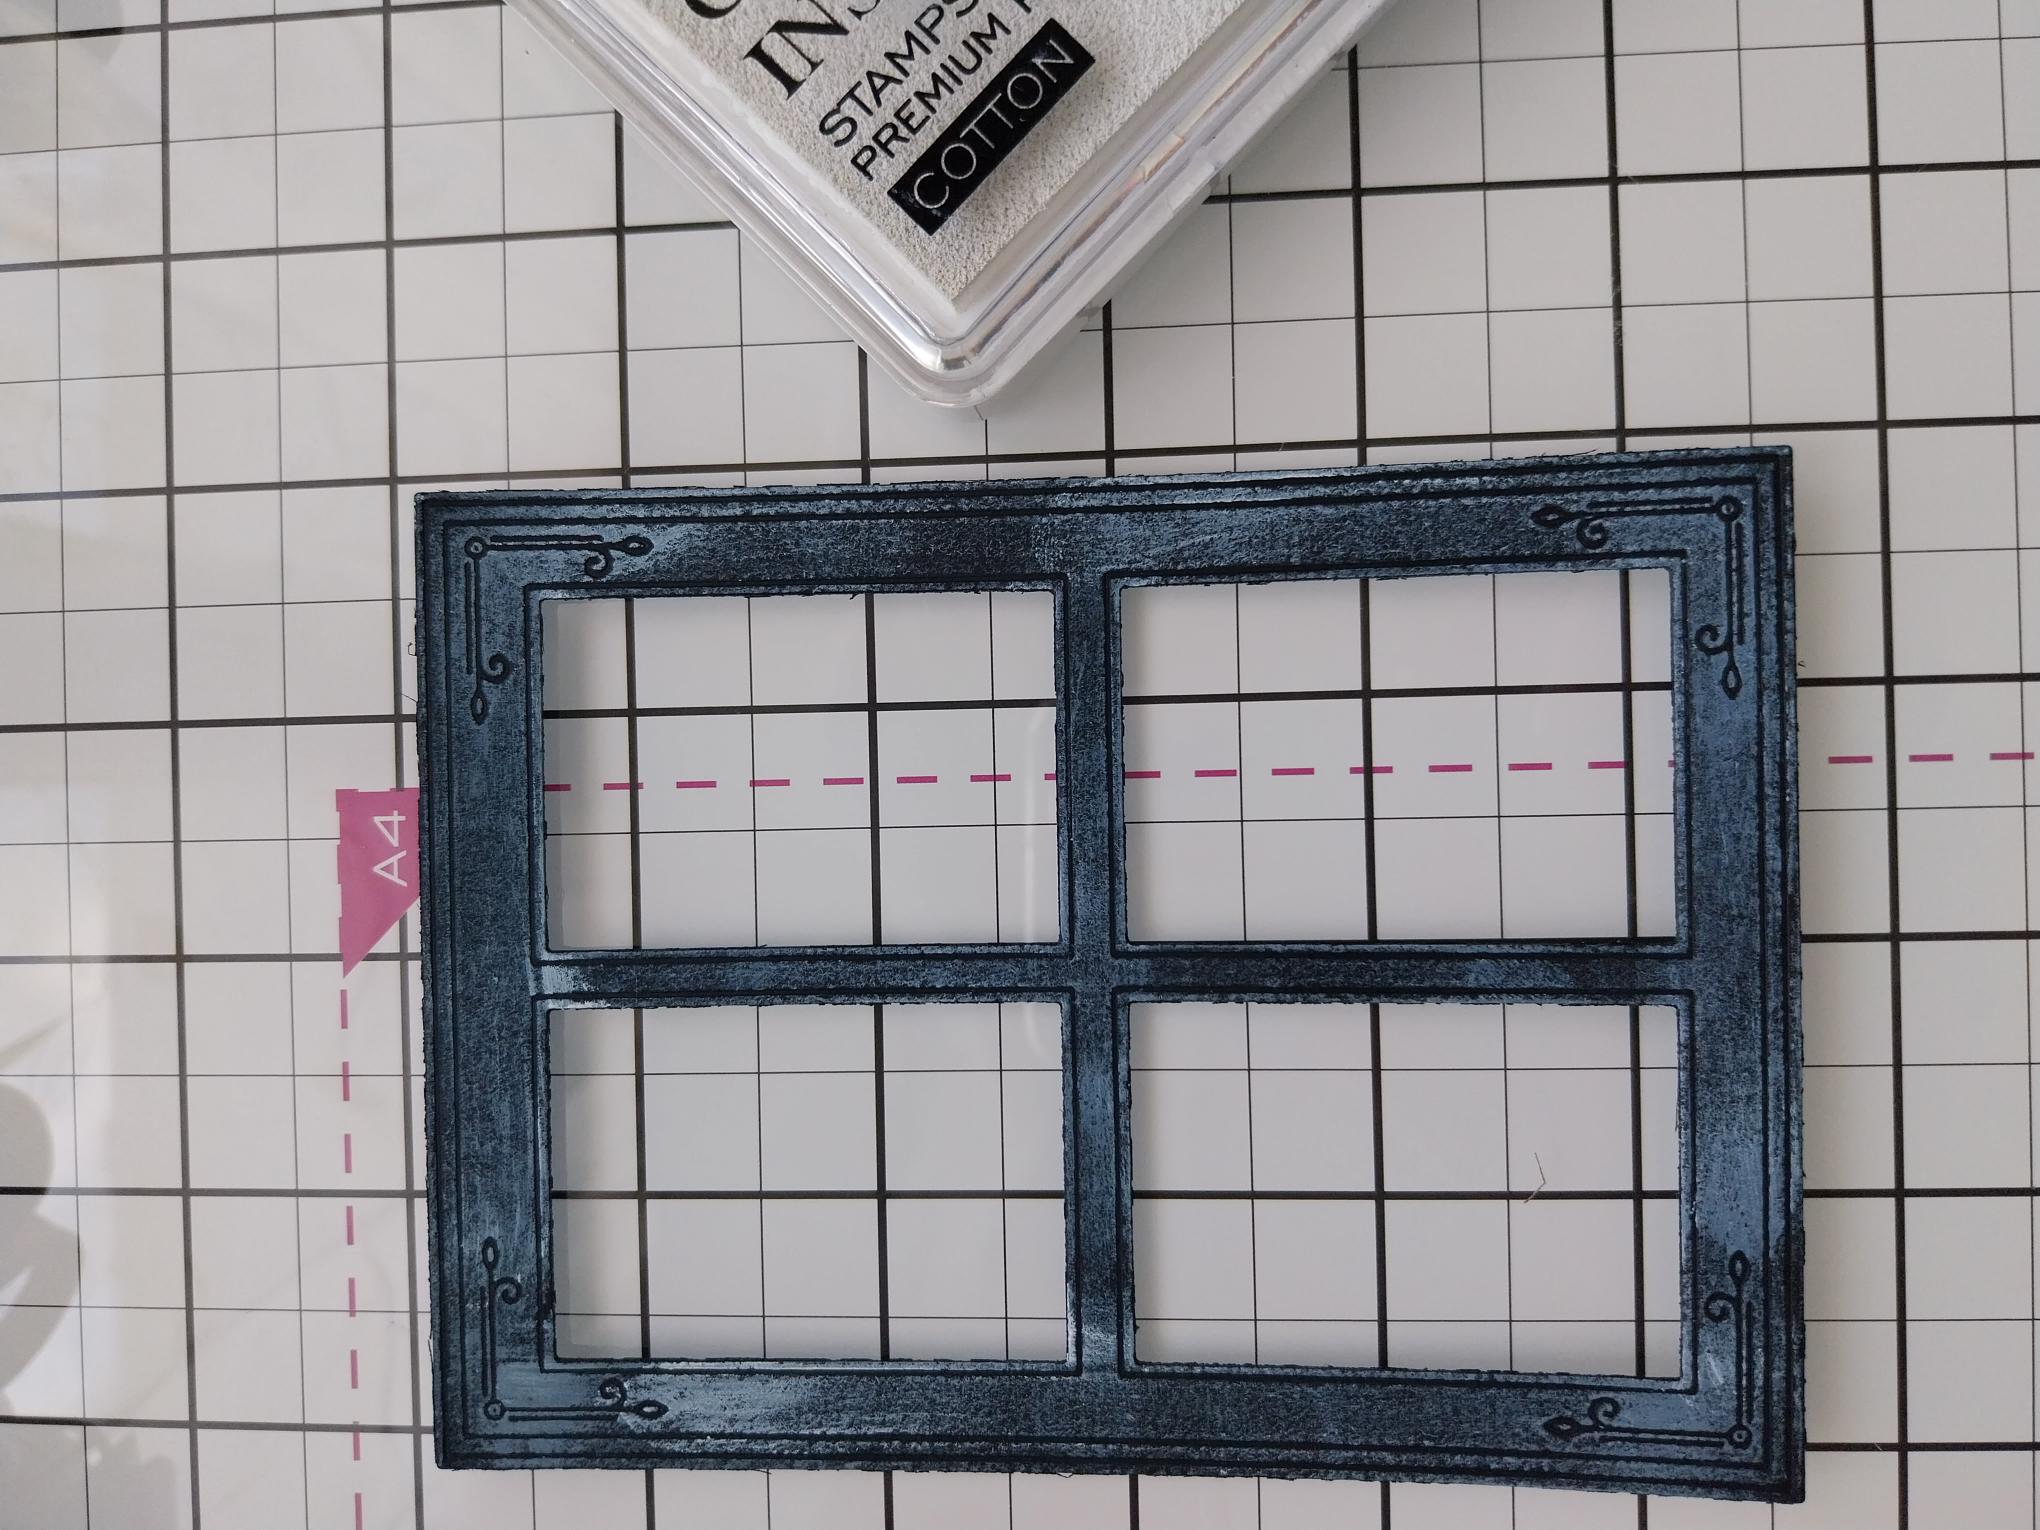
Gently swipe your Cotton ink pad around the window, to achieve a distressed effect. Blast dry with a heat tool, as pigment ink will smudge and is slow drying. |
|
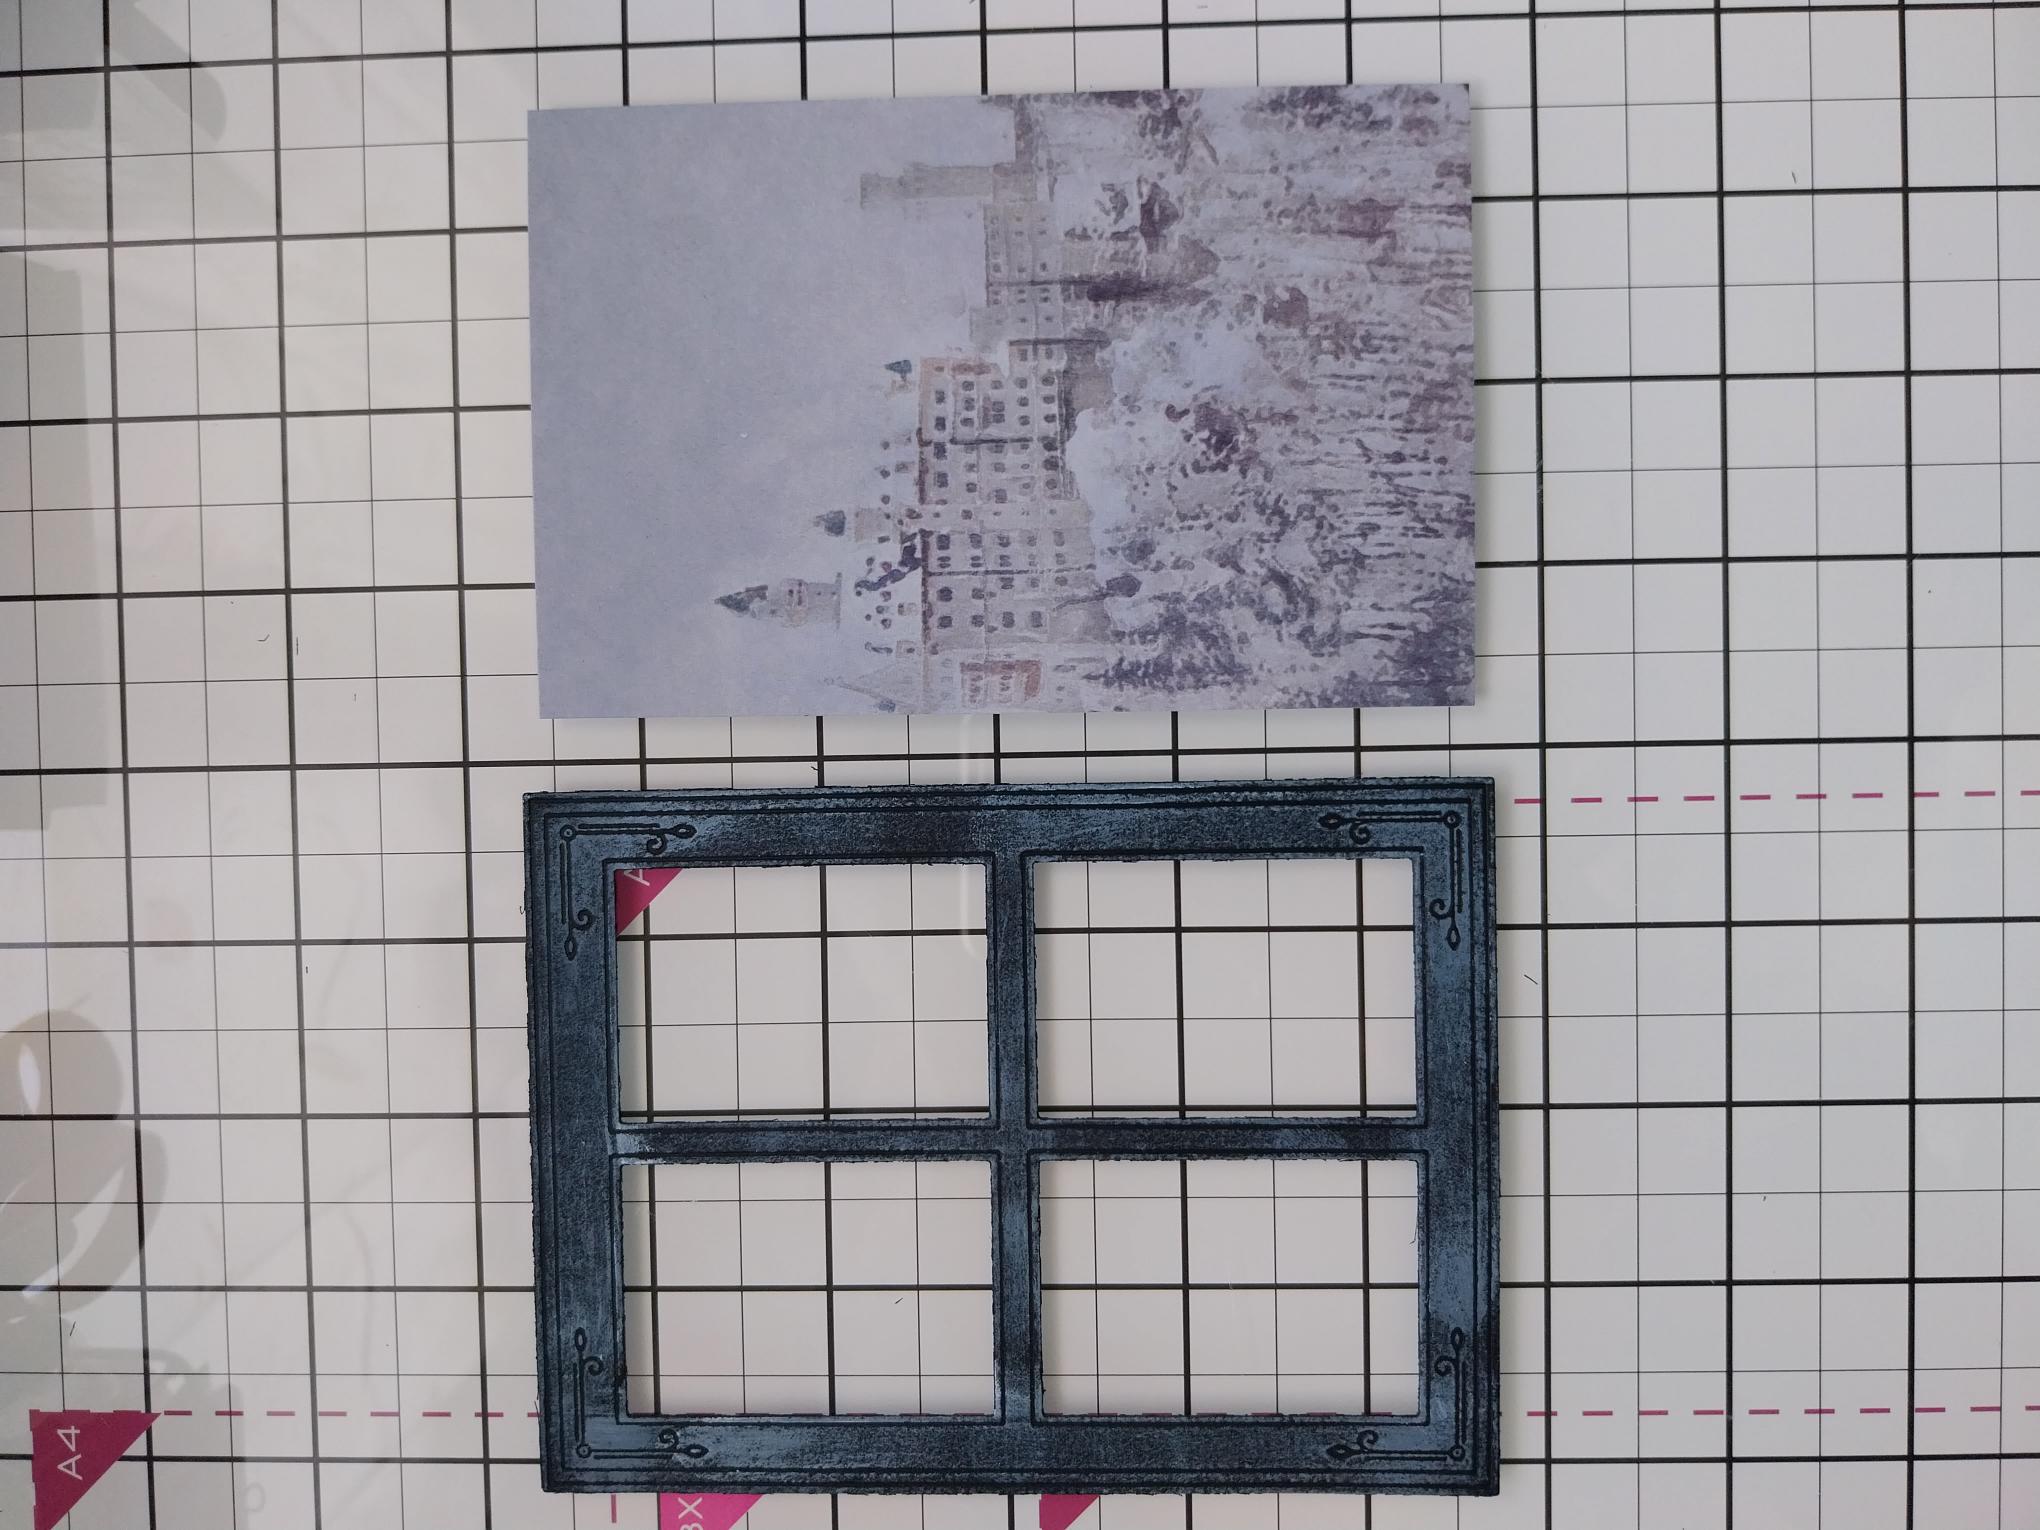
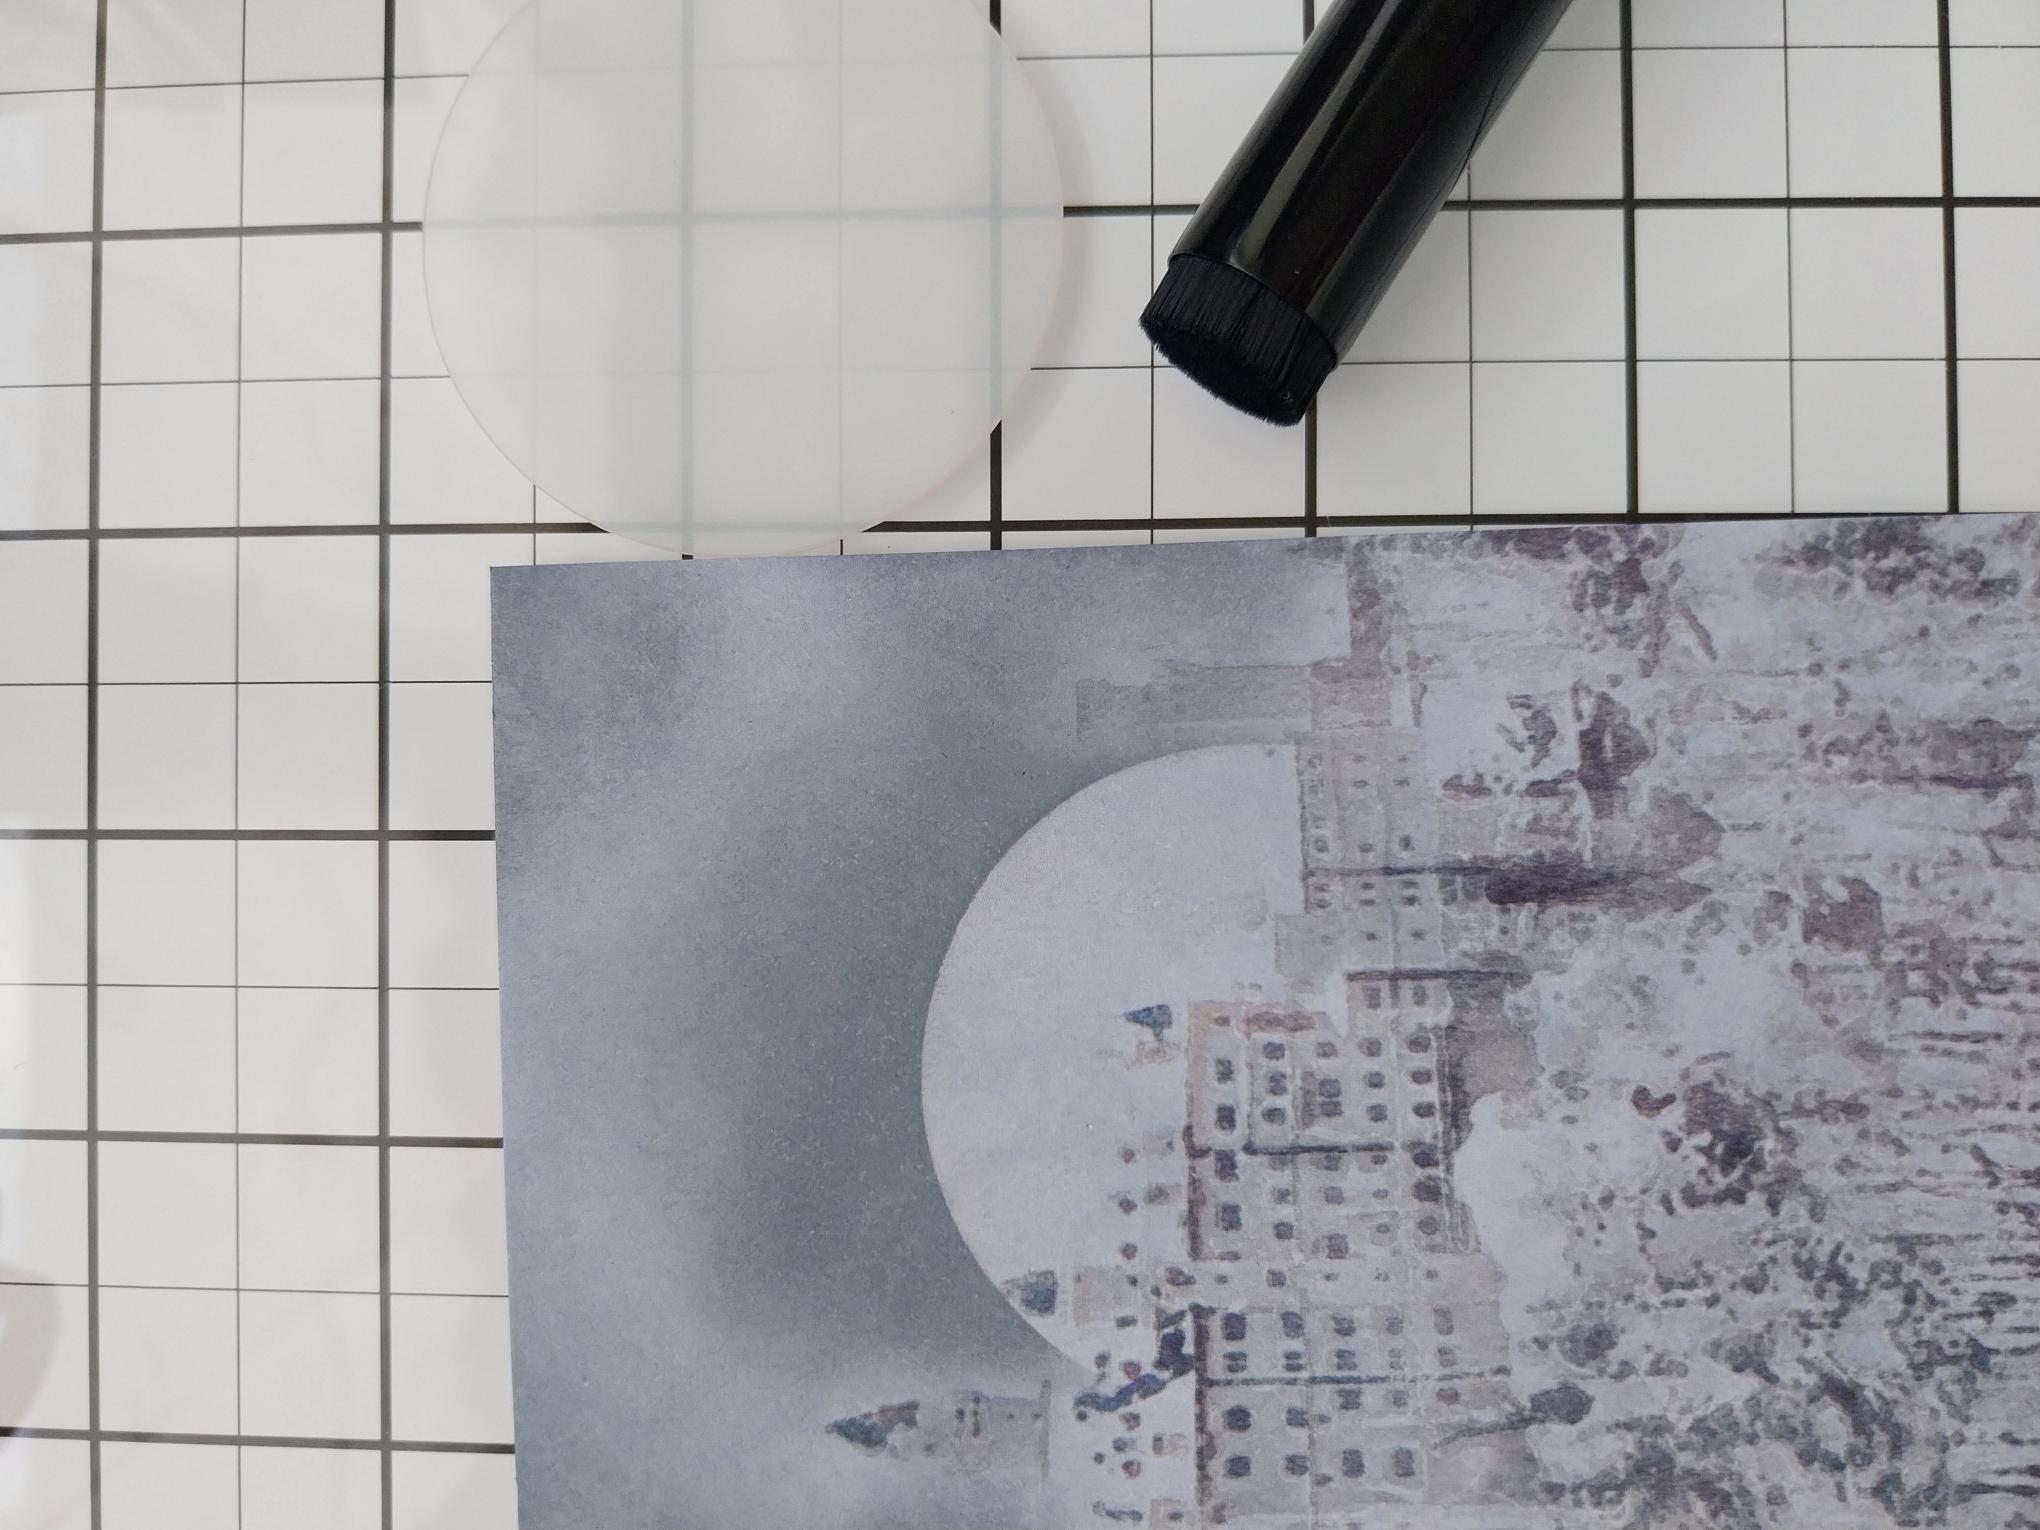
Trim this painted mount from the Winter Magic set, so it will fit behind your window. |
|
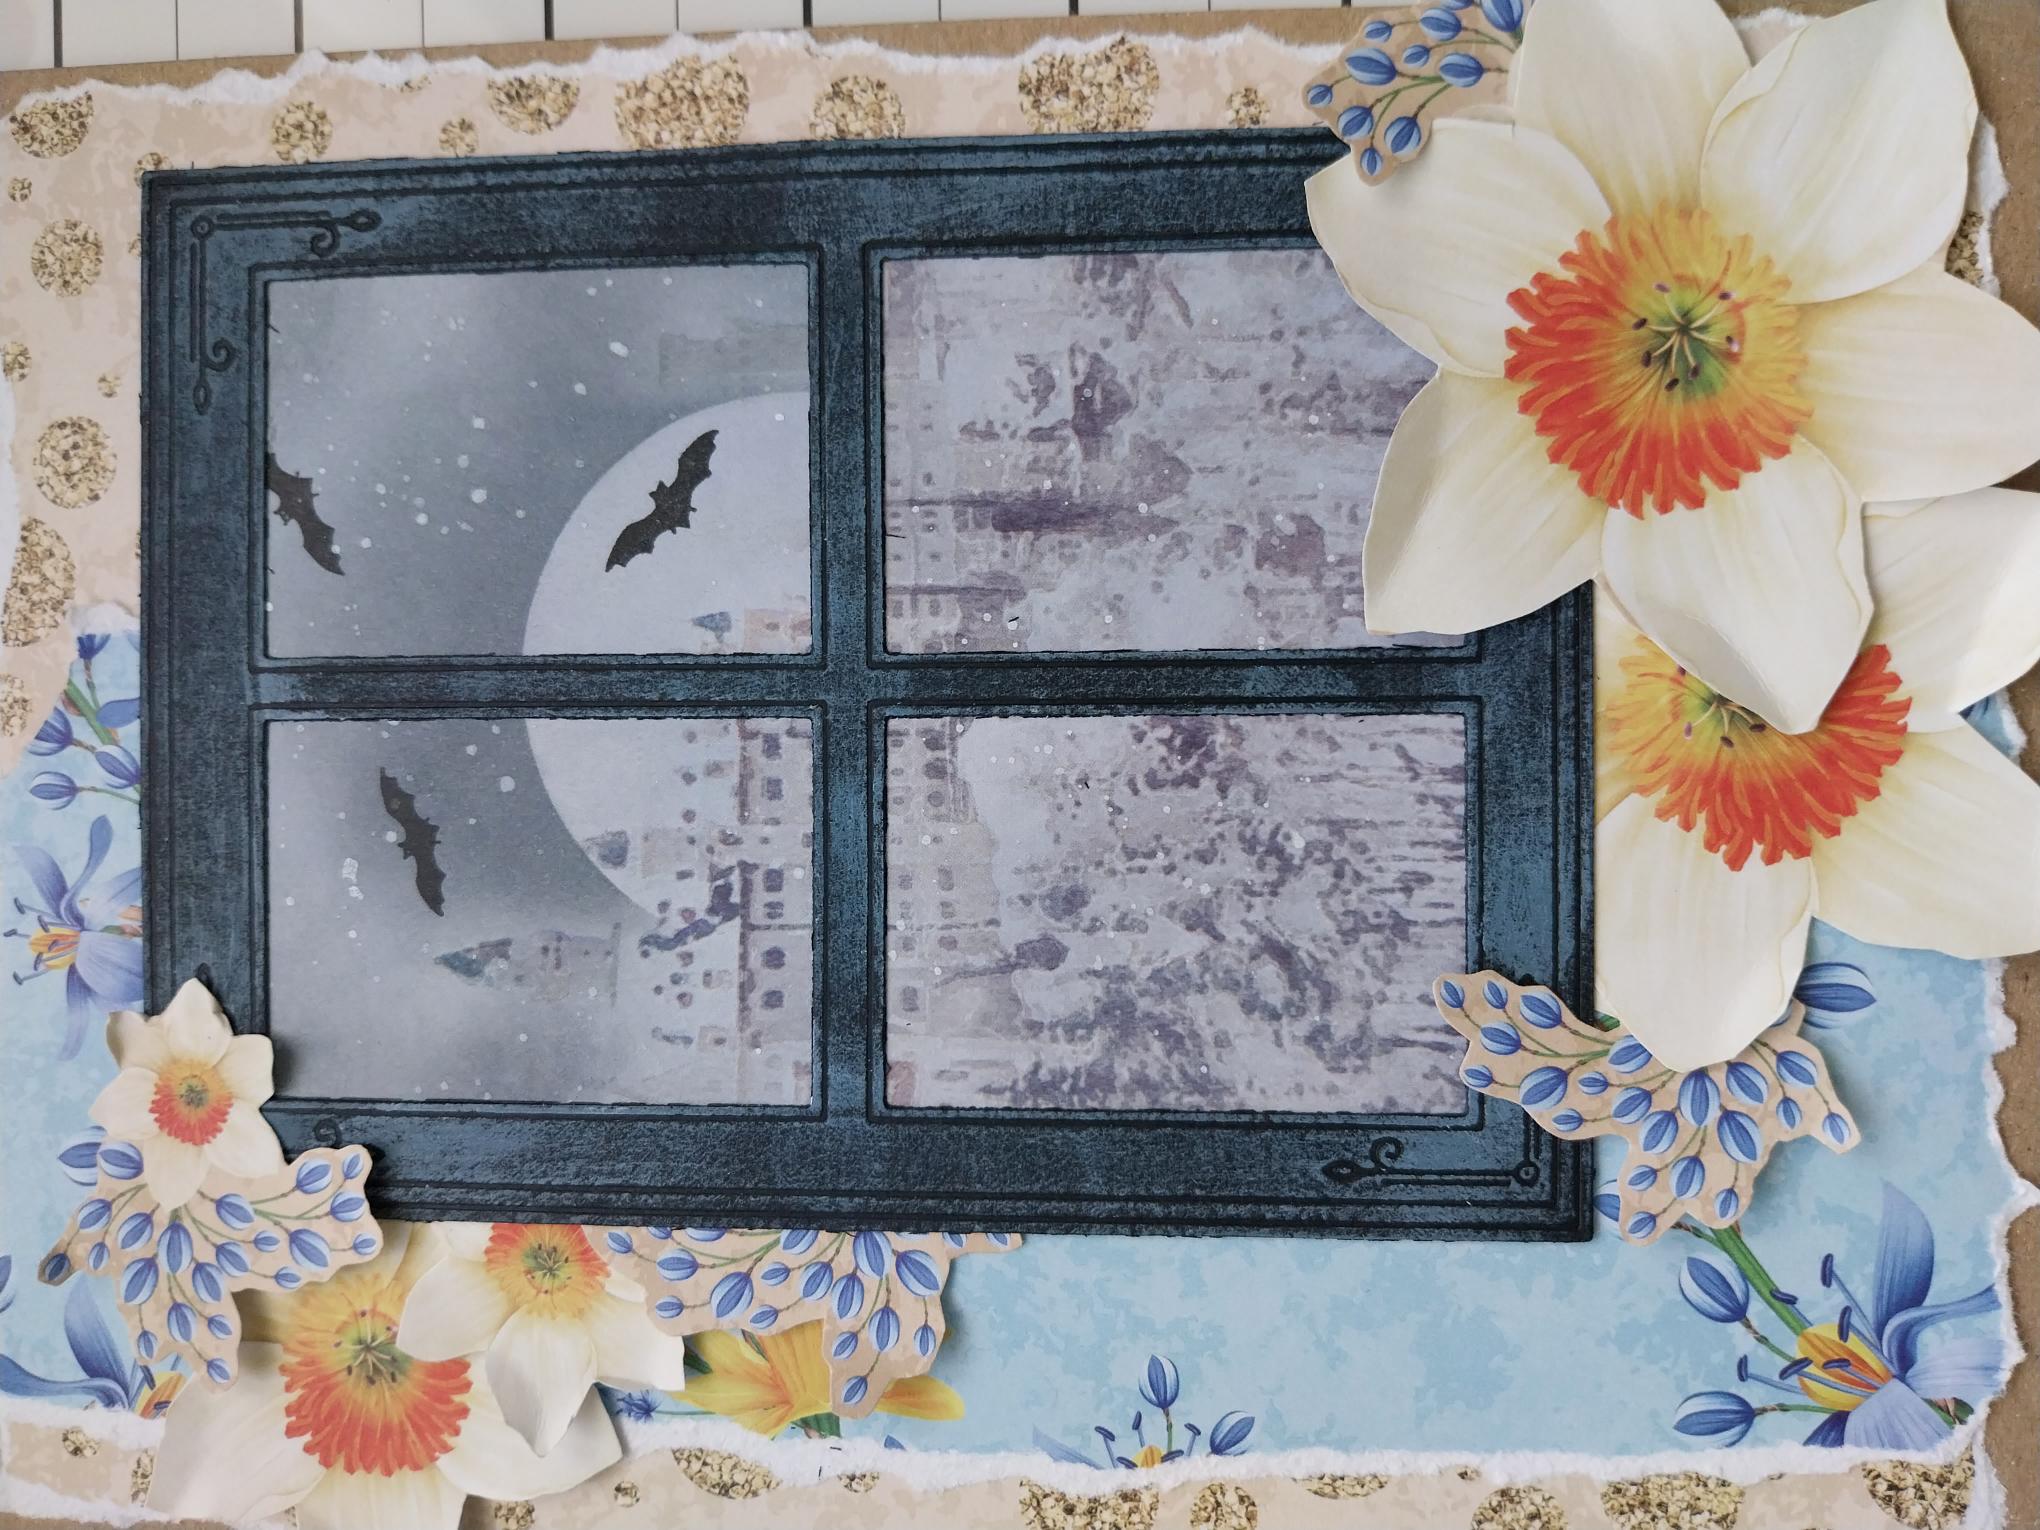
Place circle mask just above the skyline and use your blending brush to blend the Lost Shadow away from the mask, thus creating a rising Moon effect. |
|
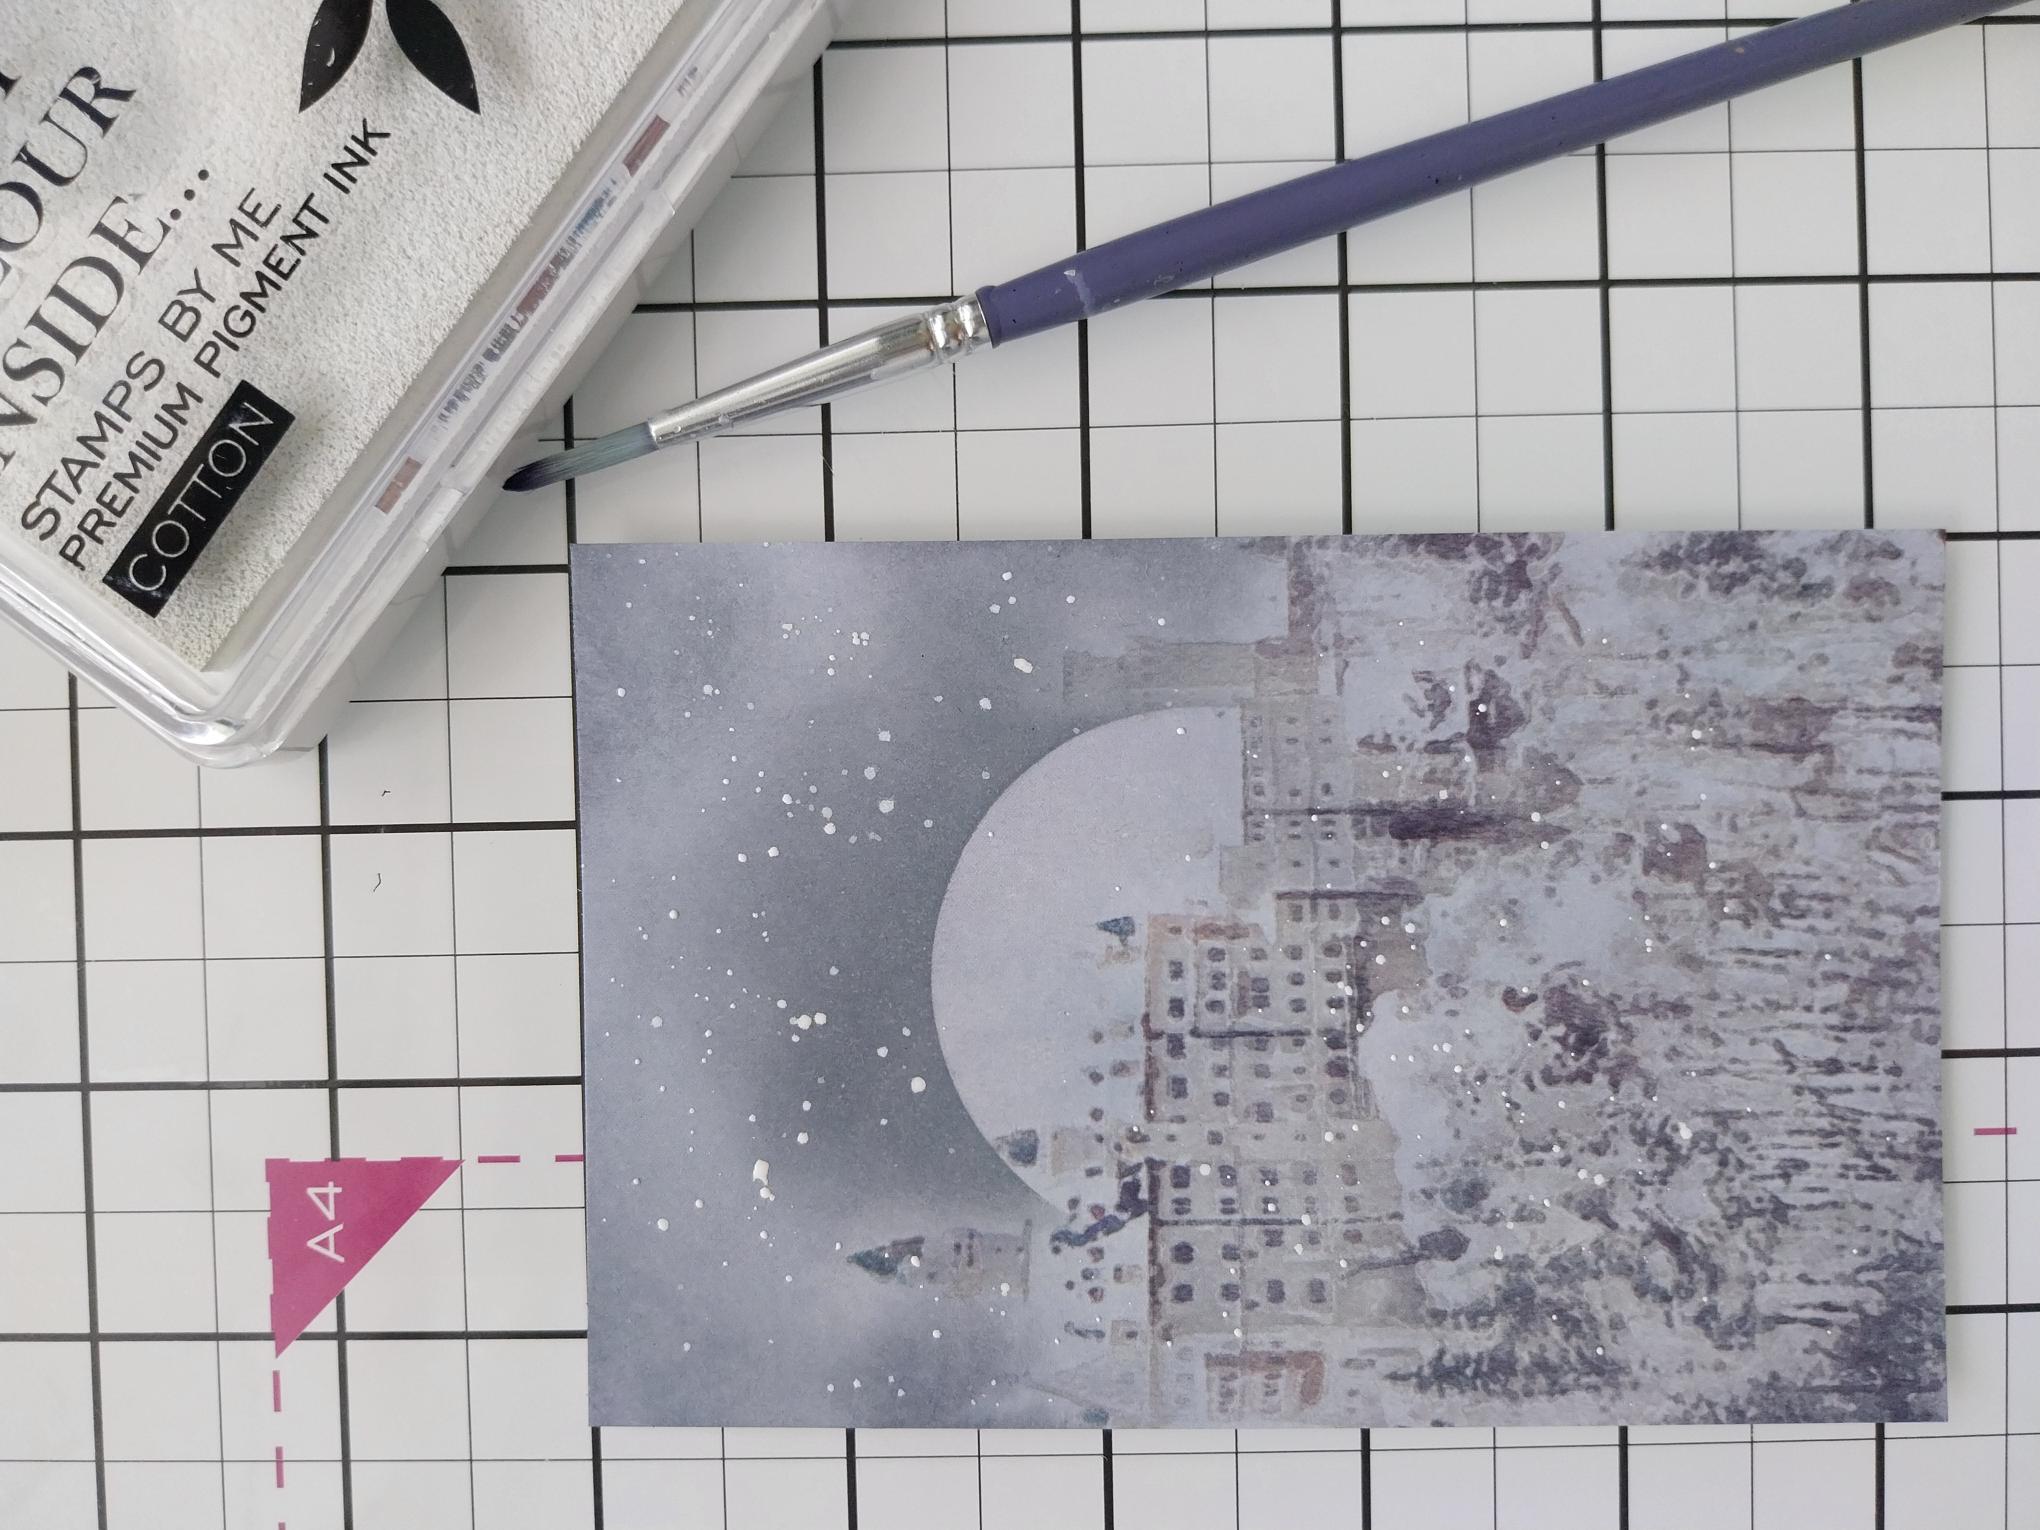
Pop a little Cotton ink on to your glass mat, spritz with water and splatter on to your artwork. Dry thoroughly with your heat tool. |
|
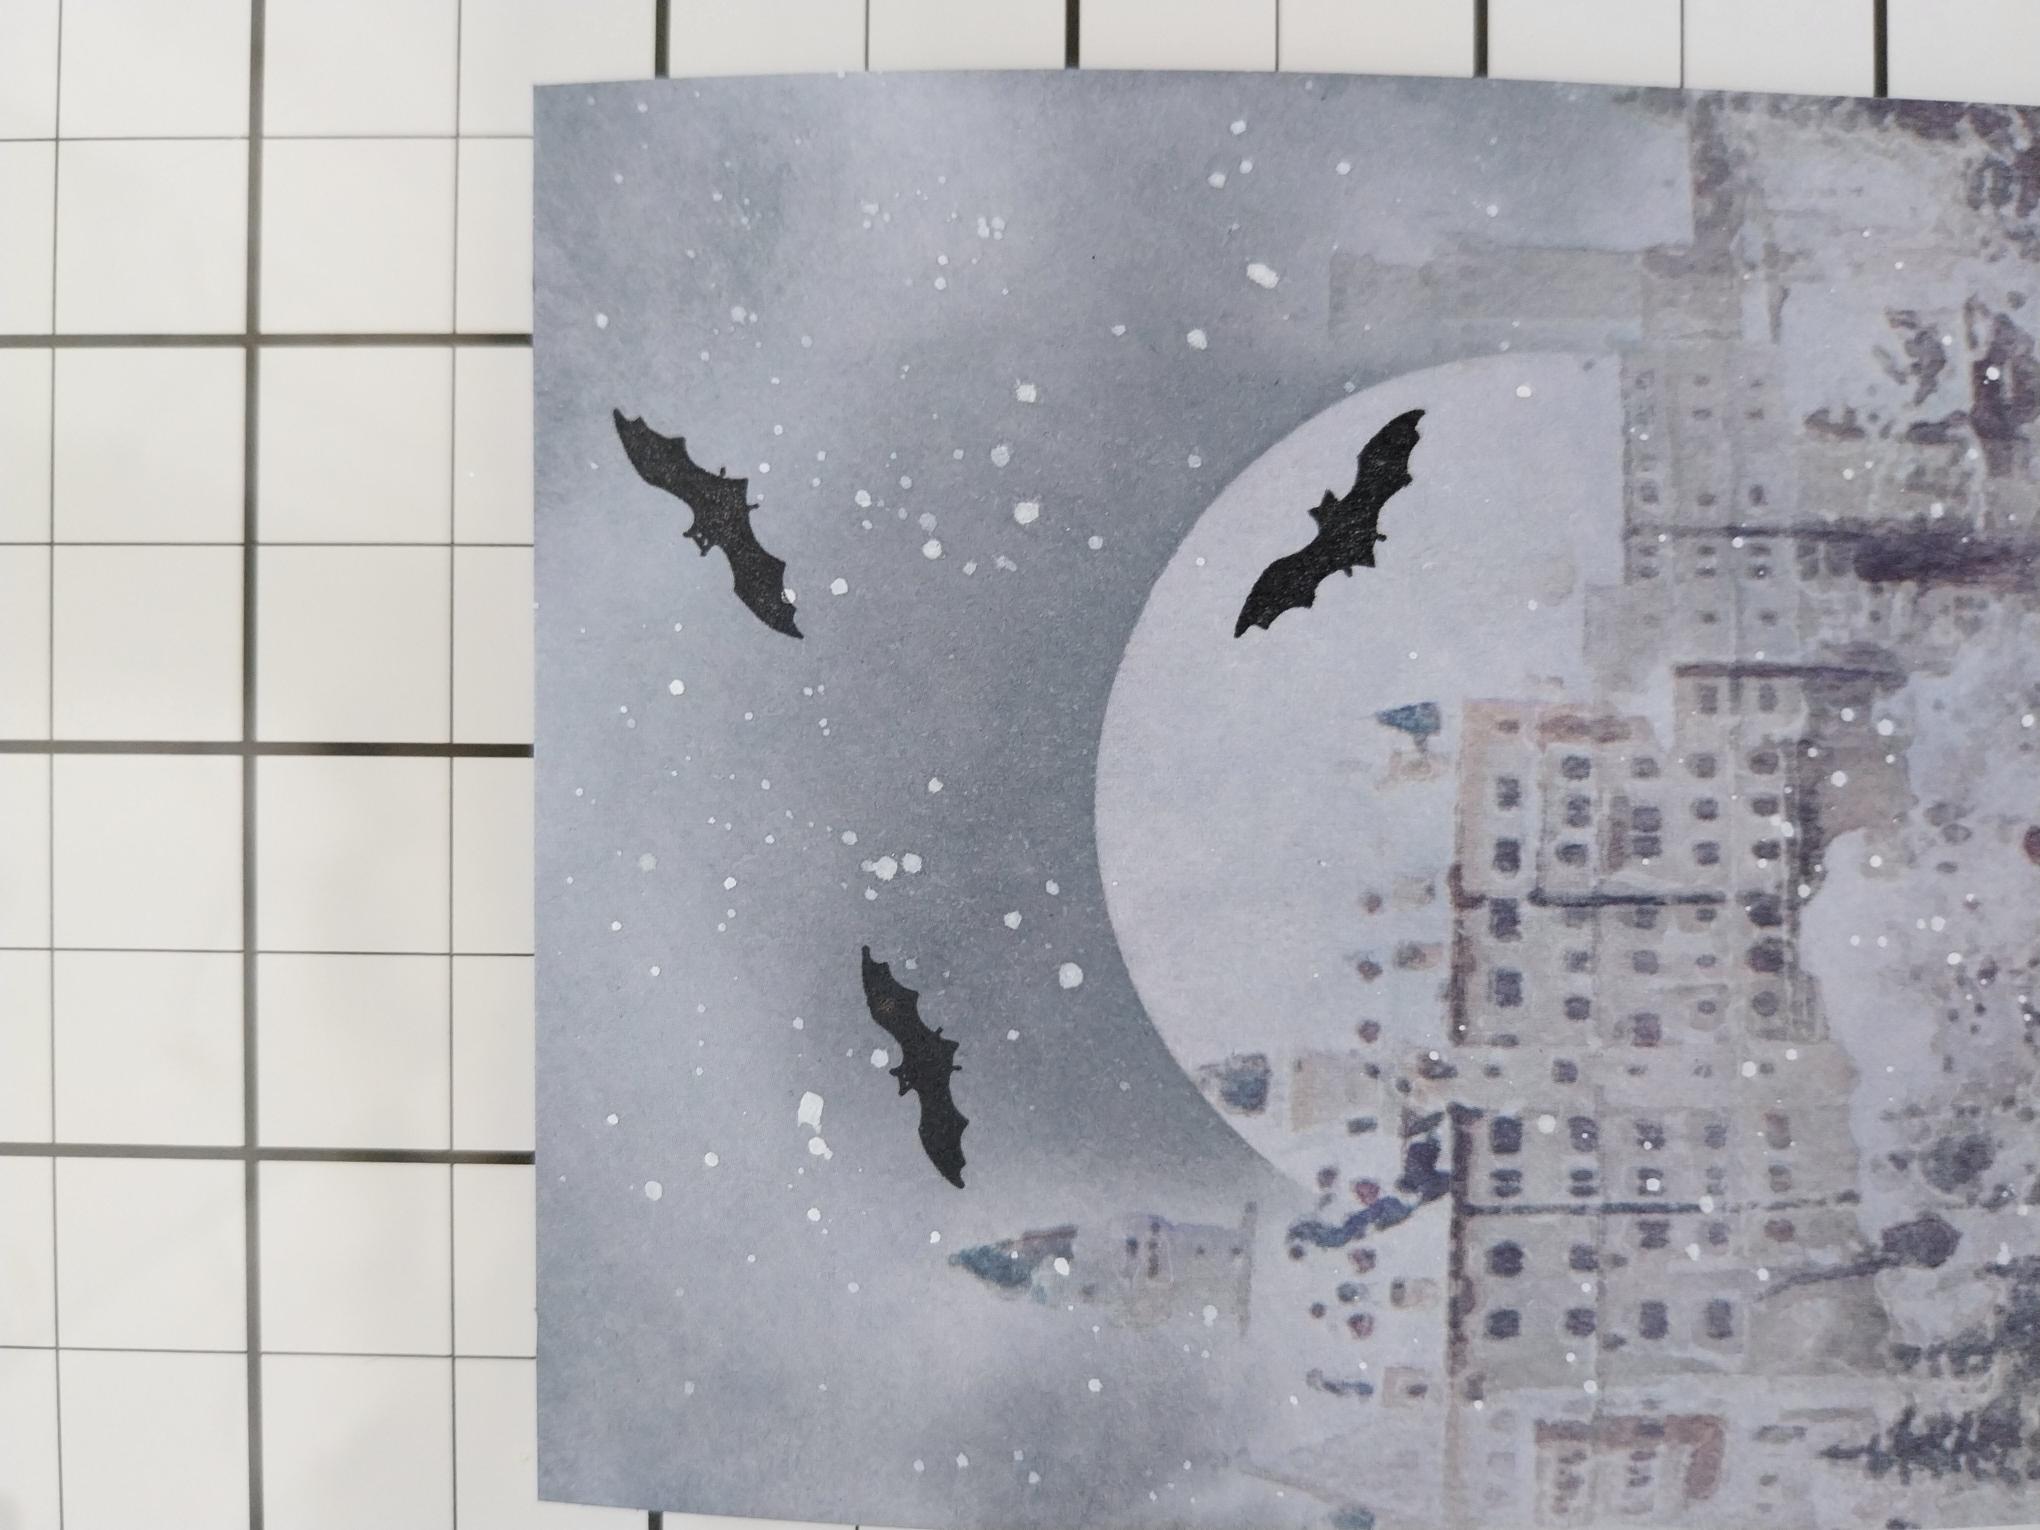
Stamp the bats, from the Trick or Treat stamp set, with the Midnight ink, where required. Blast dry with the heat gun. |
|
Adhere the window die on top of your painted mount and set to one side. |
|
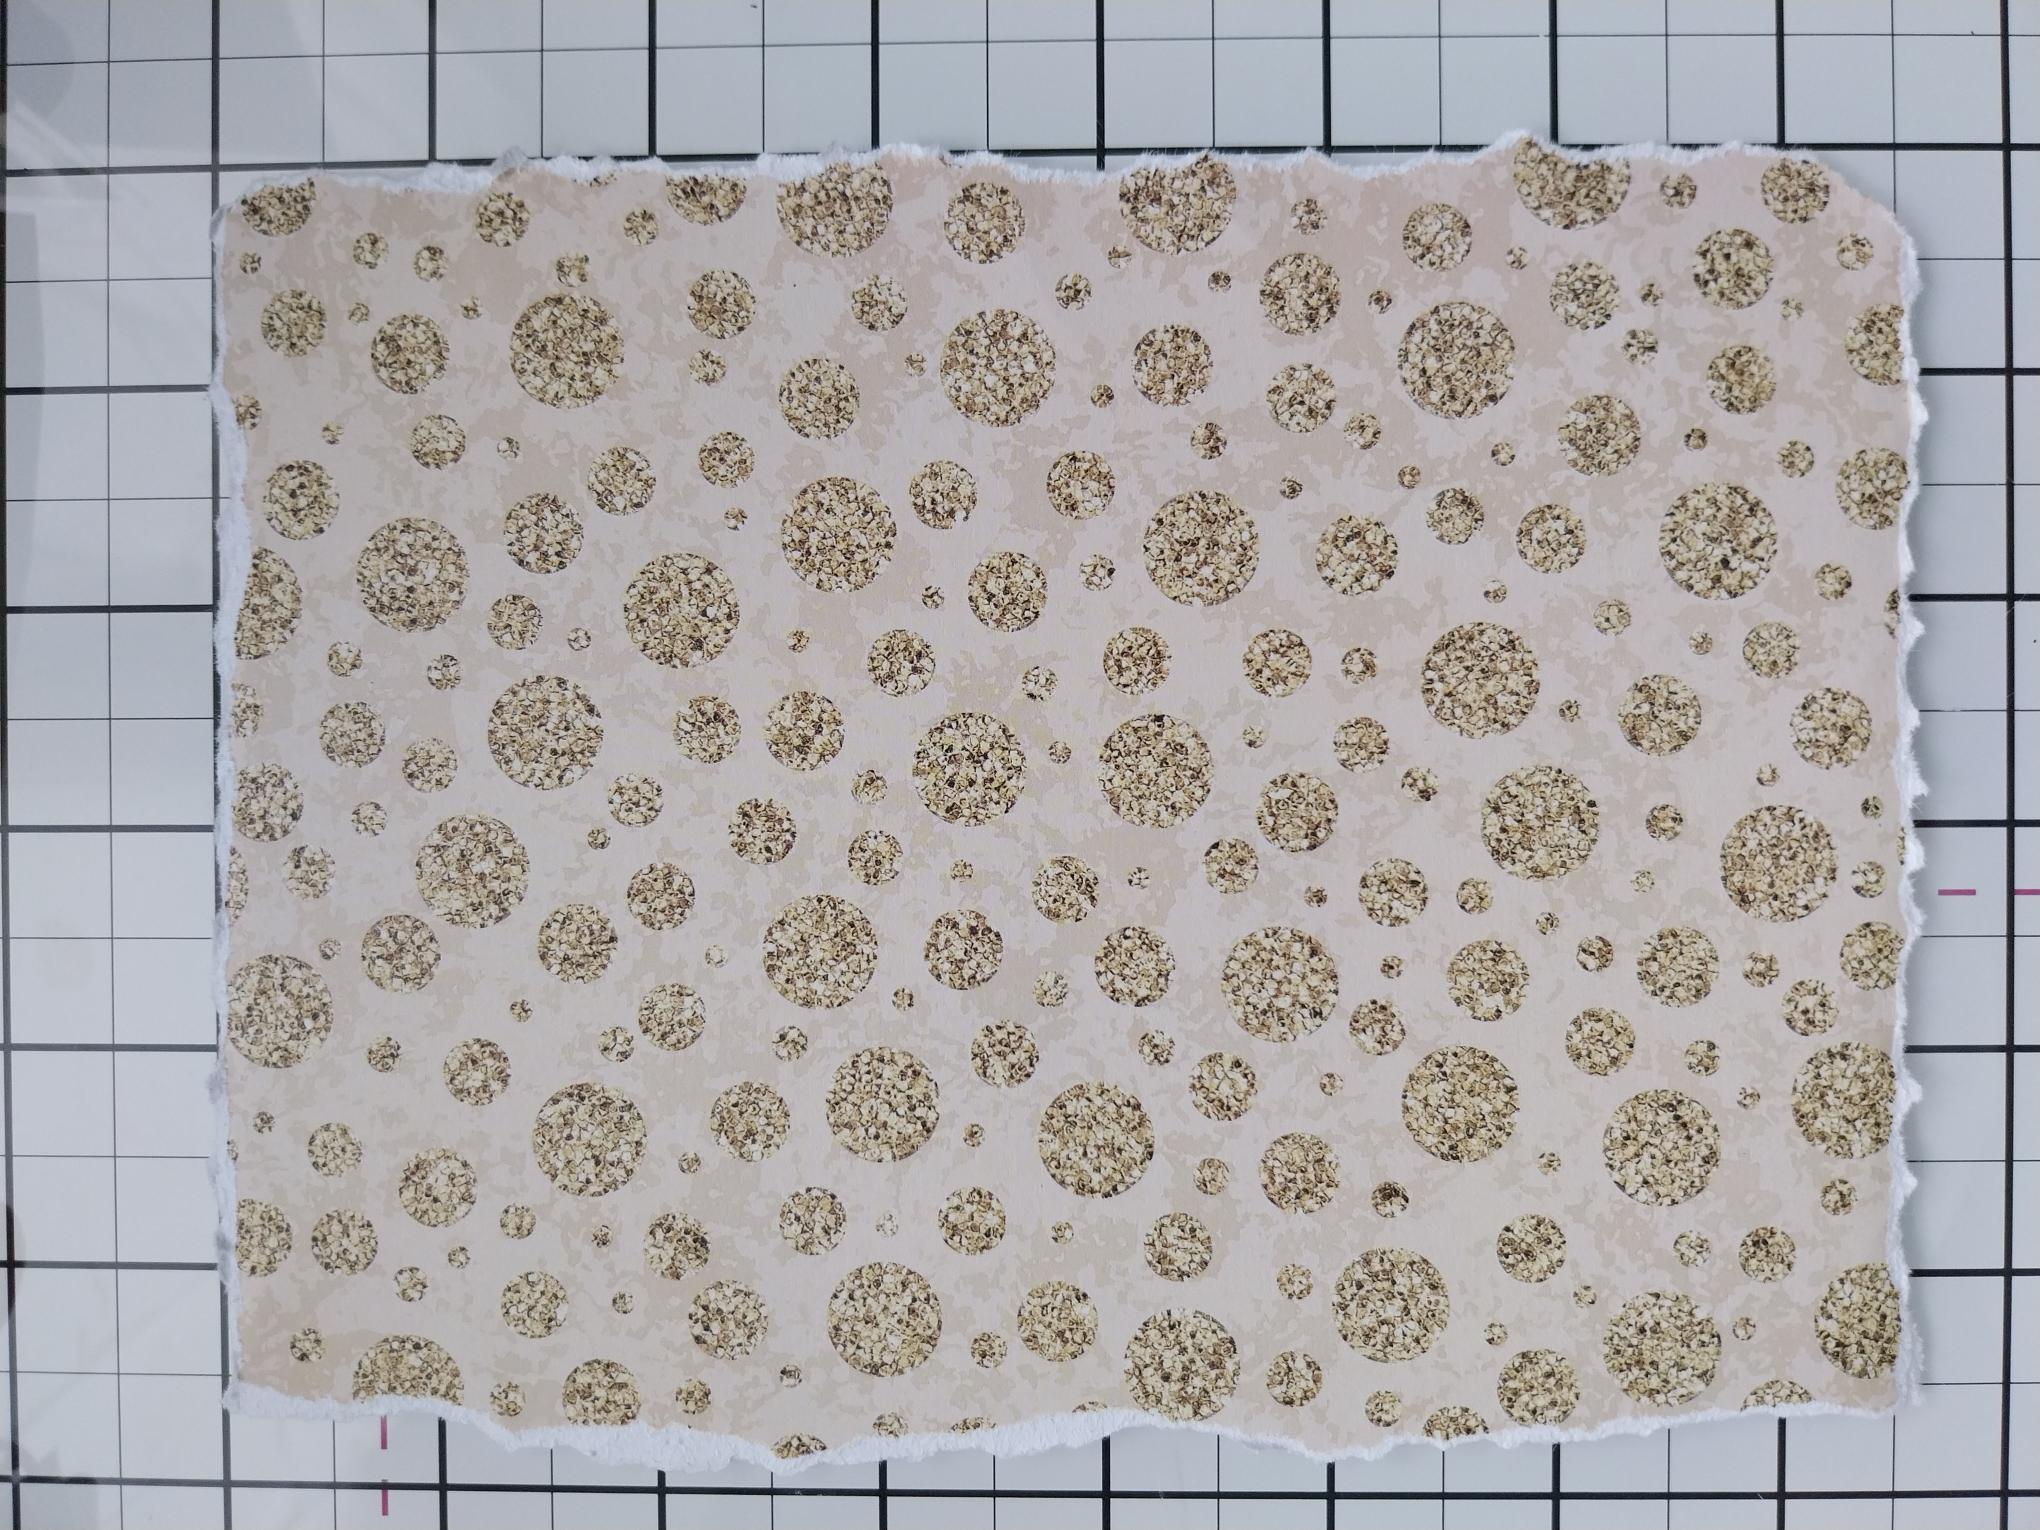
Tear this decorative paper from the Paperchain Cotton Breeze paper pack, so it's slightly smaller than your kraft card blank. |
|
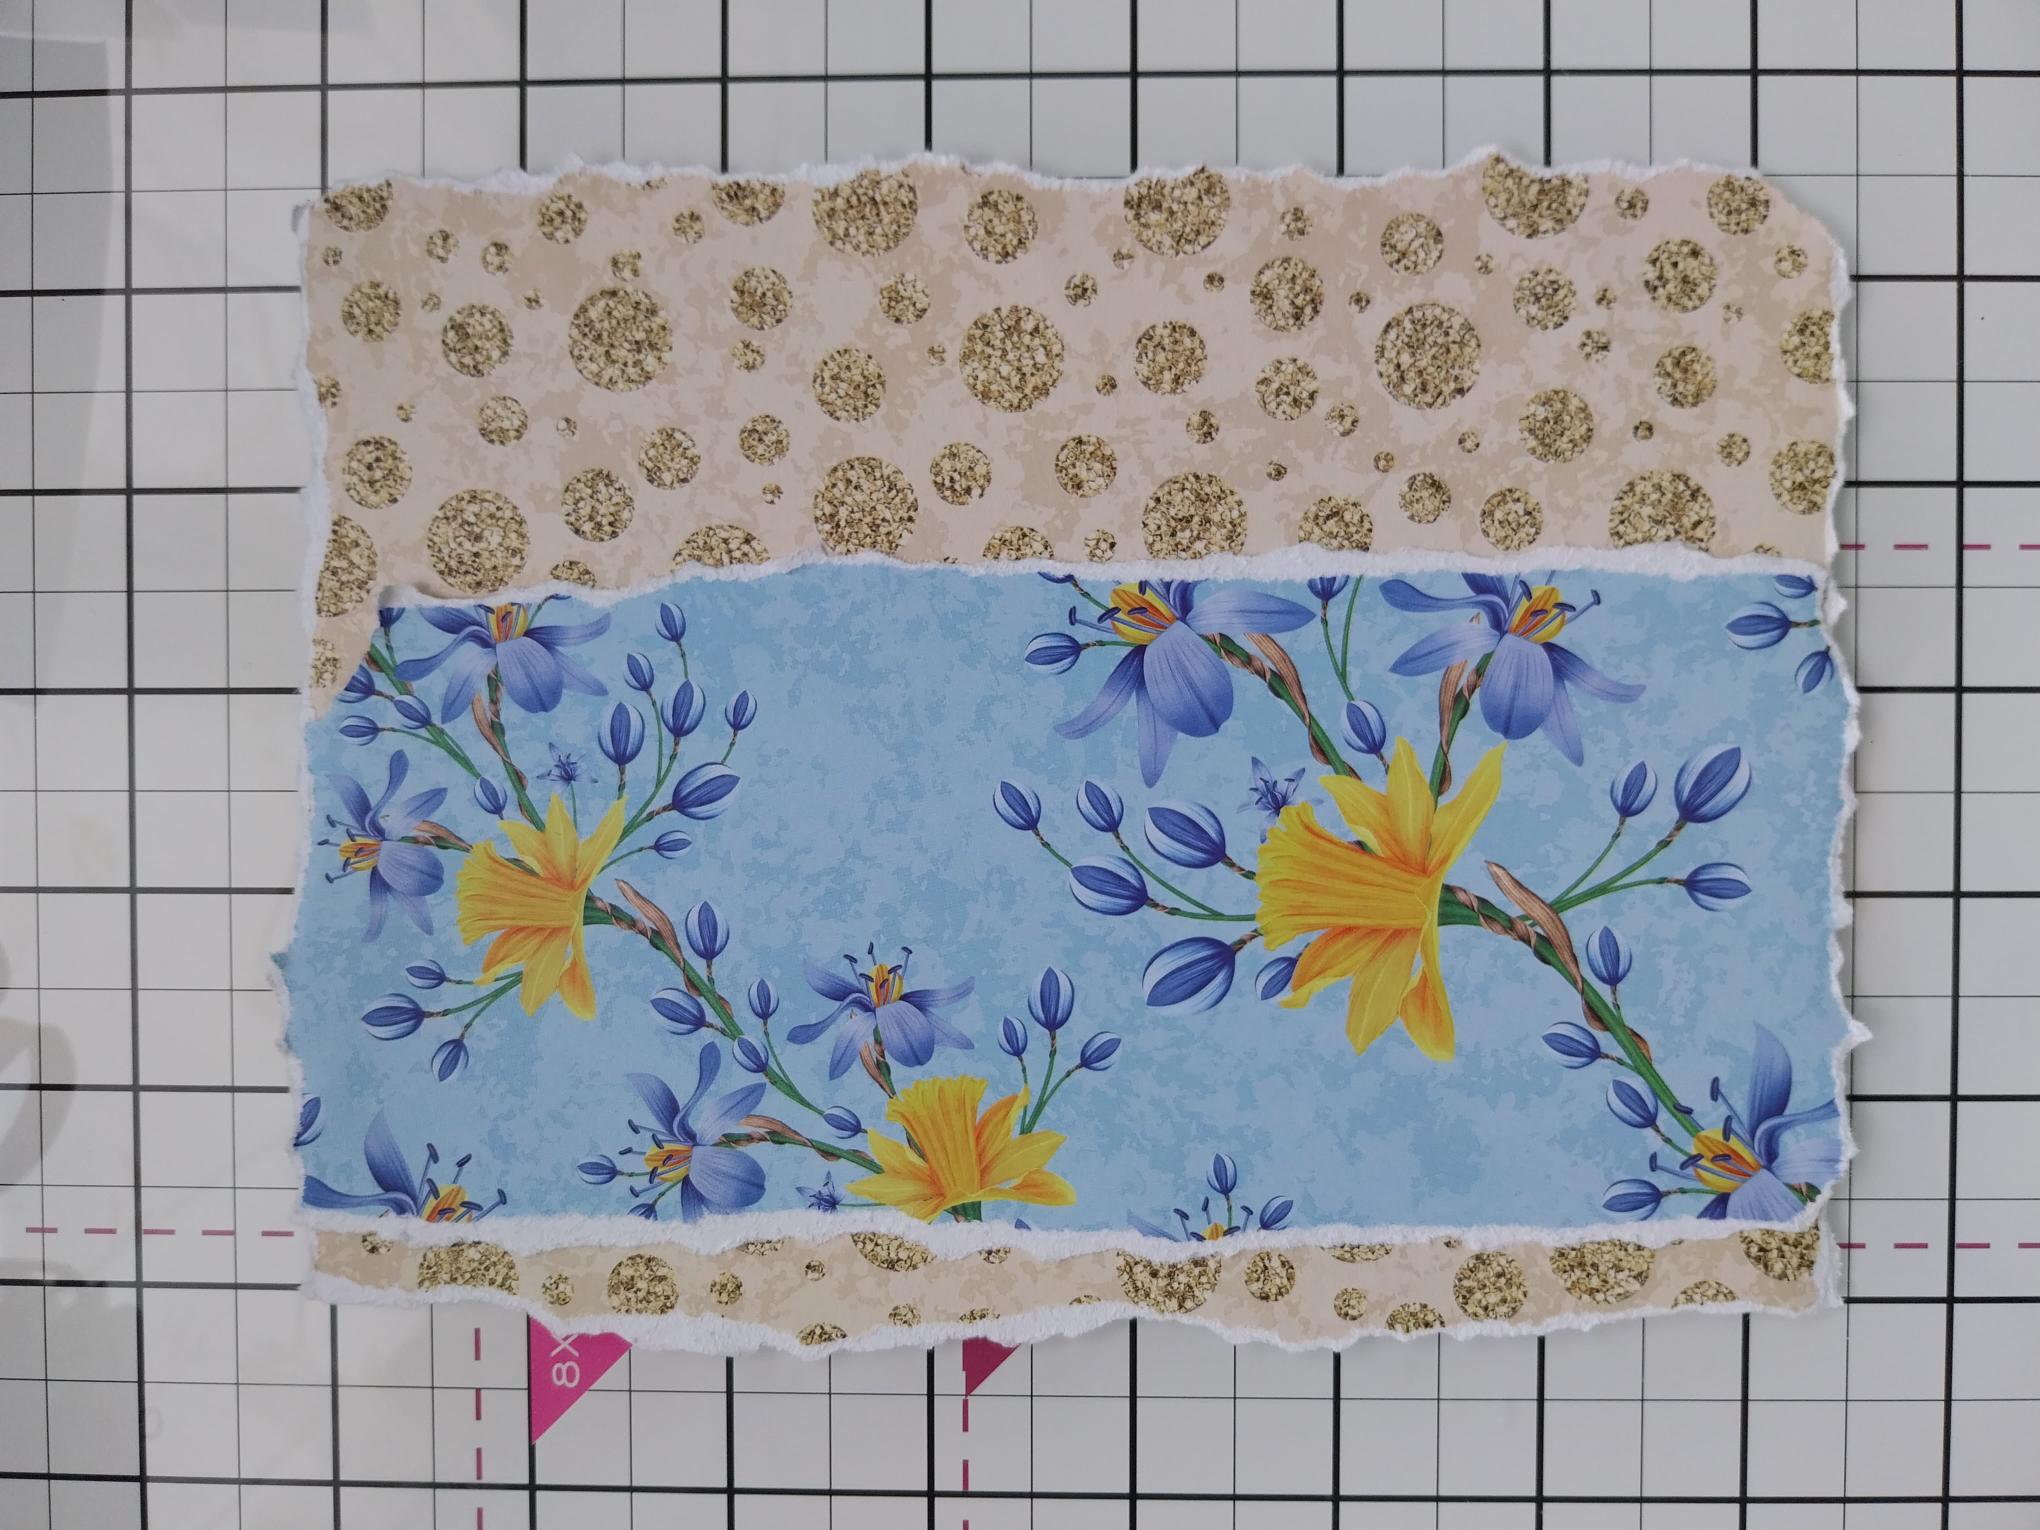
Tear a panel, from this coordinating paper and adhere down the left side. |
|
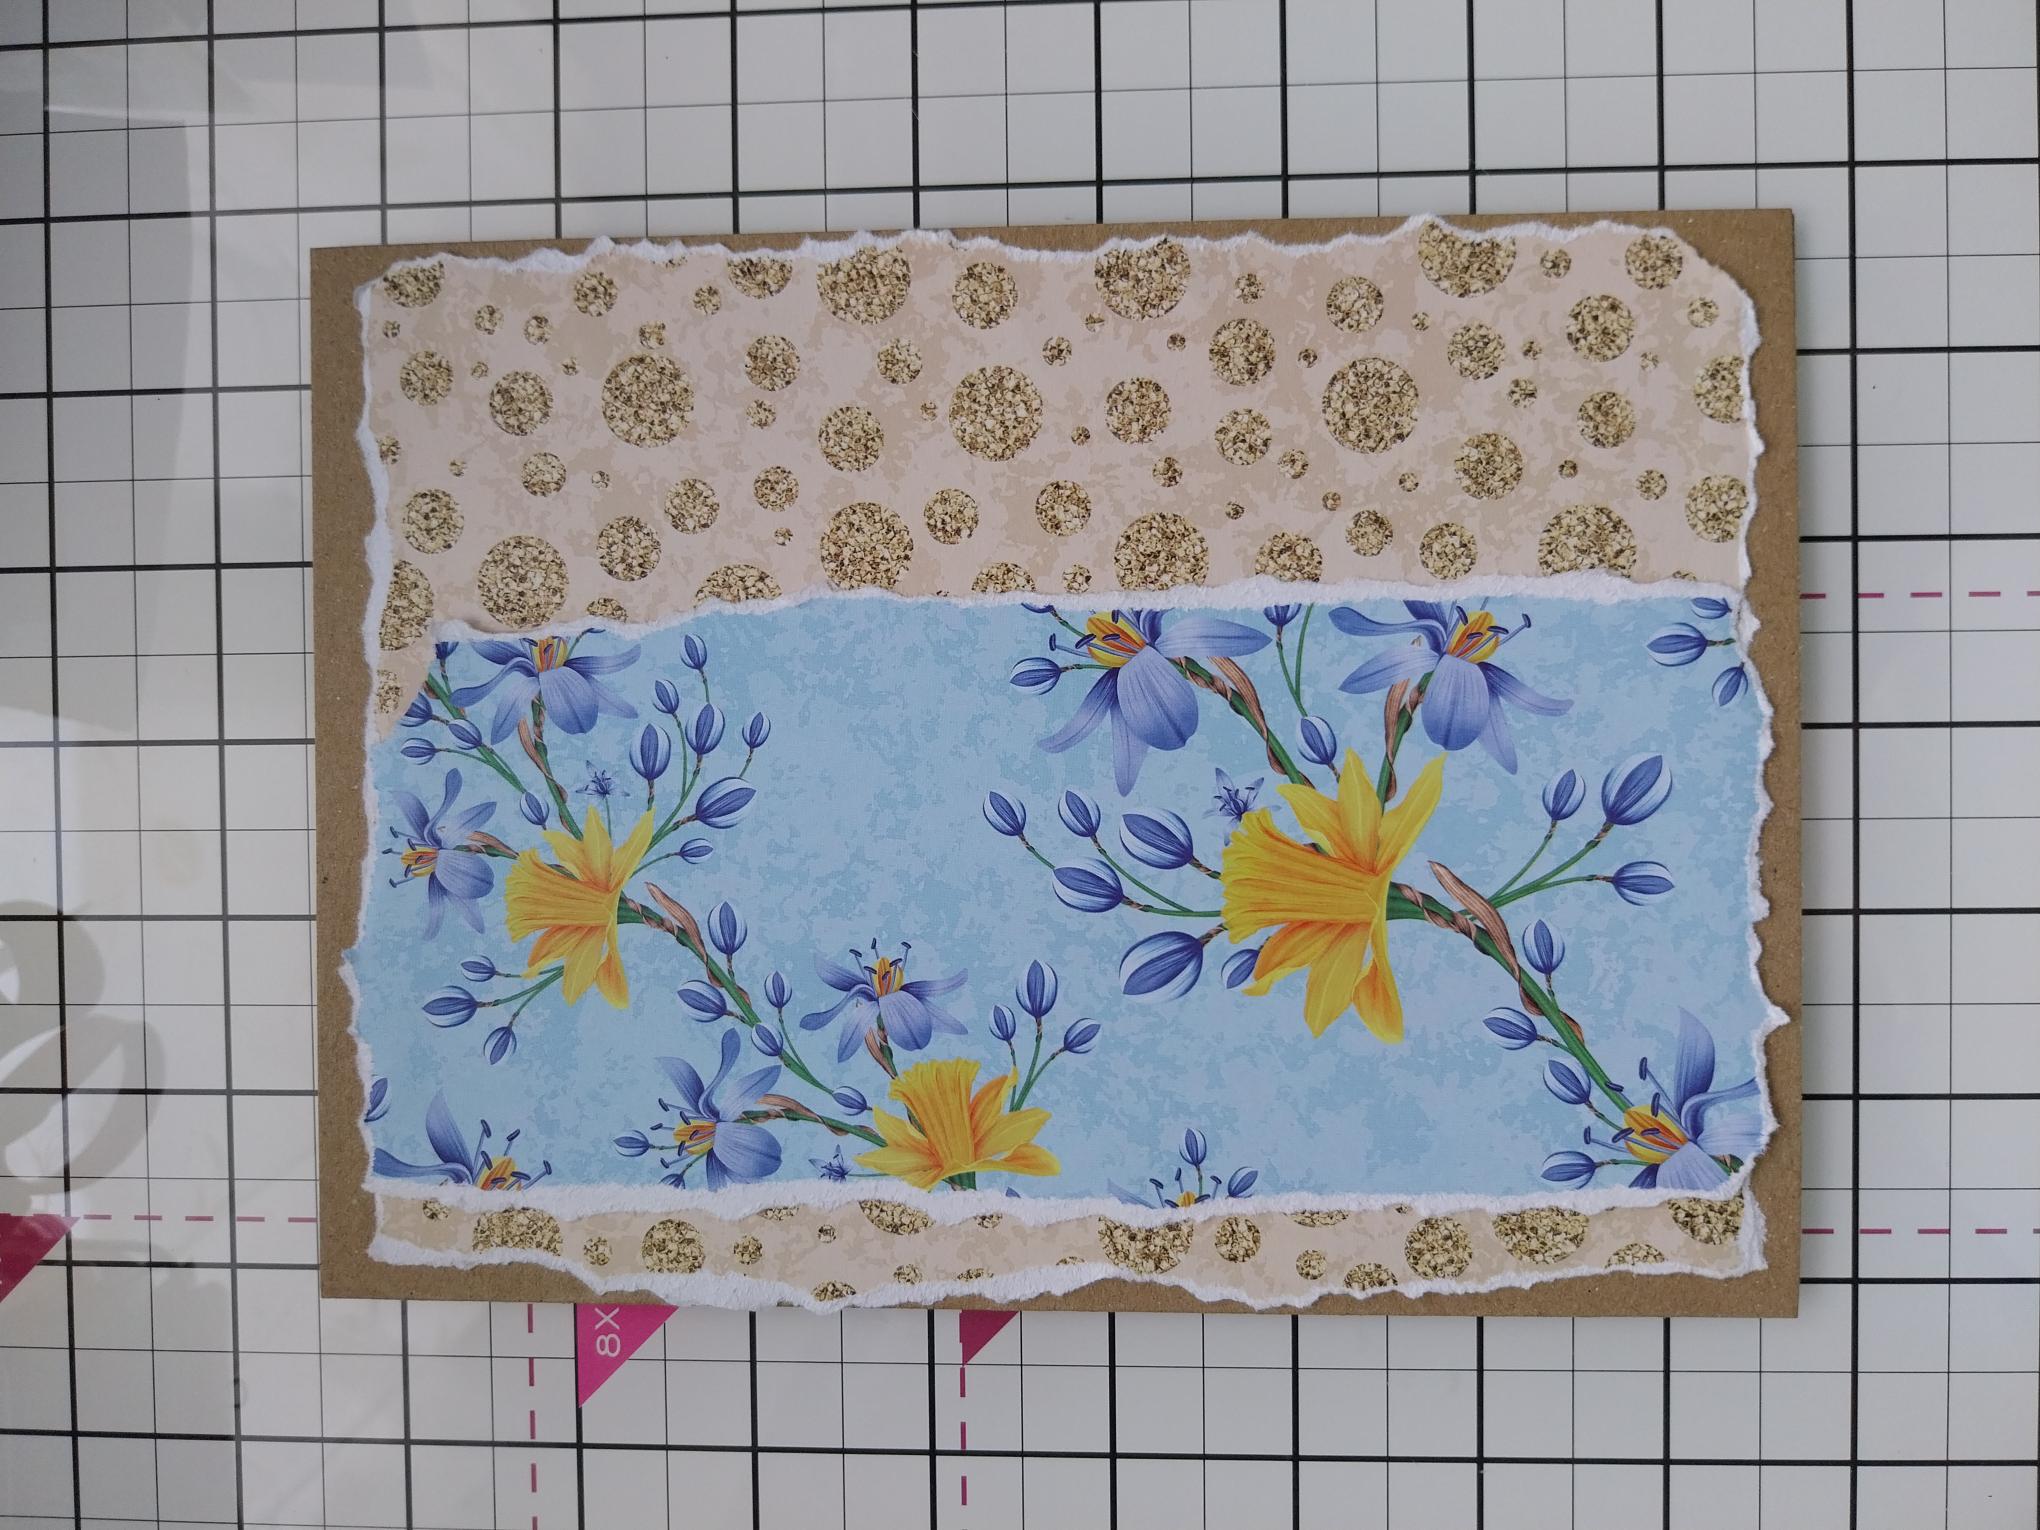
Adhere to your card blank. |
|
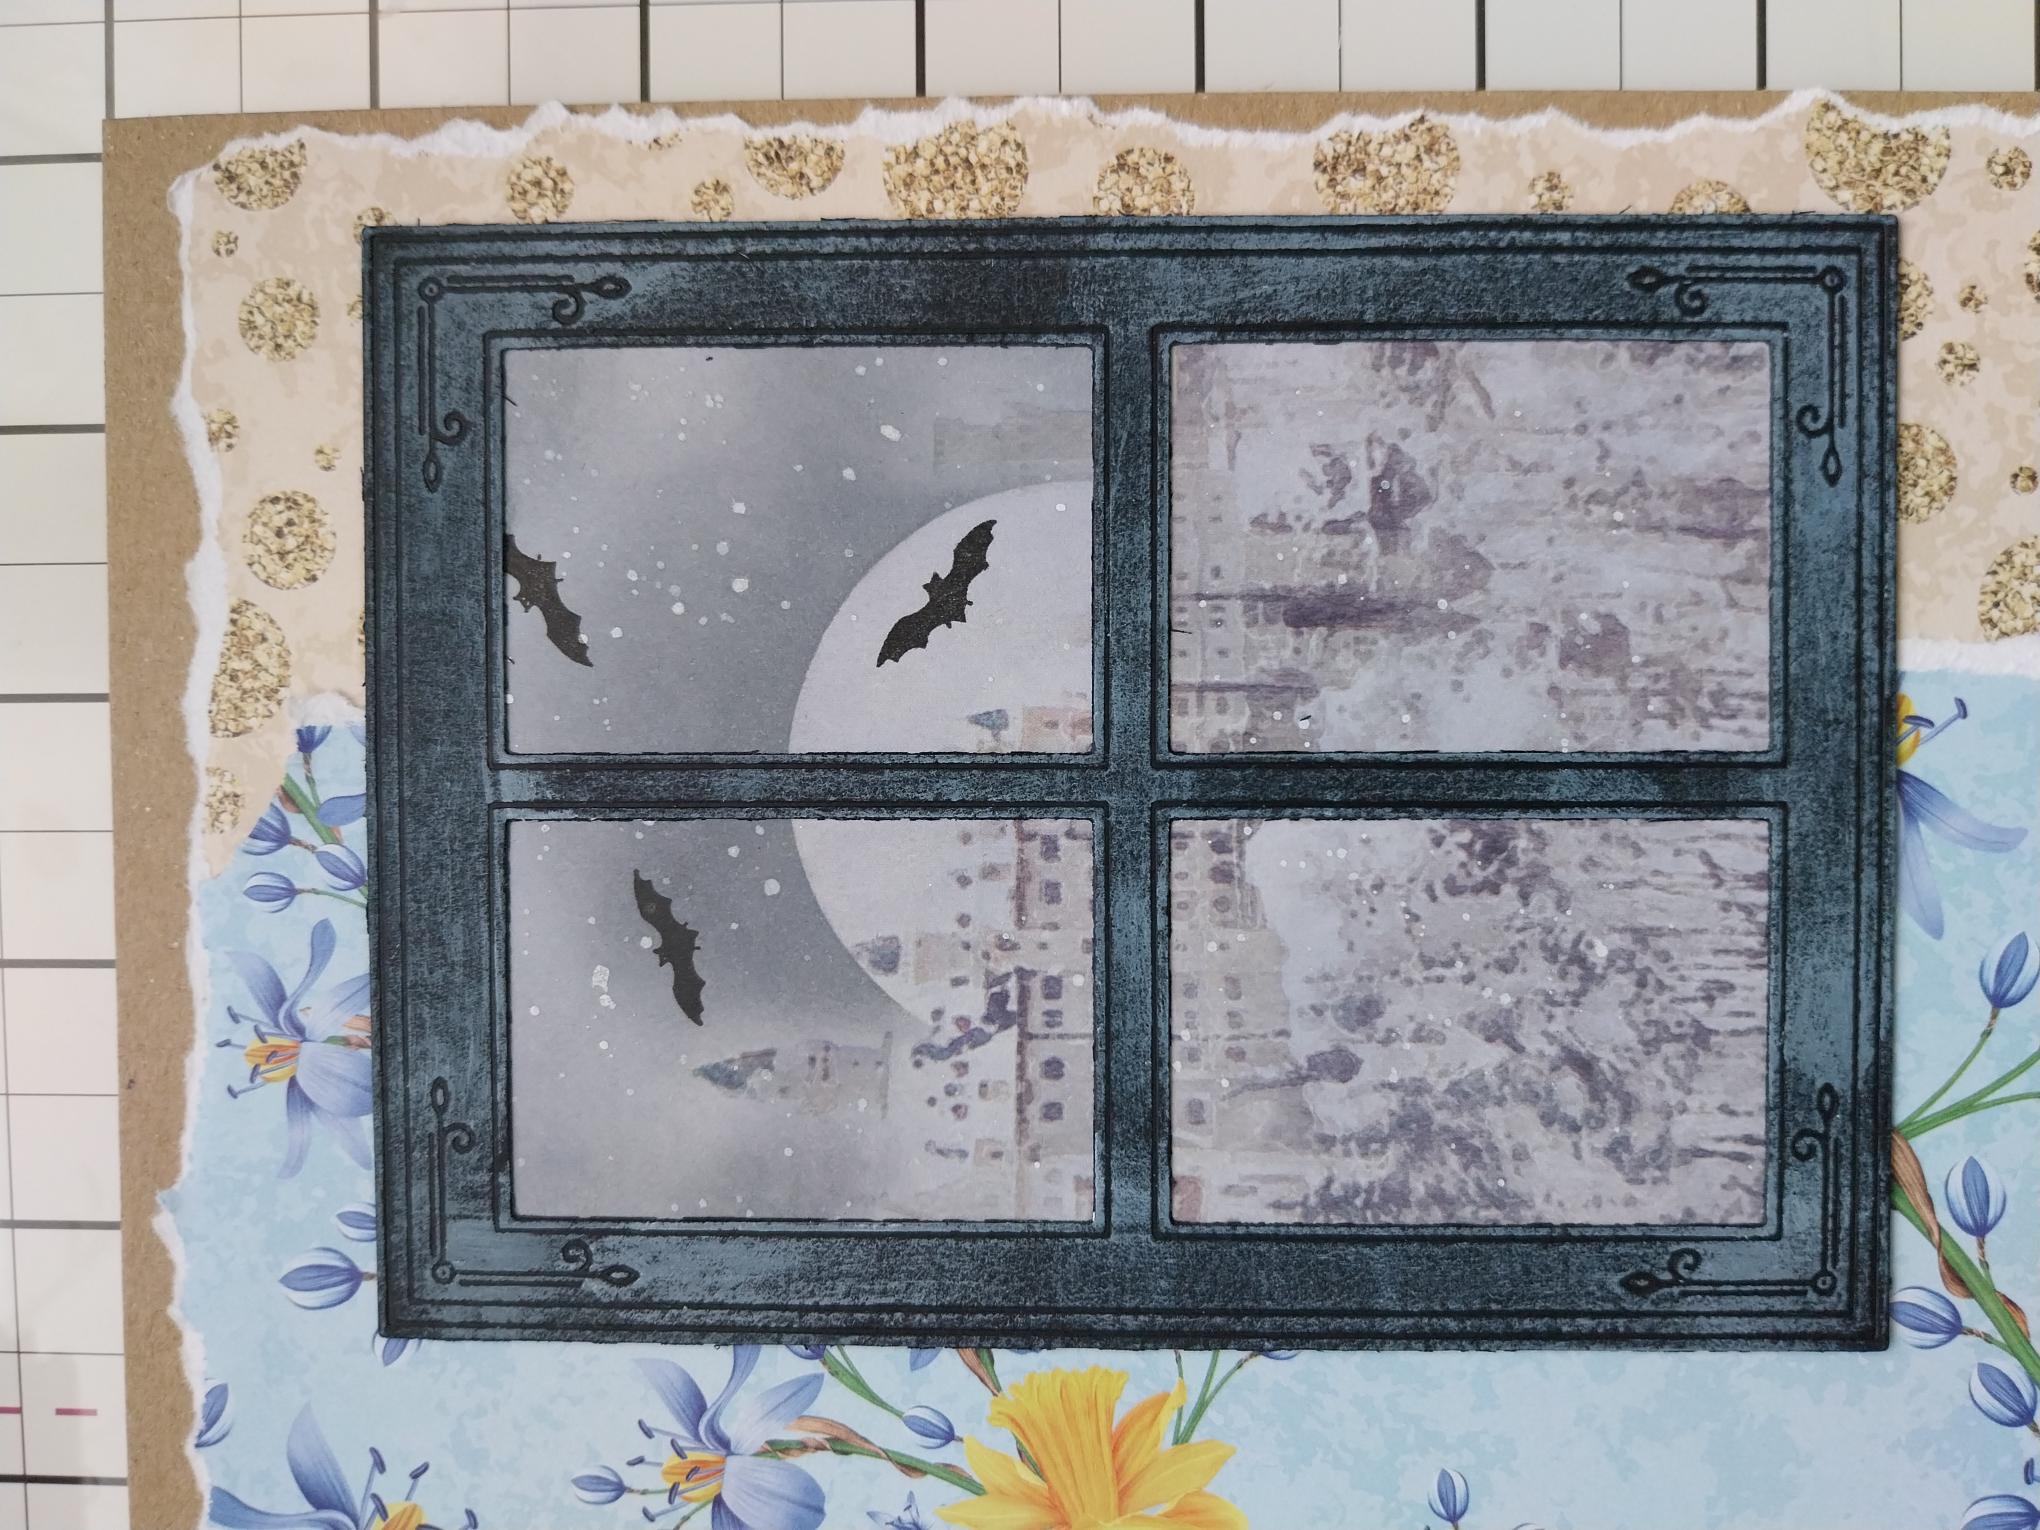
Adhere your die cut window element just to the top right of your card and pop aside. |

|
Fussy cut a selection of floral elements from another sheet of the coordinating papers. |
|
Mould the florals with your fingers before adhering on, around and tucked just behind, your window. |

|
Cut out the sentiment tab, from the Cotton Pines sentiment sheet and adhere across the bottom right floral element. |
|
Use your Stickles to add a touch of festive sparkle to your finished project. |