Give your friends $10 off their first order!
Refer a FRIEND


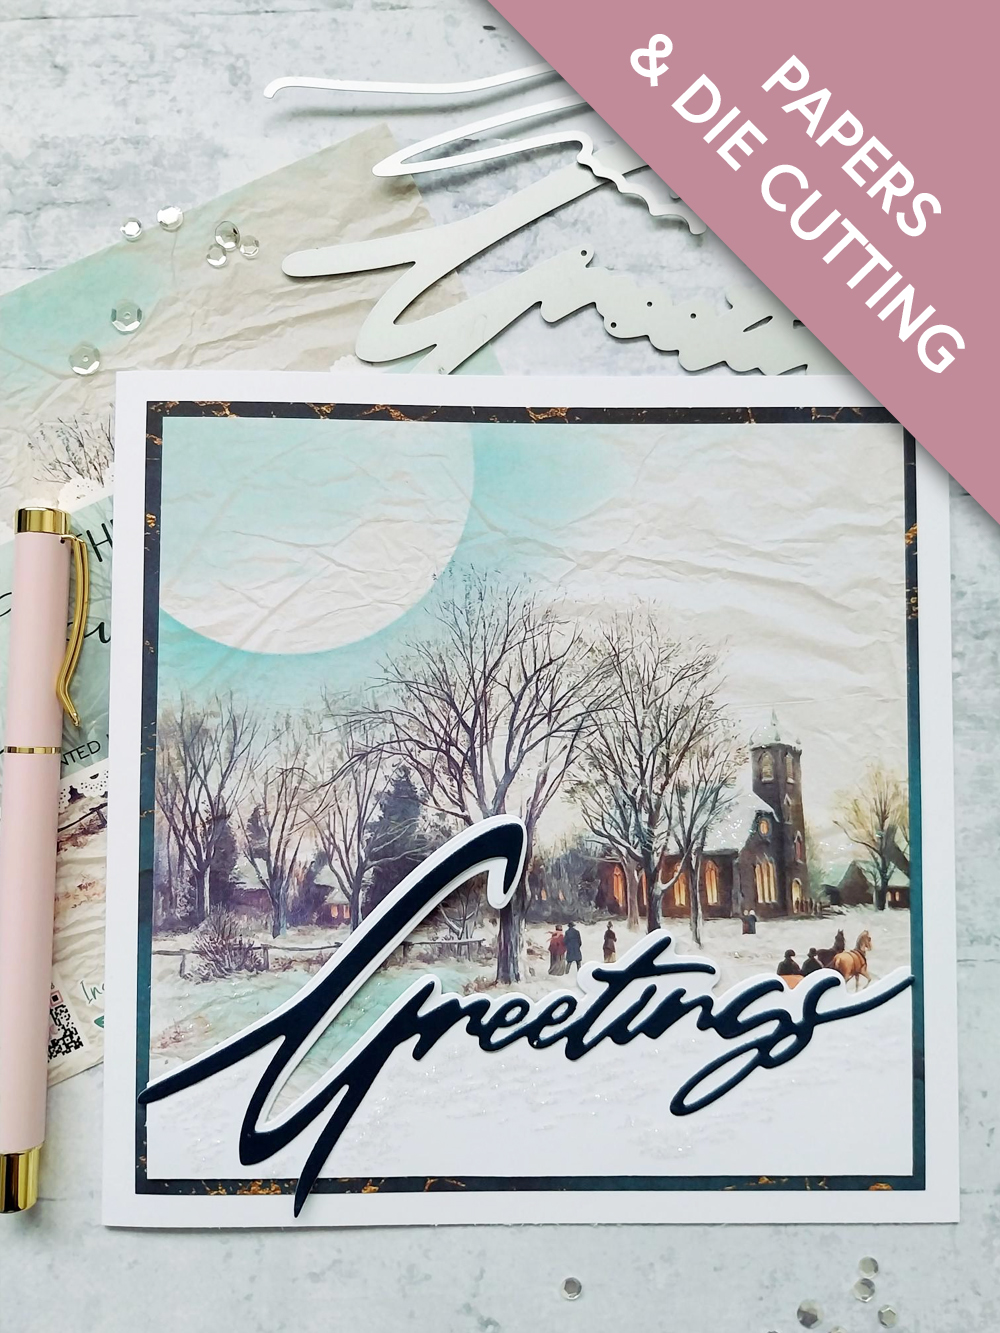
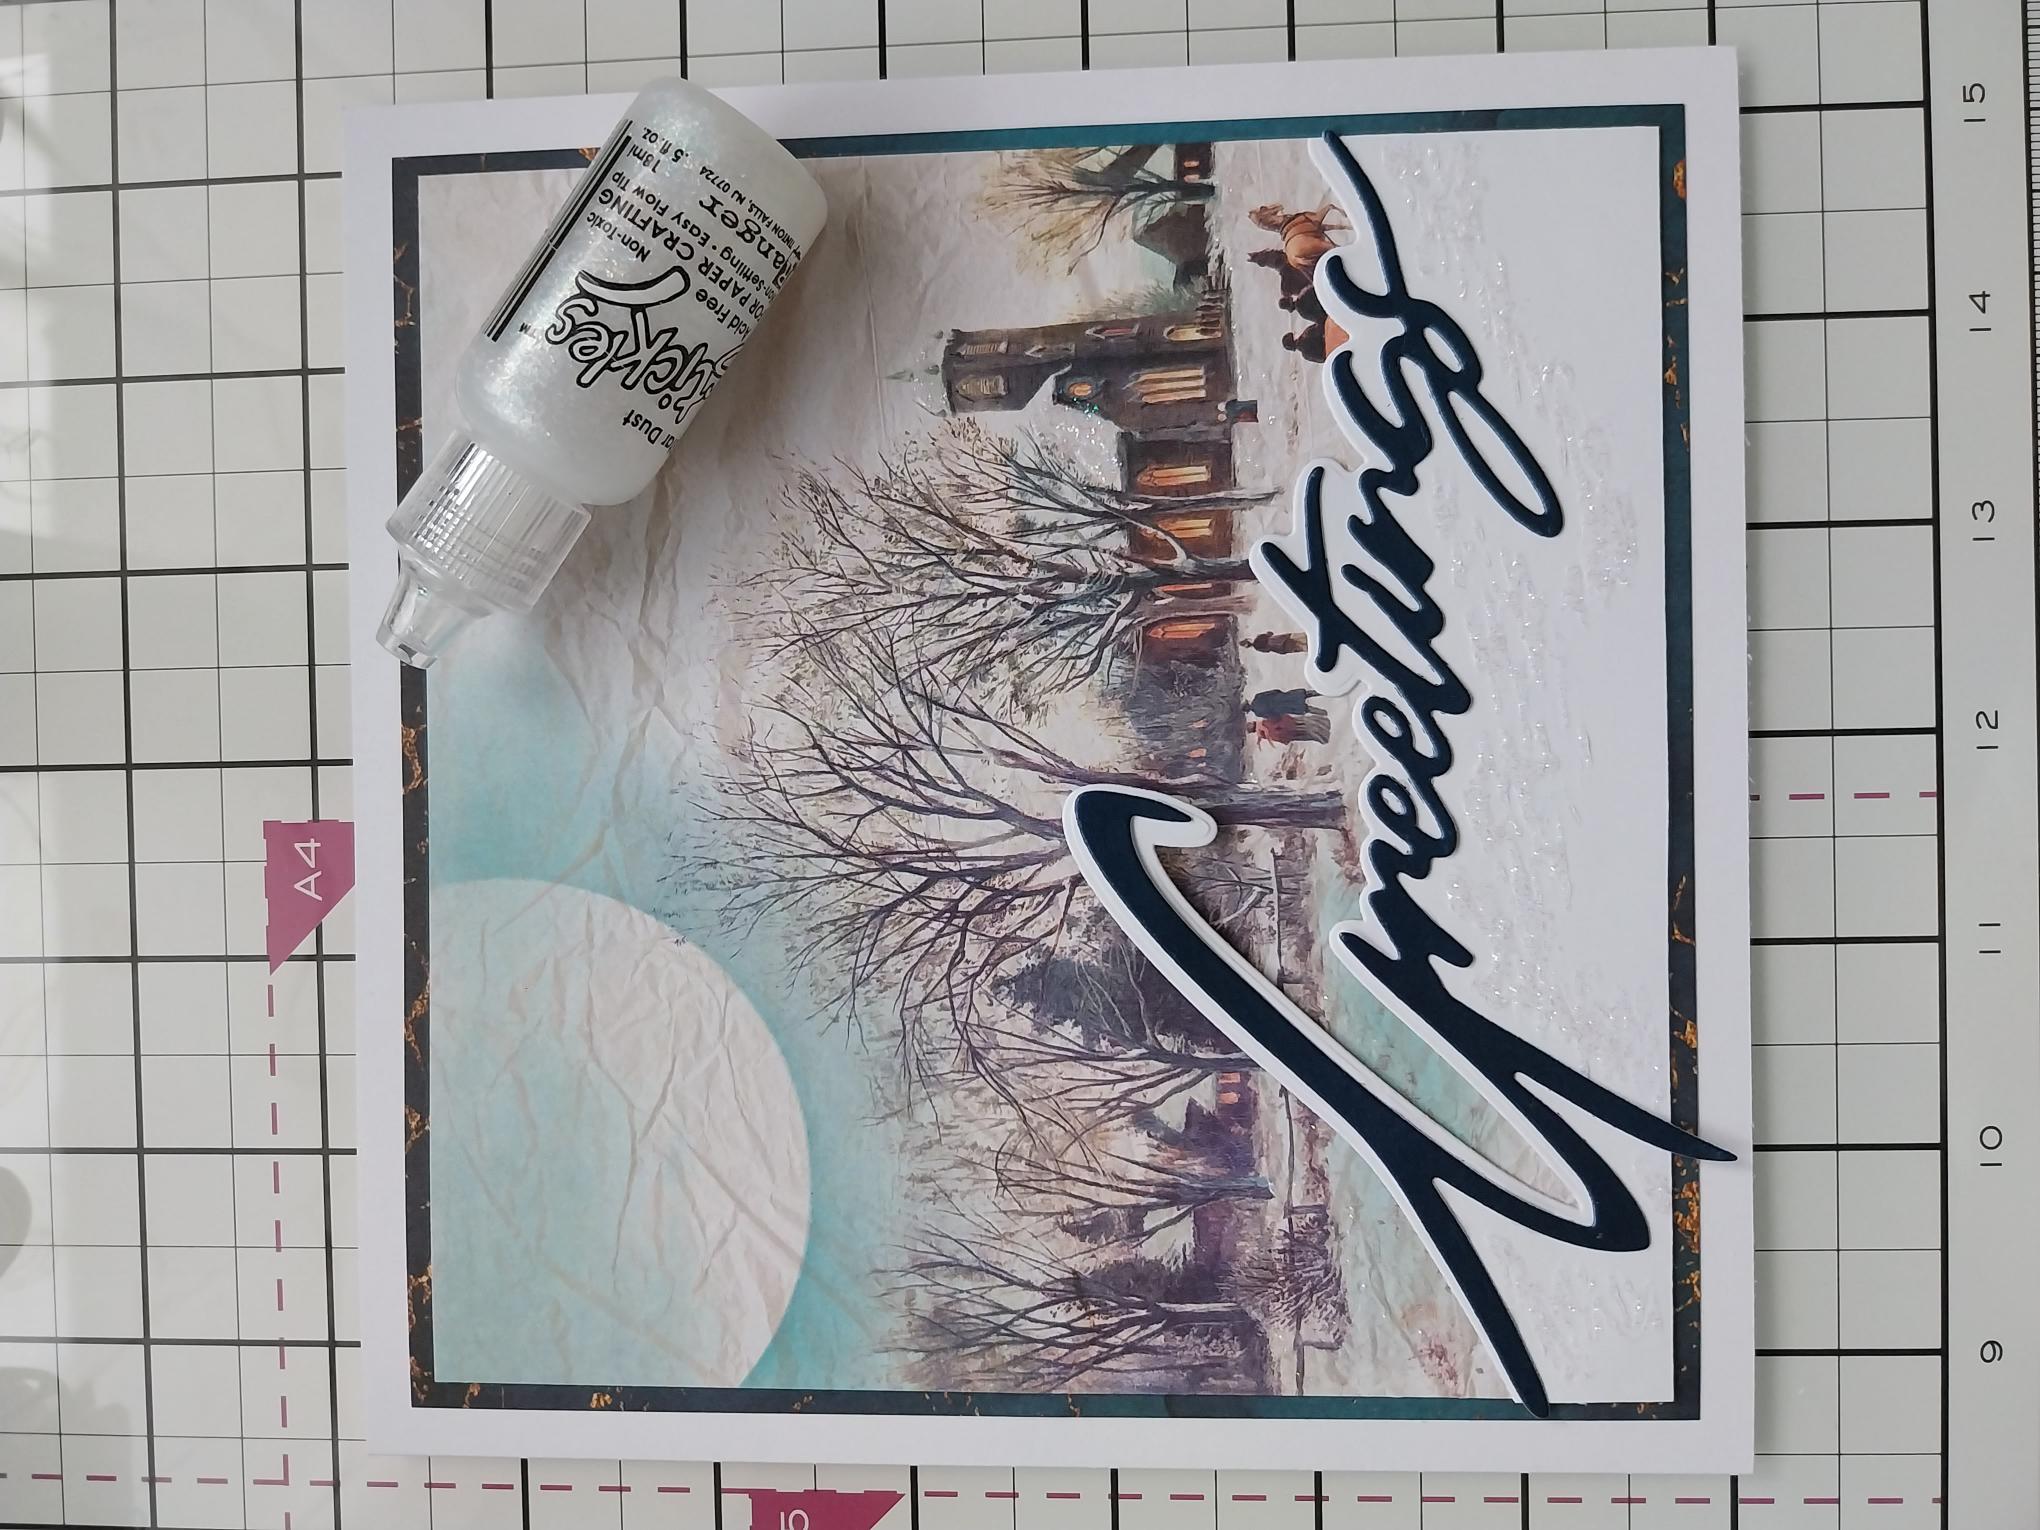
WHAT YOU WILL NEED:
White card blank 7 x 7"
White/Navy pearlescent cardstock
Christmas Snow Drift Die - Greetings
In The Countryside 6 x 6" Painted Mounts
All Surfaces 8 x 8" Paper Pack: Teal
Circle mask (Moon)
Distress Oxide Ink Pad: Salvaged Patina
Blending brushes
Stickles: Star Dust
SBM A3 Magnetic glass mat
Paper Trimmer
Glue
Die Cutting machine
[click image to enlarge] 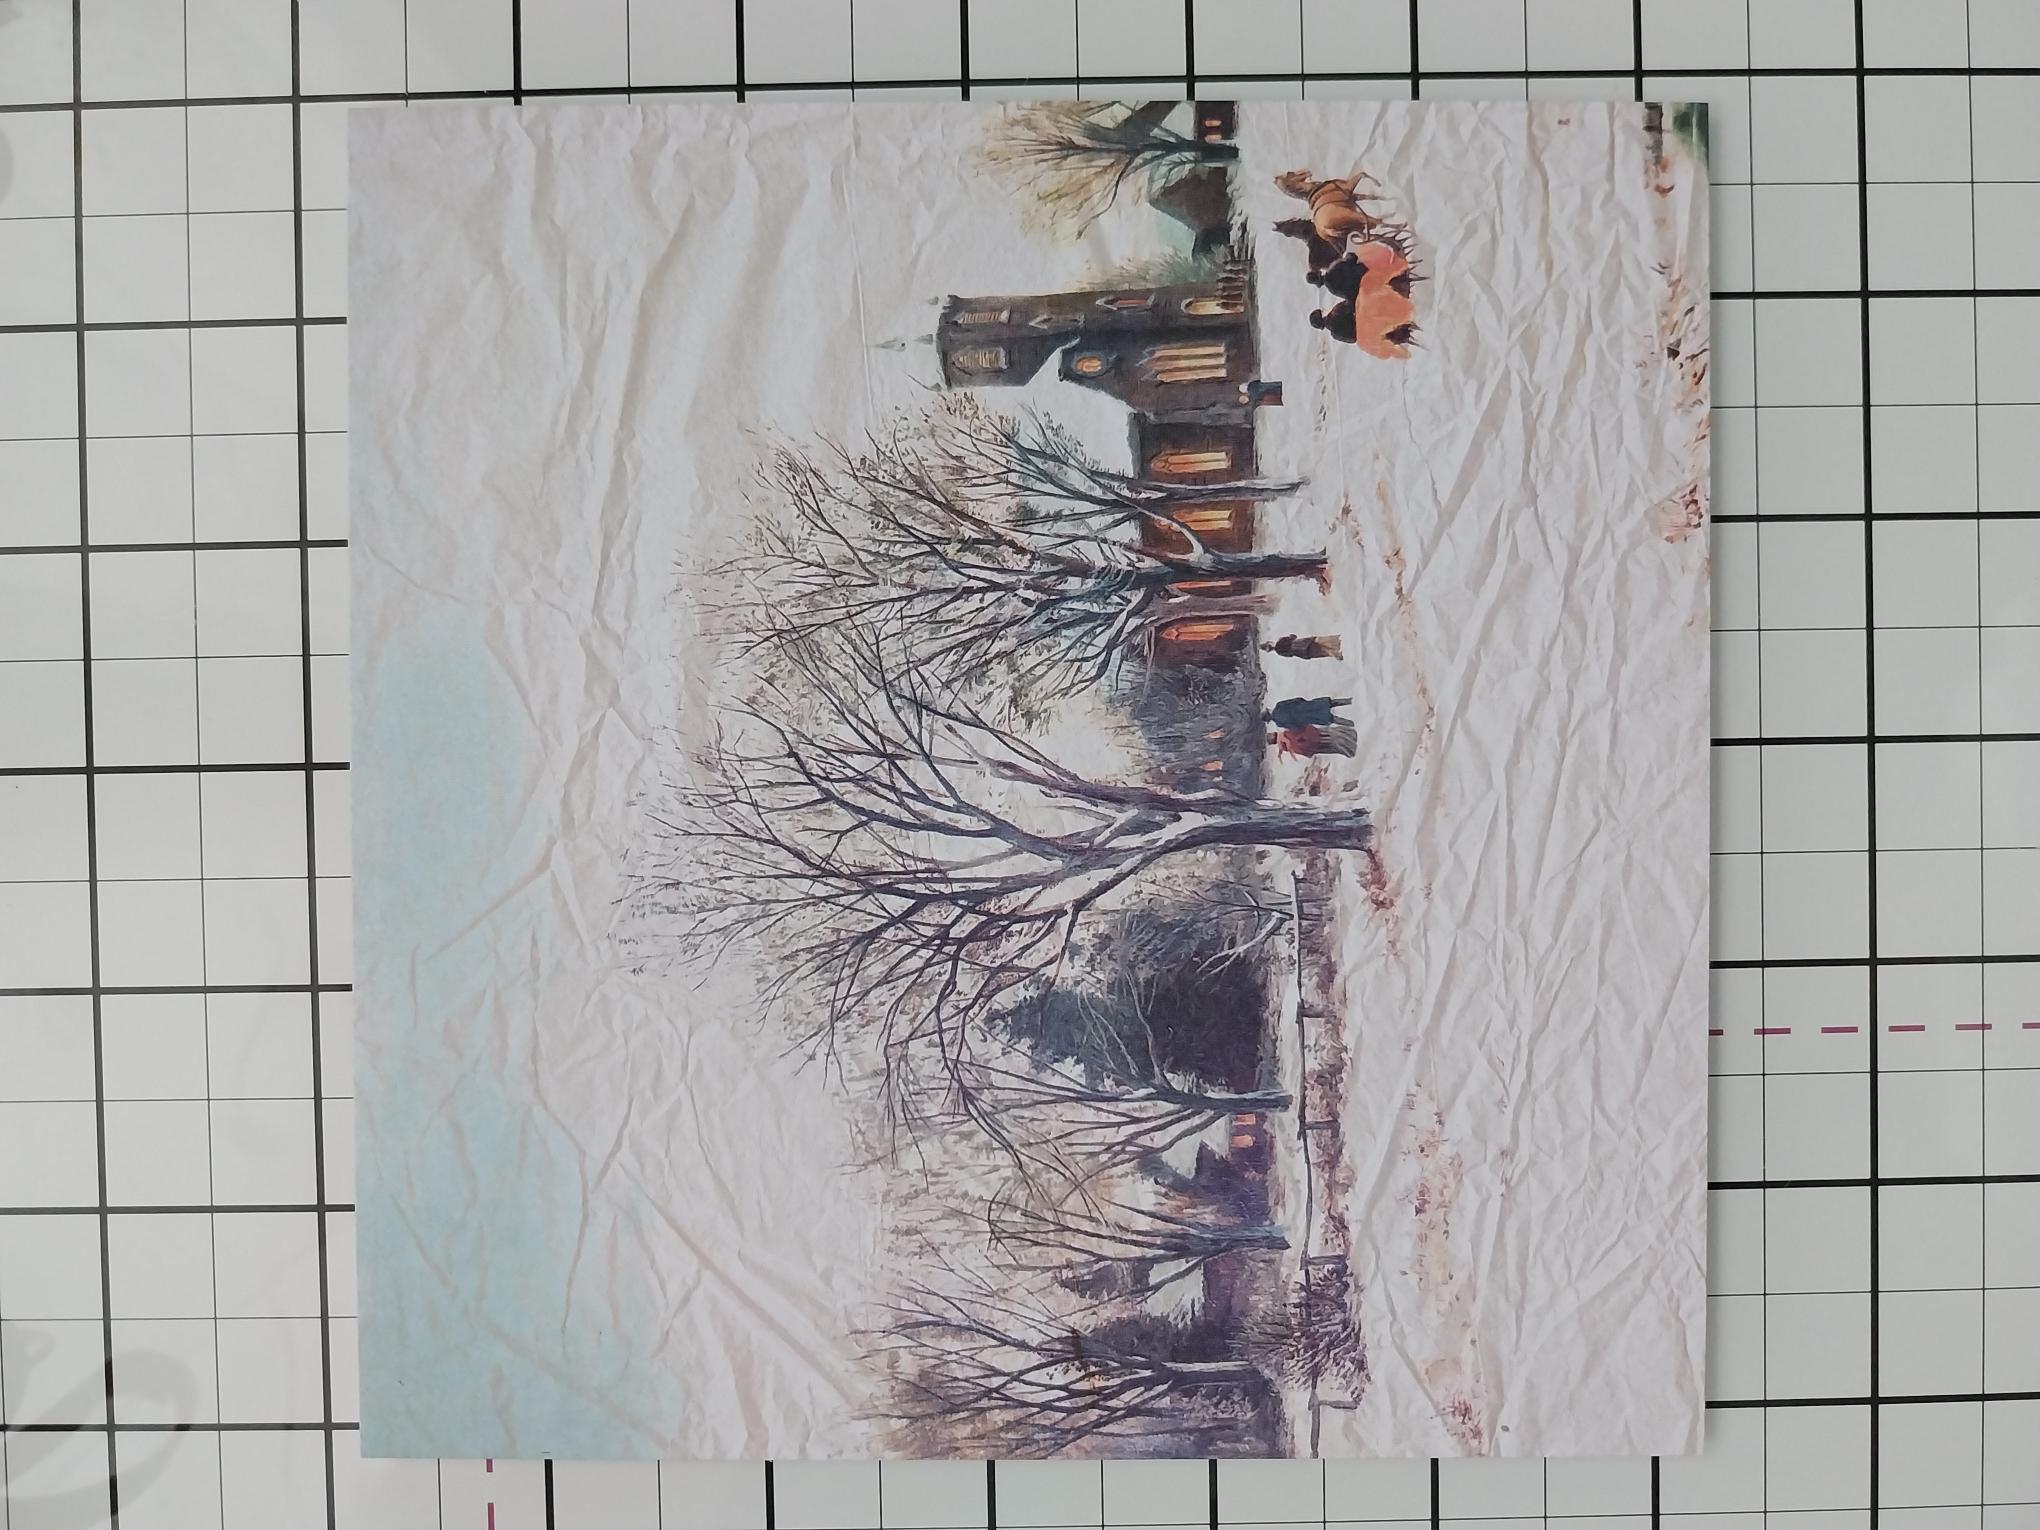
|
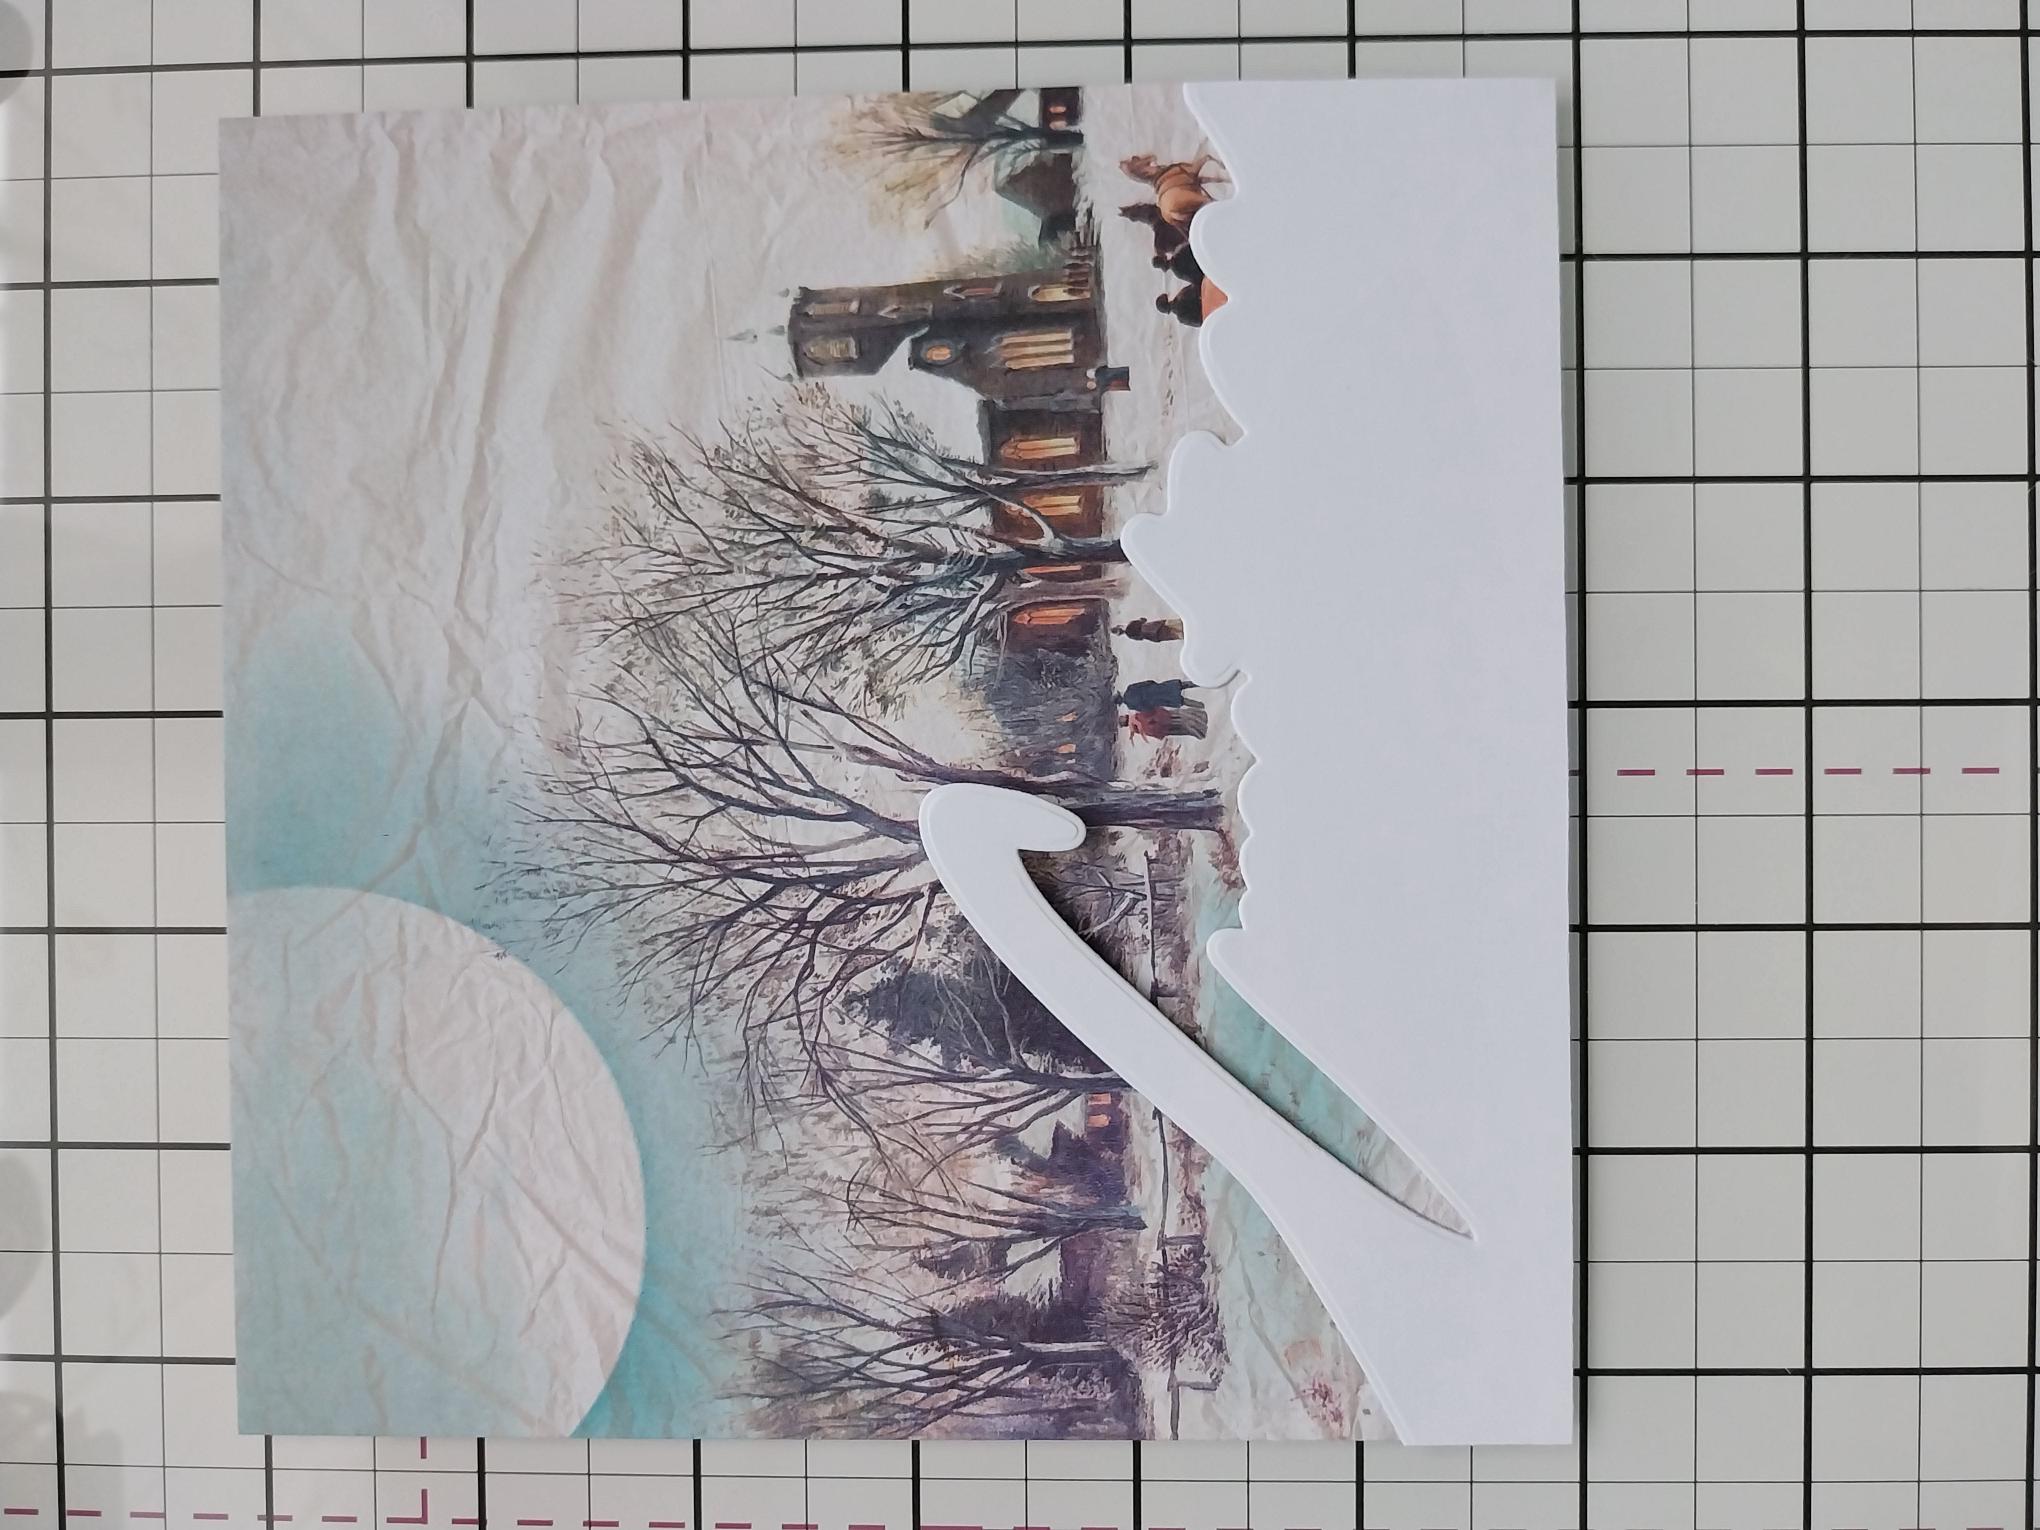
Choose one of the painted mounts from In The Countryside. |

|
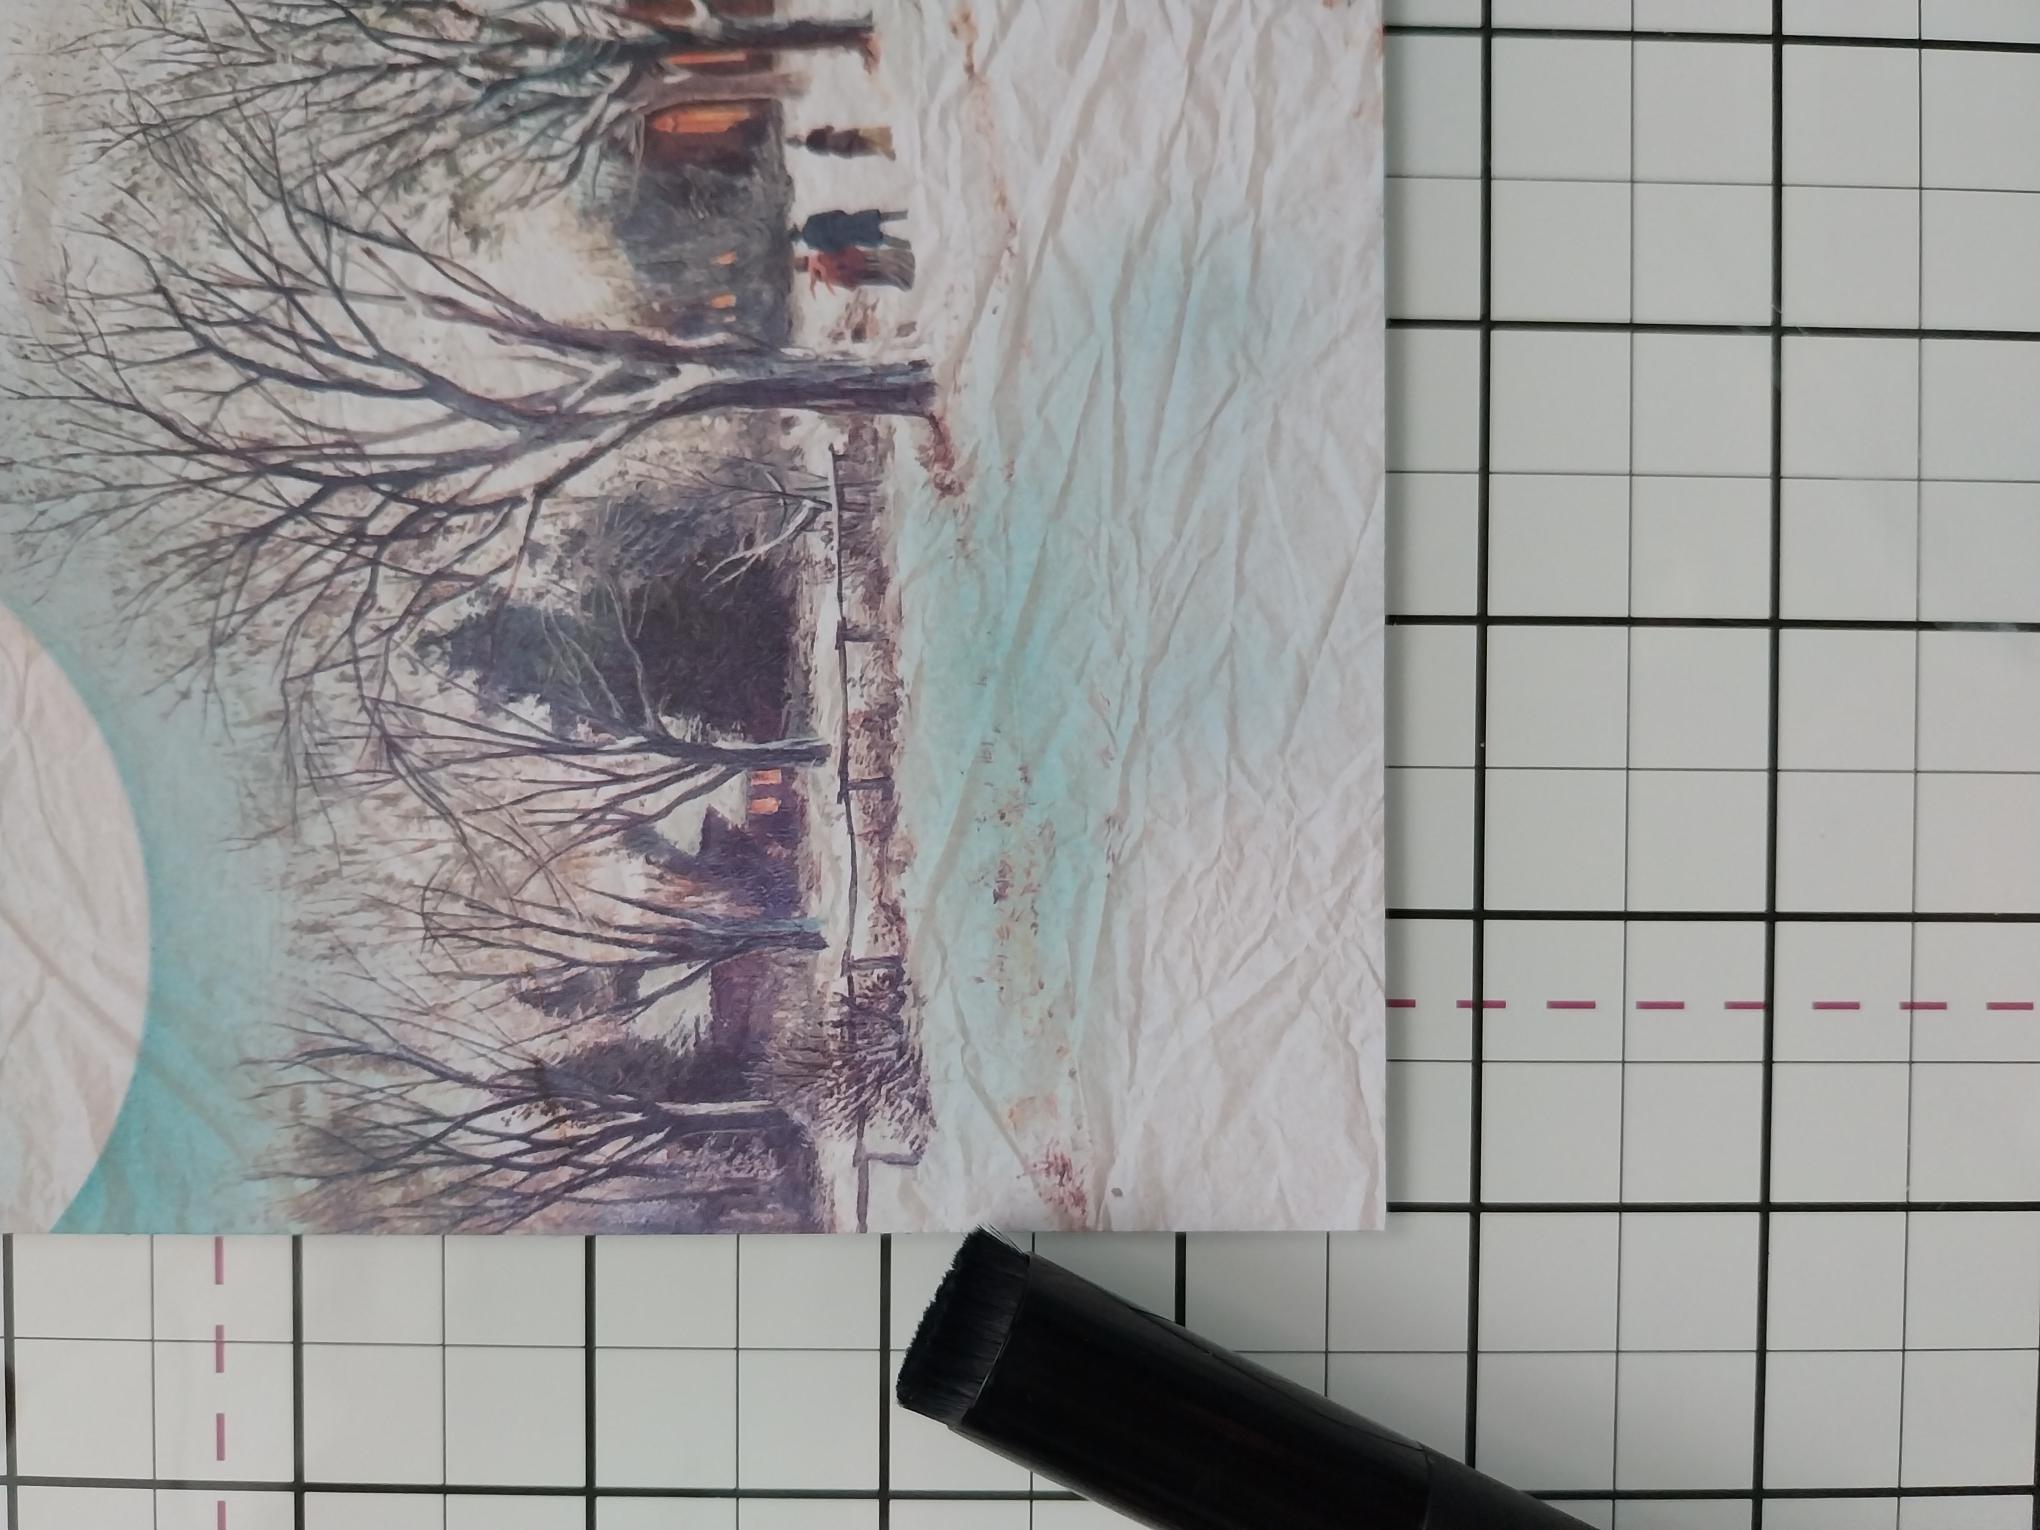
Place your circle mask in the top left corner and use your blending brush to blend the Salvaged Patina Oxide away from the mask. |
|
Blend the Salvaged Patina across the bottom left of the scene, creating the look of Moonlight reflecting in the snow. Pop to one side. |
|
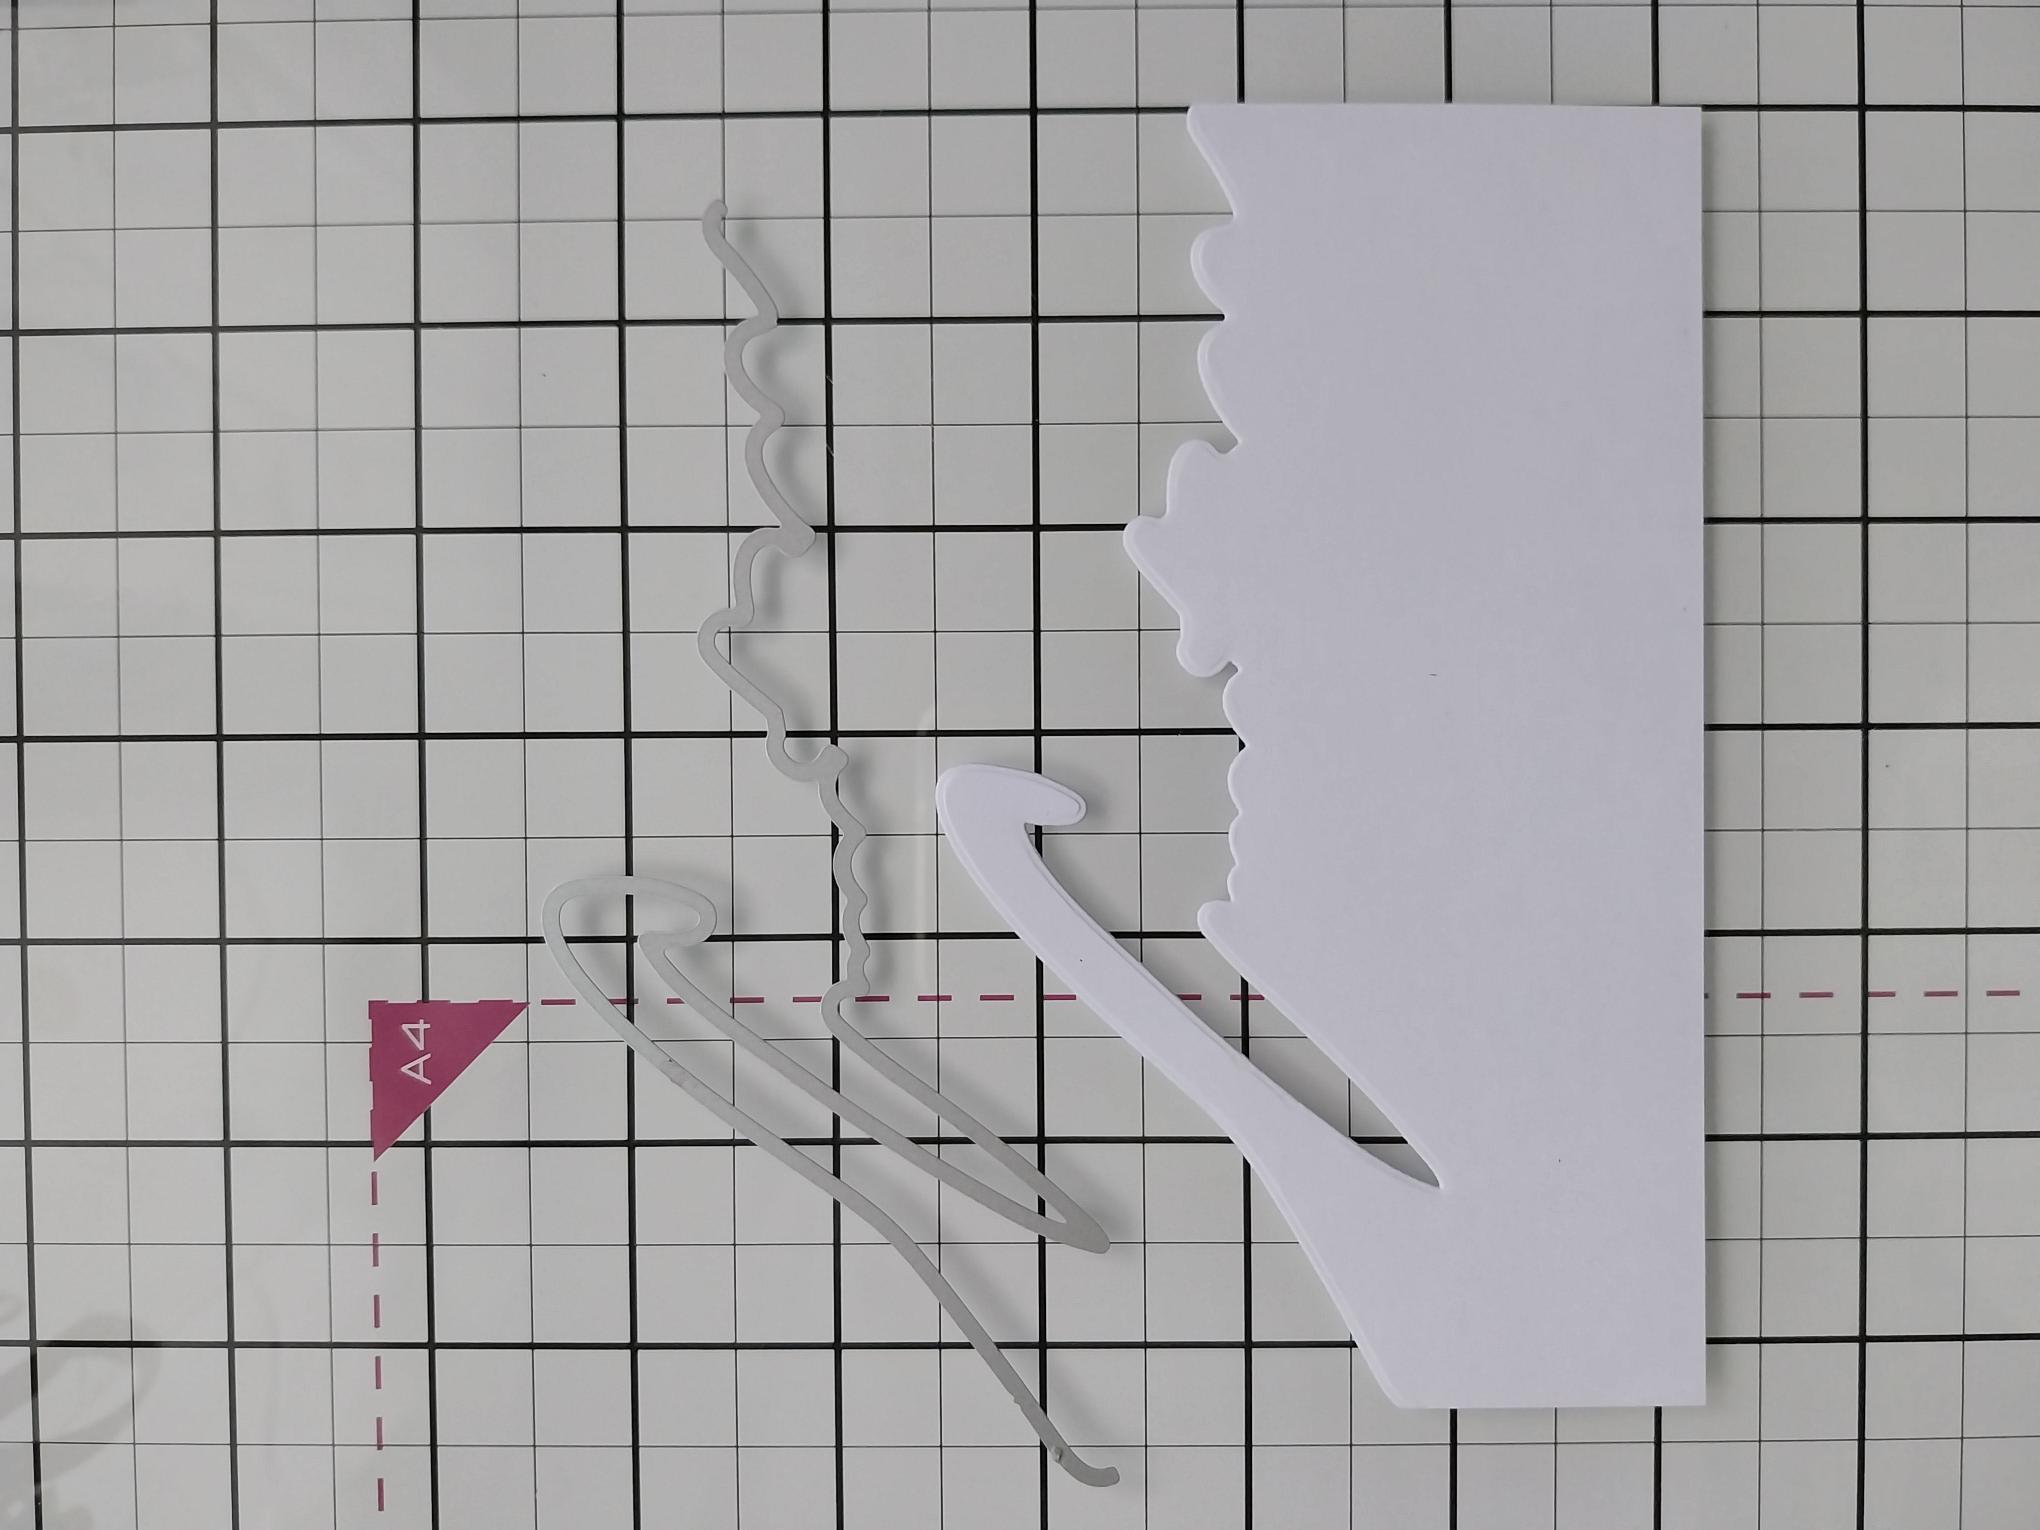
Cut a piece of white card to 6" square. Place the "Greetings" die that cuts ABOVE the word, across the top of your white card and run it through your machine. |
|
Decide where you wish your snow drift to lay and adhere in place, on your painted mount. Trim off any excess card. |
|
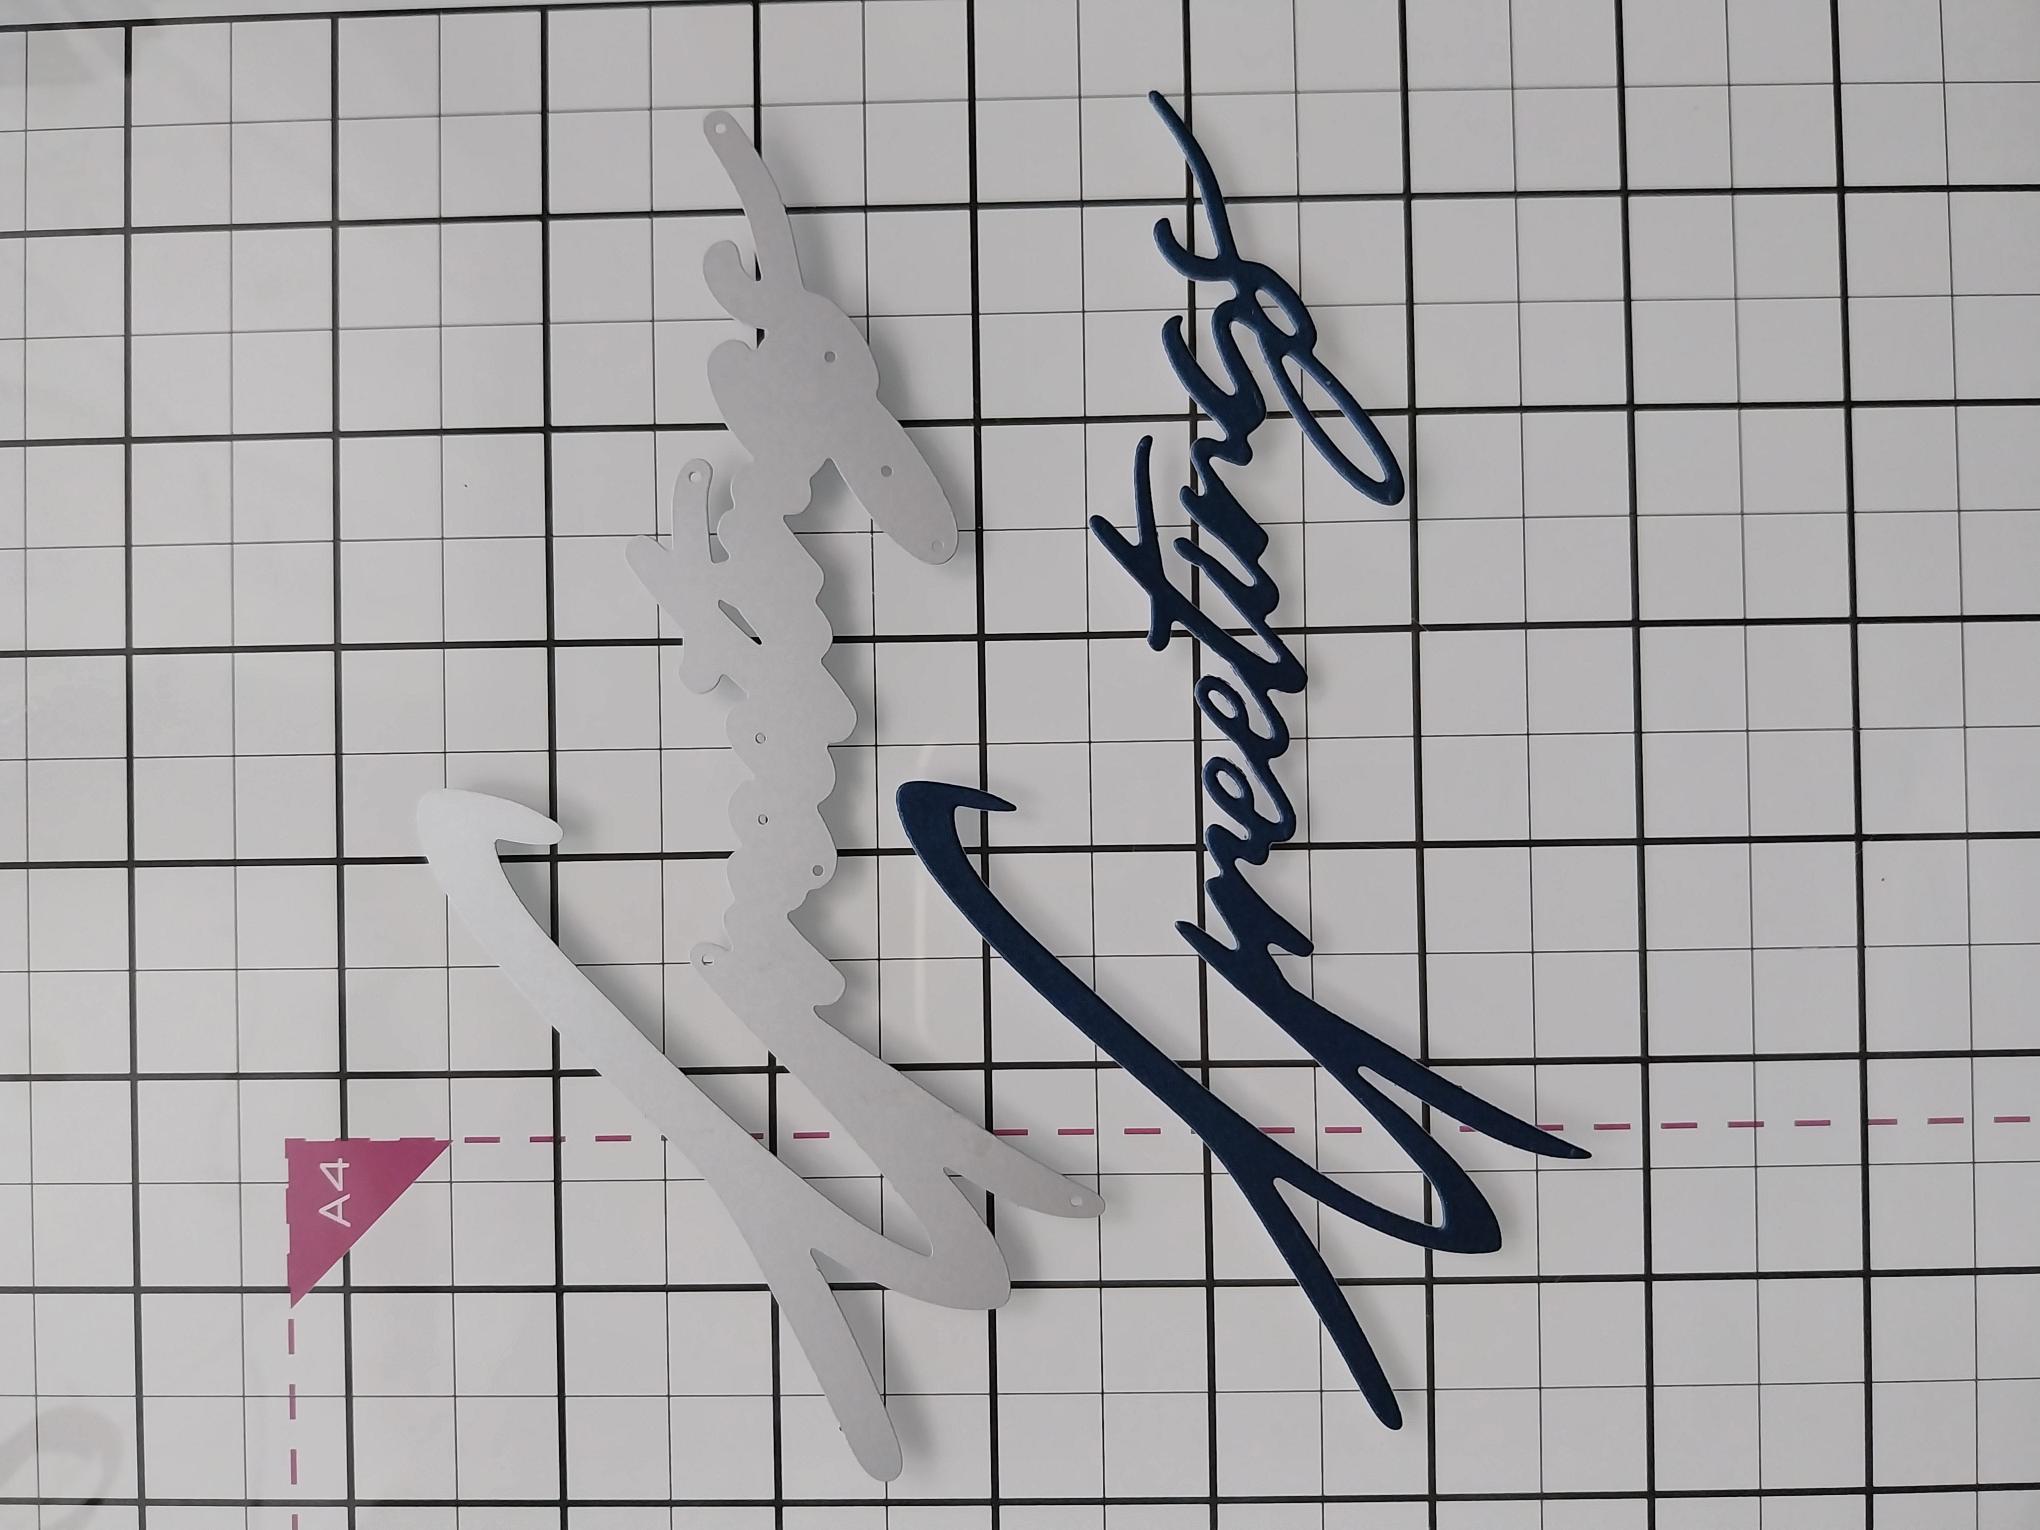
Die cut "Greetings" from the Navy pearlescent card. For a more substantial element, die cut 3 or 4 and glue together. |
|
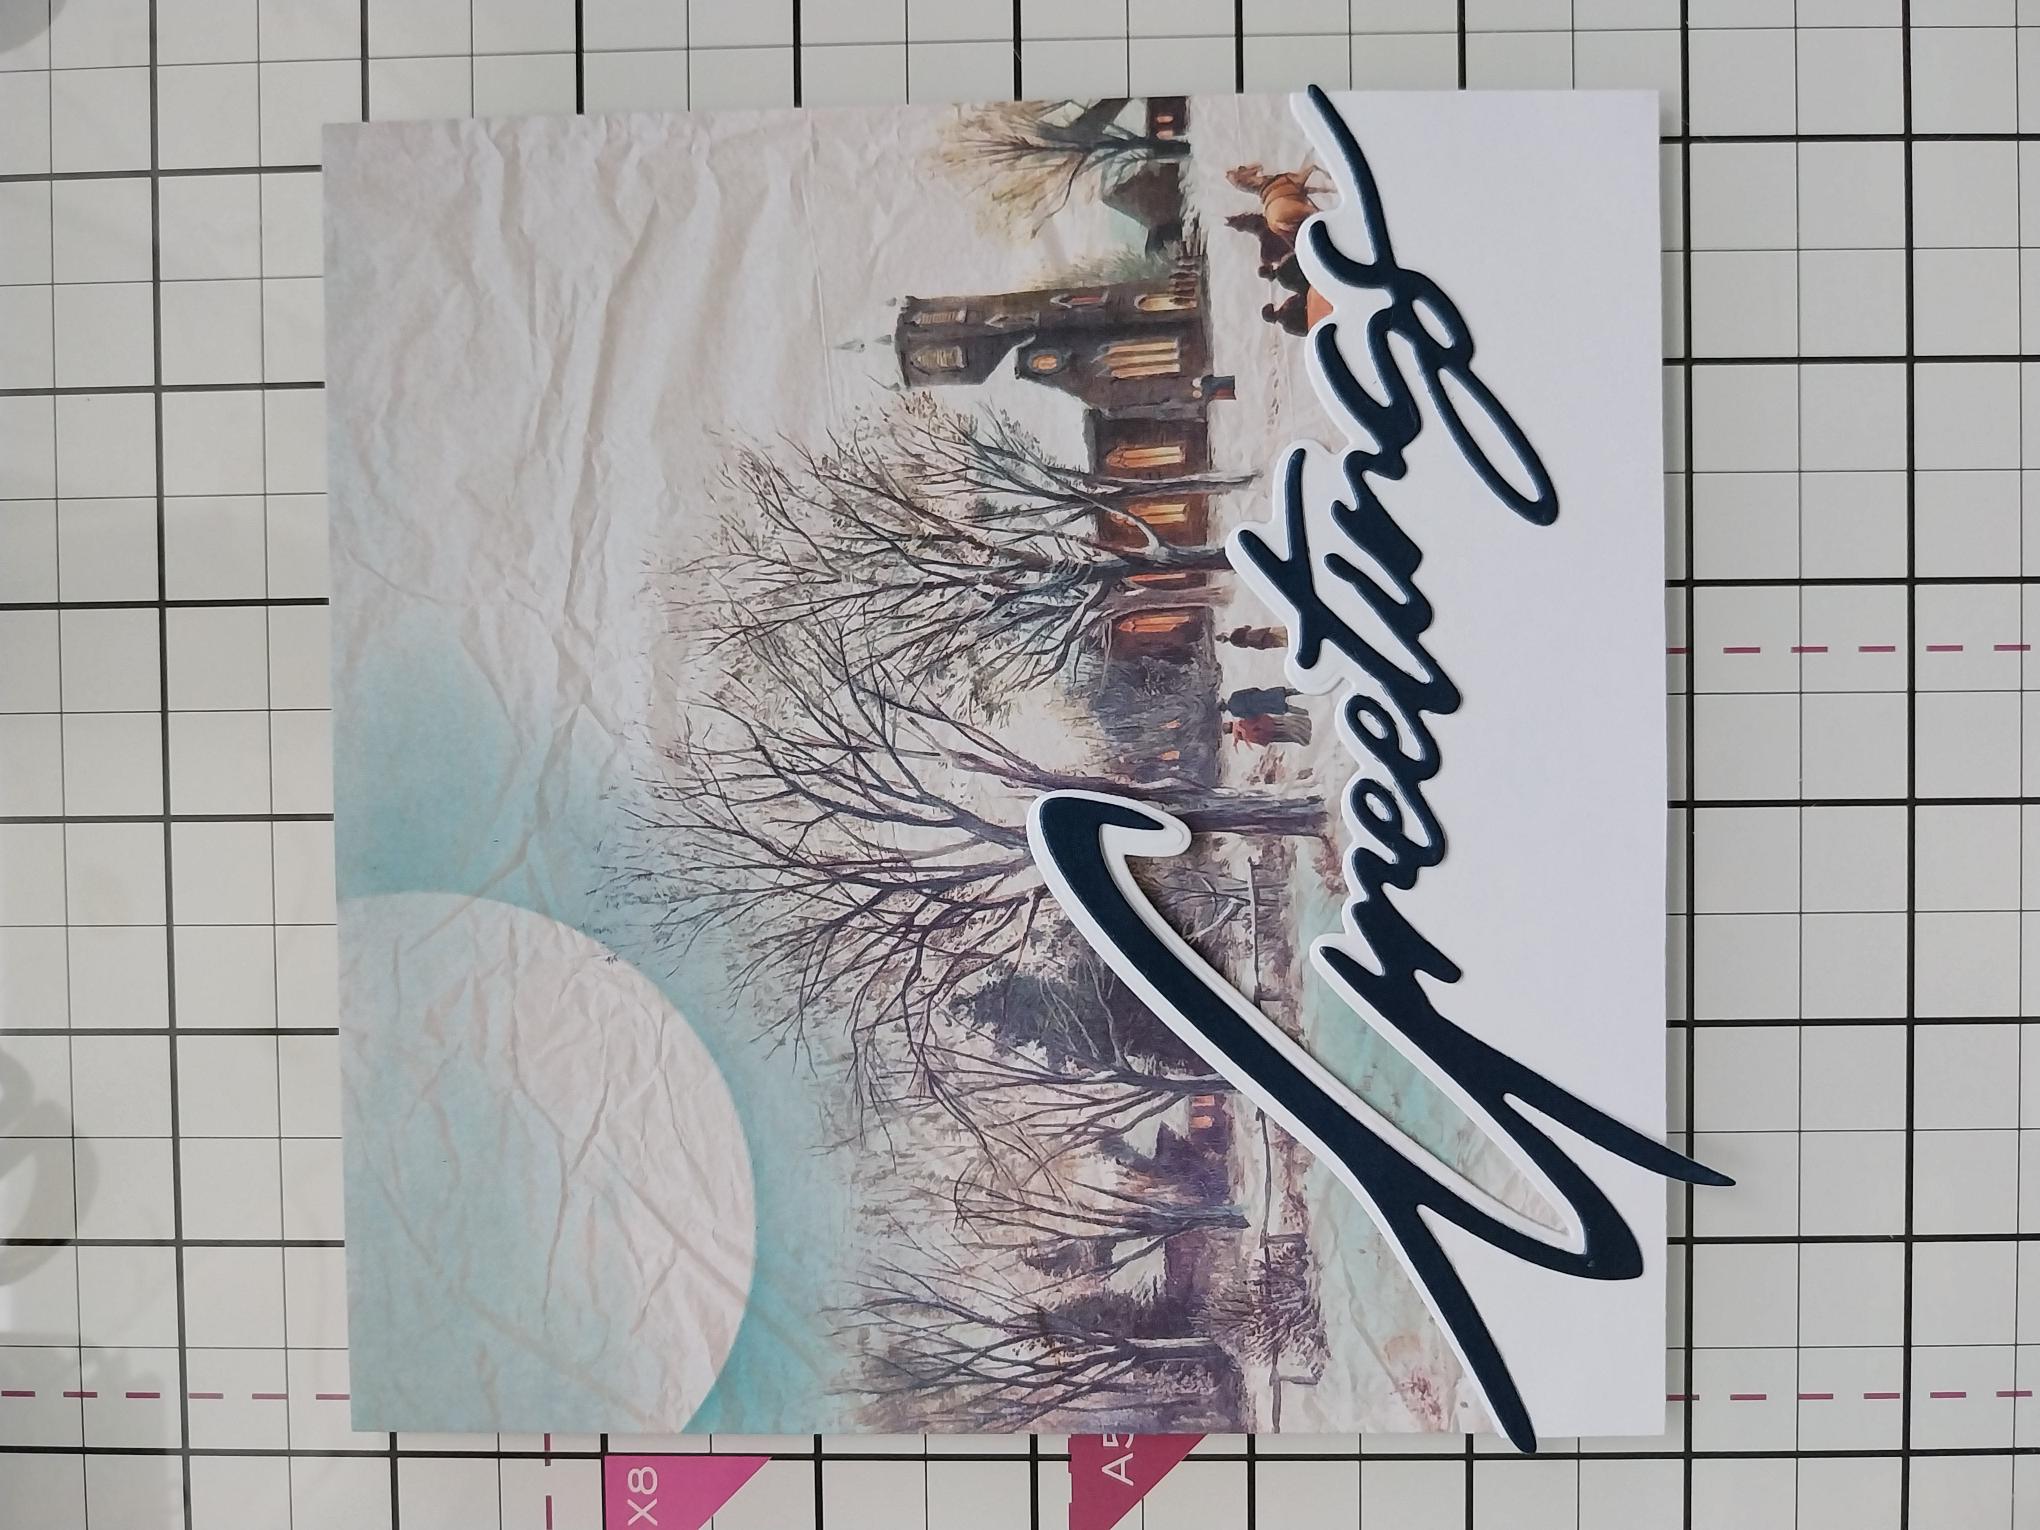
Line up and adhere in place on your snow drift element. |

|
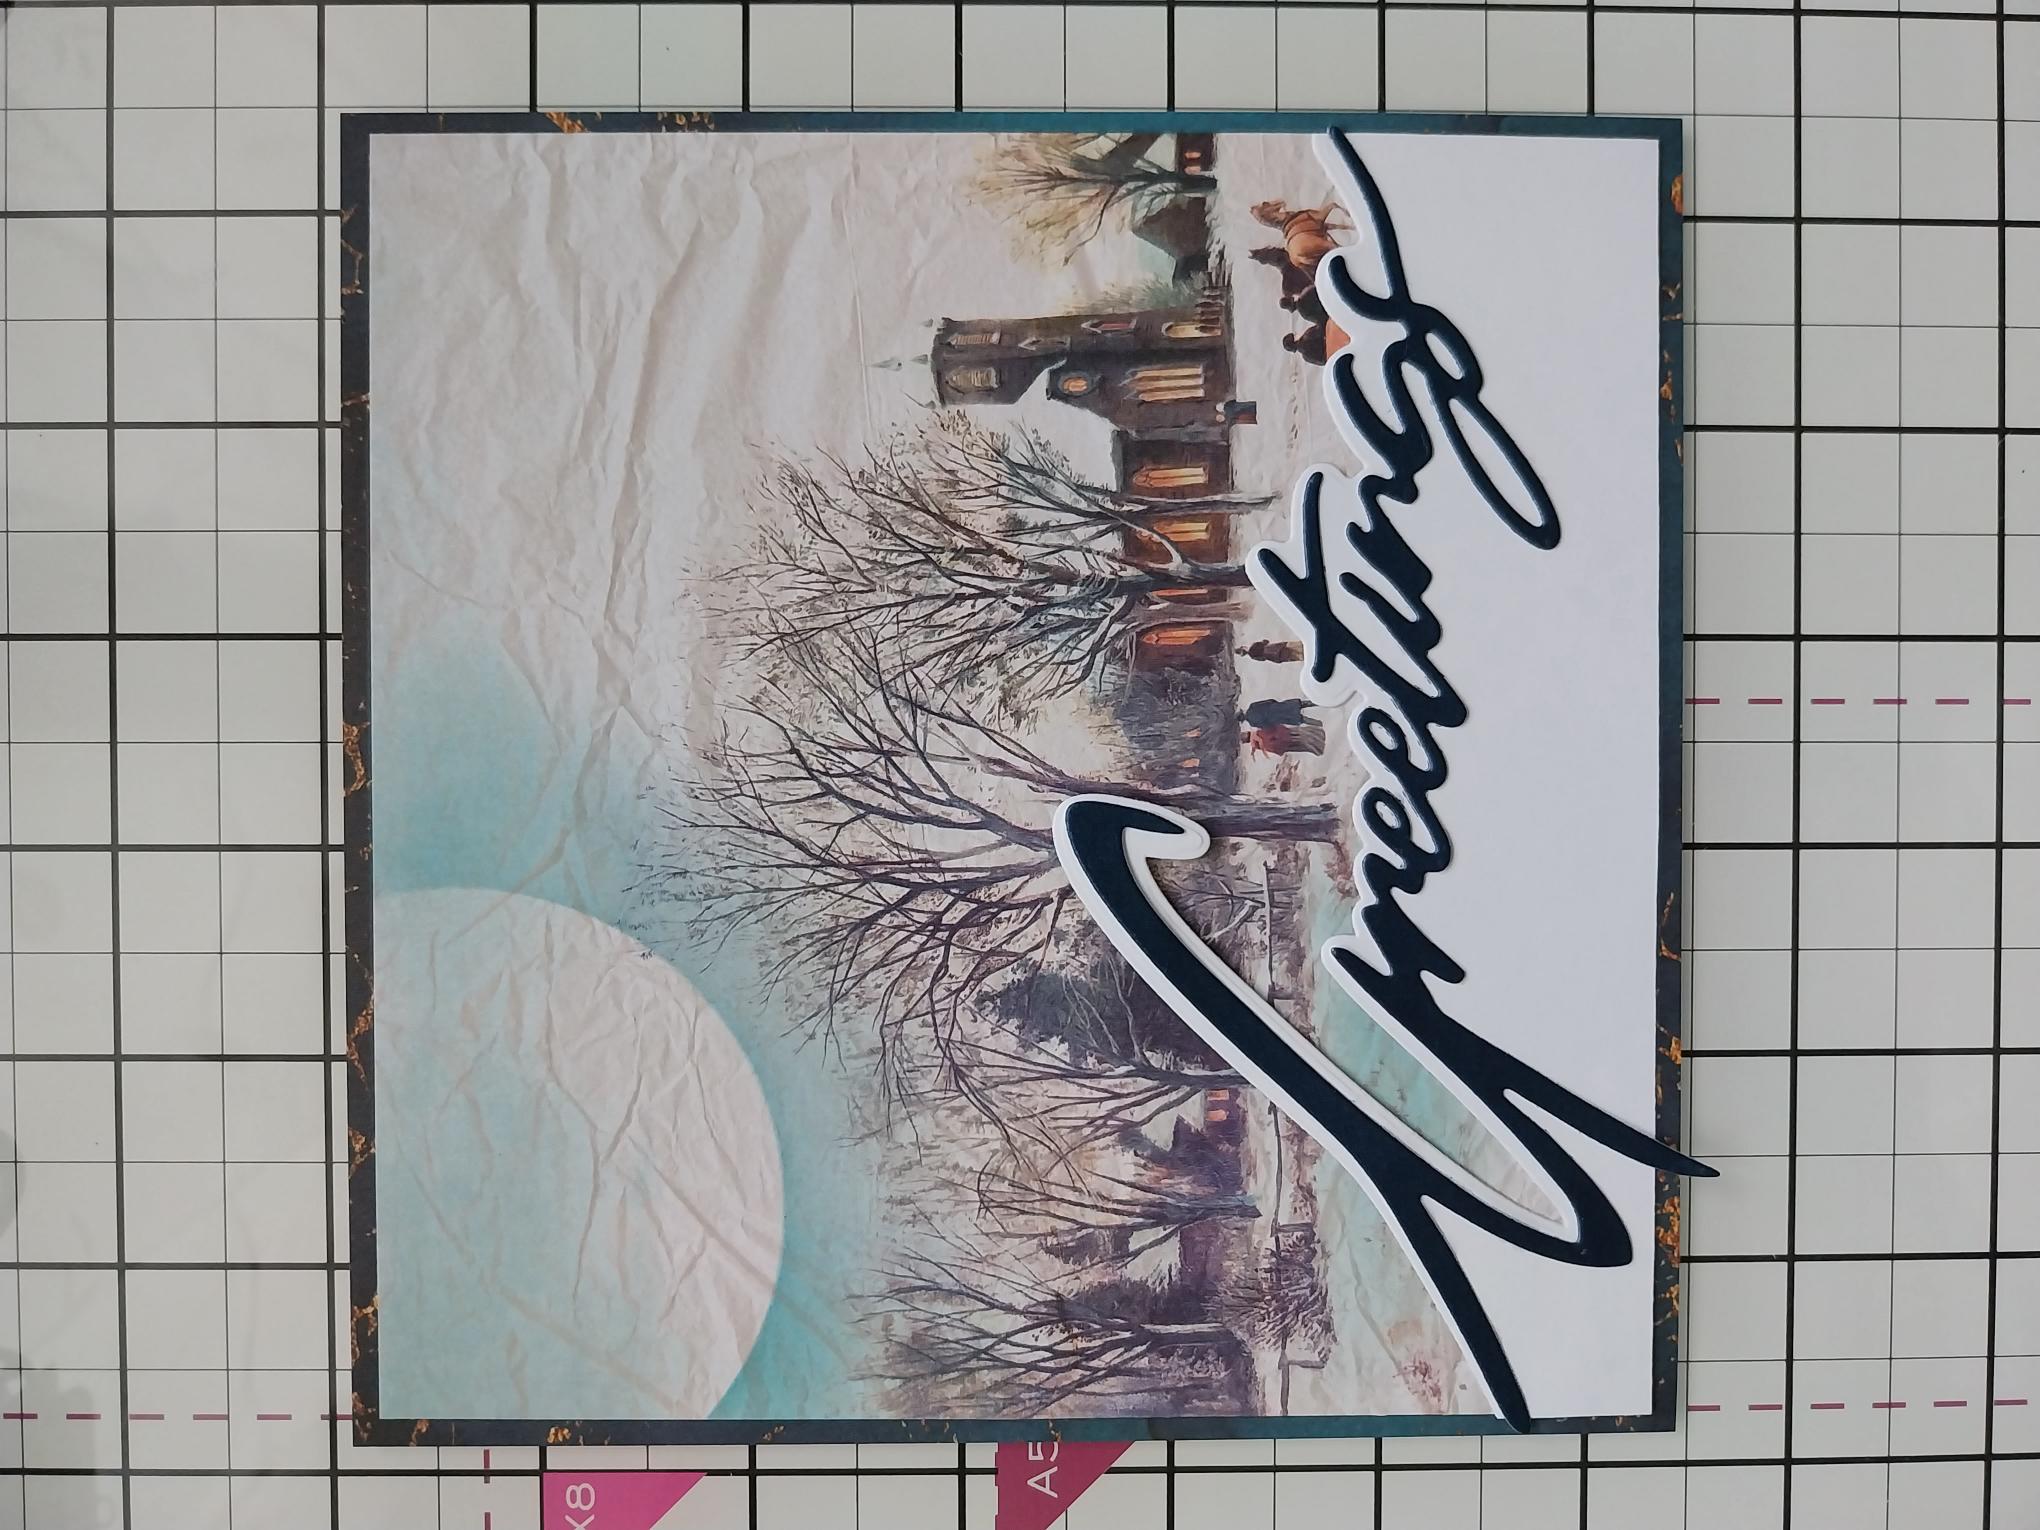
Trim this decorative paper from the Teal All Surfaces pack, to 6 1/4" square. |
|
Adhere your artwork on to the decorative paper. |

|
Adhere to the front of your white card blank. |
|
Use your Stickles to add a touch of festive sparkle to your finished card. |