Give your friends $10 off their first order!
Refer a FRIEND


WHAT YOU WILL NEED:
Teal card blank (trim to 7 x 5")
White card
Black glitter card
Vellum
Winter Village A6 Embossing Folder
Winter Magic Slim Line Painted Mounts
Cotton Pines Stamp and Die Set
Joy Die Set
SBM Hybrid Ink Pad: Midnight
Distress Oxide: Lost Shadow, Black Soot
Blending Tool
Pearlywinks Pearl Mist Spray: Glitter Pearl
Paint Brush
Stickles: Star Dust
WOW heat tool
Eureka 101 Watercolour Tablet
SBM Magnetic glass mat
Paper Trimmer
Glue
Double-sided tape
Die cutting machine
[click image to enlarge] 
|
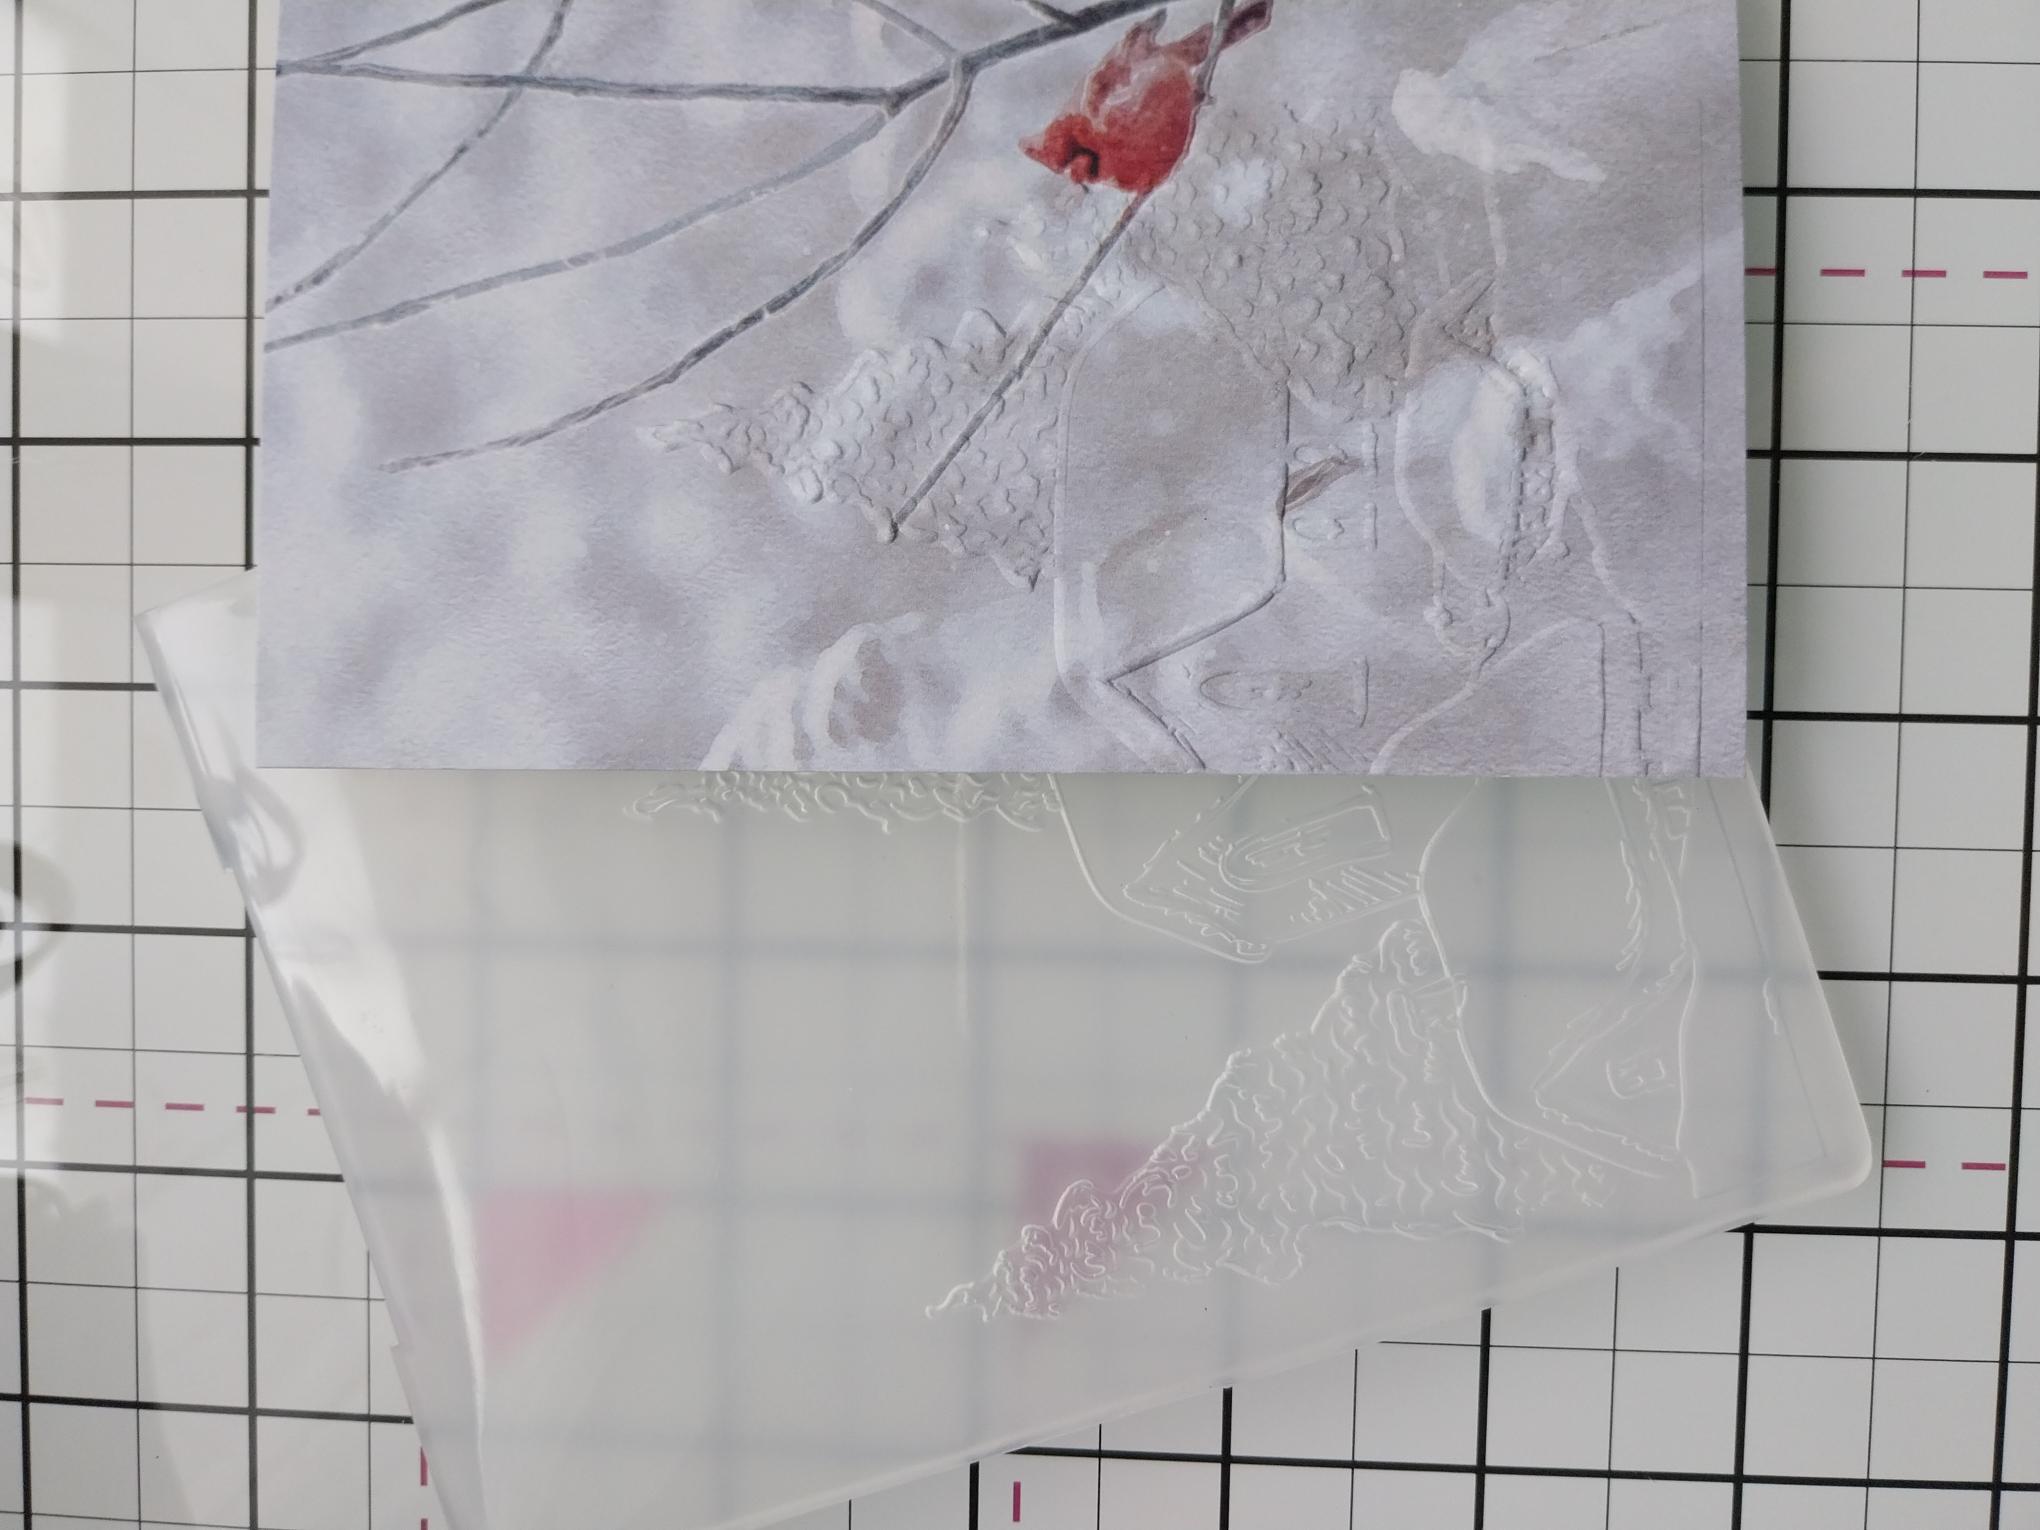
Trim this painted mount, from the Winter Magic Slim Line pack, so it fits inside your A6 Winter Village embossing folder. Use the folder as a guide to decide where you want the Red Cardinal to sit, within your design. |
|
Place inside and run it through your machine, so the embossed image goes off the left edge of the mount. |
|
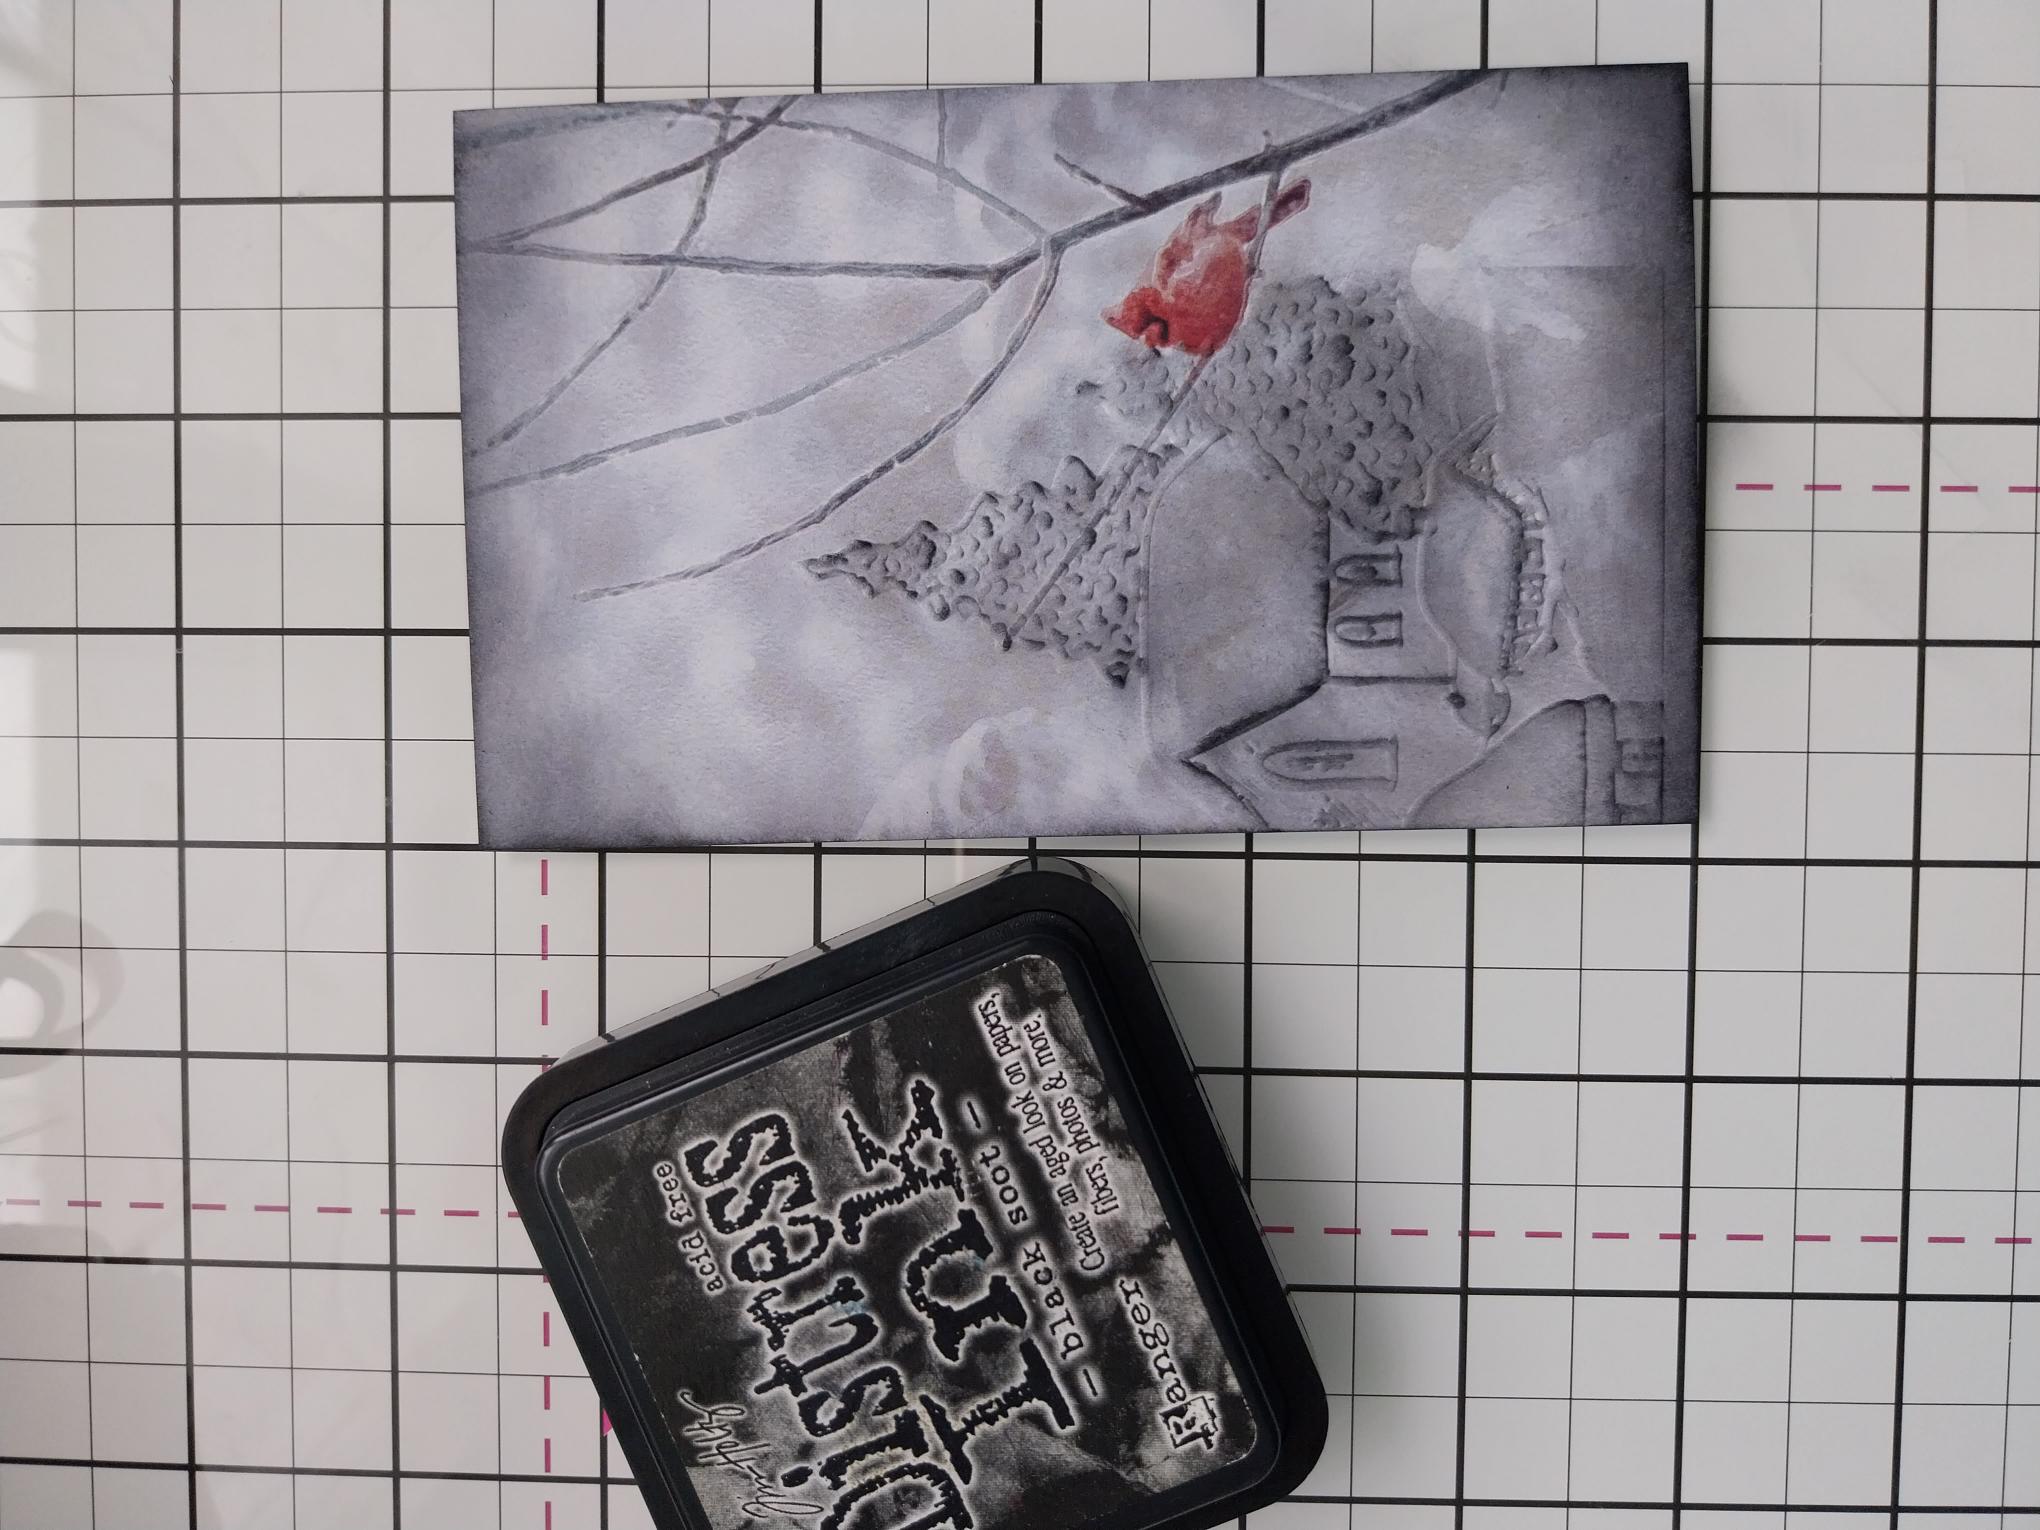
Gently rub your Black Soot ink pad over the embossed image, before blending around the edges of the mount, with your blending tool. Blast the ink dry with your heat tool. |
|
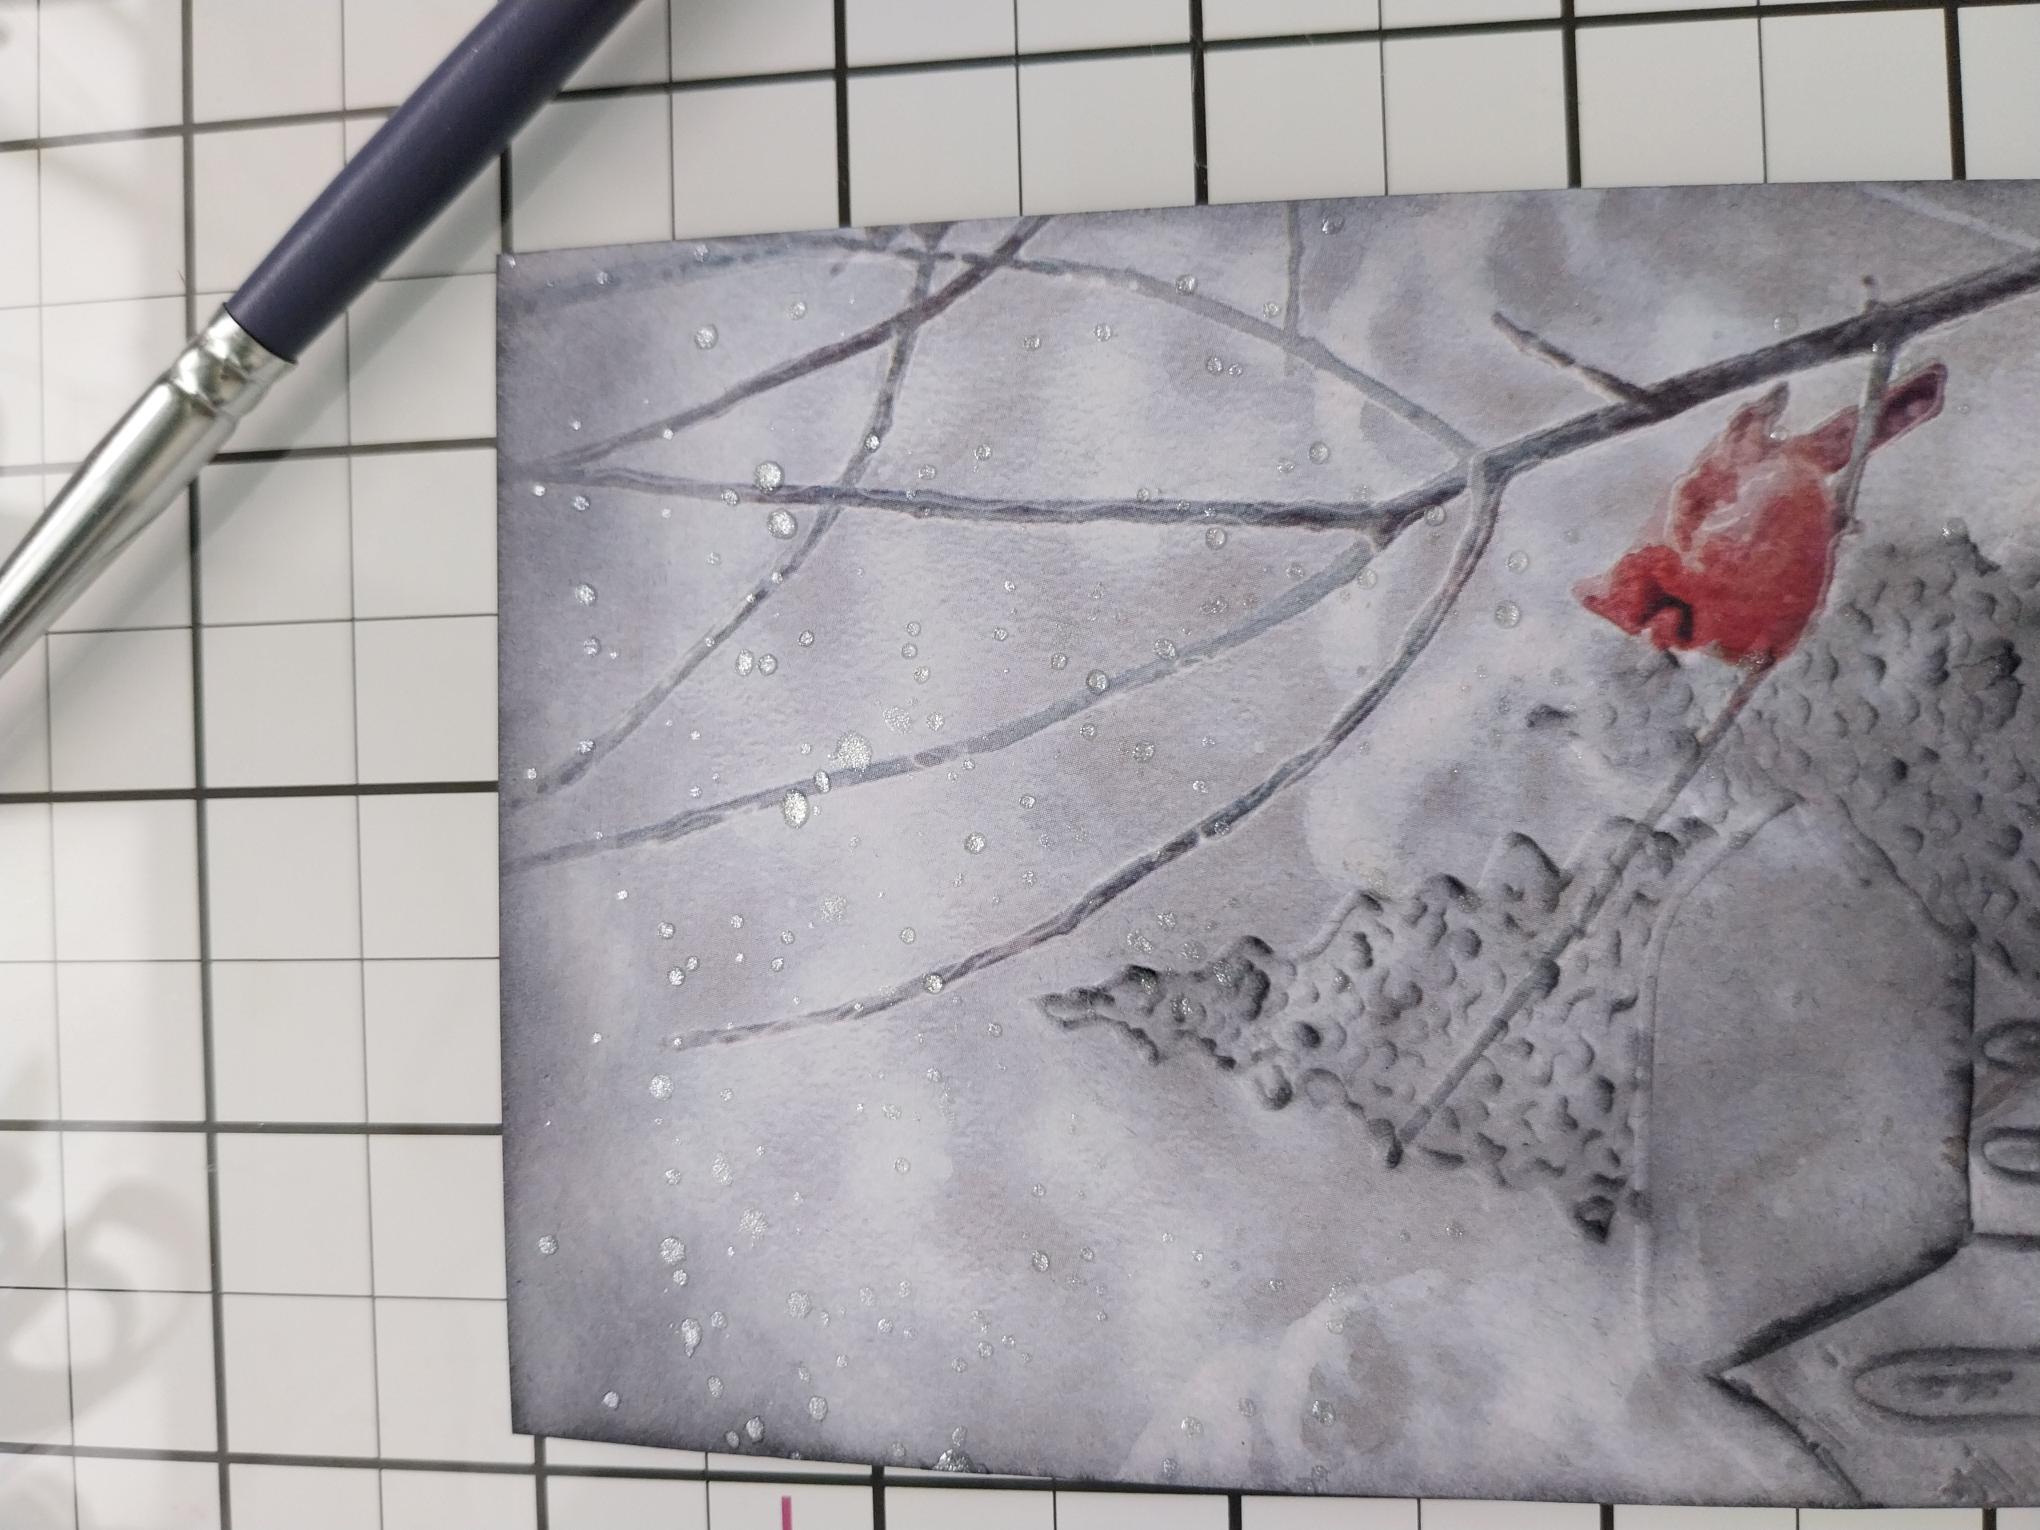
Swirl the Pearlywinks Pearl Mist spray, to activate the mica. Spray on to your glass mat and use a paint brush to splatter over your artwork. Dry off with your heat gun, before setting to one side. |
|
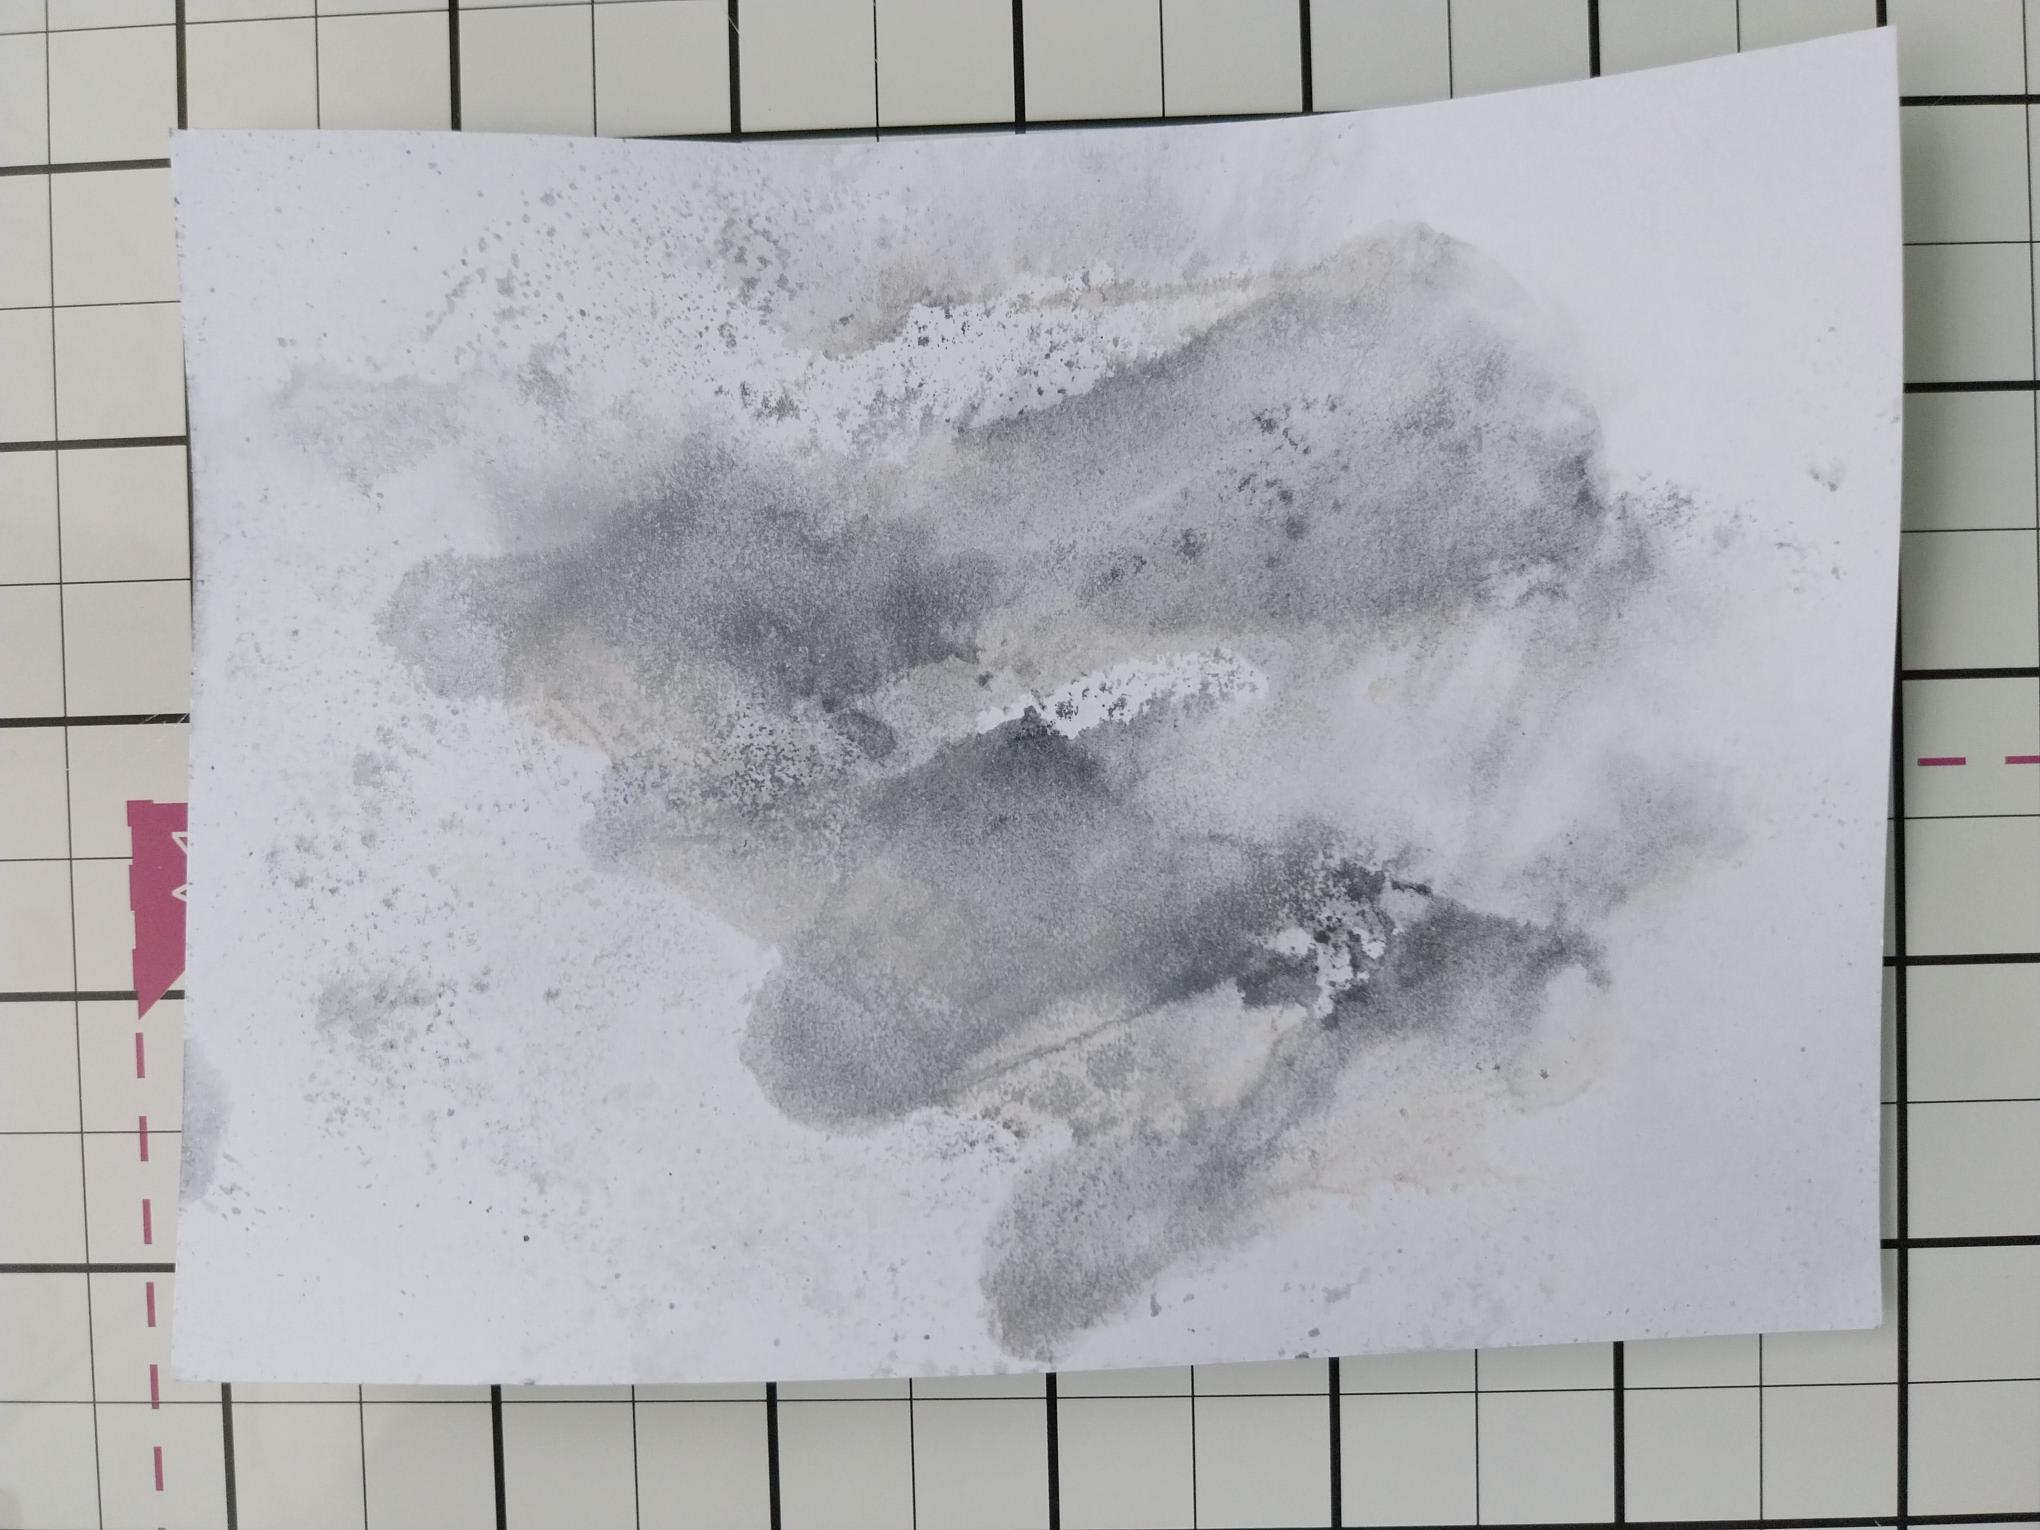
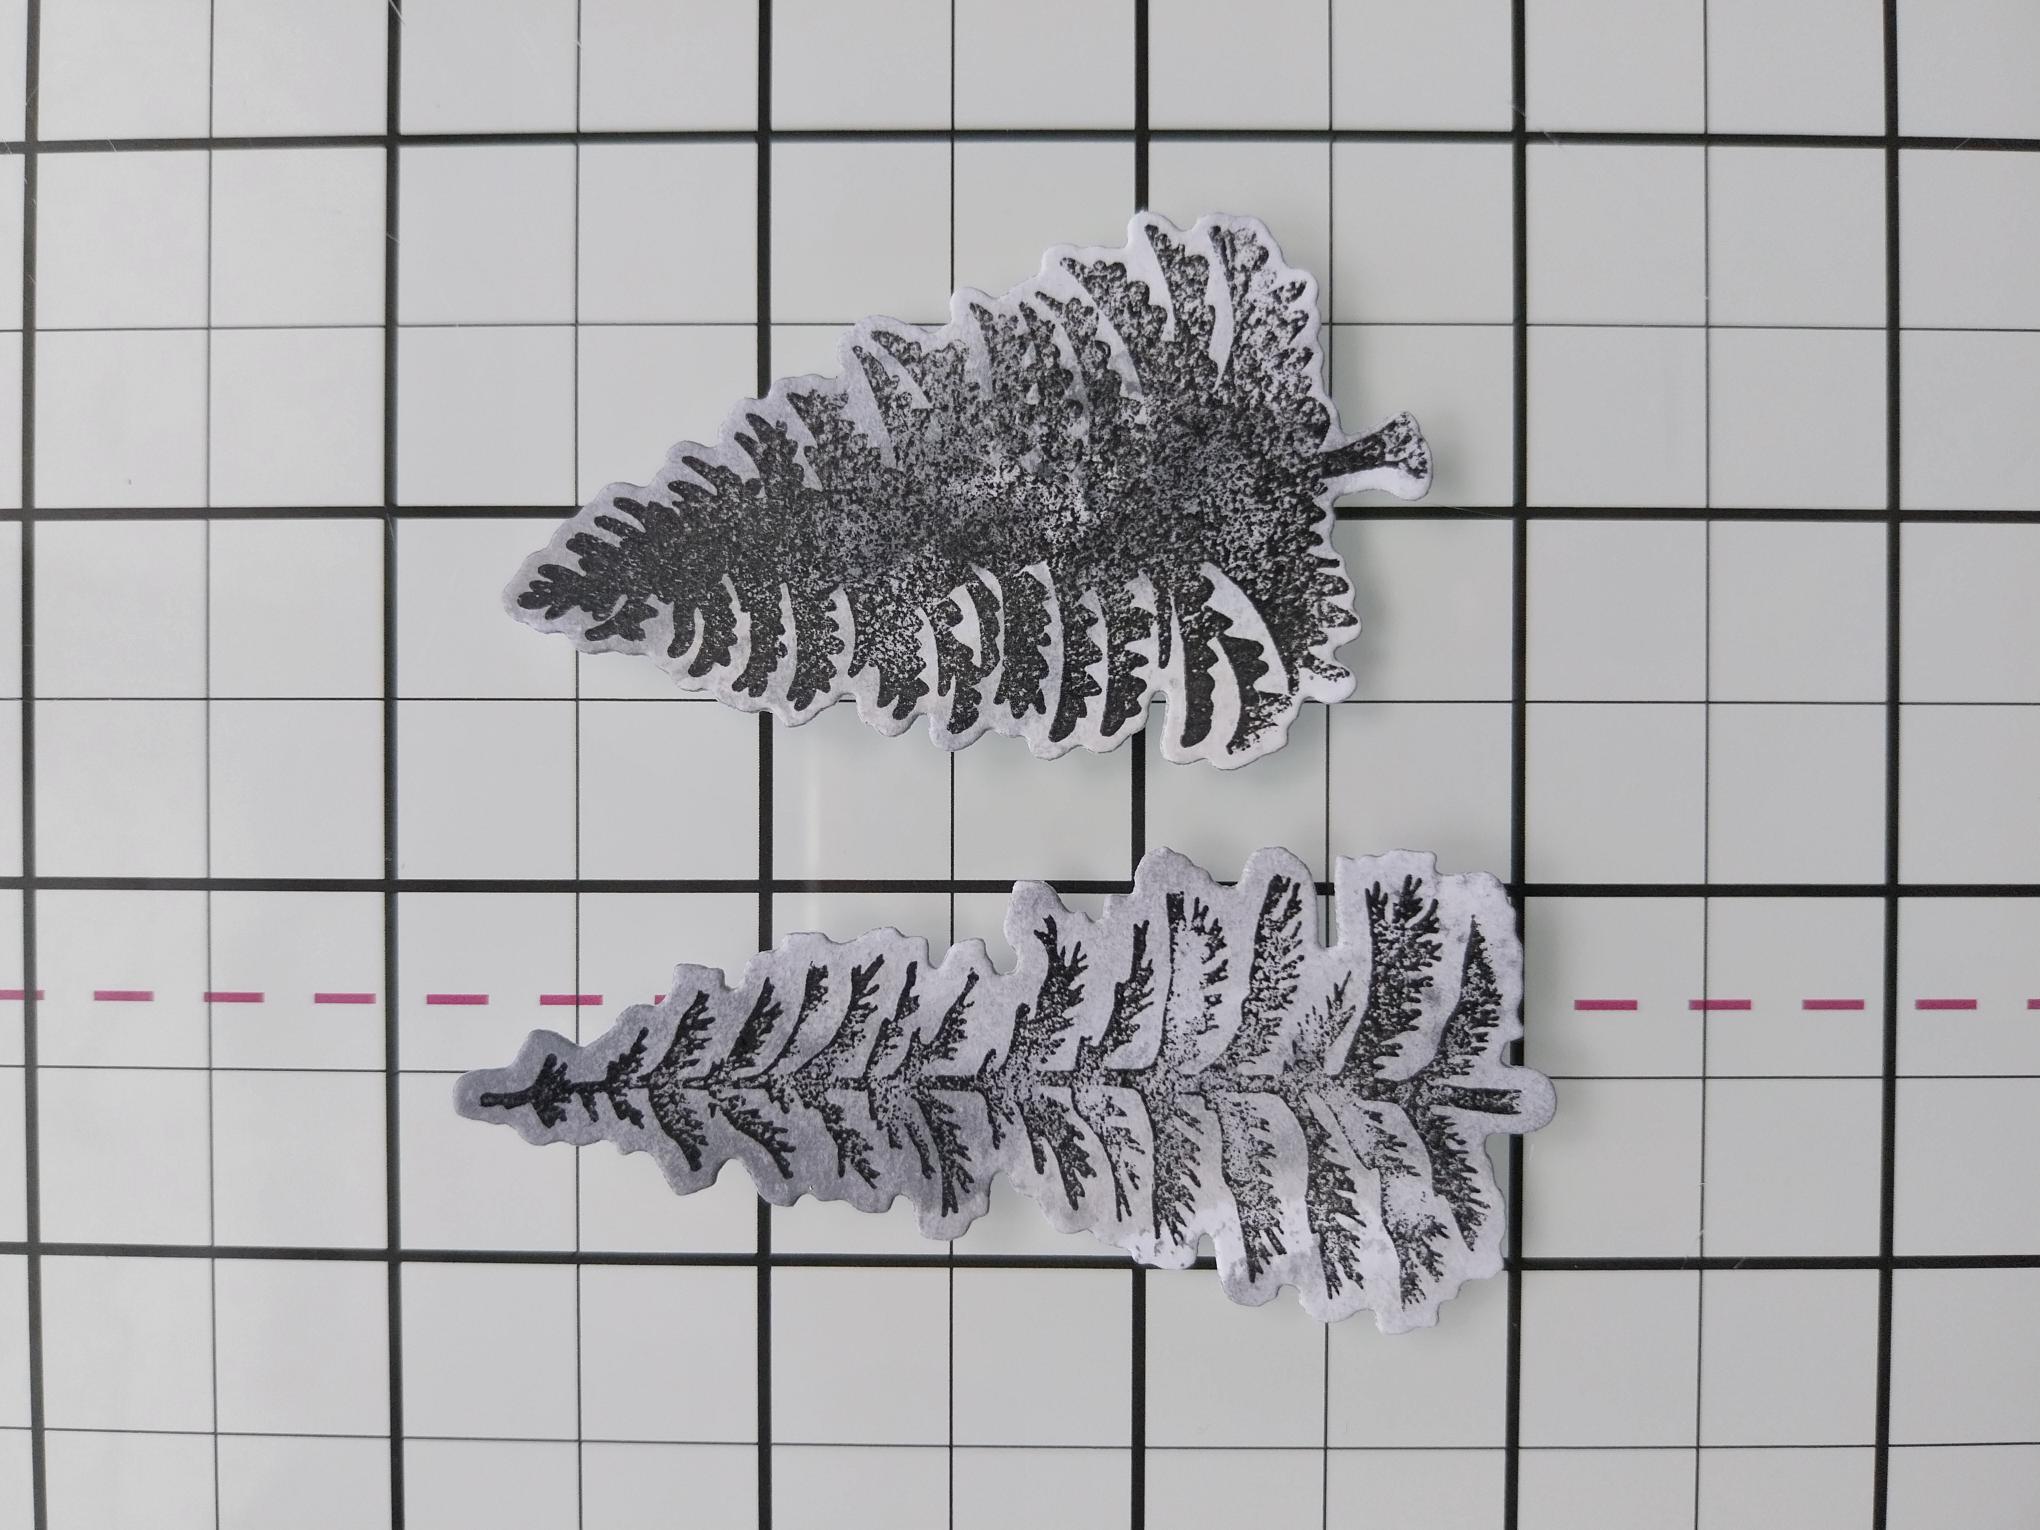
Cut a piece of white card big enough to stamp and die cut, TWO of the Cotton Pine trees. Swipe the Lost Shadow and Black Soot ink pads on to your glass mat, spritz with water and pick up the ink on to the white card. Dry with your heat tool. |
|
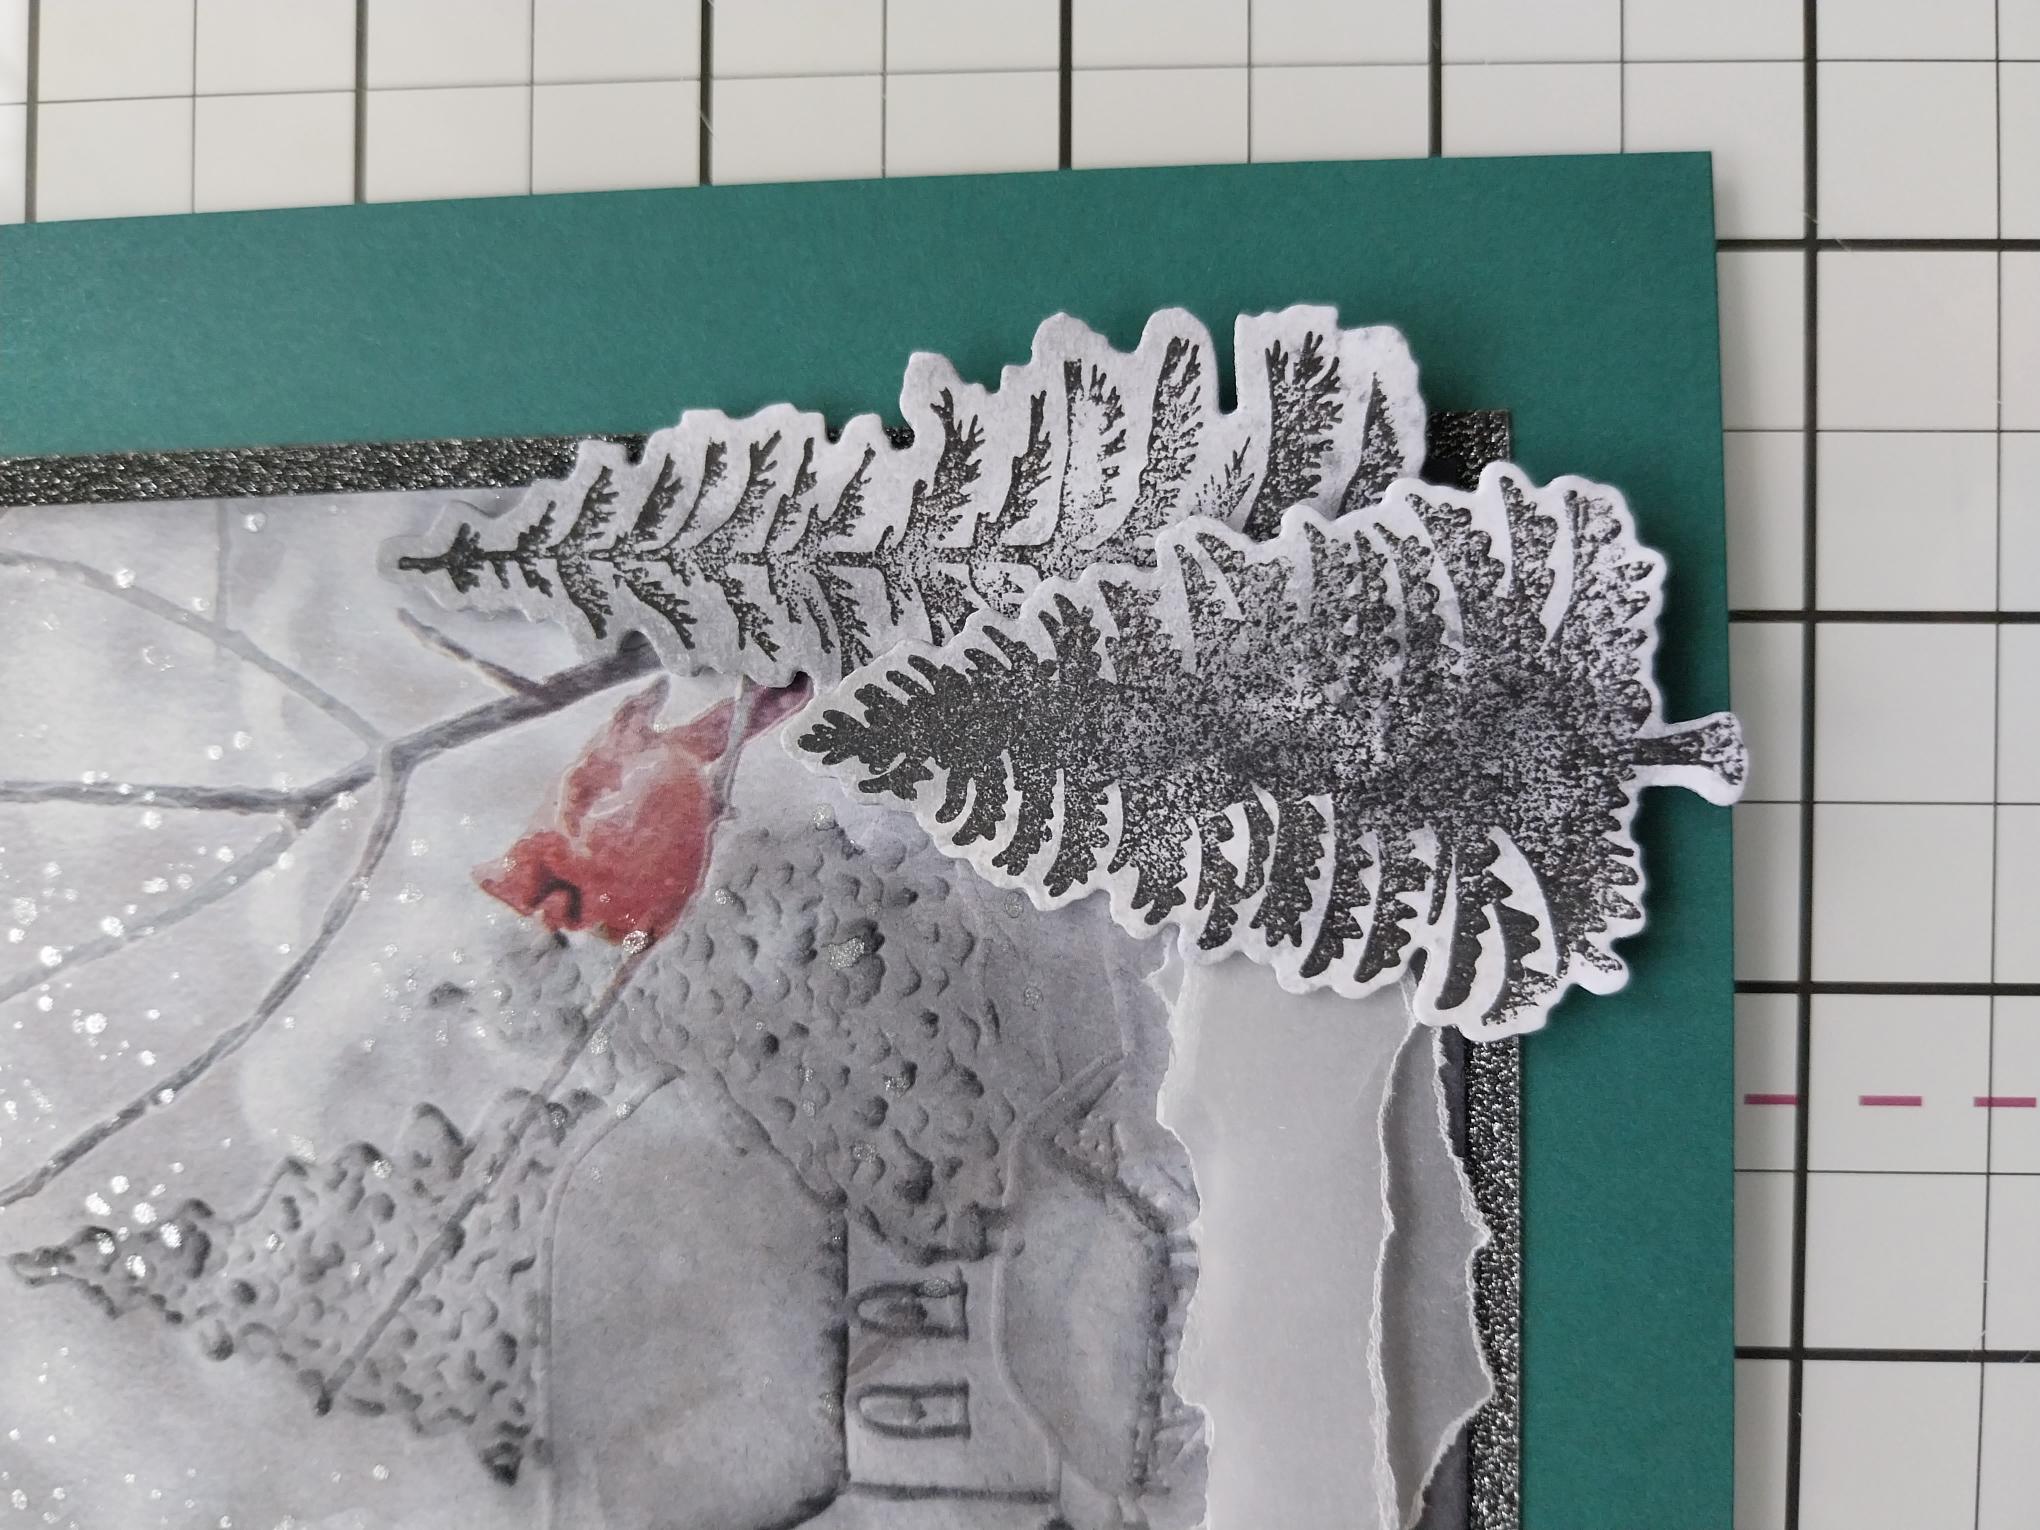
Stamp the trees on to your inky card, using the Midnight Hybrid ink. Use the coordinating dies to cut them out. |
|
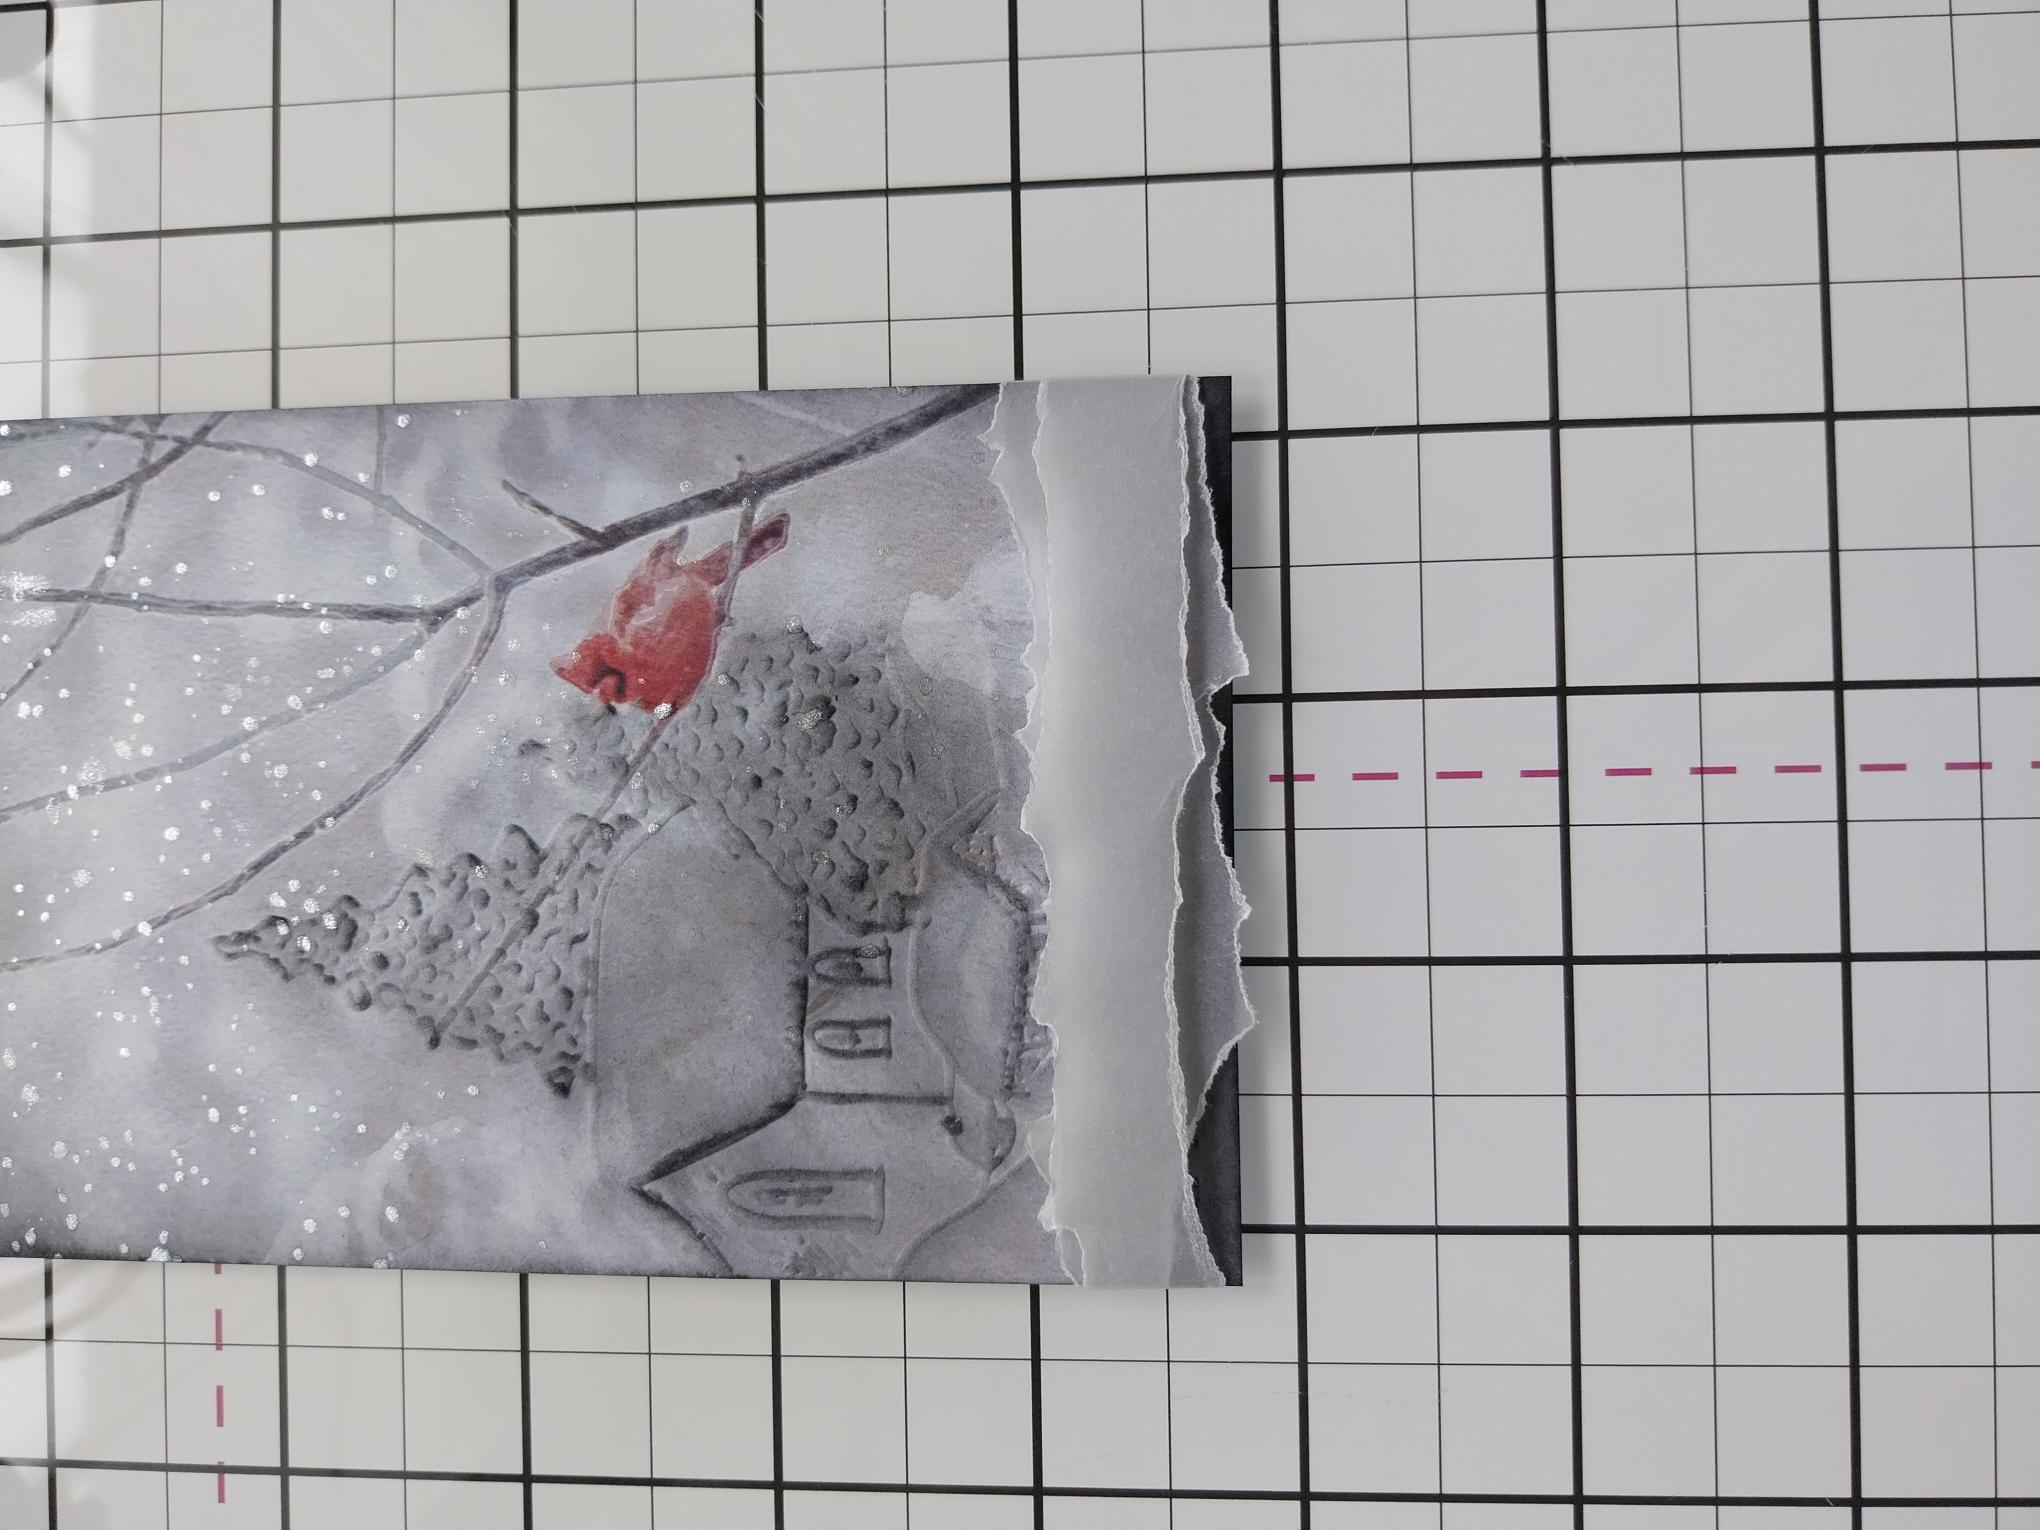
Tear a couple of strips of vellum and place across the bottom of your artwork. Secure on the reverse with double-sided tape. |
|
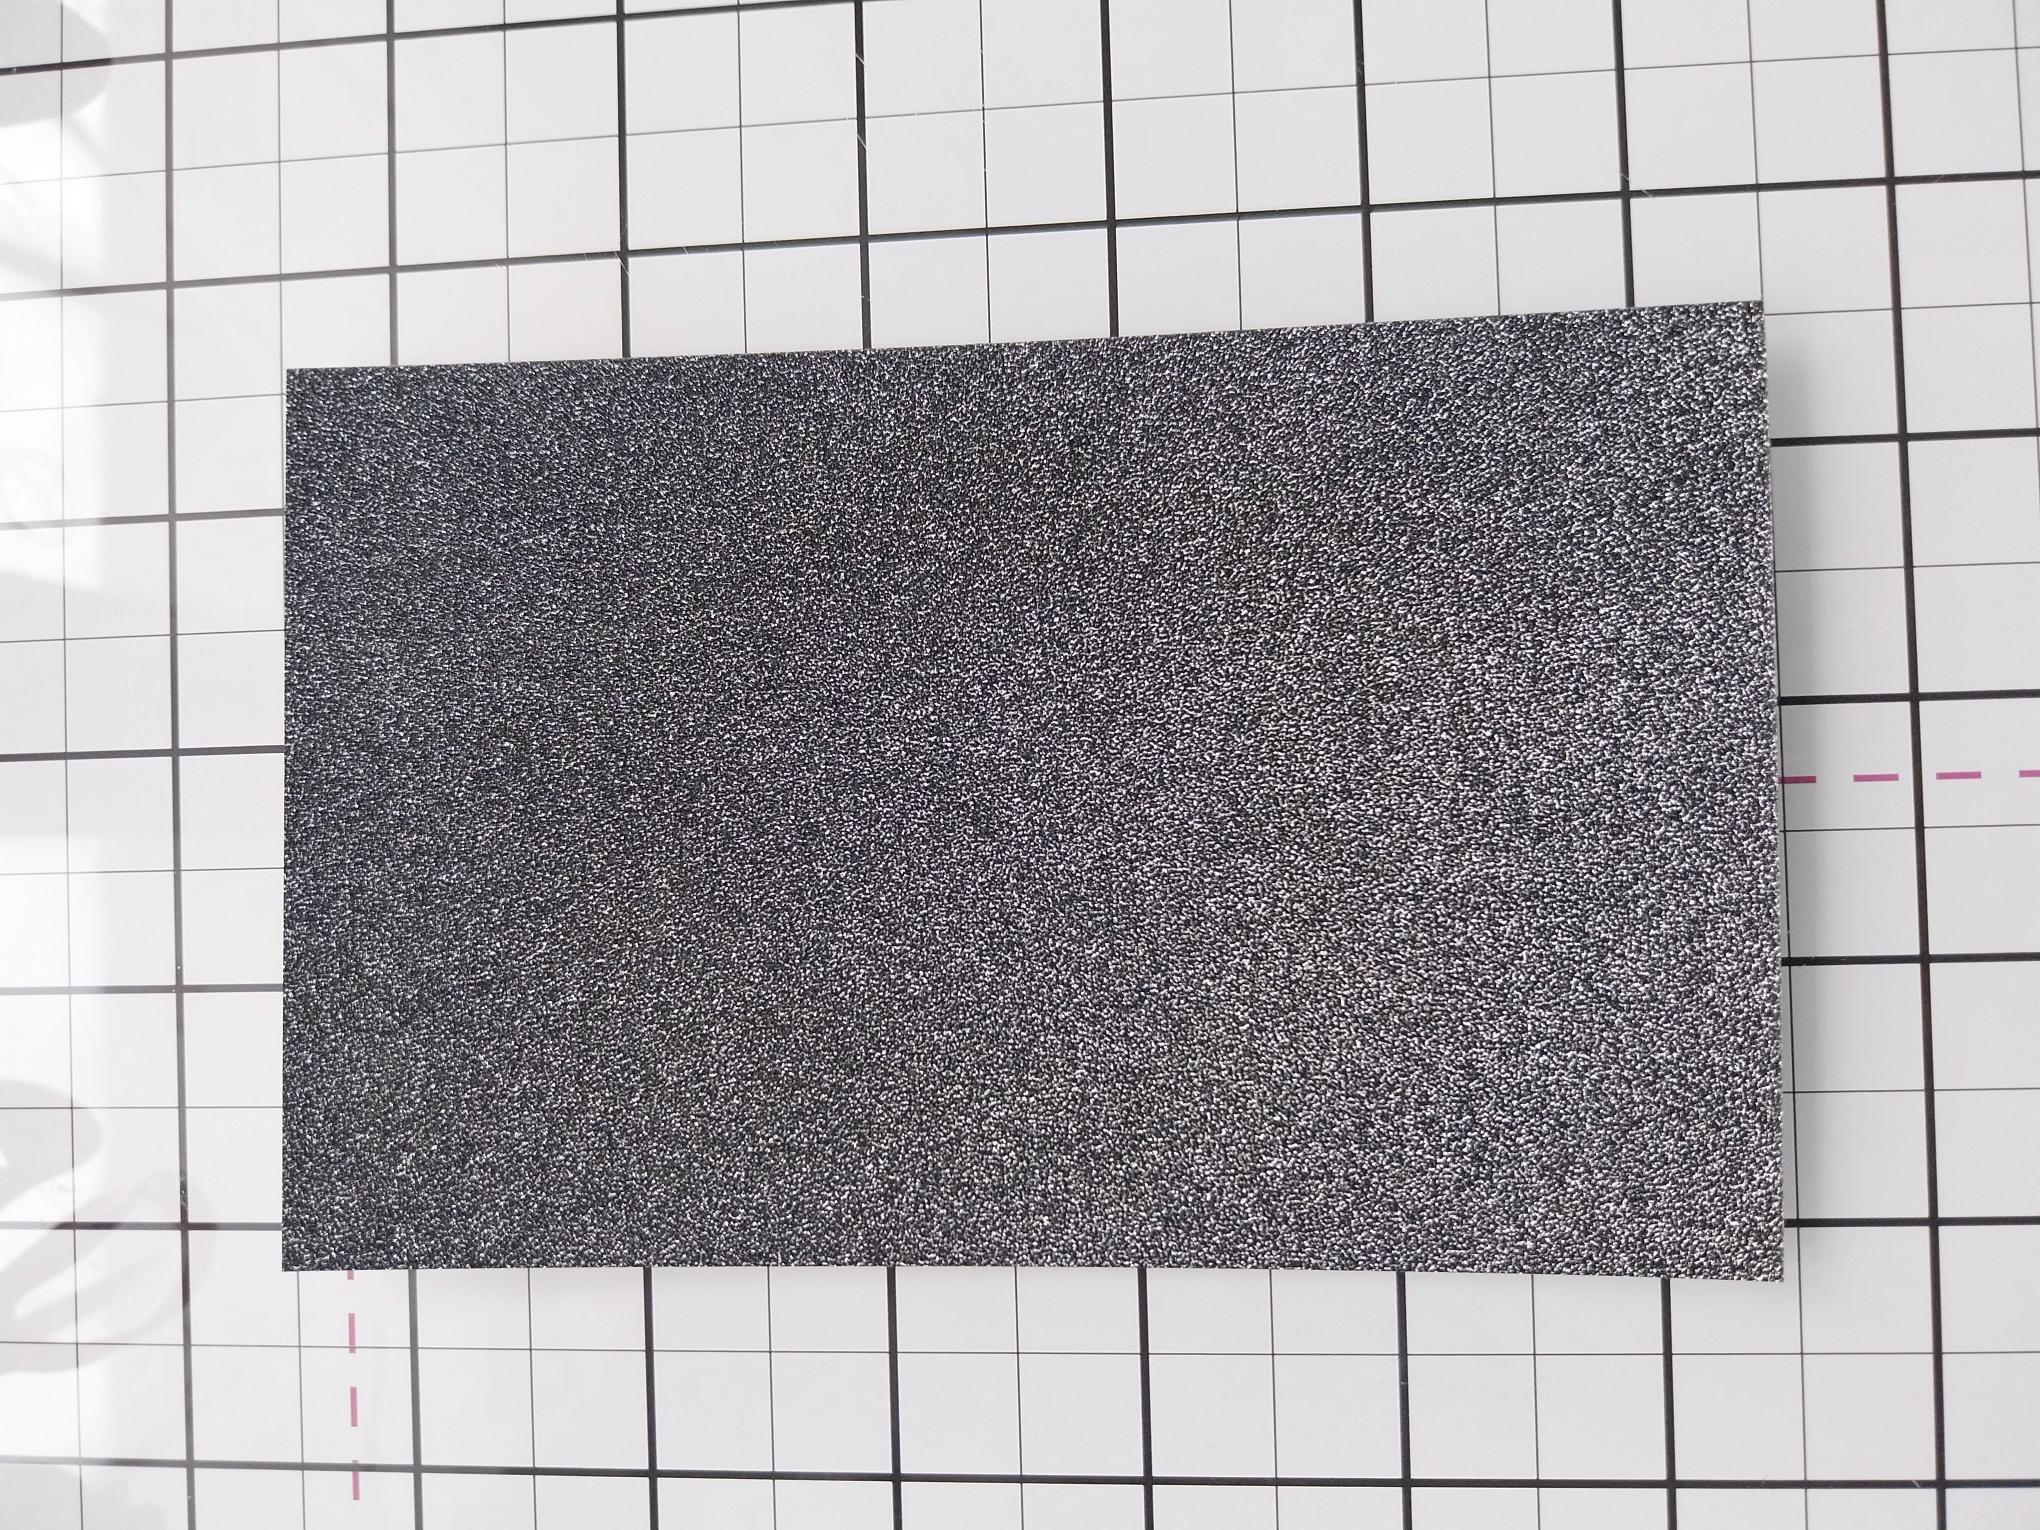
Trim black glitter card 1/4" bigger than your embossed mount. |
|
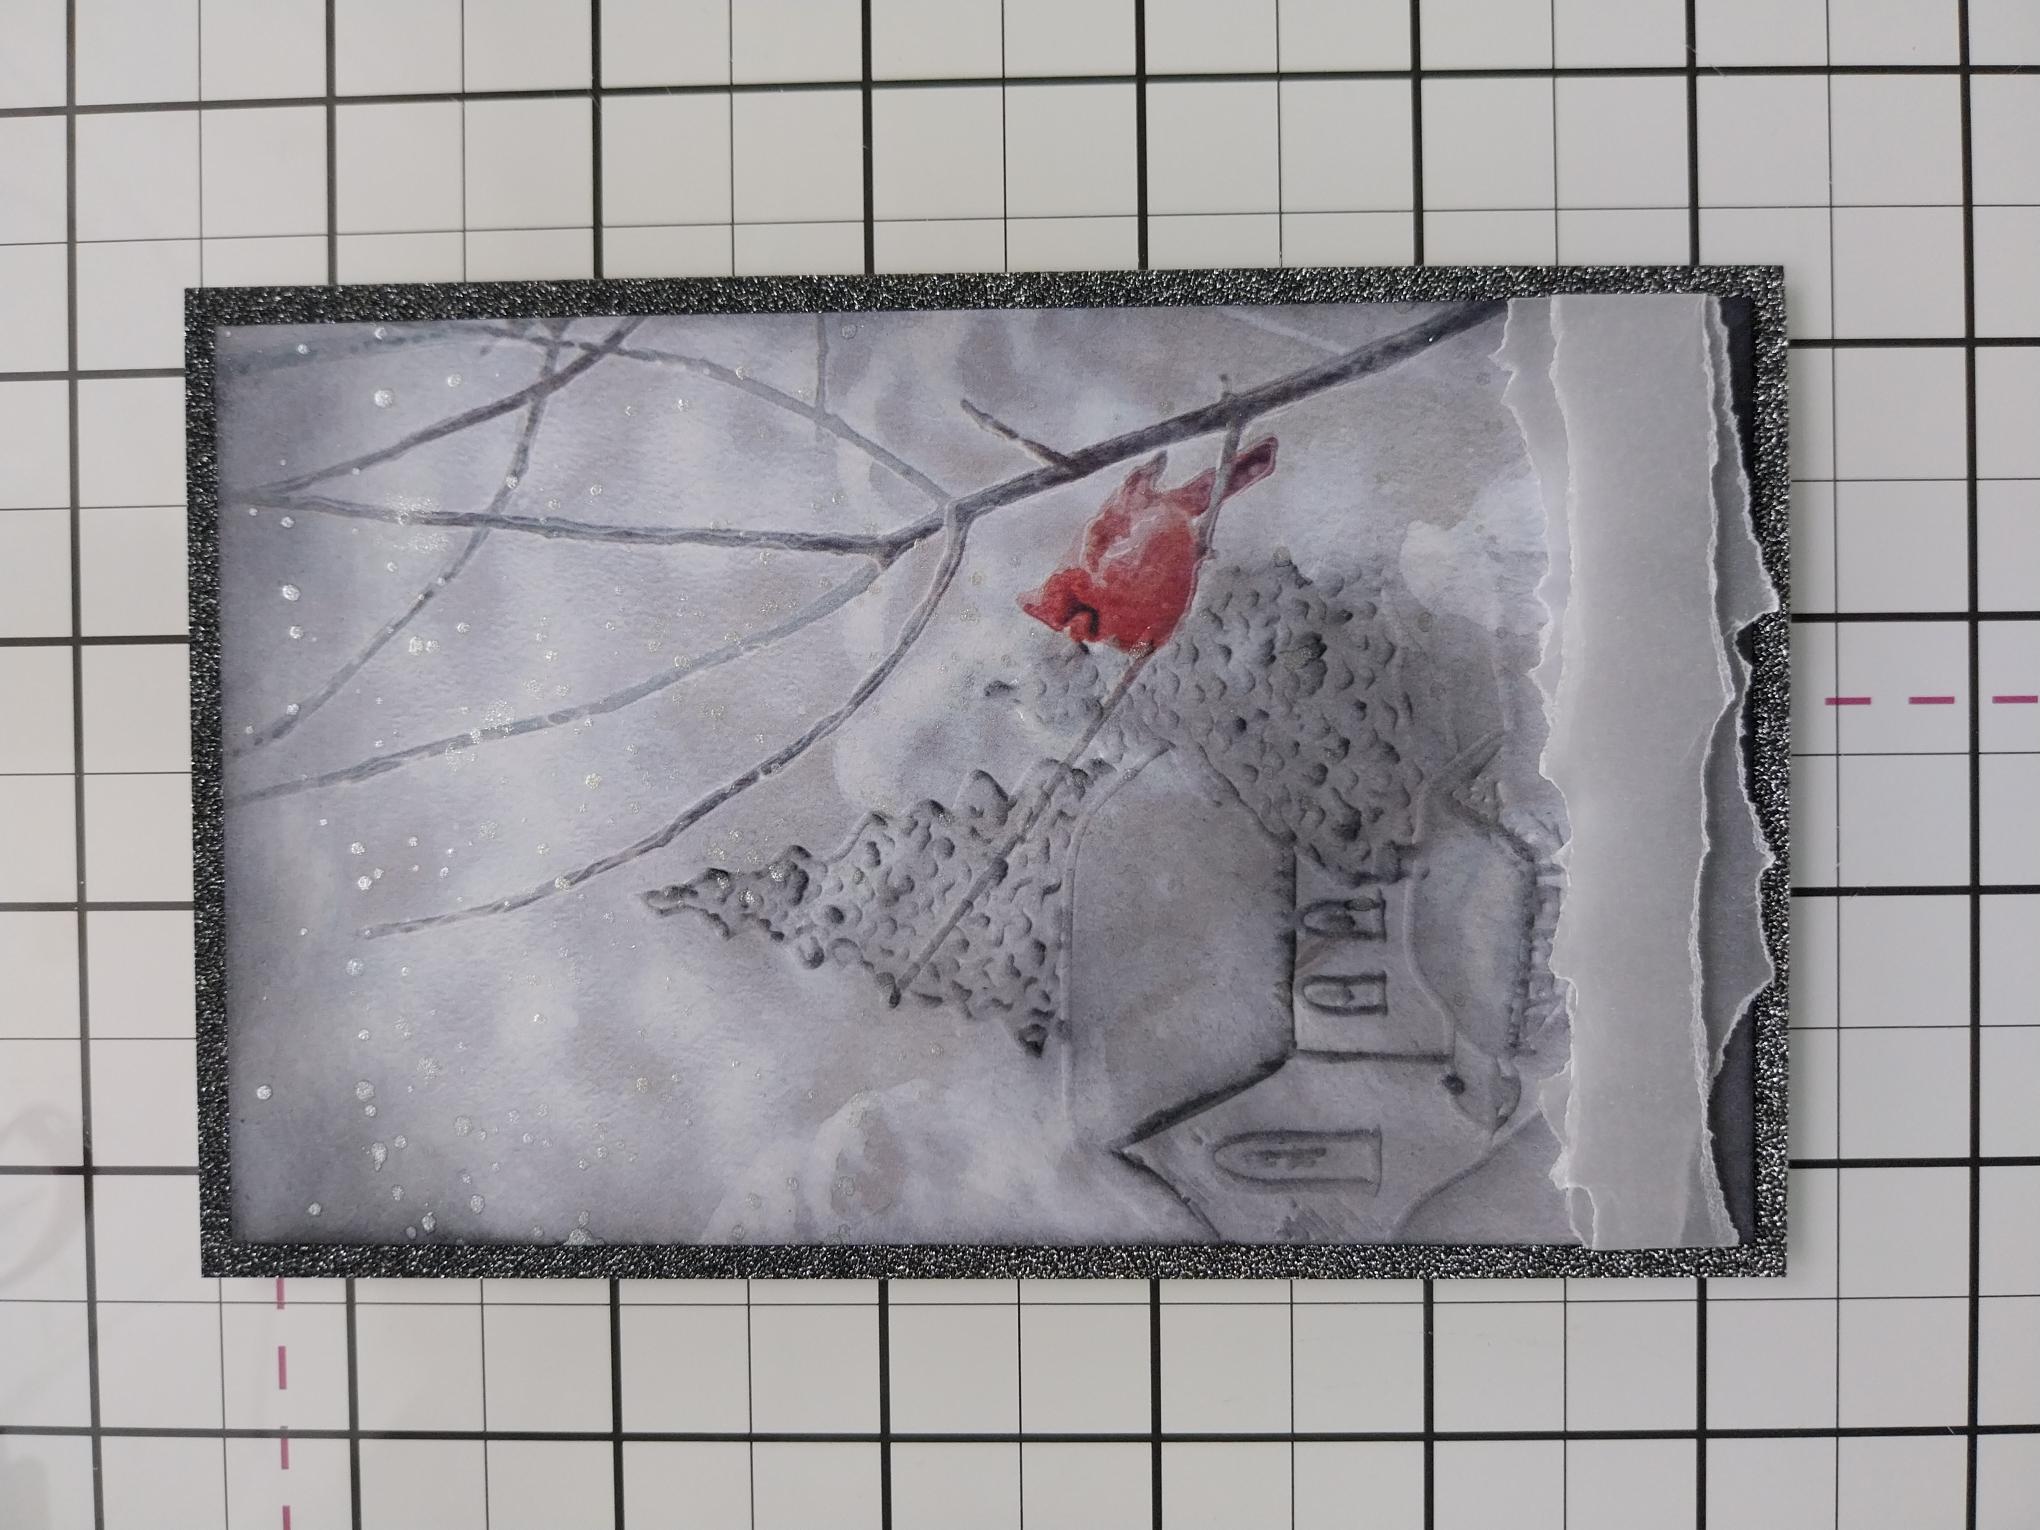
Adhere your artwork on to the black glitter card. |
|
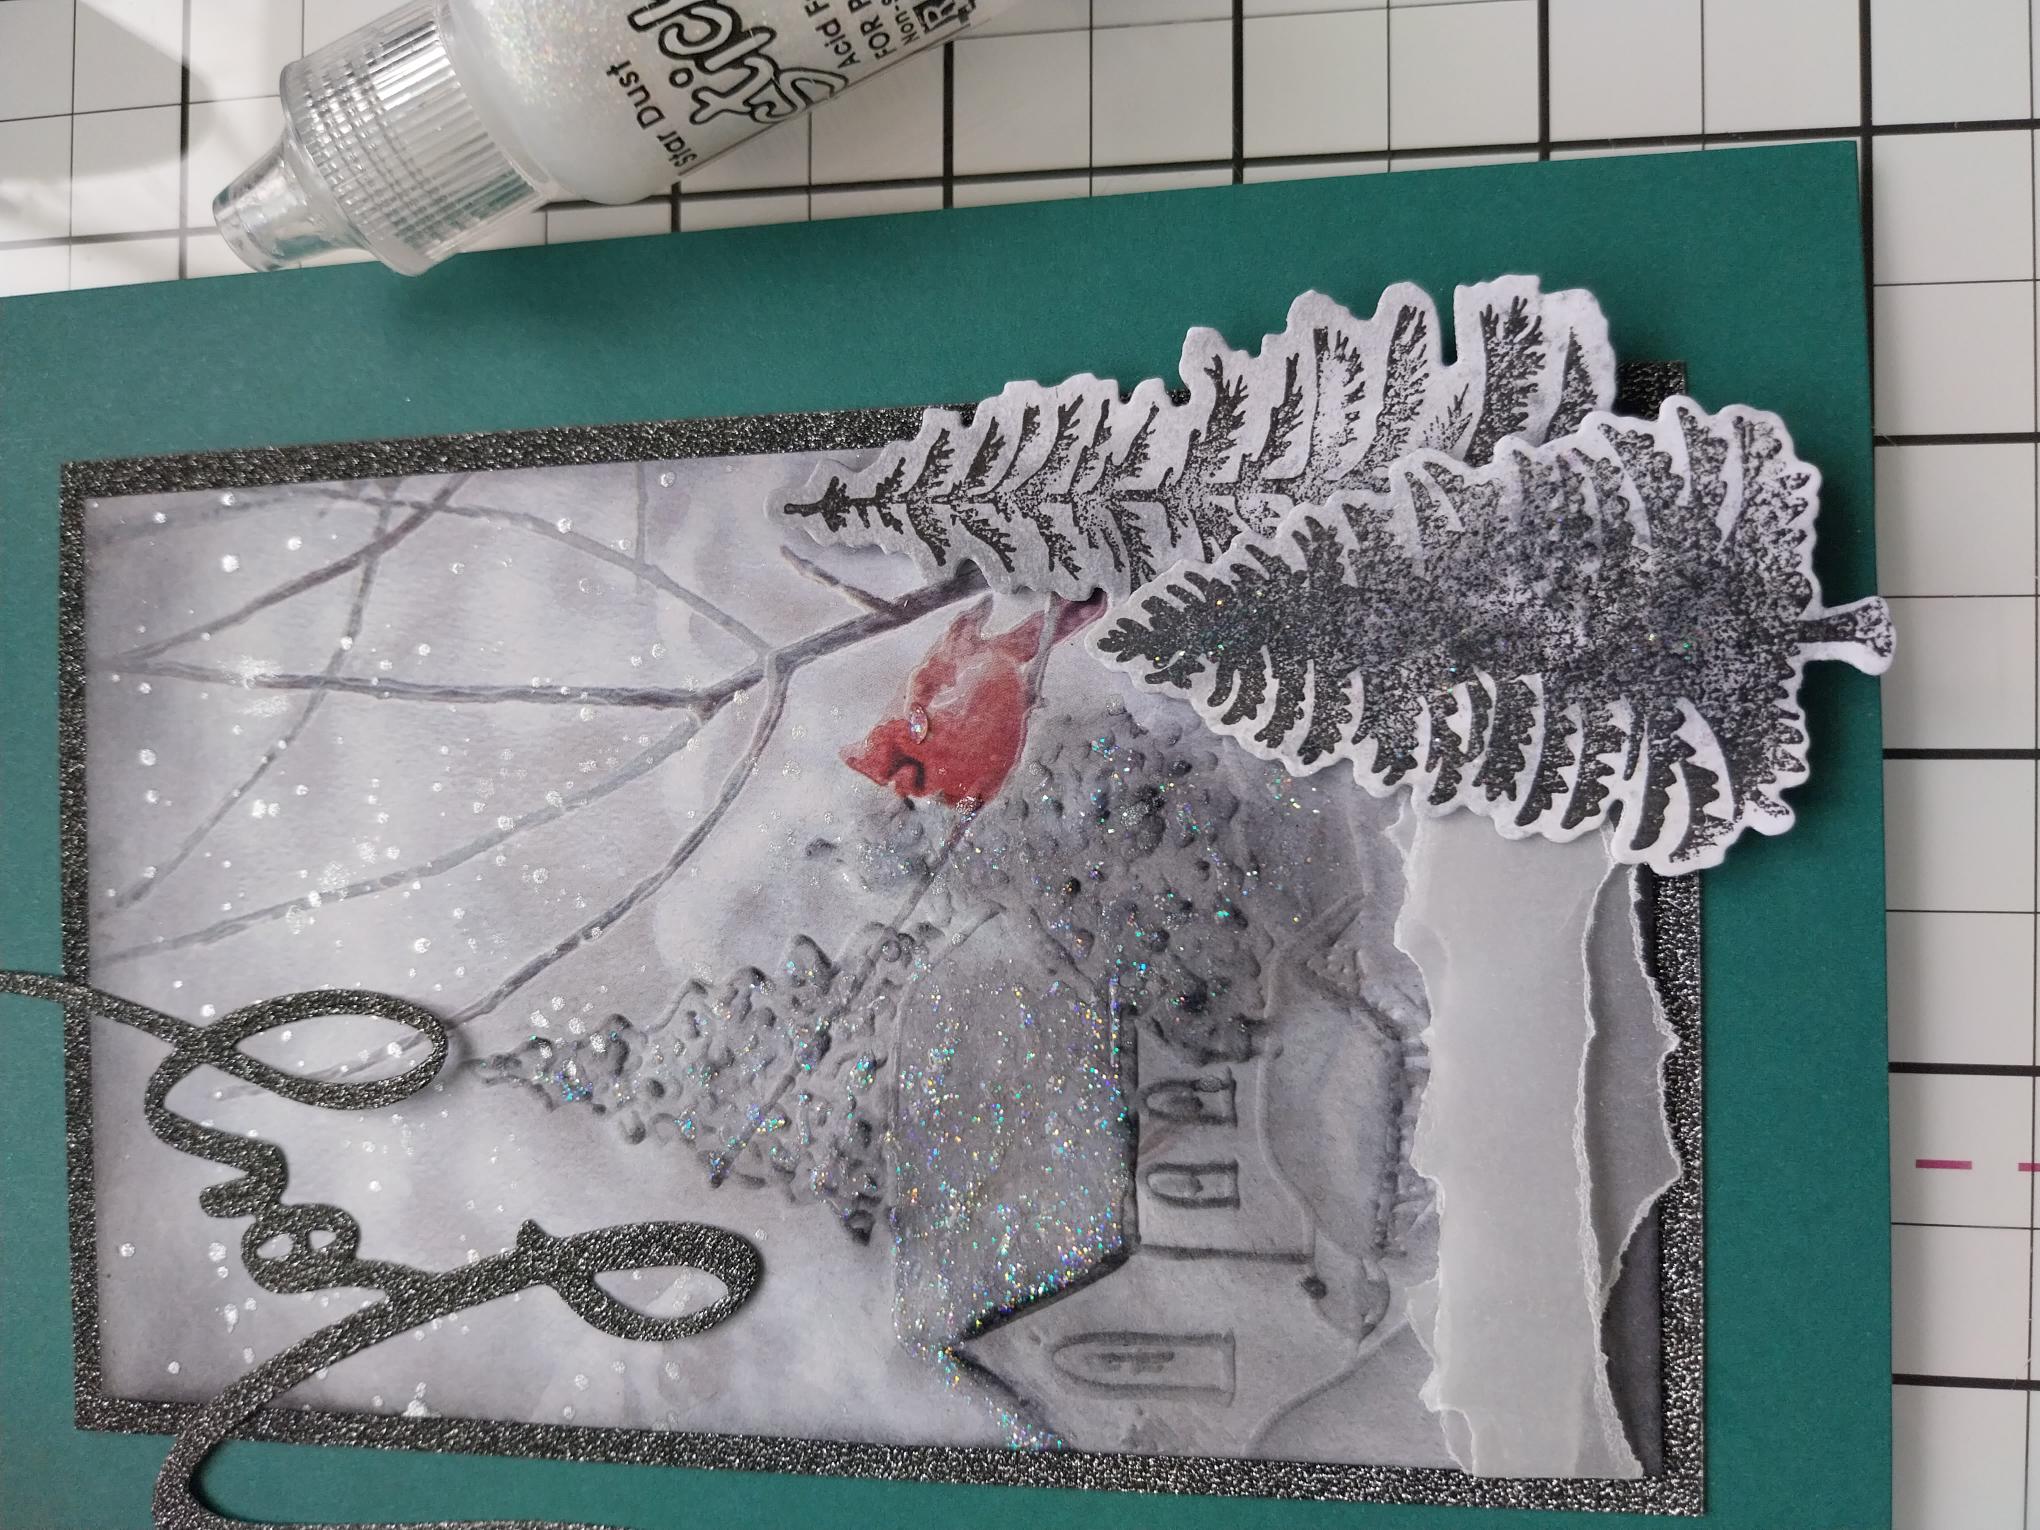
Adhere on to your teal card blank, then use wet glue and foam pads to add your die cut trees to the bottom right of your artwork. |
|
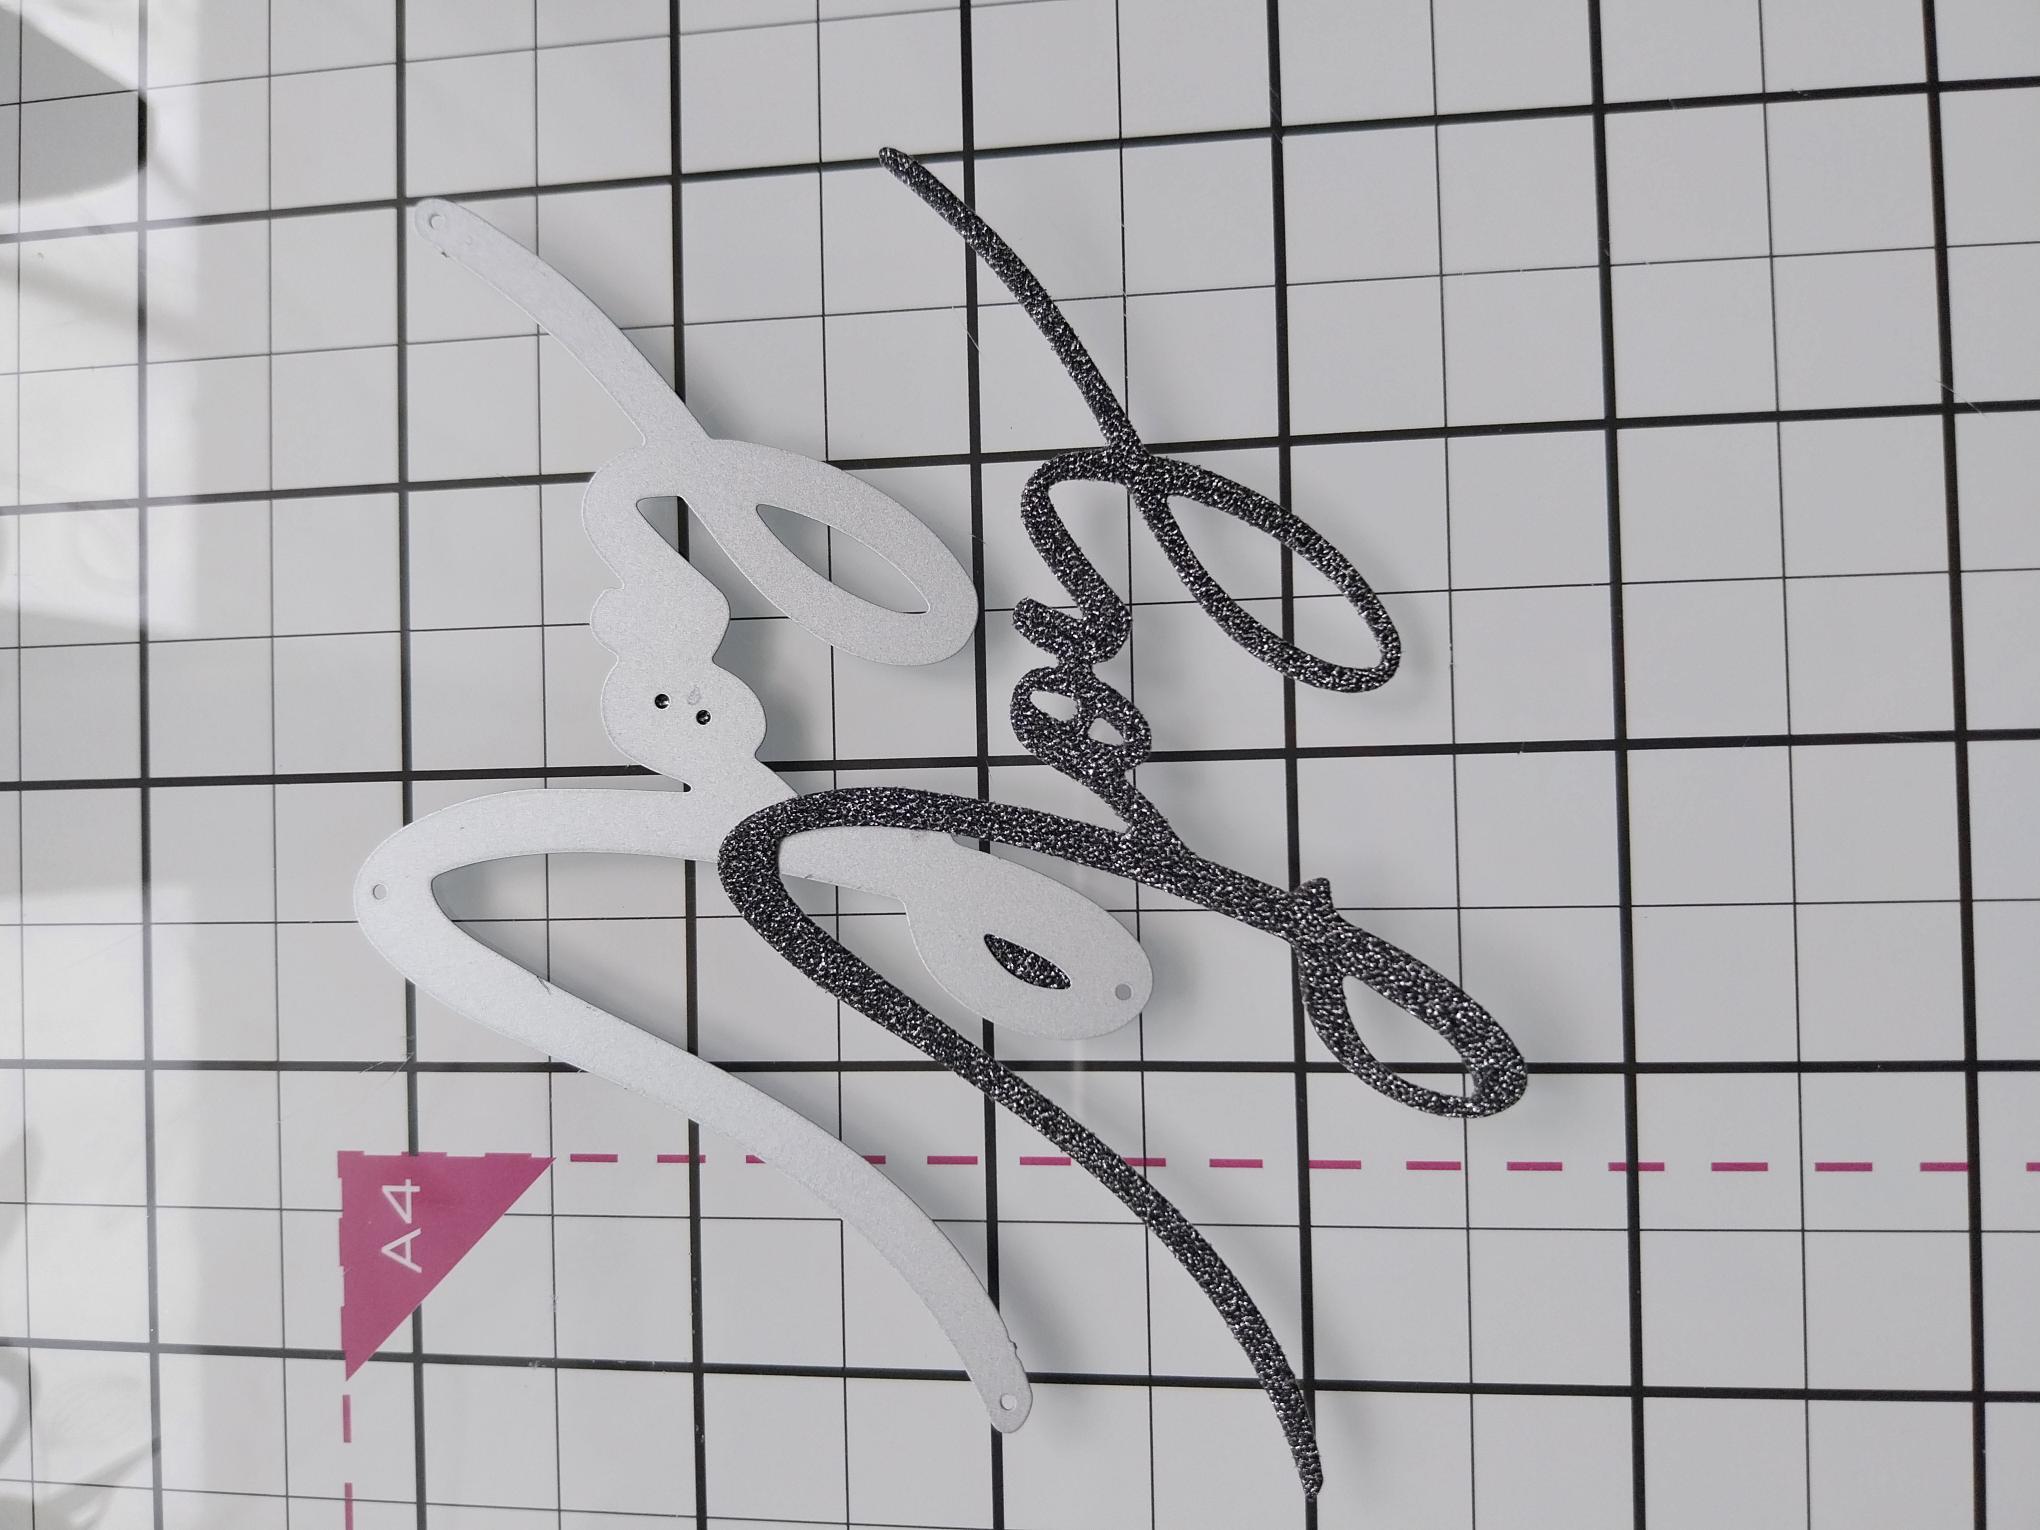
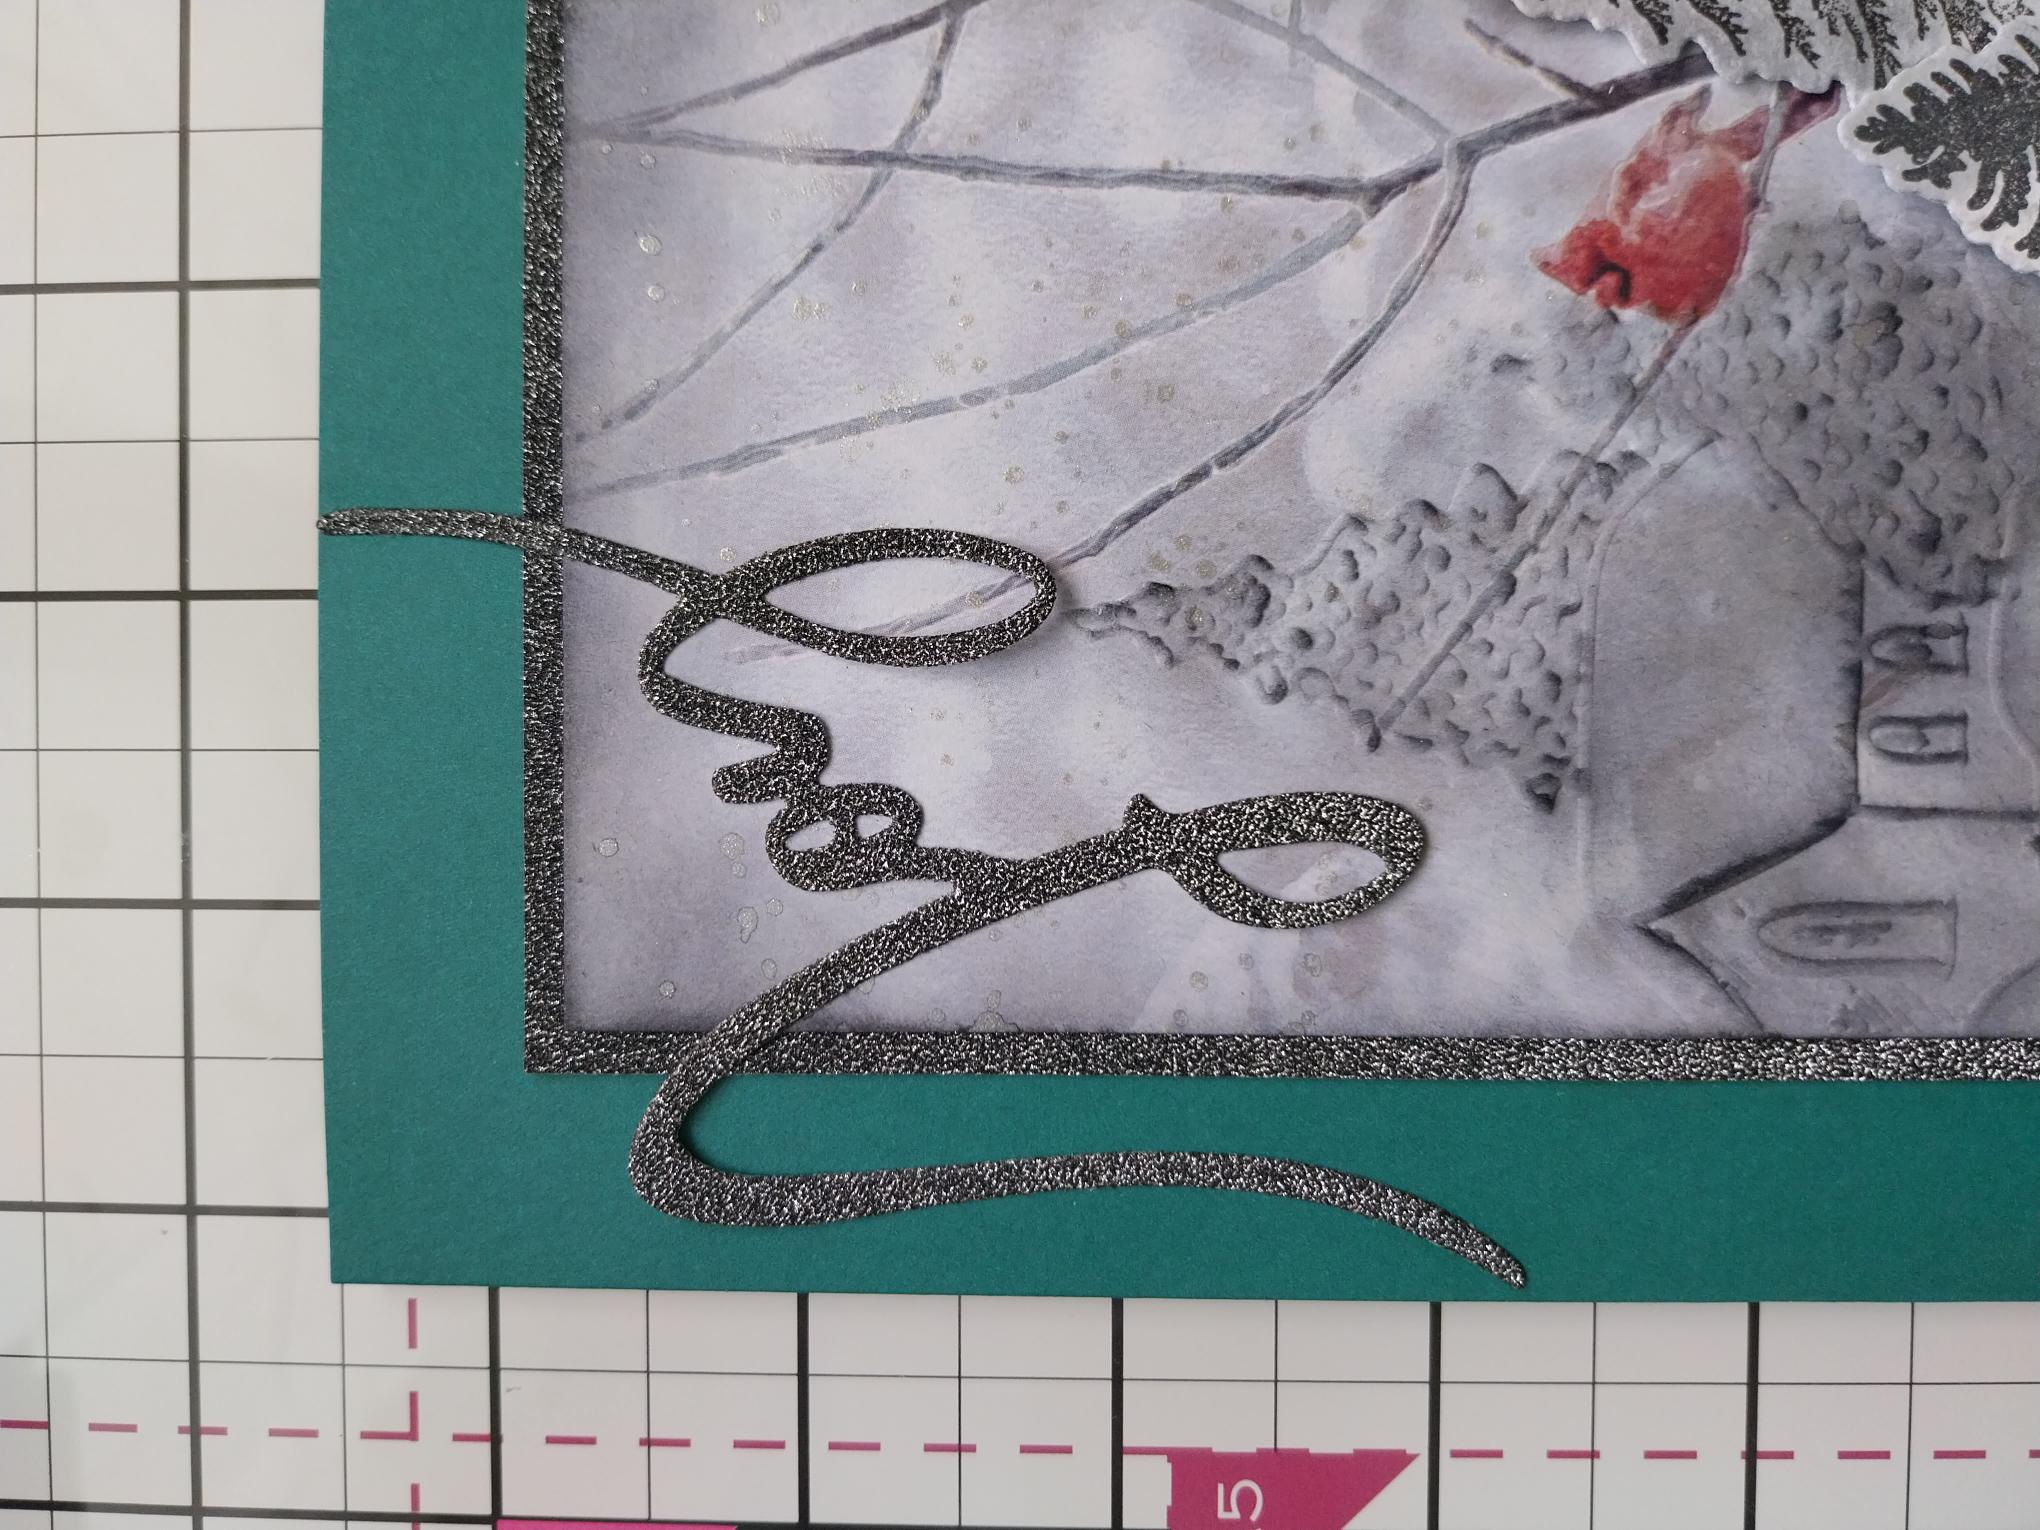
Die cut two or three "Joy" sentiments, using the solid die in the set, on to the black glitter card. Adhere your die cut sentiments together, to create a substantial 3D element. |
|
Adhere across the top left corner of your card. |
|
Use Stickles to add festive sparkle to your artwork, to complete your project. |