Give your friends $10 off their first order!
Refer a FRIEND


WHAT YOU WILL NEED:
Black card blank 7 x 5"
White/black card
Merry & Bright Lamination Stamp Set
Special Wishes Stamp and Die Set
SBM Hybrid Ink Pad: Midnight
SBM Premium Dye Ink Pad: Redwood
Distress Oxide: Black Soot
Water spray bottle
Circle Deboss Nesting Dies Set
Heat tool
Pearlywinks Pearl Mist Spray: Glitter Pearl
Paint brush
Eureka 101 Watercolour Tablet
SBM Magnetic glass mat
Paper Trimmer
Perfect Together Glue
Die Cutting machine
[click image to enlarge] 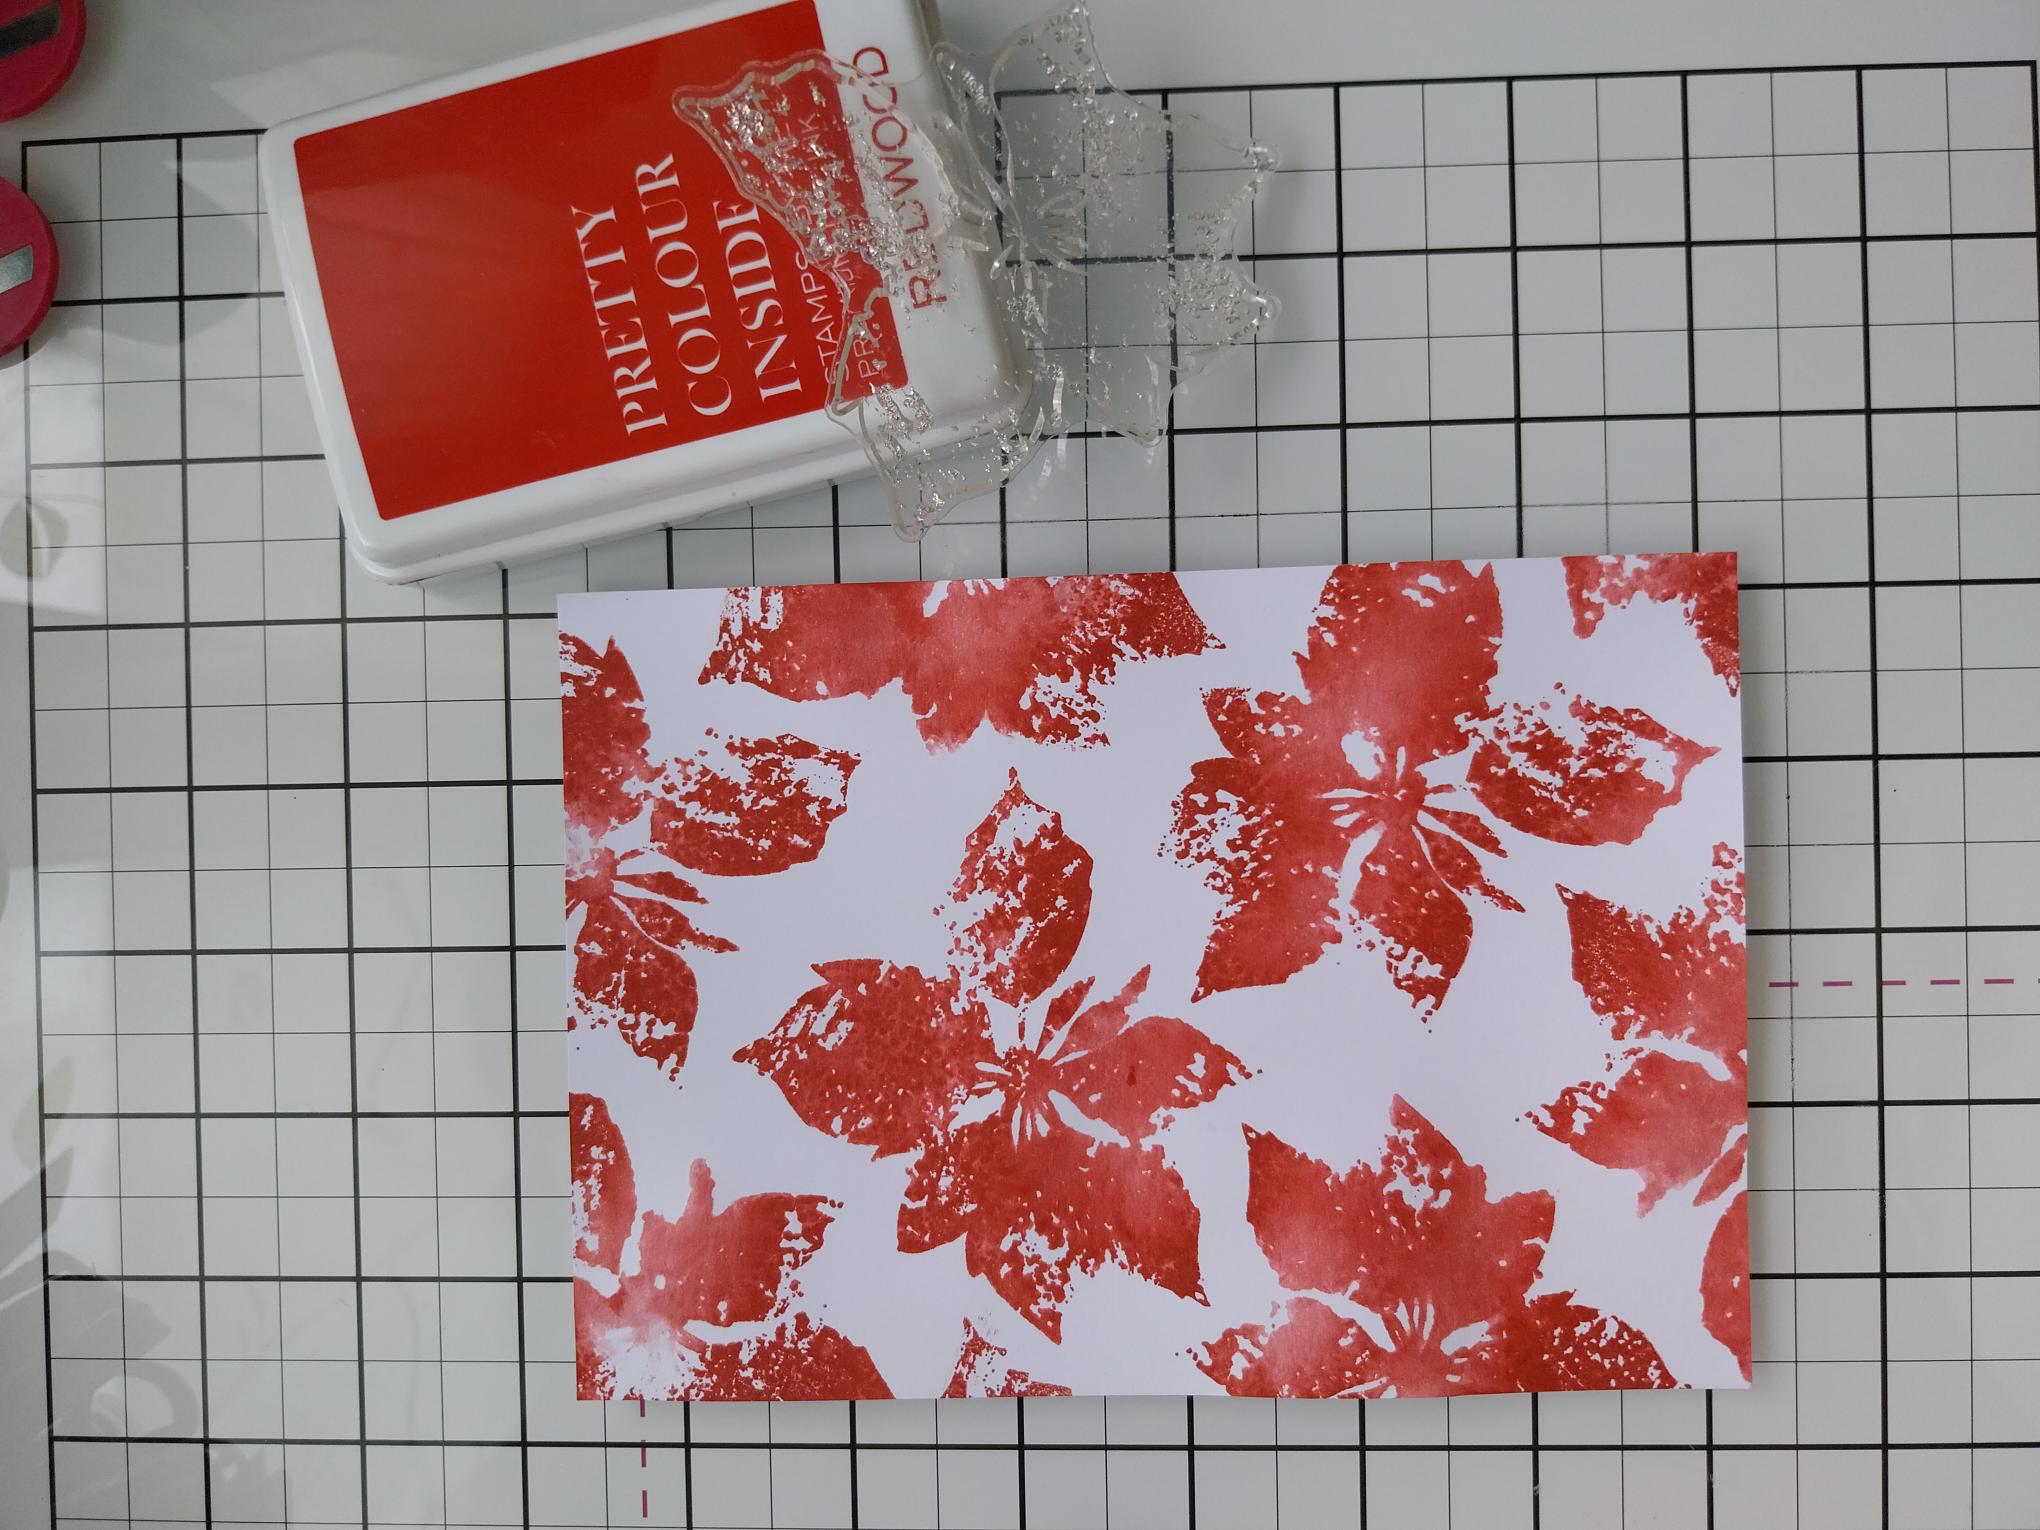
|
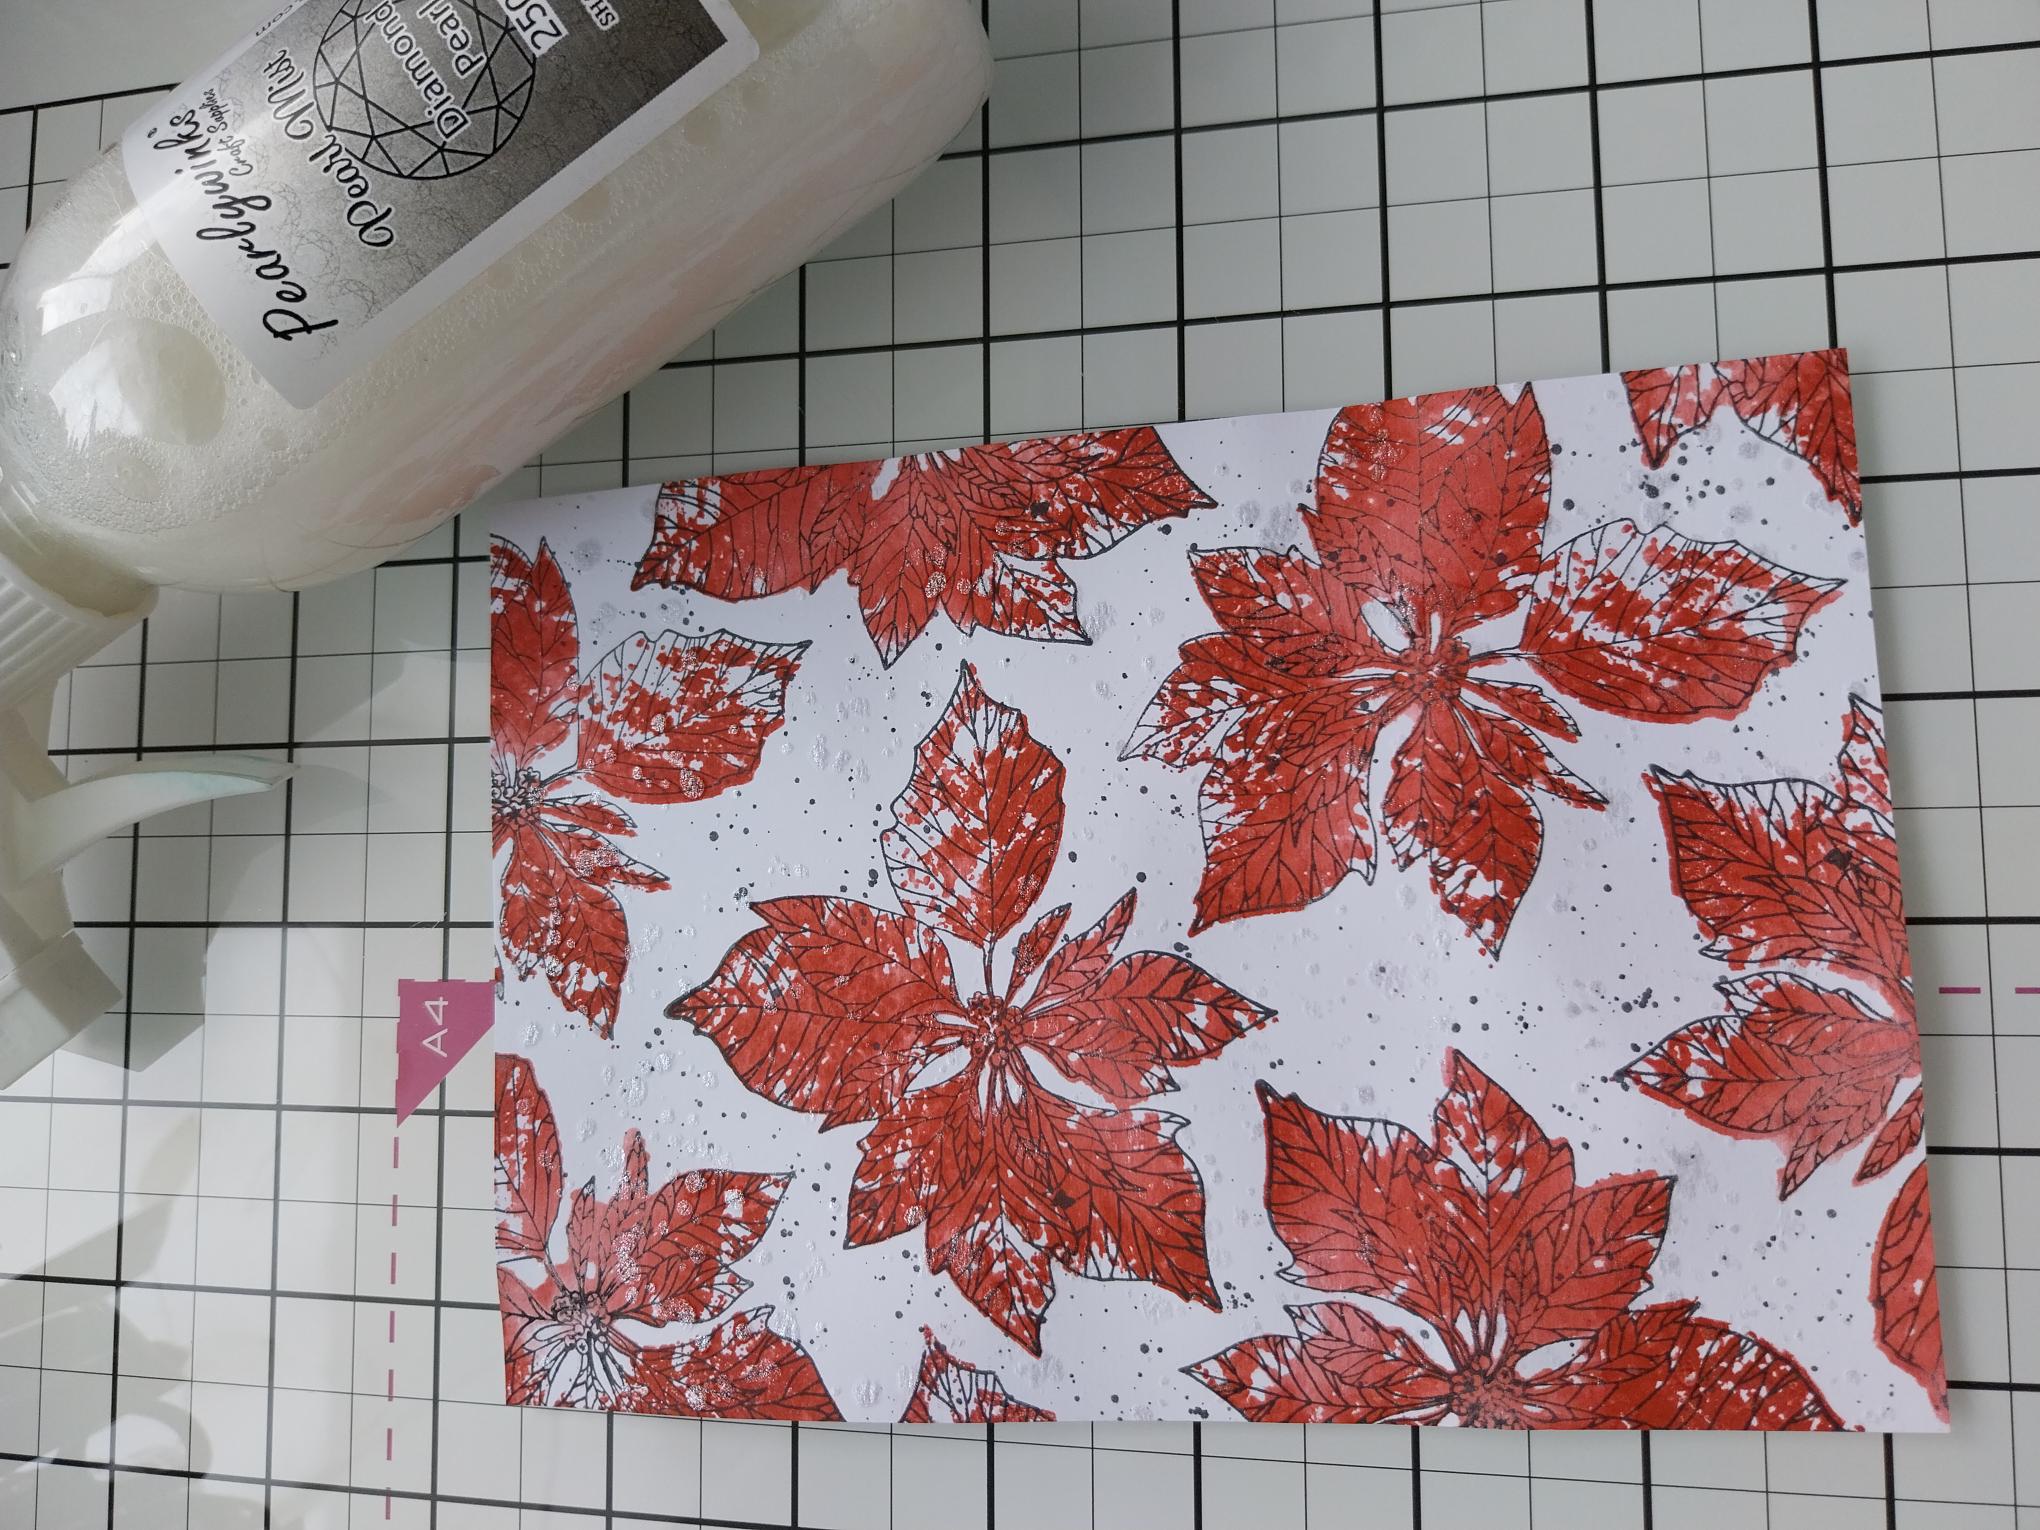
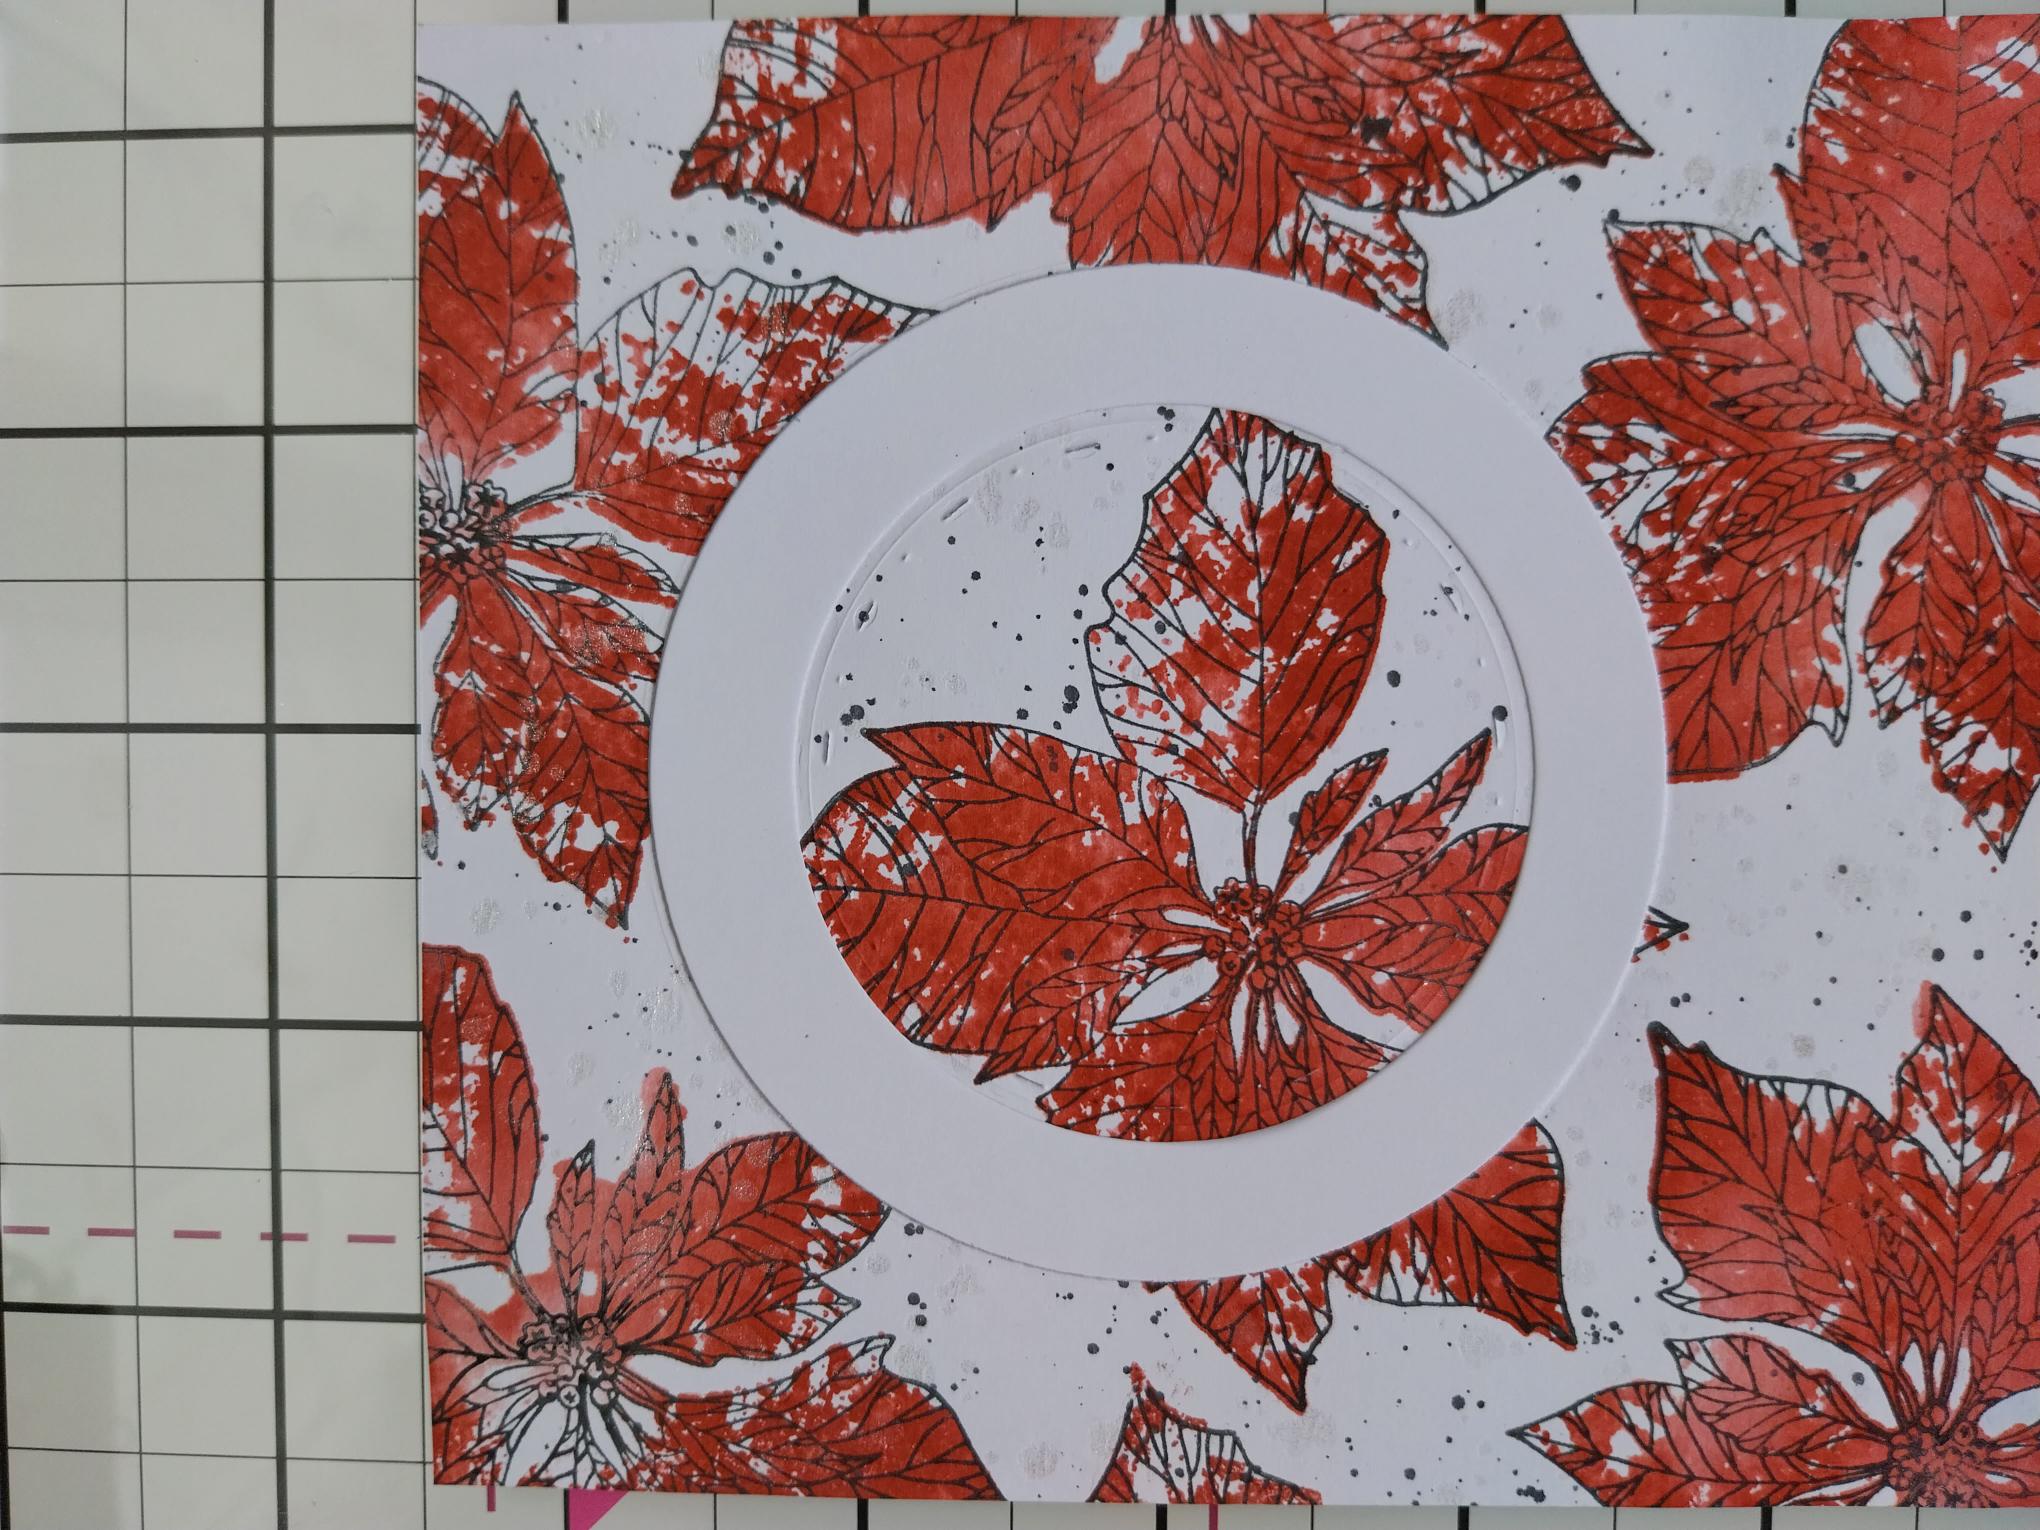
Trim a piece of white card to 6 3/4 x 4 3/4". Ink up the solid stamp, from the Merry & Bright Lamination set, with the Redwood ink pad. Spritz the stamp with water and stamp on to the white card. Repeat this multiple times, to create a background. Blast dry with your heat tool.
|
|
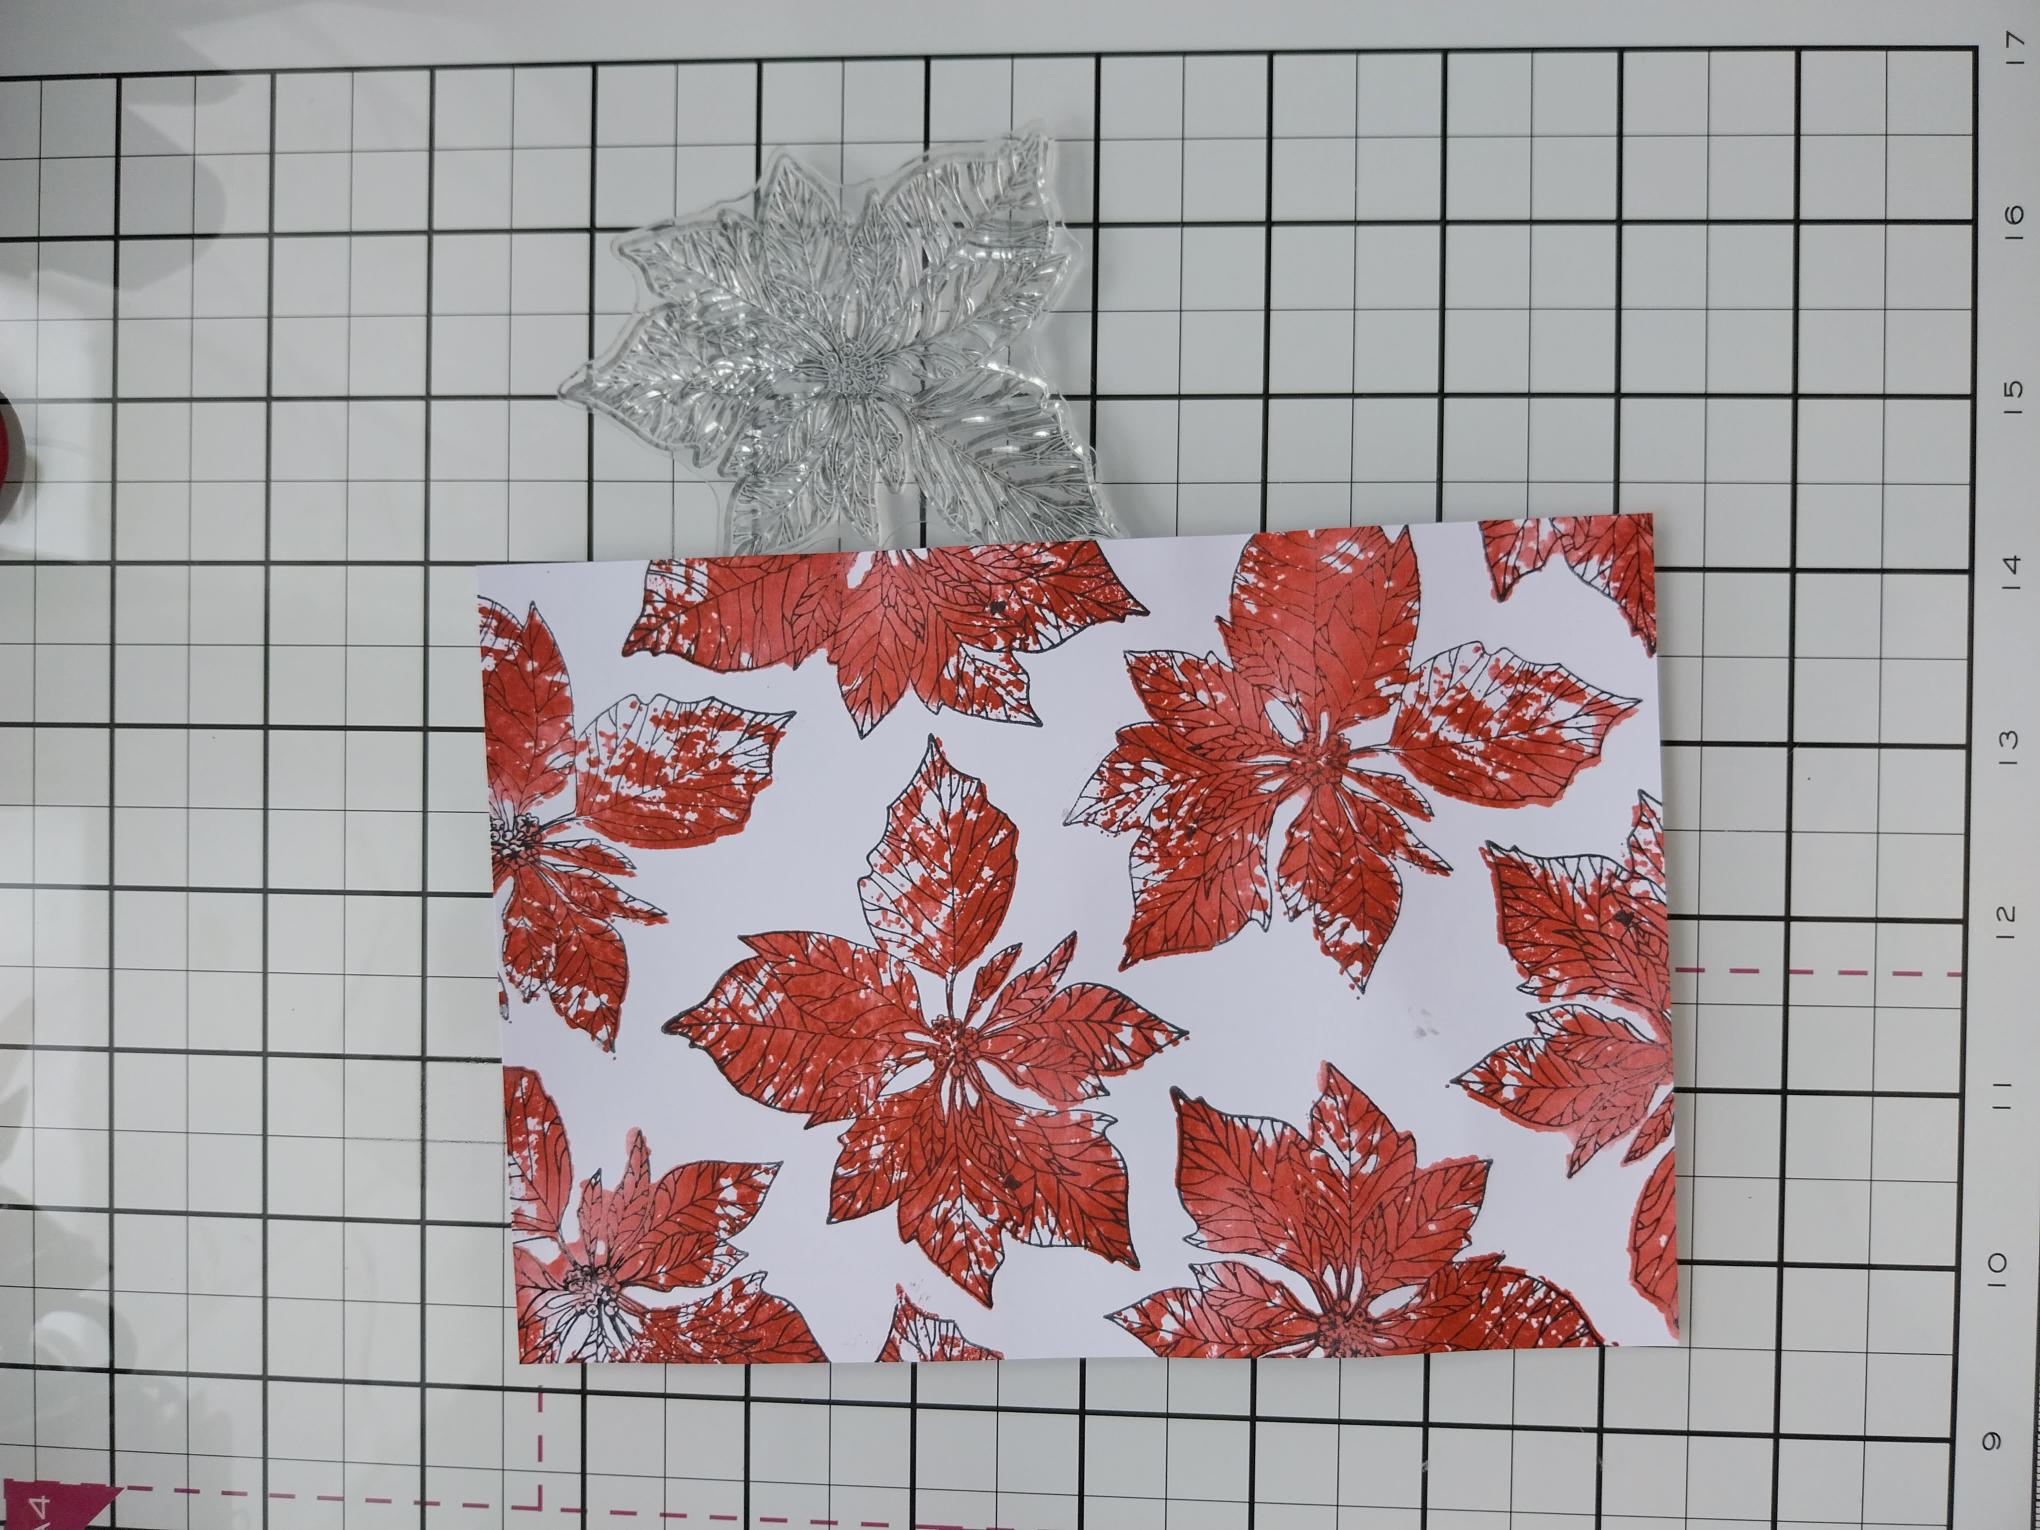
Stamp over each image with the detailed stamp, using the Midnight hybrid ink. |
|
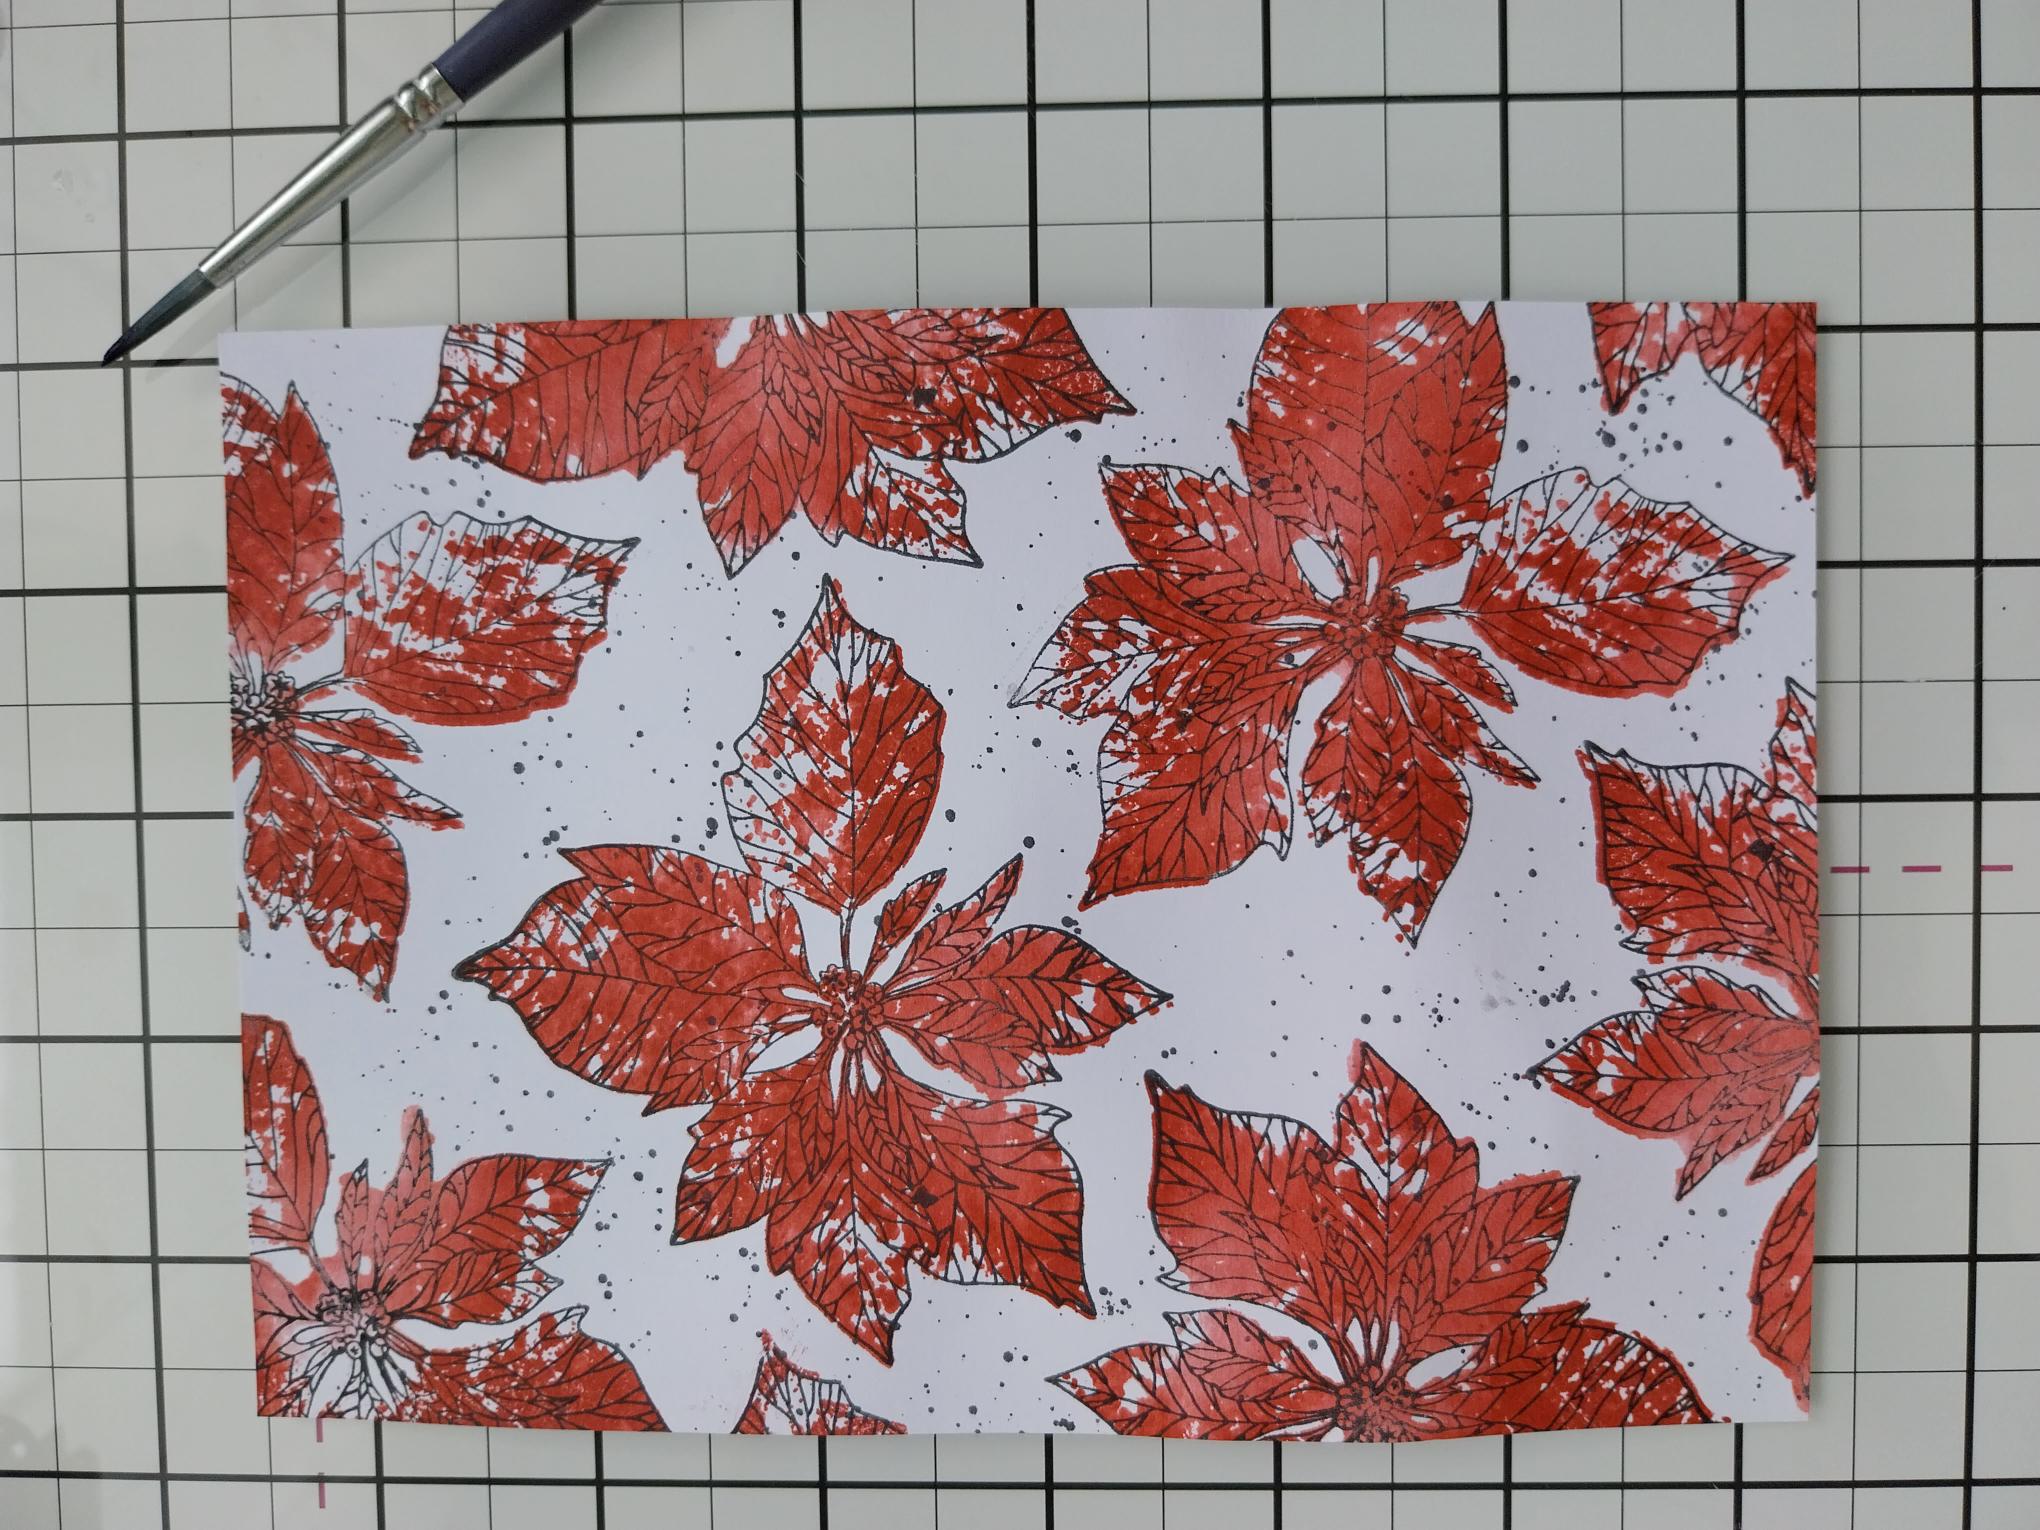
Smoosh a little Black Soot Oxide on to your glass mat, spritz with water and splatter over your background with a paint brush. Blast dry with your heat tool. |
|
Swirl the Pearlywinks Pearl Mist, to activate the mica. Spray on to your glass mat then use your paint brush to splatter over your artwork. Dry with your heat tool. |
|
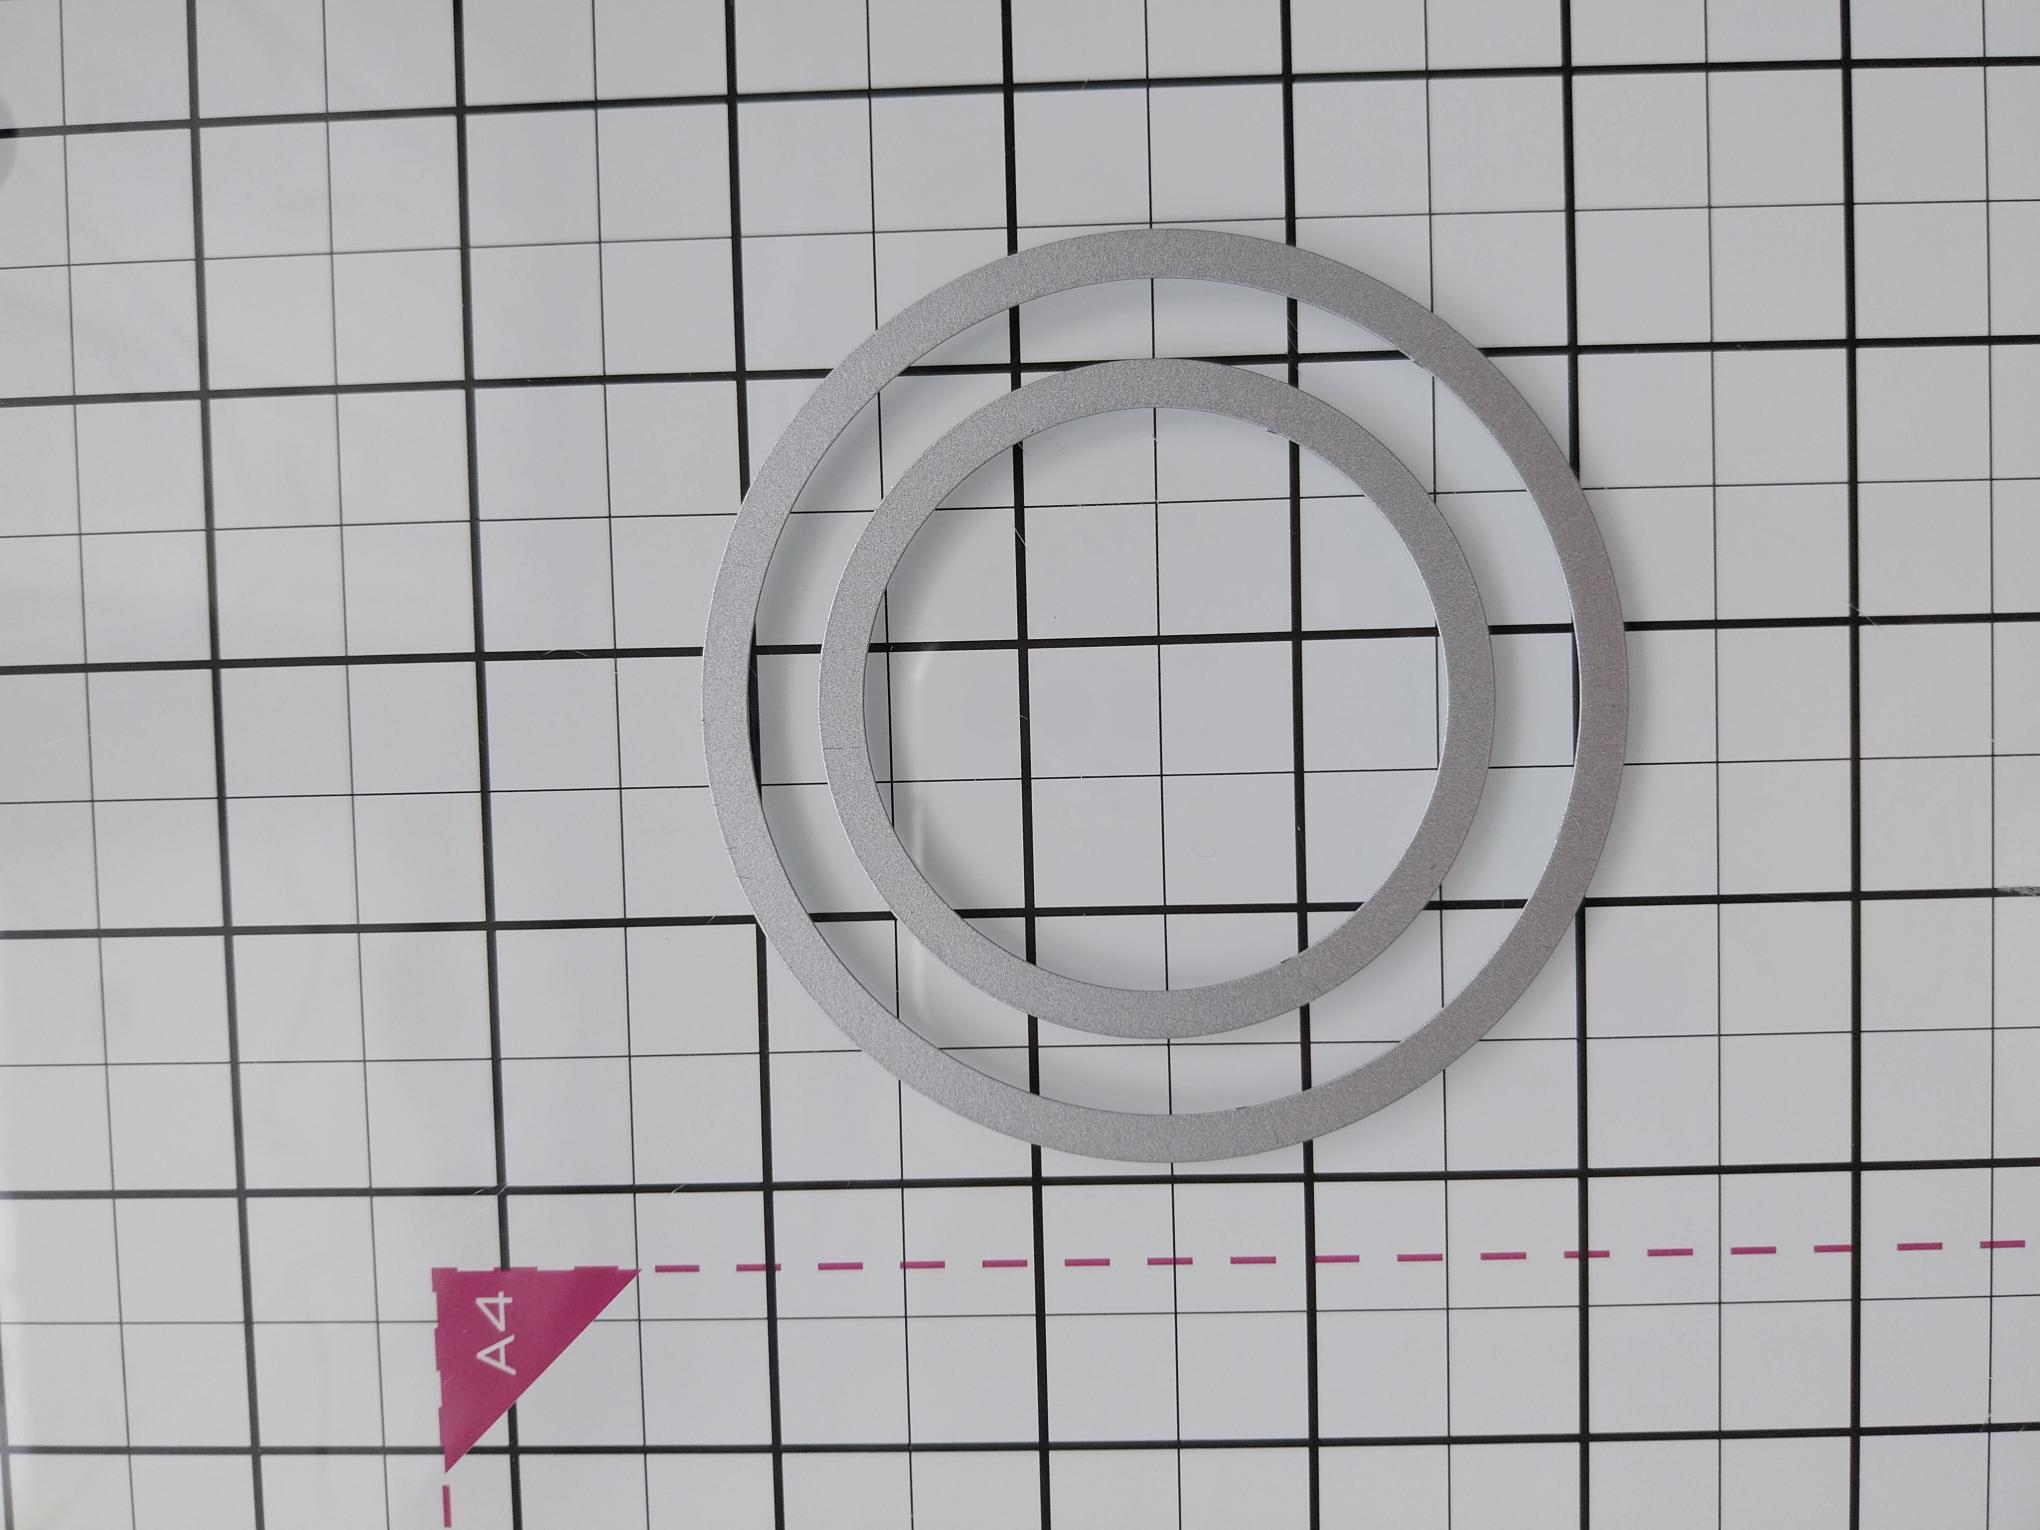
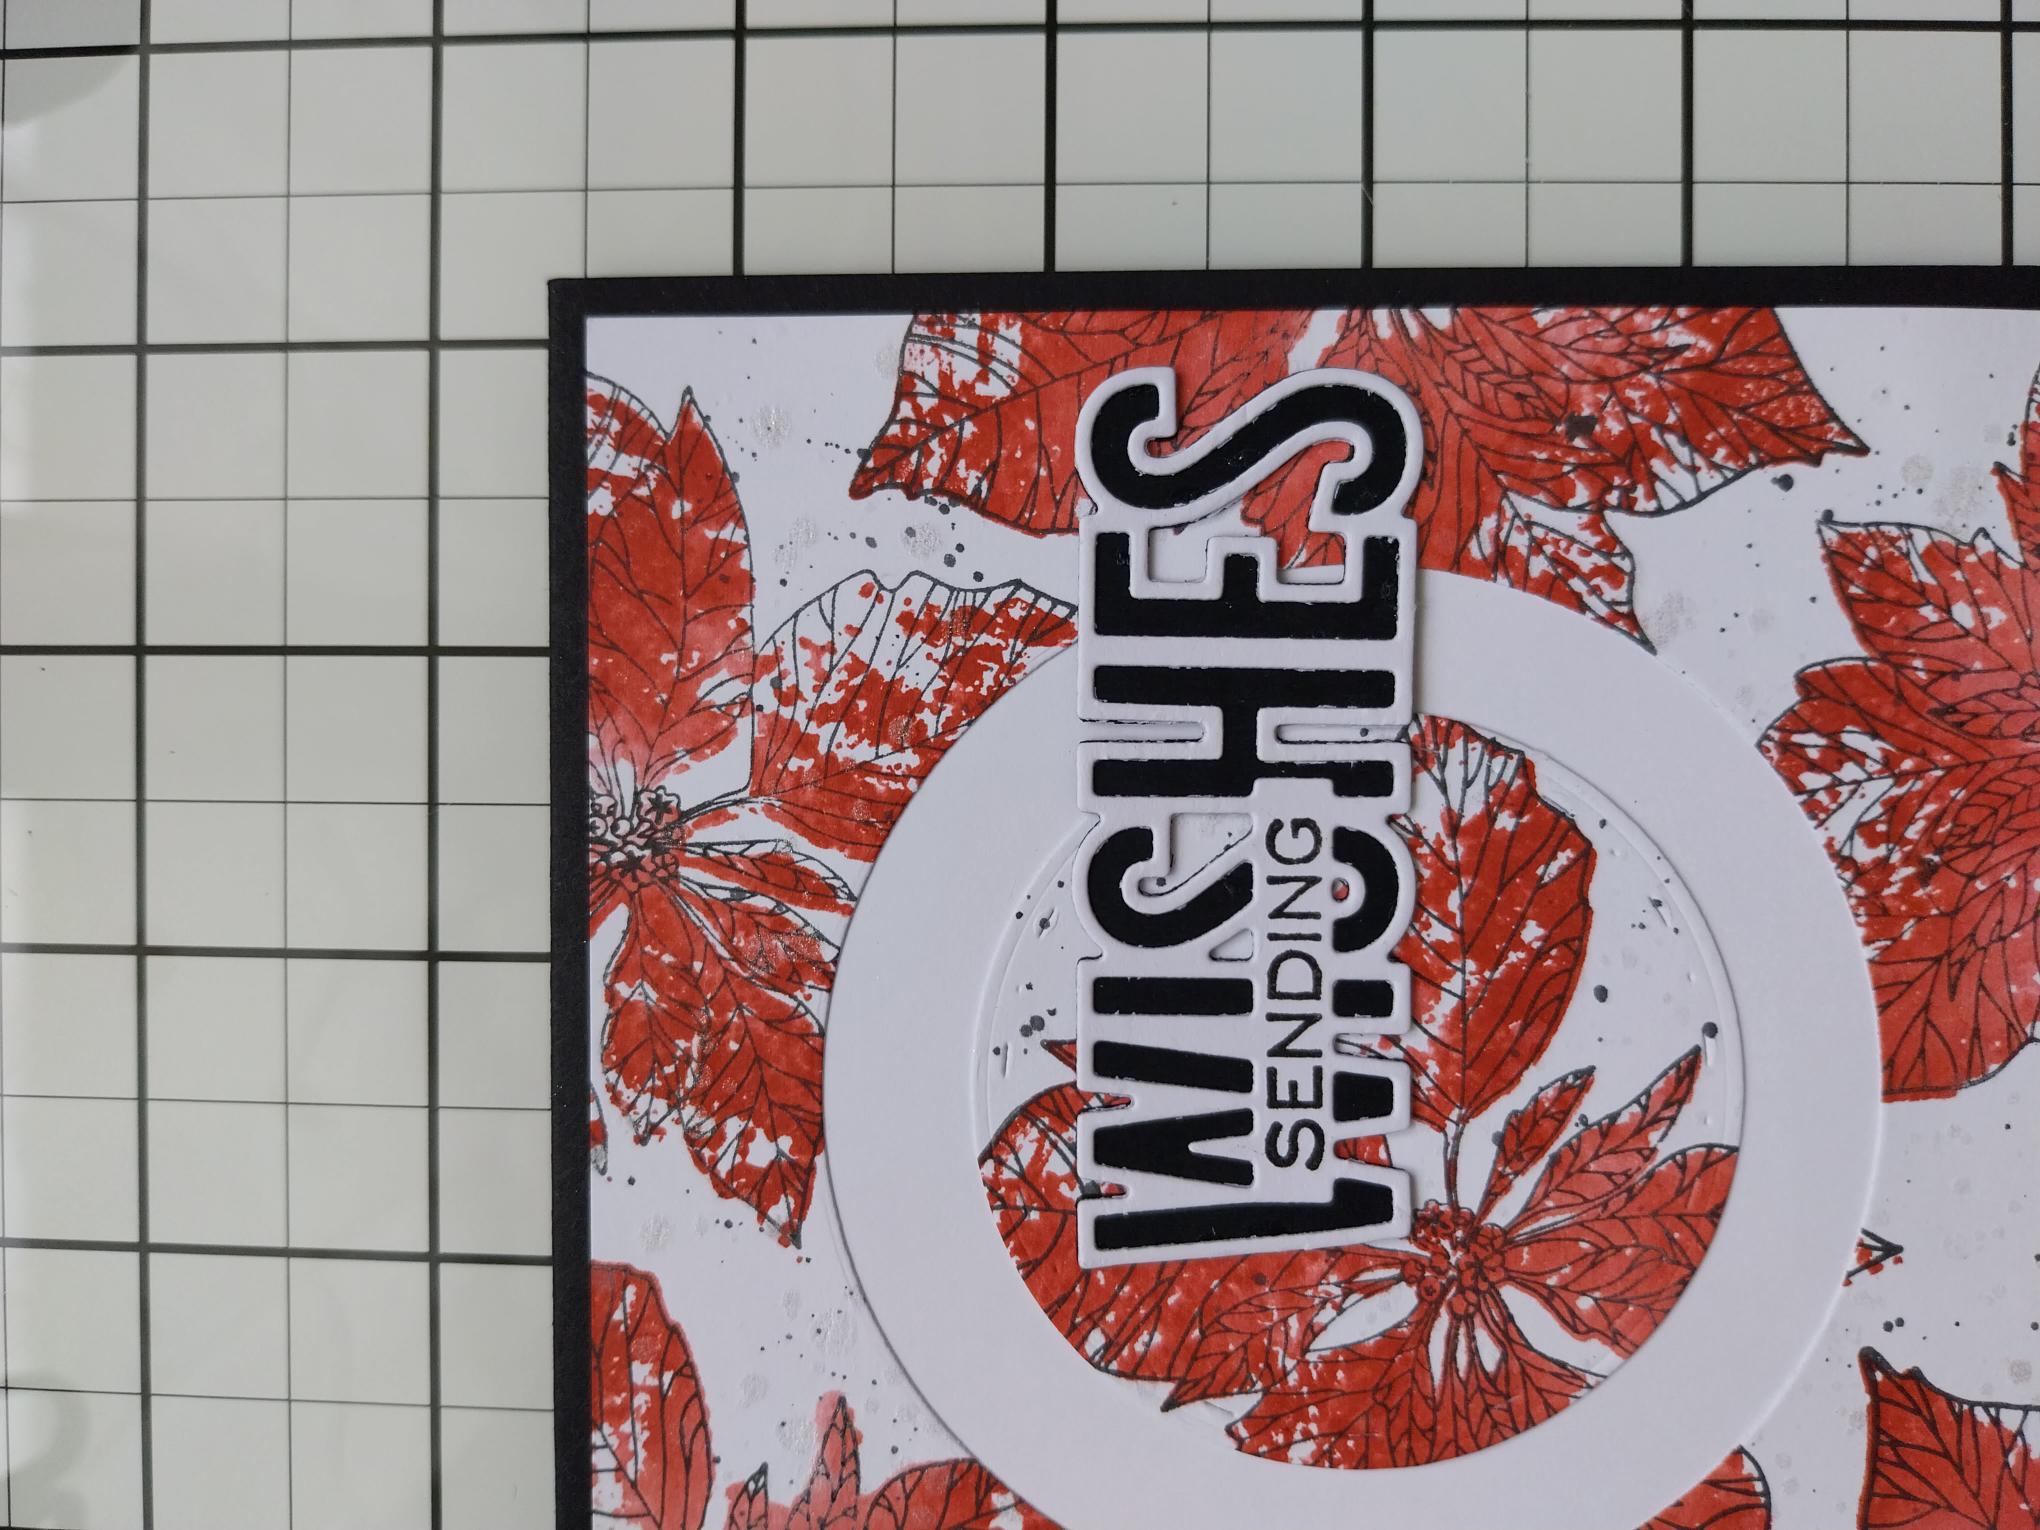
You will need TWO circle nesting dies, one 3 1/4" in diameter and the other 2 1/2" in diameter, thus omitting the die in between. |
|
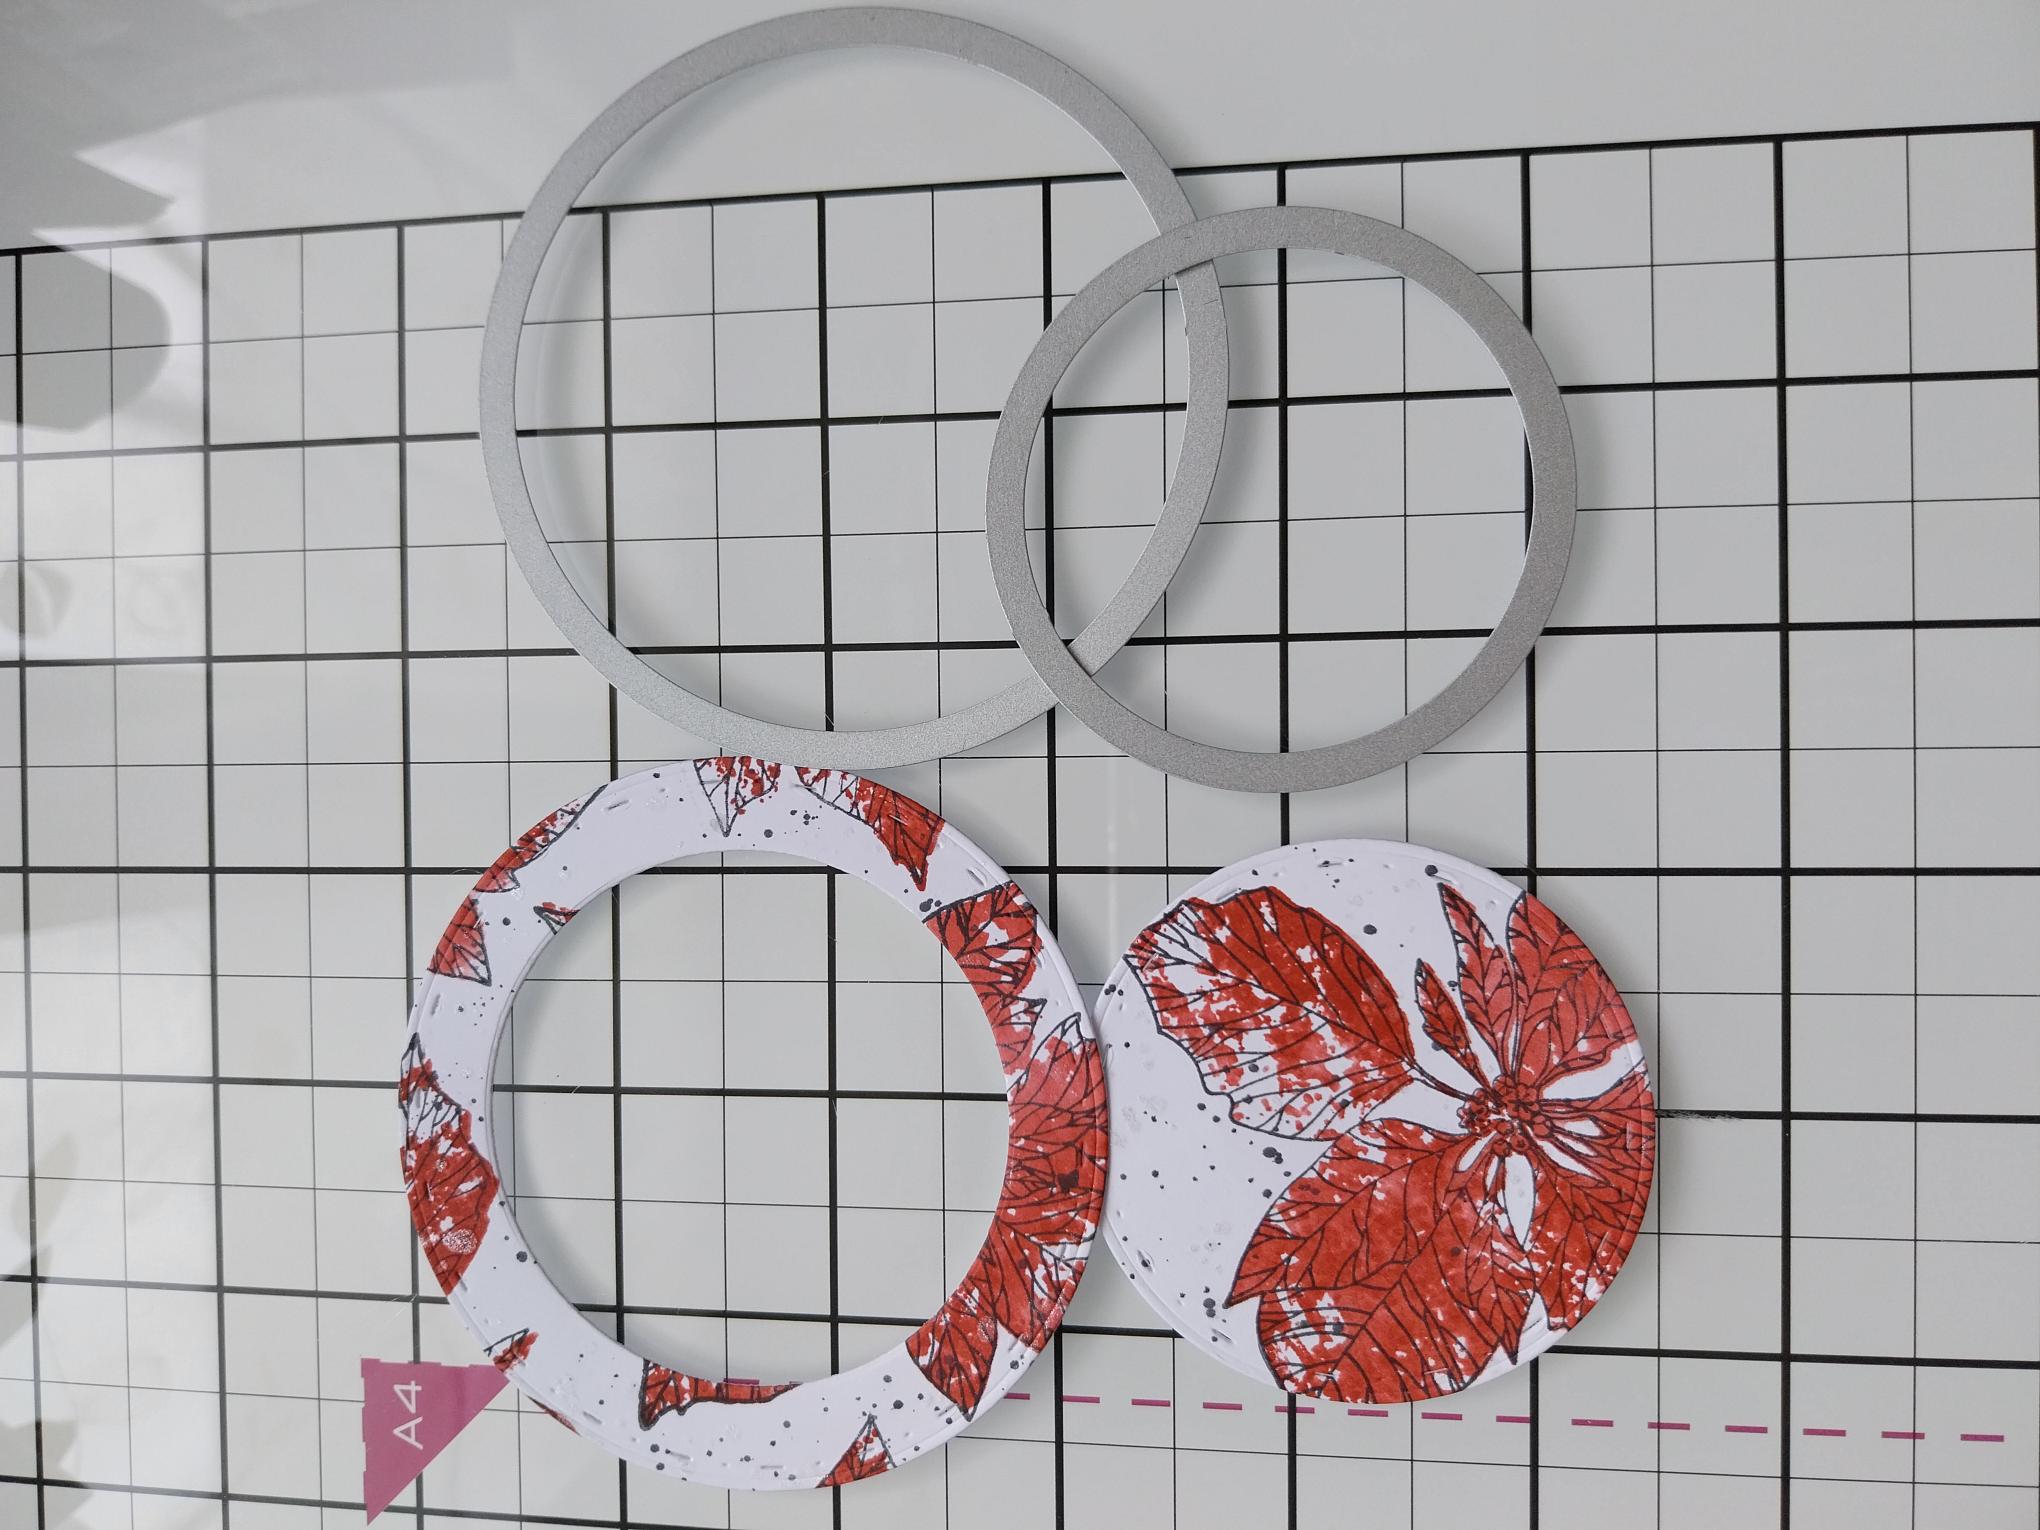
Use the biggest die to cut a circle from your stamped background, then place the smaller die in the center of the die cut circle and run that through your machine. |
|
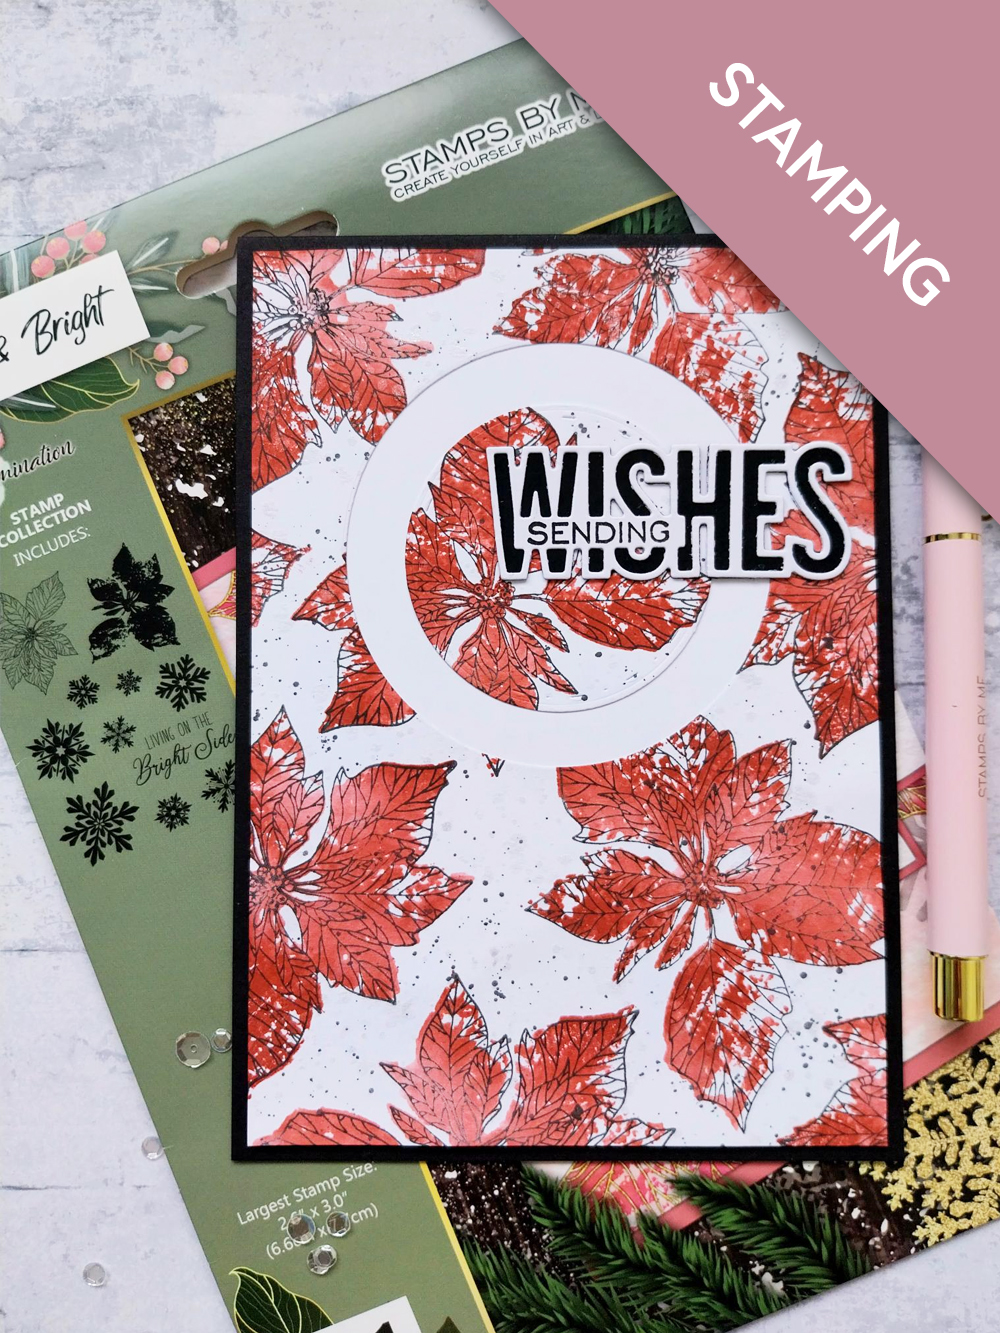
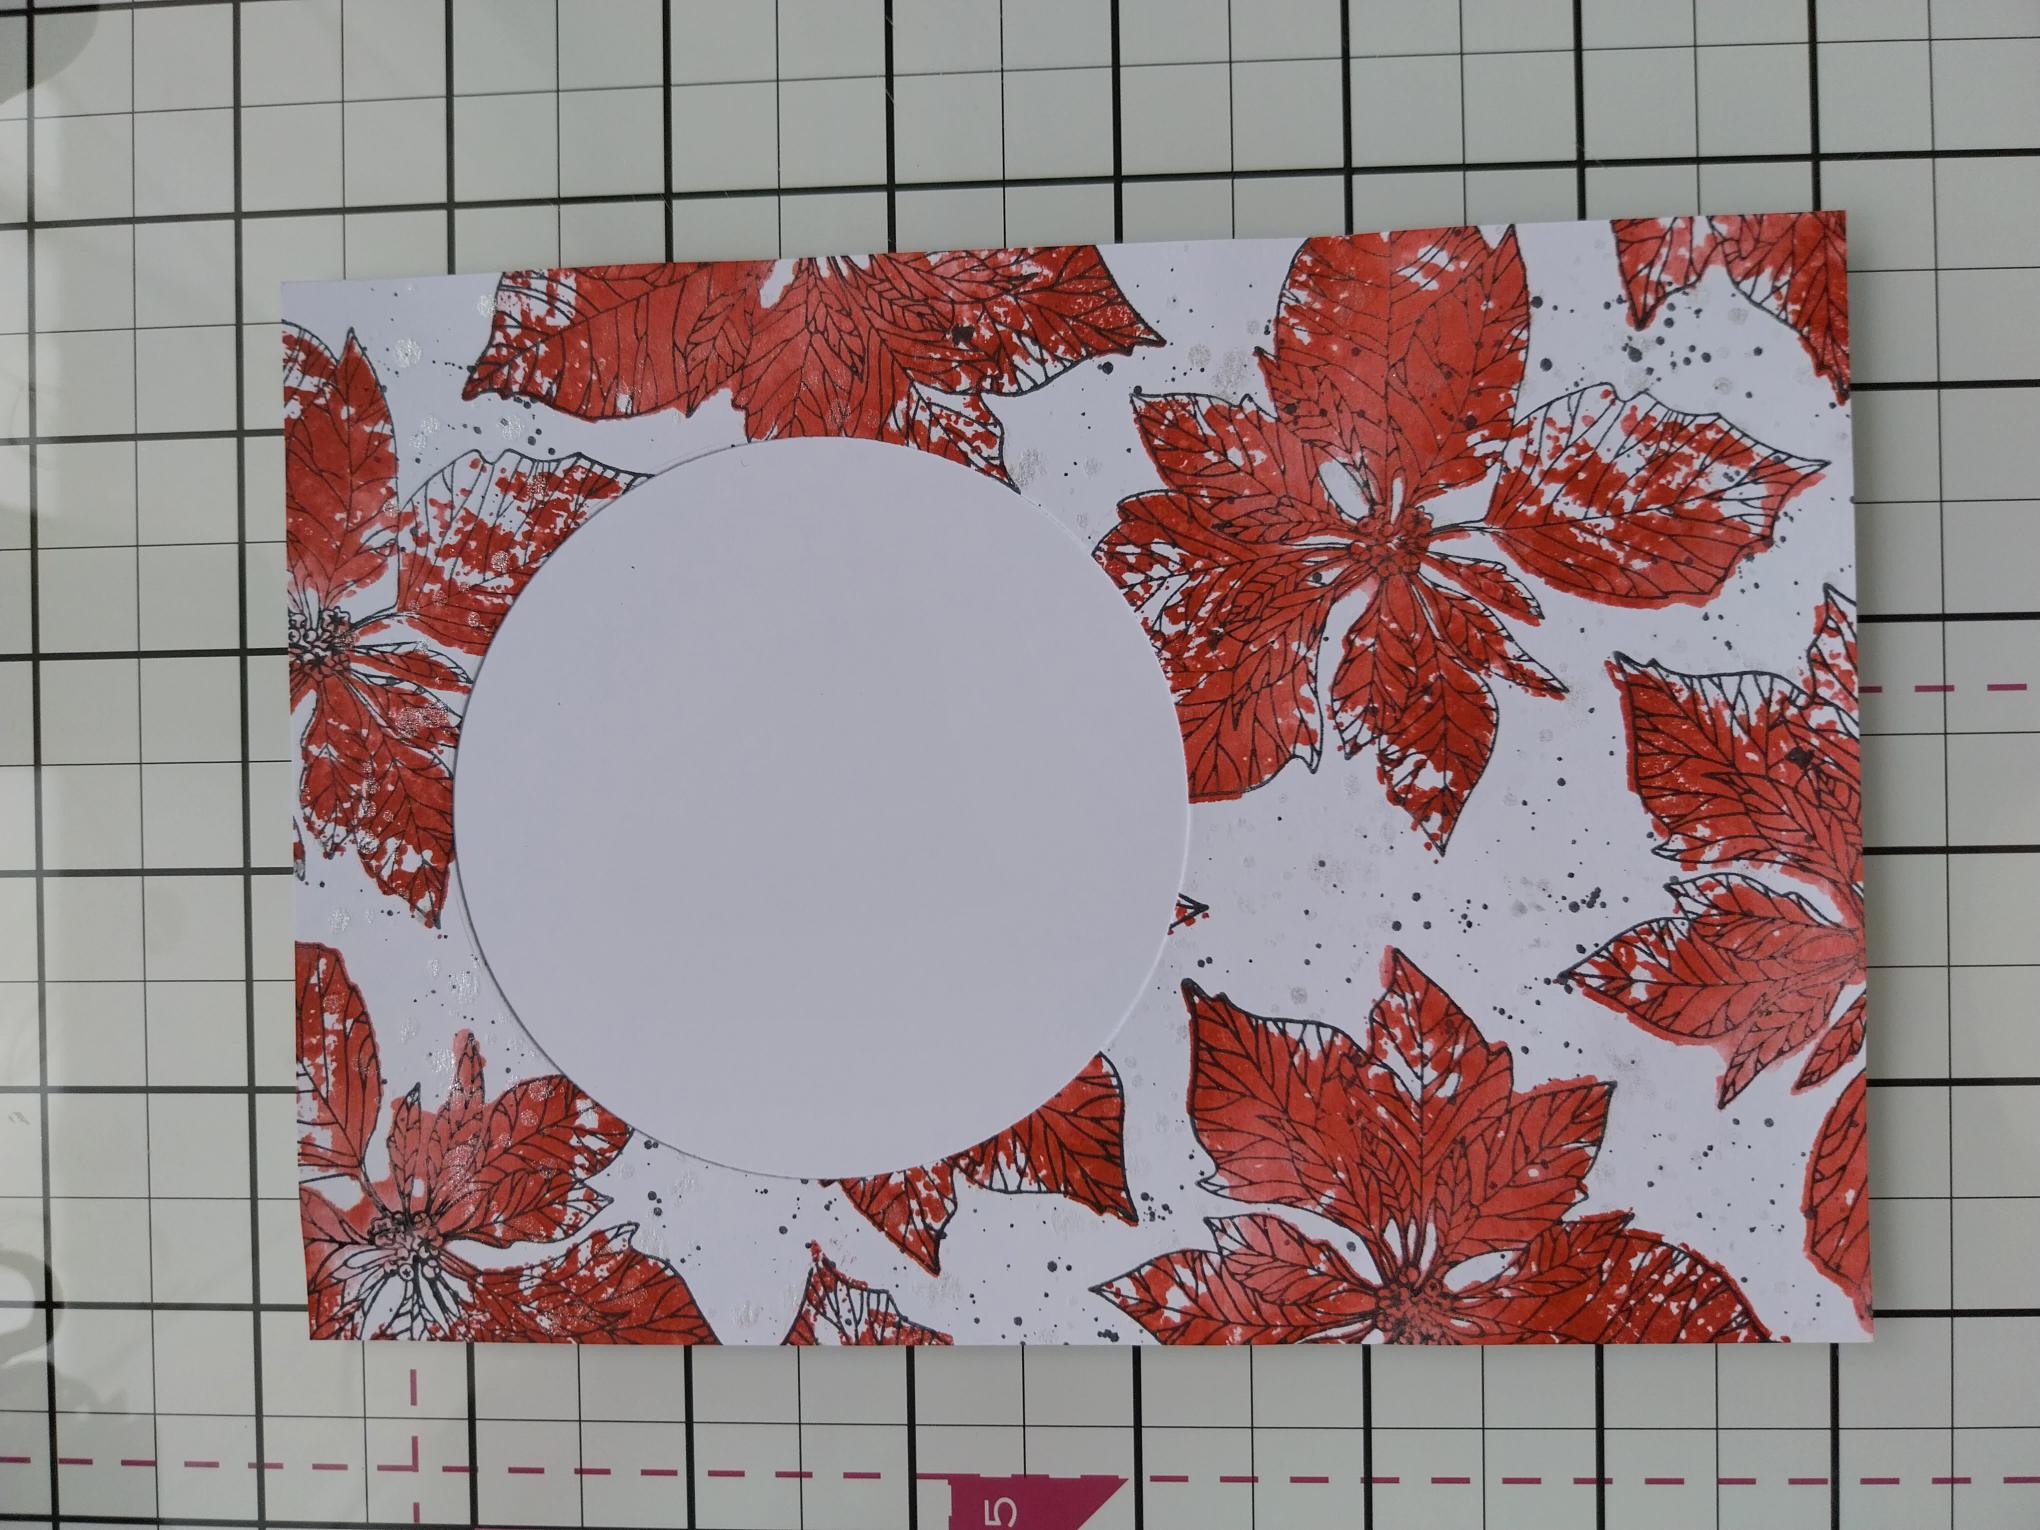
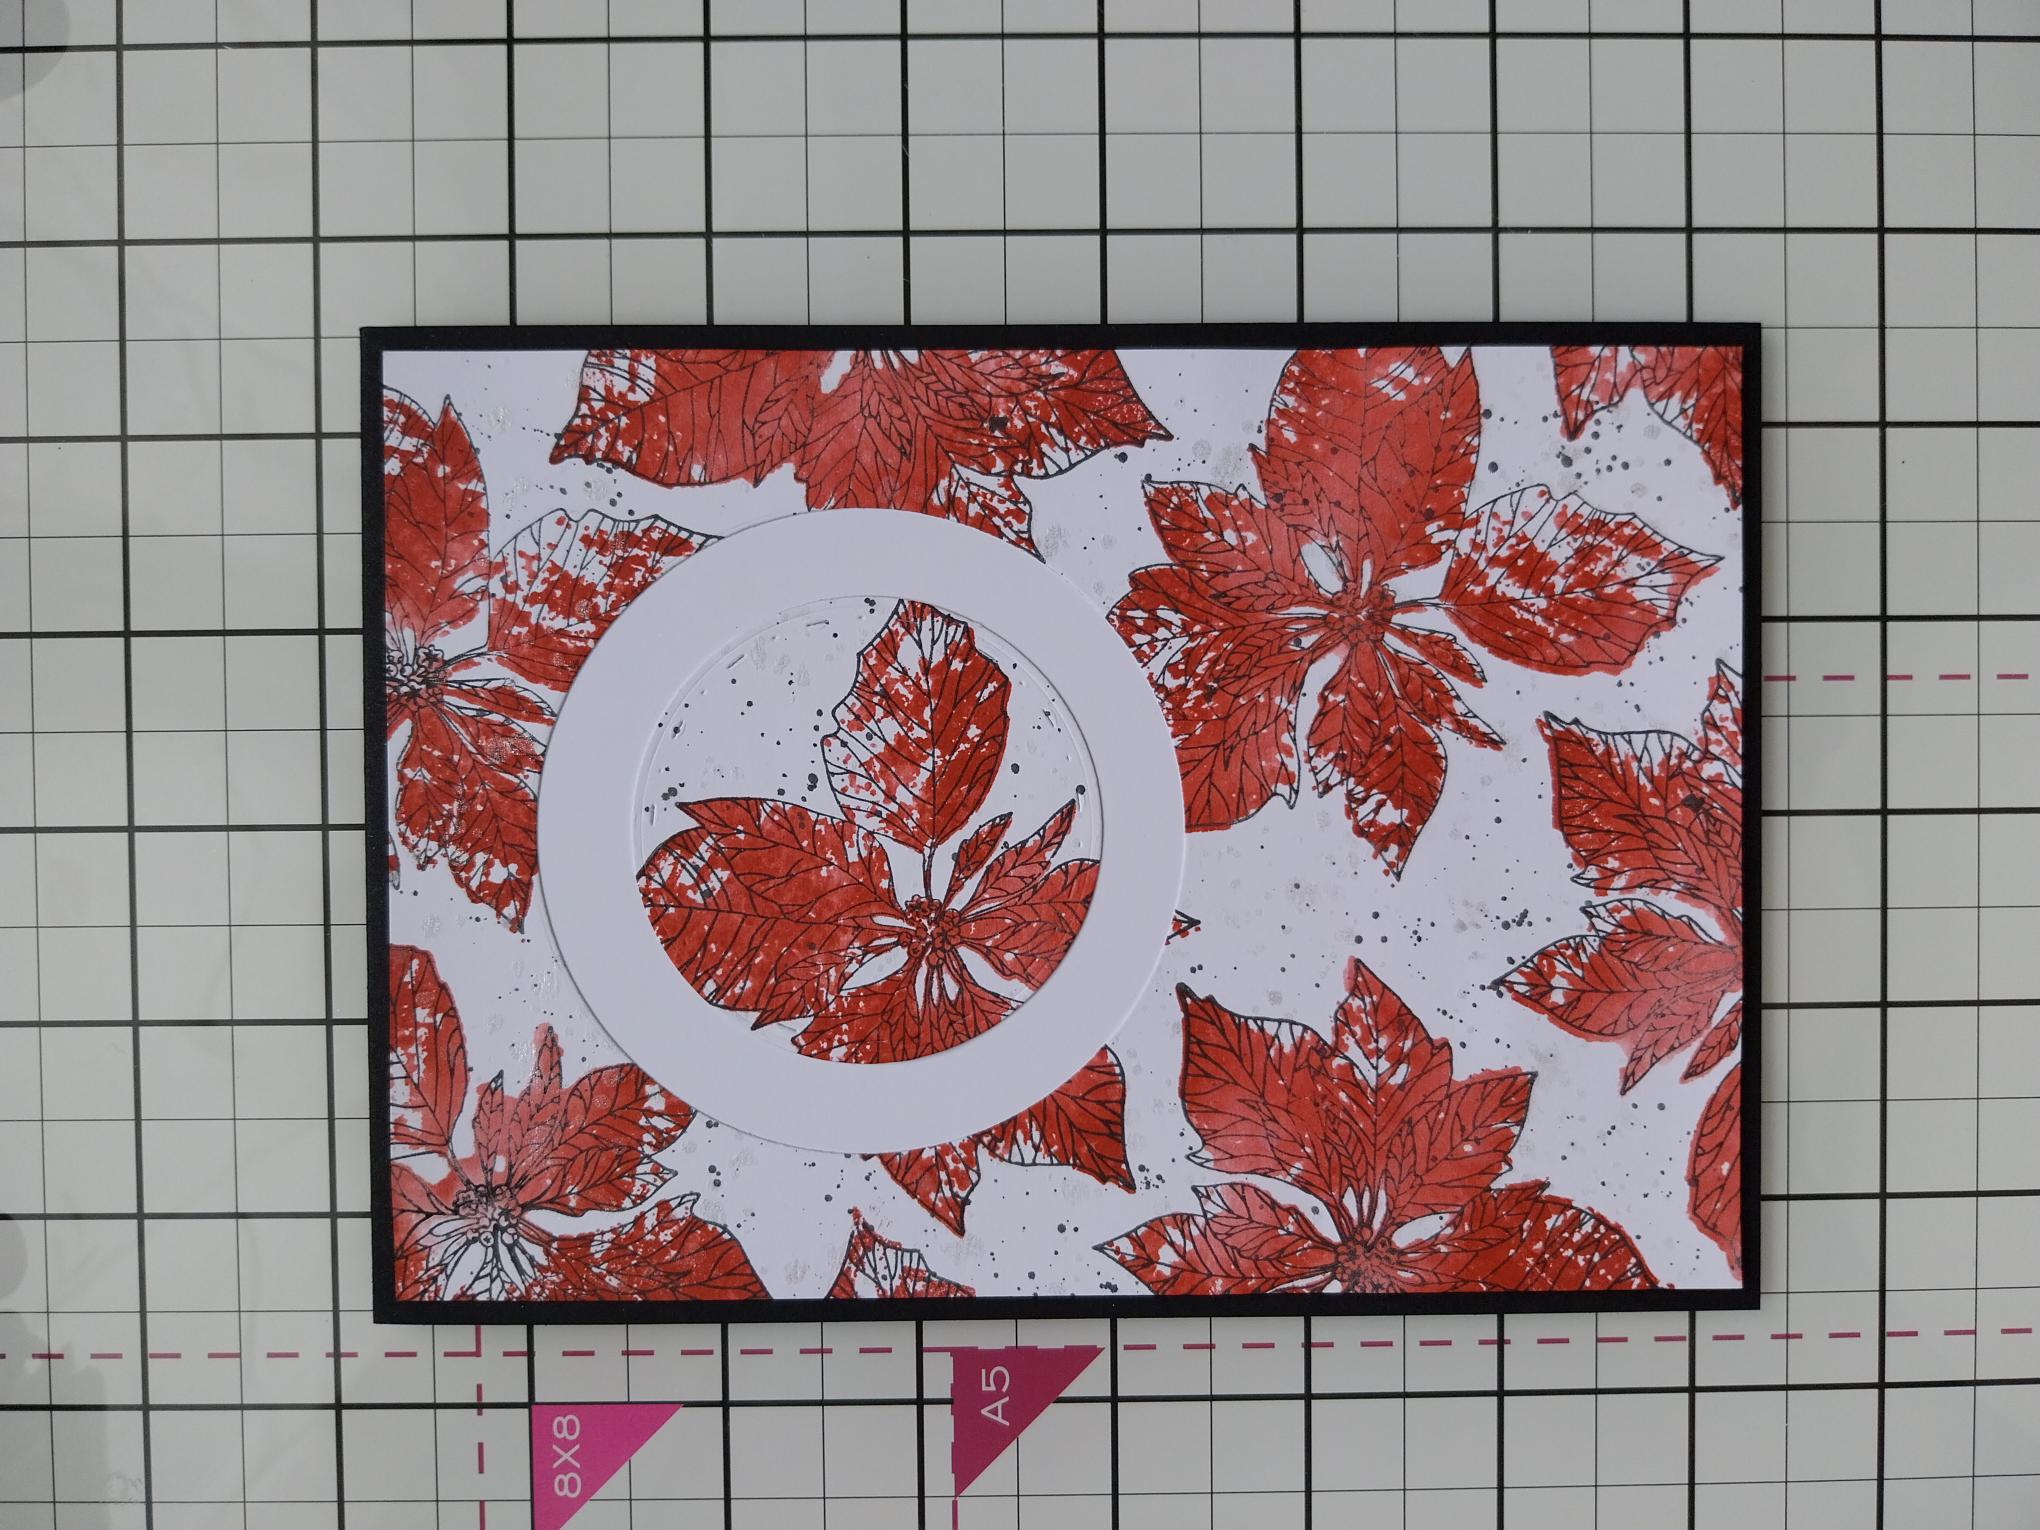
Trim a piece of card slightly smaller than your background and adhere your background on top, as seen here. |
|
Adhere the die cut stamped circle, in the middle of the circle aperture, lining it up with the stamped background images. You will not need the die cut stamped circle frame but don't bin it! Save for another project! |
|
Adhere your artwork on to your black card blank and pop to one side. |
|
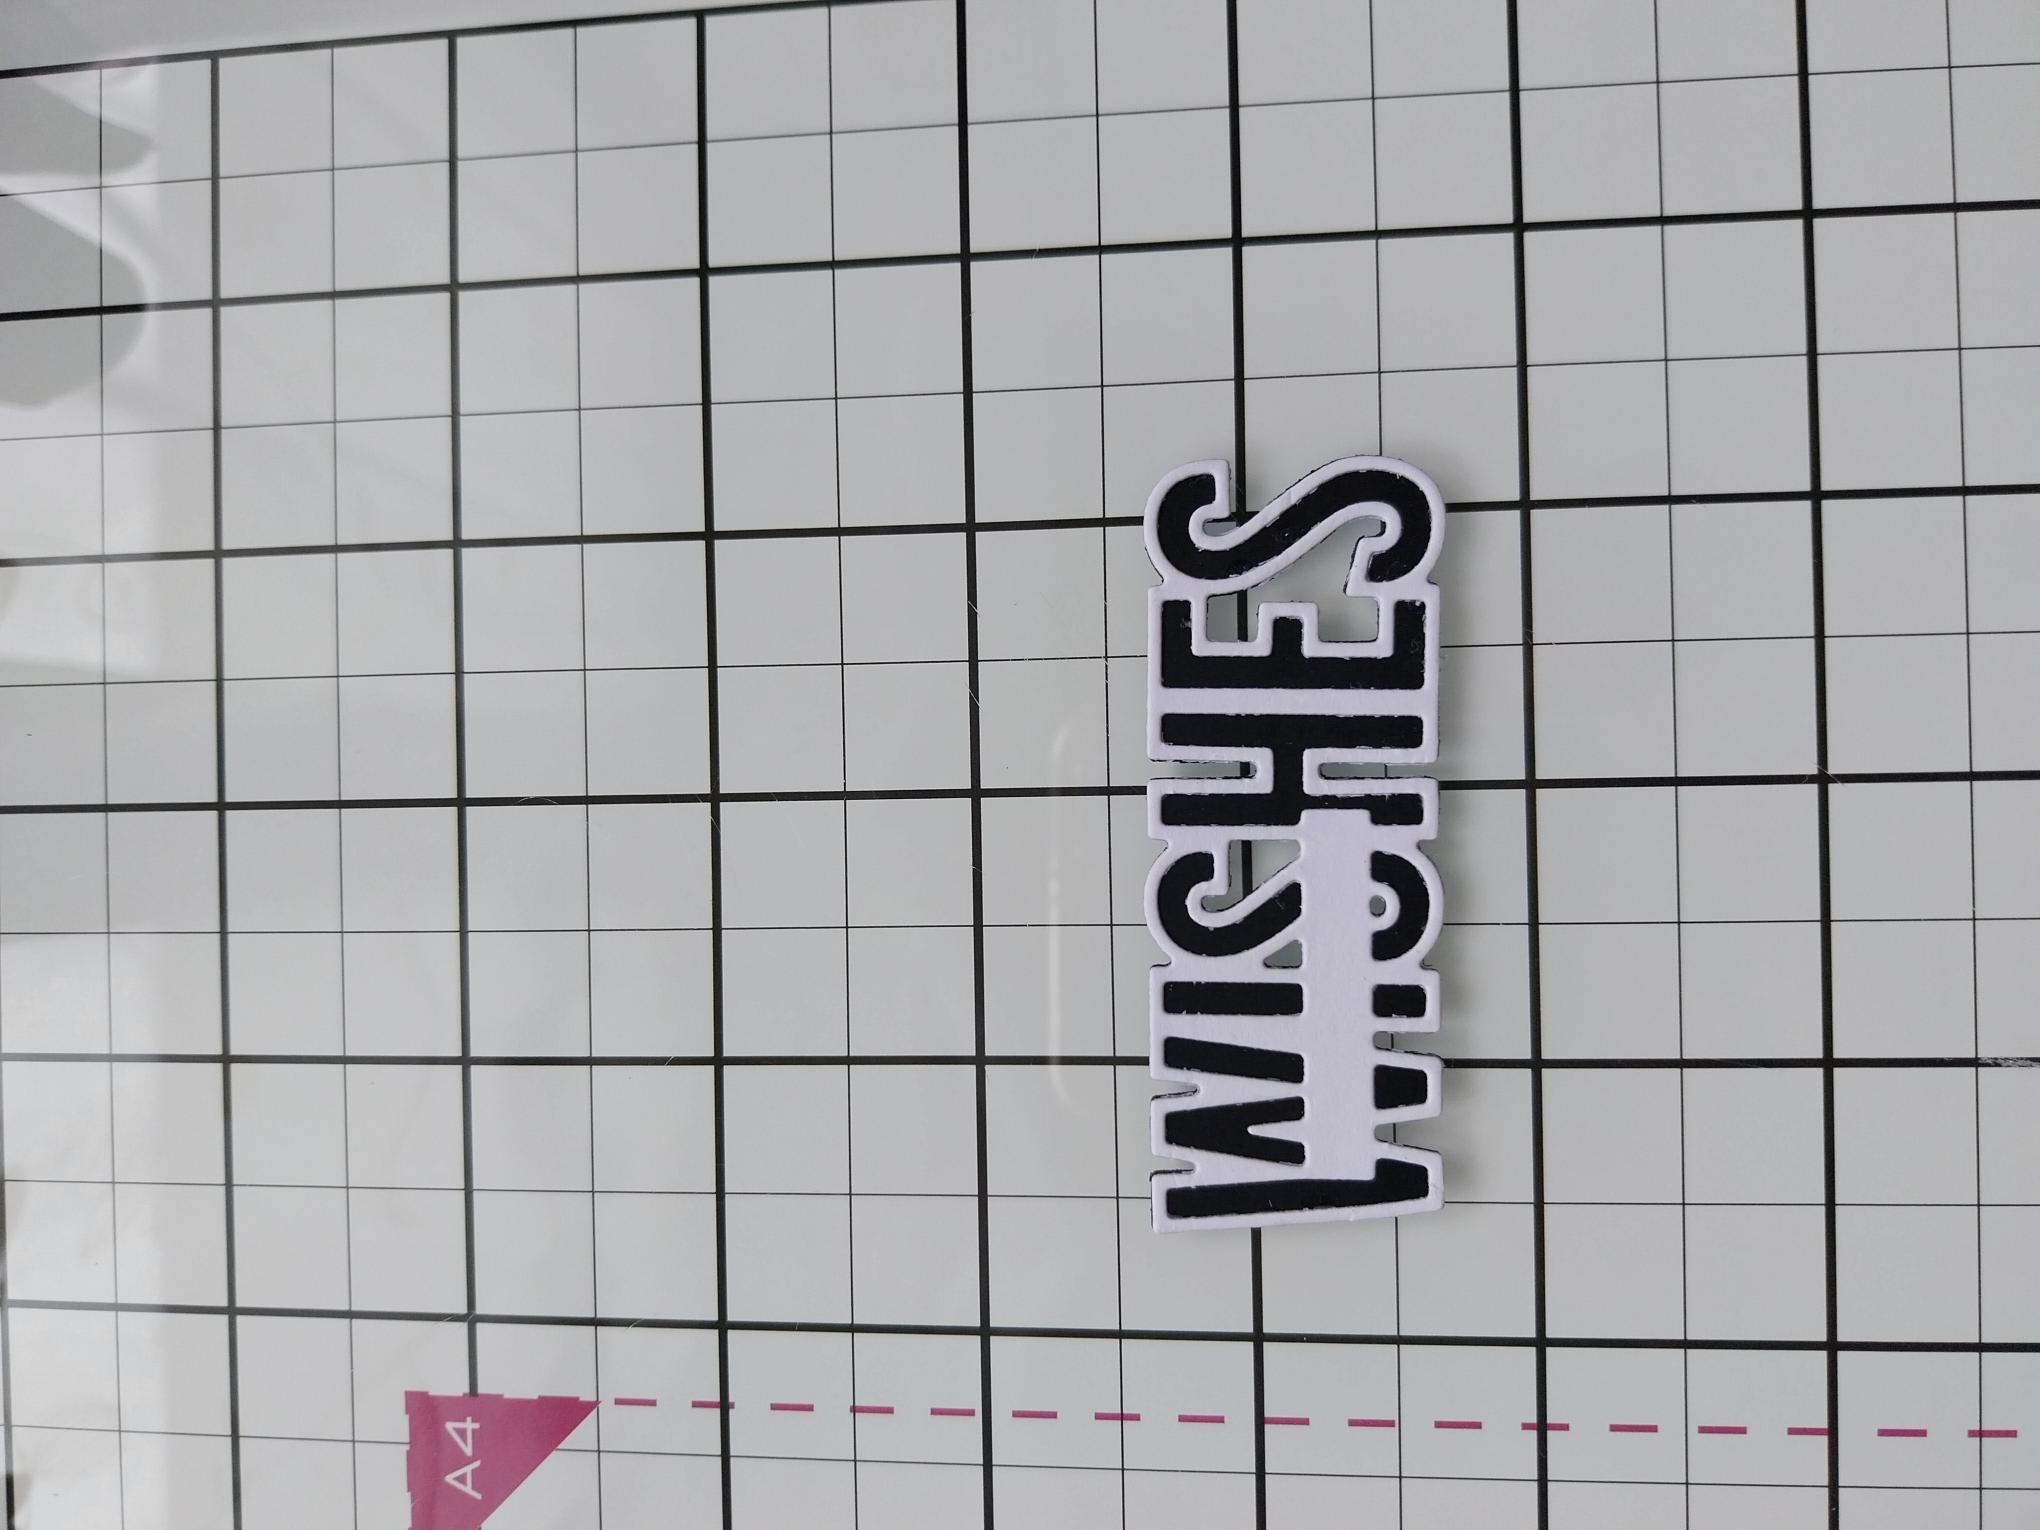
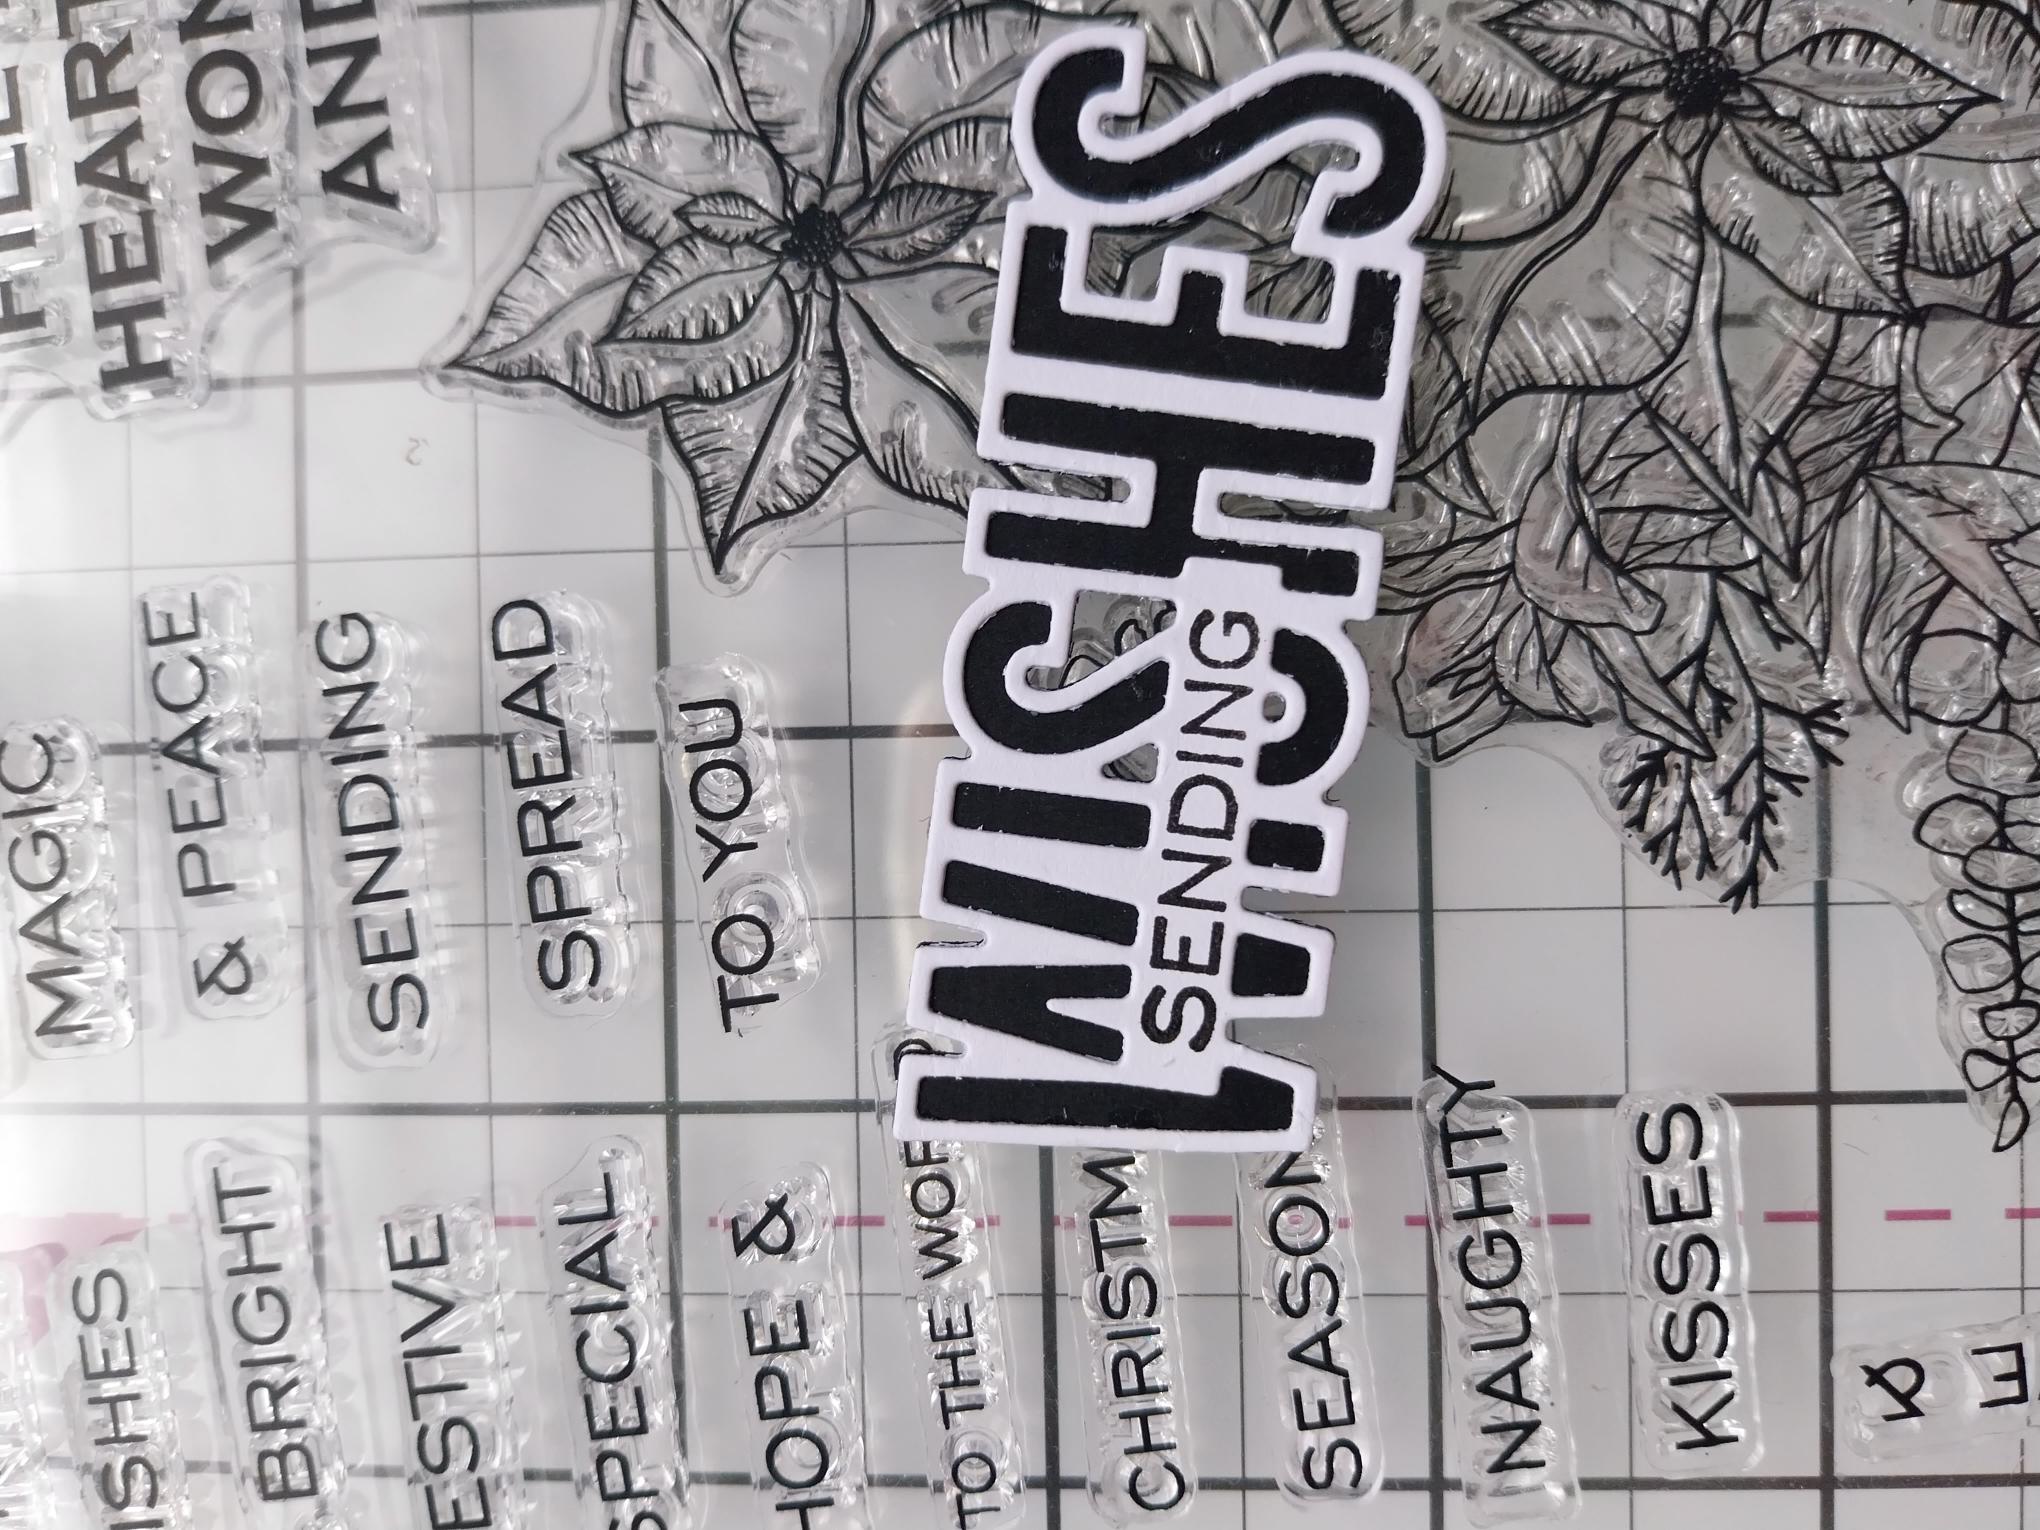
From the Special Wishes set, die cut the "Wishes" solid die from black card and the coordinating detailed die from white card. Adhere together as shown here. |
|
Ink up the add-on "Sending" stamp in the Midnight ink and stamp on to the white, die cut panel. |
|
Adhere across the top right of the circle aperture, to complete your card. |