Give your friends $10 off their first order!
Refer a FRIEND


WHAT YOU WILL NEED:
White card blank 7 x 7"
Kraft/white cardstock
Vellum
Joyeux Noel Christmas Die
Create Together Celebration Box: Cotton Pines: 7 x 7" paper pad, Stag silhouette stencil
SBM Hybrid Ink Pad: Midnight
SBM Pigment Ink Pad: Cotton
Blending Tool
Heat tool
Stickles: Diamond
SBM Magnetic glass mat
Paper Trimmer
Perfect Together Glue
Double-sided tape
Die Cutting machine
[click image to enlarge] 
|
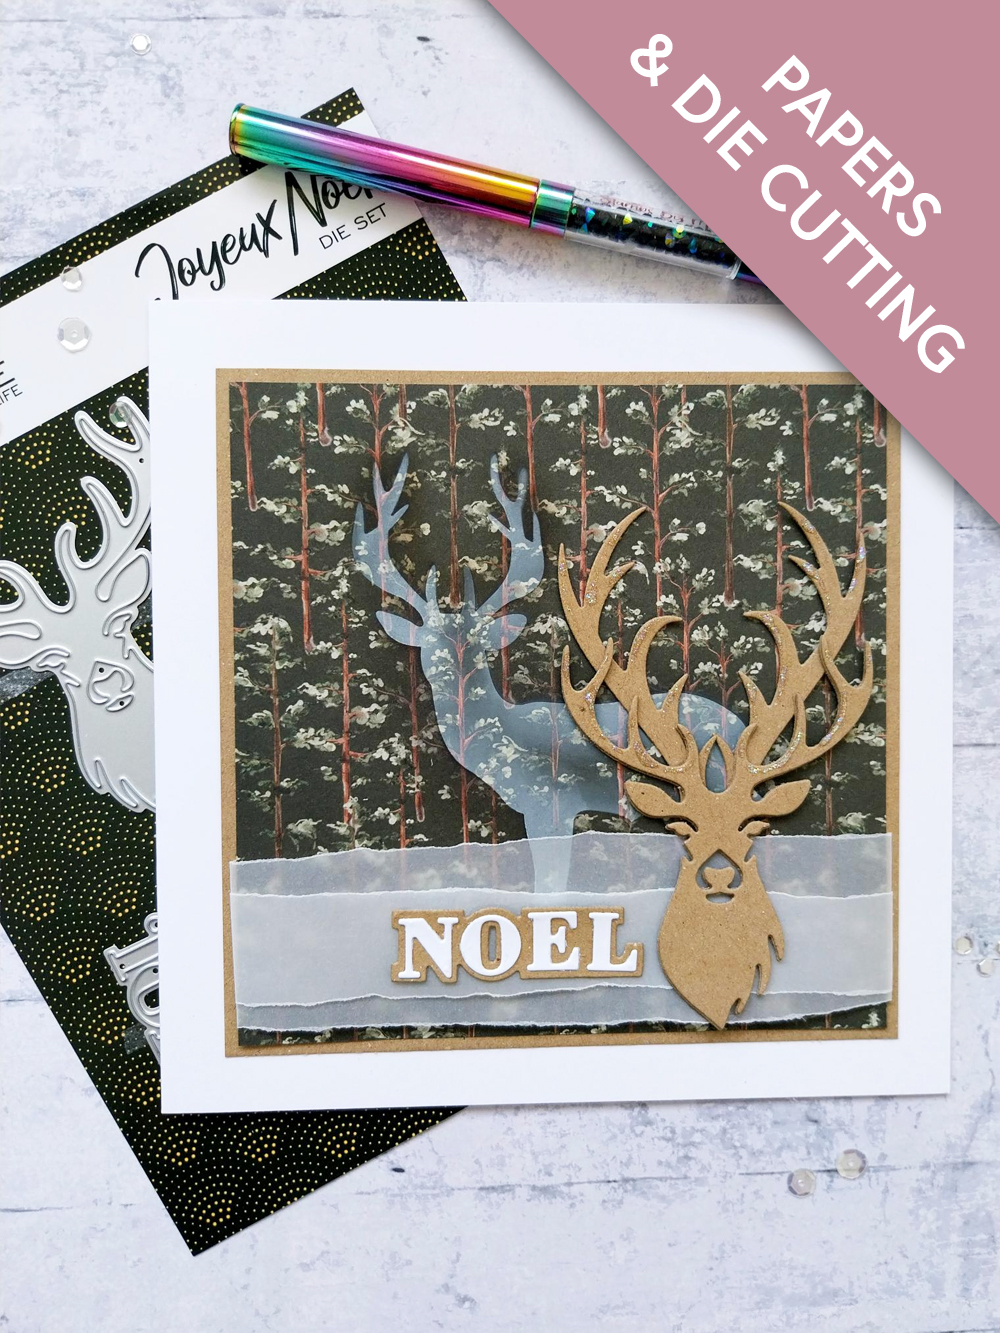
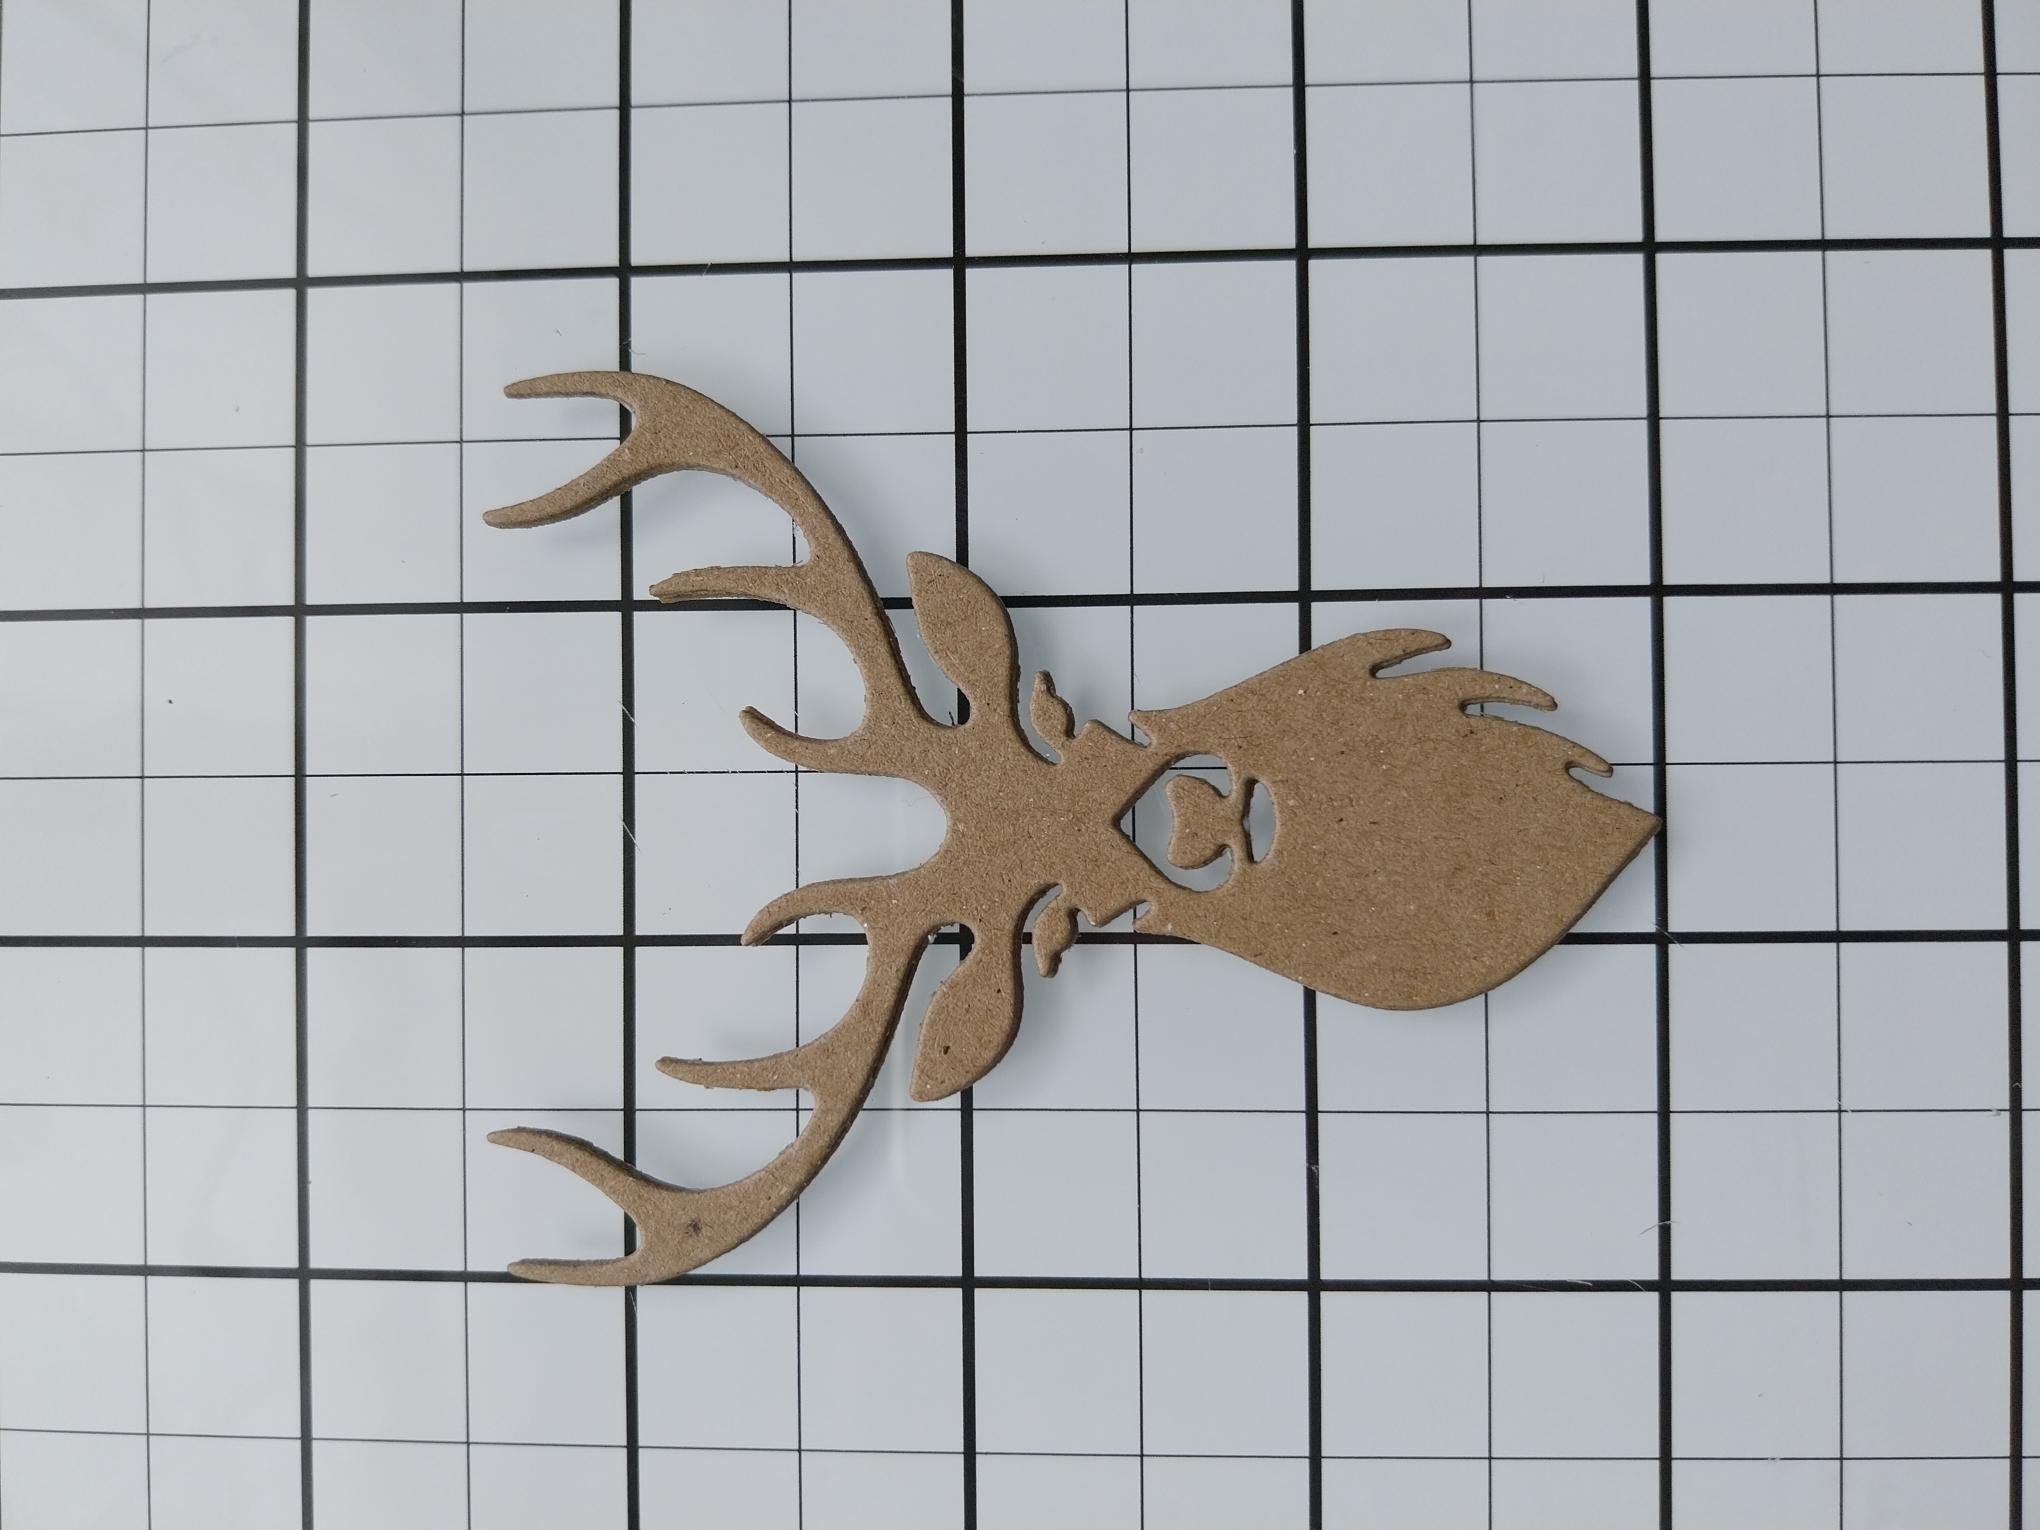
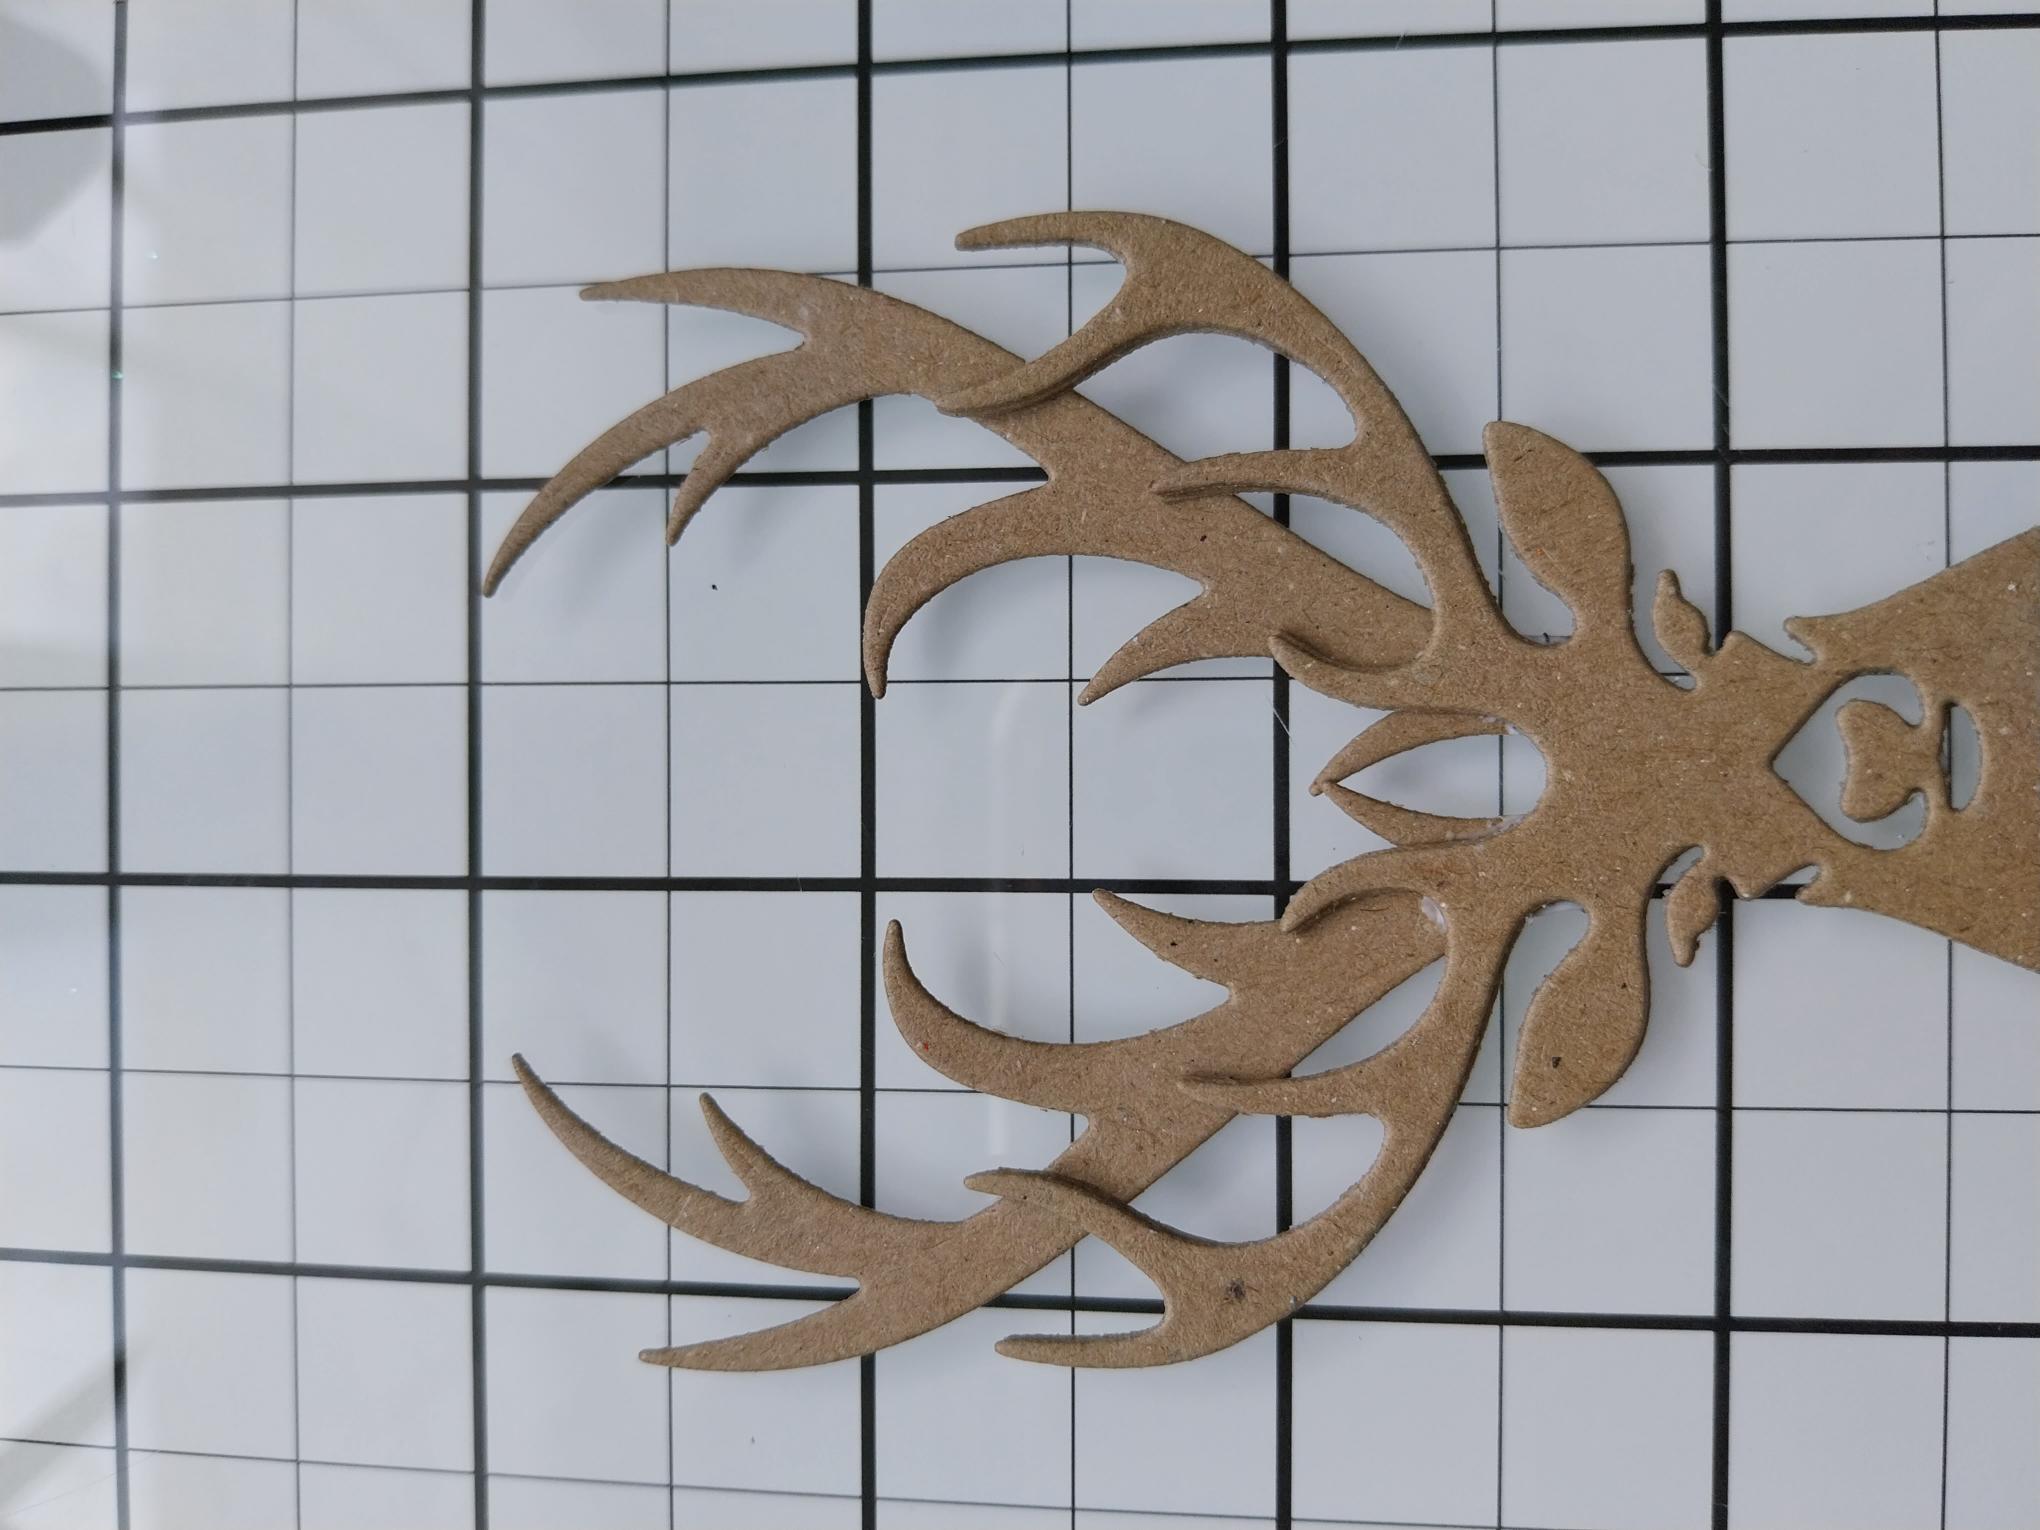
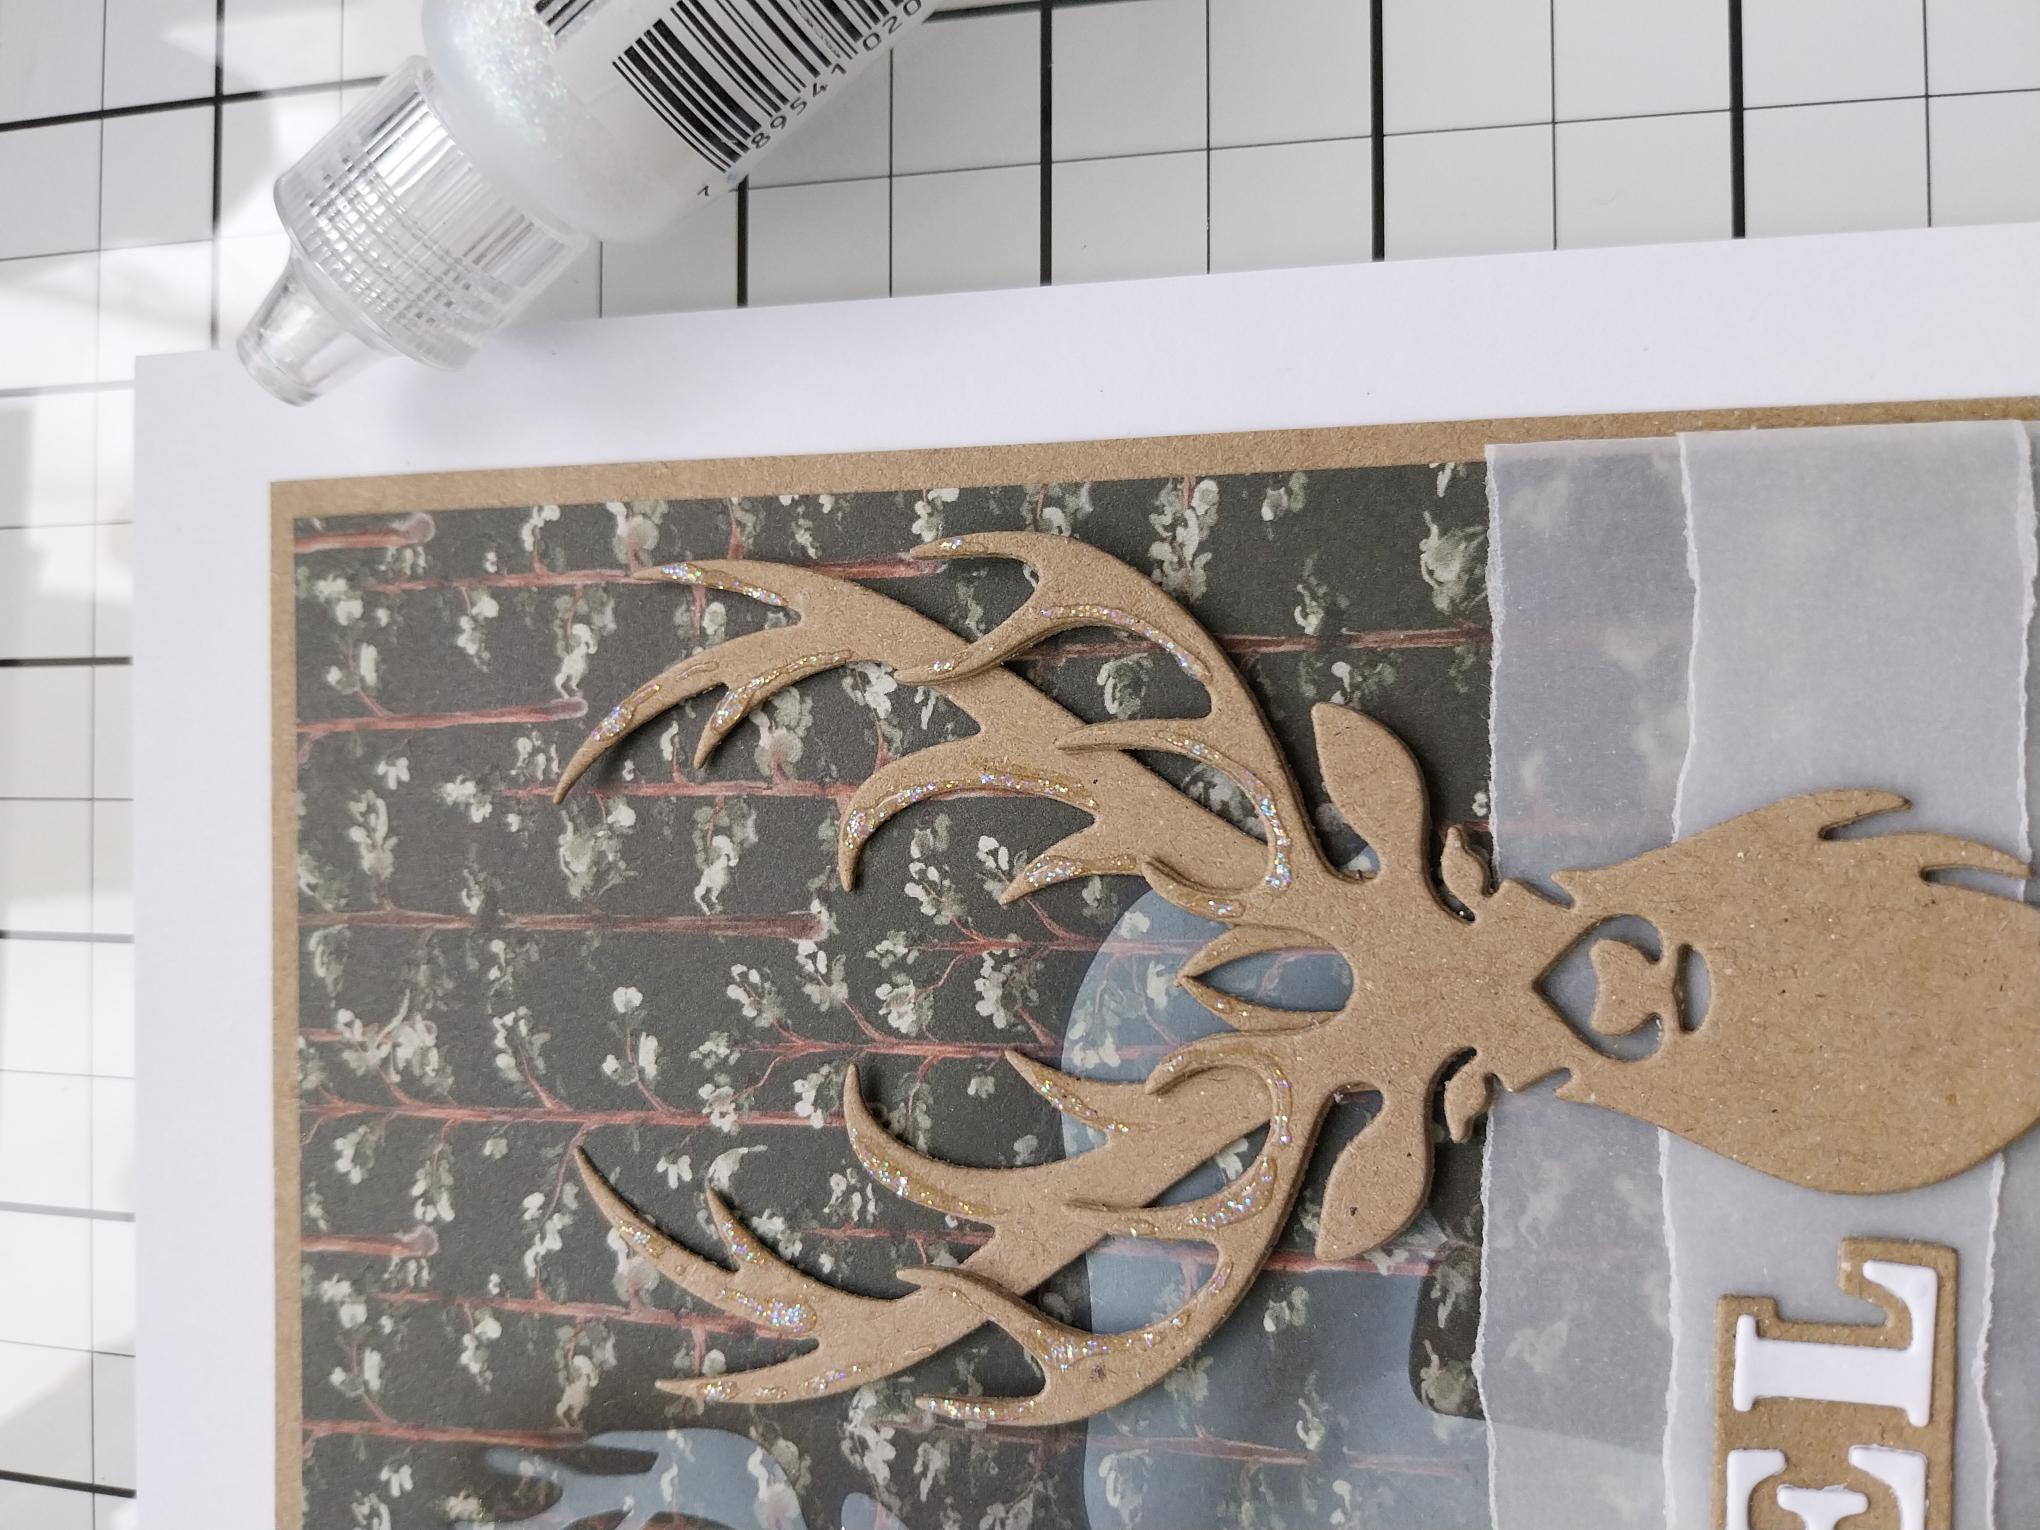
Die cut THREE Stags from kraft card. |
|
Adhere together to create a substantial 3D element. |
|
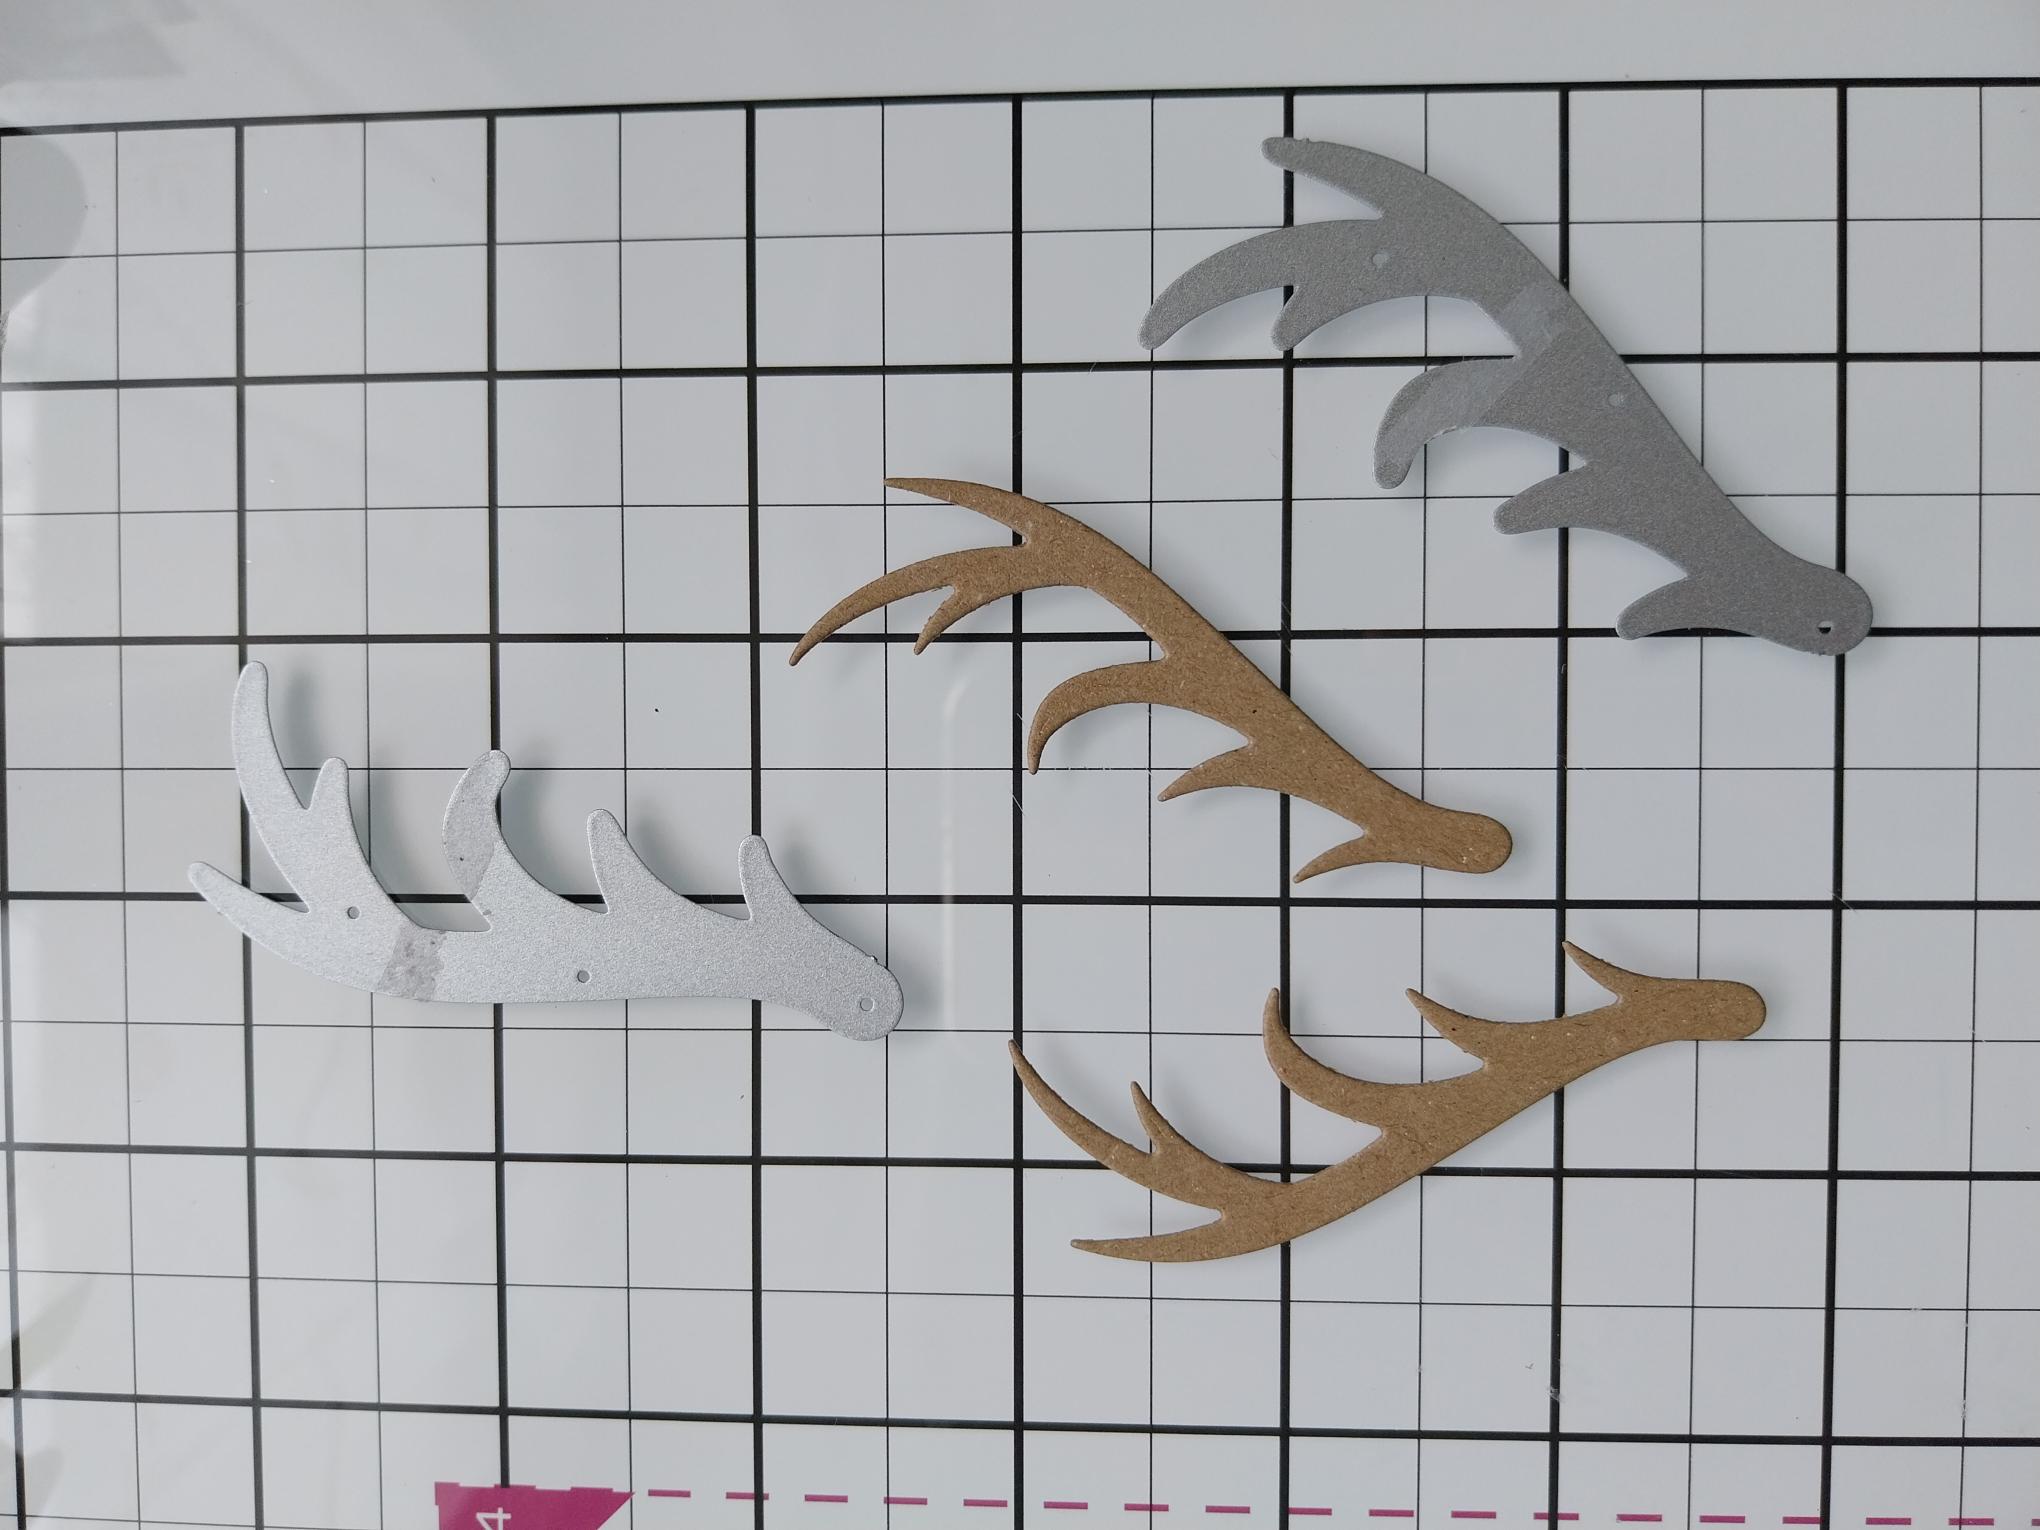
Die cut the additional antlers from kraft card. |
|
Adhere to your 3D Stag and set to one side. |
|
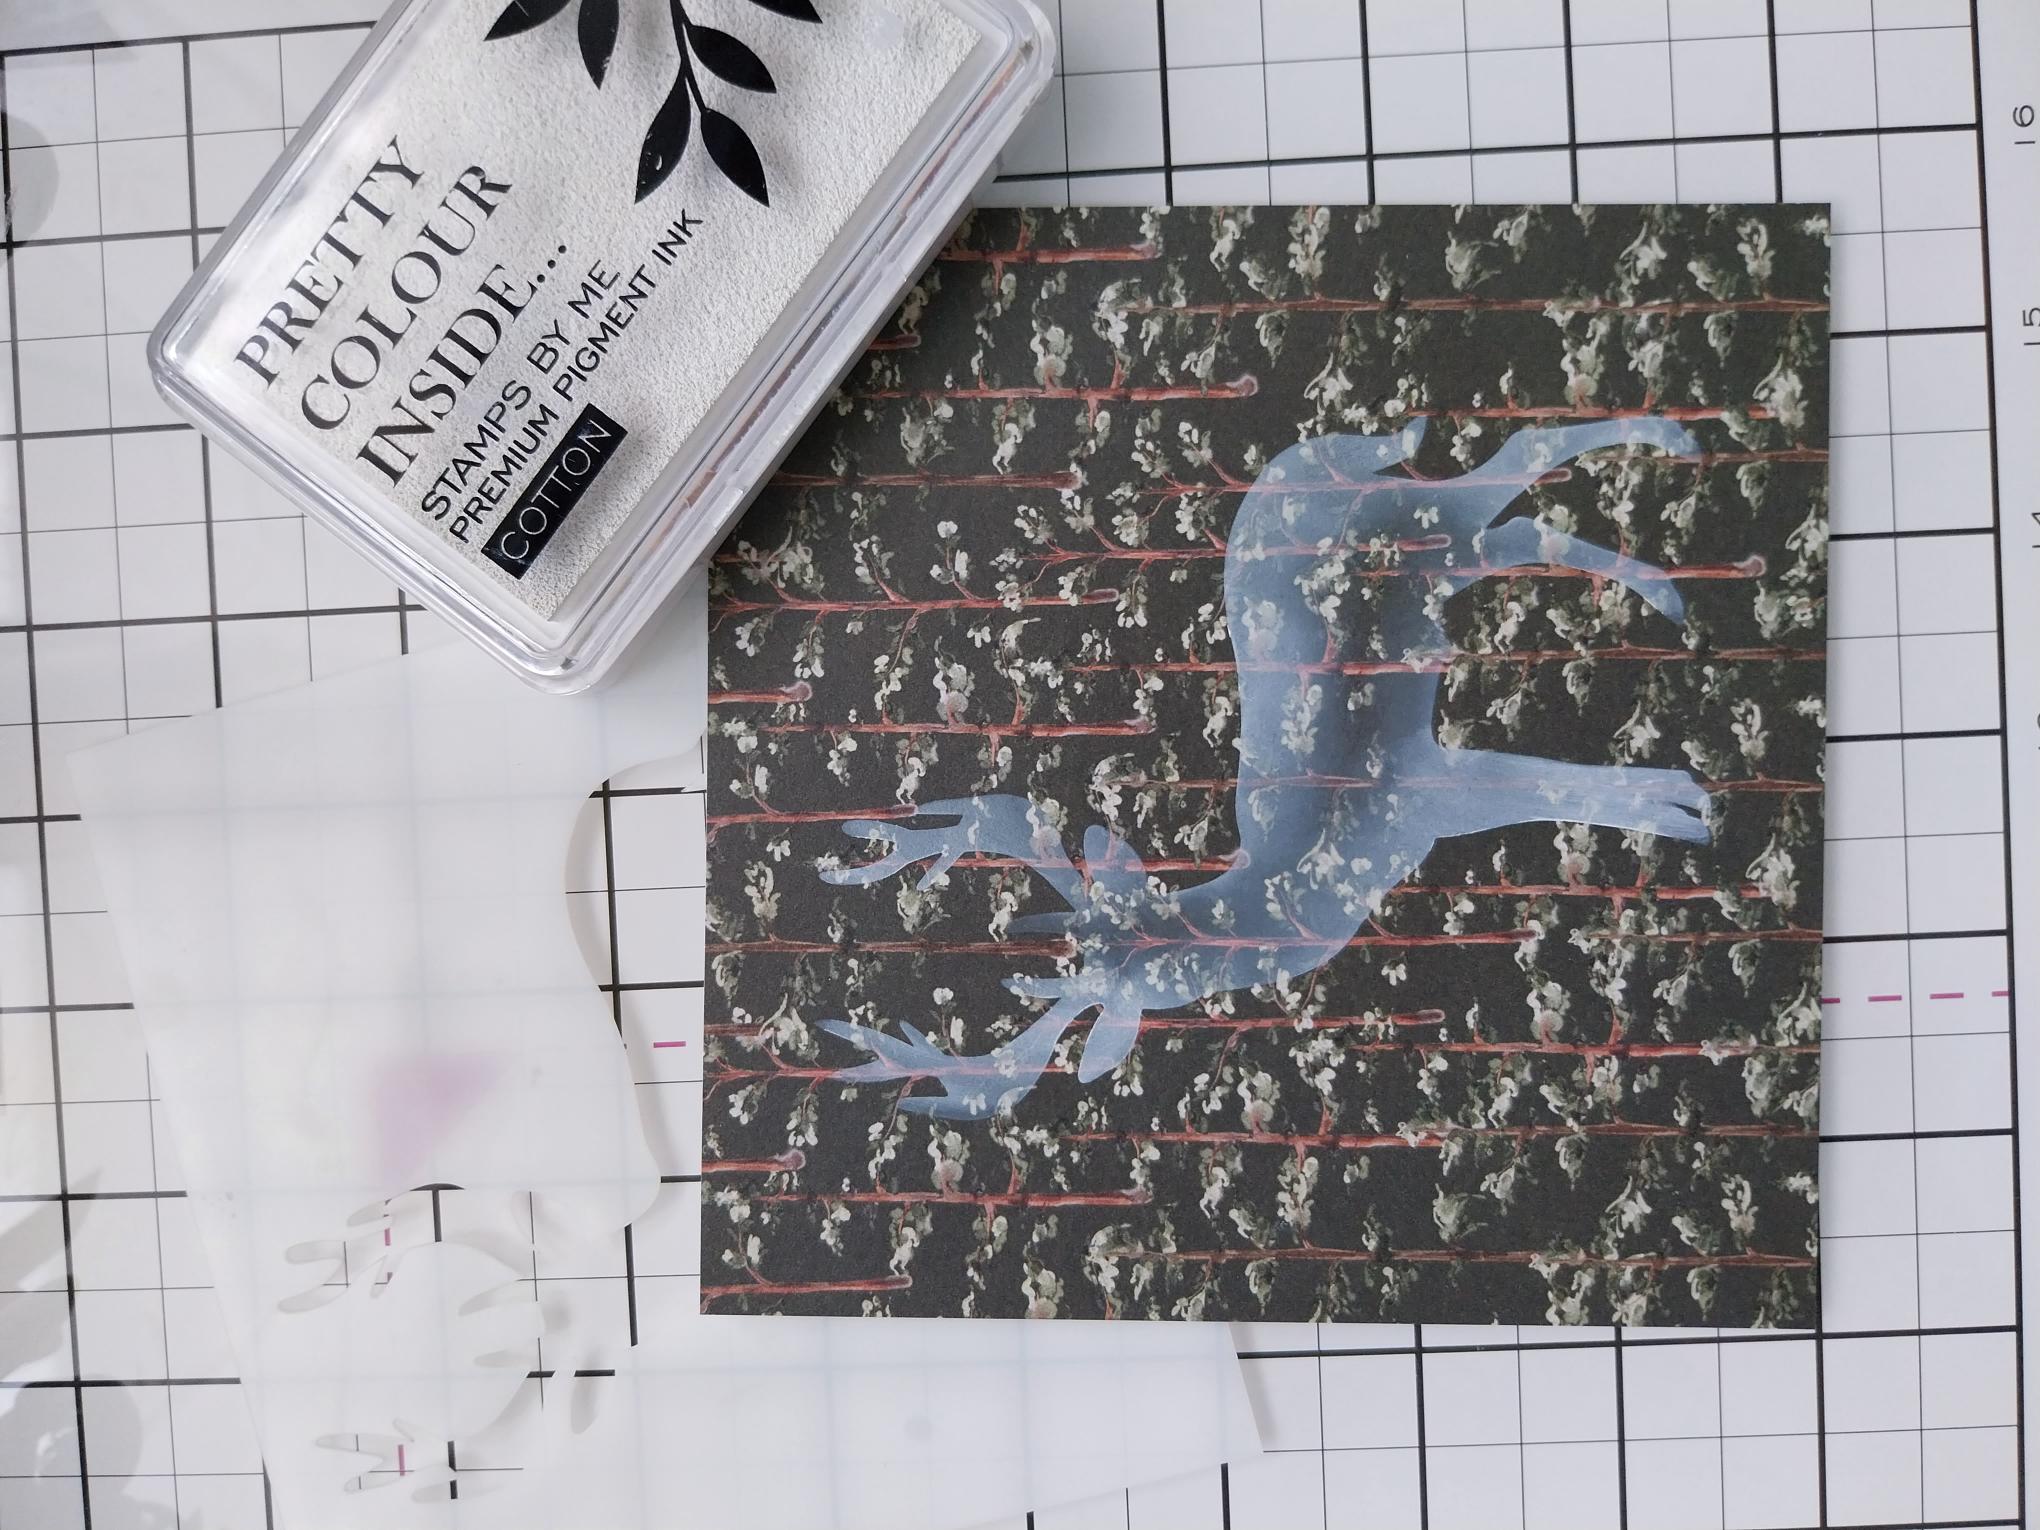
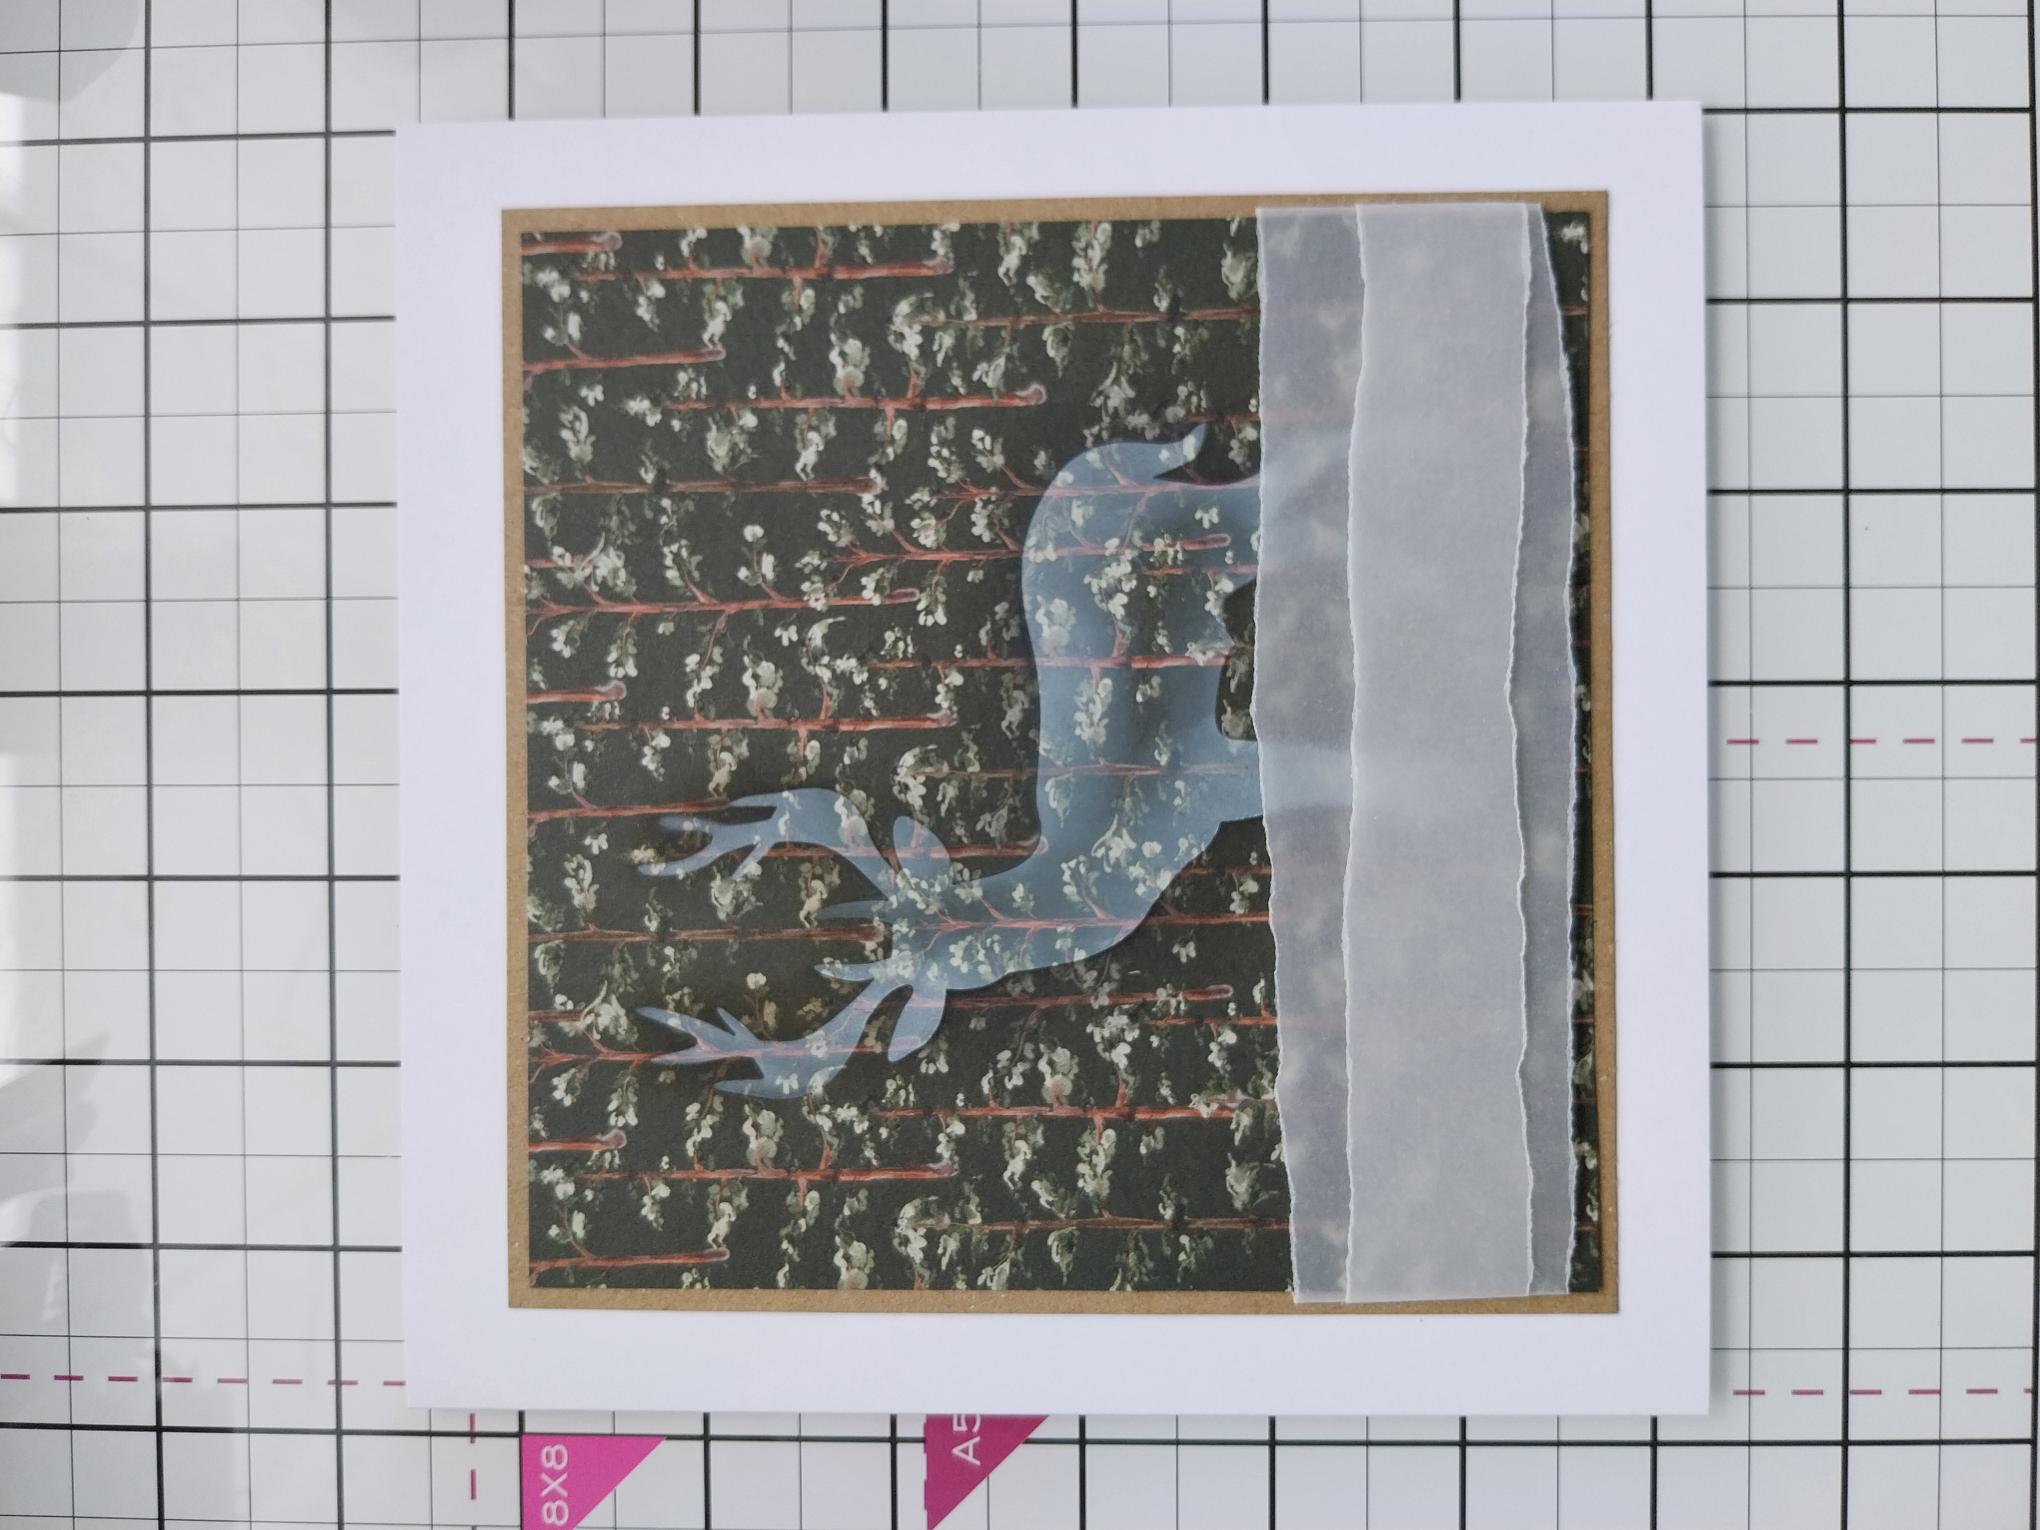
Remove this decorative paper from the Cotton Pines 7 x 7" paper pack and trim to 5 1/2" square. Place the silhouette stag aperture stencil, from the same collection, on to your decorative paper and blend the Cotton ink within the aperture, fading it out as you move inwards. Pigment ink is slow drying and will smudge, so use your heat tool to ensure it is completely dry, before moving on to the next step. |
|
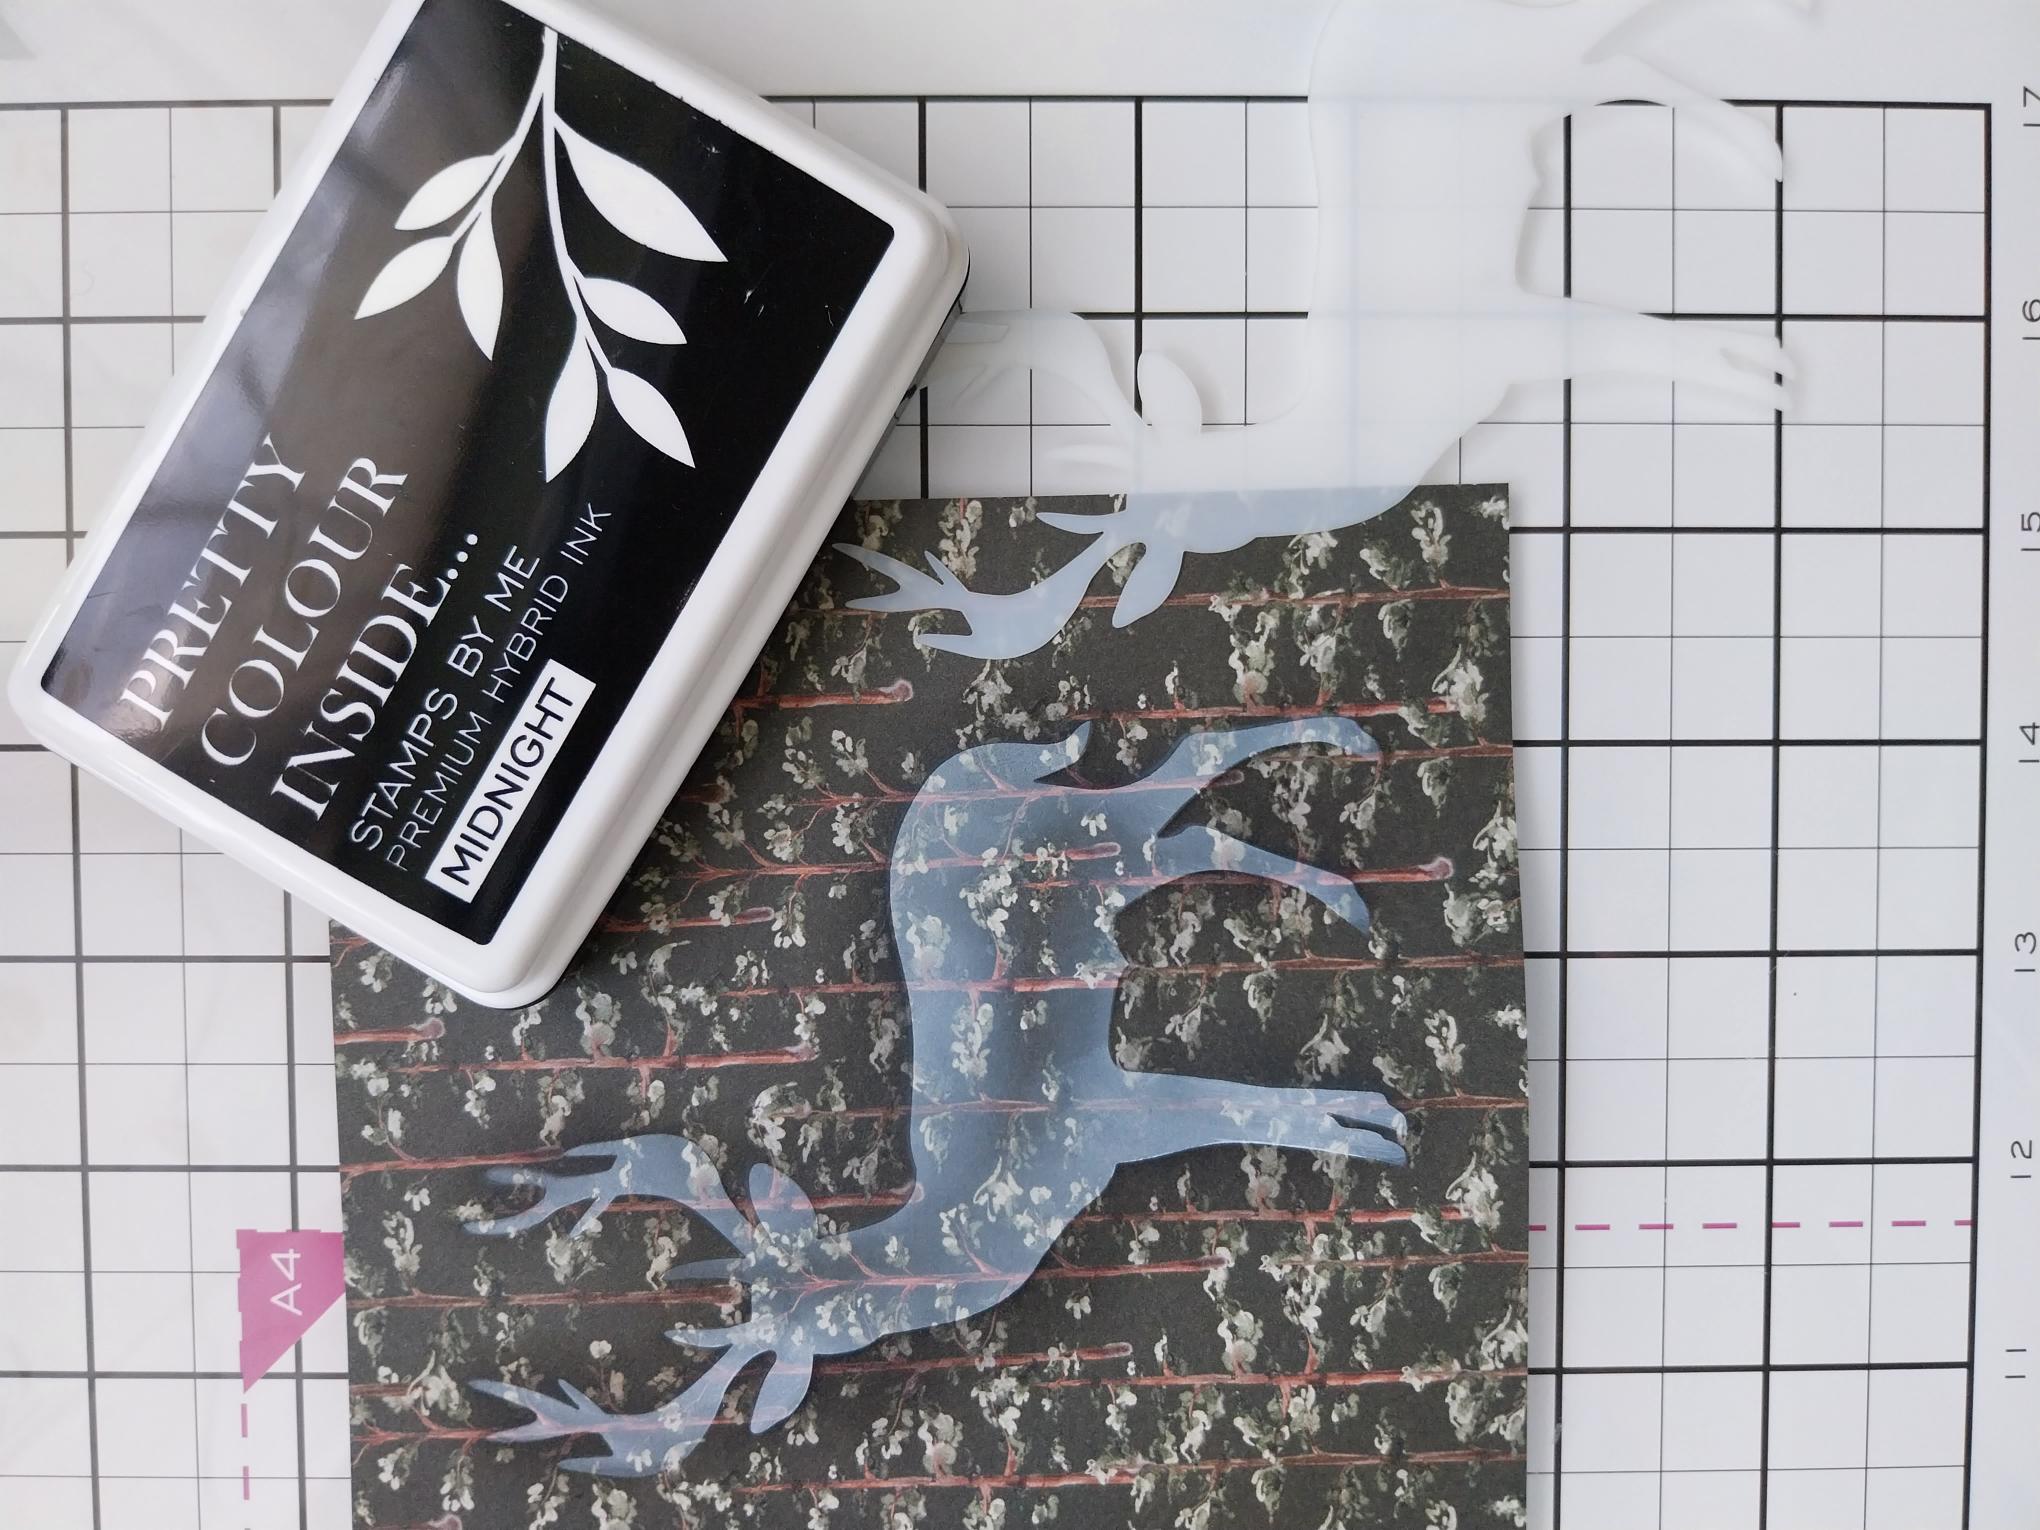
Place the stag mask over your stencilled image and blend out with the Midnight ink, thus creating a shadow, allowing the Stag to "pop". Blast dry with your heat tool. |
|
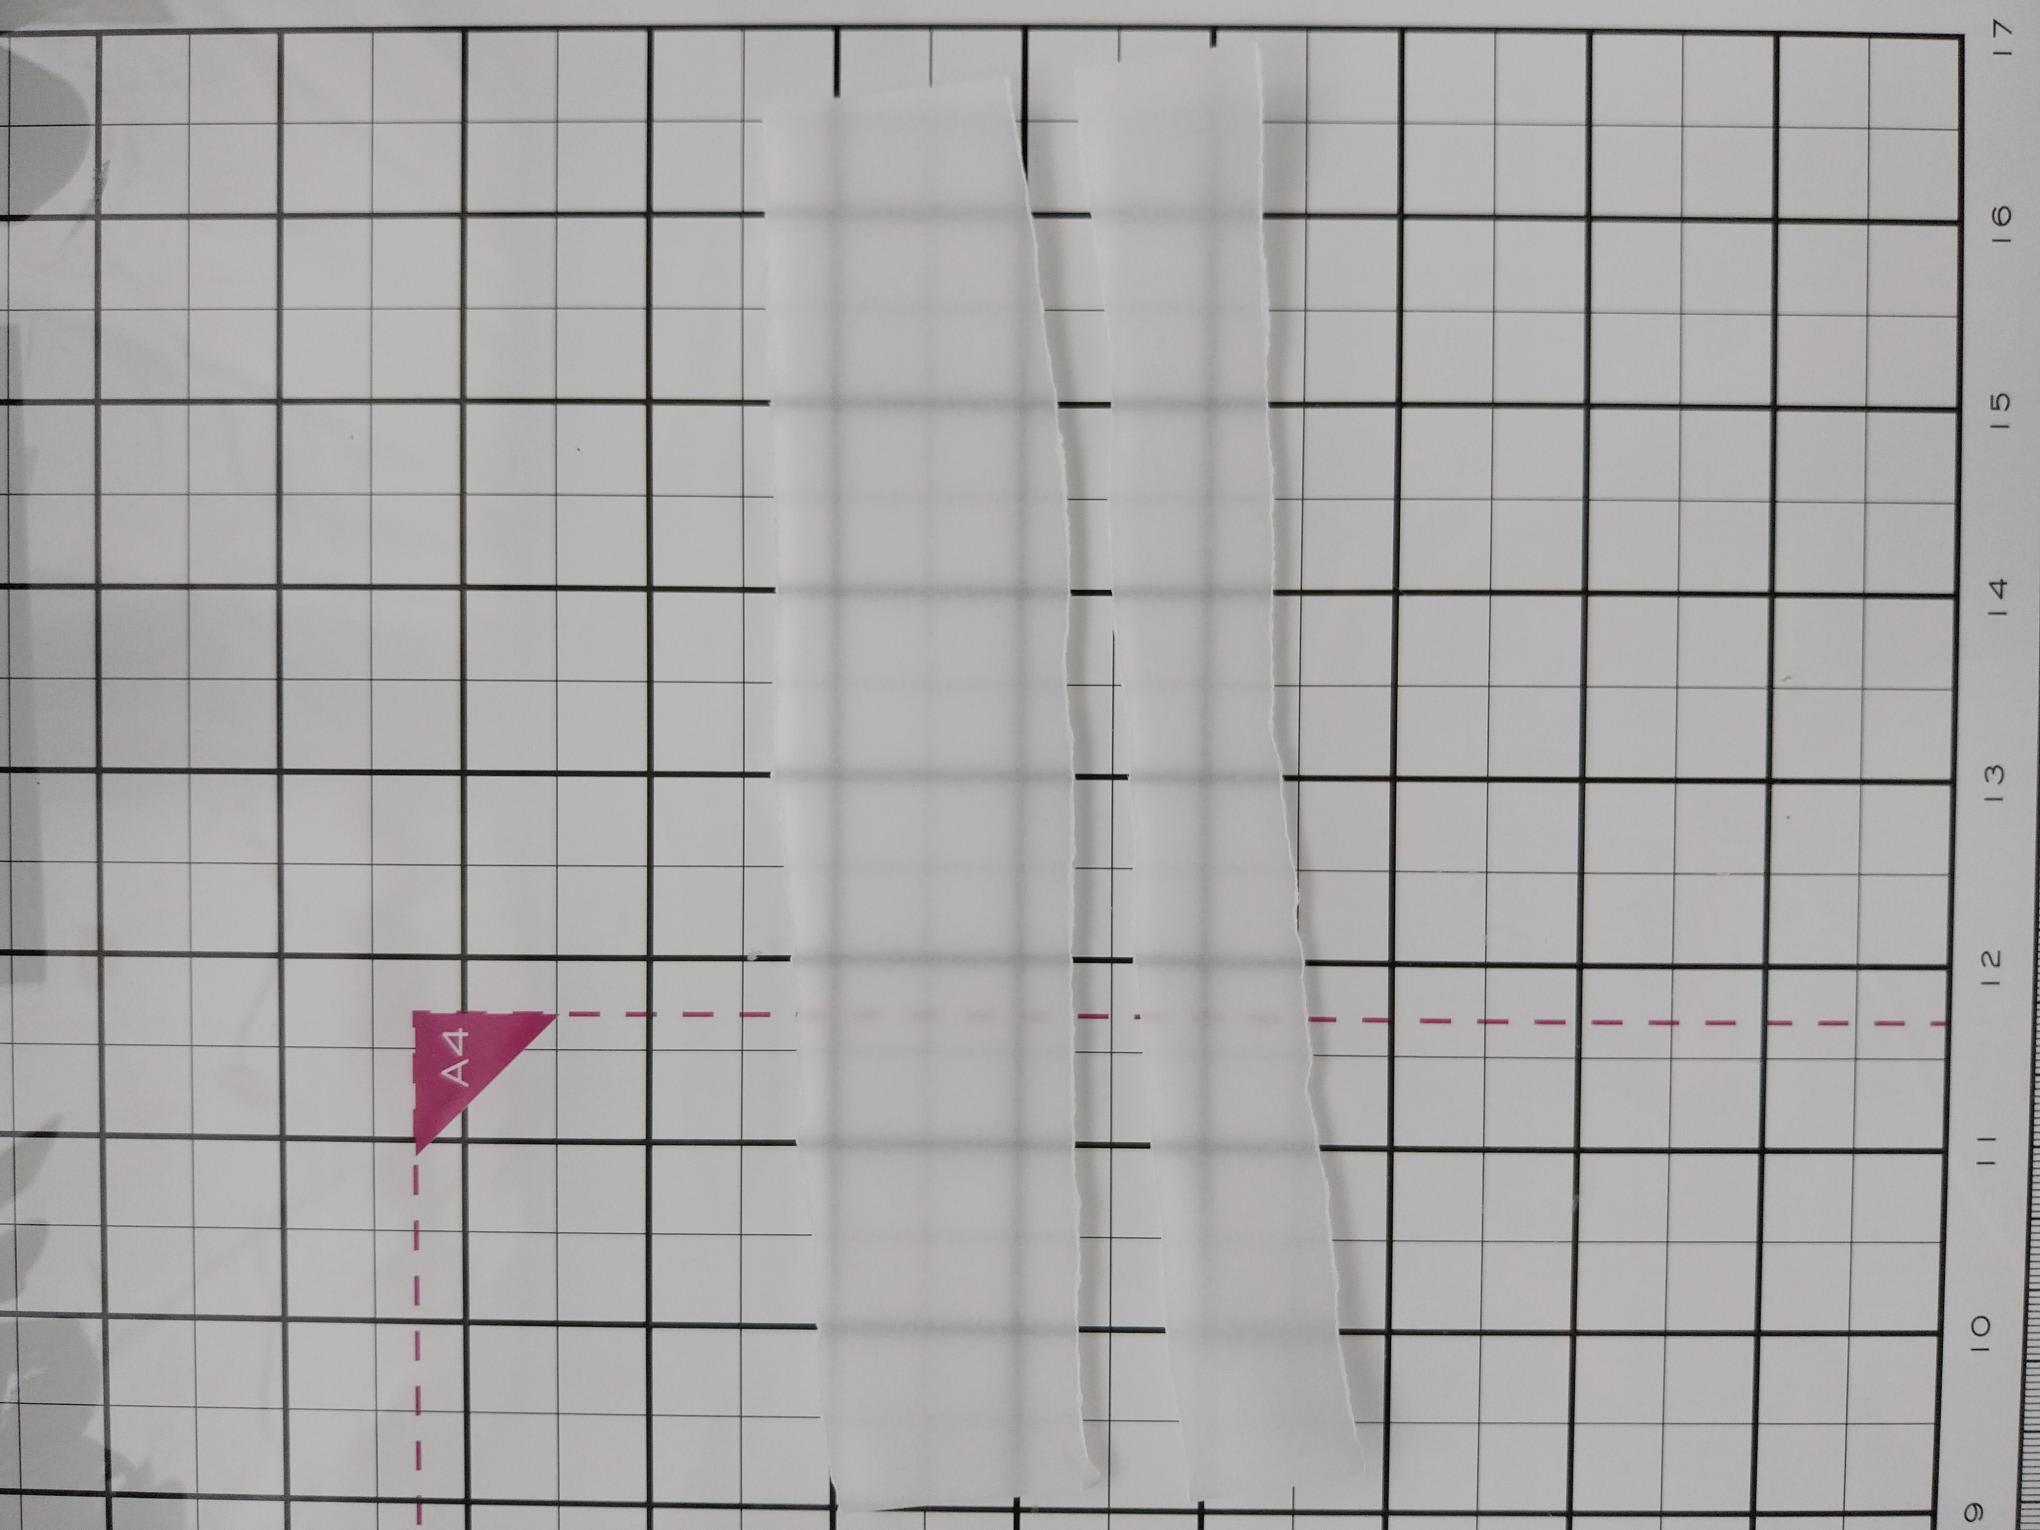
Tear two strips of vellum, one narrower than the other and slightly longer than the width of your decorative paper. |
|
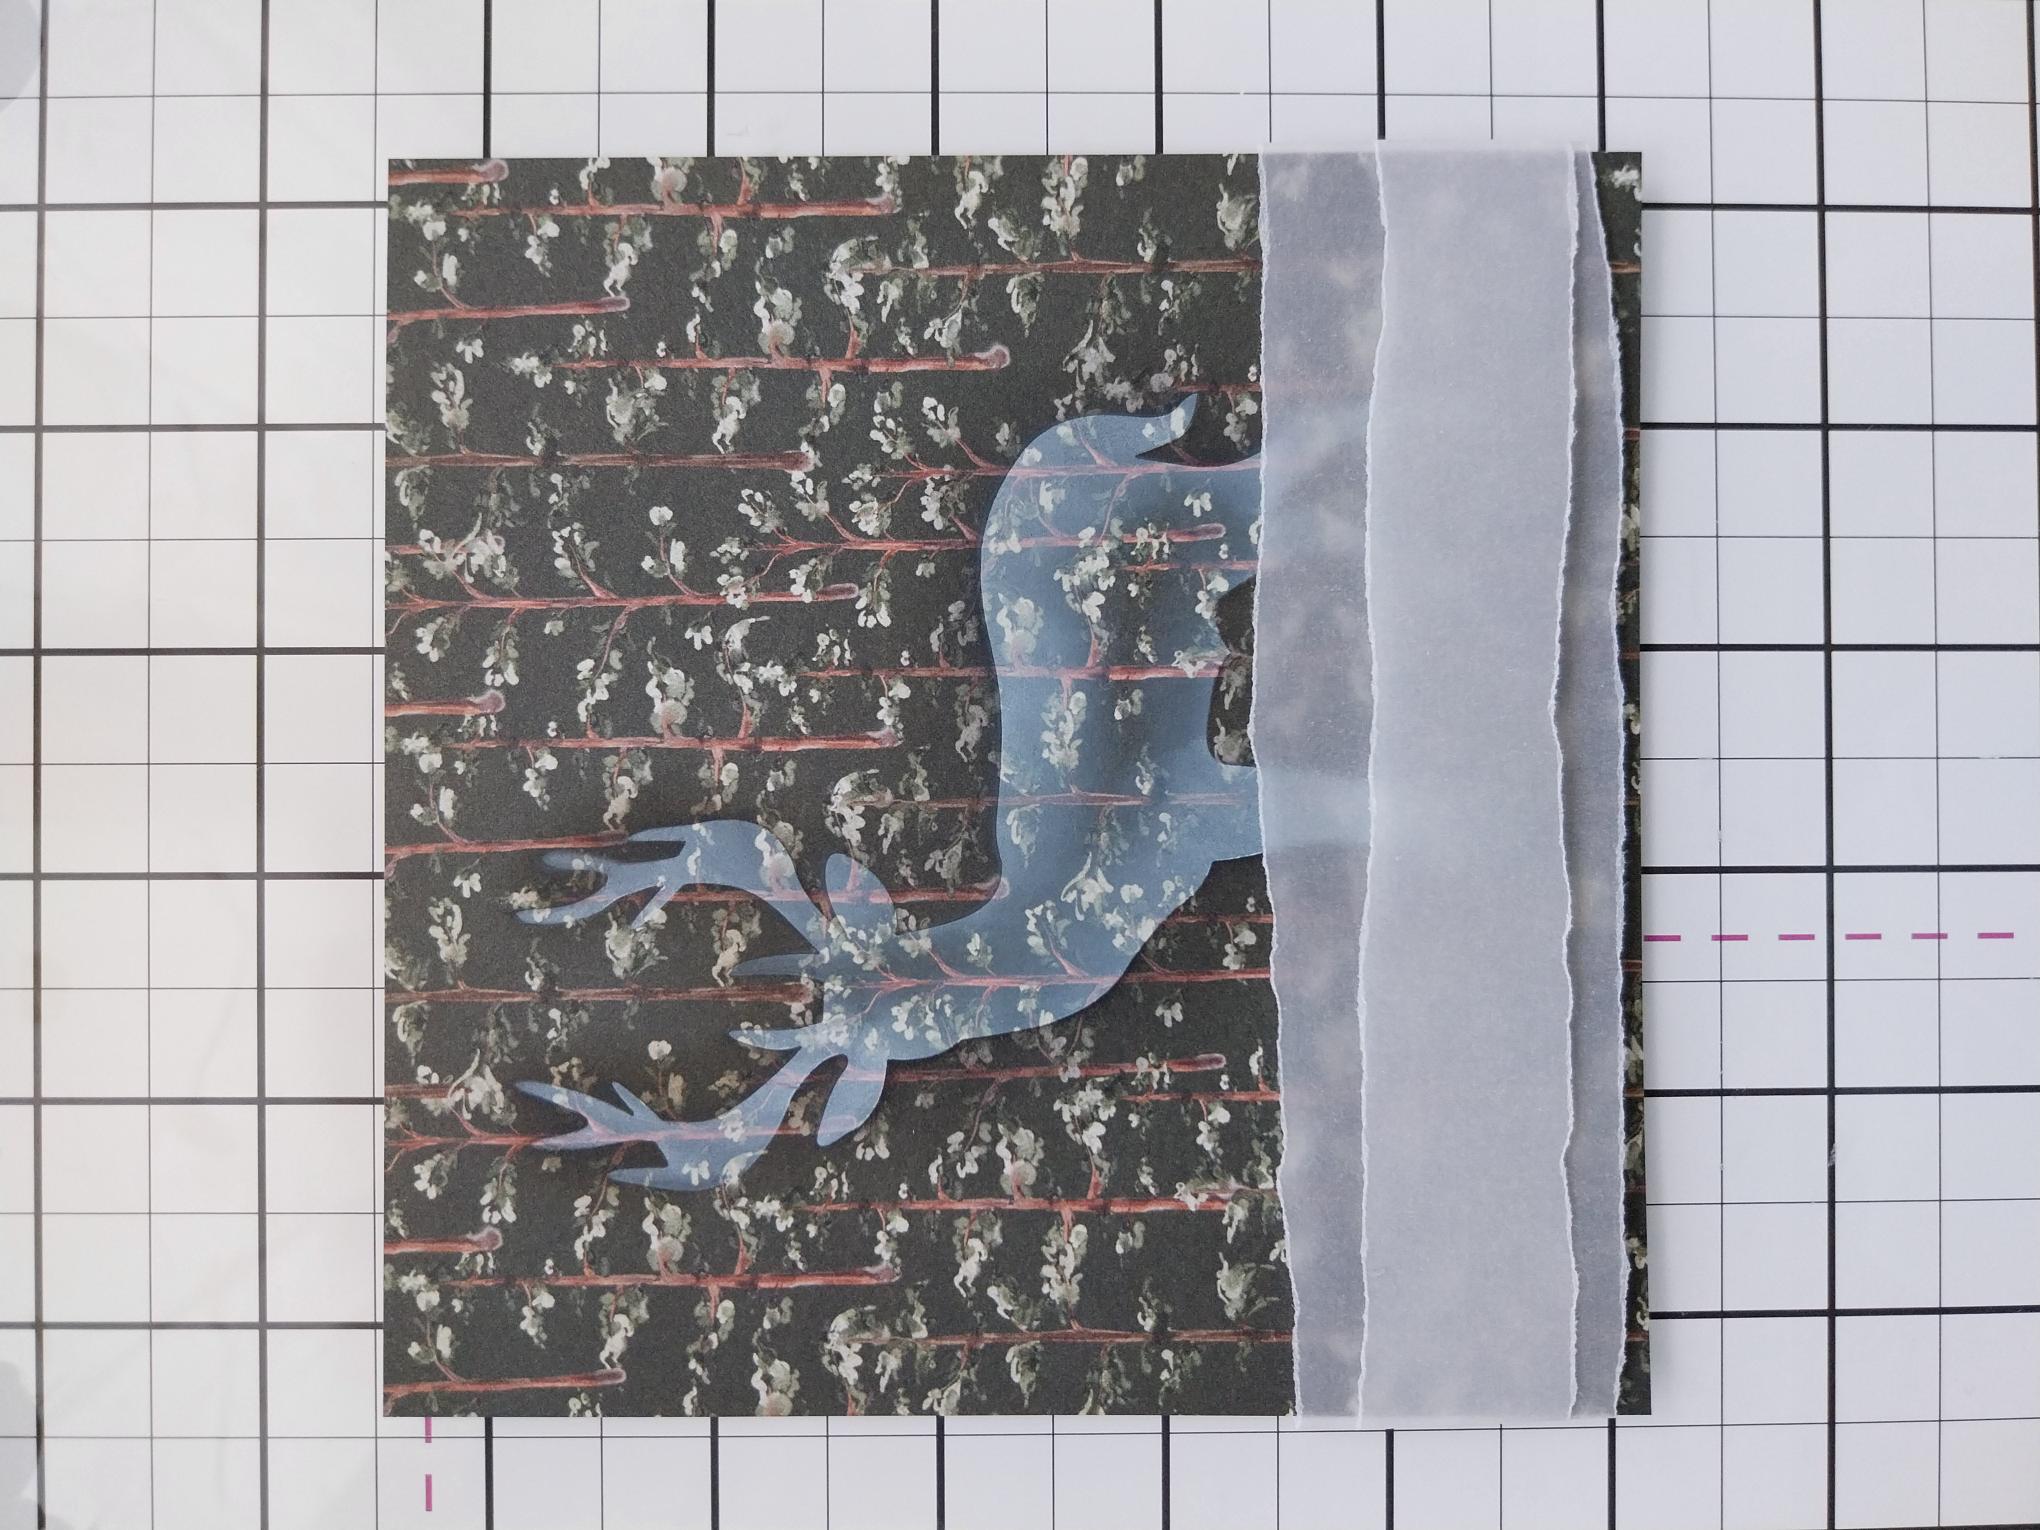
Place the narrower strip on top of the wider one and lay across the bottom of the decorative paper. Tuck the edges over the paper and secure on the reverse with double-sided tape. |
|
Adhere your artwork on to a piece of kraft card, trimmed to 5 3/4" square and then on to the front of your 7" square white card blank. |

|
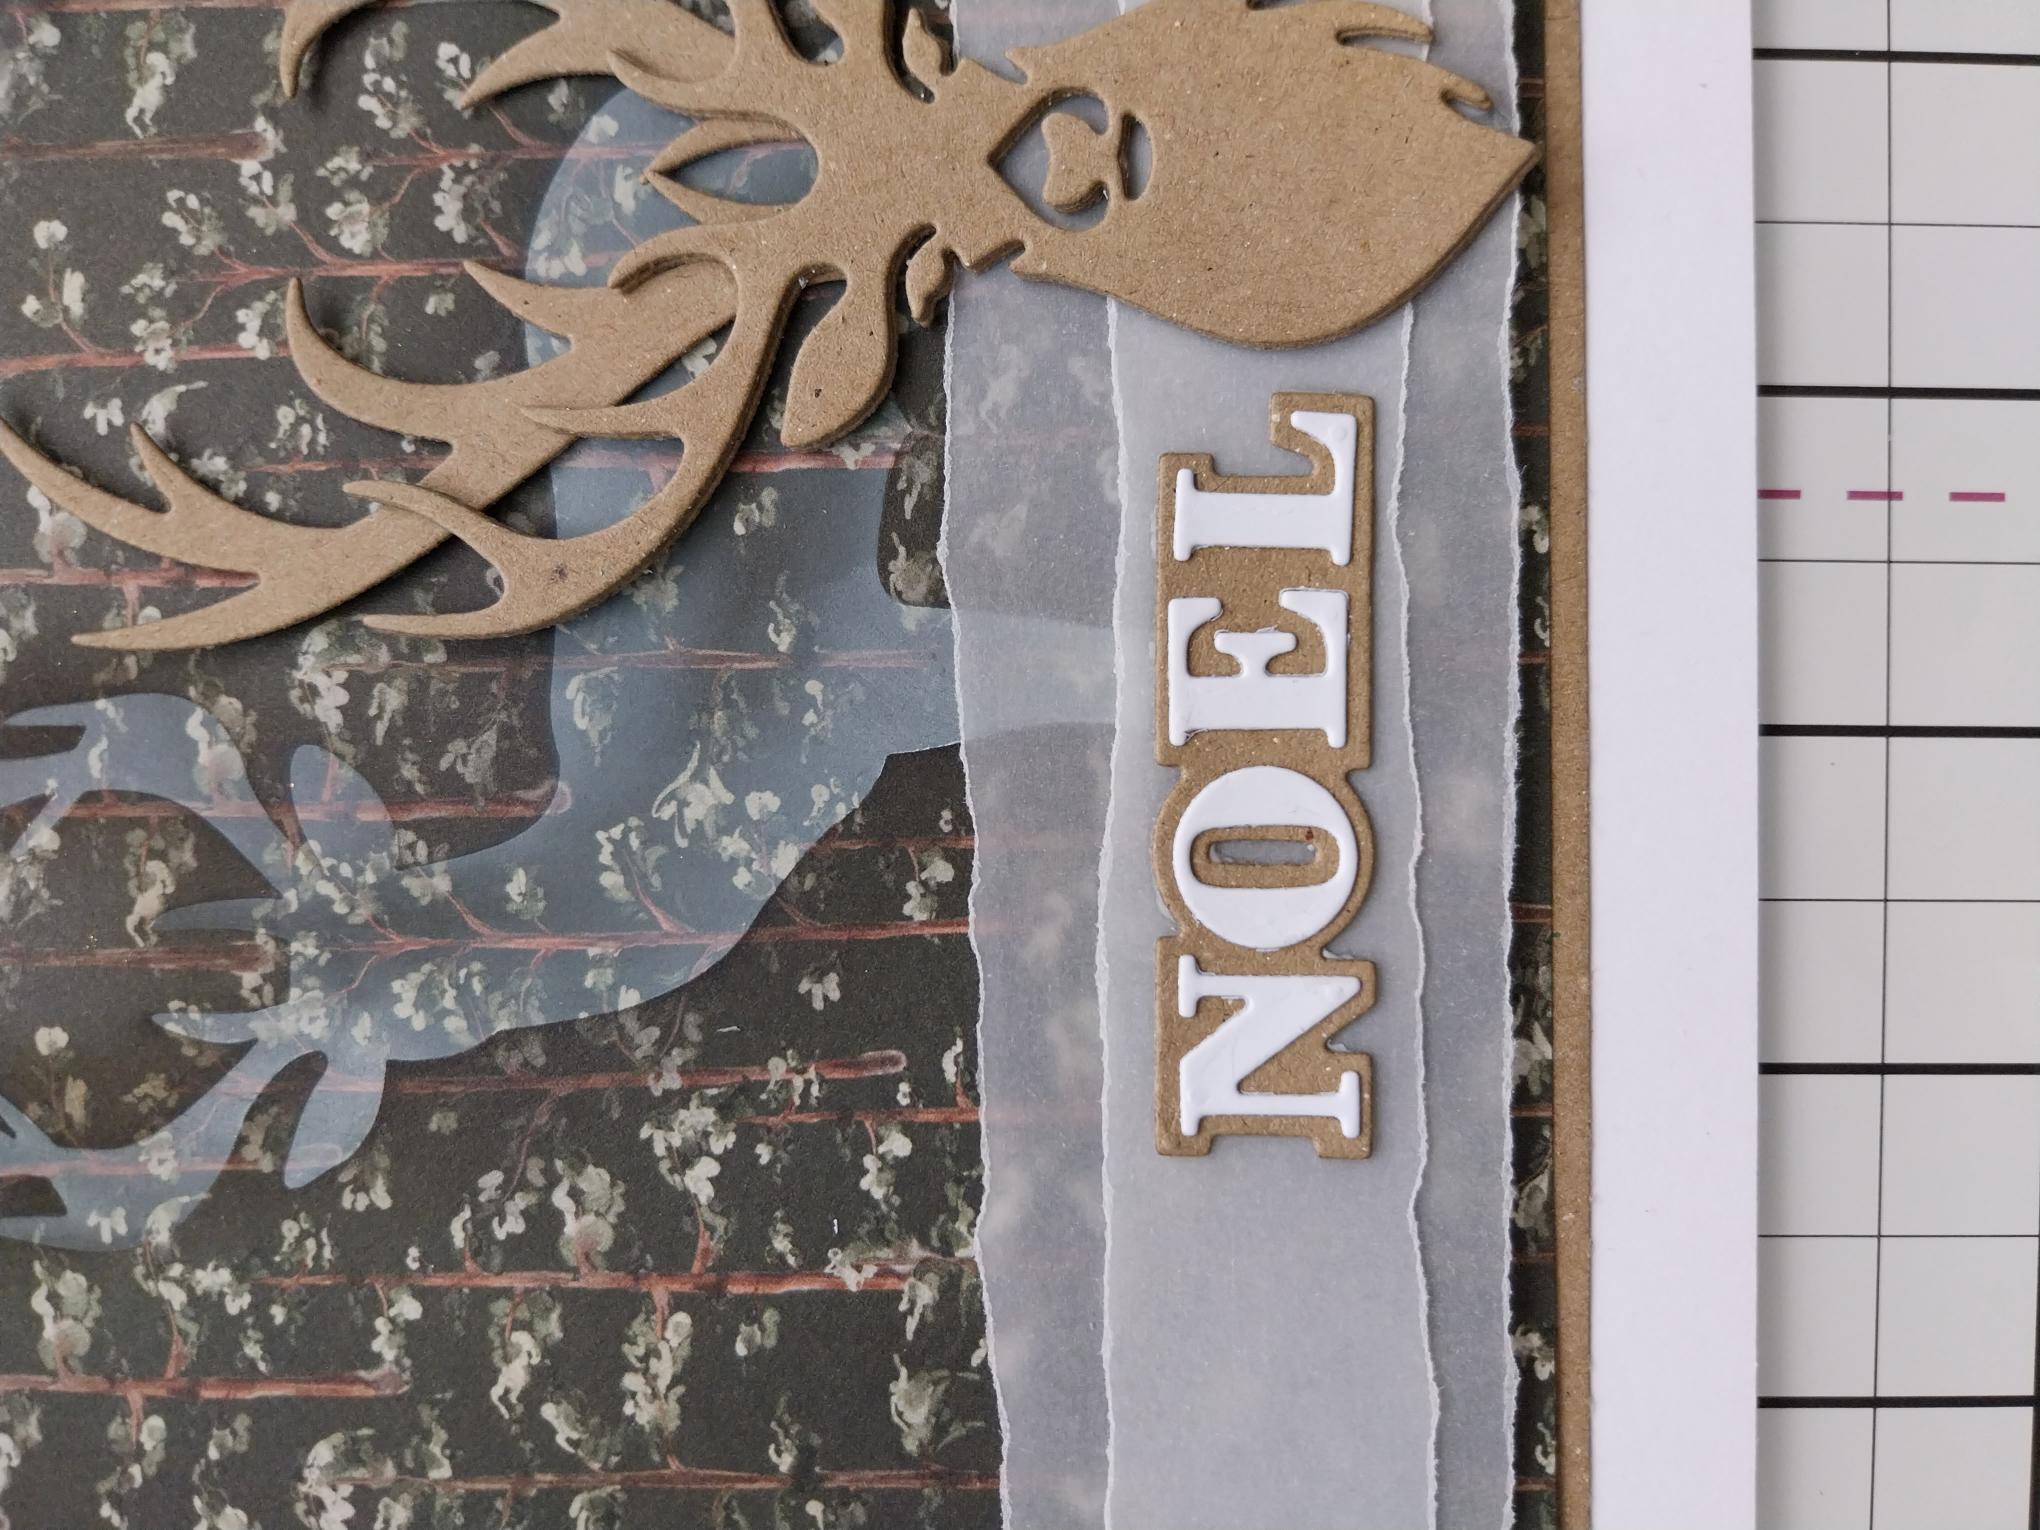
Adhere your 3D Stag over the torn vellum strips, to the right of the stencilled background and set to one side. |
|
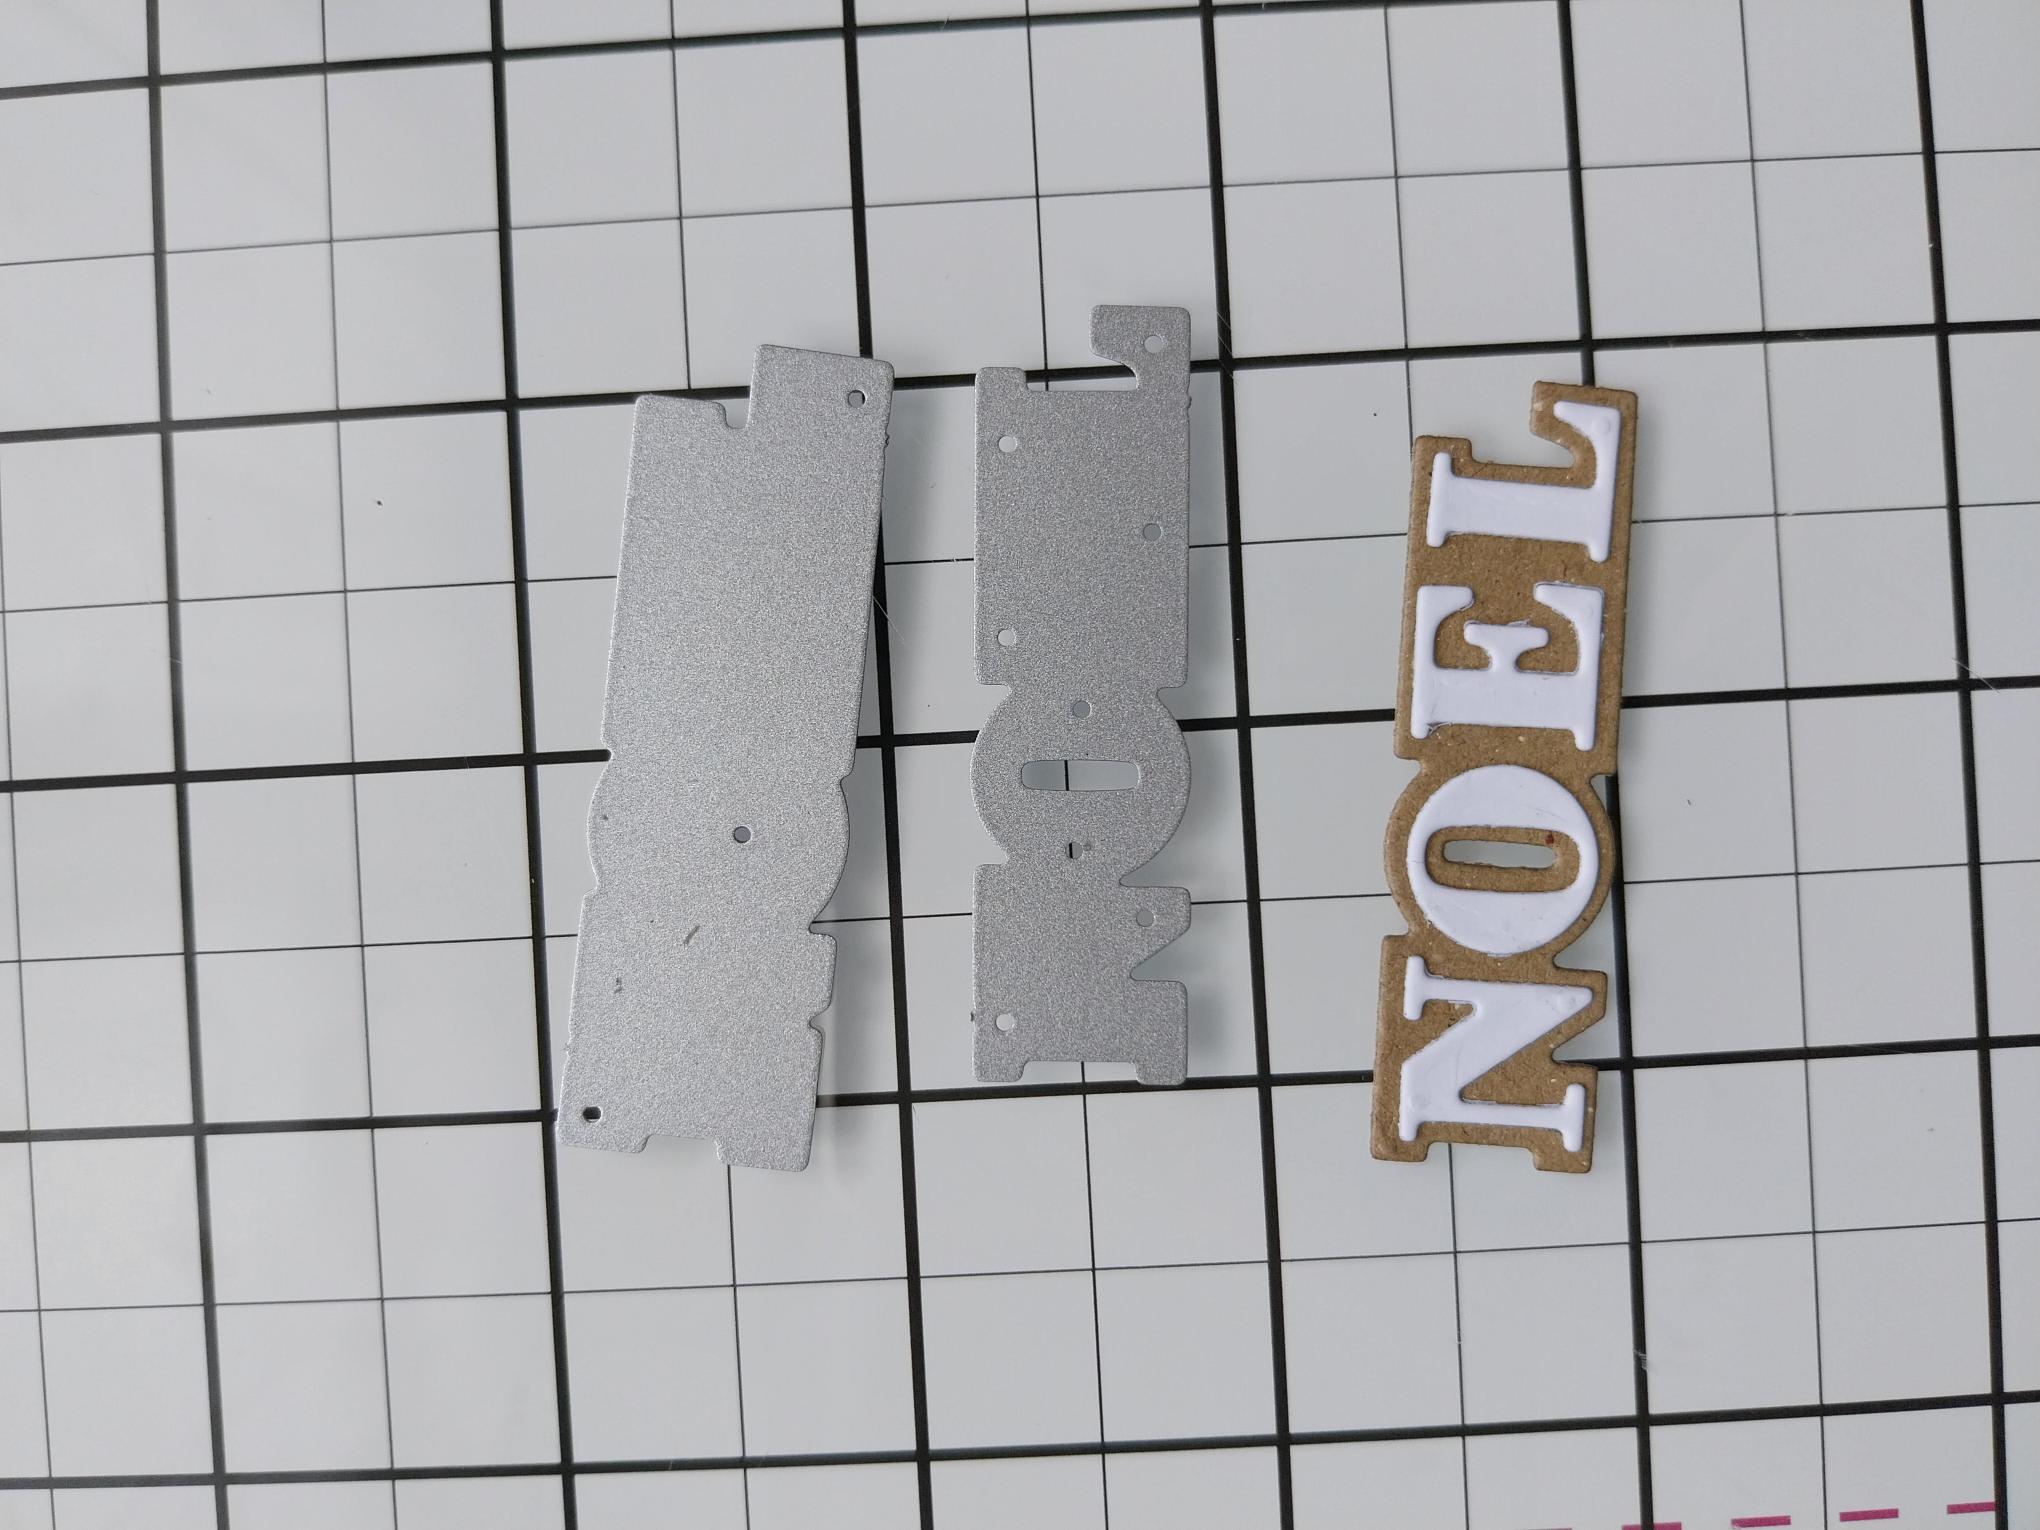
Place the detailed "NOEL" die on to a scrap of white card, the solid die on to kraft card and run them through your machine, before adhering together. |
|
Adhere your sentiment to the left of your 3D Stag. |
|
To complete your project, use the Stickles to add a touch of sparkle to your Stag's antlers. |