Give your friends $10 off their first order!
Refer a FRIEND


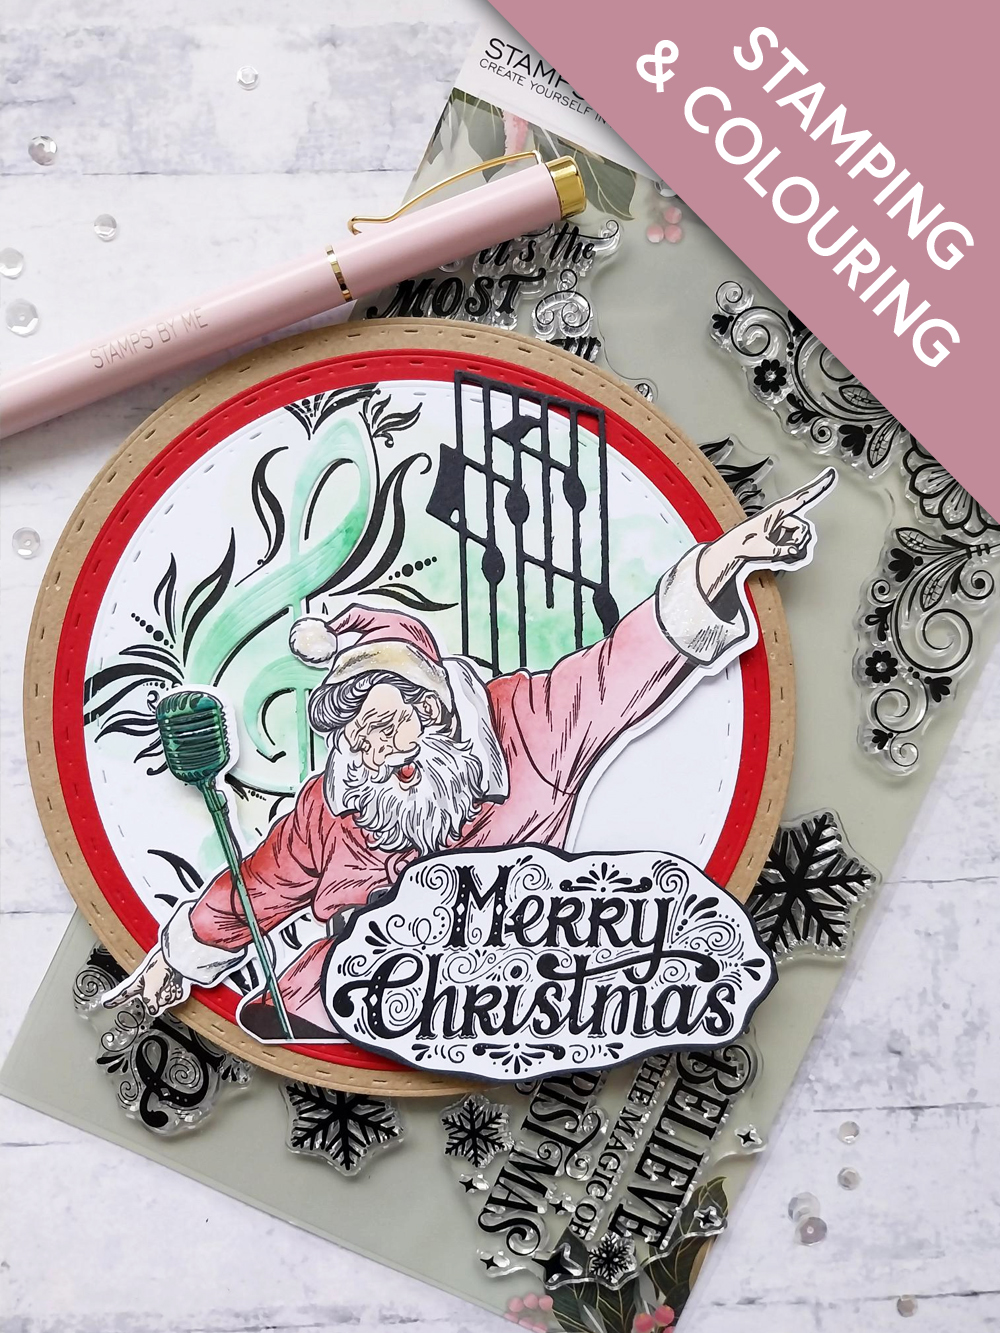
WHAT YOU WILL NEED:
Cardstock: kraft, red, white, black
Let's Be Jolly A5 Stamp and Die set
Quattro D Rockin' Around
Deboss Circle Nesting Dies
SBM Hybrid Ink Pad: Midnight
SBM Premium Dye Ink Pad: Redwood, Hedgerow, Limeade
Distress Ink Pad: Lost Shadow, Black Soot, Walnut Stain, Tattered Rose
Blending tool
Water spray bottle
Heat tool
Midas Media Glitter: American Smooth
Scoreboard and bone folder
Eureka 101 Watercolour Tablet
SBM Magnetic glass mat
Paper Trimmer
Perfect Together Glue
Foam pad
Red liner tape
Die Cutting machine
[click image to enlarge] 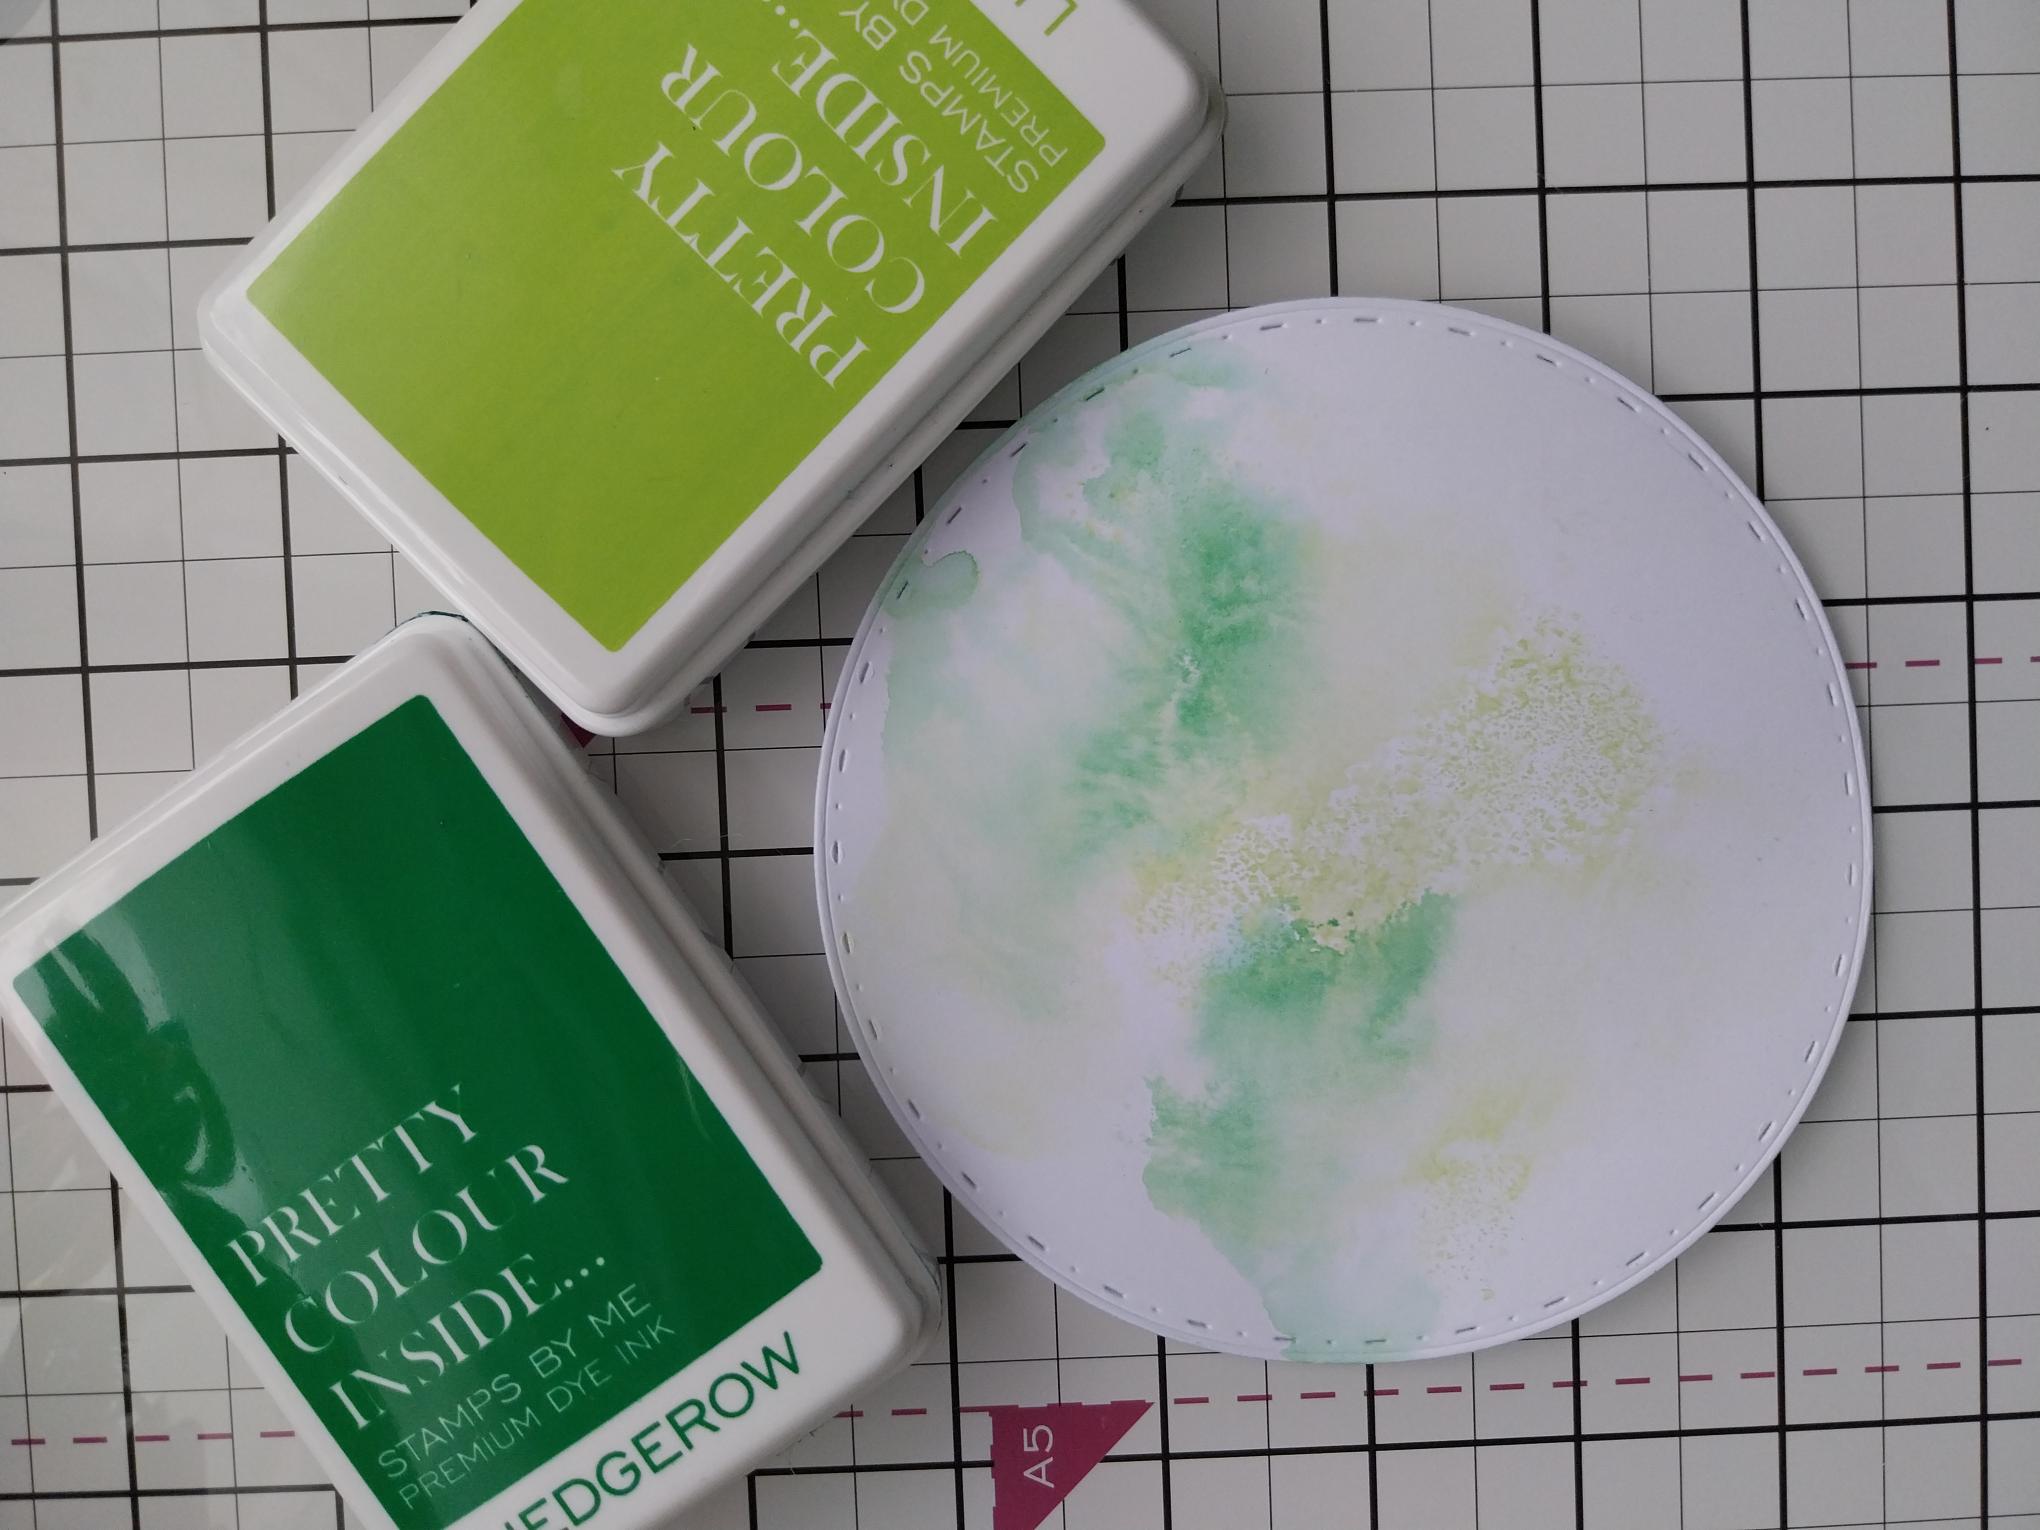
|
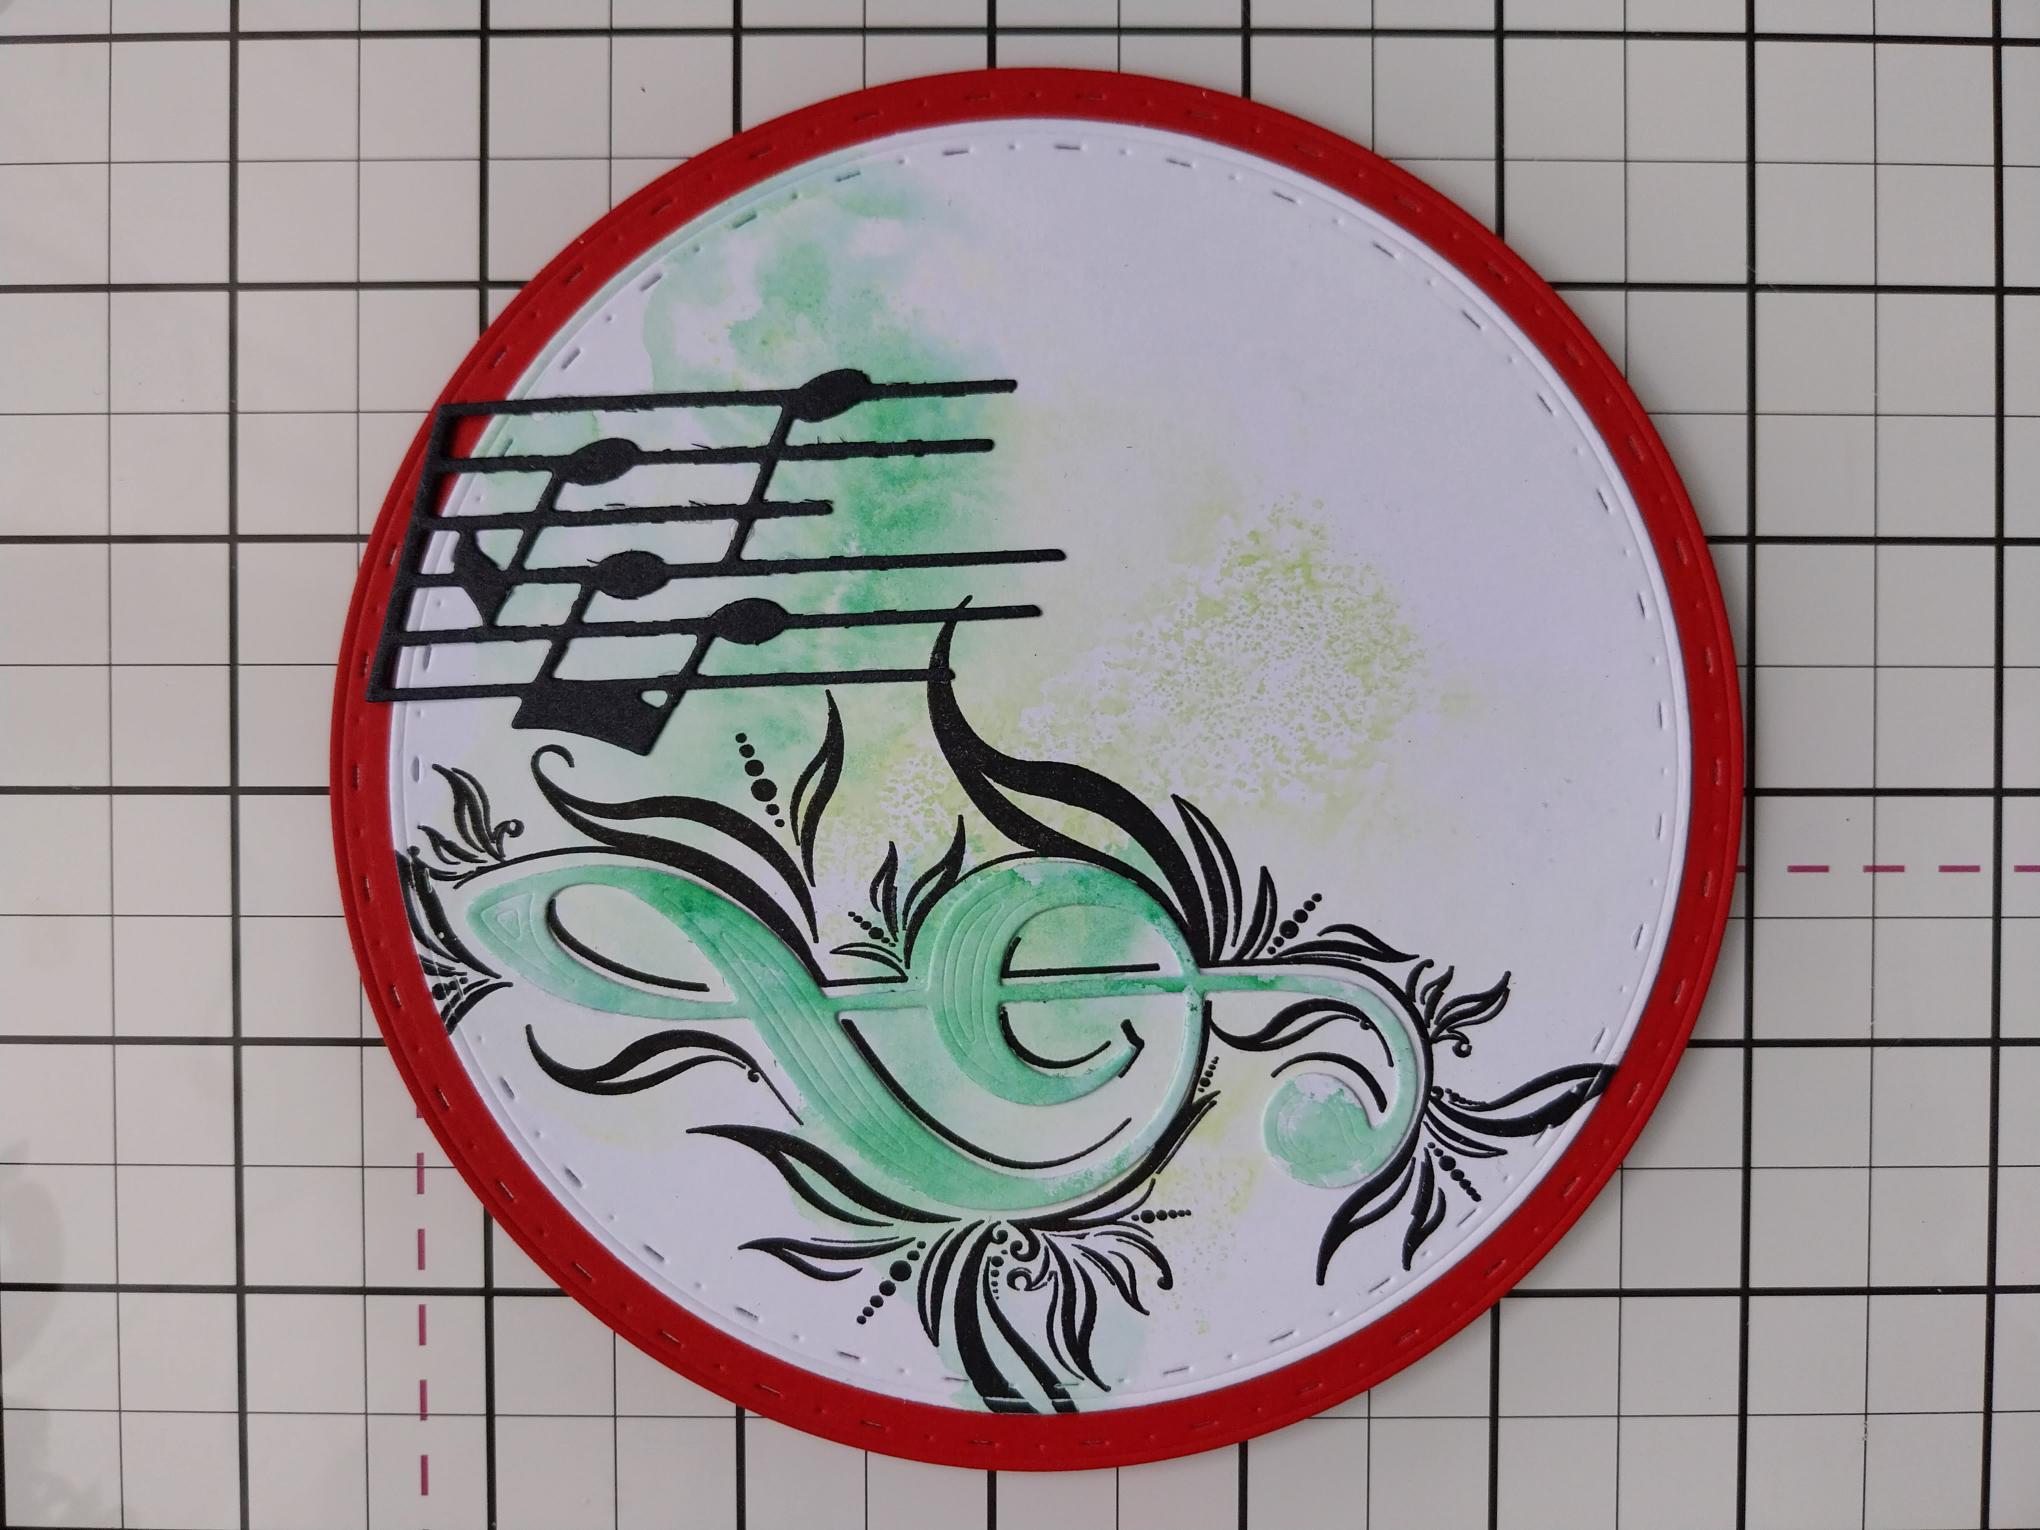
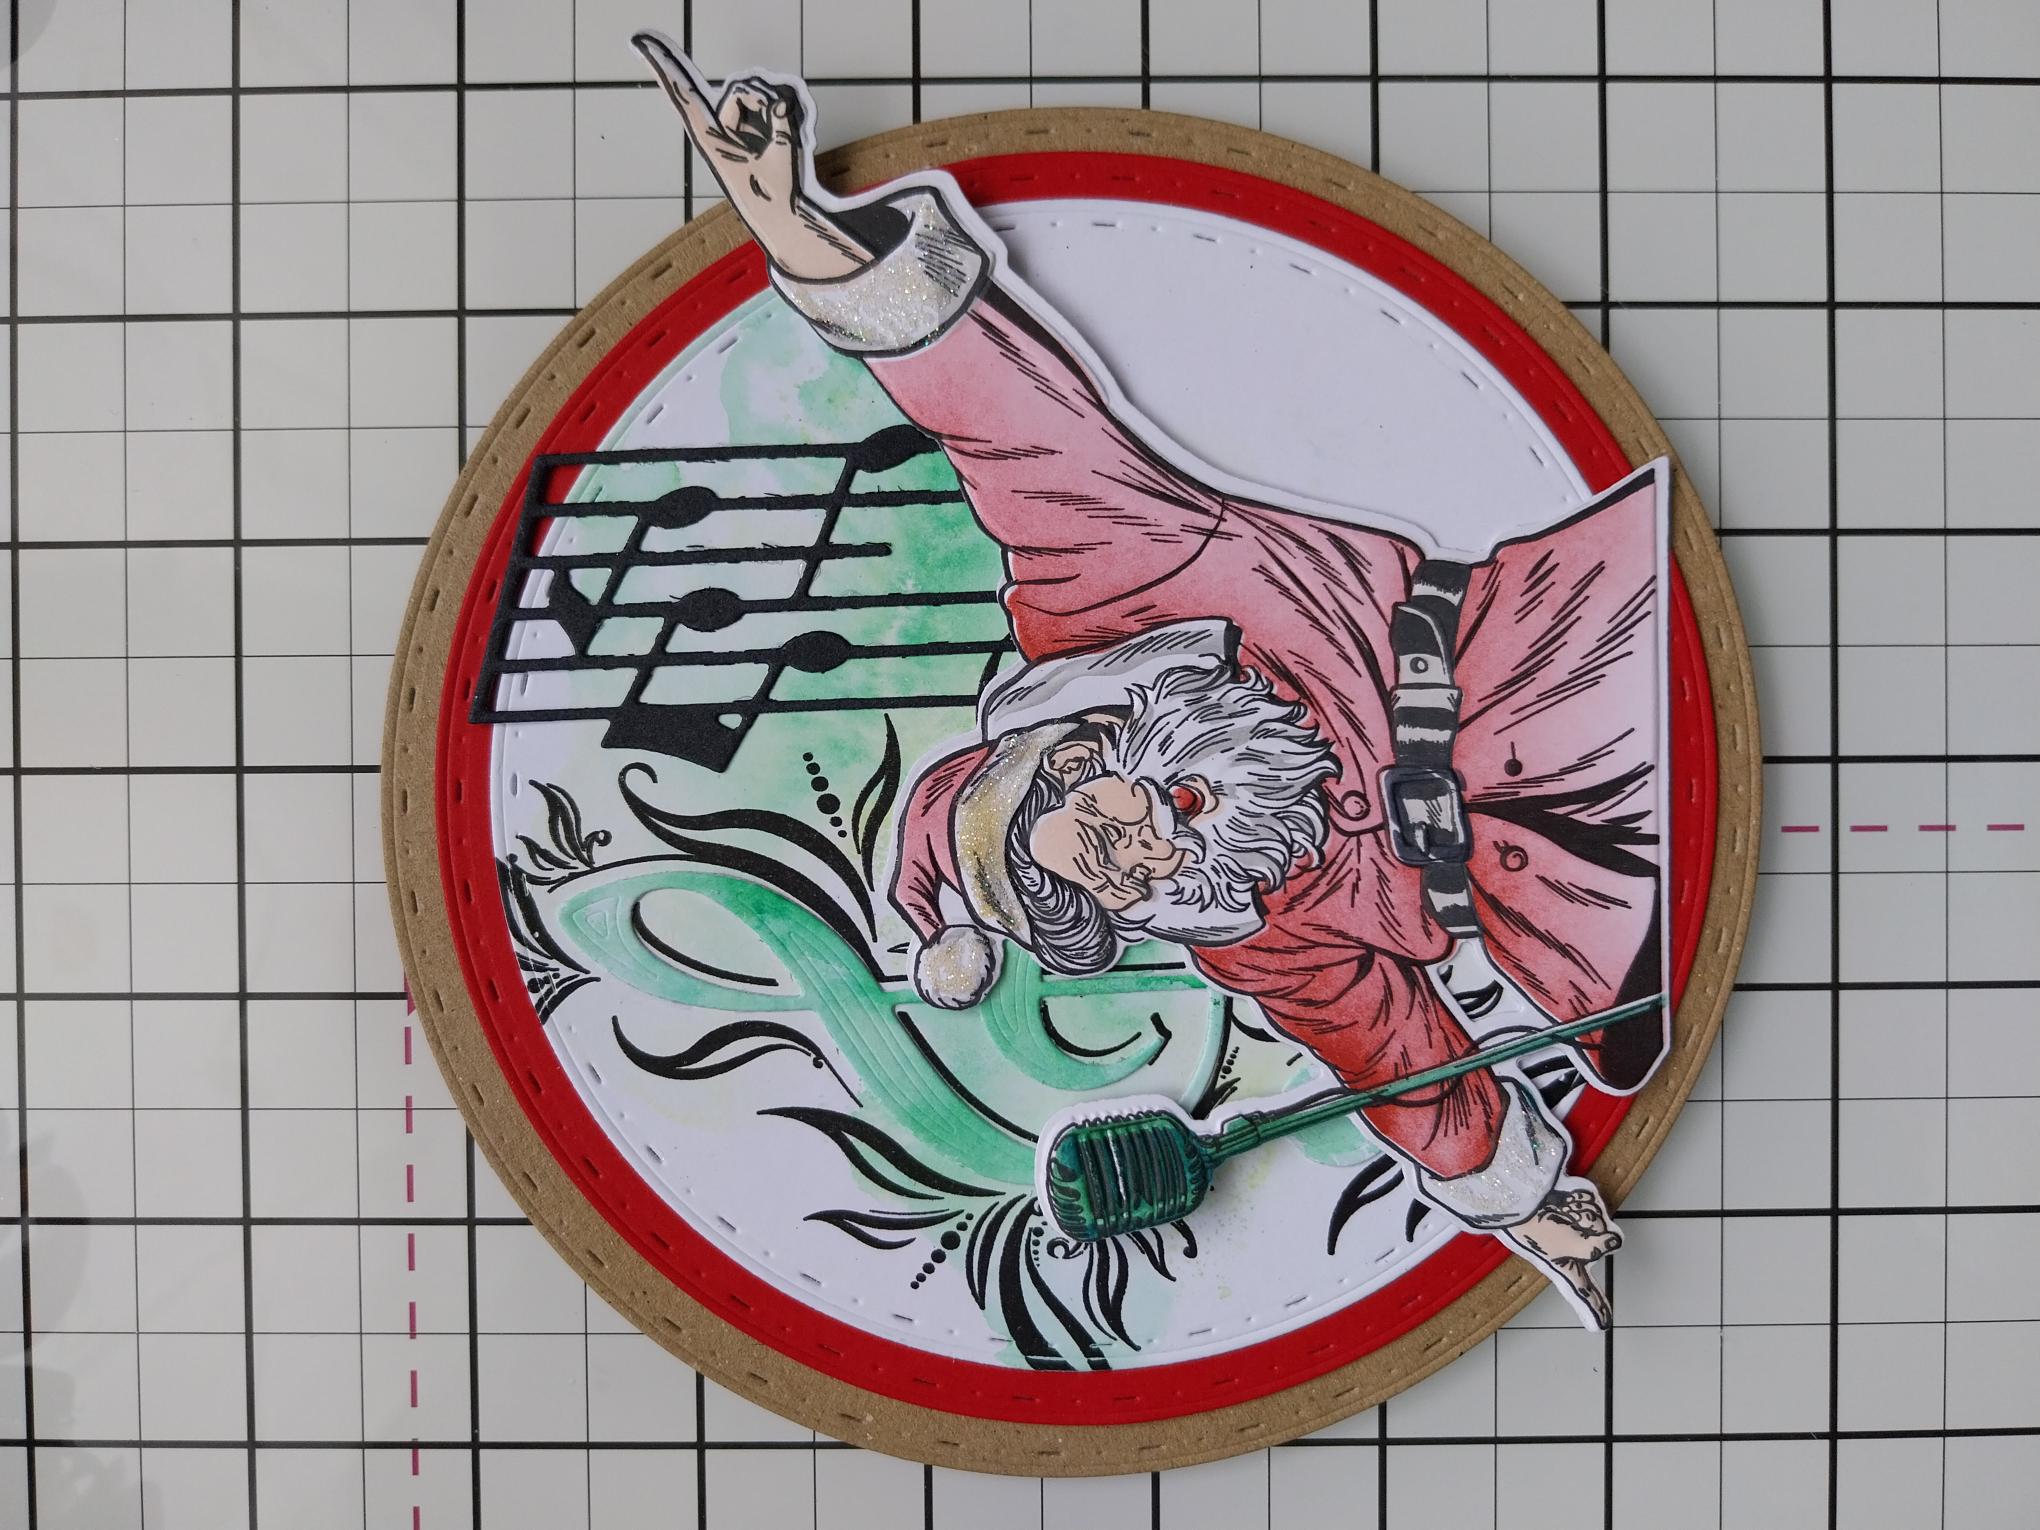
Use a nesting die to cut a 5" diameter circle from white card, Swipe the Hedgerow and Limeade ink on to your glass mat, spritz with water and pick up the ink on to the card. Blast dry with your heat tool. |
|
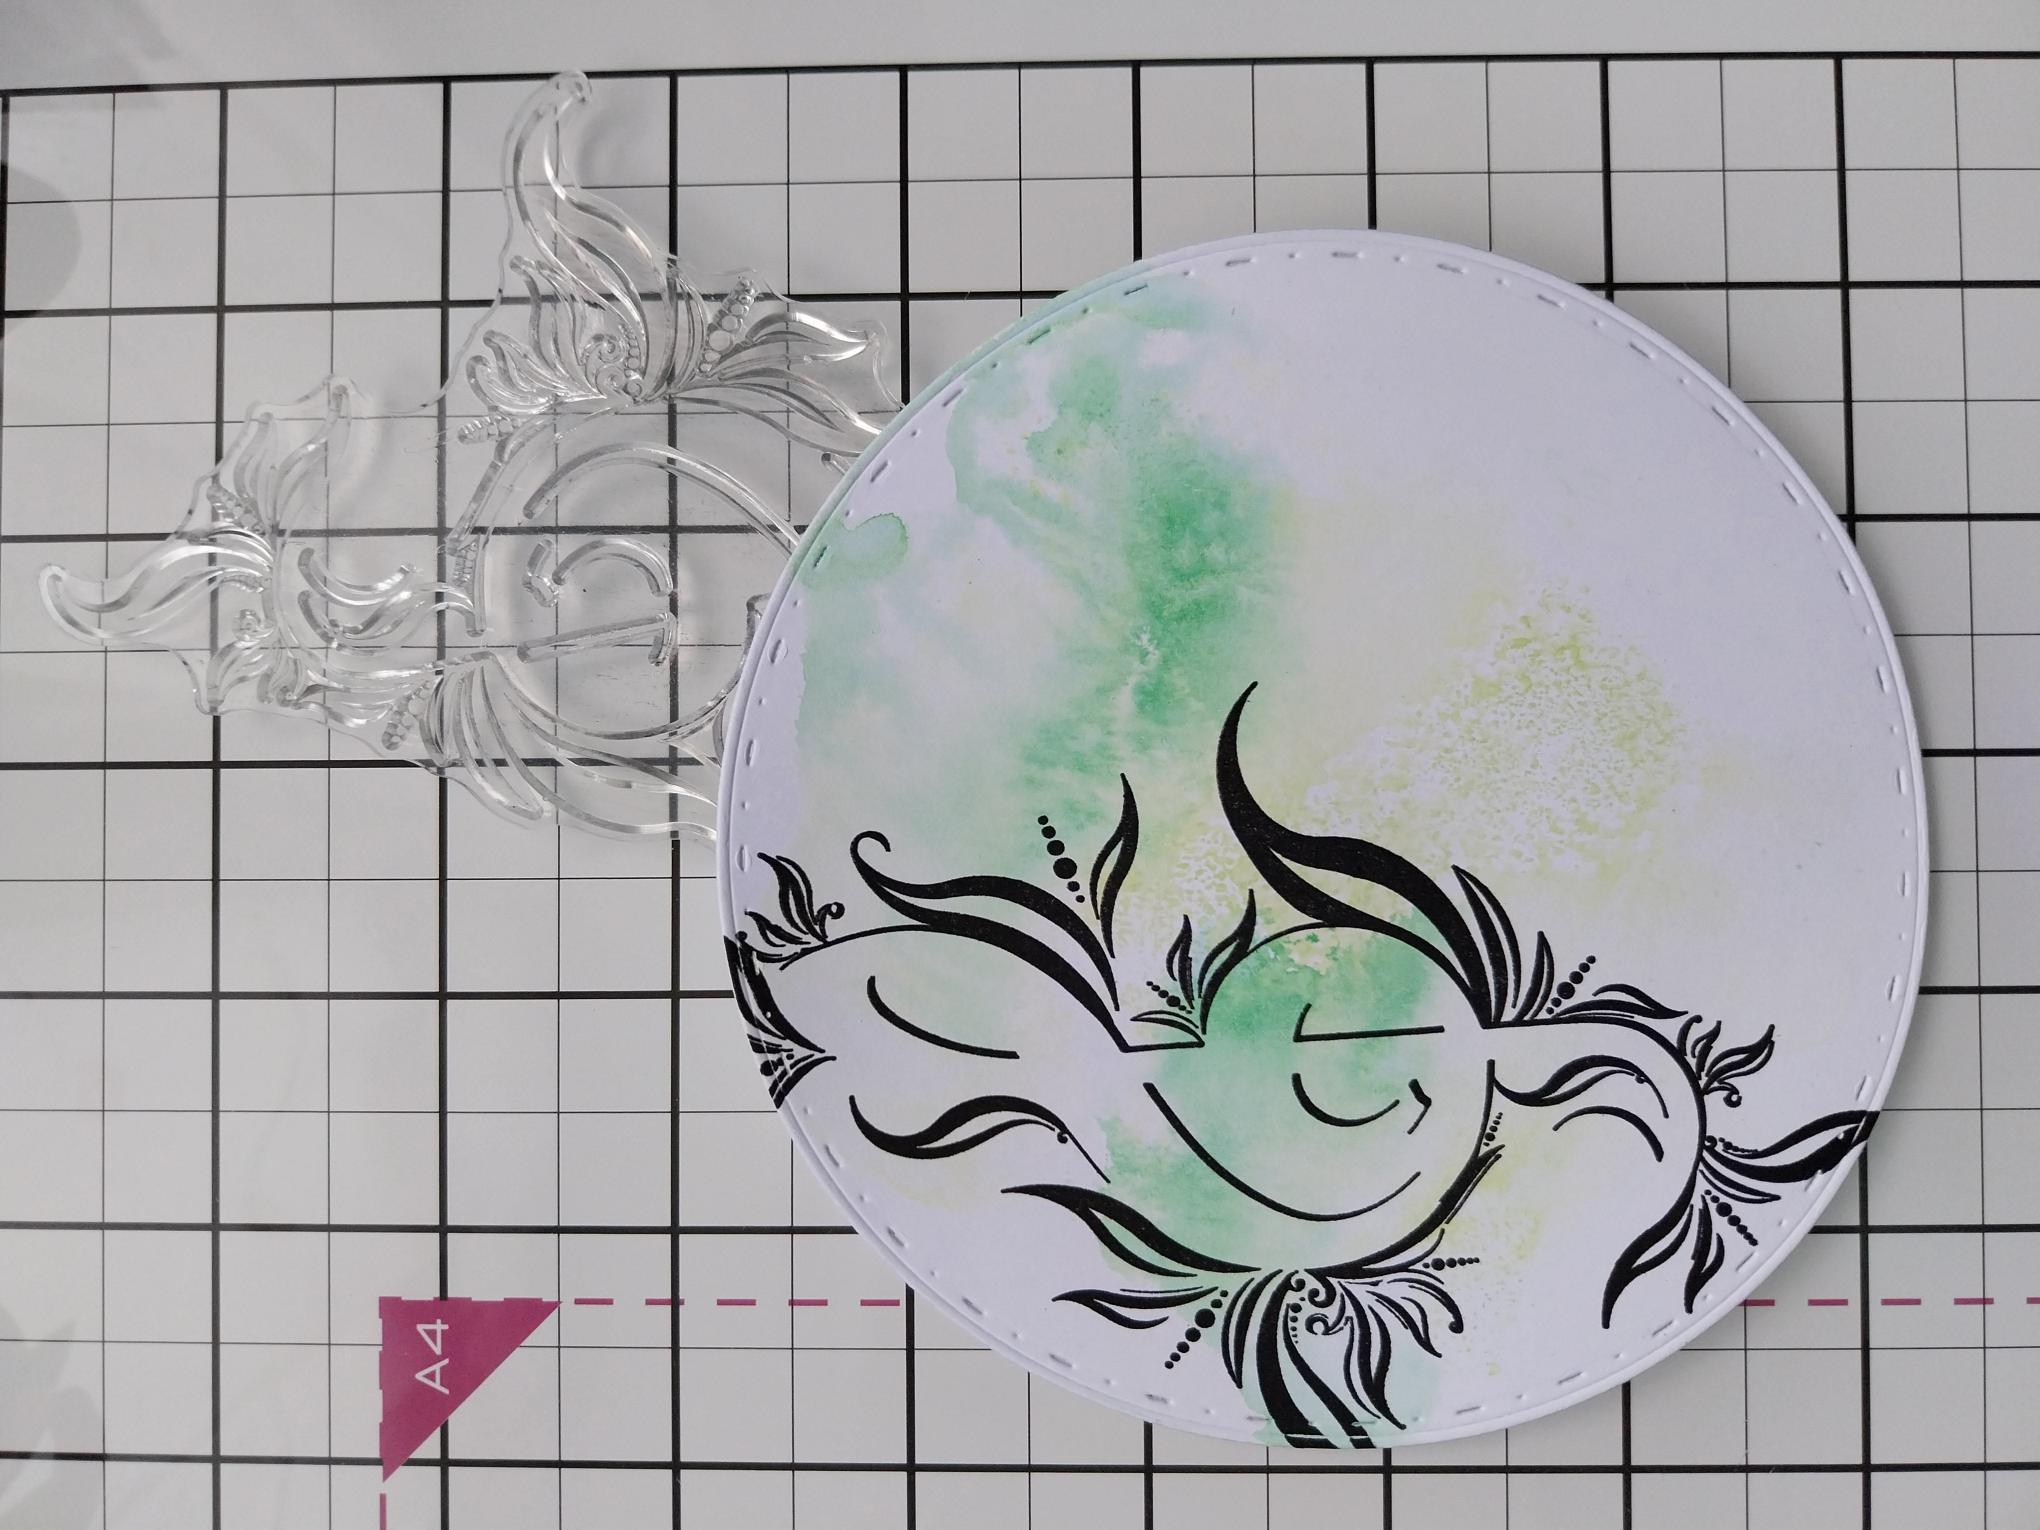
Stamp the treble clef, in Midnight, to the left of your inked background. |
|
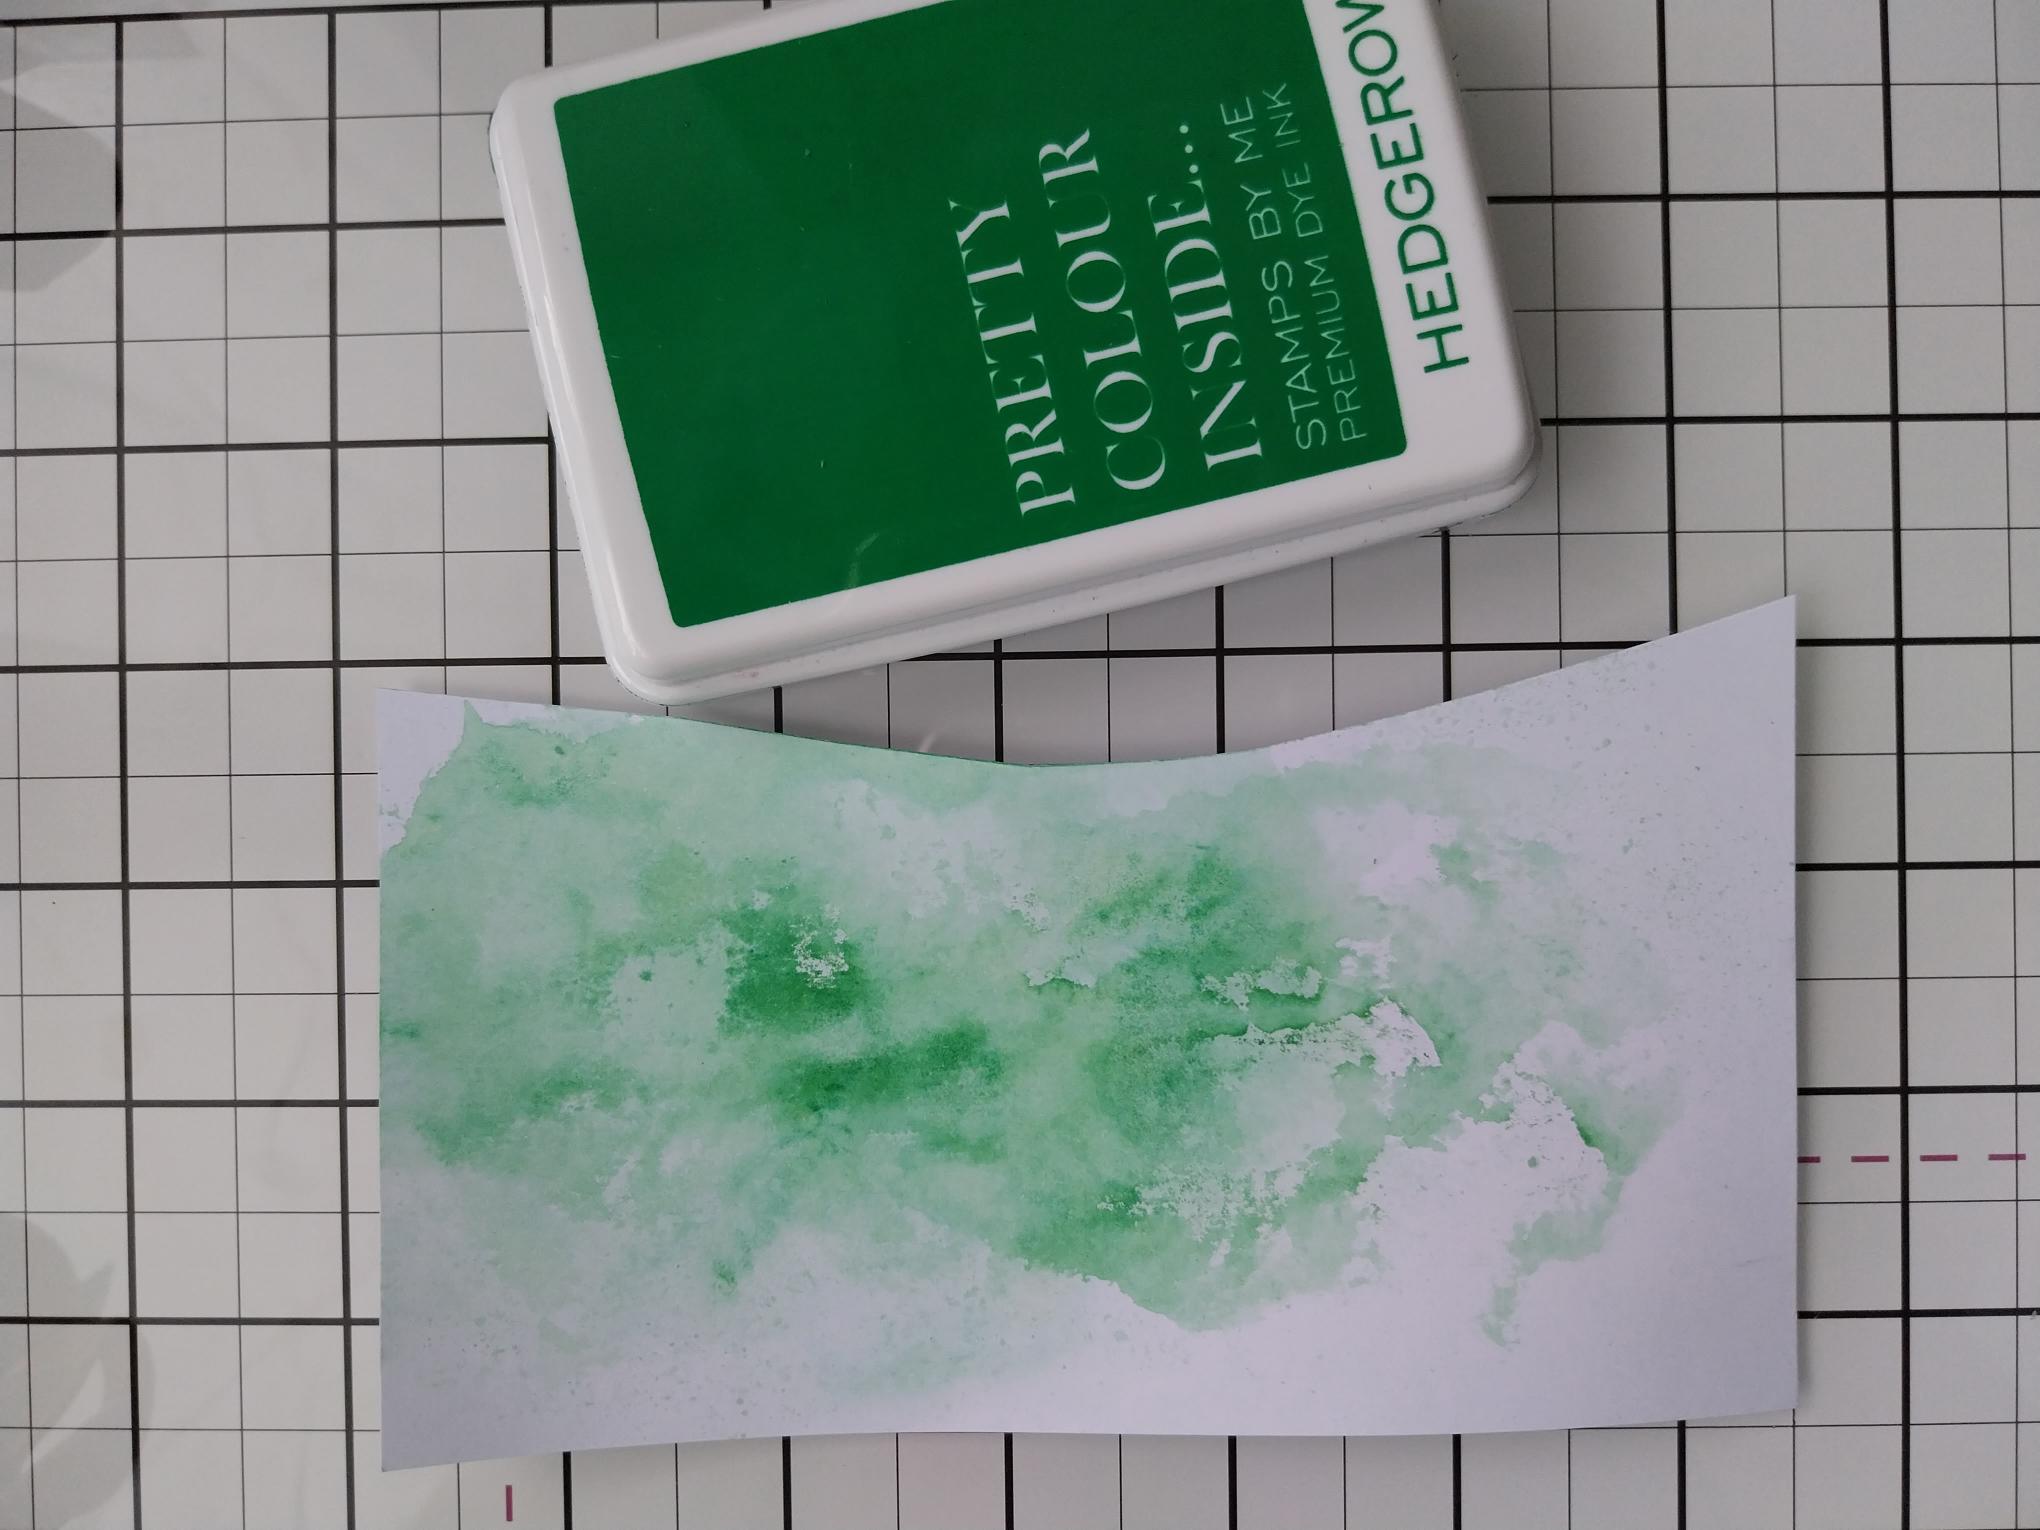
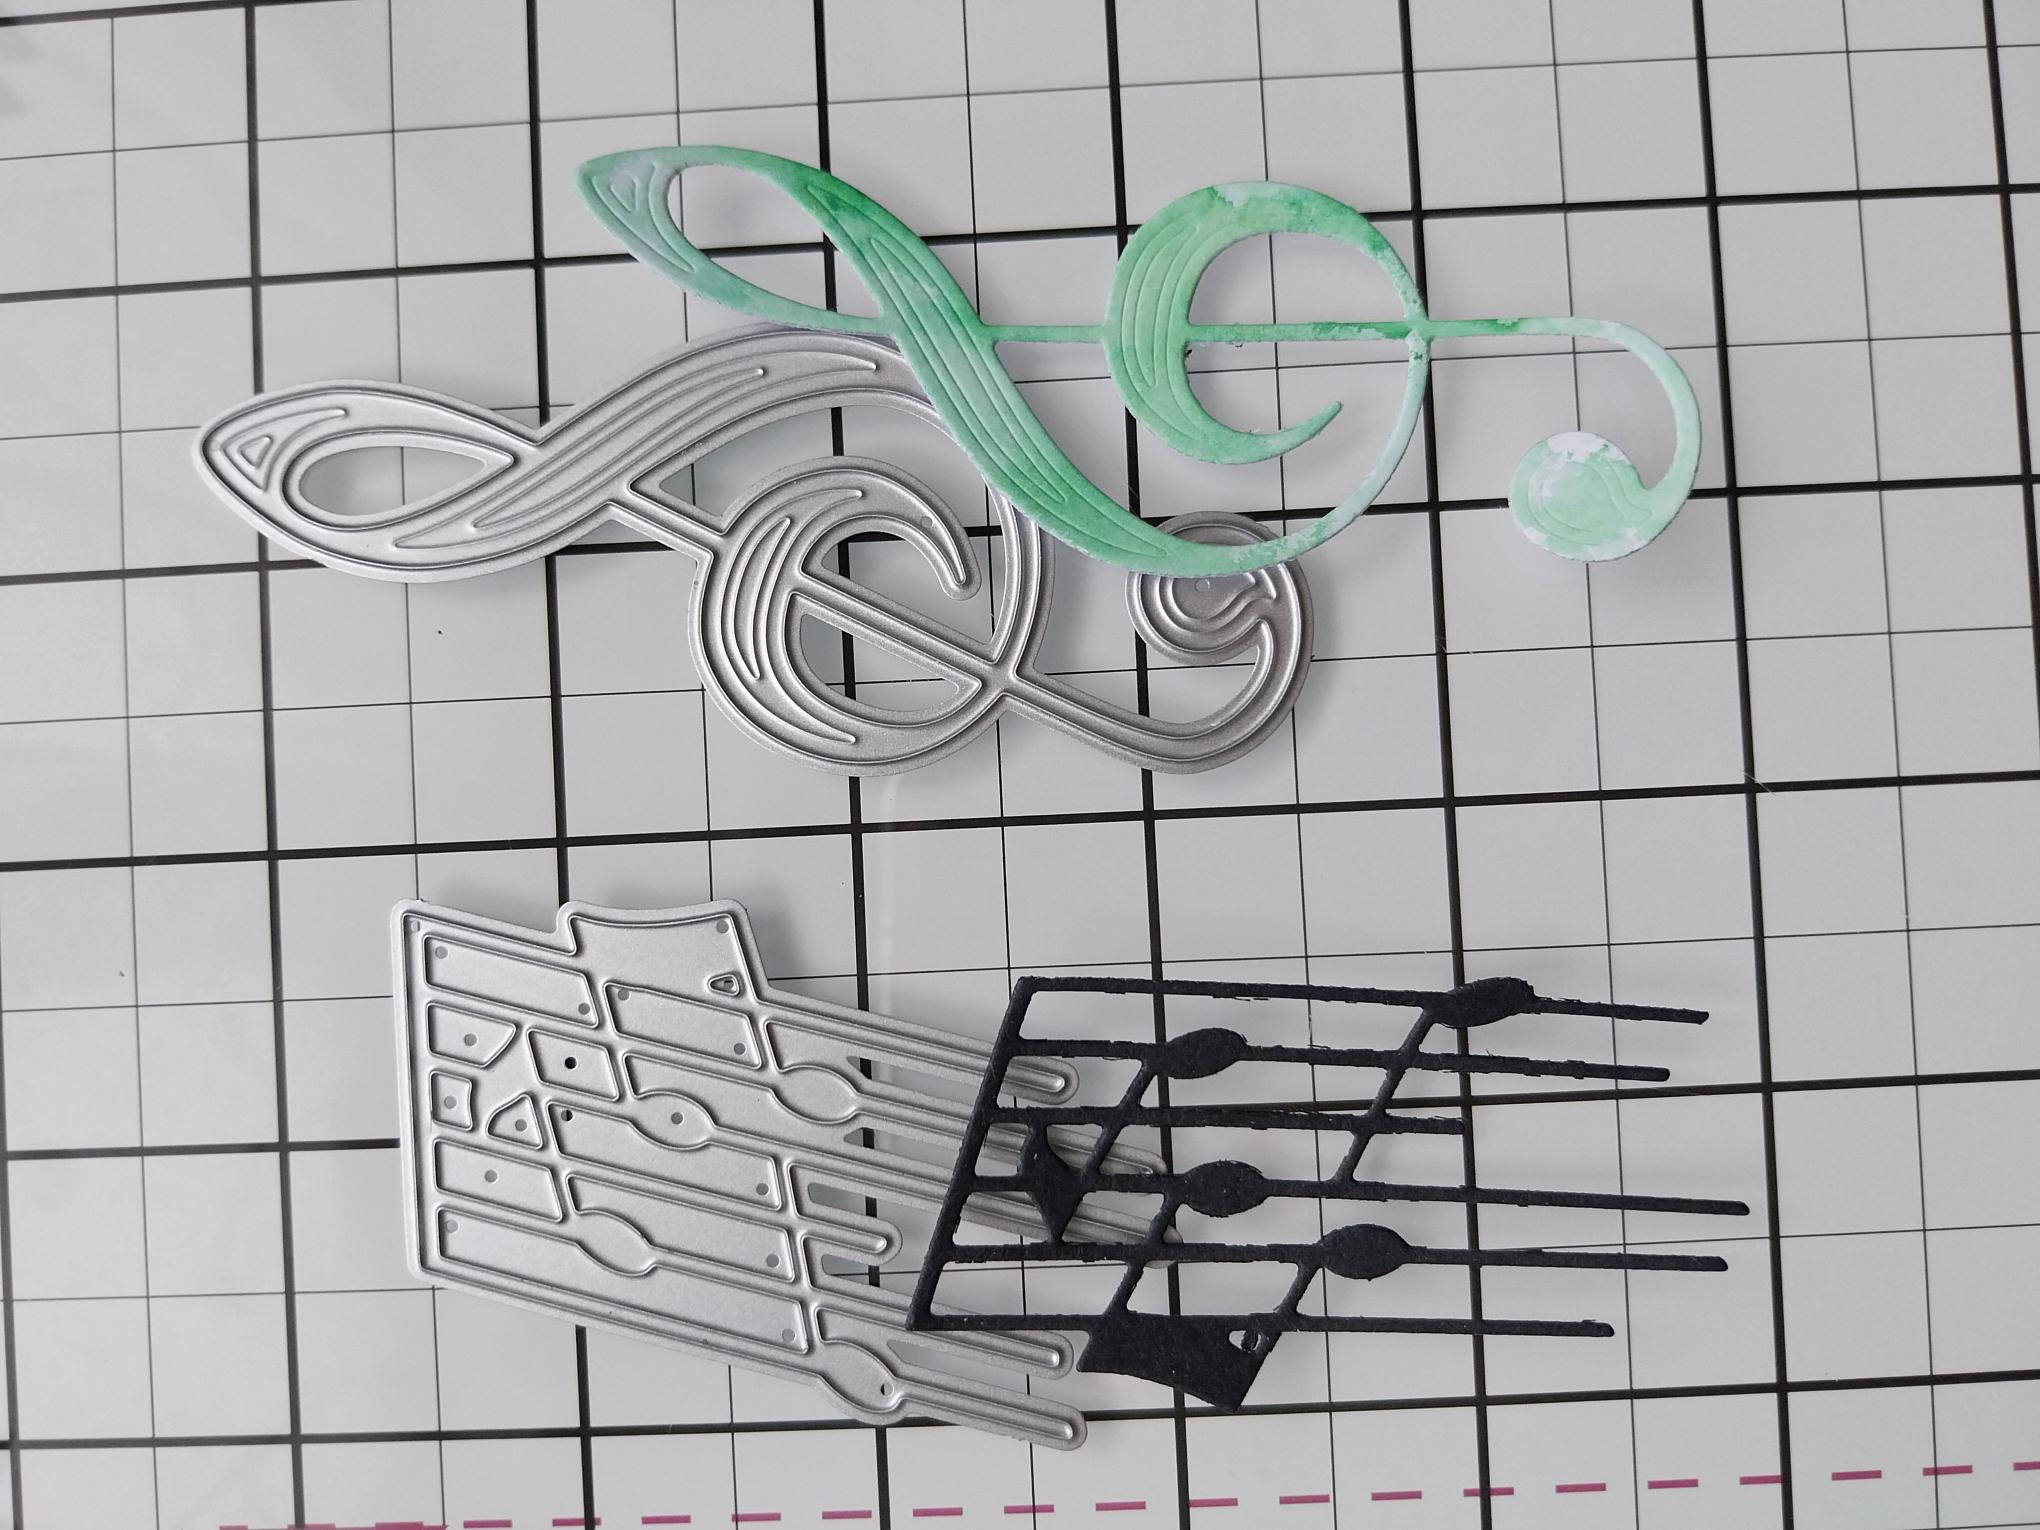
Using the treble clef die as a size guide, cut a piece of white card slightly bigger and create a smooshed effect, as before, with the Hedgerow ink. Blast dry with your heat tool. |
|
Die cut the treble clef from the inked card and at the same time, die cut the music note from a piece of black card. |

|
Line up and adhere the treble clef die cut inside your stamped image. |

|
Adhere the die cut note as required, to create a background for your Santa to be added to. |
|
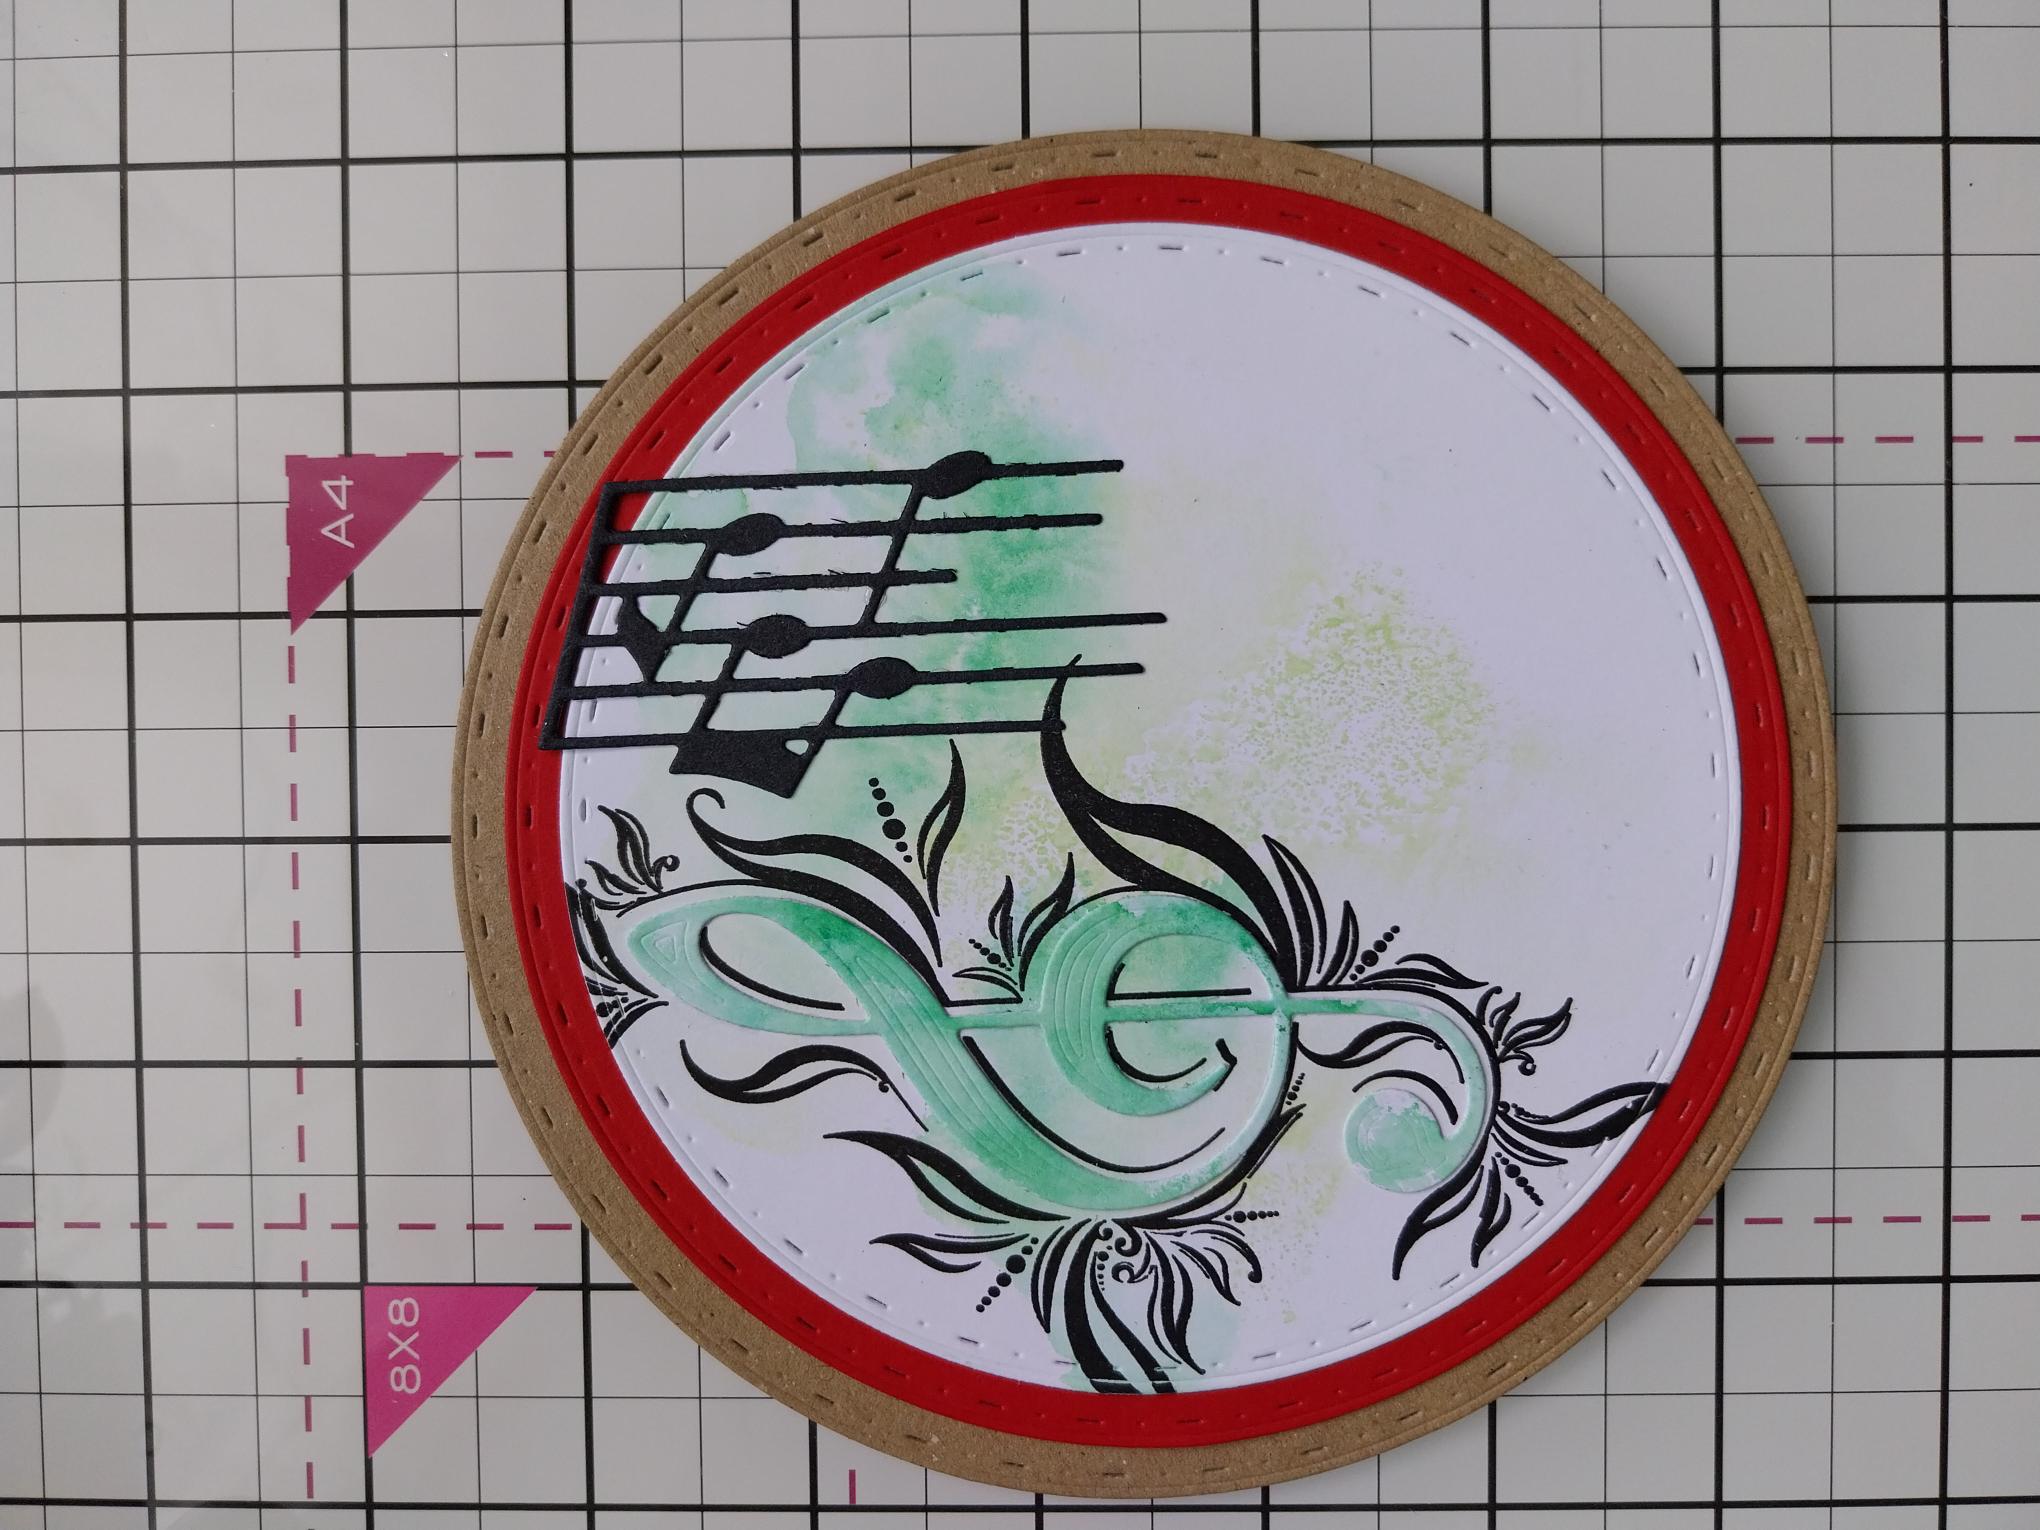
Die cut a 5 1/2" diameter circle, from red card and mat your artwork on top. |
|
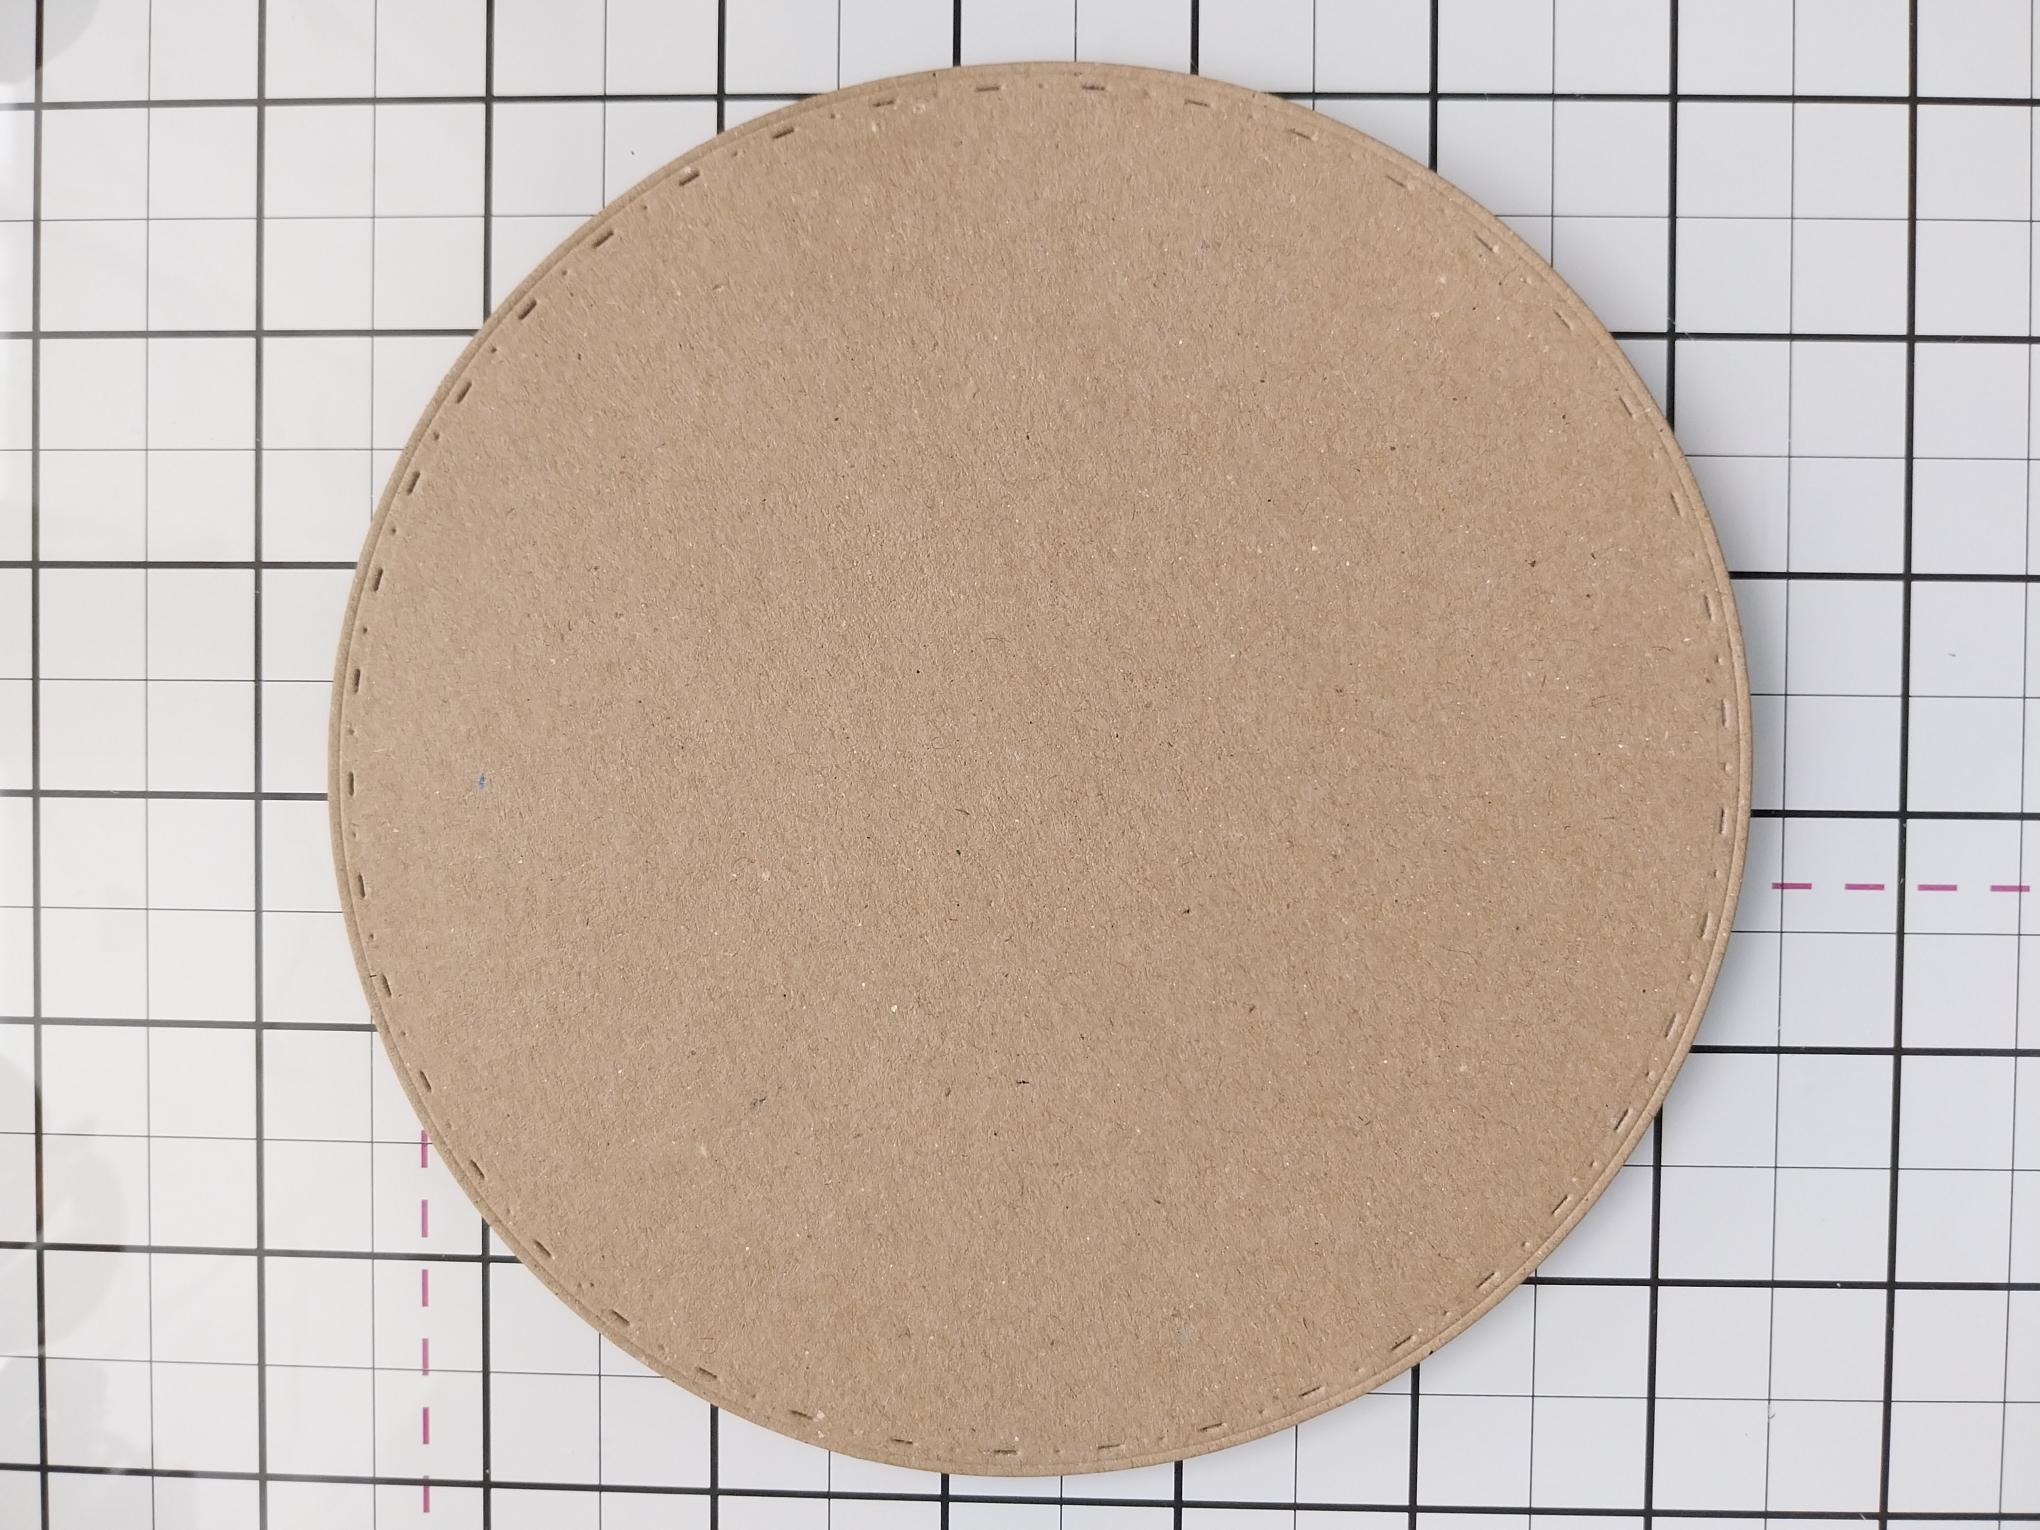
Die cut TWO 6" circles from kraft card. Score across one of the pieces of card, about 2cm down and add red liner tape above the score line. Adhere the second kraft card circle on top and trim a sliver off the back page, allowing your card blank to stand upright. |
|
Adhere your artwork to the front of your card blank and pop to one side. |
|
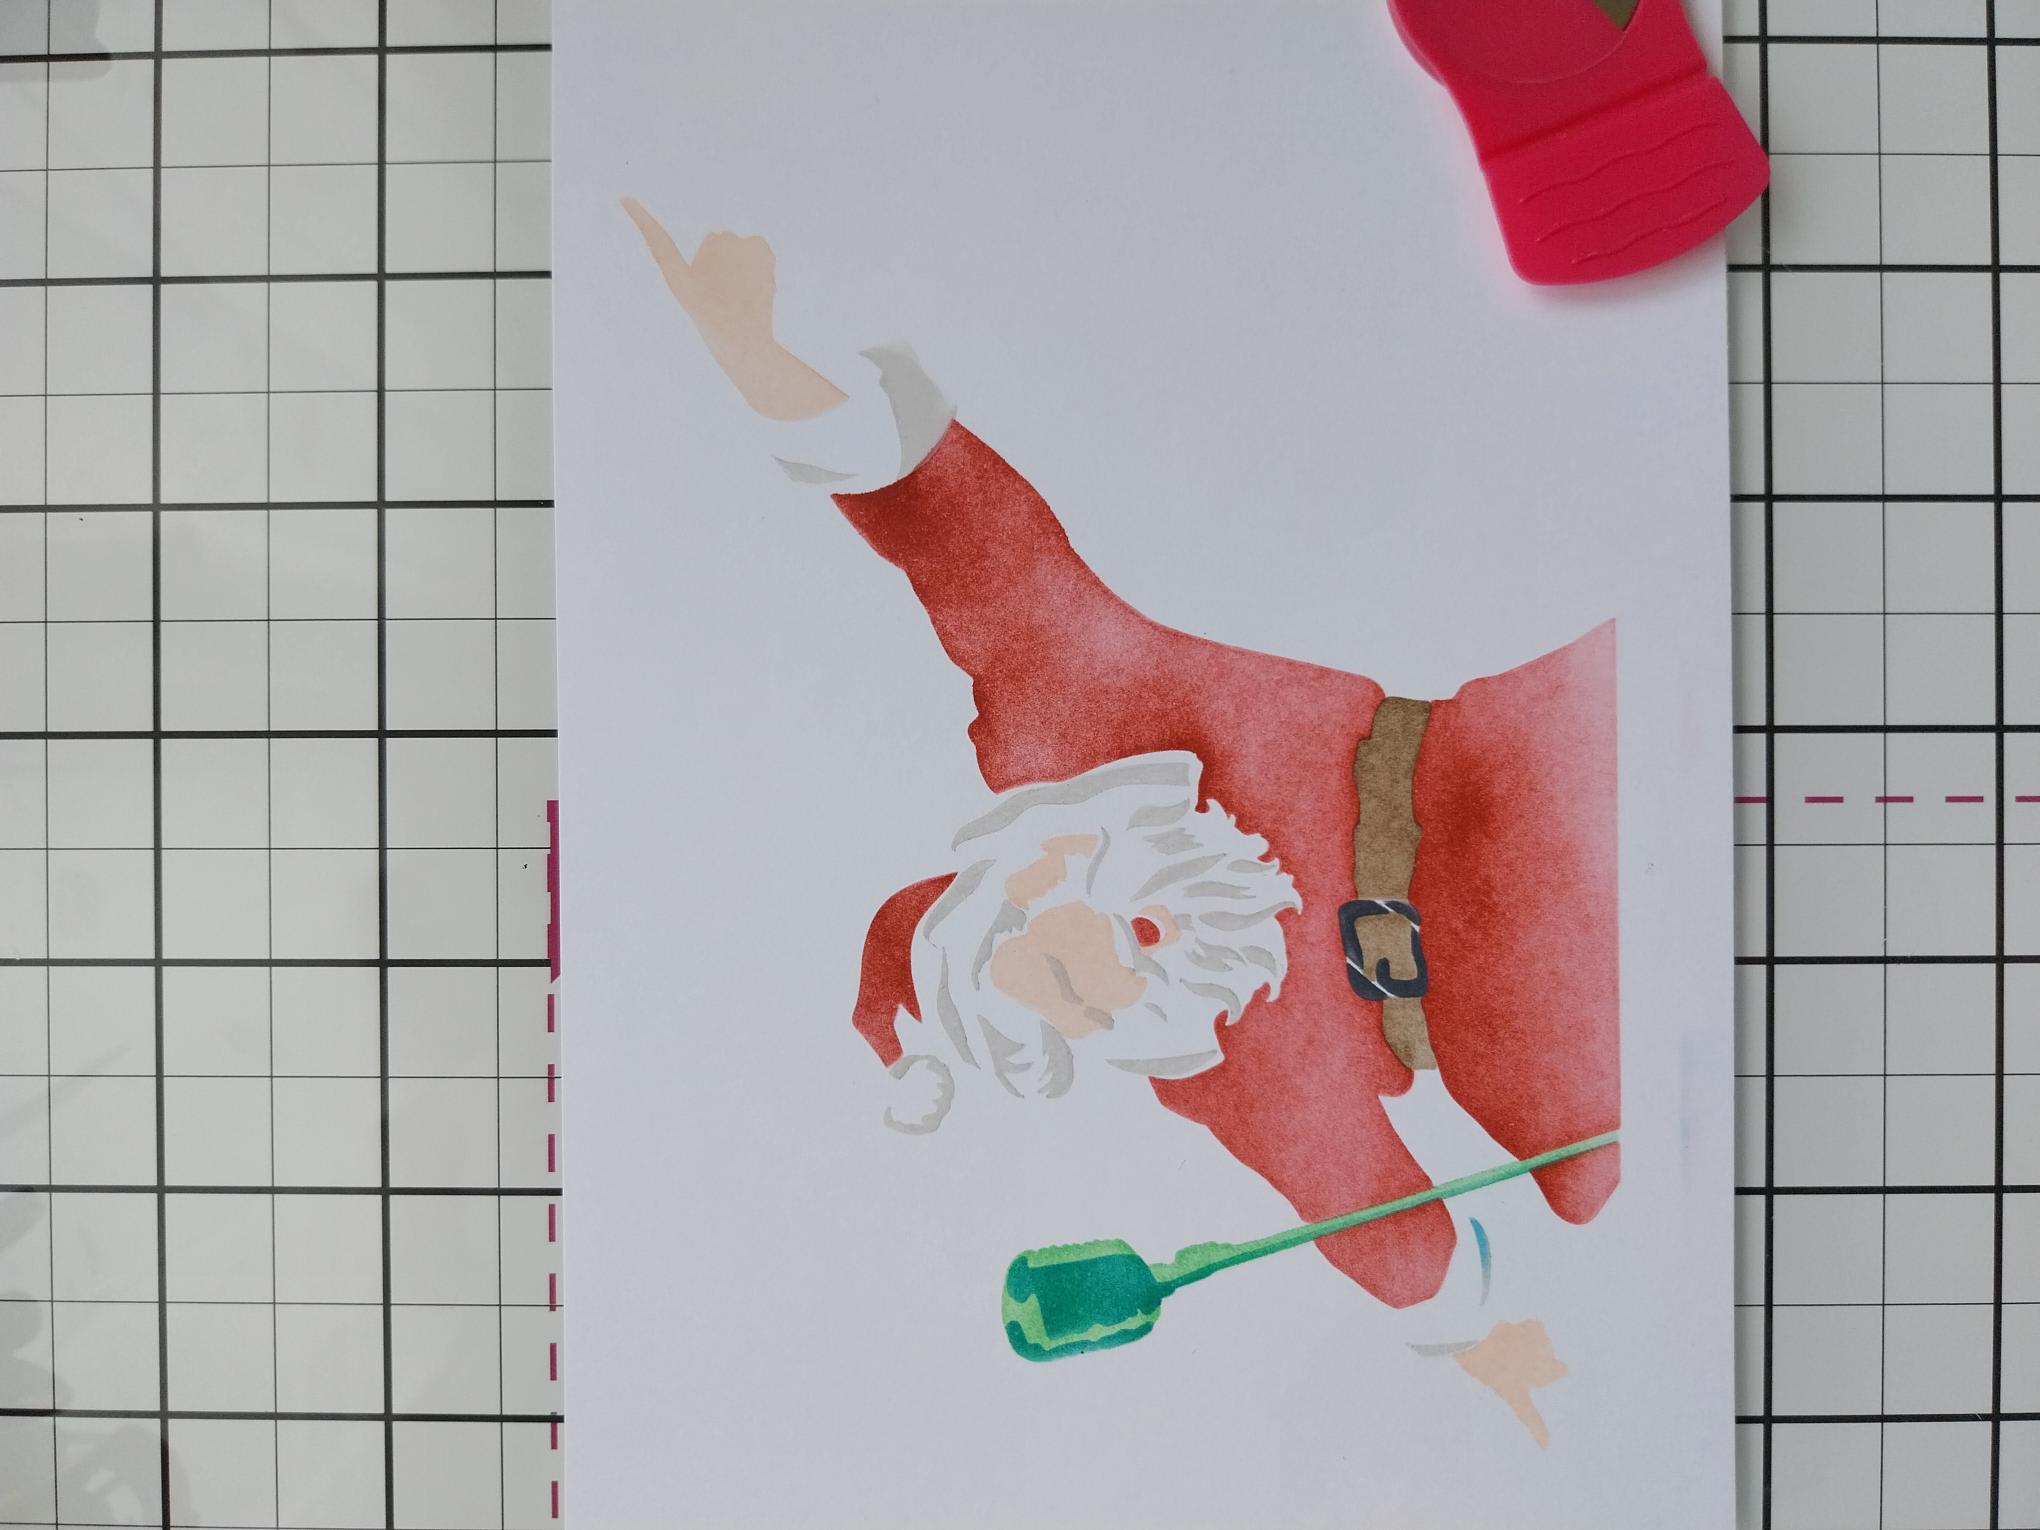
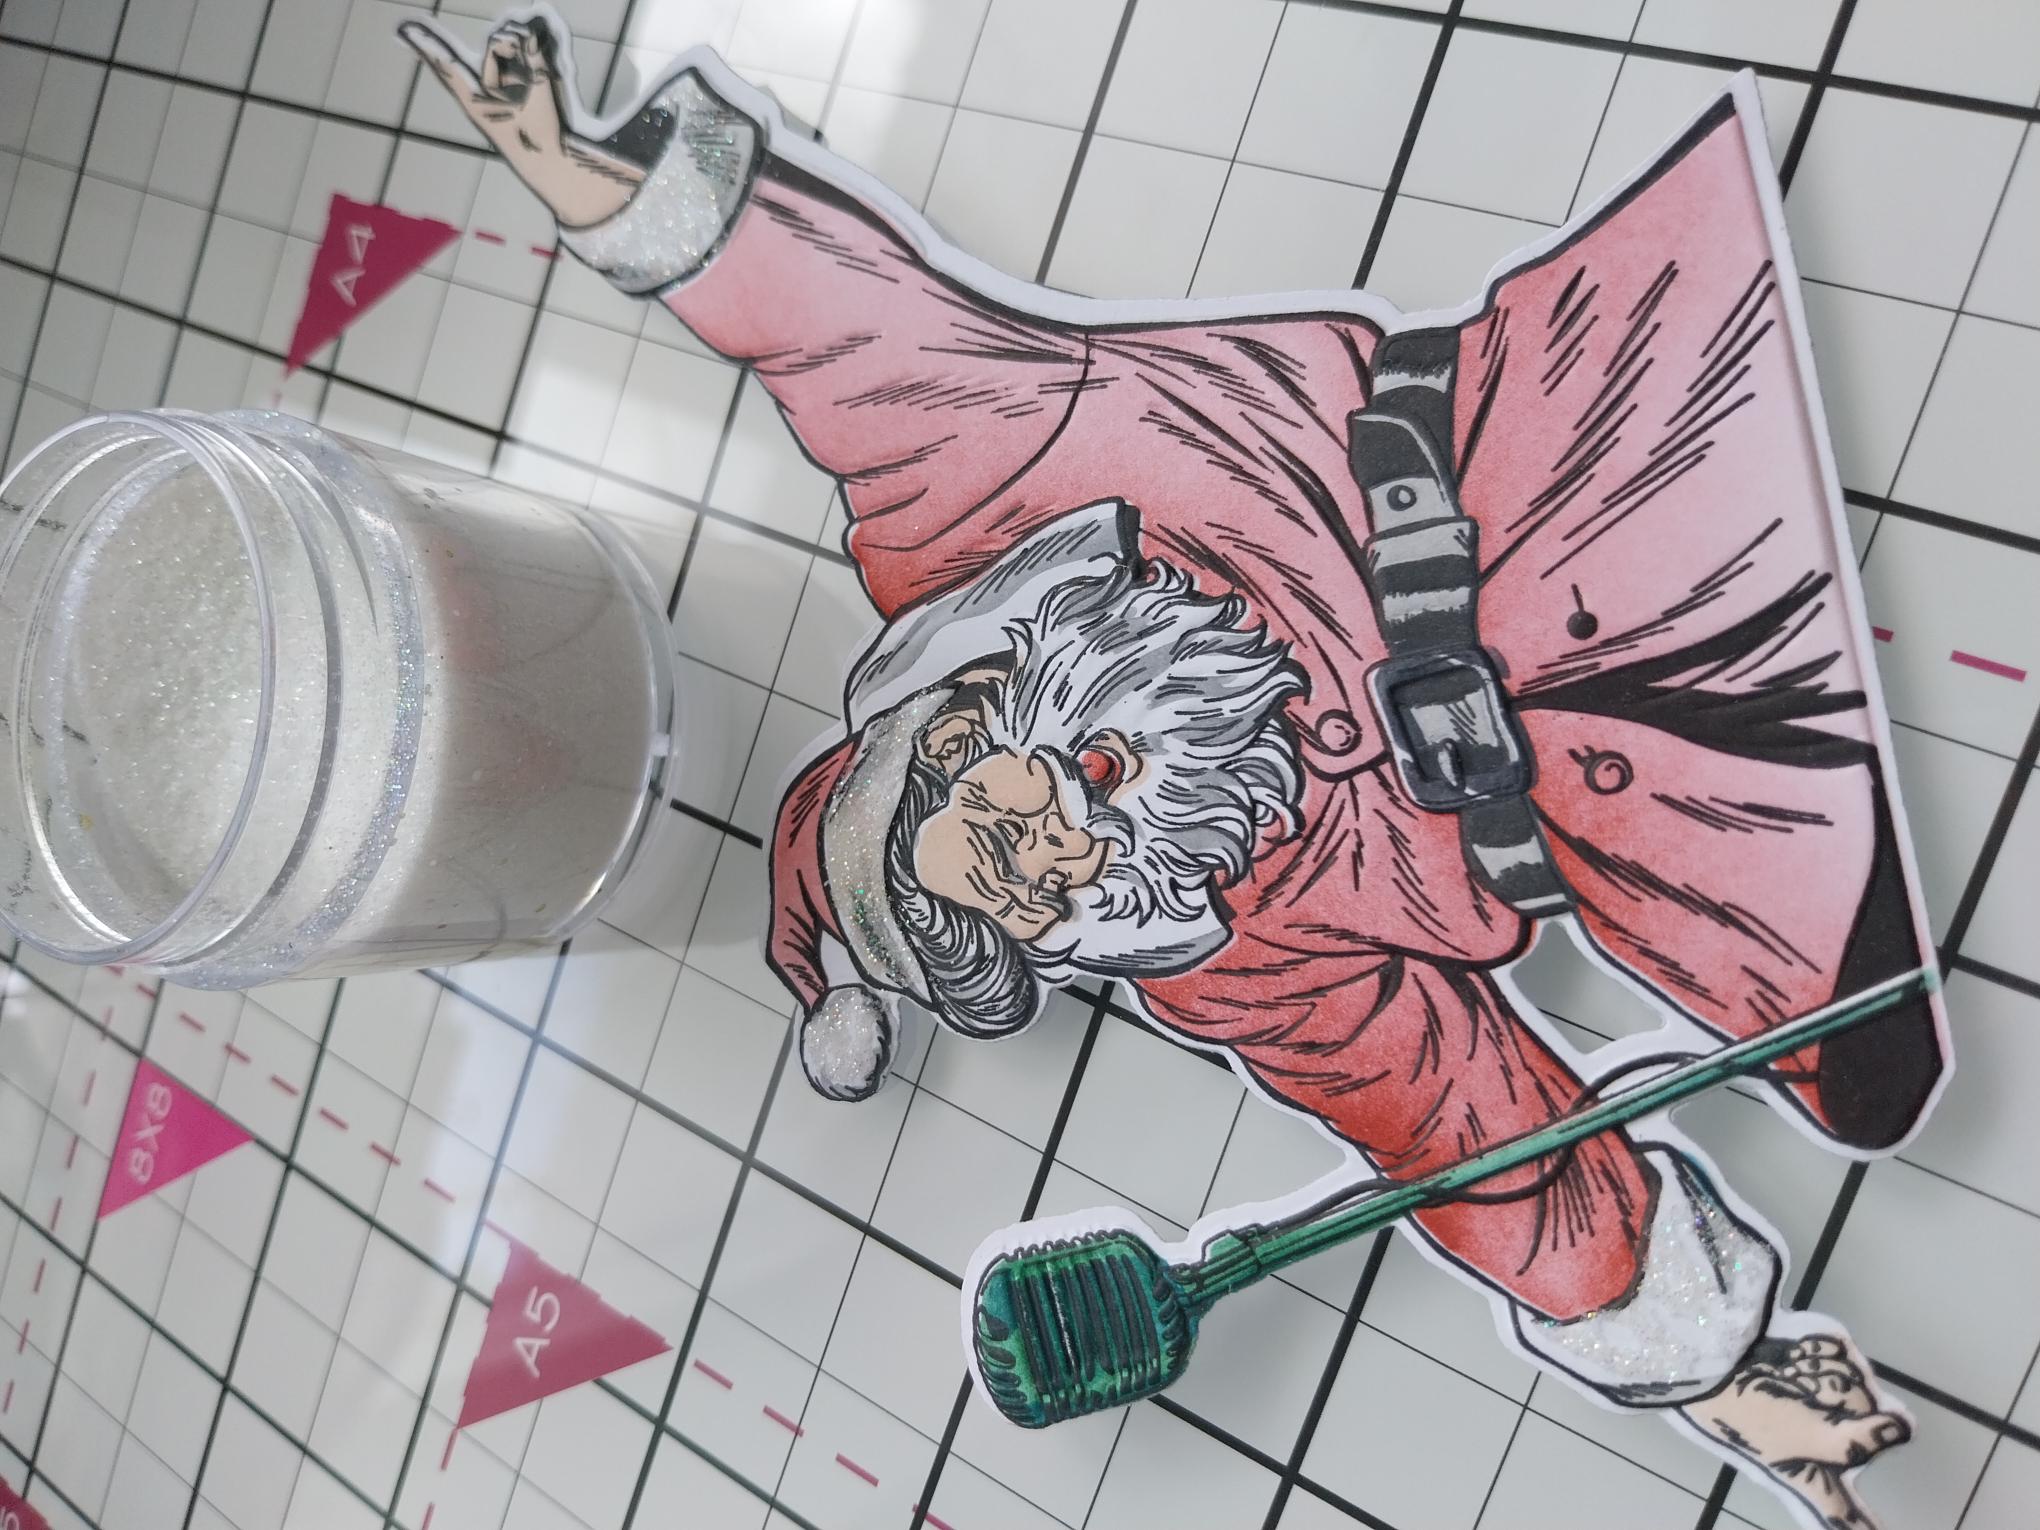
Each of the stencils in the Quattro D Rockin Around collection are numbered and have hearts in the corner to help you line each one up, if required. Use your blending tool to apply ink through each stencil, on to white card trimmed to 7 x 5", as follows: Stencil 1 Redwood Stencil 2 Walnut Stain for the belt and Tattered Rose for his skin Stencil 3 Black Soot for the belt buckle and Hedgerow for the Mic Stencil 4 Lost Shadow for his beard and cuffs and Tiffany for the Mic |
|
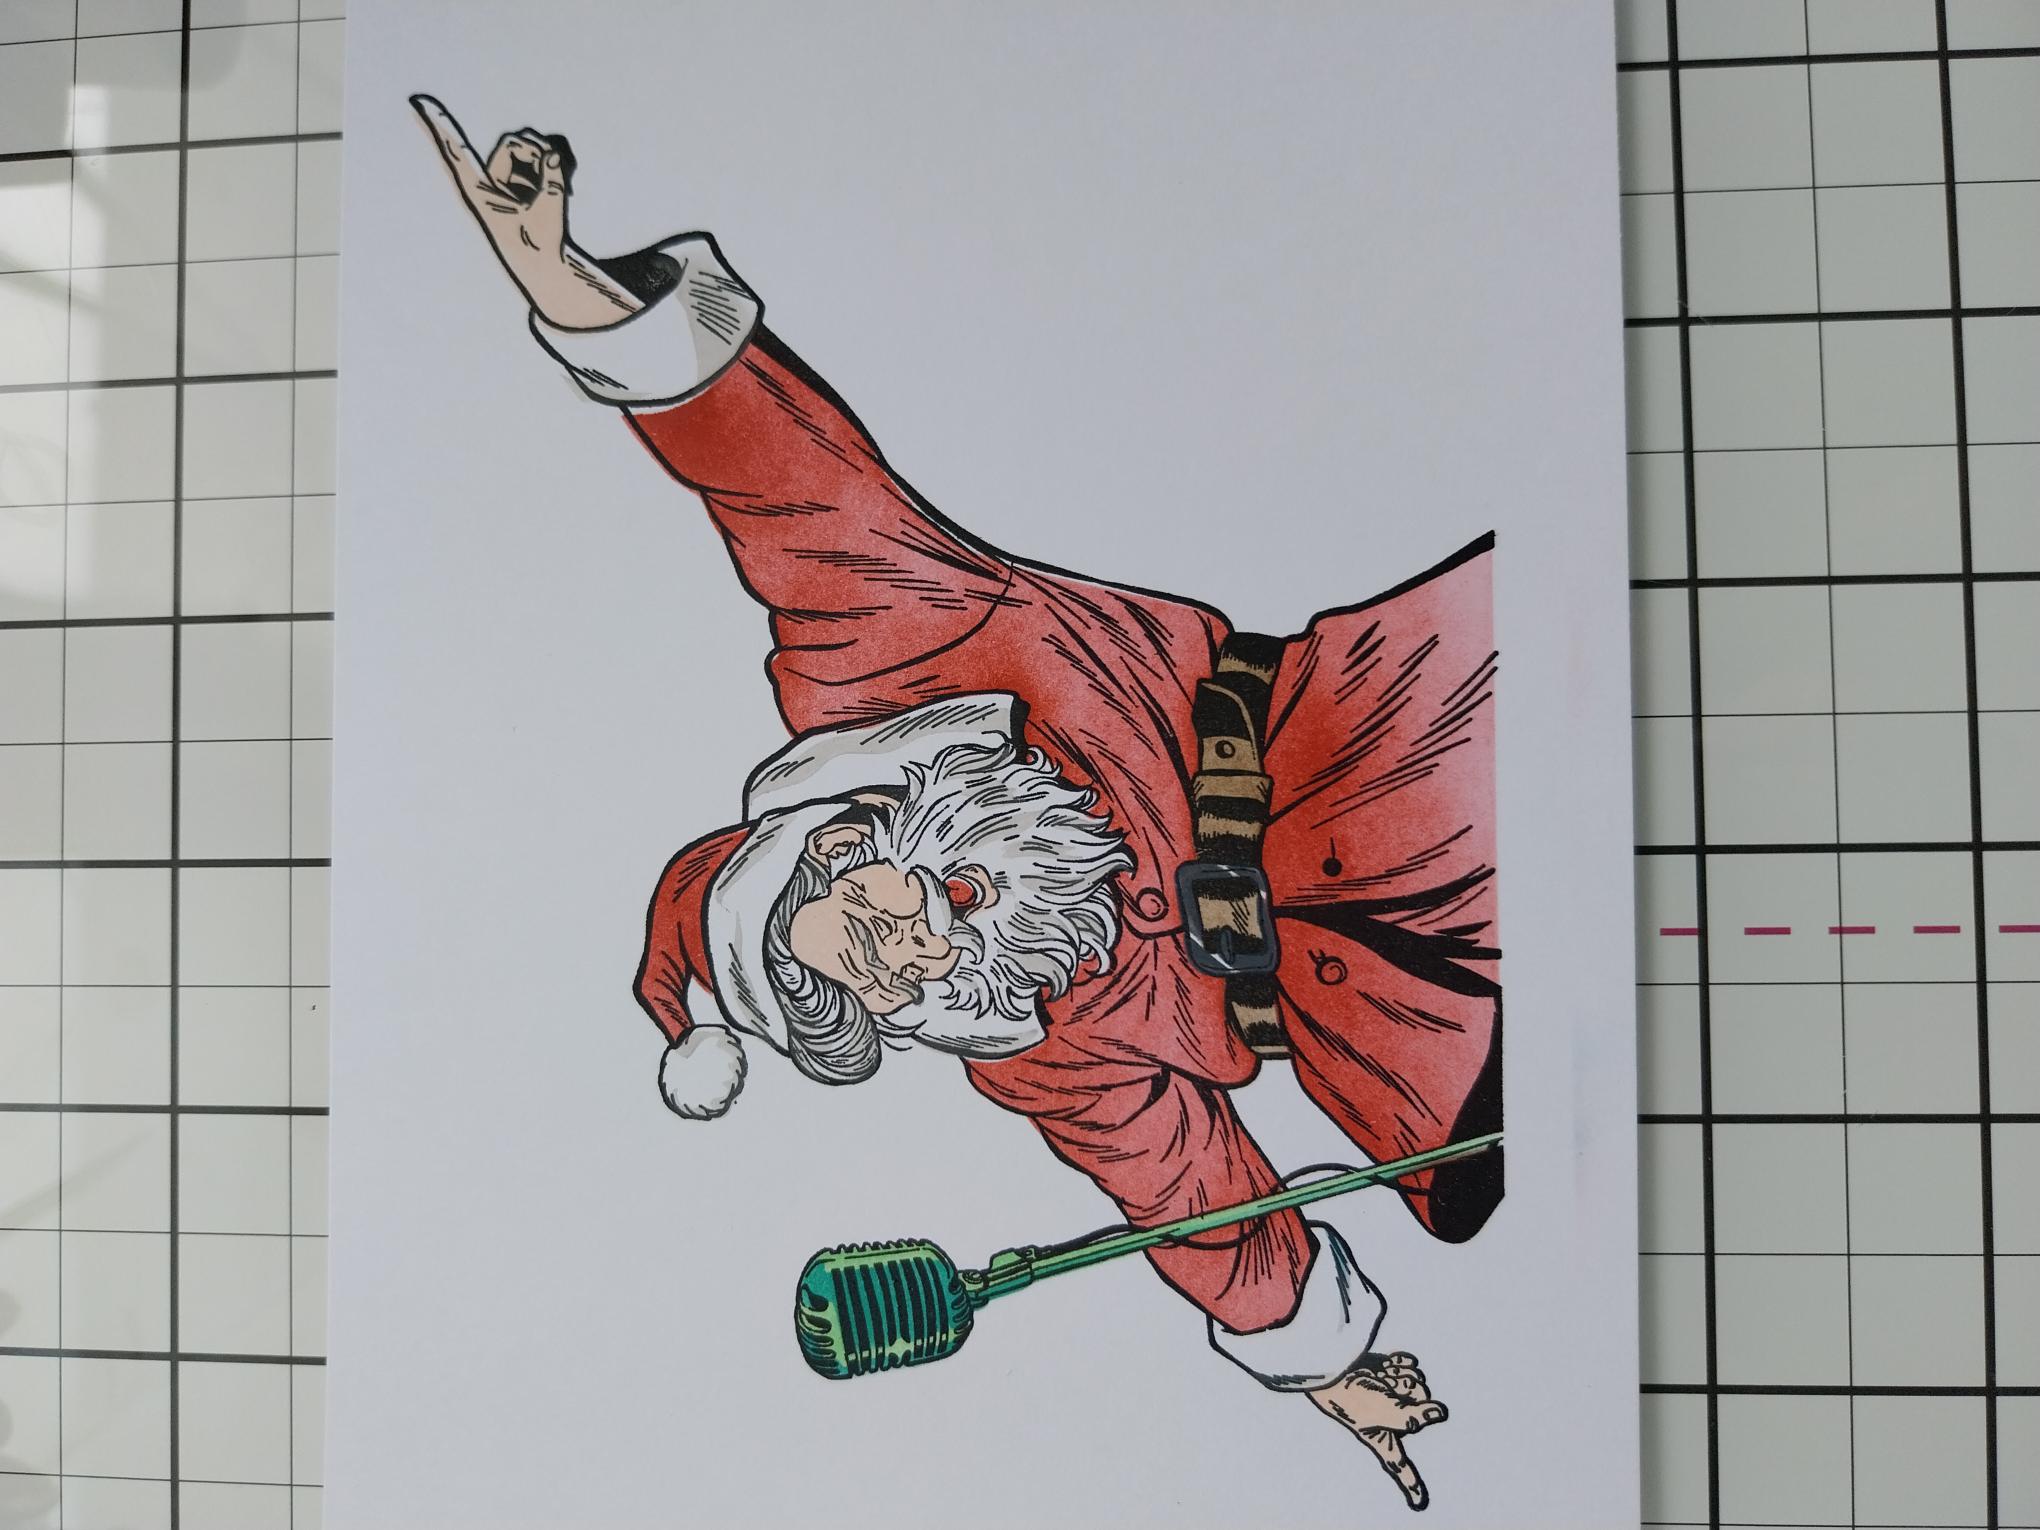
Stamp over your stencilled image with the Midnight hybrid ink. |
|
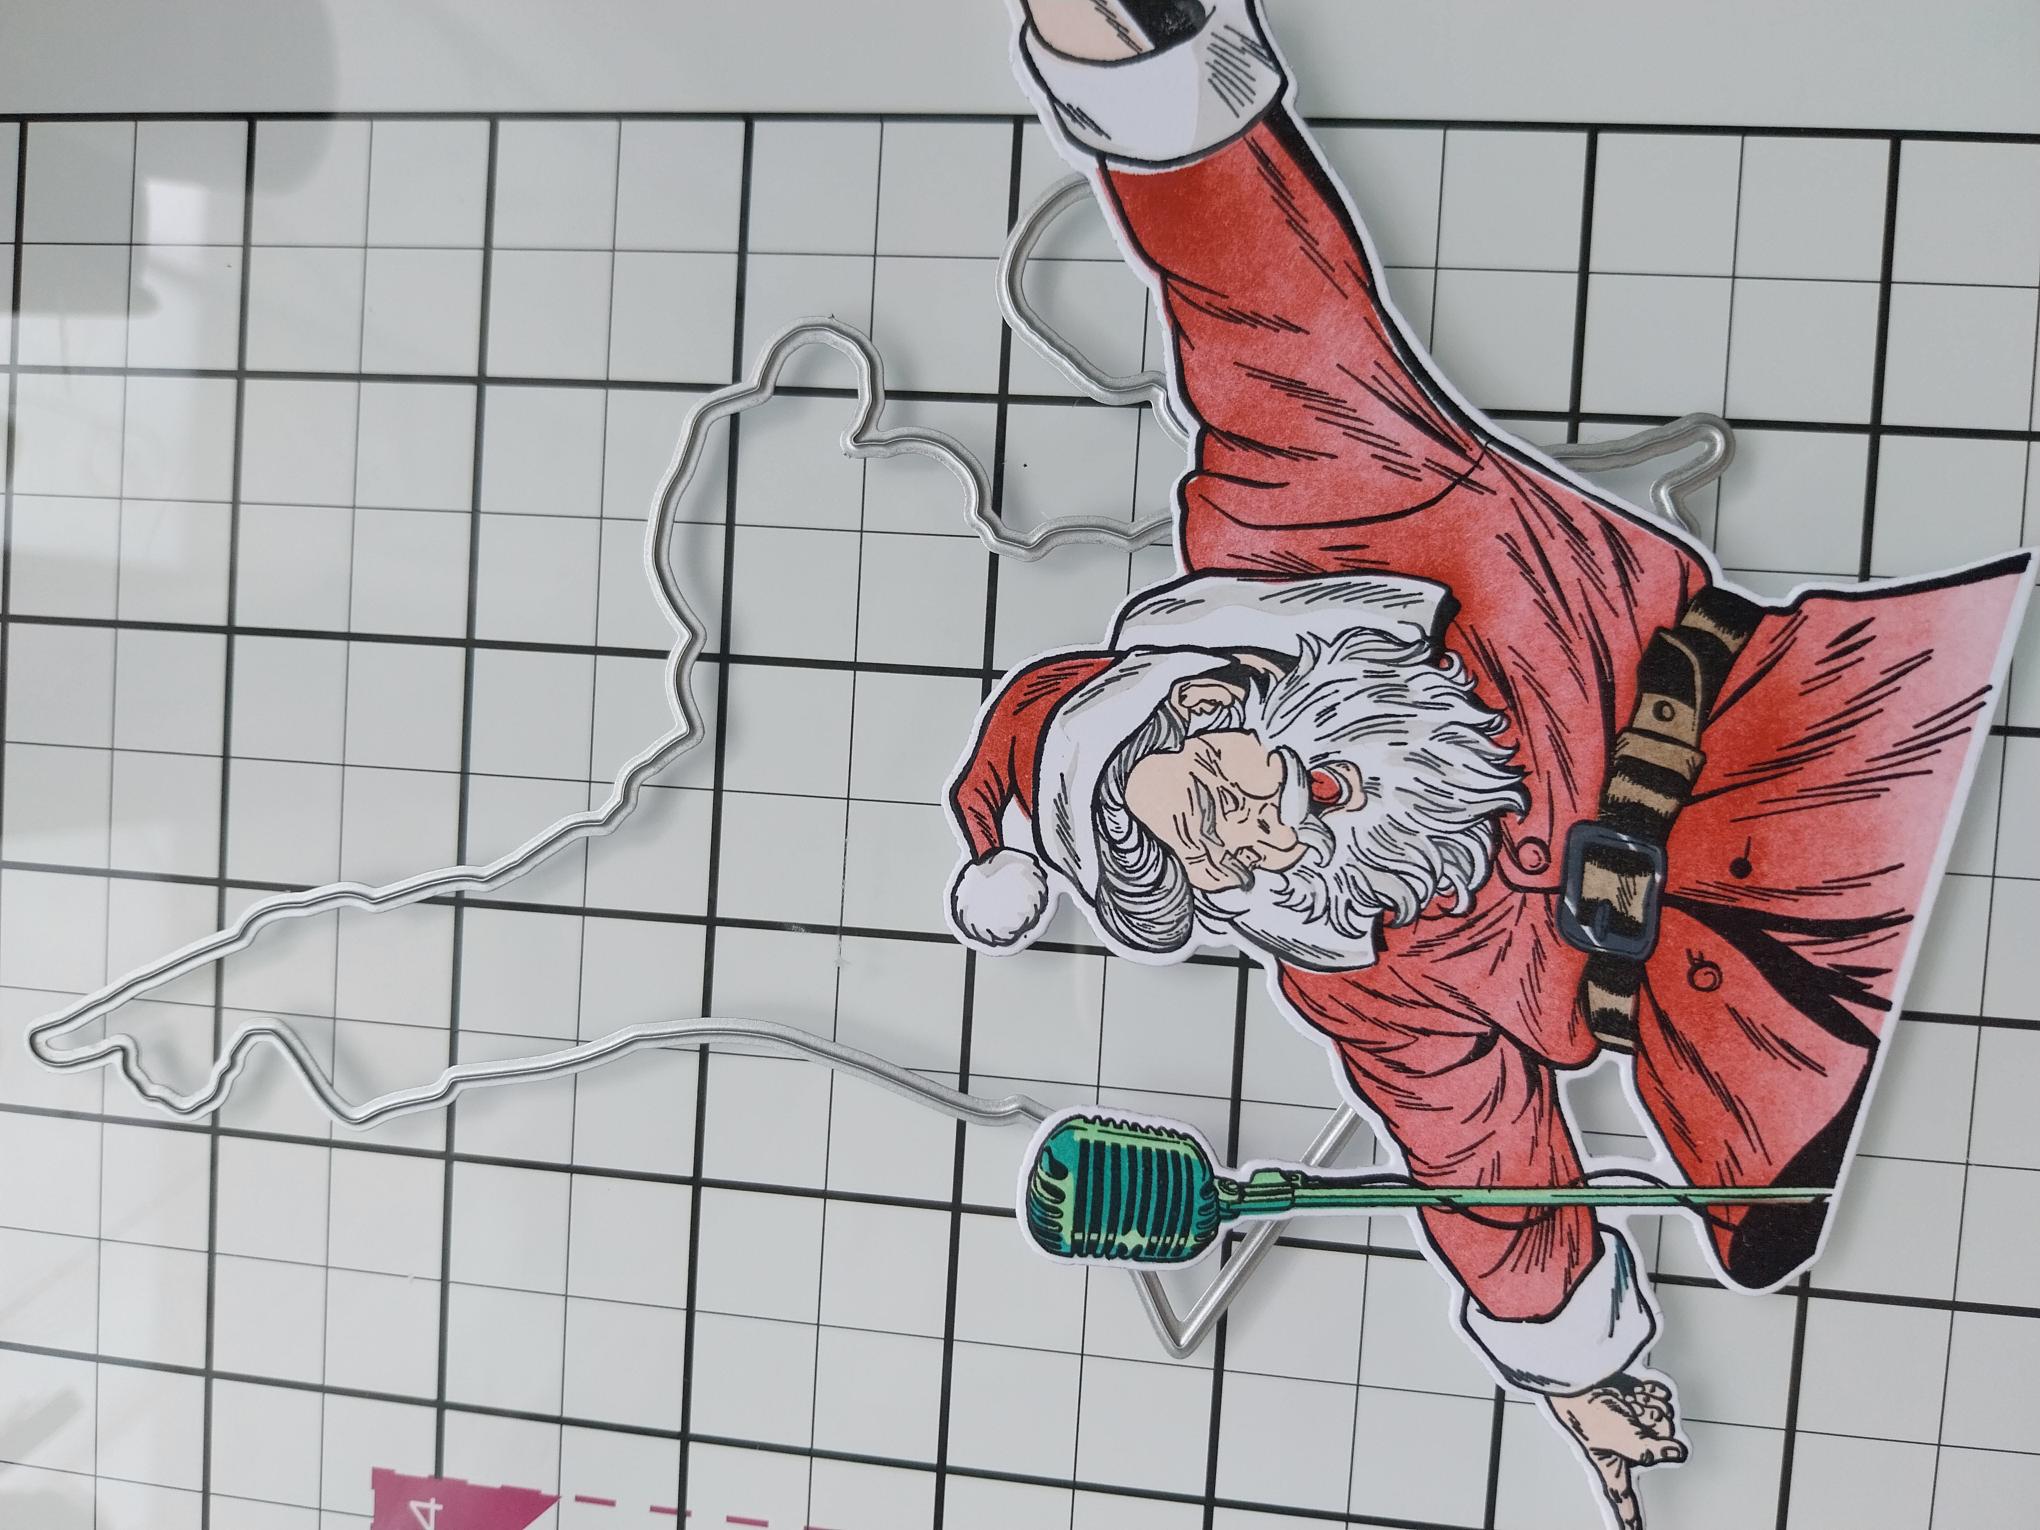
Use the coordinating die to cut out your Santa. |
|
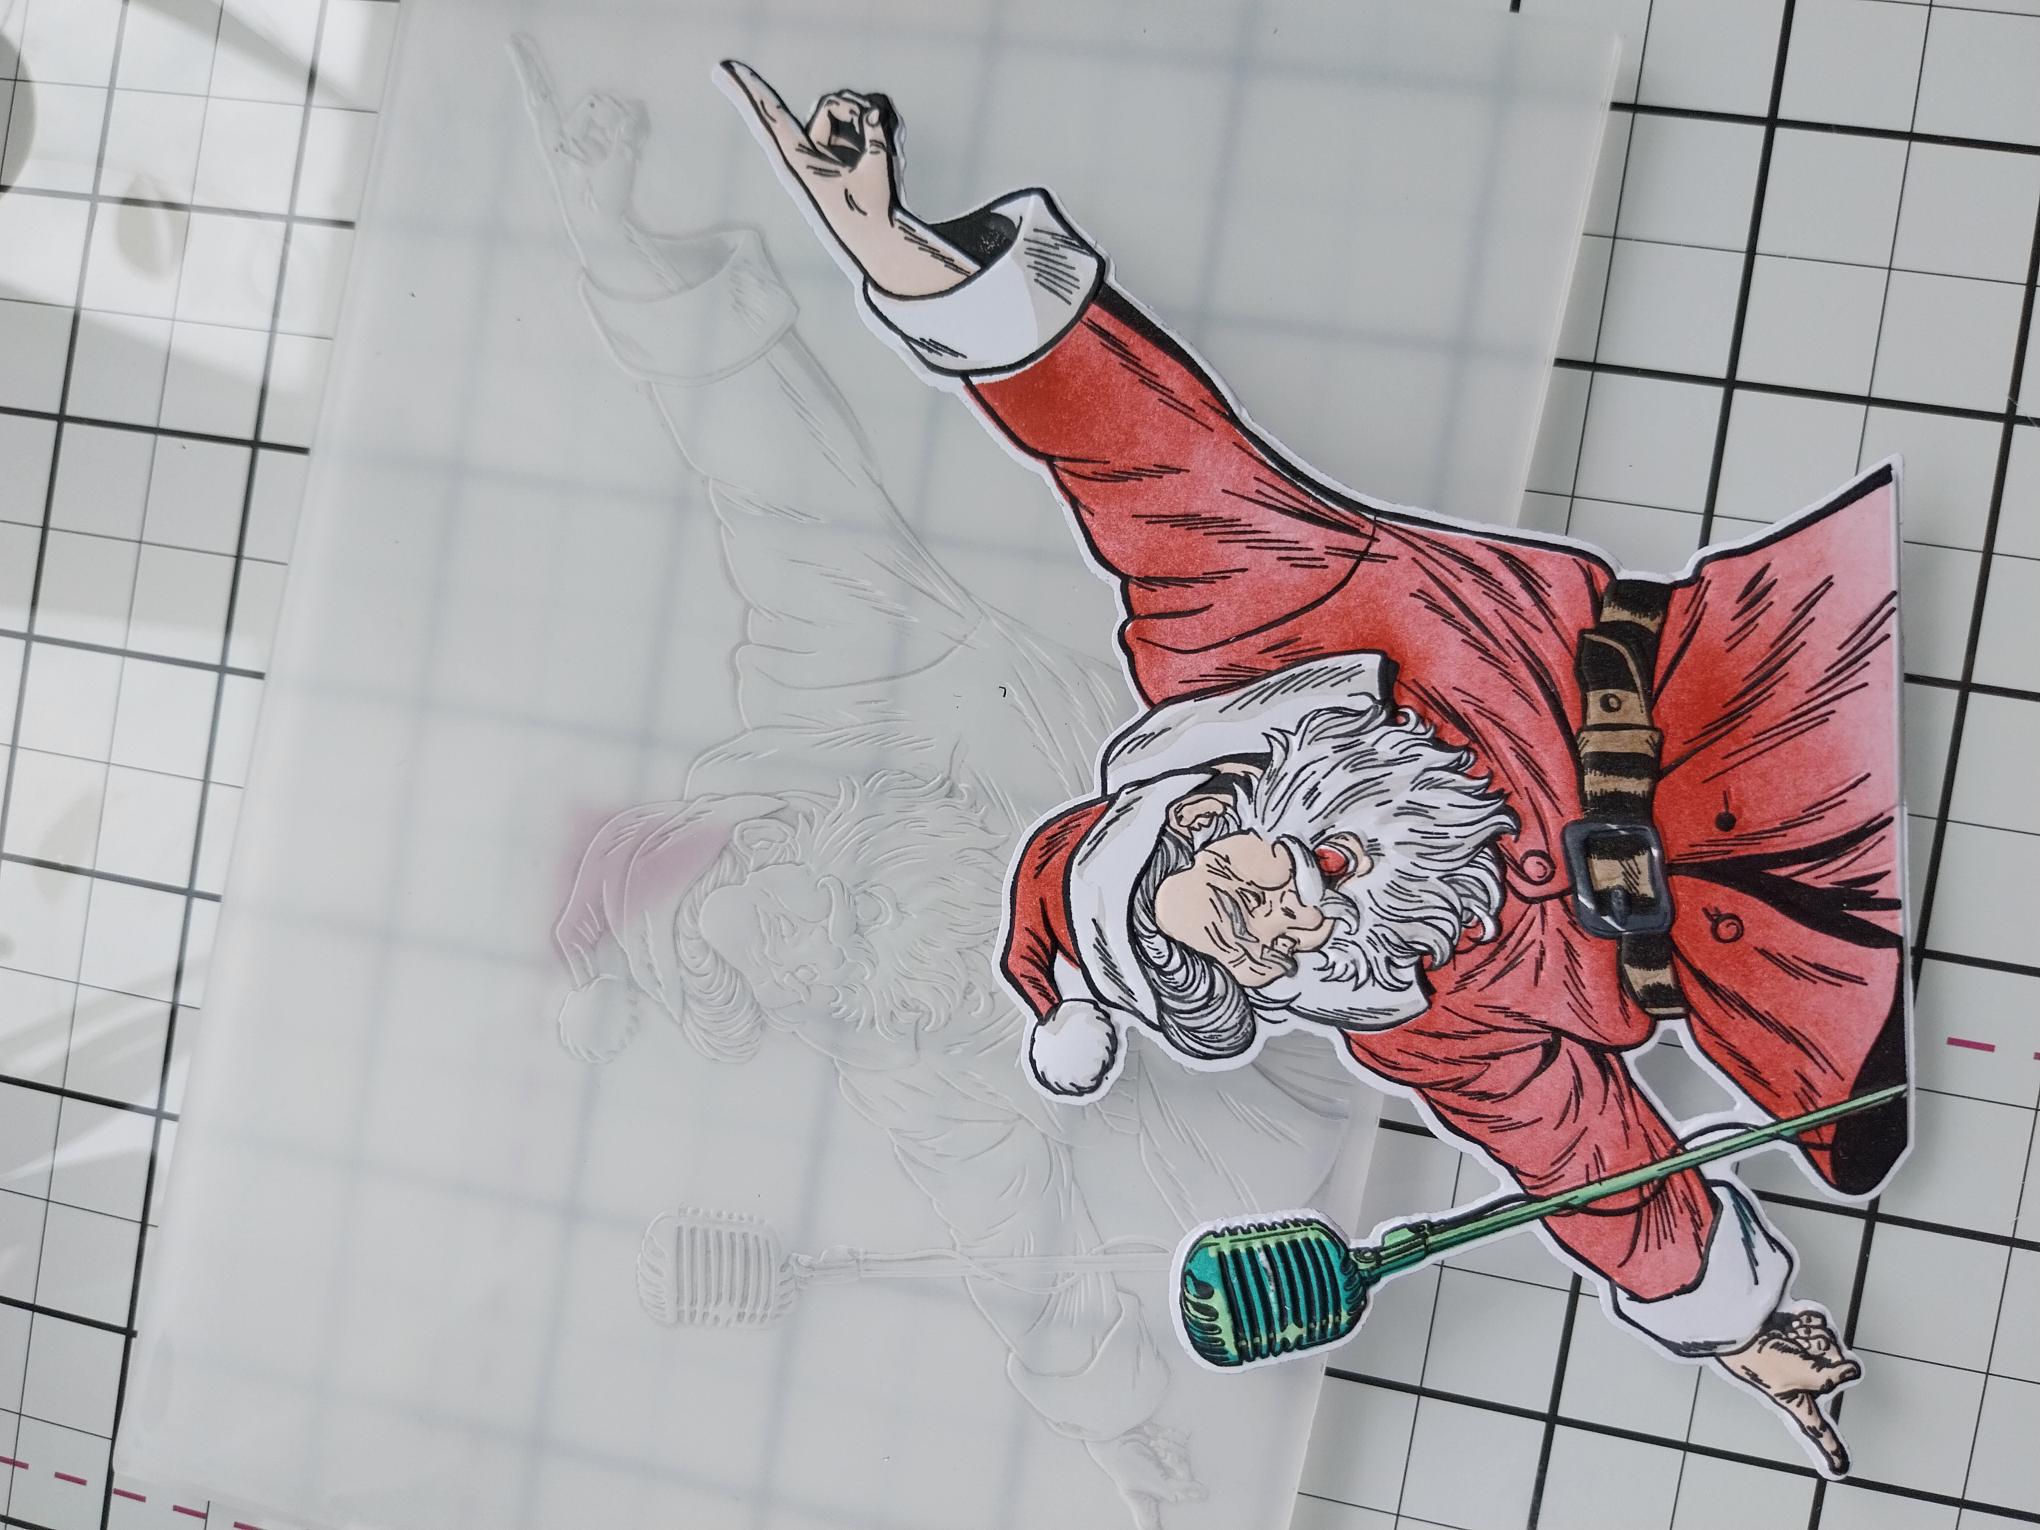
Line up your Santa inside the embossing folder and run it through your machine. |
|
Add the American Smooth glitter to the bobble on Santa's hat and on his coat cuffs. |
|
Adhere Santa with foam pads, on to your card and set aside. |
|
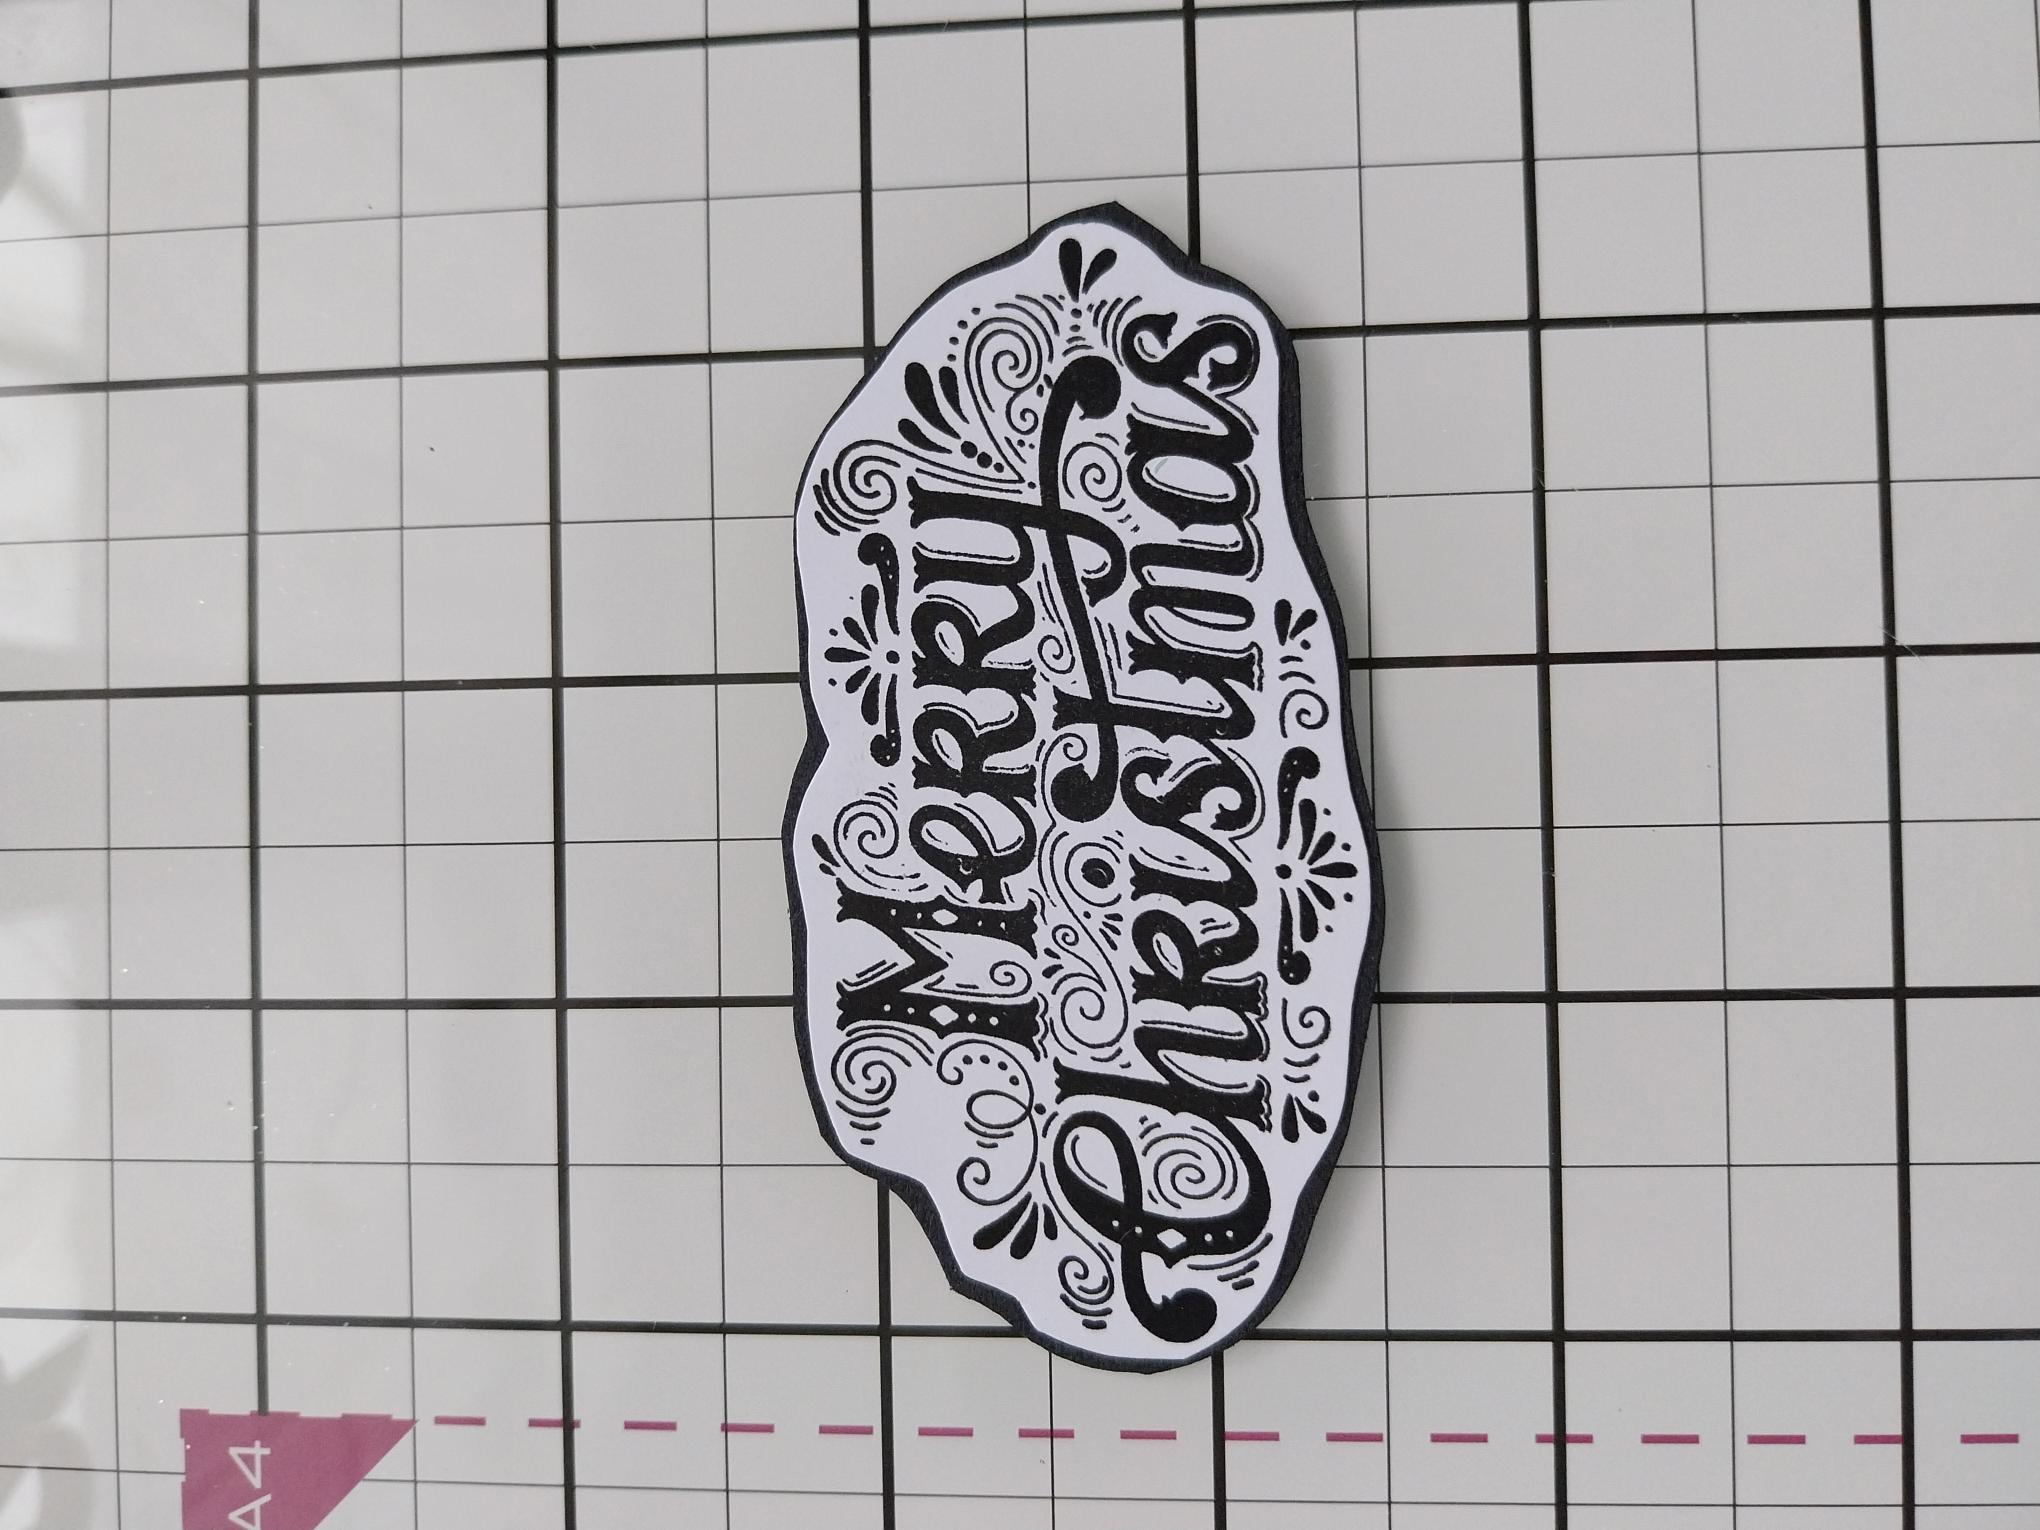
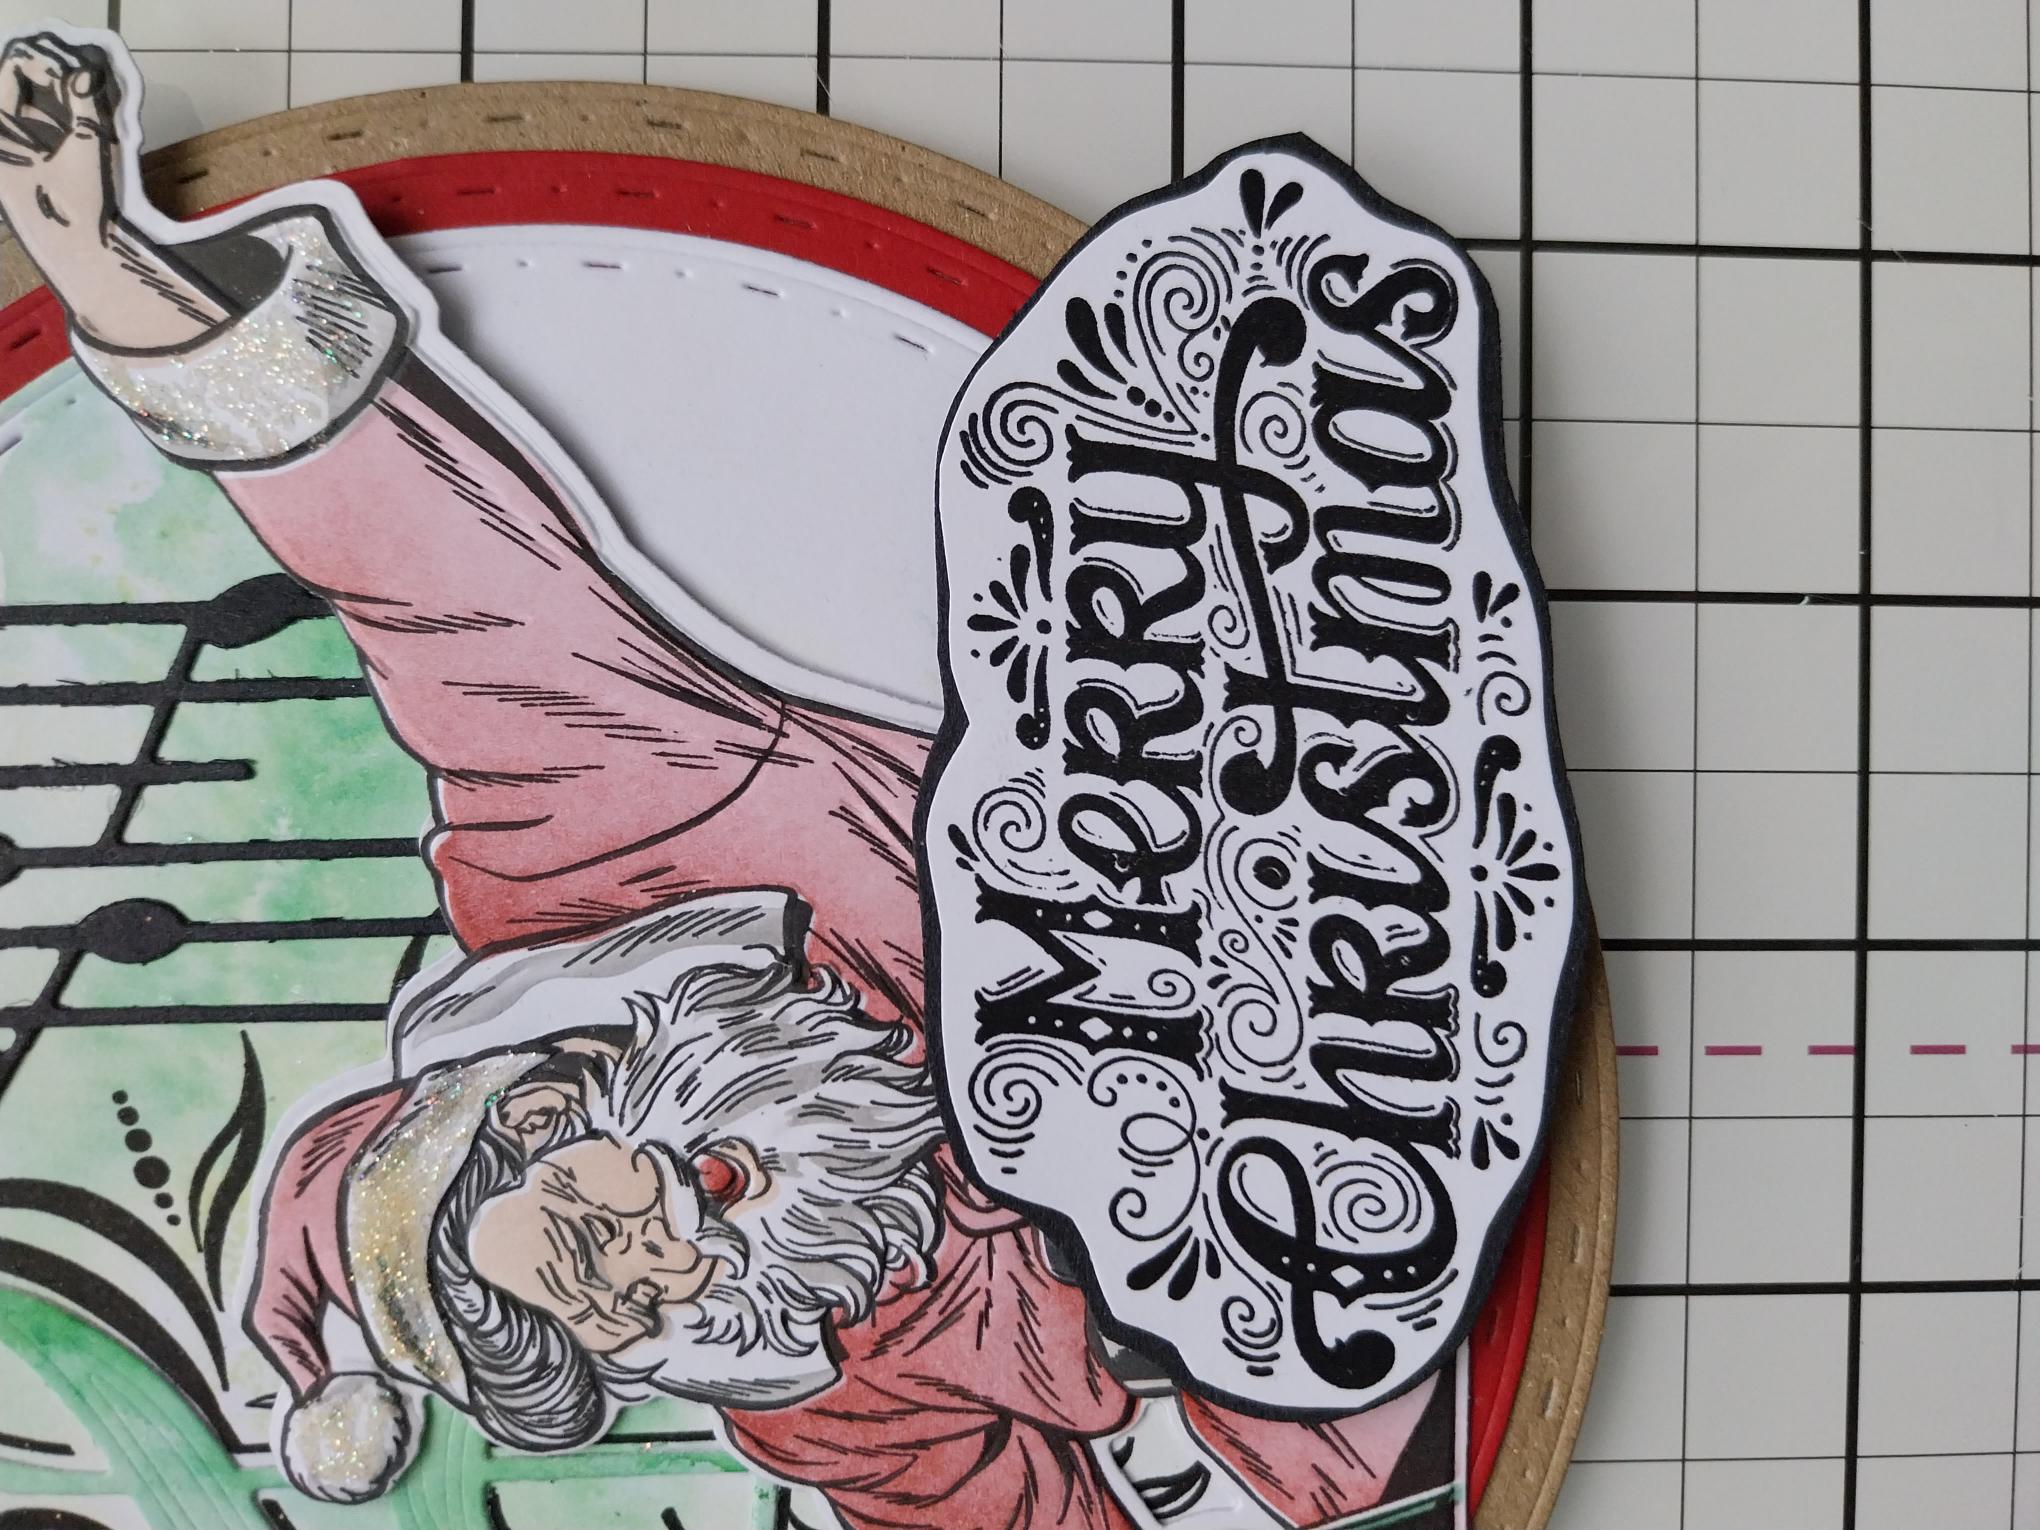
Stamp the "Merry Christmas" in Midnight, on to a piece of white card. Cut around your sentiment, adhere on to black card and cut around that, to create a "mat". |
|
Adhere your sentiment, with foam pads, to complete your project. |