Give your friends $10 off their first order!
Refer a FRIEND


WHAT YOU WILL NEED:
White card blank 7 x 7"
White card
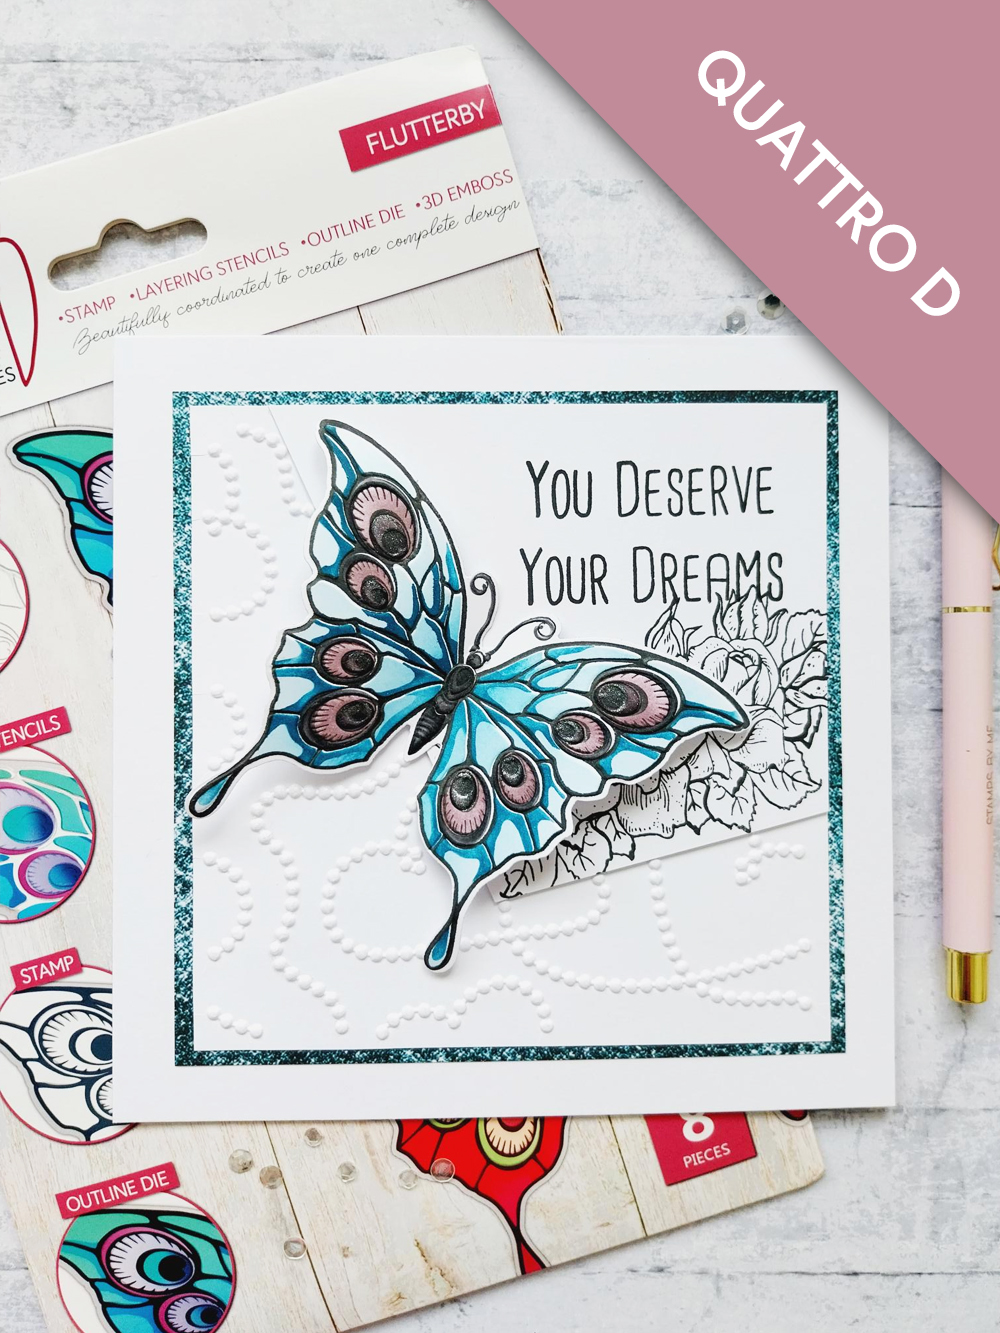
Quattro D Flutterby Collection
Quattro D Botanical Bunch Collection
Paperchain Ruby Blooms Stamp Set
High Definition 3D Beautiful Beads Embossing Folder
All Surfaces Teal Paper Pack
SBM Hybrid Ink Pad: Midnight
SBM Premium Dye Ink Pad: Tiffany, Heather
Distress Ink Pad: Black Soot
Blending tool
Gossip Clear Overlay Sparkle Pen
Eureka 101 Watercolour Tablet
SBM Magnetic glass mat
Paper Trimmer
Perfect Together Glue
Die Cutting machine
[click image to enlarge] 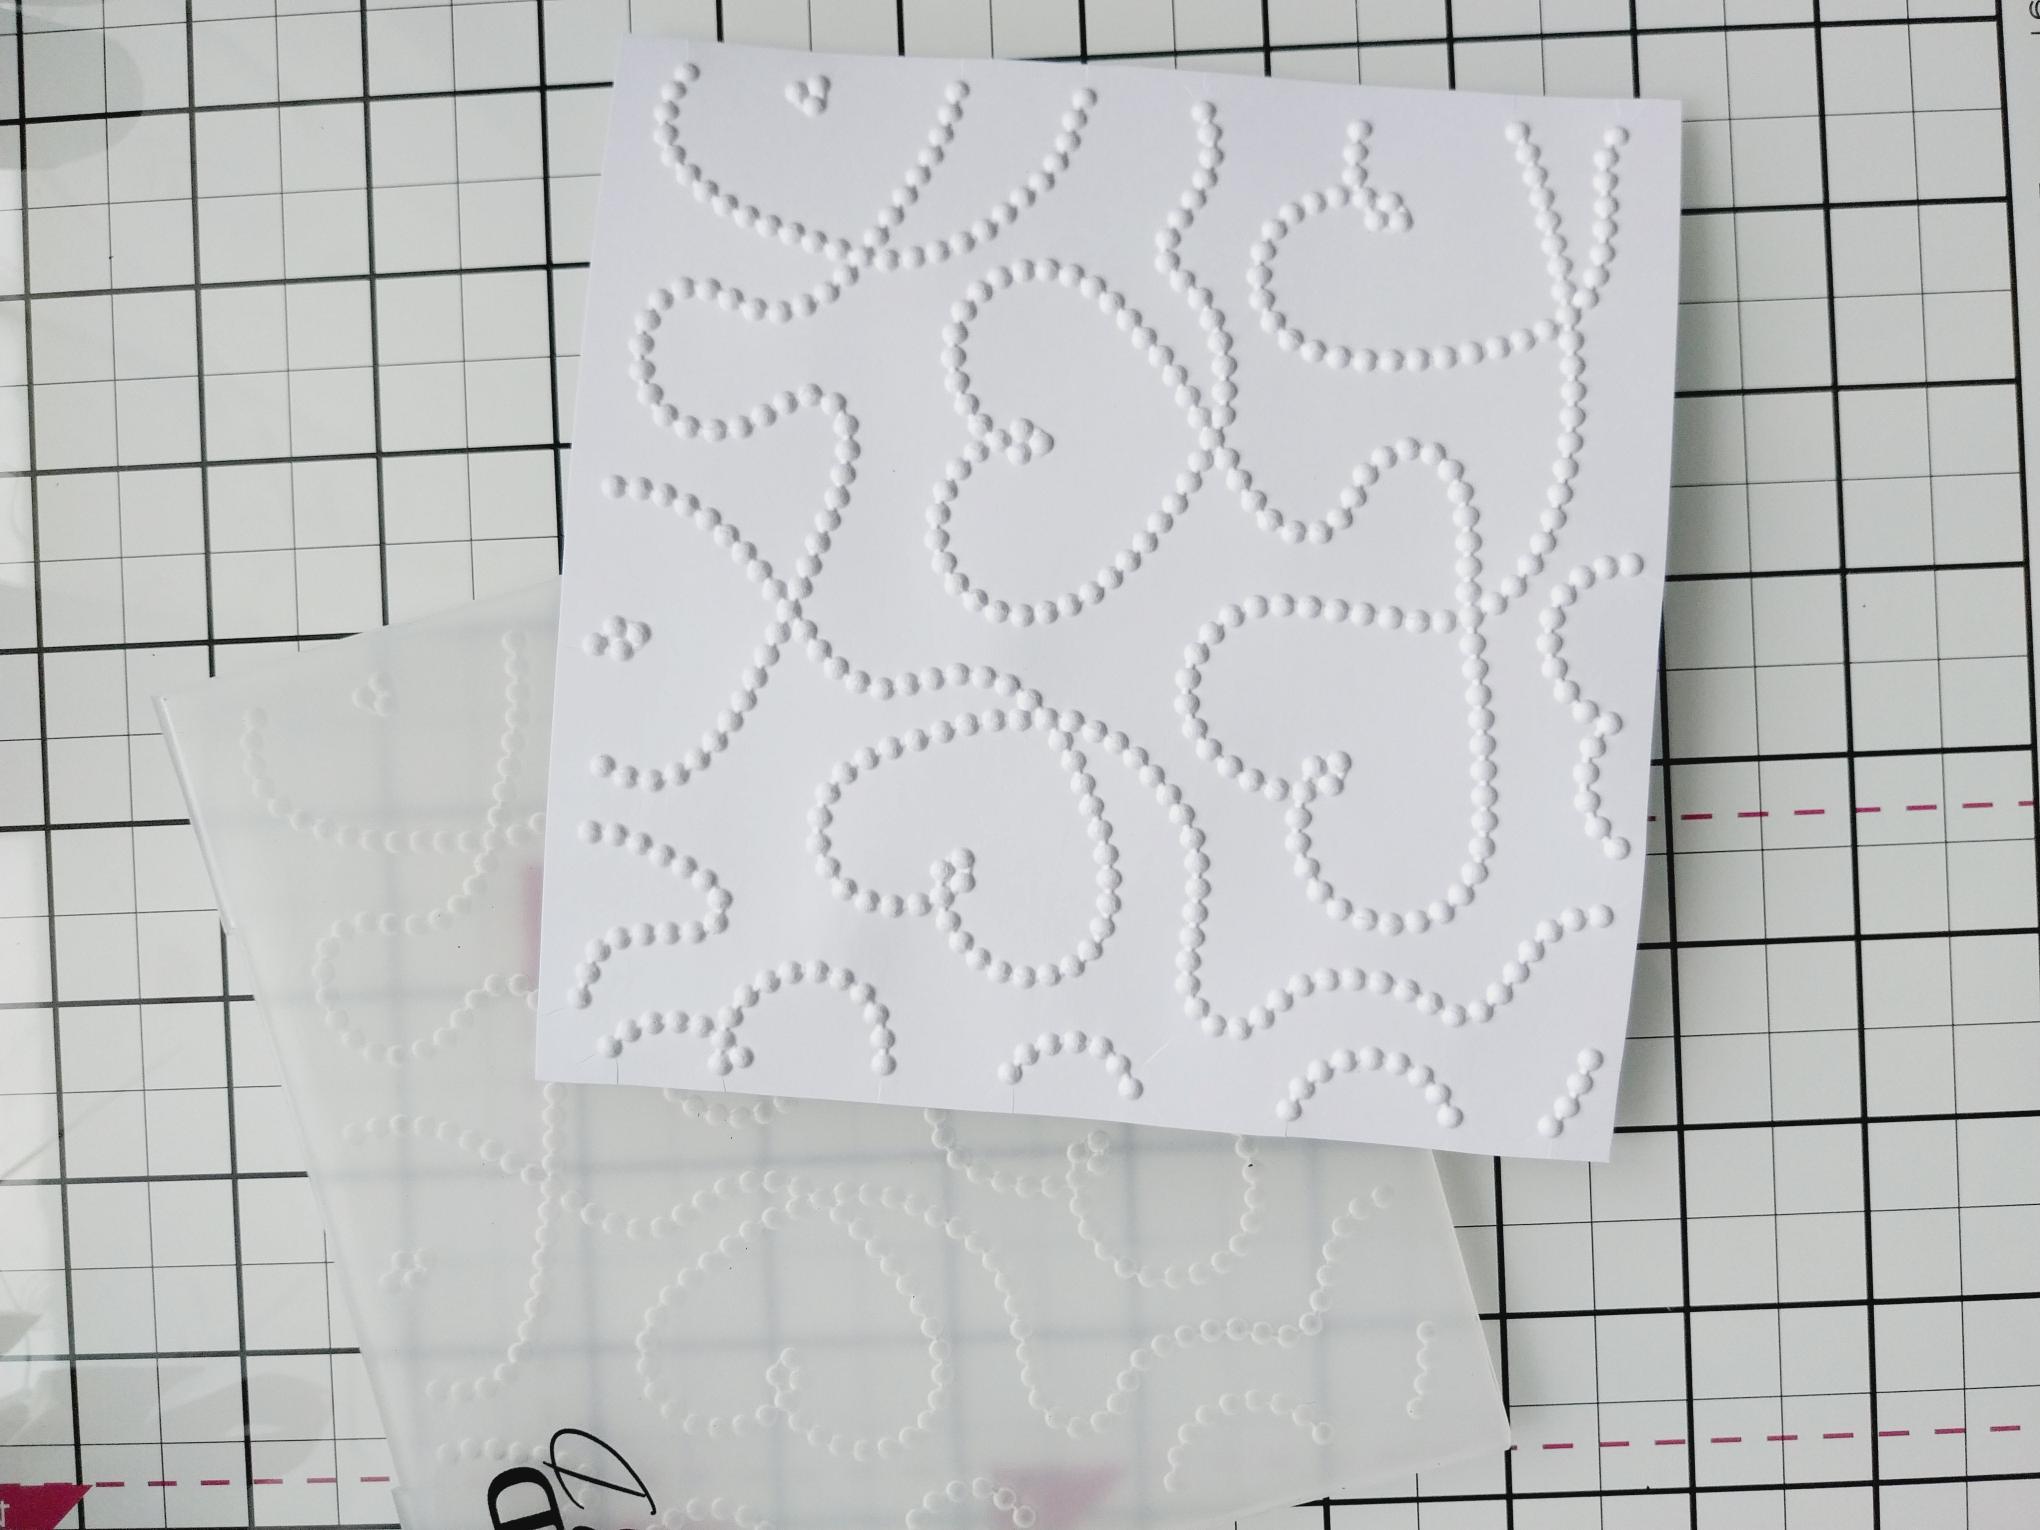
|
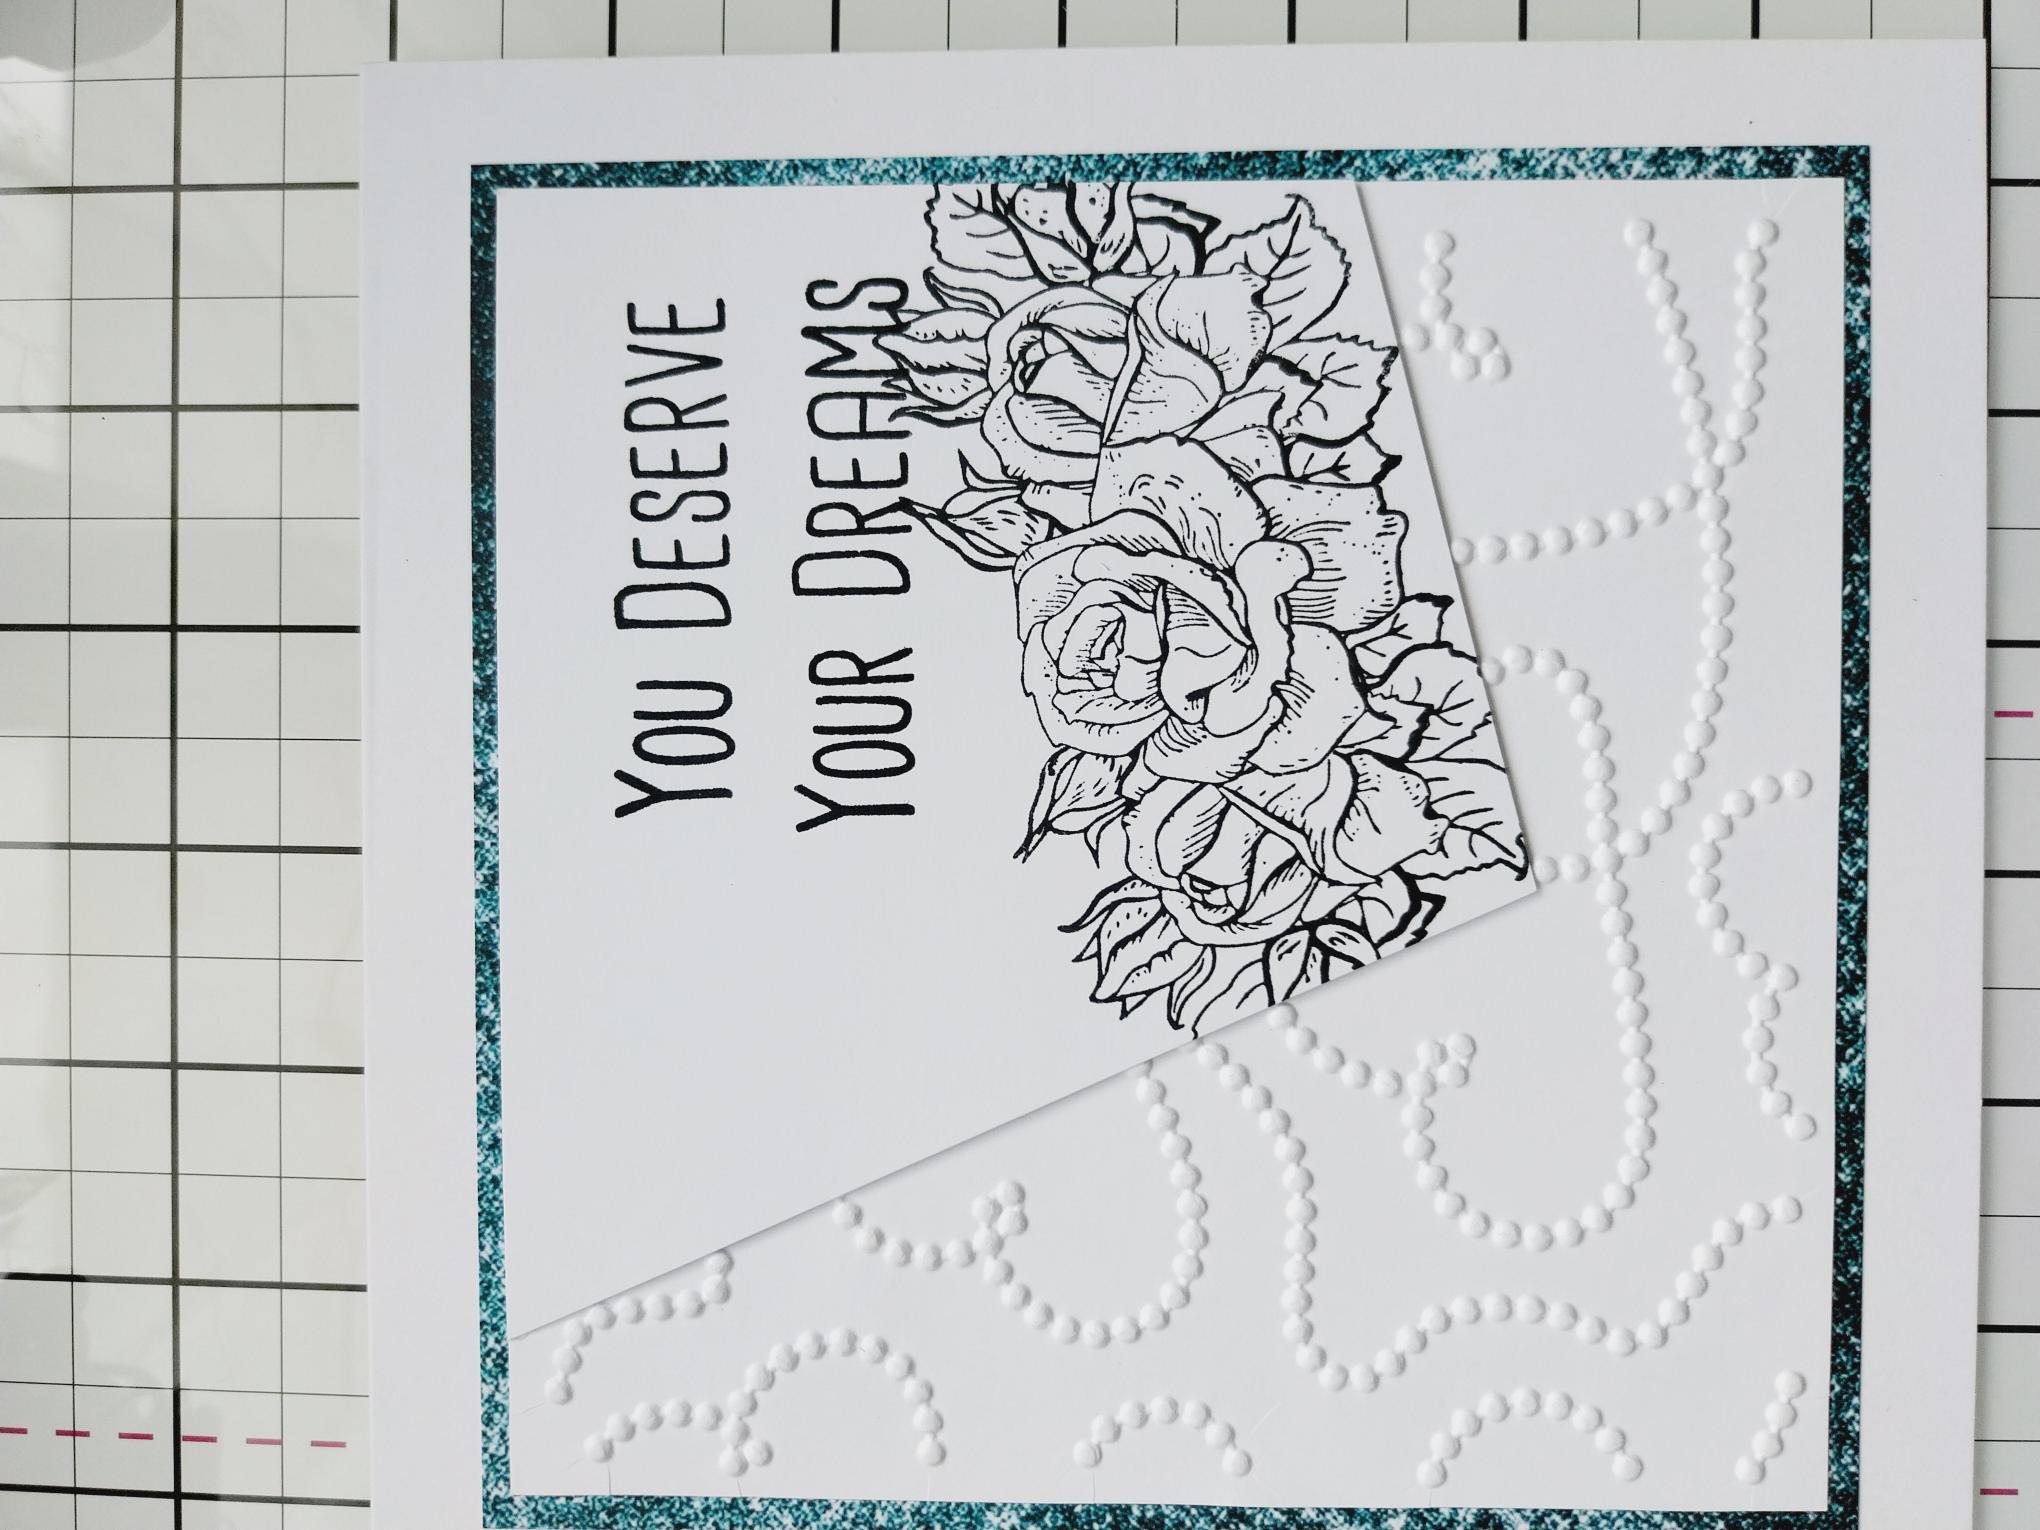
Cut white card to 5 3/4" square, place inside the Beautiful Beads embossing folder and run it through your embossing machine. |
|
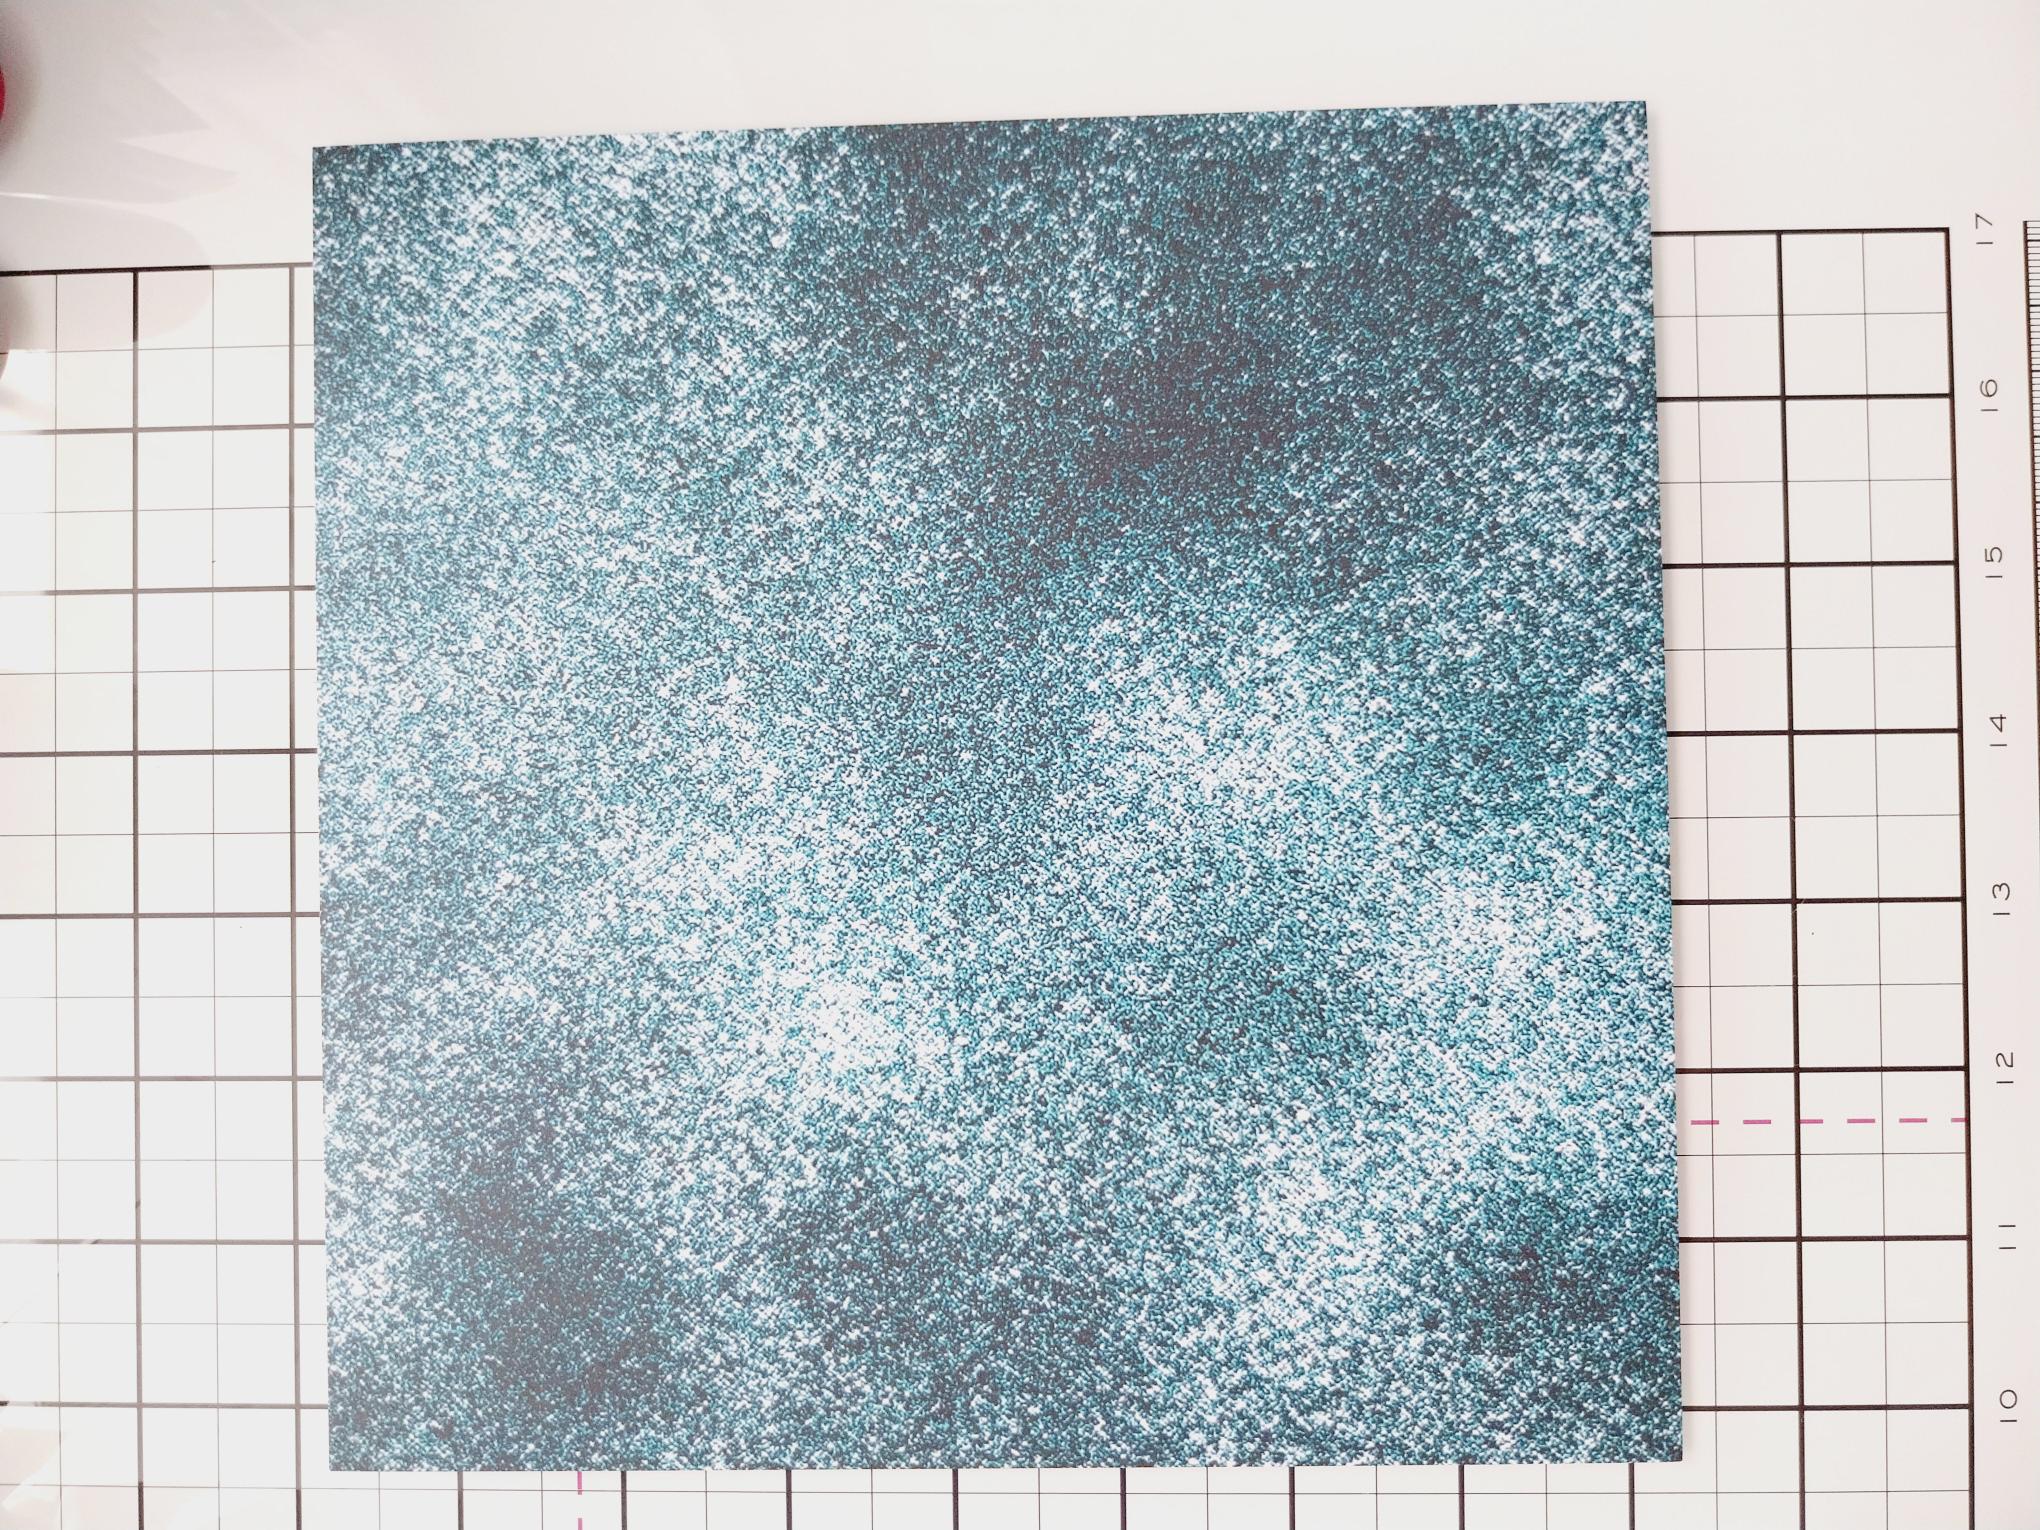
Choose a decorative paper from the Teal All Surfaces paper pack and trim to a 6" square. |
|
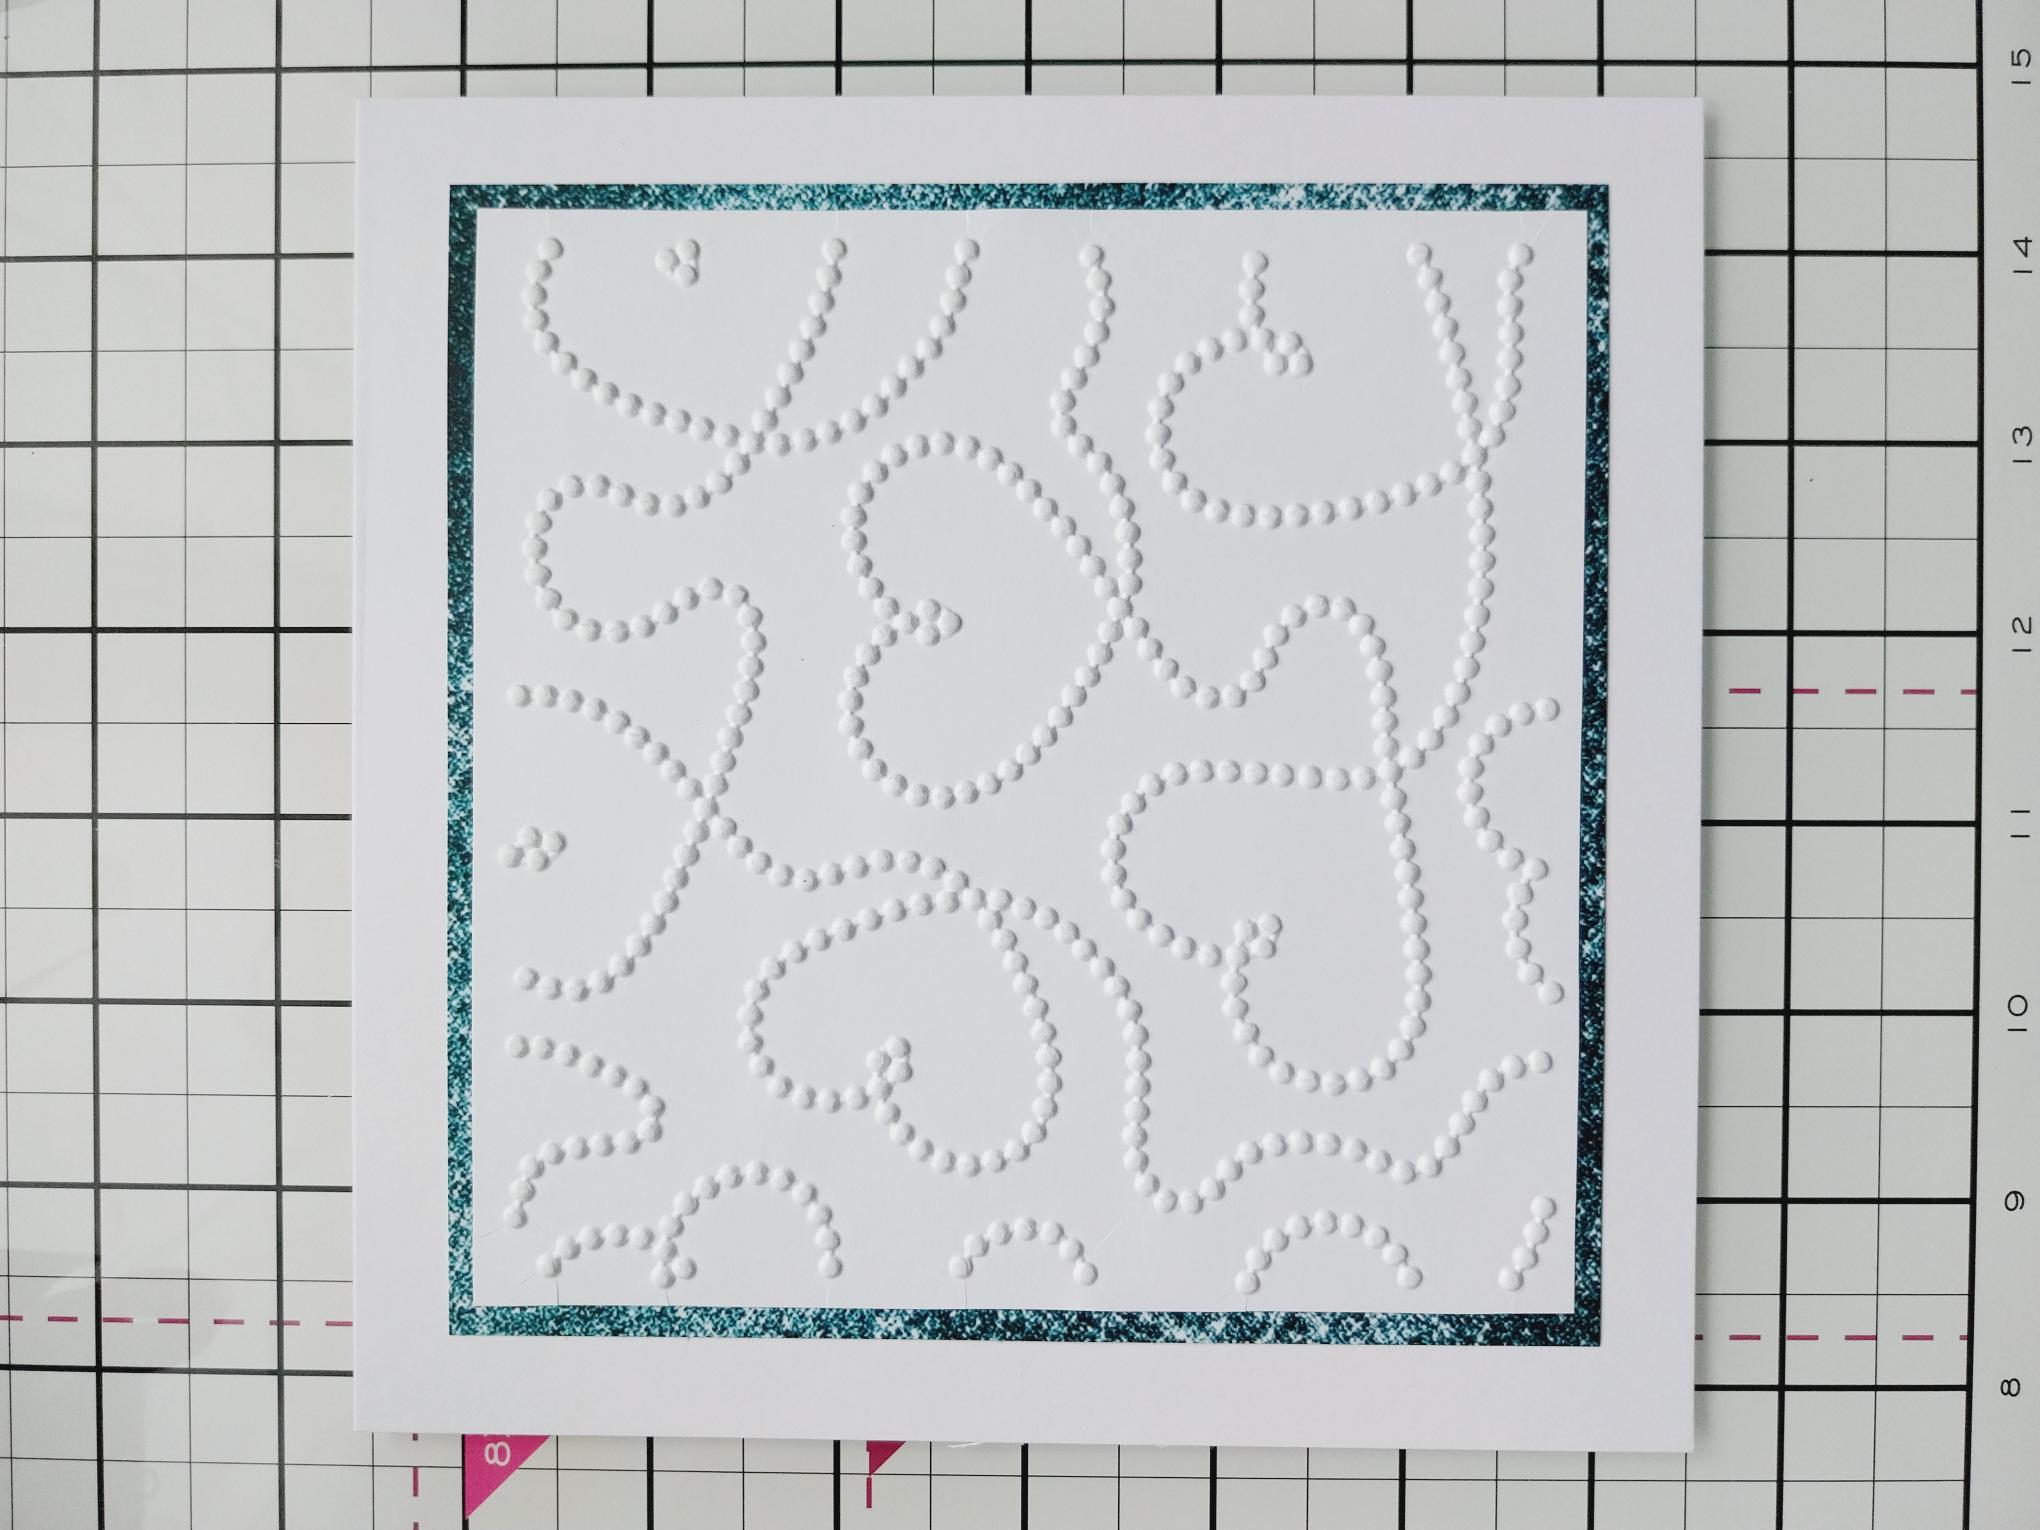
Mat the embossed card on to the decorative paper and then on to your 7" white card blank. |
|
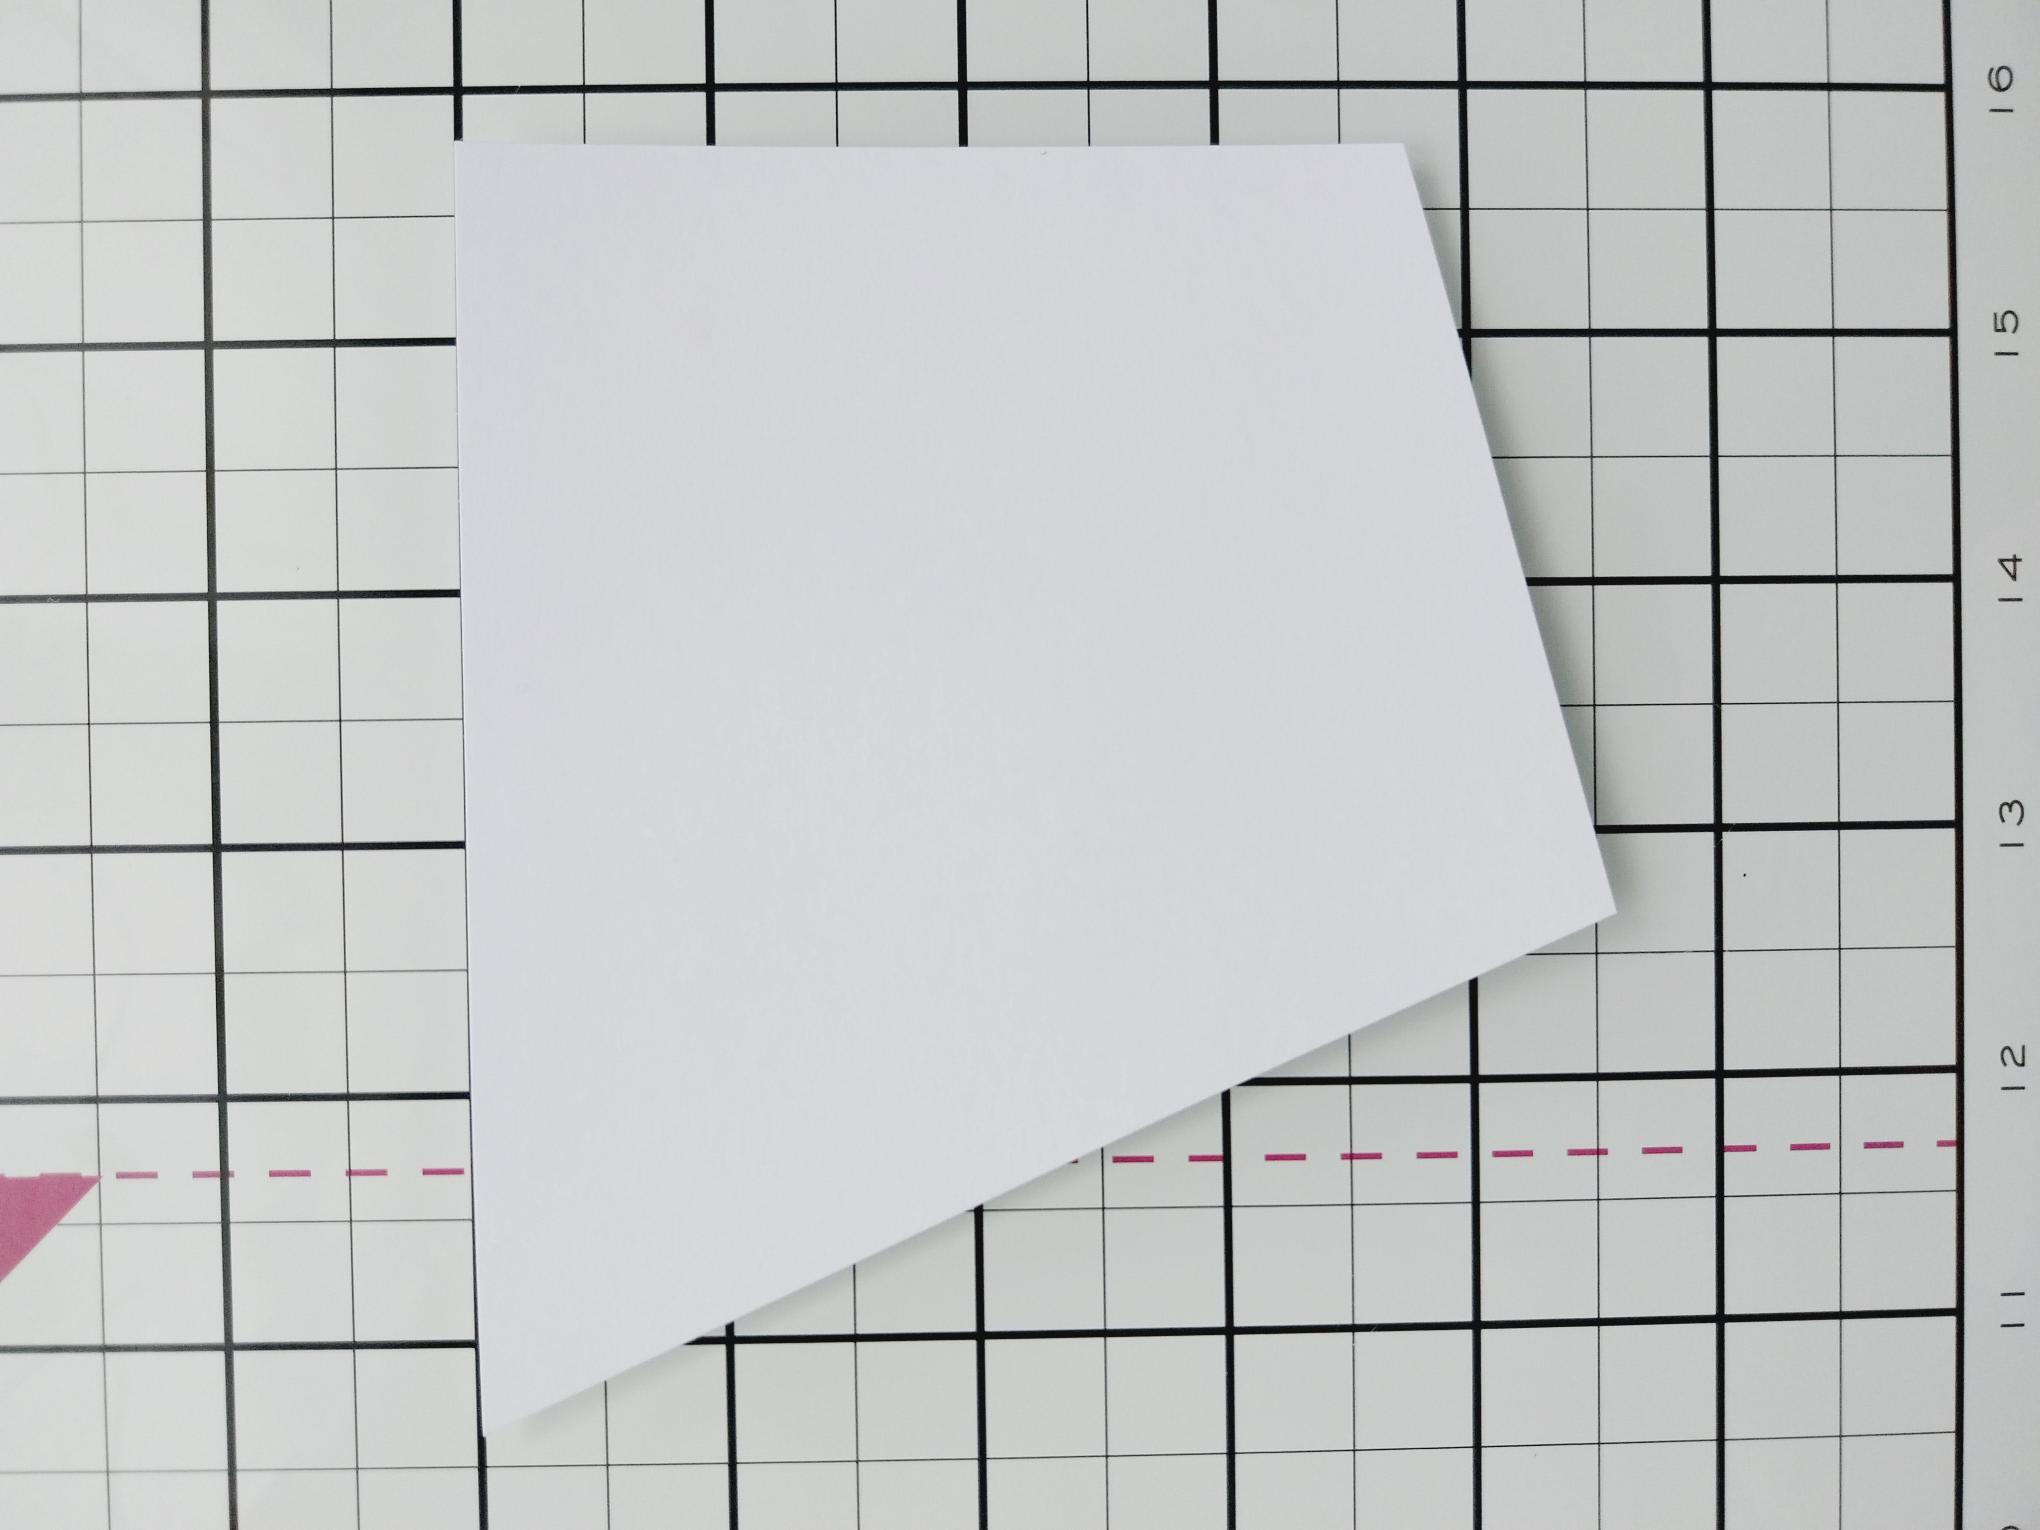
Cut white card to 5 x 4 1/2" square and then, keeping the top and right sides unchanged, trim the other sides to create a shaped panel, as required. |
|
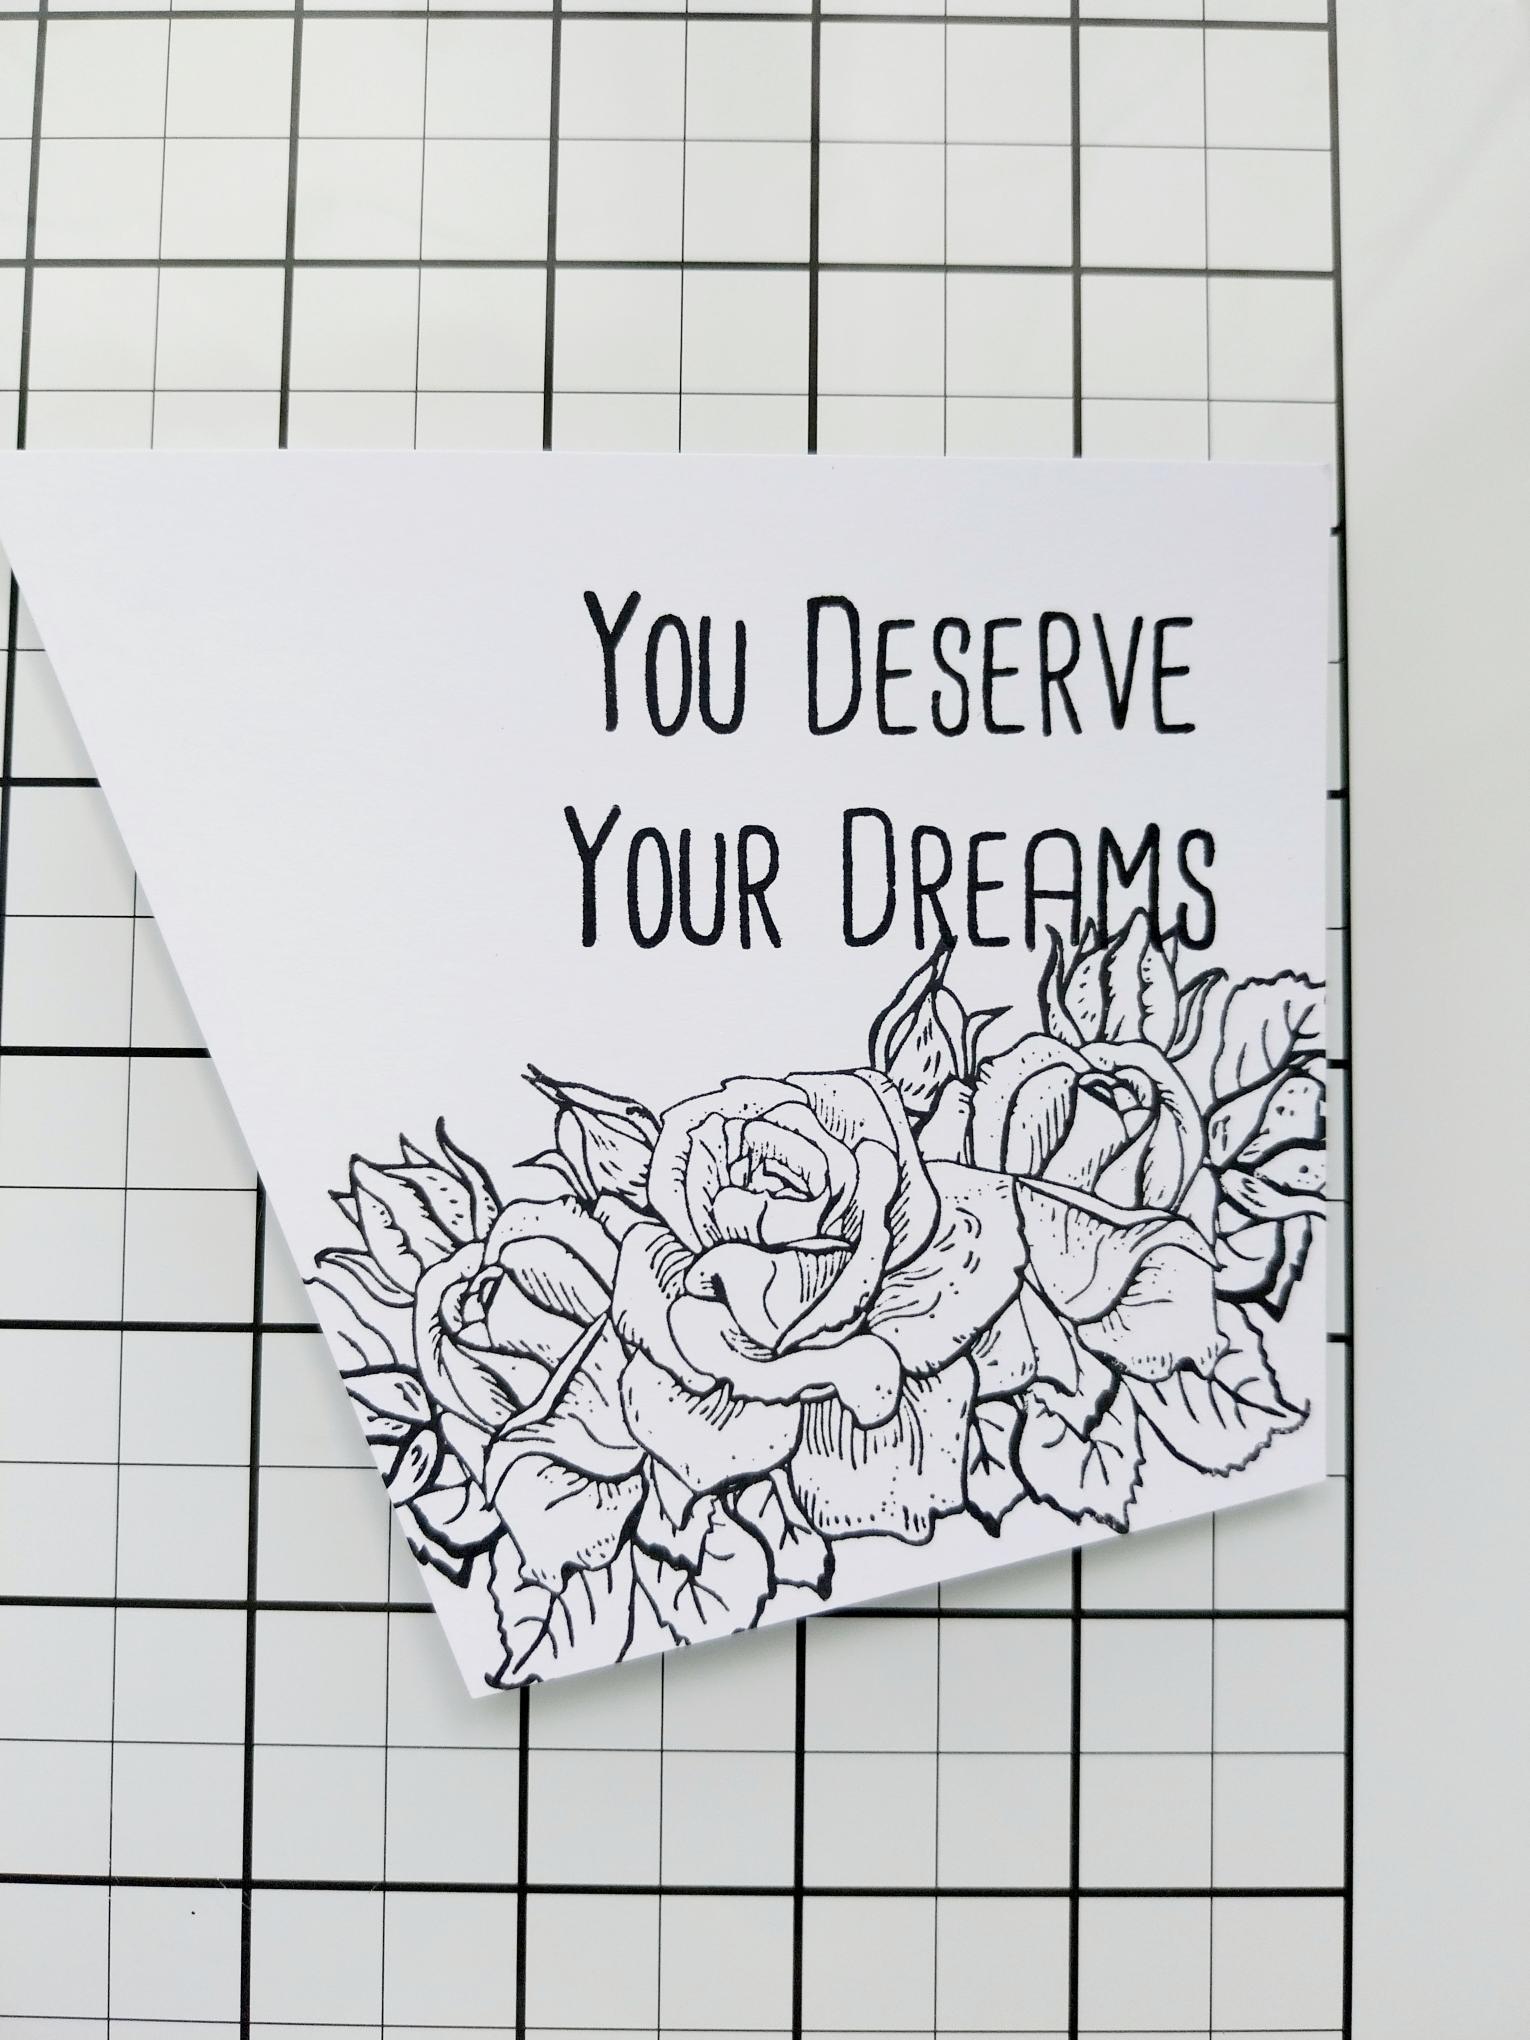
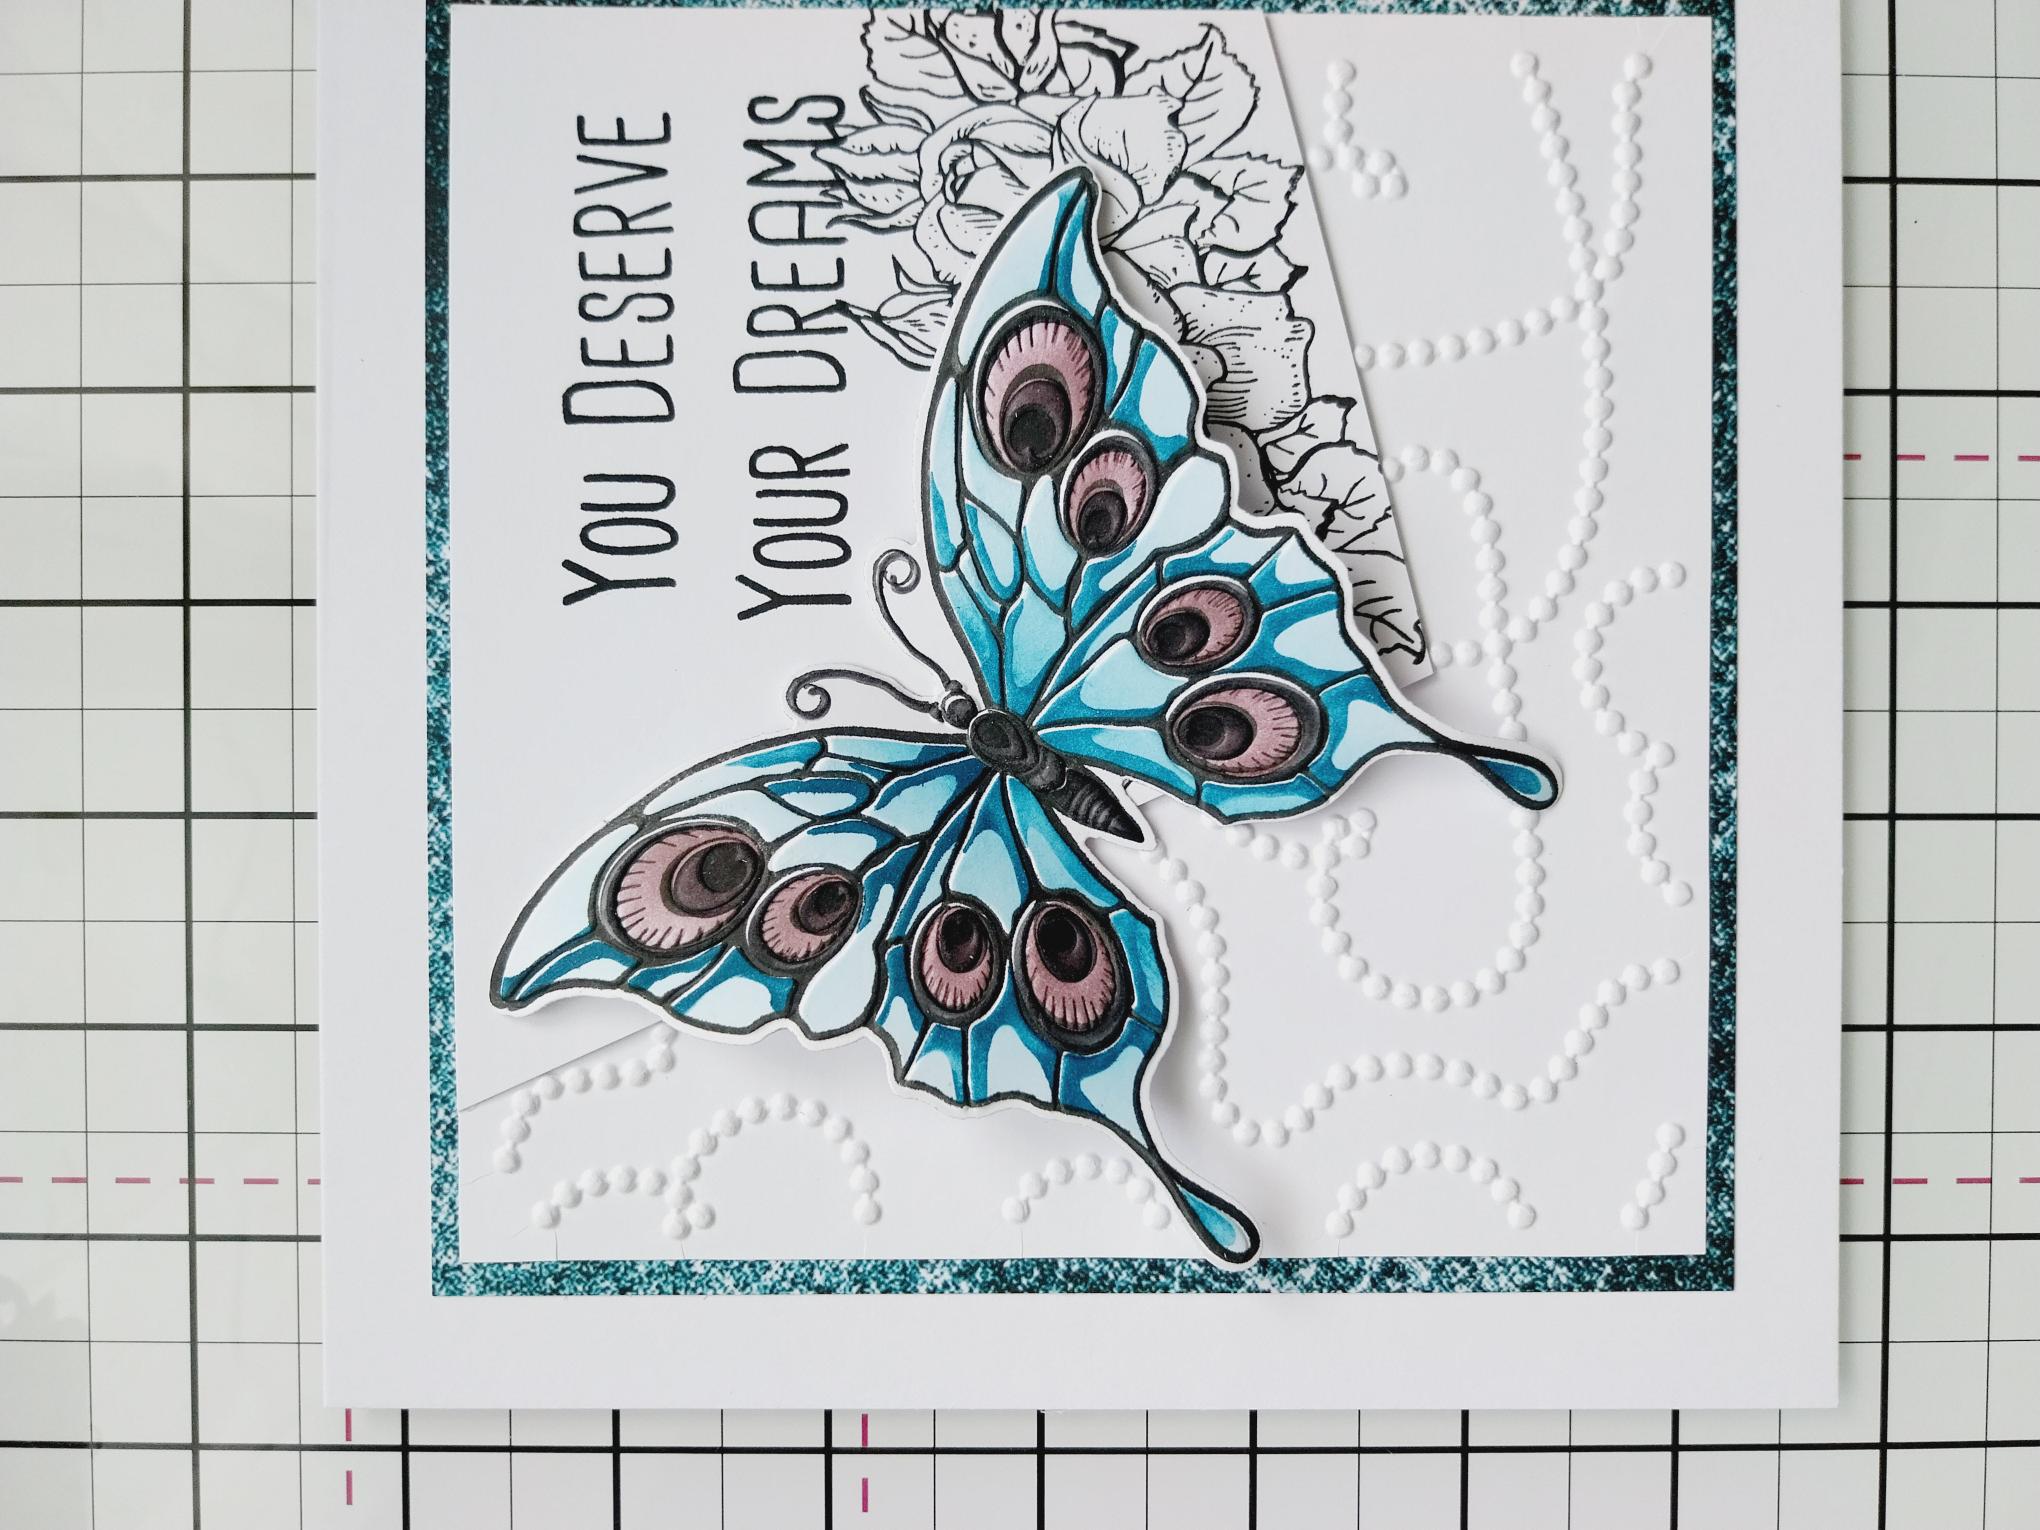
Stamp the floral from the Quattro D Botanical Bunch, along the bottom of your panel, in the Midnight hybrid ink. Stamp the sentiment from the Ruby Blooms stamp set, above your floral image. |
|
Adhere to the front of your card and pop to one side. |
|
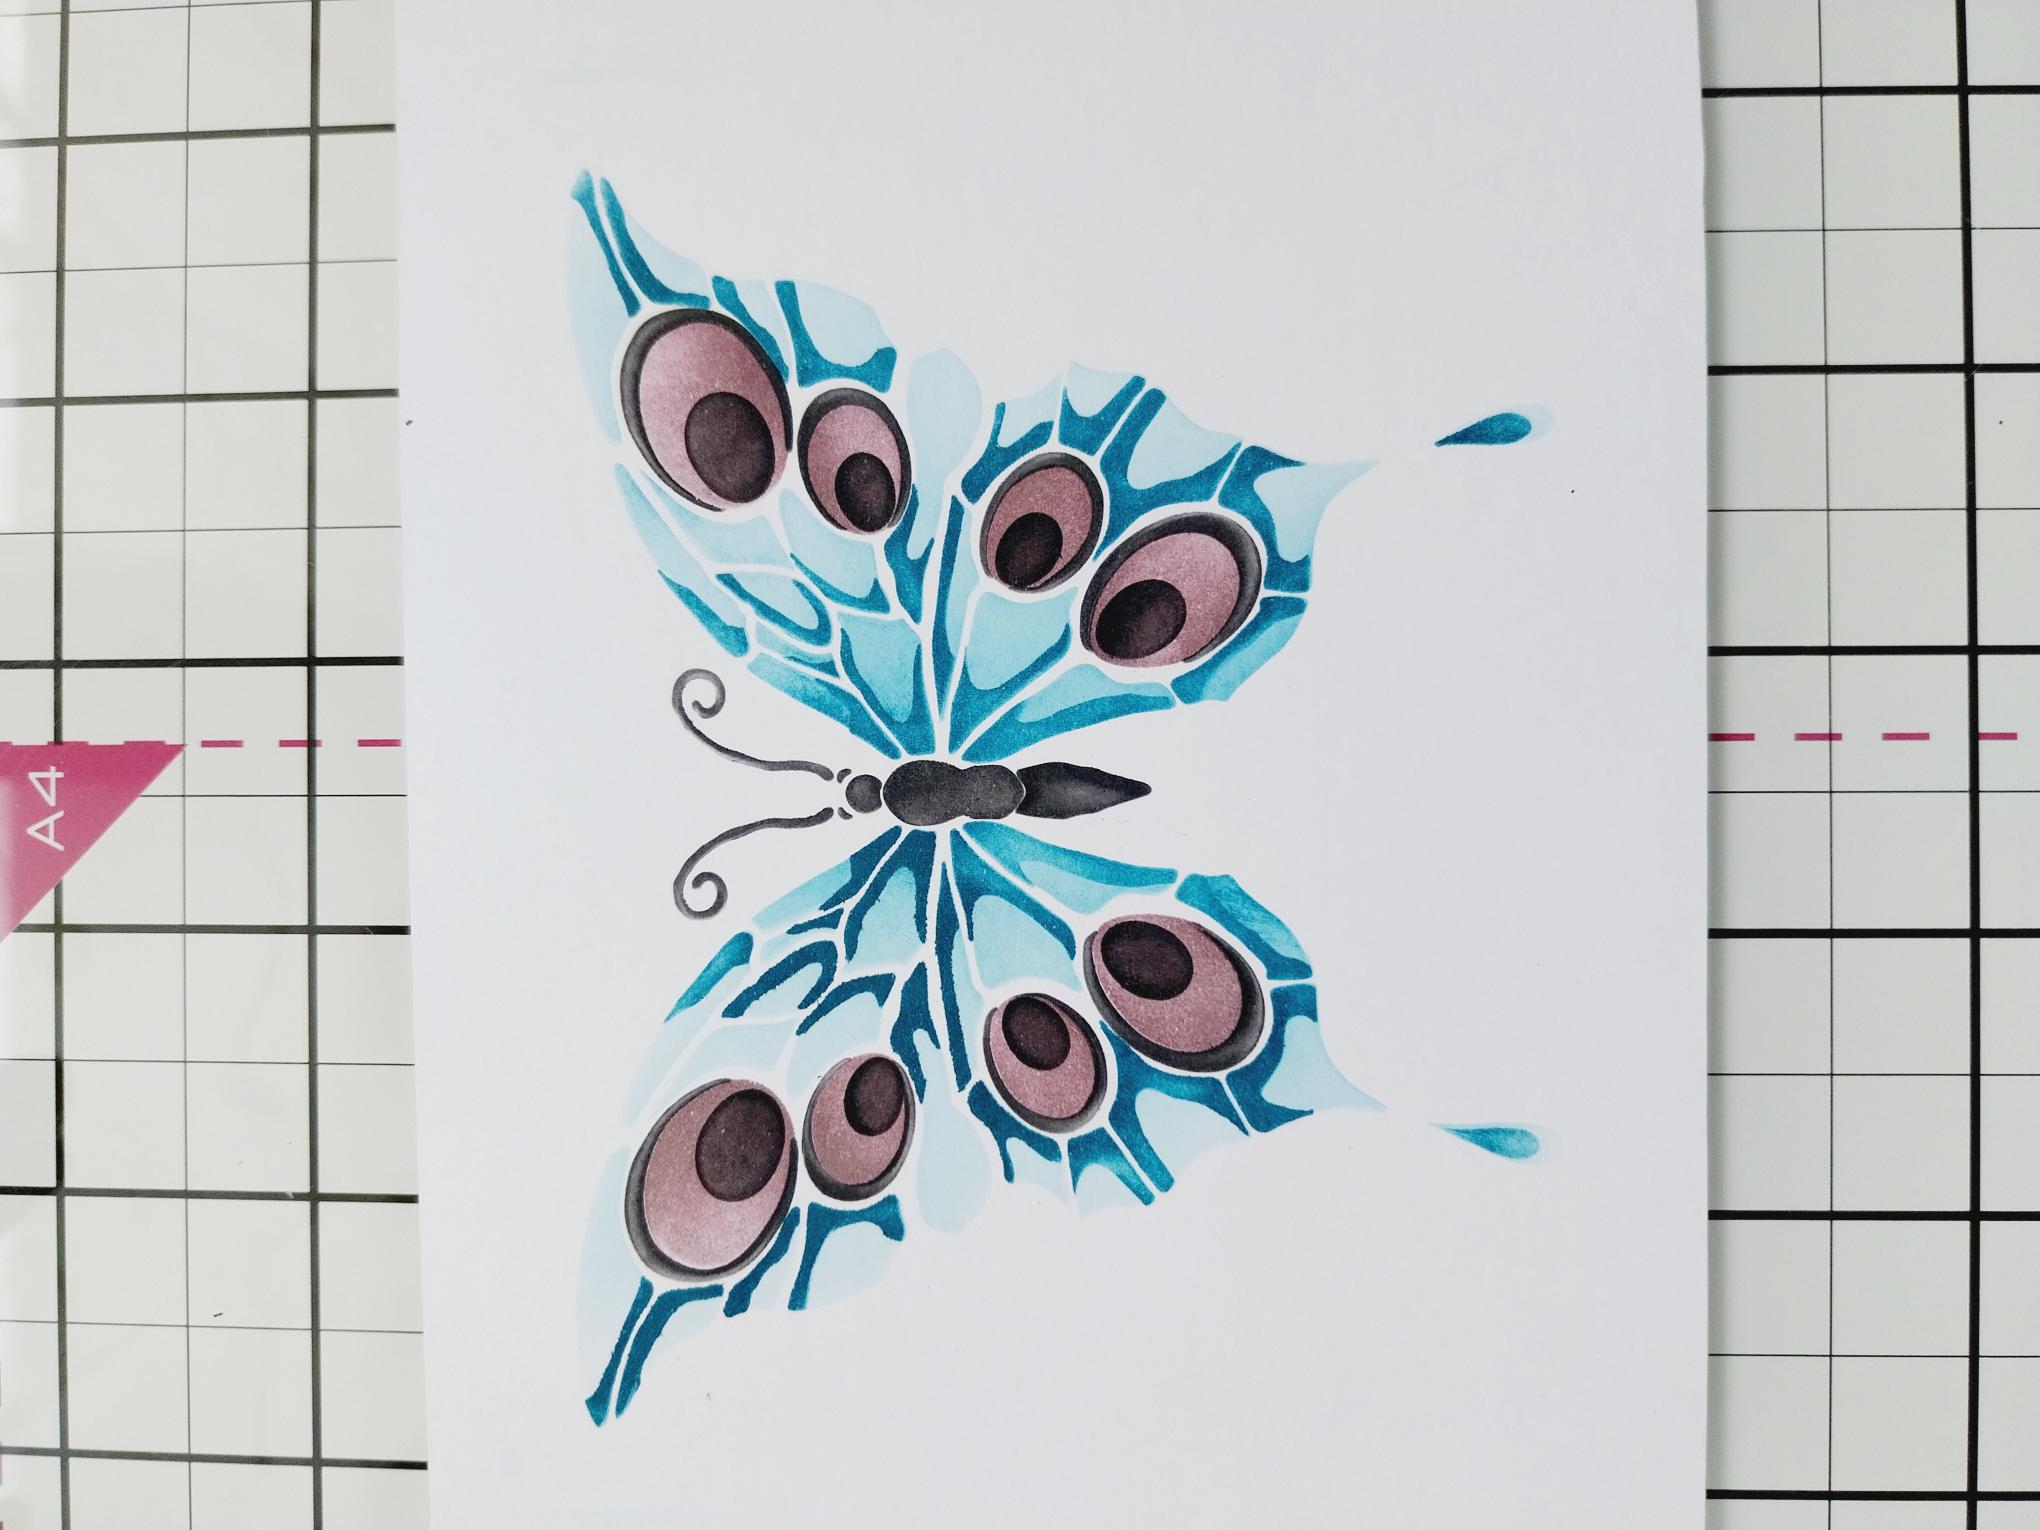
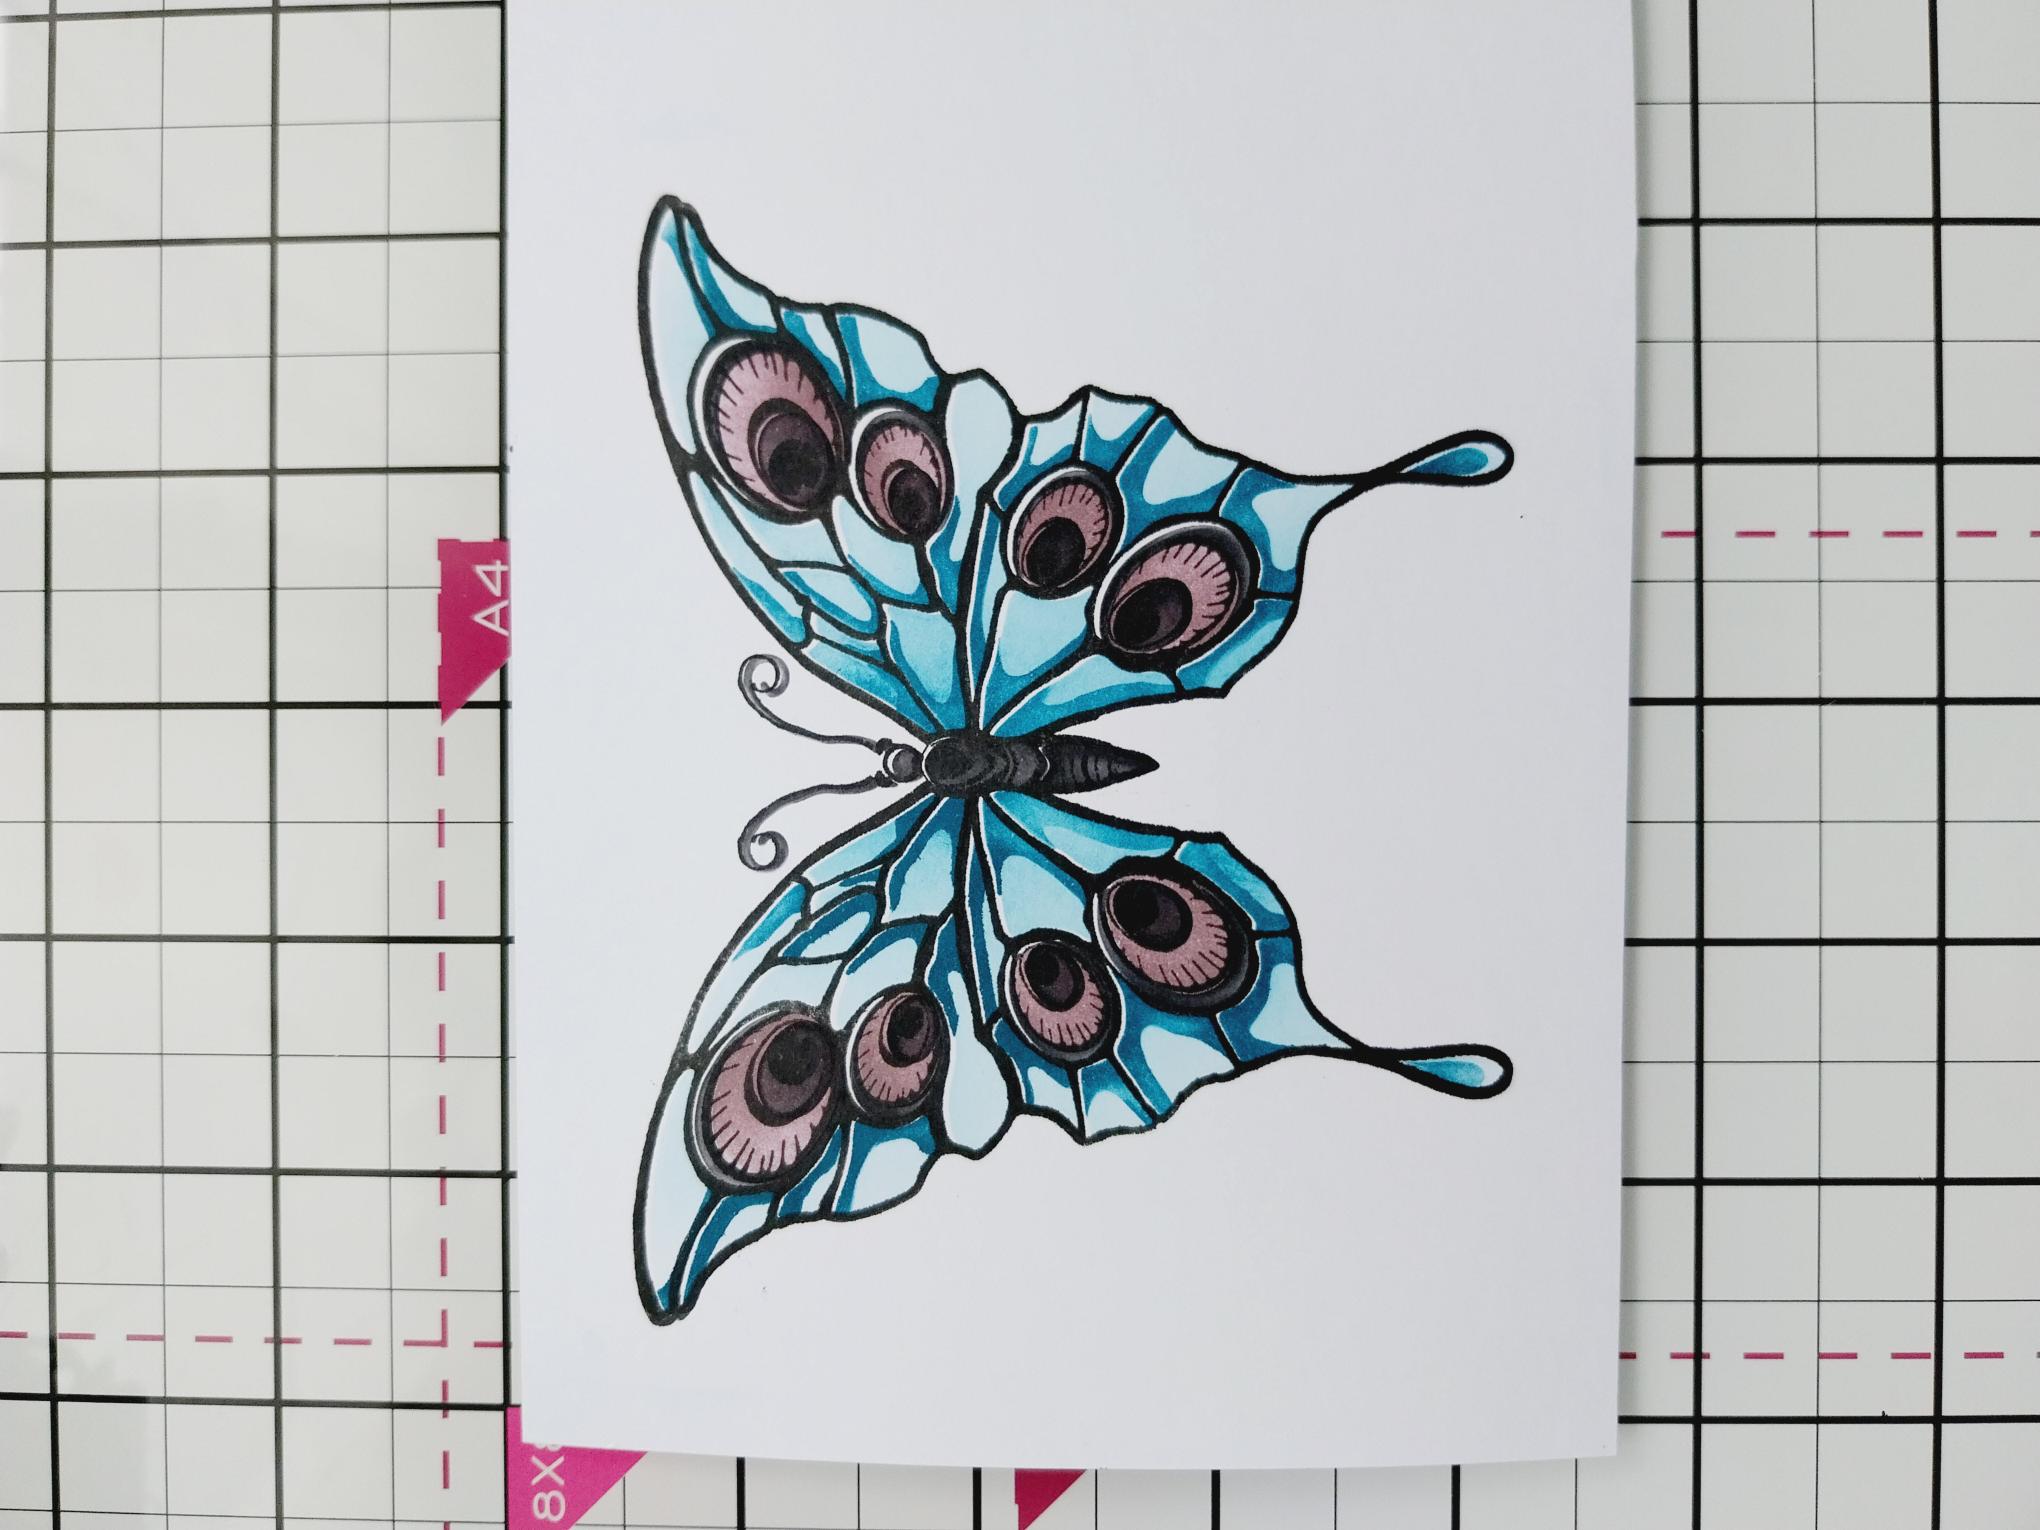
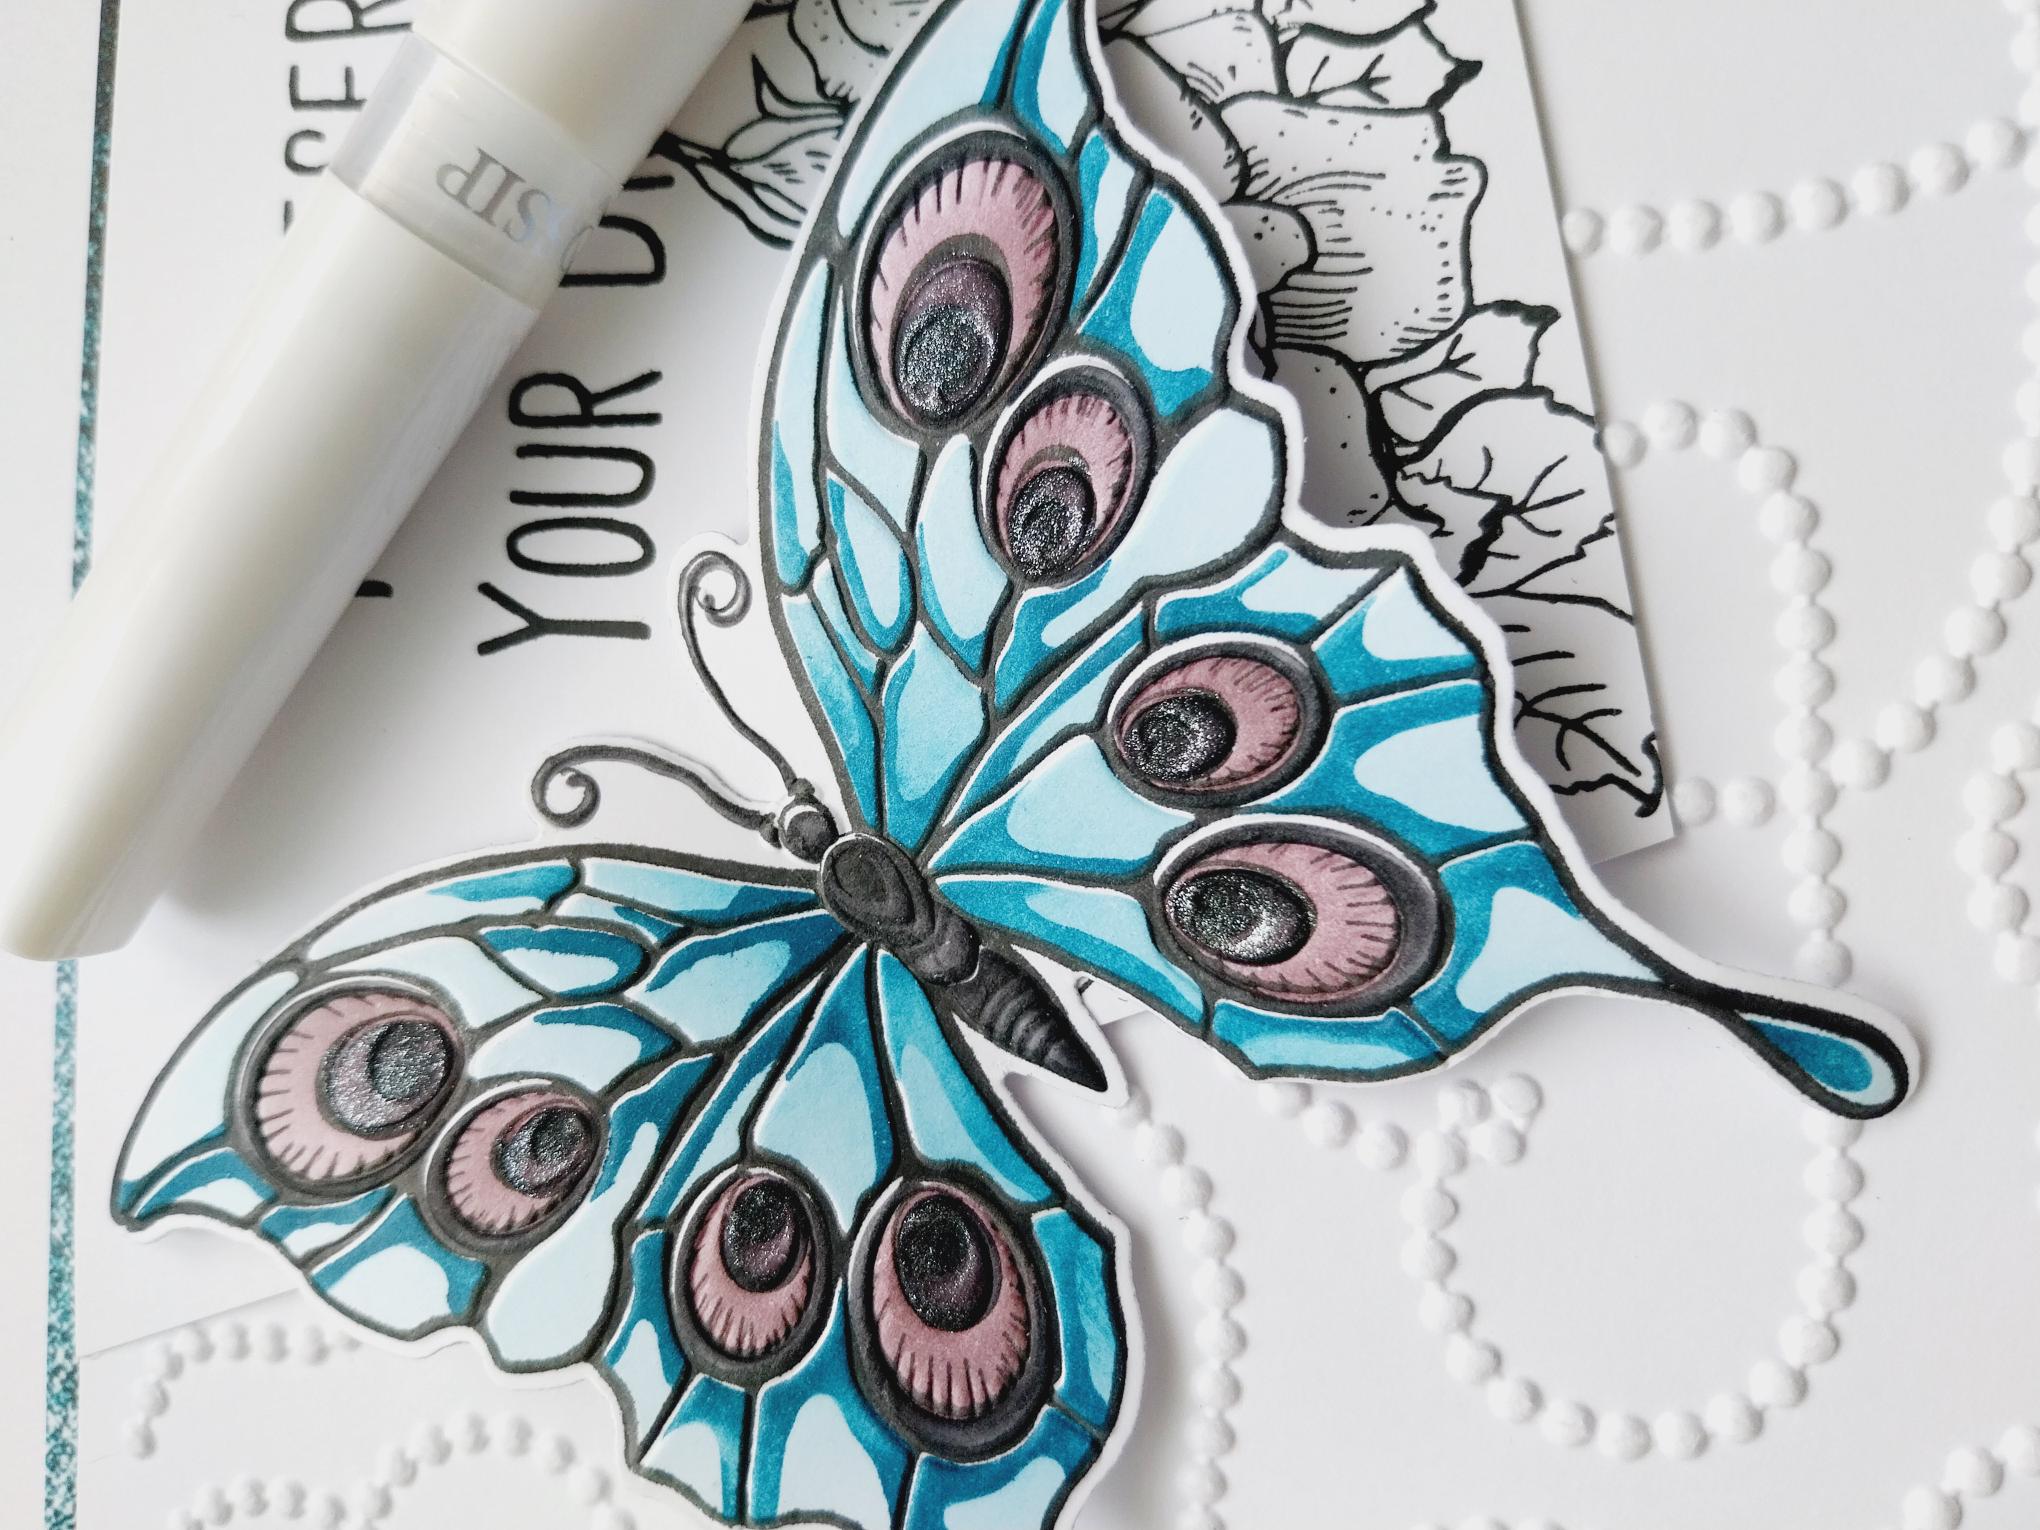
Each of the stencils in the Quattro D Flutterby collection are numbered and have hearts in the corner to help you line each stencil up, if required. Use your blending tool to apply ink through each stencil, on to white card trimmed to 6 x 5", as follows: Stencil 1 Tiffany but only lightly Stencil 2 Tiffany but with more pressure Stencil 3 Heather (spots) Black Soot (body) Stencil 4 and 5 Black Soot |
|
Stamp over your stencilled image with the Midnight ink. |
|
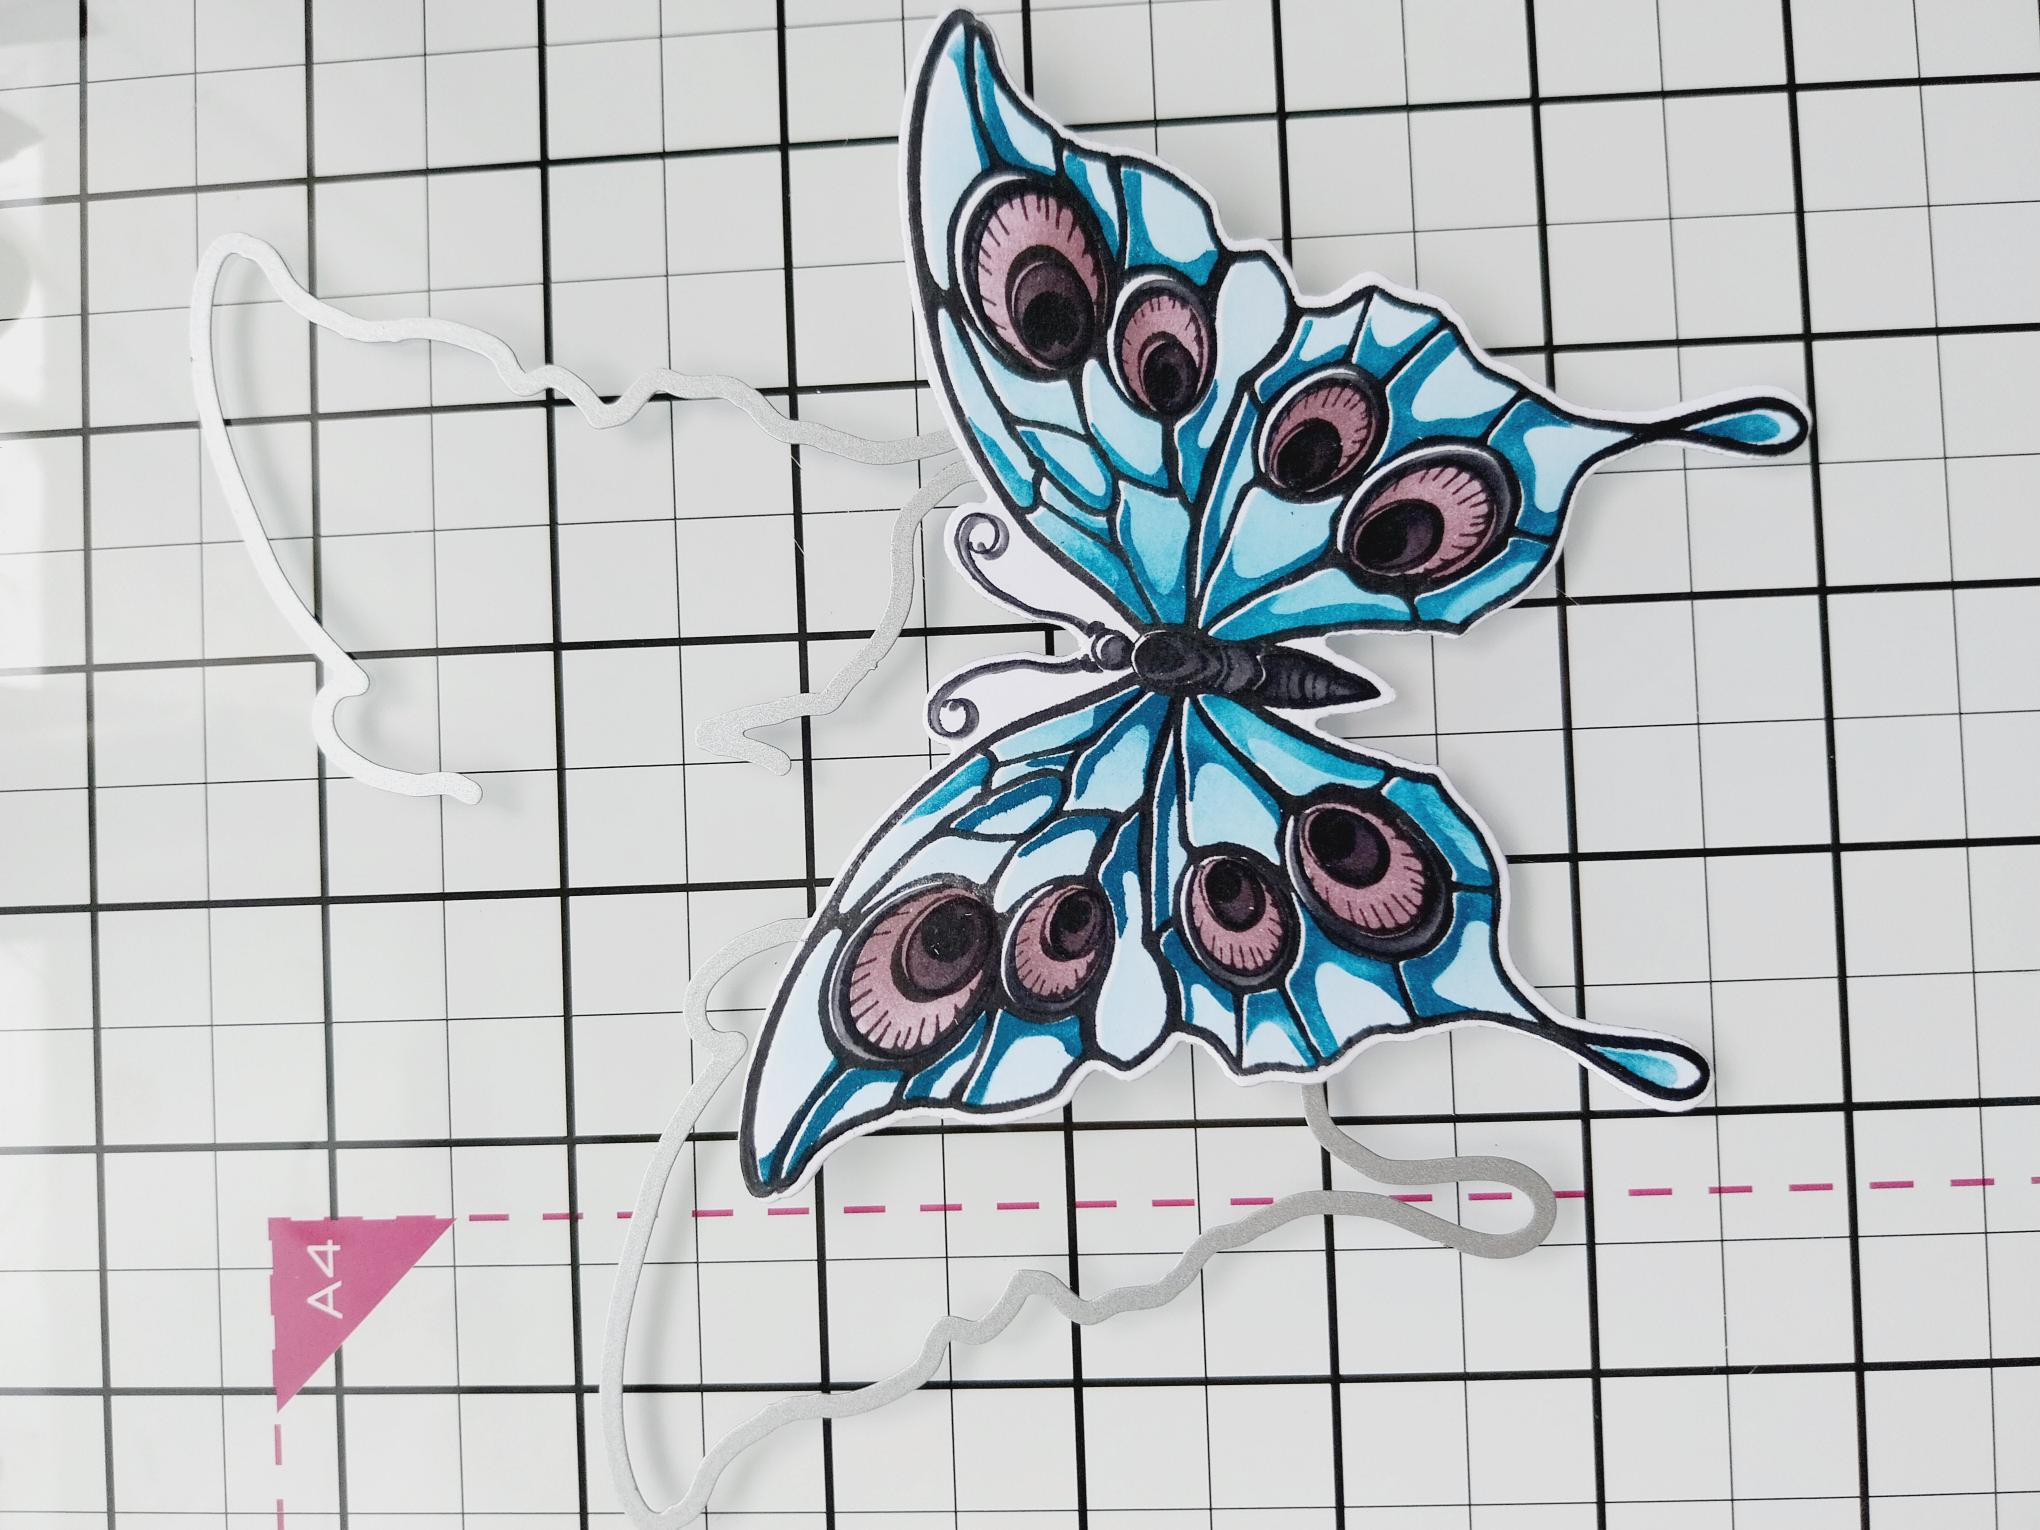
Use the coordinating dies to cut out your Butterfly. |
|
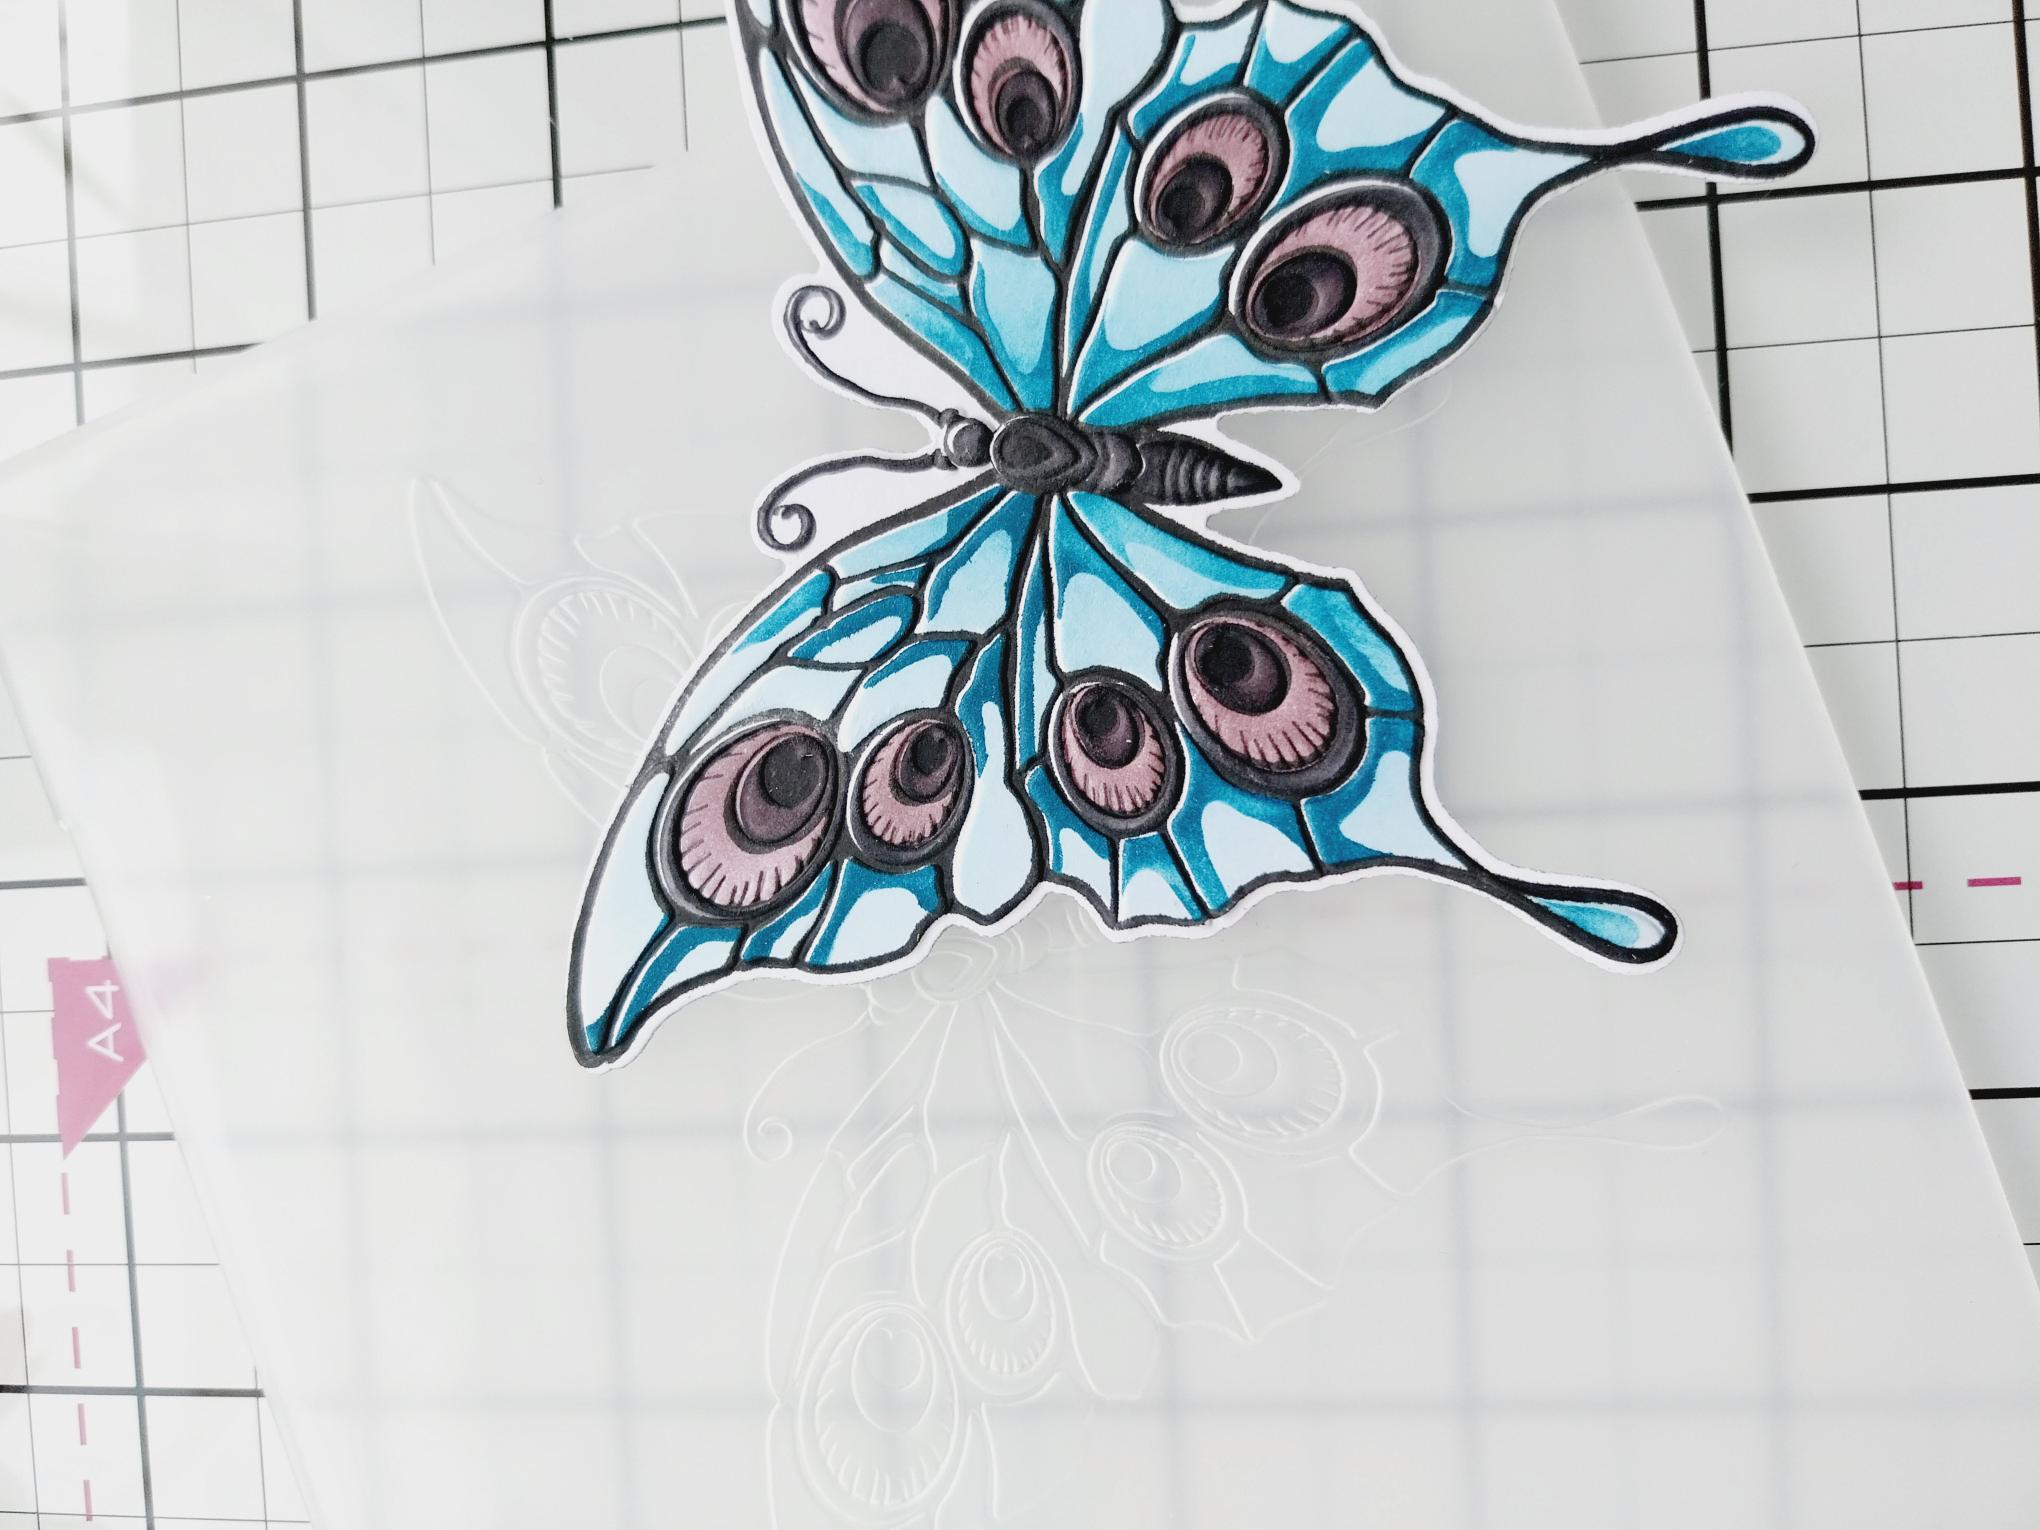
Line up your 3D Butterfly inside the embossing folder and run it through your machine. |
|
Mould the wings before adhering your Butterfly to your card. |
|
Finally, use your Gossip clear overlay sparkle pen to add a touch of sparkle to the Butterfly wings. |