Give your friends $10 off their first order!
Refer a FRIEND


WHAT YOU WILL NEED:
Black card blank 5 x 7"
Black/white card
Happy Haunting Reflection Collection Paper Pack
Creep It Real Stamp Set
Jasper, Matilda & Luna Die Set (available to HSN viewers only)
SBM Hybrid Ink Pad: Midnight
Eureka 101 Watercolour Tablet
SBM Magnetic glass mat
Paper Trimmer
Perfect Together Glue
Die Cutting machine
[click image to enlarge] 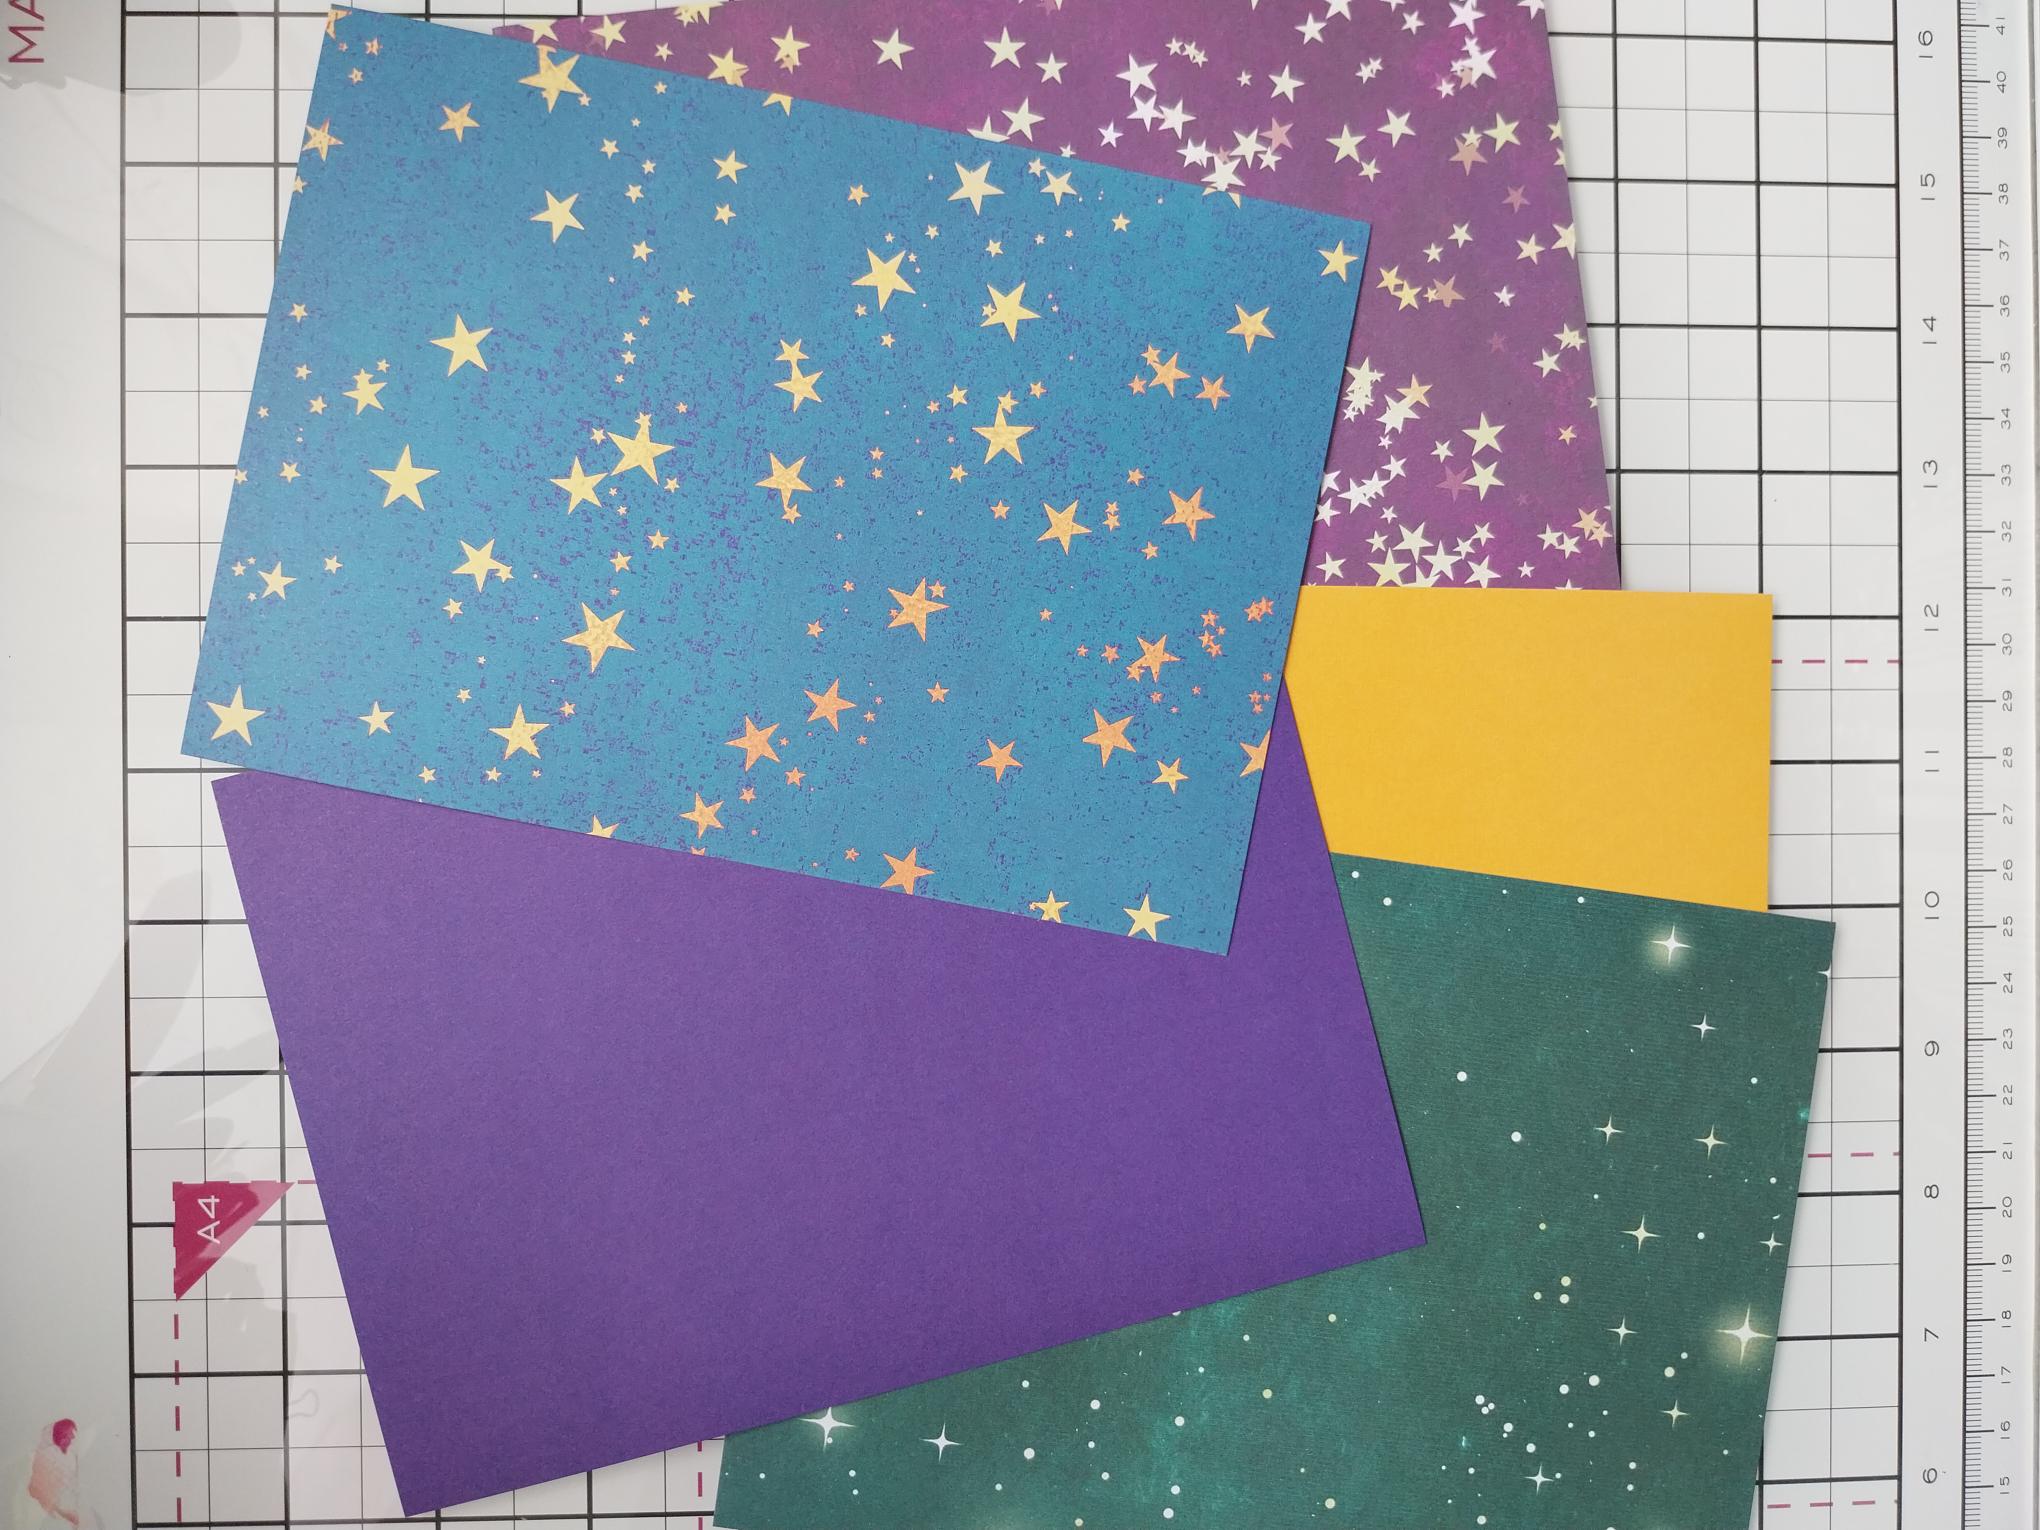
|
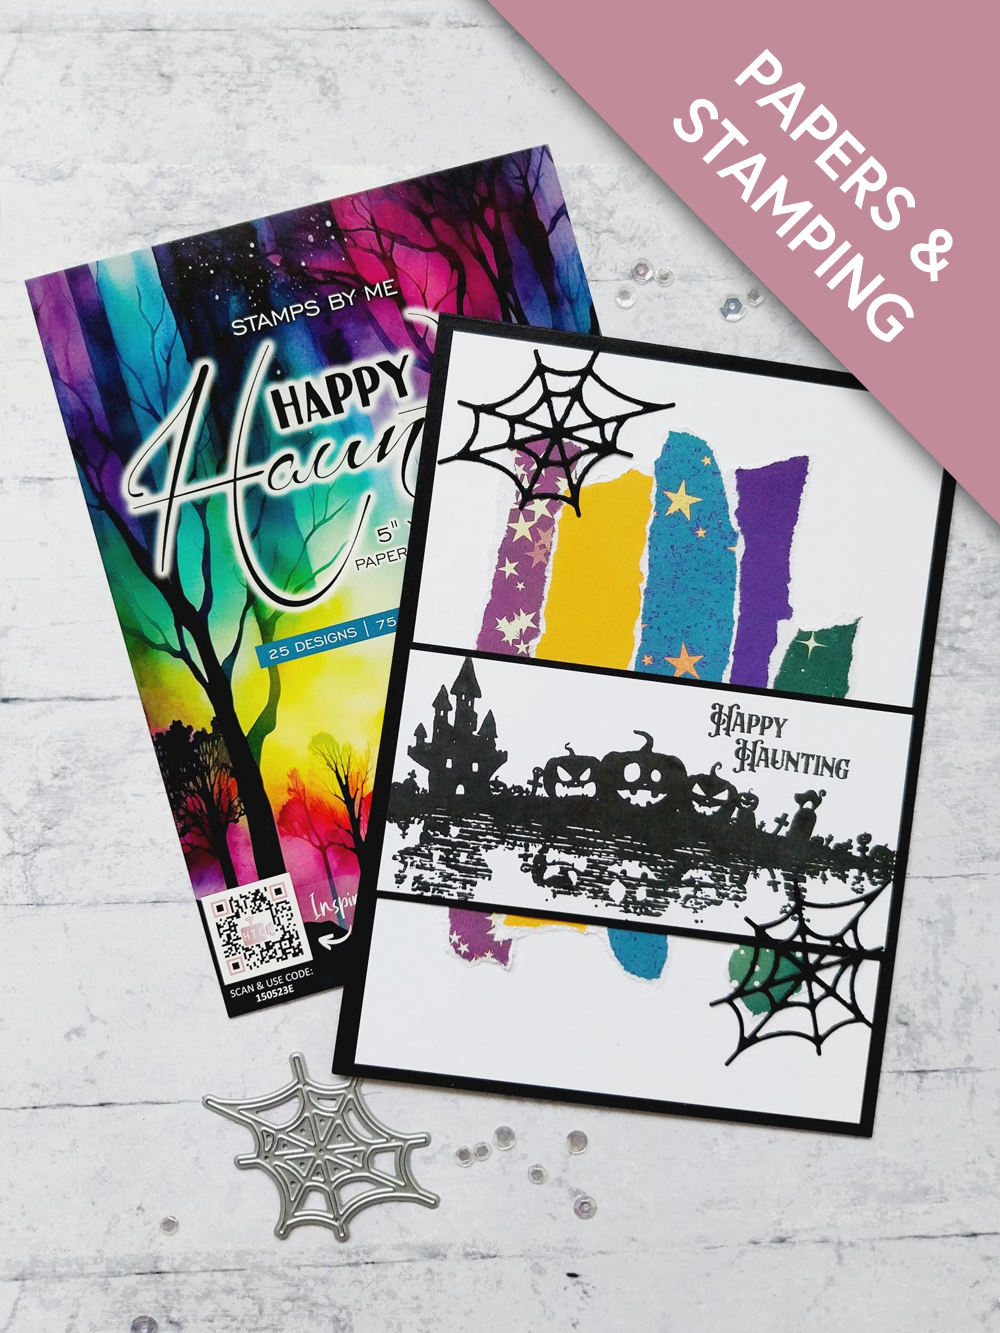
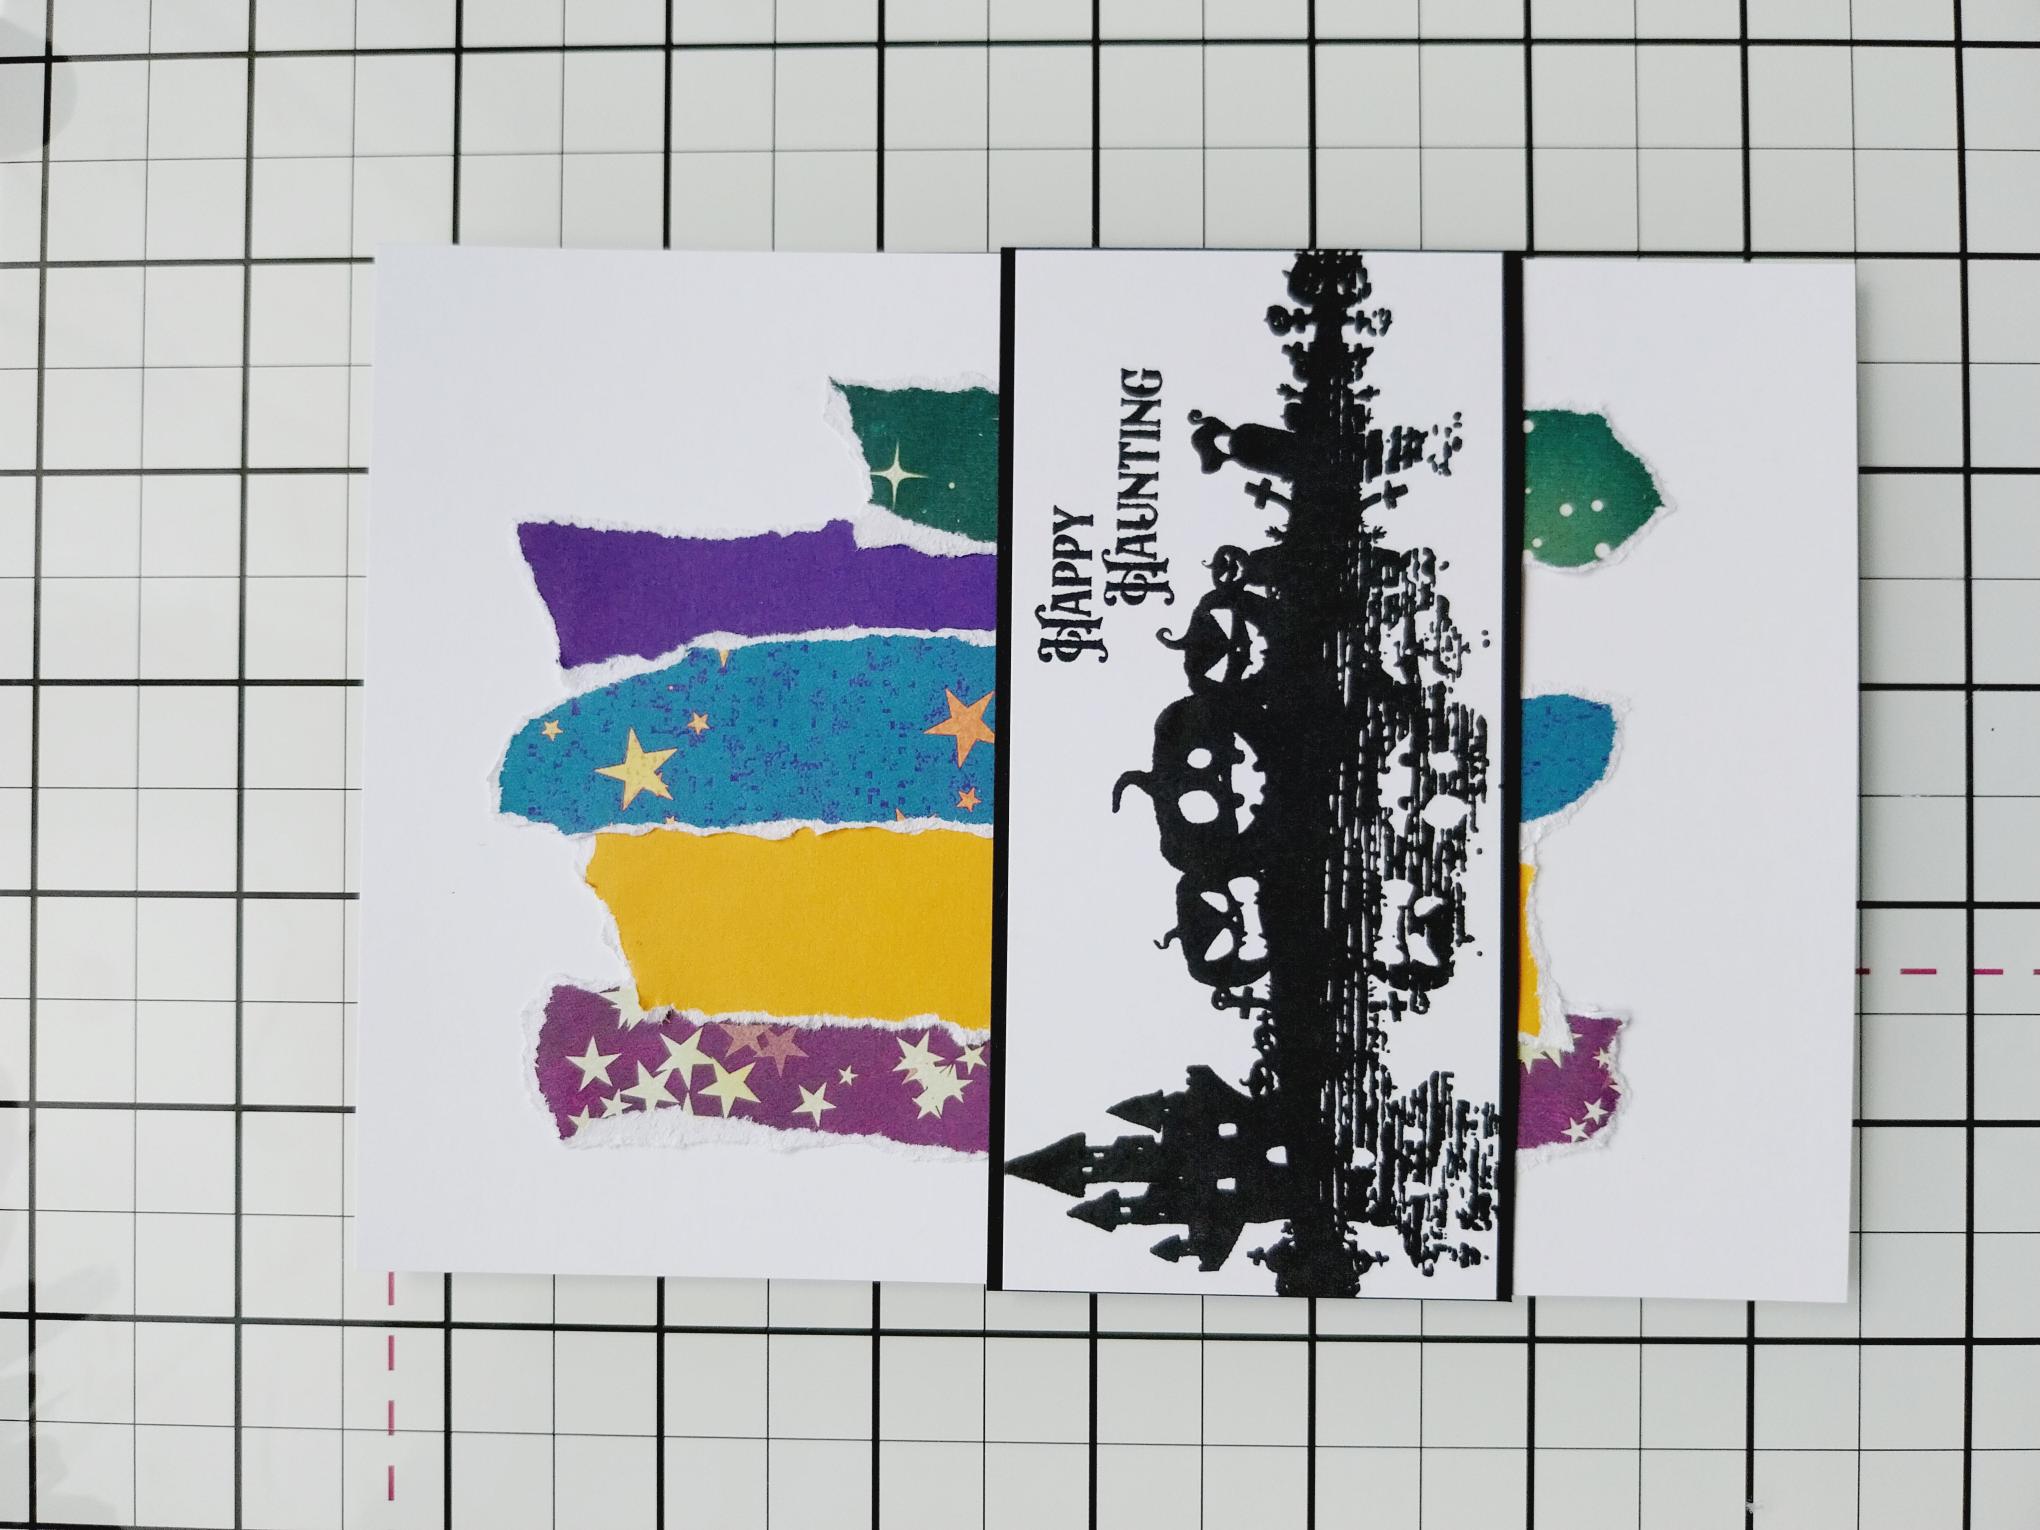
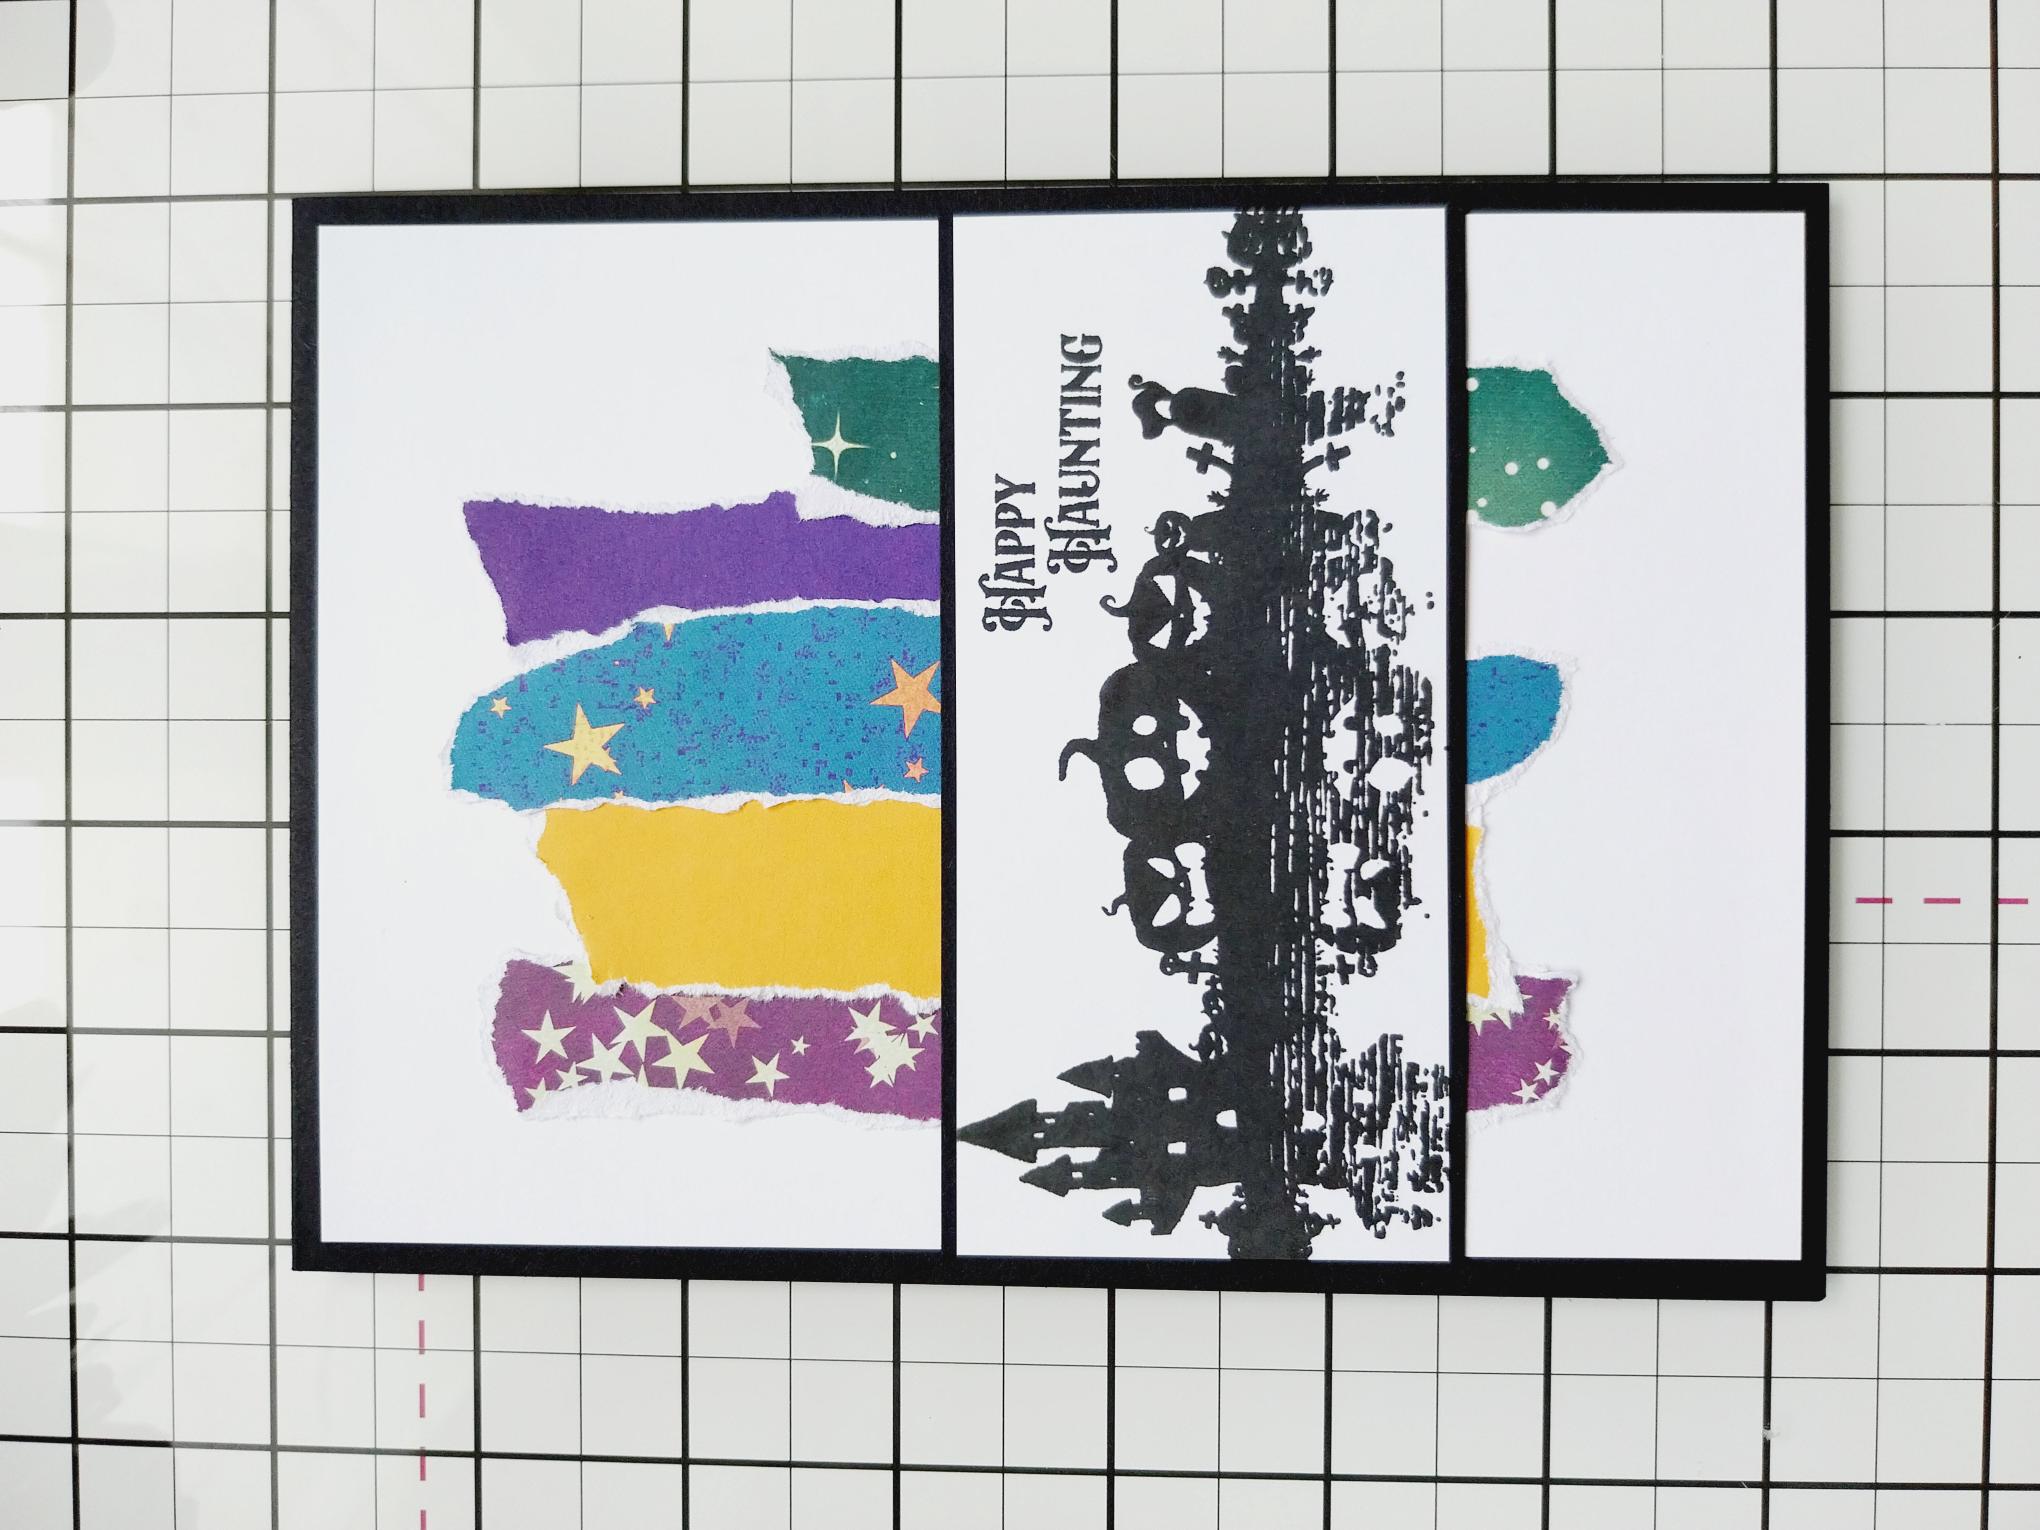
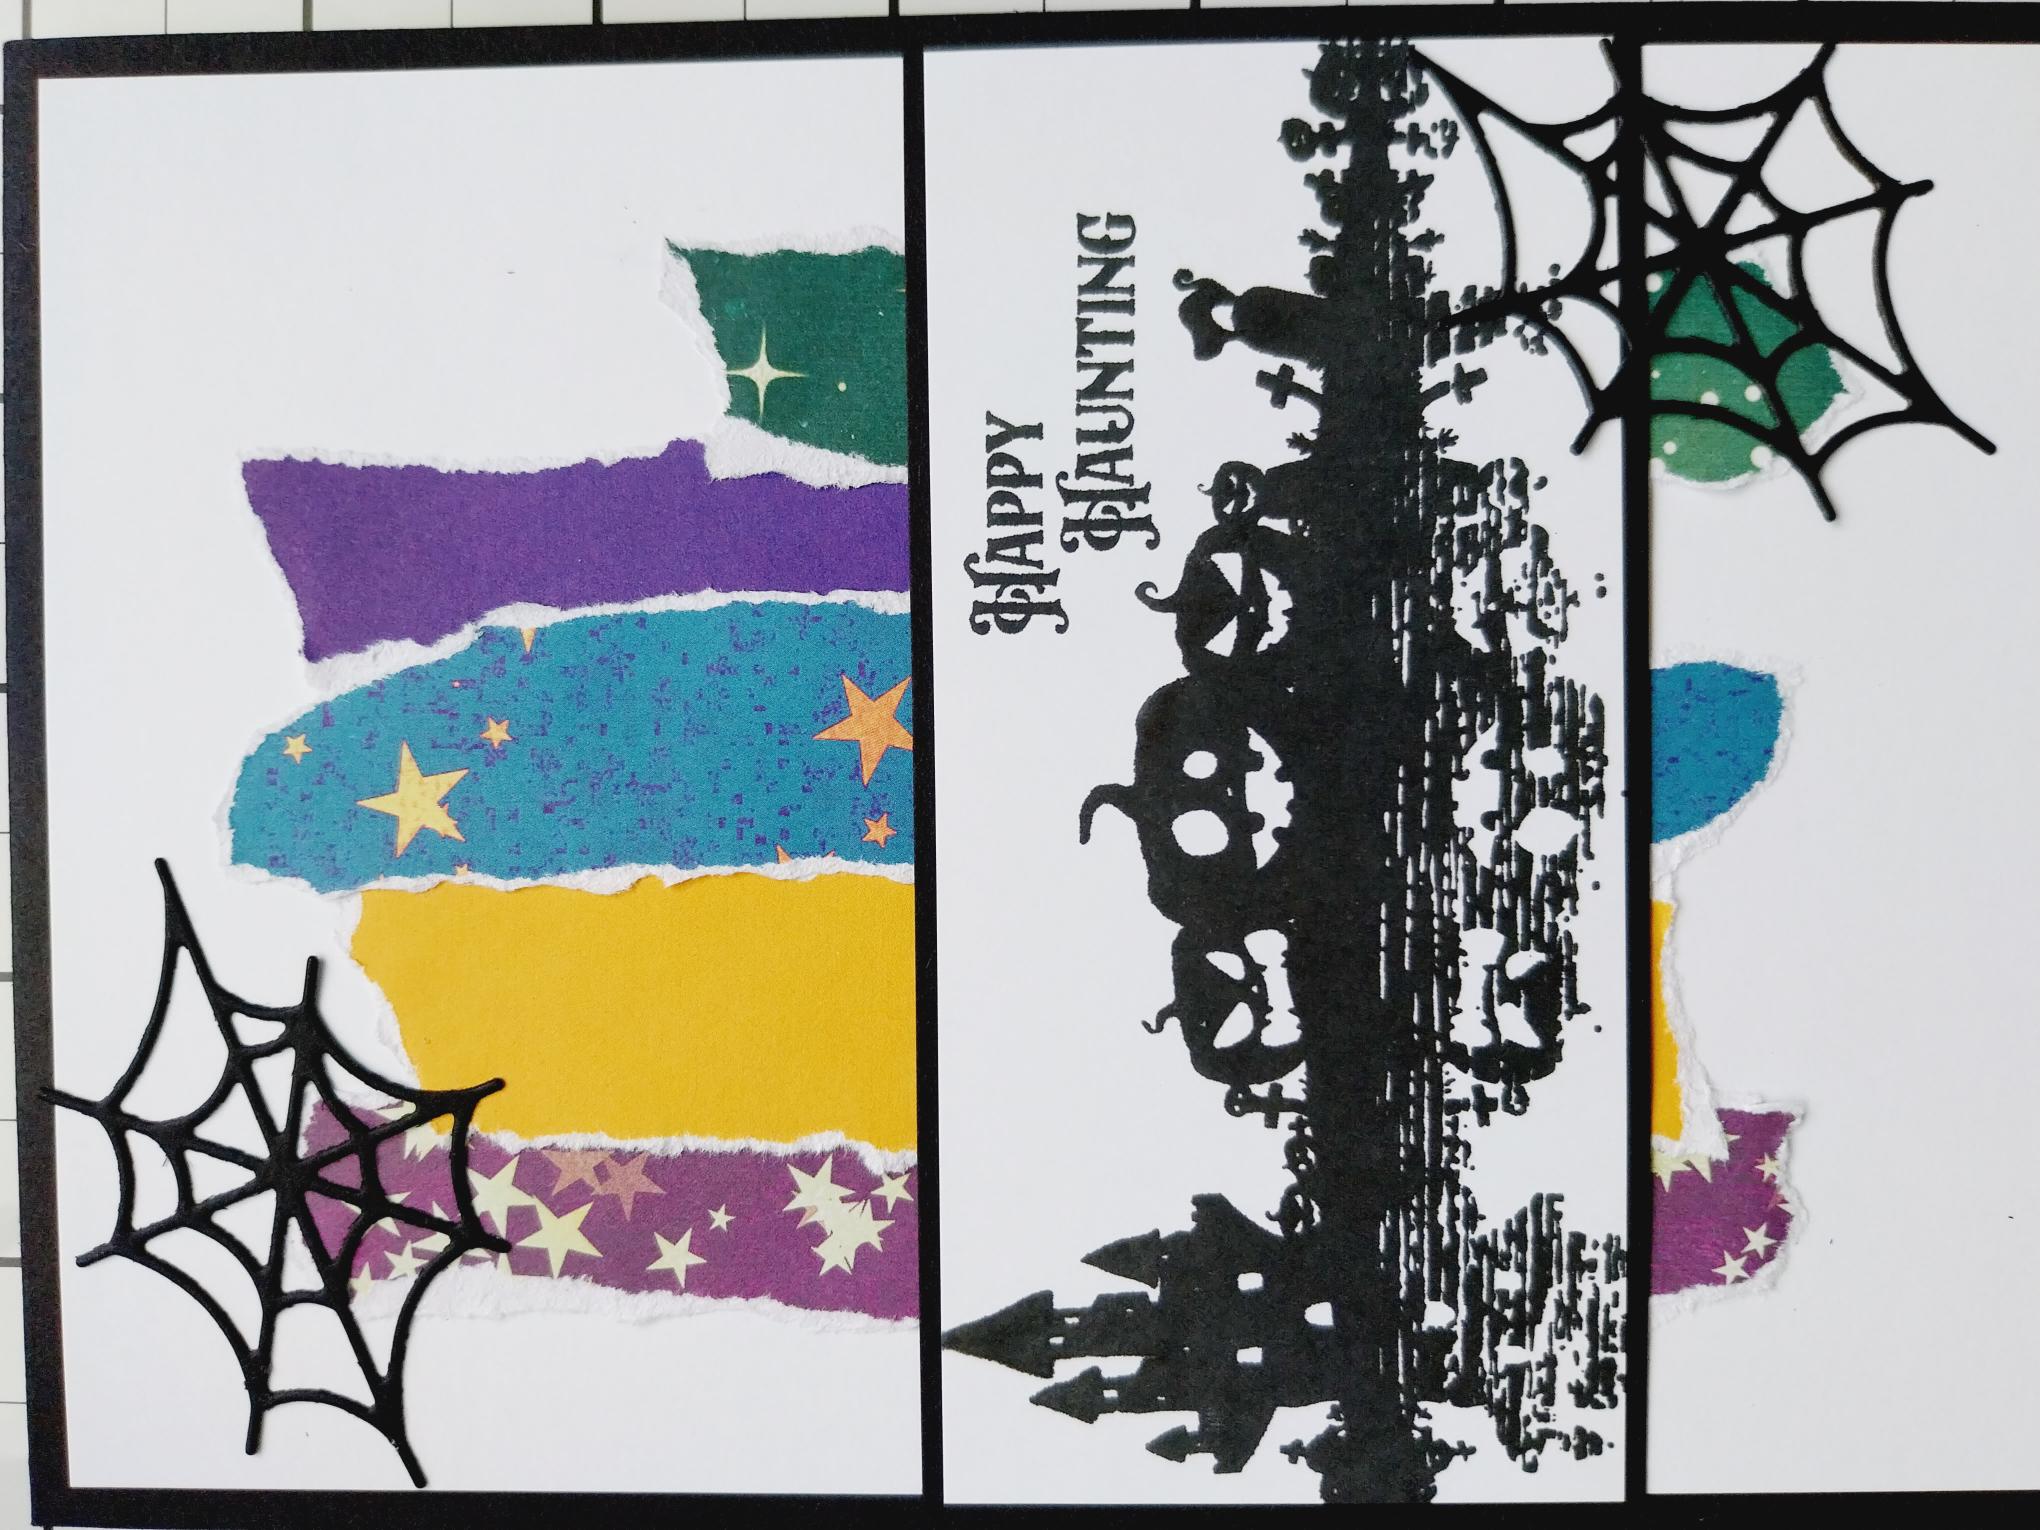
Choose a selection of the stars and block-colour papers, from the Happy Haunting paper pack. |

|
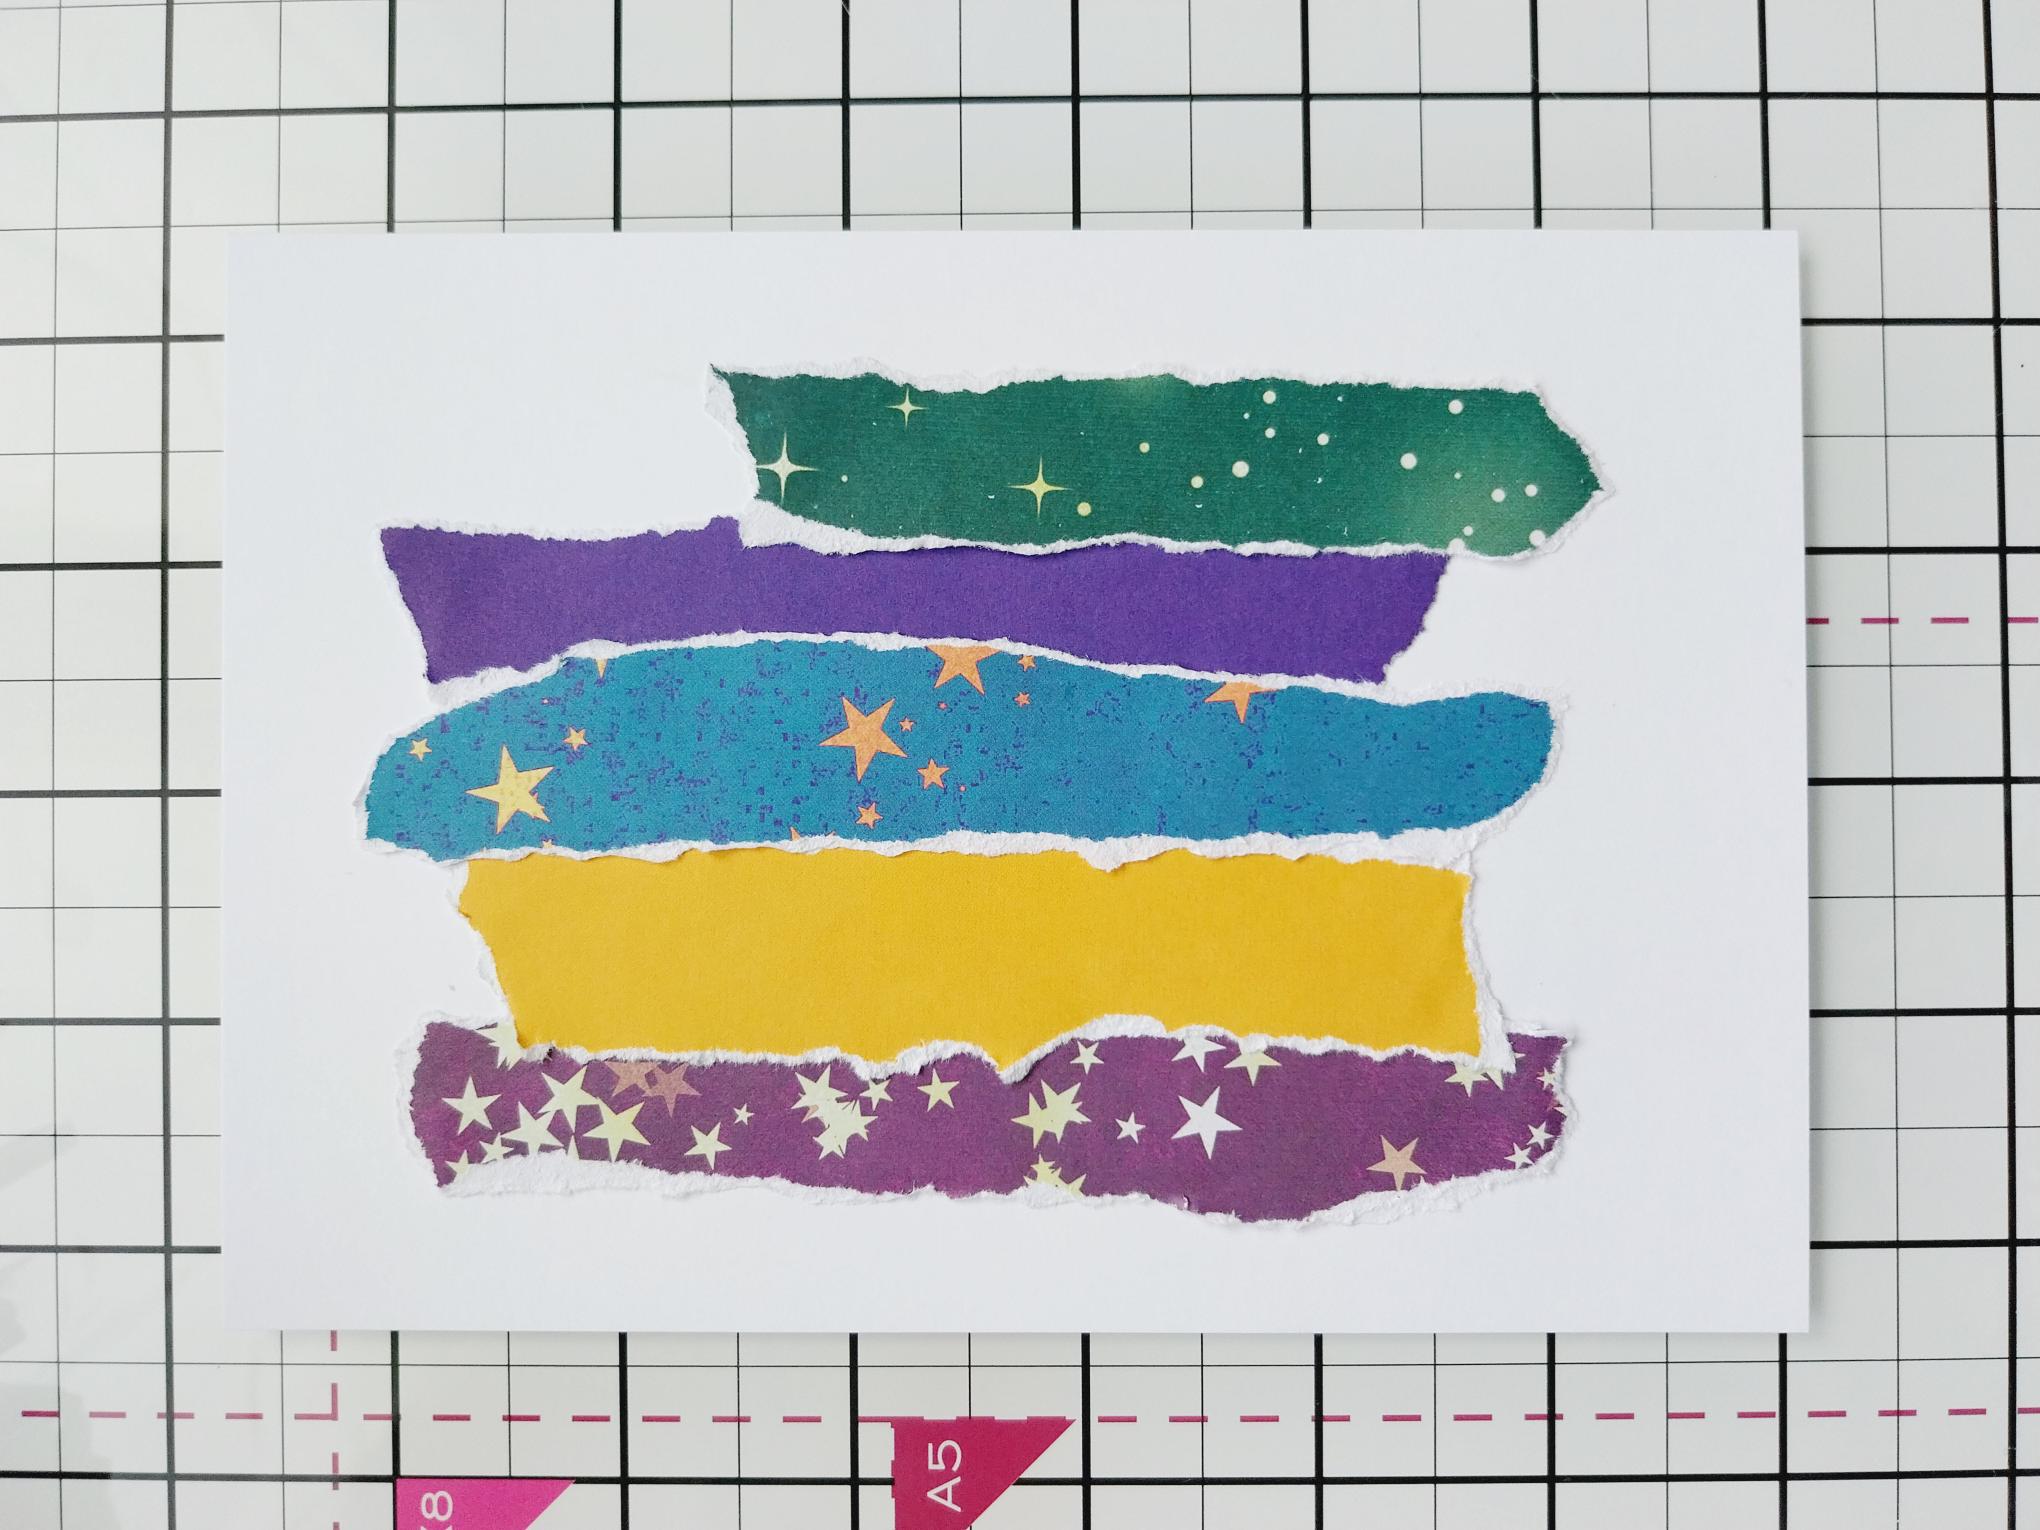
Tear 5 strips of varying width and lengths. |
|
Adhere to white card trimmed to 4 3/4 x 6 3/4" and pop to one side. |
|
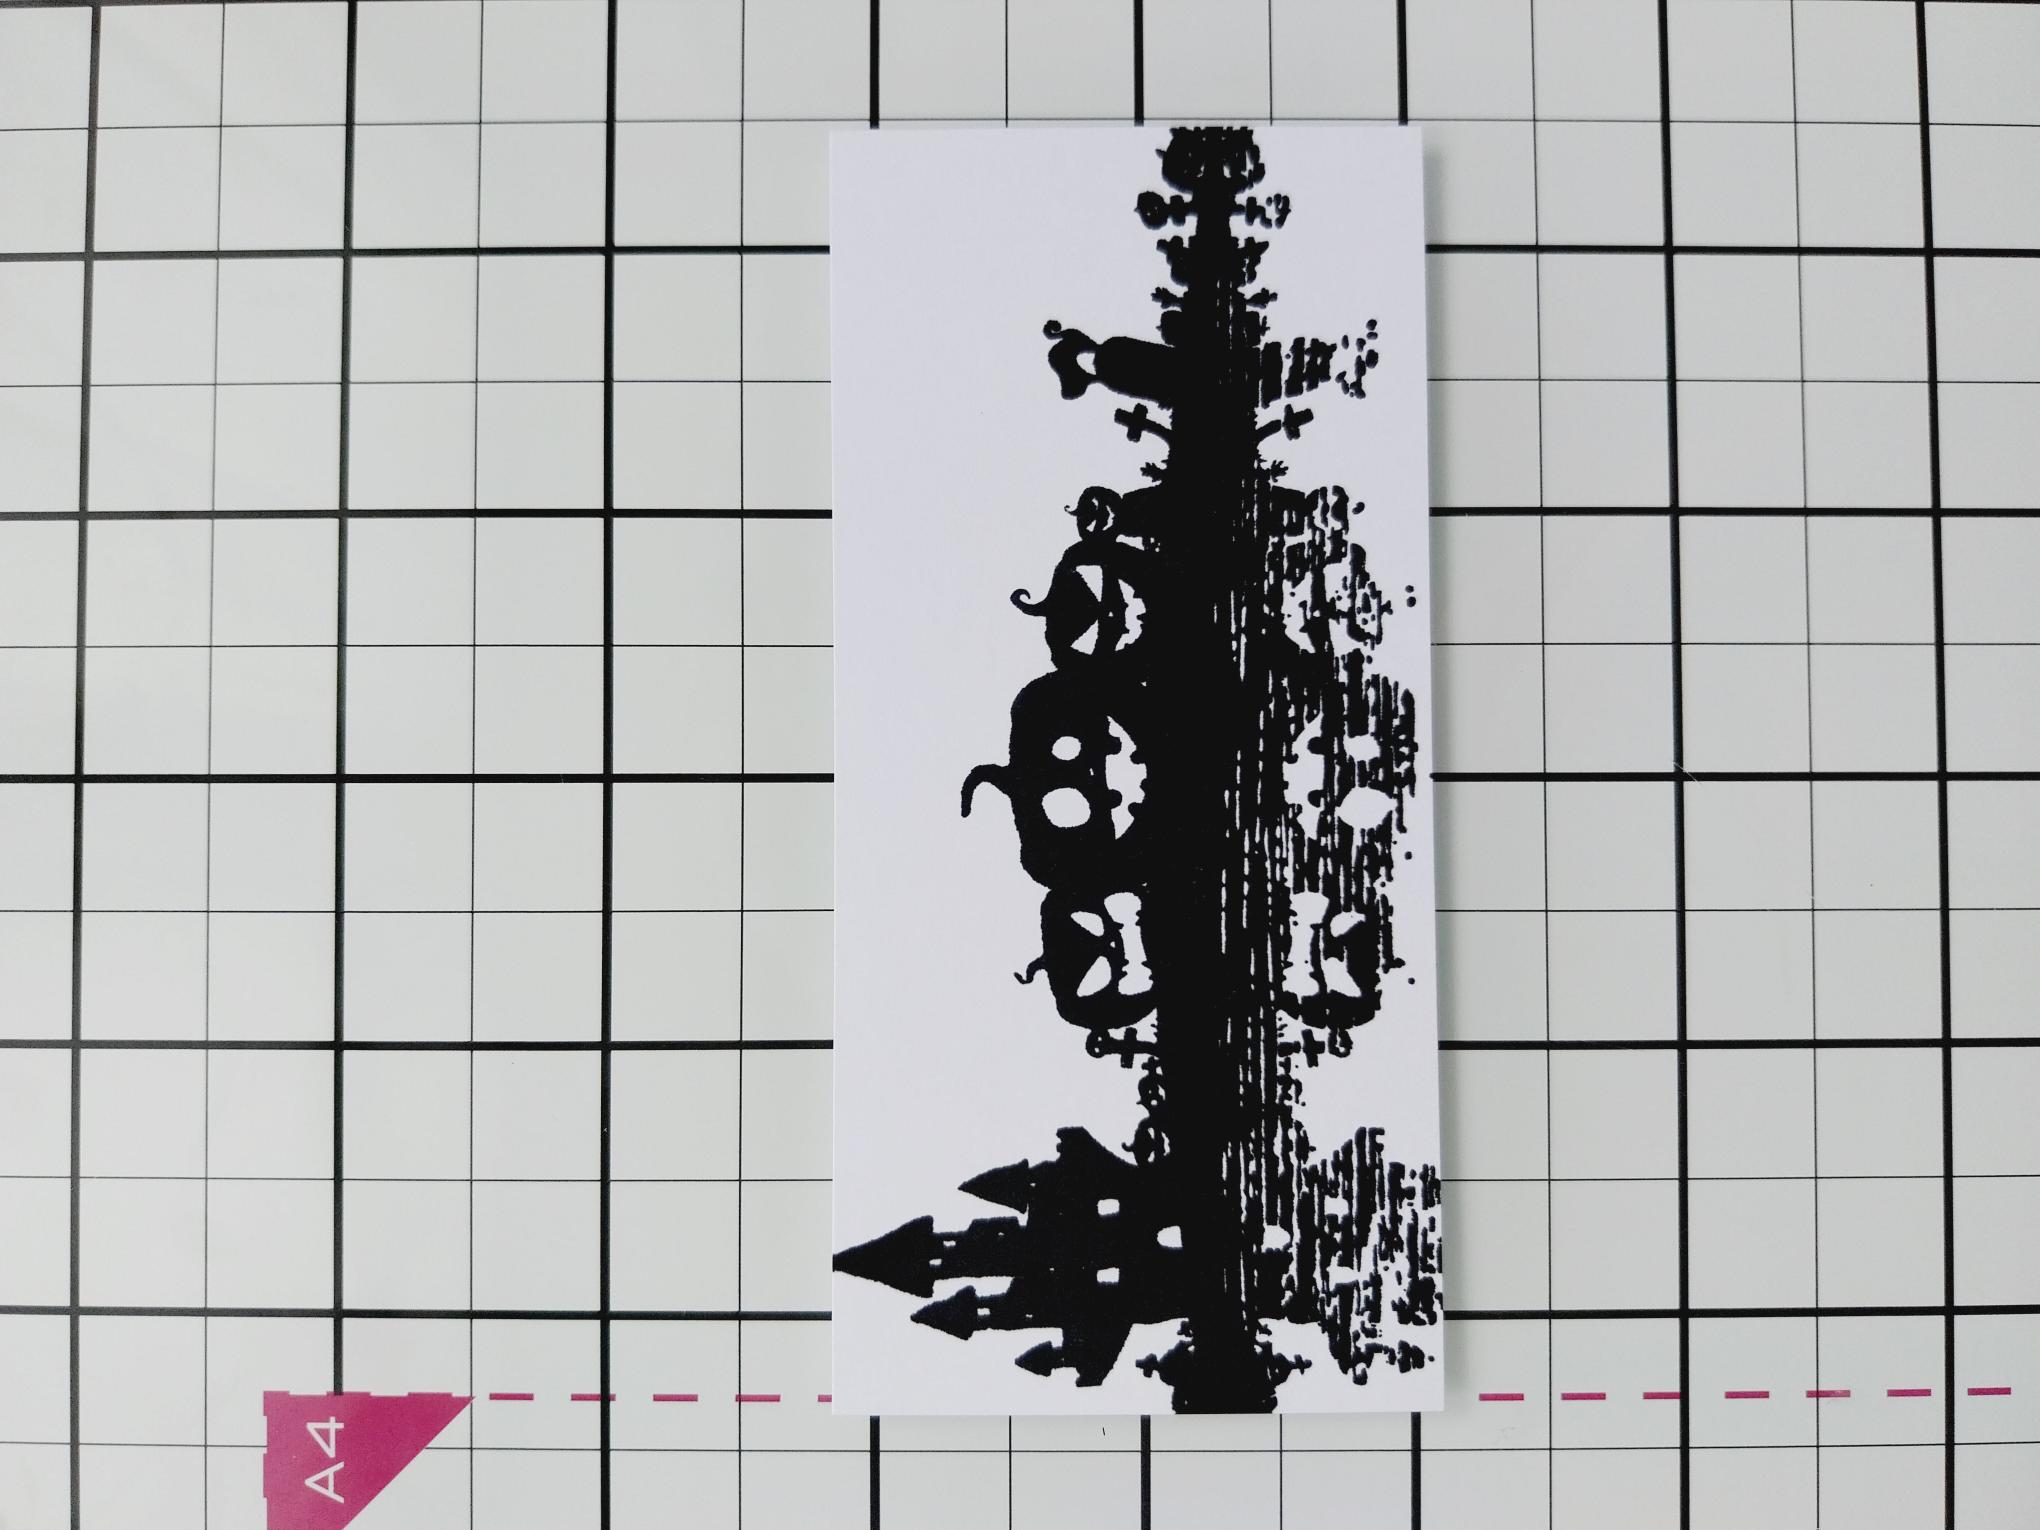
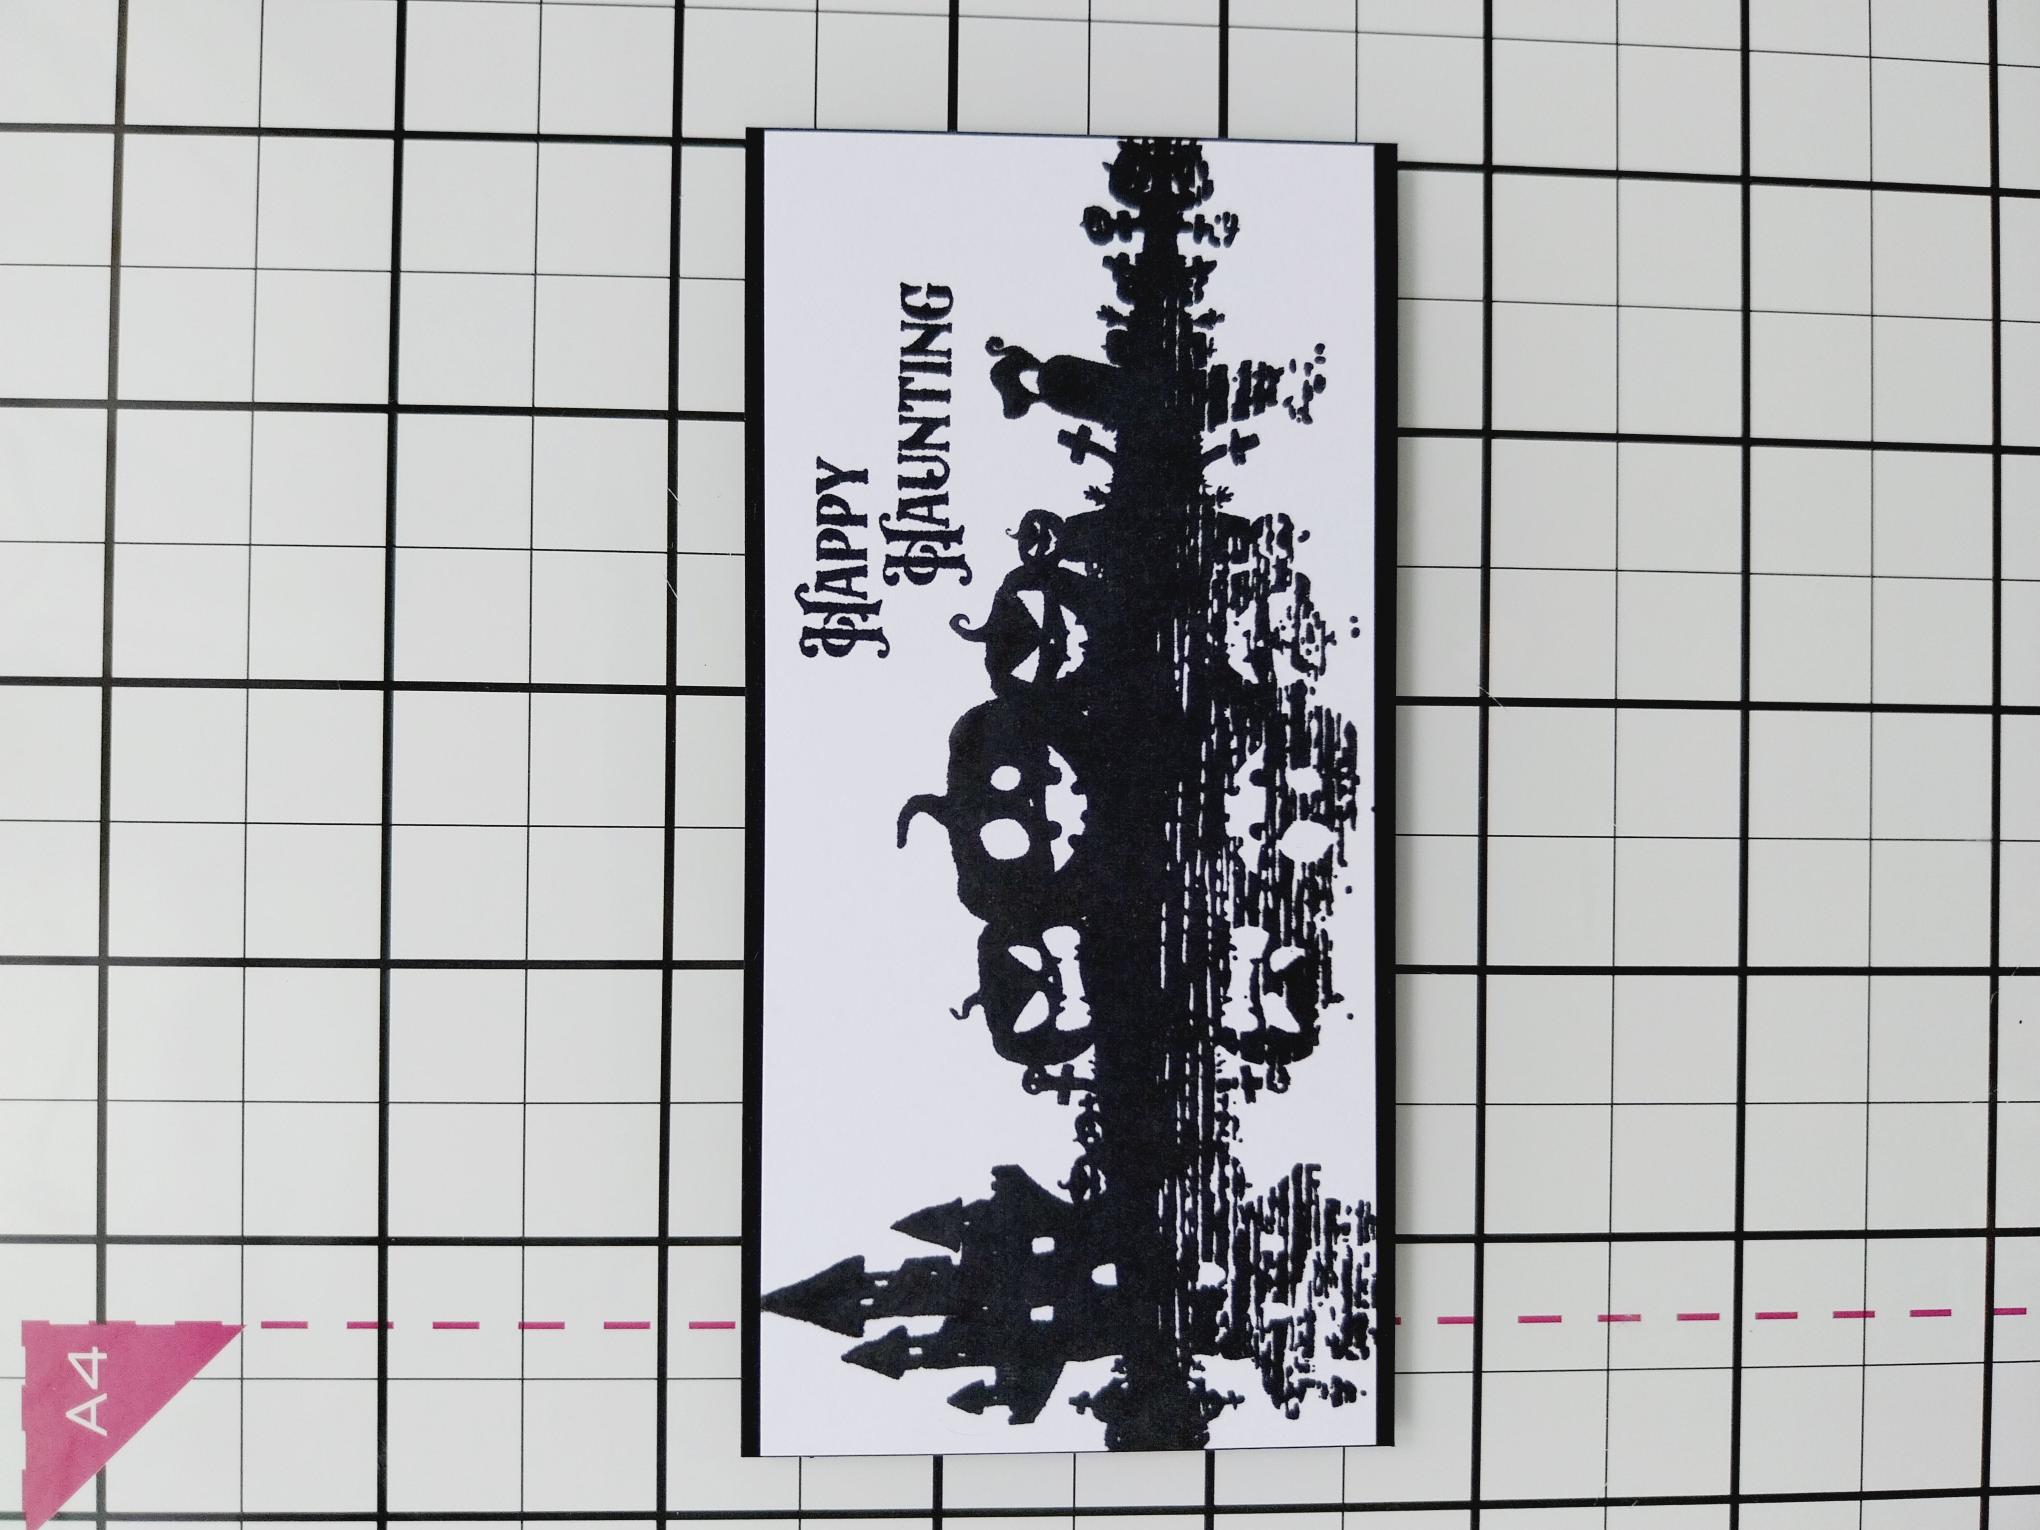
Trim white card to 4 3/4 x 2 1/4". Ink up the pumpkin, silhouette stamp, with the Midnight ink and stamp across your white, landscape card panel. |
|
Stamp the "Happy Haunting" above and to the right, of your image. |
|
Trim black card to 4 3/4 x 2 1/2" and mat your stamped artwork on top, ensuring the side edges are flush and an equal amount of the black card is visible top and bottom, as seen here. |
|
Adhere your stamped panel across your decorative paper panel. |
|
Adhere this to the front of your black card blank. |

|
Optional: Die cut a couple of spiderwebs, from black card, using the dies from the Jasper, Matilda & Luna Die set (available to HSN viewers only). Alternatively, use any Halloween dies you may have in your crafty stash. |
|
Adhere your Halloween die cut elements where required, to finish your project. |