Give your friends $10 off their first order!
Refer a FRIEND


WHAT YOU WILL NEED:
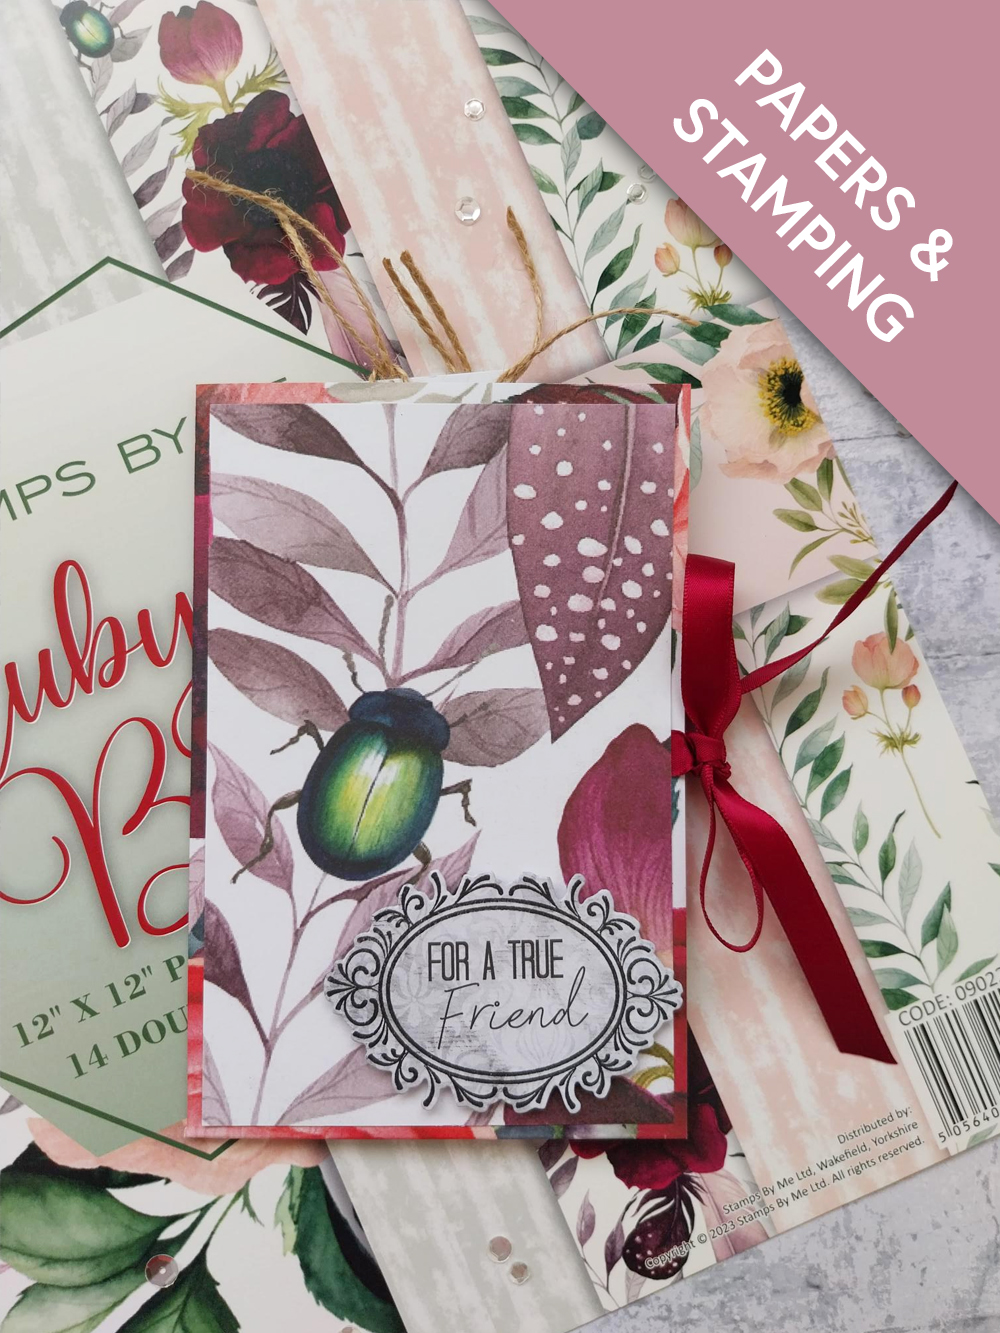
Paperchain Ruby Blooms 12 x 12" Paper Pad
Paperchain Ruby Blooms 5 x 7" Painted Mounts
Paperchain Ruby Blooms Stamp Set
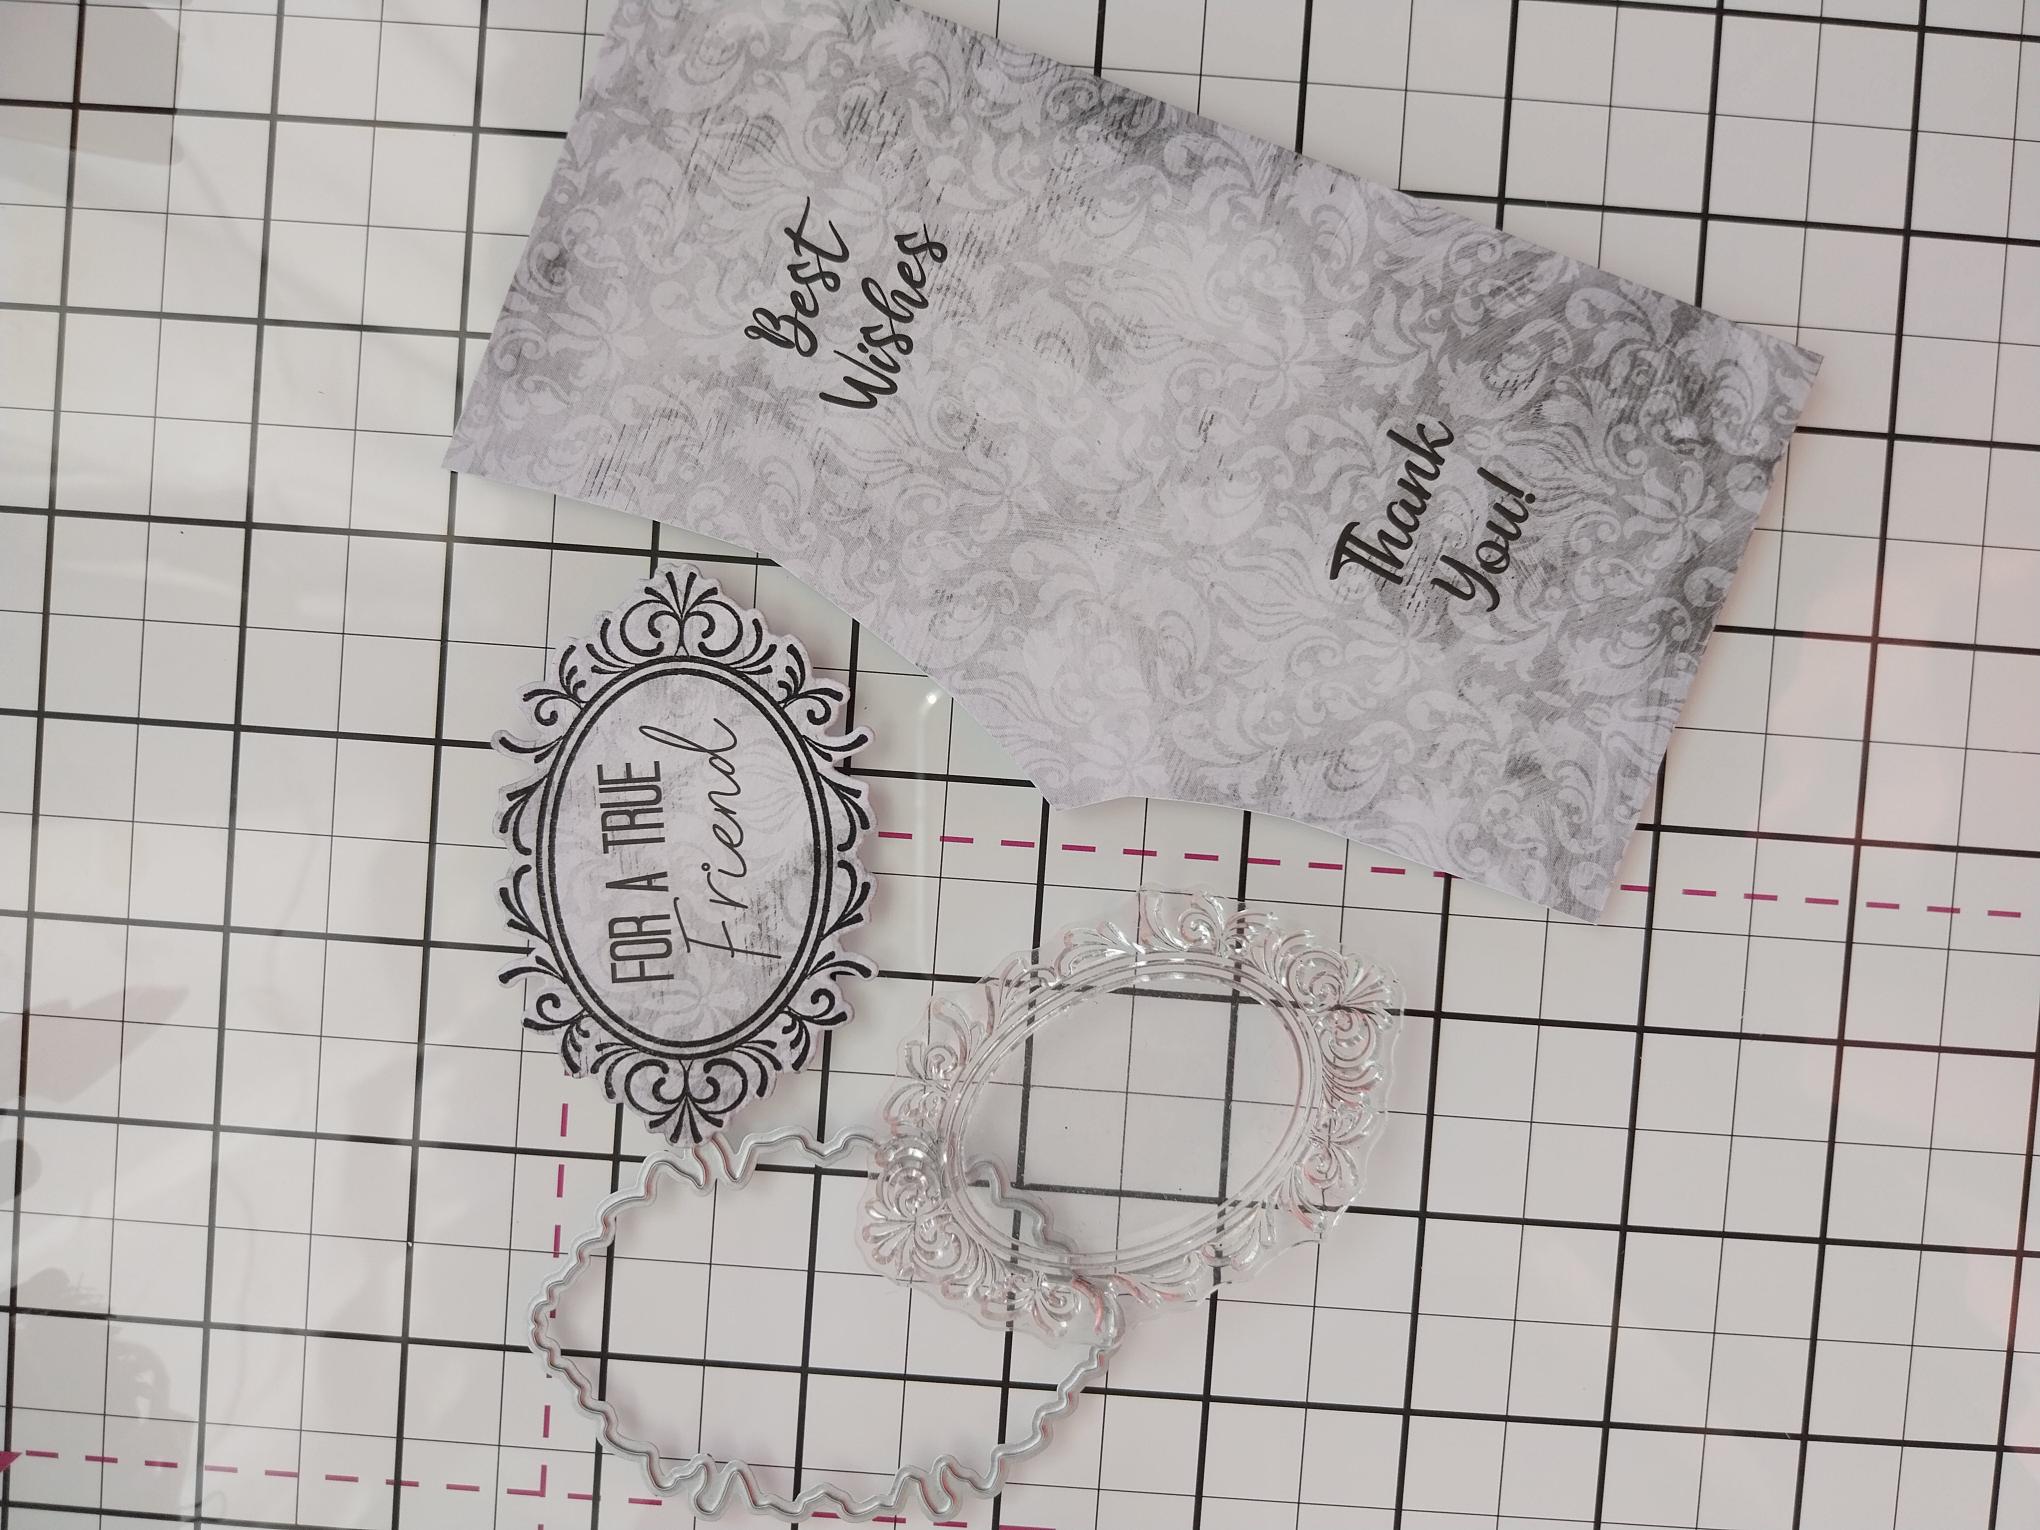
Paperchain Mulberry Frames Stamp and Die Set
Paperchain Mulberry & Gold Damask 6 x 6" Sentiment Pack
SBM Hybrid Ink Pad: Midnight
Tag banner punch
Corner punch
Circle punch
Tag punch
Hole Punch
Ribbon, twine
Score Board and bone folder
Eureka 101 Watercolour Tablet
SBM Magnetic glass mat
Paper Trimmer
Perfect Together Glue
Red liner tape
Die Cutting machine
[click image to enlarge] 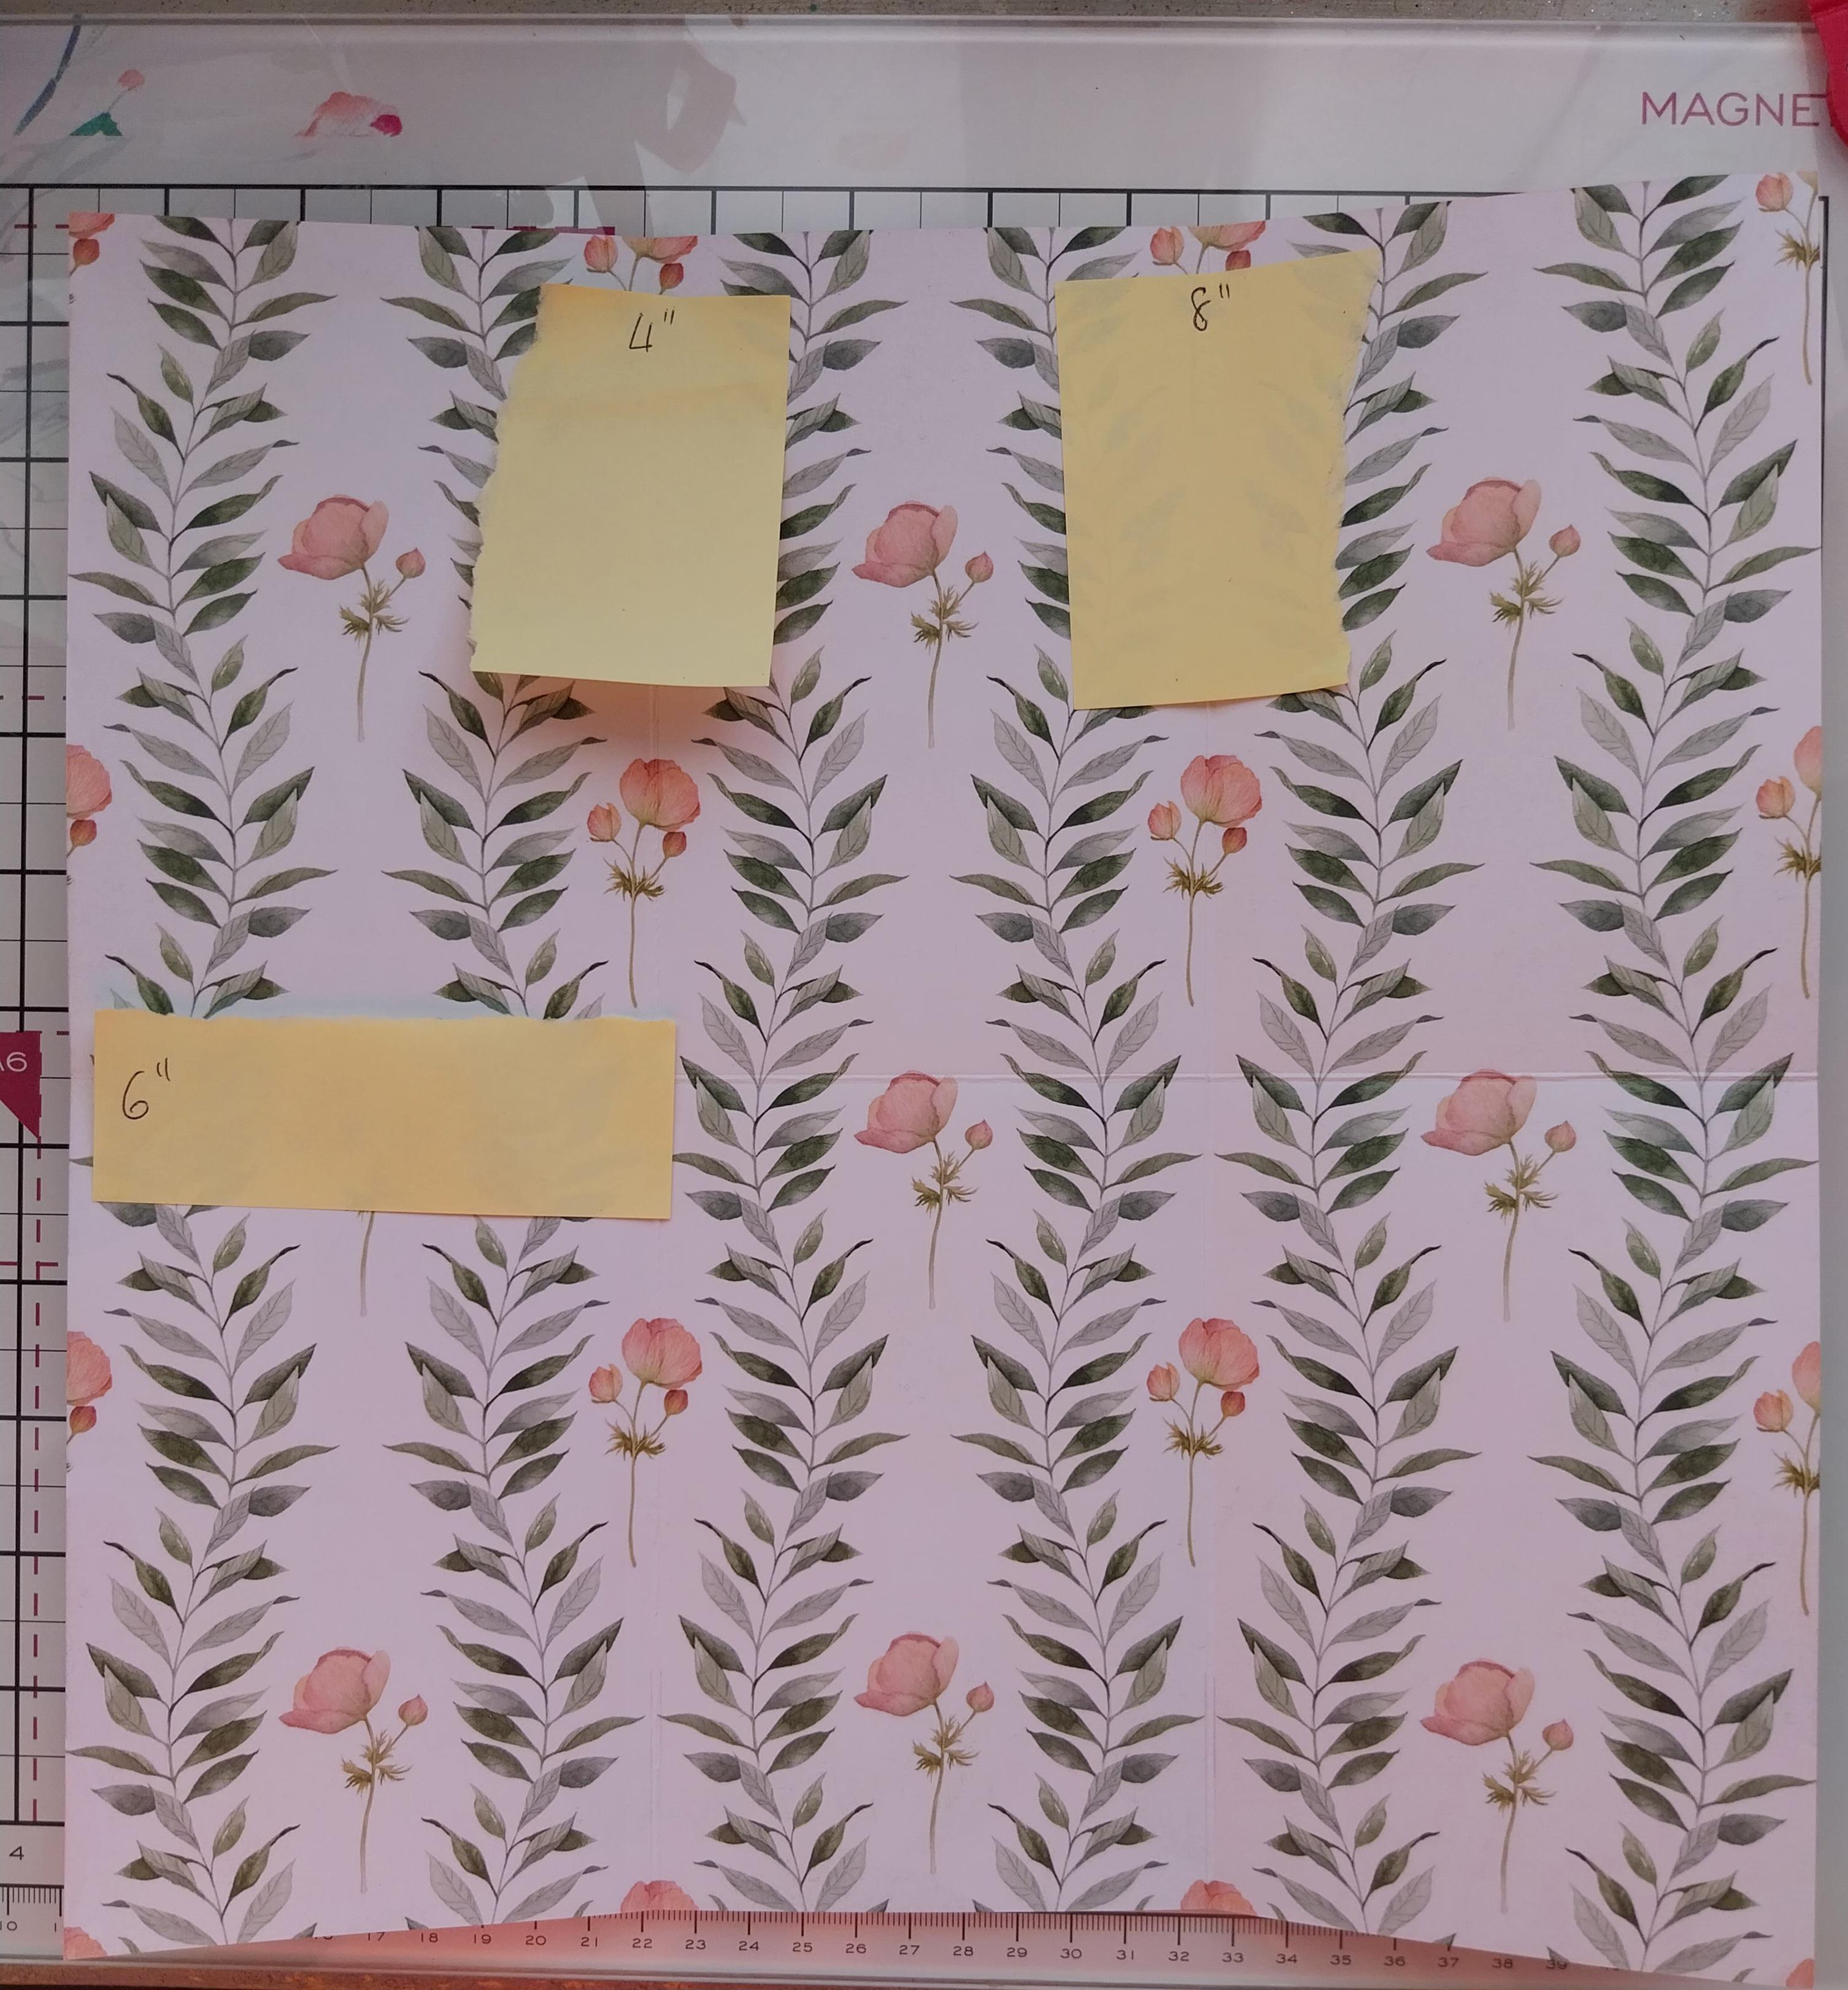
|
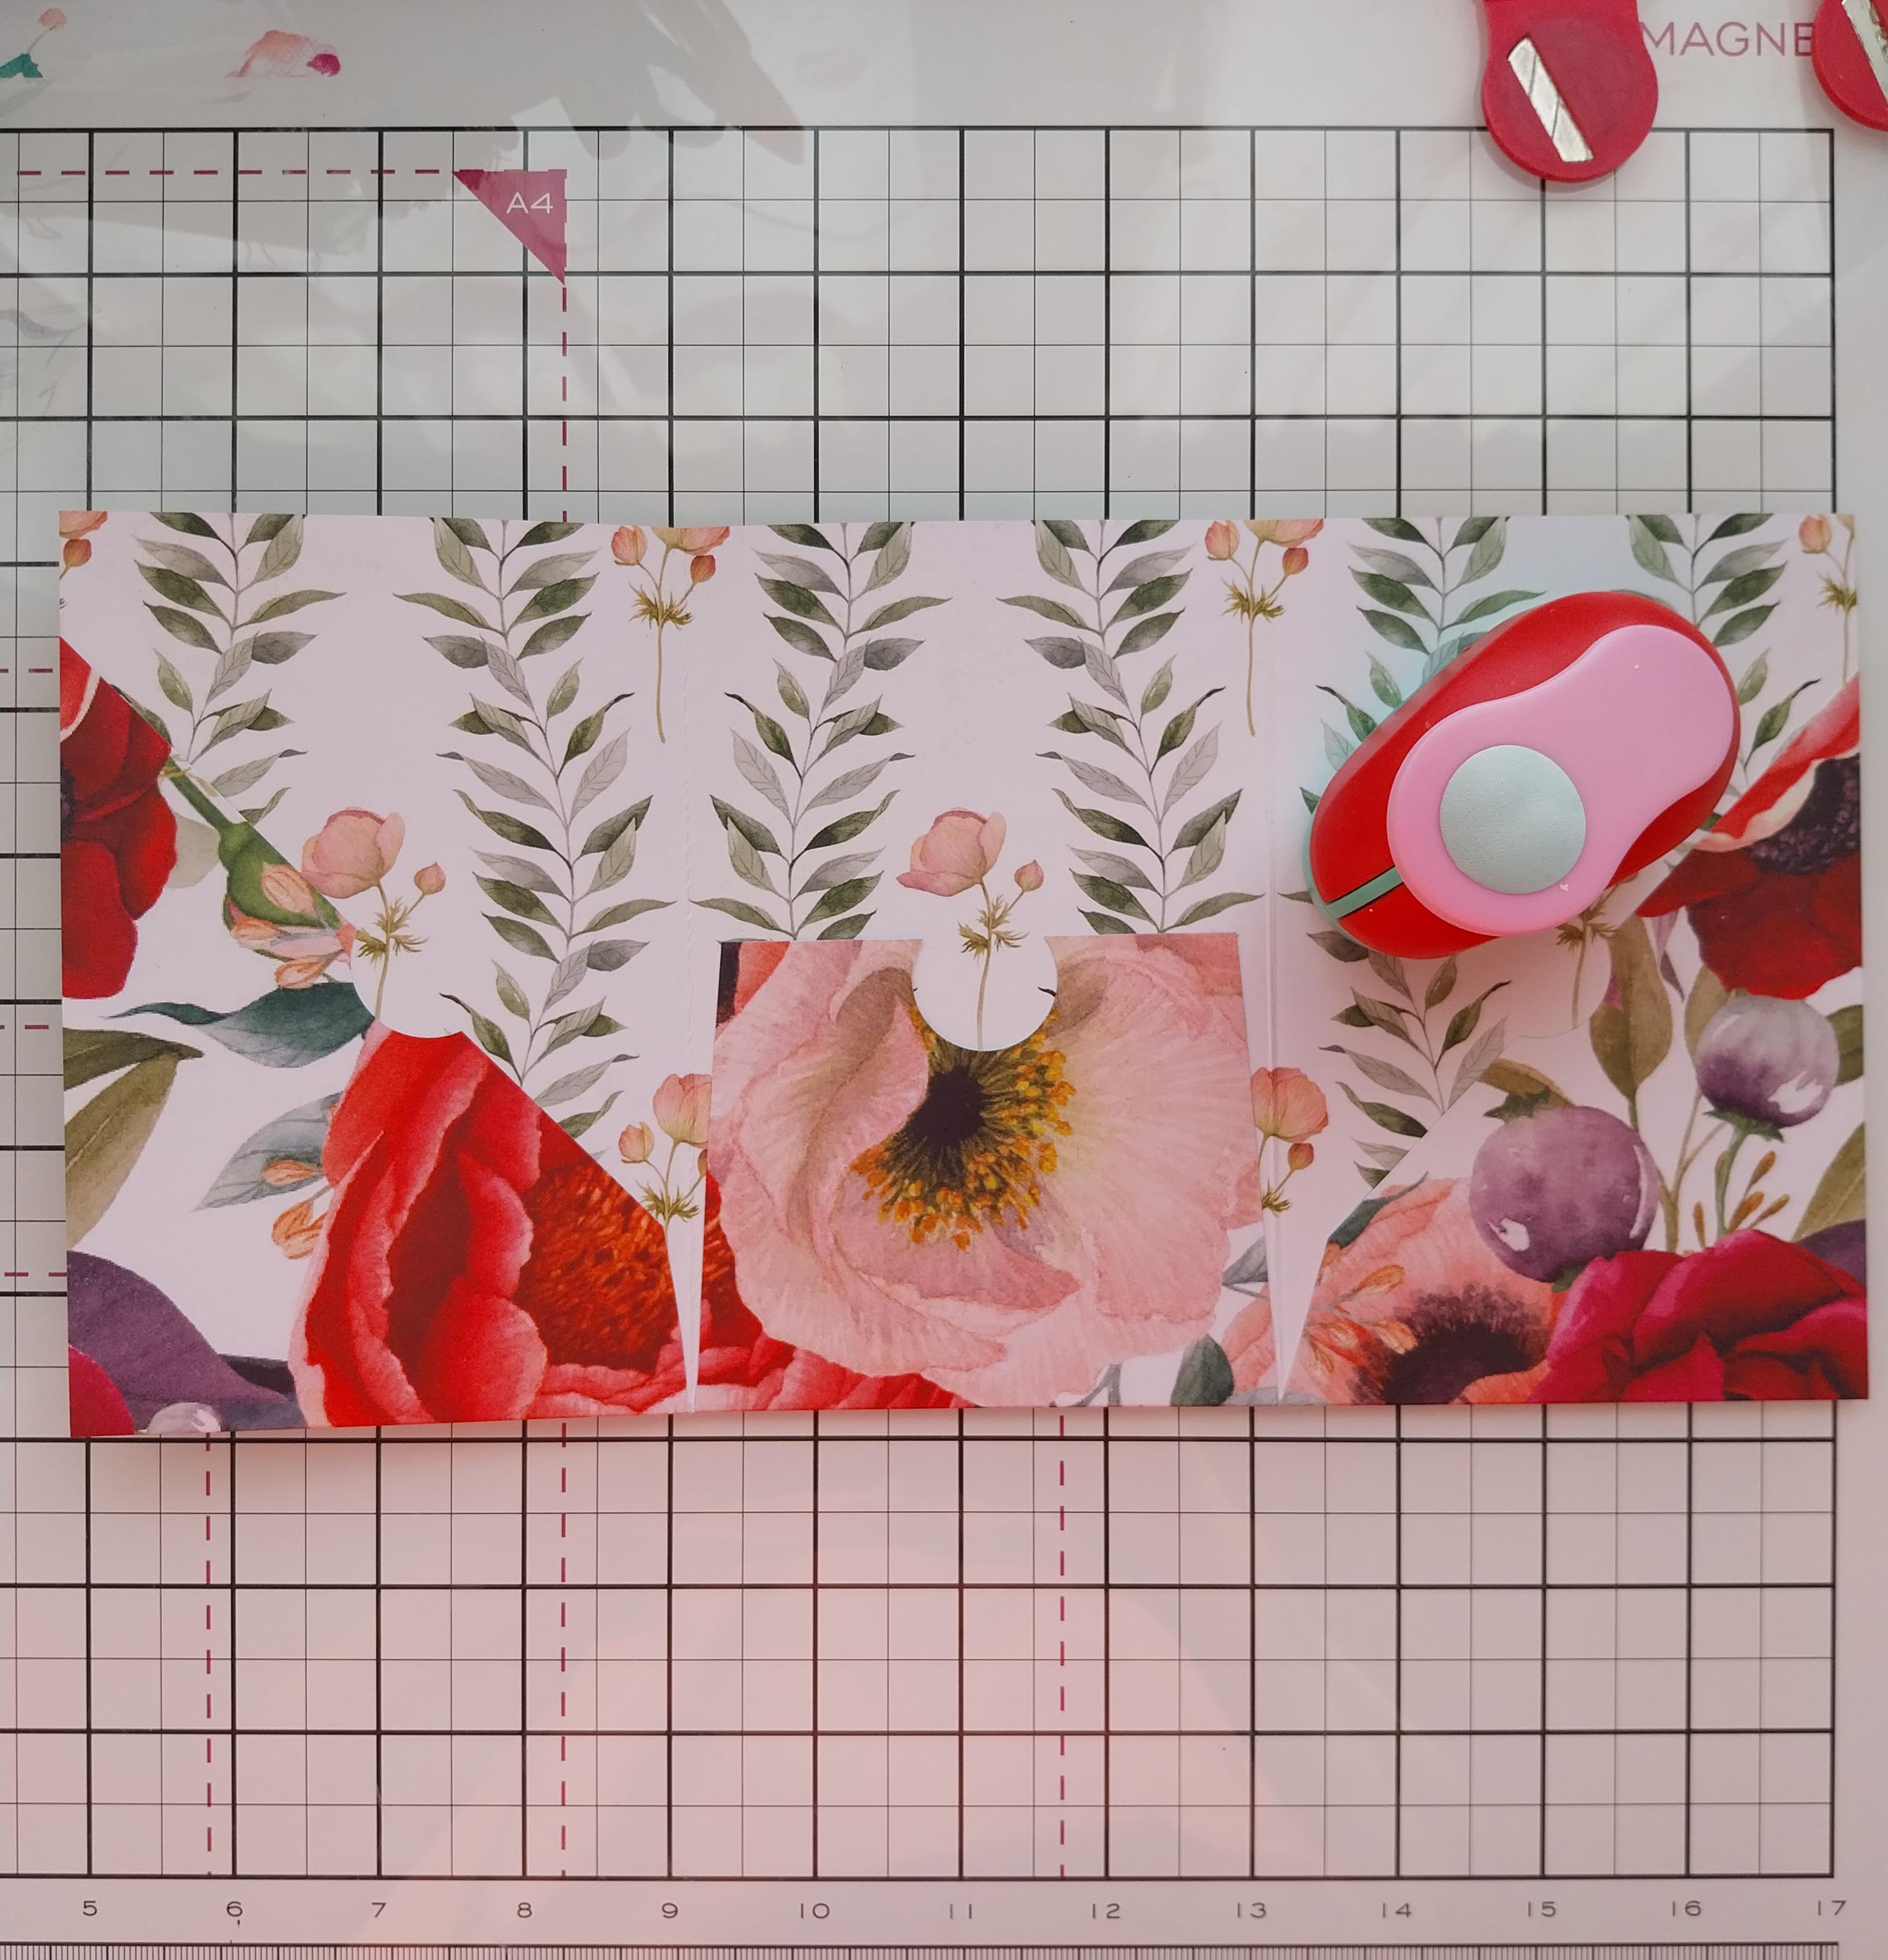
Choose a decorative sheet from the Ruby Blooms 12 x 12" paper pack. This will be your album cover so decide which side you want visible. The pattern shown here will be on the inside of my album. Place on your score board and score down at 4" and 8". Rotate 90 degrees and score at 6". |
|
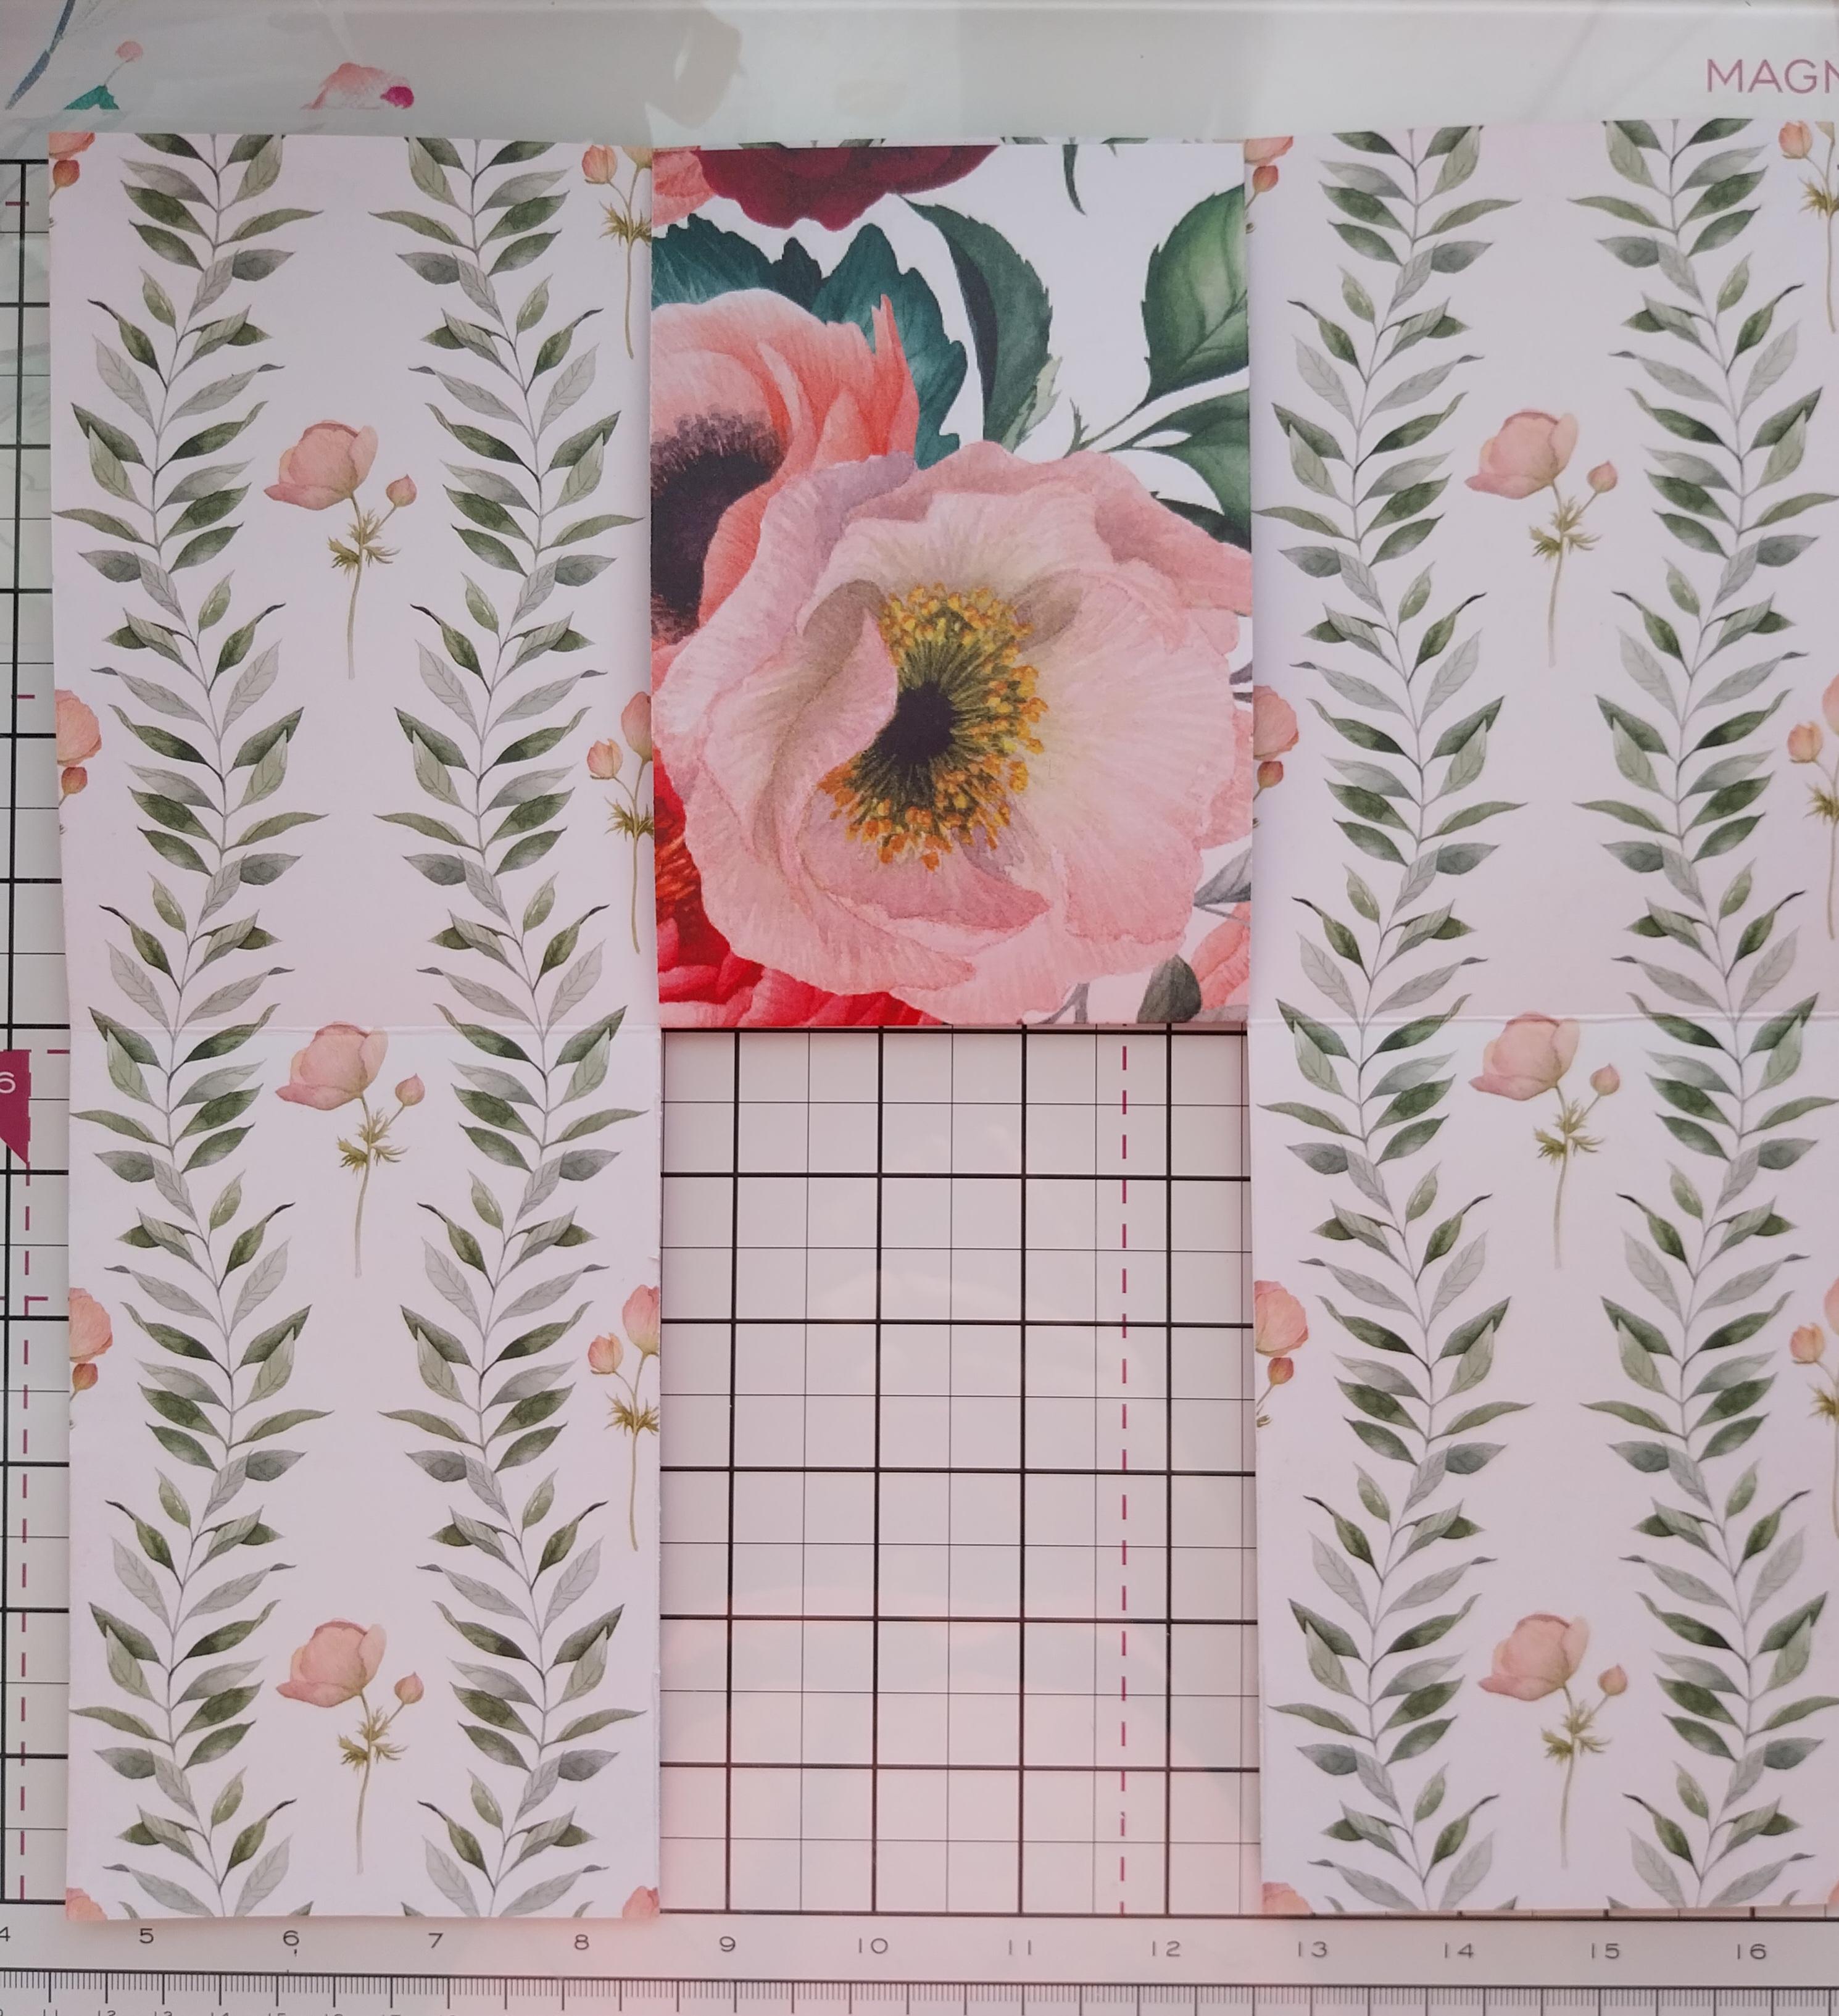
Cut up, along the 4" and 8" score lines, up to your 6" score line, then fold up the flap, burnishing the score line with your bone folder. |
|
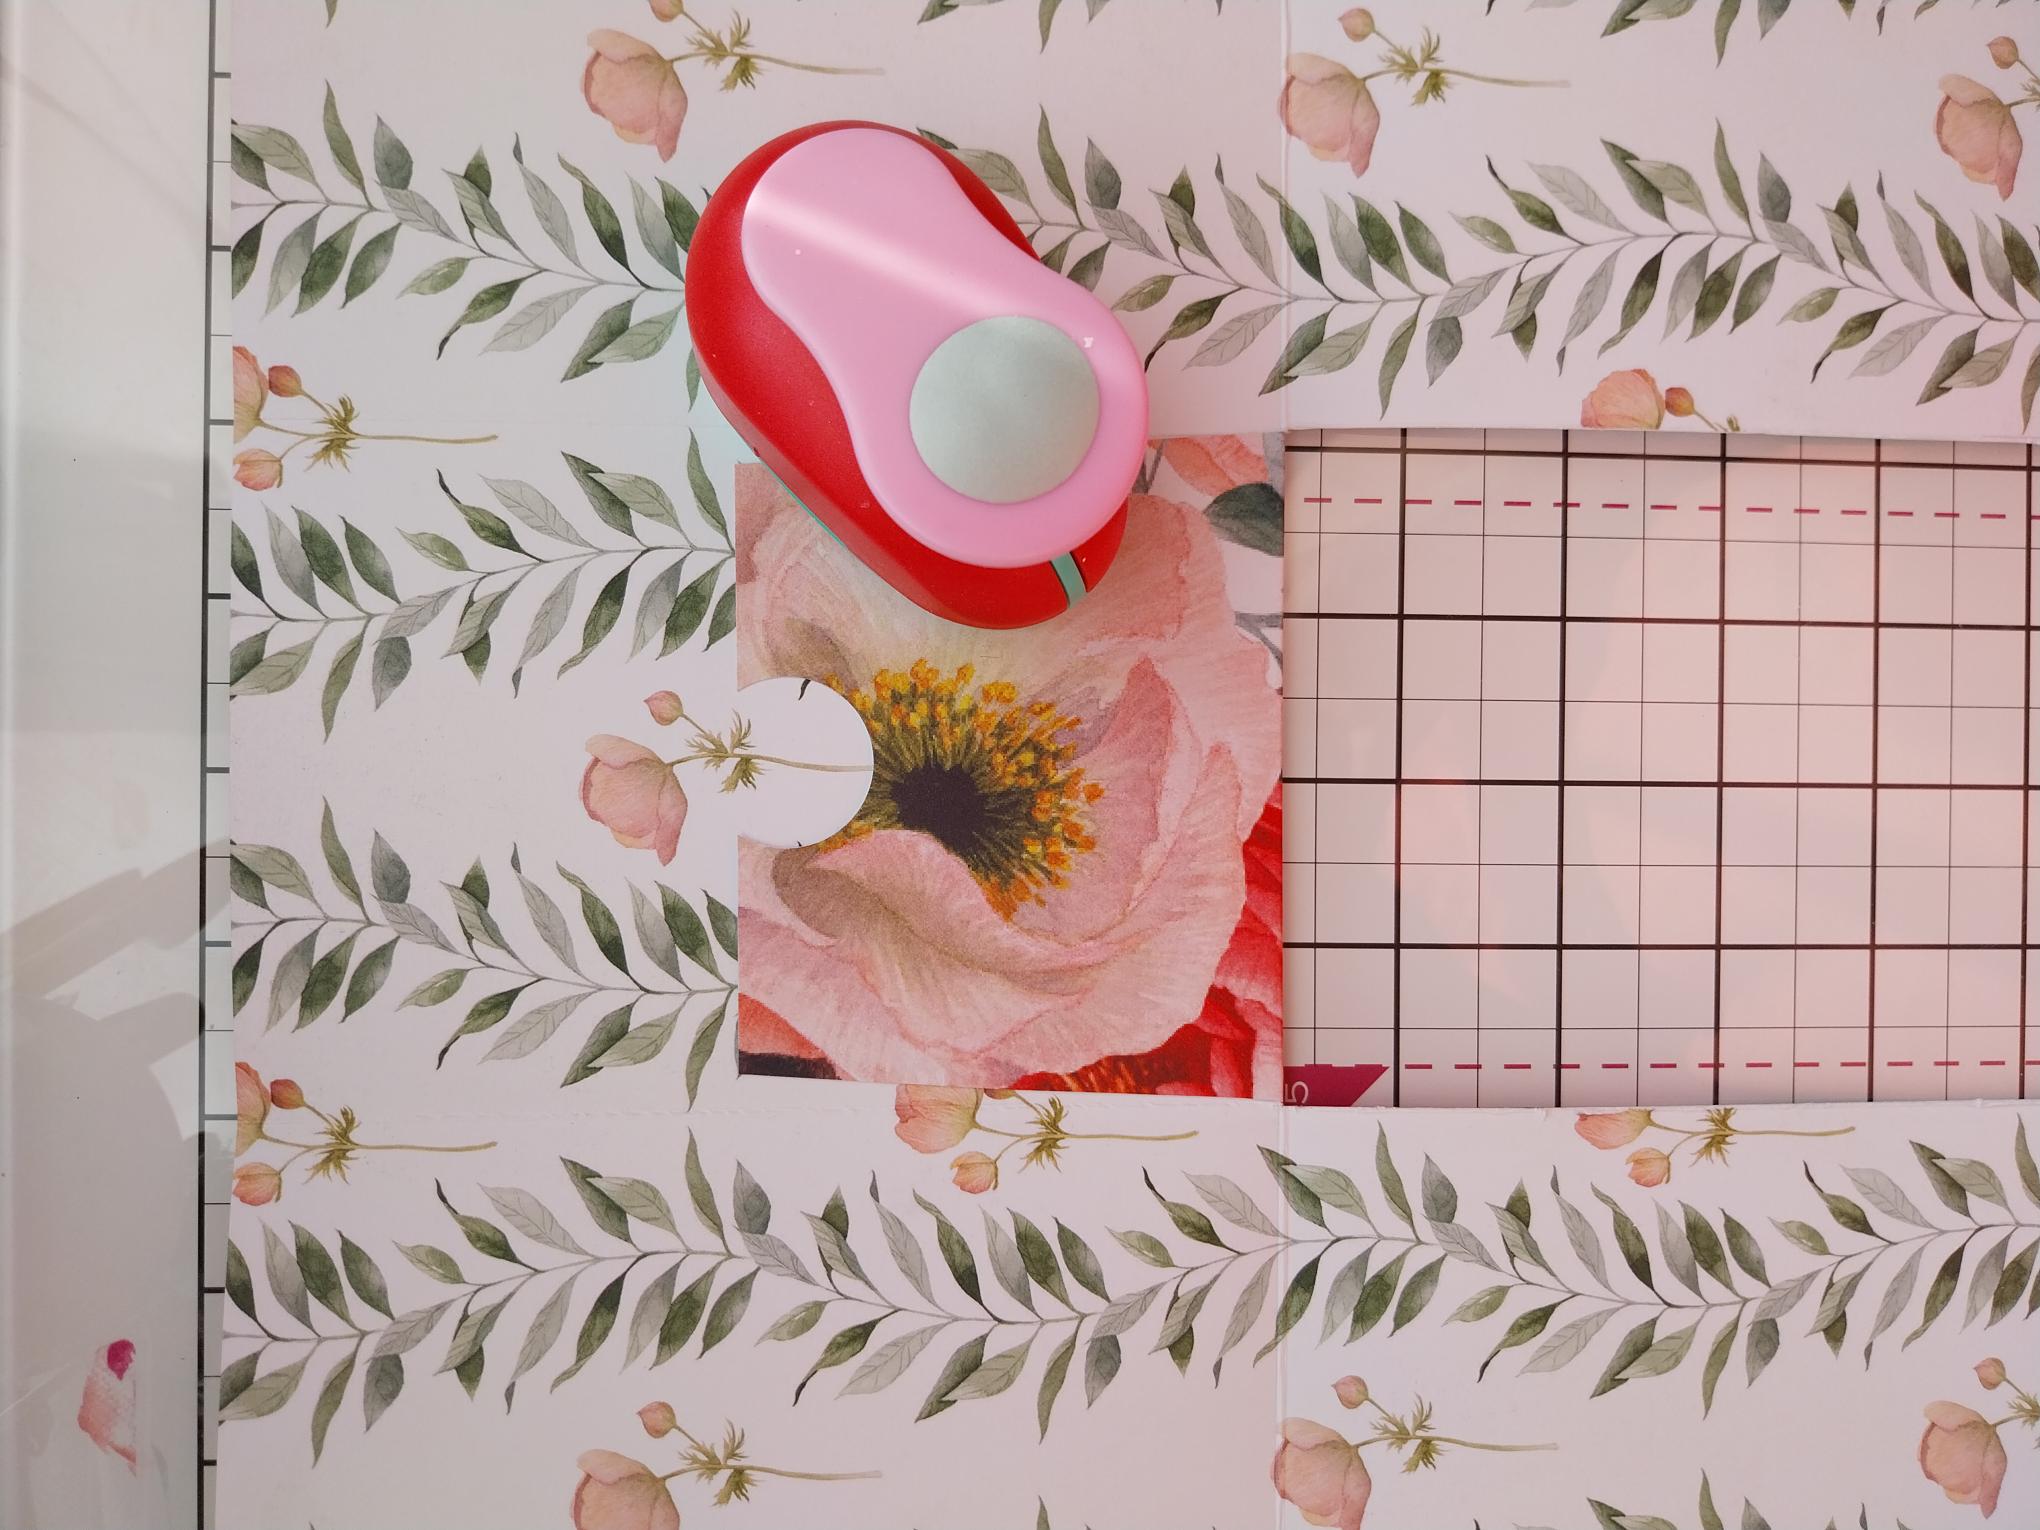
This will be your first pocket so decide how deep you wish it to be and trim to size (mine is about 3"). Use your circle punch along the top, open edge of the pocket, before applying red liner tape down both sides only and adhering it in place. |
|
You can now fold up each of the 2 outer side flaps, creating 2 more pockets. Trim the paper flaps as desired, using your circle punch along the open edges and adhering in place, as before, with your red liner tape. I chose to go with diagonal pockets on mine. Fold the right hand page closed and you have another "page" on which to create a pocket. Use any of the papers in your Ruby Blooms paper pack, trim to the size and shape of your pocket and adhere in place as before. |
|
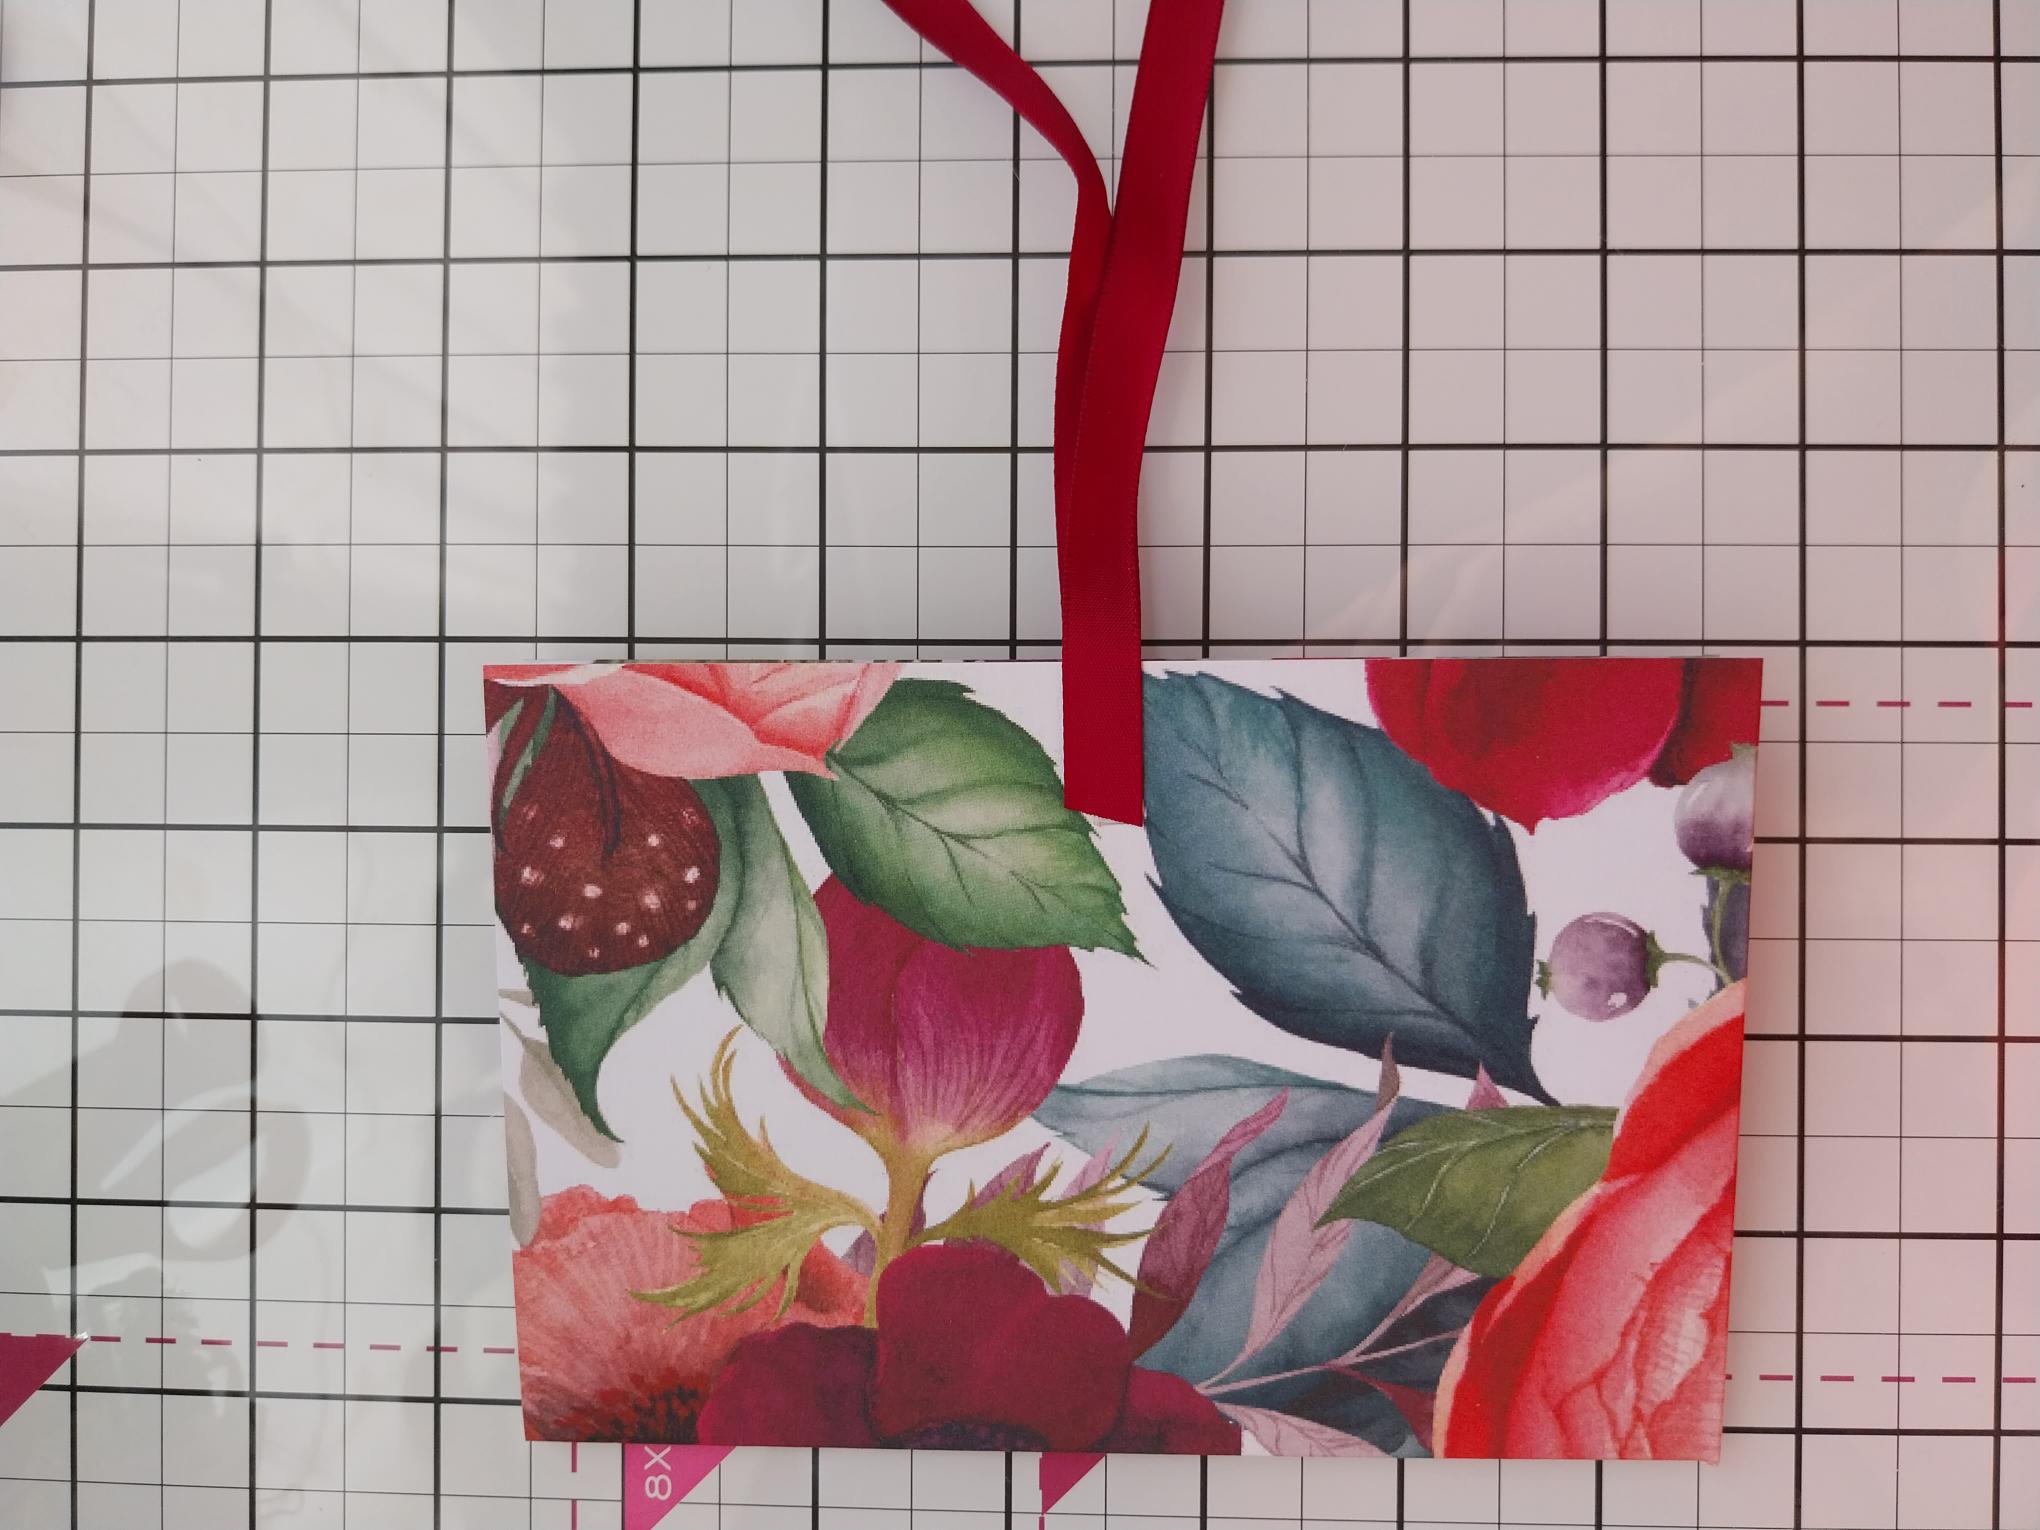
Cut 2 lengths of ribbon and adhere on the front and back pages with your red liner tape. |
|
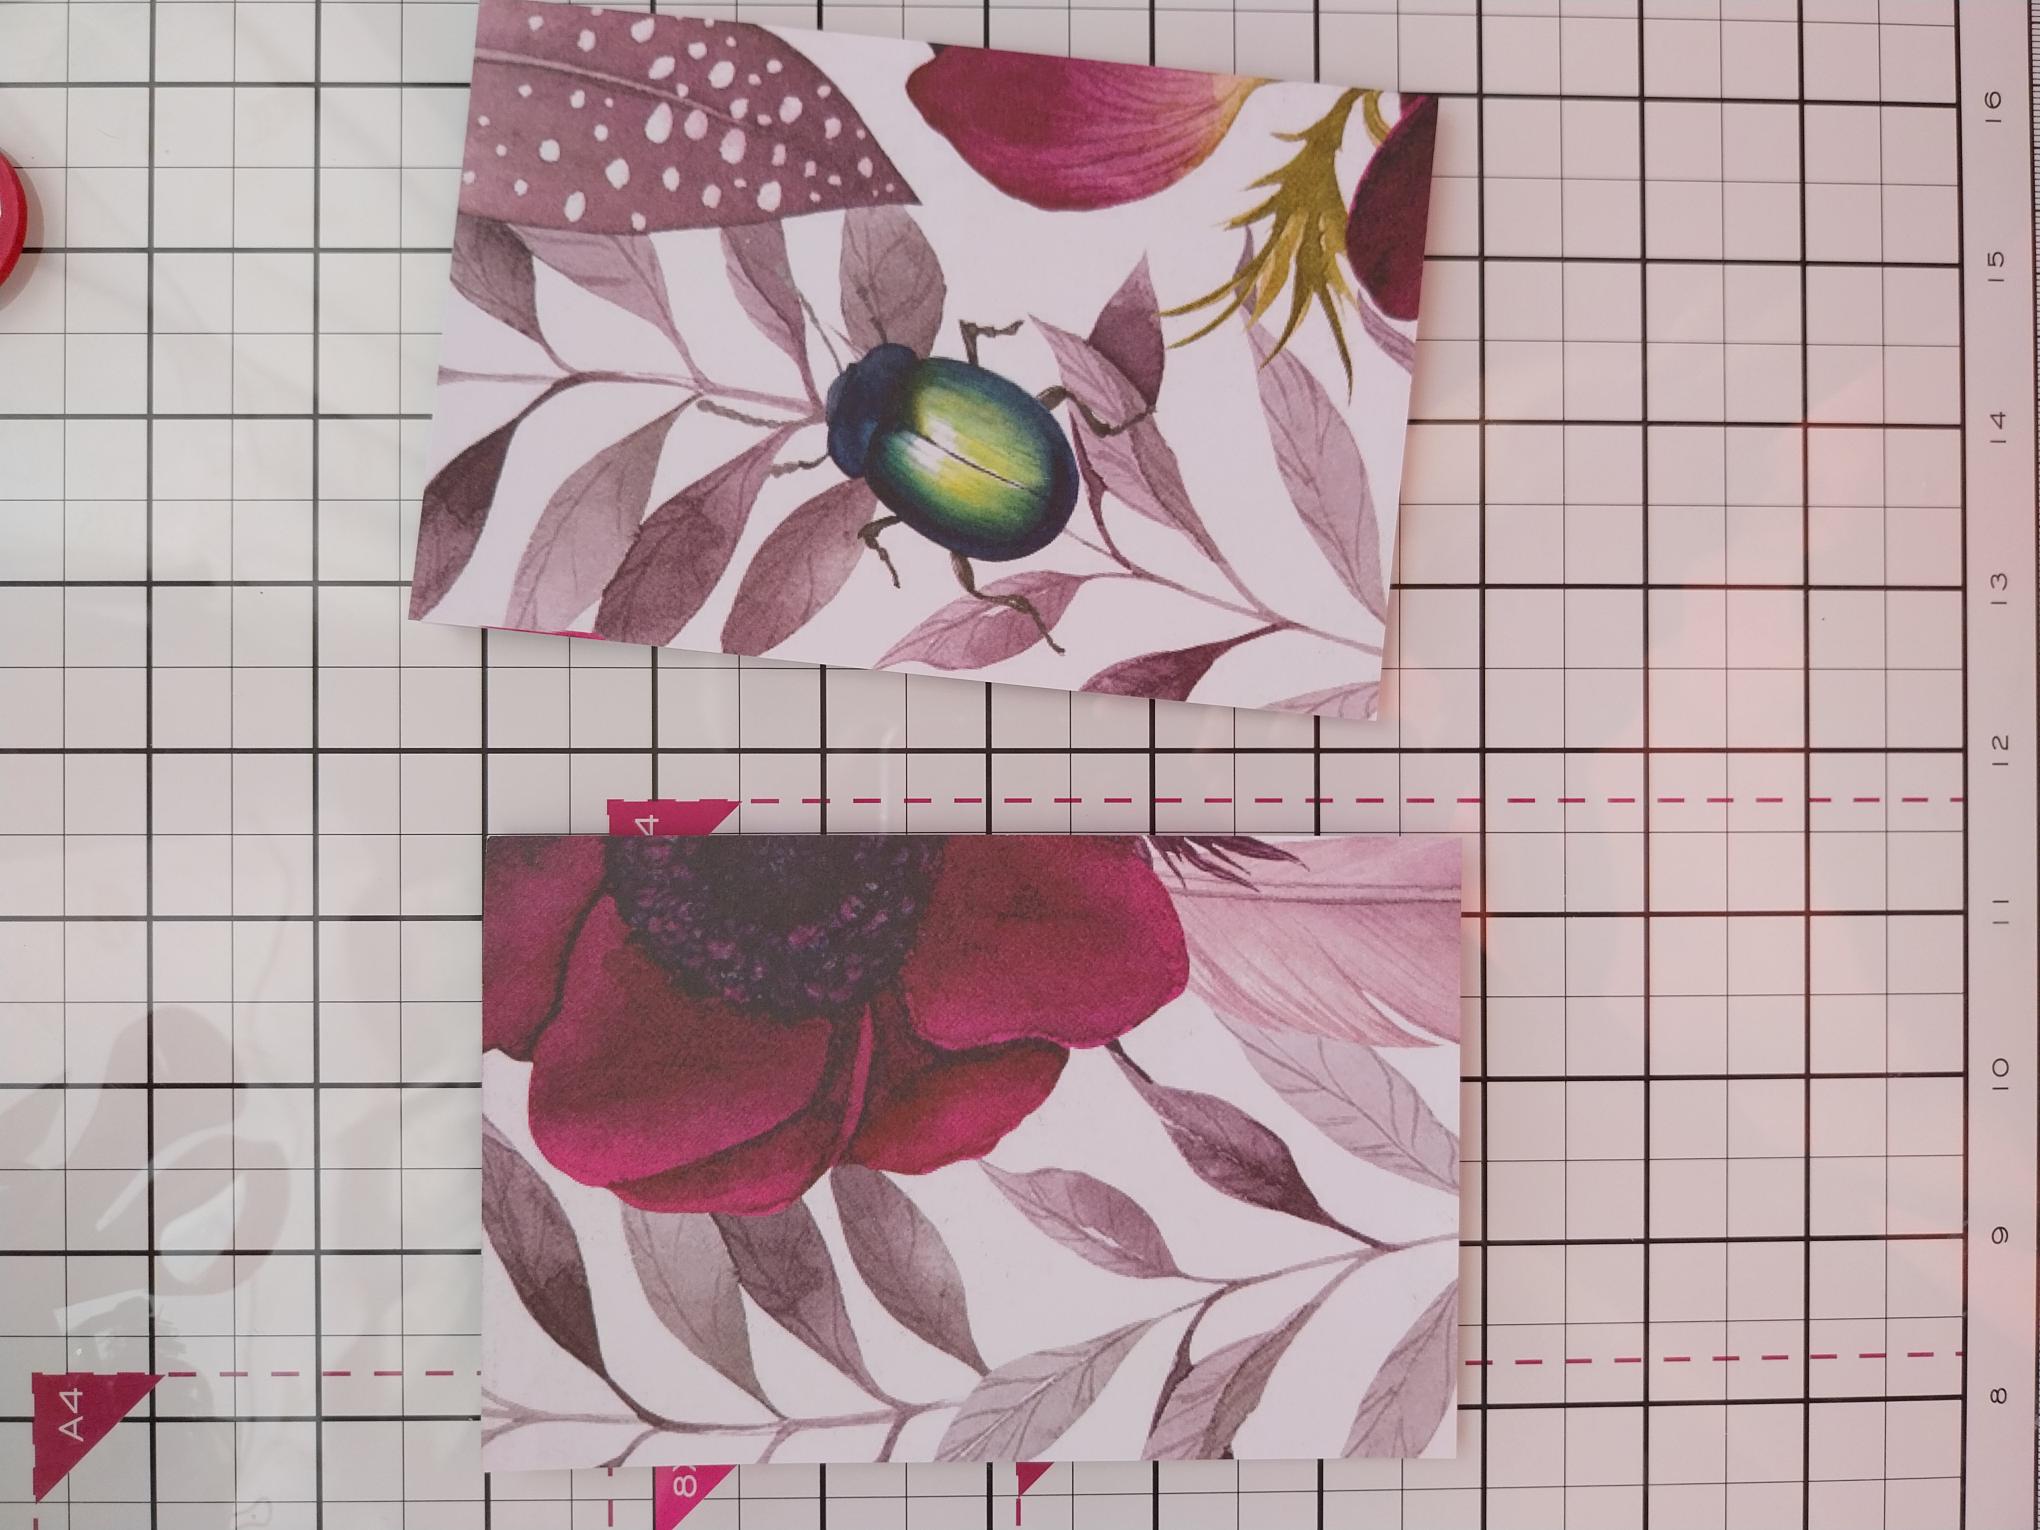
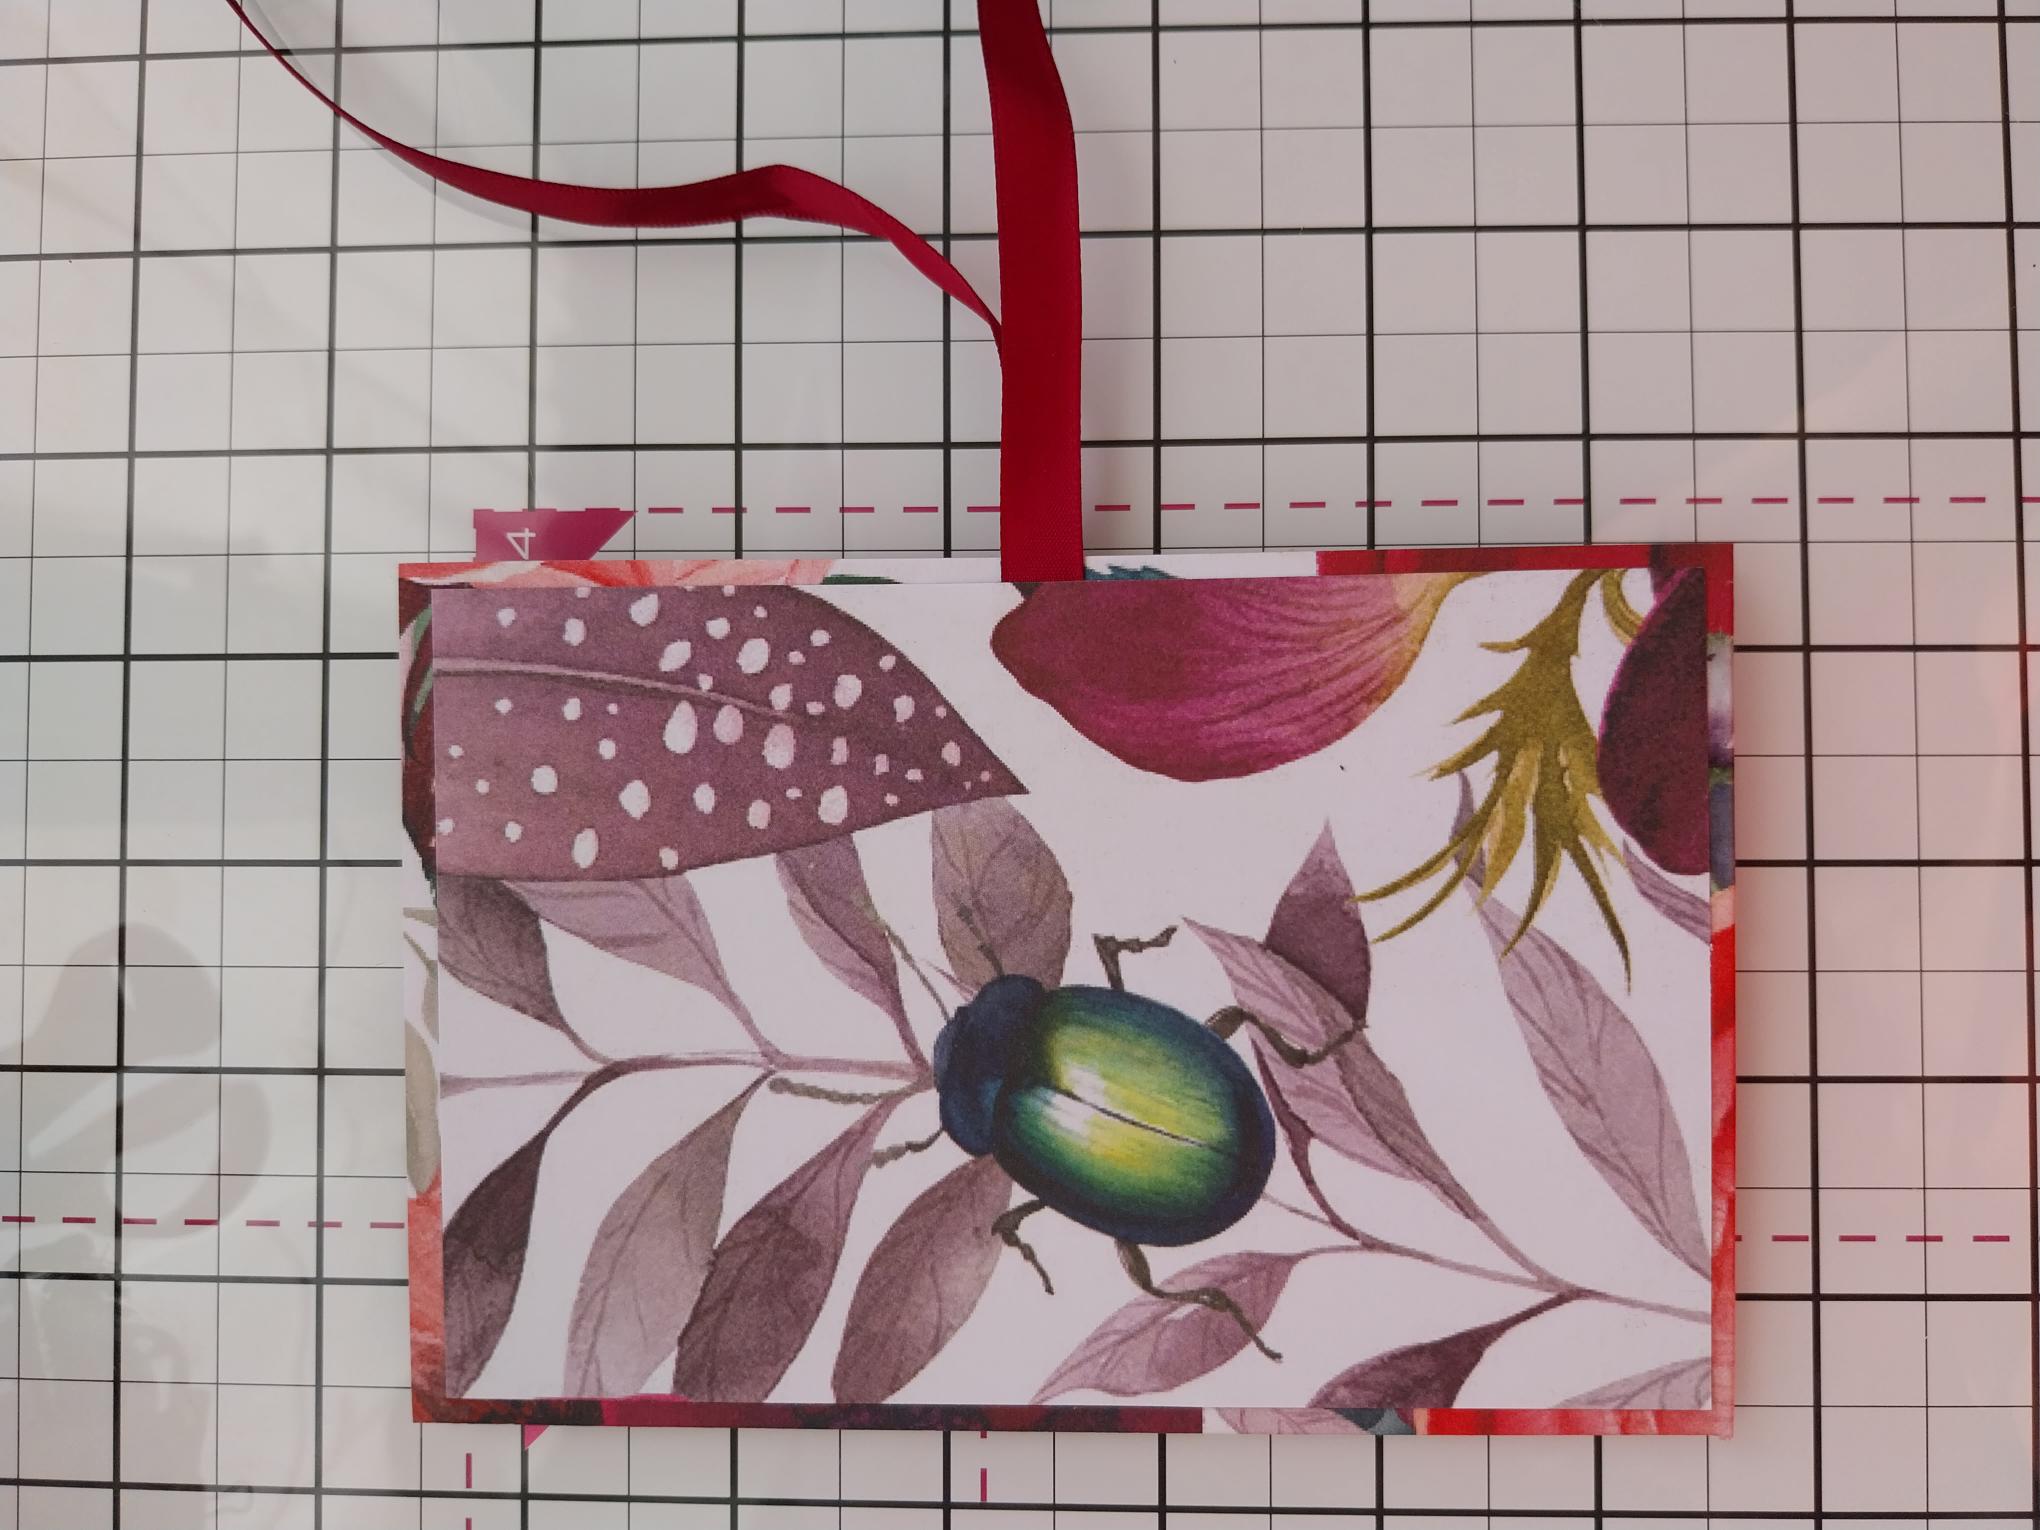
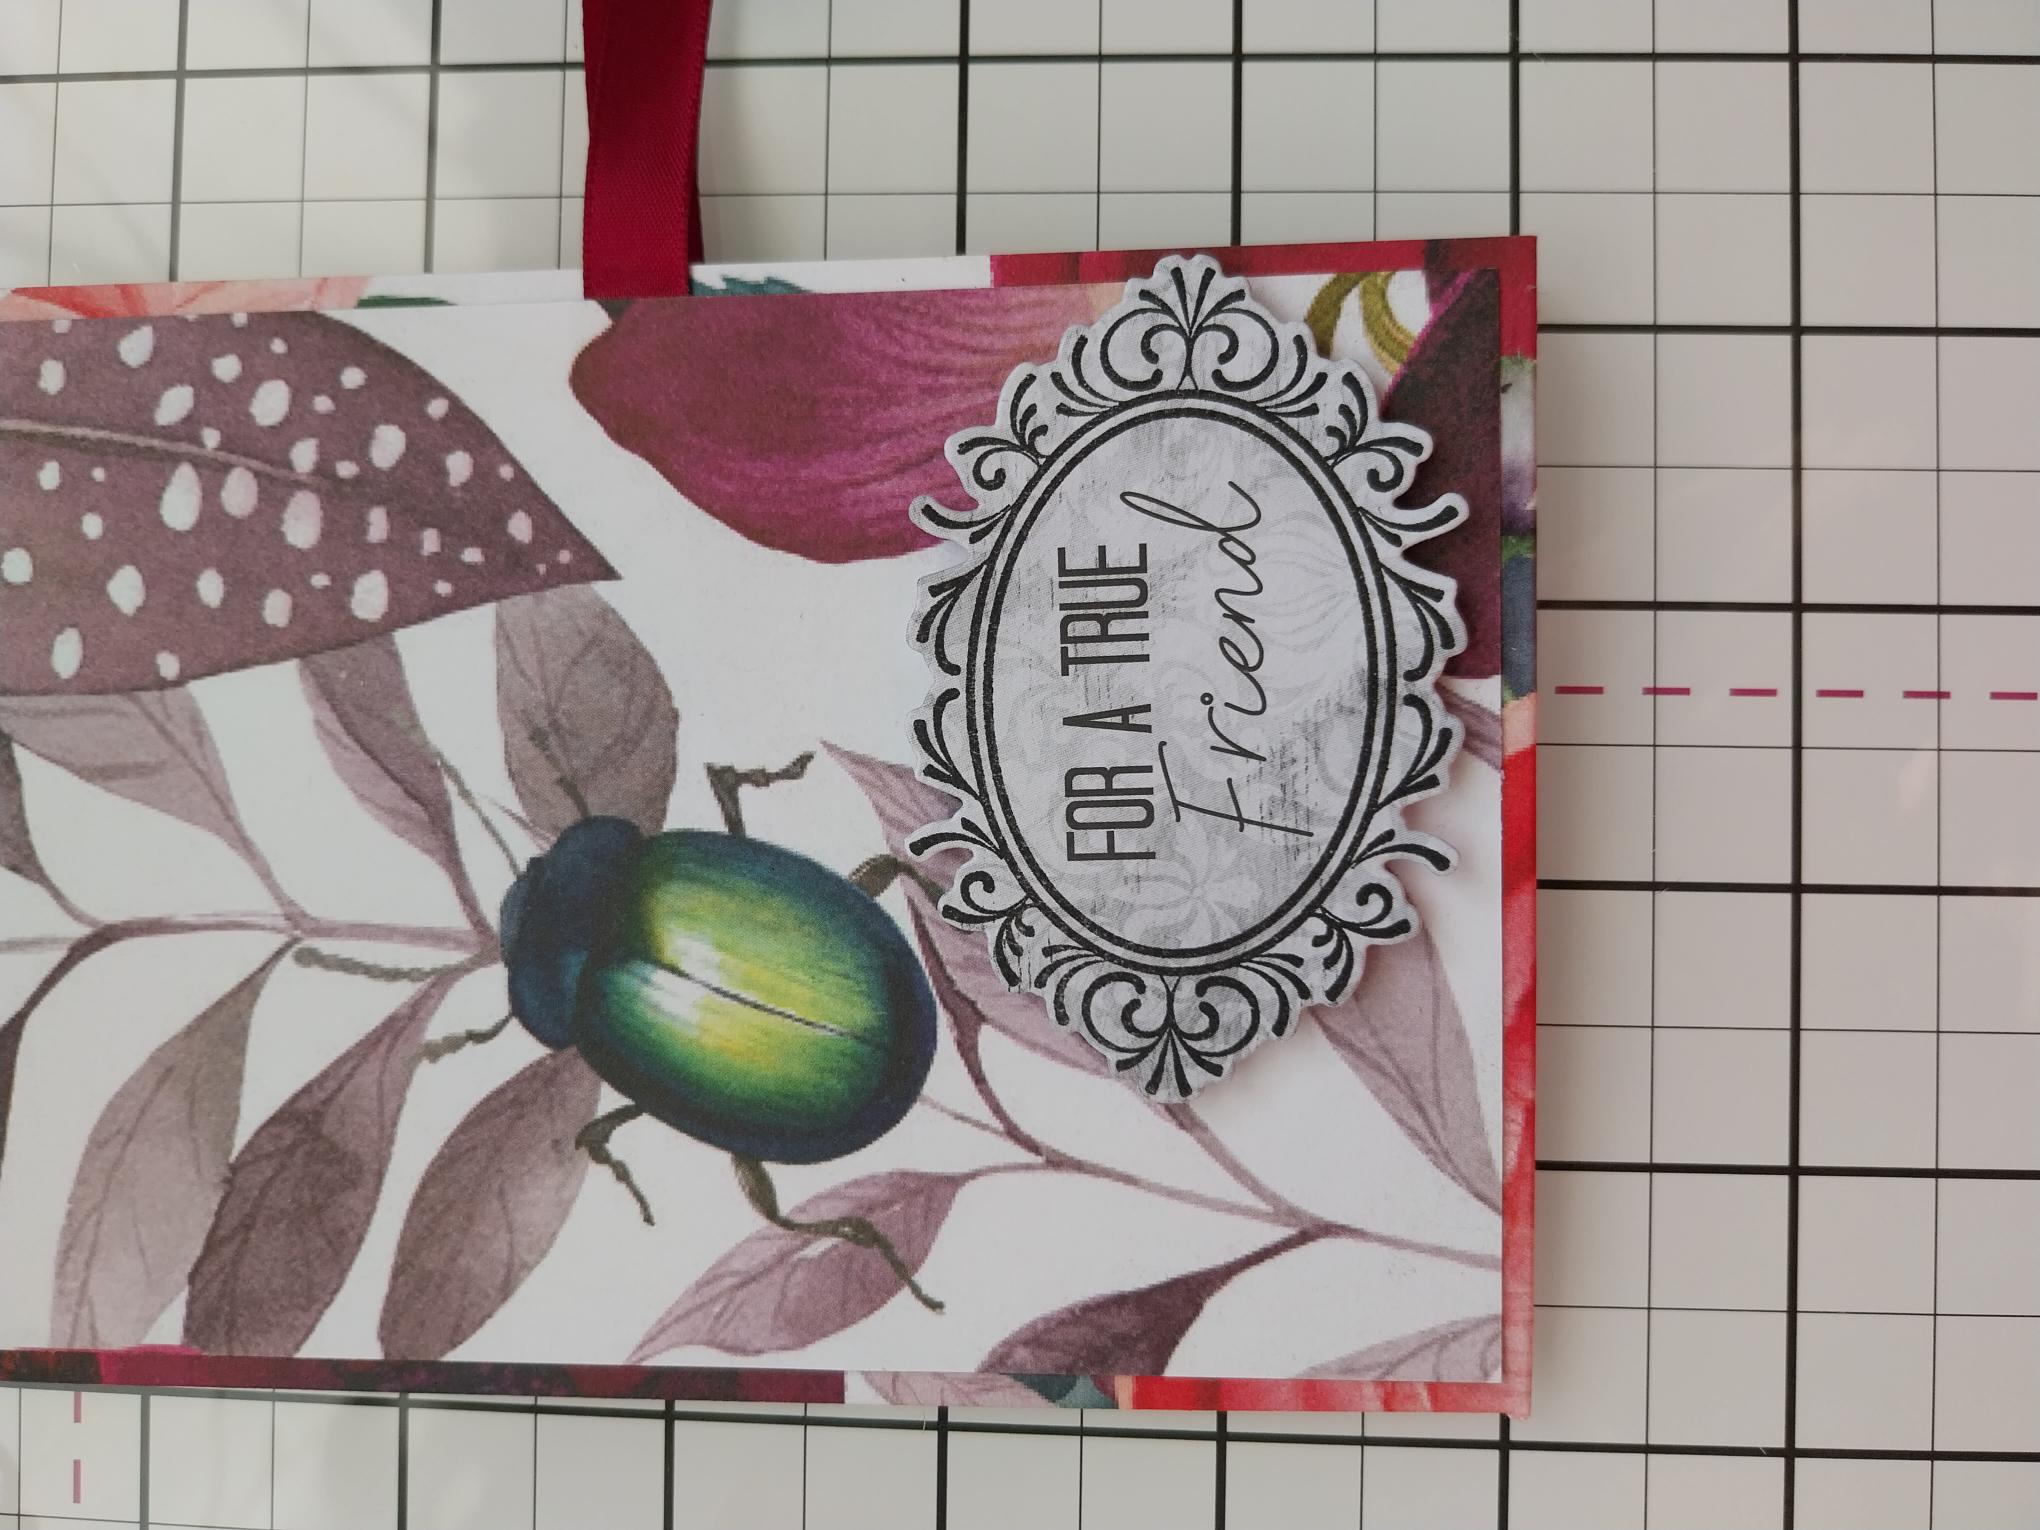
Cut 2 panels of paper to fit on the front and back pages. One will be the front cover of your album so choose your paper appropriately....I decided to have the gorgeous beetle as the focal image on mine. |
|
Adhere both panels in place so they cover the ribbon "workings". |
|
Choose which sentiment you want to use, from the Mulberry & Gold sentiment pack. Stamp one of the Mulberry & Gold frames in the Midnight ink, around the sentiment, before using the coordinating die to cut it out. |
|
Adhere to the front of your album where required. |
|
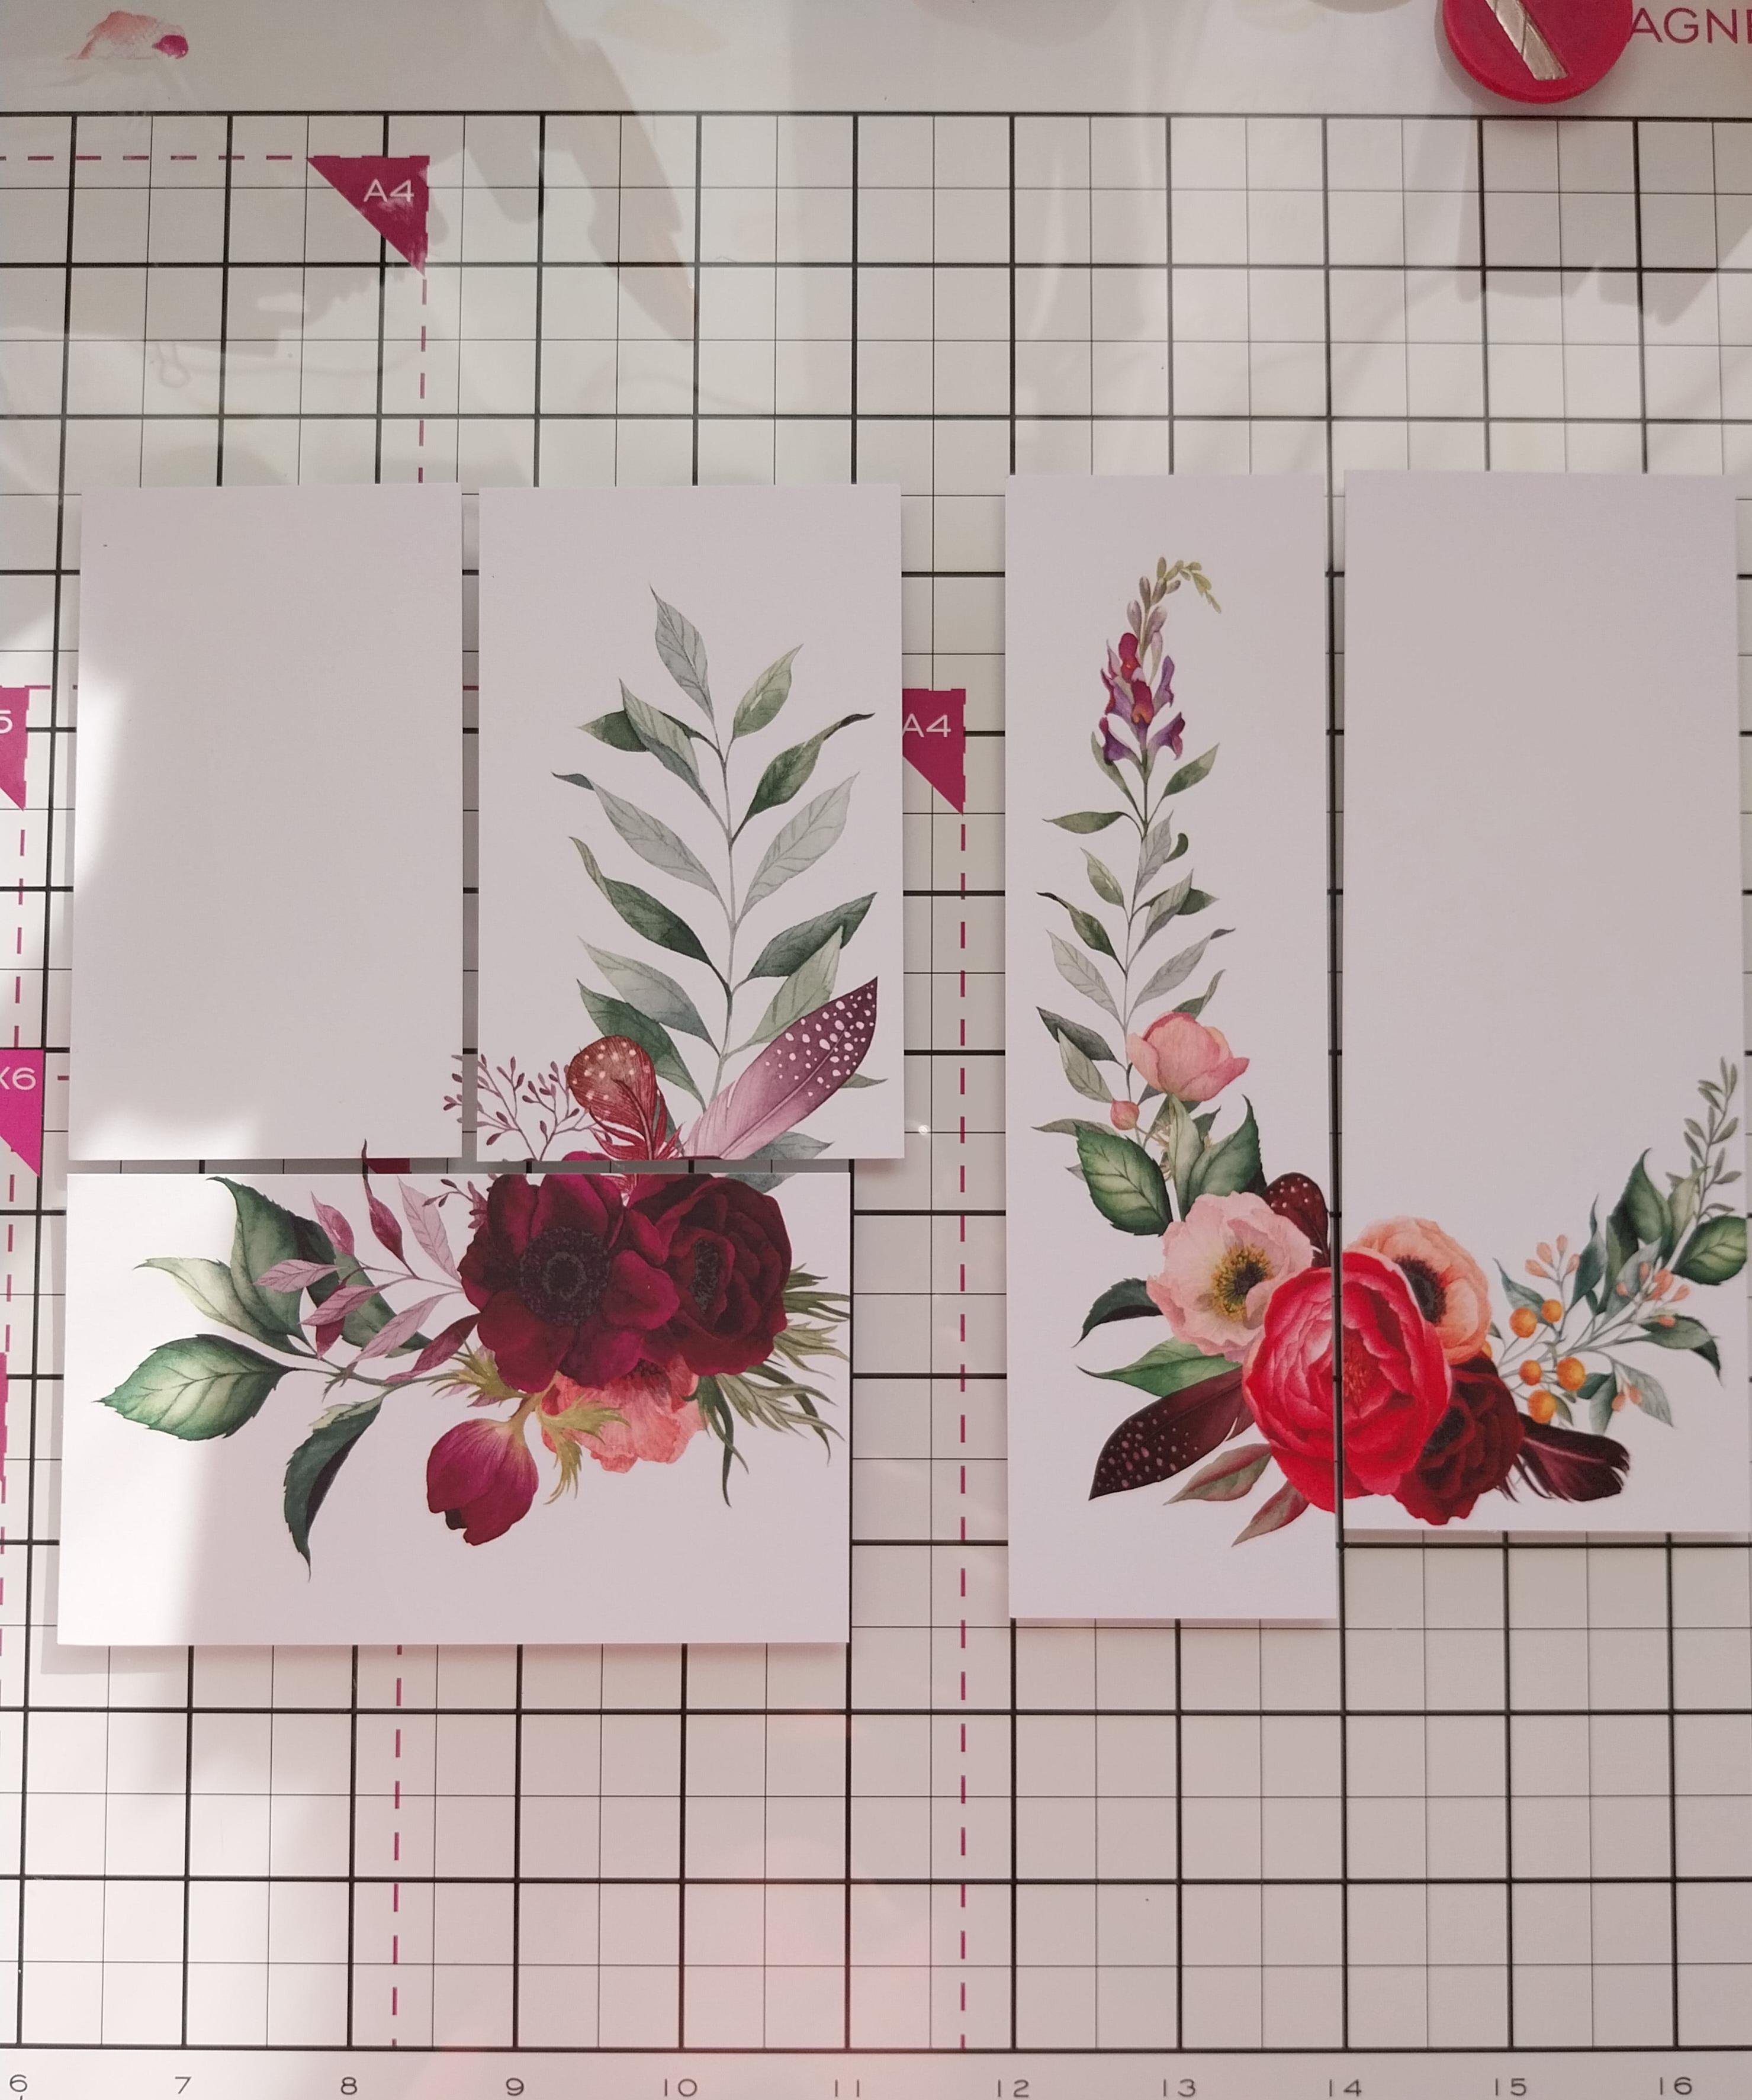
It's now time to "fill" those pockets using the beautiful Ruby Blooms Painted Mounts. Trim to different sizes to fit in the pockets. |
|
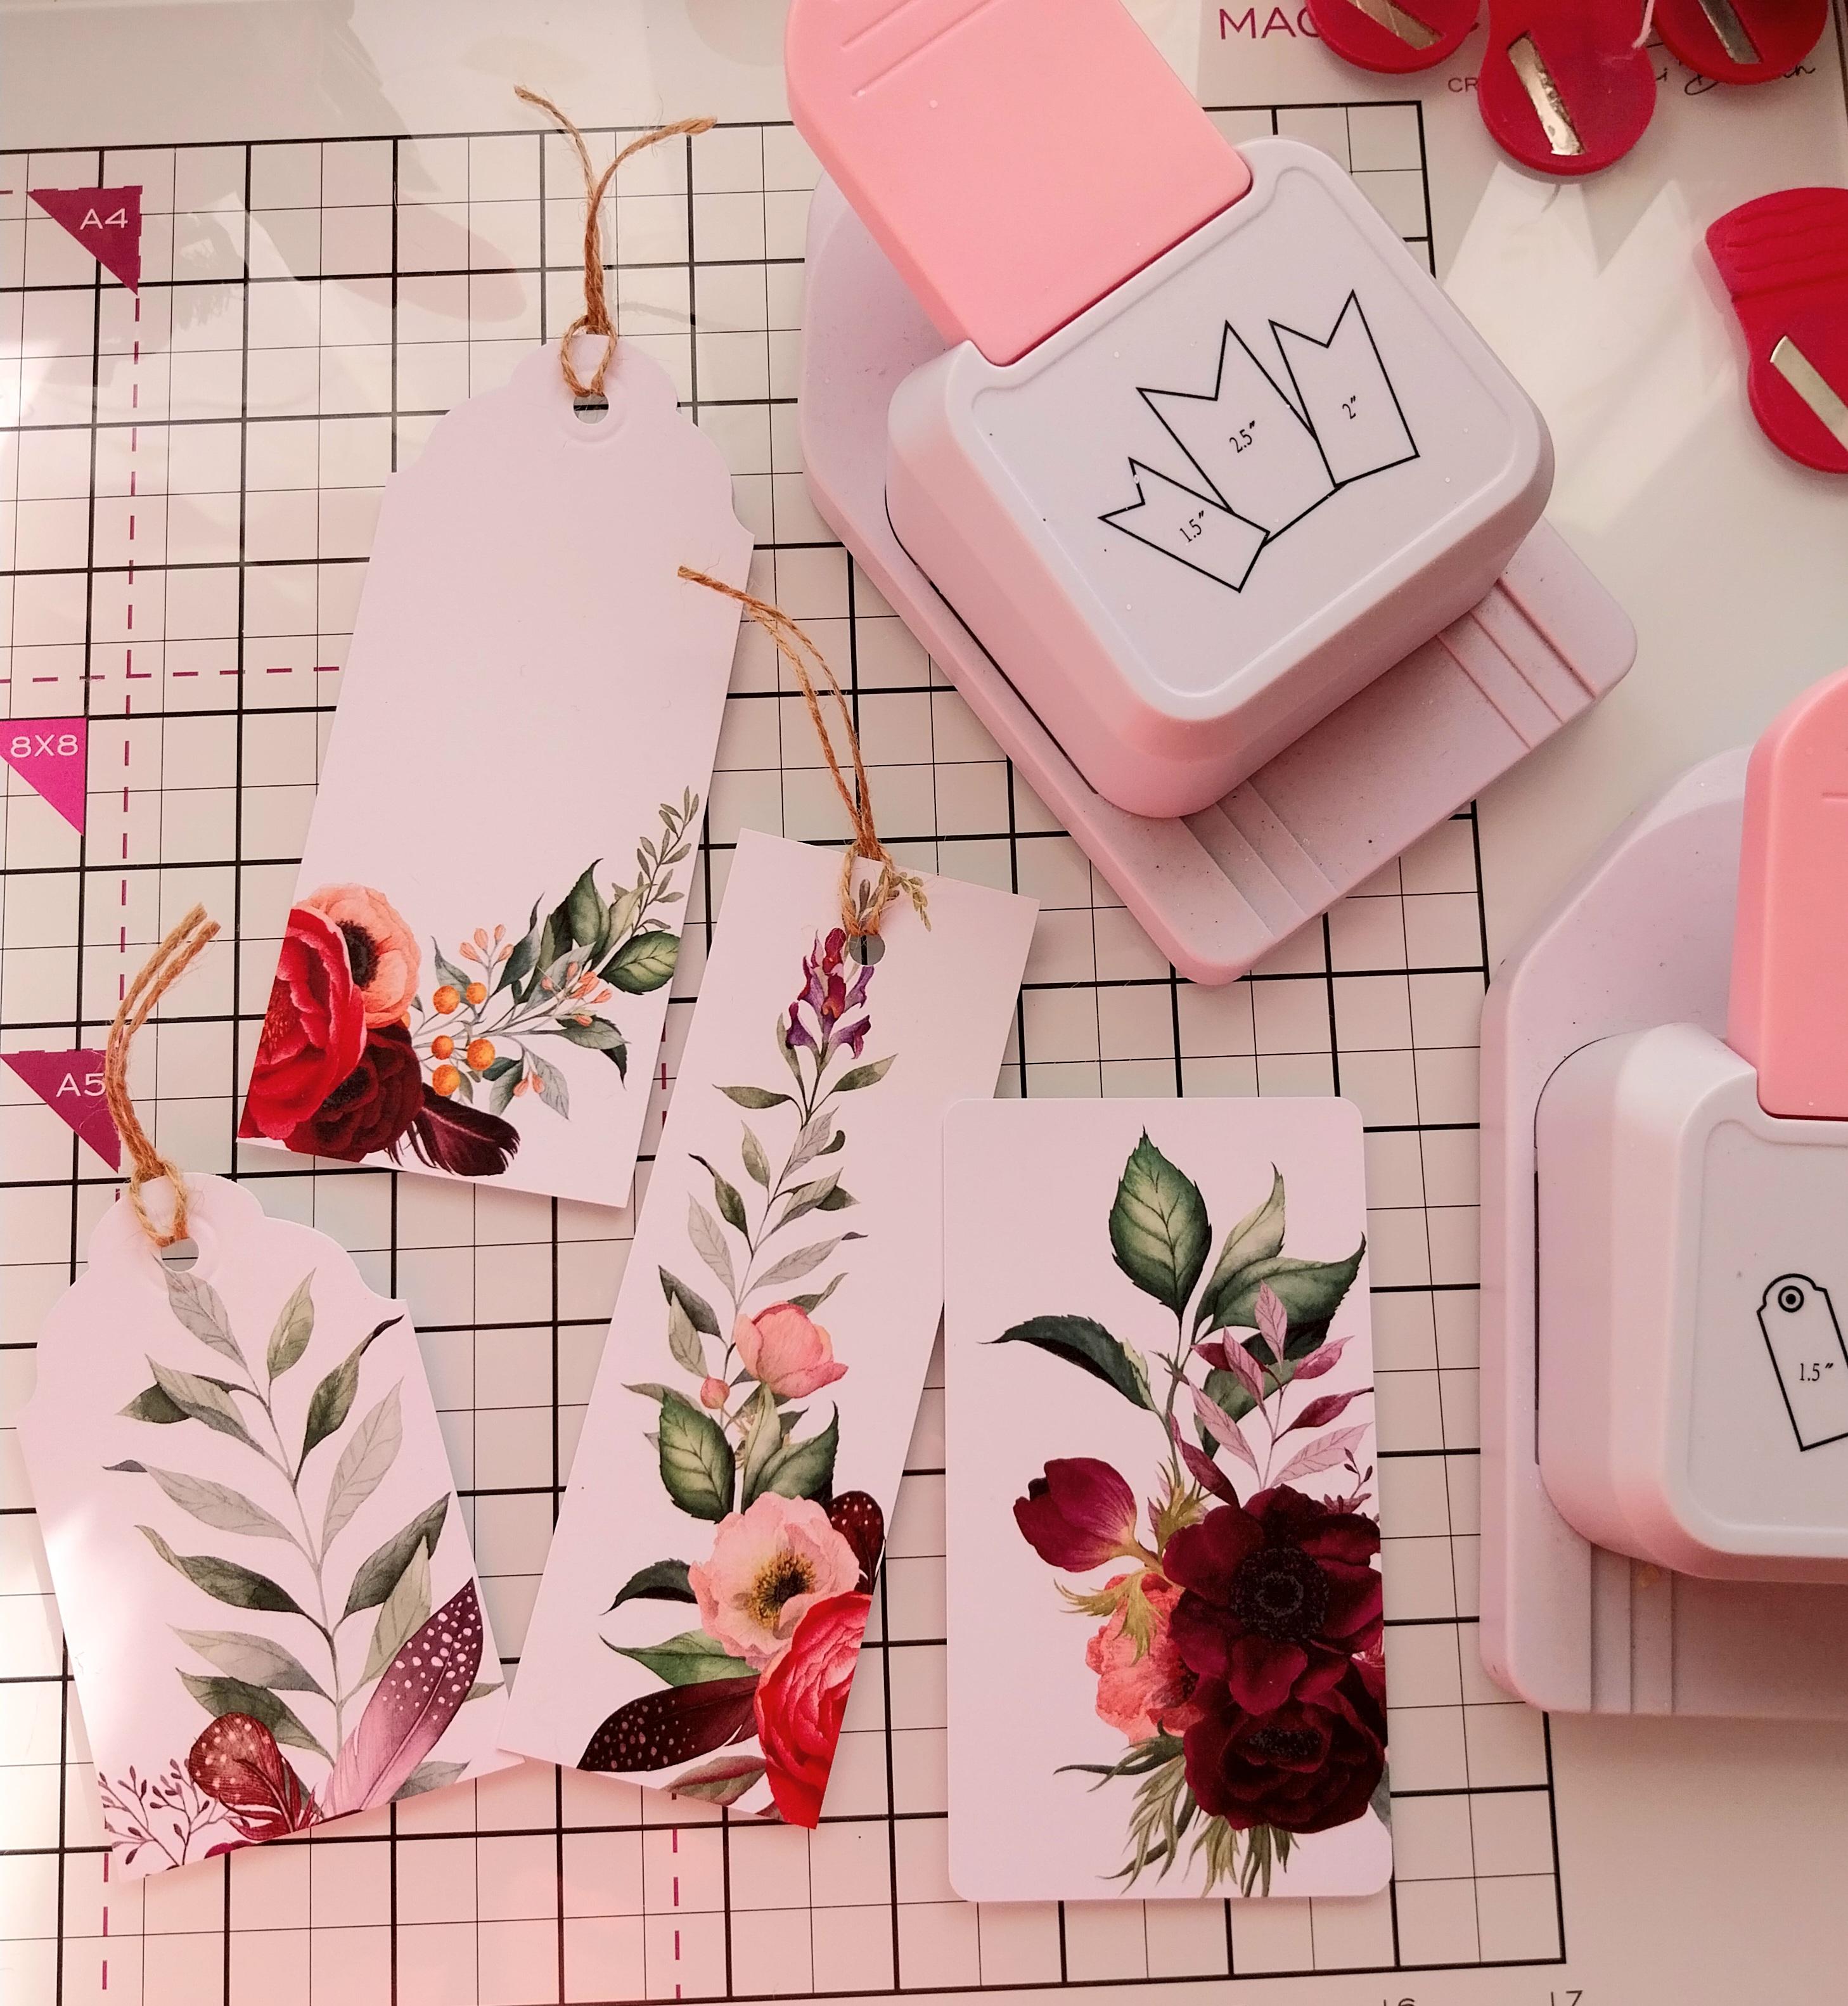
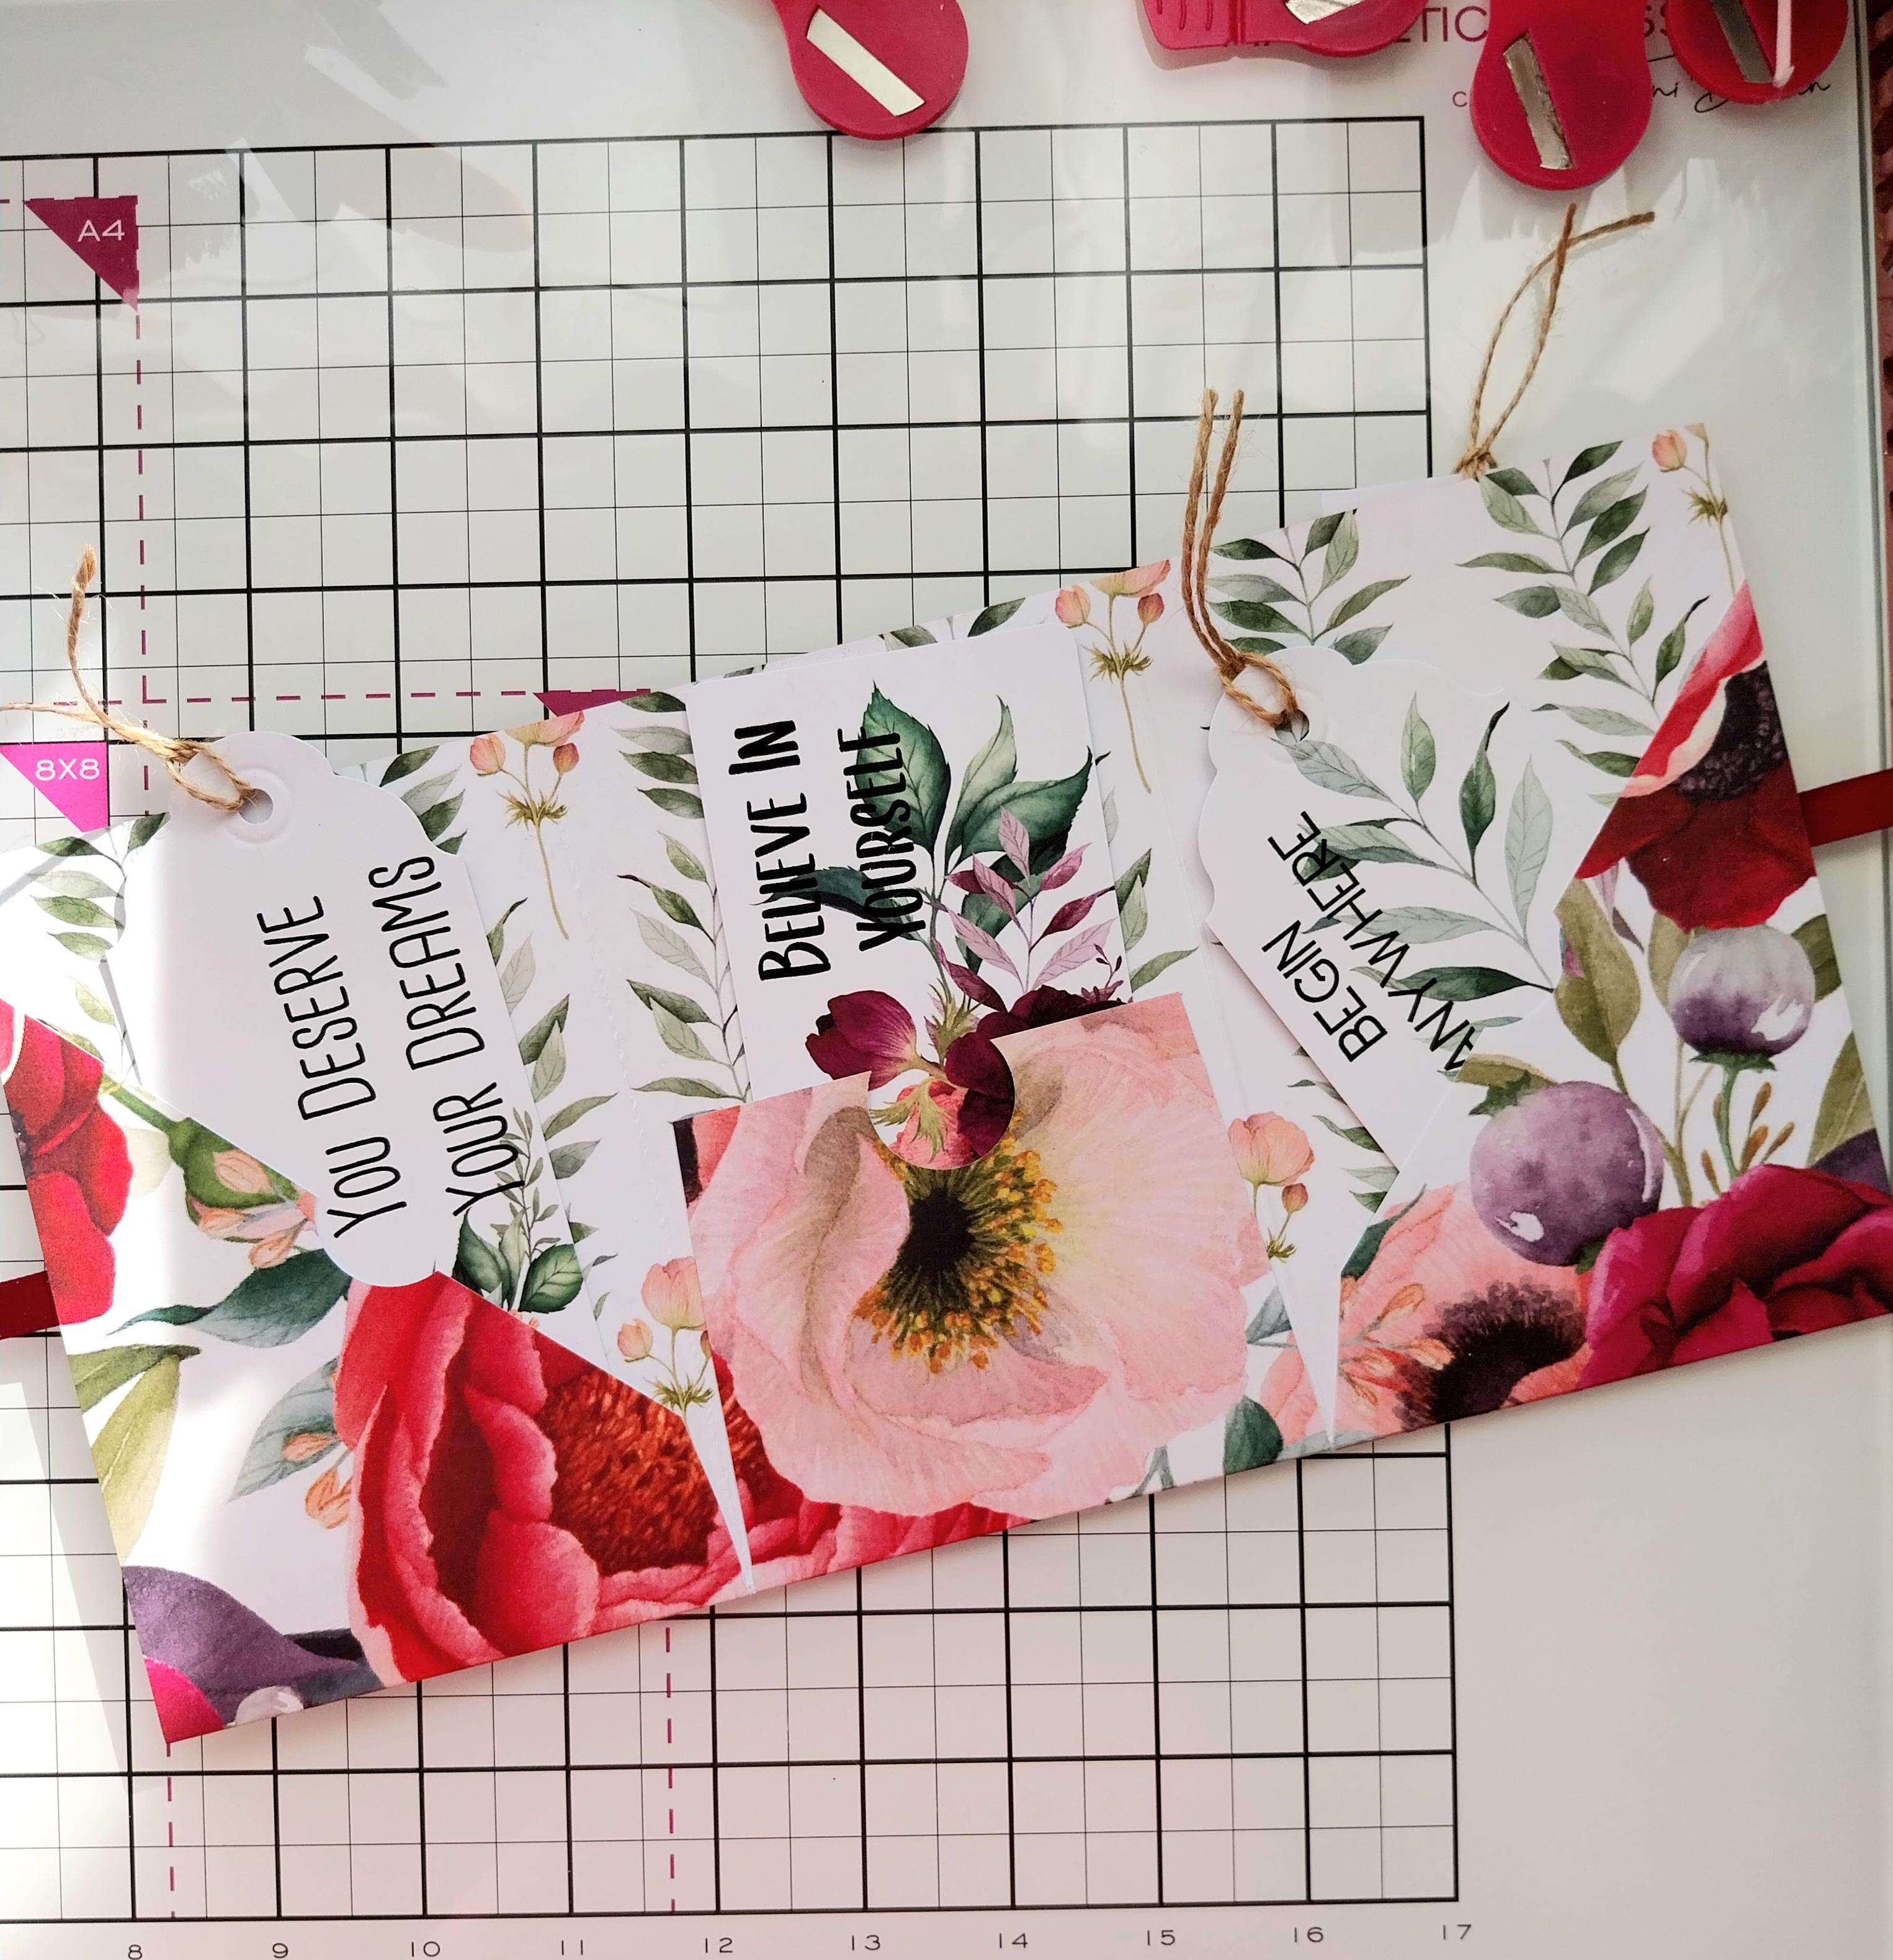
Using your punches and twine/ribbon, create a selection of tags, toppers and bookmarks which you can then stamp on, with your chosen sentiments, as required. |
|
Voila!!!! A beautiful mini album filled with uplifting, beautiful elements which can be given as a gift to friends and loved ones. |