Give your friends $10 off their first order!
Refer a FRIEND


WHAT YOU WILL NEED:
Black top folding card blank (8 1/4 x 5 3/4")
White cardstock (7 3/4 x 5 1/2")
White cardstock (8 x 5 1/4")
Stamps from Imala Be Original
Stamps from Love You Stamp Collection
Stencil from Smile Creative Box
Sentiment from Floral Banners Stamp And Die Collection
Versafine Ink Pad: Onyx Black
Izink Shiny Spray: Rose Poudre
Sequins: Smile Creative Box
Spray box (optional)
Paint brush
Eureka 101
Paper Trimmer
Perfect Together Glue
Foam pads or 3D glue gel
[click image to enlarge] 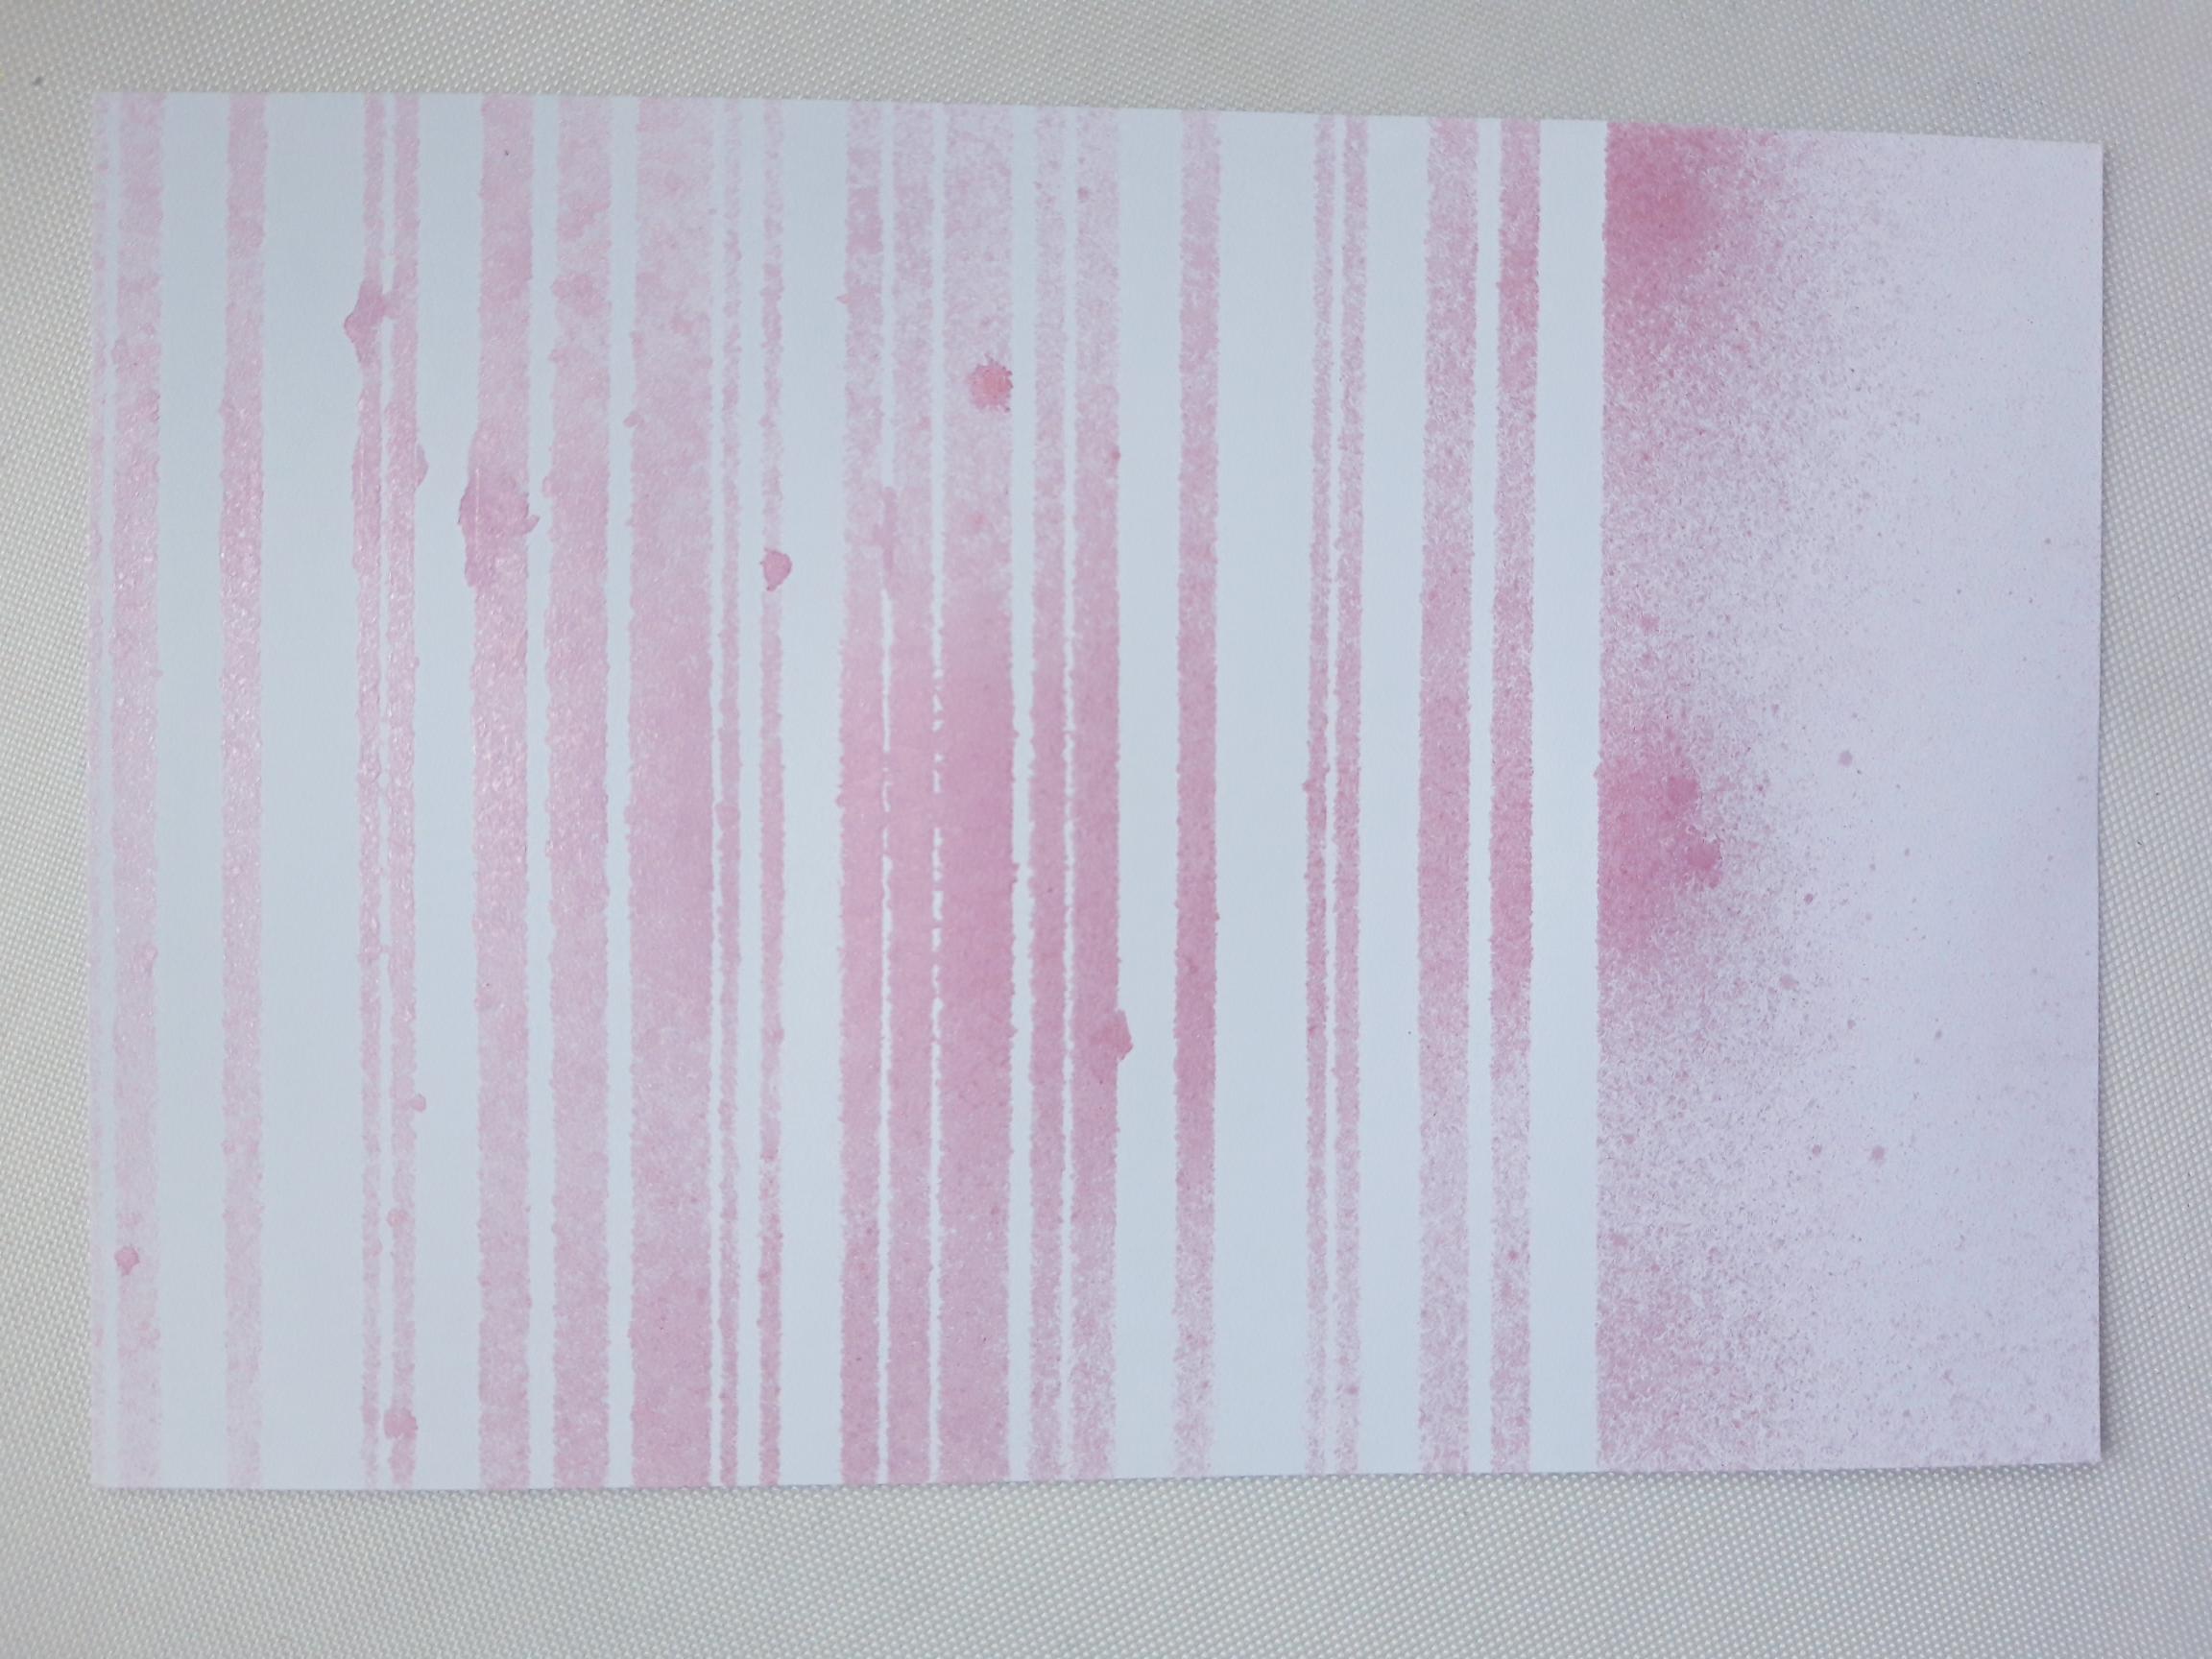
|
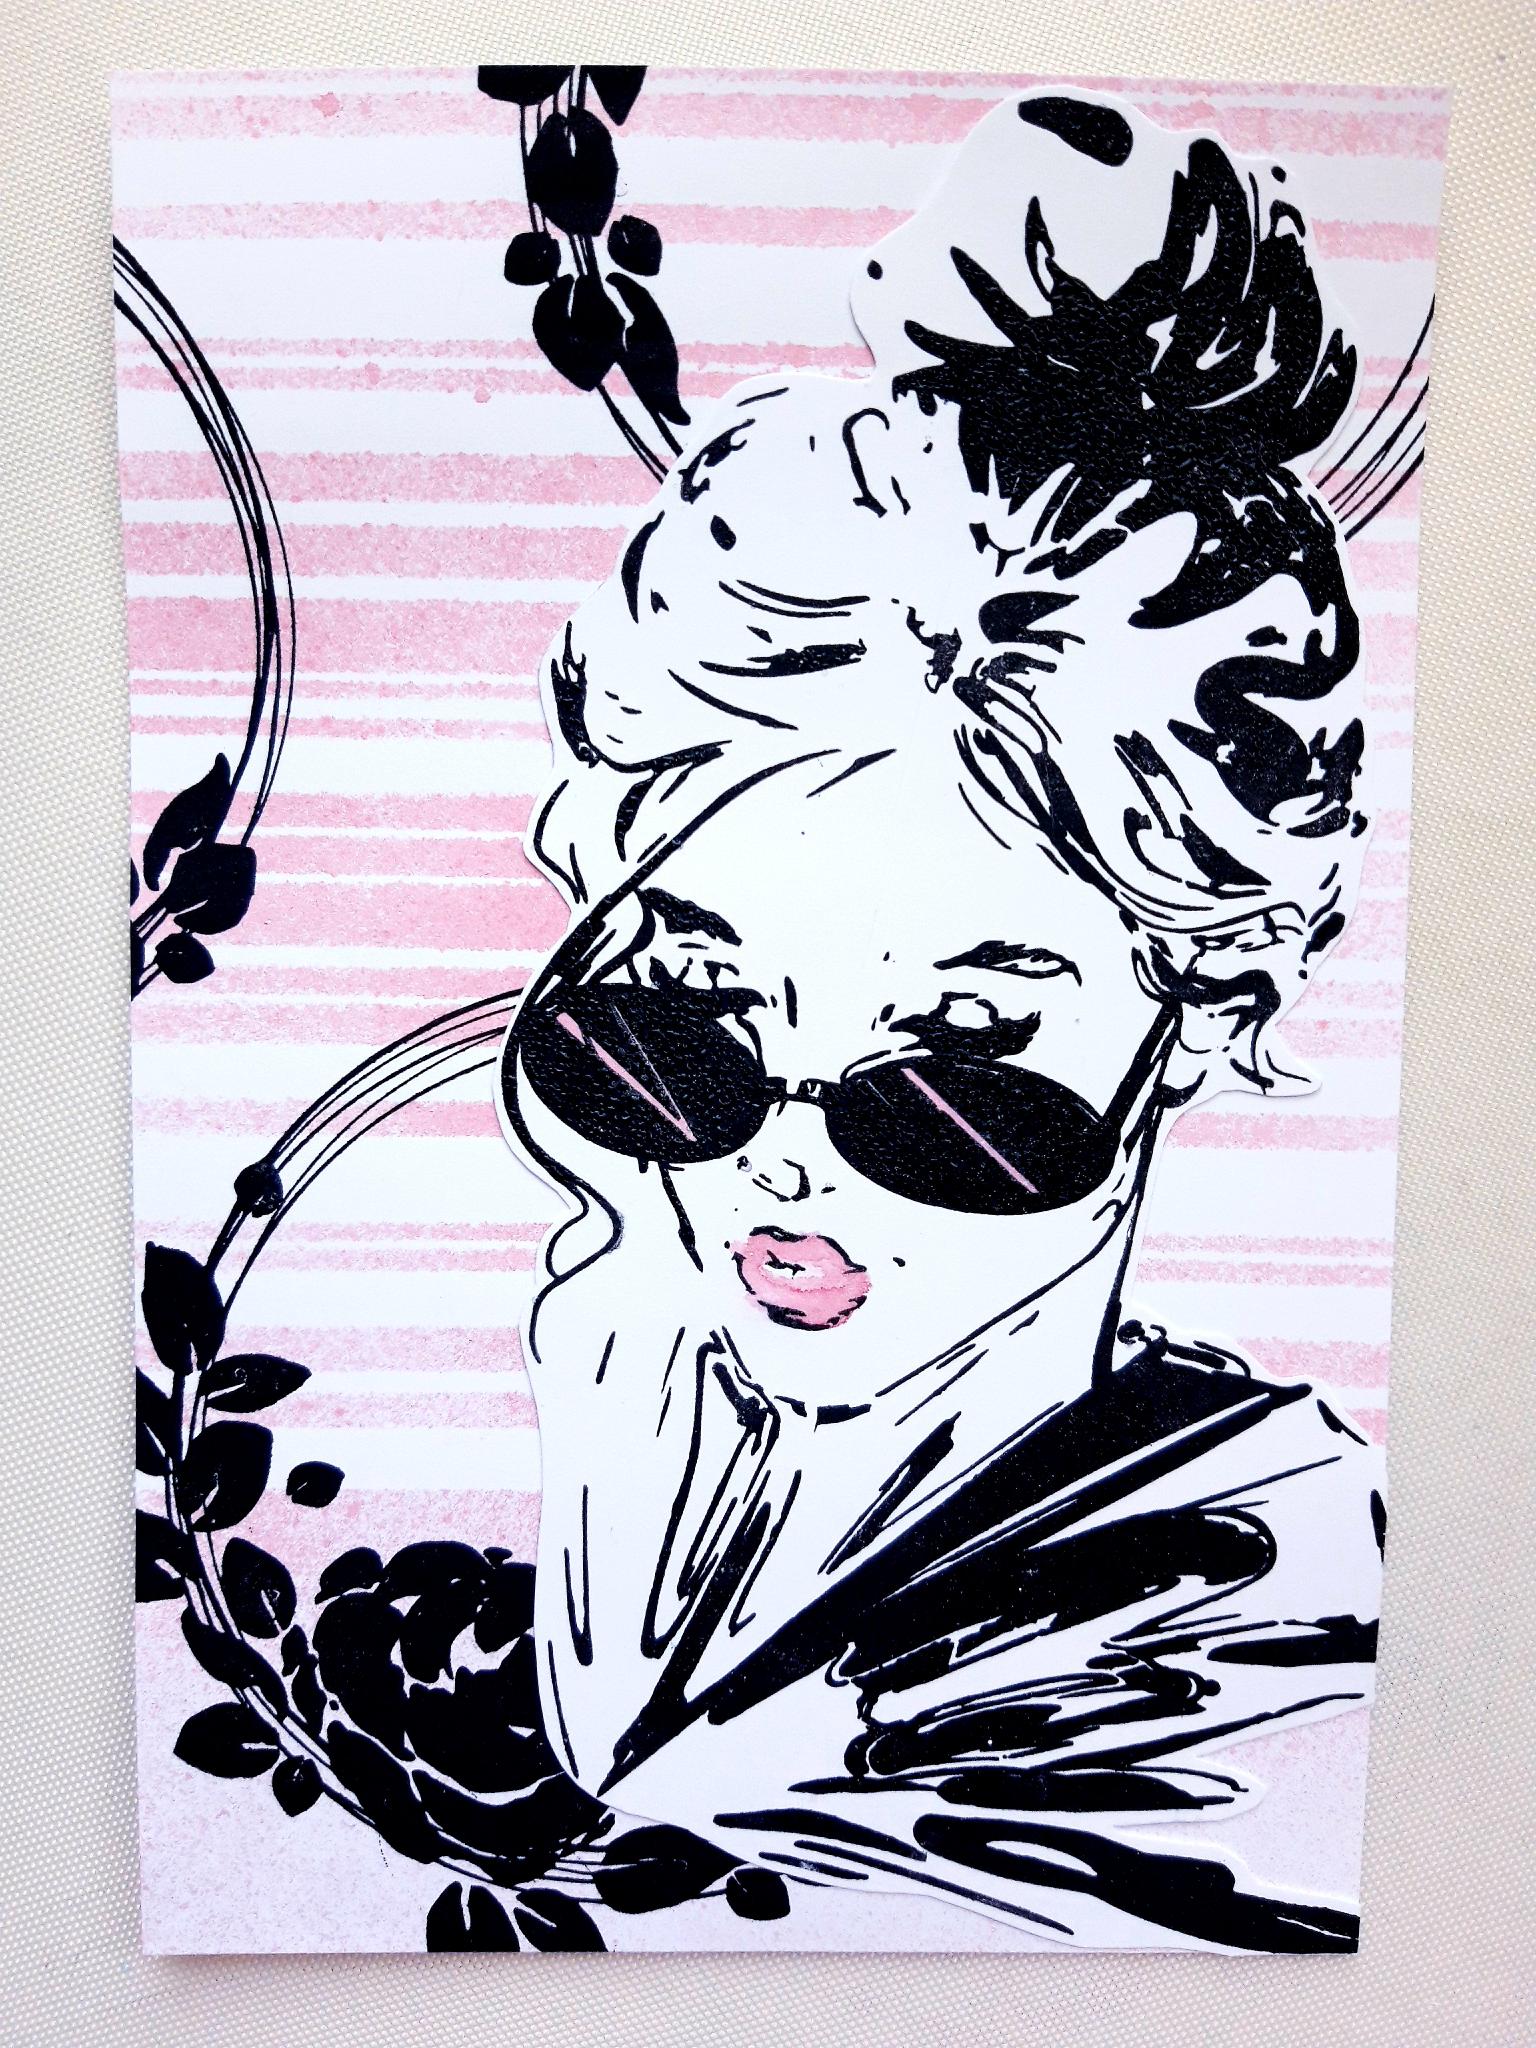
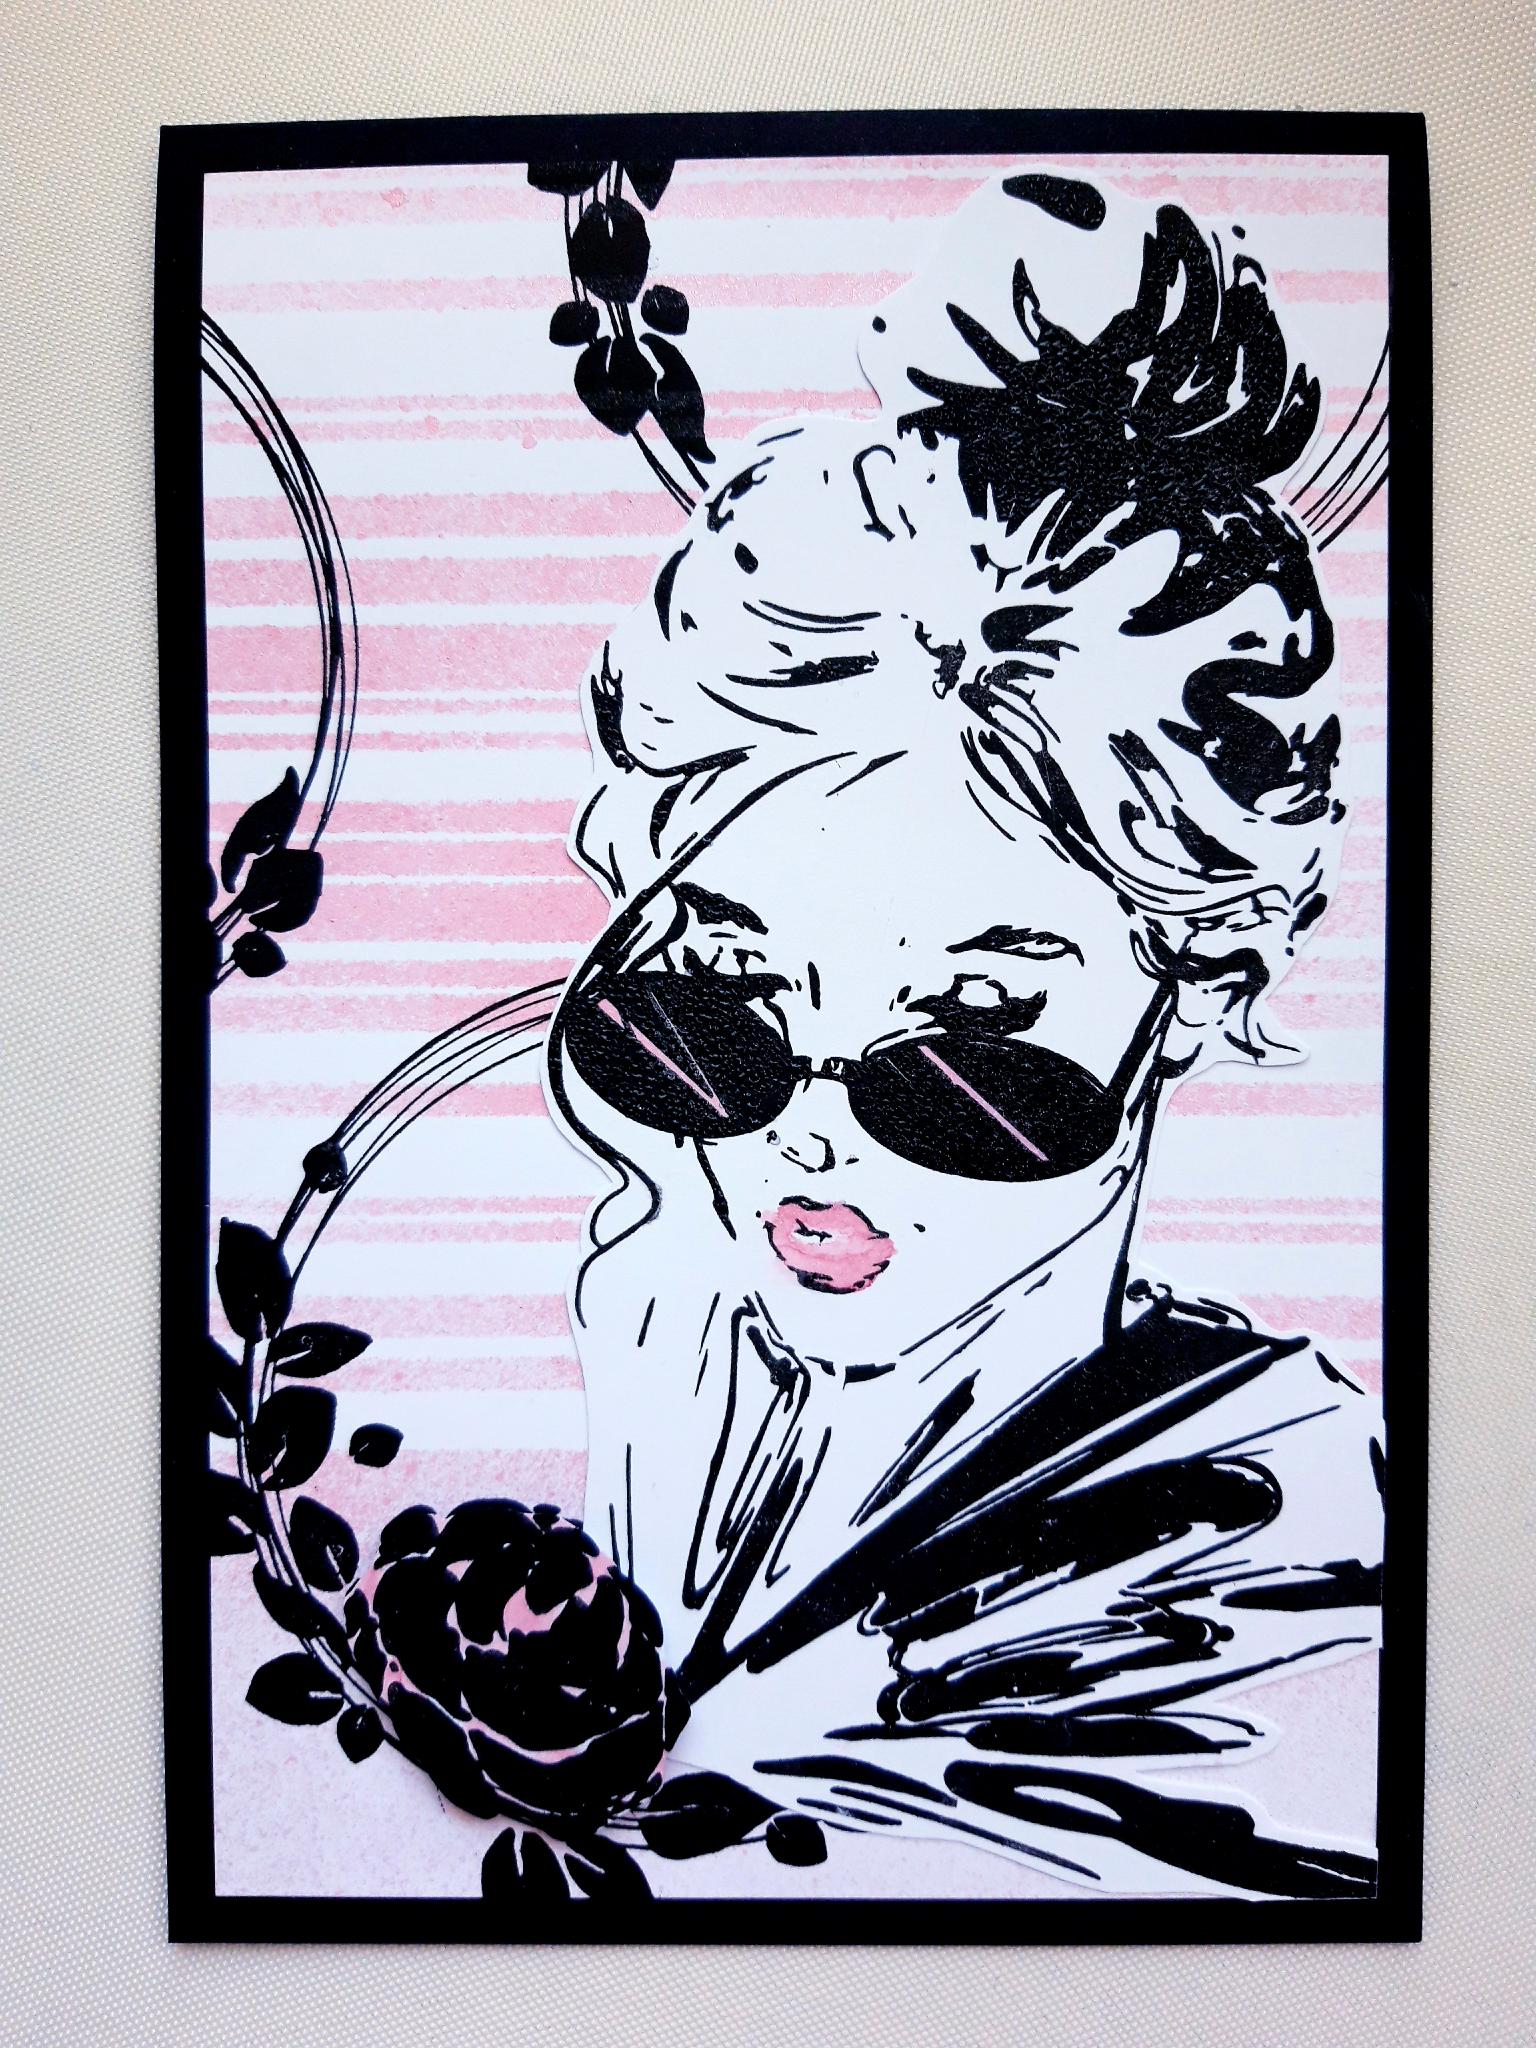
Place the white cardstock (7 3/4 x 5 1/2") inside your spray box, if using one. Lay the striped stencil on to the cardstock (there will be a gap at the bottom of the card, which is fine). Spray the Izink Rose Poudre through the stencil, over all of the card. Carefully remove stencil and dry off the ink. |
|
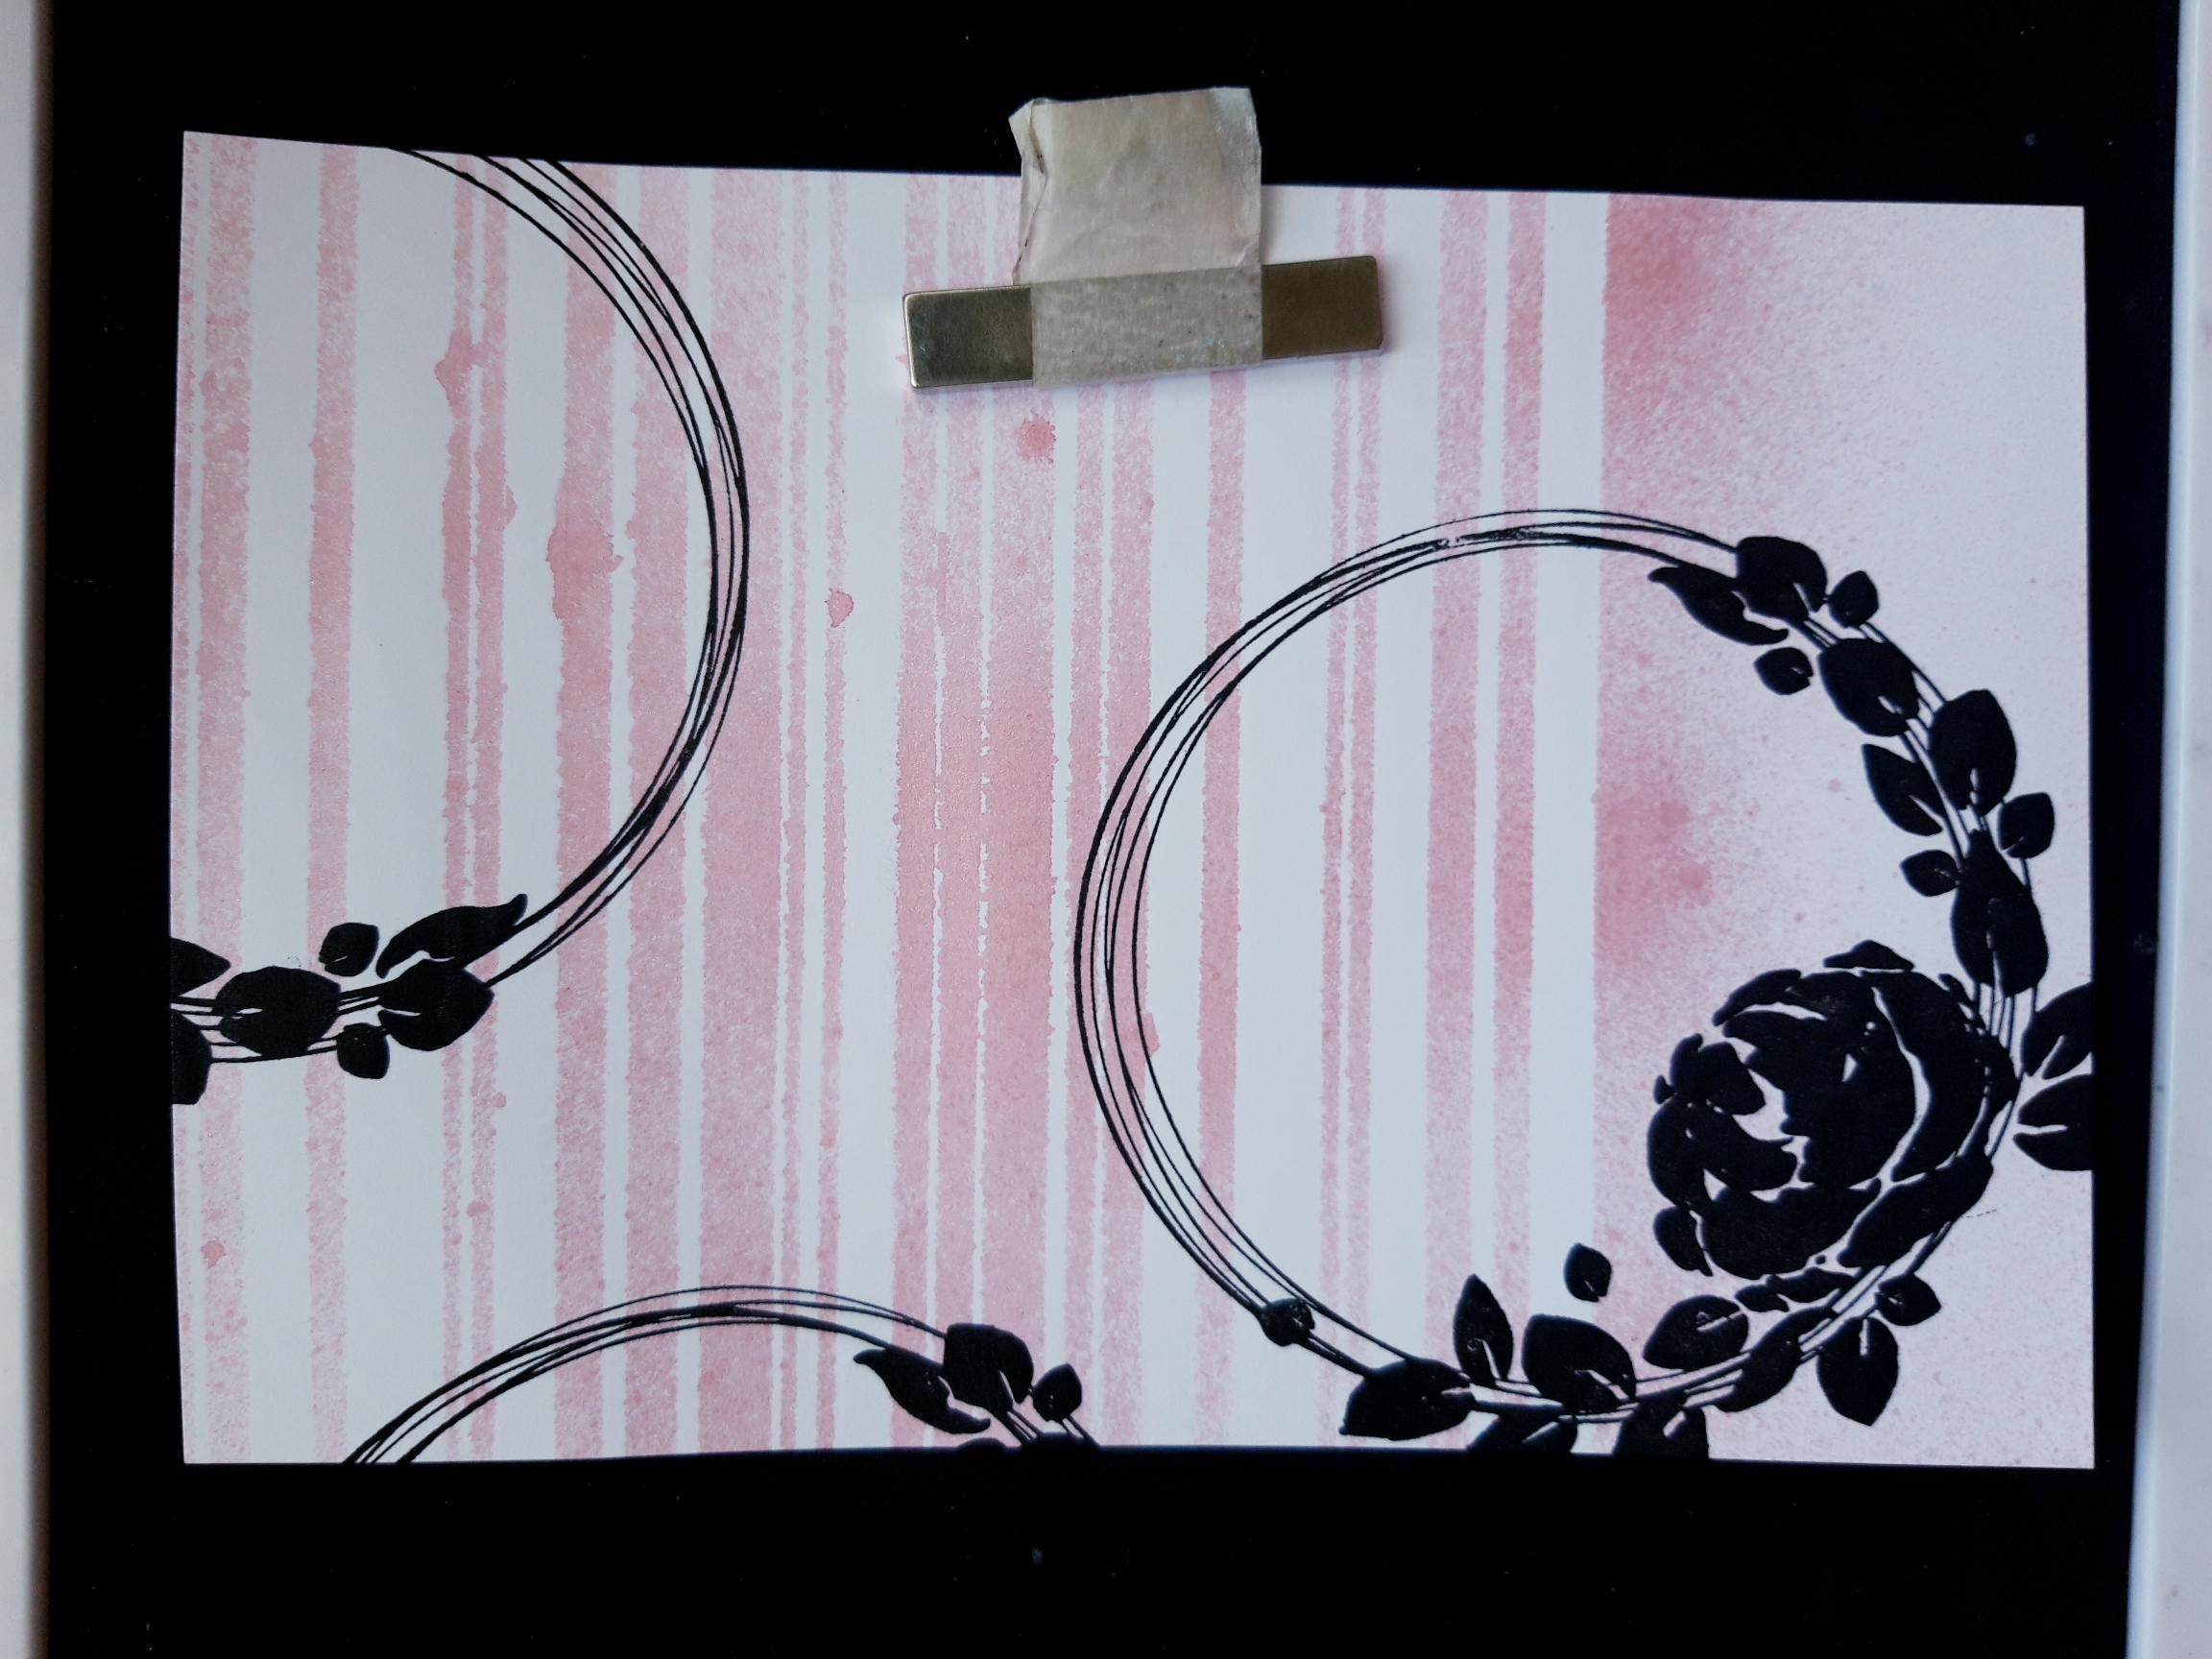
Ink up the floral wreath stamp, from the Love You Stamp Collection, in the Onyx Black Versafine ink. Stamp in the bottom left corner of your stencilled background. Ink it up again, and stamp off the top right corner. ink again and stamp just coming on to the left hand side of the background. |
|
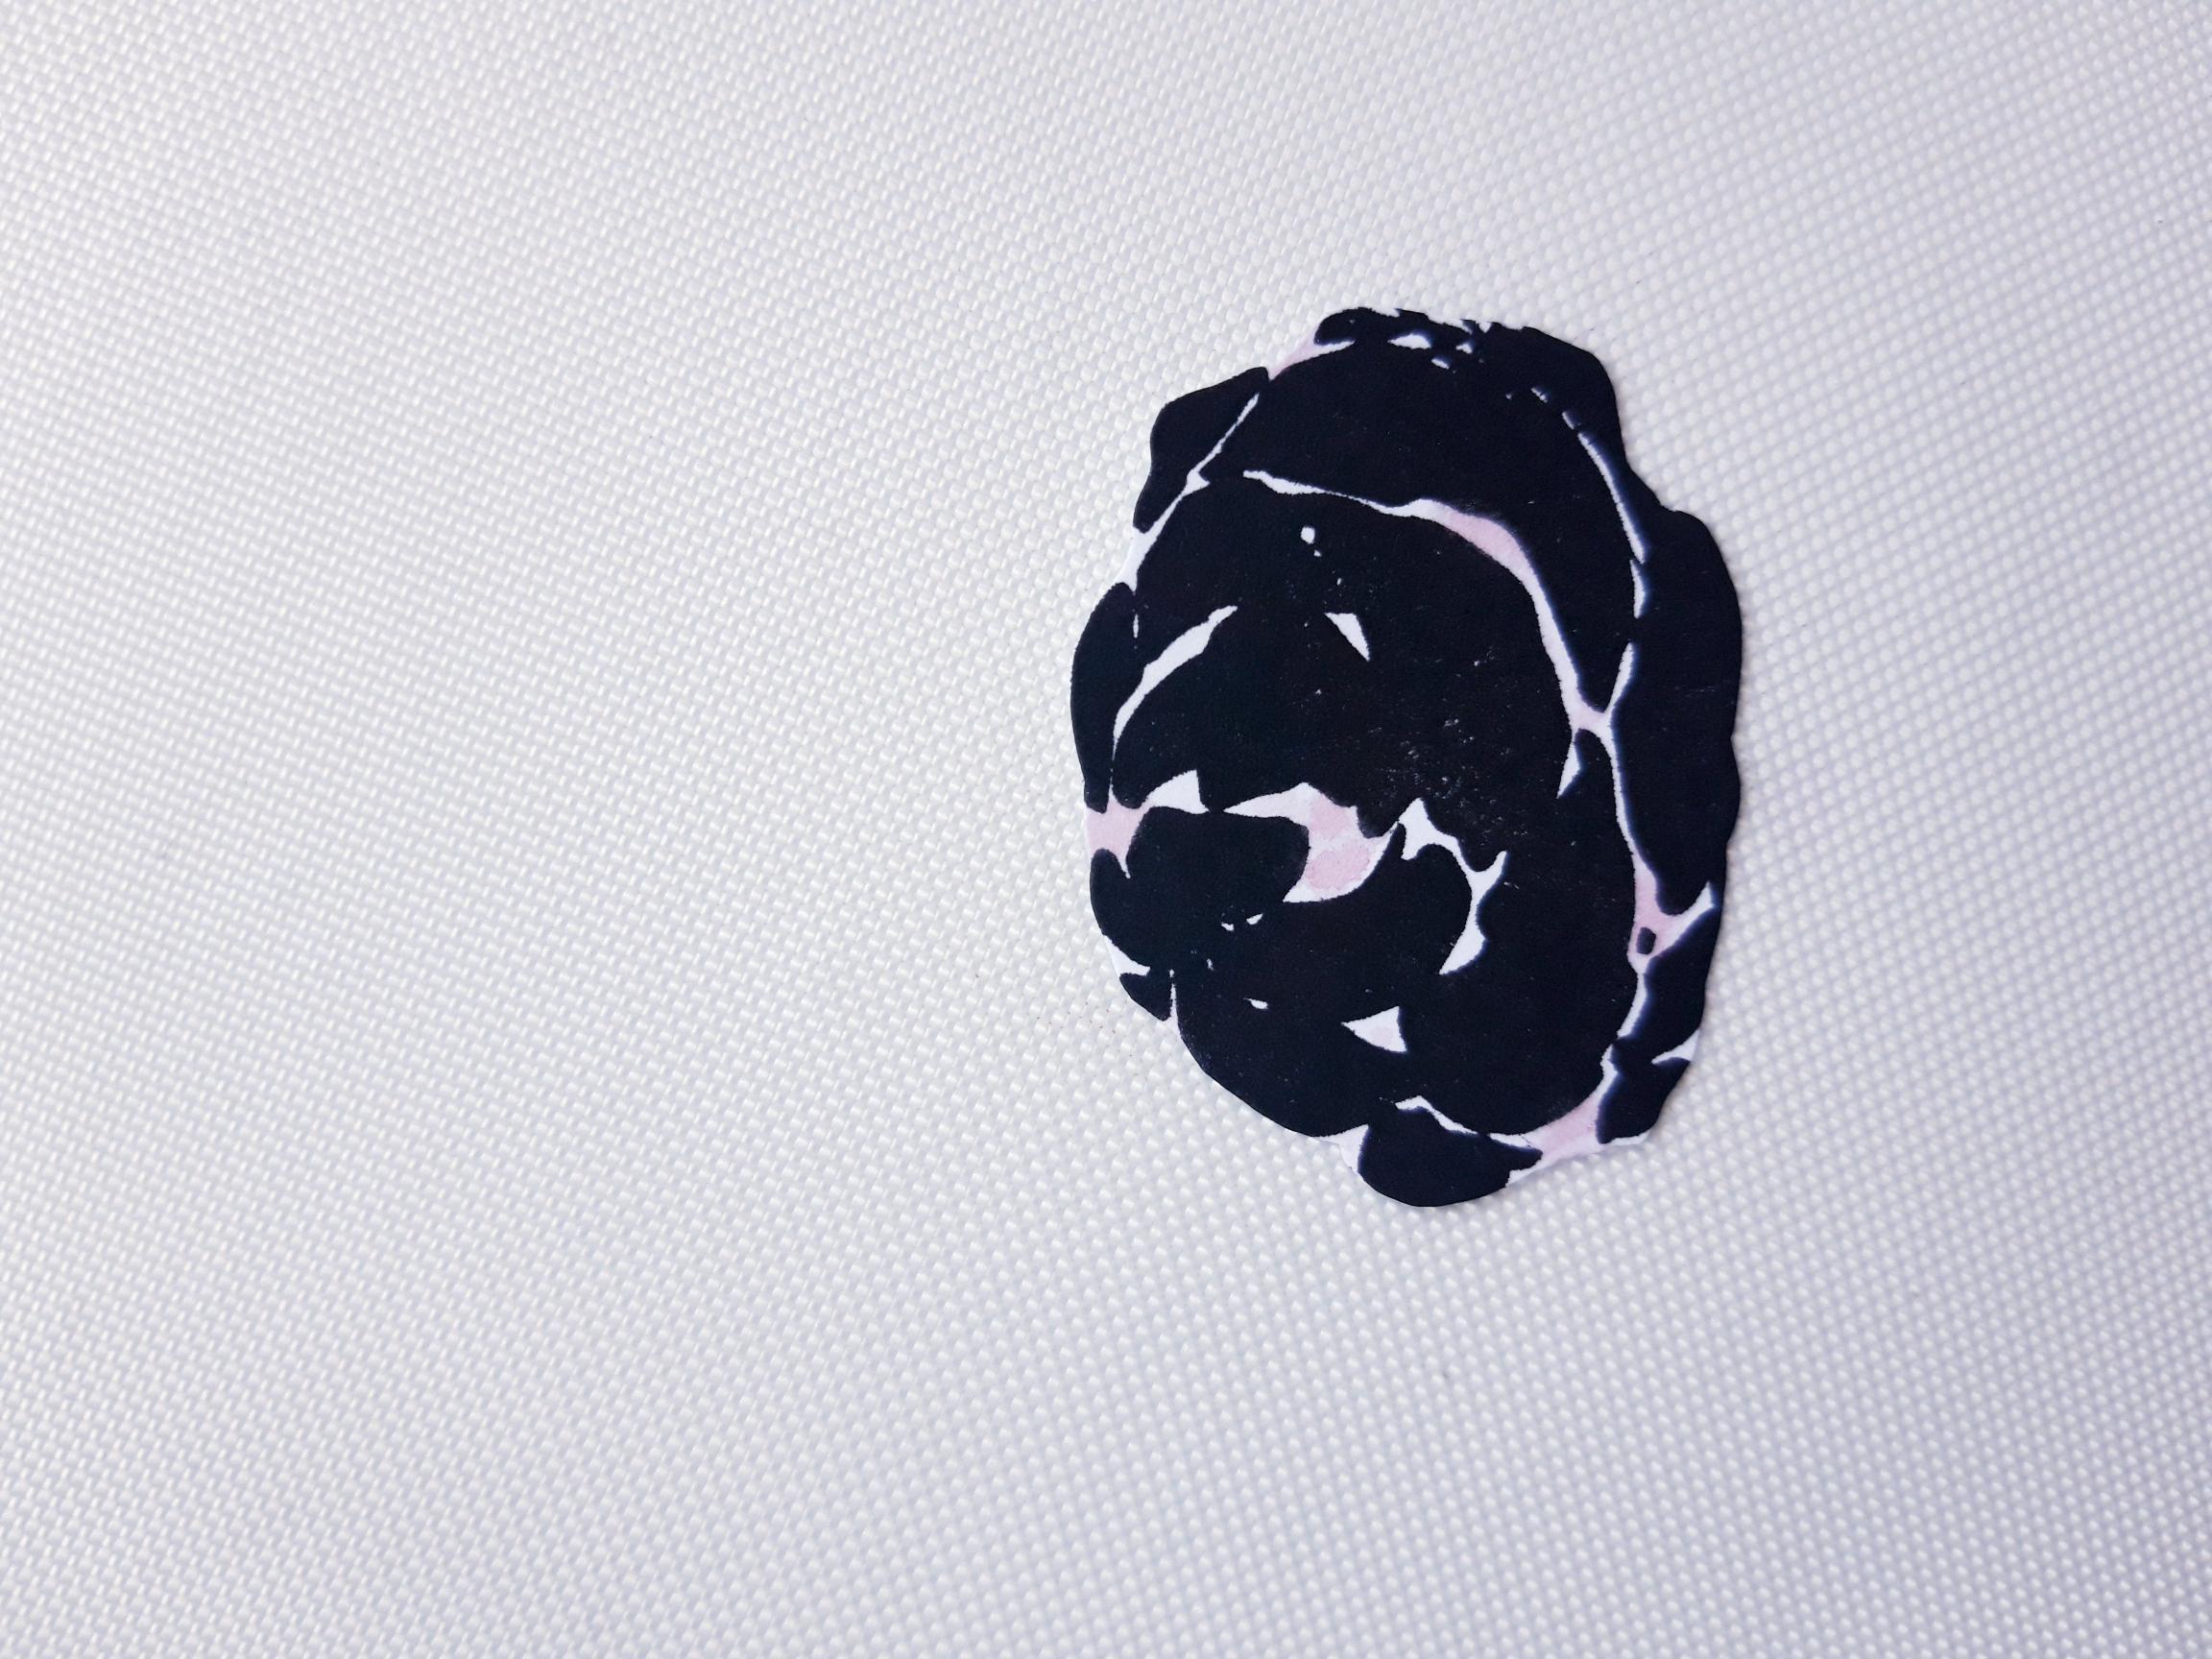
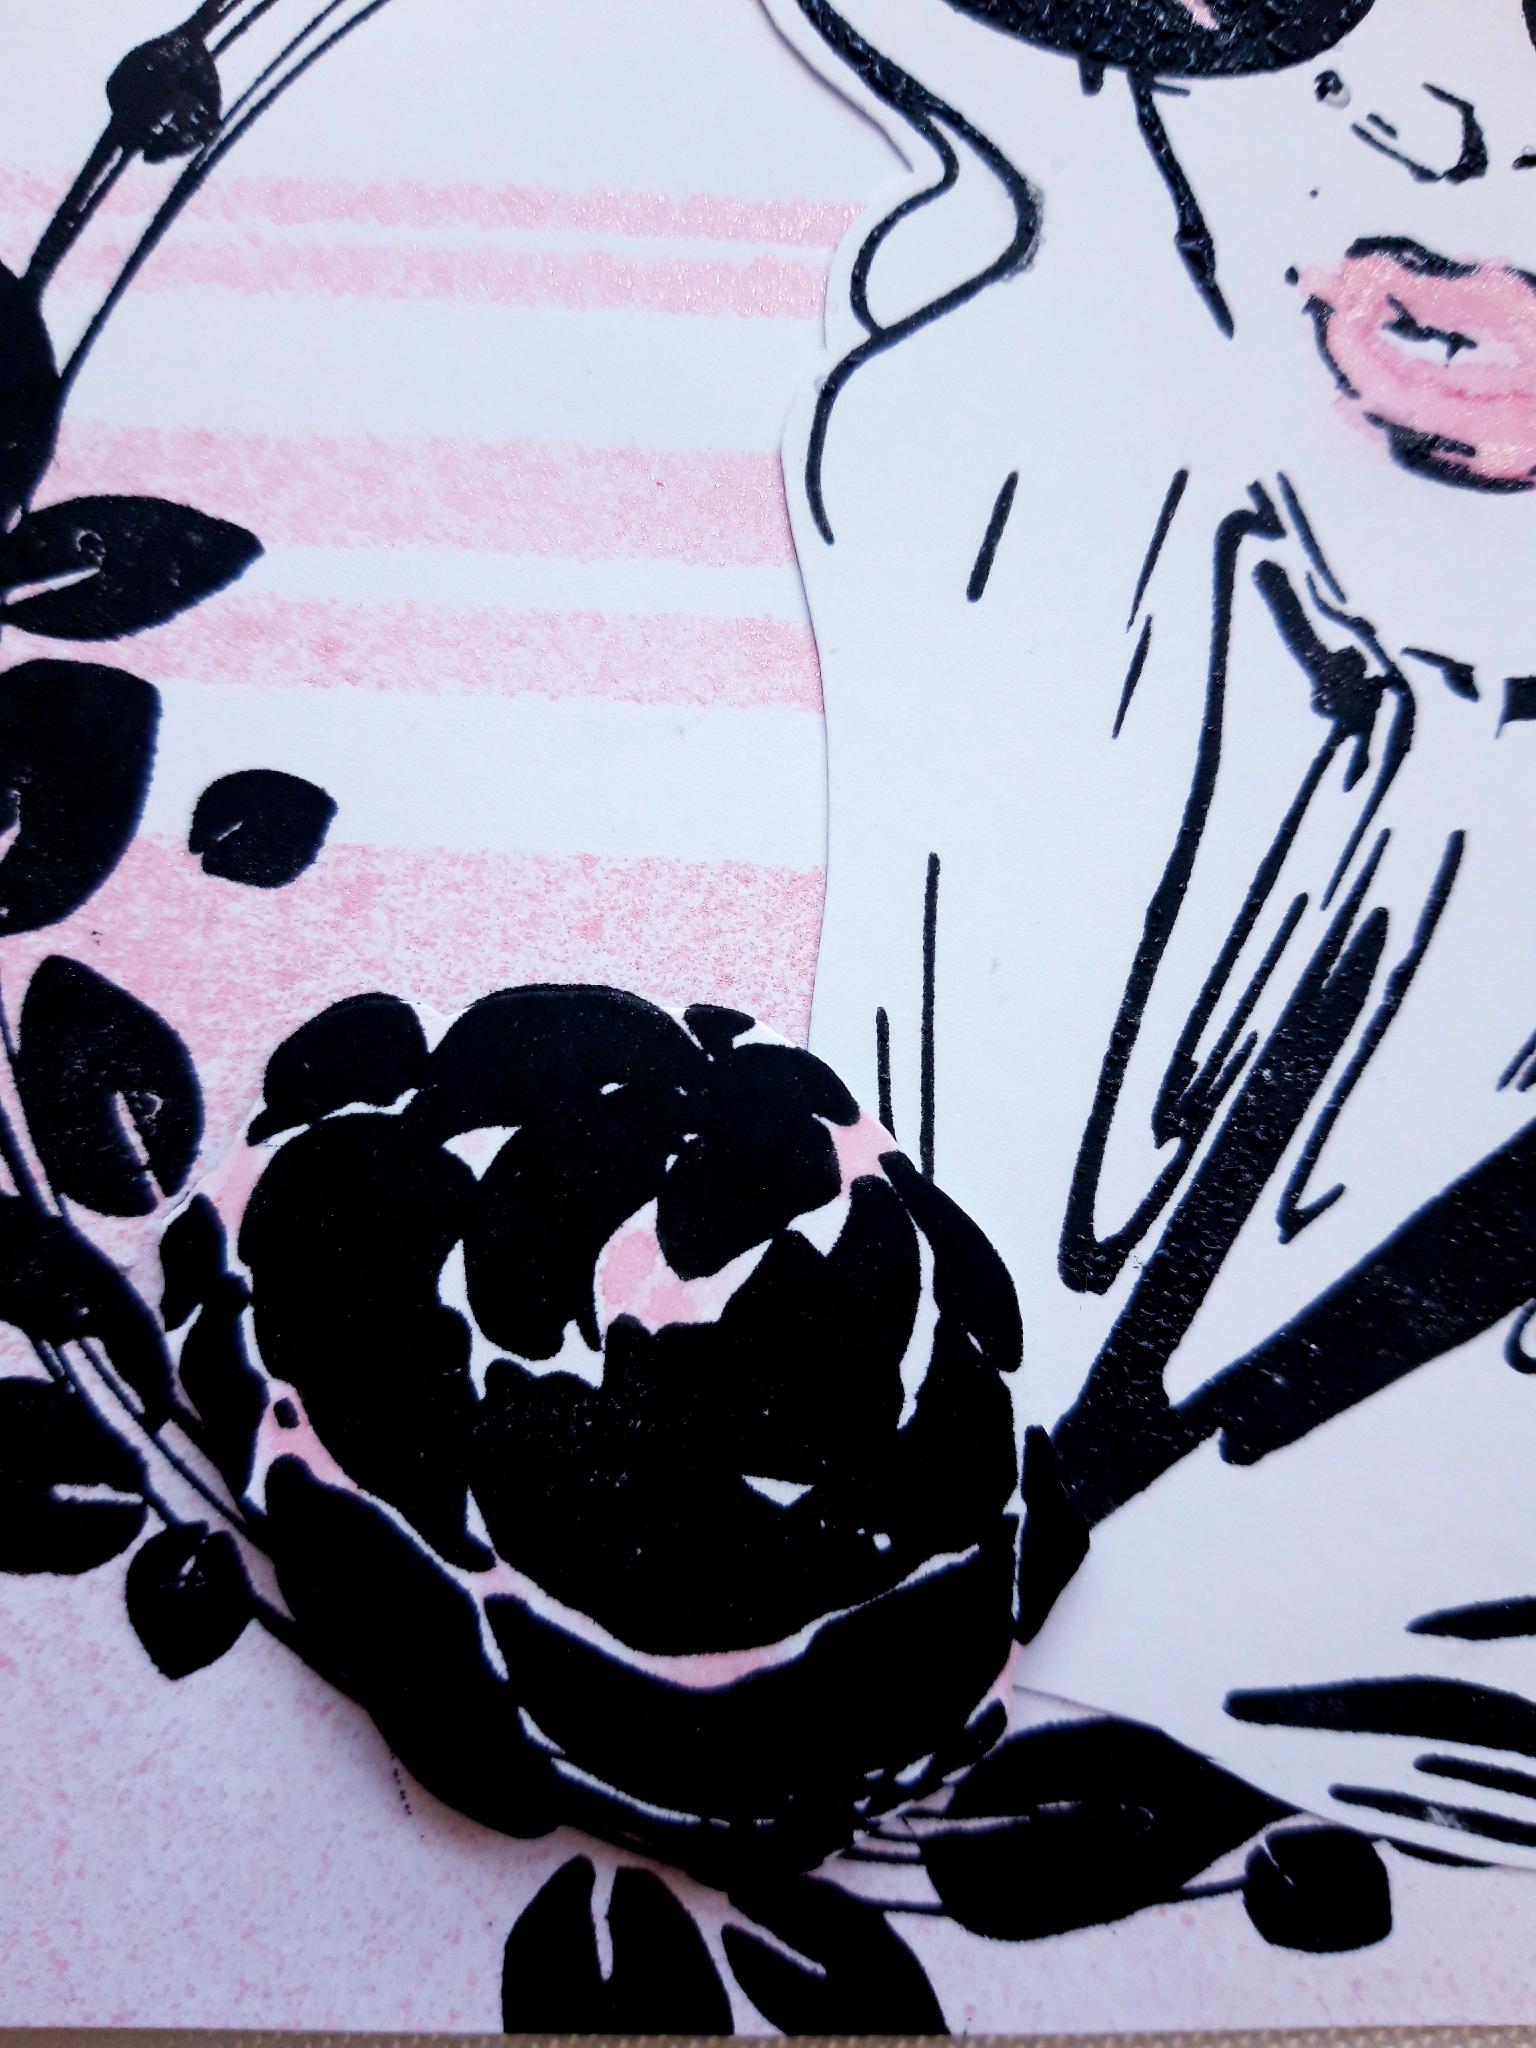
Ink up the same stamp again, and stamp just the floral part of the stamp on to the corner of the white cardstock (8 x 5 1/4"). Cut around the individual floral image. (Put the rest of this cardstock to one side as you will be stamping the lady and the sentiments on here). Spray a little of the Izink Rose Poudre on to a glass or craft mat, and paint in the gaps of your cut out flower. Set your flower to one side. |
|
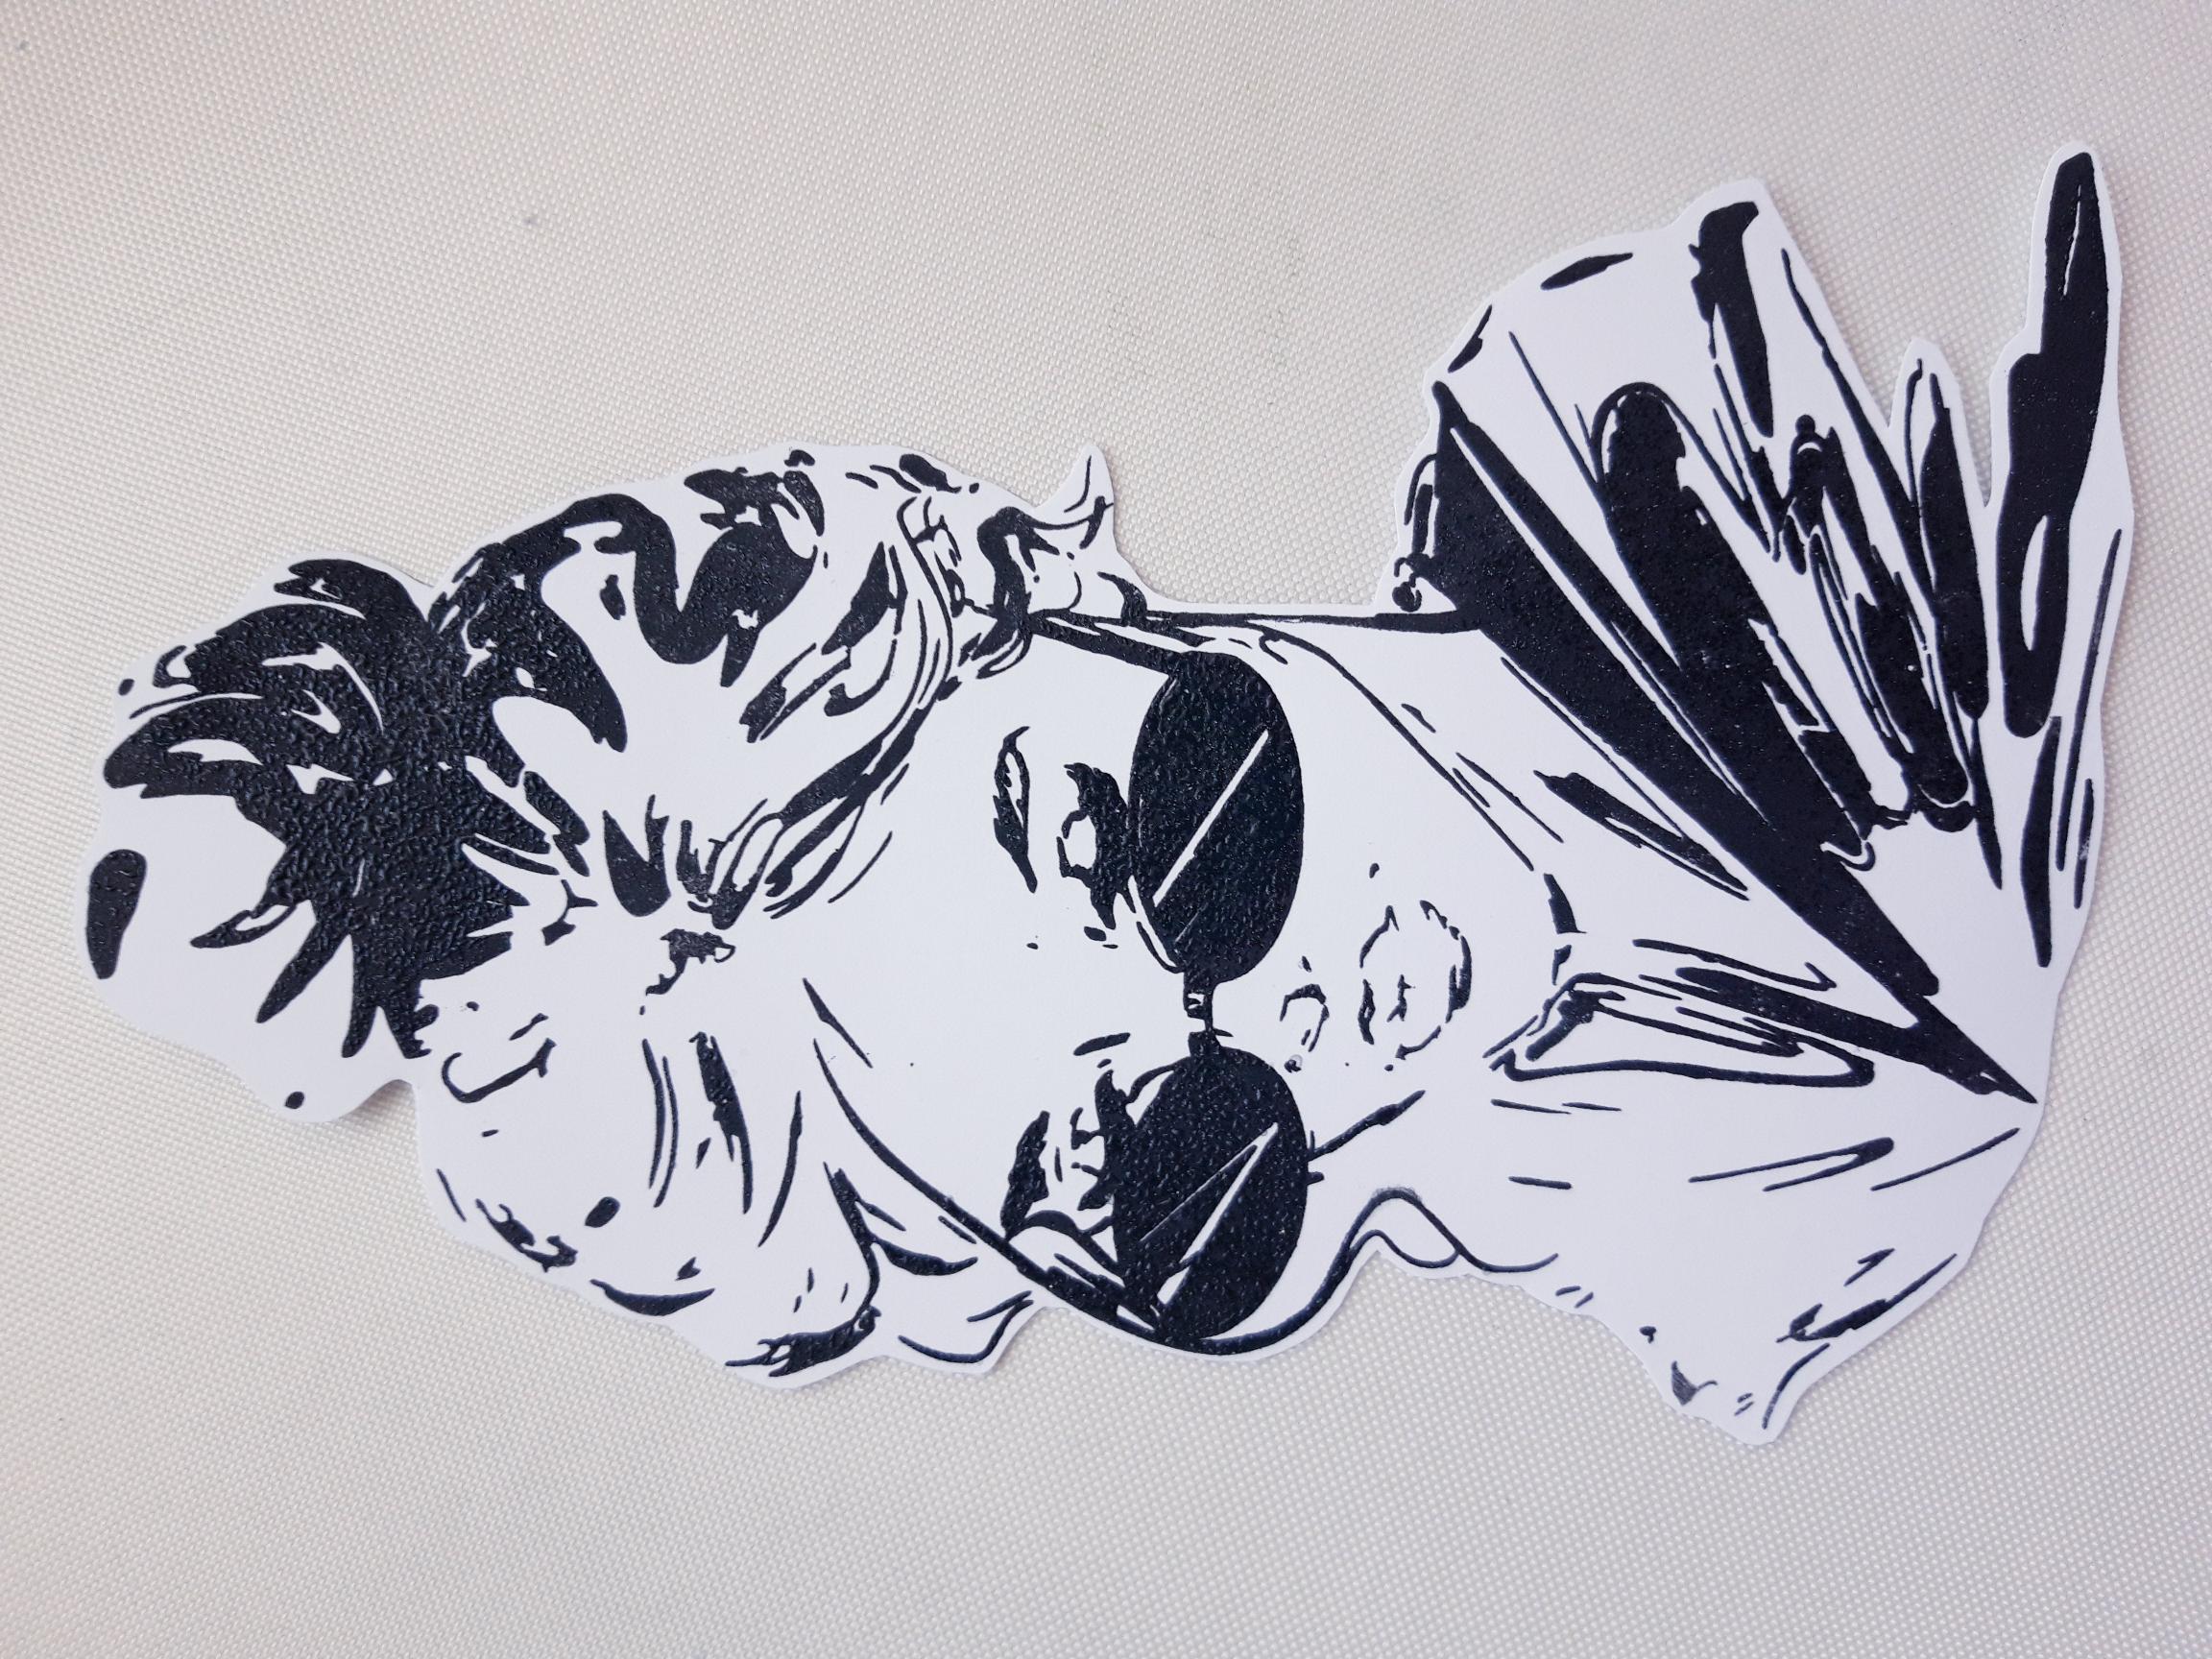
Ink up the Imala Be Original stamp, in the Onyx Black Versafine ink, and stamp on the white cardstock you put to one side. Cut out the lady. (Put the leftover cardstock to one side, to stamp sentiment, in a later step). |
|
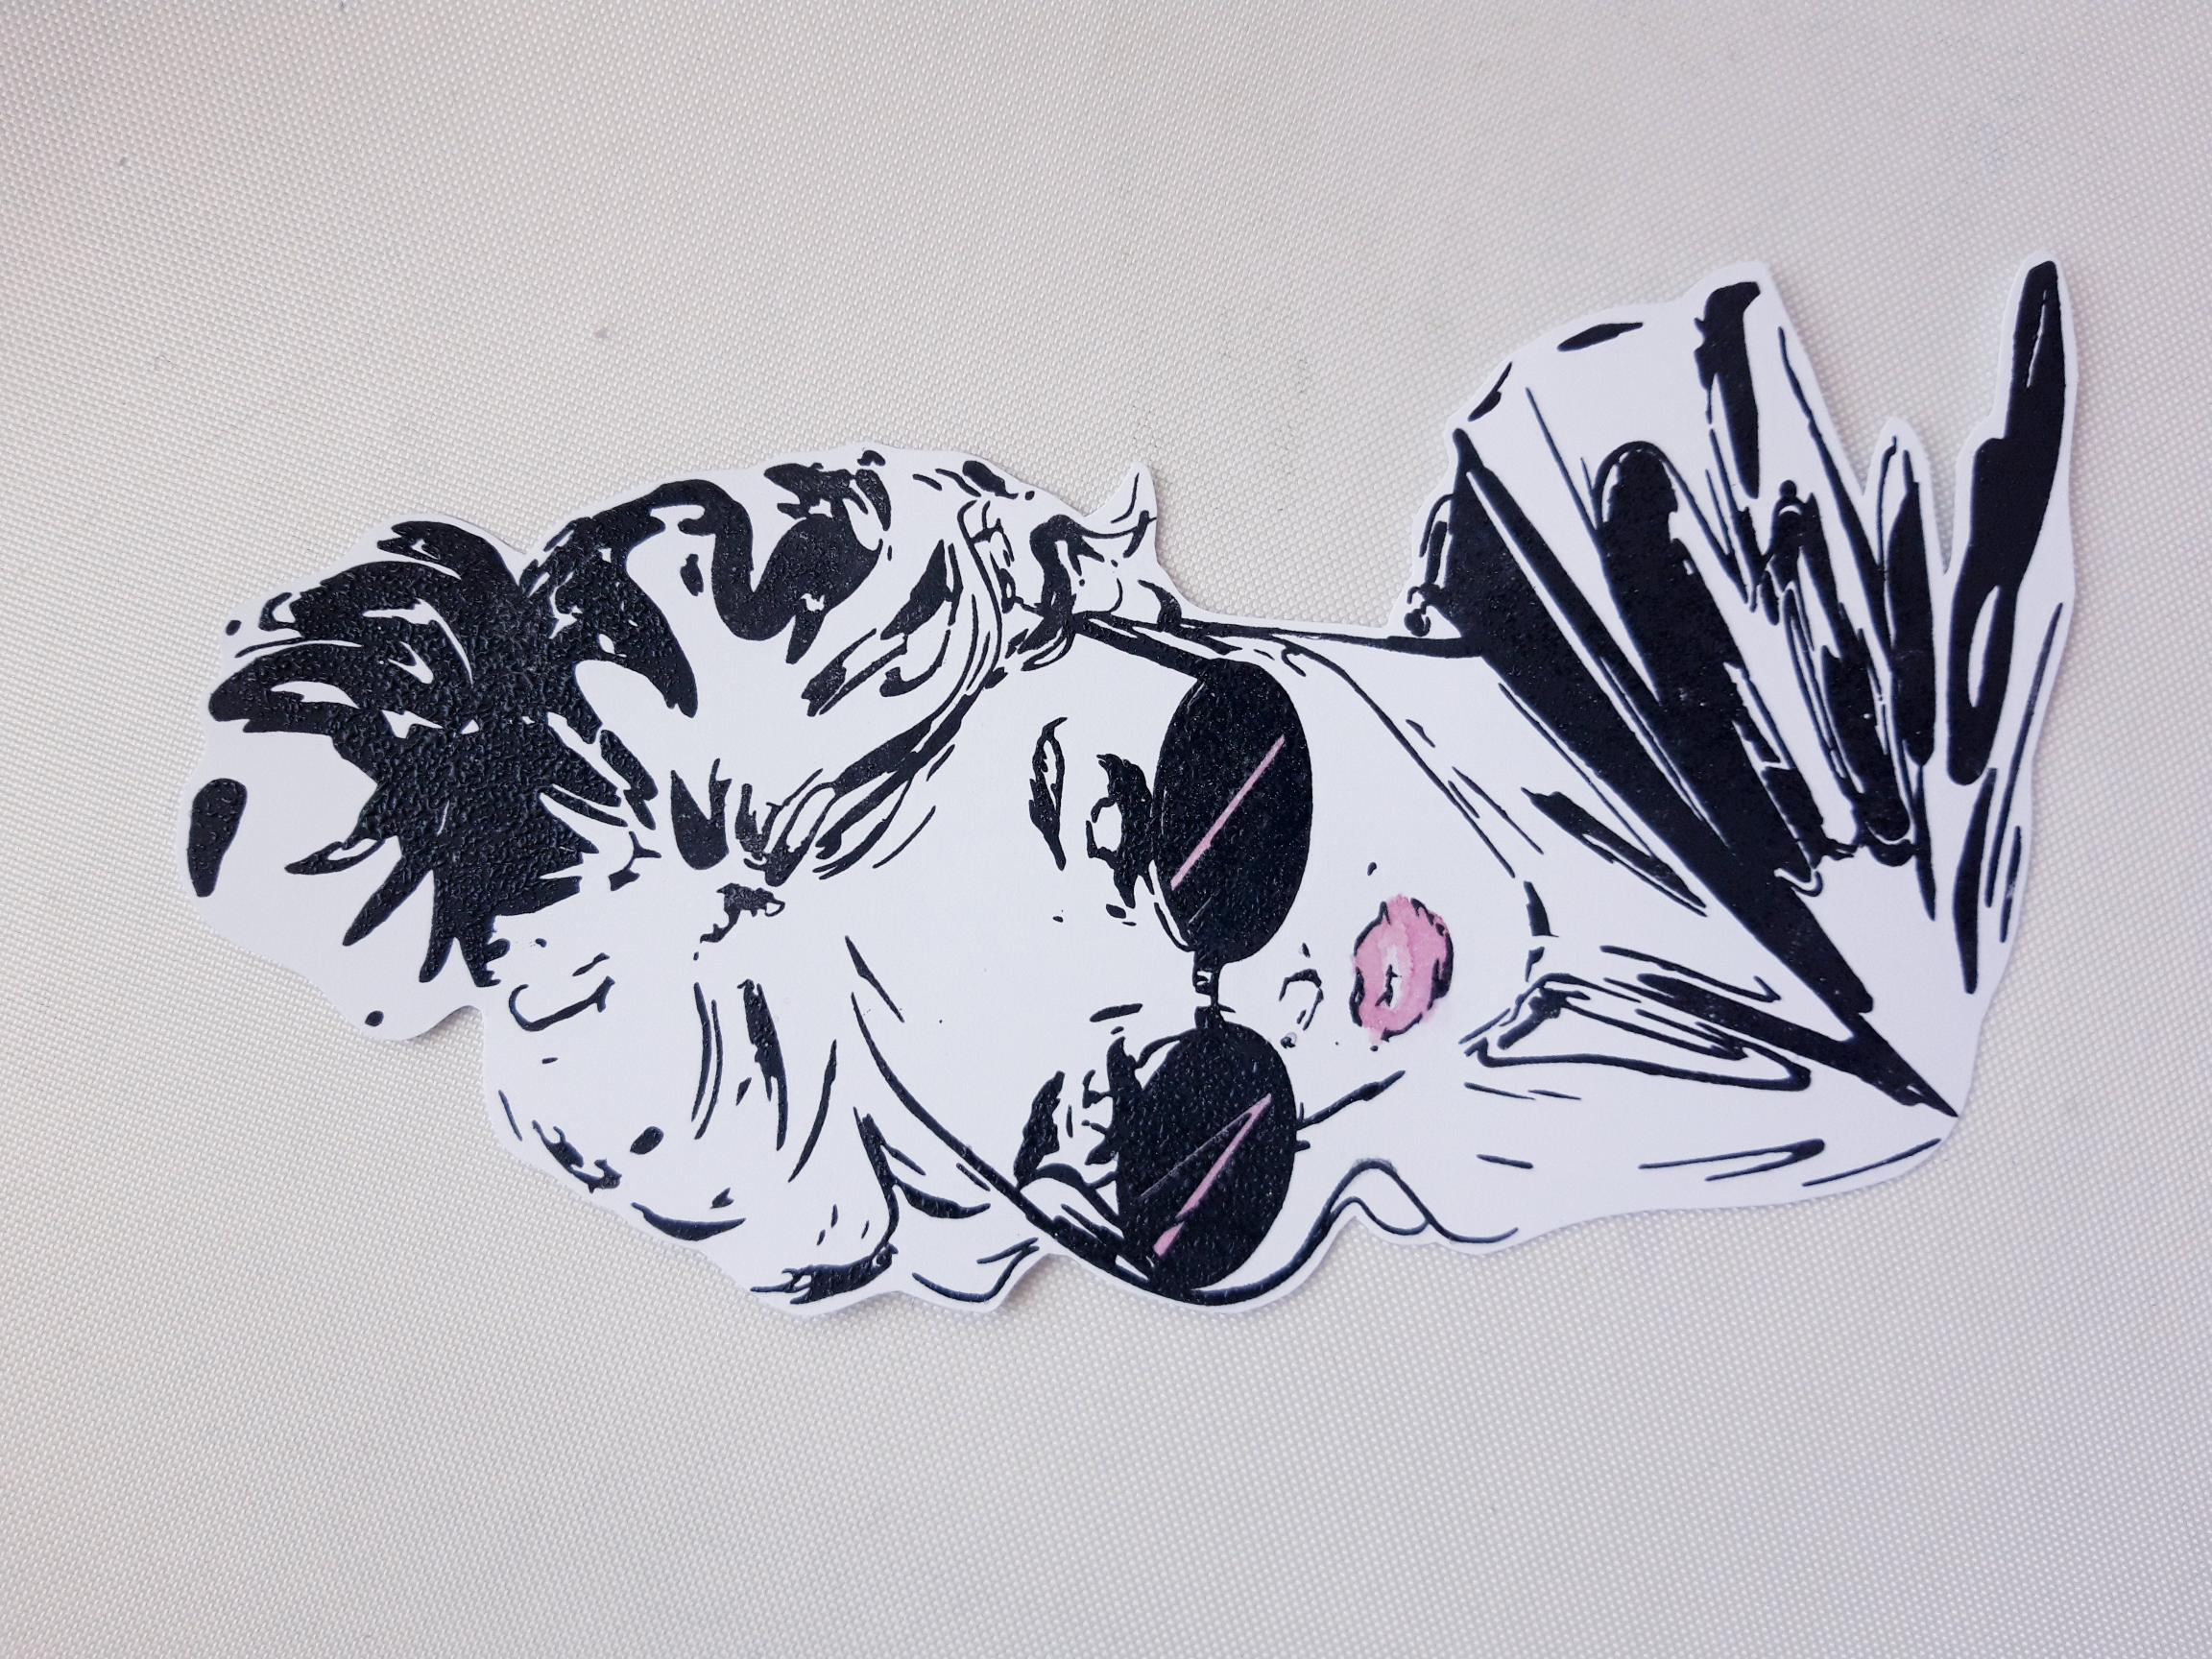
Spray a little of the Izink Rose Poudre on to a craft or glass mat, and paint in her lips and the highlights on the sunglasses. |
|
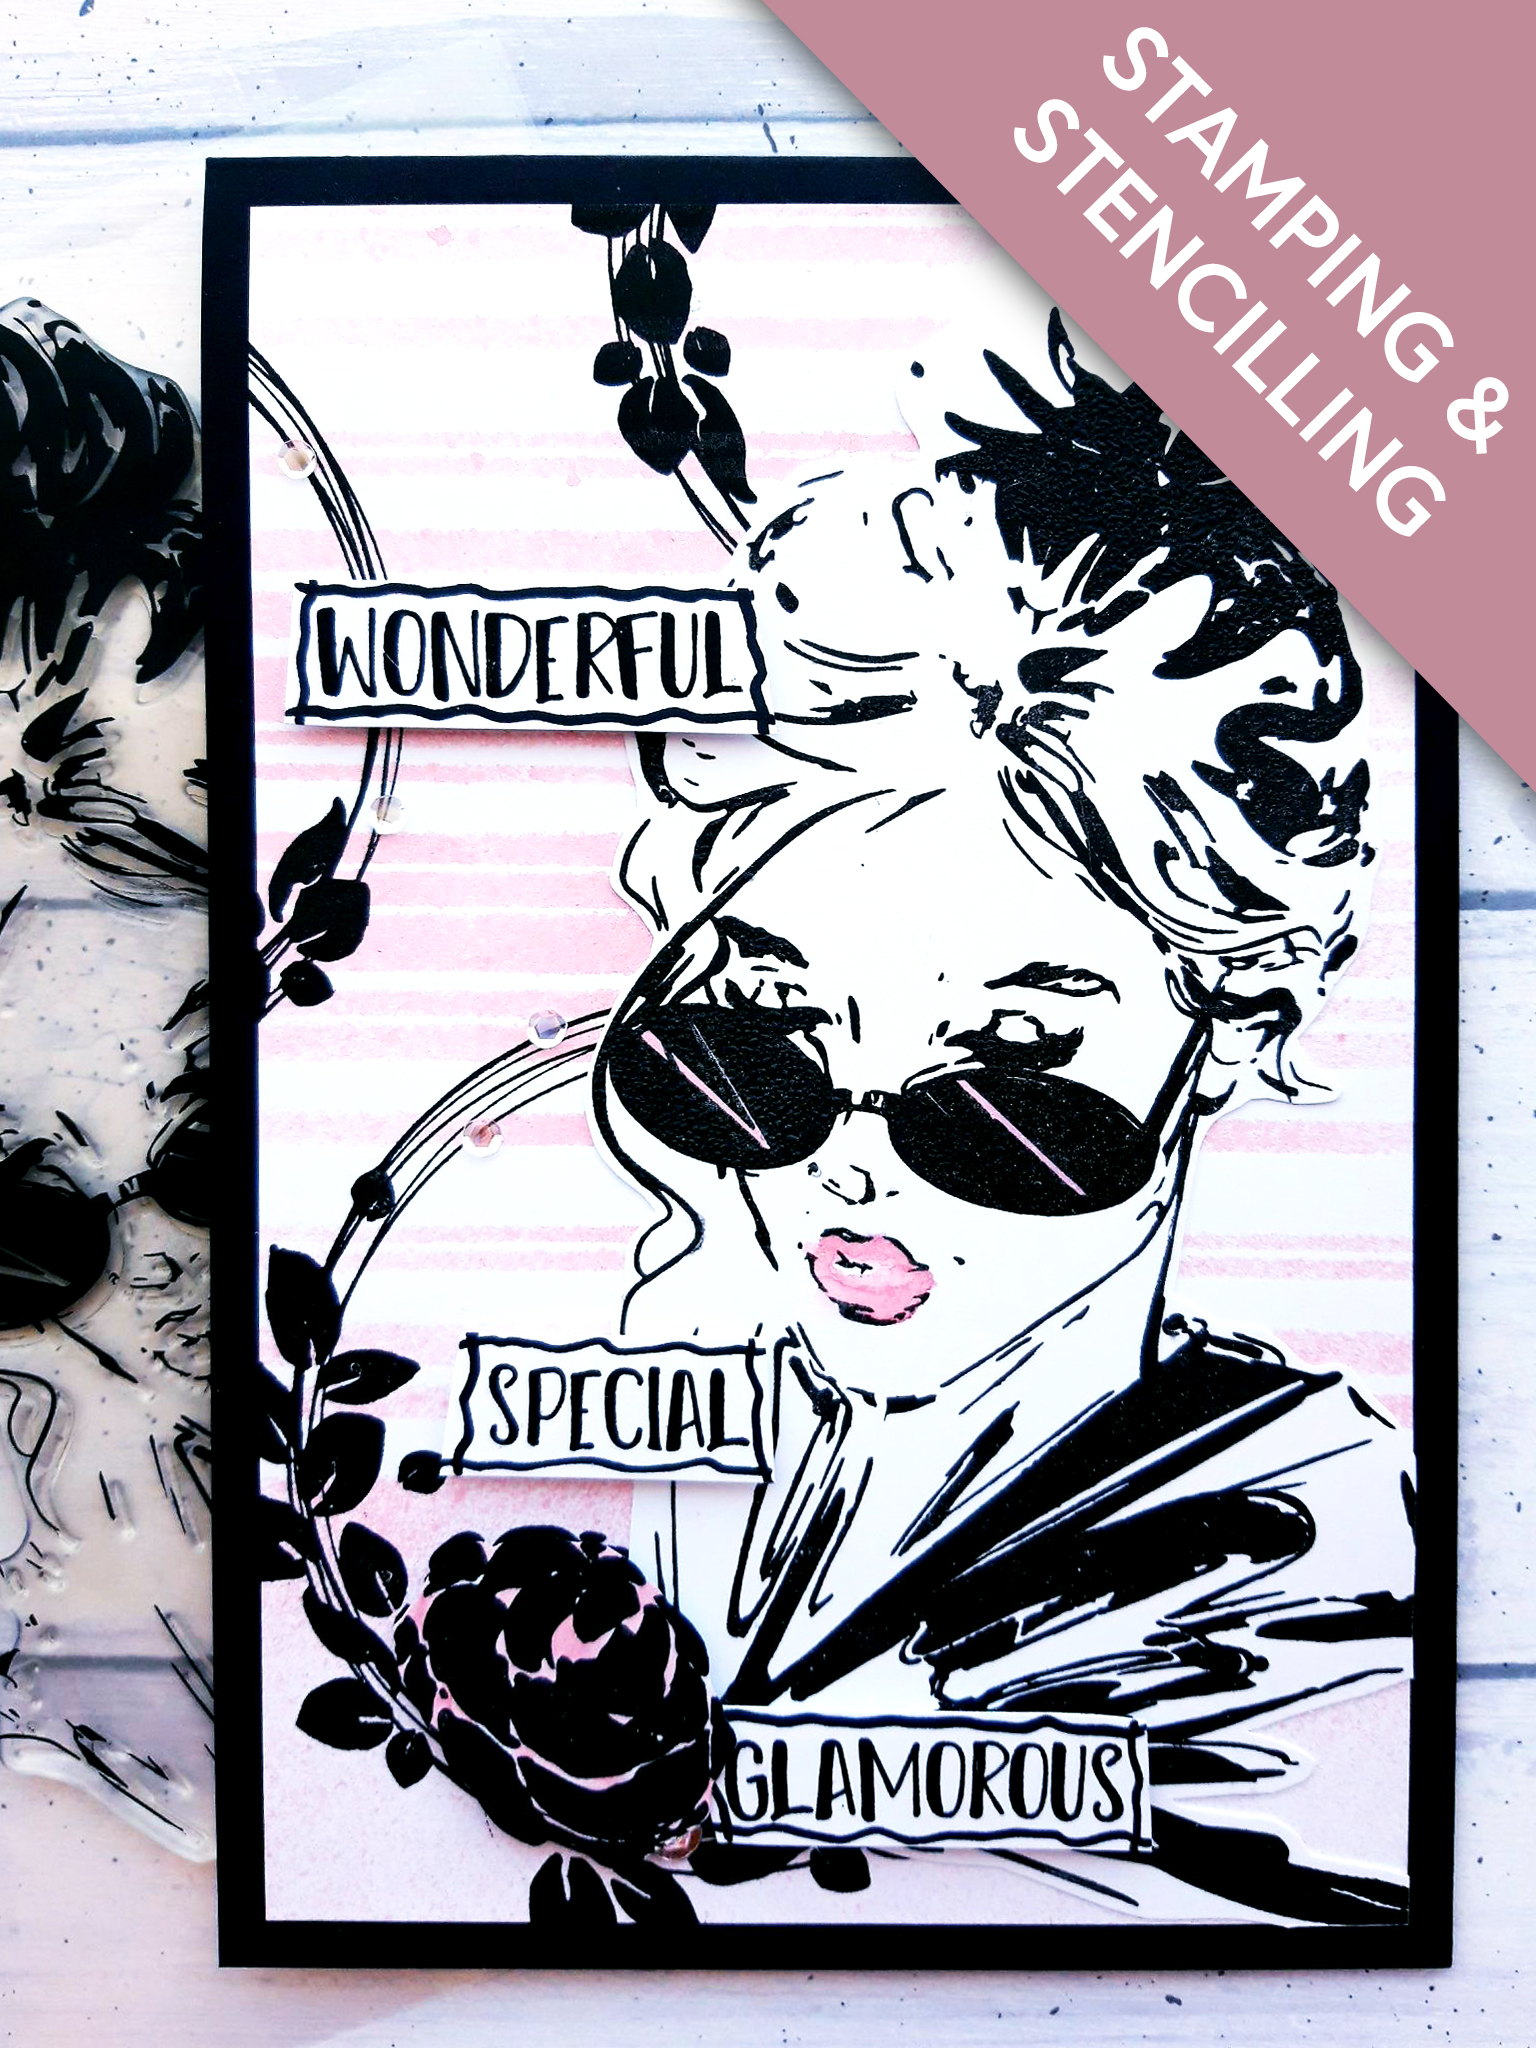
Glue your lady so she sits just off the right hand side of your background. Trim off any overhang. |
|
Glue your cut out flower in place, over the top of the stamped flower, on your artwork. You can glue flat with wet glue, or raised with a foam pad or 3D glue gel, to add more dimension. |
|
Glue your artwork on to the front of your black top folding card blank. Set your card to one side. |

|
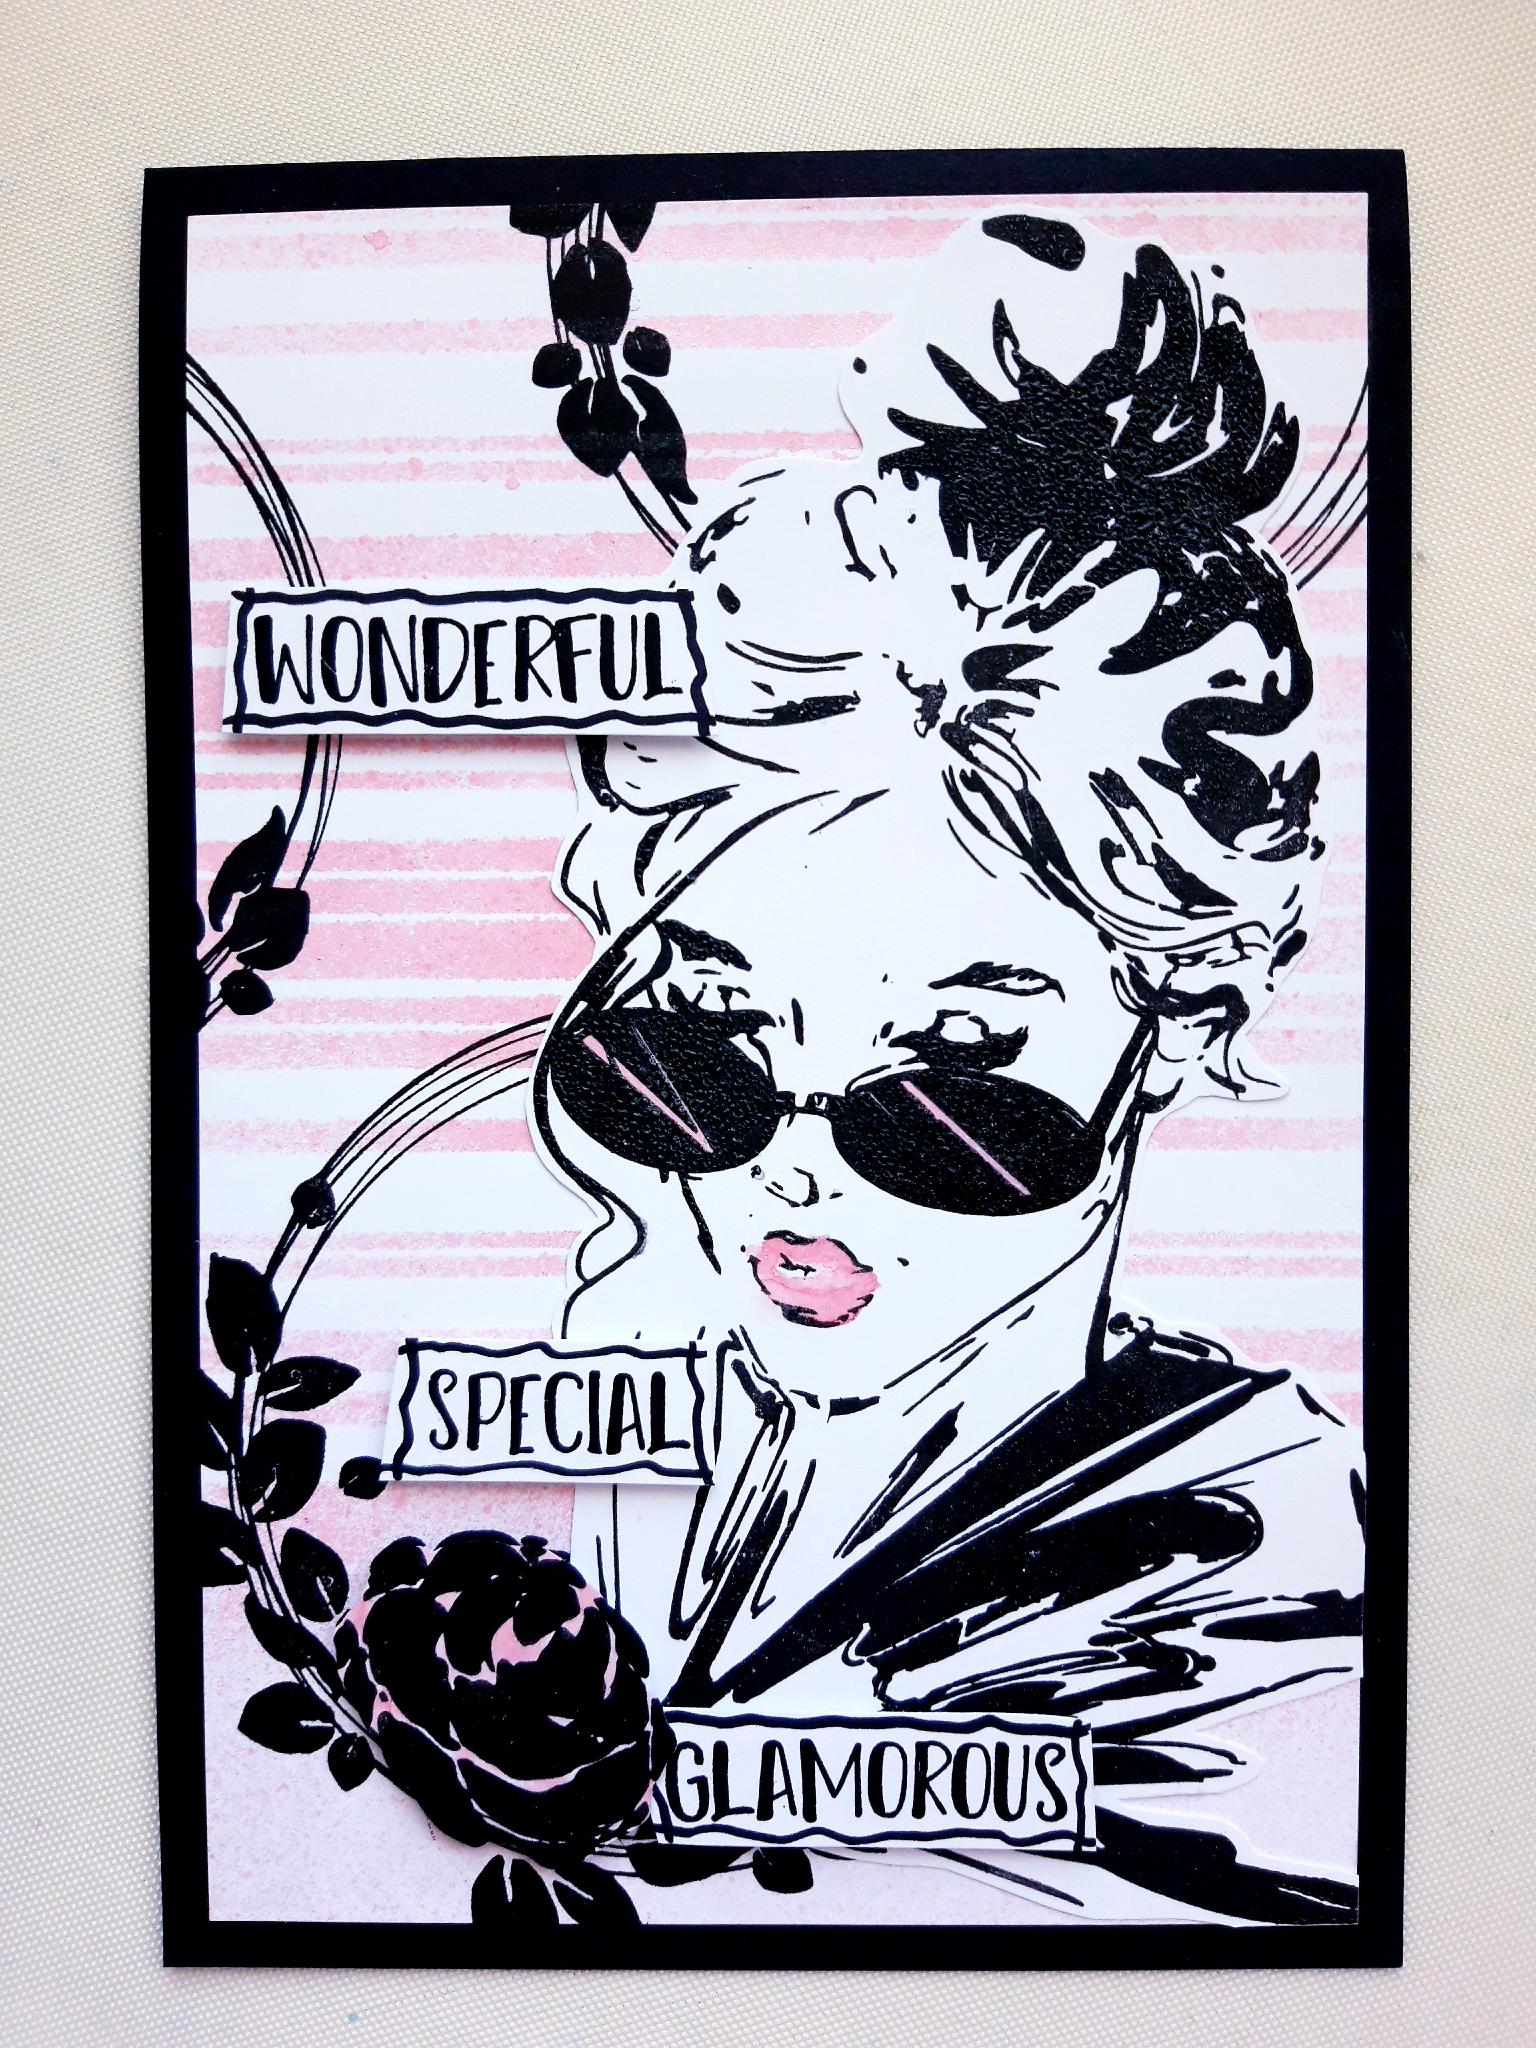
Ink up the 3 sentiment words, from the Floral Banners Stamp and Die Collection, in the Onyx Black Versafine. Stamp on to your leftover white cardstock. Cut each word as a strip. Use a black pen to draw a wiggly frame around each word. |
|
Glue the 3 sentiment words on to your artwork, where desired. You can glue flat with wet glue, or raised with foam pads or 3D glue gel. |
|
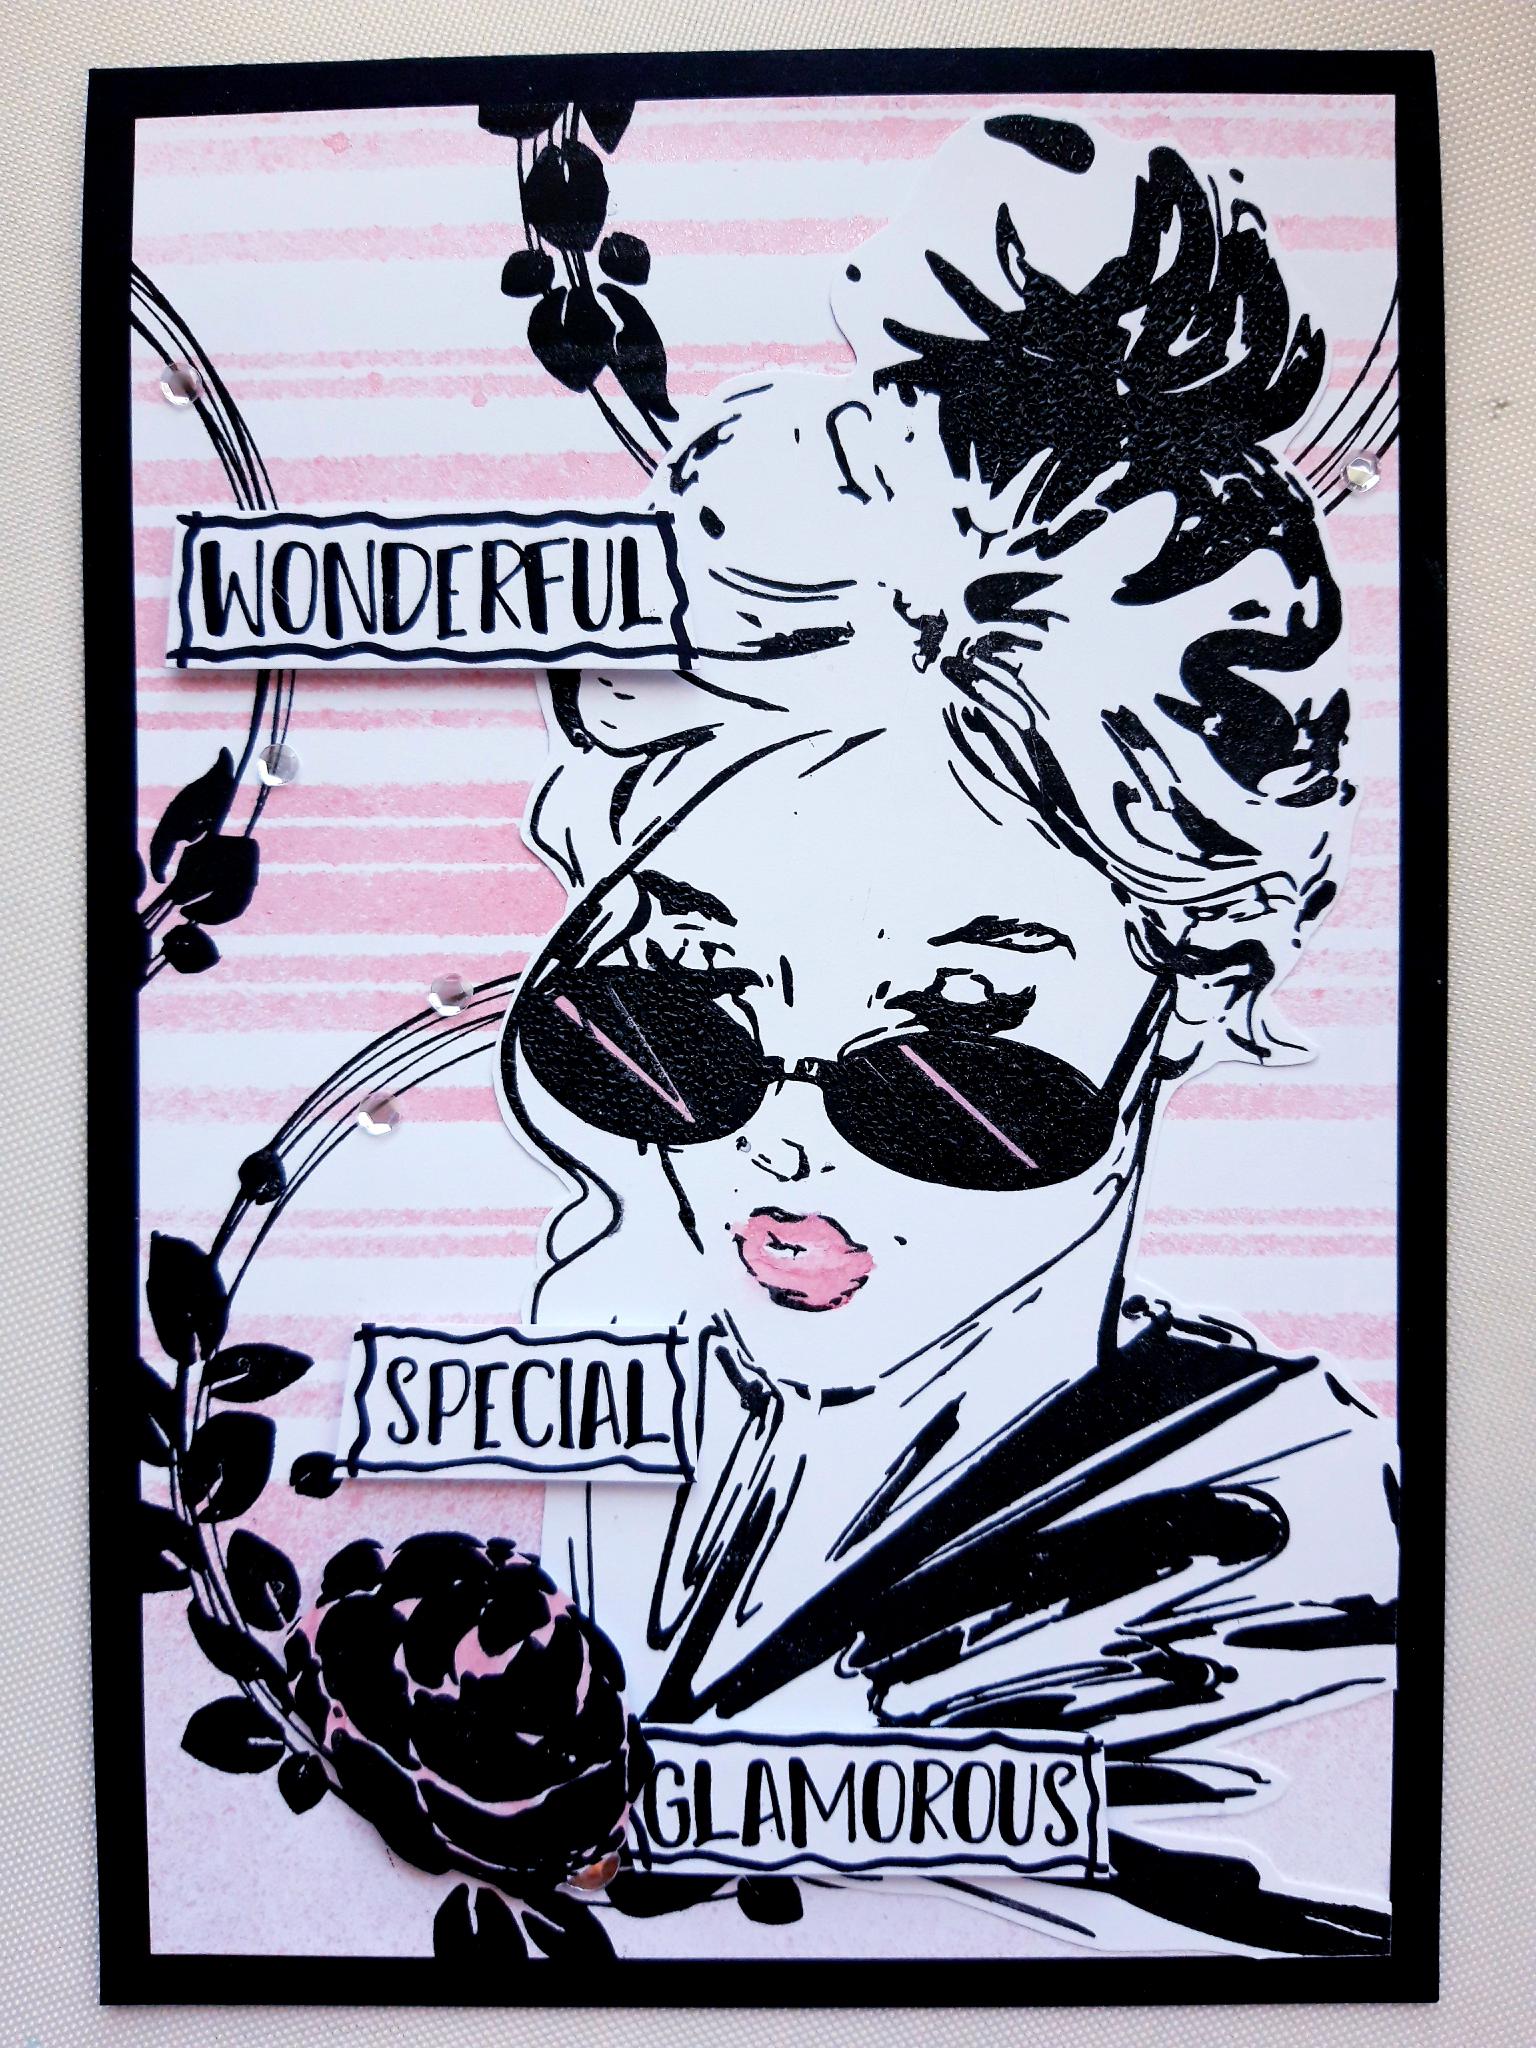
To finish your card, add a few sequins around, and tucked under, your artwork and 3D embellishments, where desired. |