Give your friends $10 off their first order!
Refer a FRIEND


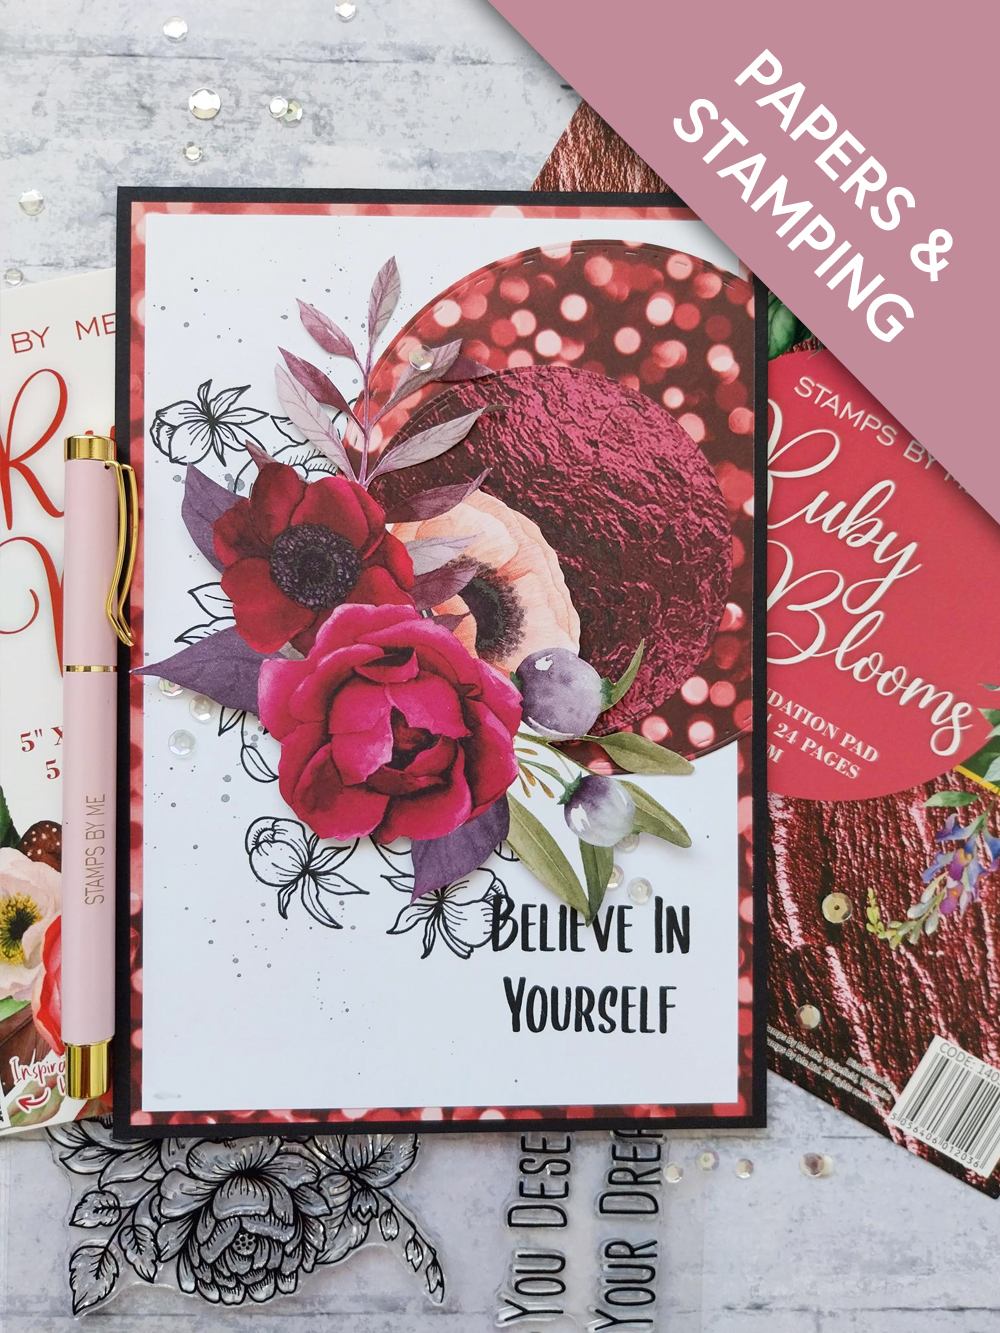
WHAT YOU WILL NEED:
Black top folding card blank (trimmed to 8 x 5 1/2")
White card 7 1/2 x 5"
Paperchain Ruby Blooms 8 x 8" Foundation Pack
Paperchain Ruby Blooms 5 x 7" Painted Mounts
Paperchain Ruby Blooms Stamp Set
Deboss Nesting Circles Die Collection
SBM Hybrid Ink Pad: Midnight
Paint brush
Sequins: Amethyst
Gem pick up and pokey tool
Eureka 101 Watercolour Tablet
SBM Magnetic glass mat
Paper Trimmer
Perfect Together Glue
Foam pads
Die Cutting machine
[click image to enlarge] 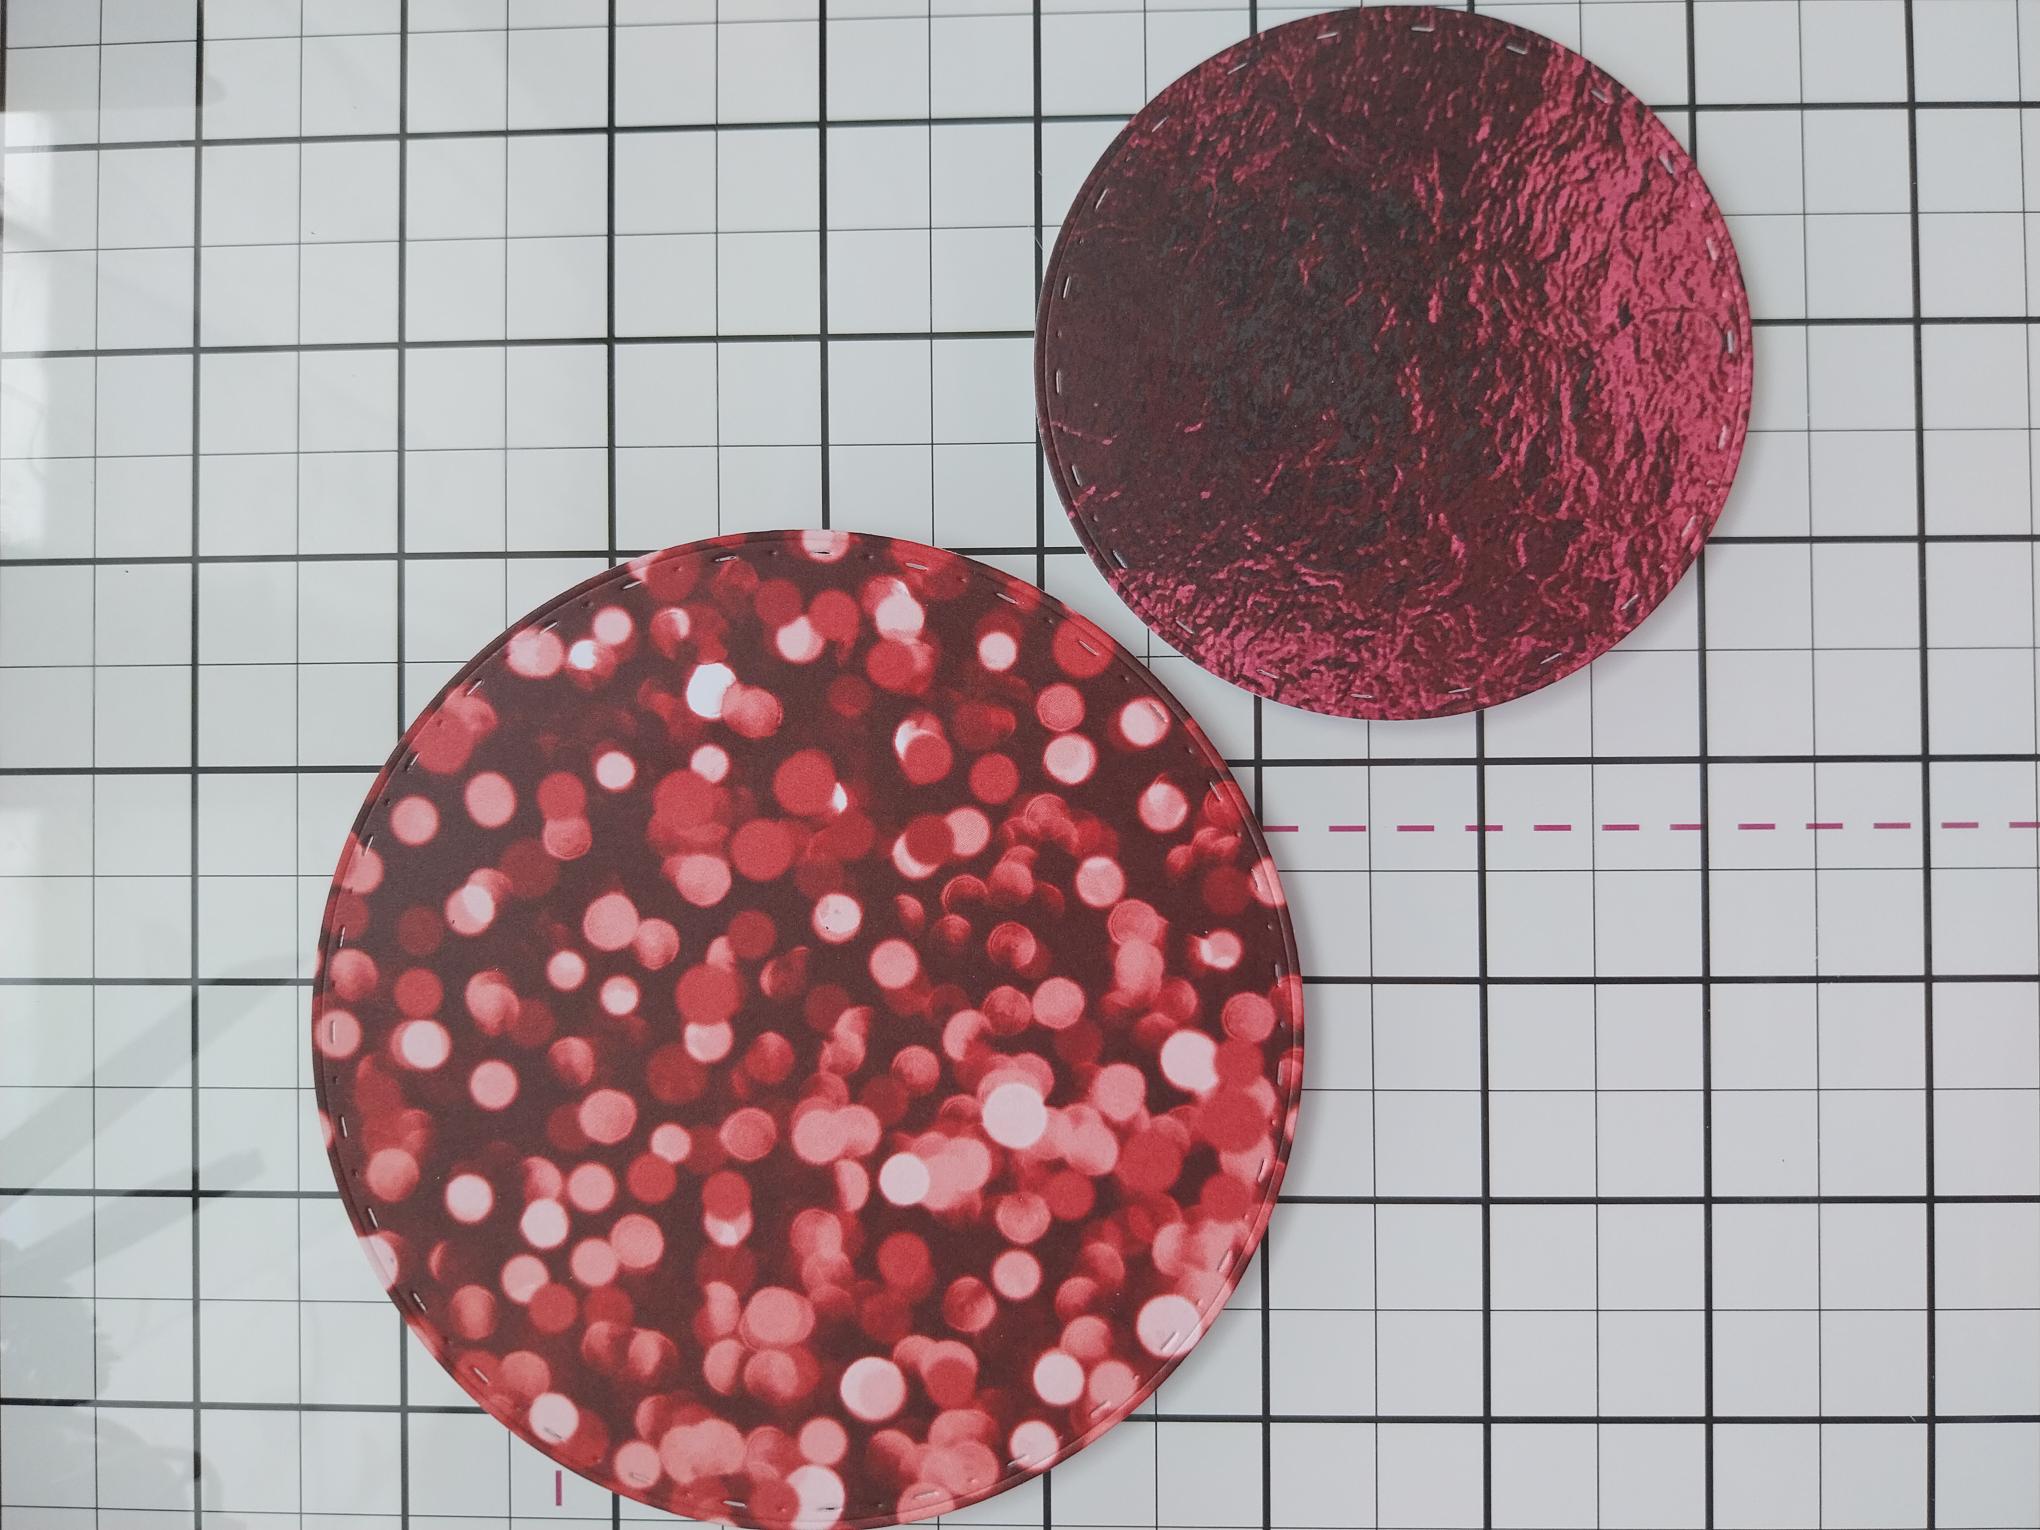
|
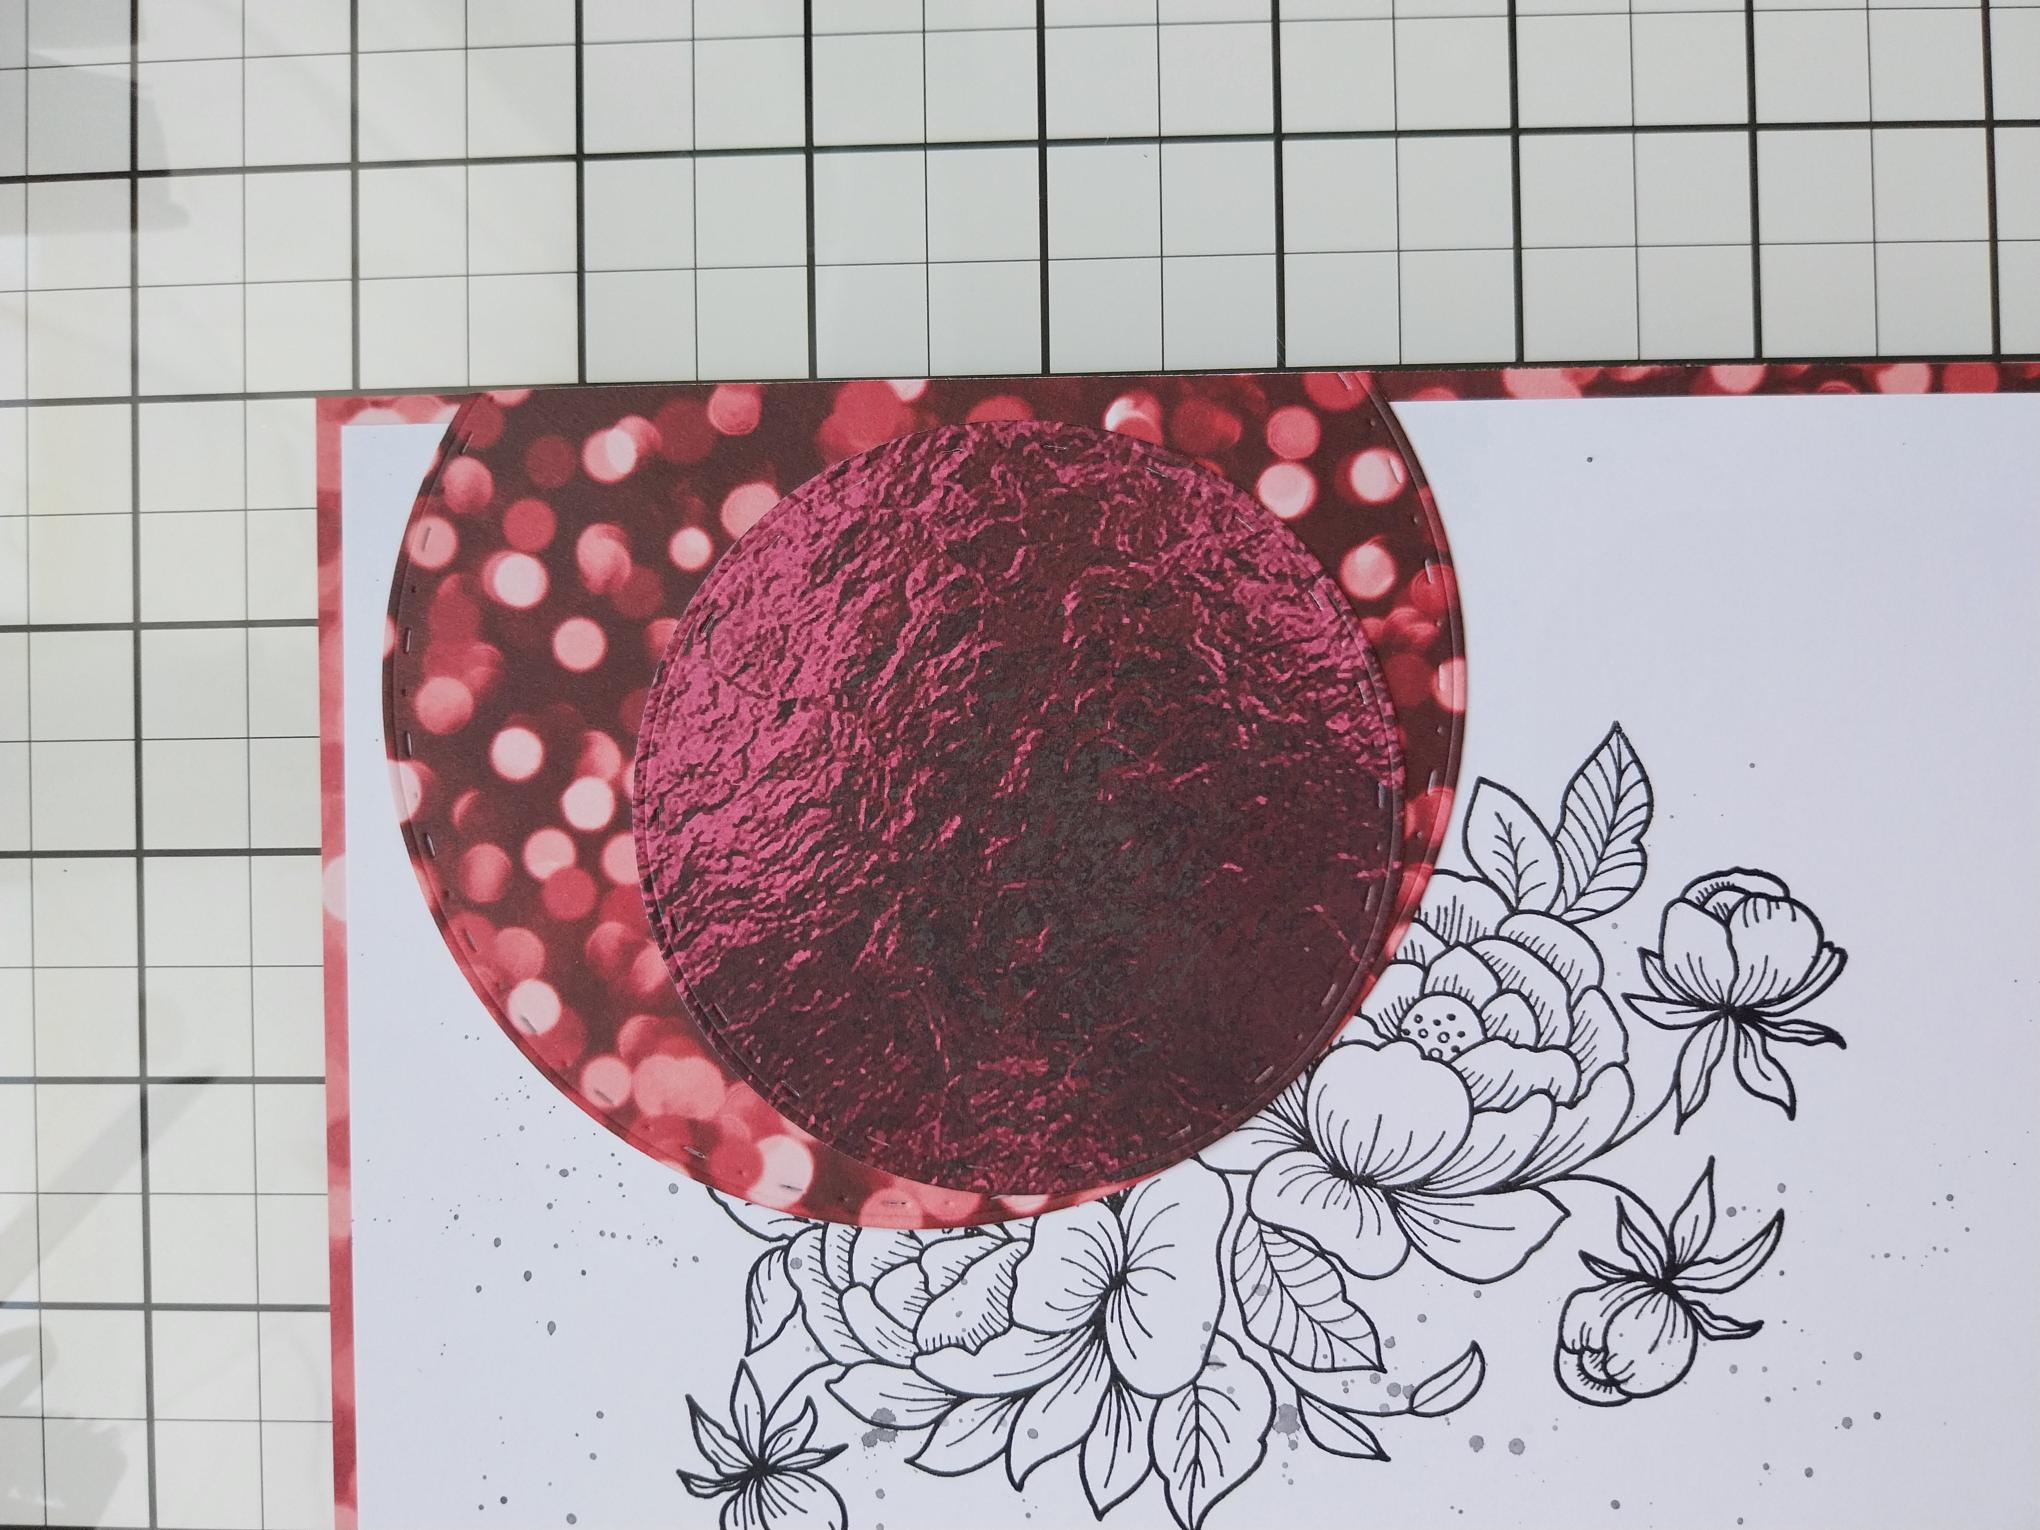
Choose two coordinating papers from your Ruby Blooms Foundation Paper pack and die cut a circle out of each, using your nesting dies, one circle being smaller than the other. |
|
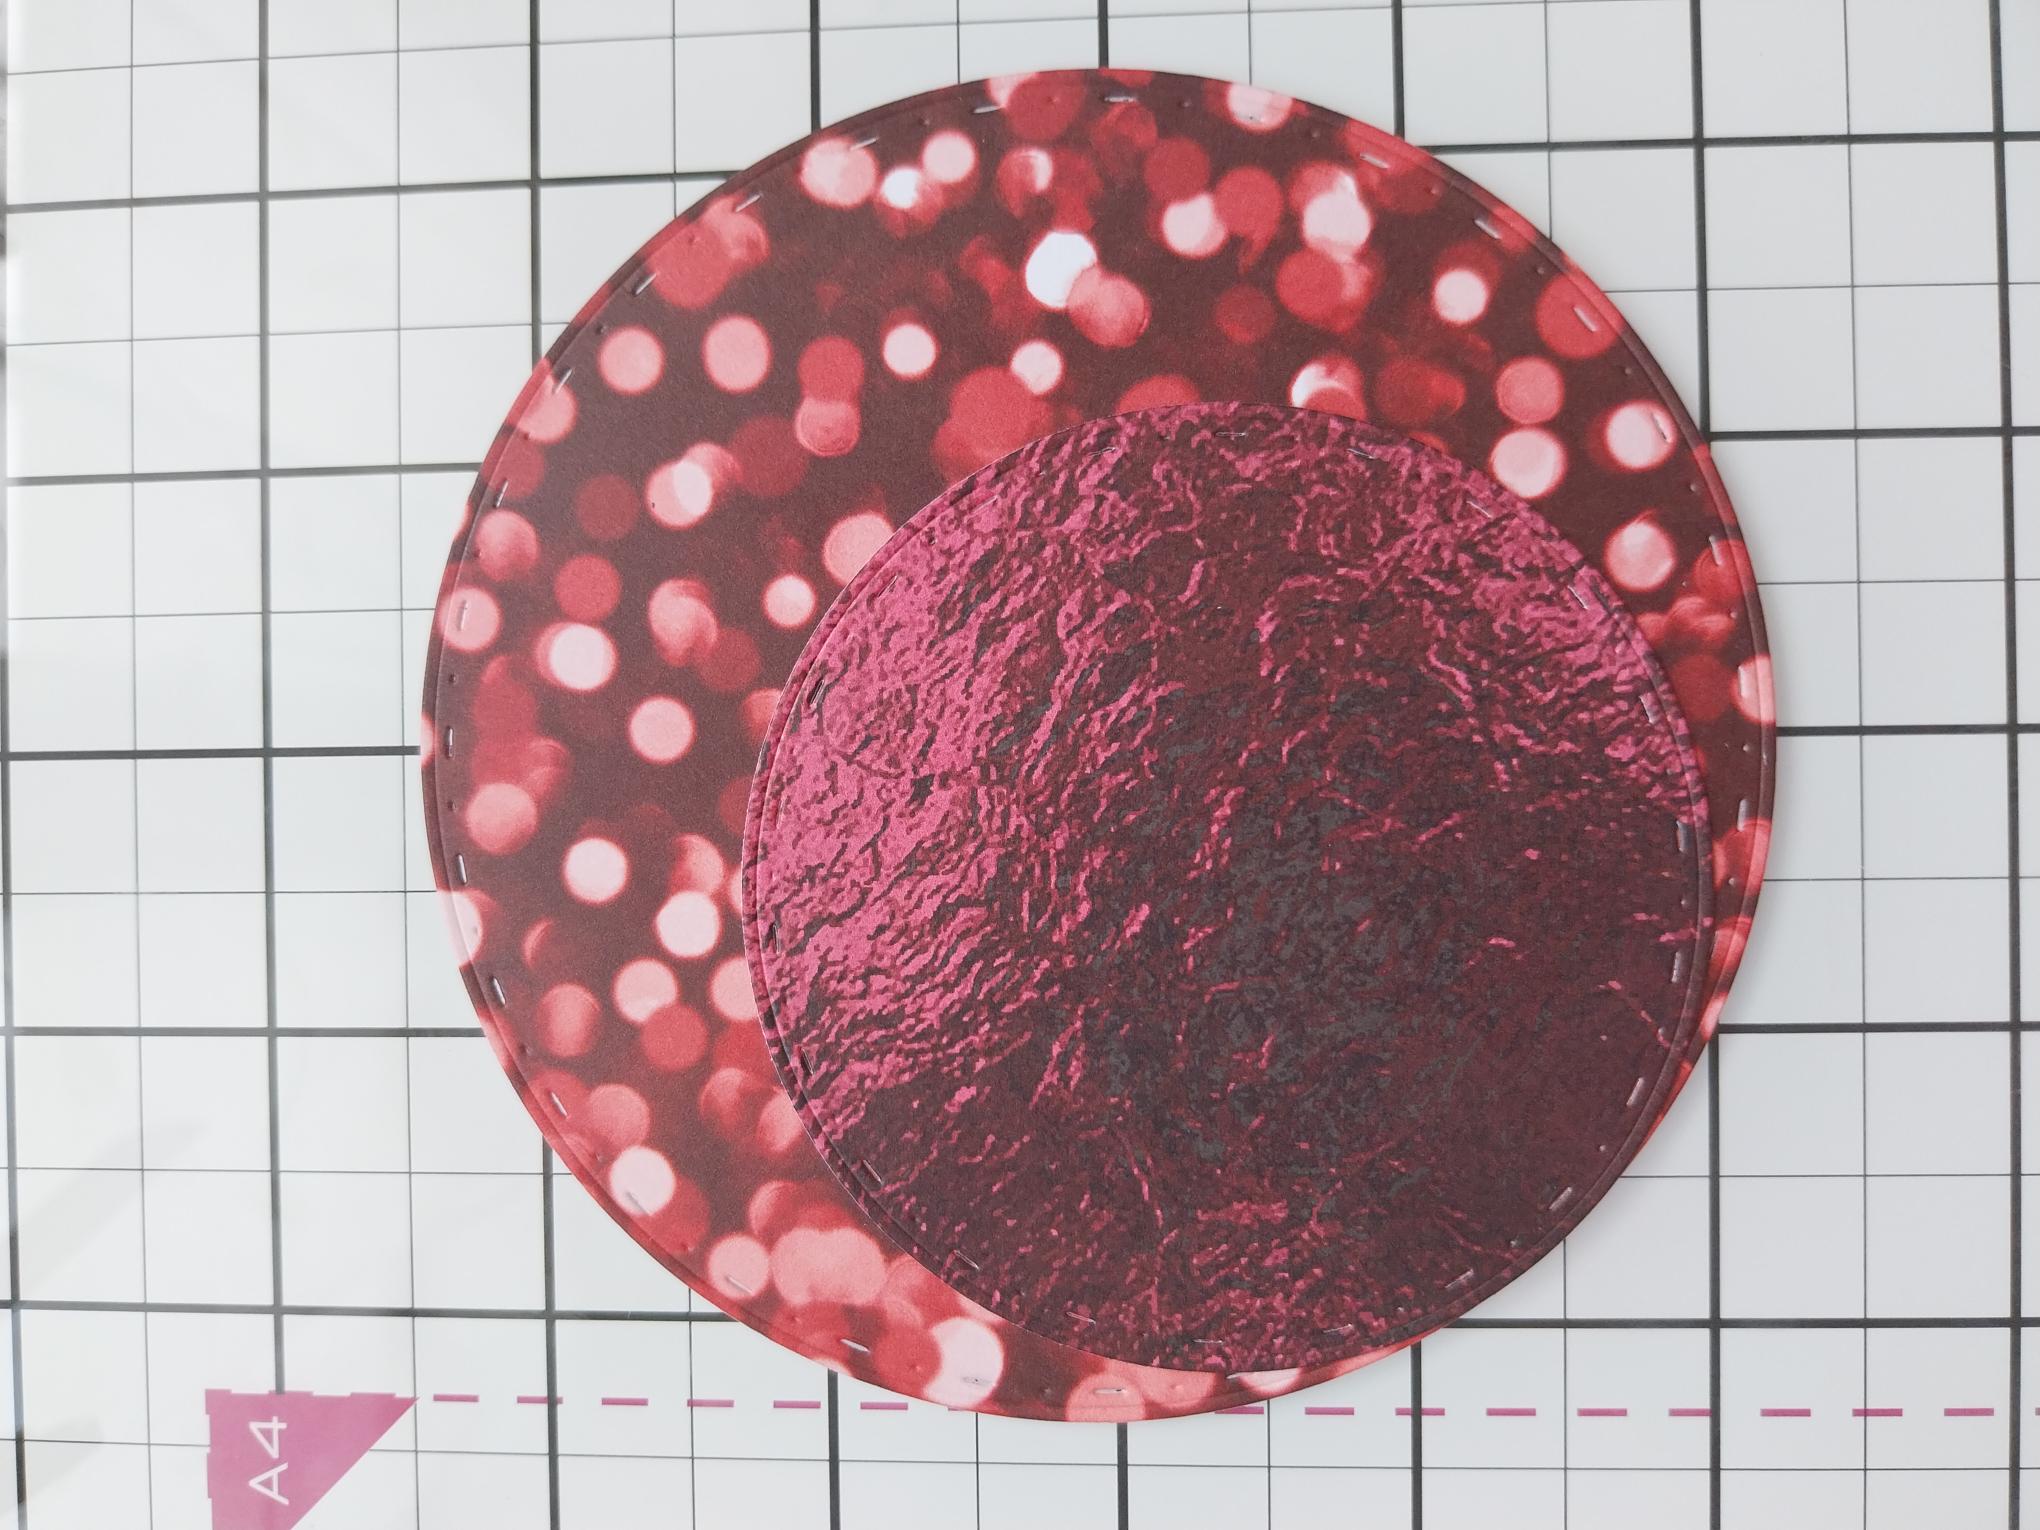
Glue the smaller one inside the larger, ensuring the bottom lies flush, as seen here, then pop to one side. |
|
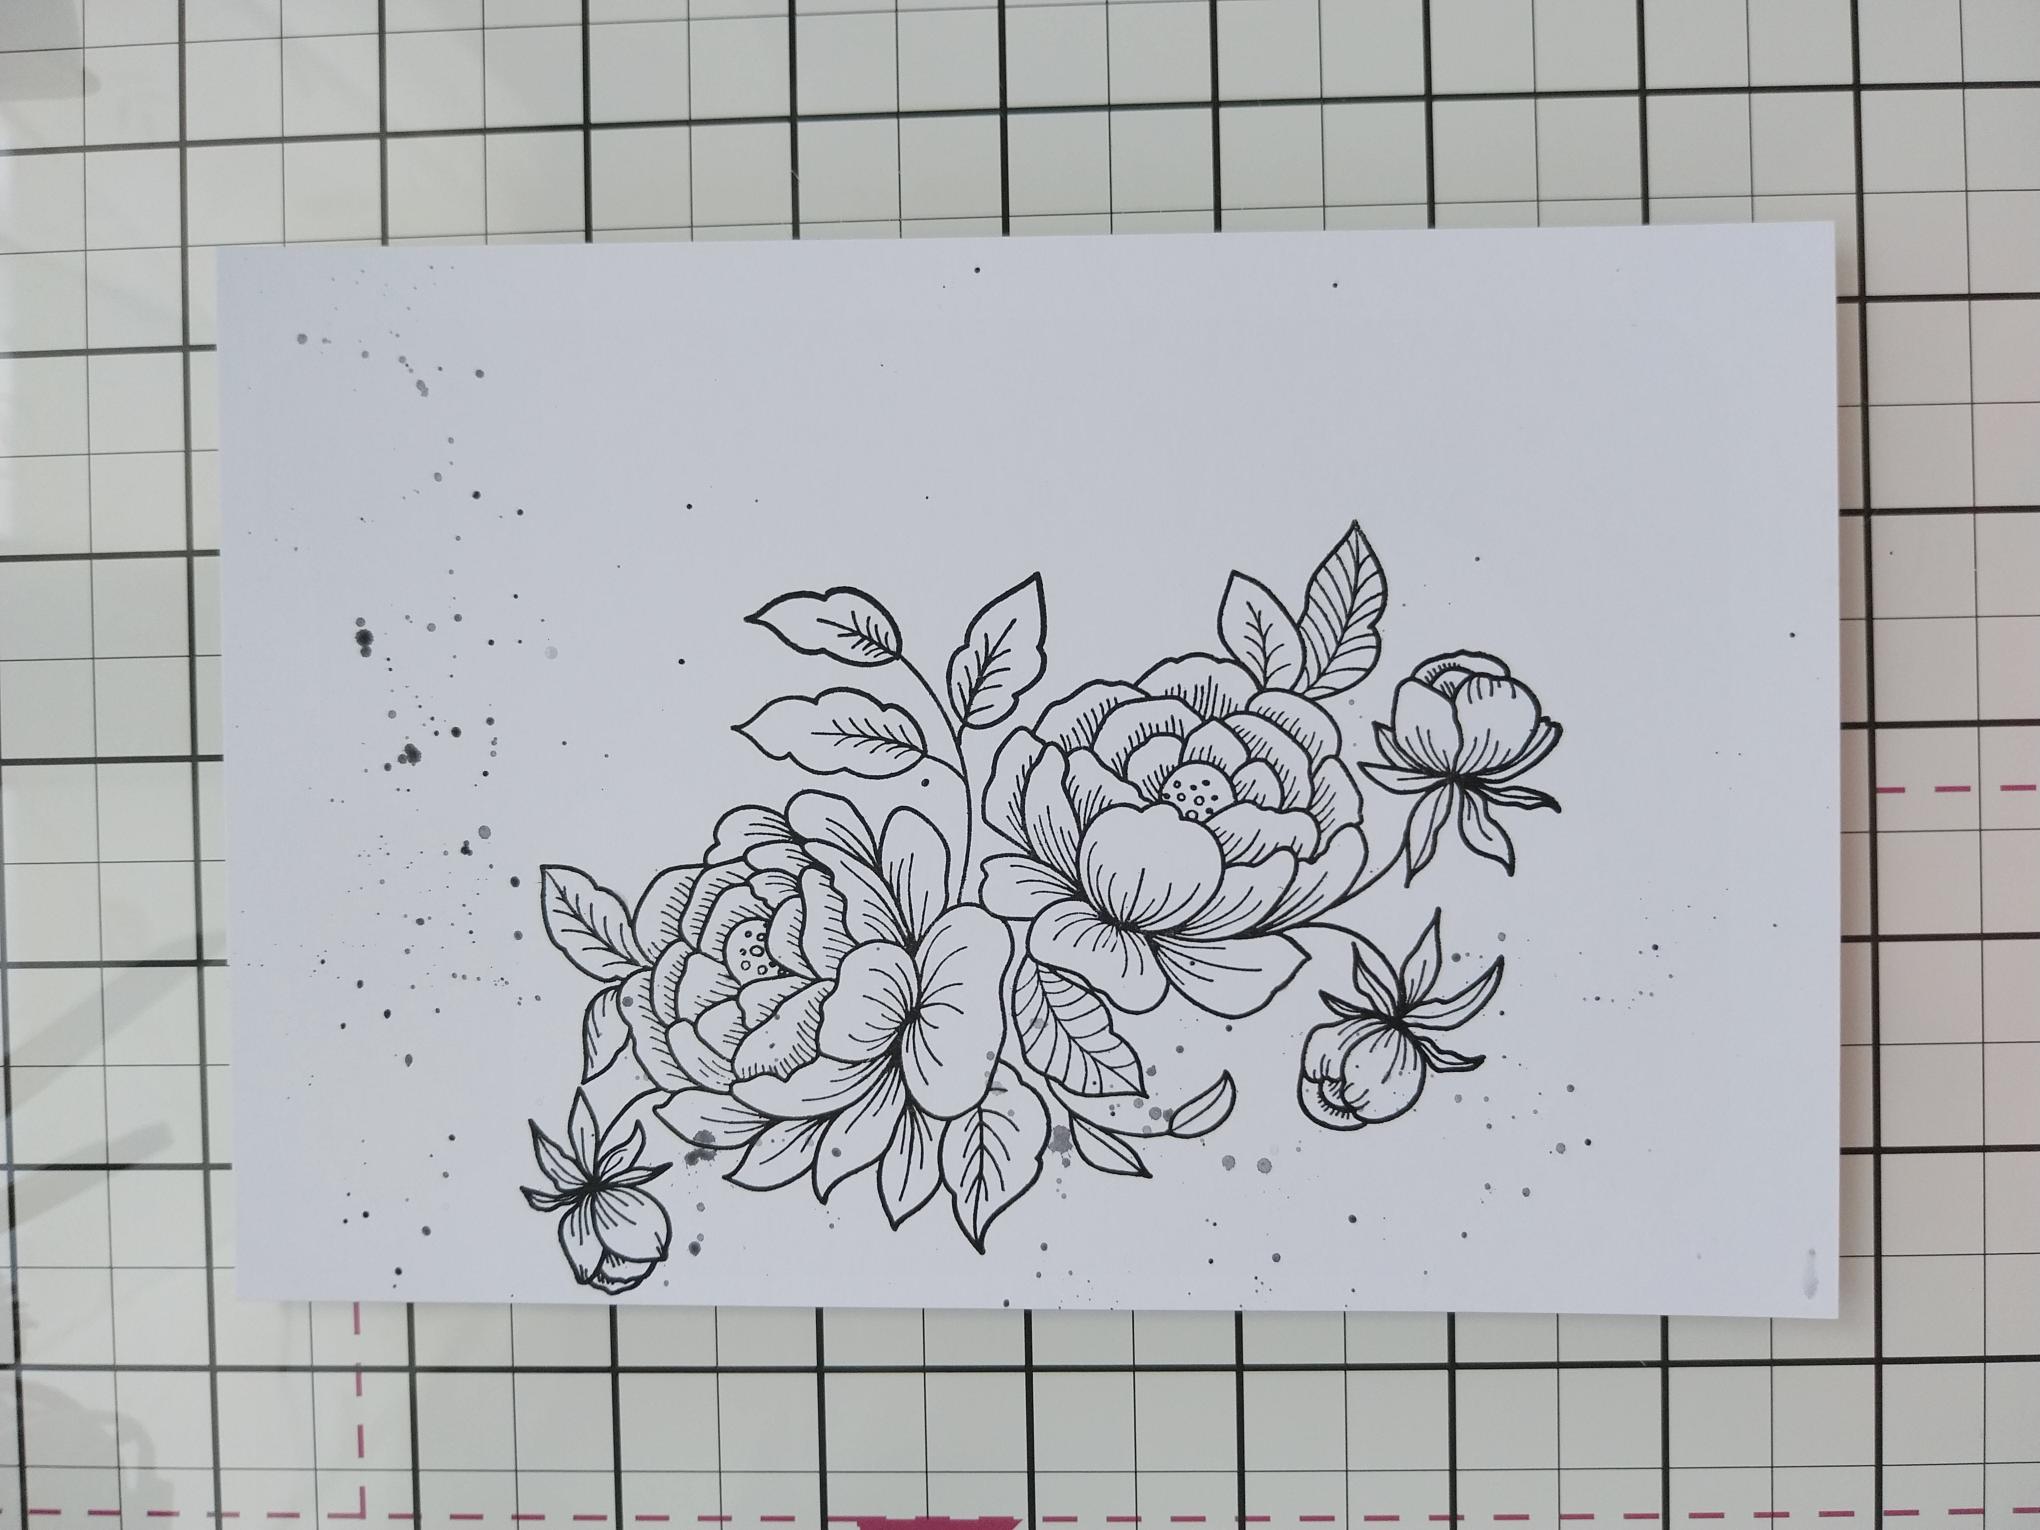
Stamp this beautiful image from the Ruby Blooms Stamp set, in the Midnight hybrid ink, on to the white card (trimmed to 7 1/2 x 5"). Add a few splats using the same ink. |

|
Trim this beautiful foundation paper to 7 3/4 x 5 1/4". |
|
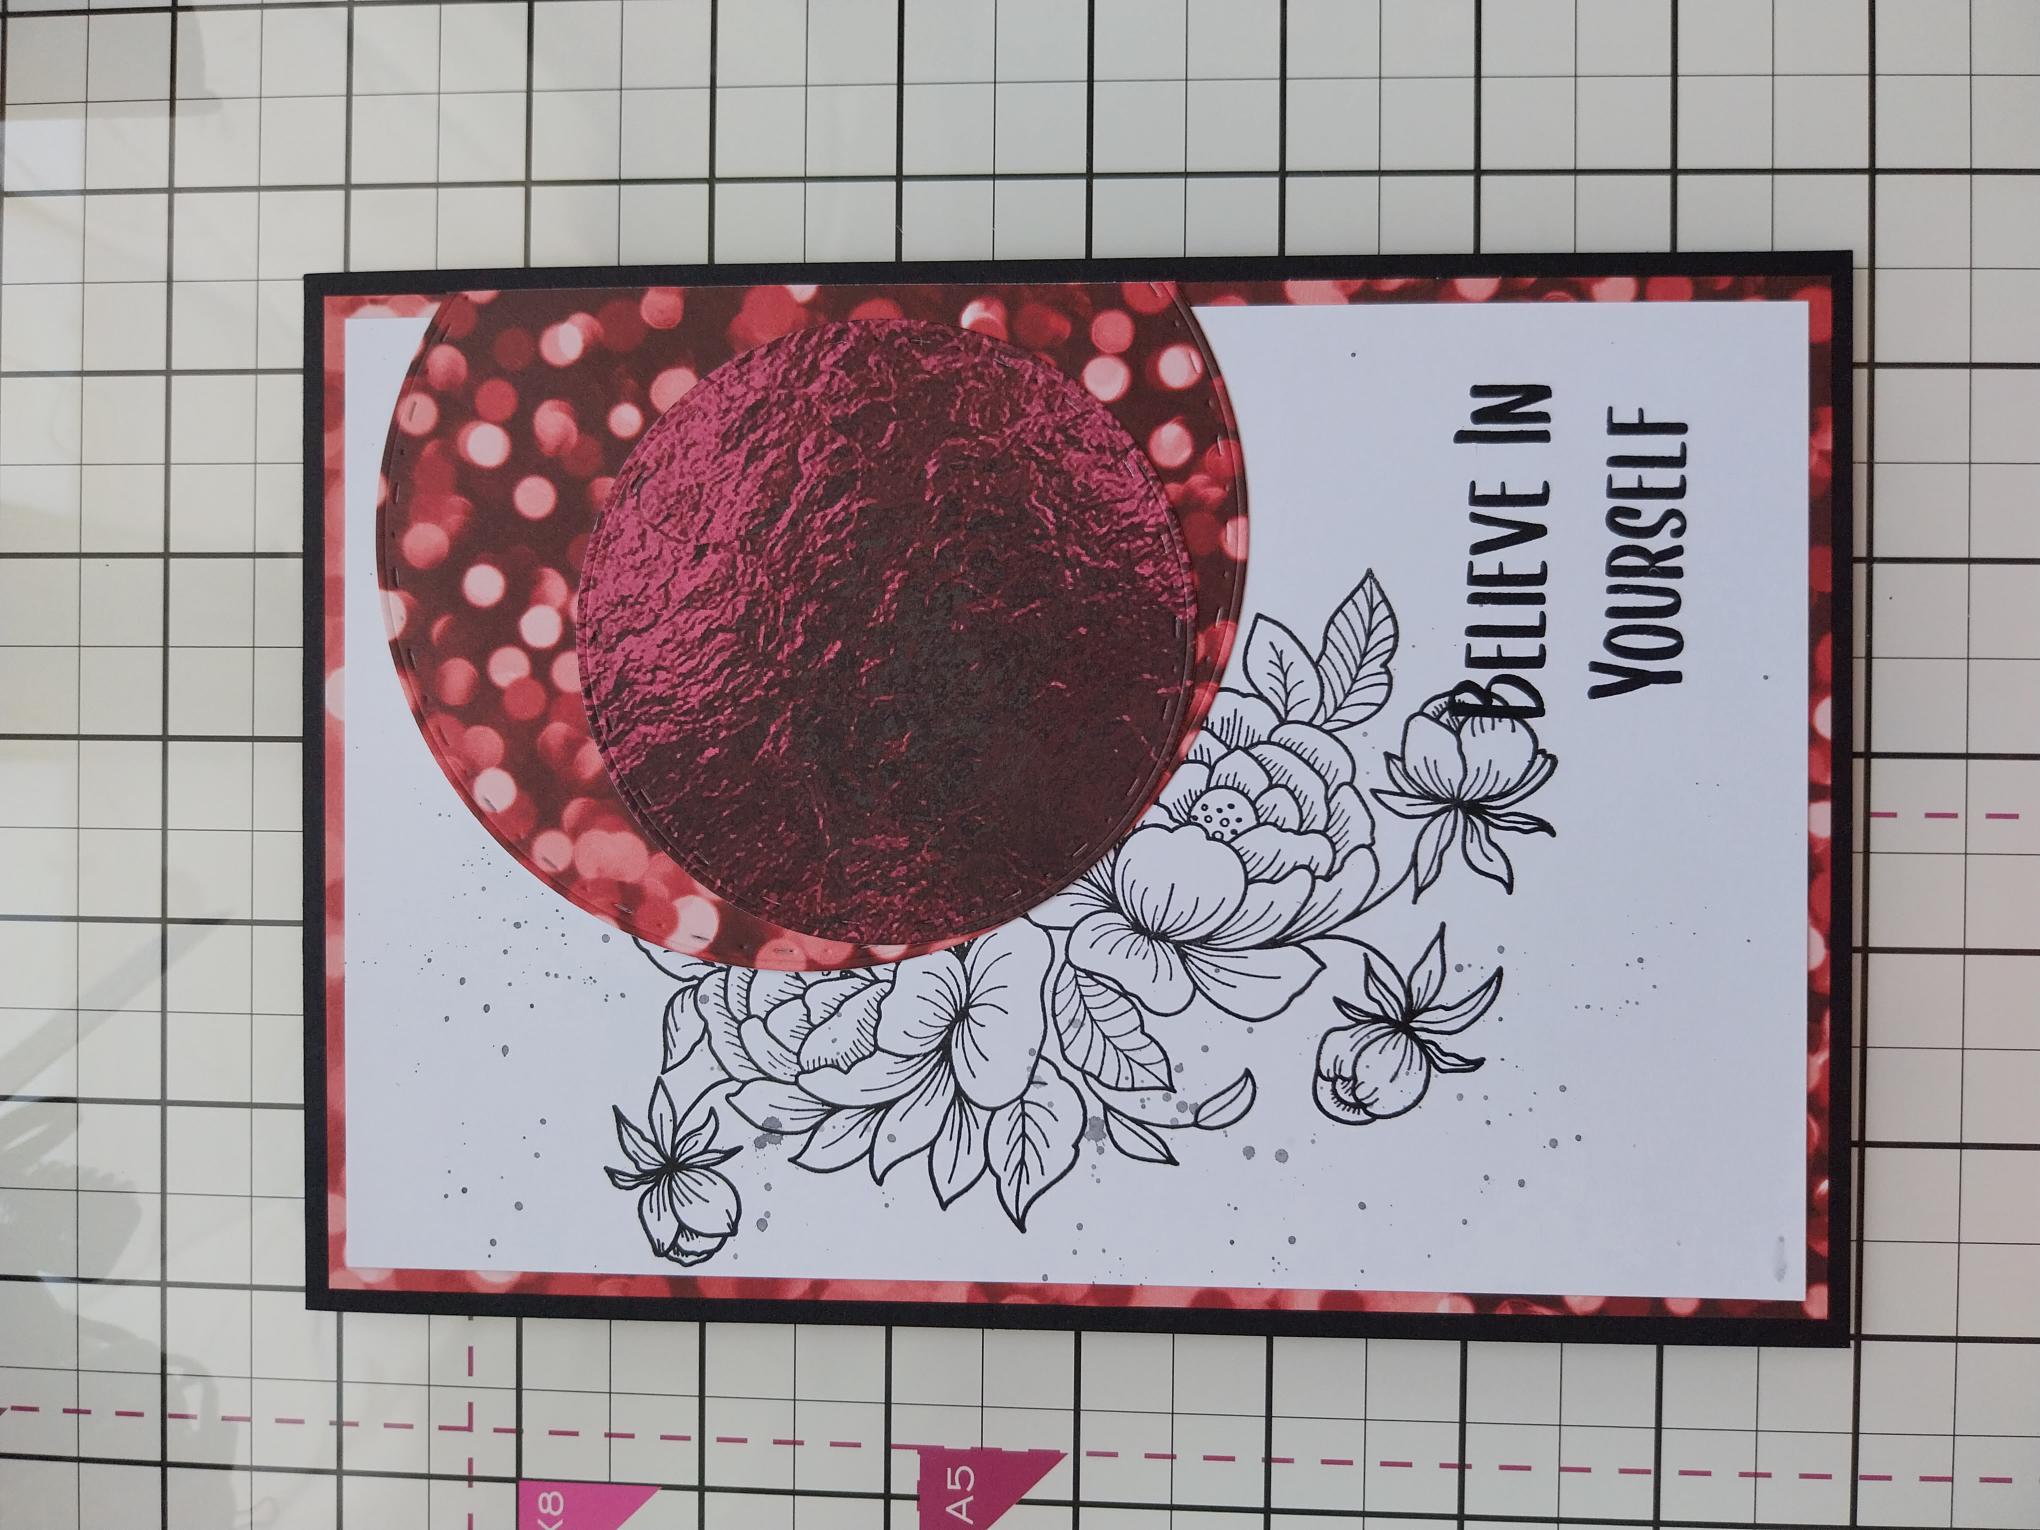
Adhere your stamped image on to the foundation paper, then adhere your paper circle off the right hand edge, as much or as little as you wish. Trim off any overhang, so you are left with this effect. |
|
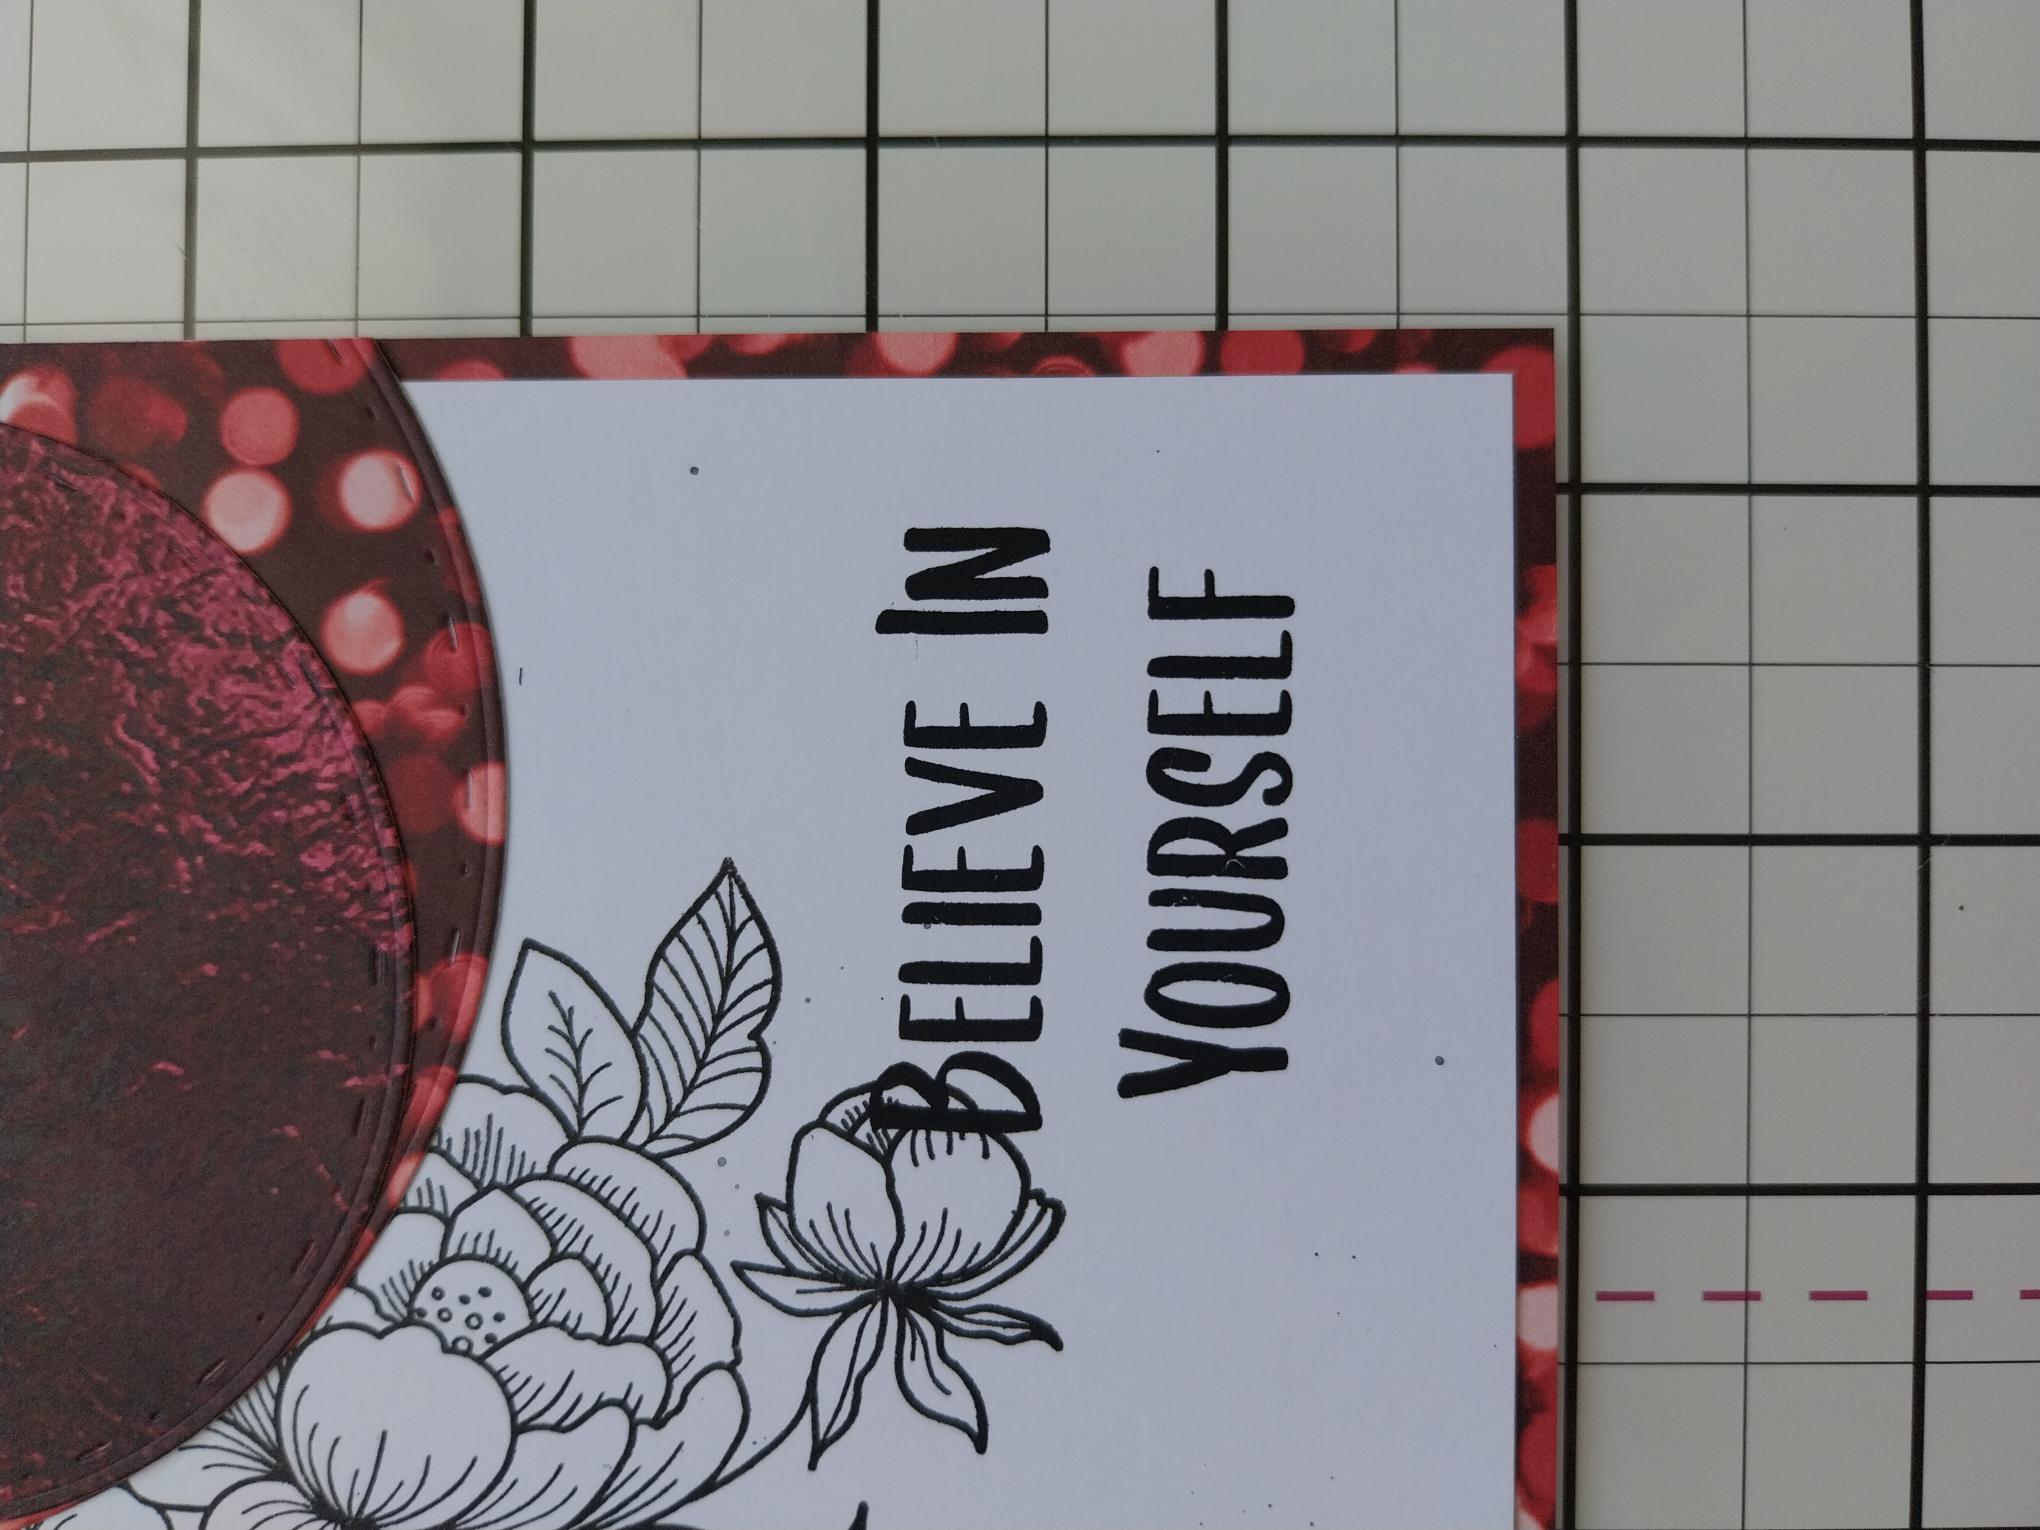
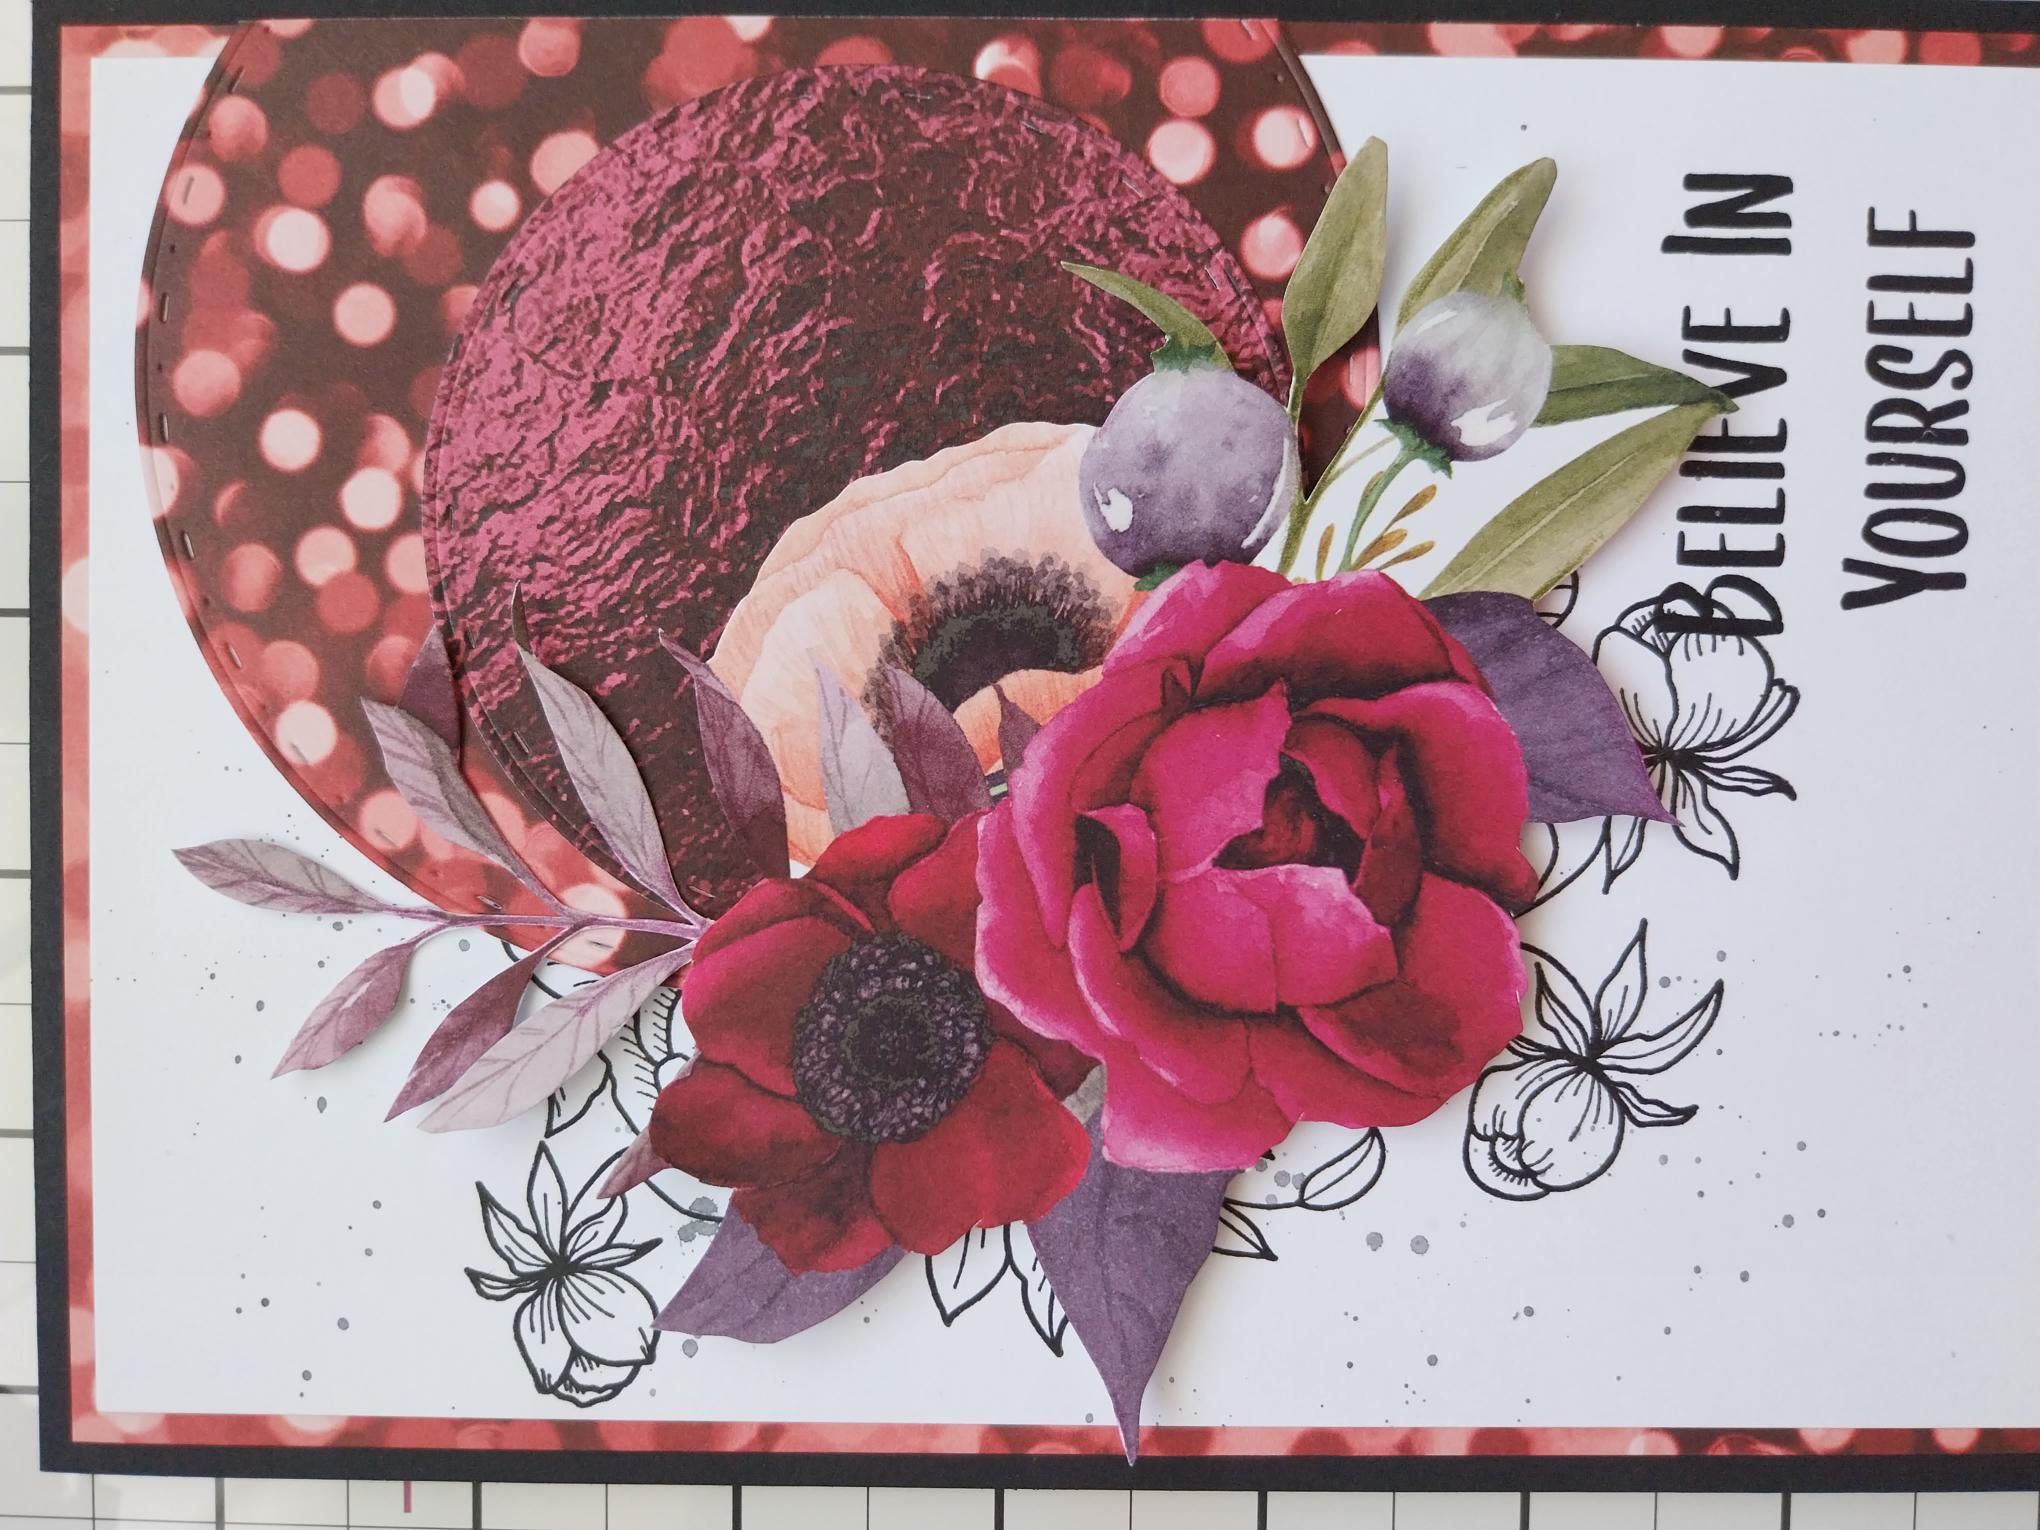
Ink up this sentiment stamp with the Midnight ink and stamp in the bottom right corner of your artwork. |
|
Adhere your artwork on to your black, top folding card blank and set to one side. |
|
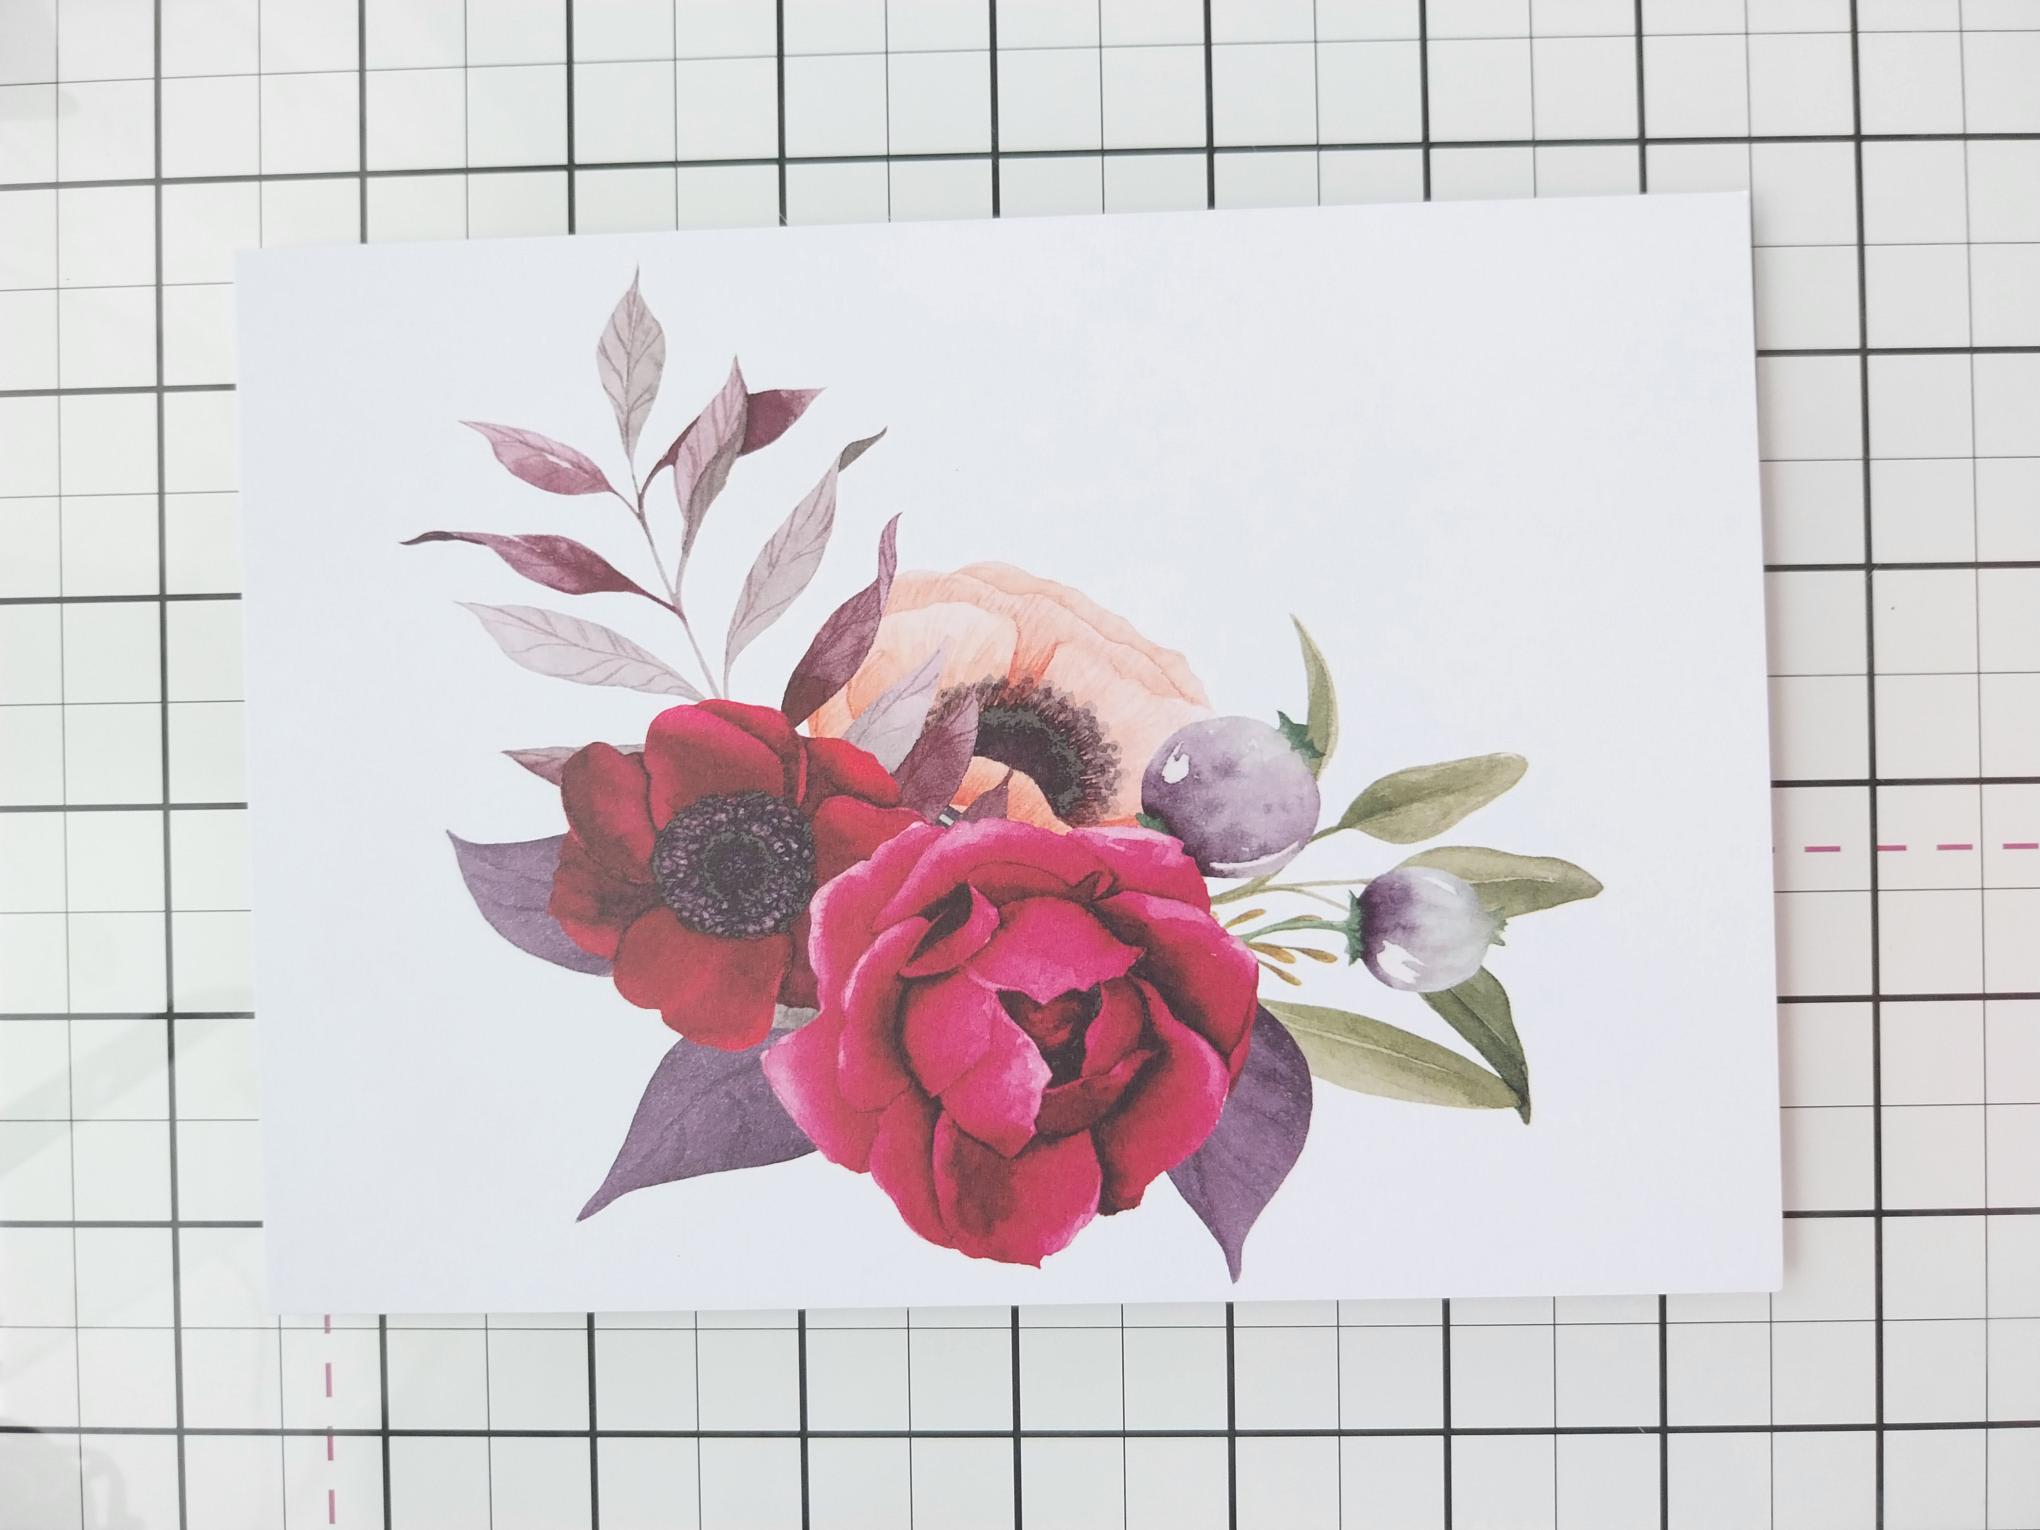
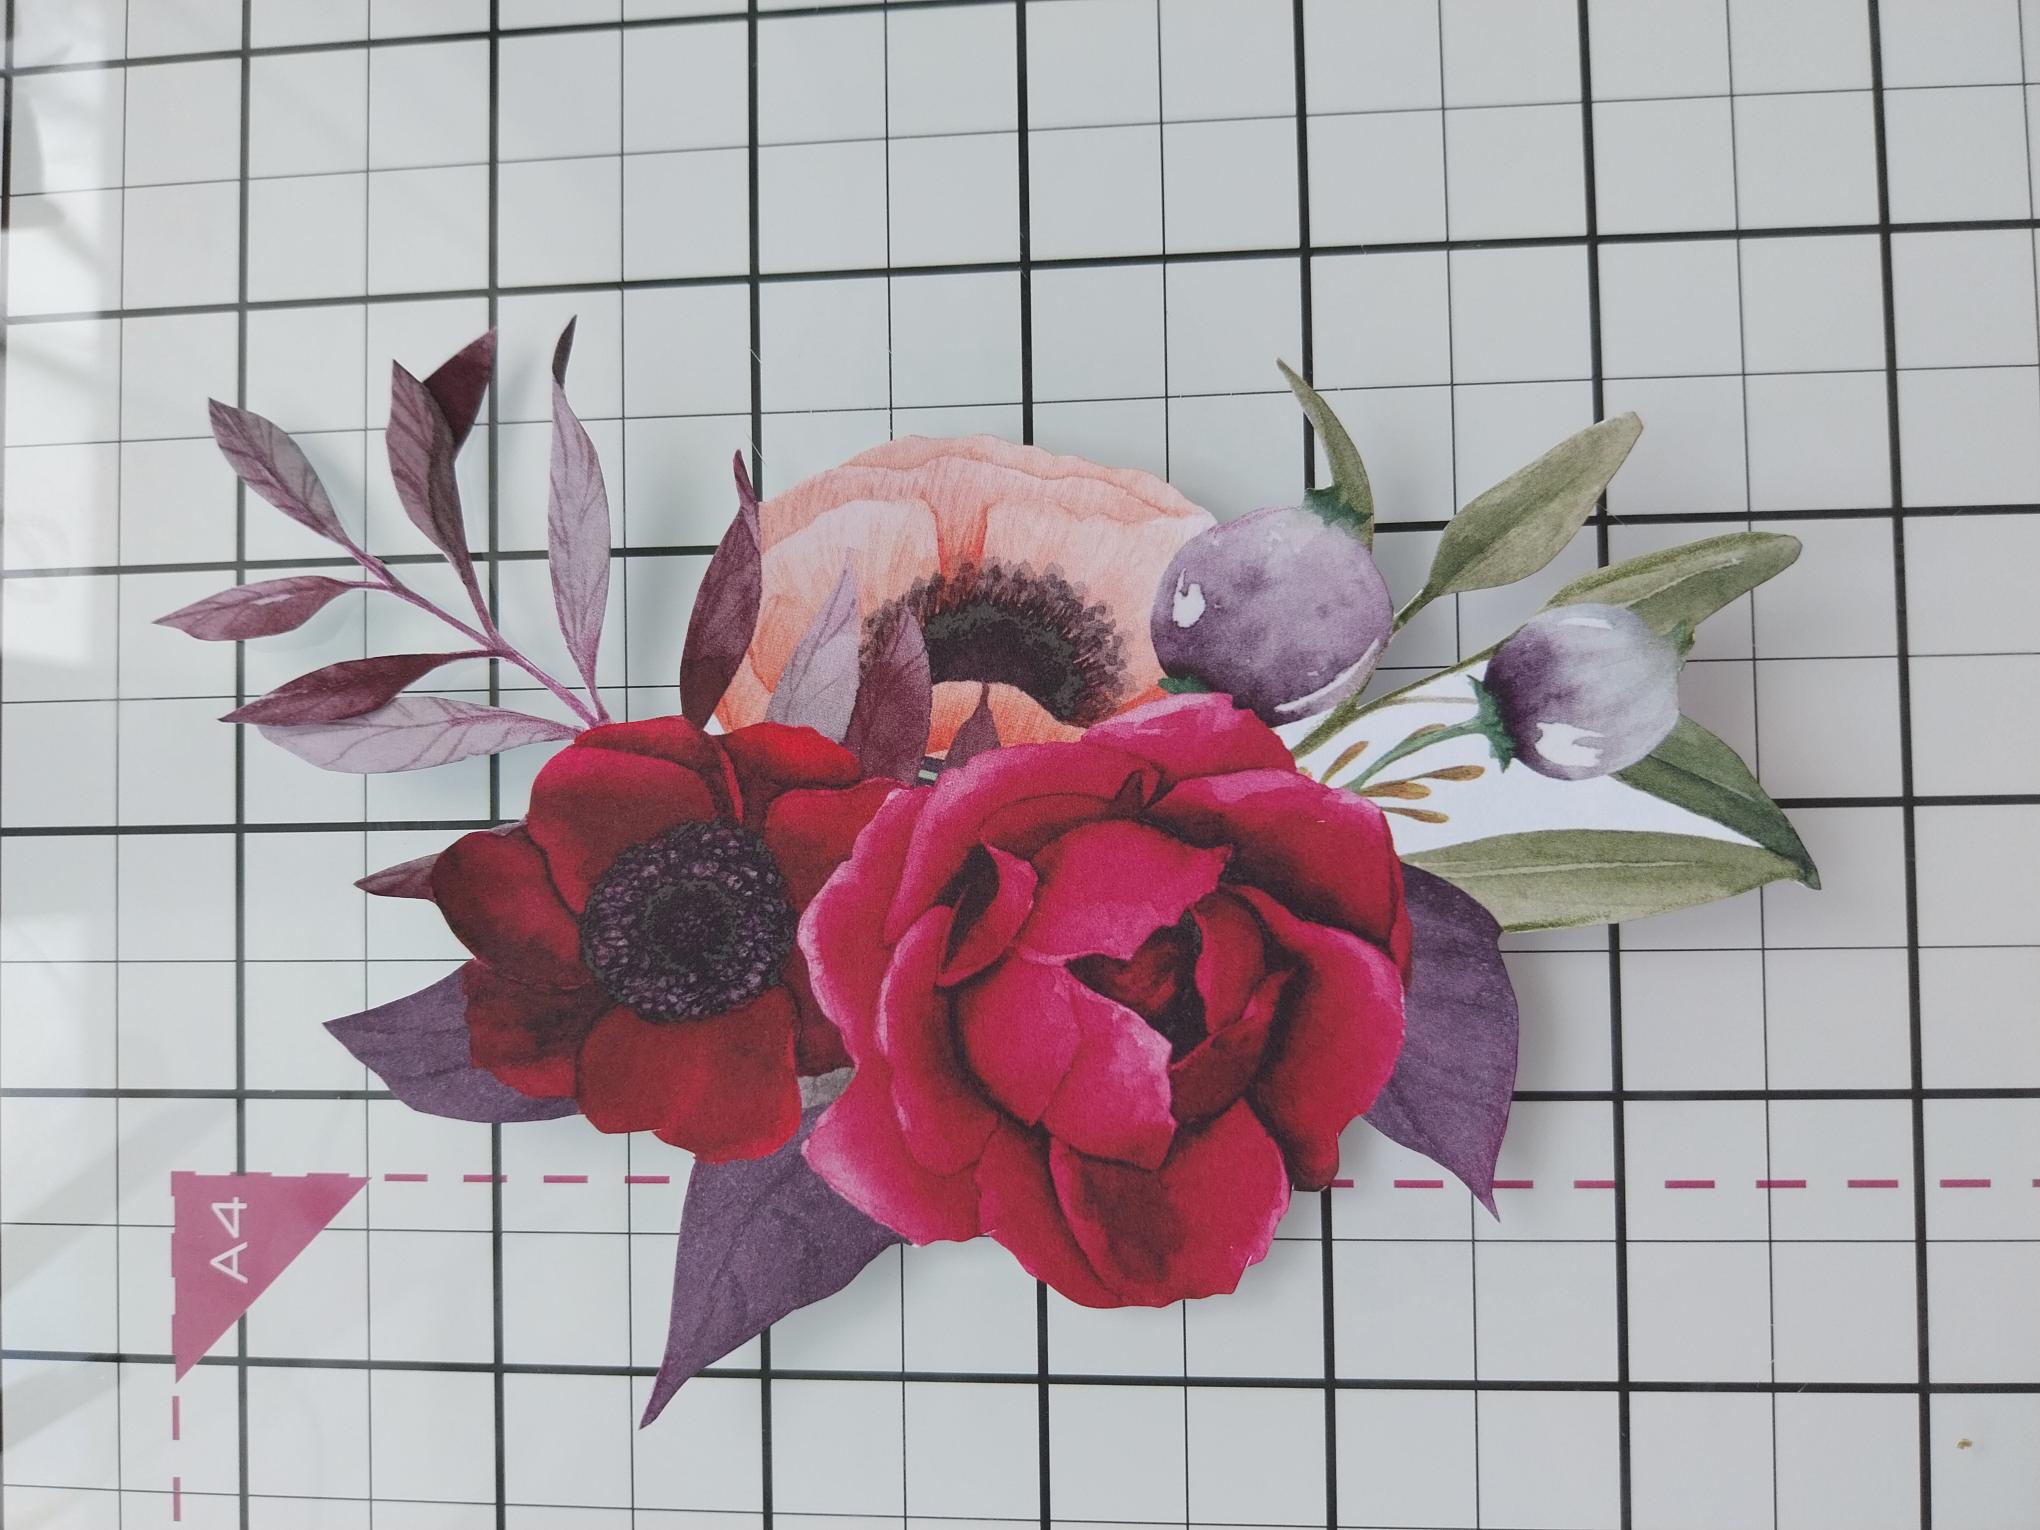
Take this gorgeous painted mount out of the Ruby Blooms pack. |
|
Fussy cut around the beautiful floral design. |
|
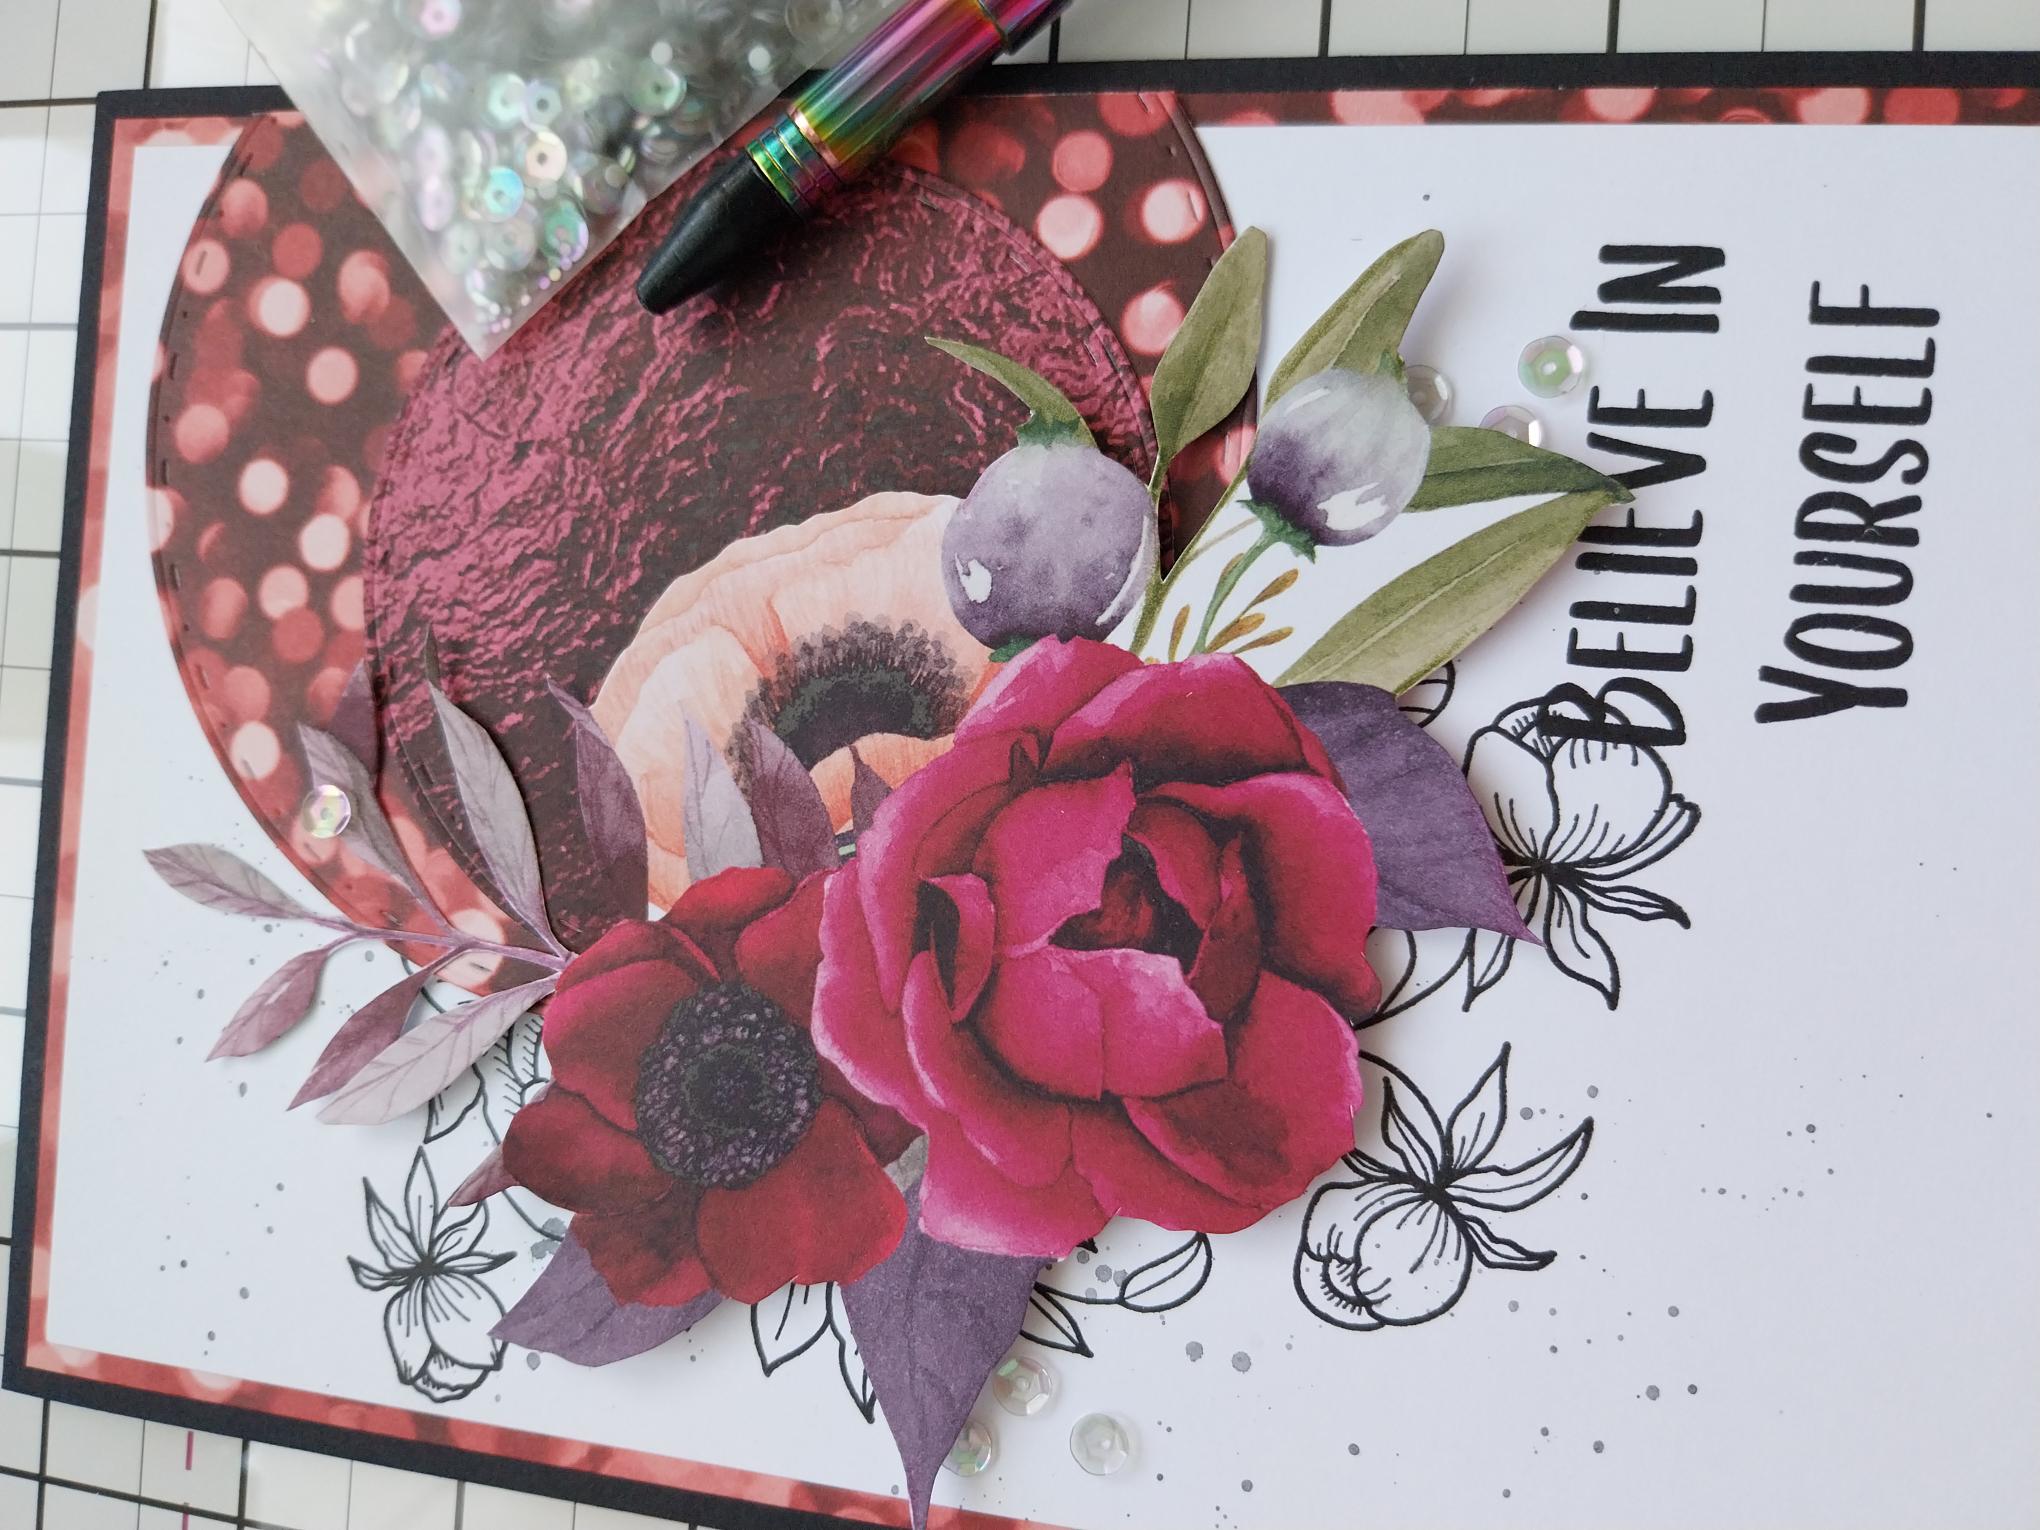
Adhere your fussy cut element, with foam pads, so it partially sits on top of the stamped design but curves around your patterned paper circles. |
|
To finish add a few sequins on, around and tucked just under your 3D floral element. |