Give your friends $10 off their first order!
Refer a FRIEND


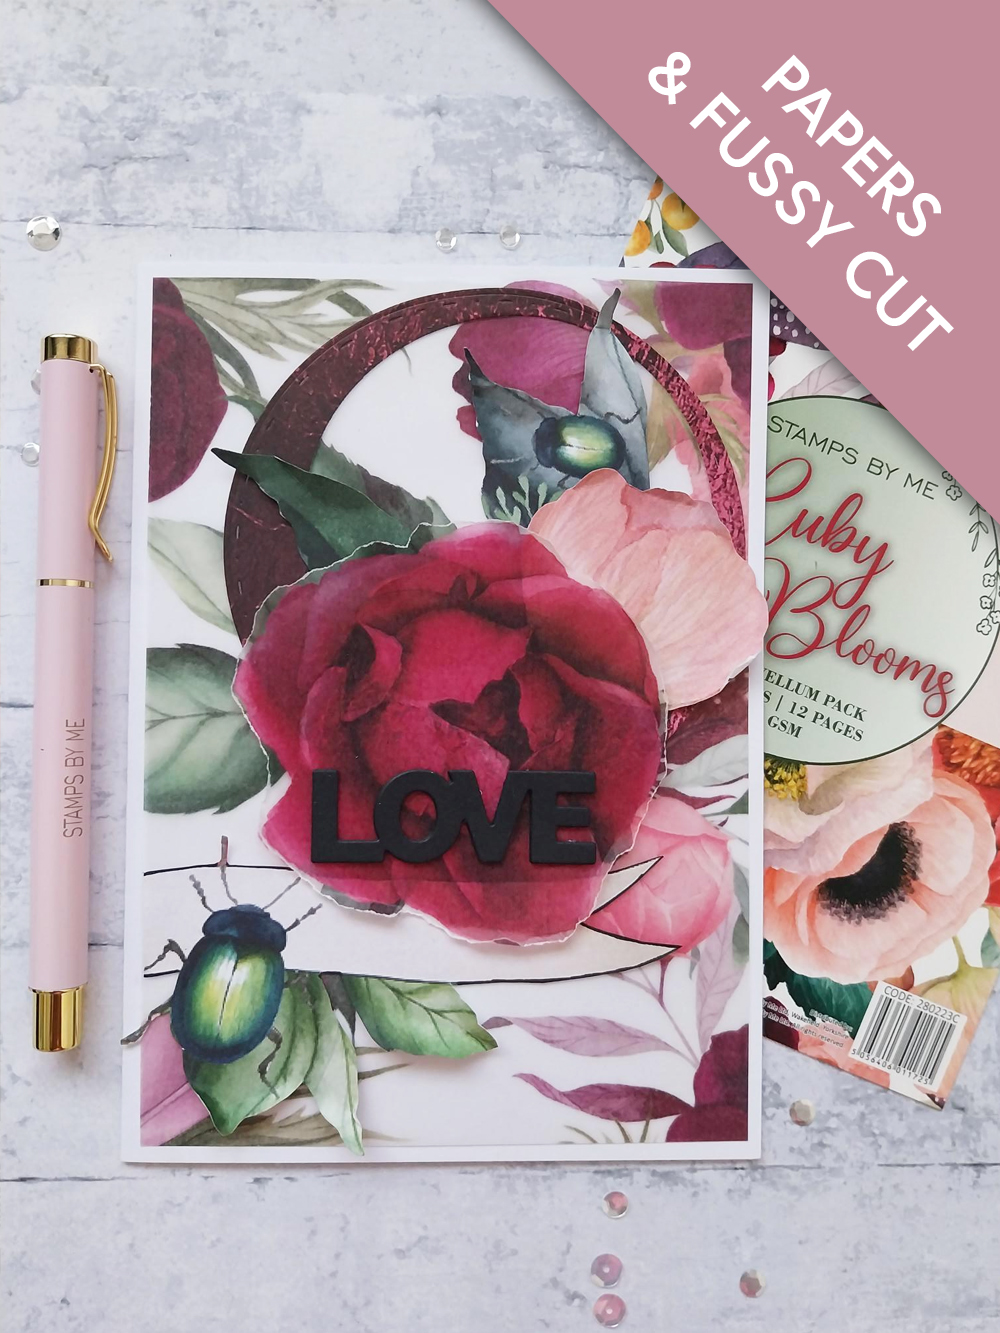
WHAT YOU WILL NEED:
White card blank 7 x 5"
Black card
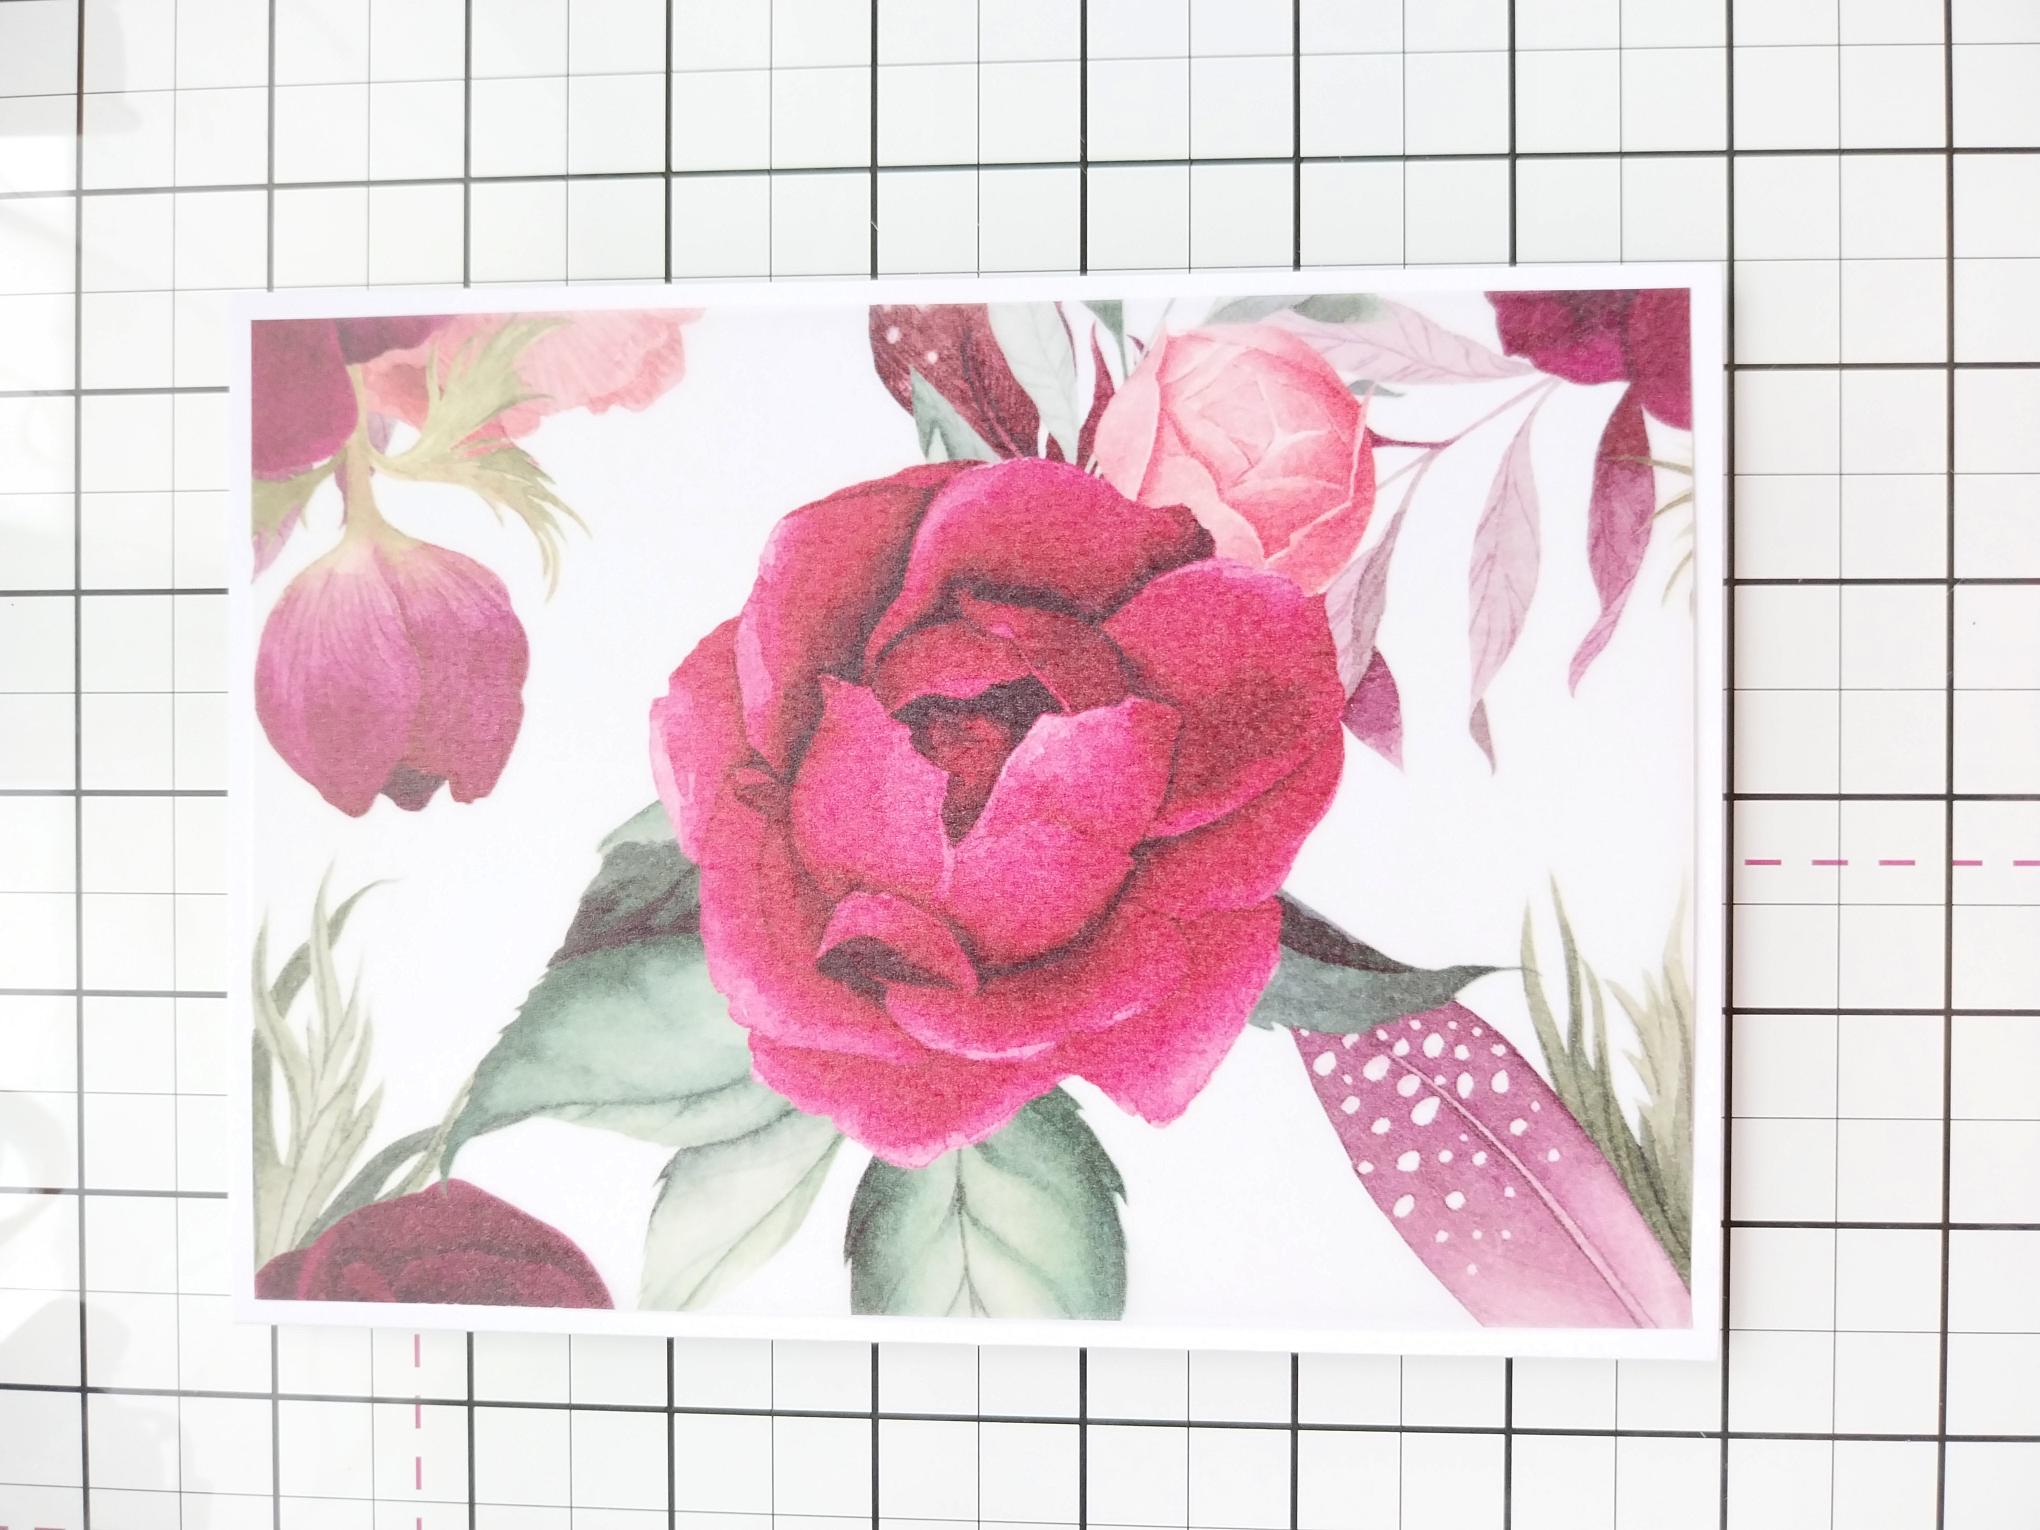
Paperchain Ruby Blooms 5 x 7" Vellum Pack
Paperchain Ruby Blooms 12 x 12" Paper Pack
Paperchain Ruby Blooms 8 x 8" Foundation Paper Pack
Deboss Nesting Circle Die Collection
SBM Magnetic glass mat
Paper Trimmer
Perfect Together Glue
Tape runner
Foam pads (optional)
Die Cutting machine
[click image to enlarge] 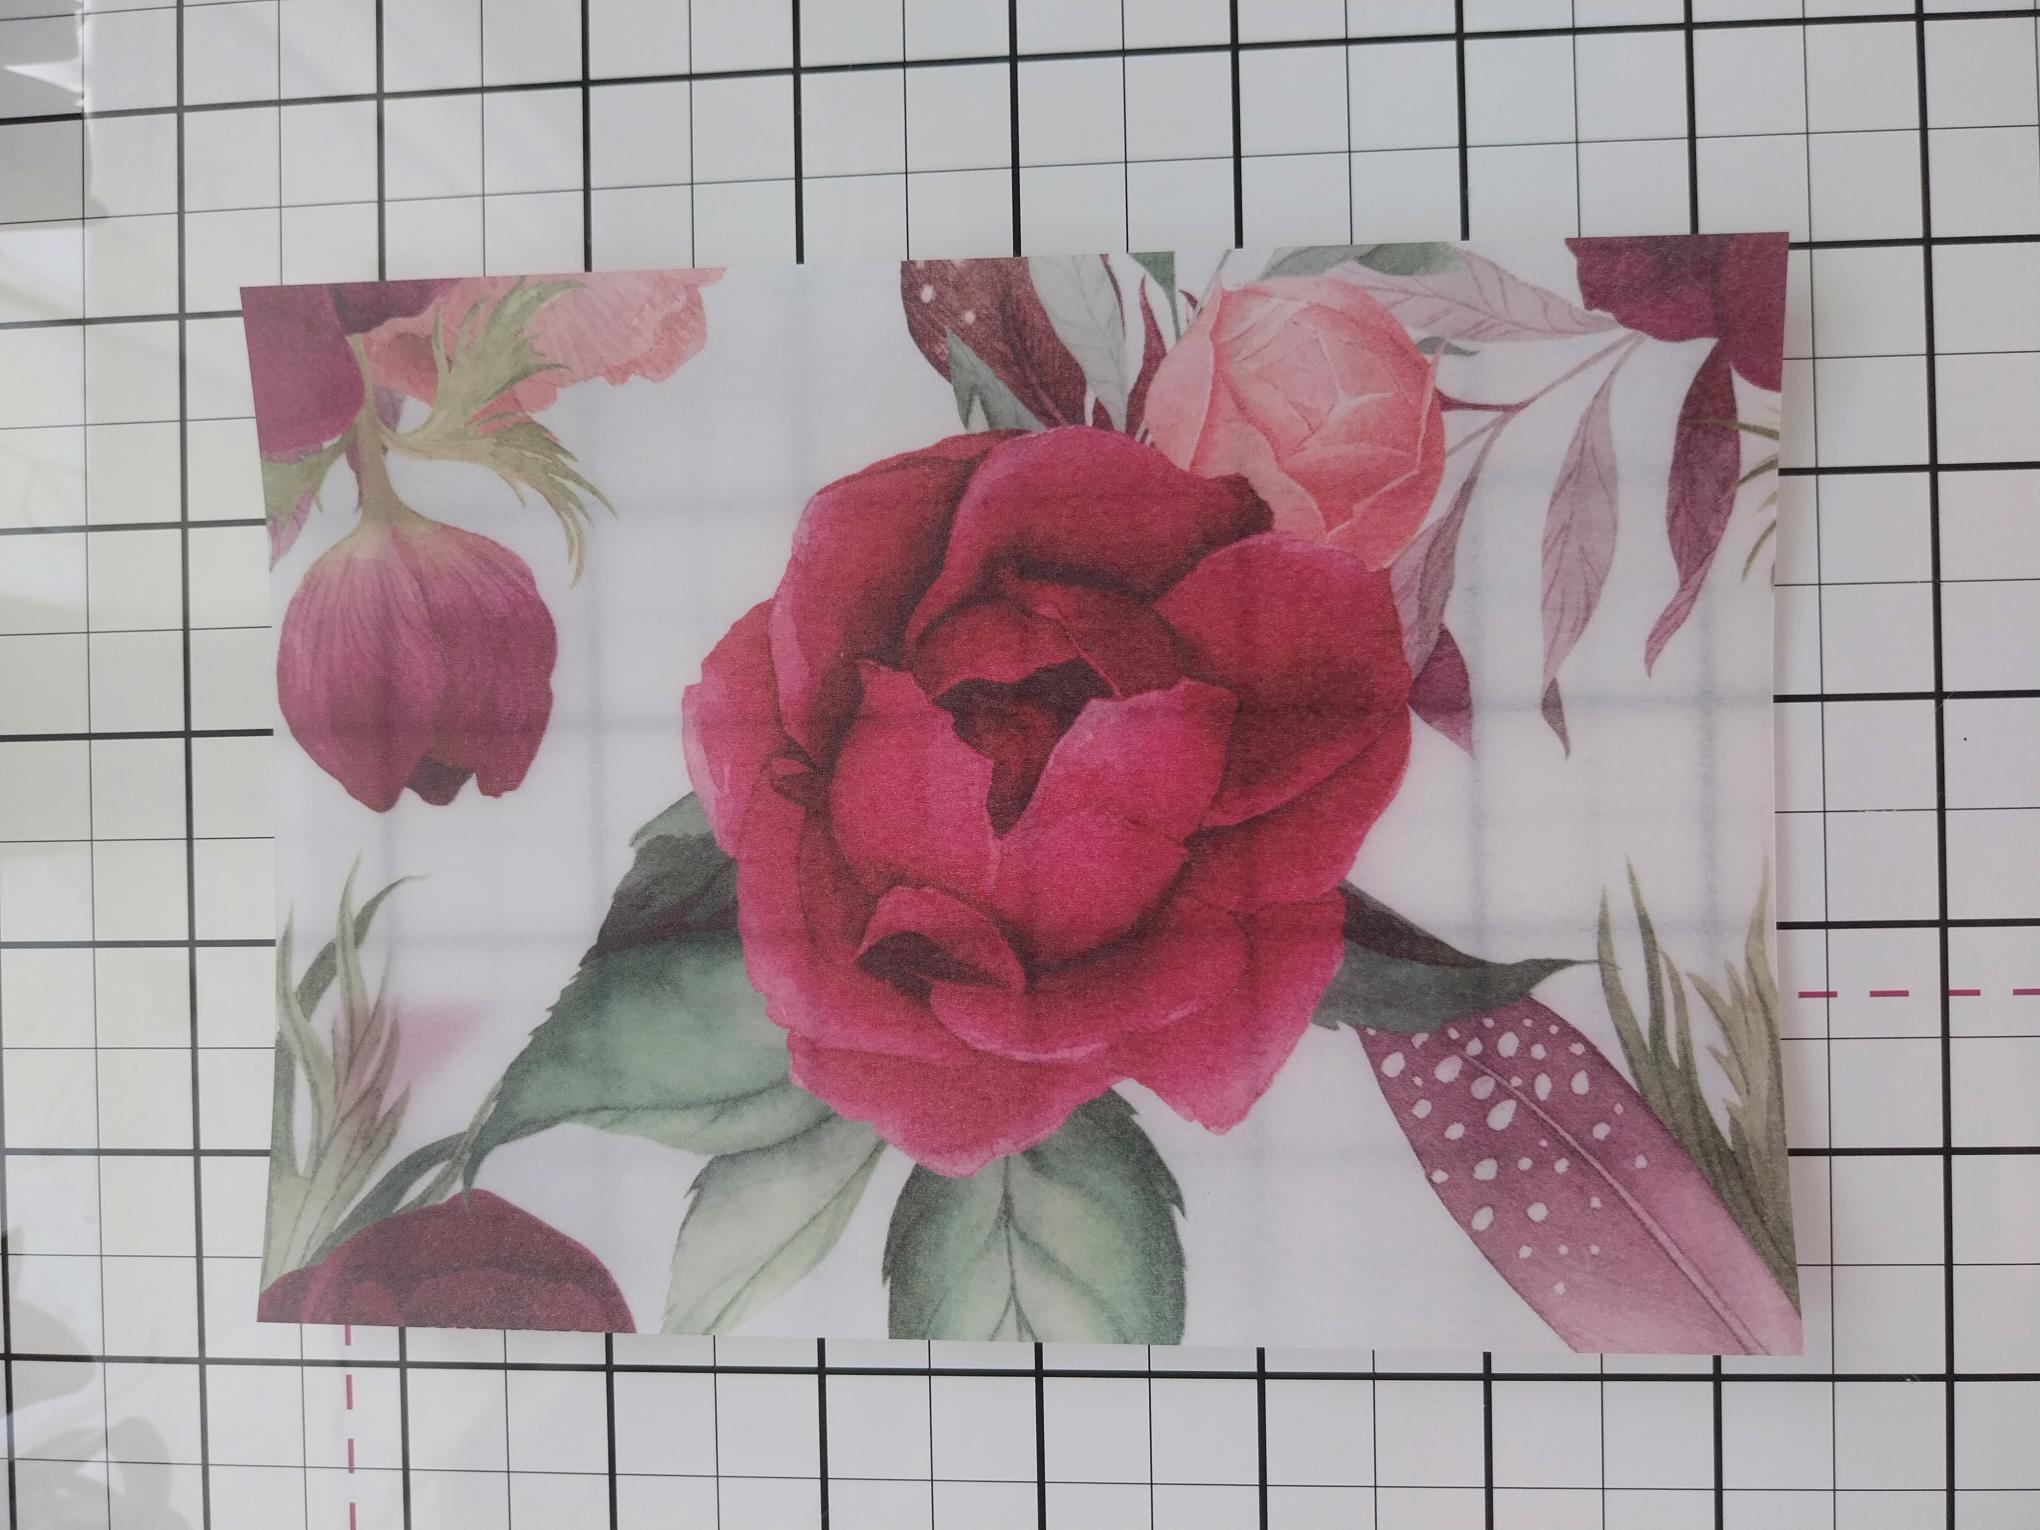
|
Trim this beautiful vellum sheet to 6 3/4 x 4 3/4". |
|
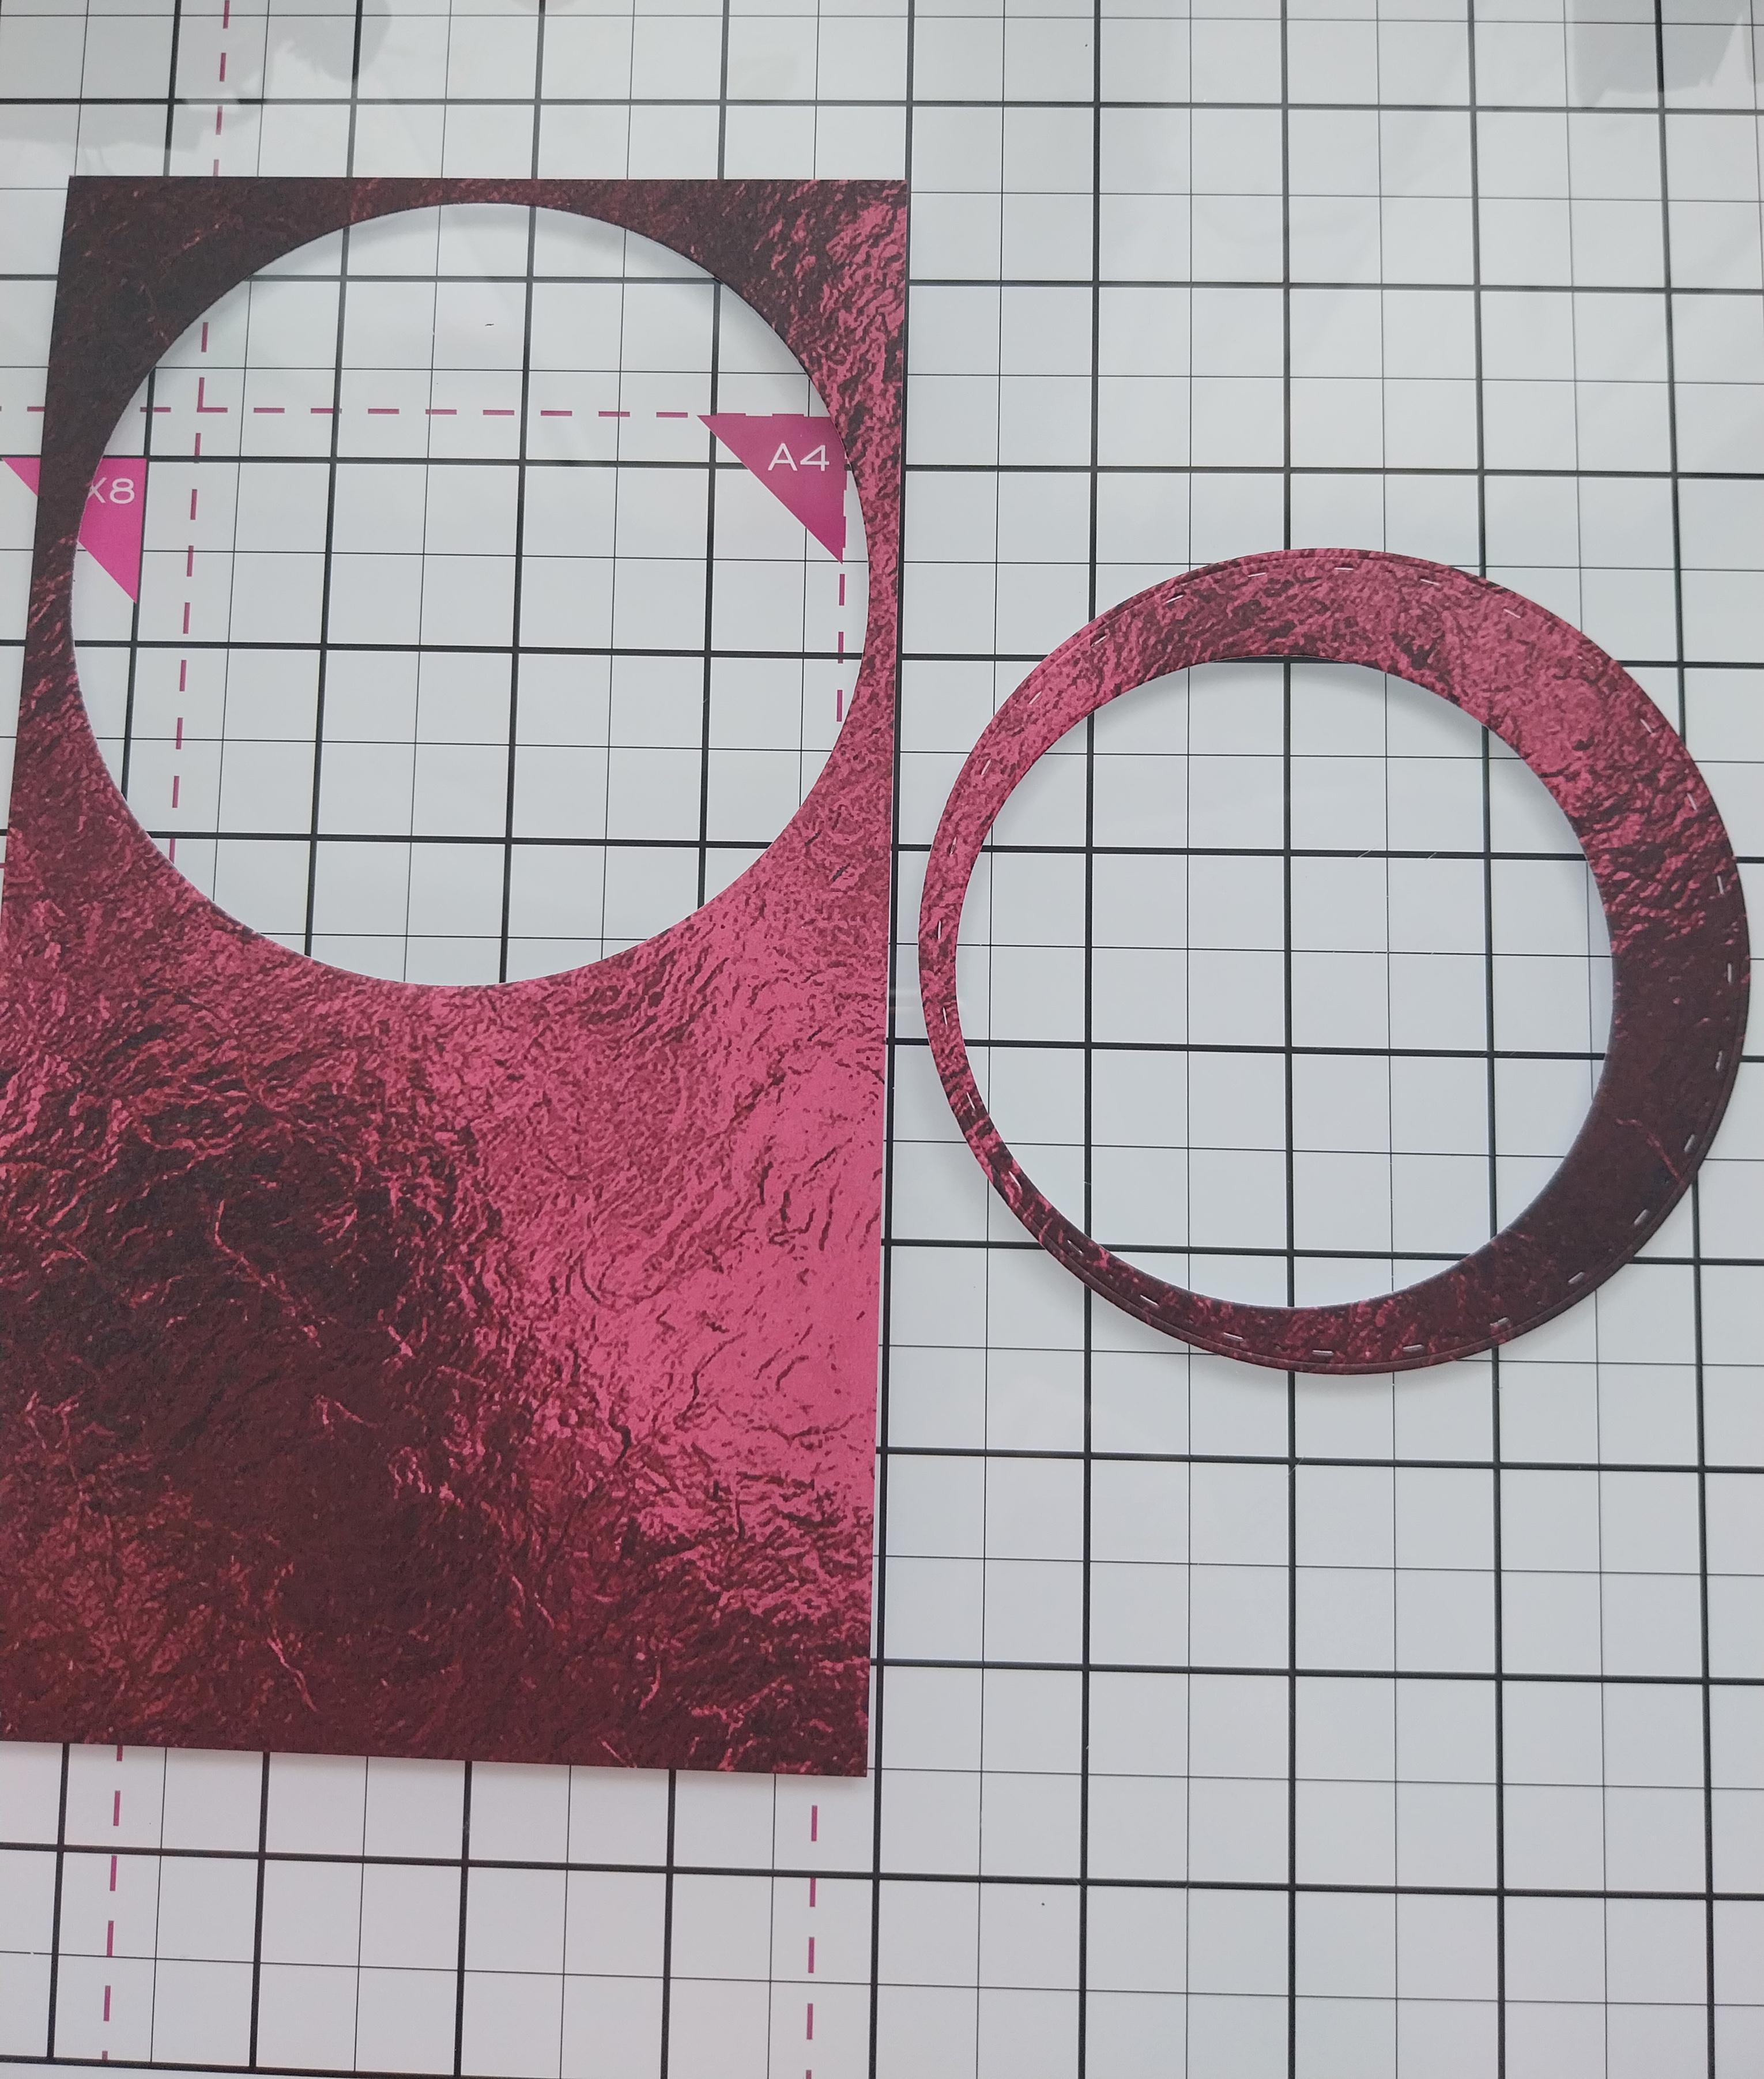
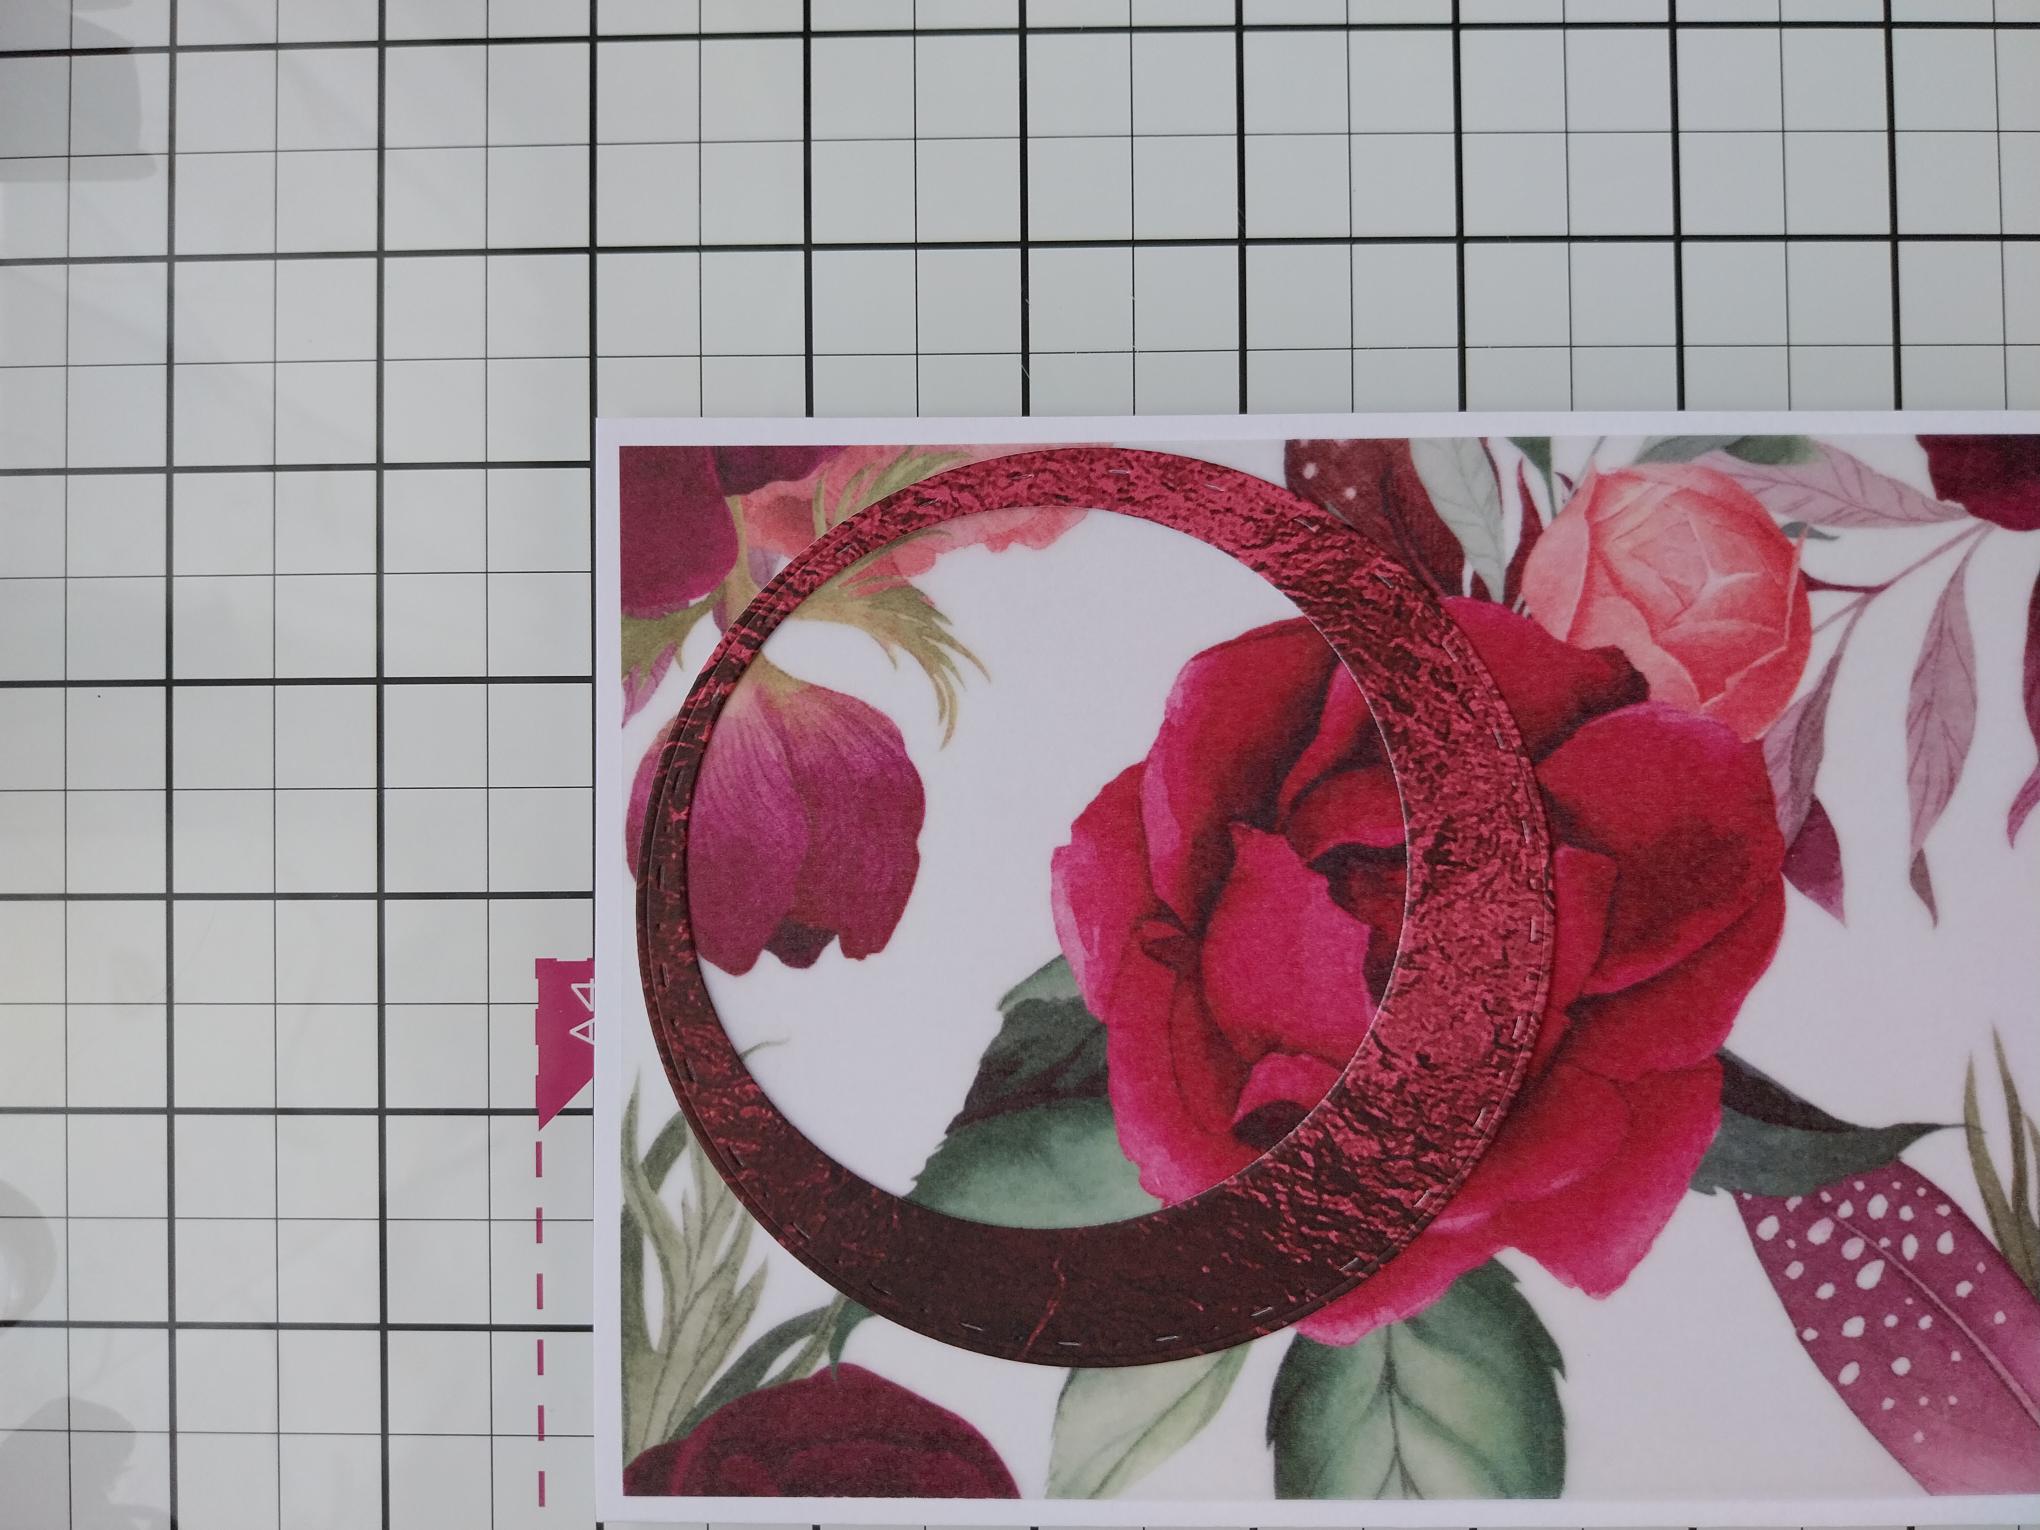
Using your circle dies, die cut a frame, as seen in the photo, from one of the foundation, textured papers. I used dies measuring 4" and 3 1/4" to create my frame. |
|
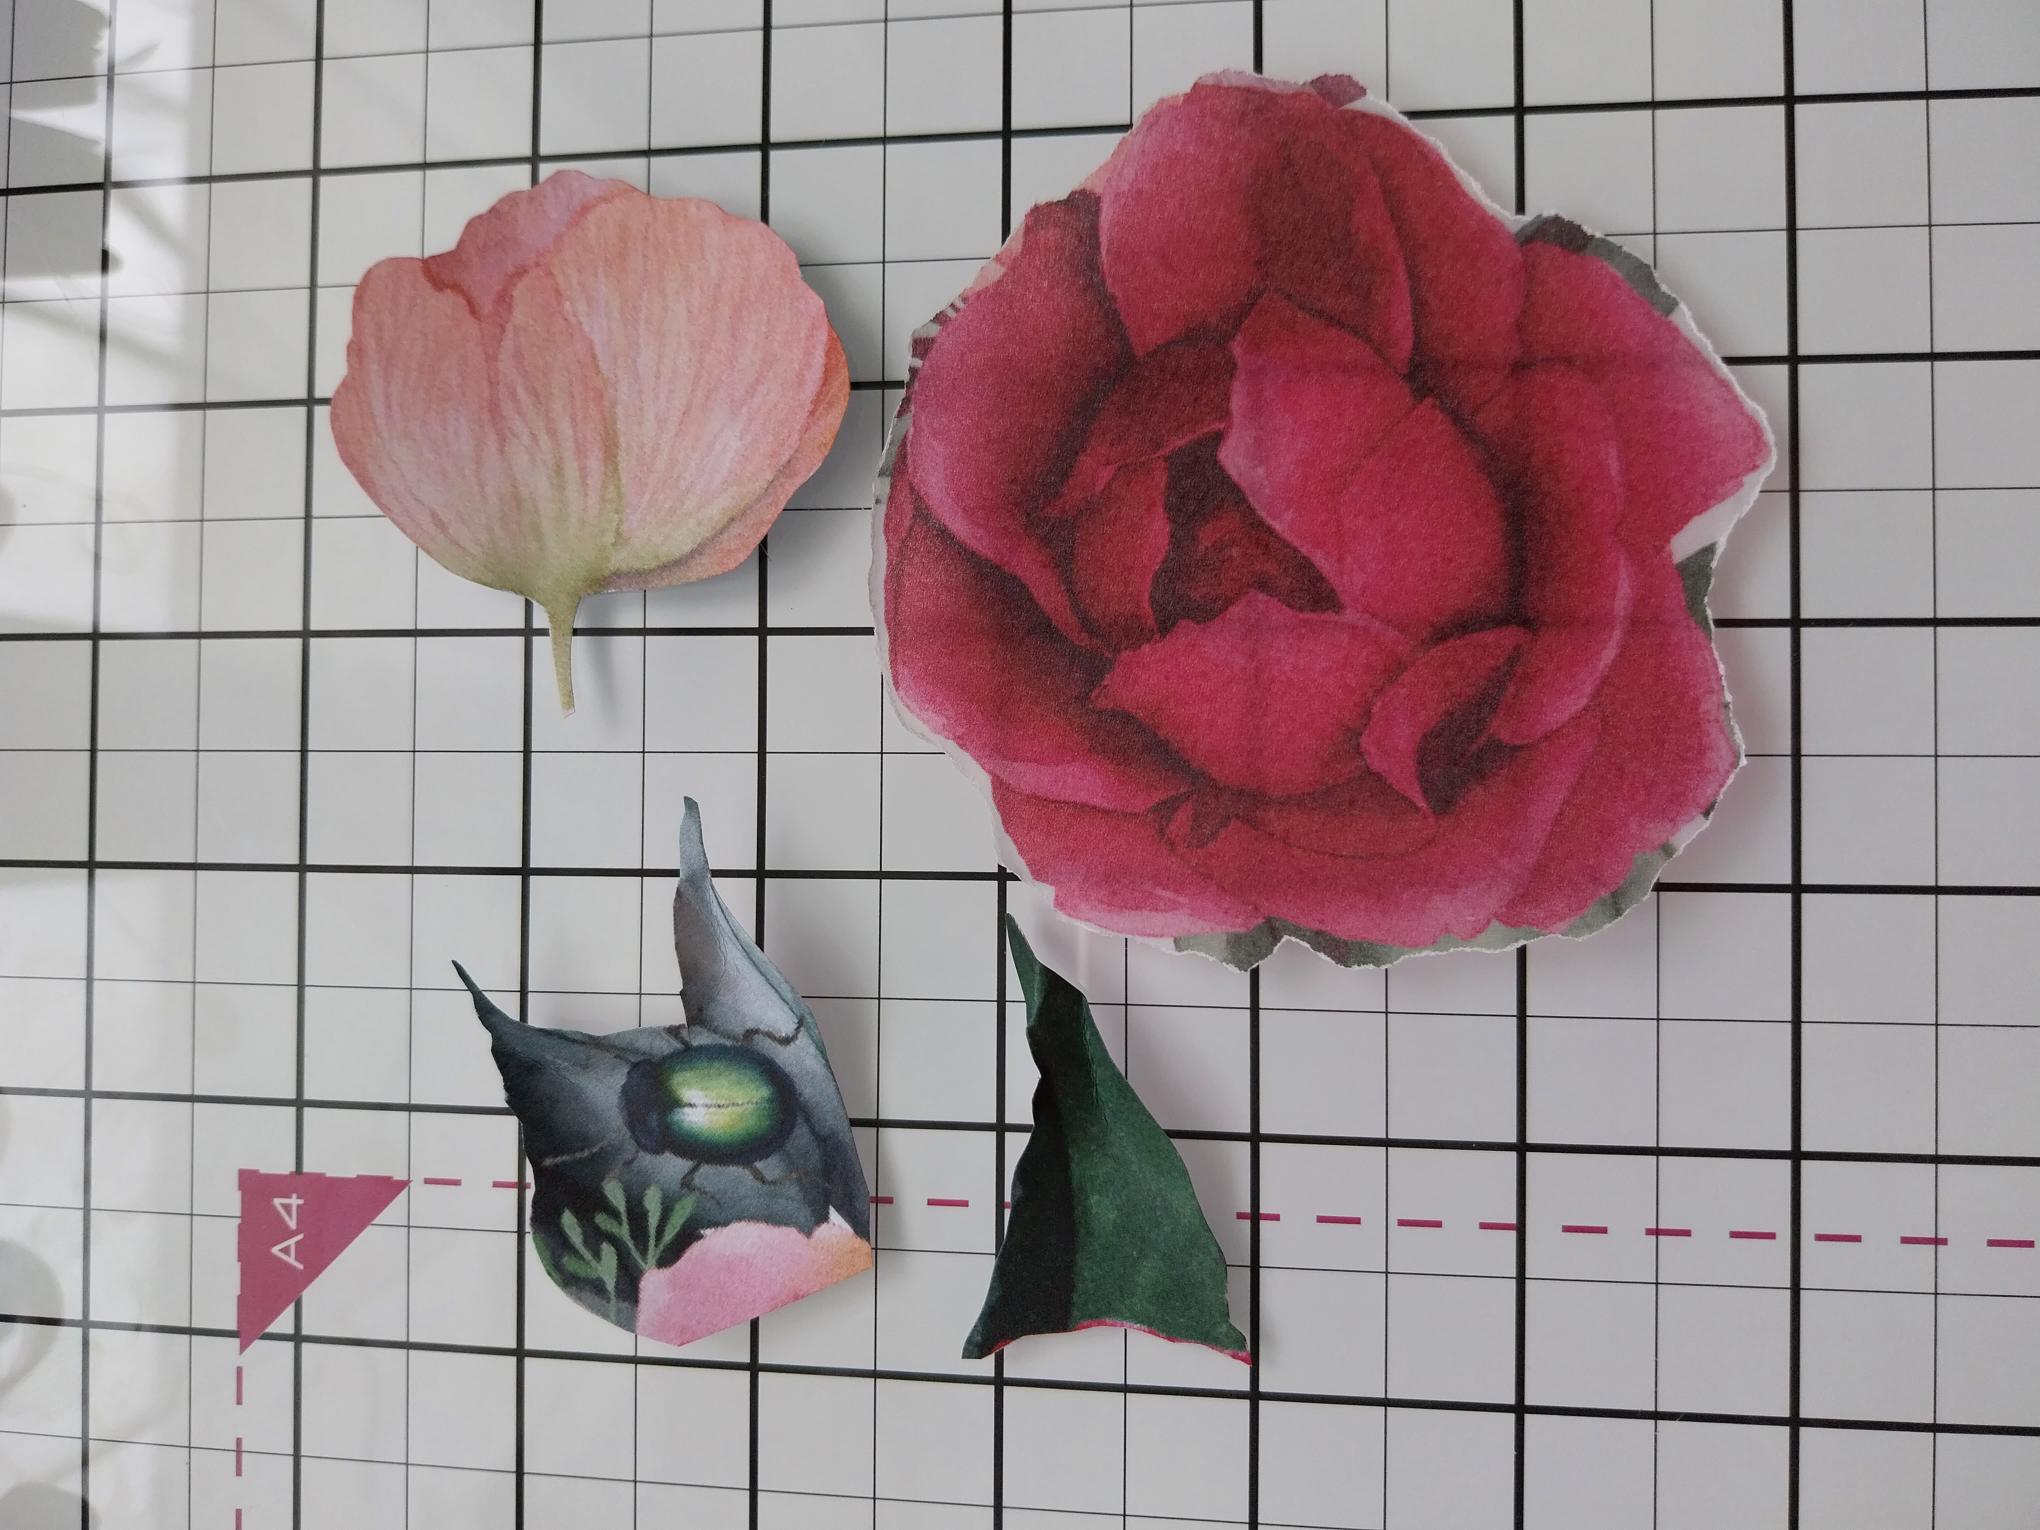
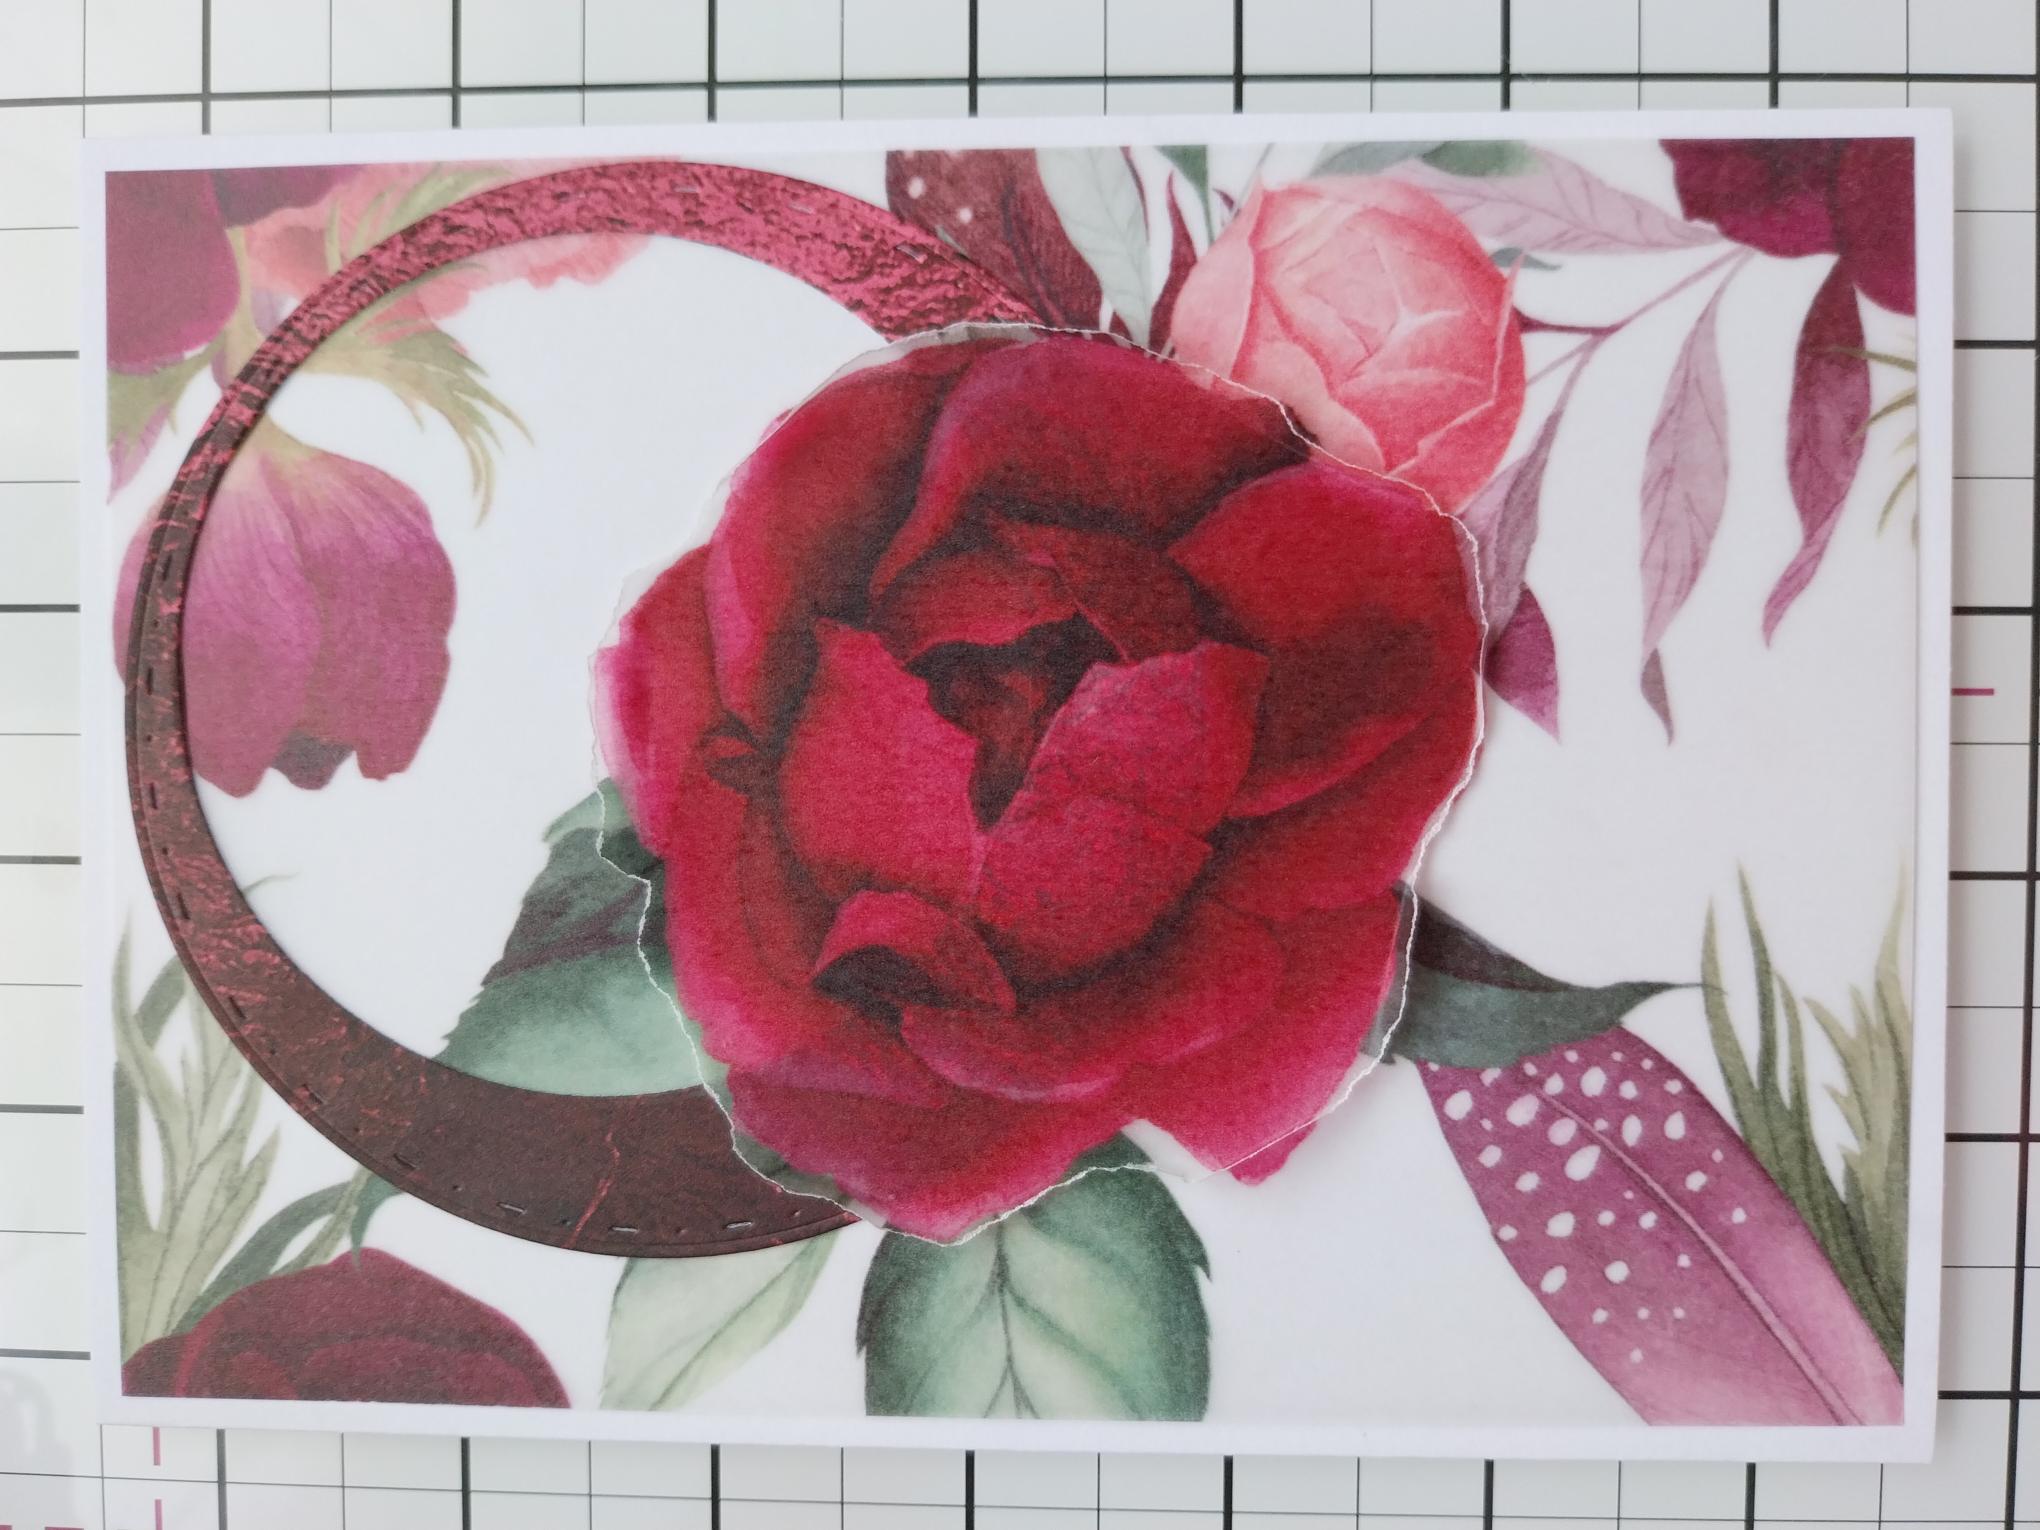
Fussy cut a selection of floral and foliage elements, from the 12 x 12" paper pack. |
|
Adhere the trimmed vellum to the front of your card blank, applying the tape runner to dark, patterned areas of the design, so the glue isn't visible through the vellum. |
|
Adhere your die cut frame in the top right corner of the vellum. |
|
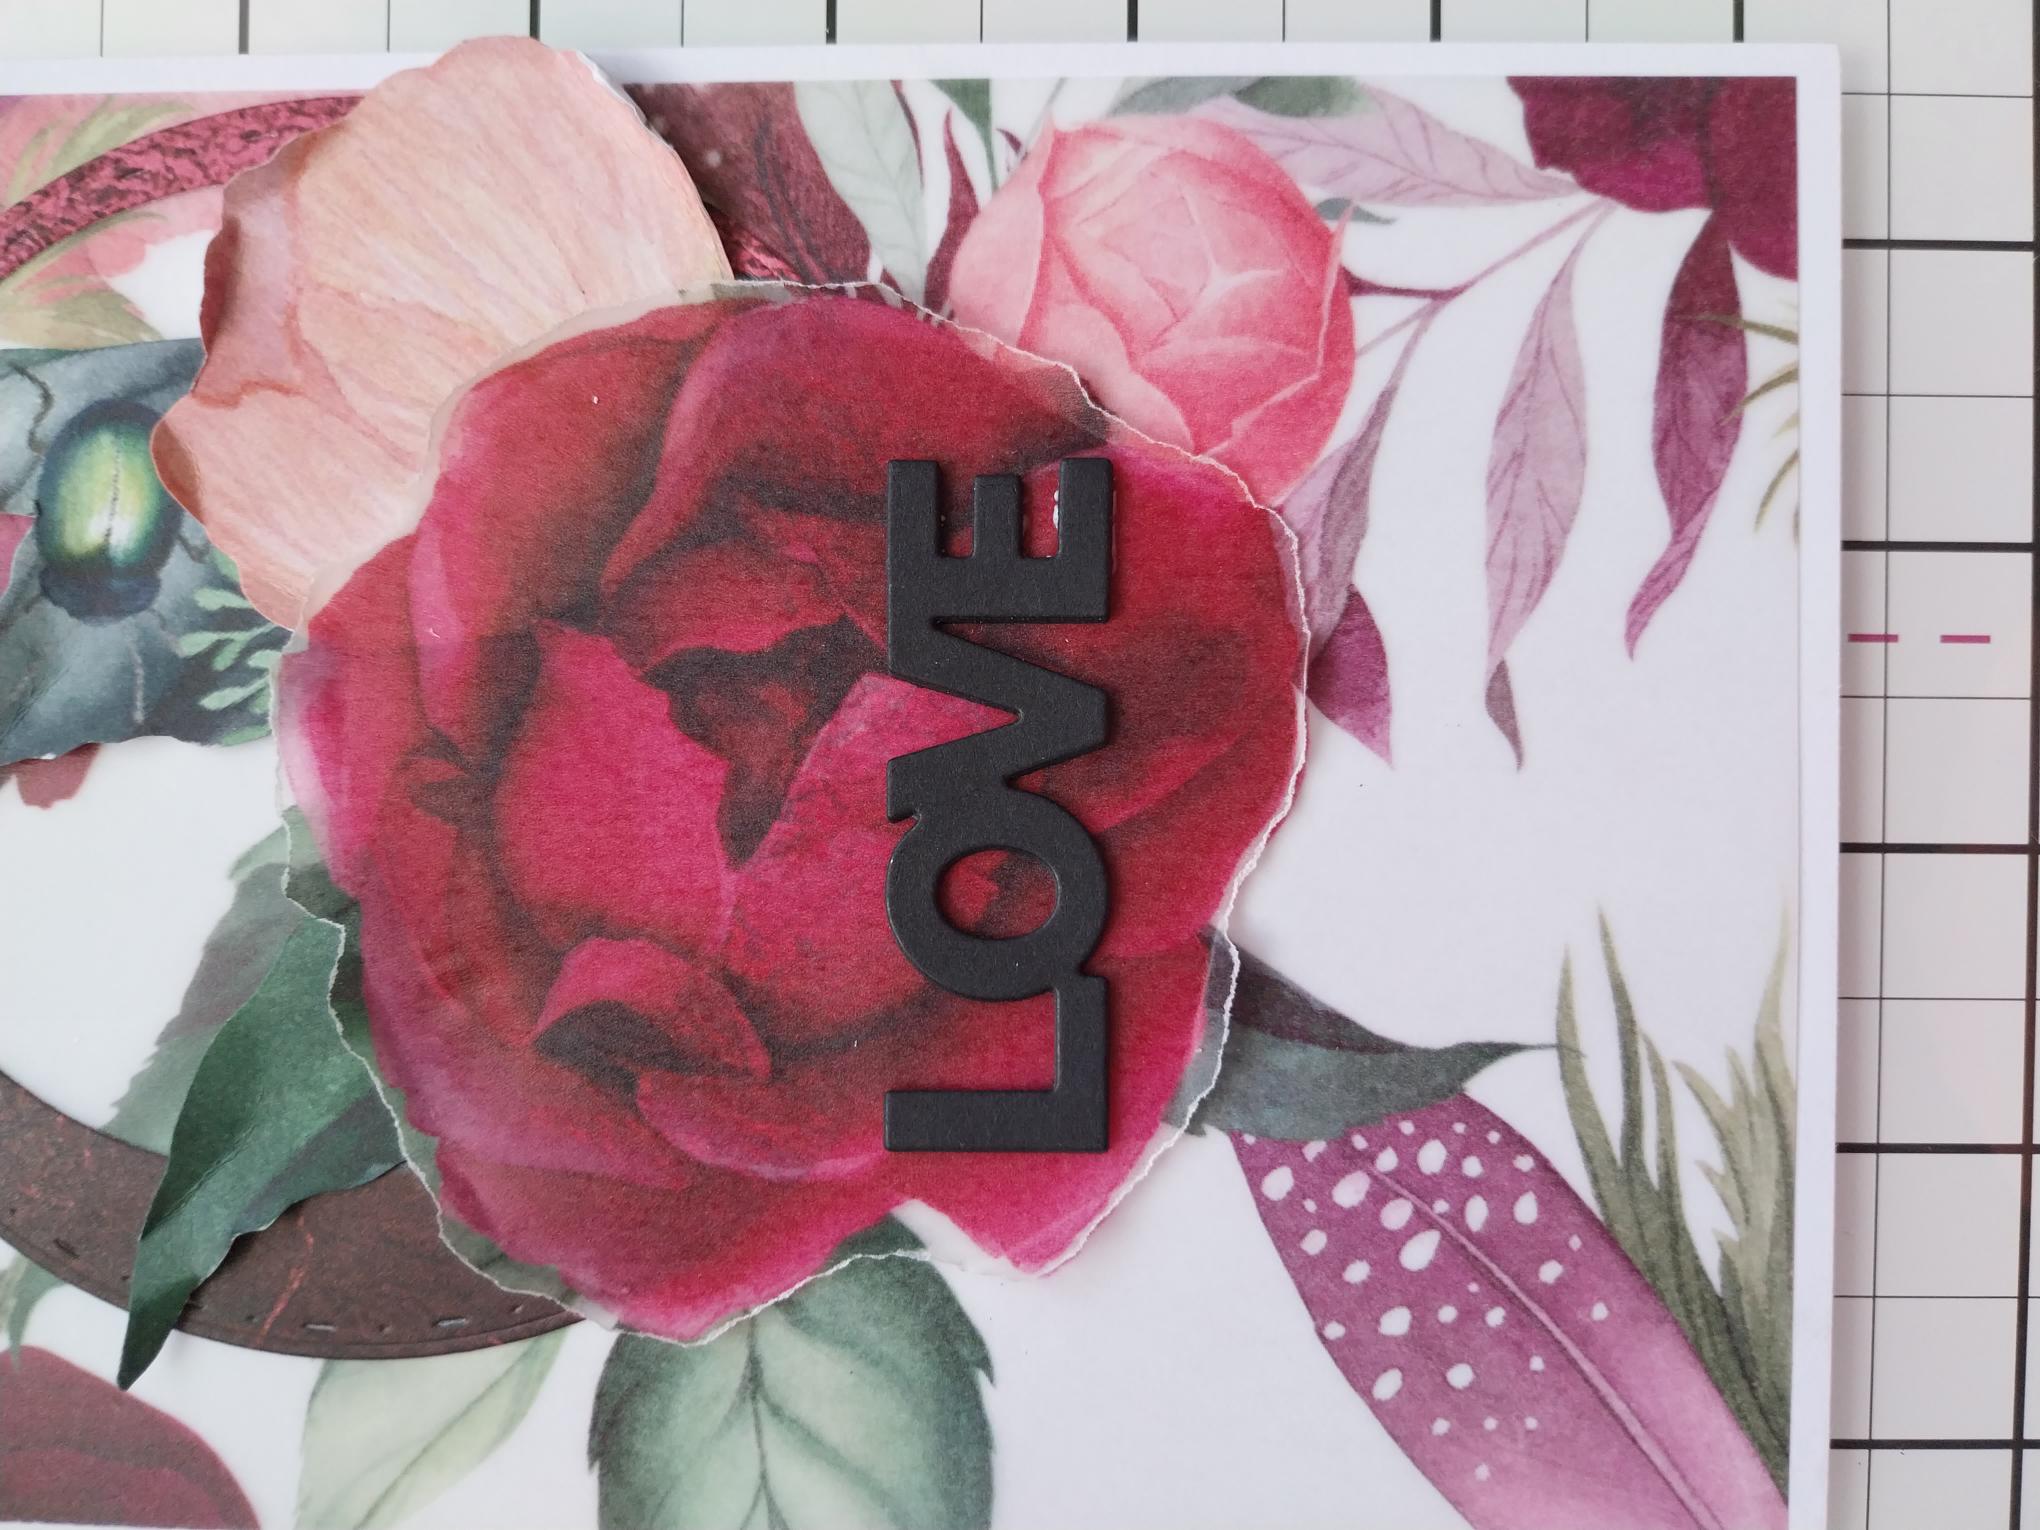
Mould the largest floral element with your fingers, before adhering at the base of the frame. You can use foam pads if you wish, to add more dimension to this project. |
|
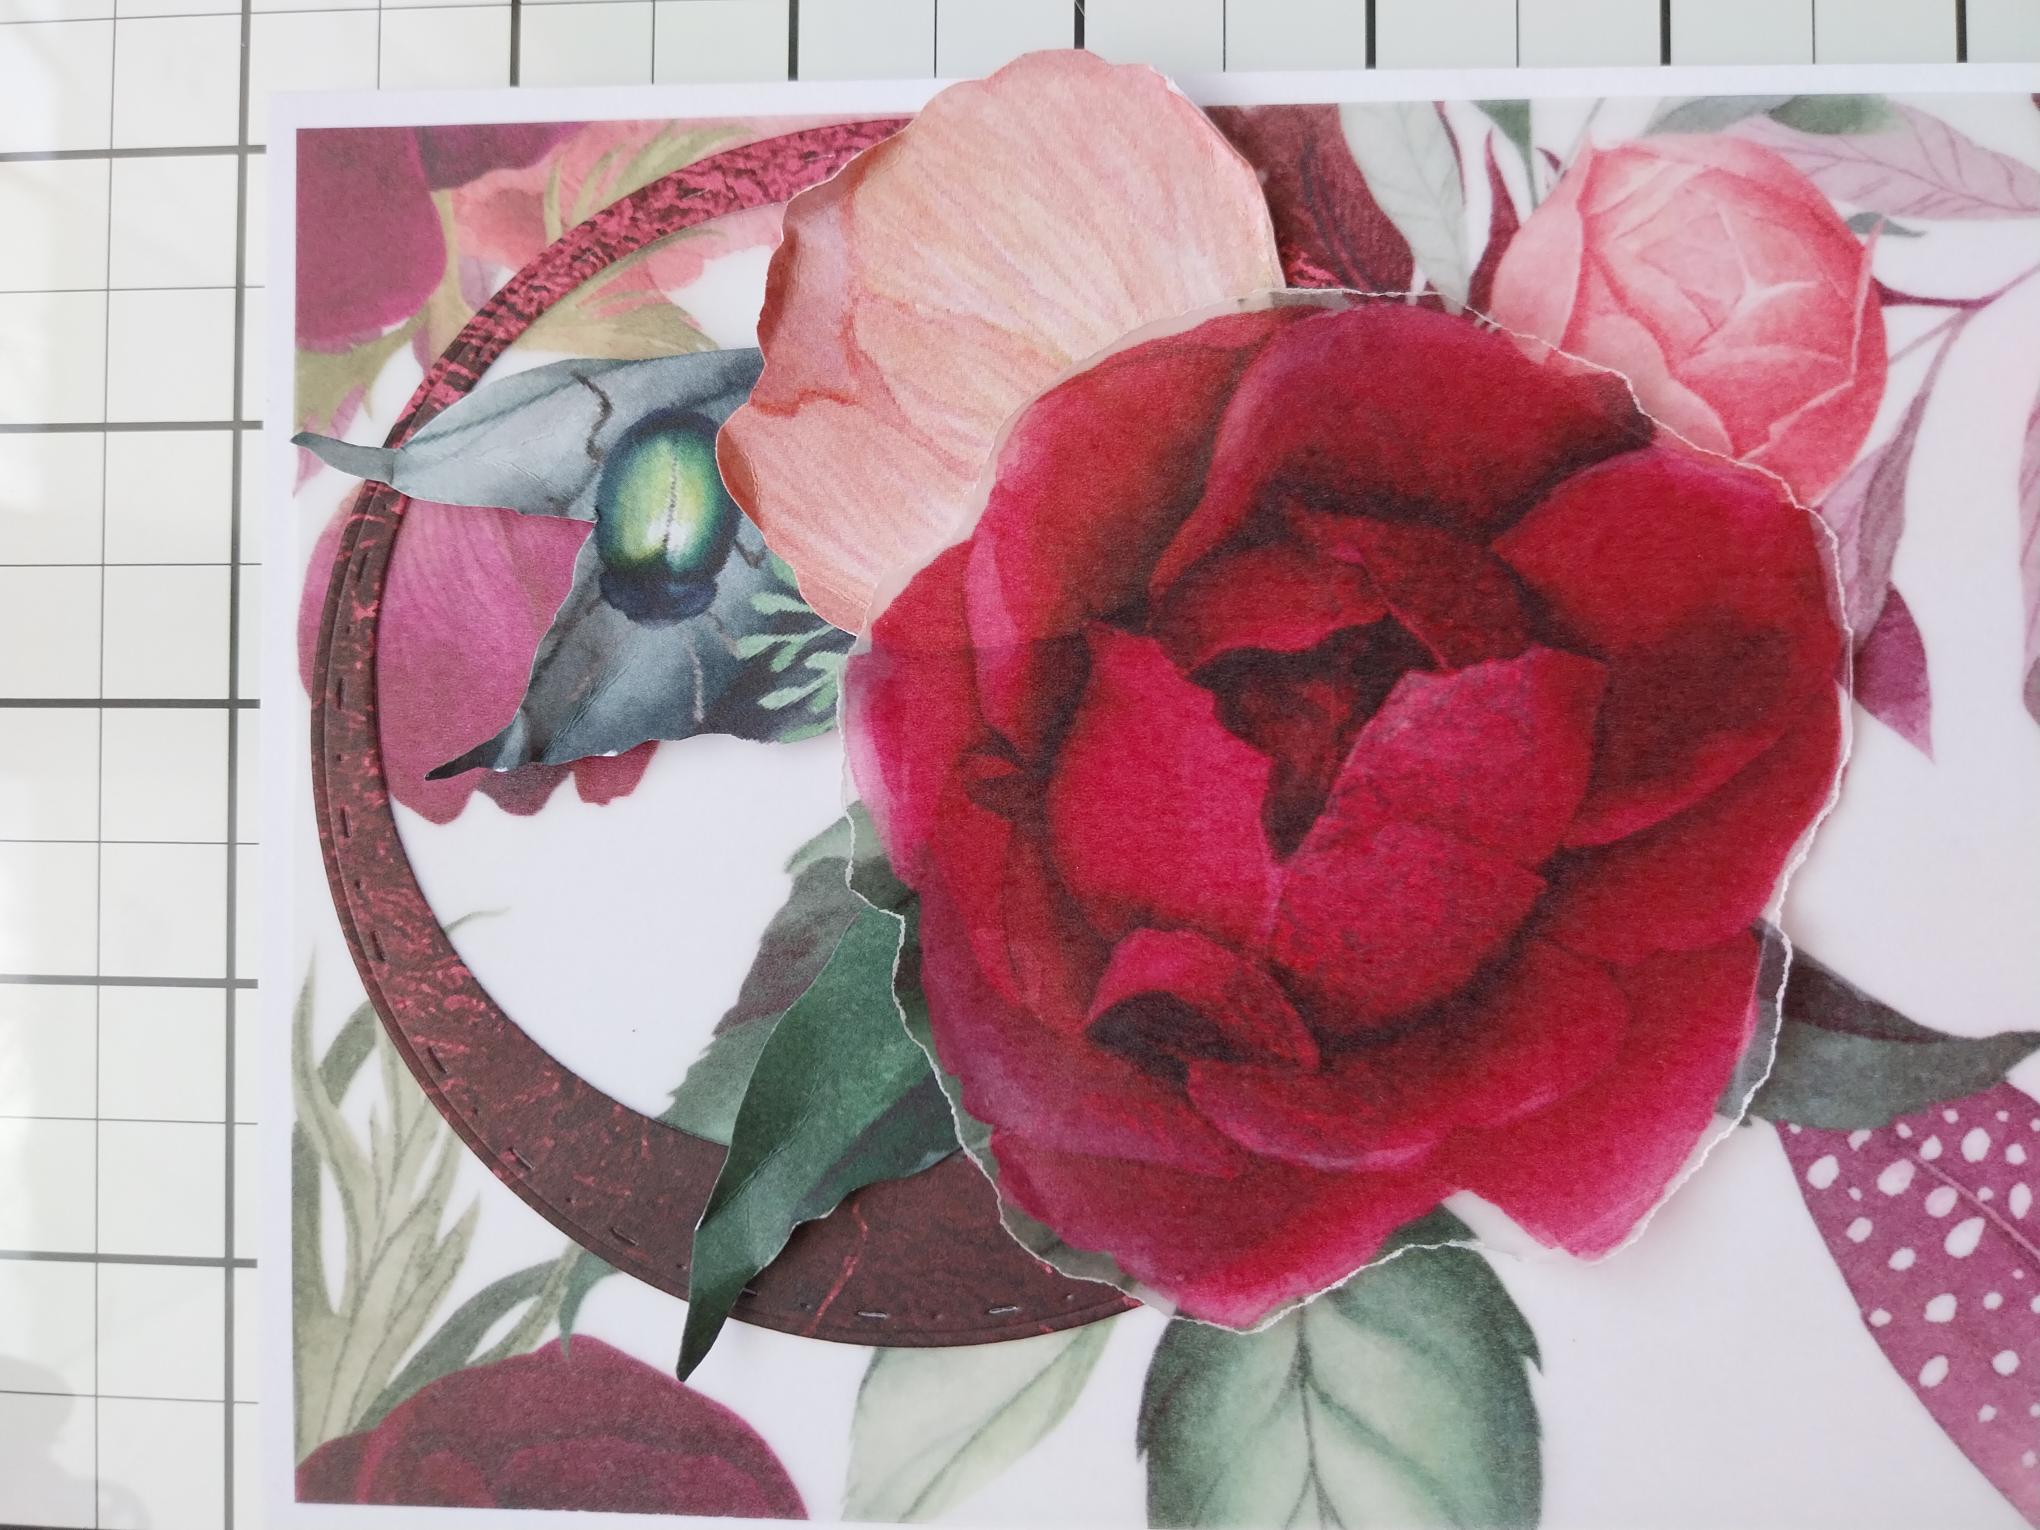
Mould the remaining floral and foliage elements with your fingers, before adhering them around the focal flower. |
|
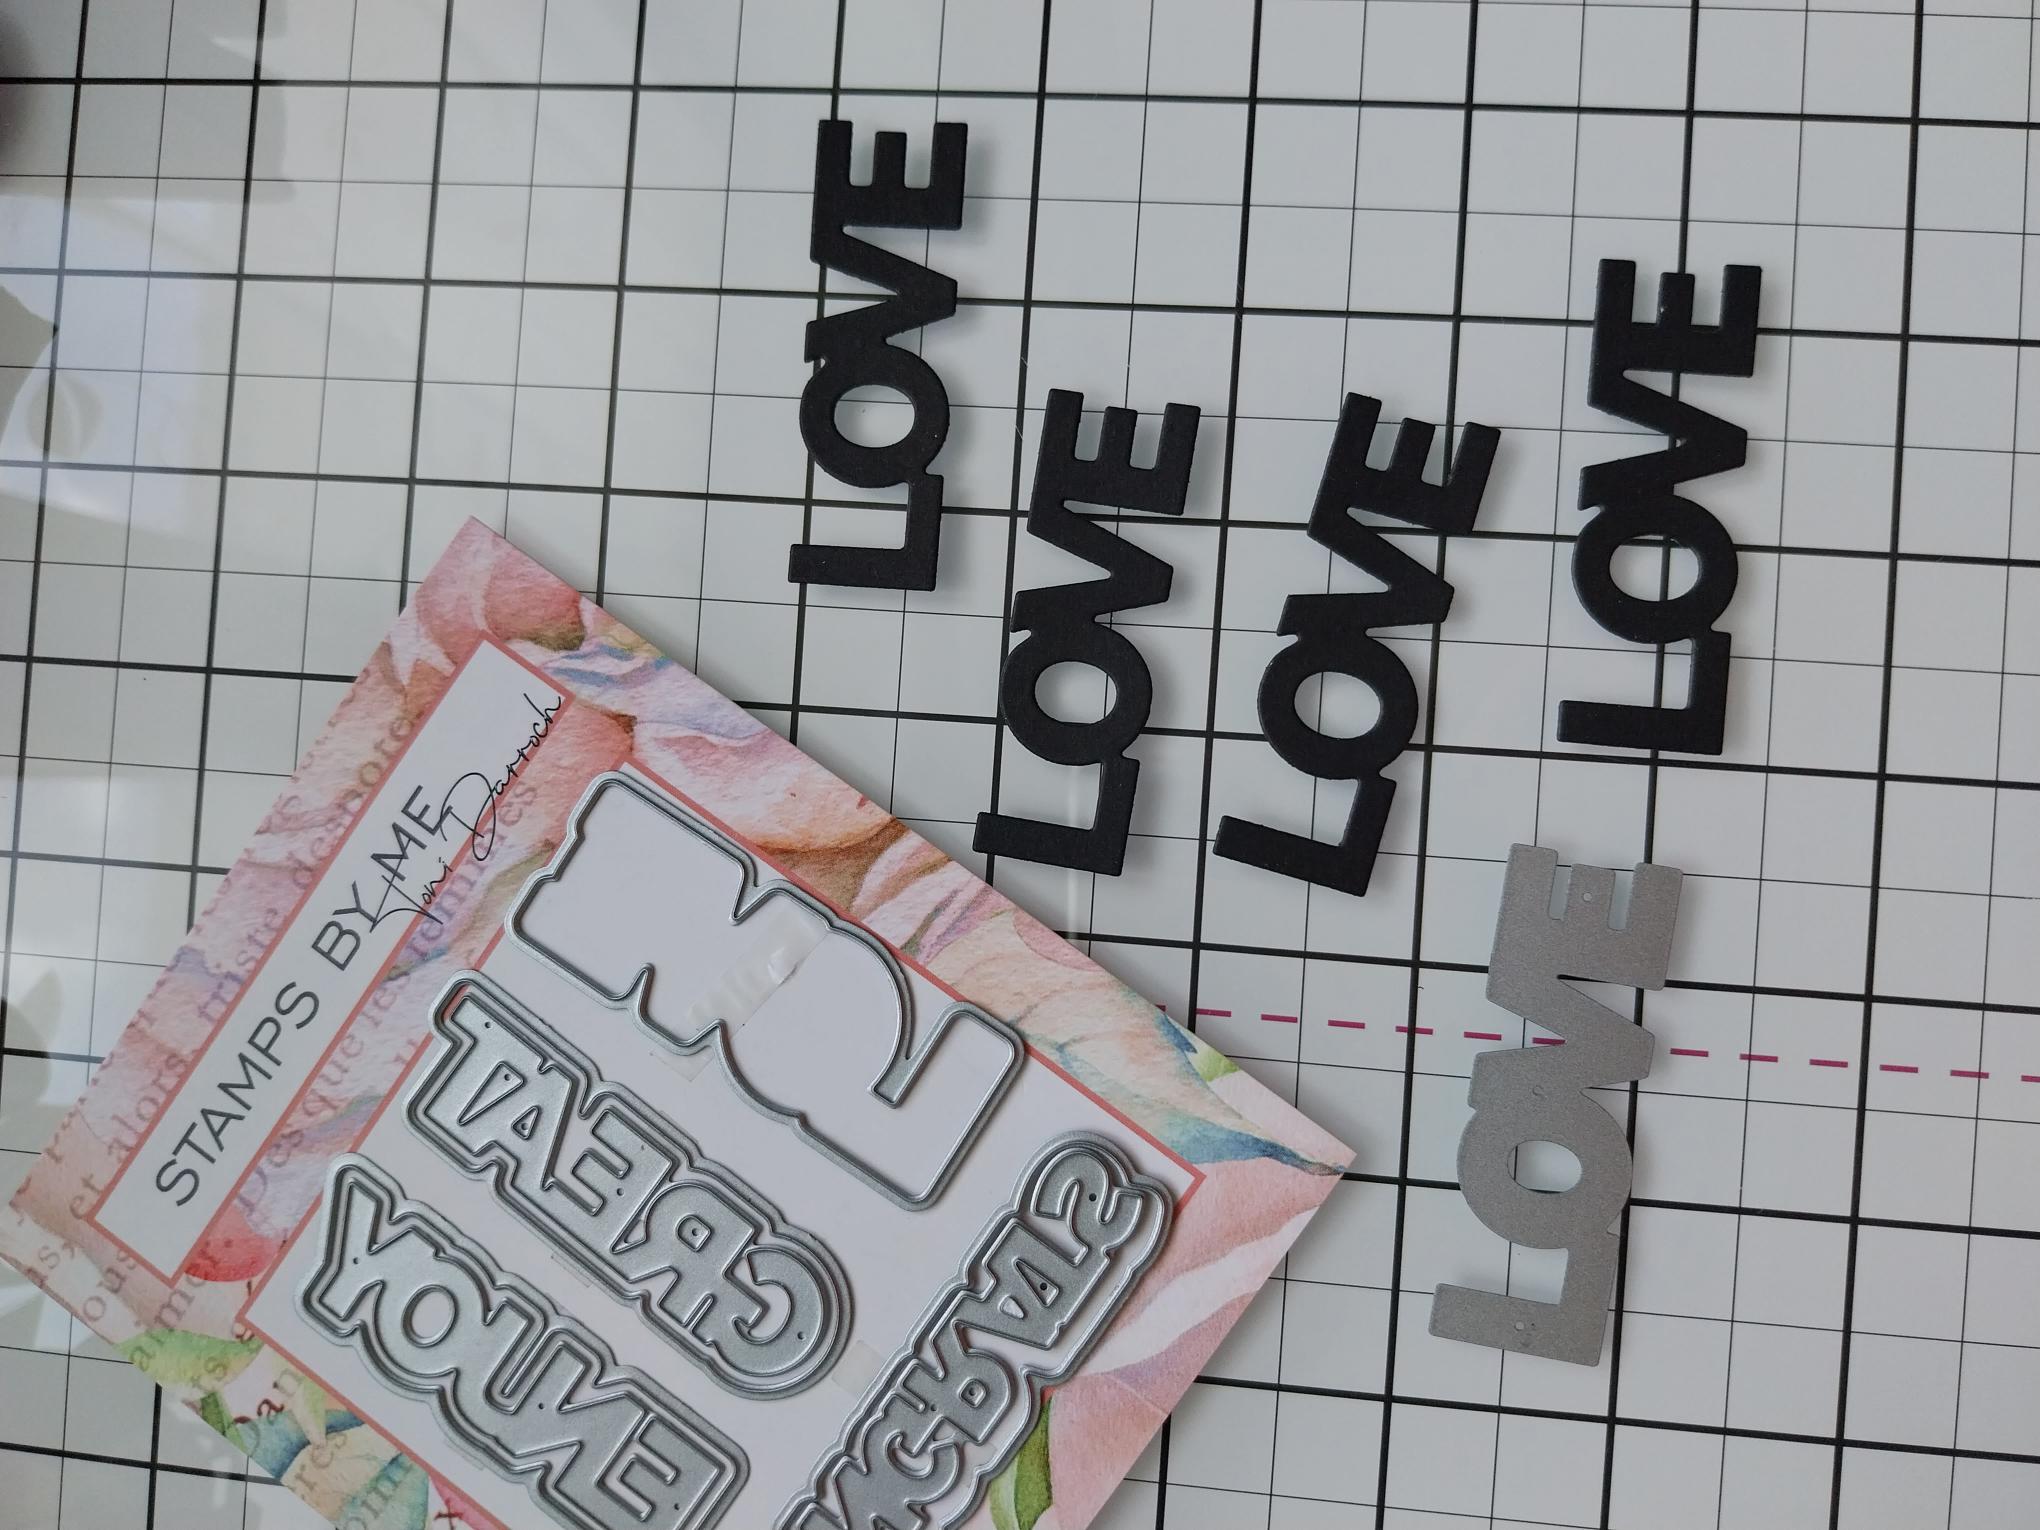
Die cut FOUR words, from black card, using the LOVE die from the Stamps By Me Box Magazine, Edition 1. |
|
Glue the 4 die cut sentiments on top of each other, to create a more substantial 3D word element. Adhere this across the bottom of your flower. |
|
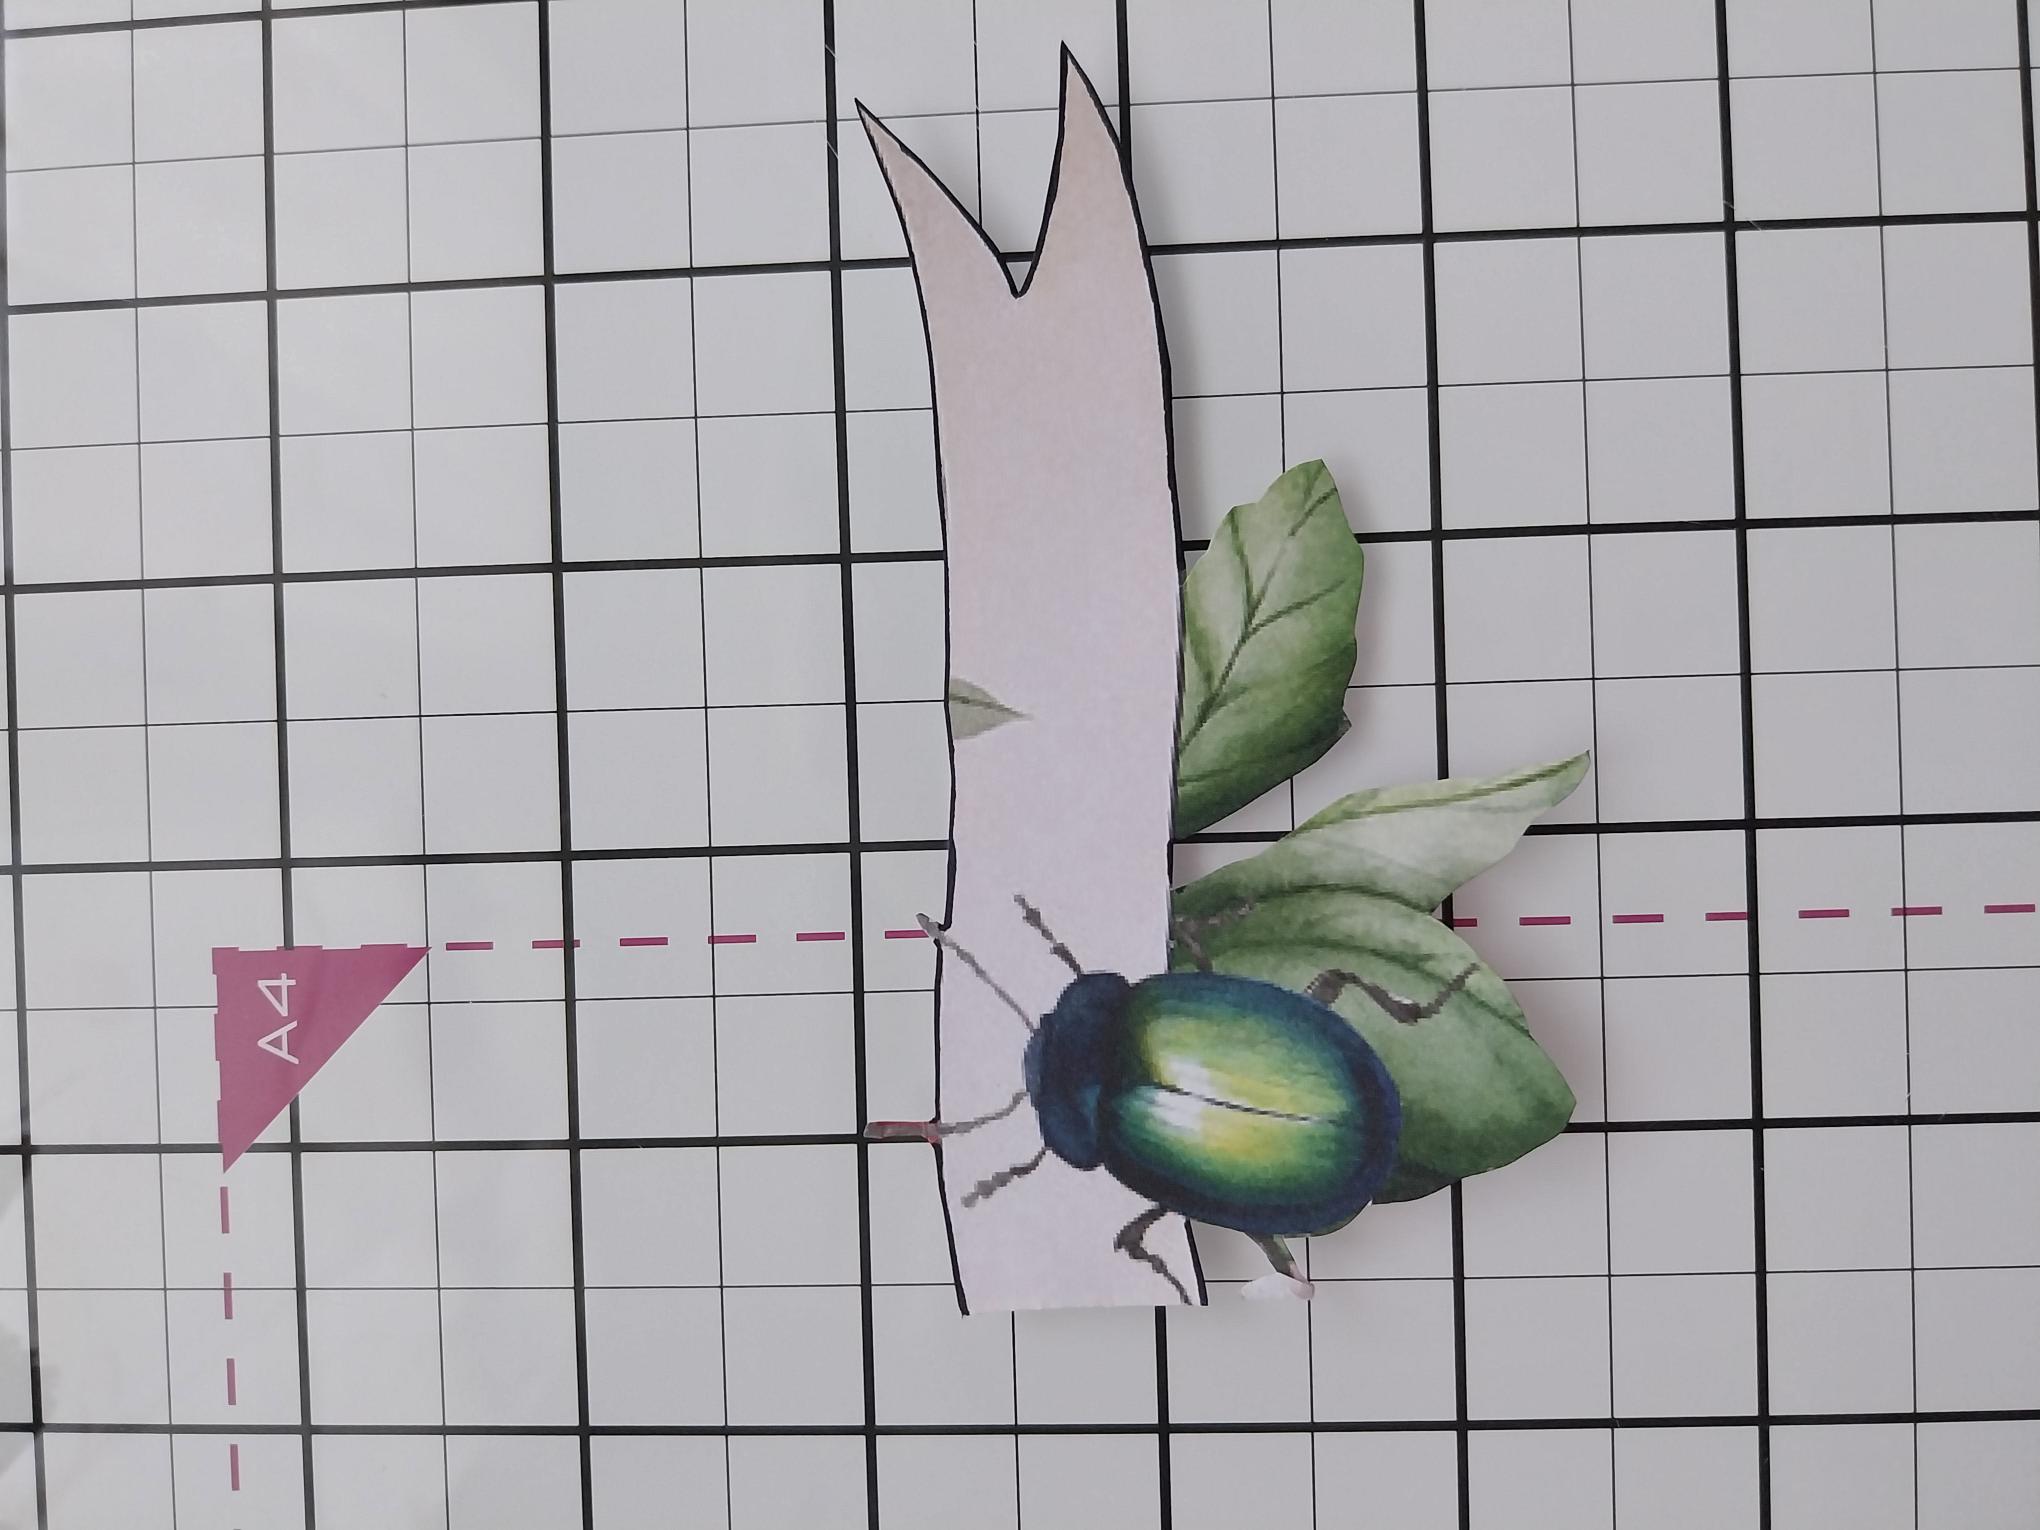
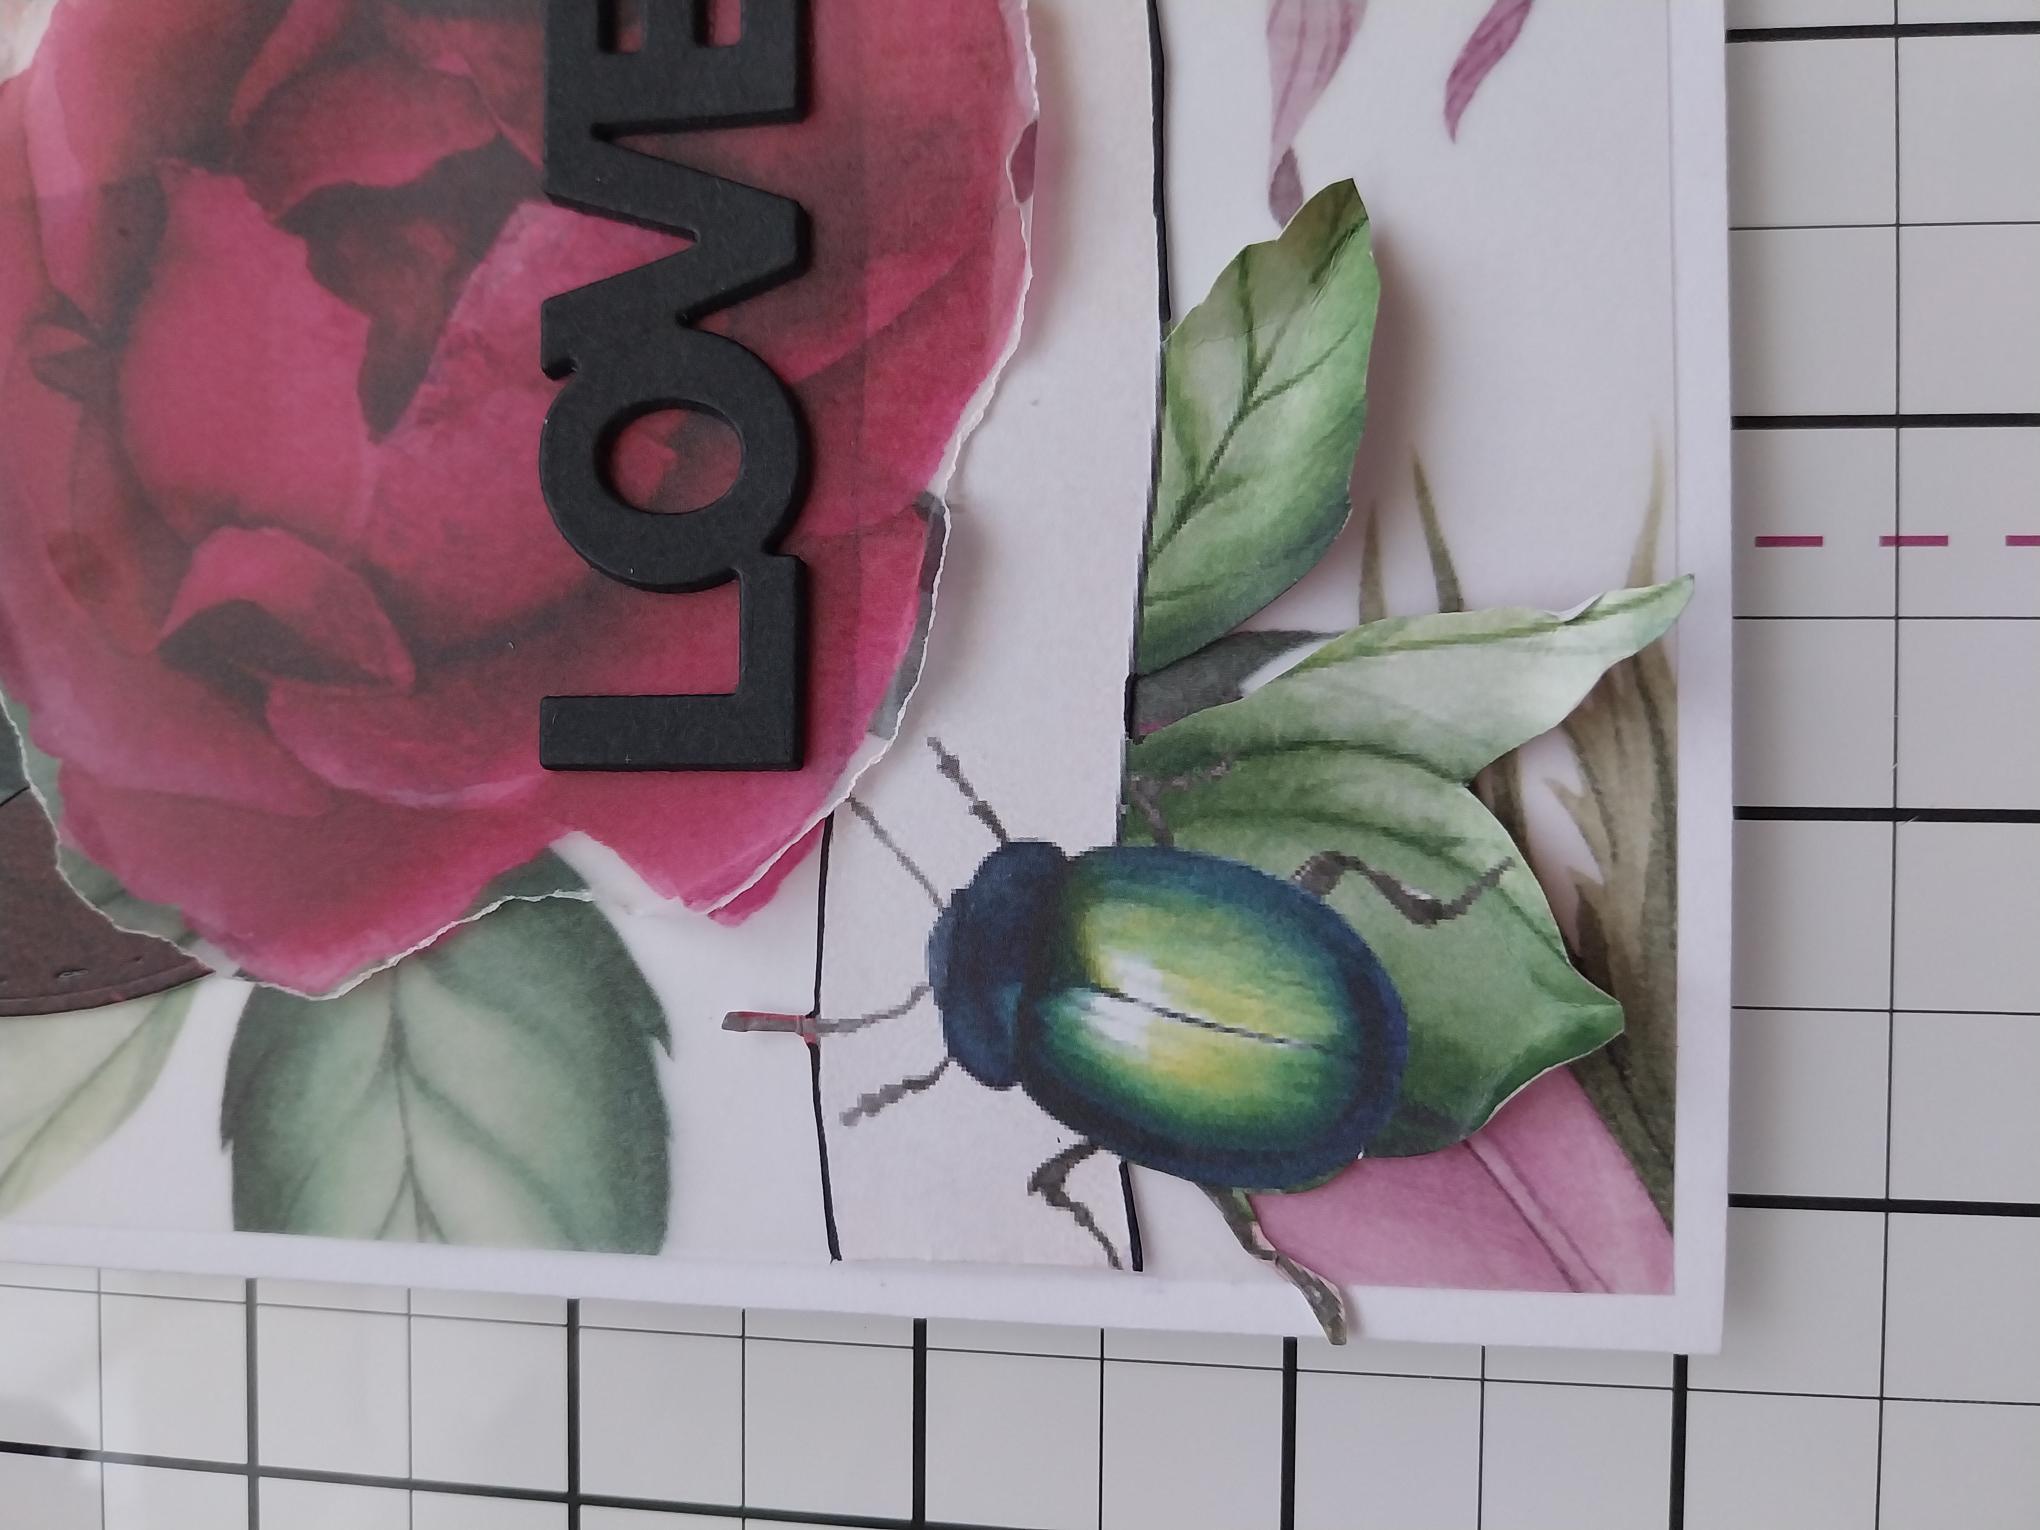
Fussy cut this beetle and banner from one of the 12 x 12" papers. |
|
Adhere across the bottom of your card, ensuring it's tucked just underneath the bottom edge of the flower, as seen here. |