Give your friends $10 off their first order!
Refer a FRIEND


WHAT YOU WILL NEED:
Kraft card blank 7 x 5"
Black card
White card
High Definition 3D Timber Embossing Folder
A Winter Story Vellum Pack
A Winter Story 6 x 6" Embellishment Pack
Deboss Circle Nesting Die Collection
Distress Ink/Oxide Ink Pad: Walnut Stain, Iced Spruce, Fossilized Amber
Water spray bottle
Stickles: Diamond
SBM Magnetic glass mat
Paper Trimmer
Perfect Together Glue
Foam pads
Double-sided adhesive tape/tape runner
Die Cutting machine
[click image to enlarge] 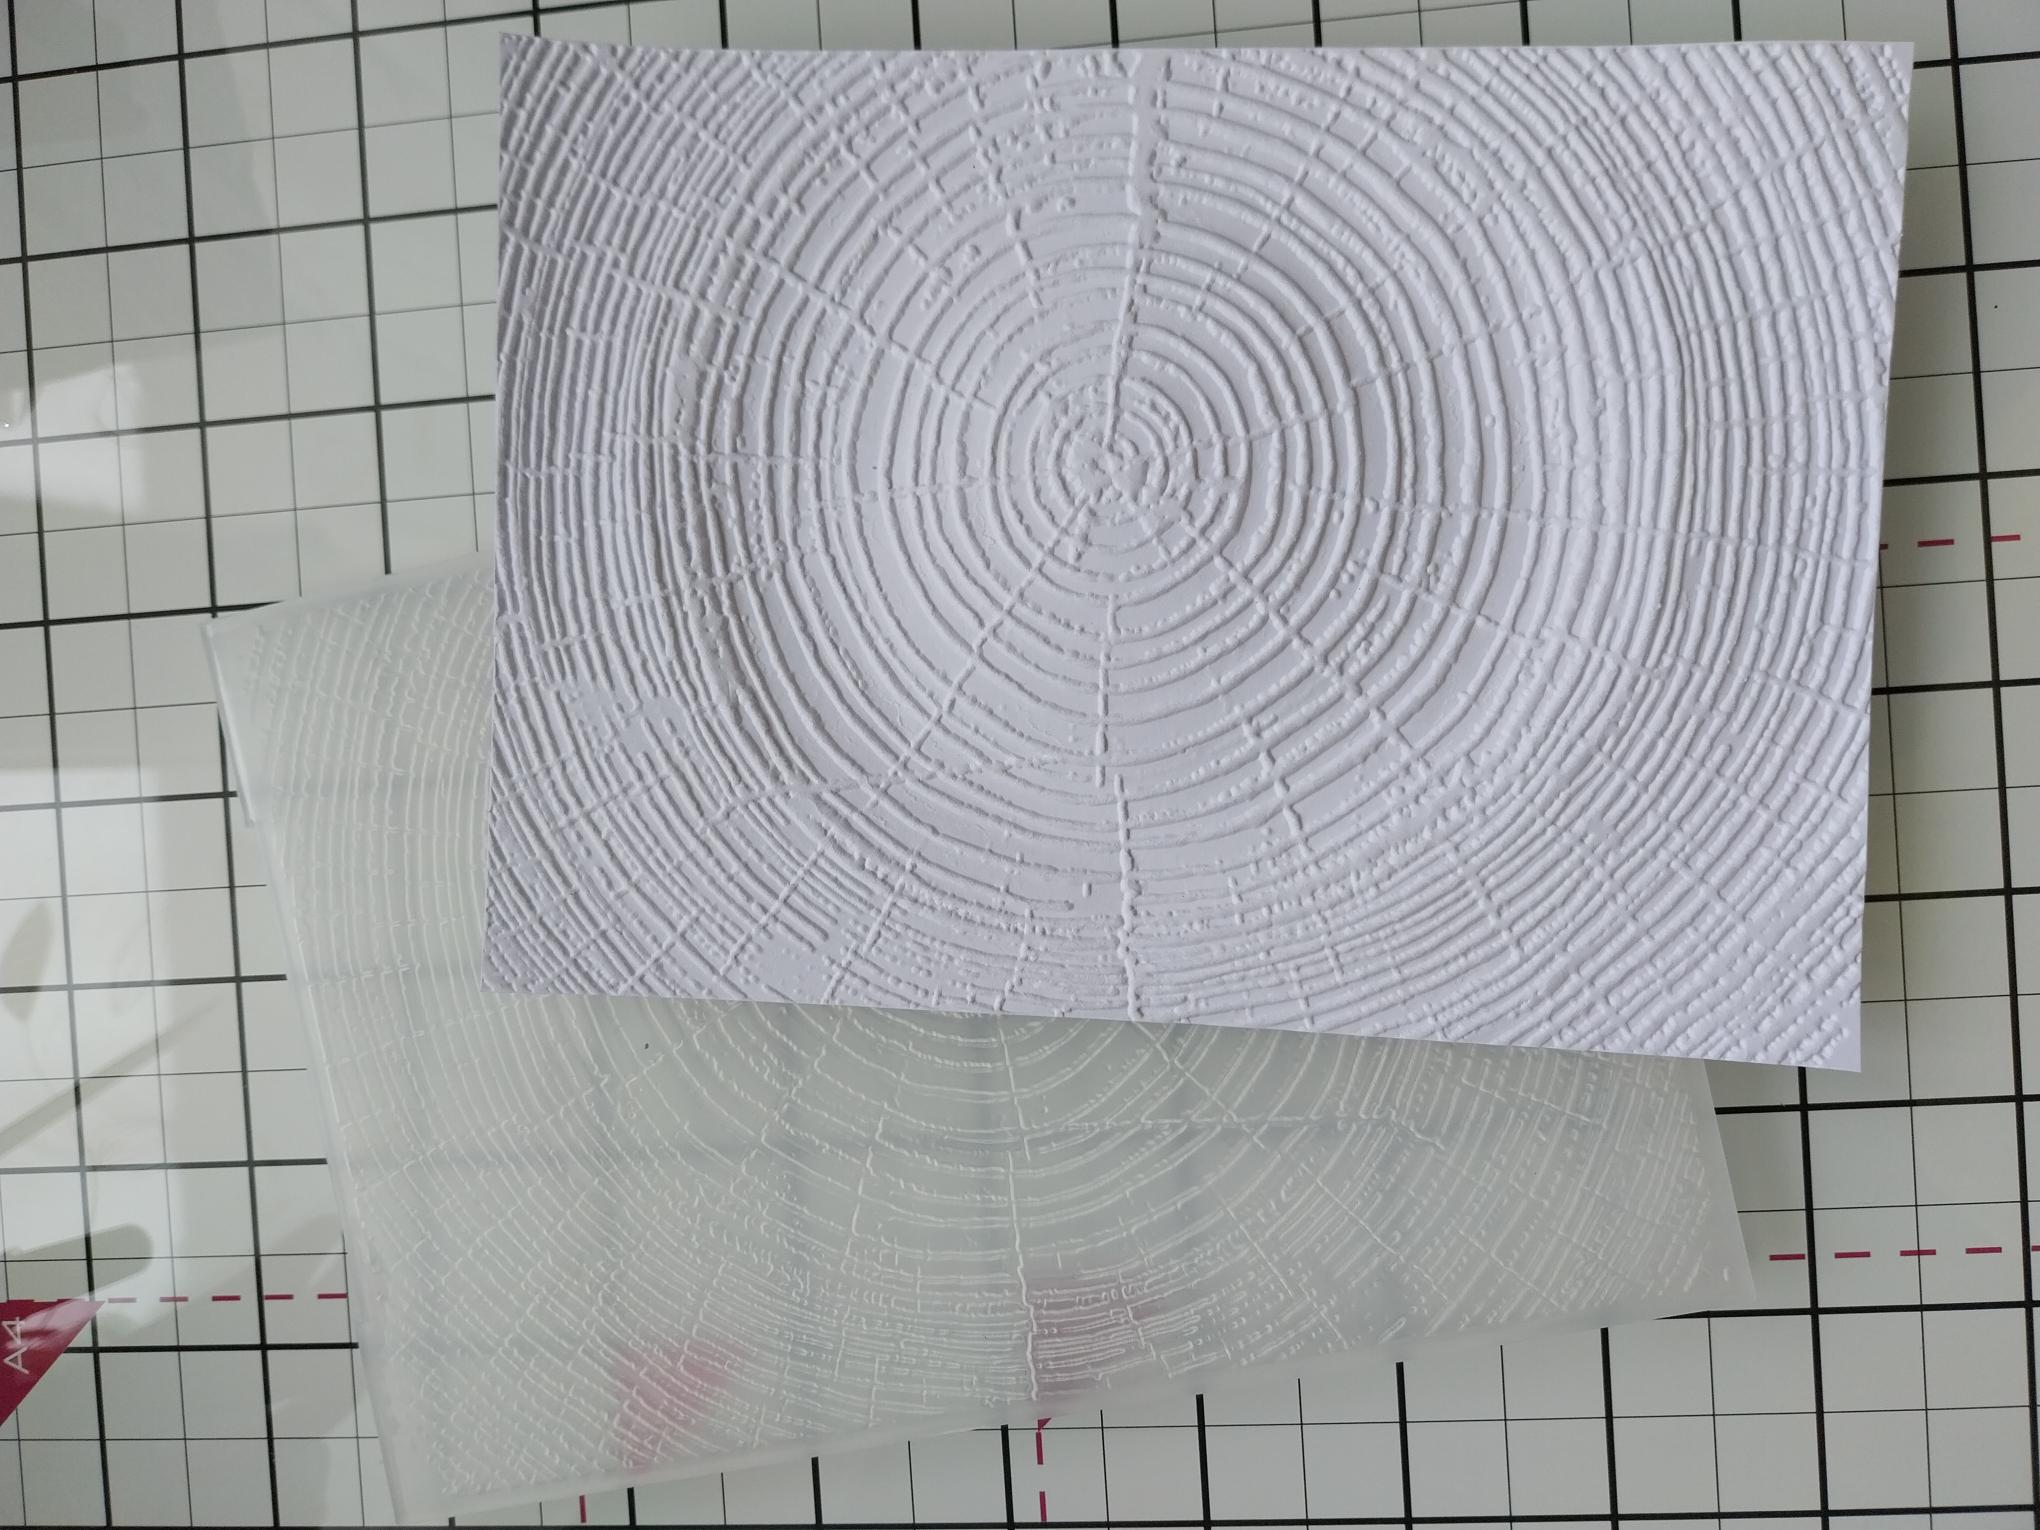
|
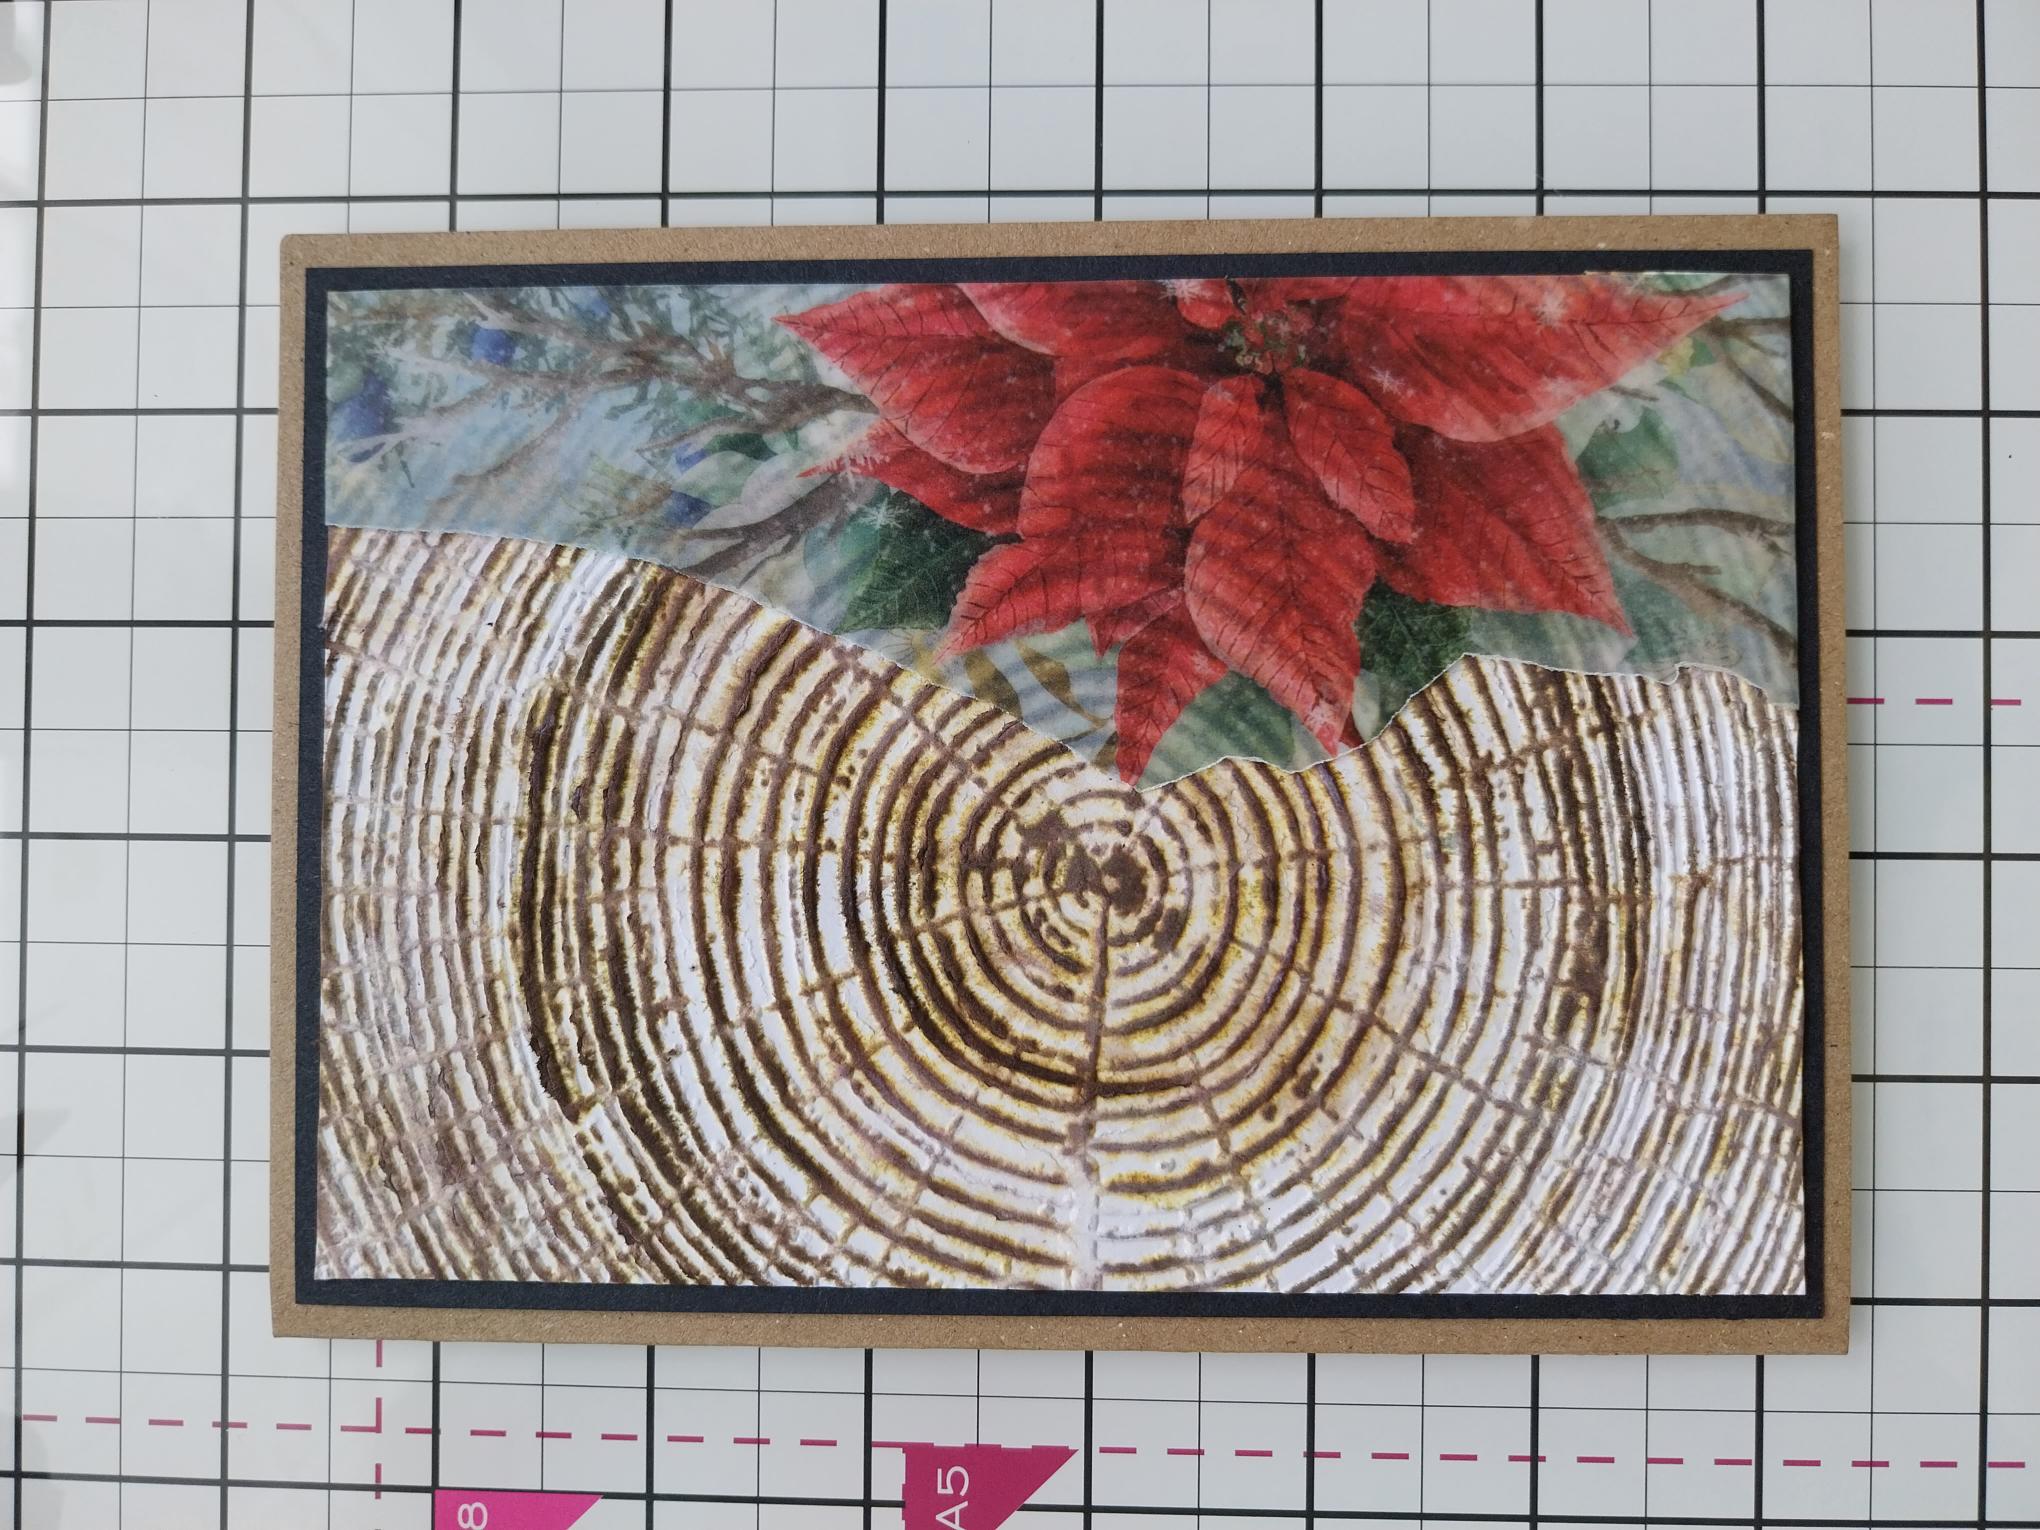
Trim a piece of white card to 6 1/2 x 4 1/2", place inside your HD3D Timber embossing folder and run it through your machine. Alternatively, you can use any embossing folder in your crafty stash. NB: You can use smaller card blanks and for our USA crafters, you can adapt your project using your Winter Story HSN Collection, to fit the sizes you are working with. |
|
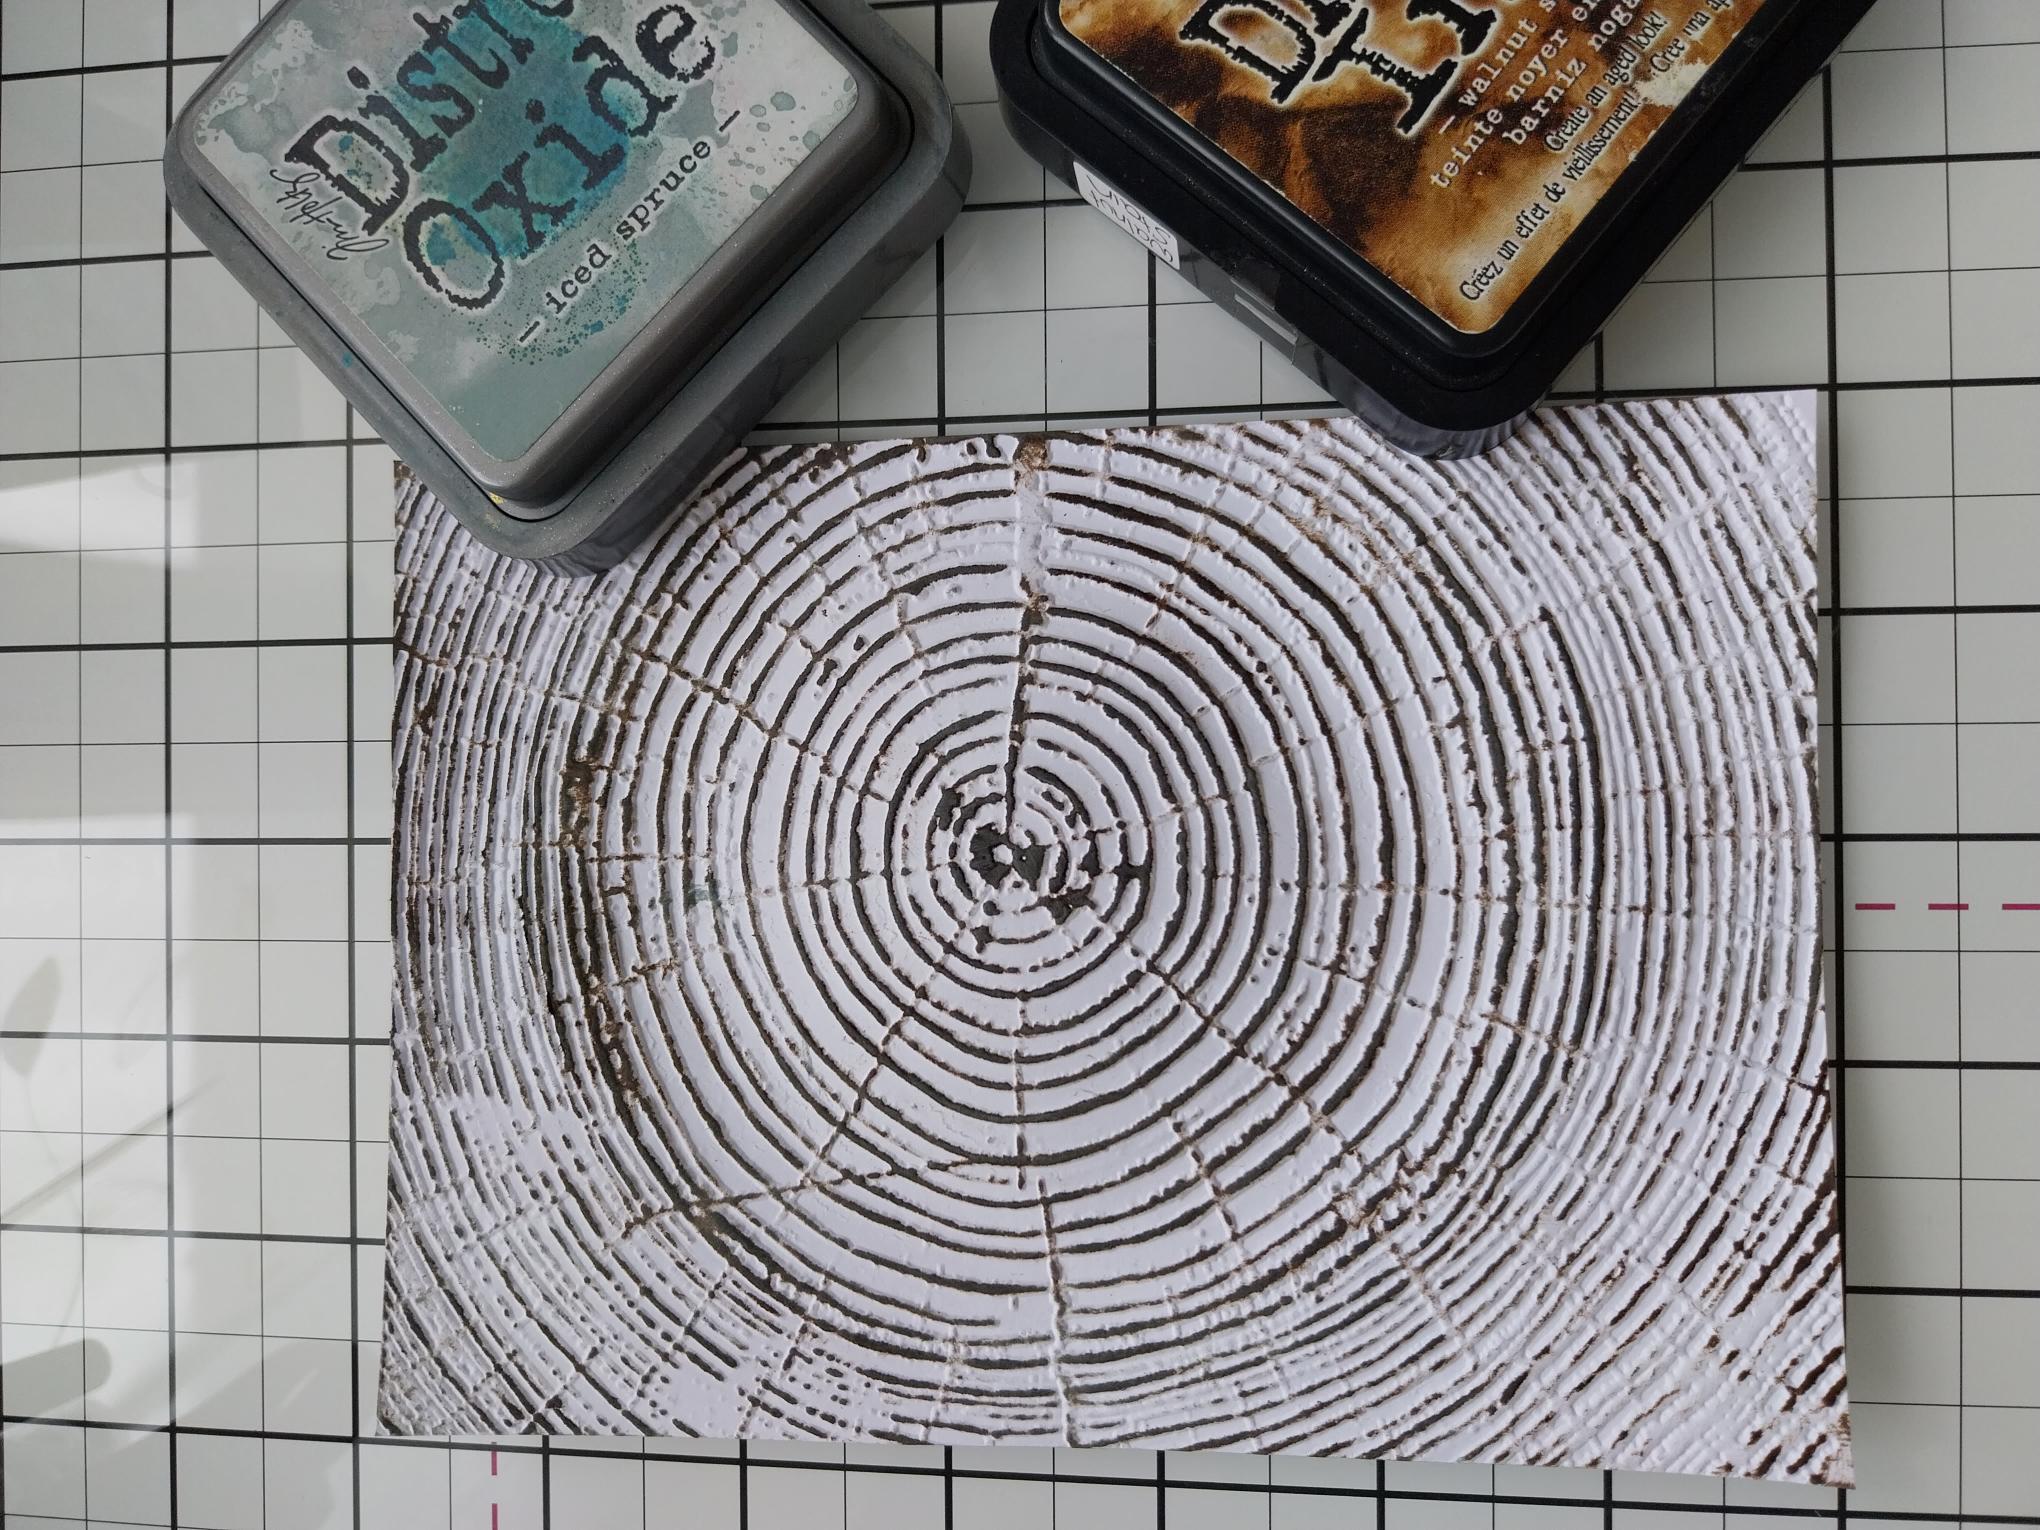
Having decided whether to use the embossed or debossed side, randomly swipe the Walnut Stain and Iced Spruce ink pads, over your embossed tree circles. |
|
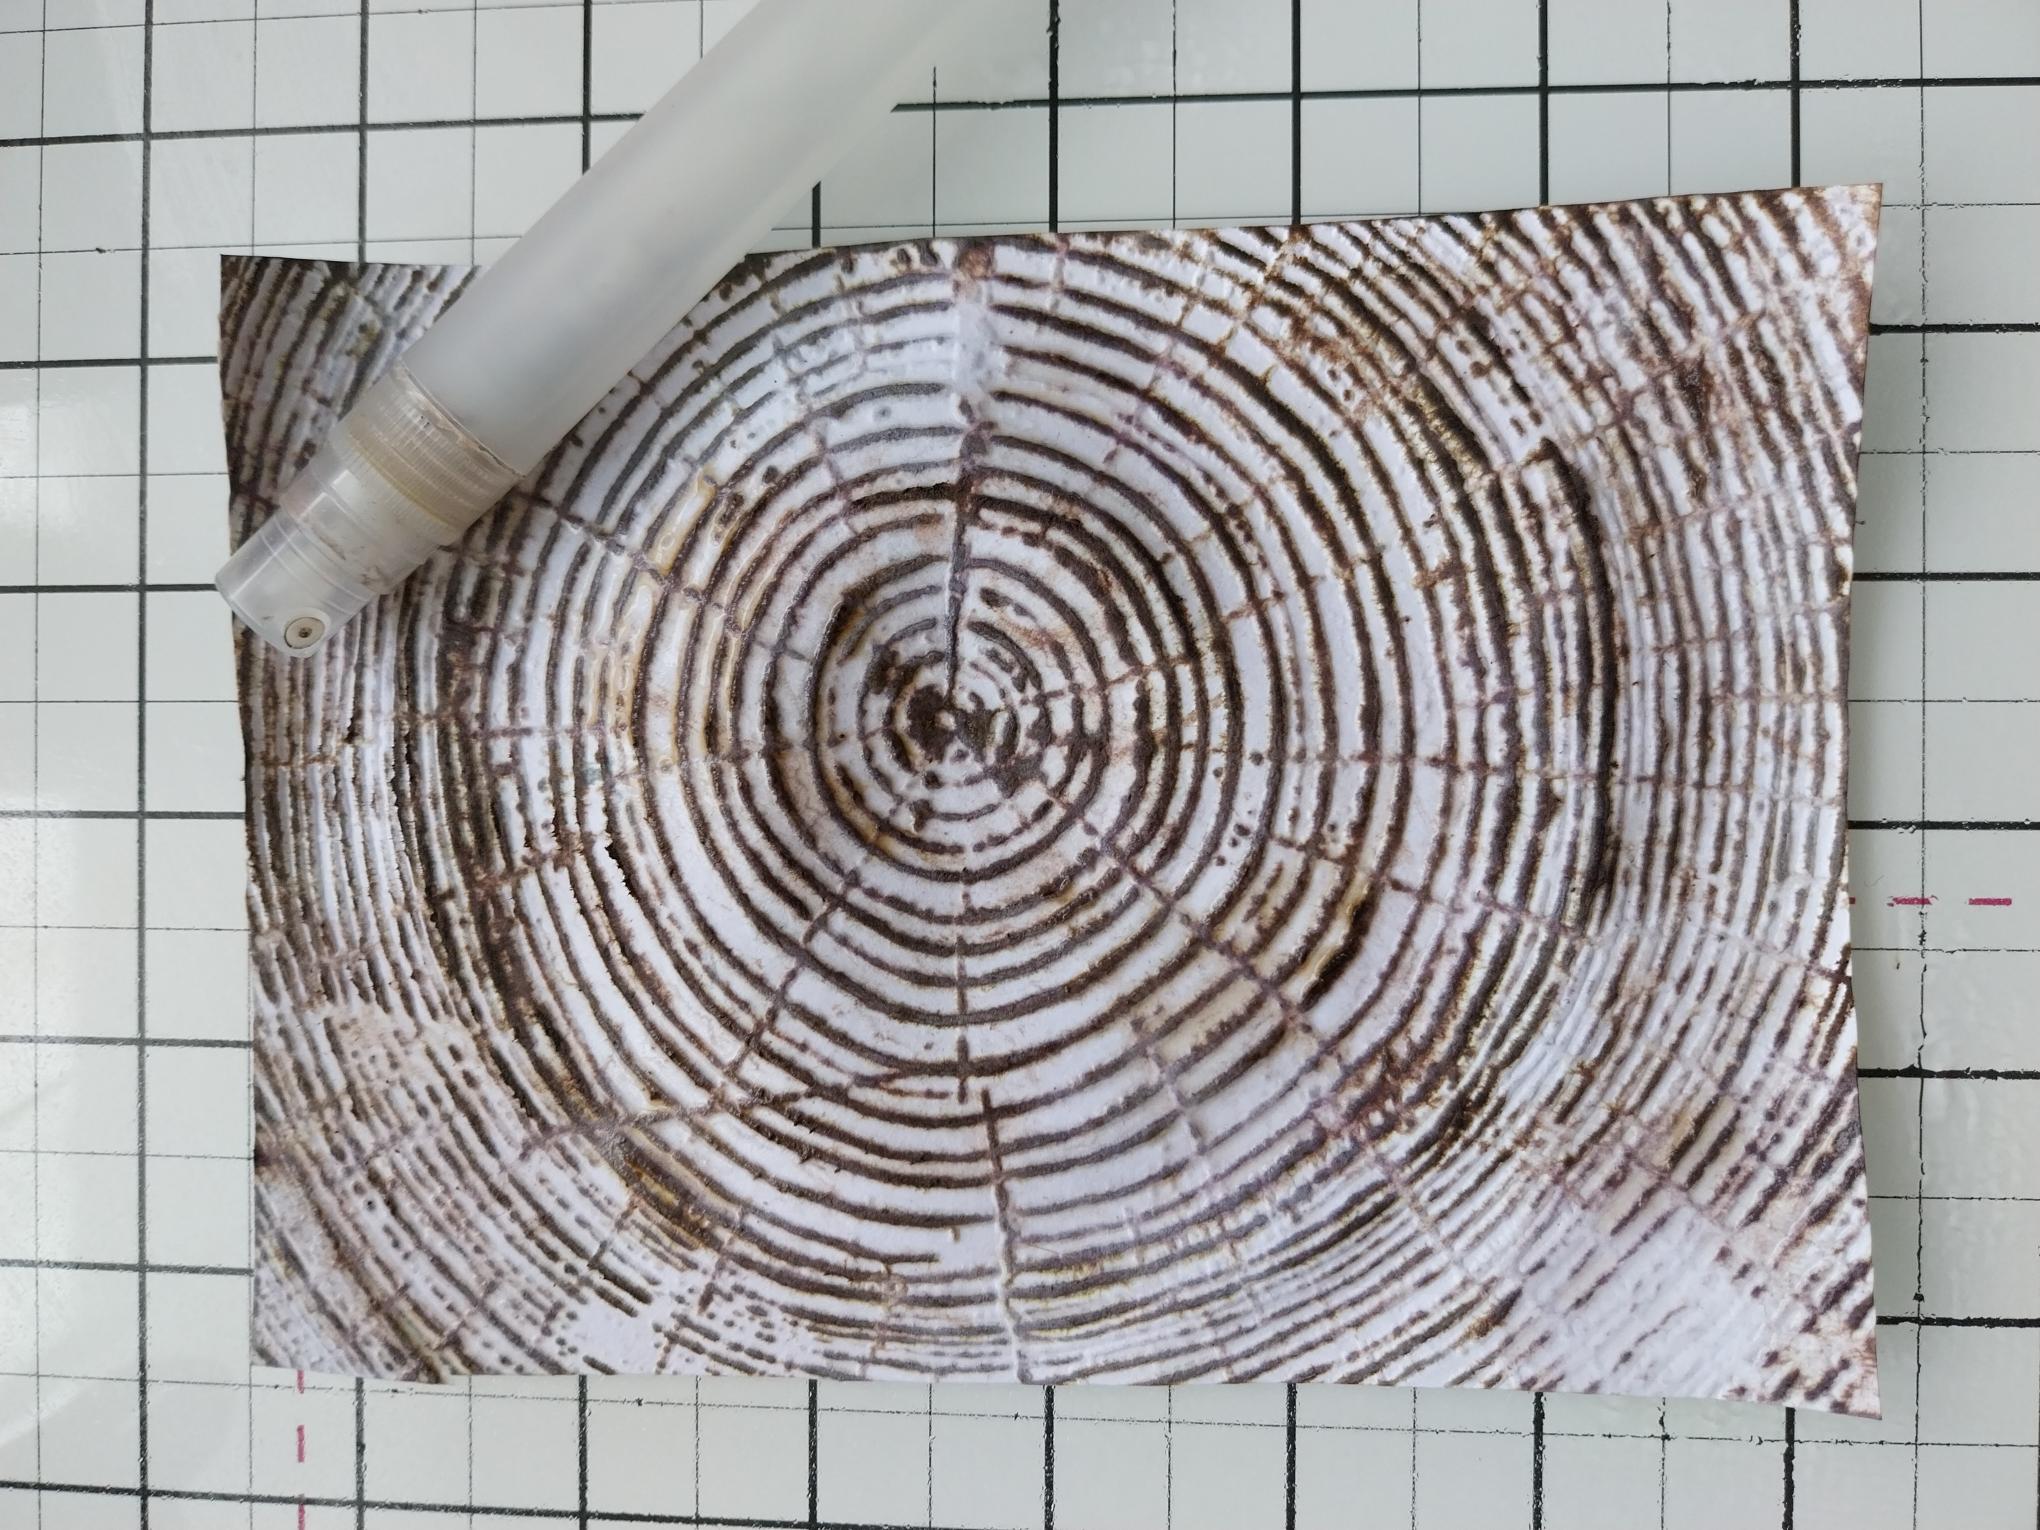
Splatter or spray water on to your background, wait a few seconds then mop up the excess water/ink with a paper towel. |
|
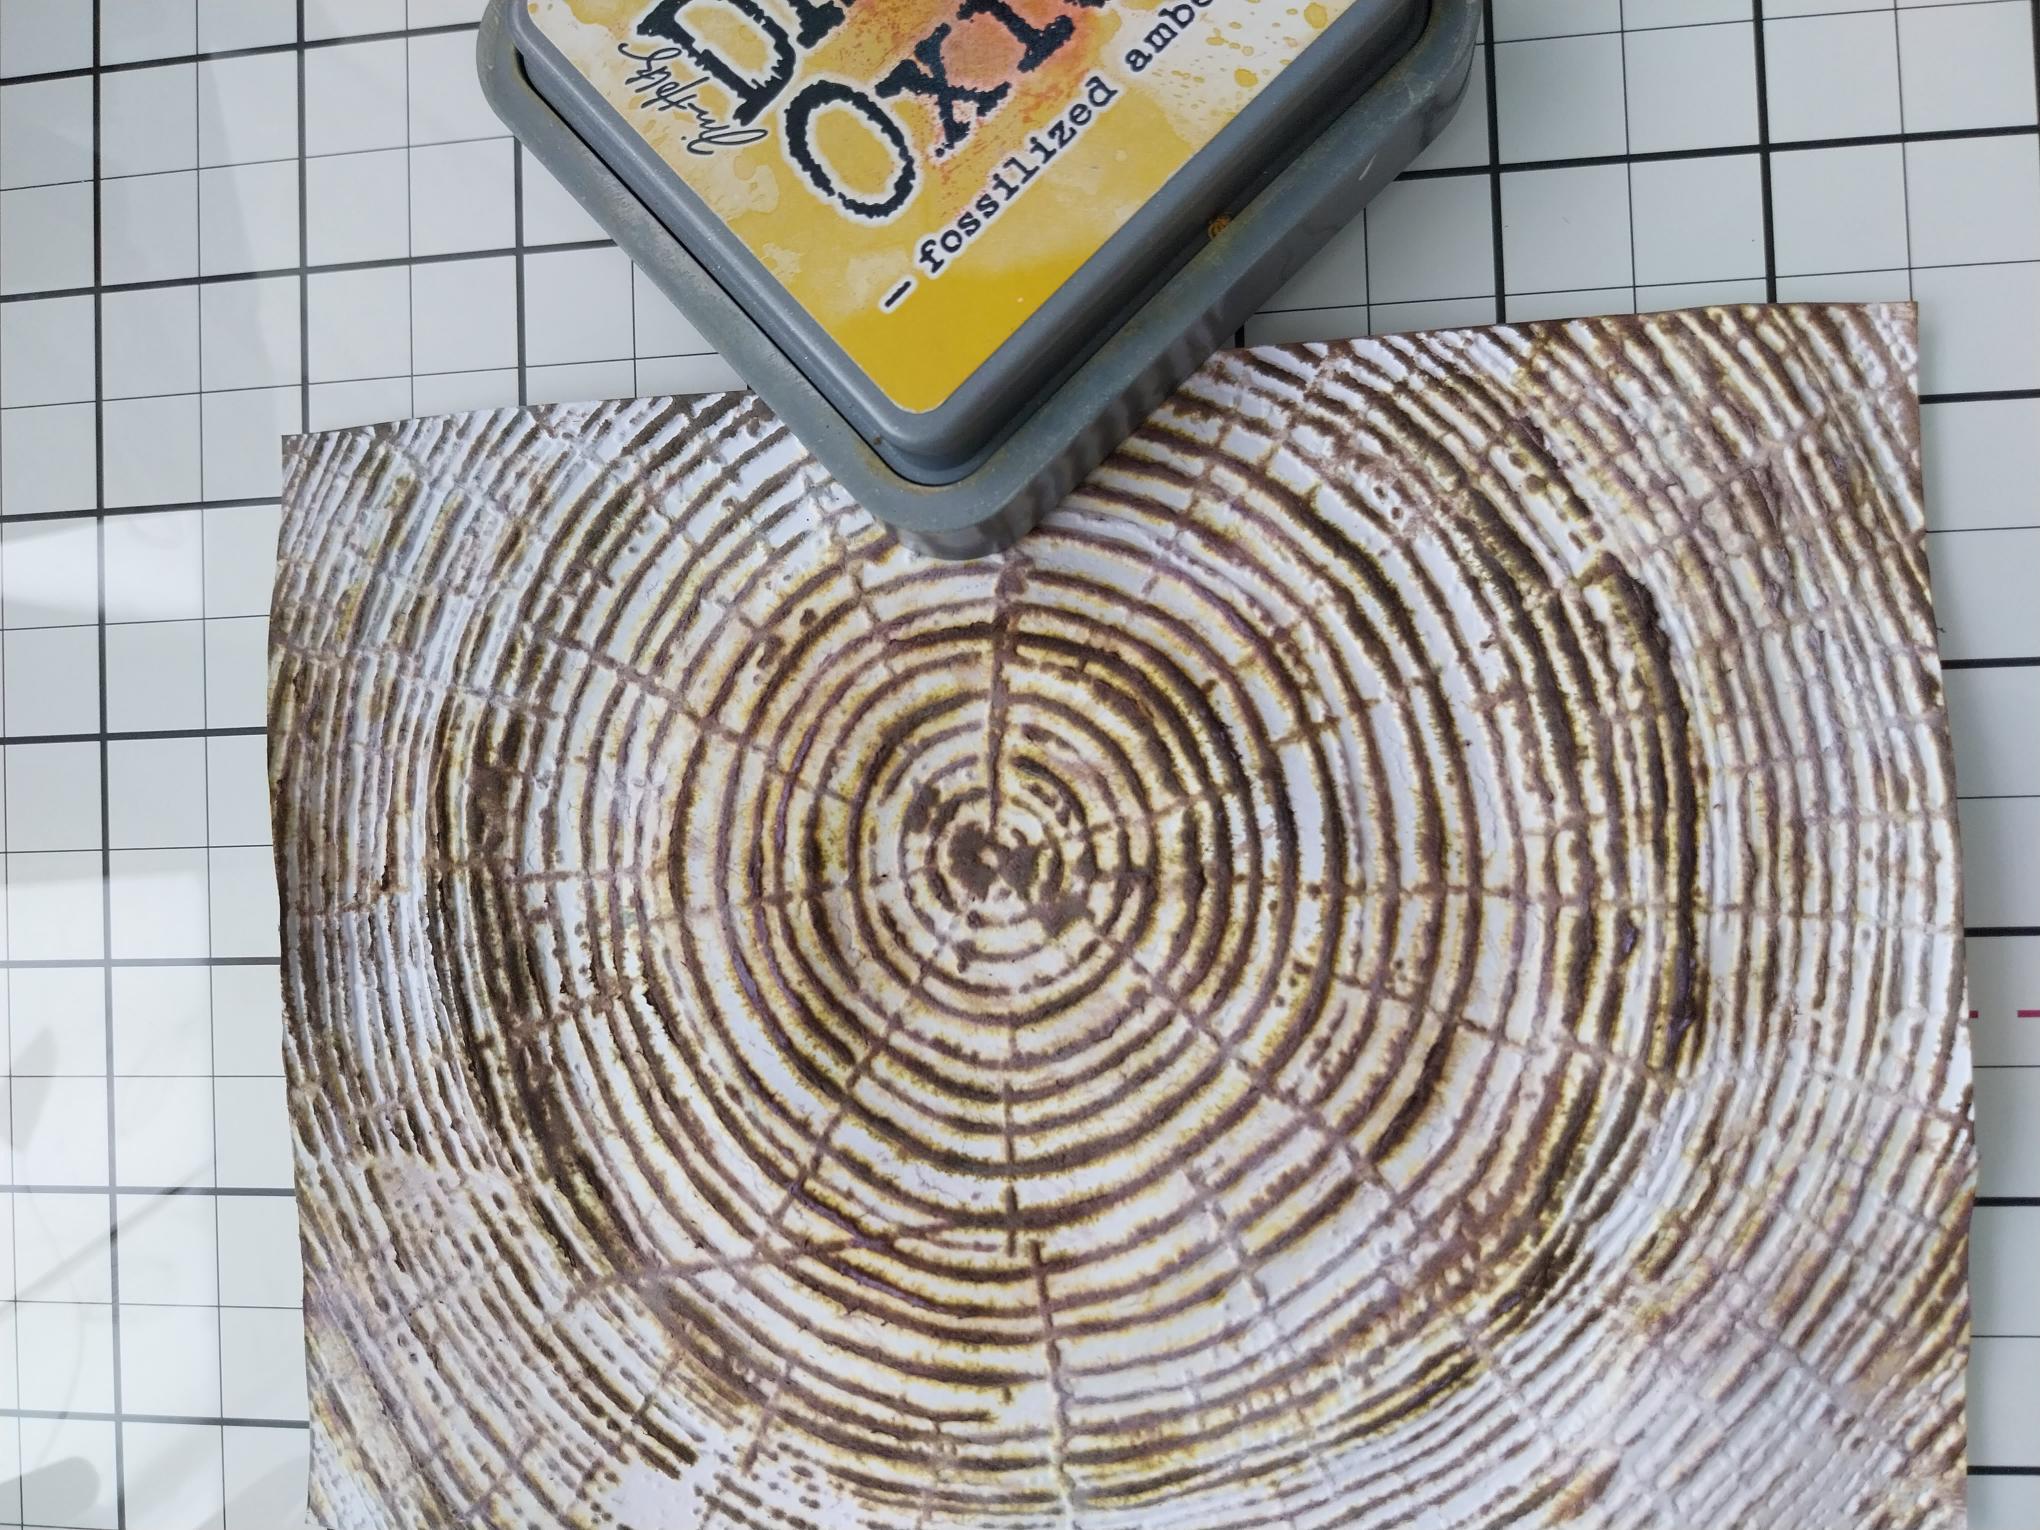
Randomly swipe the Fossilized Amber ink pad over your background. You can go back in and add more of the inks, splatter water etc, until you are happy with the effect achieved. |
|
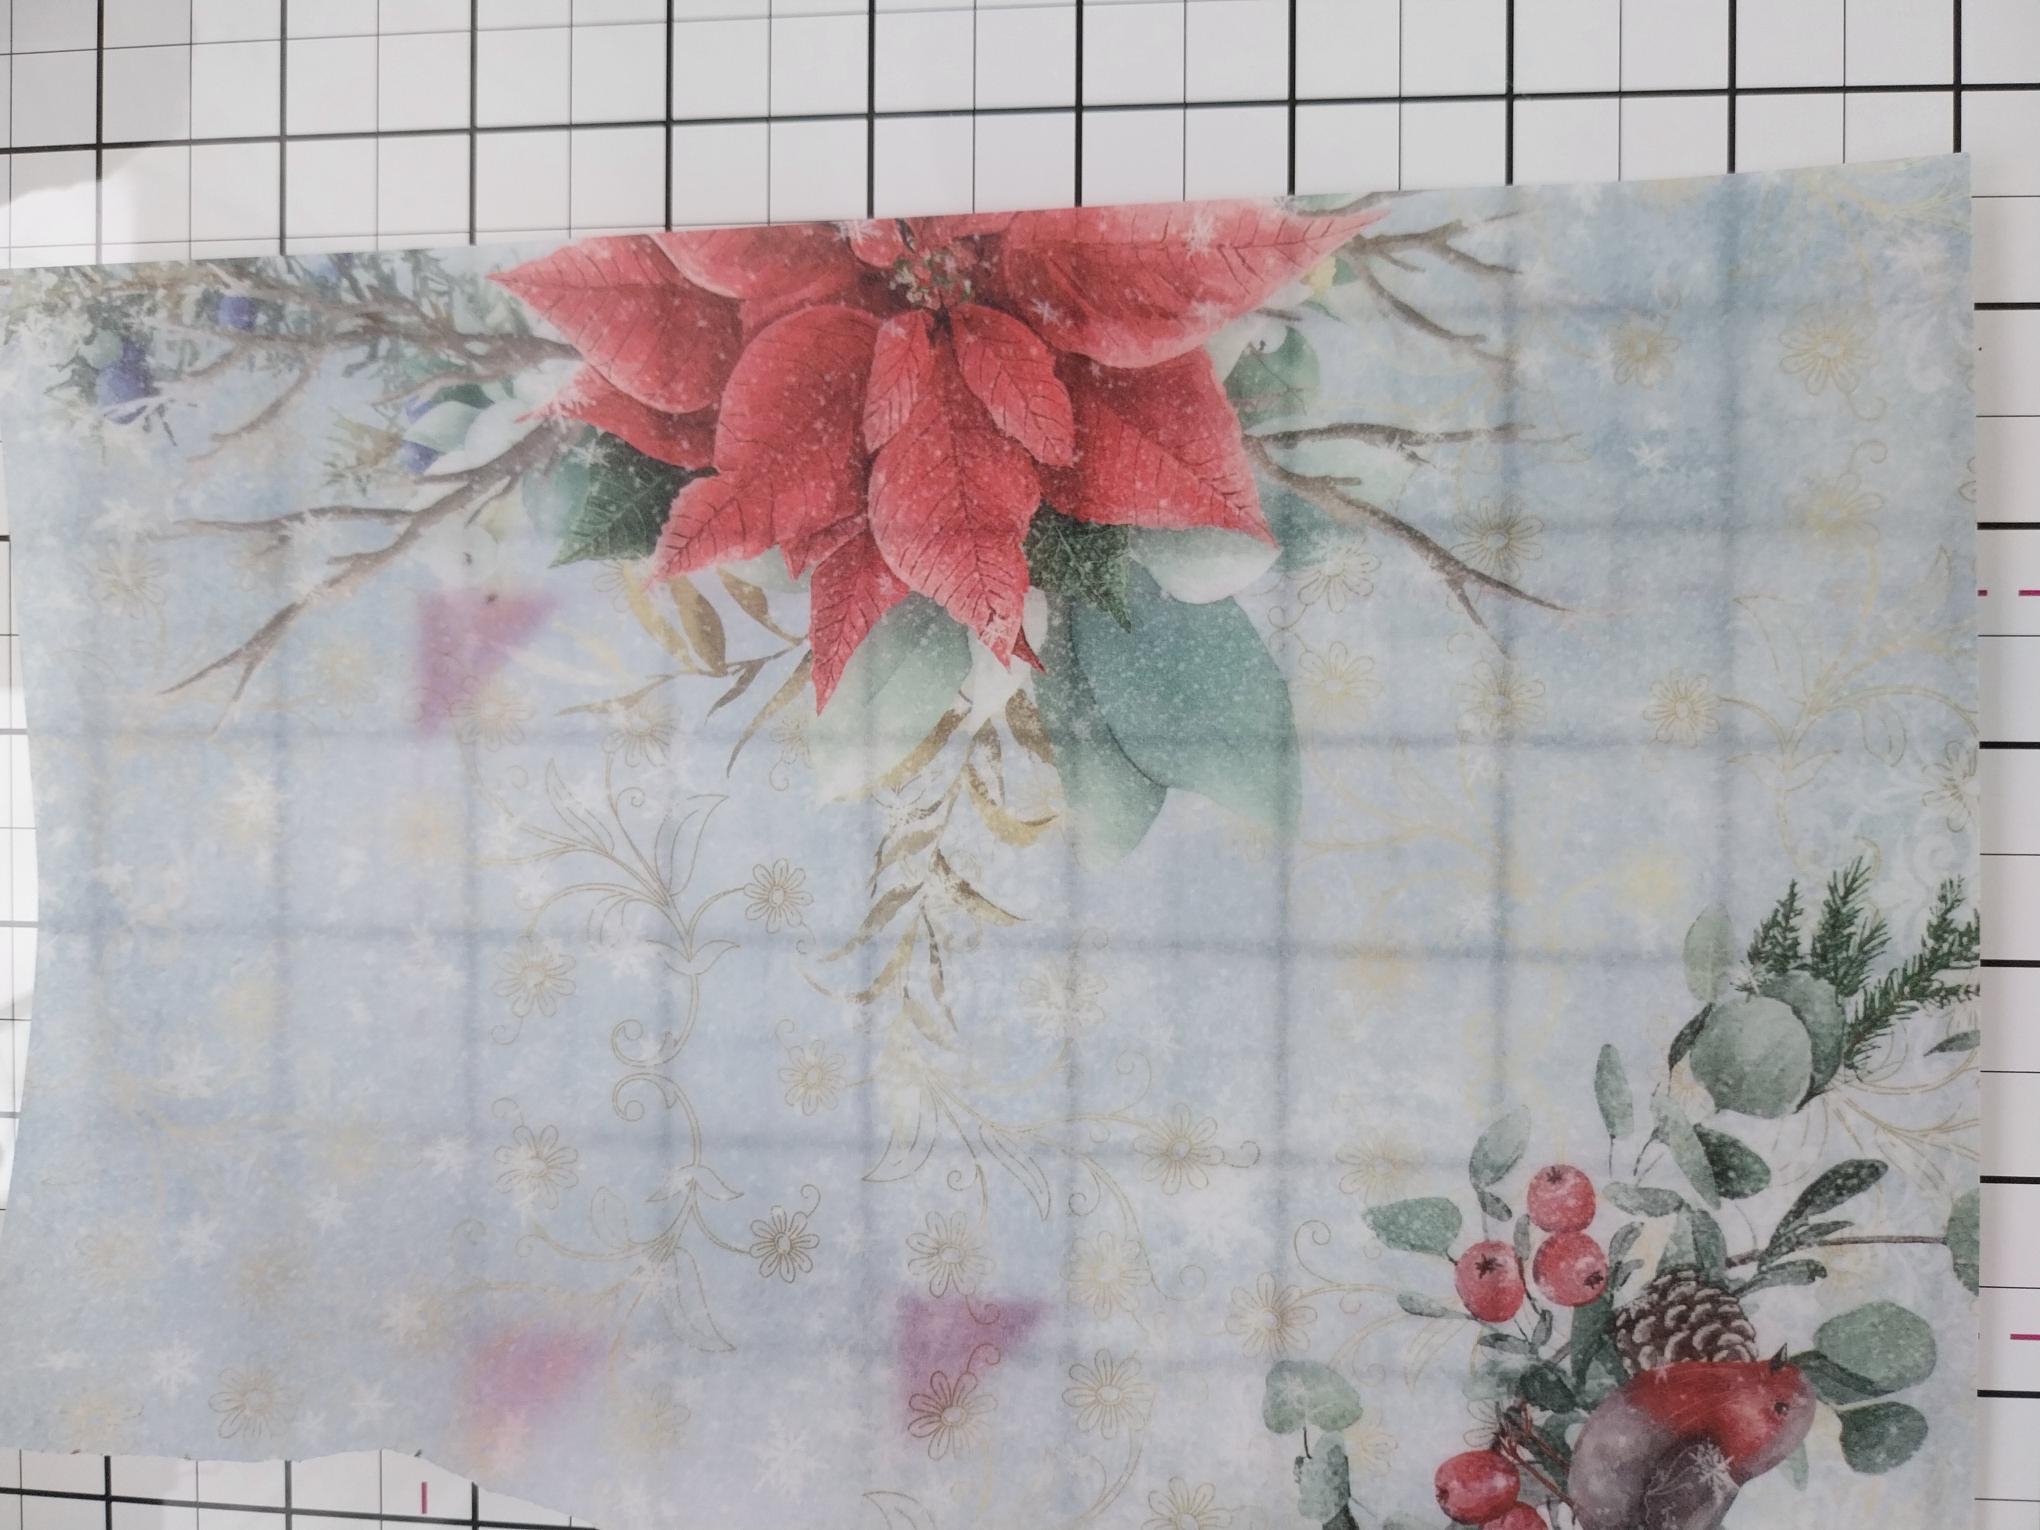
Take out this stunningly beautiful vellum sheet from the Winter Story Vellum Pack. |
|
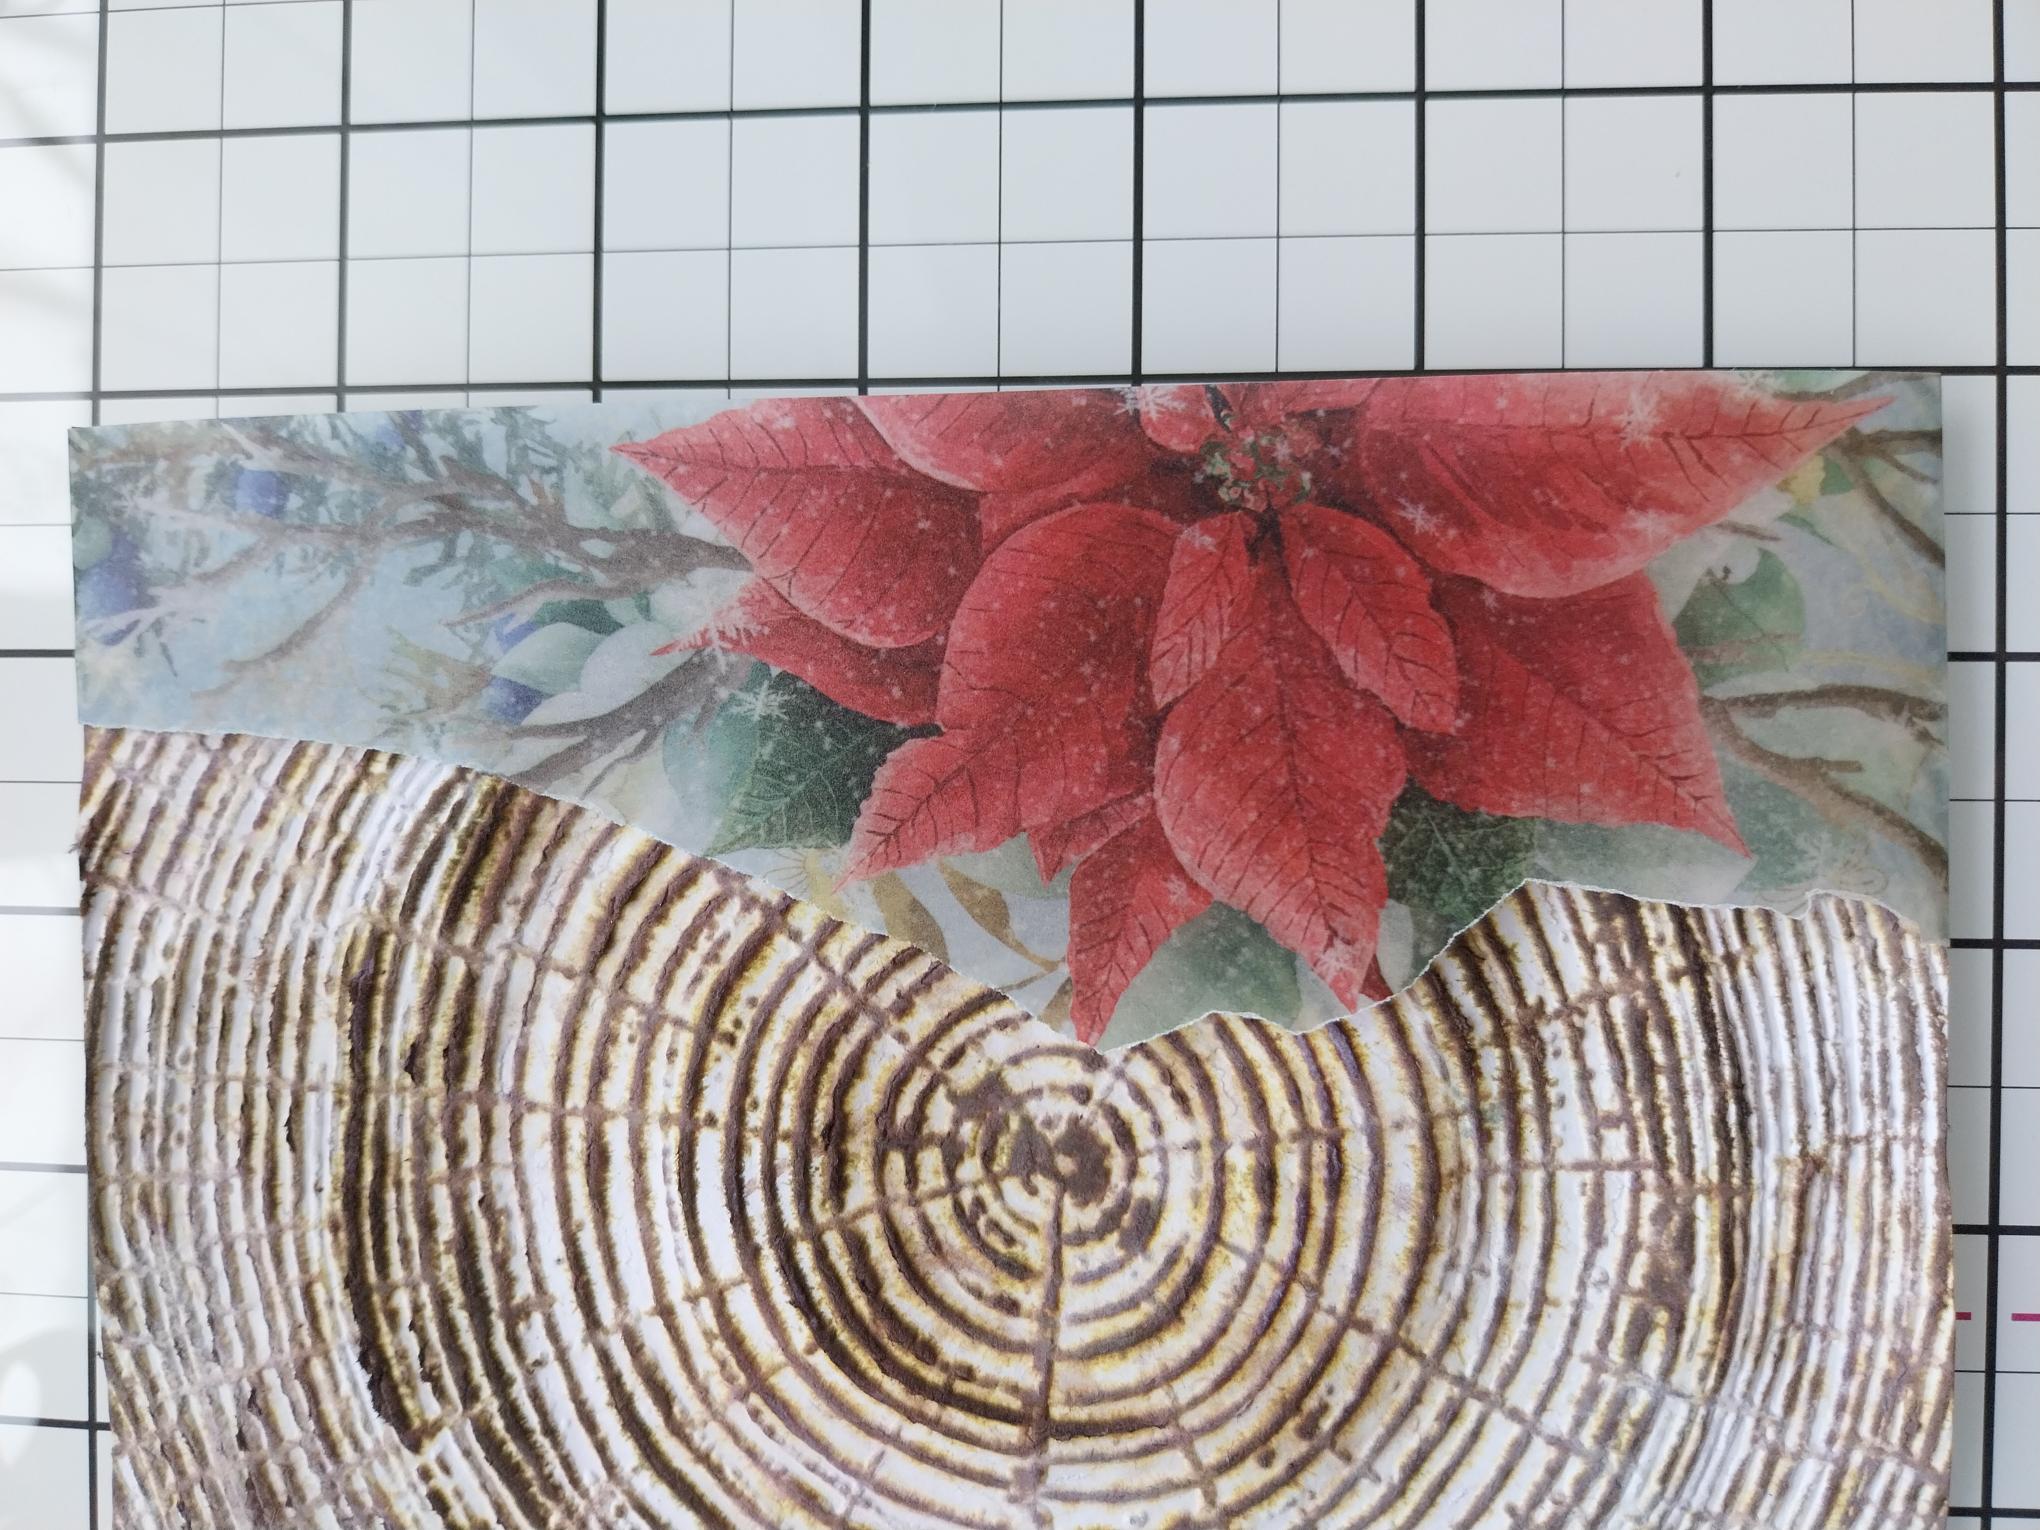
Tear down and around this beautiful, printed Poinsettia design. Place down the right side of the embossed background, tuck the excess vellum over the top and bottom and secure on the reverse with double-sided adhesive tape or a tape runner. |
|
Adhere on to a piece of black card, slightly bigger than your embossed background, then adhere to the front of your 7 x 5" kraft card blank. |
|
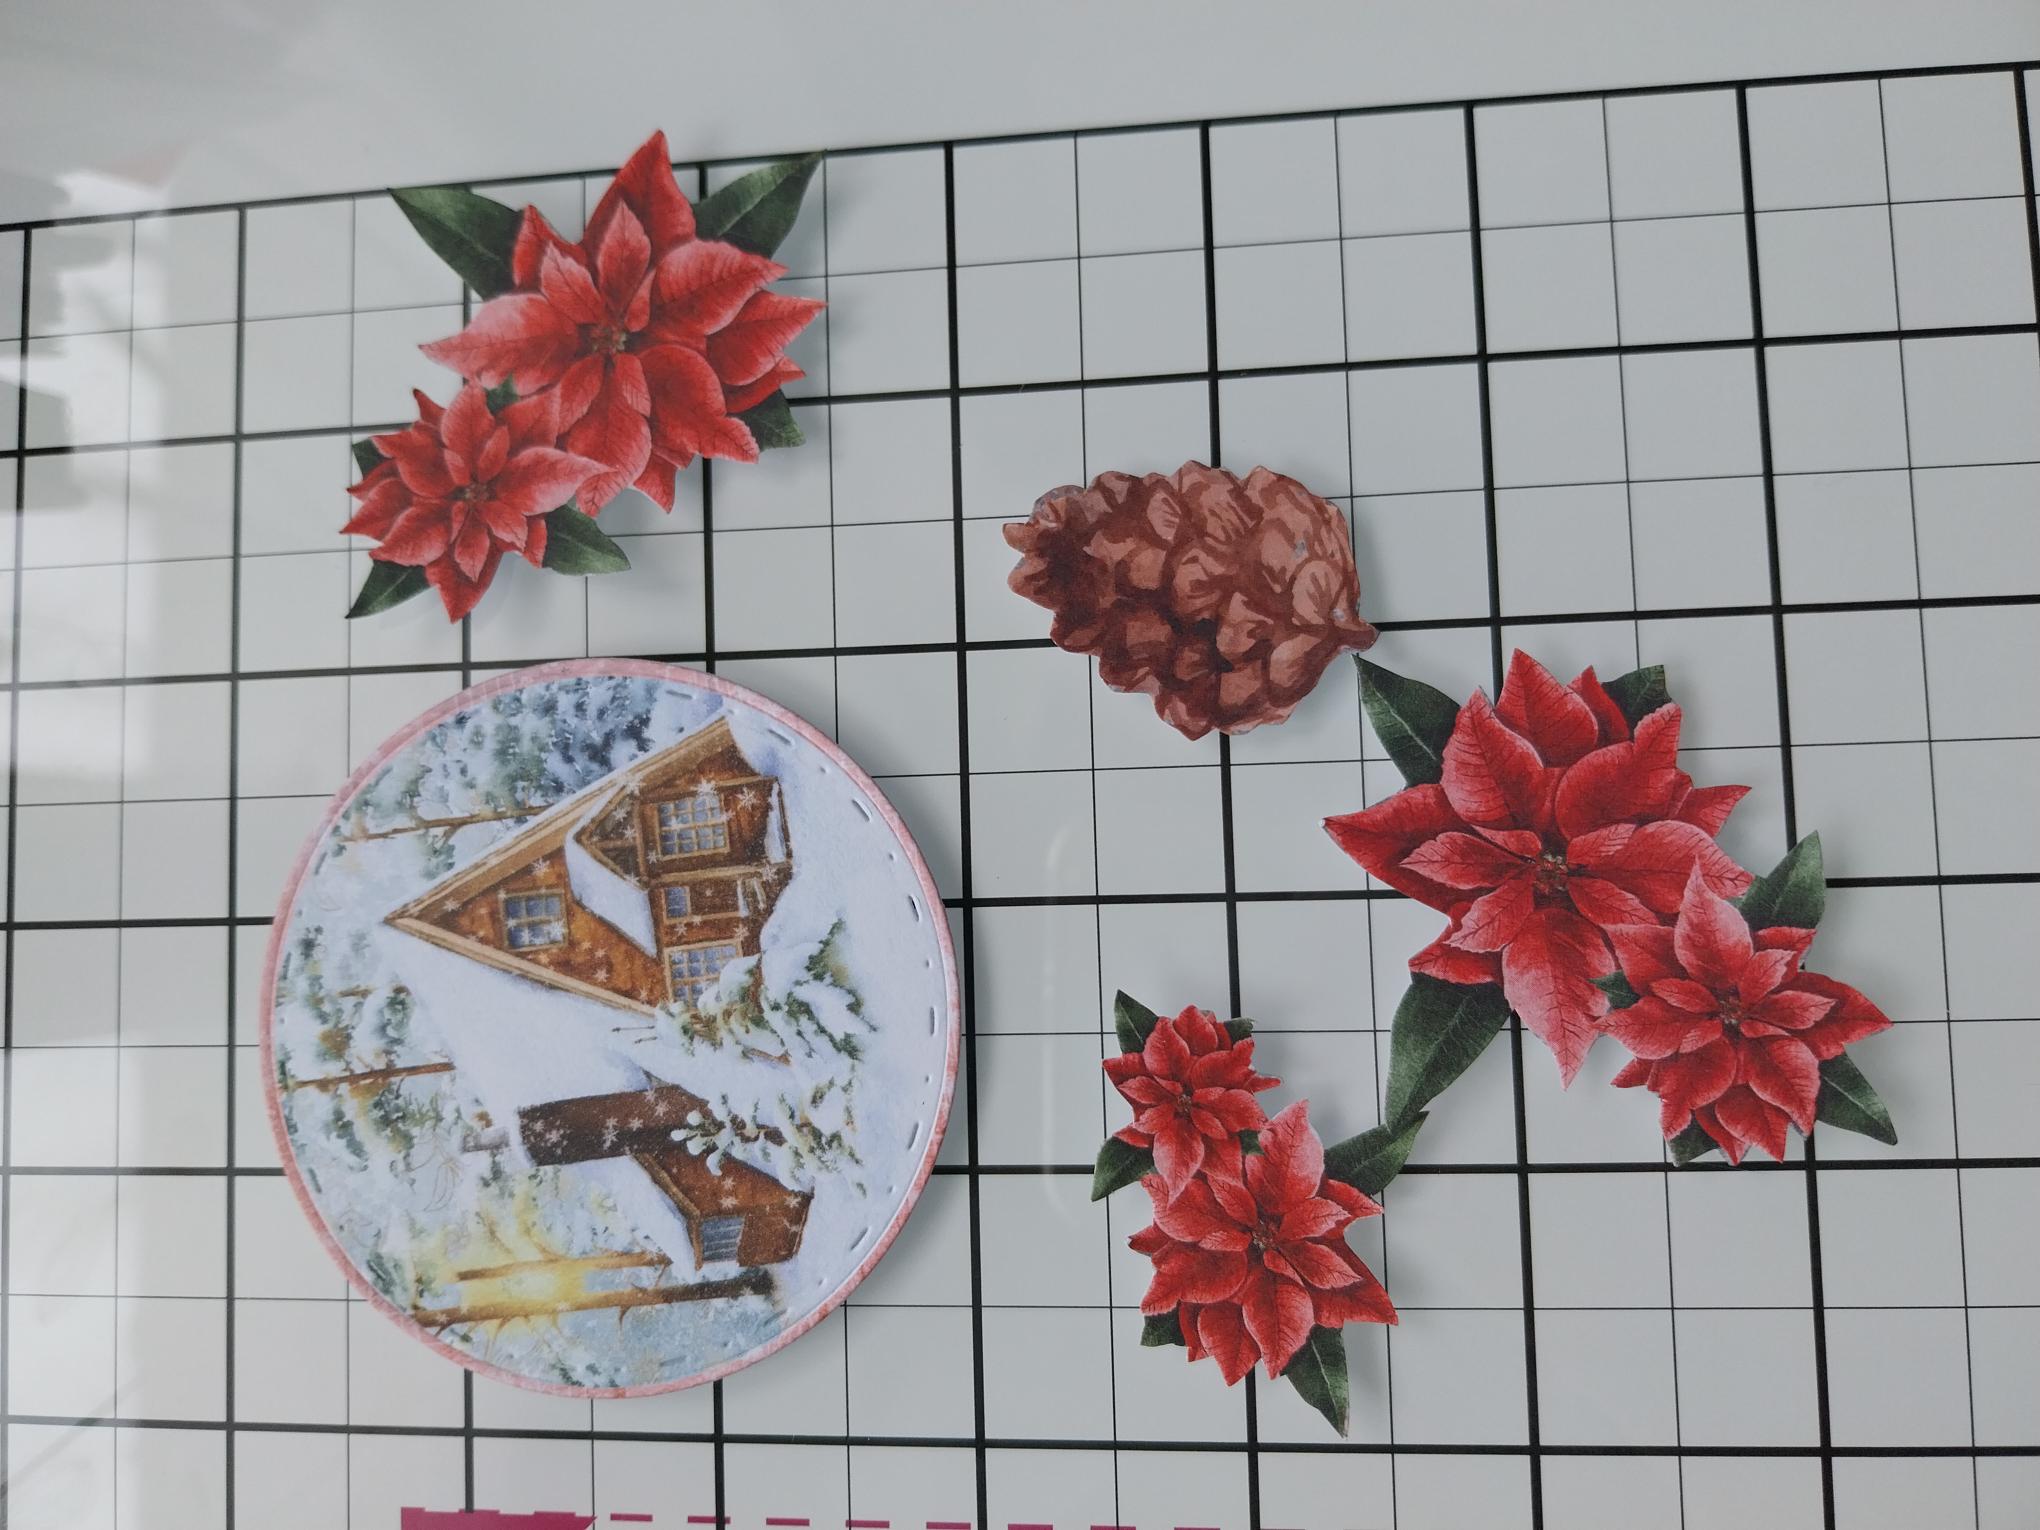
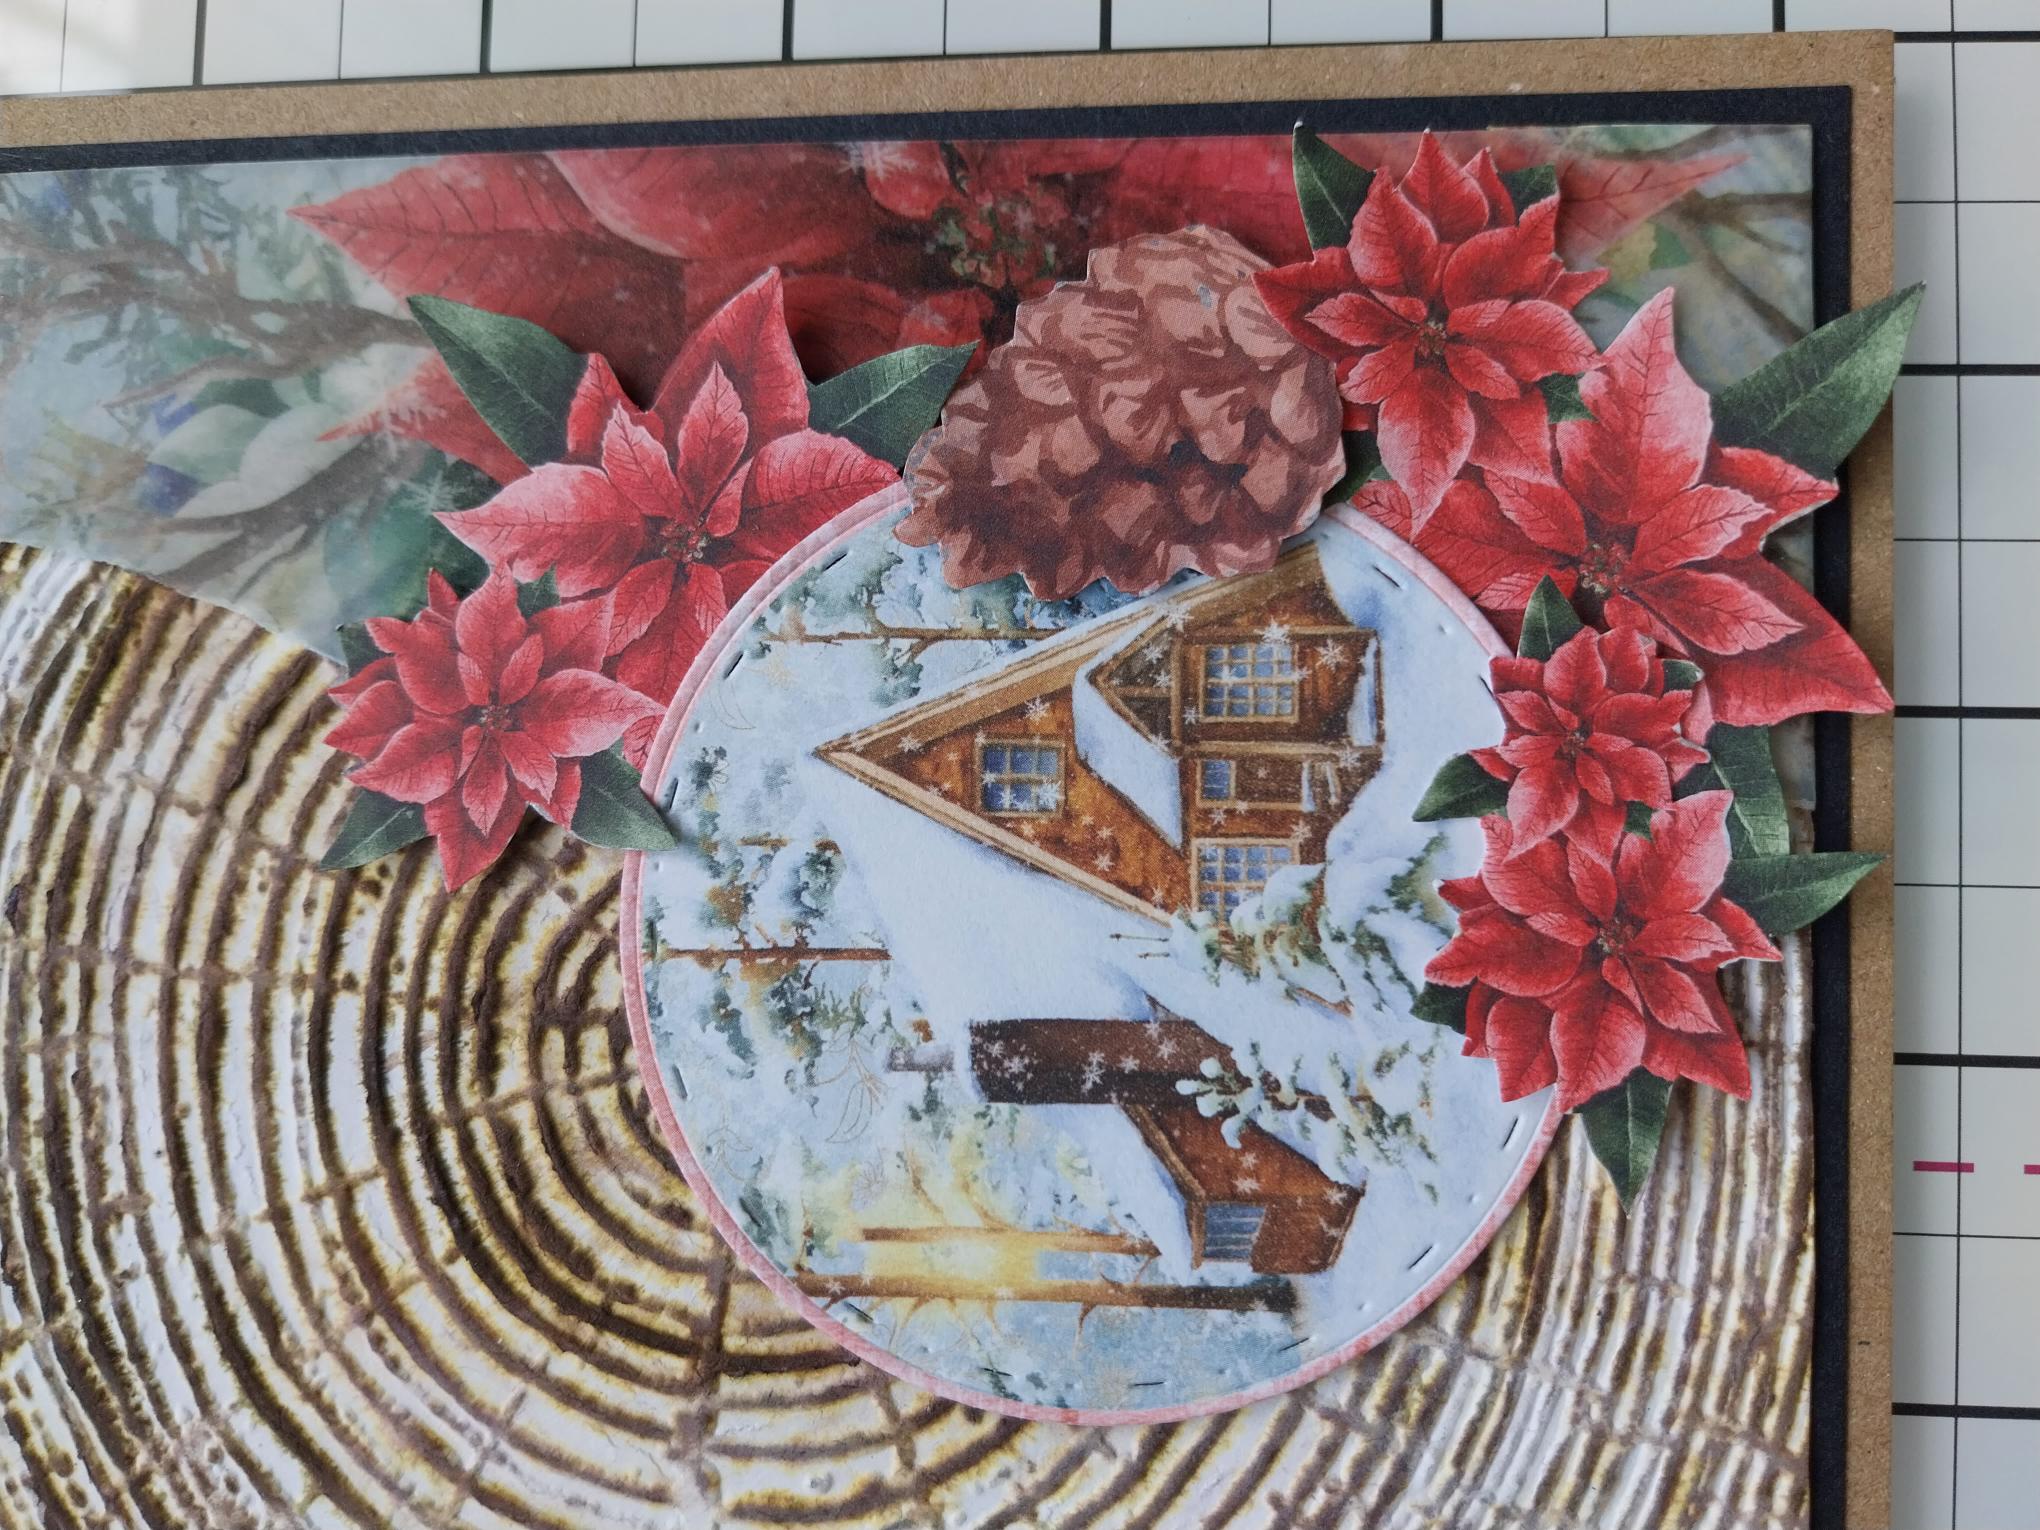
Use a circle die to cut this sentiment topper from the Winter Story Embellishment Pack. Fussy cut a selection of florals and pine cones, from the same pack. |
|
Adhere the sentiment and floral elements in the bottom right corner of your project, using a combination of wet glue and foam pads. Tip: Tuck elements under, as well as on top of other elements, to create depth and dimension to your 3D display. |
|
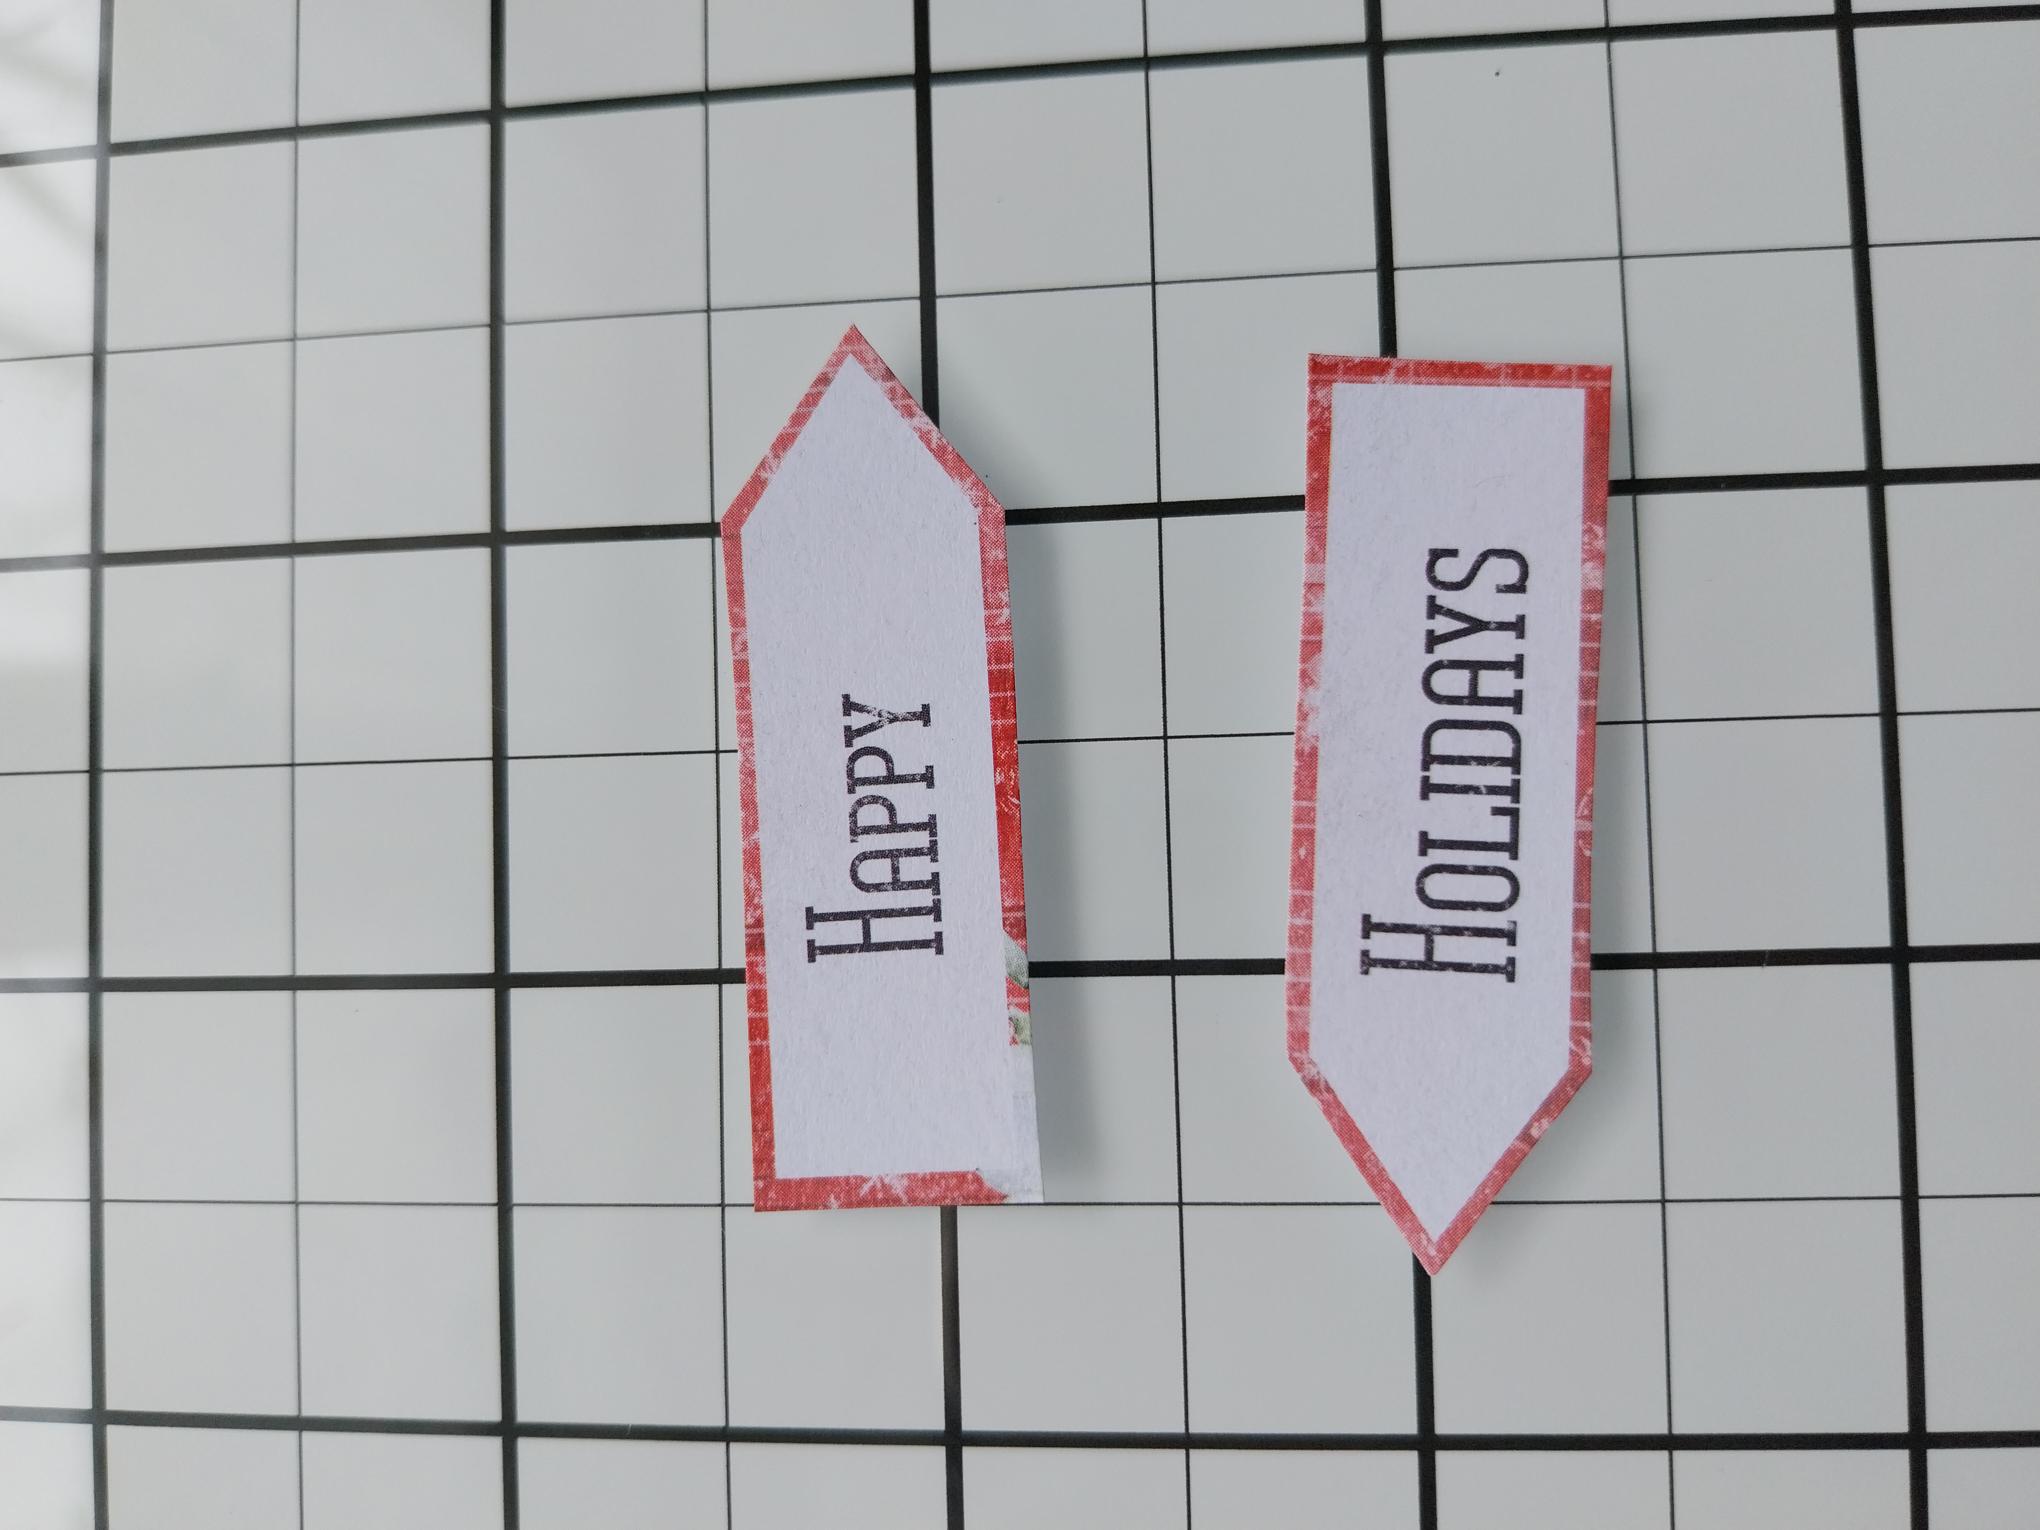
Cut these sentiment banners from the Embellishment pack, keeping a hint of the red paper as a border on your banners. |
|
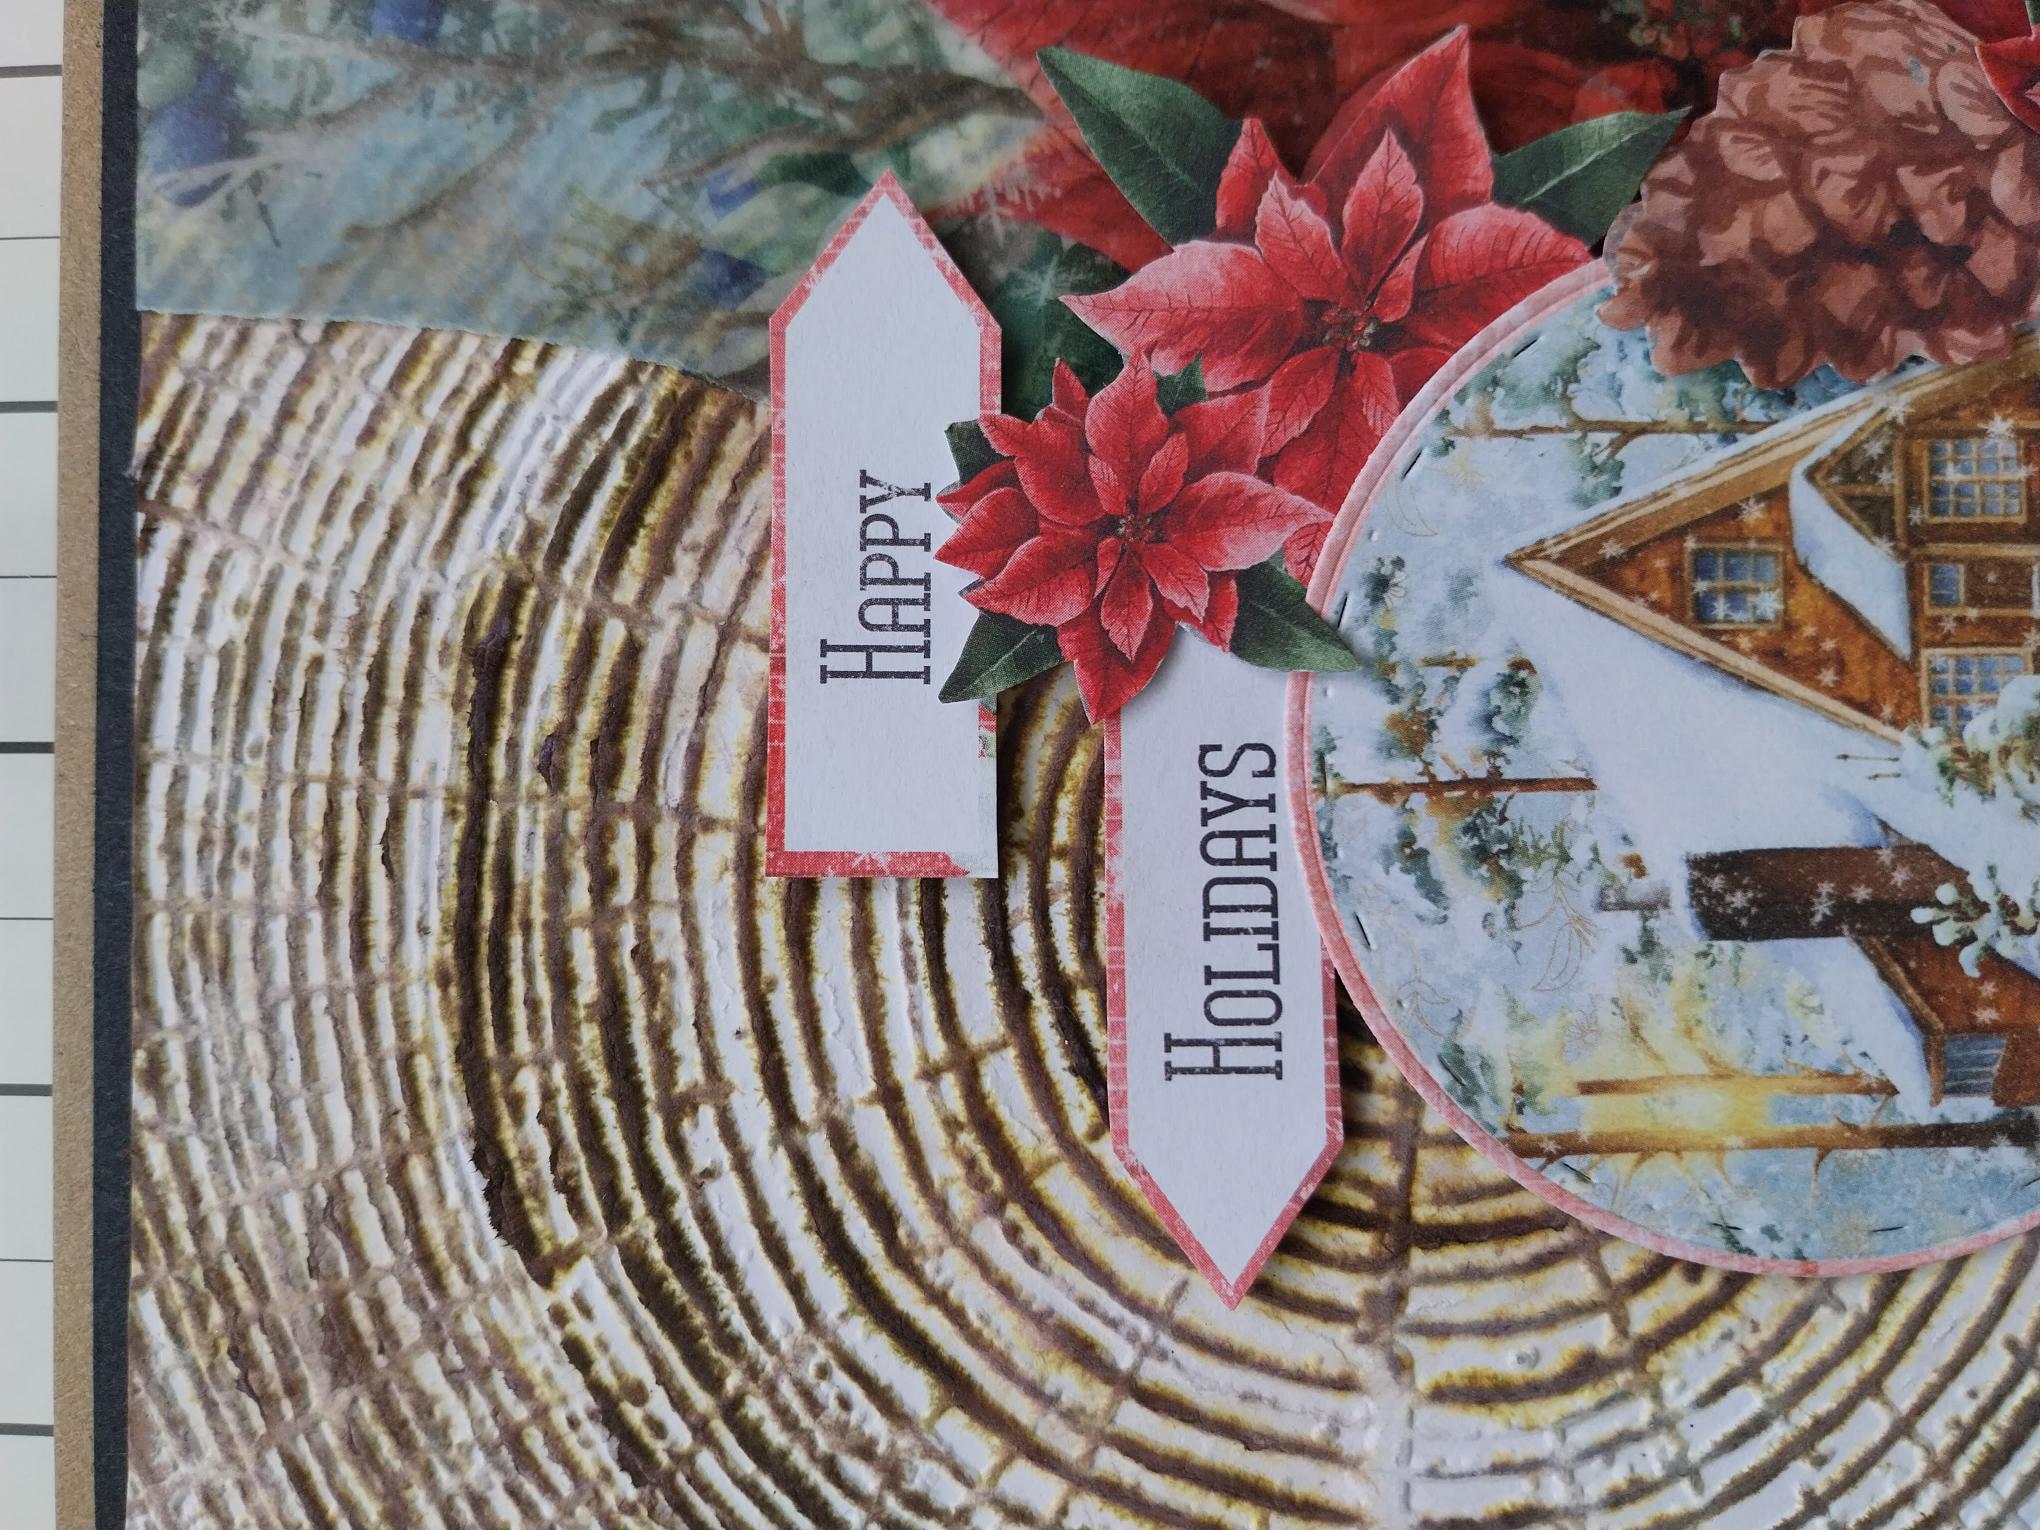
Adhere these on to your card, tucking them just under some of the 3D elements. |
|
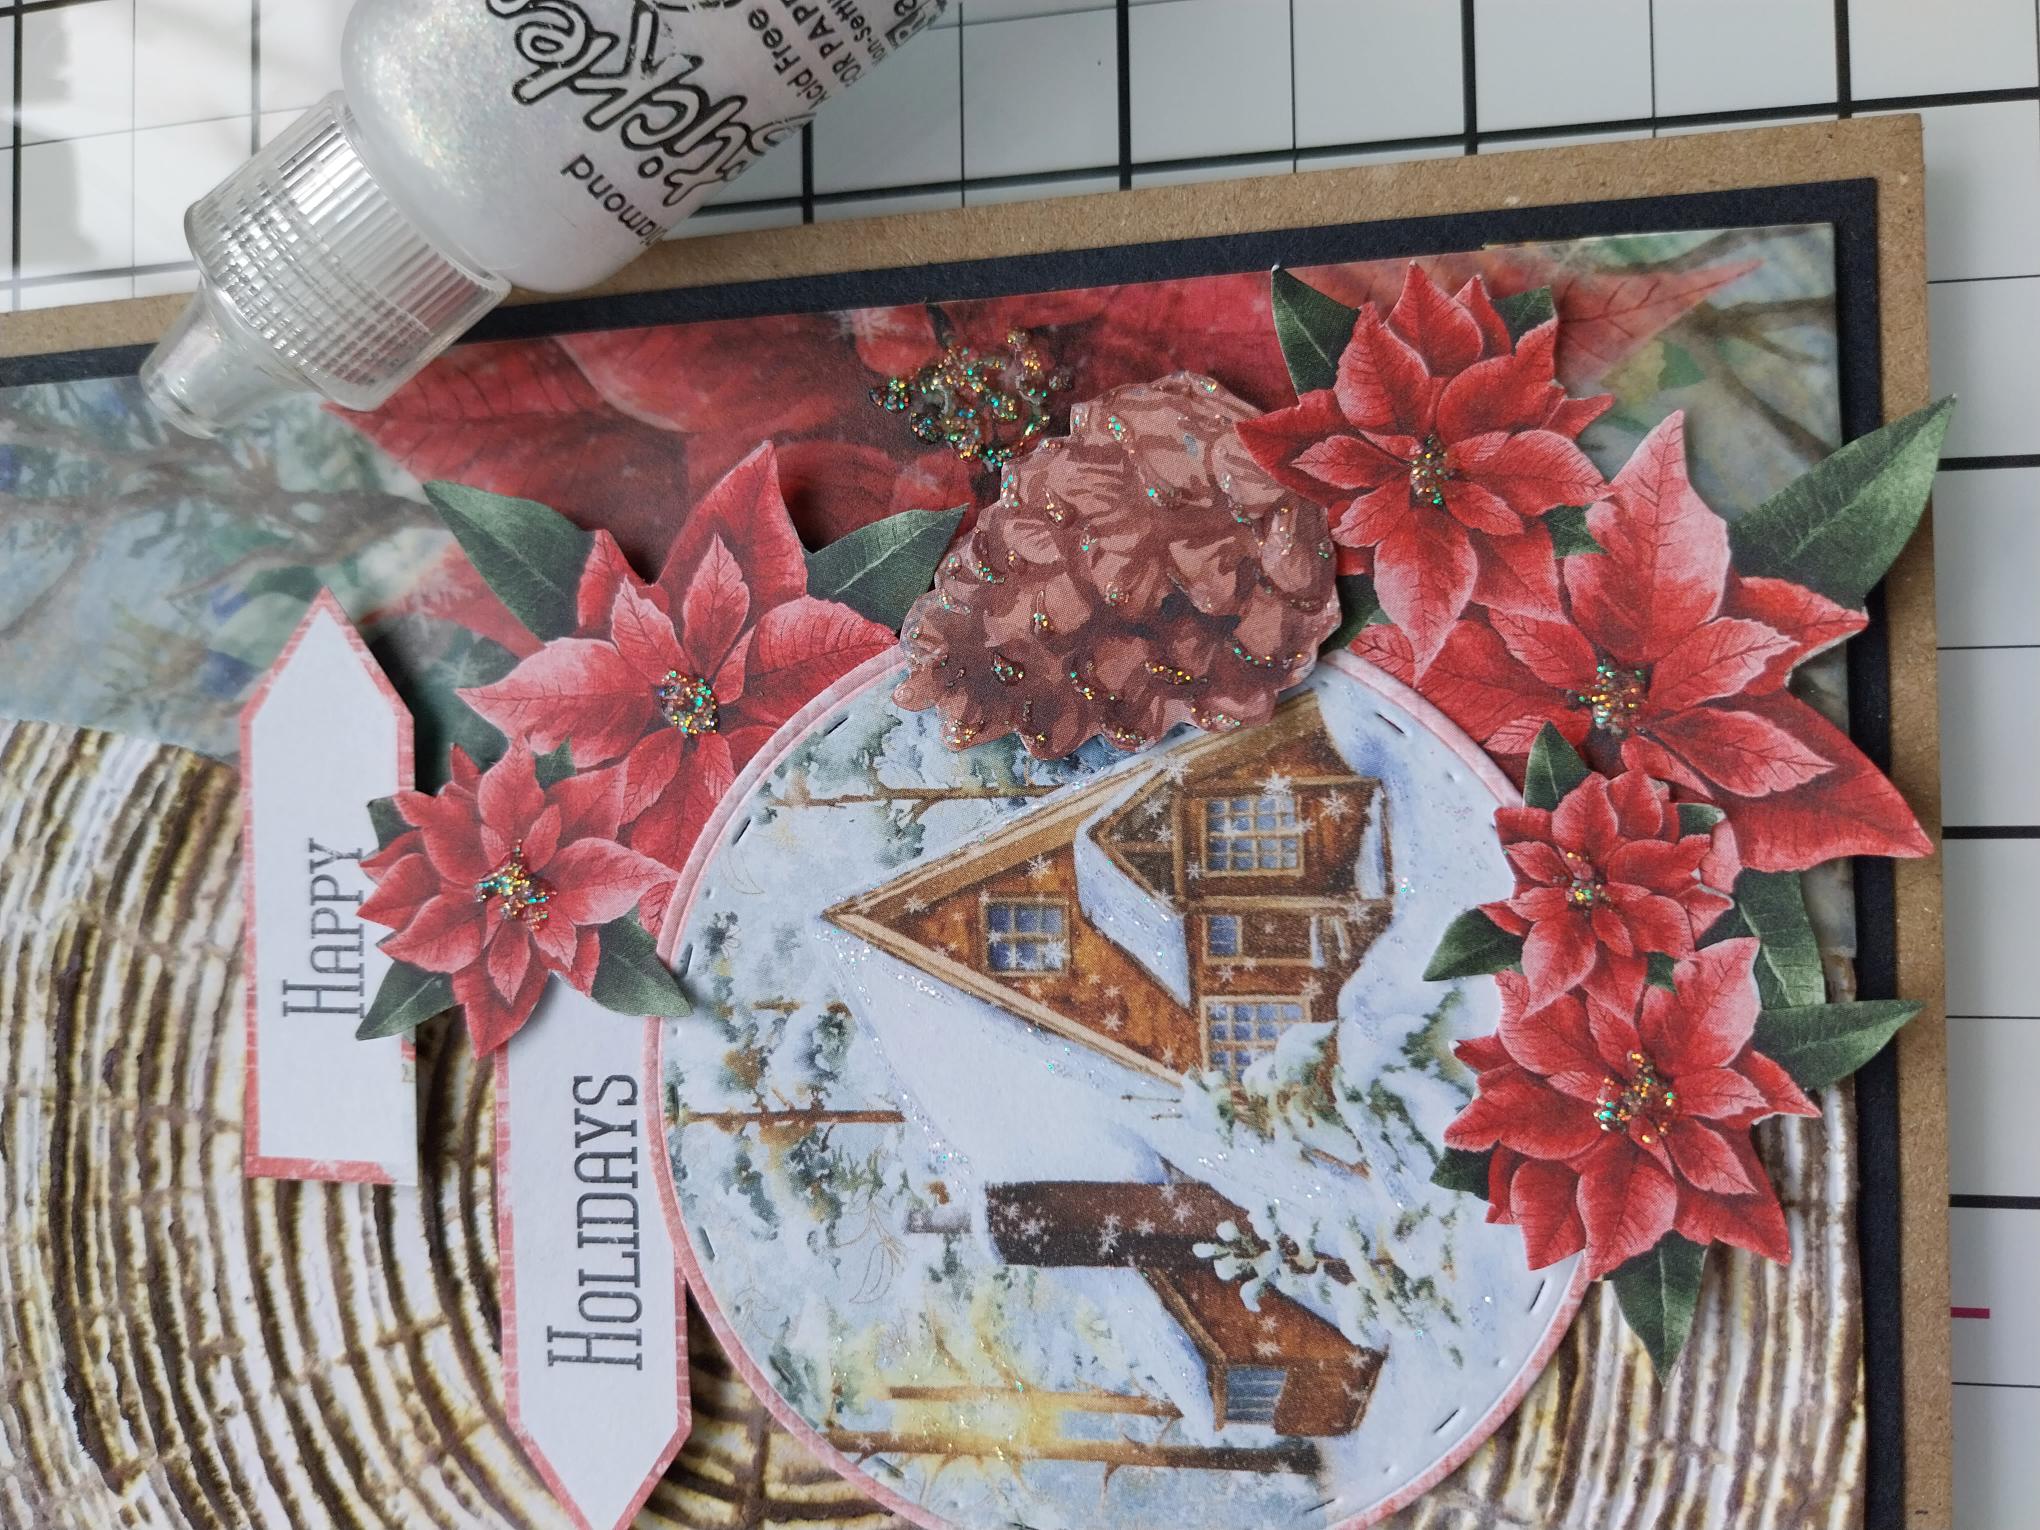
To complete your festive project, use your Stickles to add sparkle and glitter. |