Give your friends $10 off their first order!
Refer a FRIEND


WHAT YOU WILL NEED:
White card blank 6 x 6"
White card 5 x 5"
A Winter Story 8 x 8" Foundation Pack
A Winter Story 6 x 6" Embellishment Pack
High Definition 3D Autumn Breeze Embossing Folder
SBM Hybrid Ink Pad: Midnight
Distress Ink/Oxide Ink Pad: Iced Spruce
Blending tool
Black pen
Stickles: Star Dust
SBM Magnetic glass mat
Paper Trimmer
Perfect Together Glue
Foam pads
Die Cutting machine
[click image to enlarge] 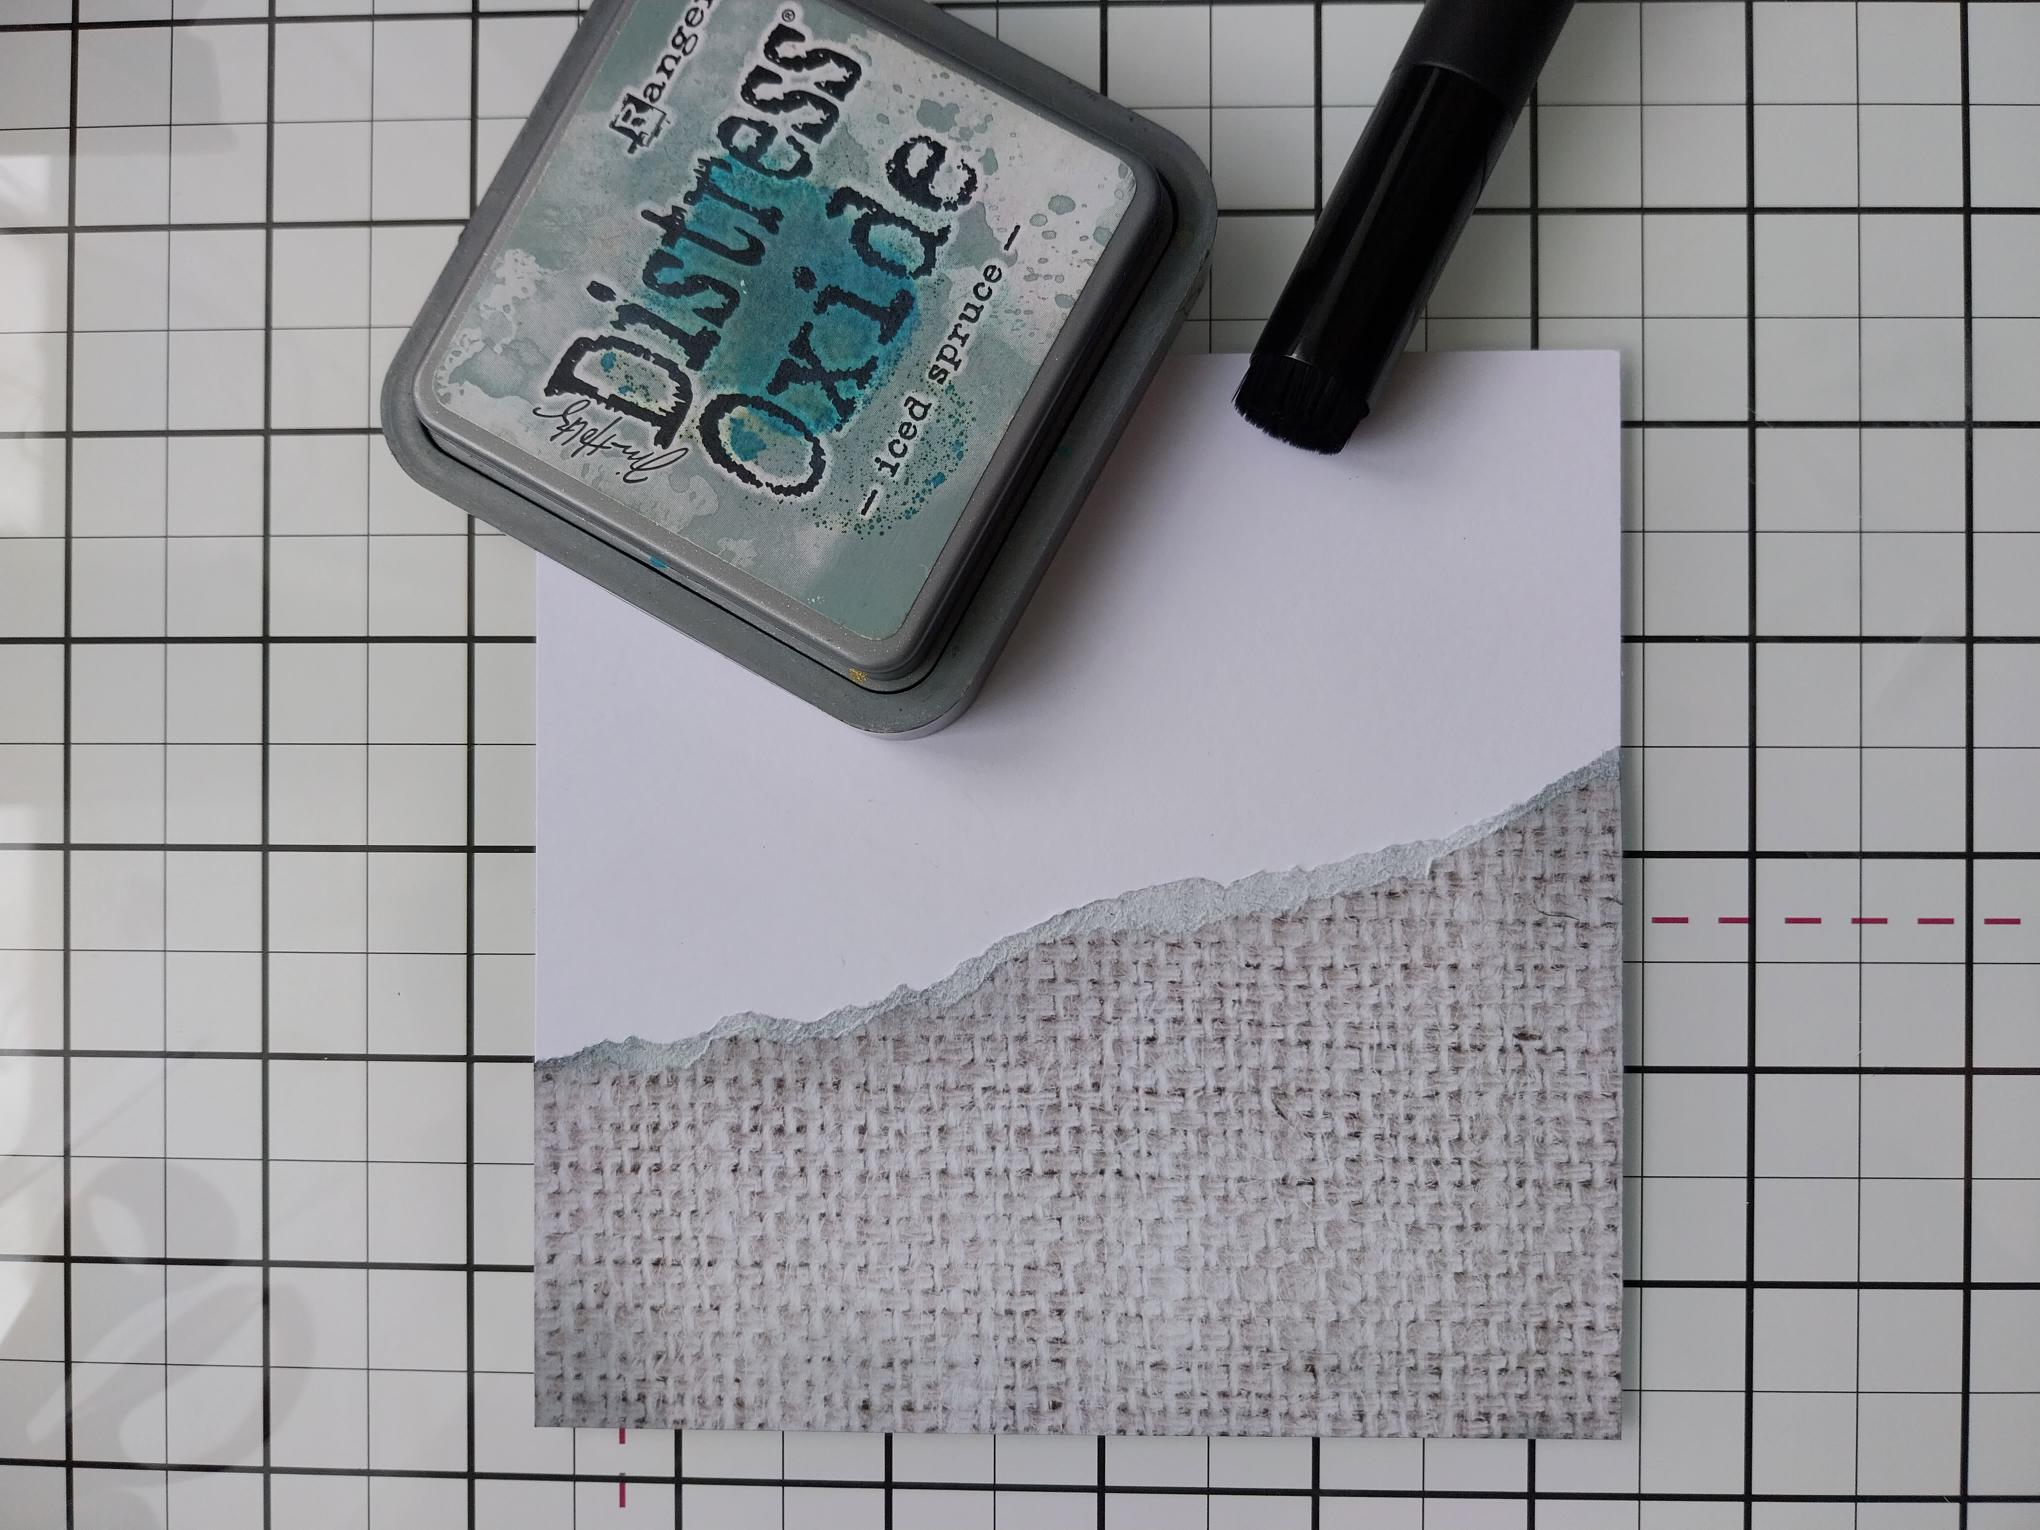
|
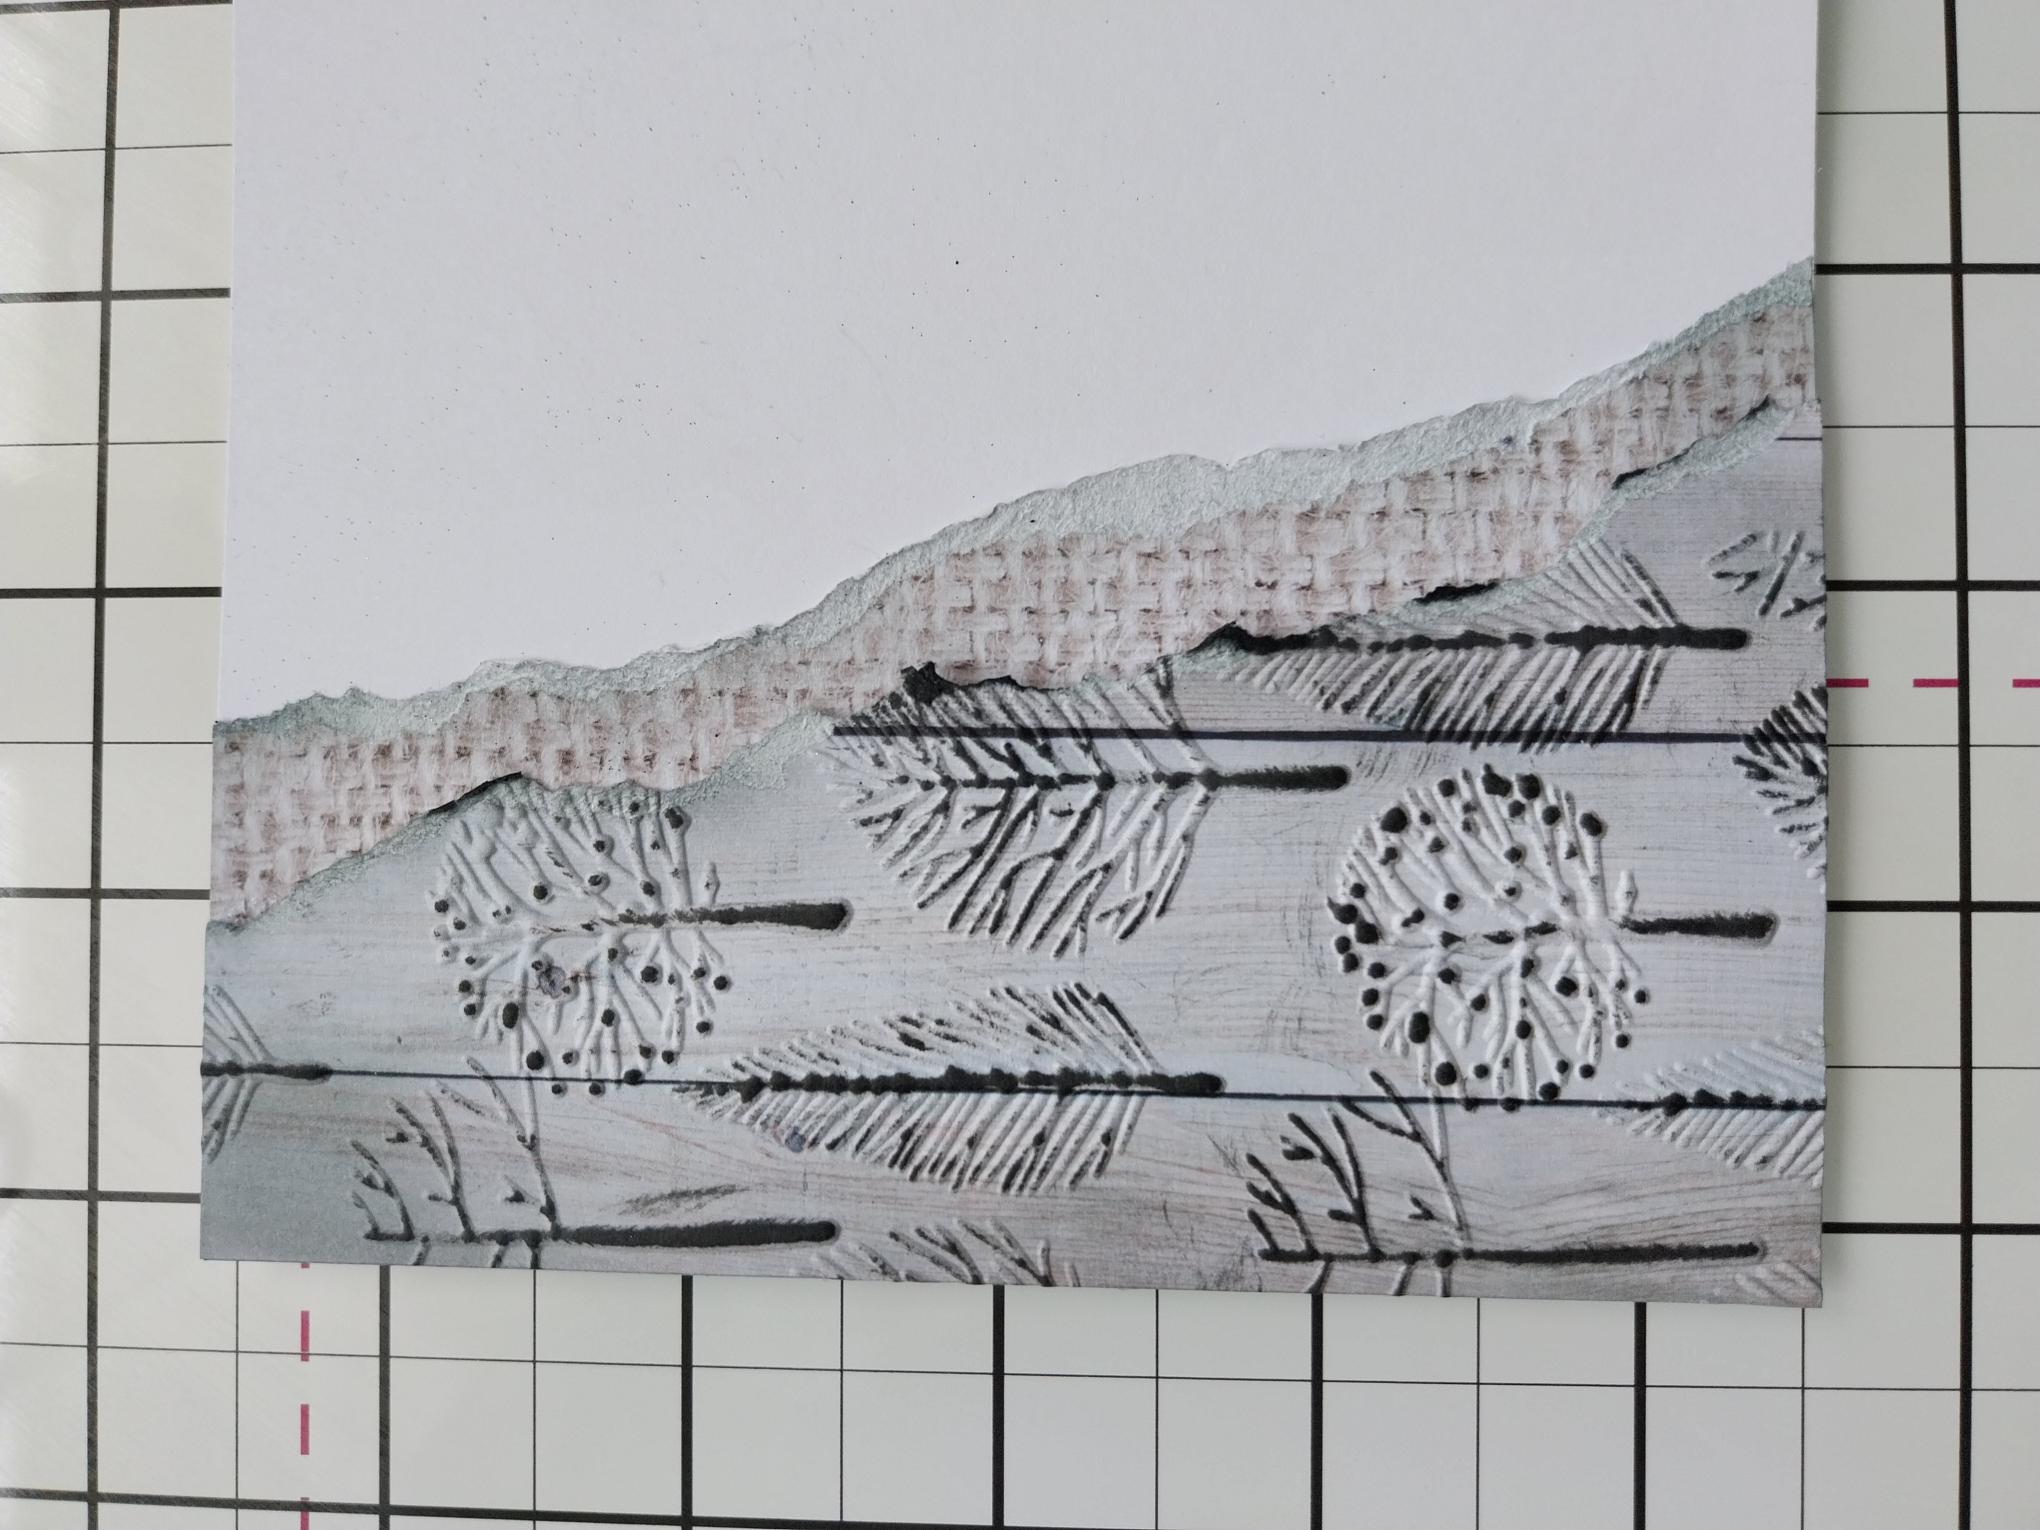
Choose a paper from the Winter Story Foundation Pack, tear a panel and adhere down the left side of your 6 x 6" white cardstock, as seen here. You want it to cover roughly half of the card, on a diagonal angle. Scrunch up the torn edge to add dimension. Use a blending tool to blend the Iced Spruce down the side and along the top and bottom of the texured paper. Set the remaining paper to one side, to use in a later step. |
|
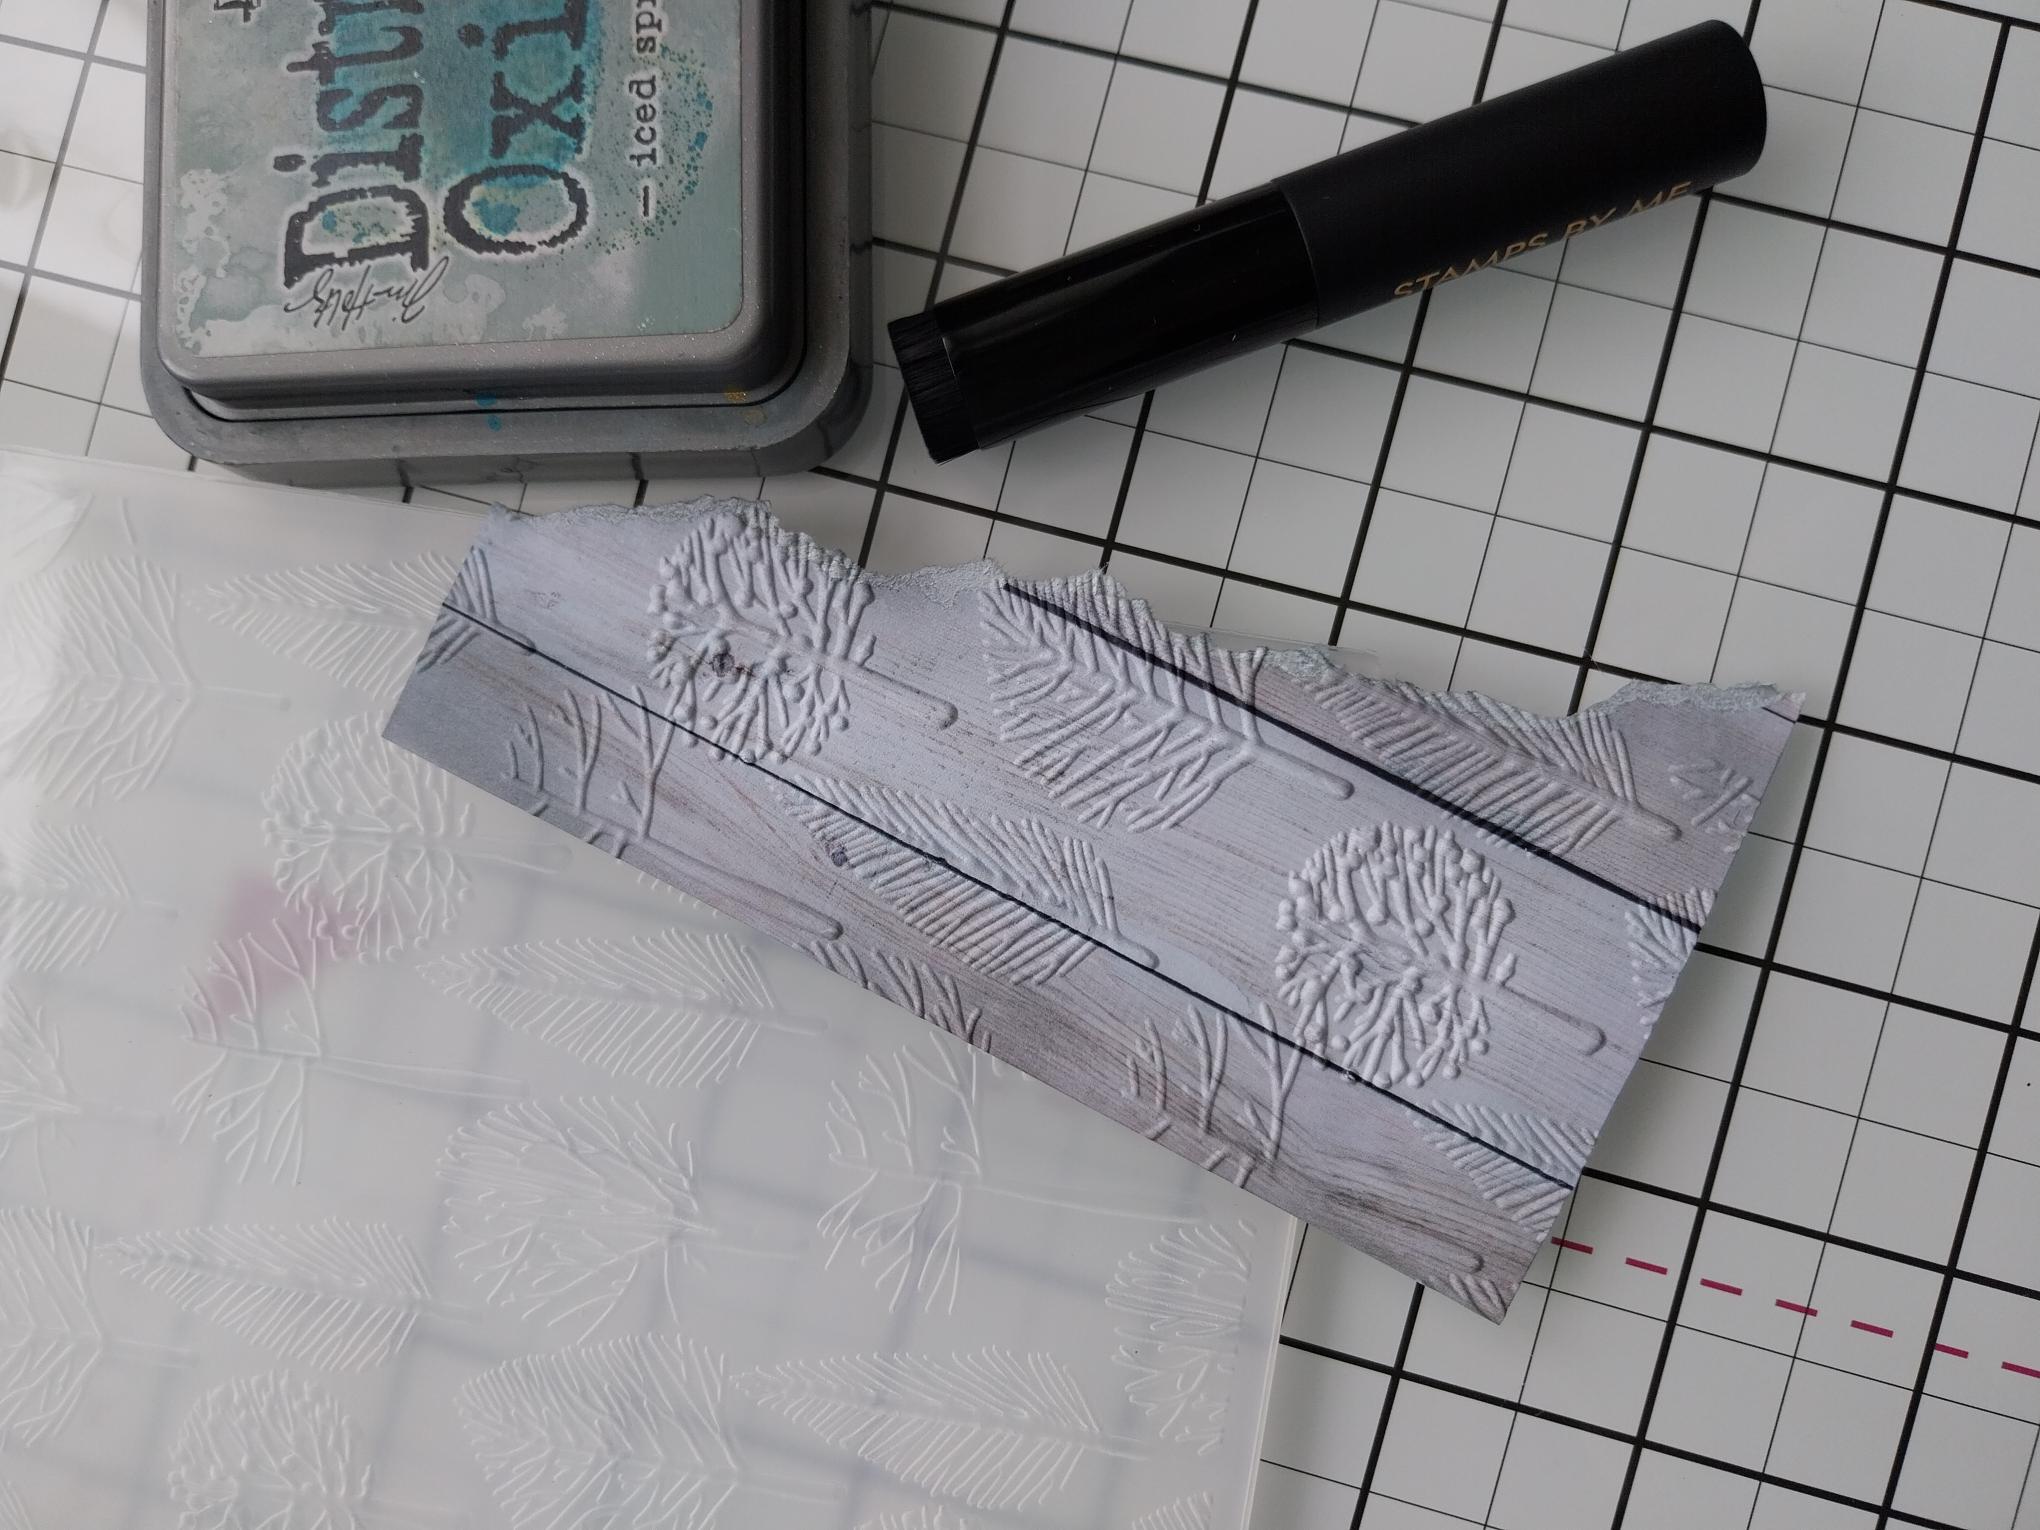
From a DIFFERENT texure paper, tear a panel that is slightly smaller in width than the first. Place it inside your Autumn Breeze embossing folder and run it through your machine. Blend the Iced Spruce Oxide around the edges. |
|
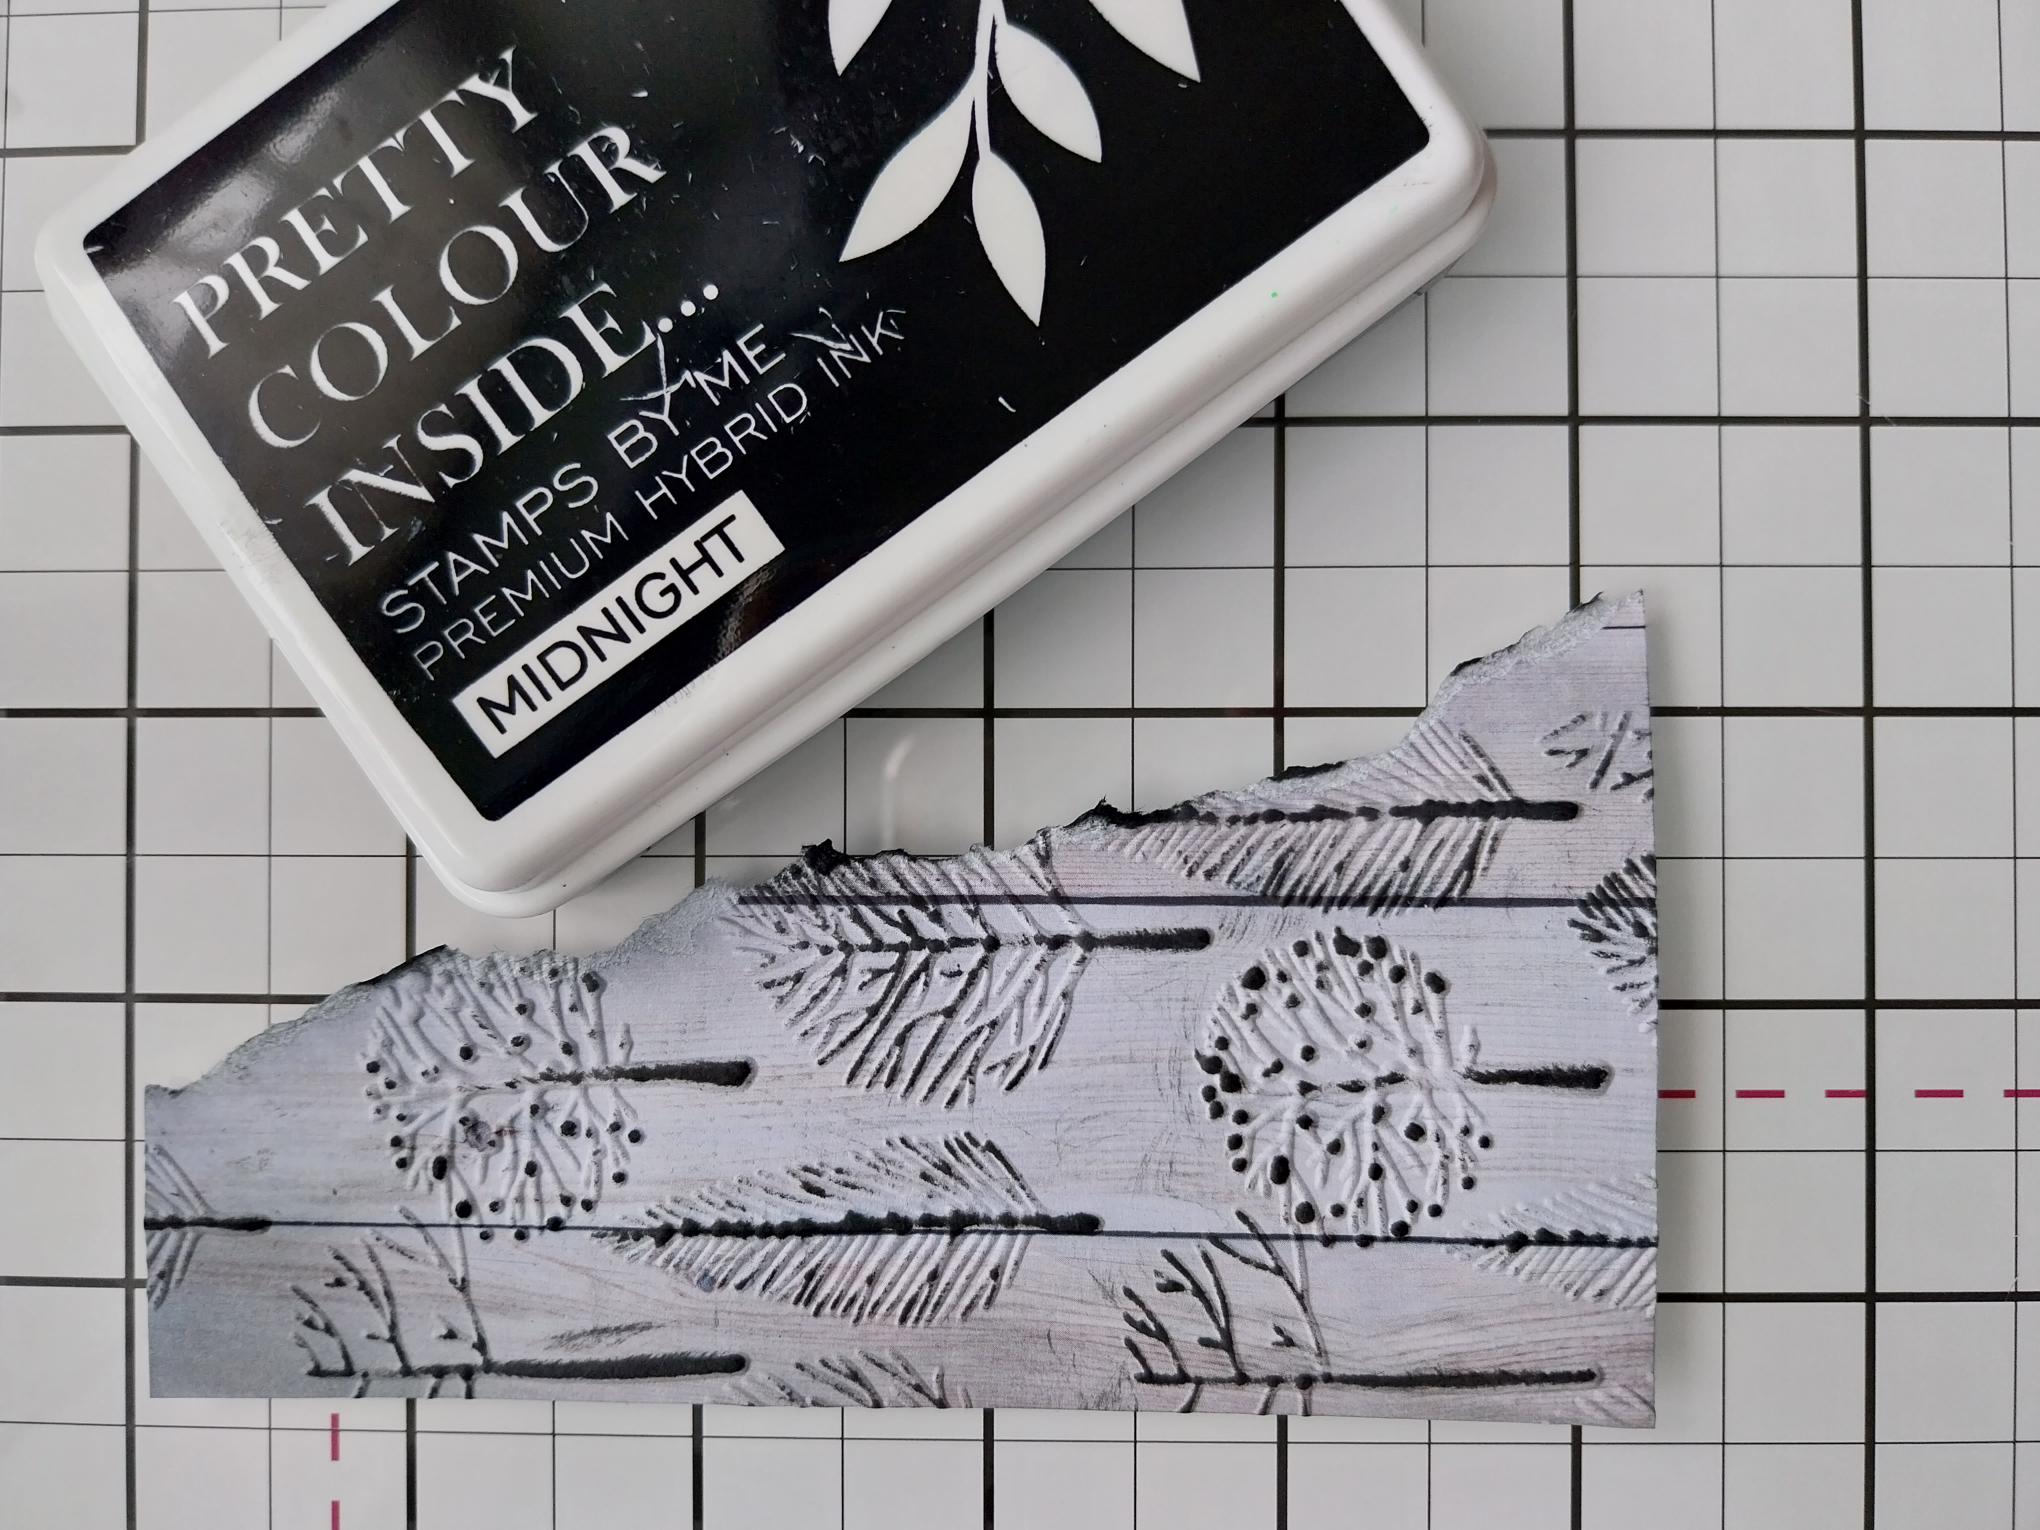
Gently wipe your Midnight ink pad over the raised, embossed areas of your paper. |
|
Adhere on top of the other paper panel, scrunching the torn edge as before. |

|
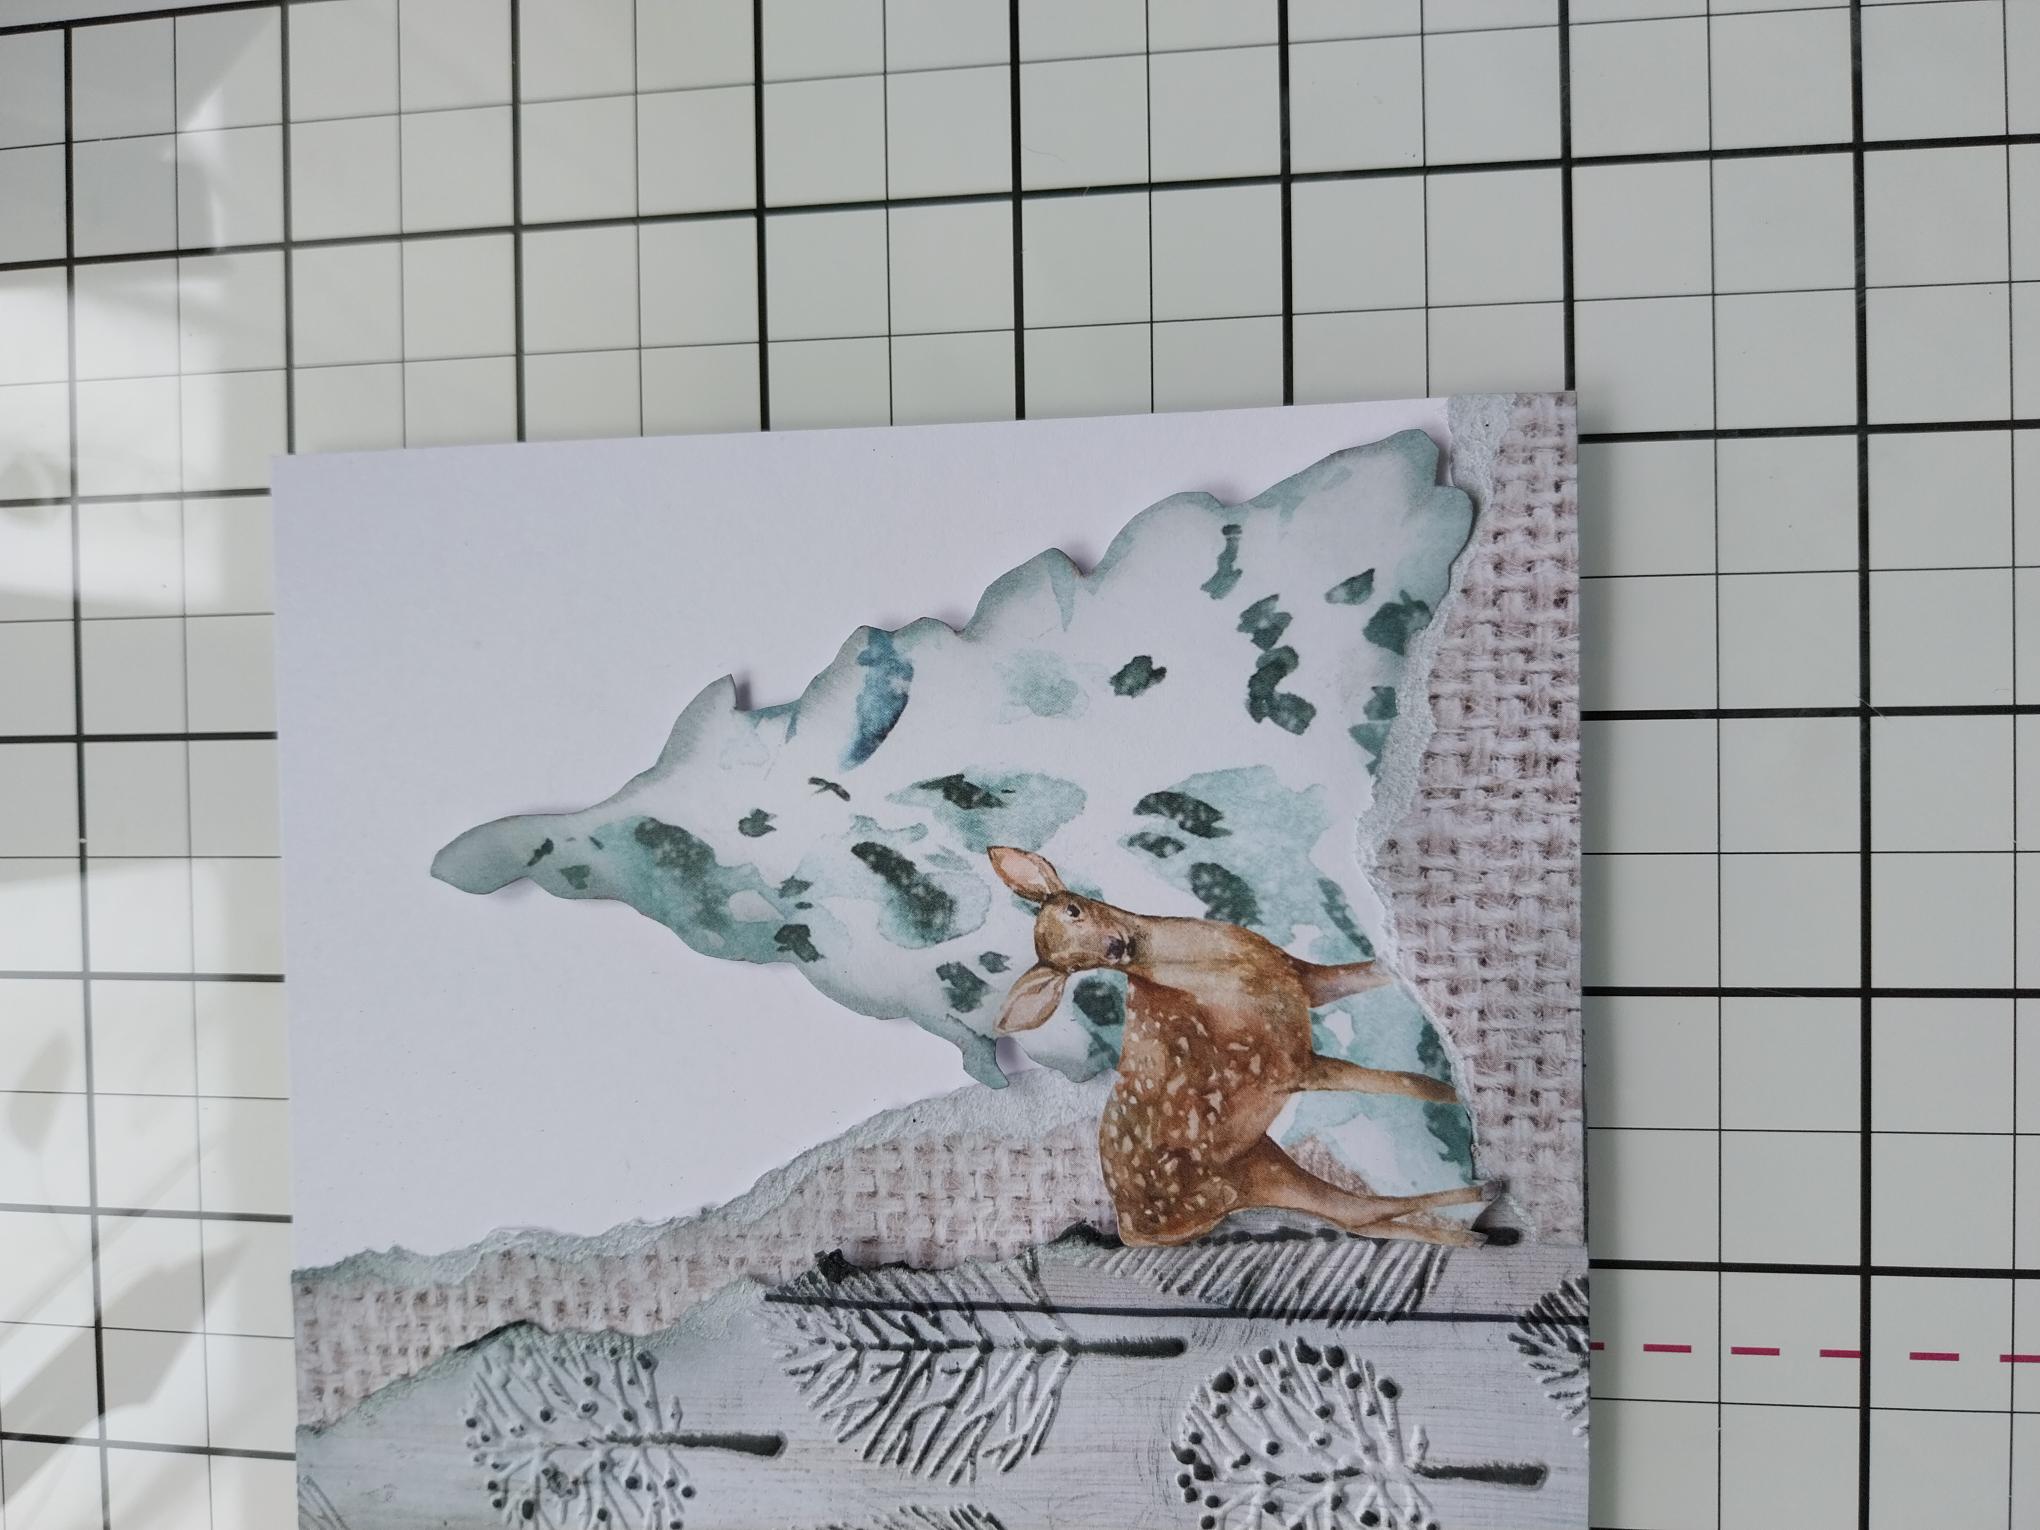
Fussy cut this beautiful fir tree and Fawn, from the Winter Story Embellishment Pack, blending a little of the Iced Spruce around the edges of the tree. |
|
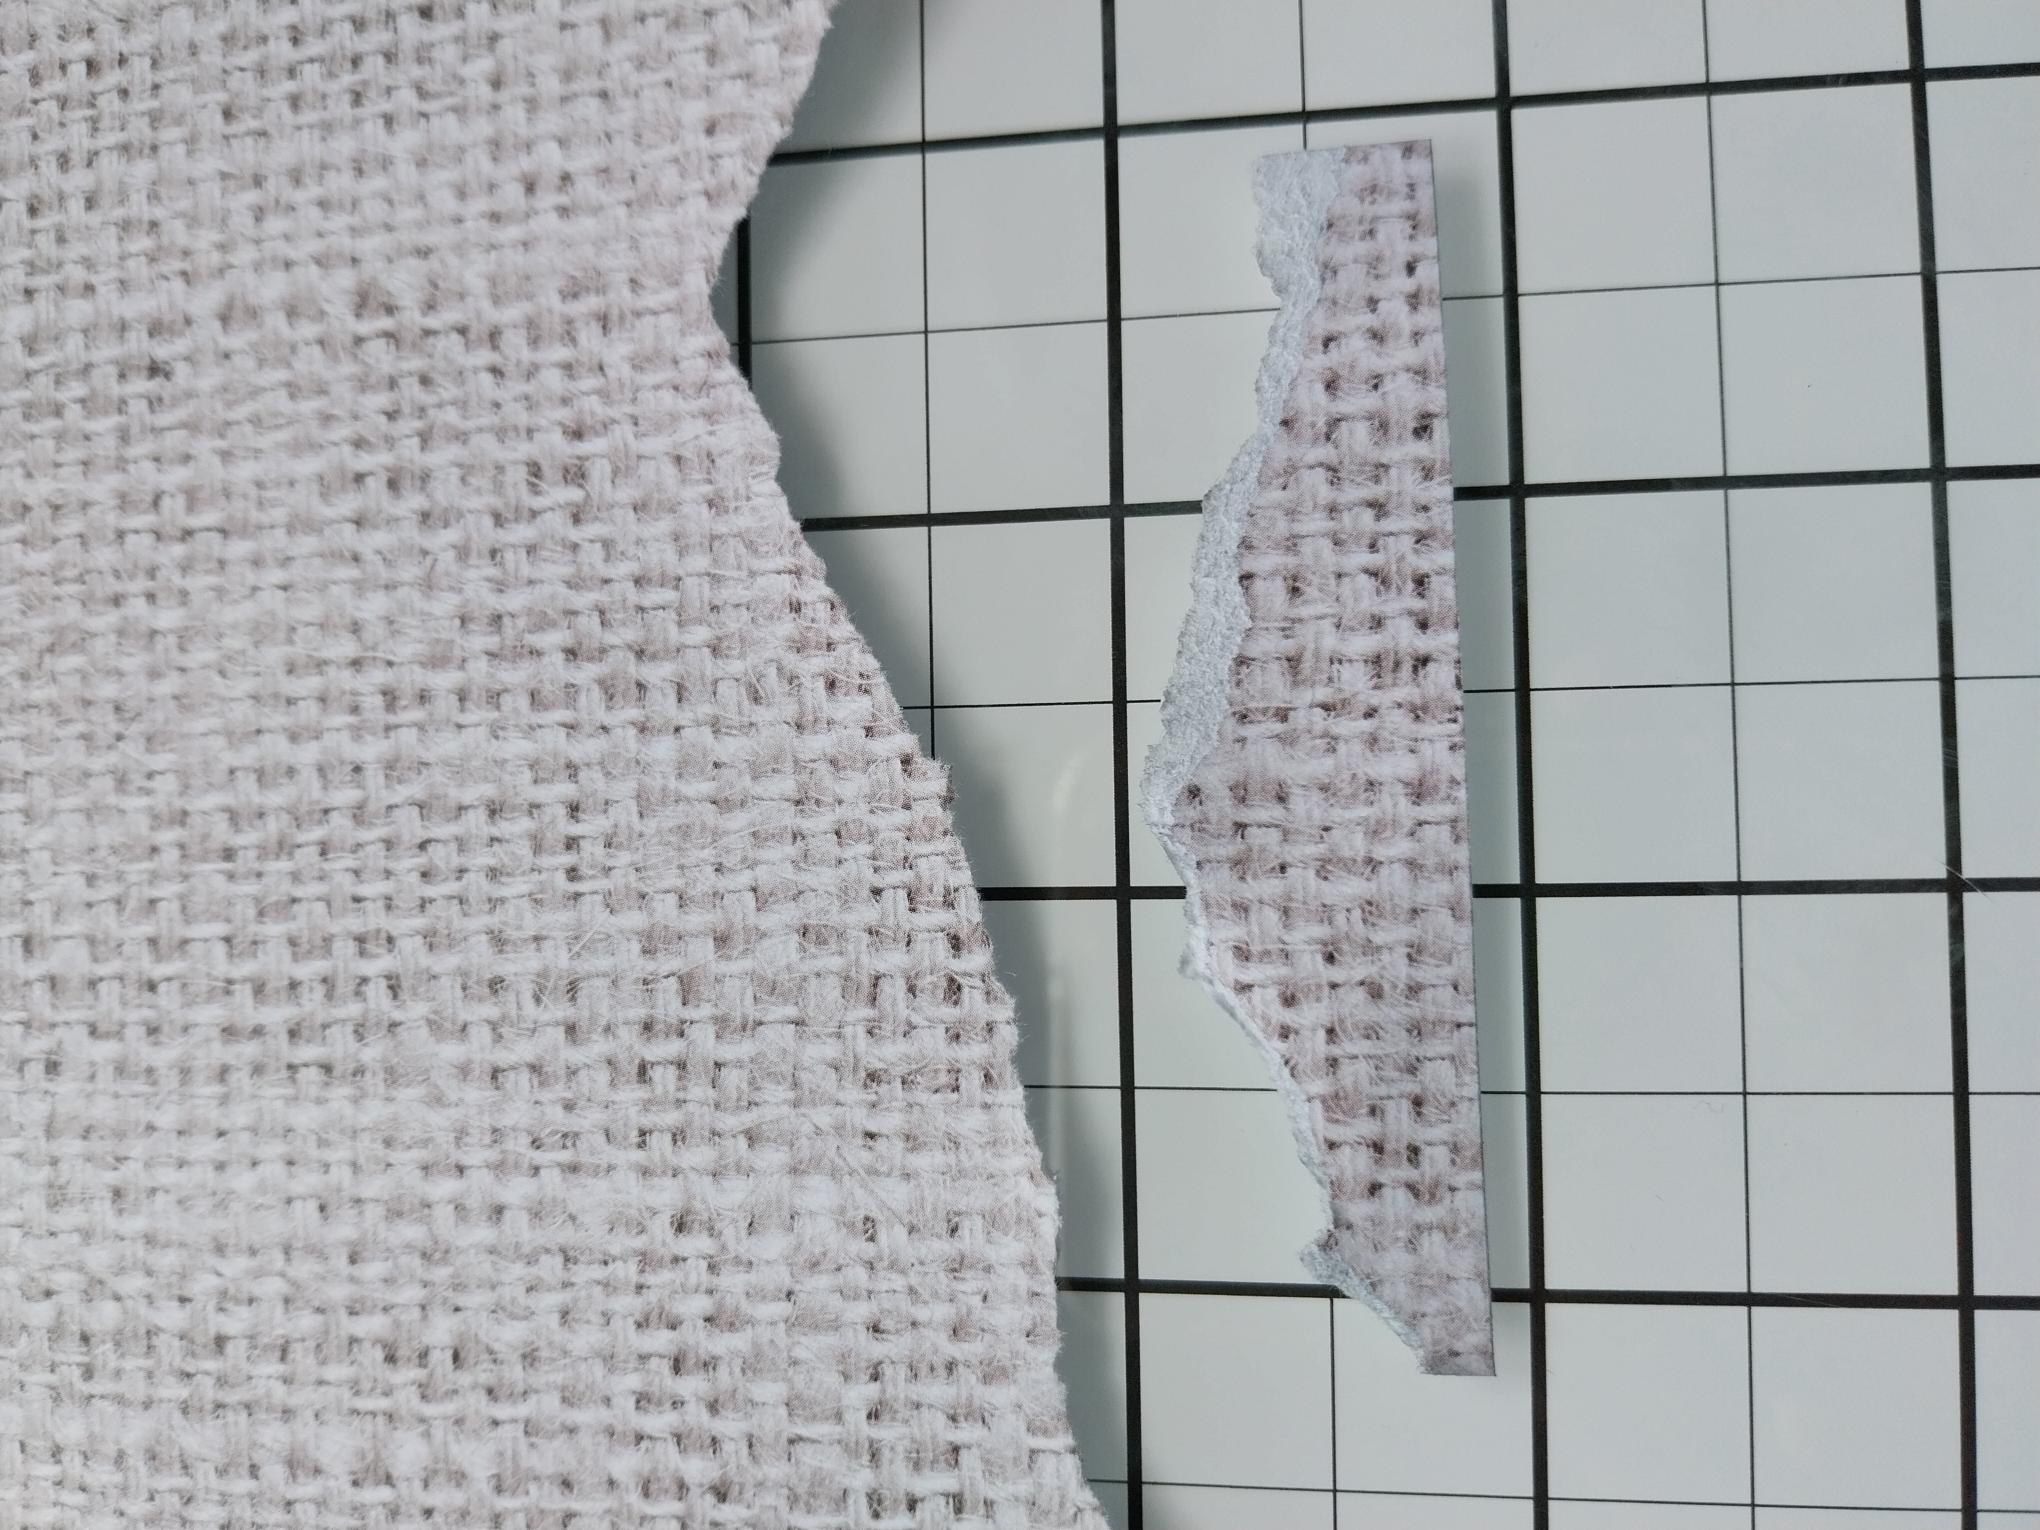
Tear a small piece from the textured paper, you set aside earlier. |
|
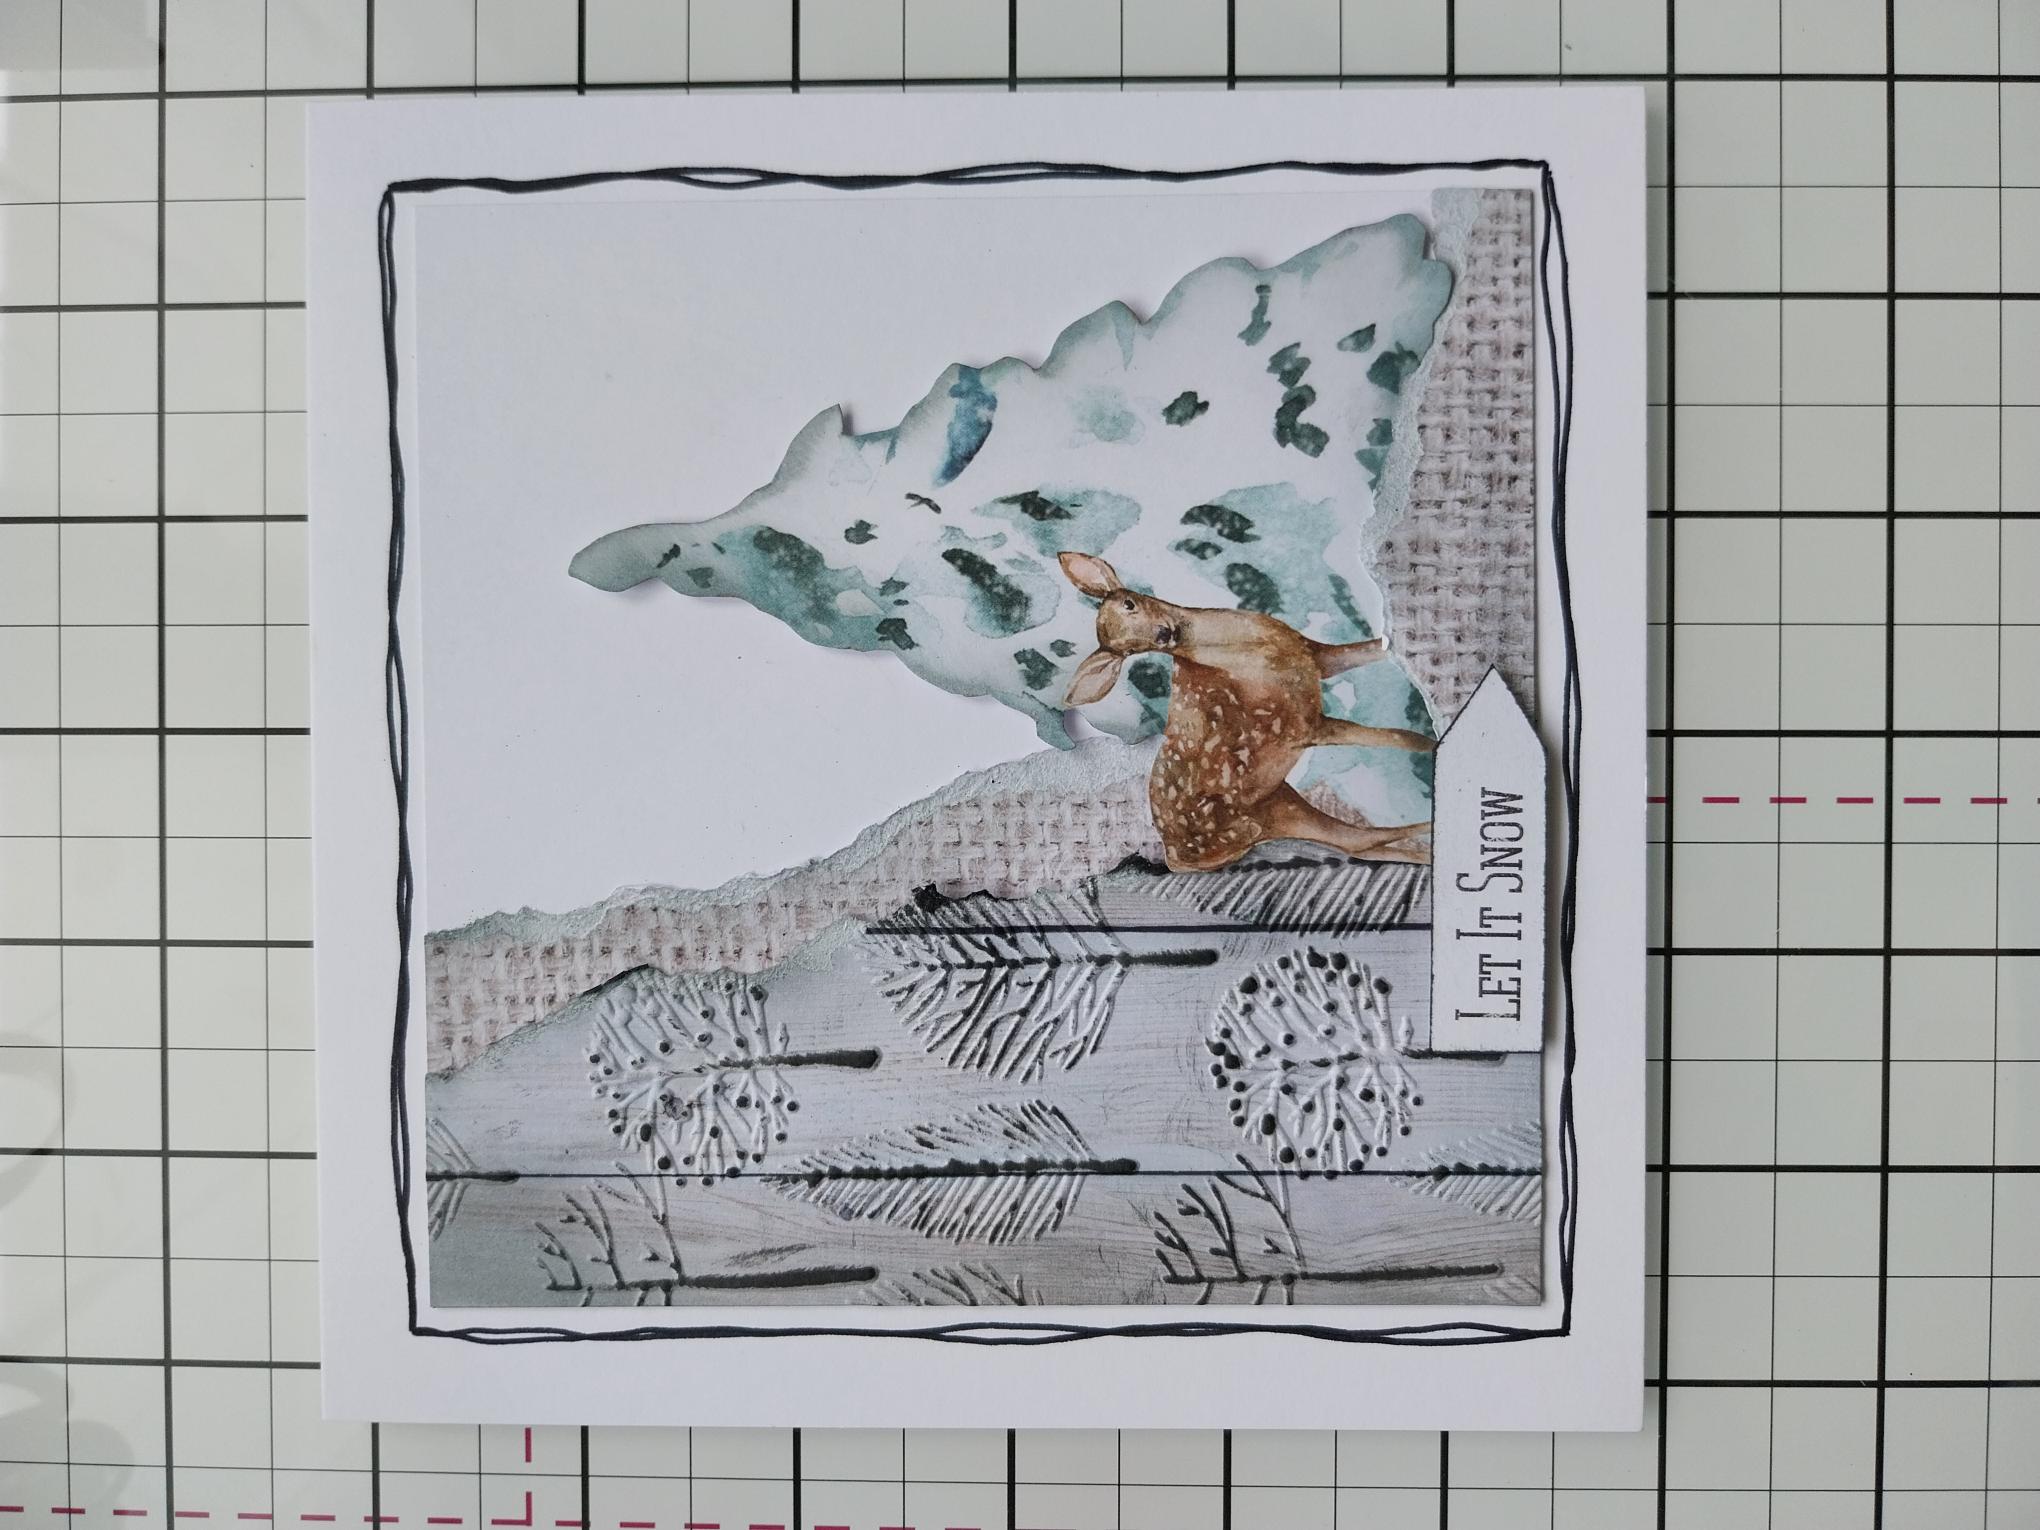
Adhere the fir tree and Fawn as seen here, before gluing the torn paper in front, to "ground" your layout. Scrunch the top torn edge, as before. |
|
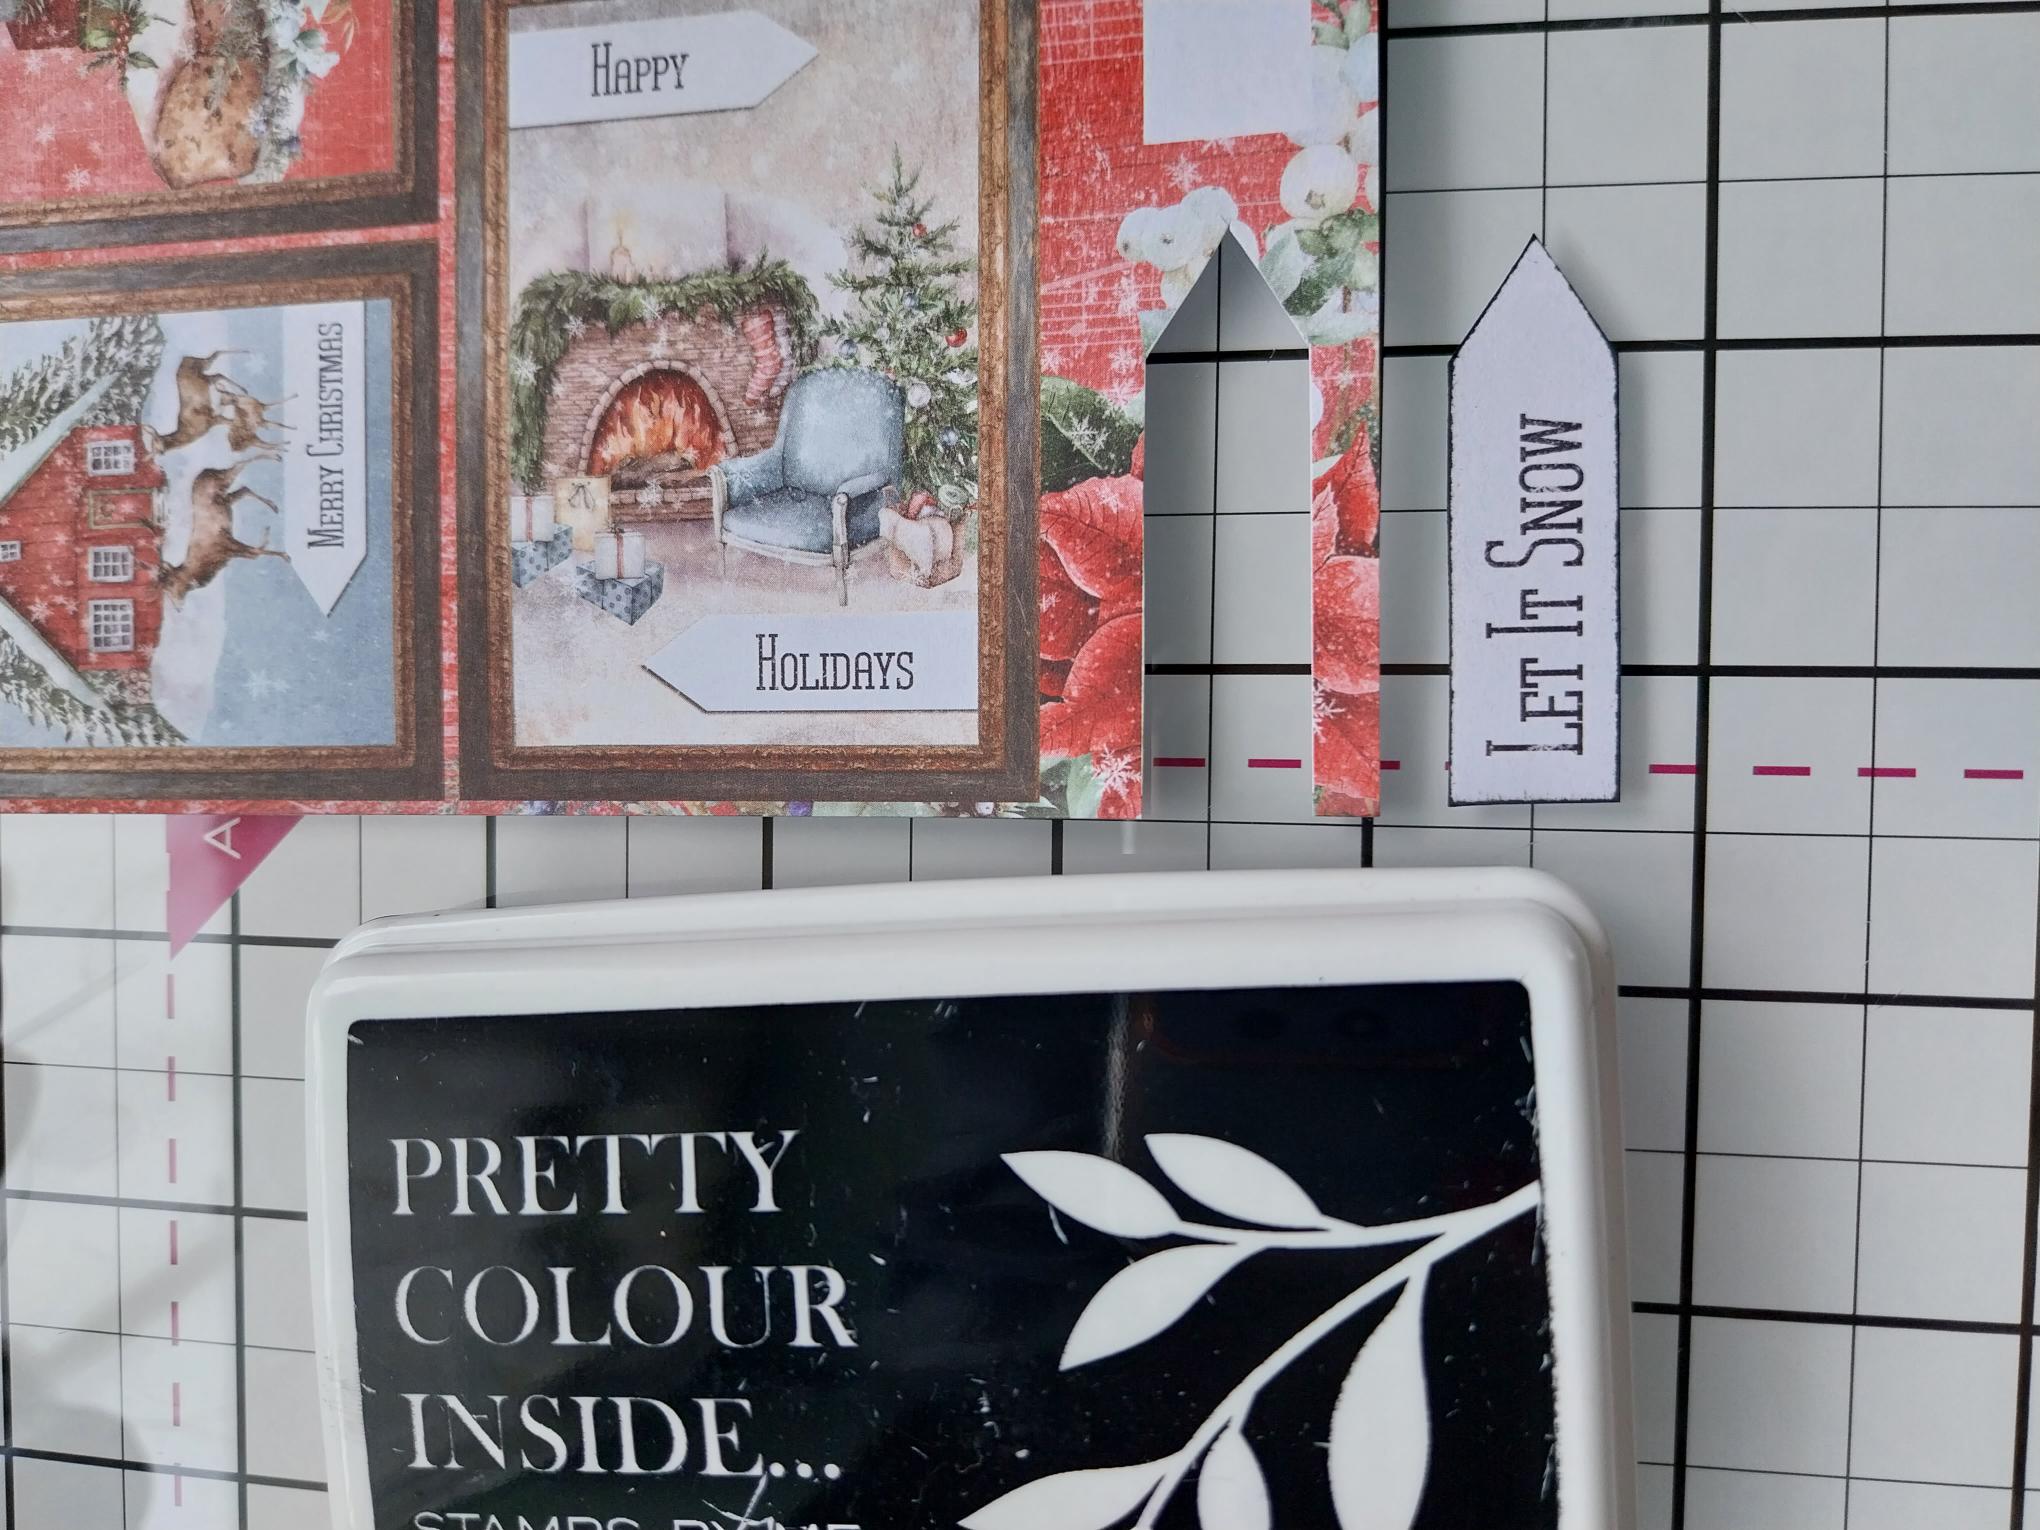
Cut out this sentiment banner from the embellishment pack topper sheet. Swipe the Midnight ink pad around the edges. |

|
Adhere to the bottom of your artwork with foam pads. |
|
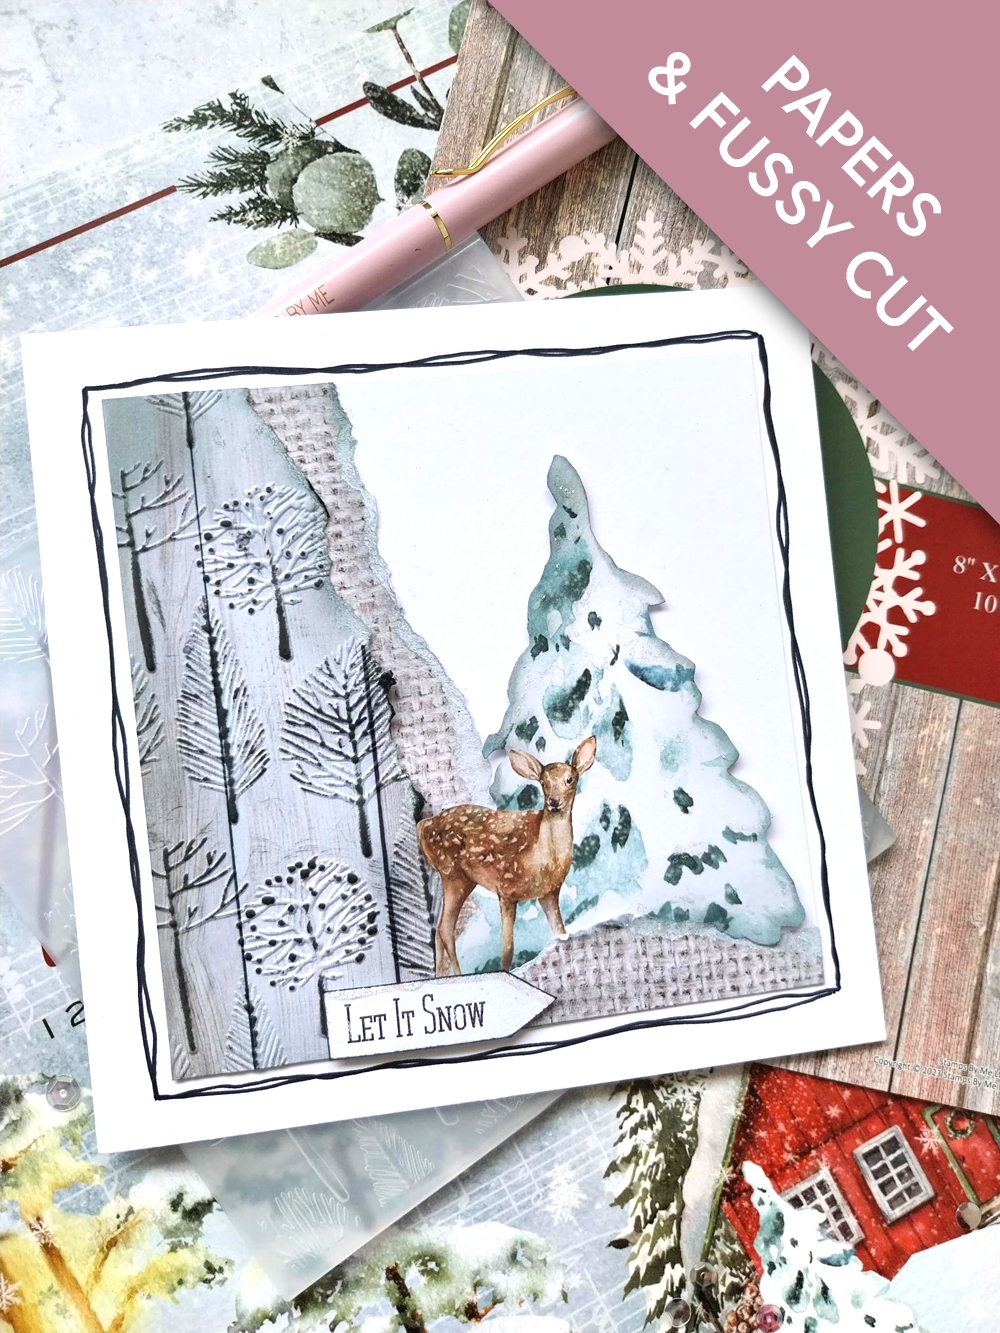
Adhere your artwork on to your 7" square, white card blank. Use a black pen to draw a decorative, wiggly frame around the card. |

|
To complete your card, use the Stickles to add glitter and sparkle where required. |