Give your friends $10 off their first order!
Refer a FRIEND


WHAT YOU WILL NEED:
White card blank 7 x 7" (tent fold-spine at the top)
A Winter Story Vellum Pack
A Winter Story 12 x 12" Paper Collection
A Winter Story 6 x 6" Embellishment Pack
Meet Me By The Willow Tree Stamp Collection
Christmas Blessing Stamp Collection (or a sentiment stamp from your crafty stash)
Deboss Circle Nesting Die Collection
SBM Hybrid Ink Pad: Midnight
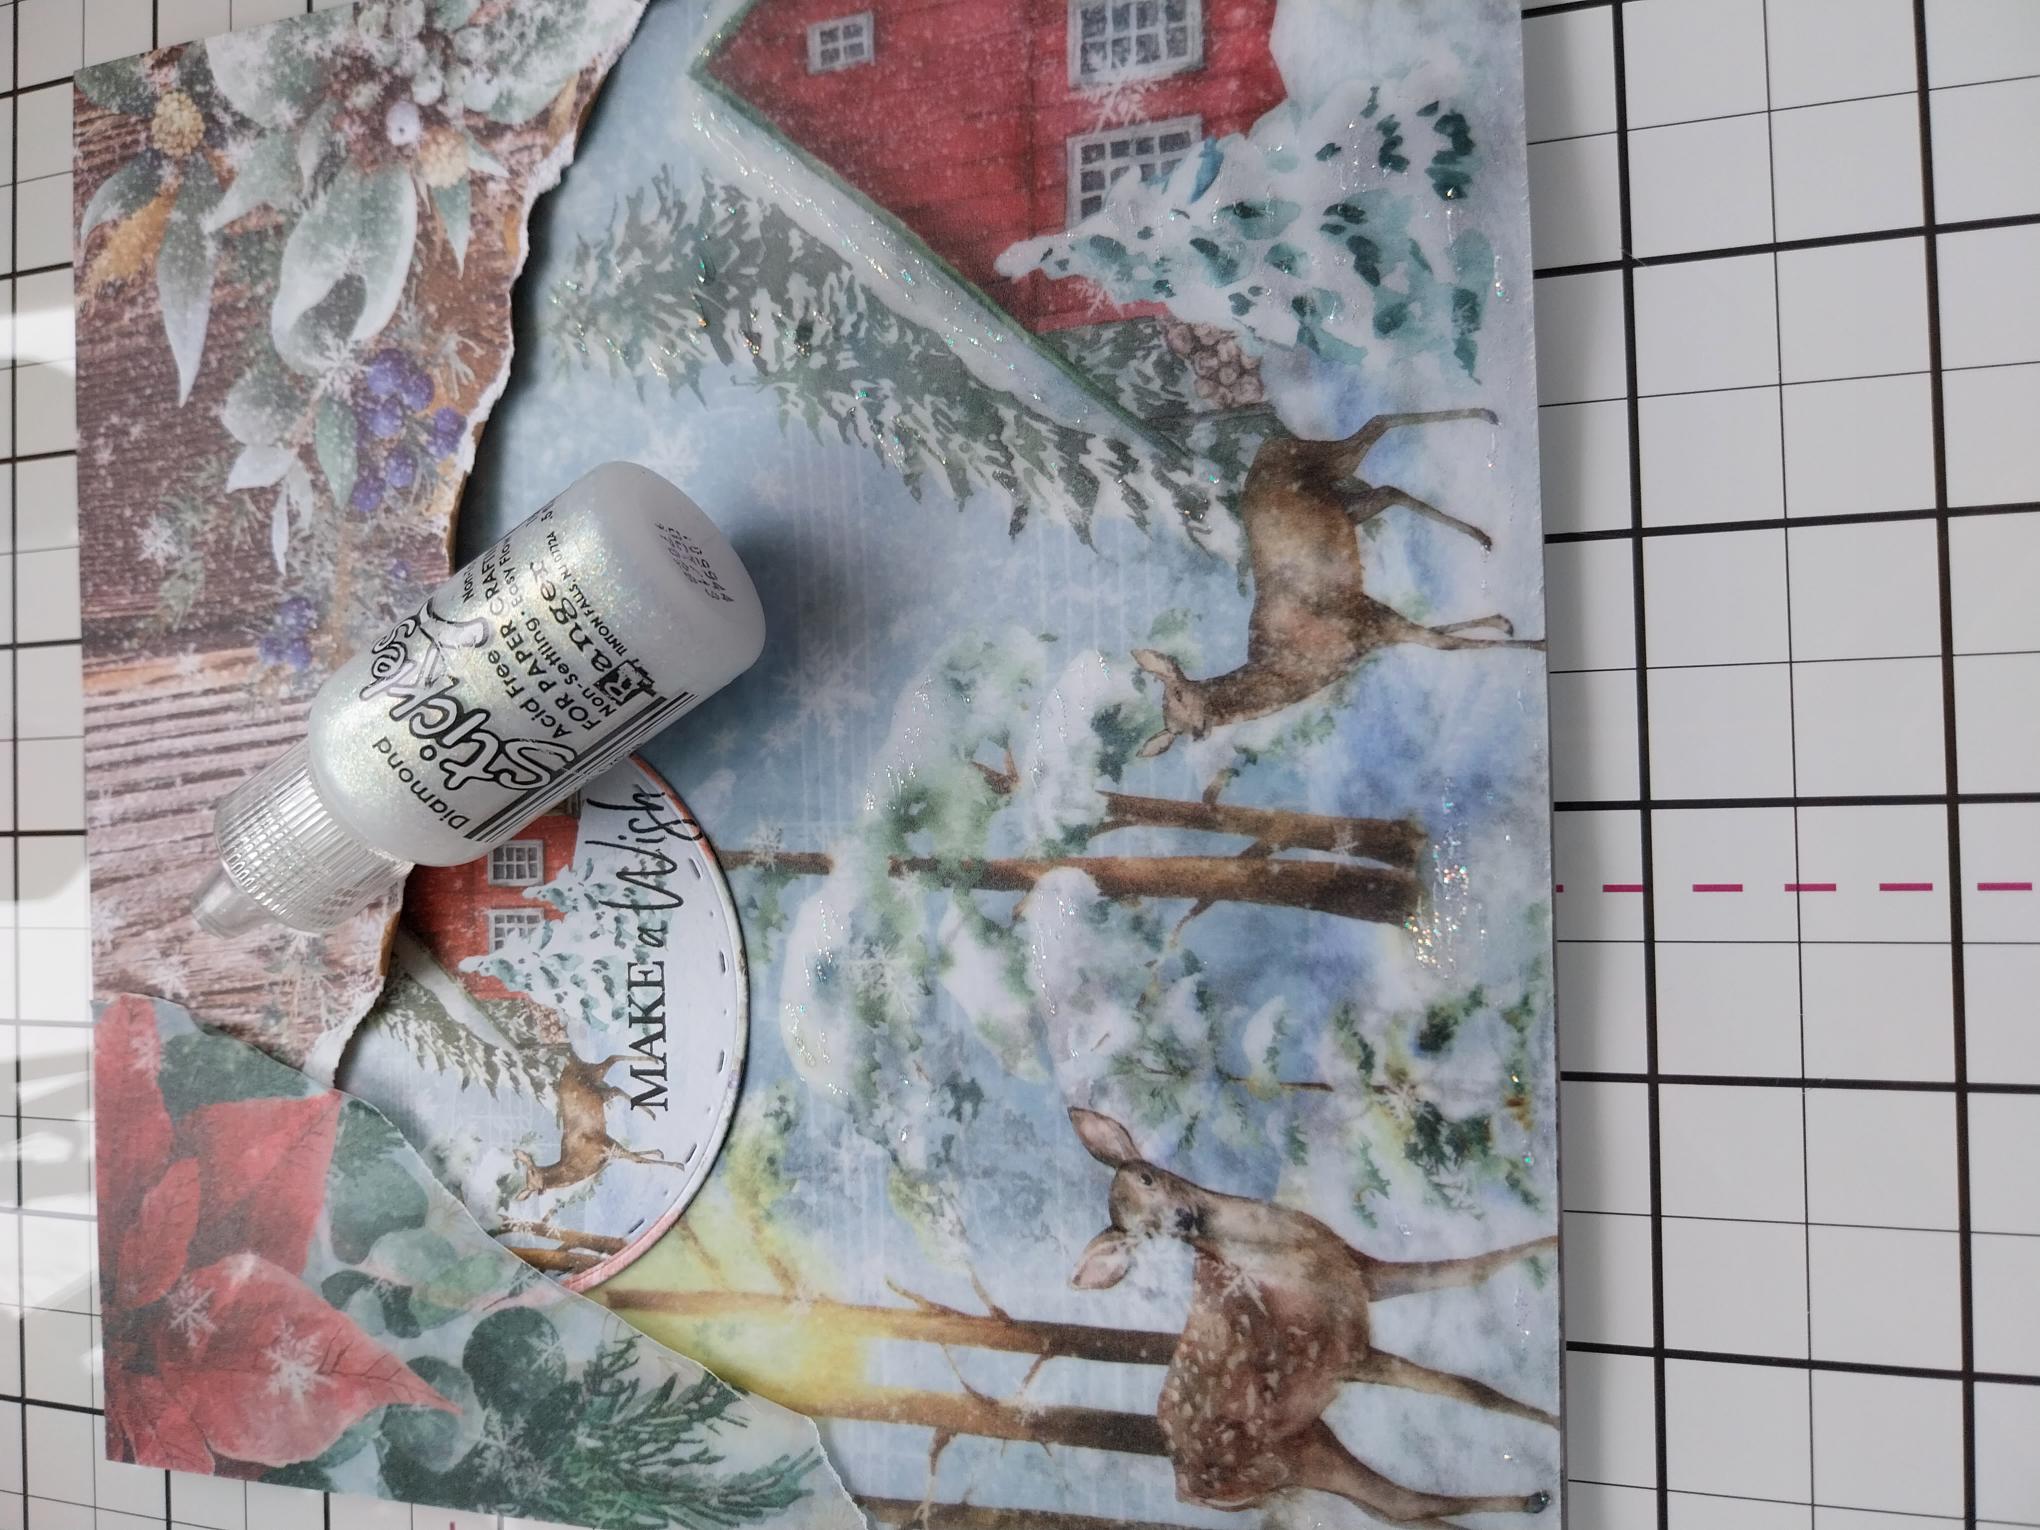
Ranger Stickles: Diamond
Blending tool
Ranger Distress Ink/Oxide Ink Pad: Iced Spruce
Eureka 101 Watercolour Tablet
SBM Magnetic glass mat
Paper Trimmer
Perfect Together Glue
Double-sided adhesive tape/tape runner
Die Cutting machine
[click image to enlarge] 
|
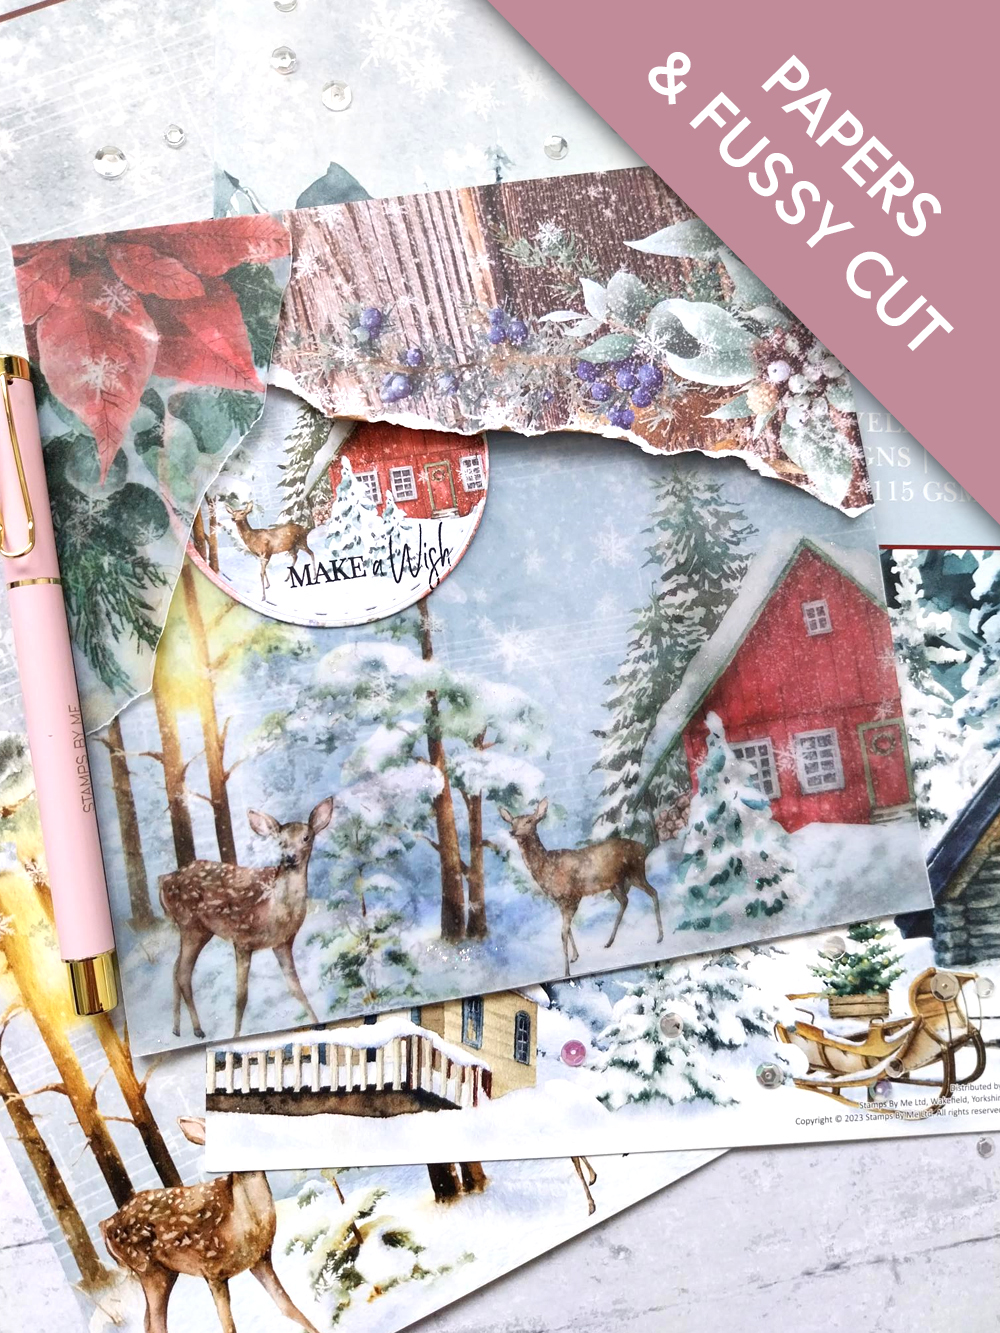
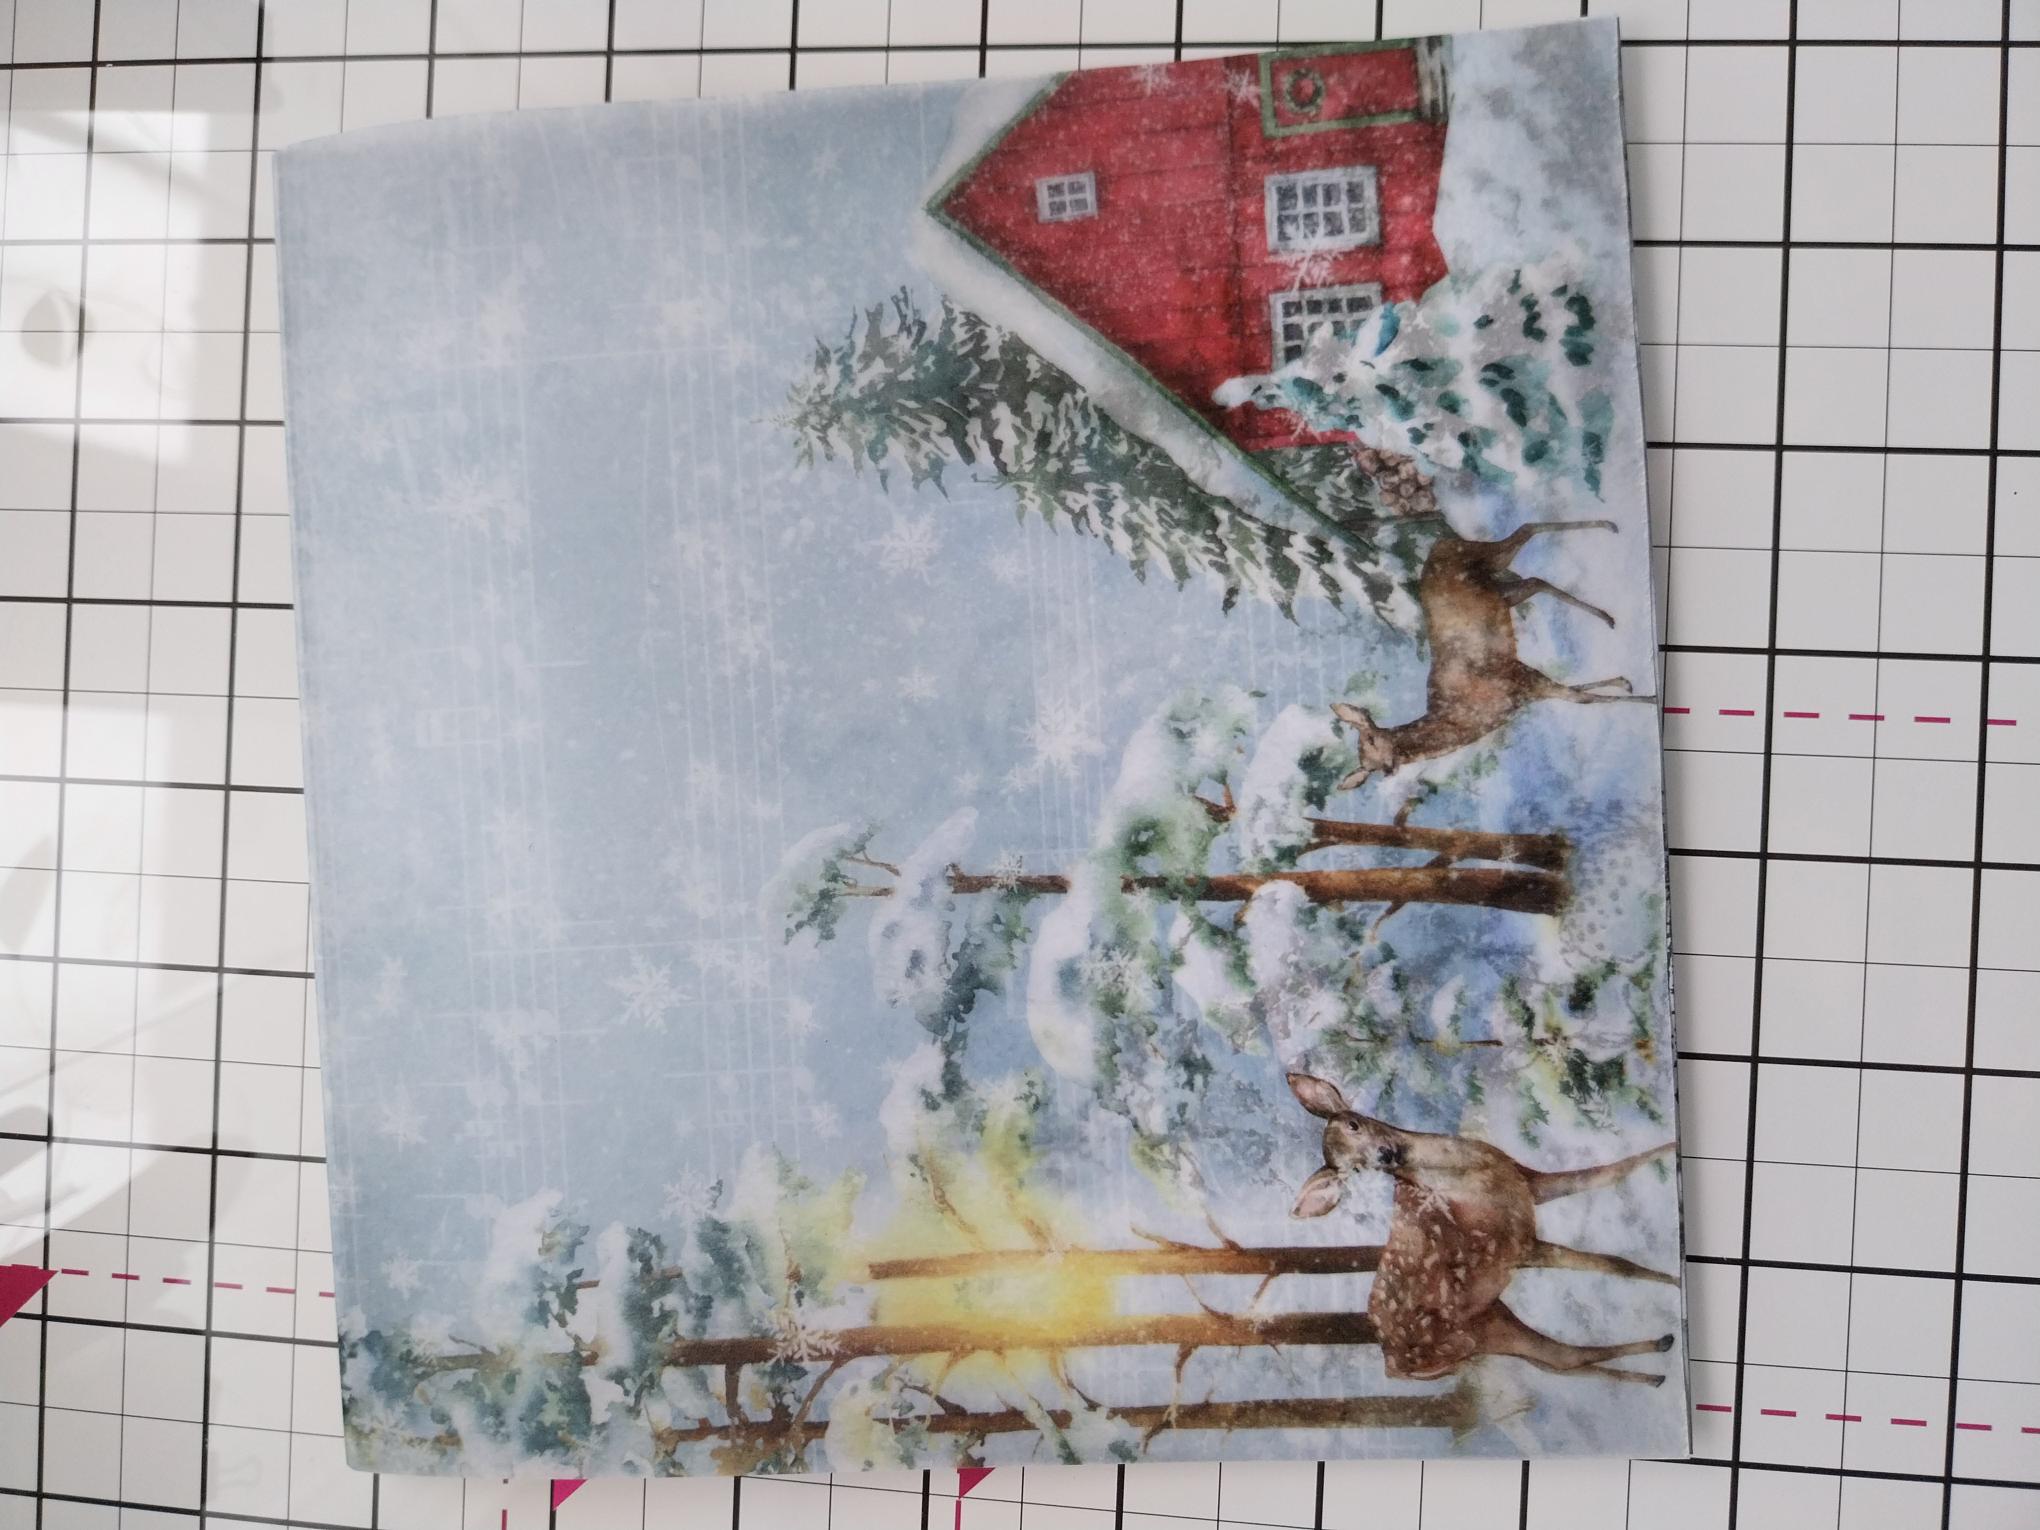
Trim this paper from the 12 x 12" Winter Story Paper Collection, to 7 x 7" (same size as your card blank). Use a blending tool to lightly apply the Iced Spruce around the edges, drawing your eye in to the image. NB: You can use smaller card blanks and for our USA crafters, you can adapt your exclusive HSN collection, as necessary, to fit the sizes you are working with. |
|
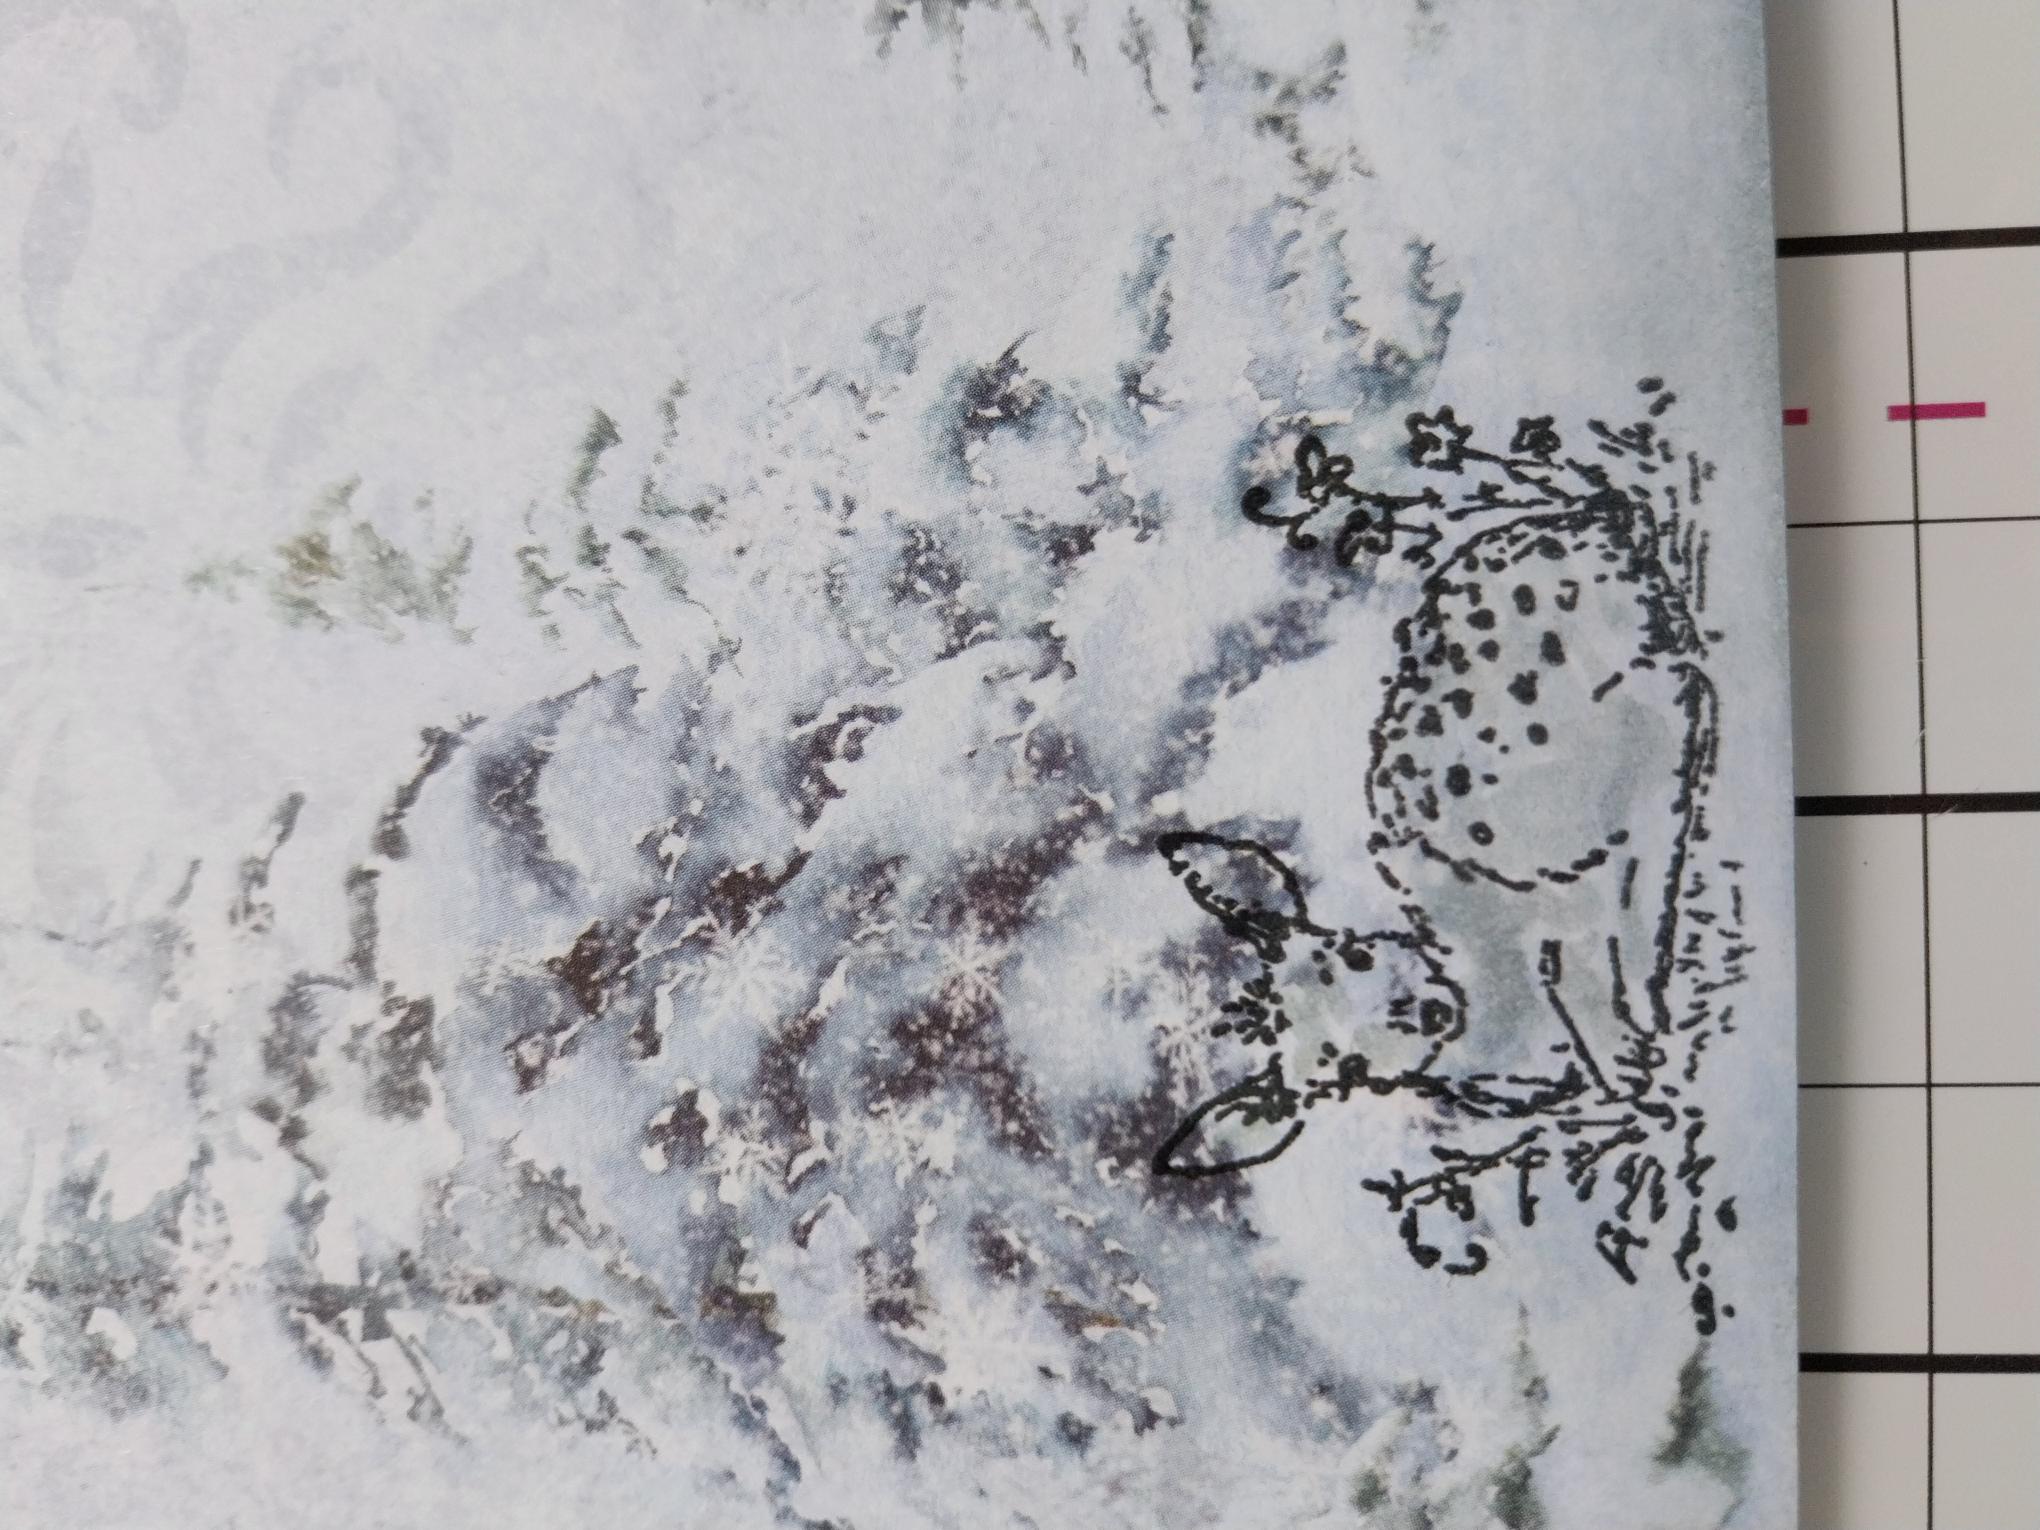
Stamp this adorable fawn in the Midnight ink, at the base of the fir trees. Alternatively, you can use any woodland creatures you may have, in your crafty stash. |
|
Adhere your background on to the front of your white, tent-fold, card blank. |
|
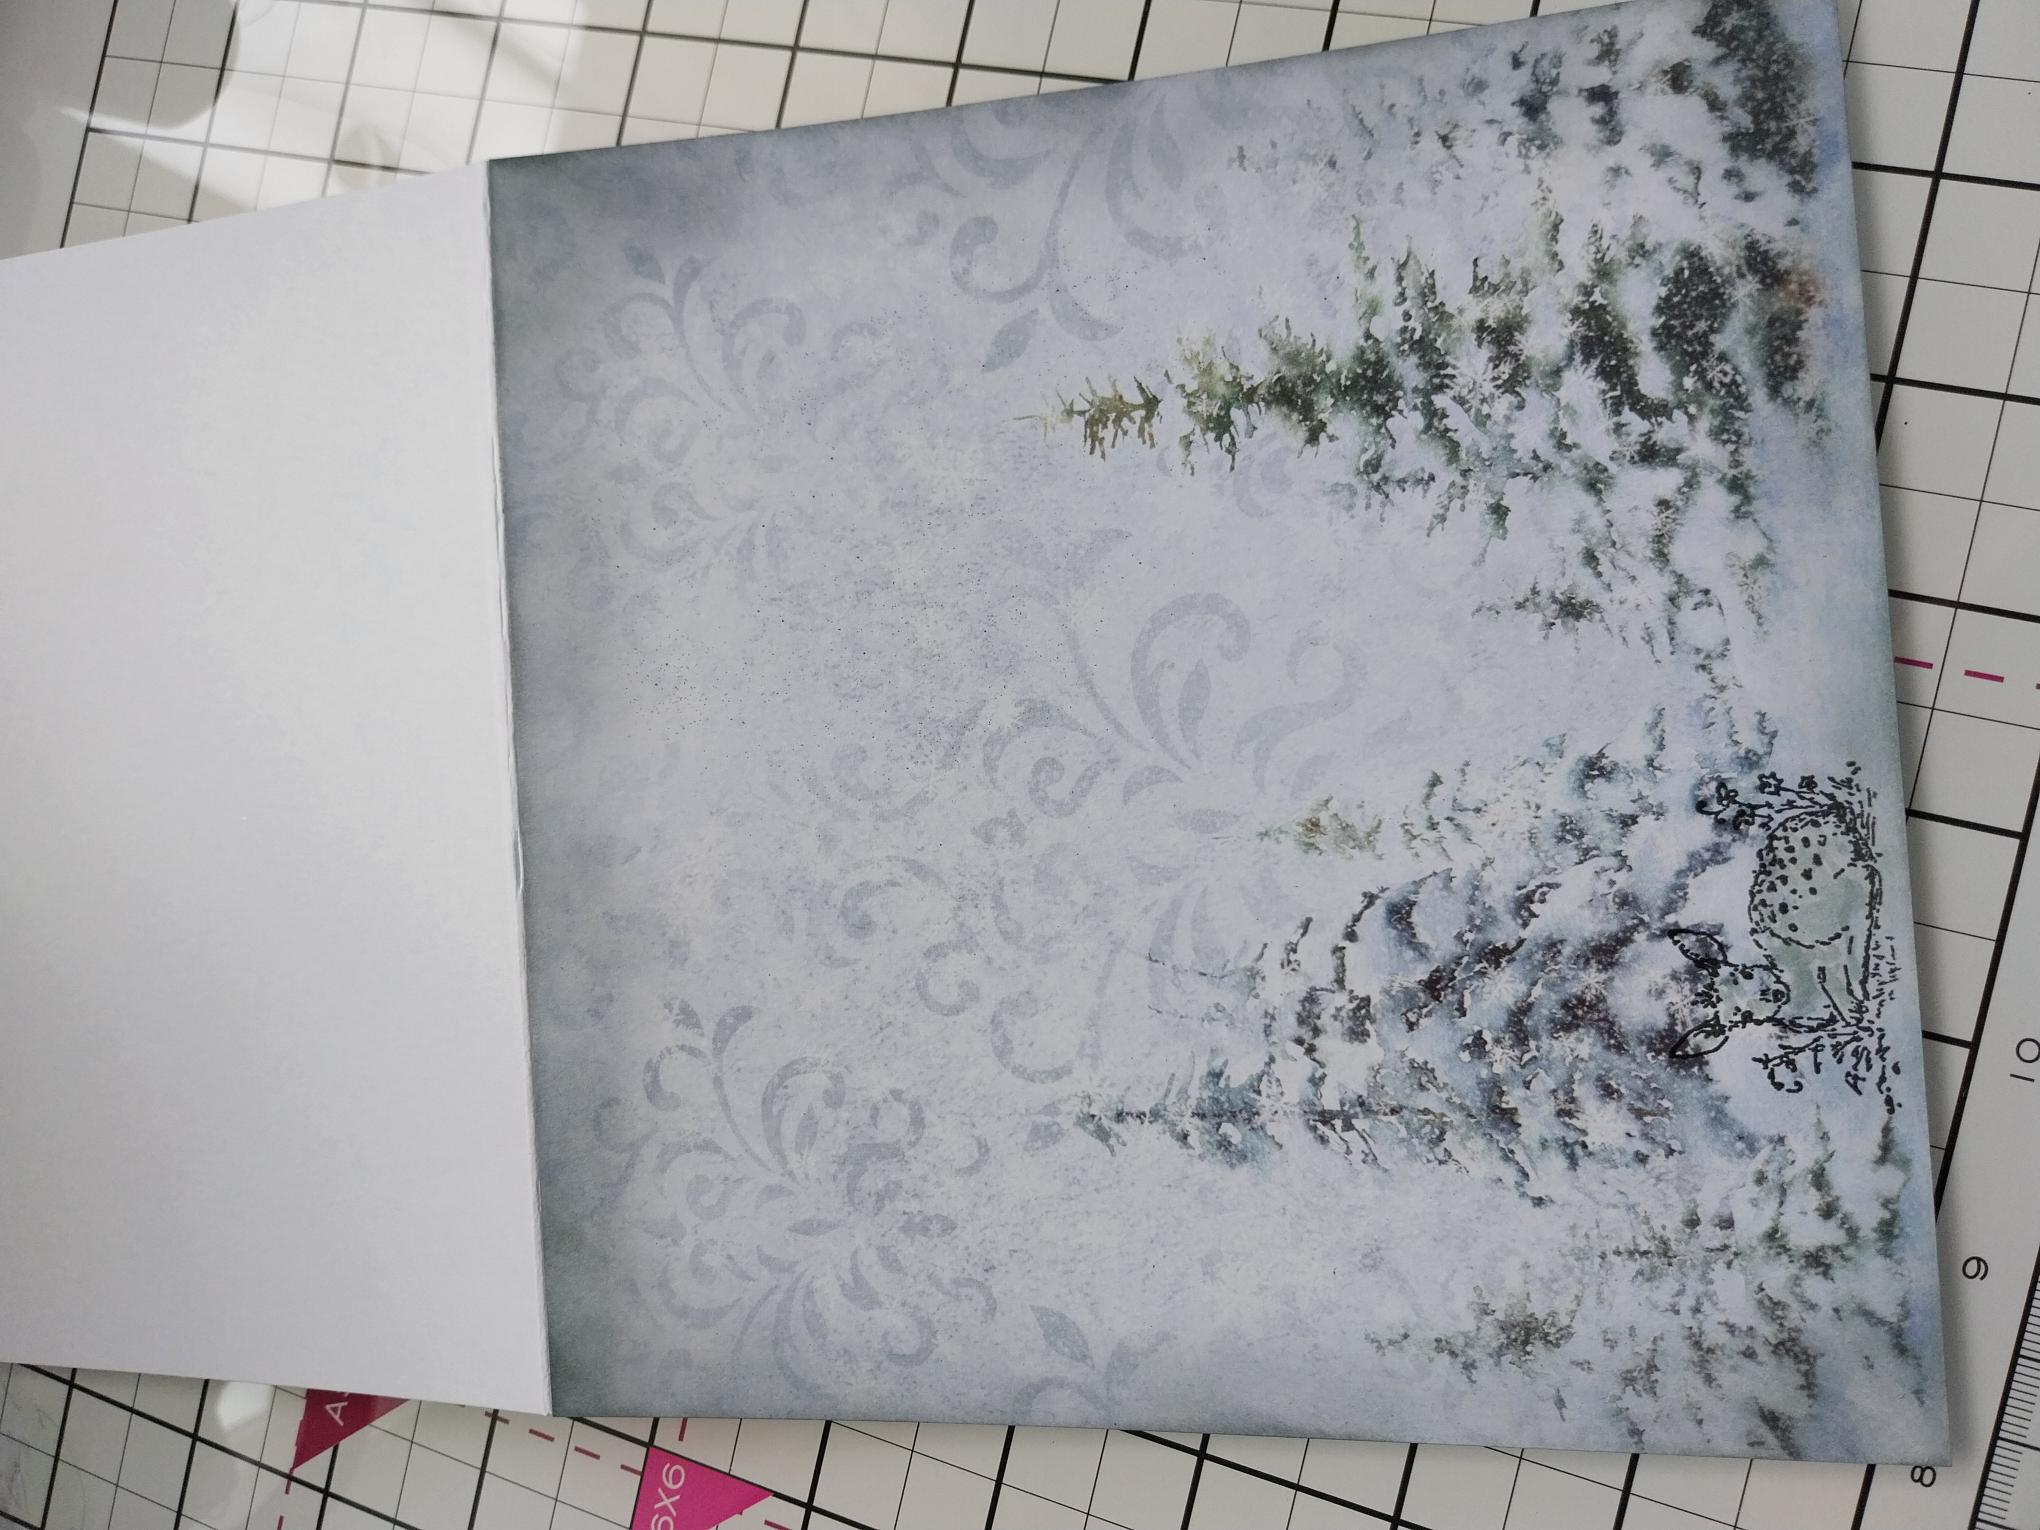
Trim this utterly enchanting vellum, from the Winter Story Vellum Pack, to the same width as your card blank and a couple of centimetres longer. |

|
Place on top of your card, flush with the sides and bottom, then tuck the overhang over the top of the card blank. Secure on the reverse of your card blank with a little double-sided adhesive tape or a tape runner. You will be able to lift the vellum panel to reveal the decorative paper underneath. If required, you can add a little adhesive, with your tape runner, at the top along the card spine, to prevent it from completely lifting up. Tip: When working with patterned vellum, add a touch of adhesive where the darker, patterned areas are, so you can't see it through the vellum. |
|
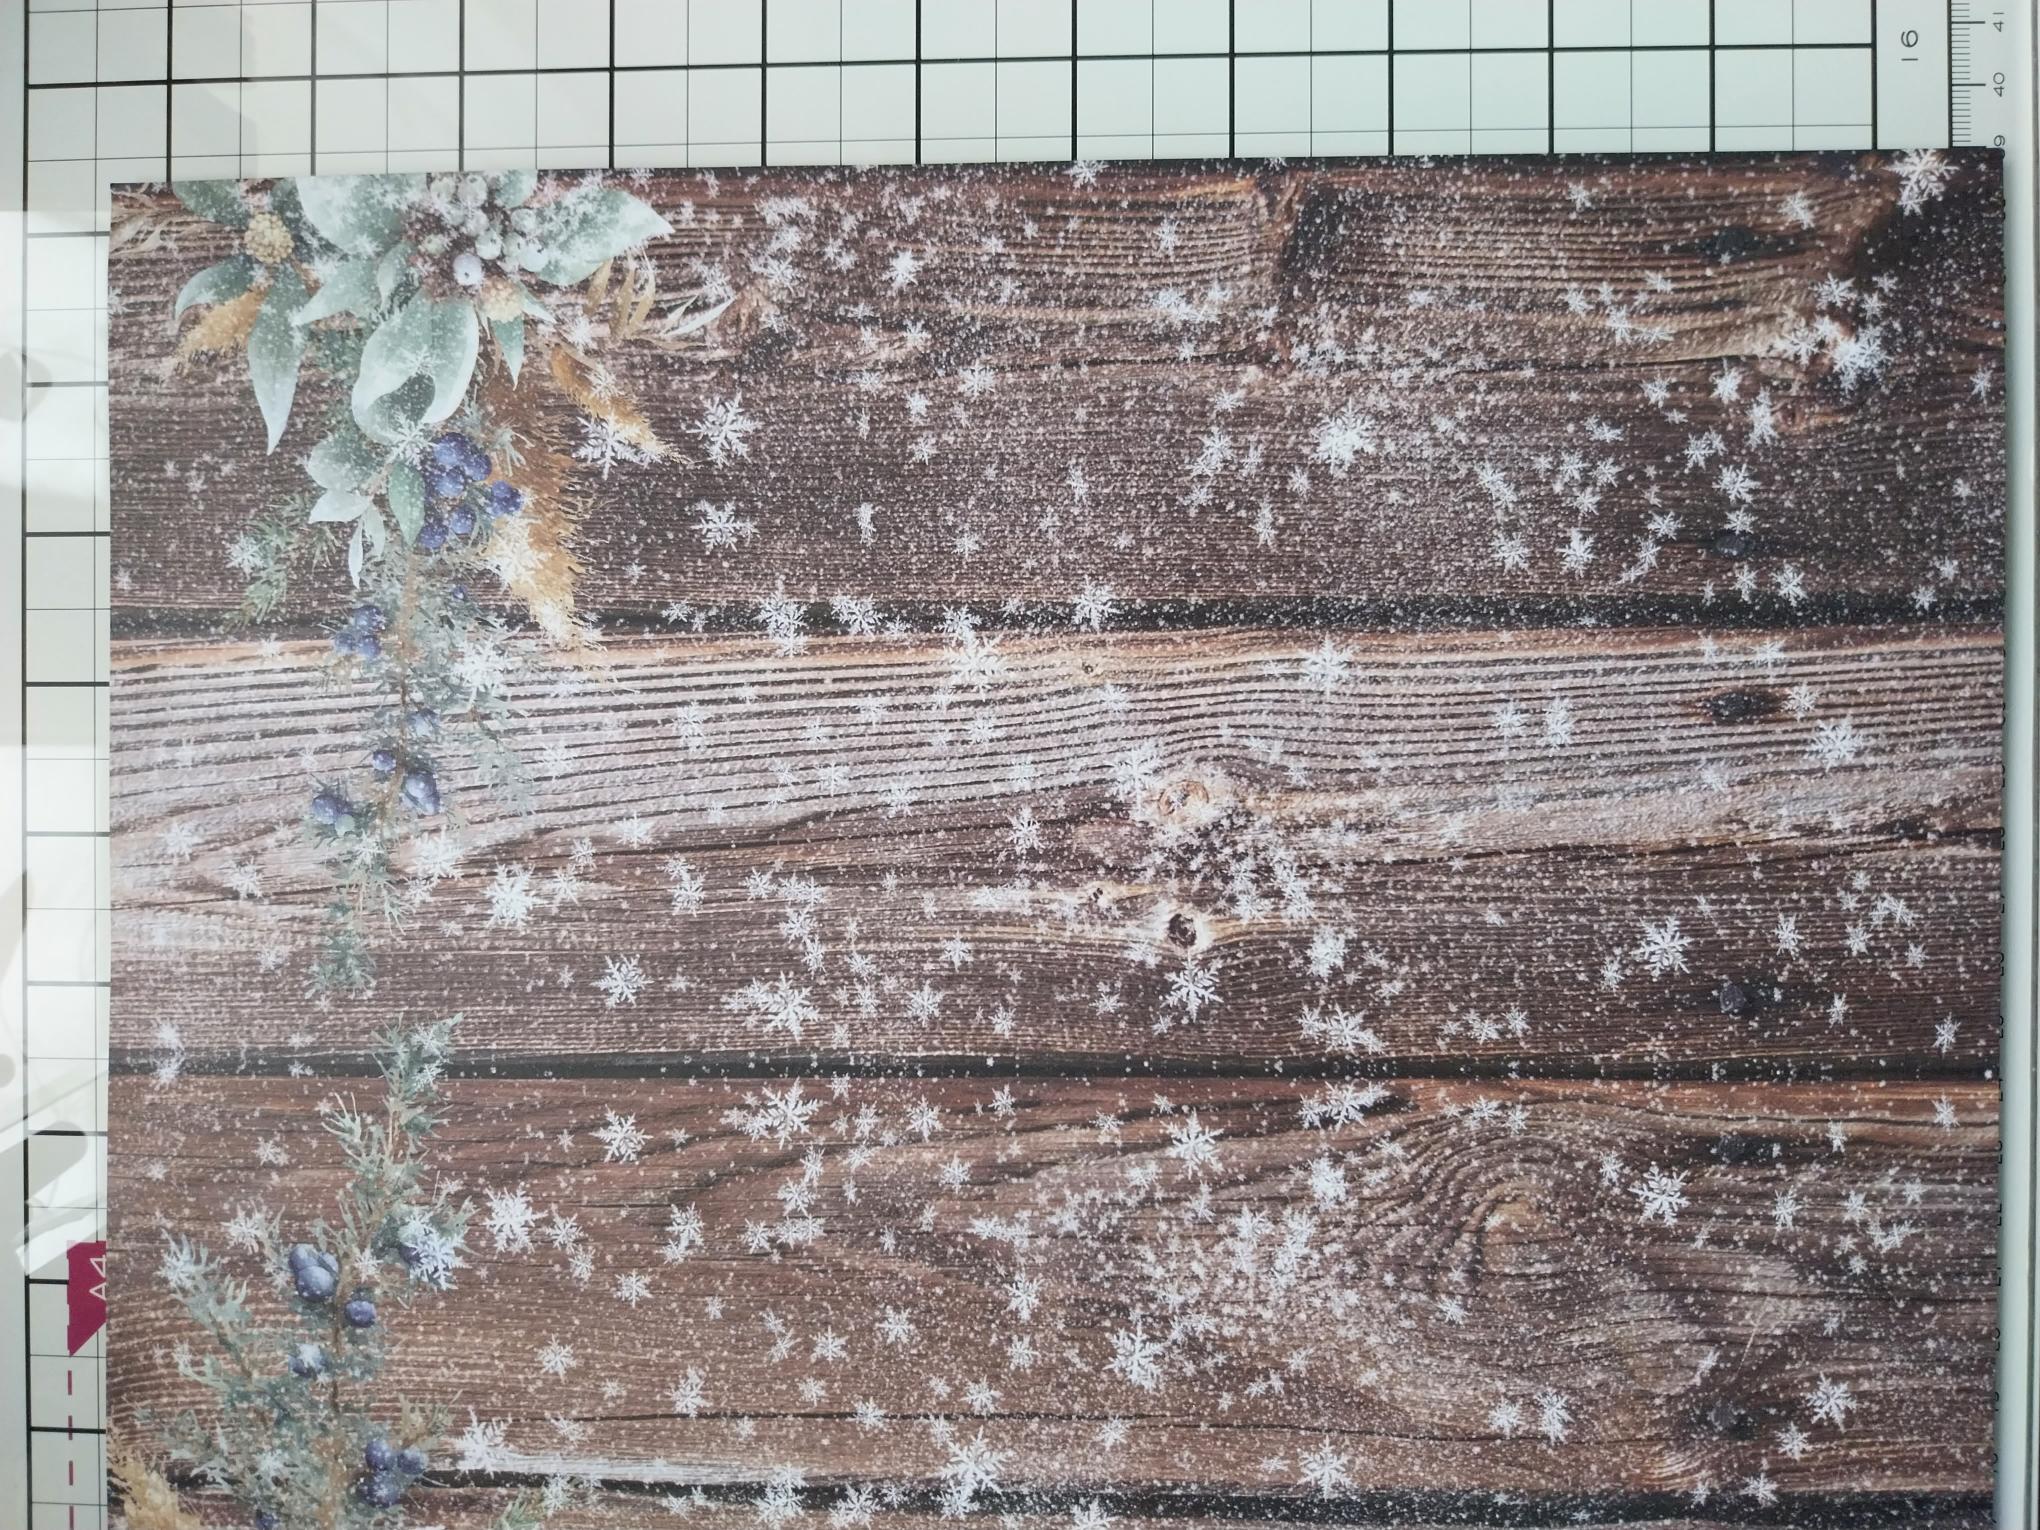
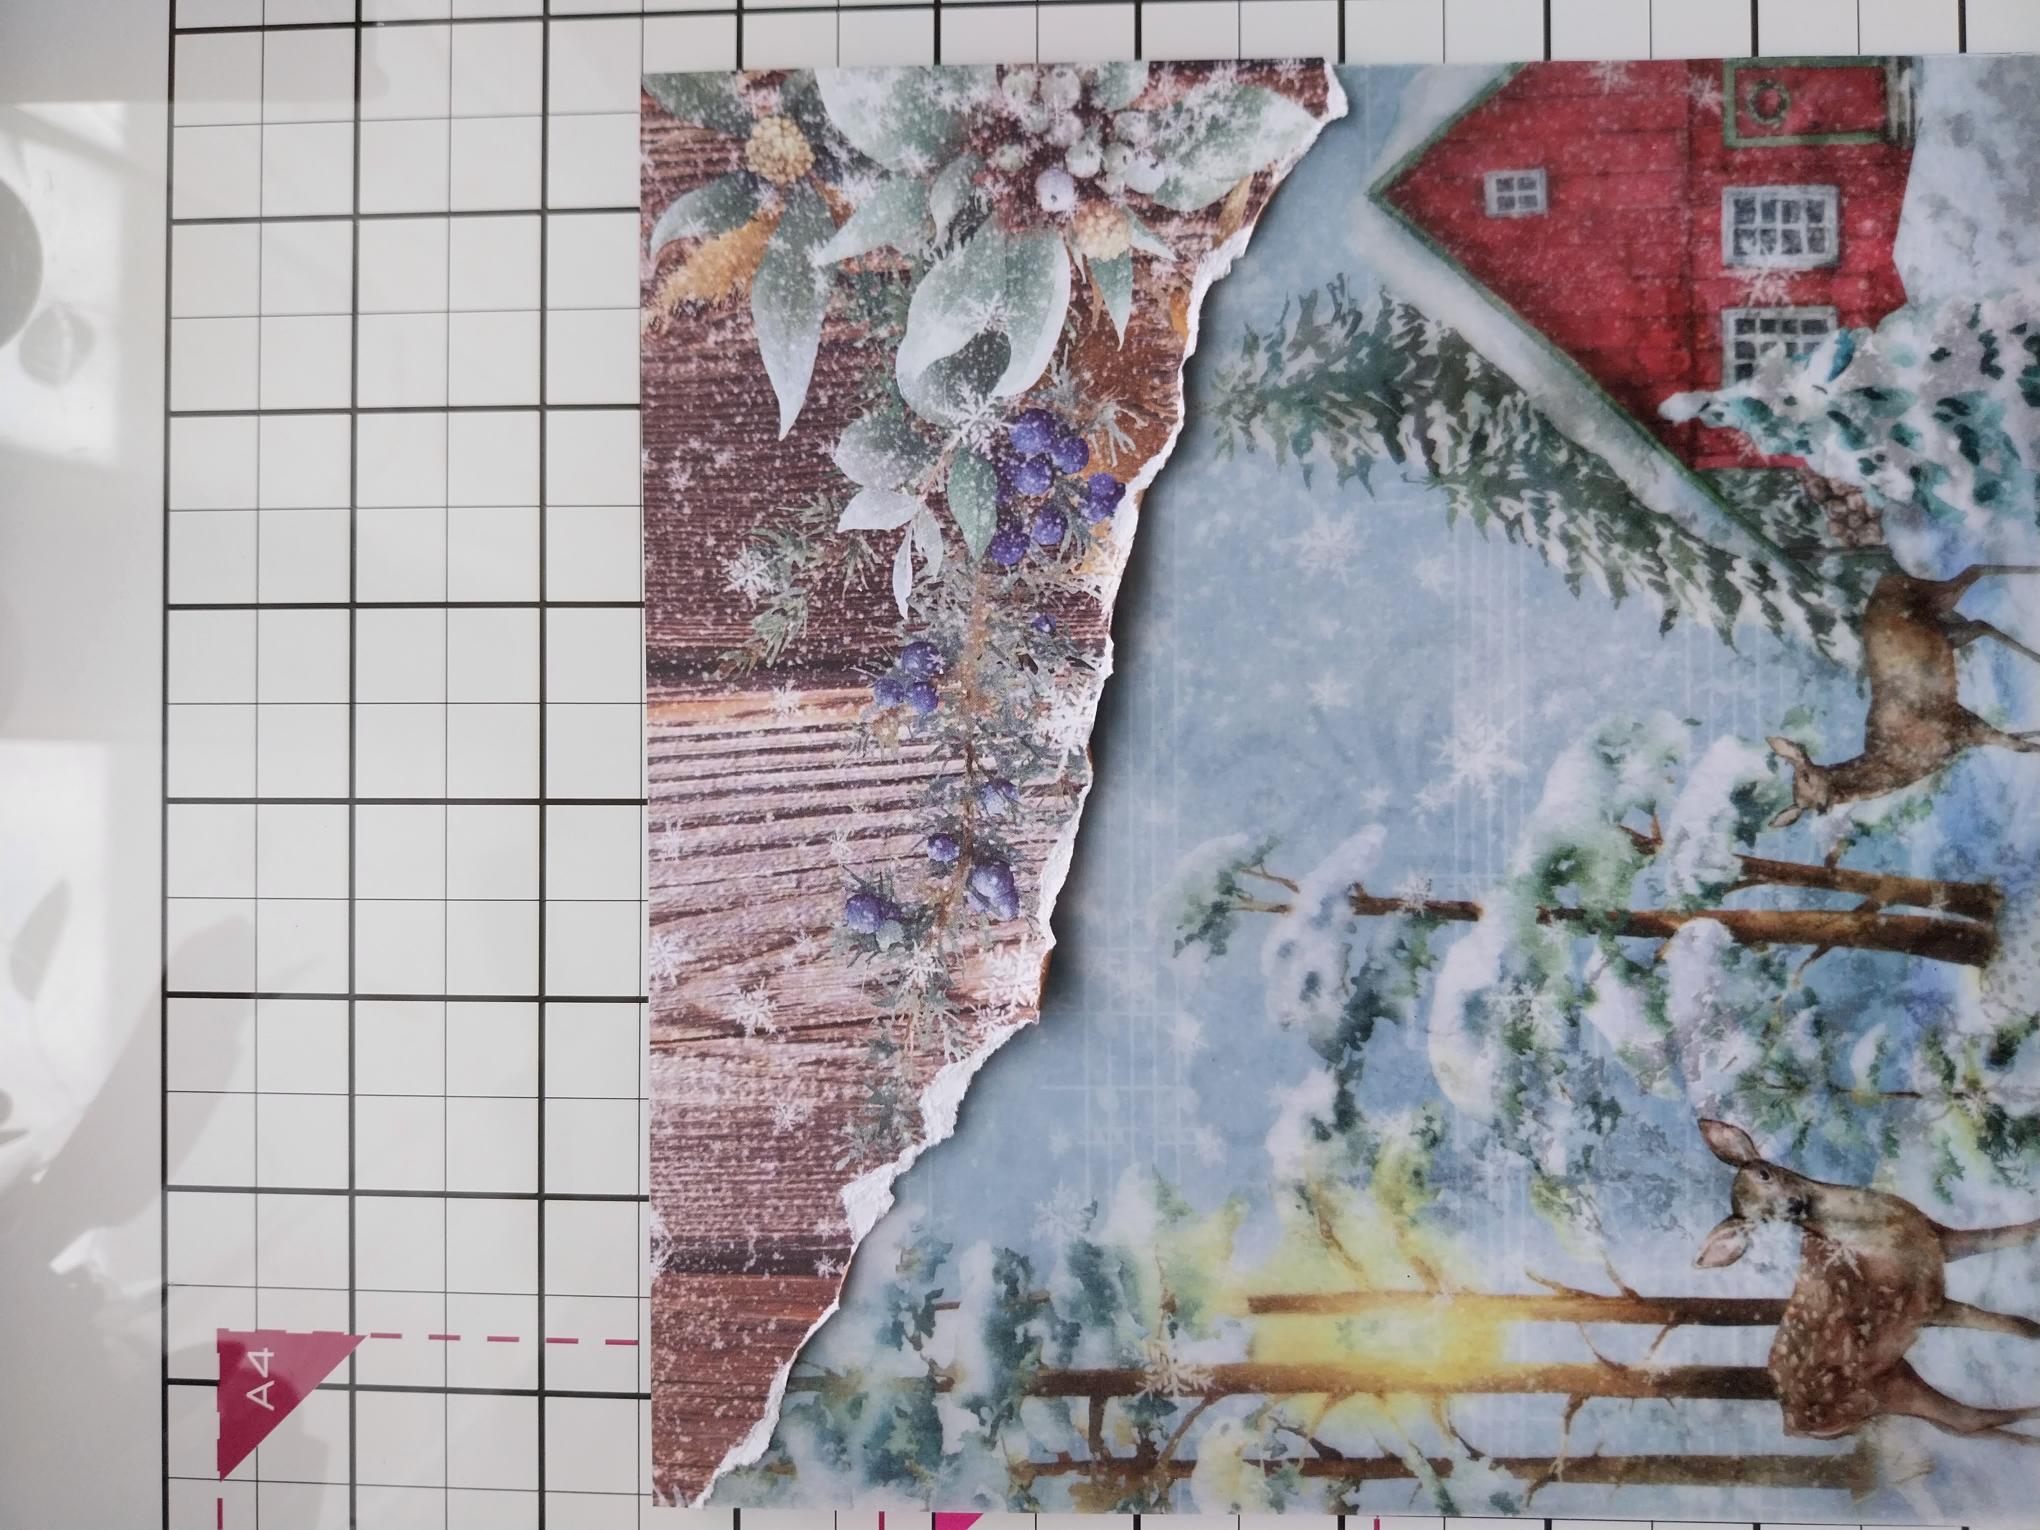
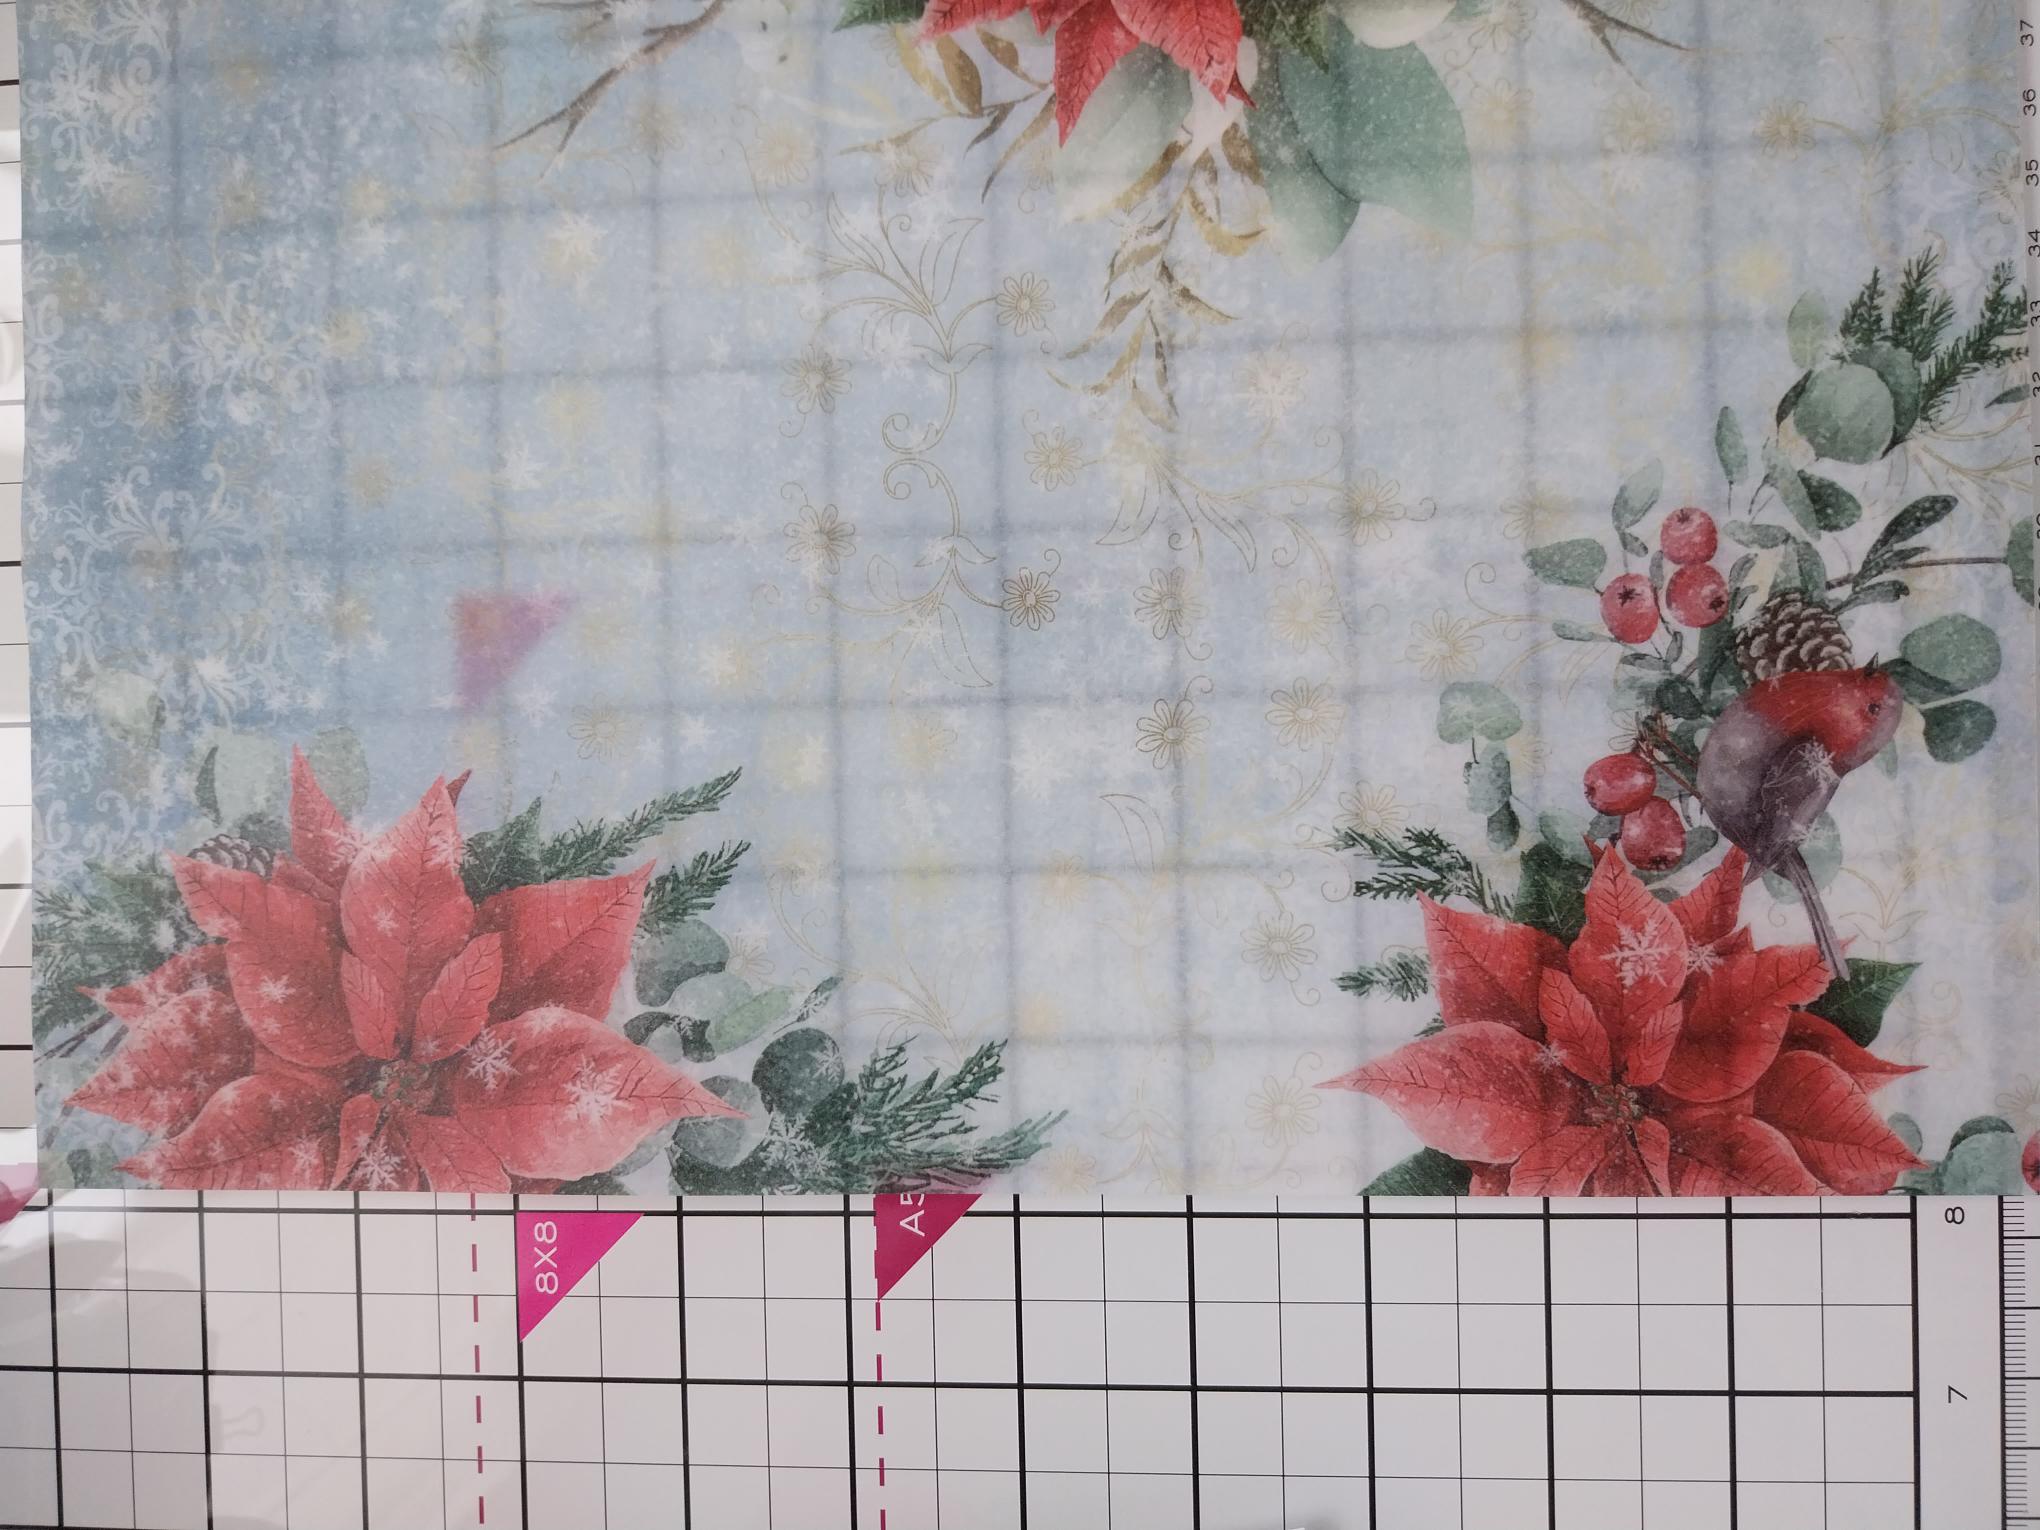
Remove this striking paper from the paper pack. |
|
Tear around the floral, Poinsettia artwork, adhere along the top right corner of your card, as required and trim off any overhang. Scrunch the torn edge of the paper, leaving it free of glue, to give a distressed, dimensional effect. Pop your card to one side. |
|
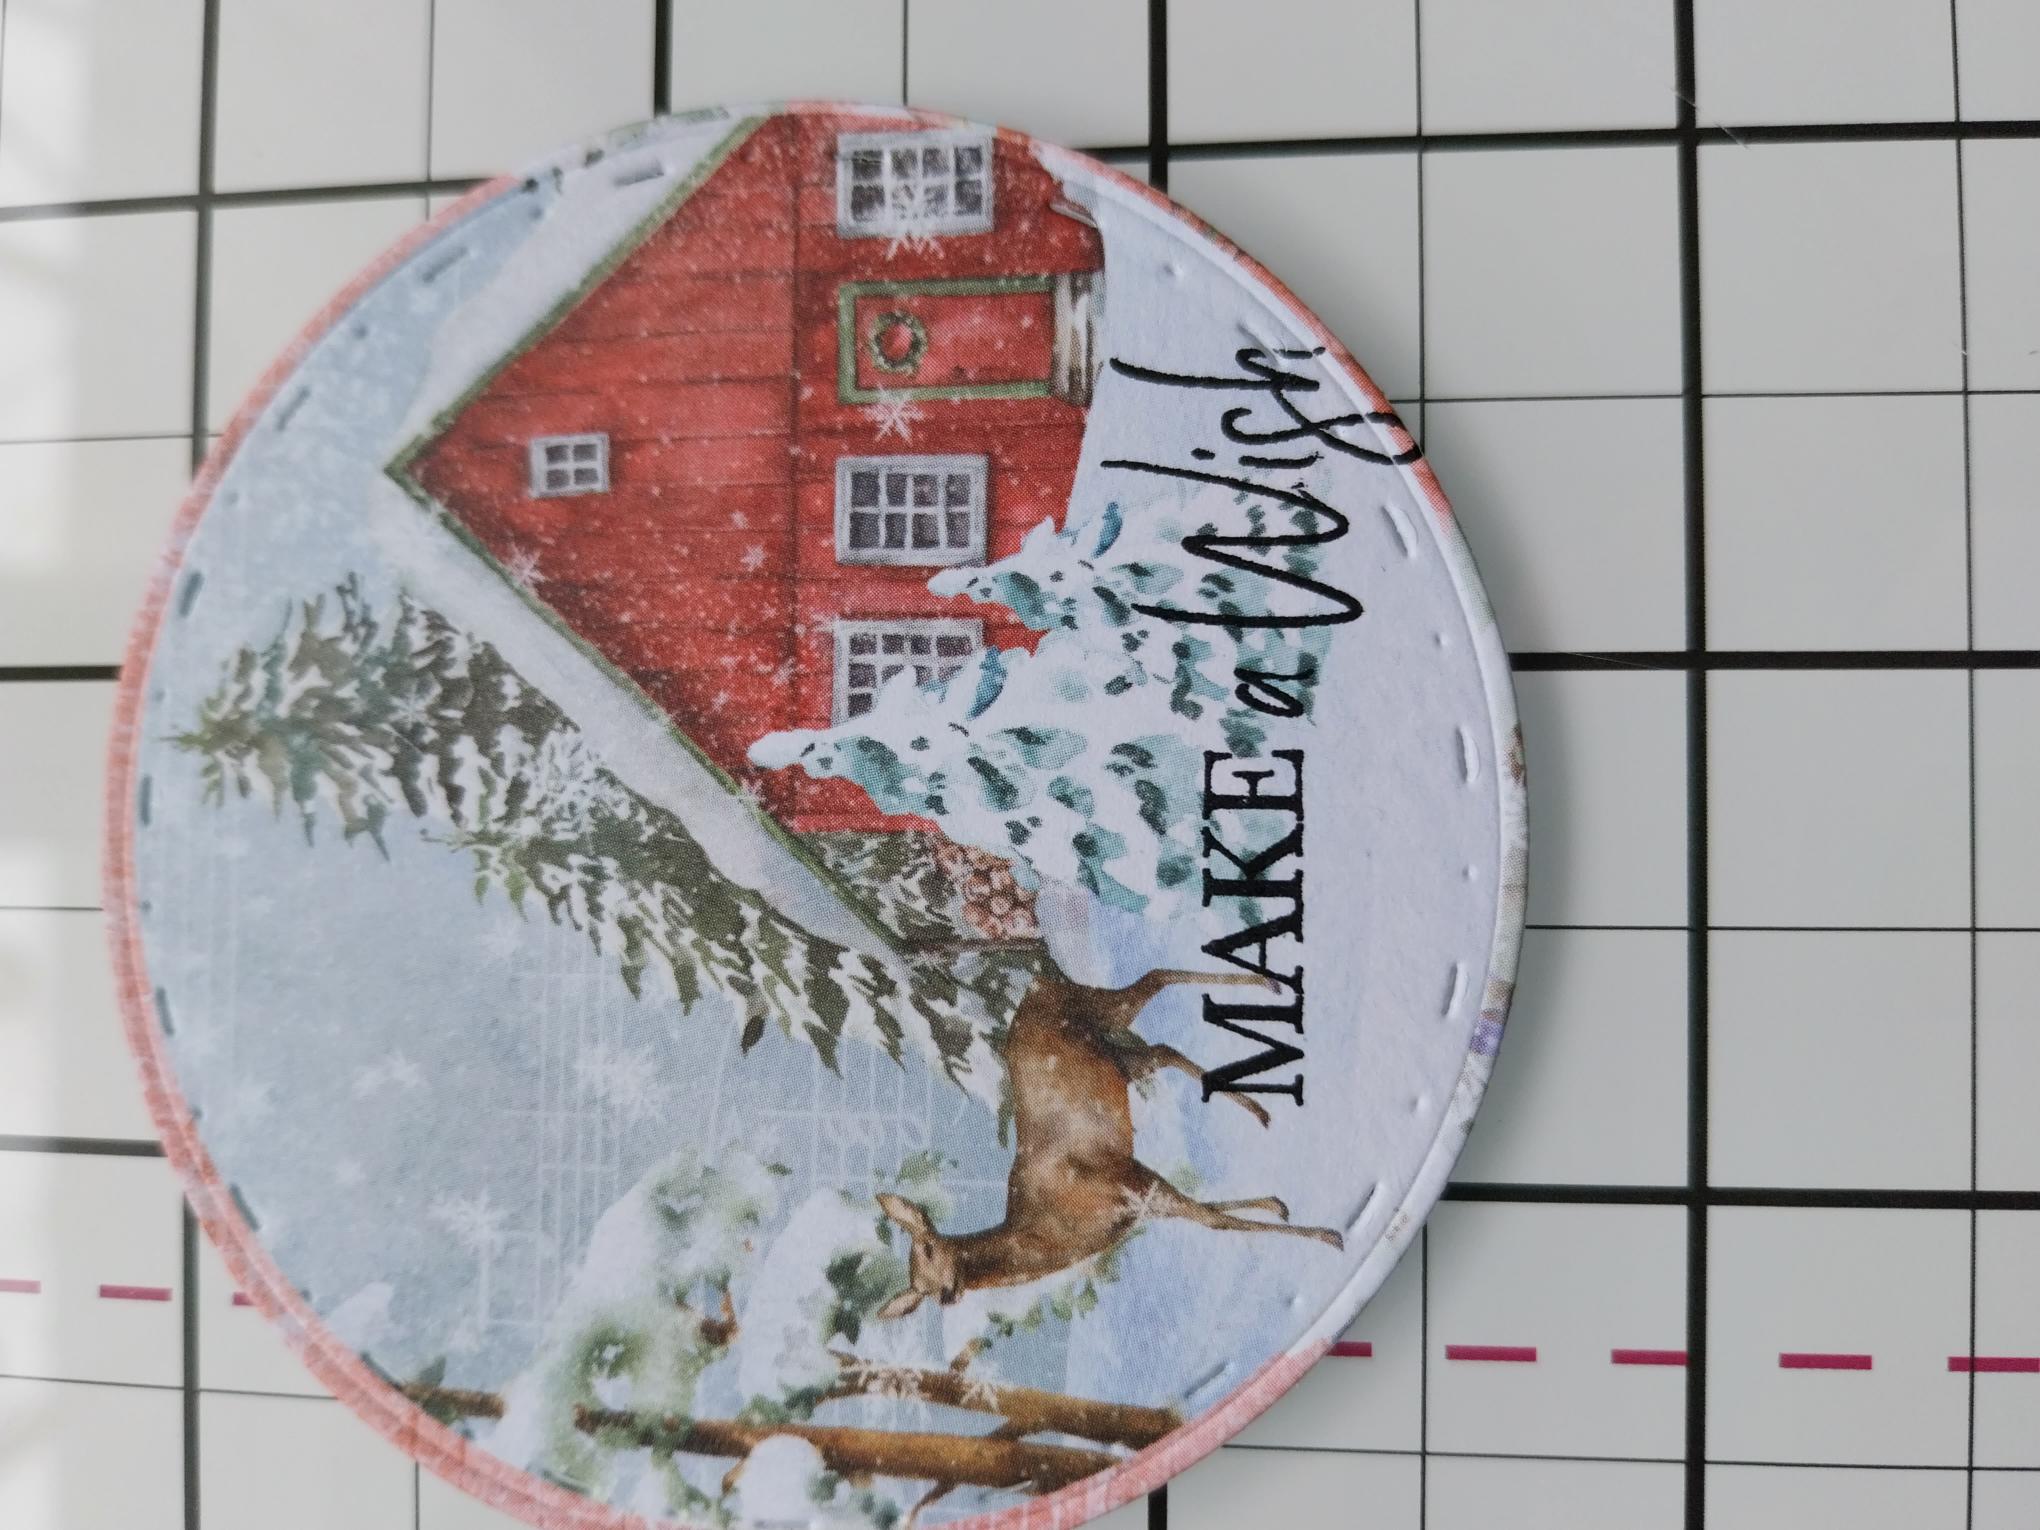
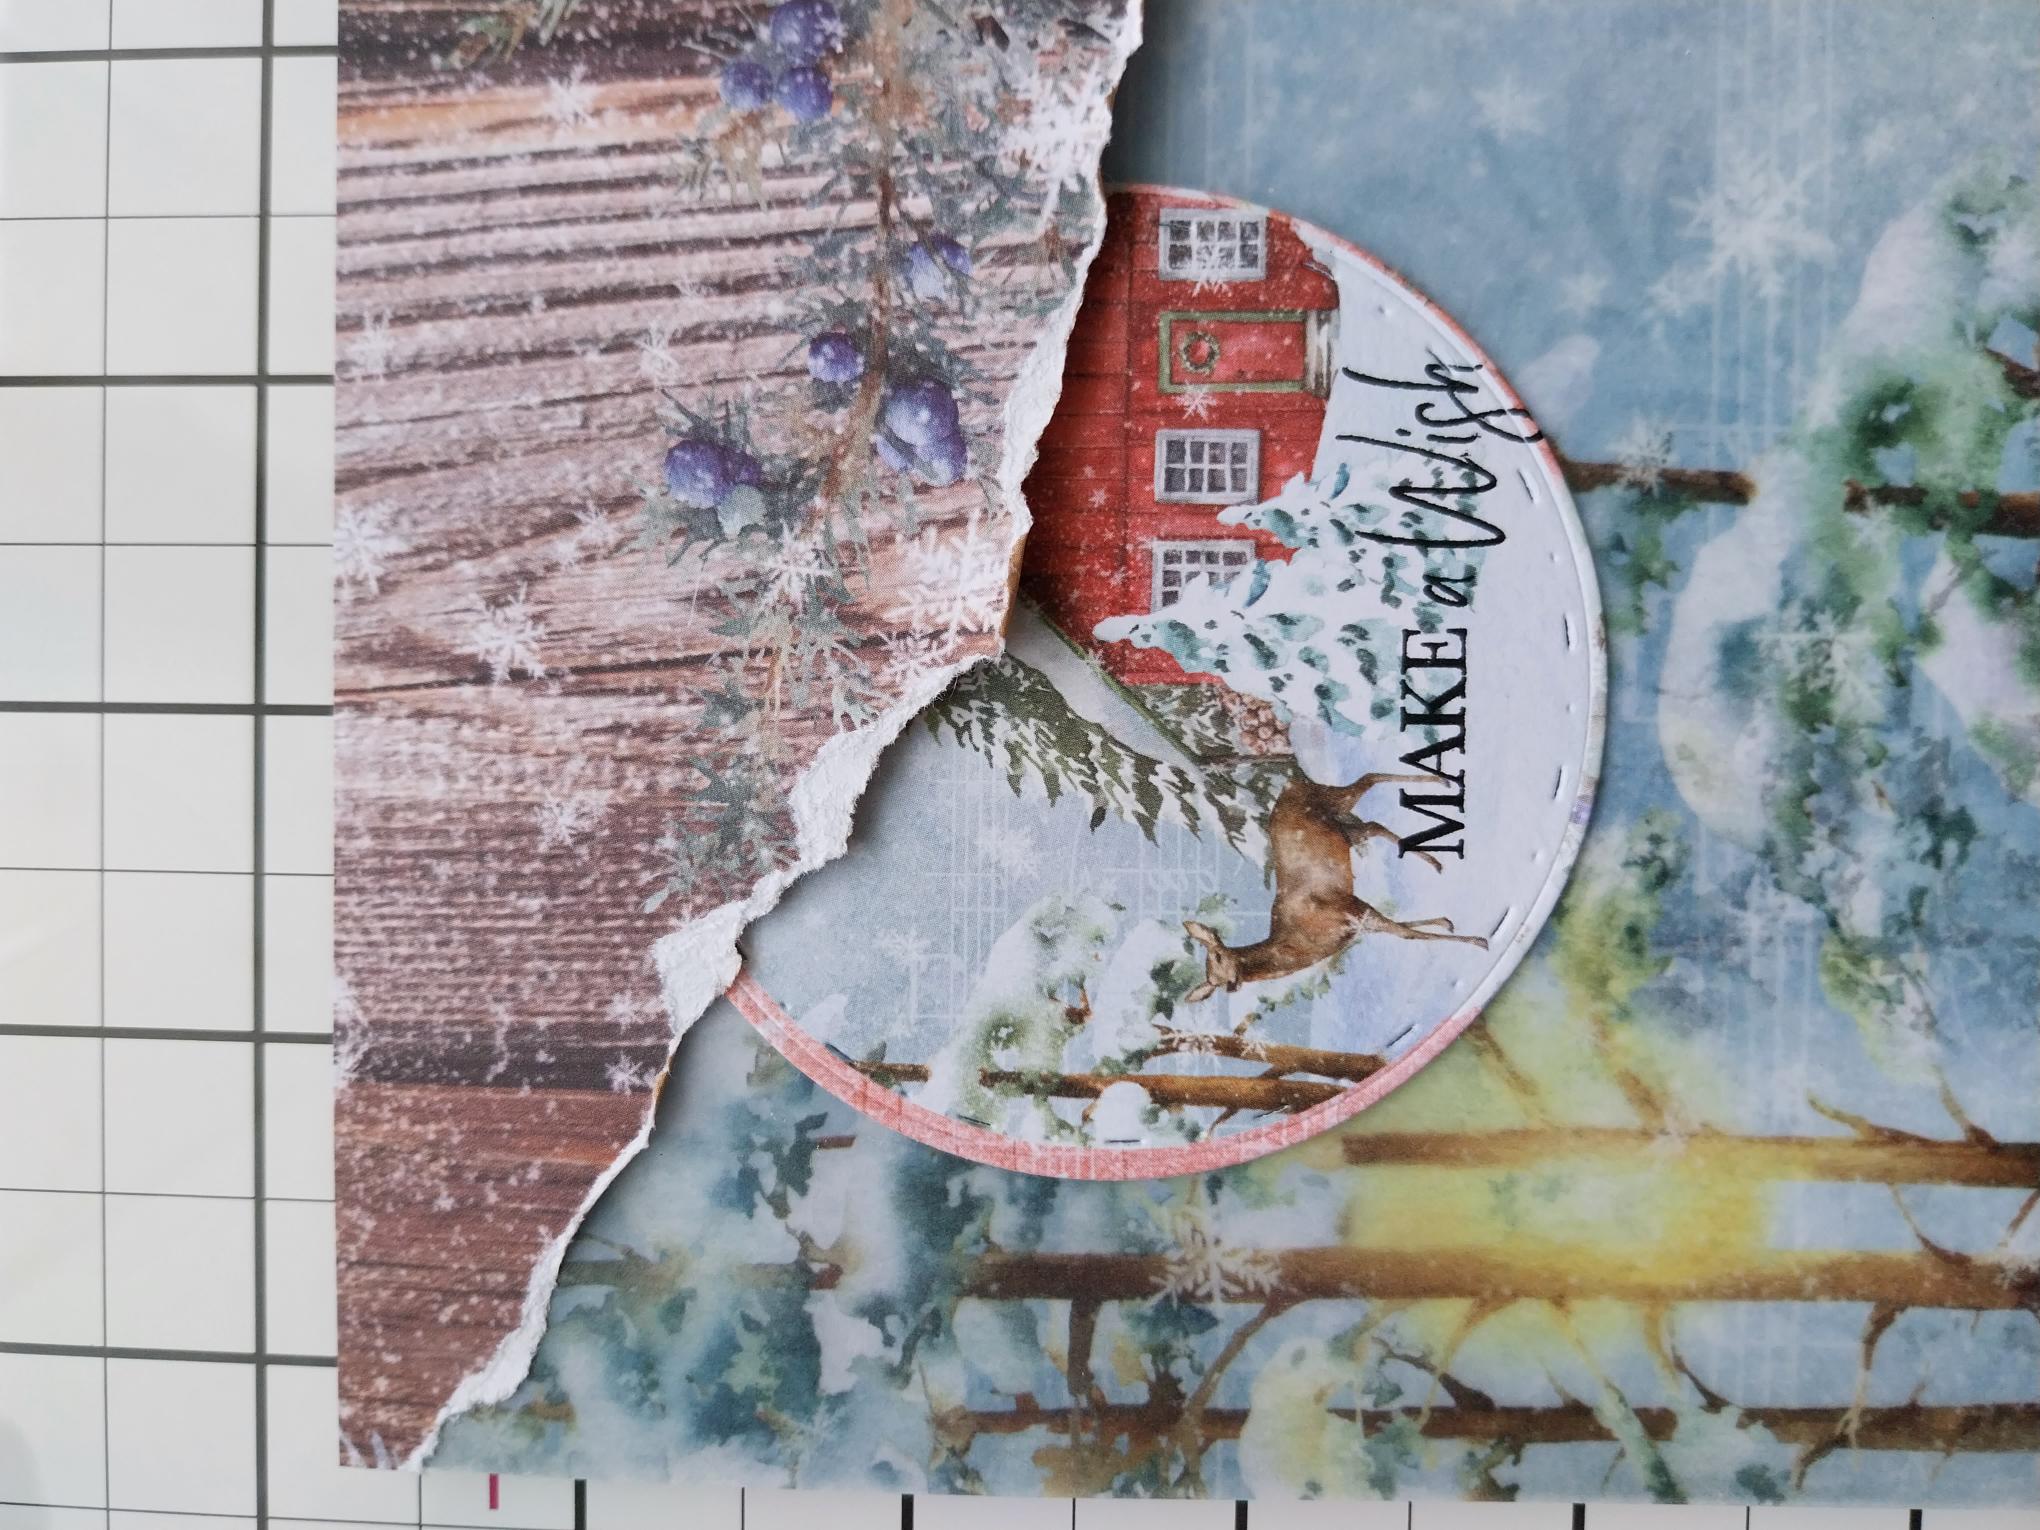
Use a circle nesting die to cut out this crisp, winter topper, from the 6 x 6" Embellishment Pack. Stamp your chosen sentiment, in the Midnight, on to your topper. |
|
Use wet glue to adhere your sentiment topper, tucking it just under the torn paper panel. |
|
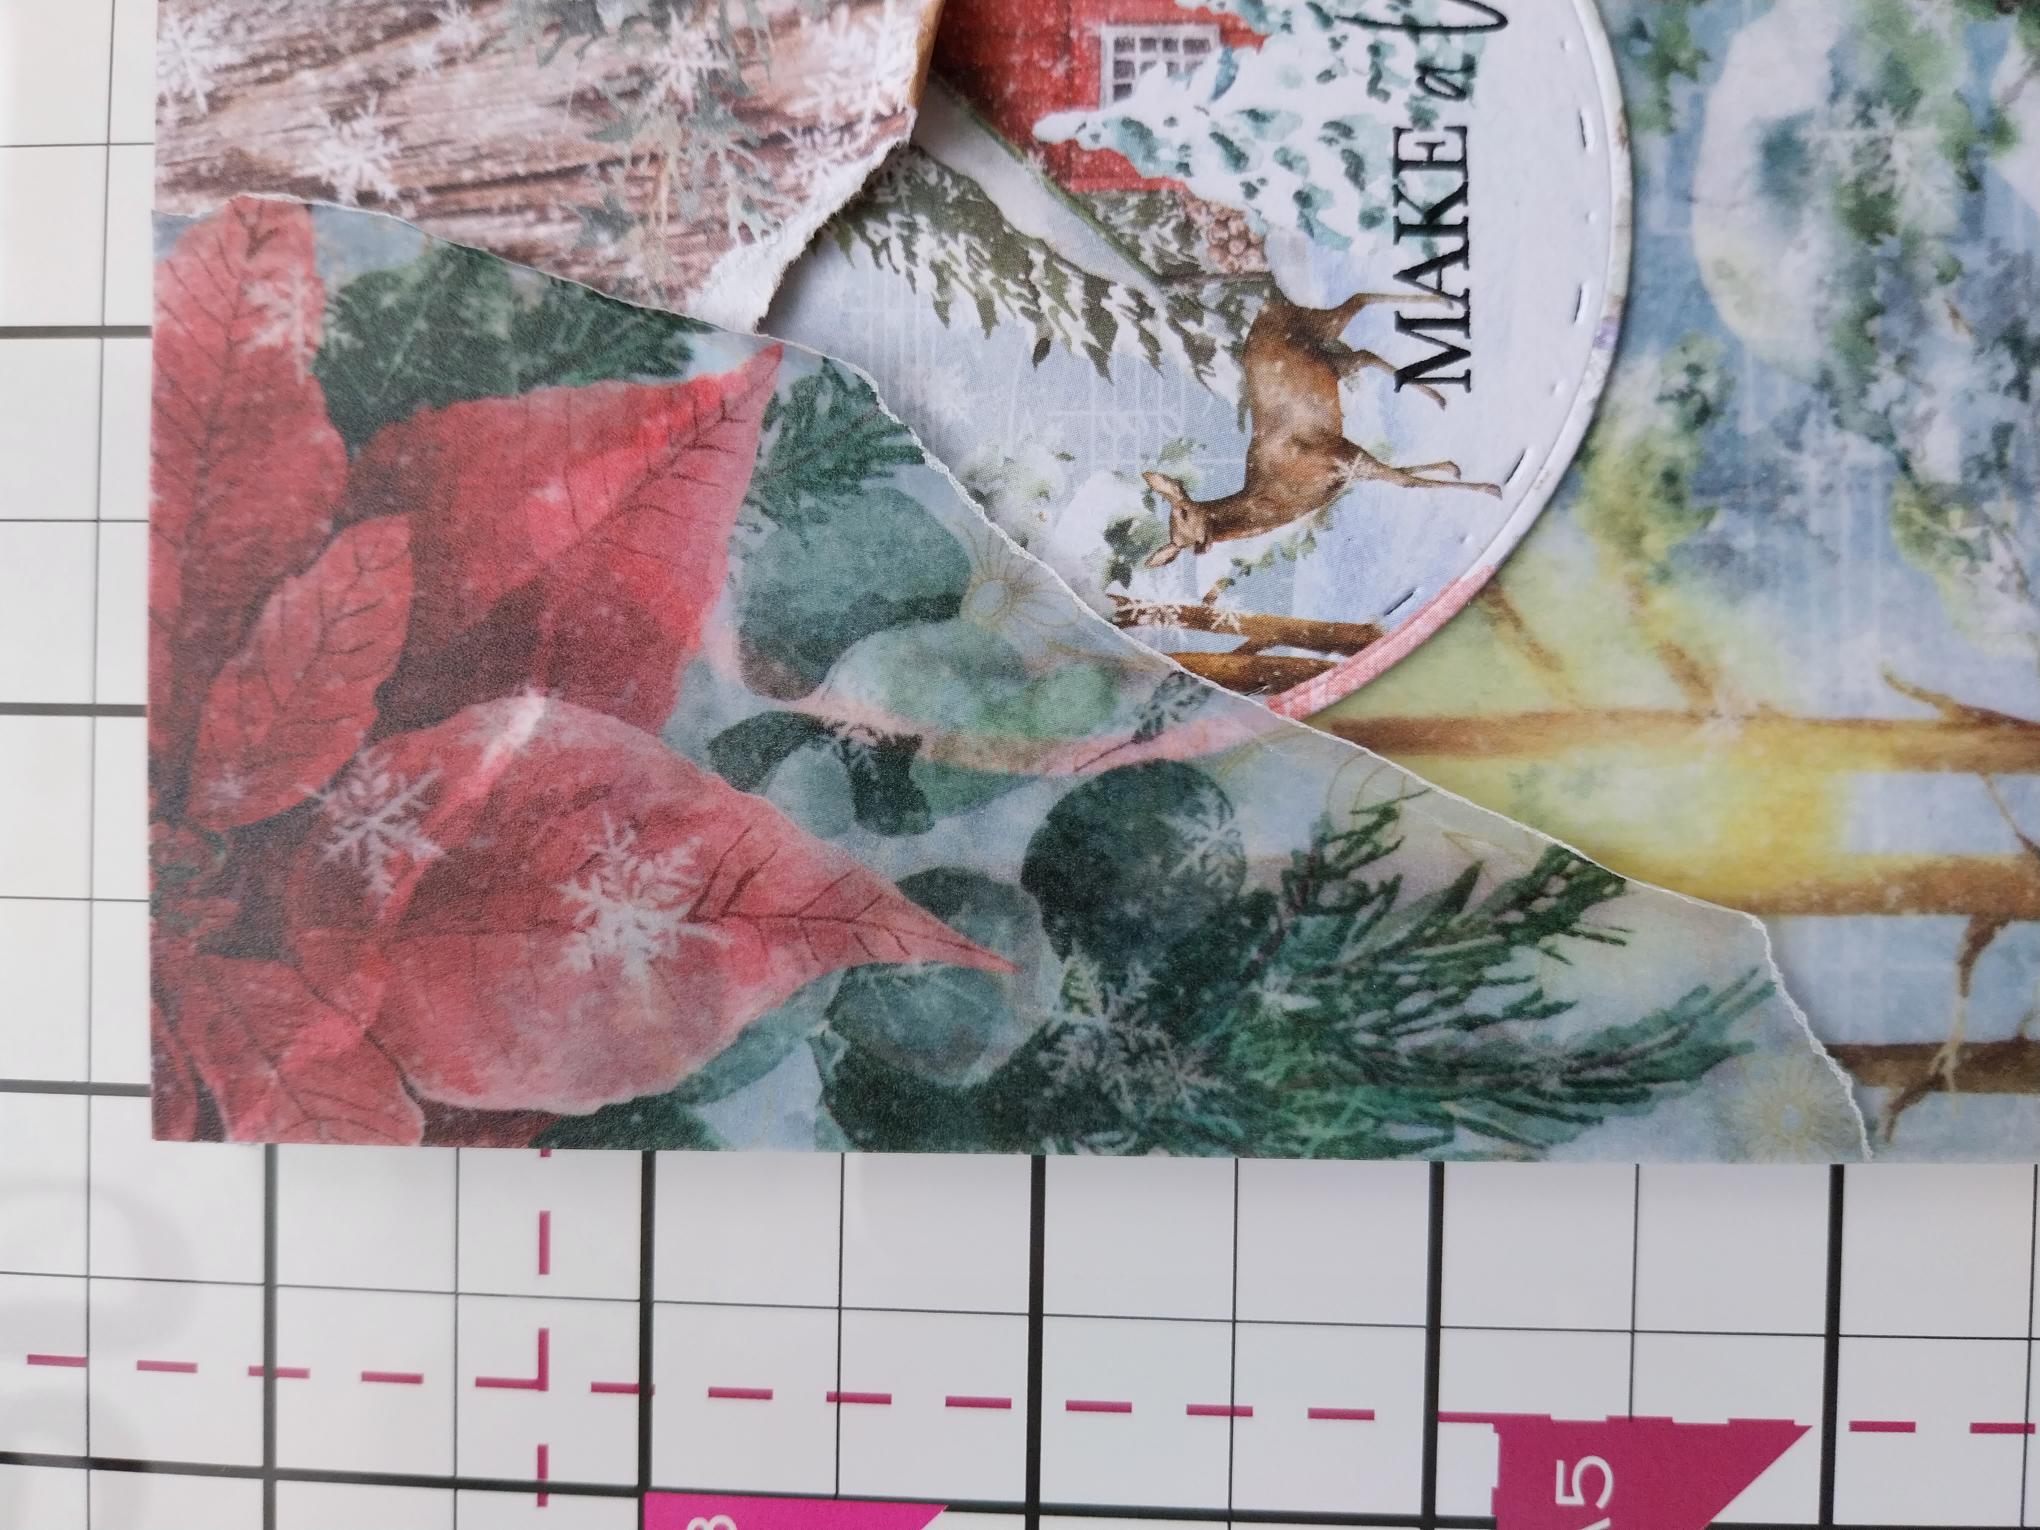
Remove this exquisite vellum from the pack. |
|
Tear around the beautiful Poinsettia and adhere (with a little of your tape runner) down the top left corner off your card, again scrunching the torn edge and leaving it free of glue. |
|
To complete your project, add festive sparkle, using the Diamond Stickles, where required. |