Give your friends $10 off their first order!
Refer a FRIEND


WHAT YOU WILL NEED:
Black card blank 8 x 5 3/4"
A Winter Story 12 x 12" Paper Collection
A Winter Story 8 x 8" Foundation Pack
A Winter Story 6 x 6" Embellishment Pack
Special Wishes Stamp and Die Collection
SBM Hybrid Ink Pad: Midnight
Deboss Circle Nesting Die Collection
Texture Glitter Collection: Ice
Eureka 101 Watercolour Tablet
SBM Magnetic glass mat
Paper Trimmer
Perfect Together Glue
Die Cutting machine
[click image to enlarge] 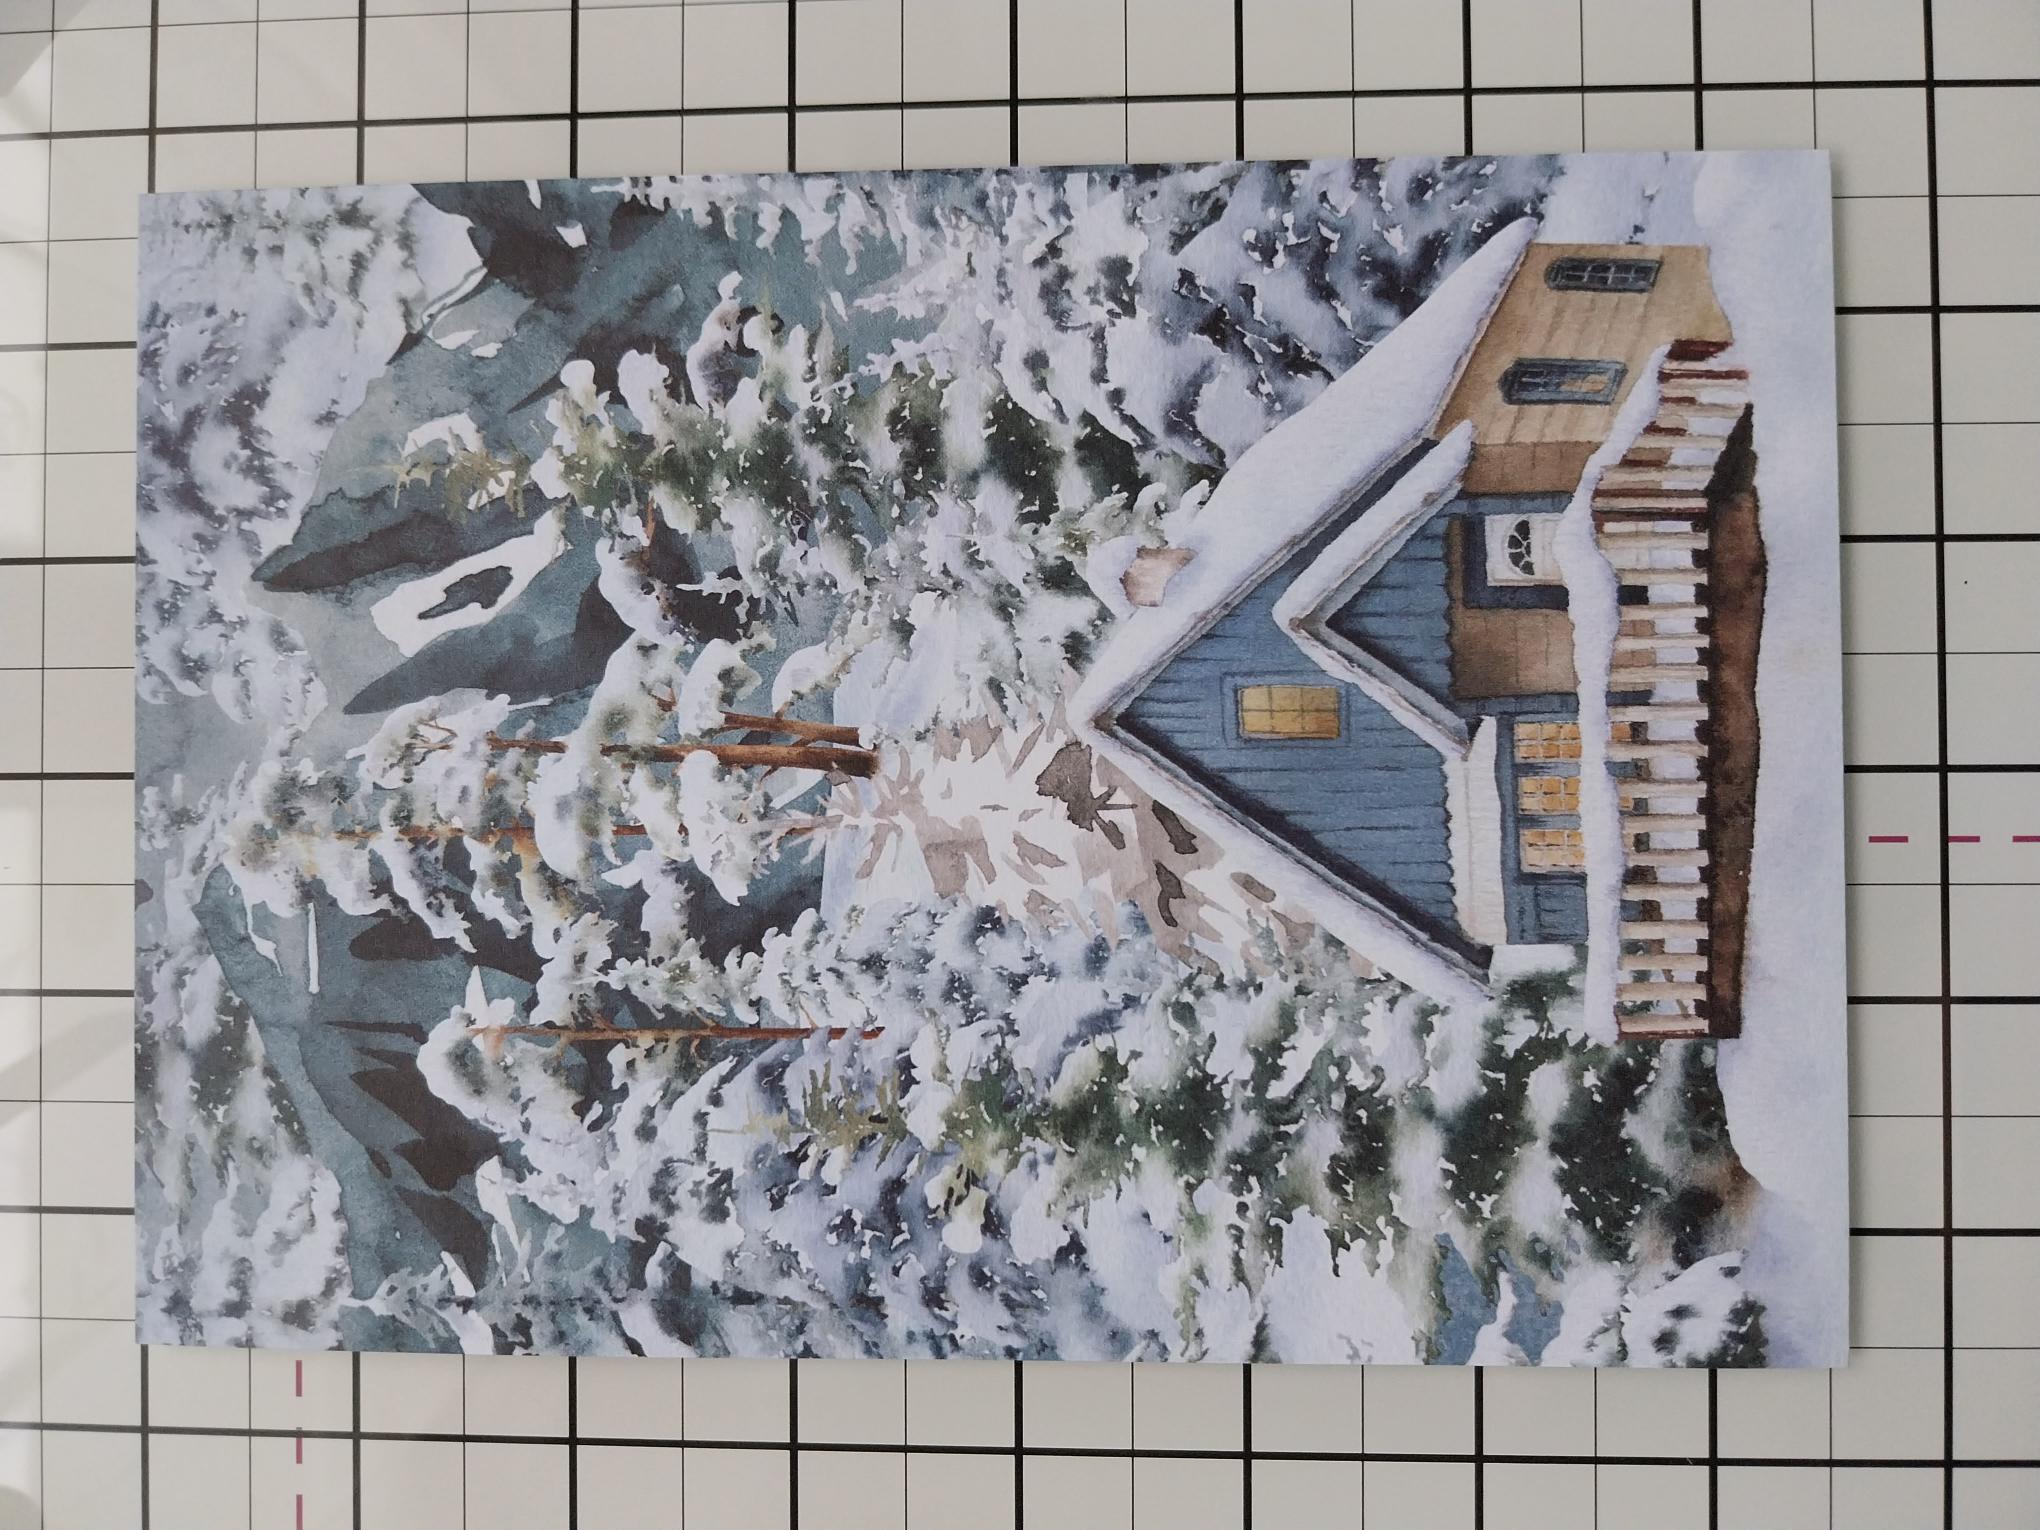
|
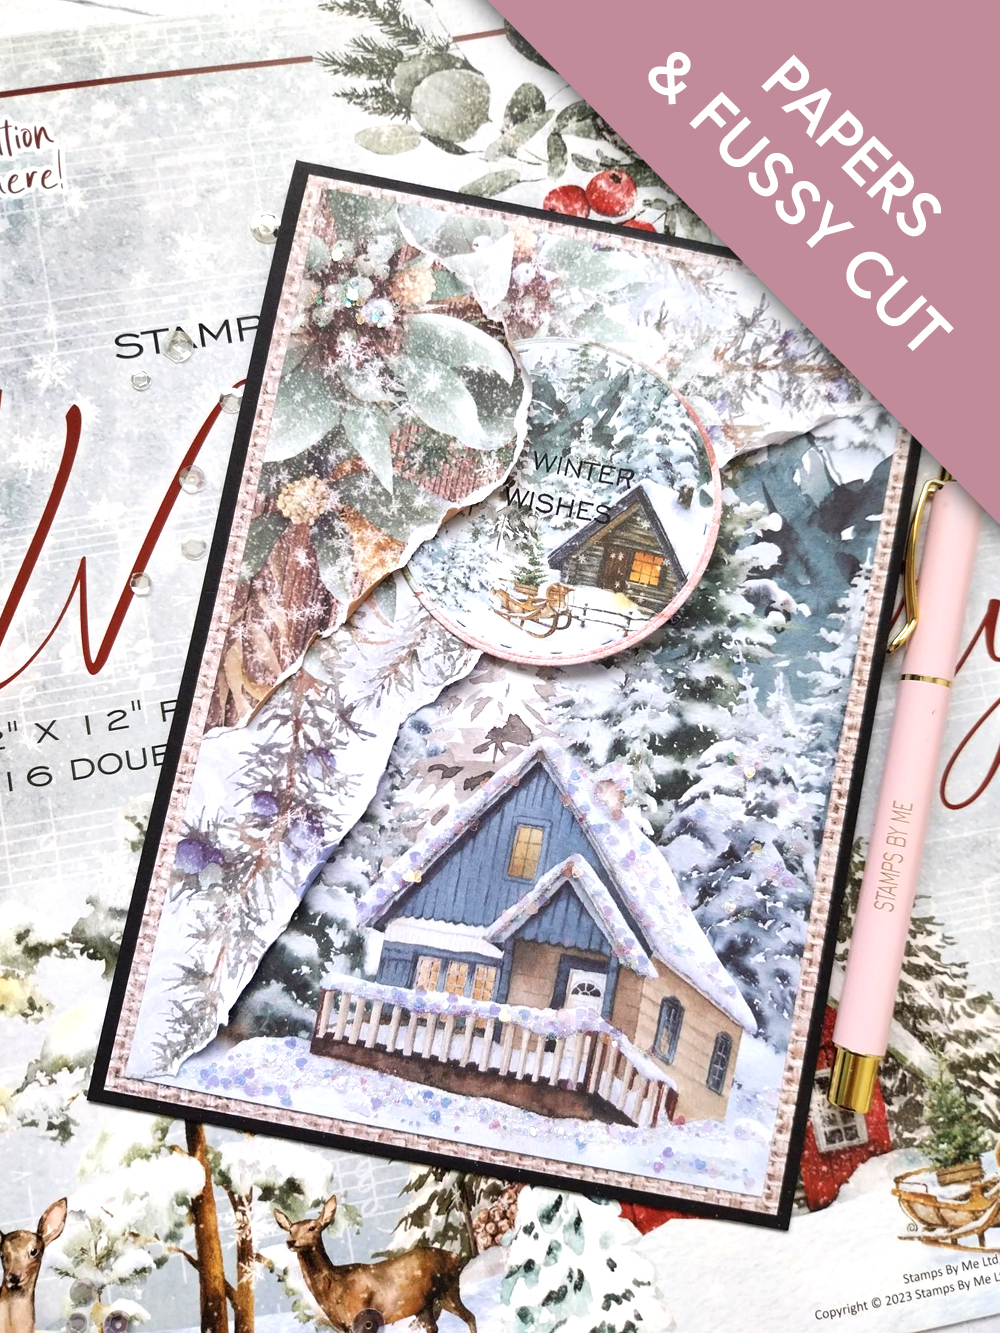
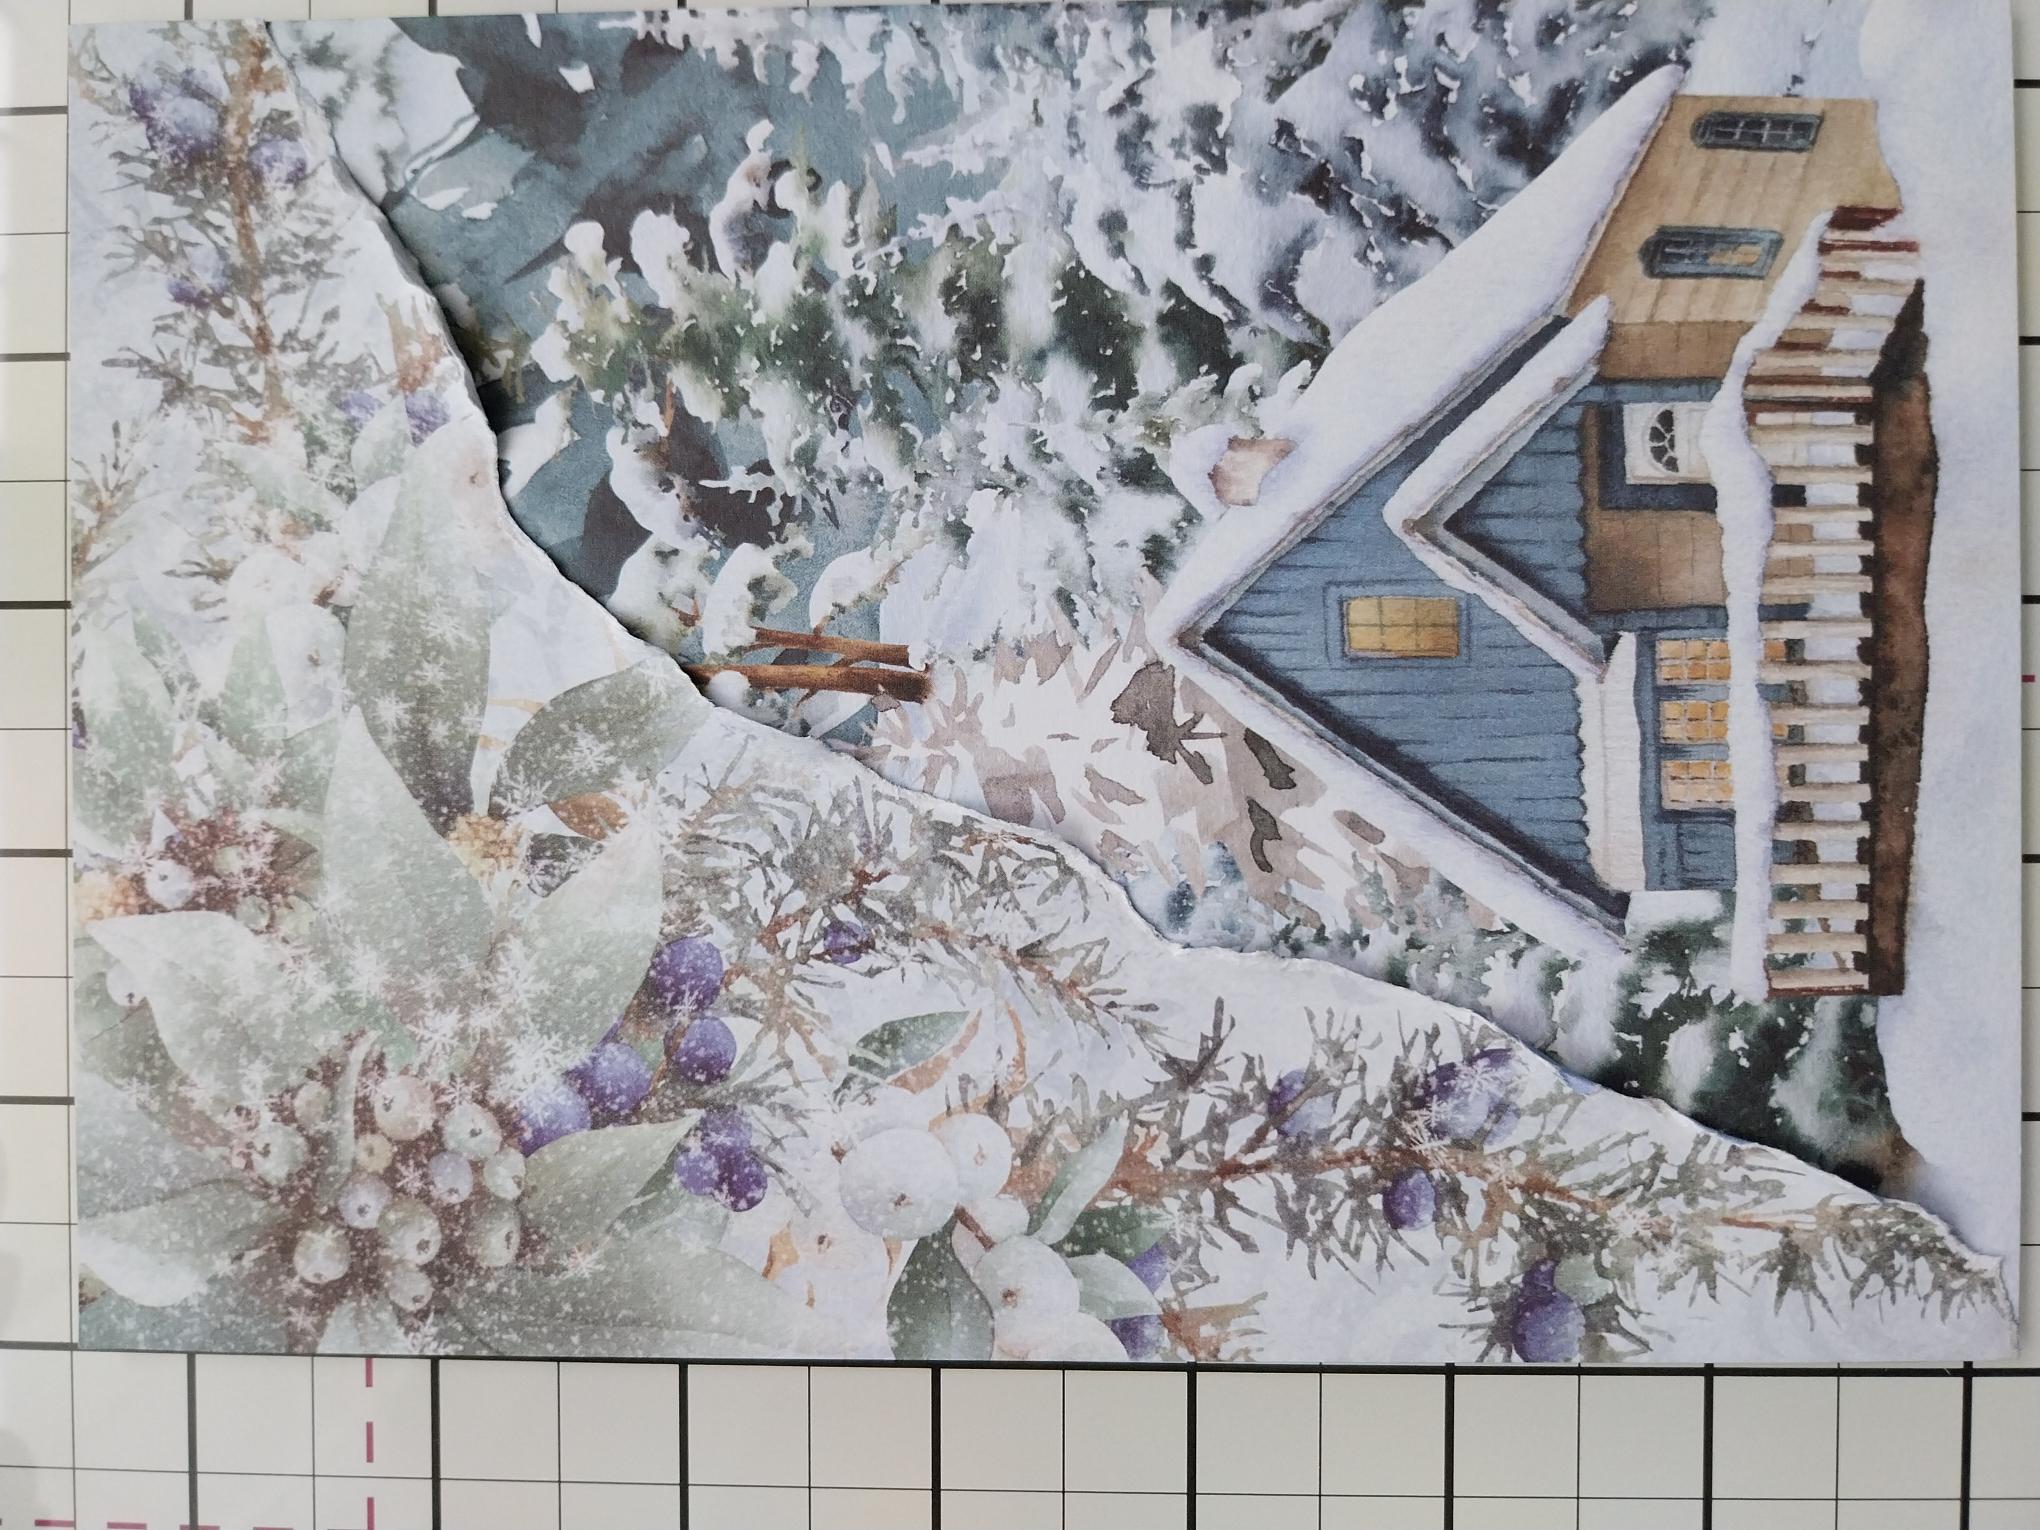
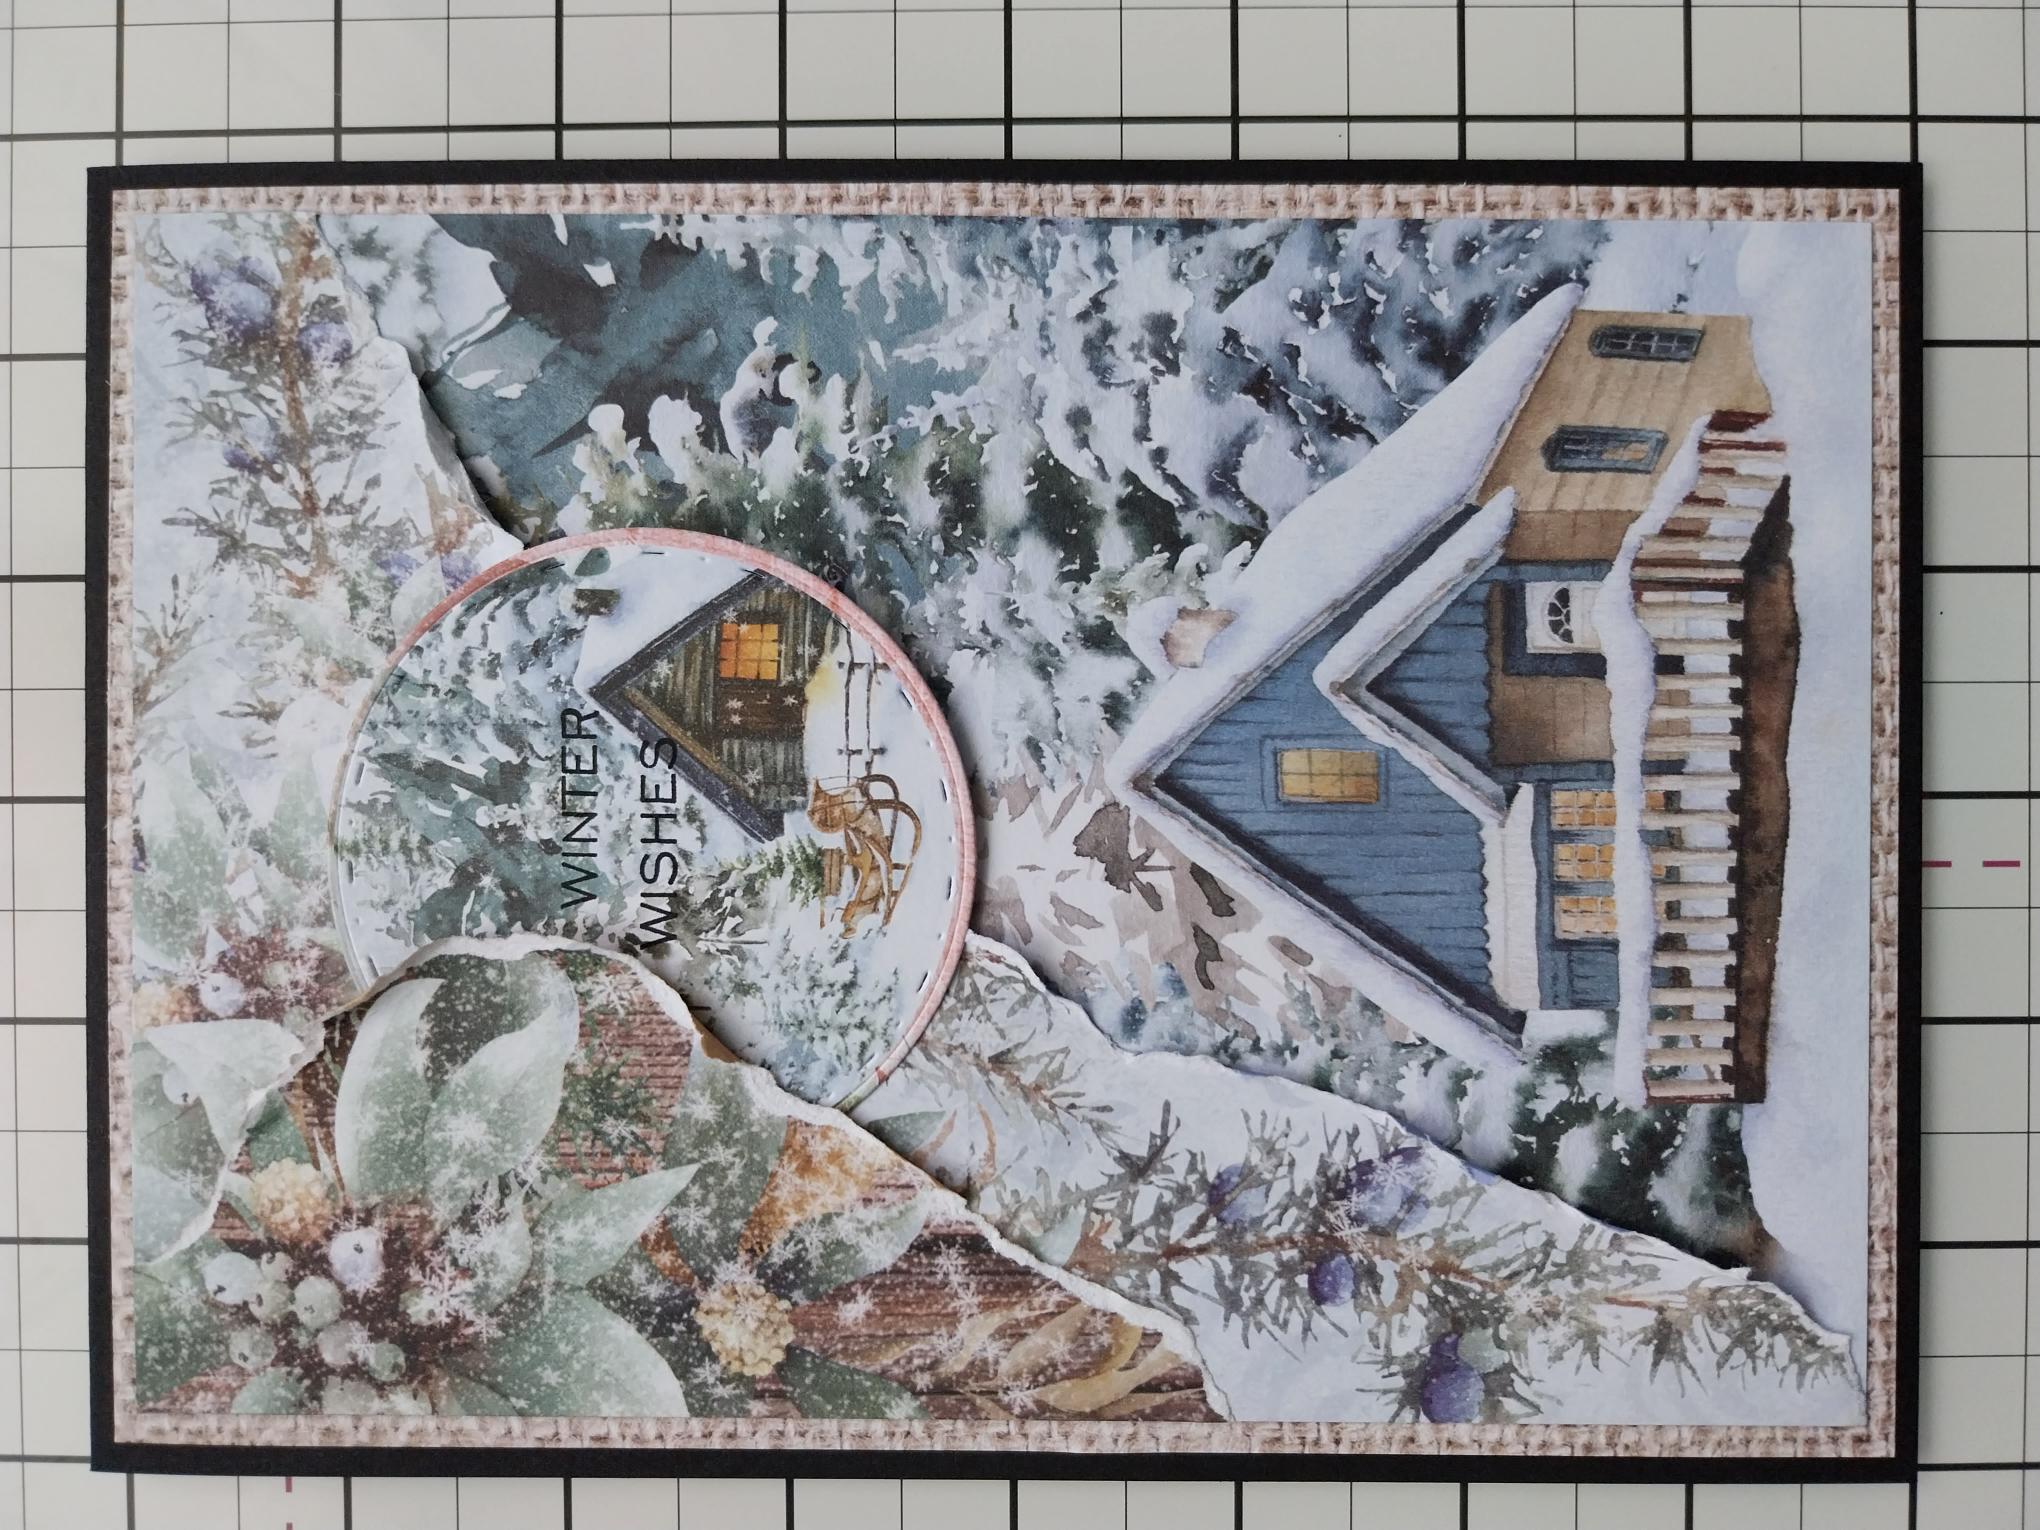
Trim this beautiful decorative paper, from the 12 x 12" A Winter Story paper pack, to 7 1/2 x 5 1/4". NB: You can use smaller card blanks and for our USA crafters, you can adapt your exclusive HSN collection, as necessary, to fit the sizes you are working with. |
|
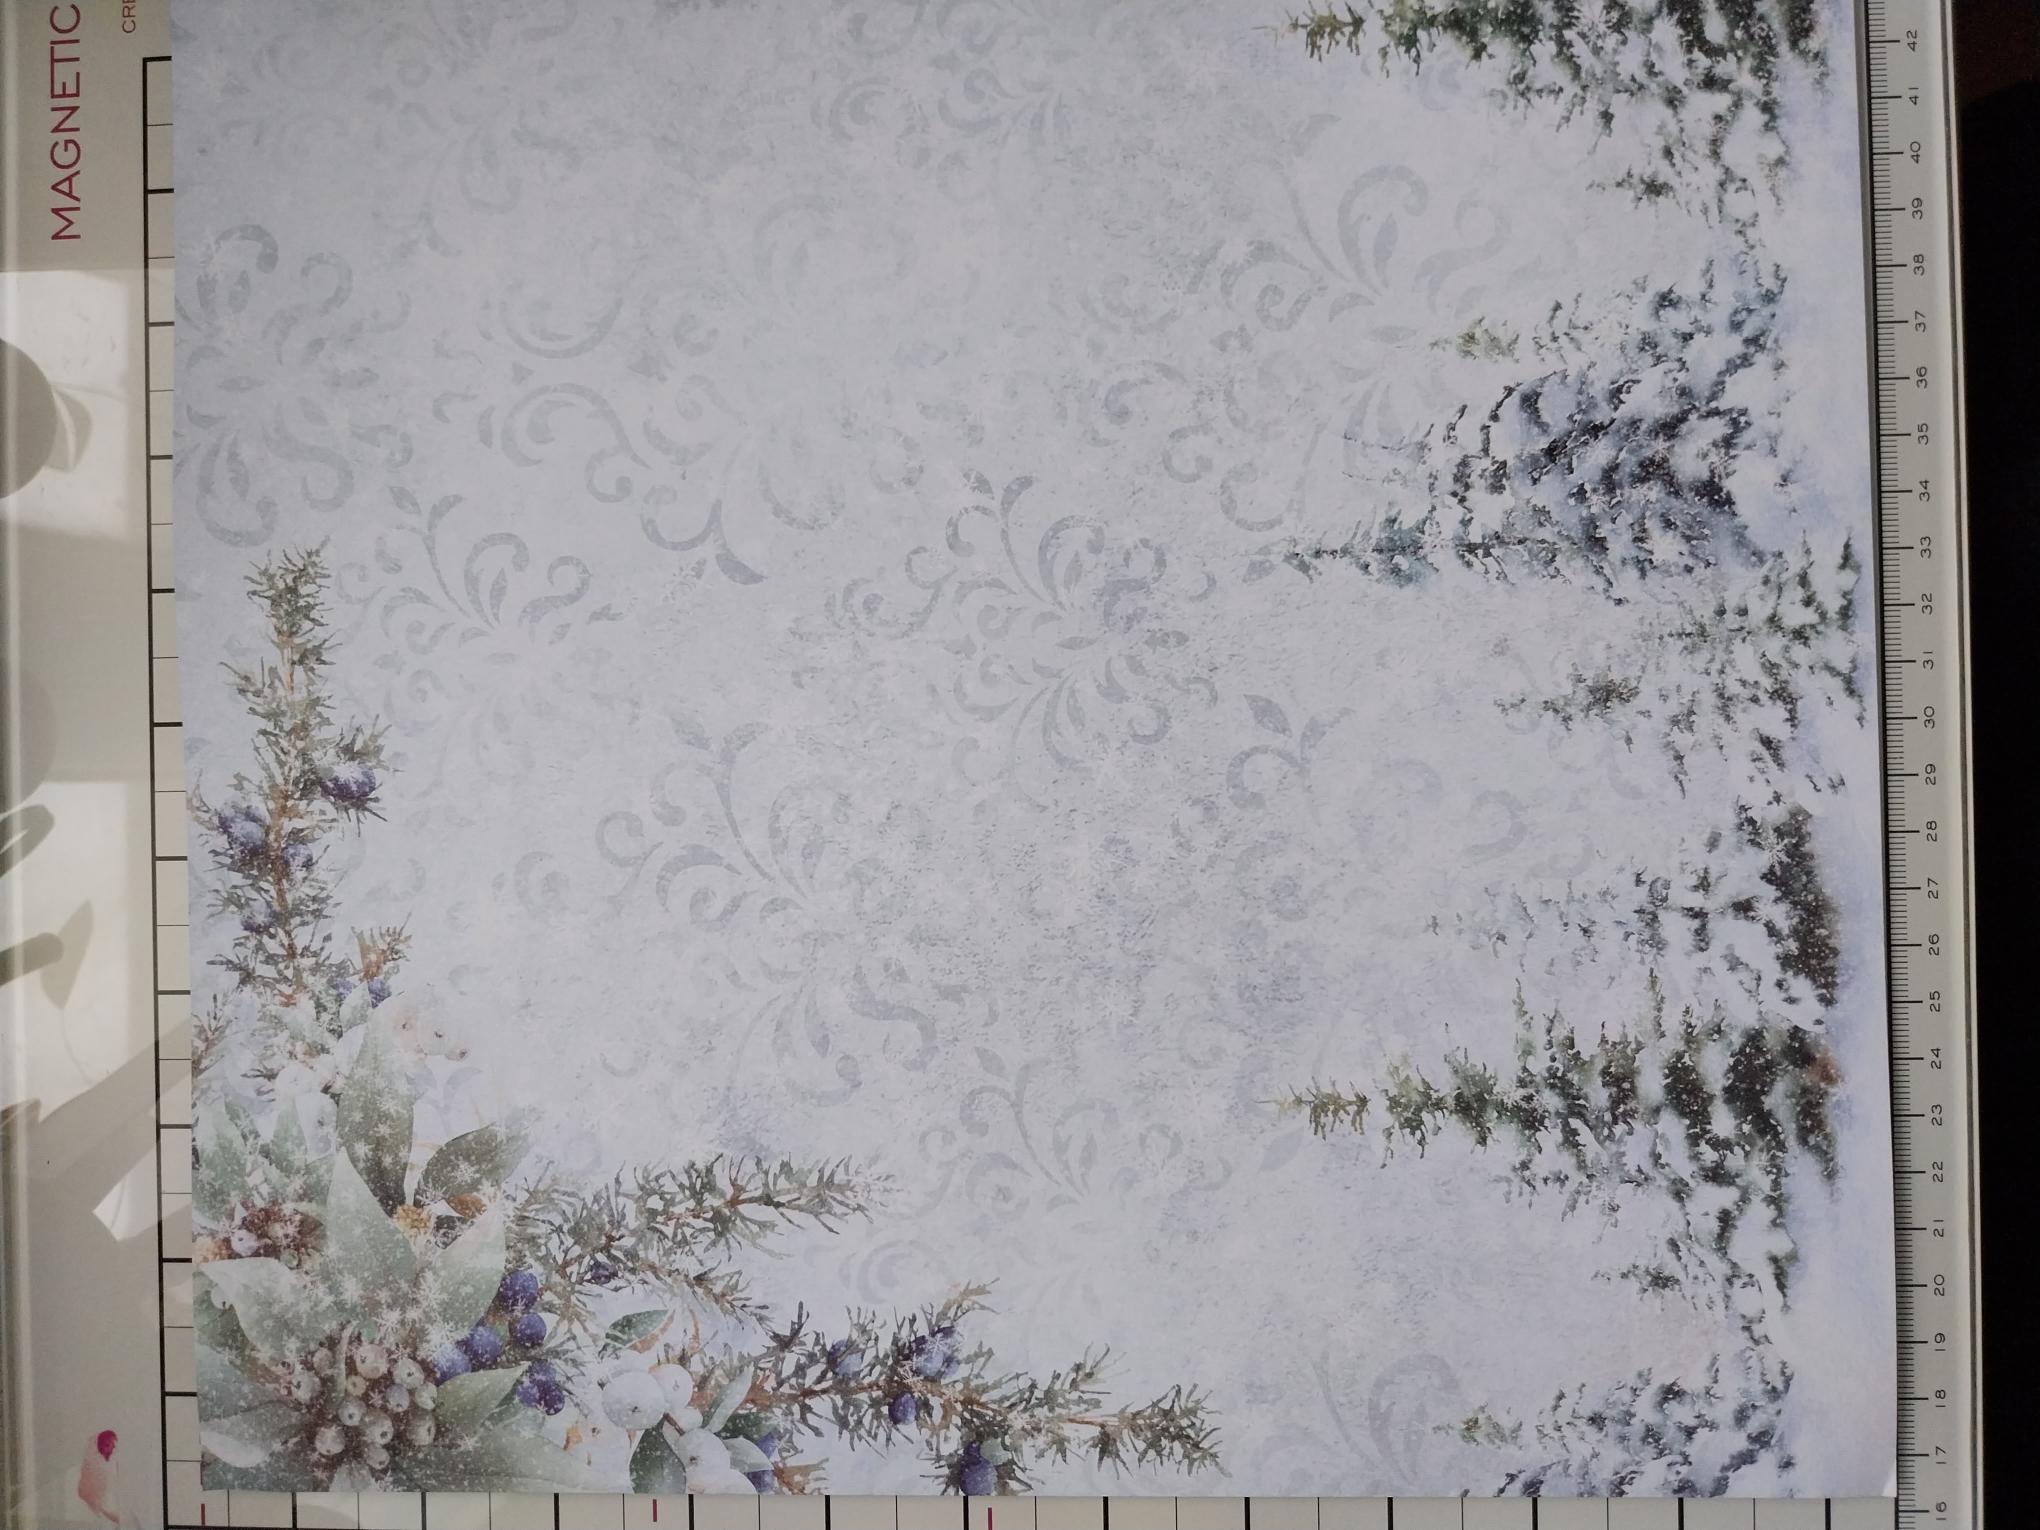
Remove this decorative sheet from the same pack. |
|
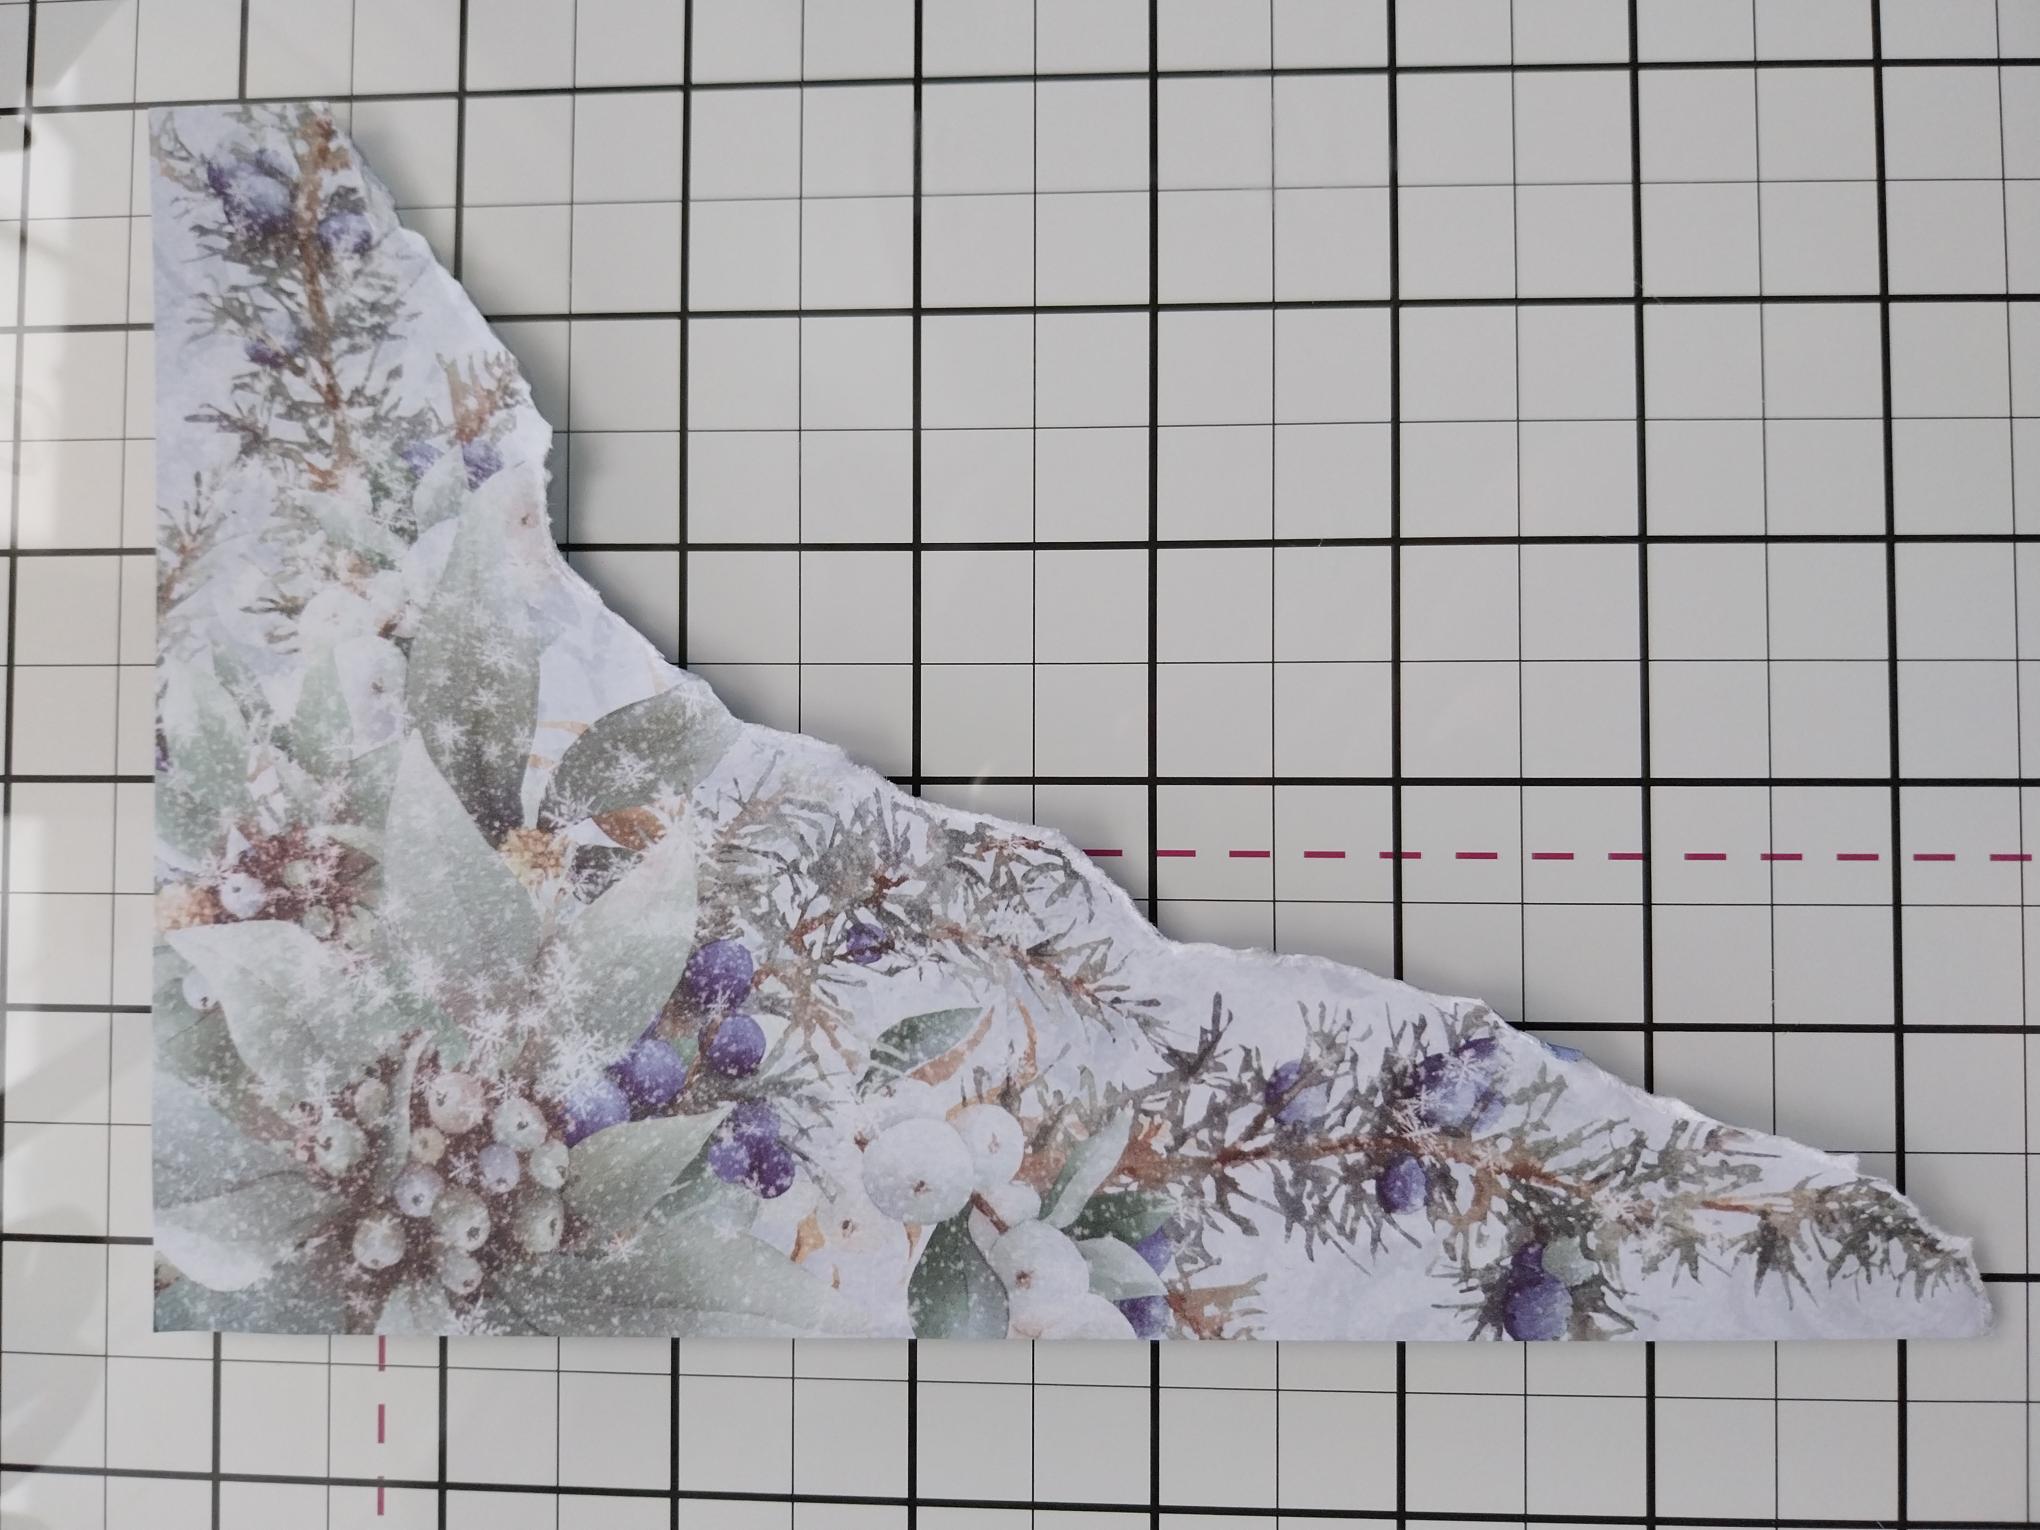
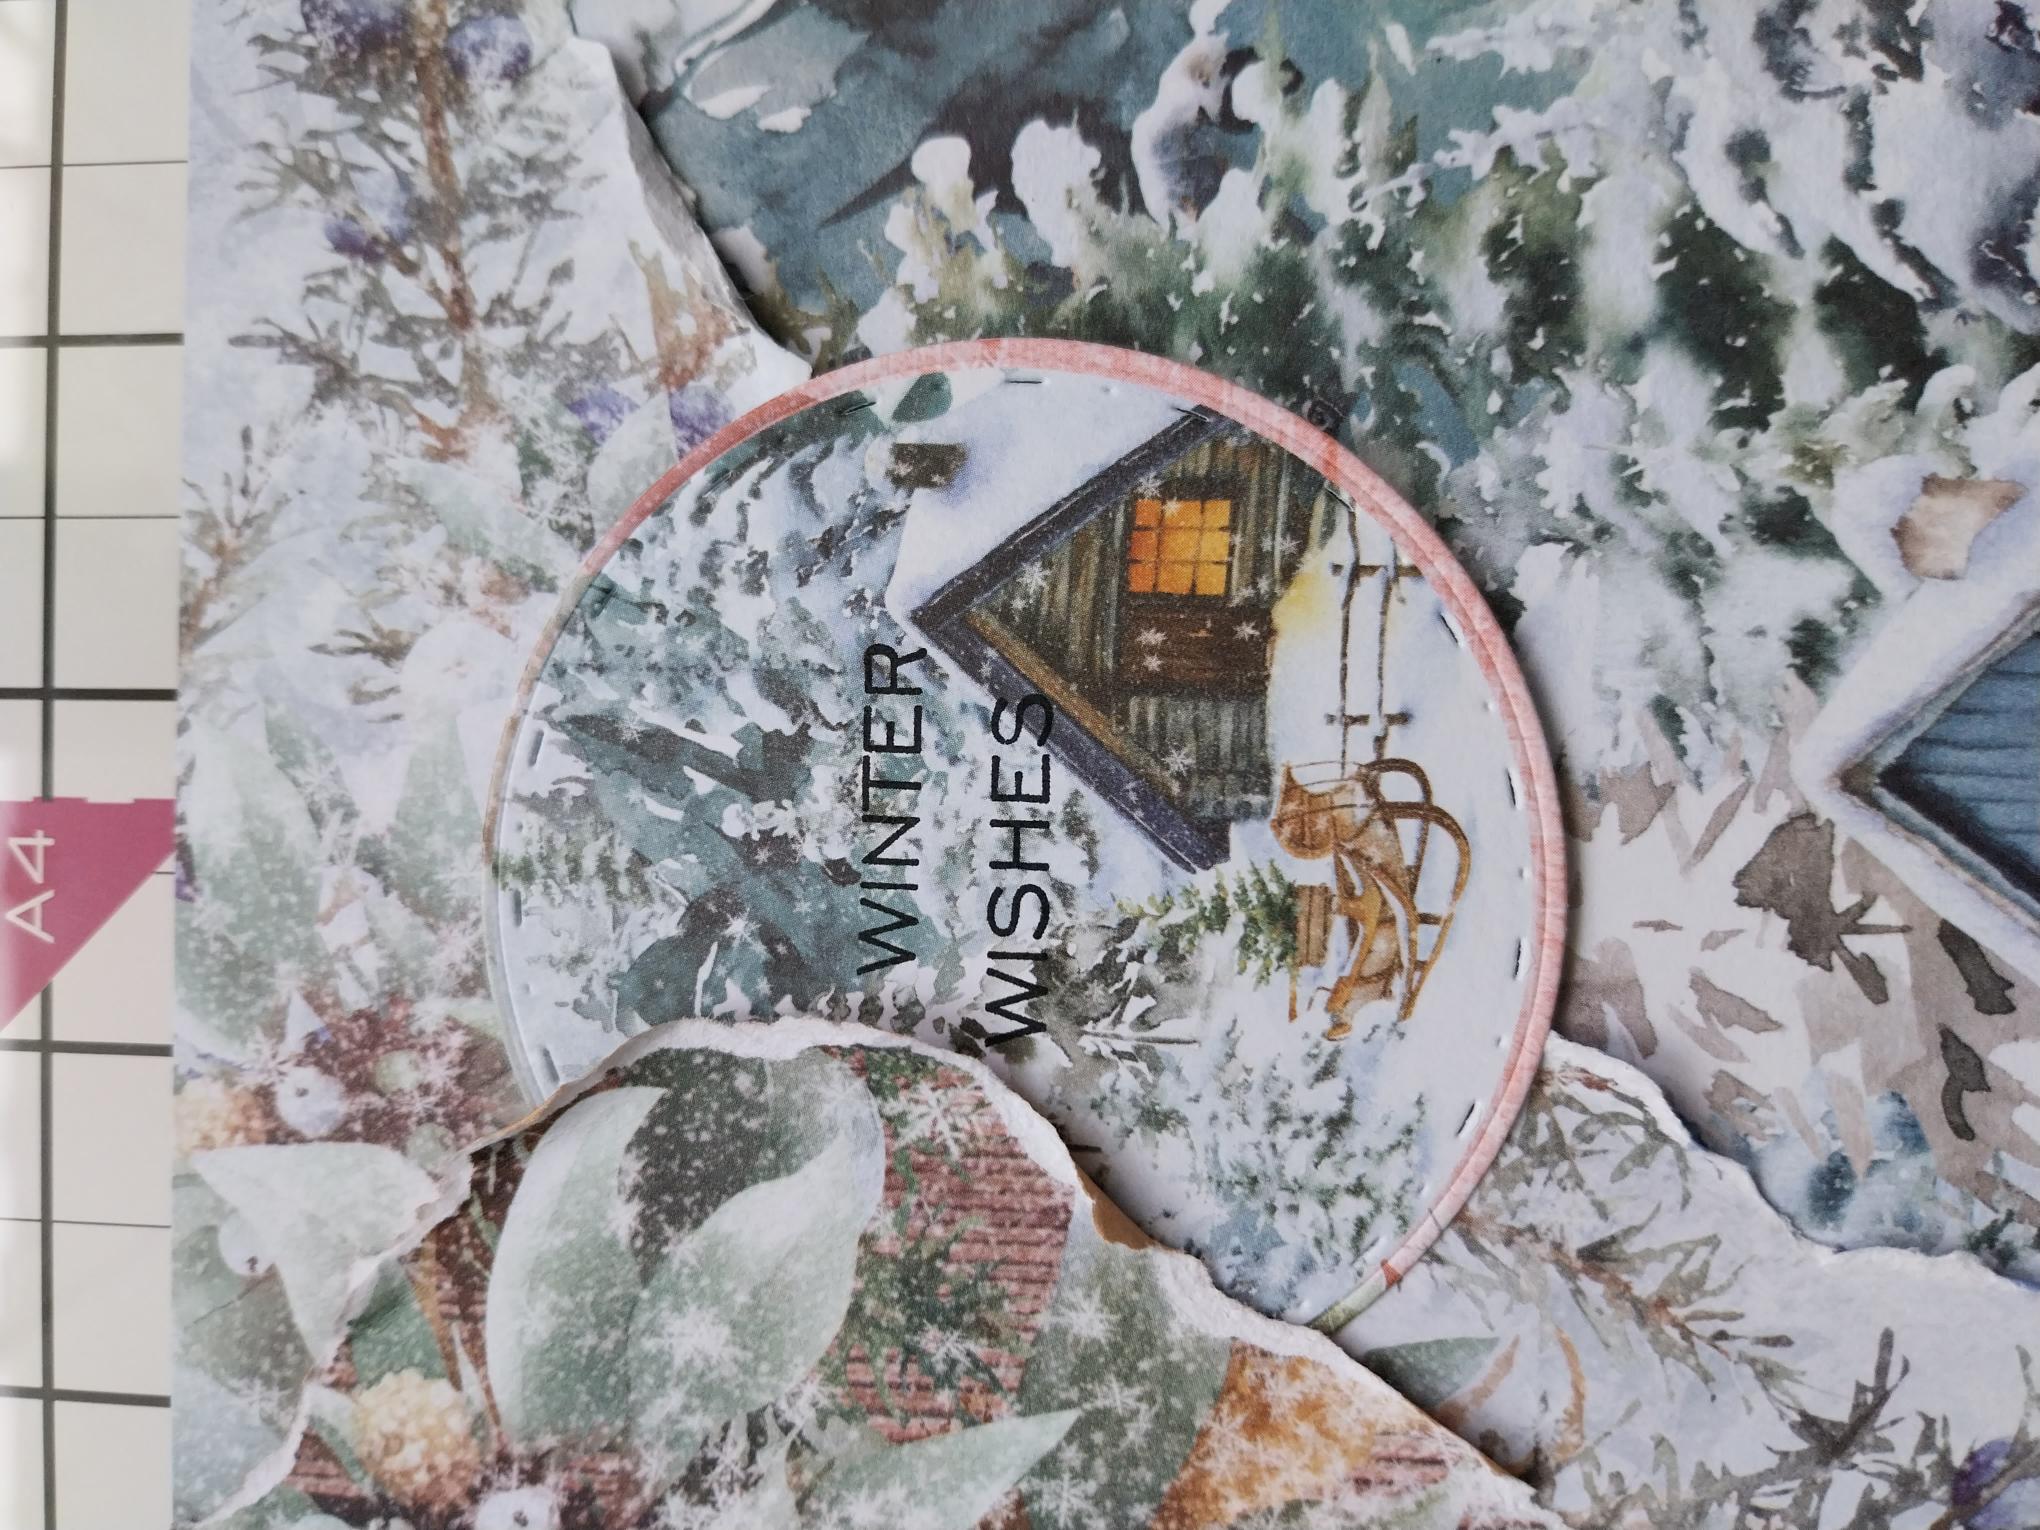
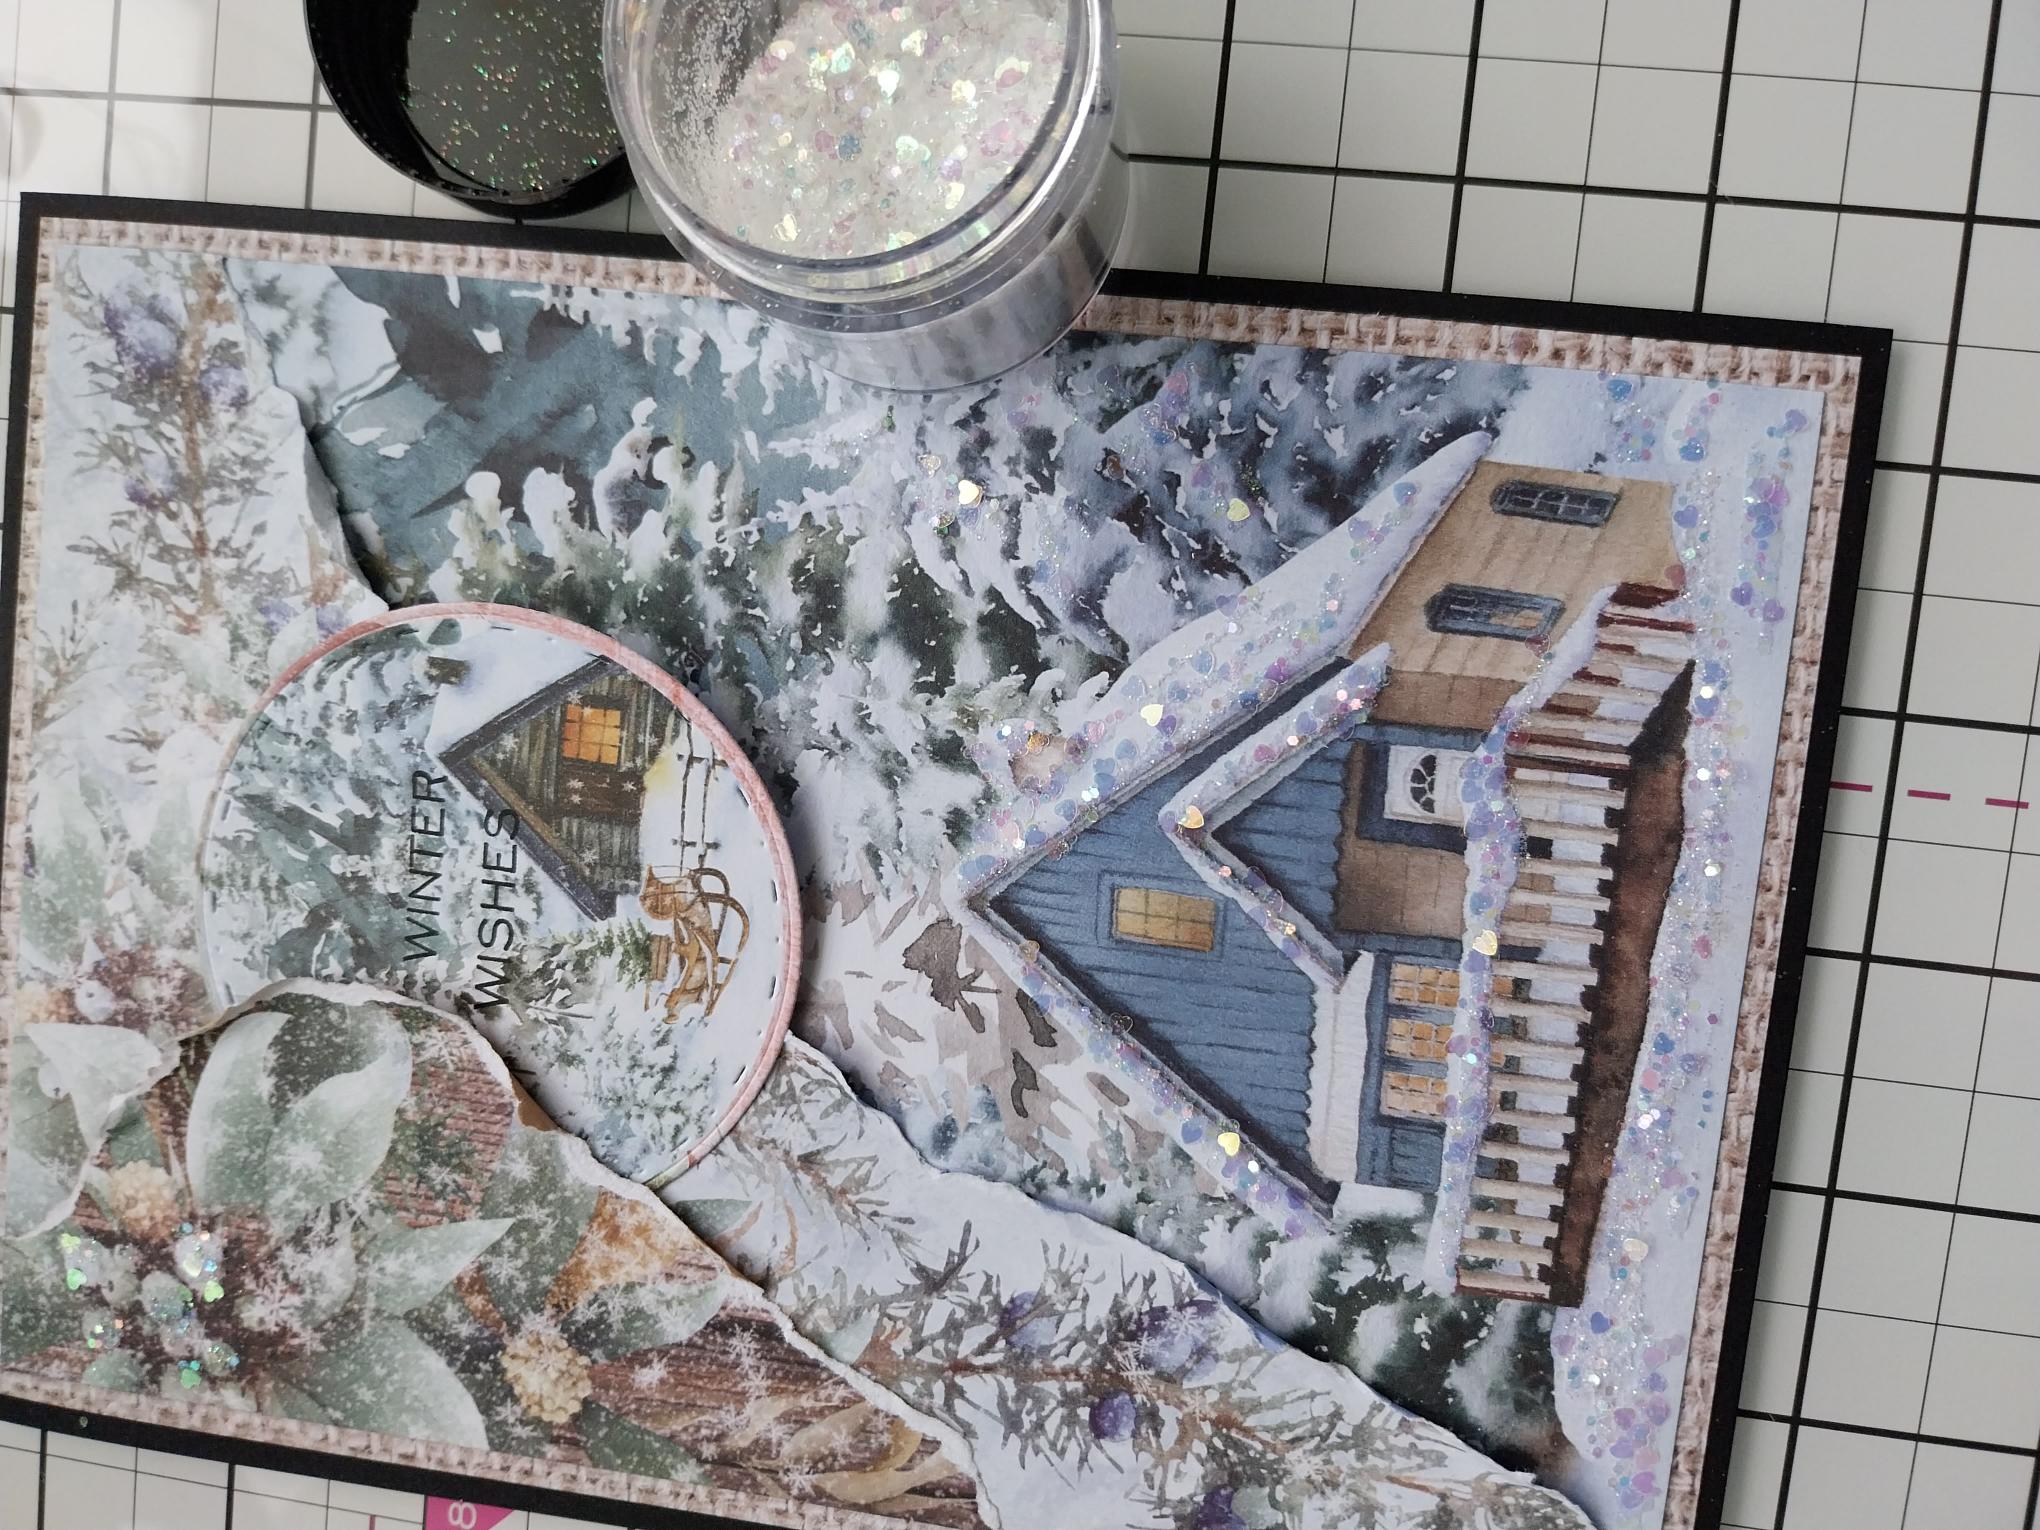
Tear around the beautiful Poinsettia design, from the top left corner. |
|
Adhere to the top left corner of your trimmed Cabin paper and trim any overhangs, as necessary. Scrunch the torn edge of the paper, leaving it free from adhesive, to create dimension to your project. |
|
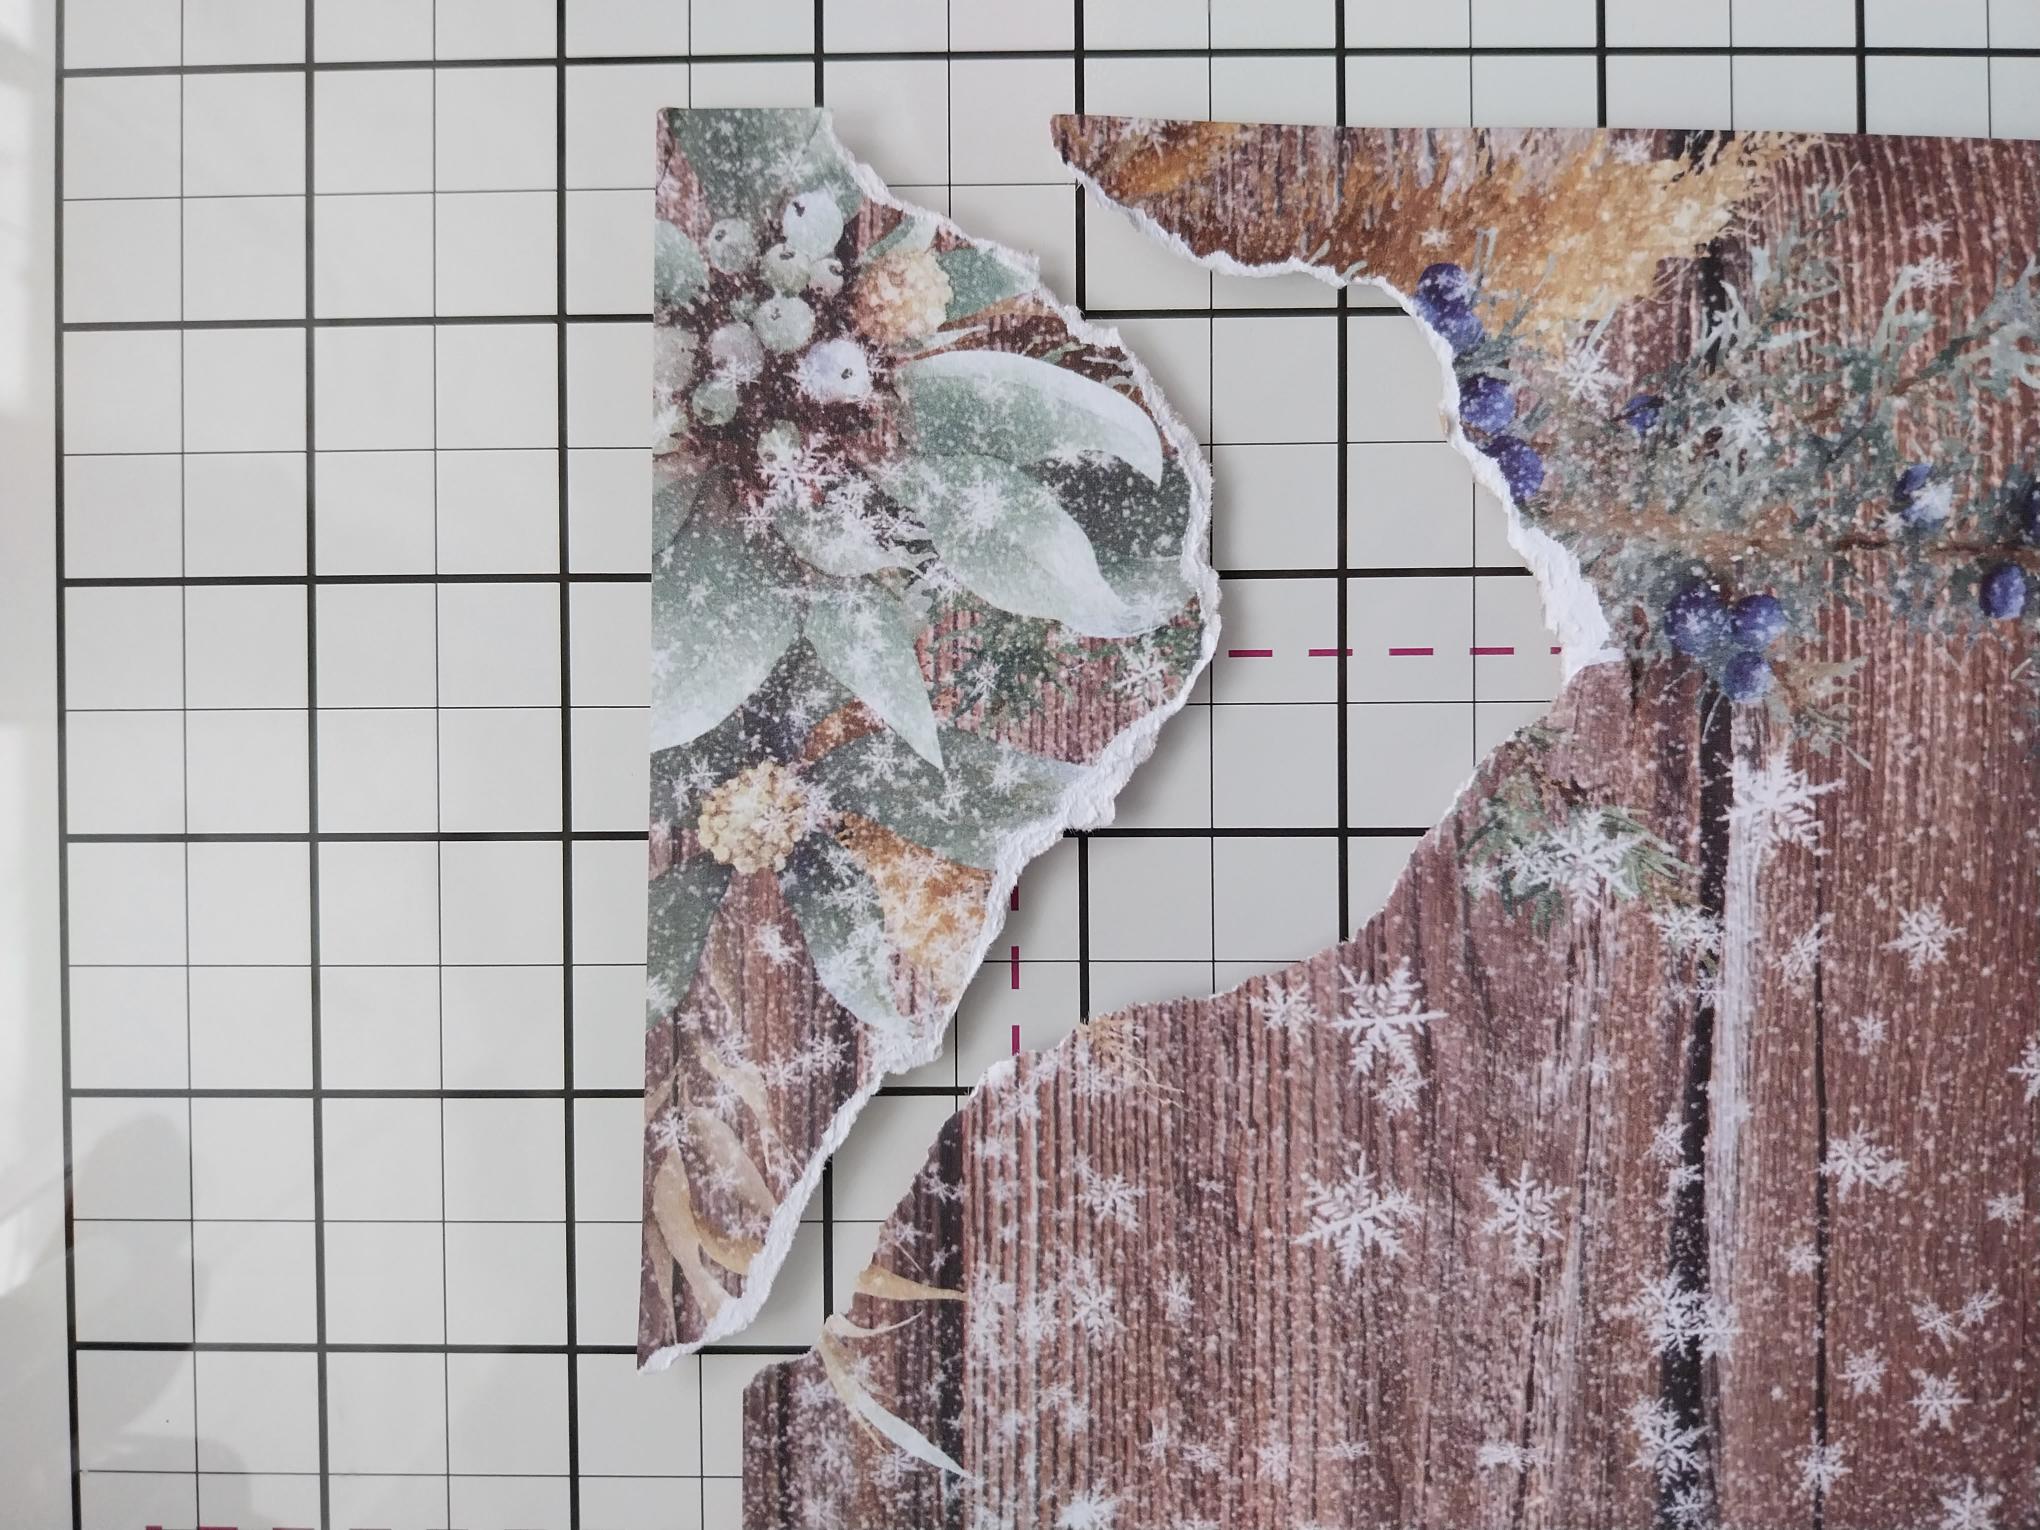
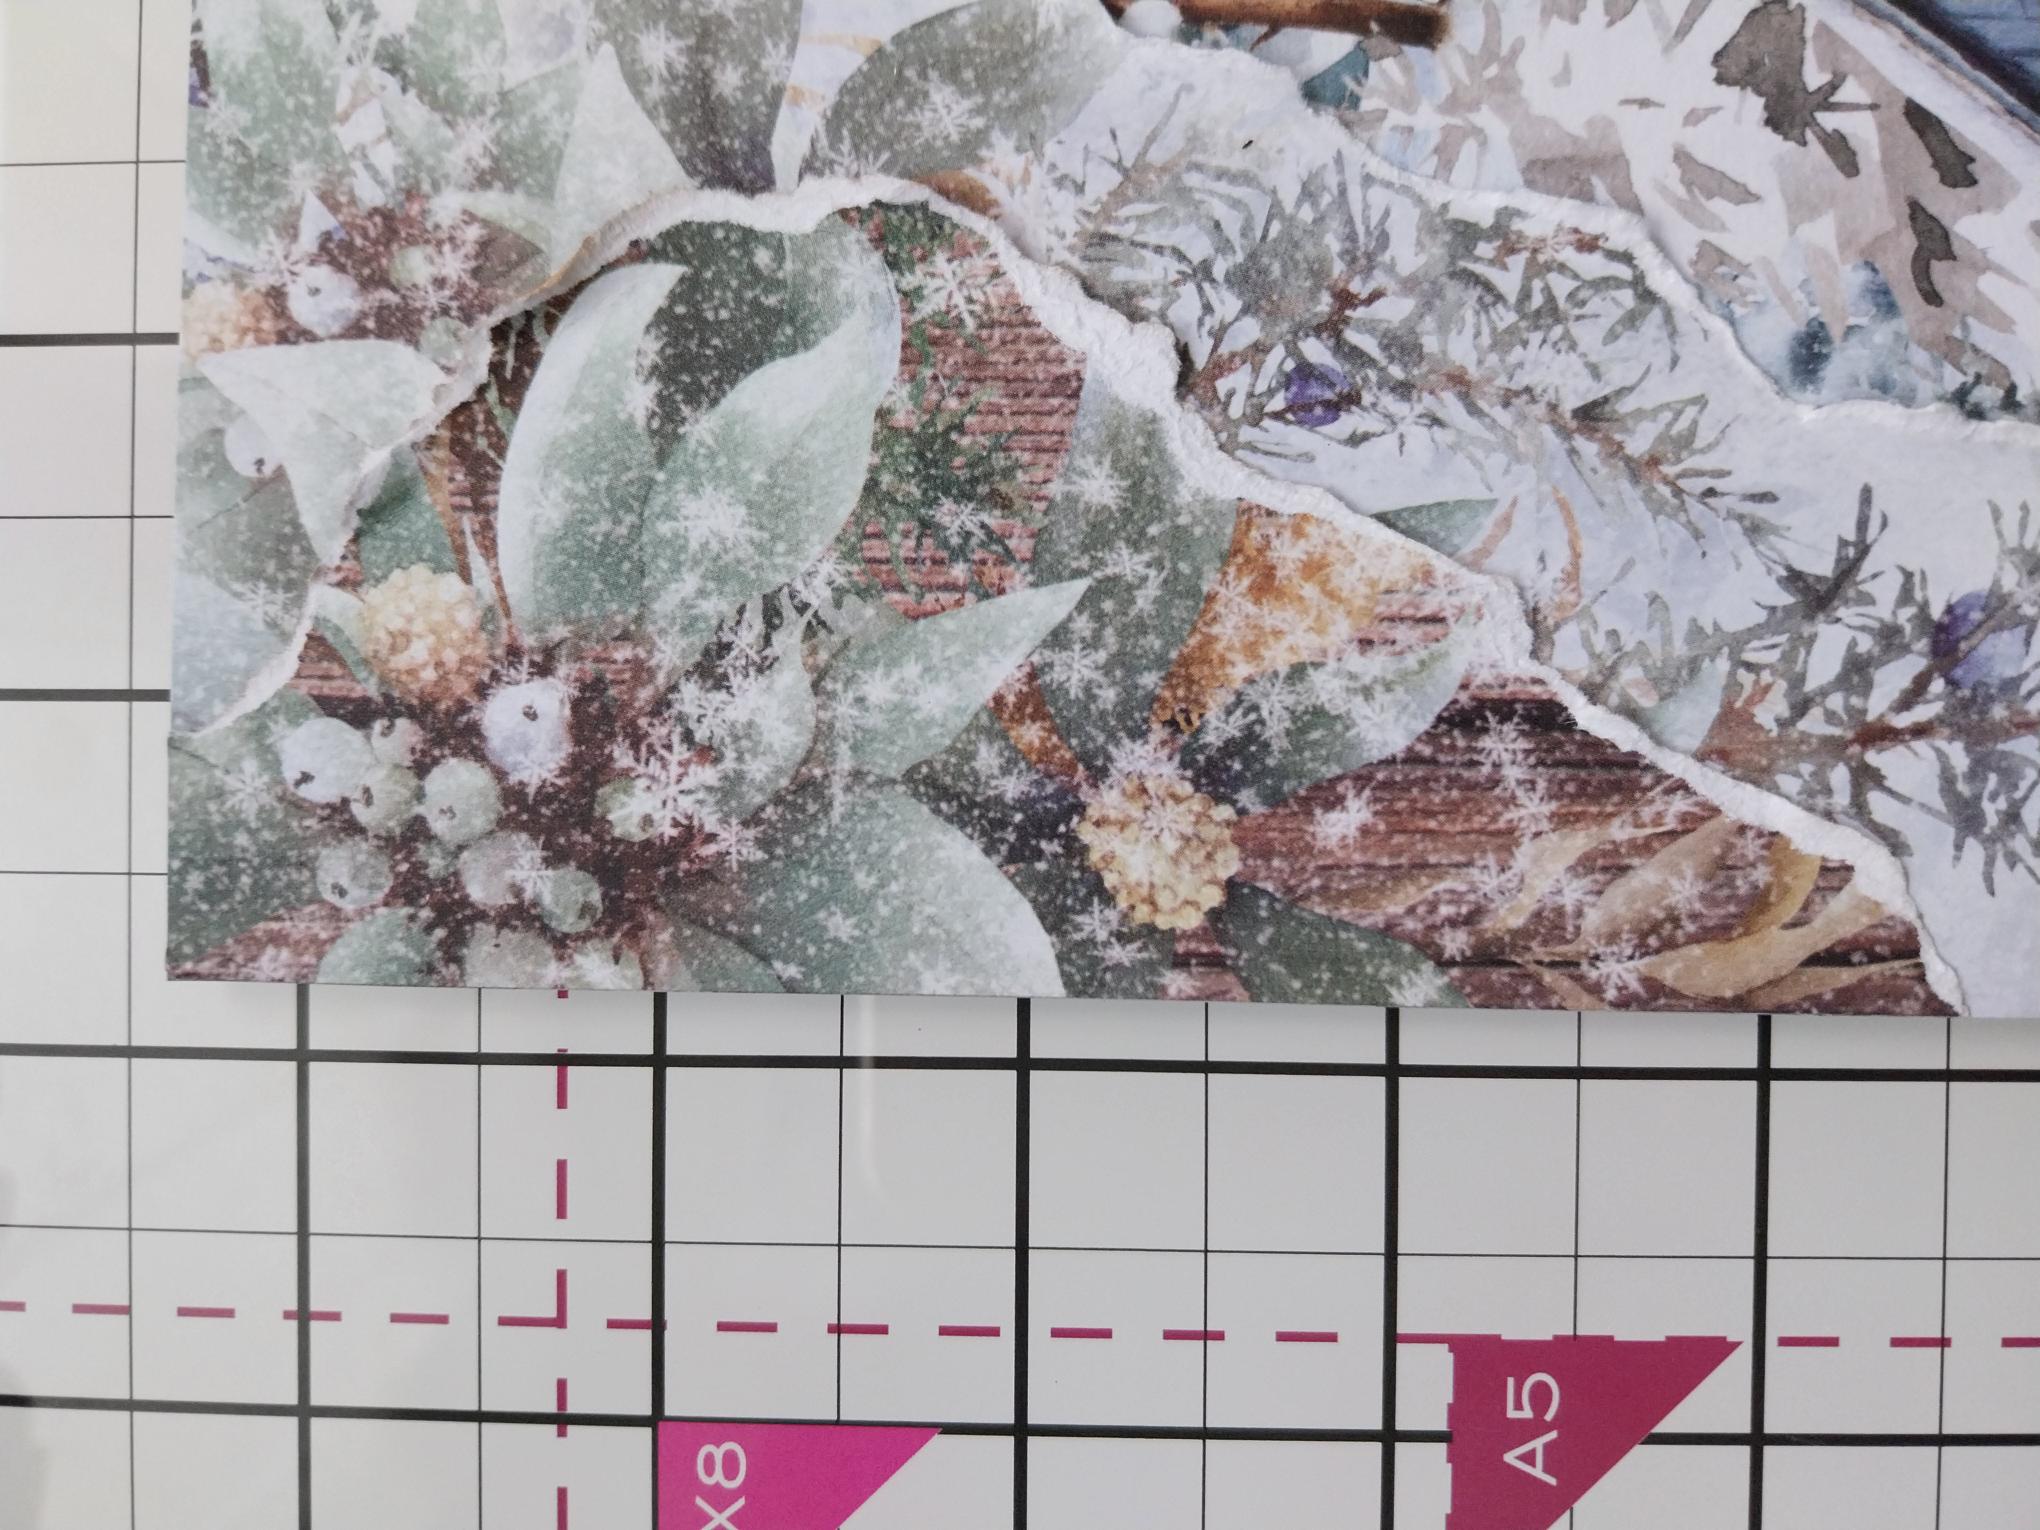
Tear another smaller floral, festive element from one of your coordinating papers. |
|
Adhere this on top of the other torn papers, flush with the left and top edges. Scrunch the torn edges as before. The idea is to create a multi-dimensional, tactile card. |
|
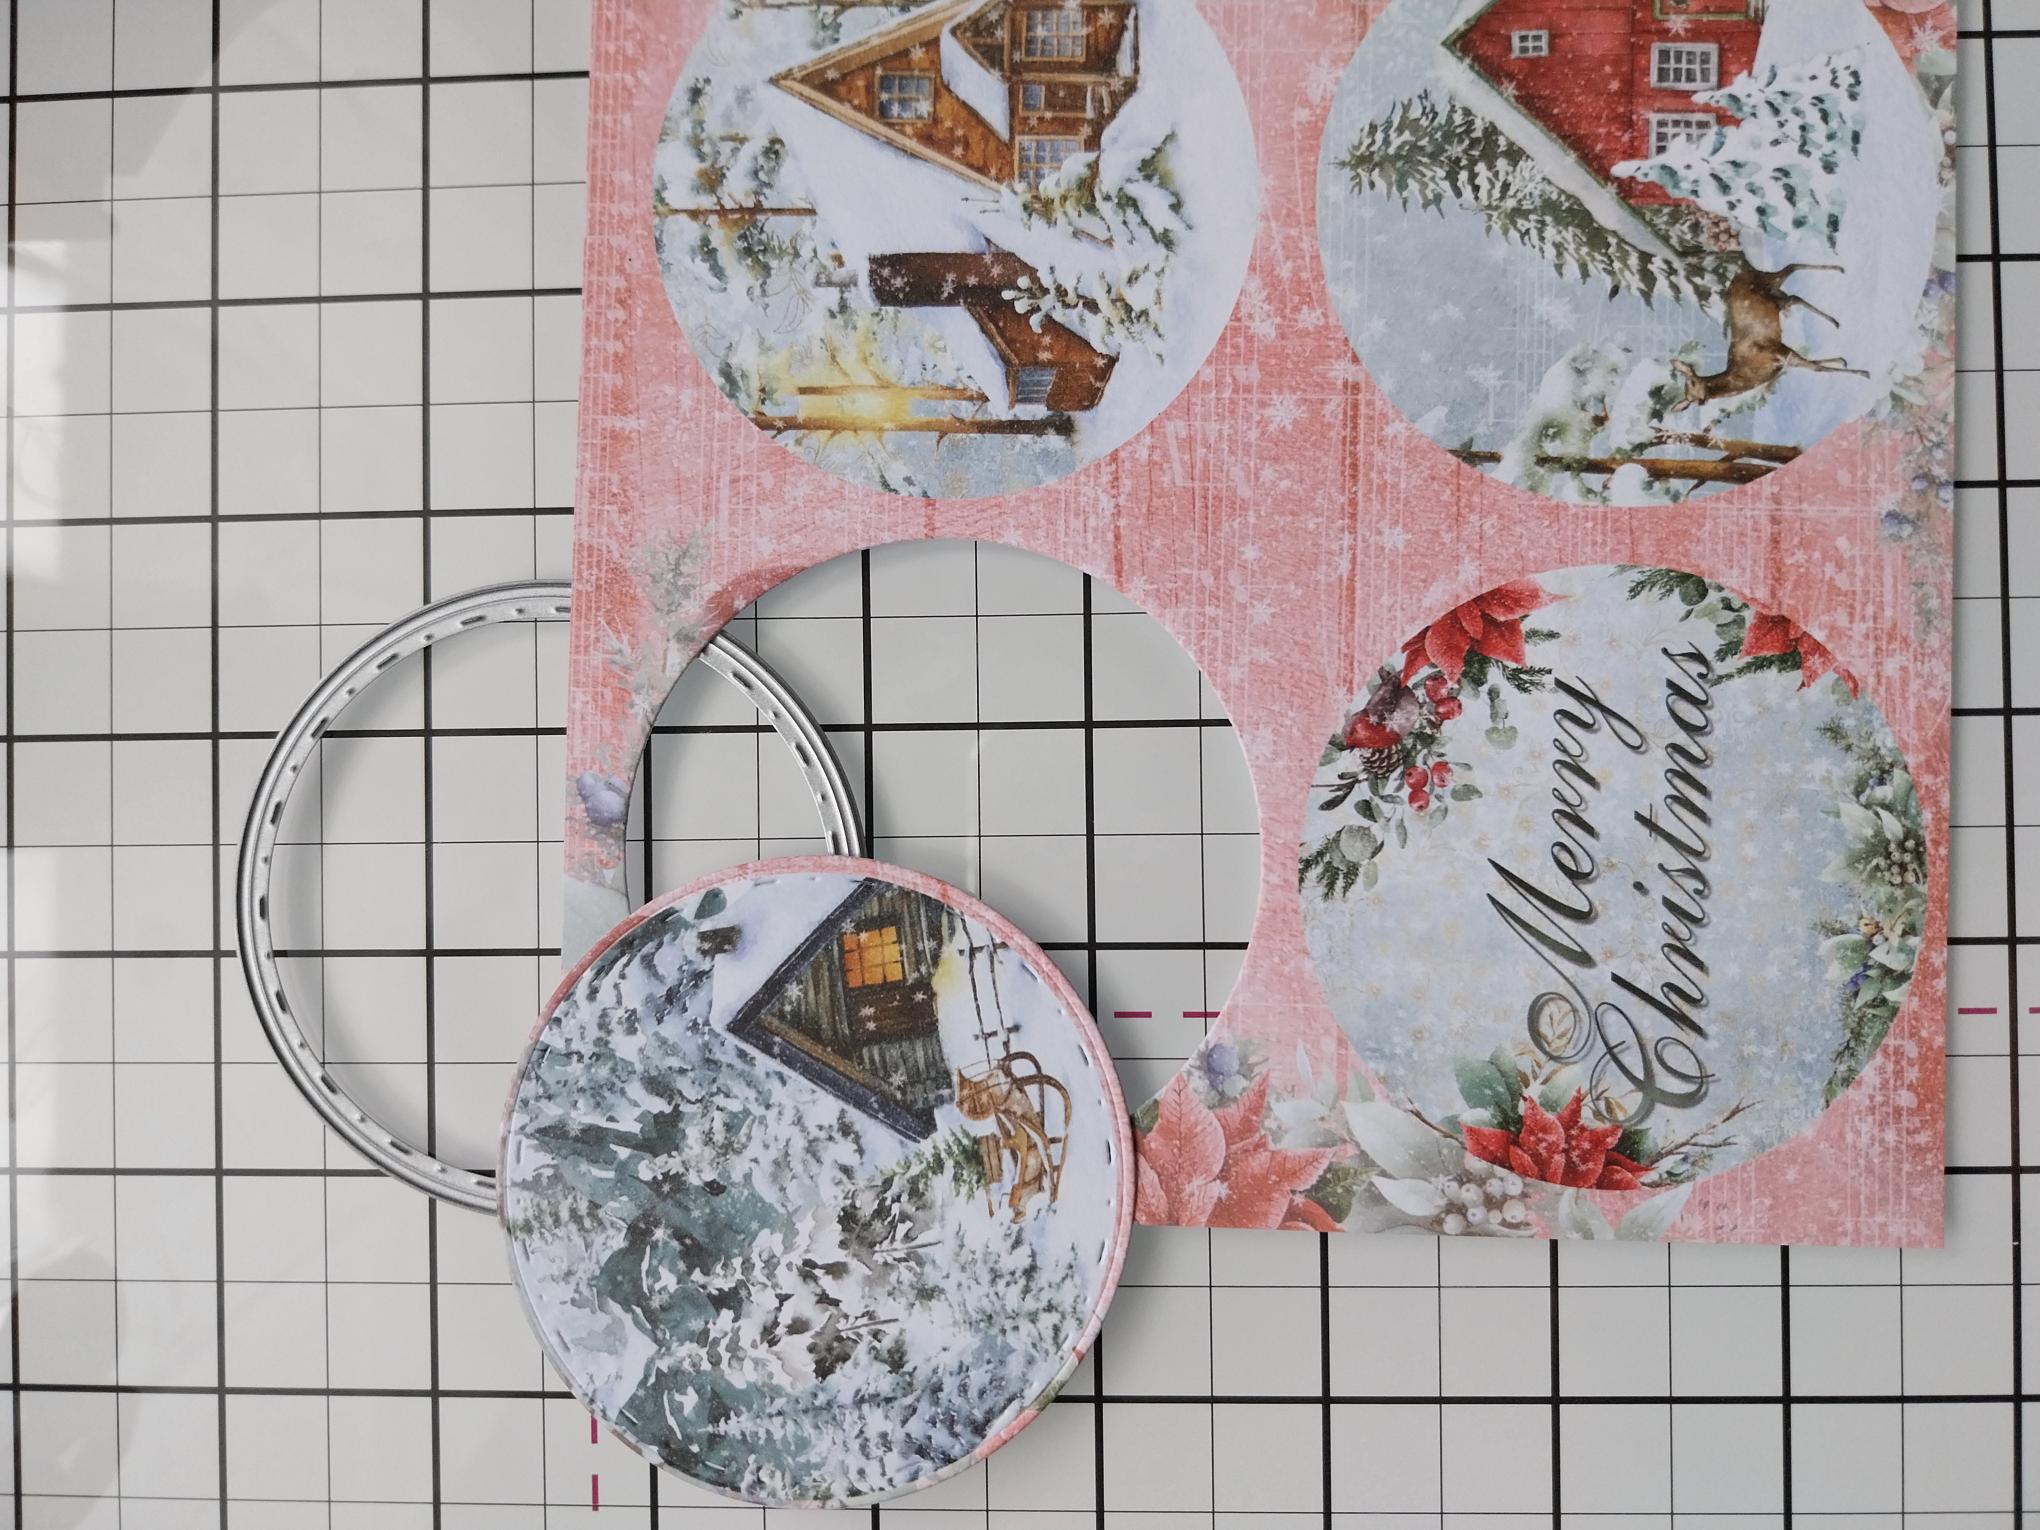
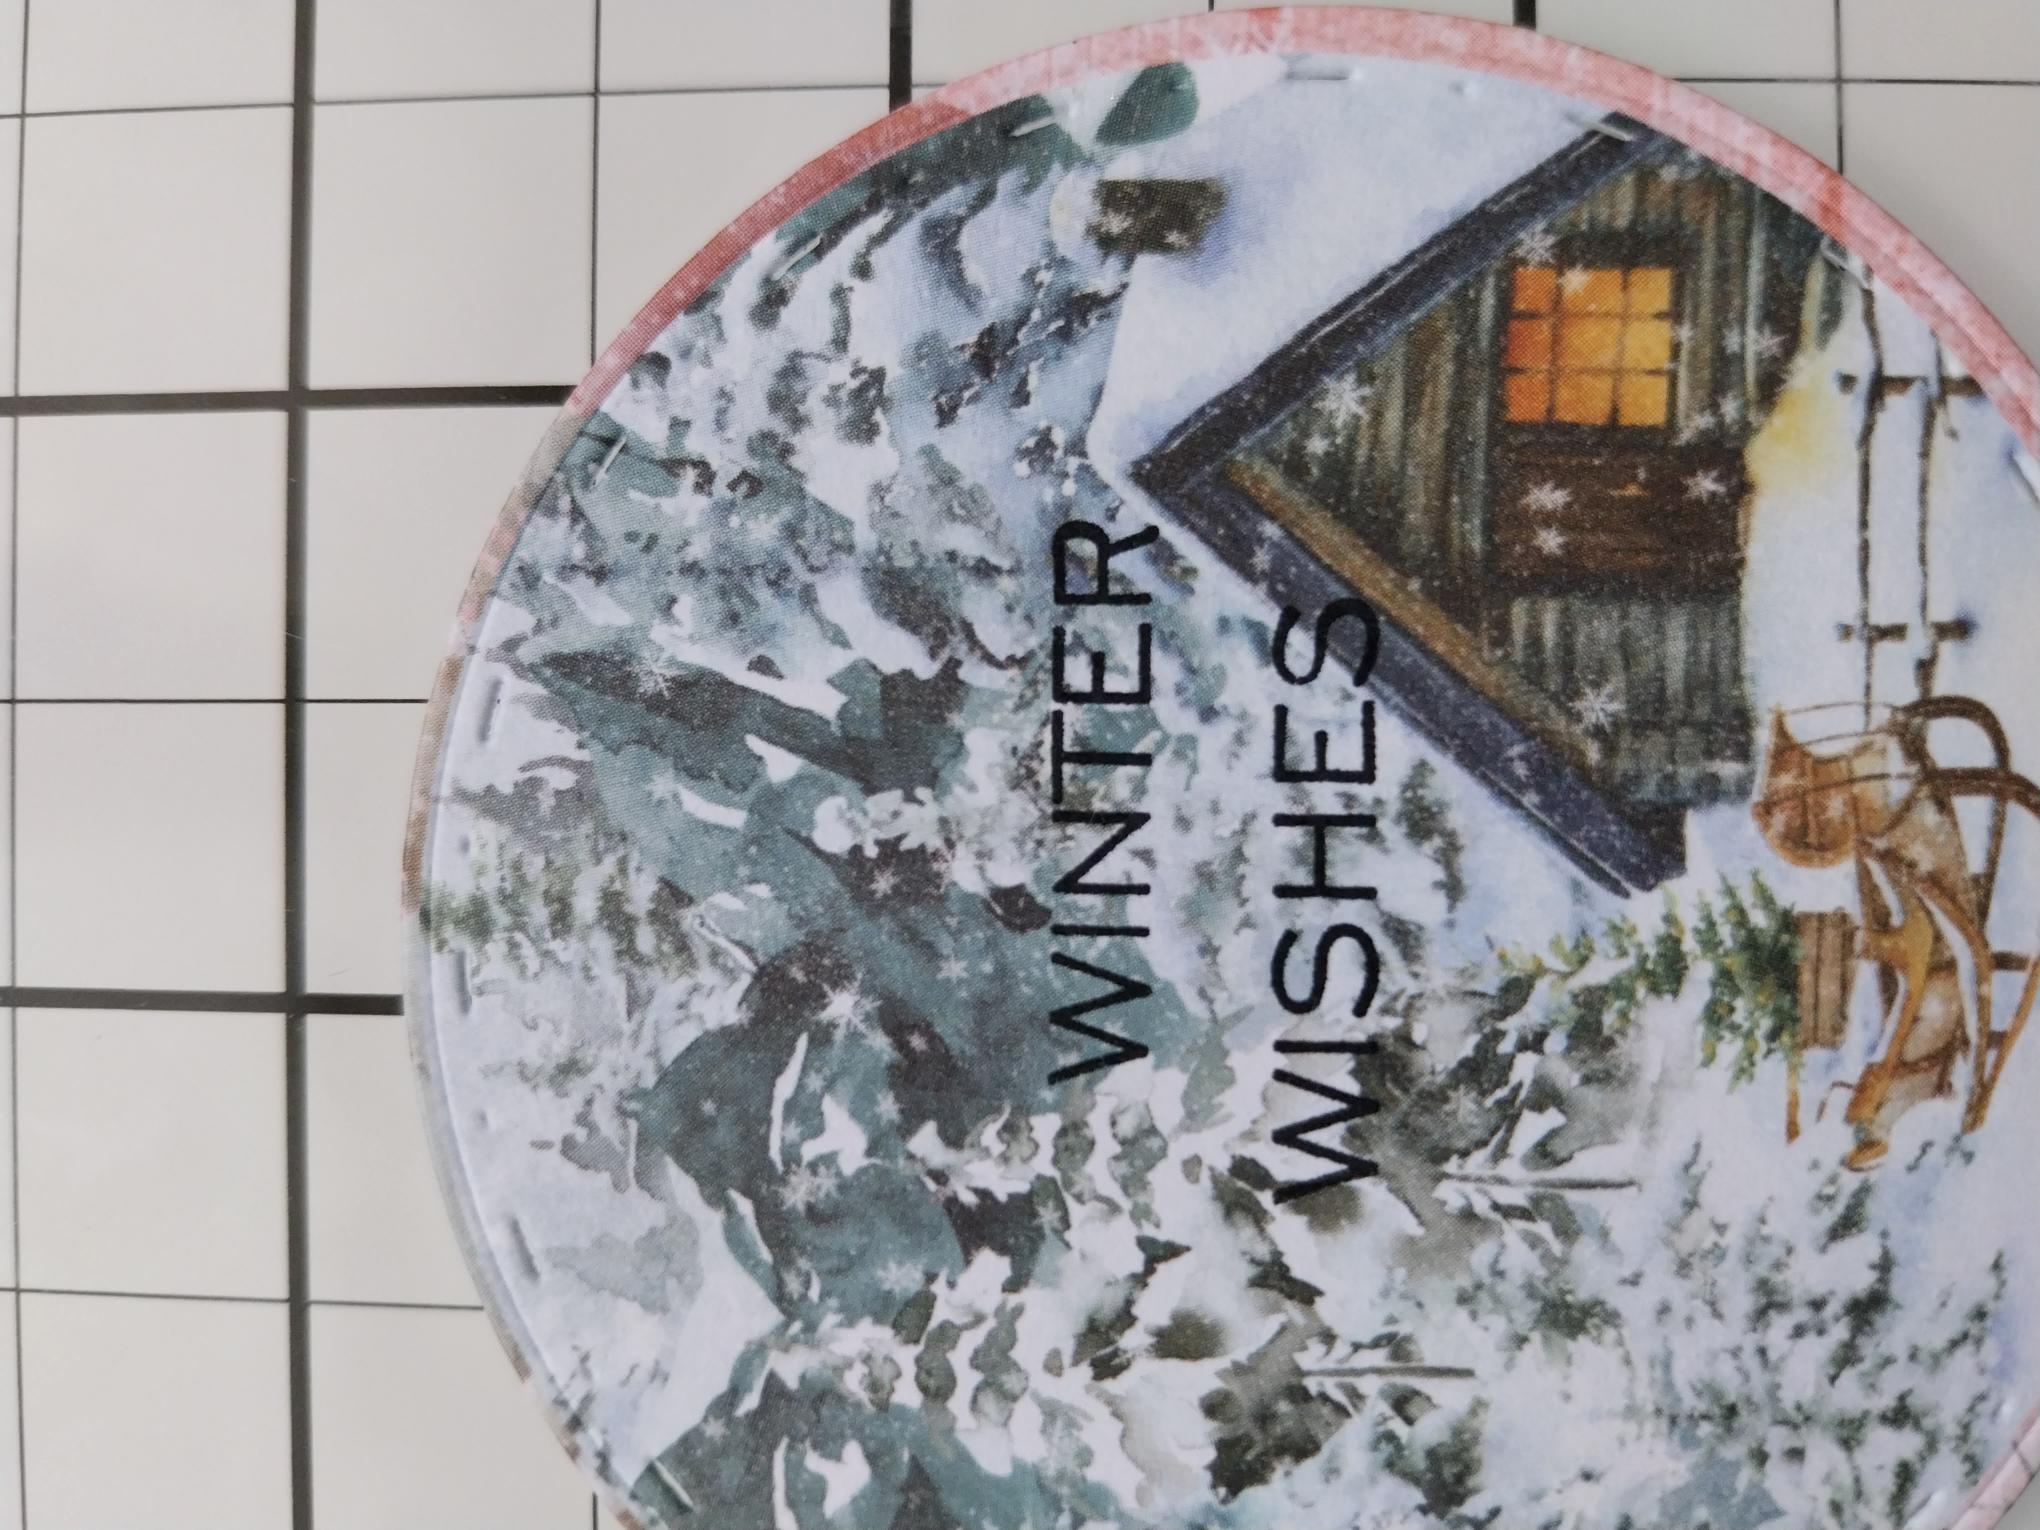
Use a circle die to cut out one of the sentiment toppers, from the 6 x 6" embellishment pack. |
|
Ink up your chosen sentiment stamp with the Midnight ink and stamp slightly to the right of the topper, as you will be popping it under the torn paper. |
|
Use wet glue to adhere your sentiment topper to your project, tucking the left edge under the top, torn paper. |
|
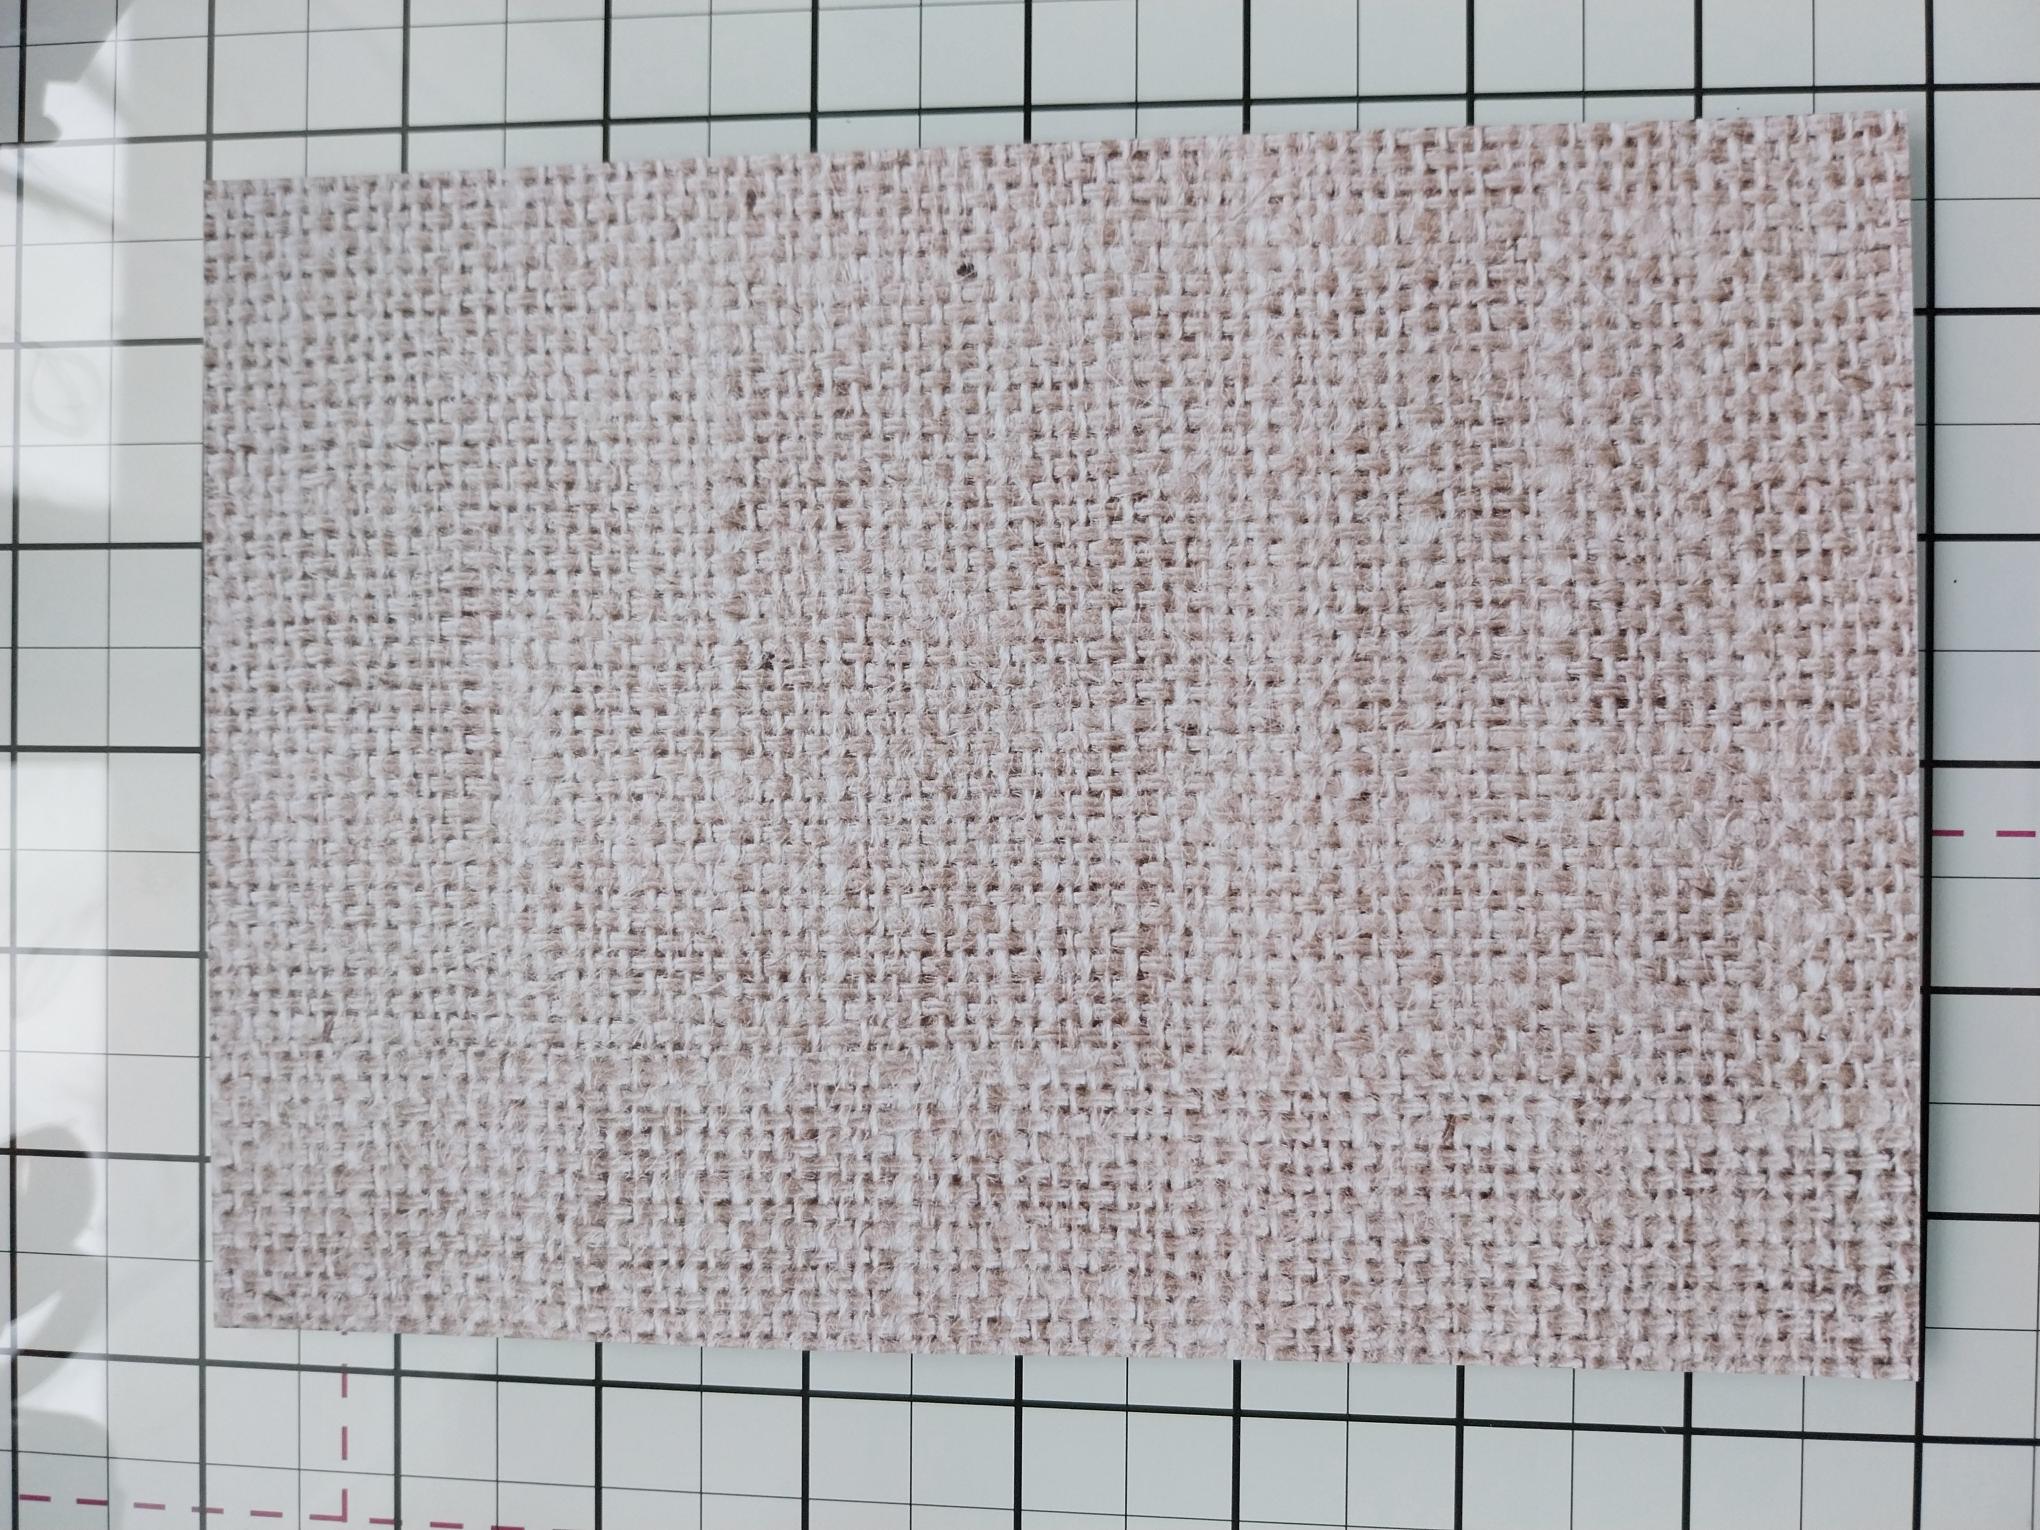
Trim a textured background paper to 7 3/4 x 5 1/2". I used this beautiful one from the 8 x 8" Foundation Pack. |
|
Mat your winter artwork on to the textured background paper and then on to the front of your black card blank. Remember you can adapt this to fit the sizes you are working with. |
|
To complete your frosty, festive project, add a touch of sparkle and glitter as required. |