Give your friends $10 off their first order!
Refer a FRIEND


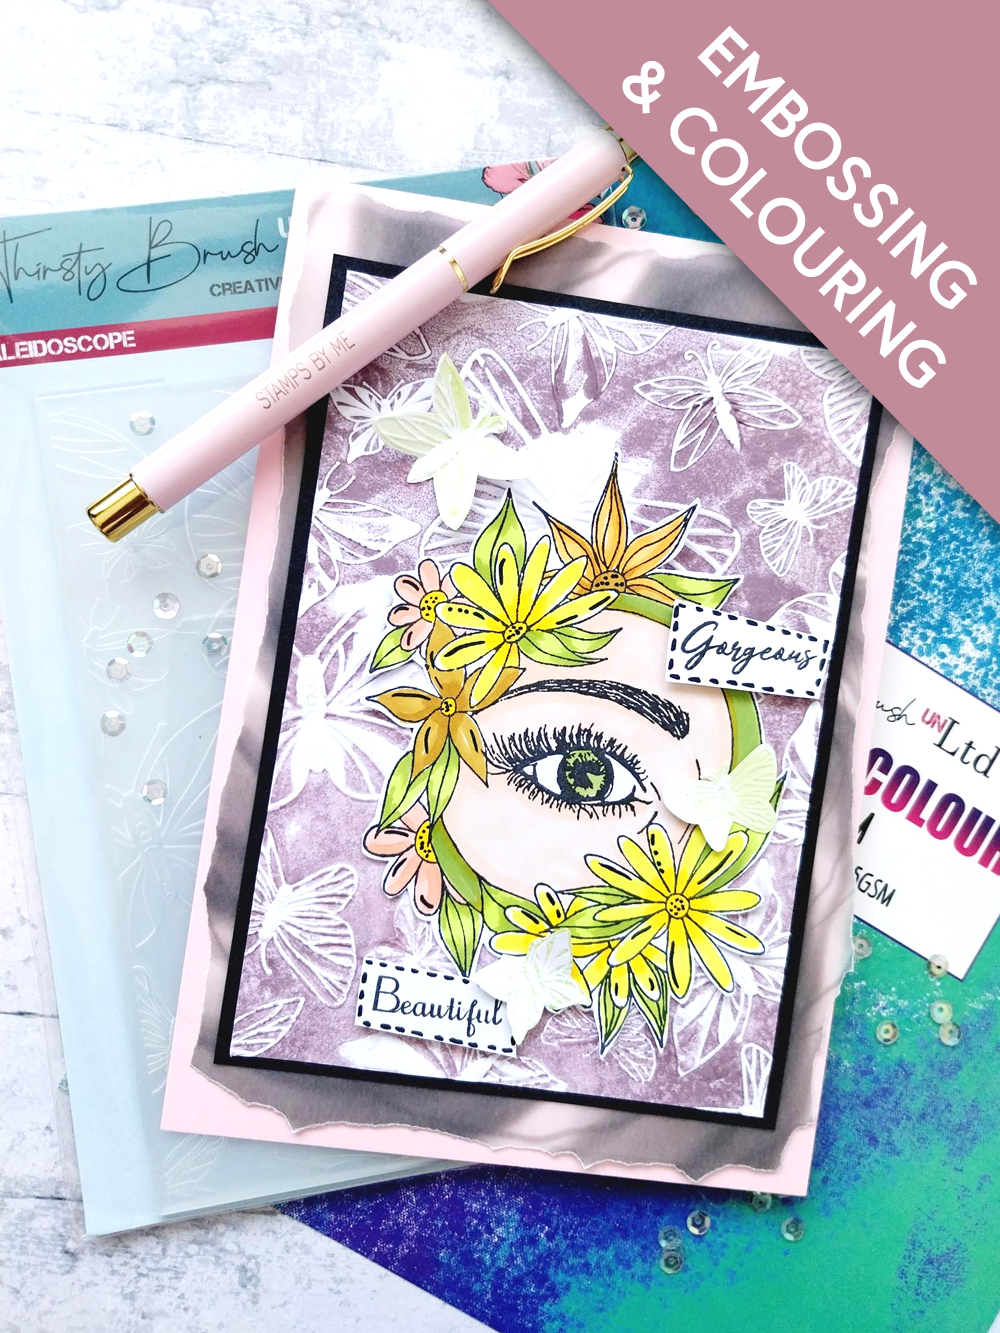
WHAT YOU WILL NEED:
Pink card blank 8 x 5 1/2"
Black card 6 3/4 x 4 3/4"
White card
Thirsty Brush UnLtd Kaleidoscope Embossing Folder
Thirsty Brush UnLtd Life In Full Colour A4 Vellum Pack
Thirsty Brush UnLtd Beauty Is In The Eyes Stamp Set
SBM Hybrid Ink Pad: Midnight
SBM Pigment Ink Pad: Heather, Limeade
Water spray bottle
Gossip alcohol pens
Black pen
Eureka 101 Watercolour Tablet
SBM Magnetic glass mat
Paper Trimmer
Perfect Together Glue
Foam pads
Die Cutting machine
[click image to enlarge] 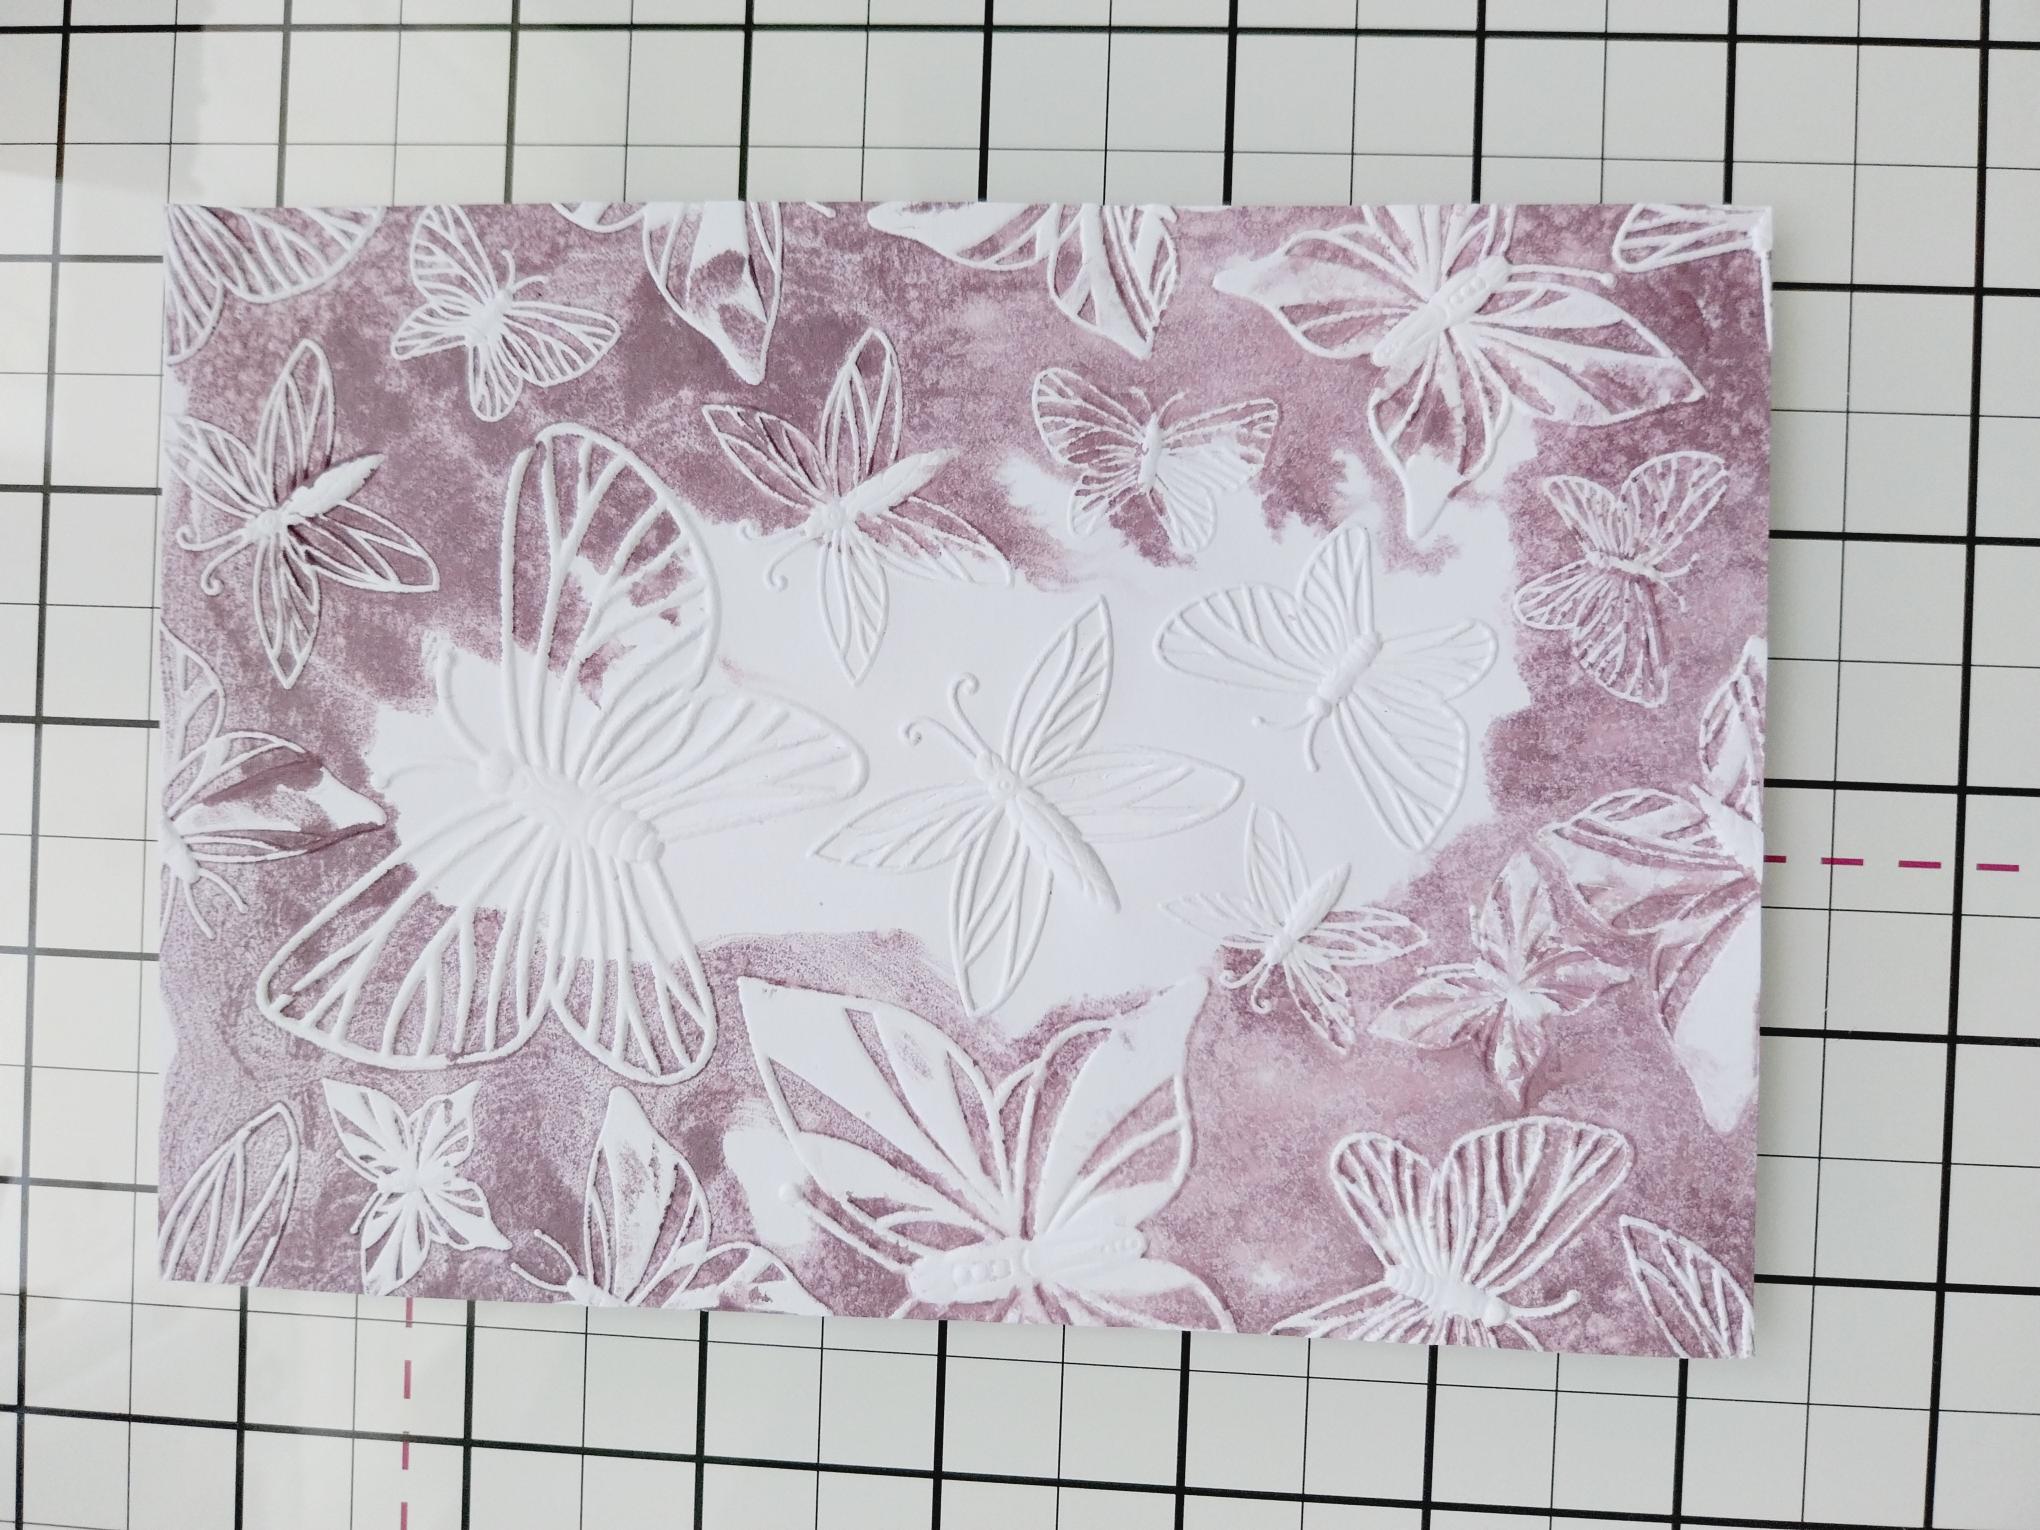
|
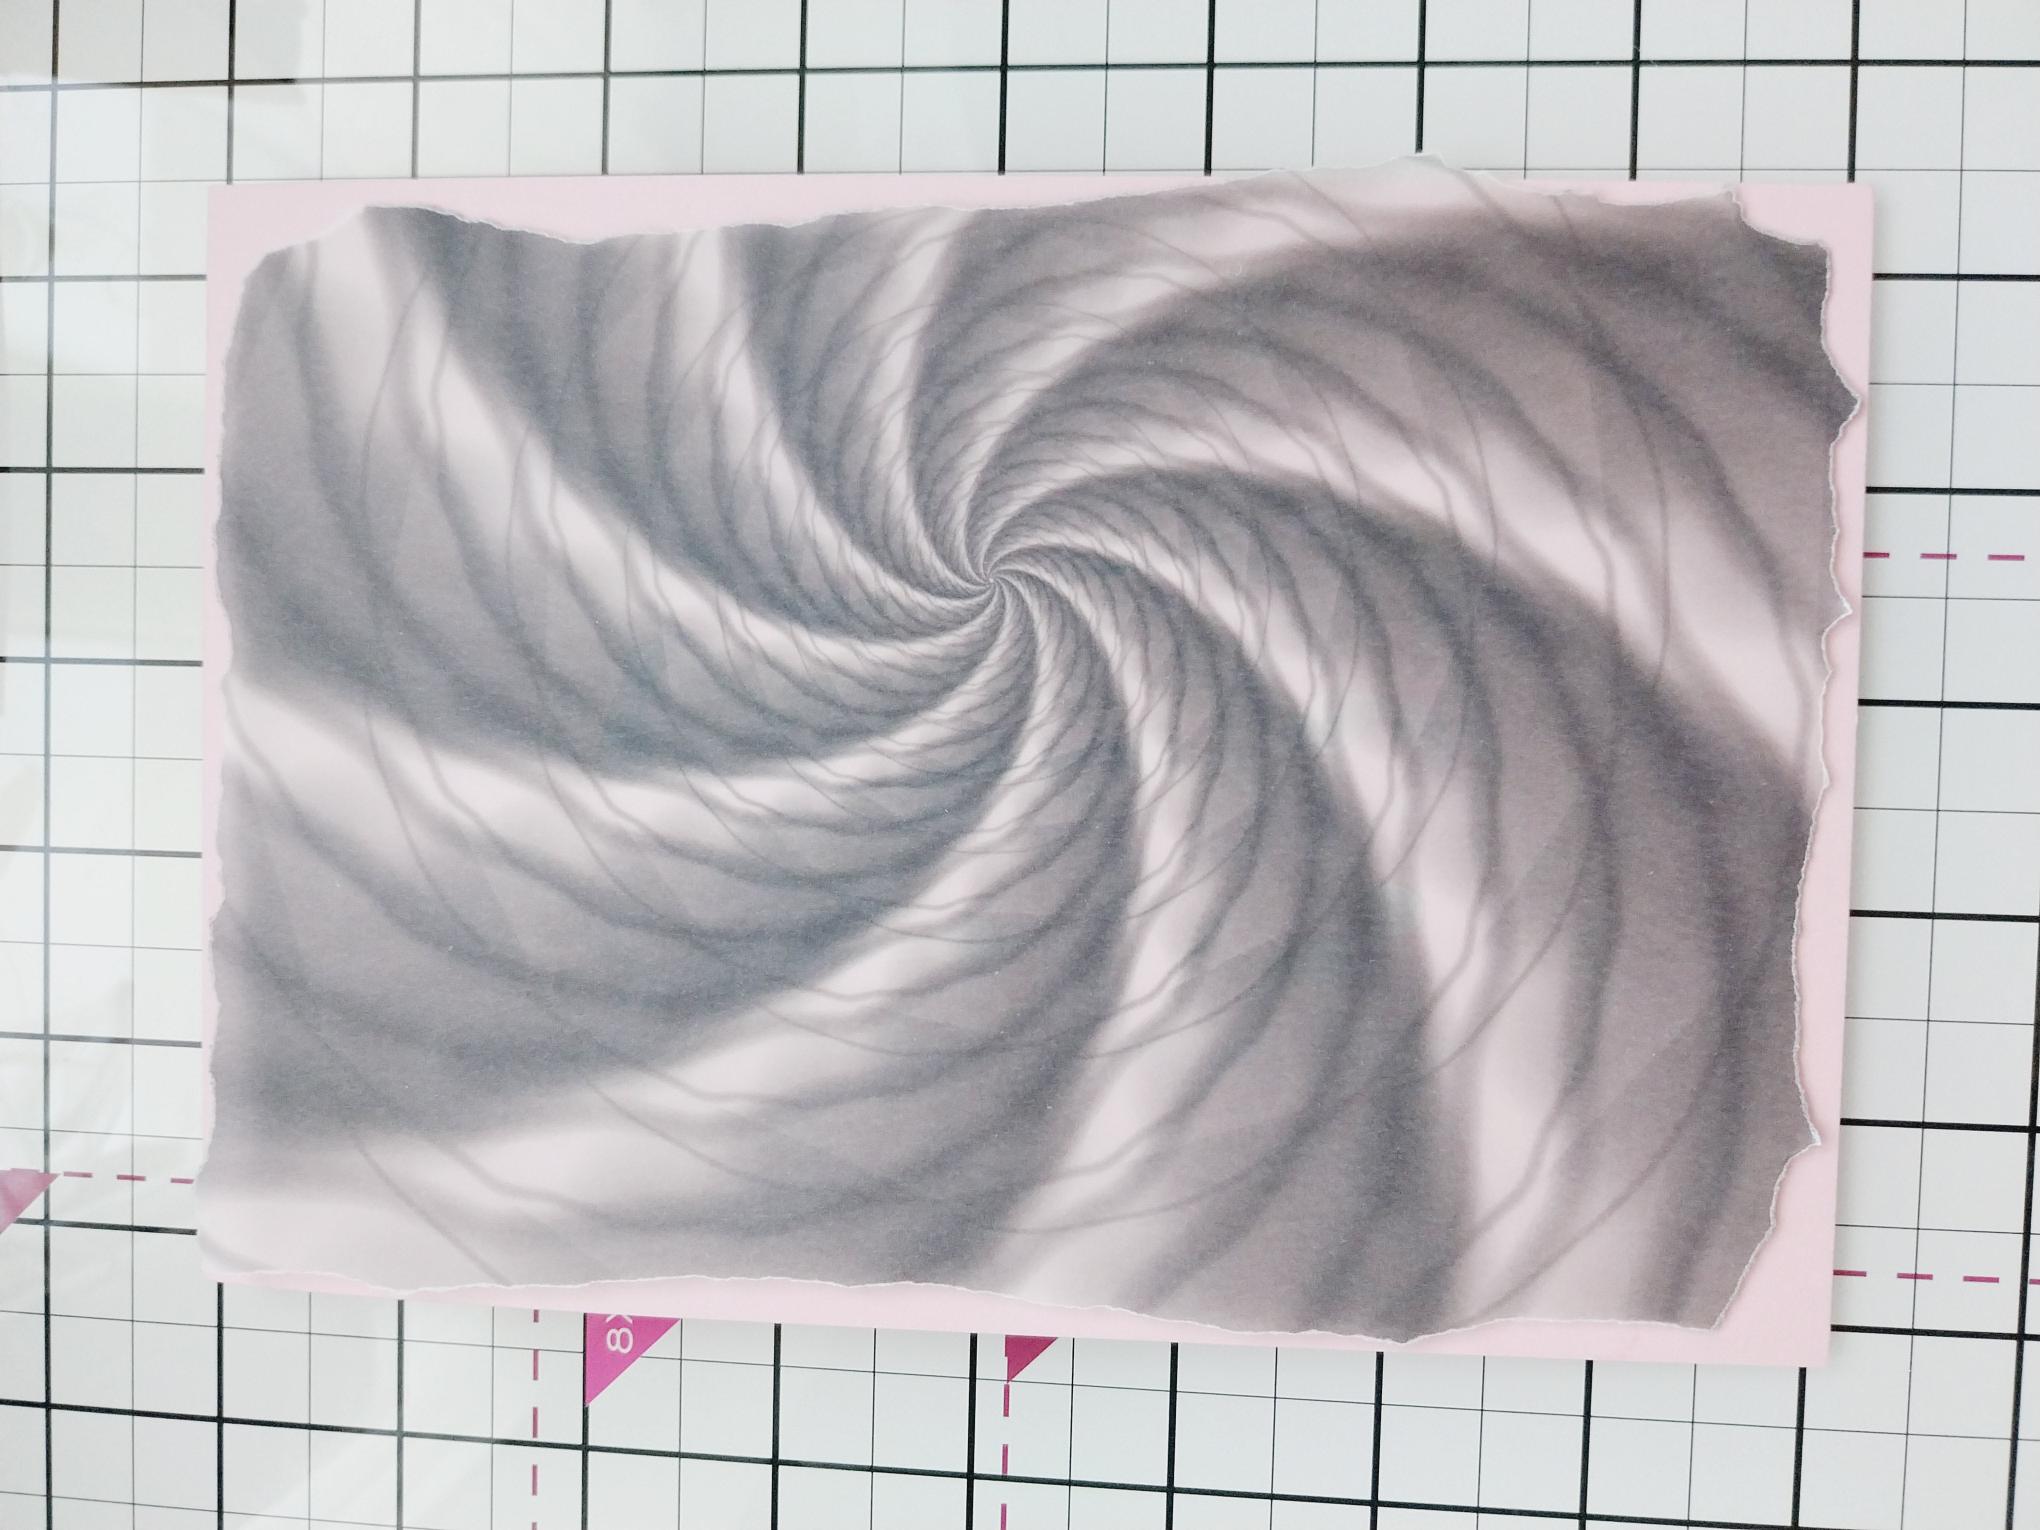
Rub around both sides of the Kaleidoscope folder with the Heather ink pad, keeping the centre free from ink. Spritz lightly with water, place a piece of white card 6 1/2 x 4 1/2" inside and run it through your machine. Set aside to dry. |
|
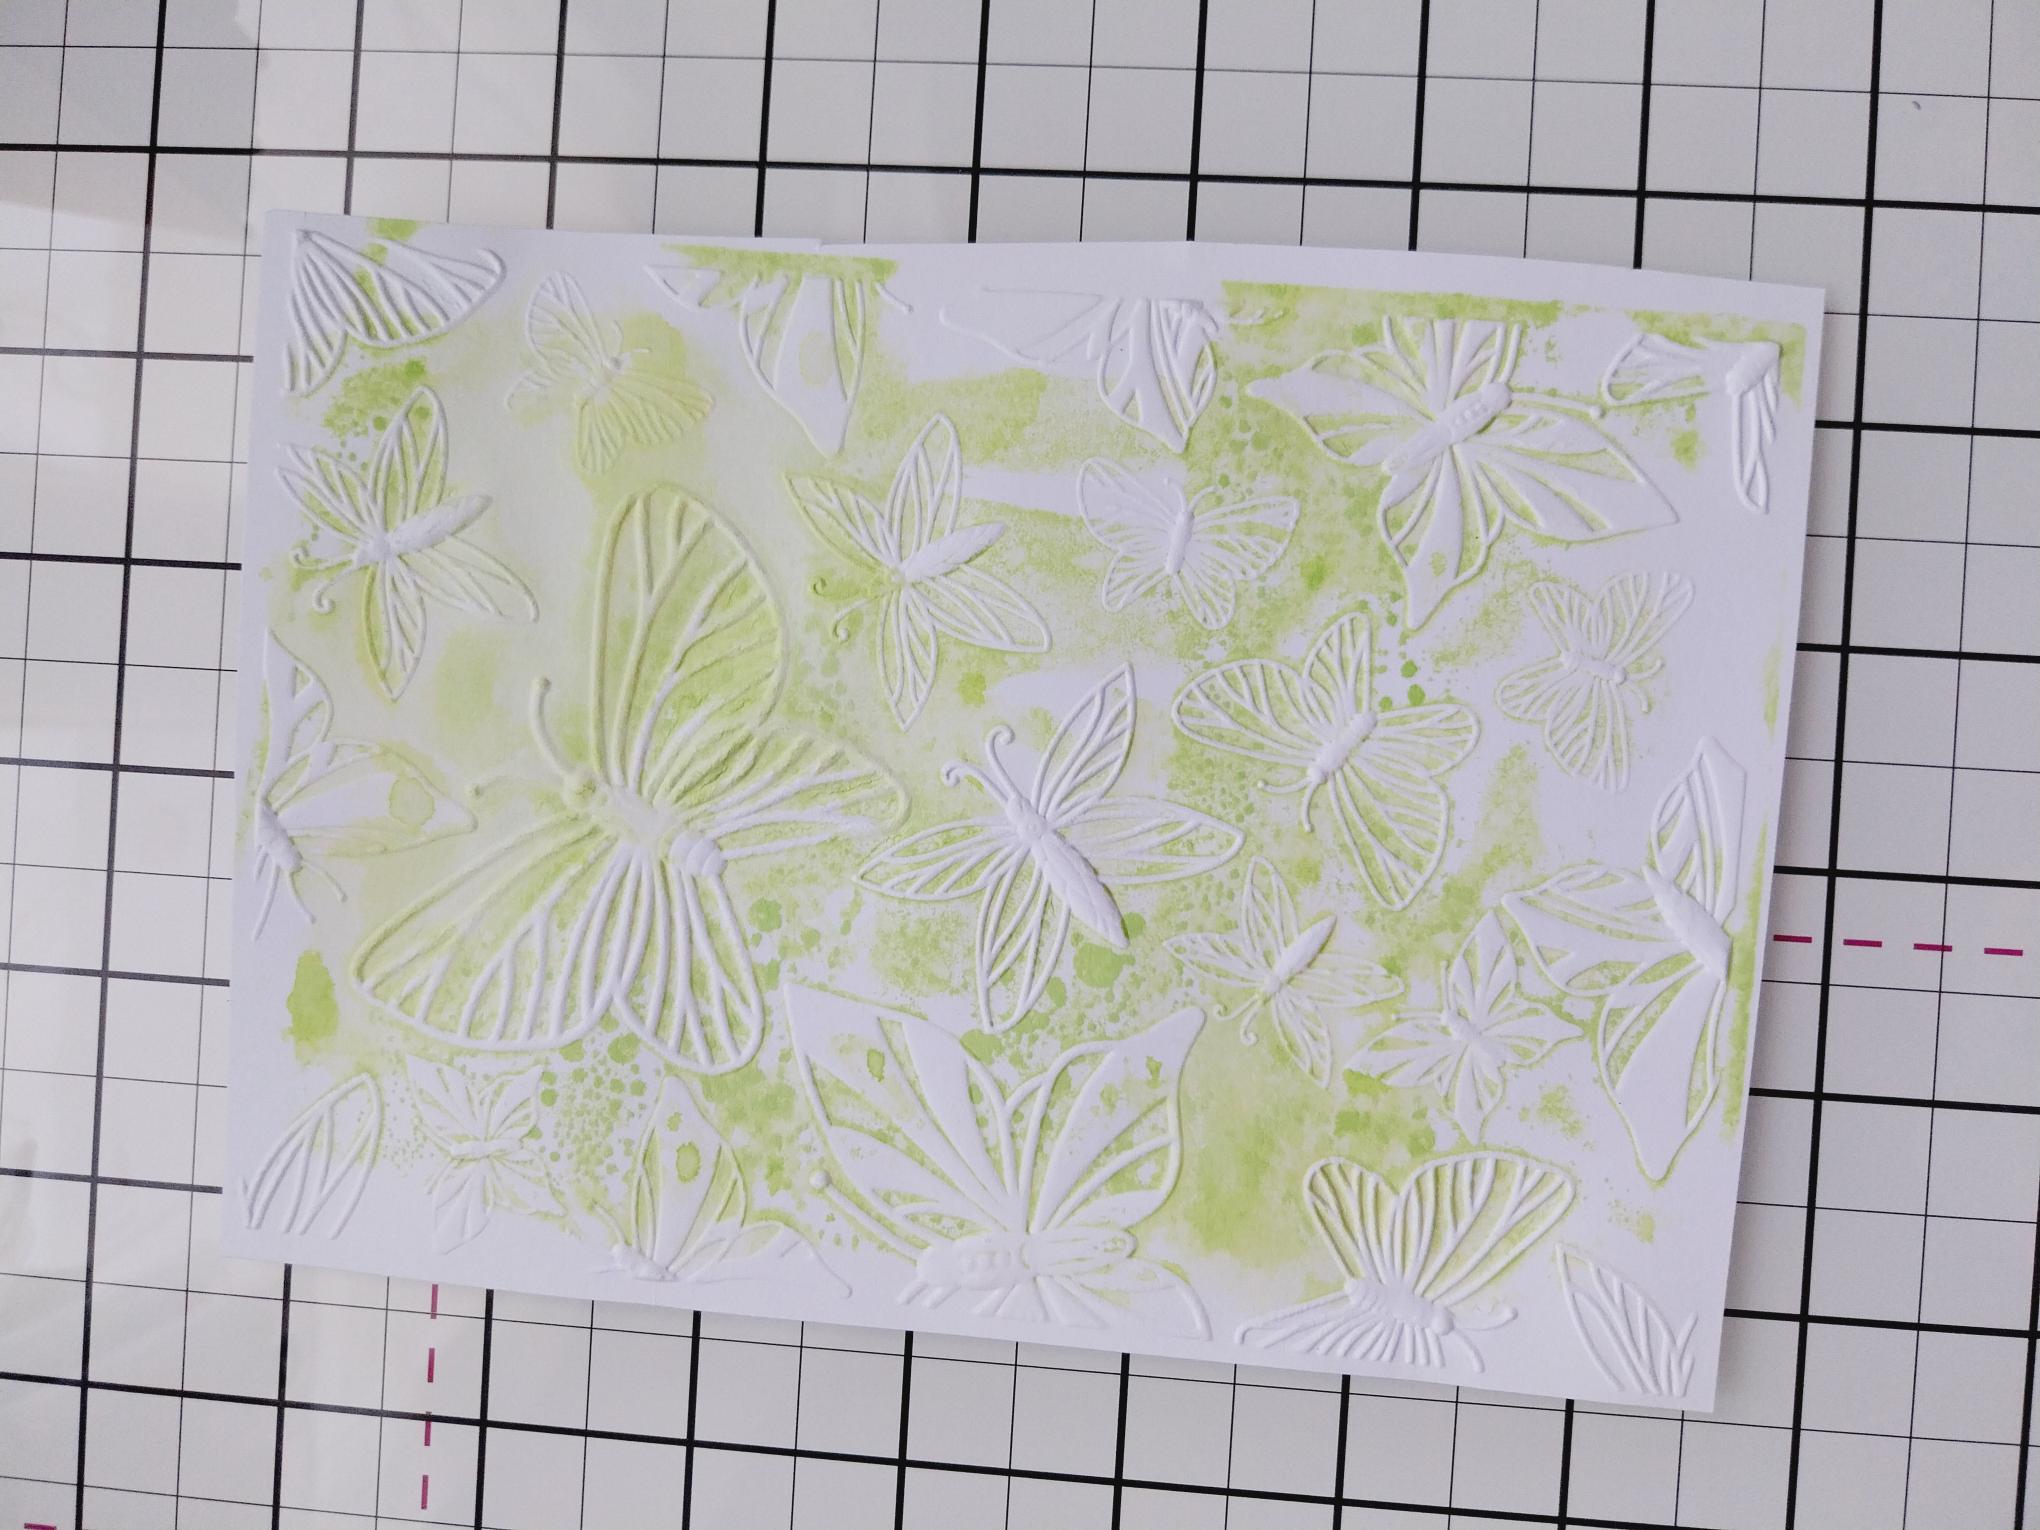
Repeat the previous step with another piece of white card, this time rubbing the Limeade ink pad all over the debossed side. |
|
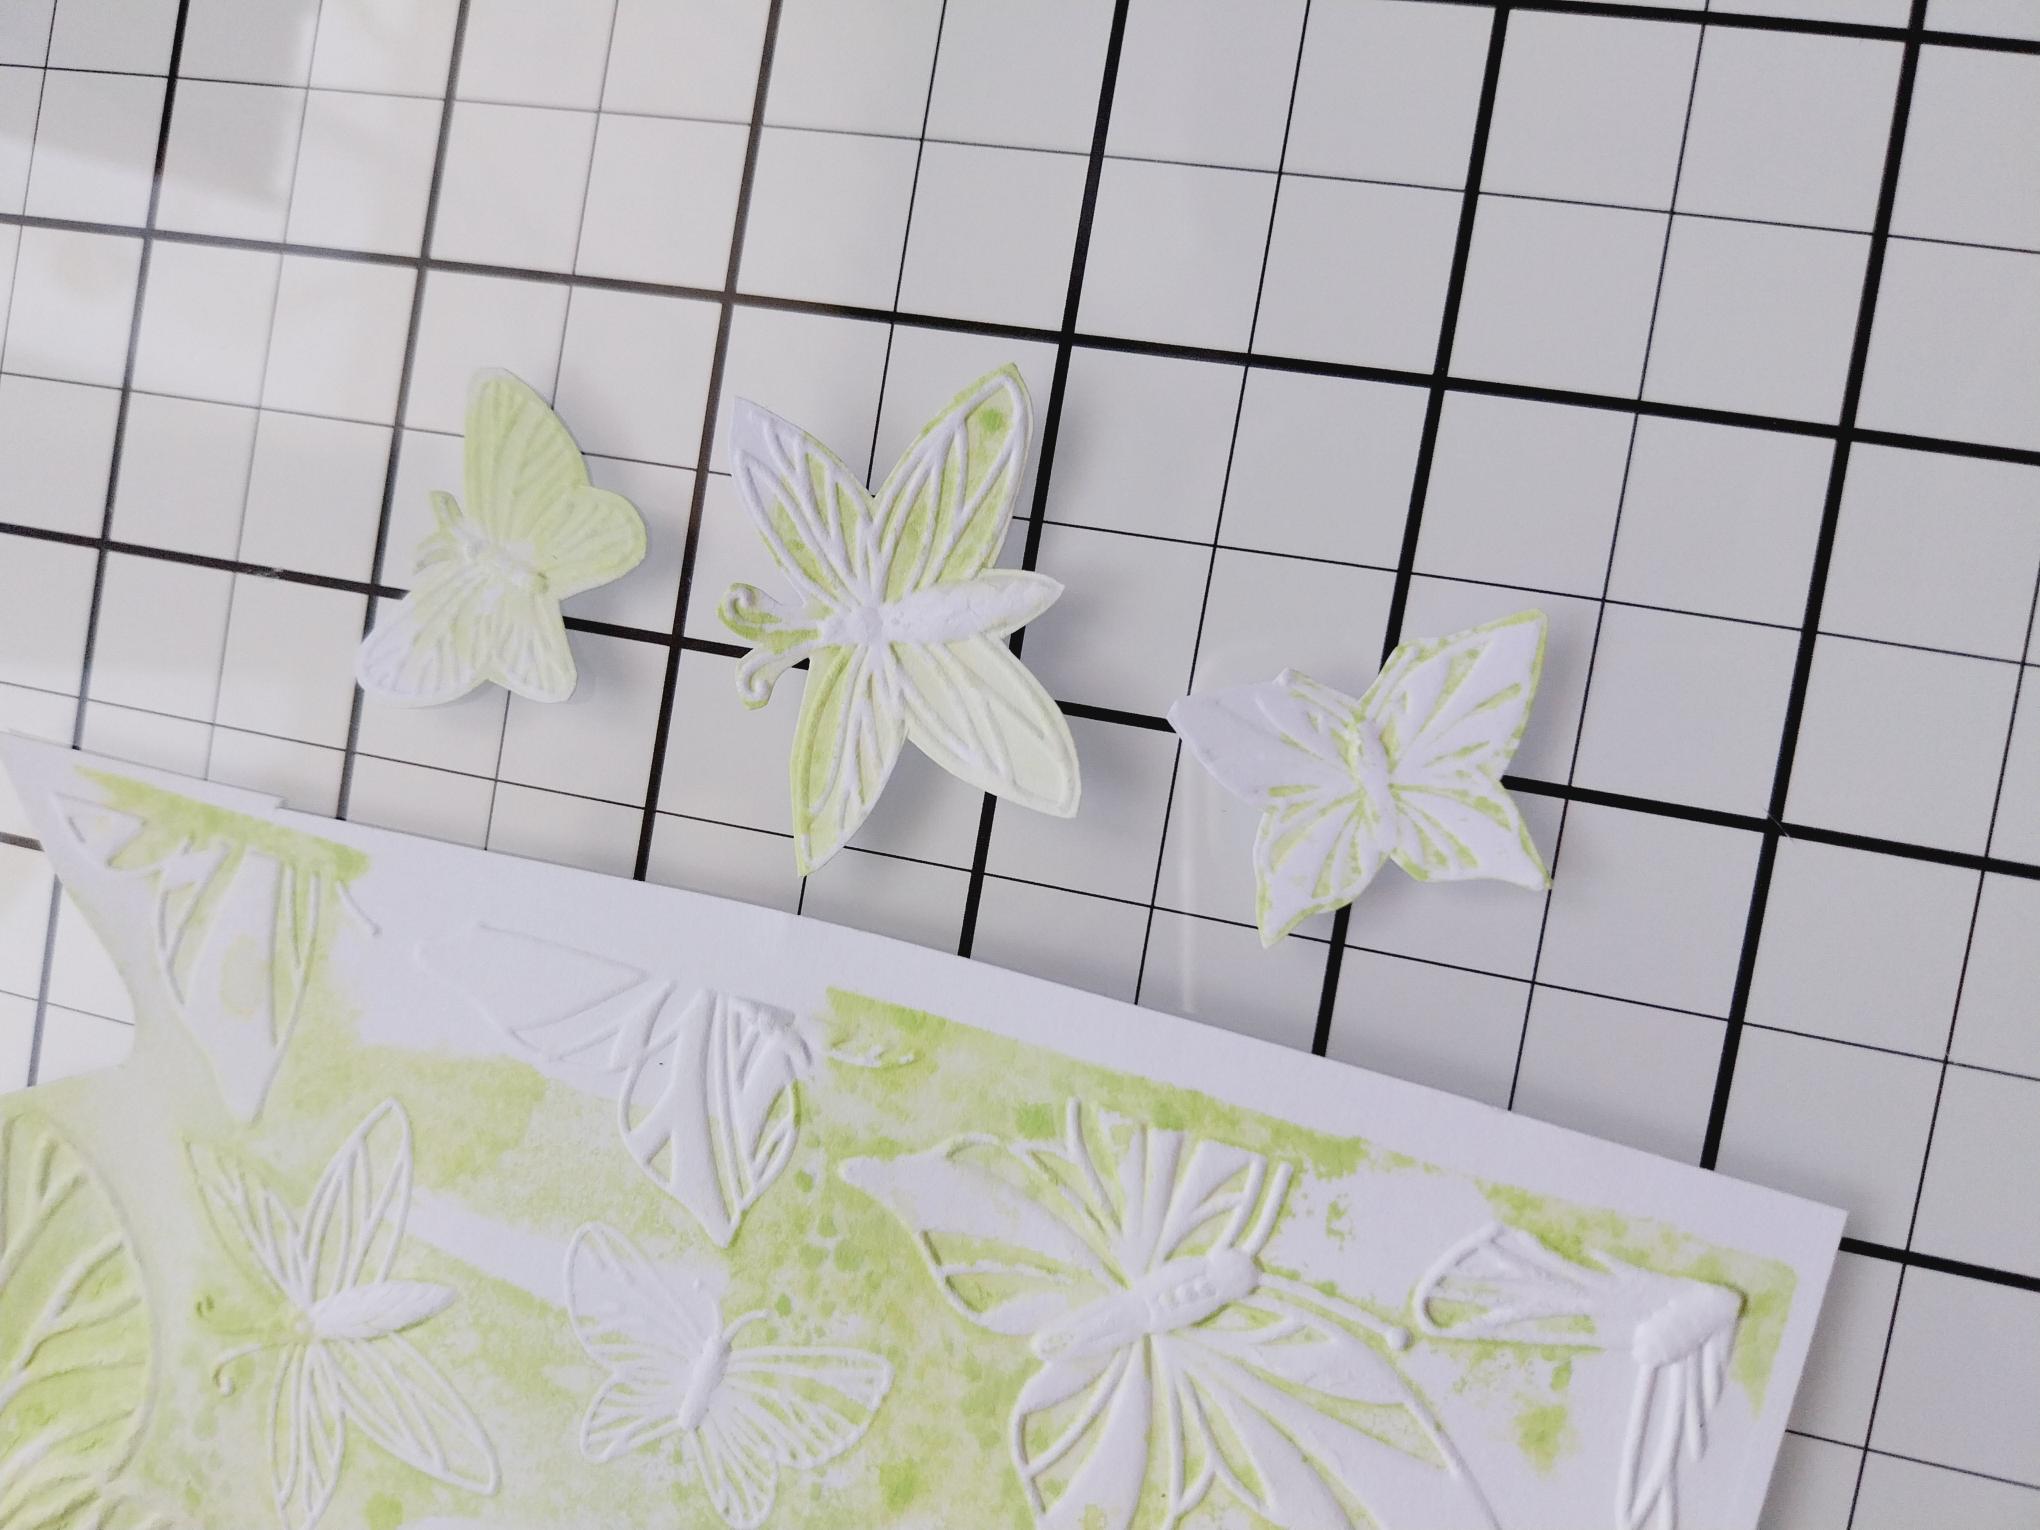
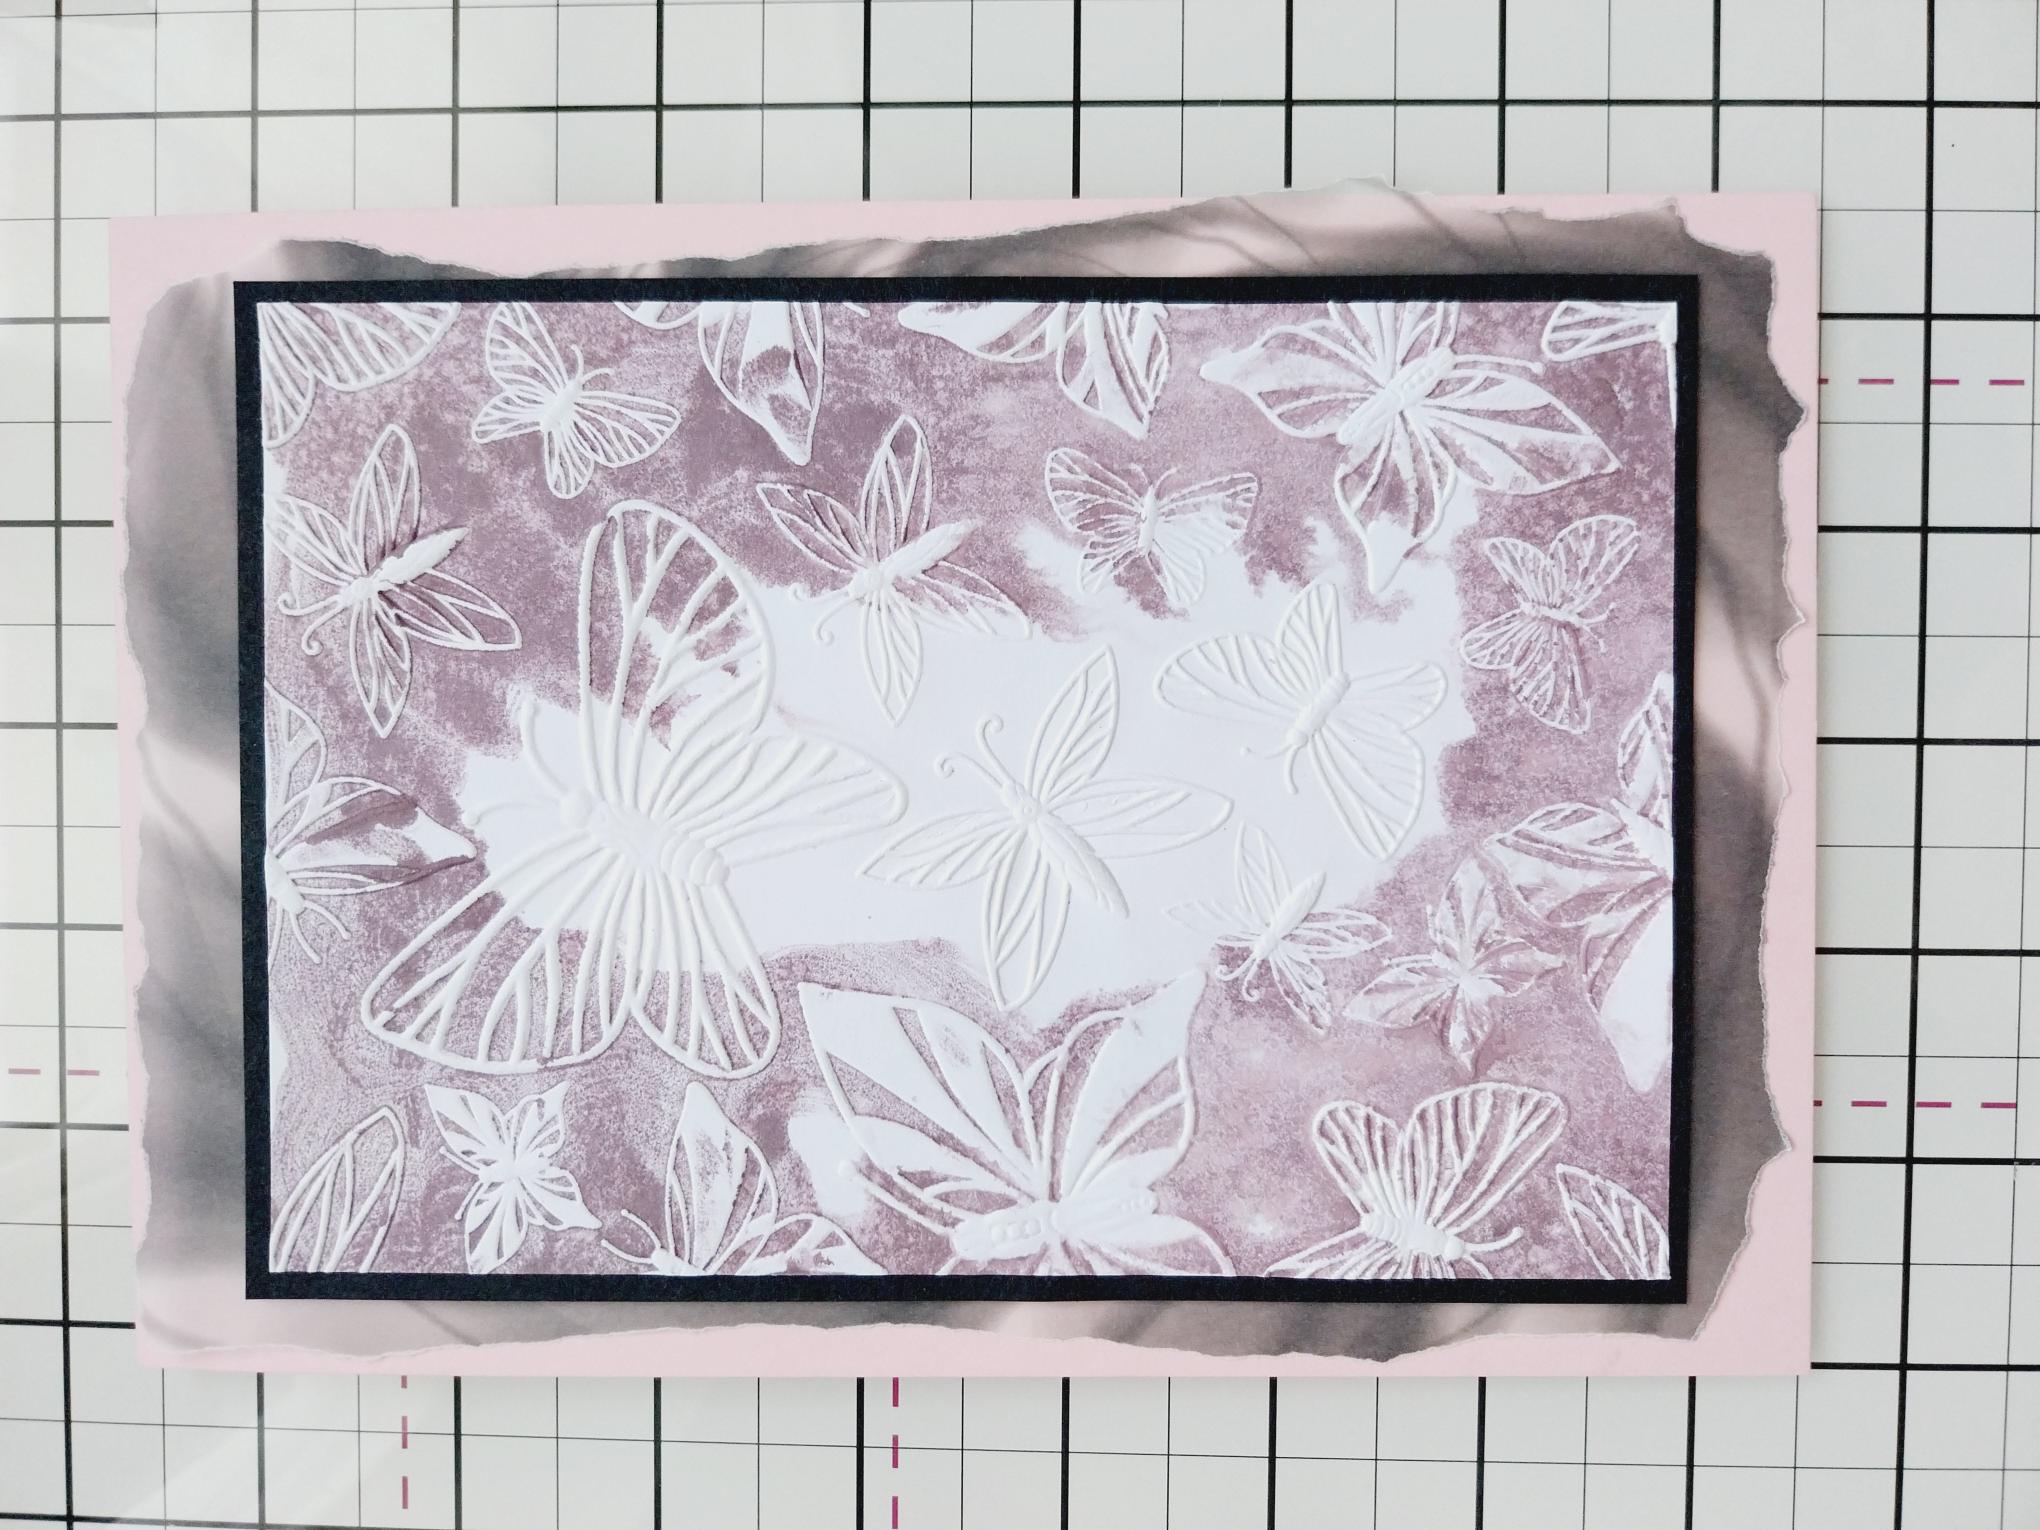
Fussy cut a few Butterflies from the embossed Limeade card, as seen here. |

|
Once dry, mat the embossed background on to black card, trimmed to 6 3/4 x 4 3/4". |
|
From the Thirsty Brush vellum pack, tear around this sheet and adhere to the front of your pink card blank. |
|
Adhere your embossed background on to your card and set aside. |
|
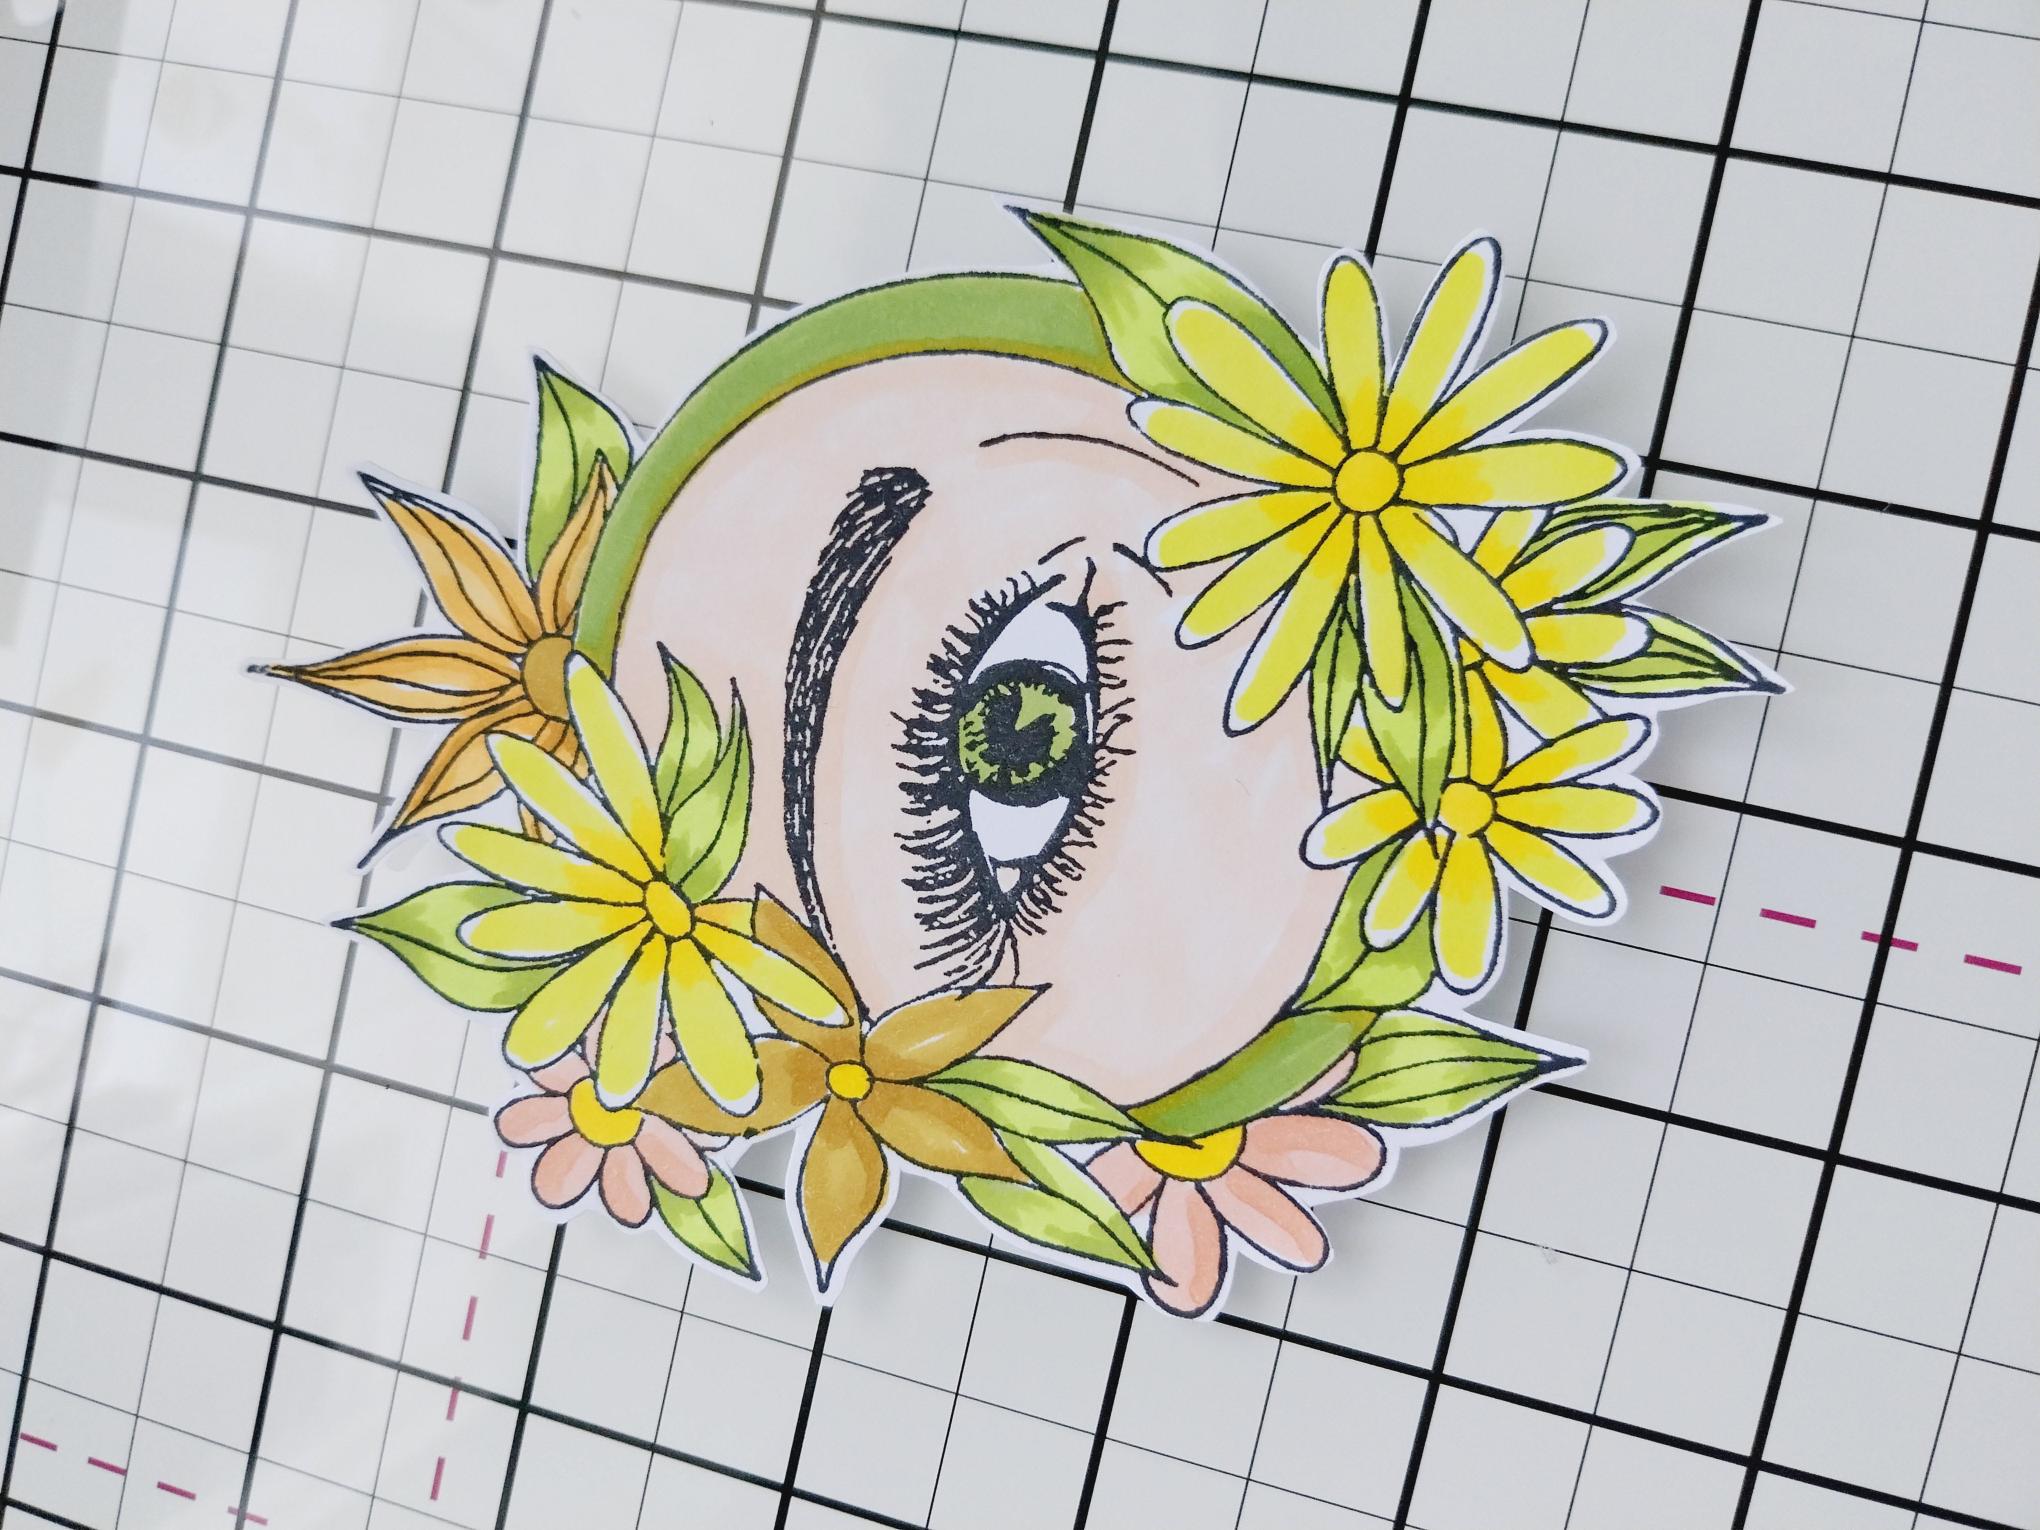
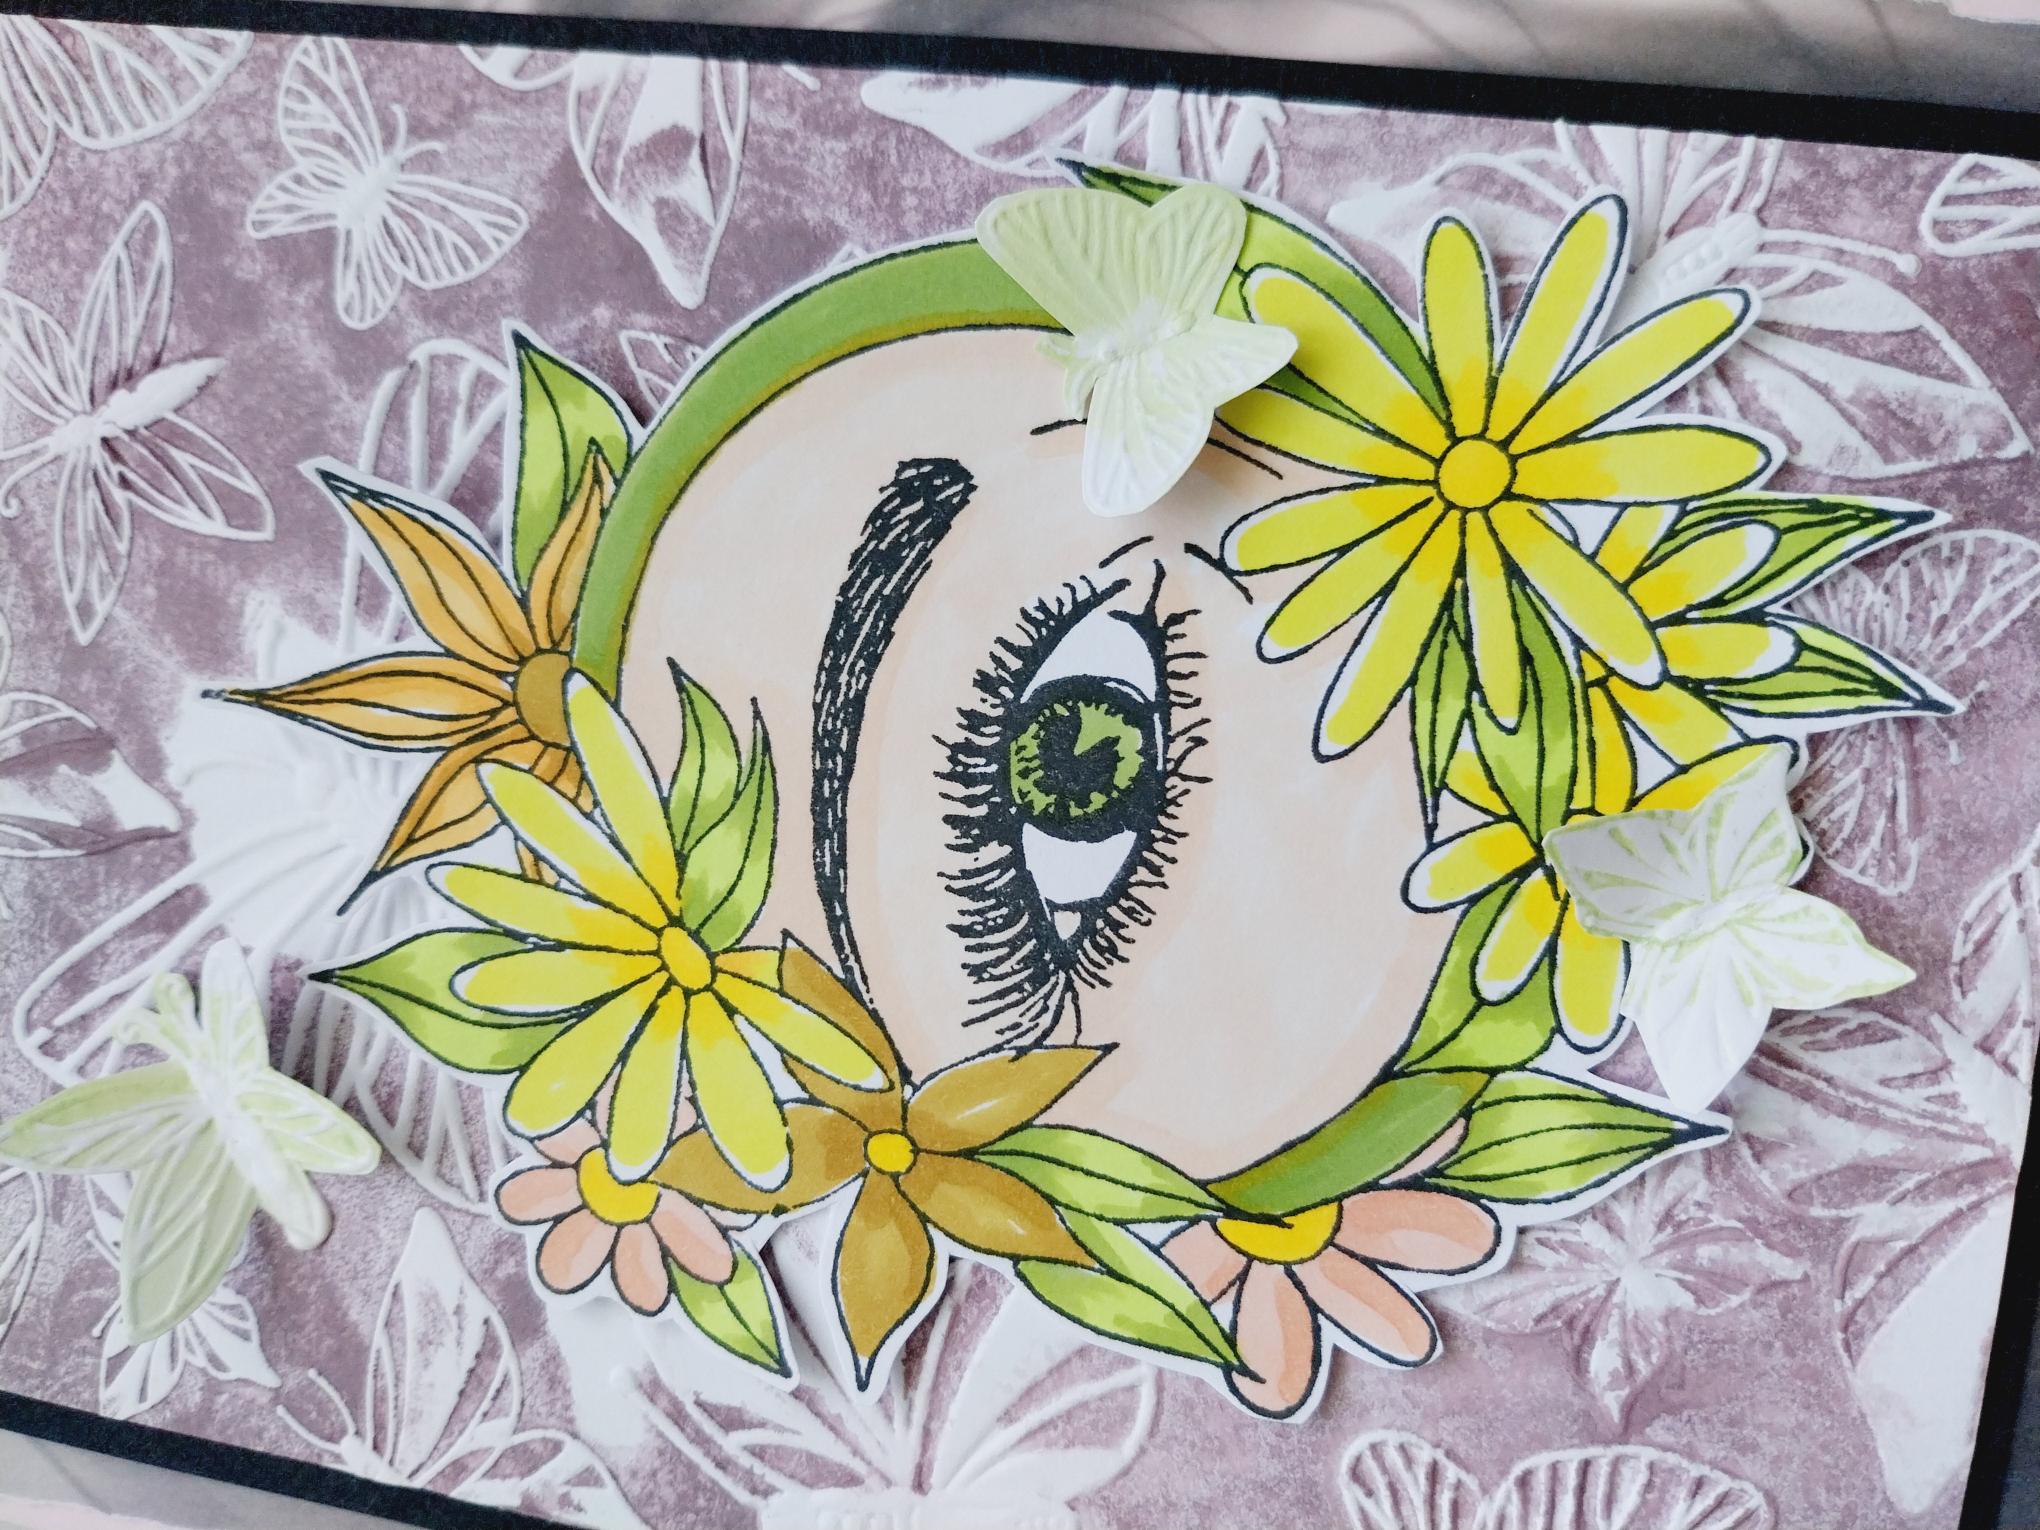
Stamp this eye-catching image in Midnight, on to a piece of white card. Fussy cut and use your Gossip alcohol pens to colour in. Pop a sheet of copy paper underneath, to protect your work surface from the alcohol ink that bleeds through the card. |
|
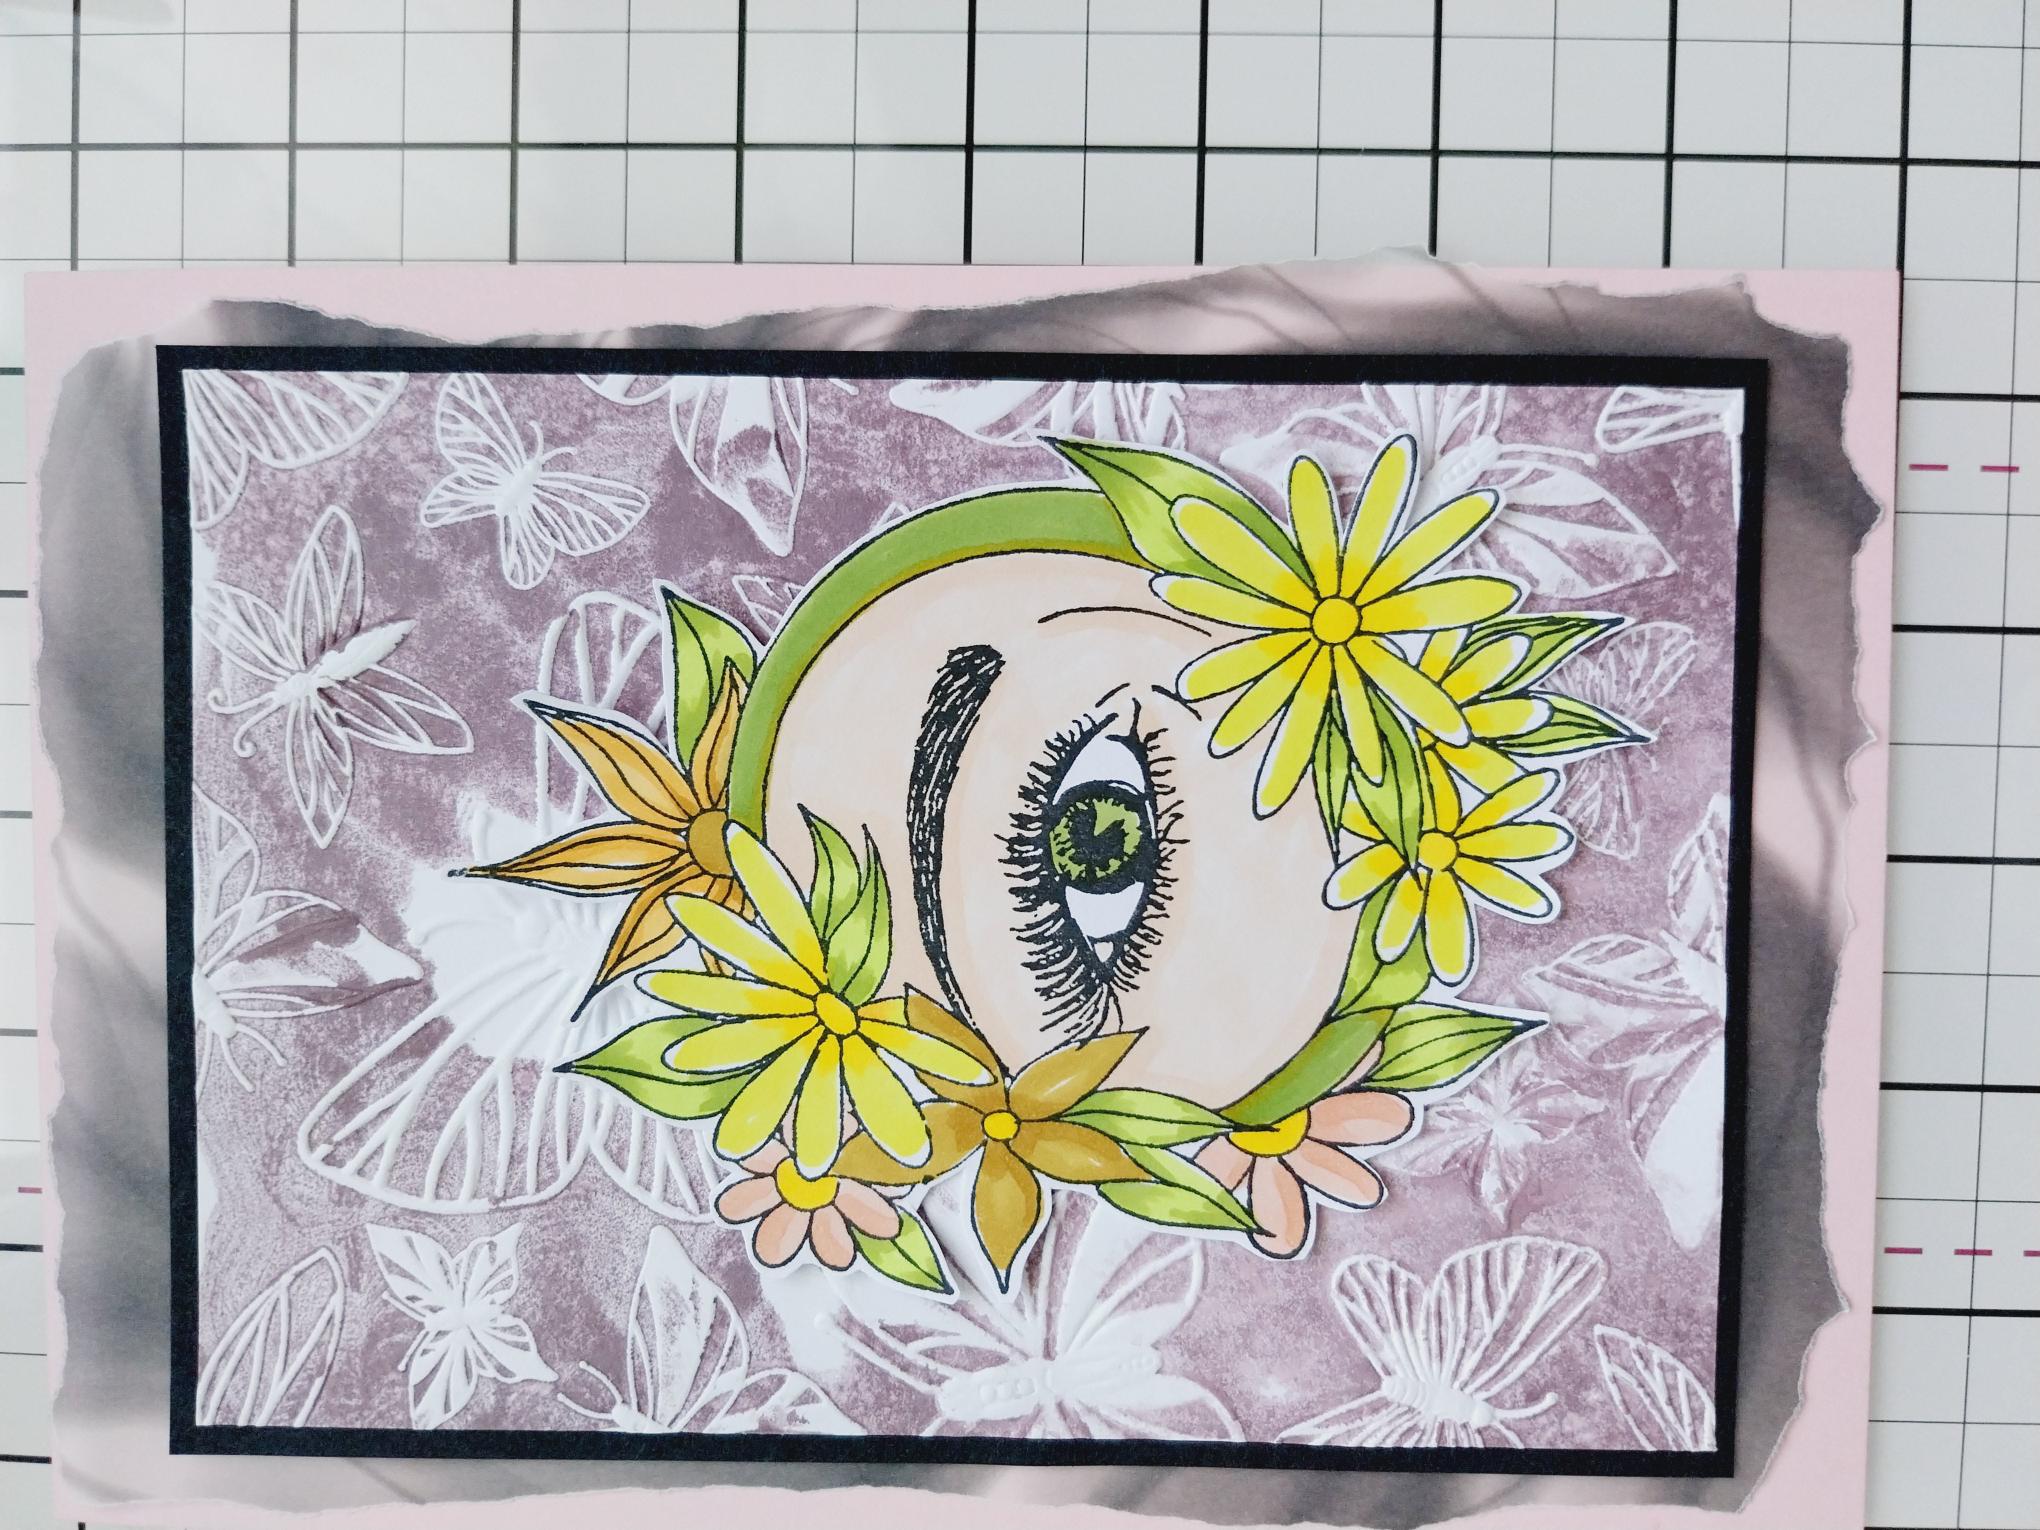
Use foam pads to adhere your 3D element to your card. |
|
Shape the fussy cut Butterfly wings, before adhering them on and around your 3D element. Pop your card to one side. |
|
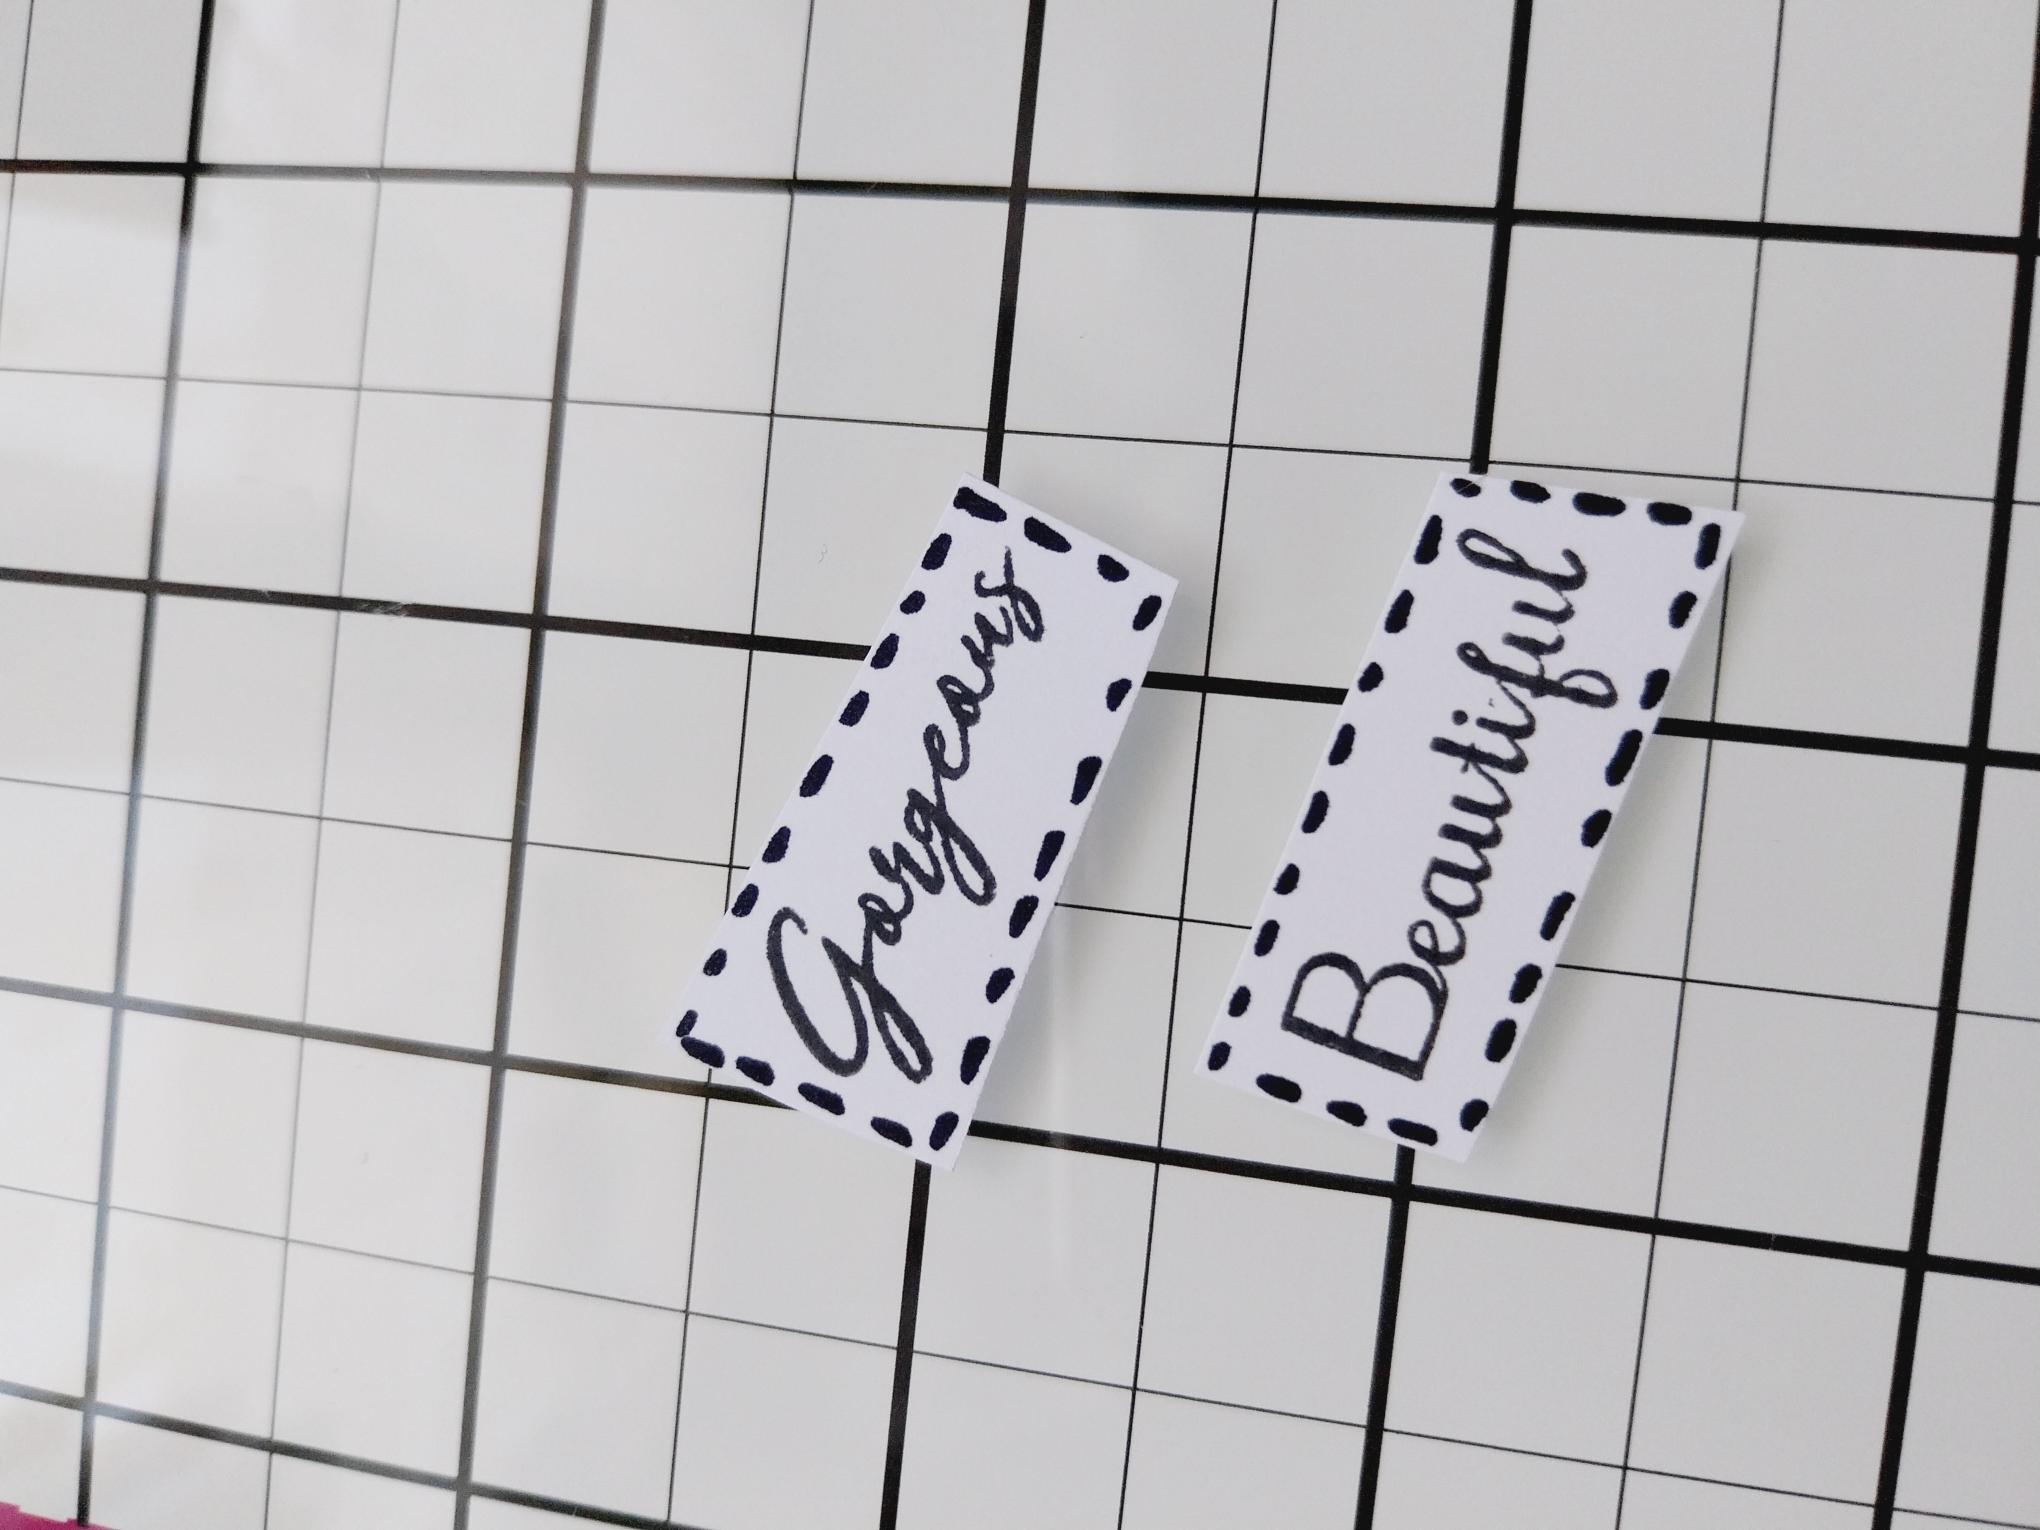
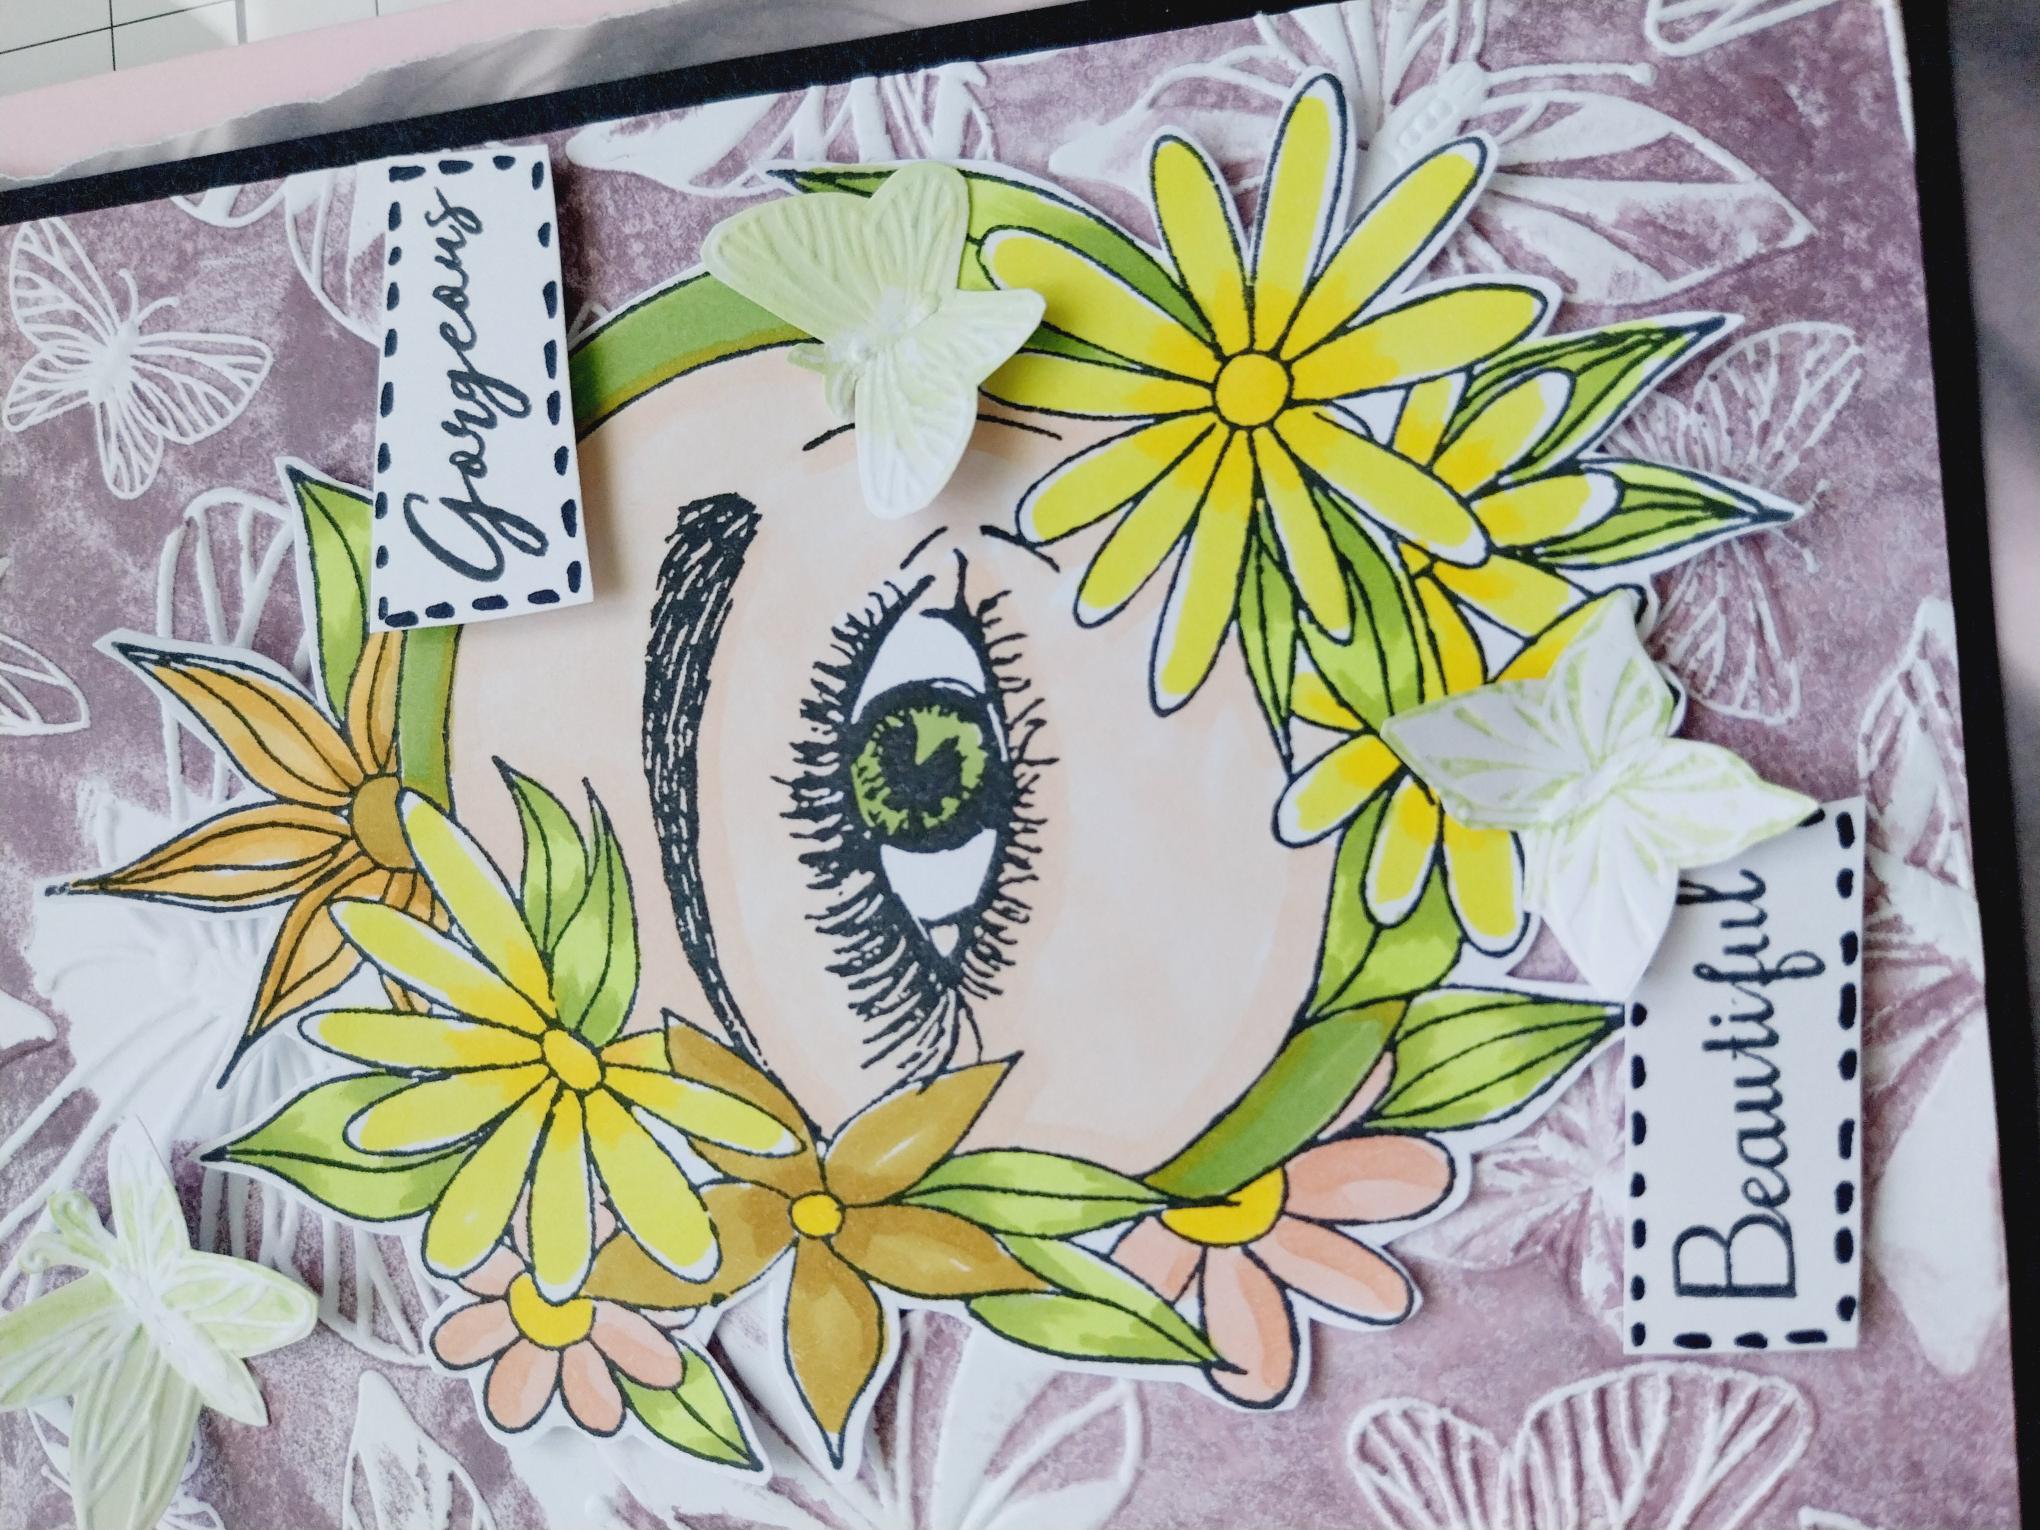
Stamp these sentiments in Midnight, on to white card. Cut around them and use a black pen to add stitched detail. |
|
Adhere to your card with foam pads. |
|
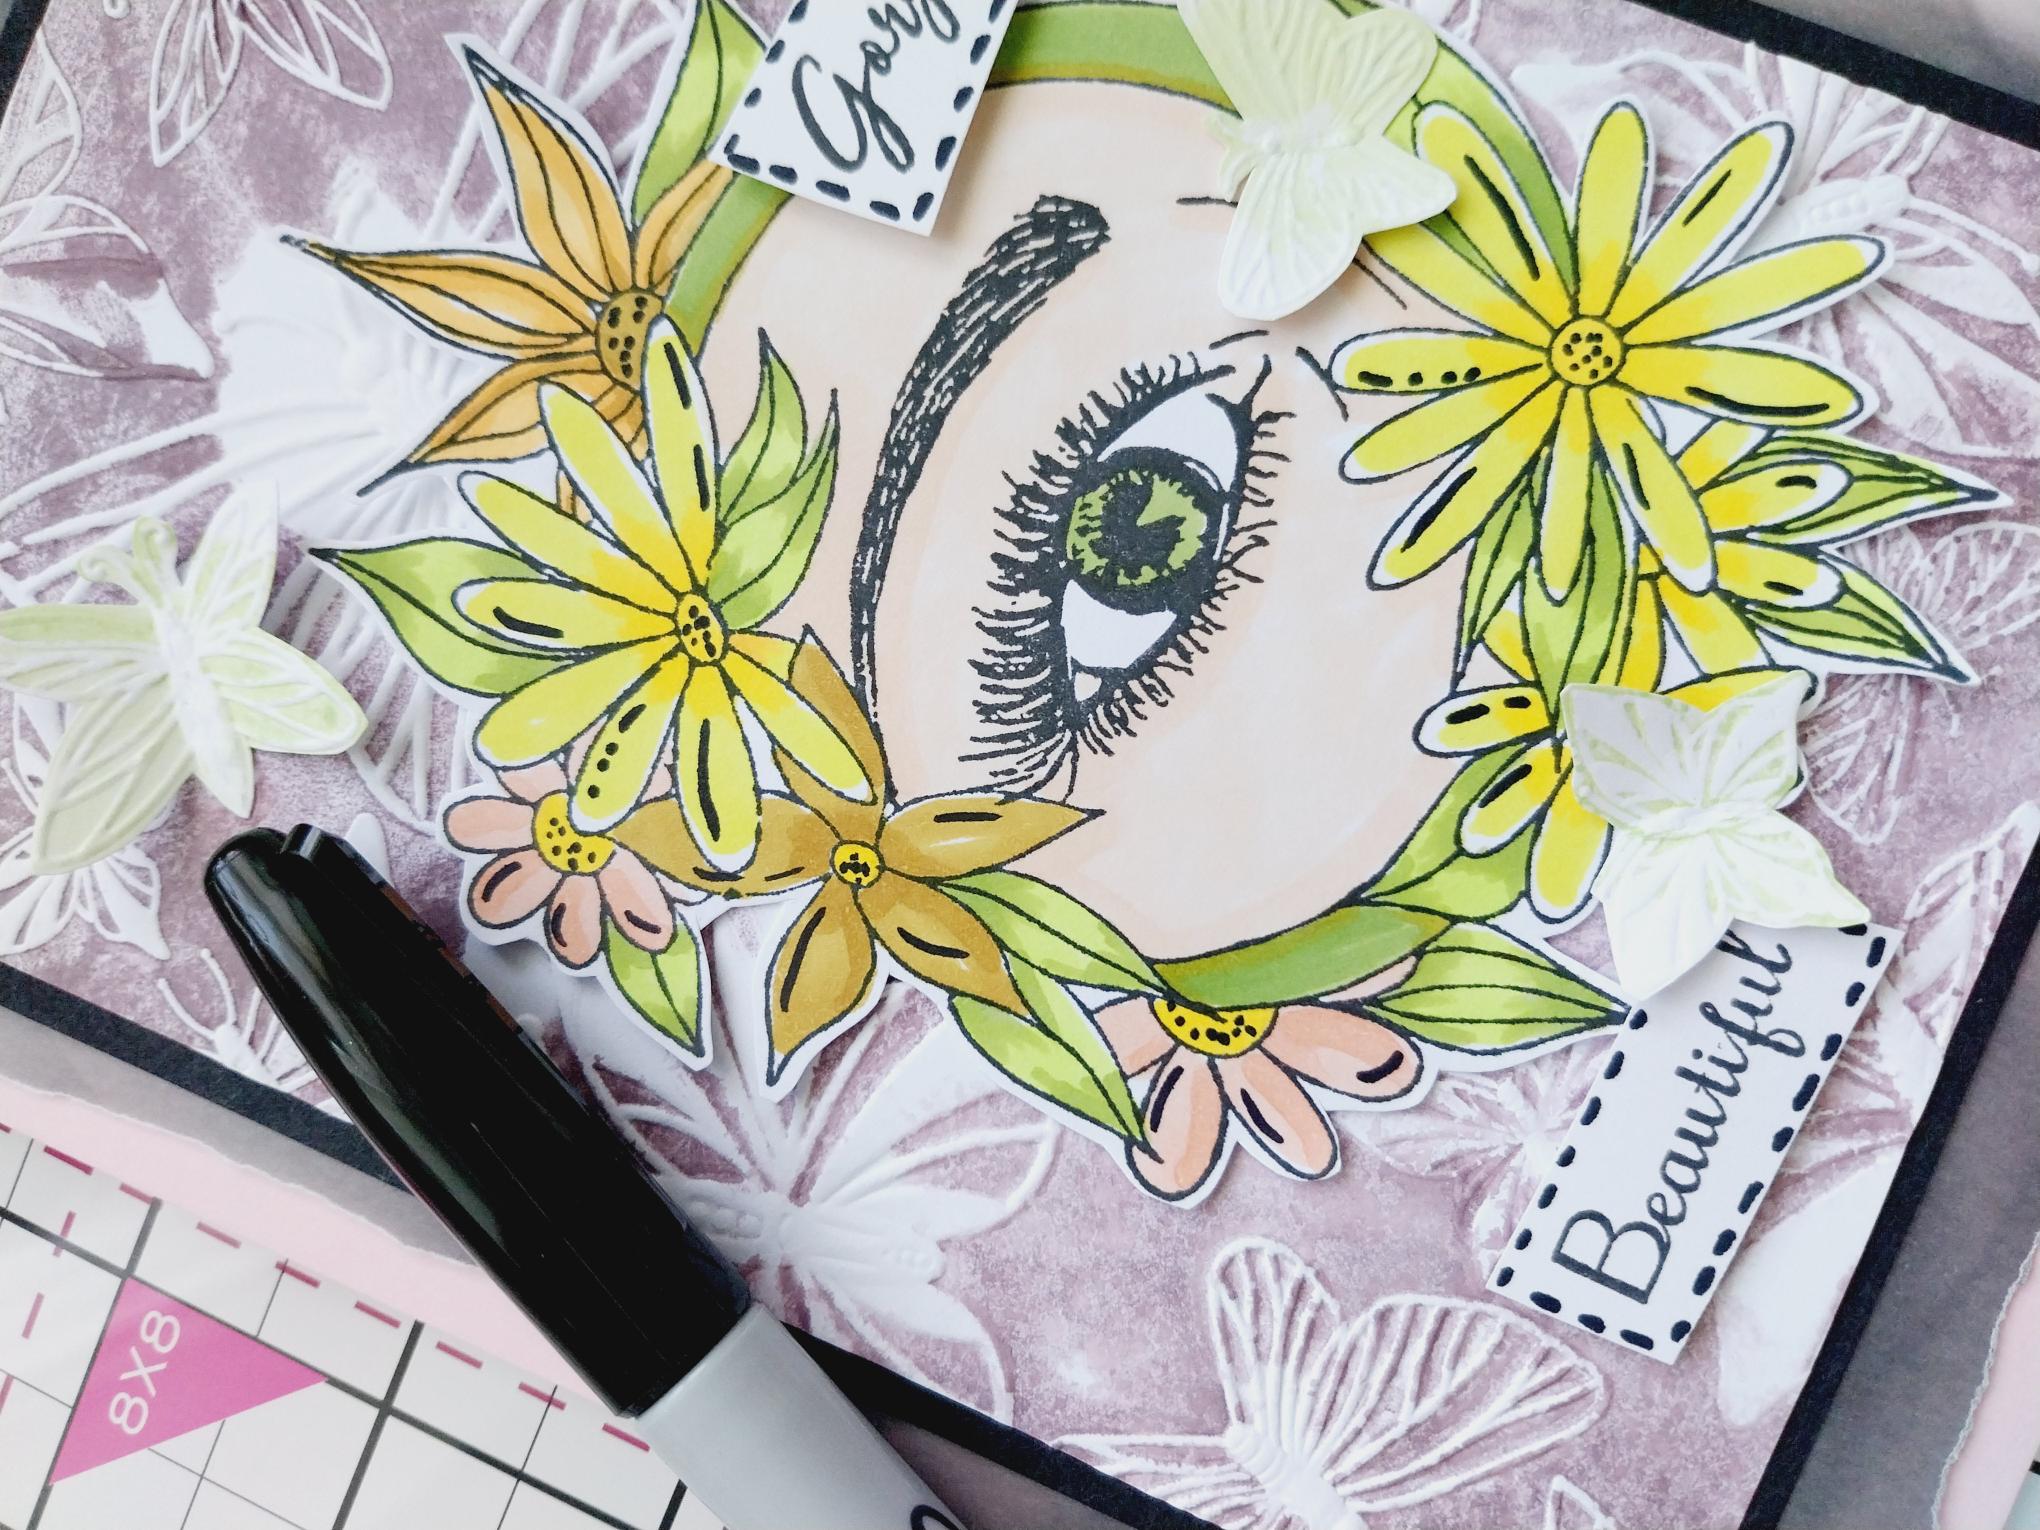
To complete your project, use a black pen to add accents and detail, as required, to your coloured artwork. |