

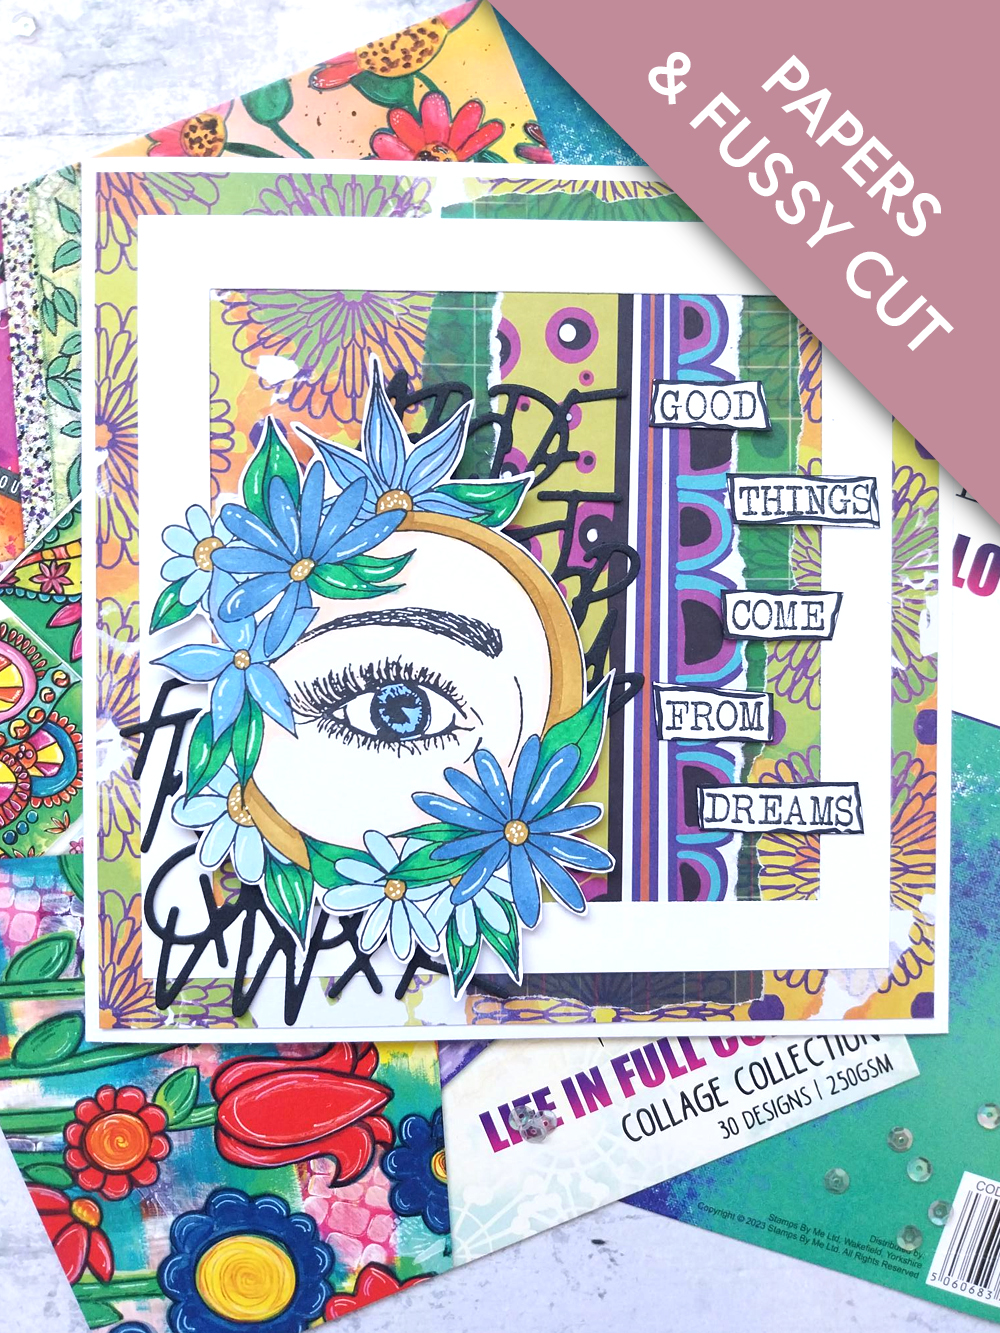
WHAT YOU WILL NEED:
White card blank 7 x 7"
White card 6 x 6"
White/black card
Thirsty Brush UnLtd Life In Full Colour A4 Paper Pad
Thirsty Brush UnLtd Life In Full Colour A4 Vellum Pack
Thirsty Brush UnLtd Beauty Is In The Eyes Stamp Set
Thirsty Brush UnLtd Alphabet Texture Die Set
Thirsty Brush UnLtd More Than Words Stamp Set
Floral Stitching Square Nesting Dies Collection
SBM Hybrid Ink Pad: Midnight
Gossip alcohol pens
Black pen
Imala white pen
Eureka 101 Watercolour Tablet
SBM Magnetic glass mat
Paper Trimmer
Perfect Together Glue
Foam pads
Die Cutting machine
[click image to enlarge] 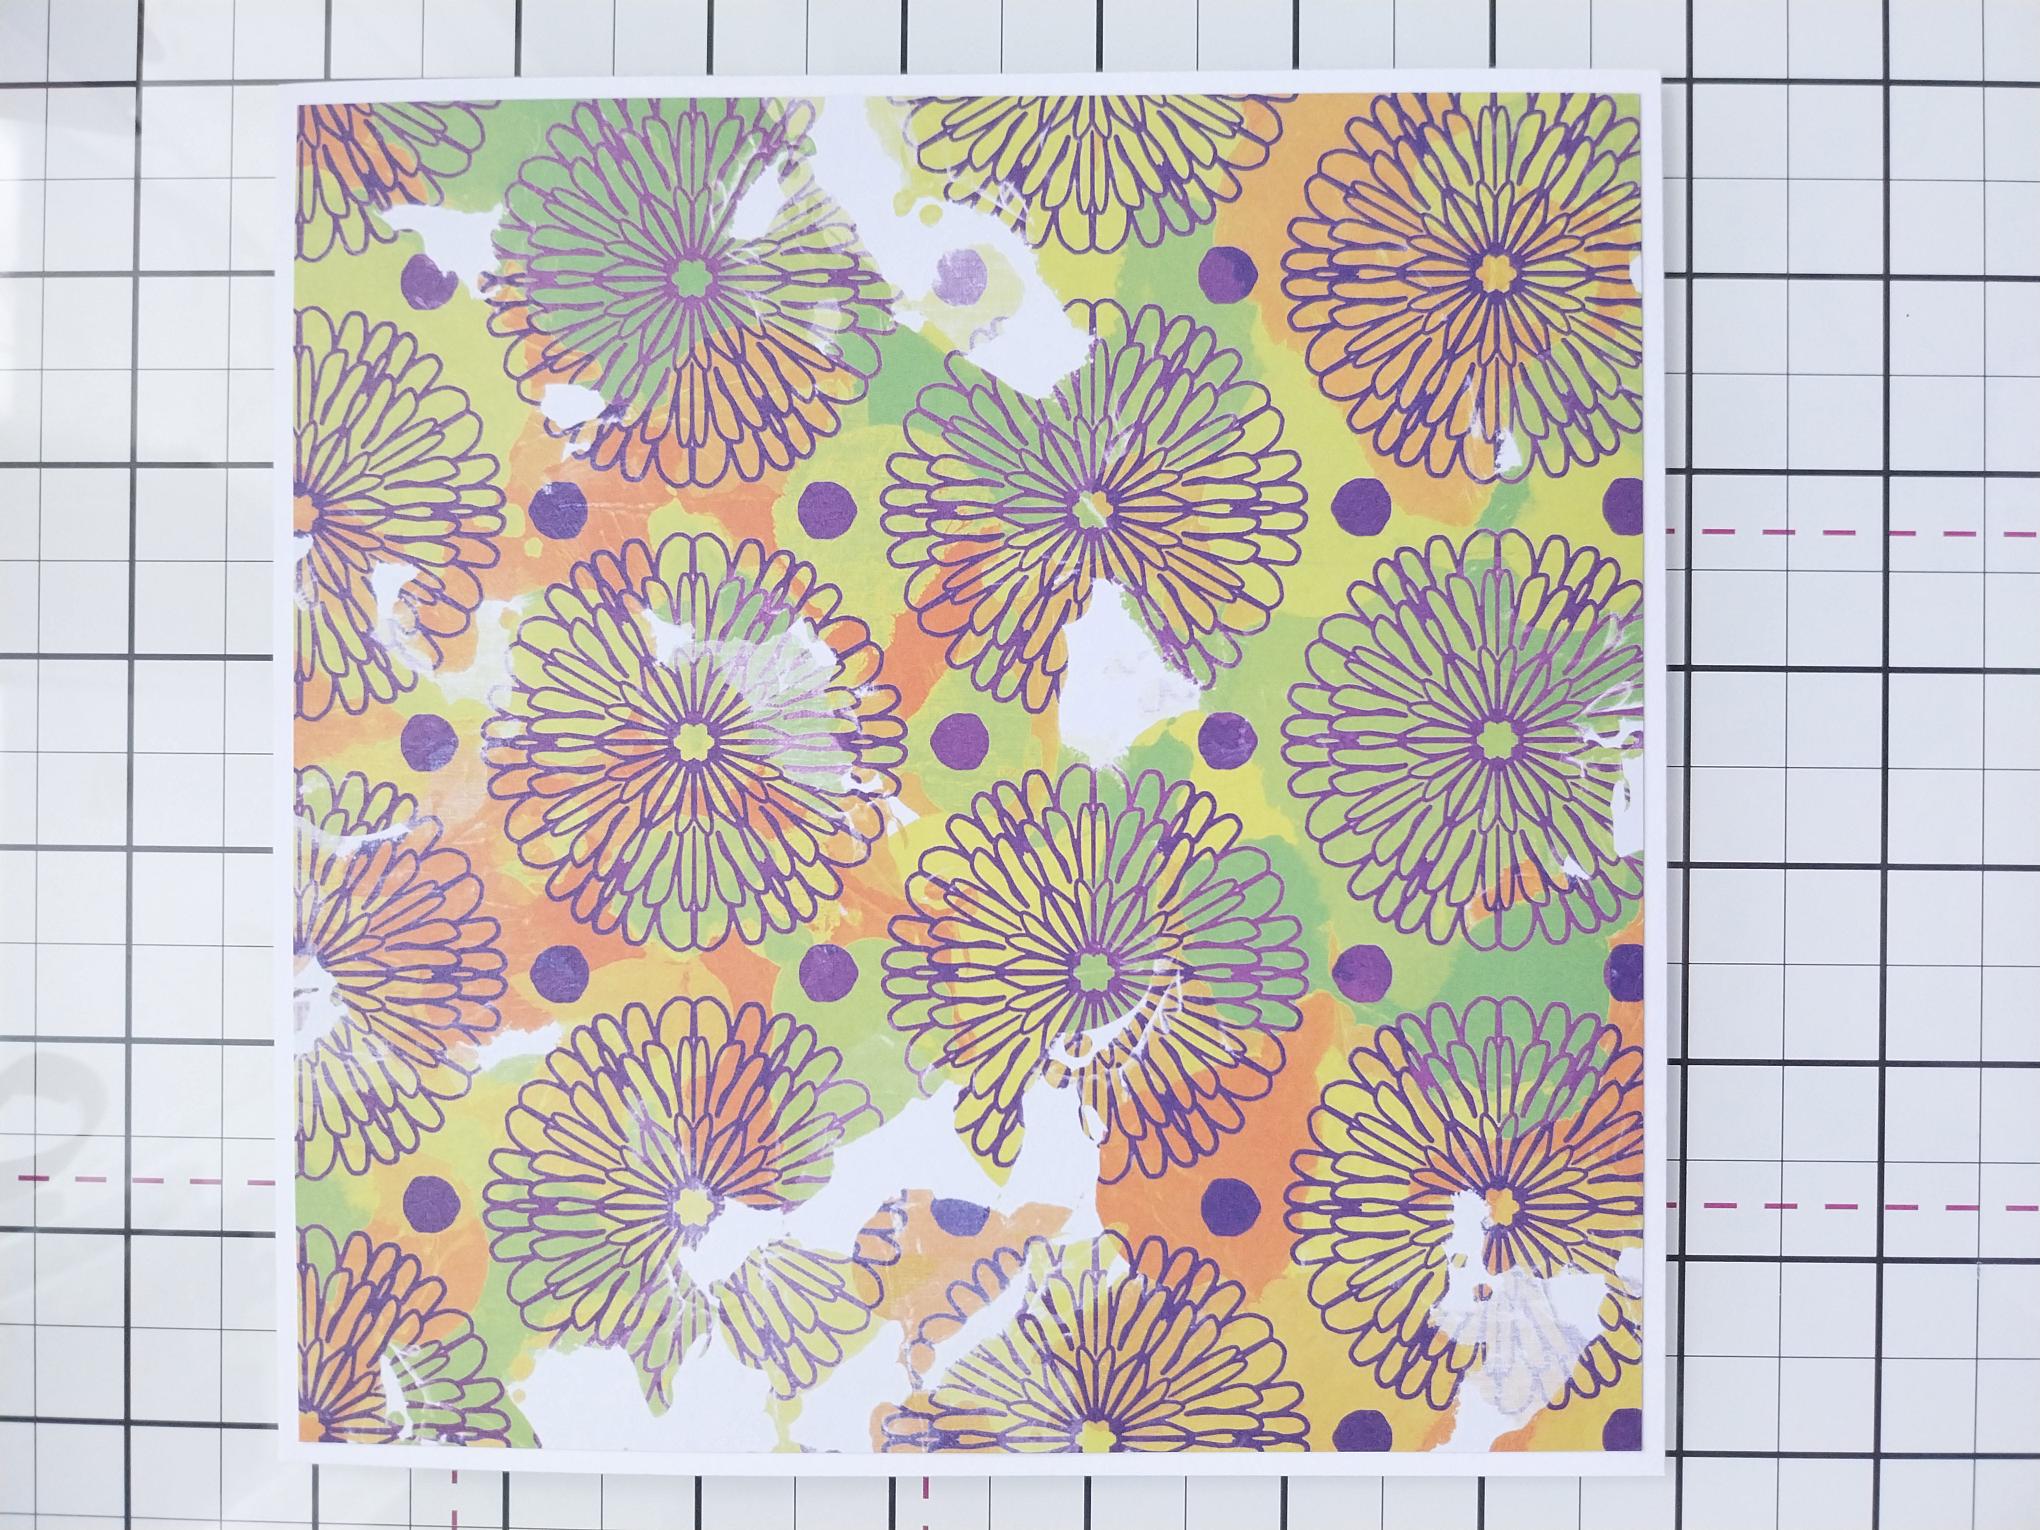
|
Trim this decorative sheet, from the Life in Full Colour paper pack, to 6 3/4" square and adhere to your 7" square white card blank. Pop it to one side. |
|
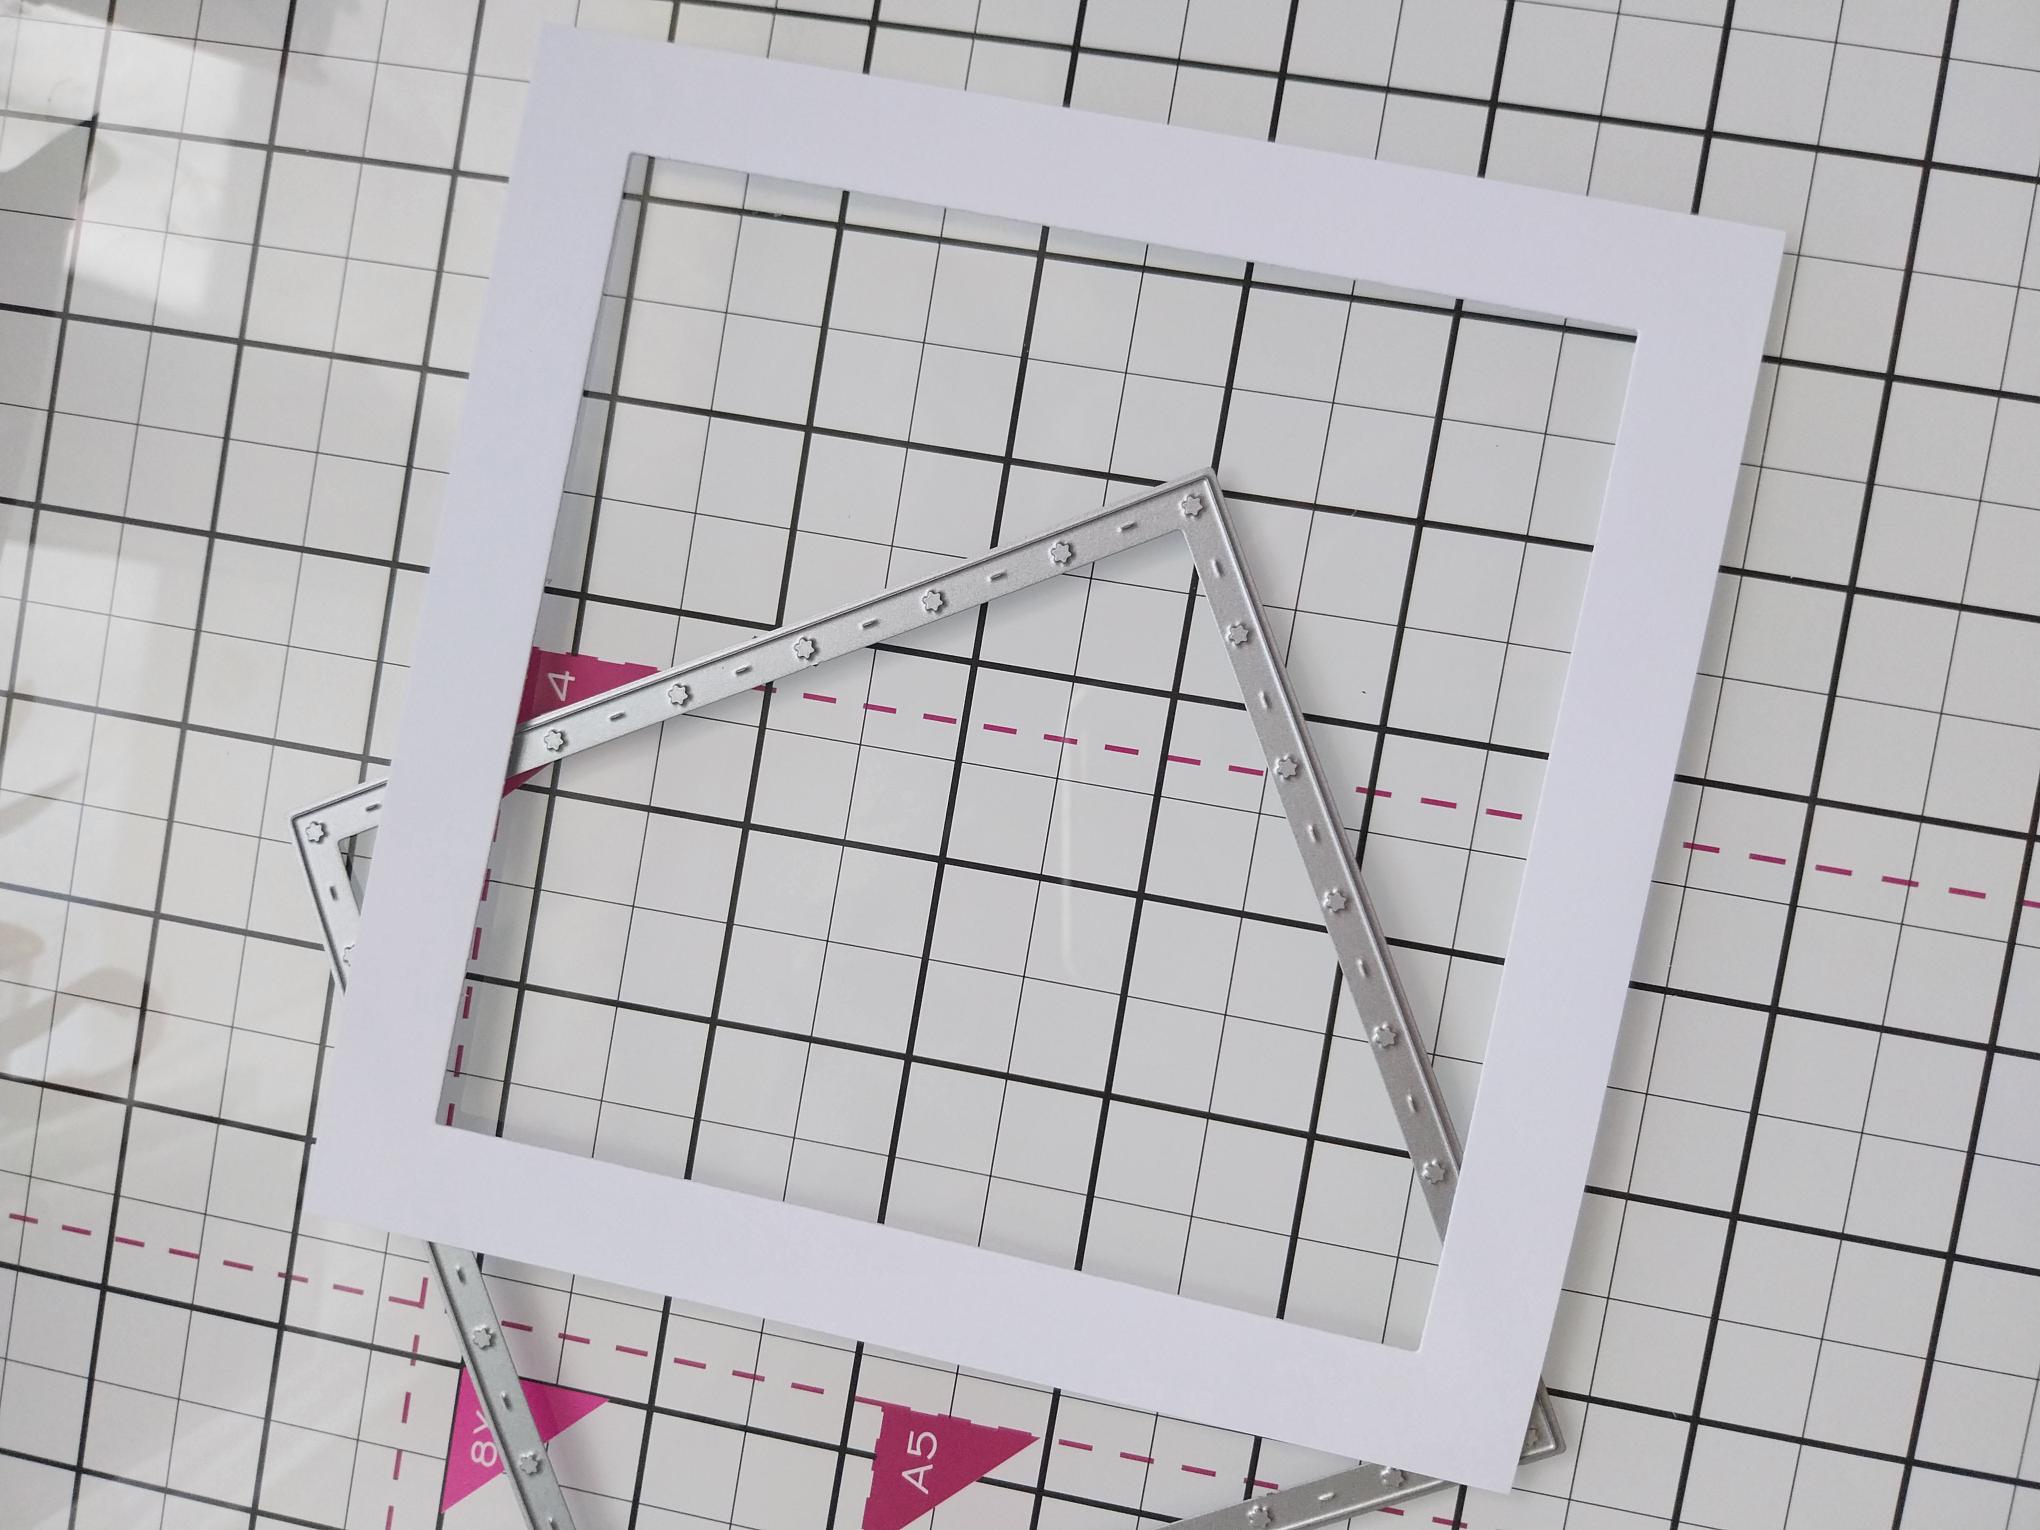
Use the 5" square nesting die to create a frame from the 6" square white card and set to one side. |
|
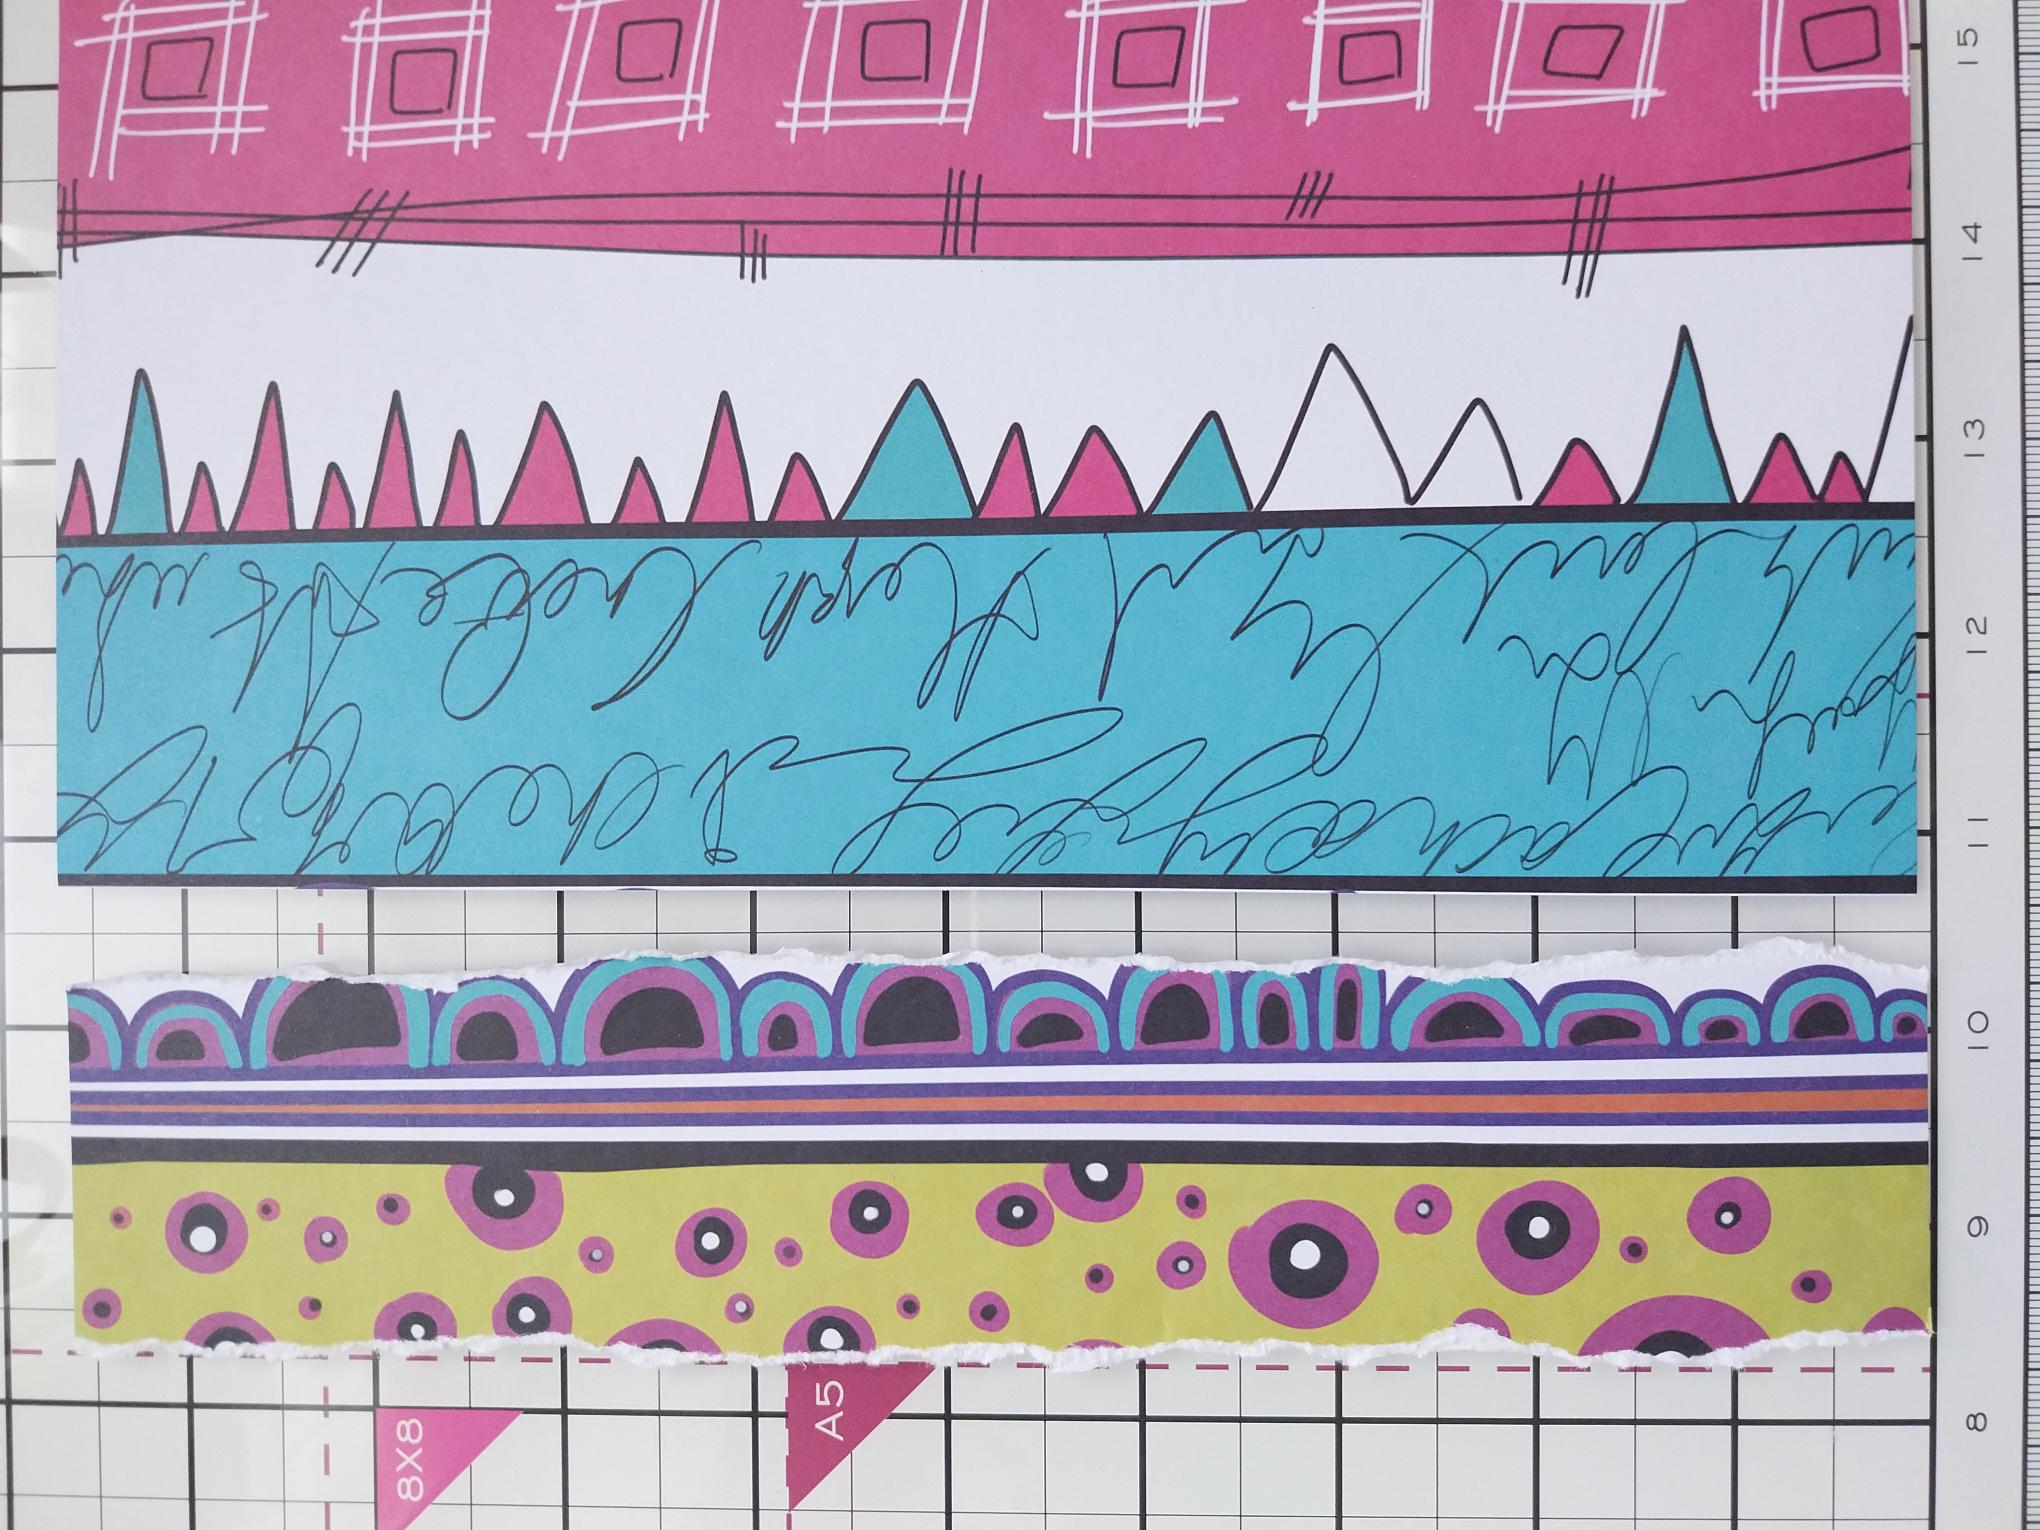
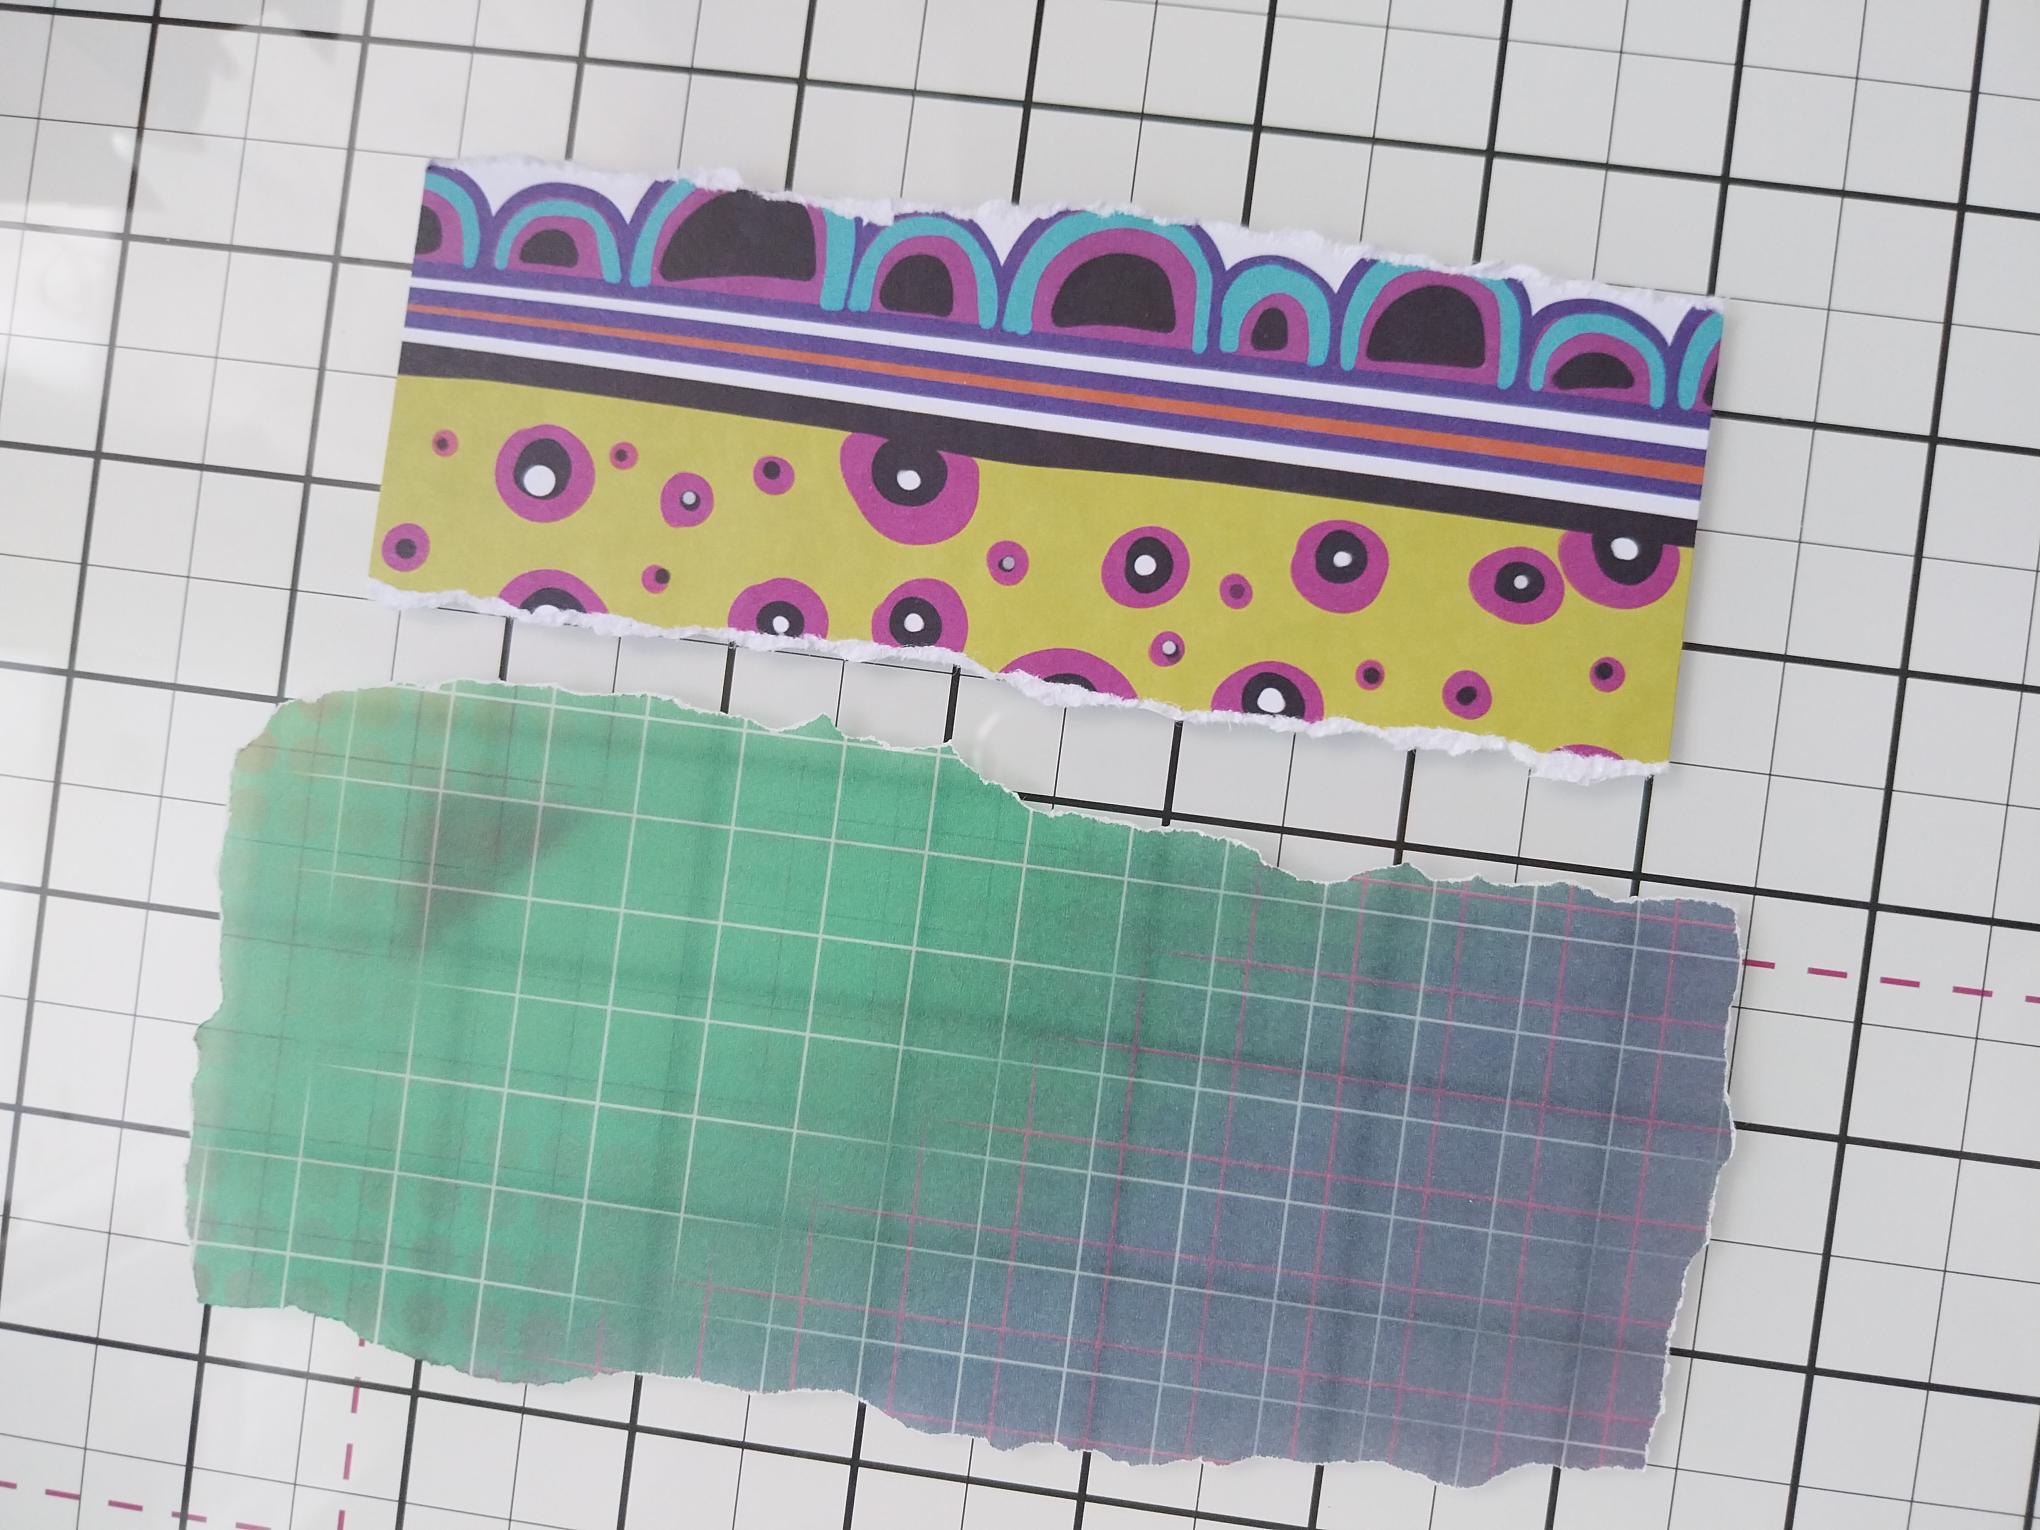
Remove this sheet from the paper pack and tear off a panel, as seen here. |
|
Tear this checked vellum, from the vellum pack, to just under 6 3/4" in height and as wide as you want. Tear the paper panel slightly smaller. |
|
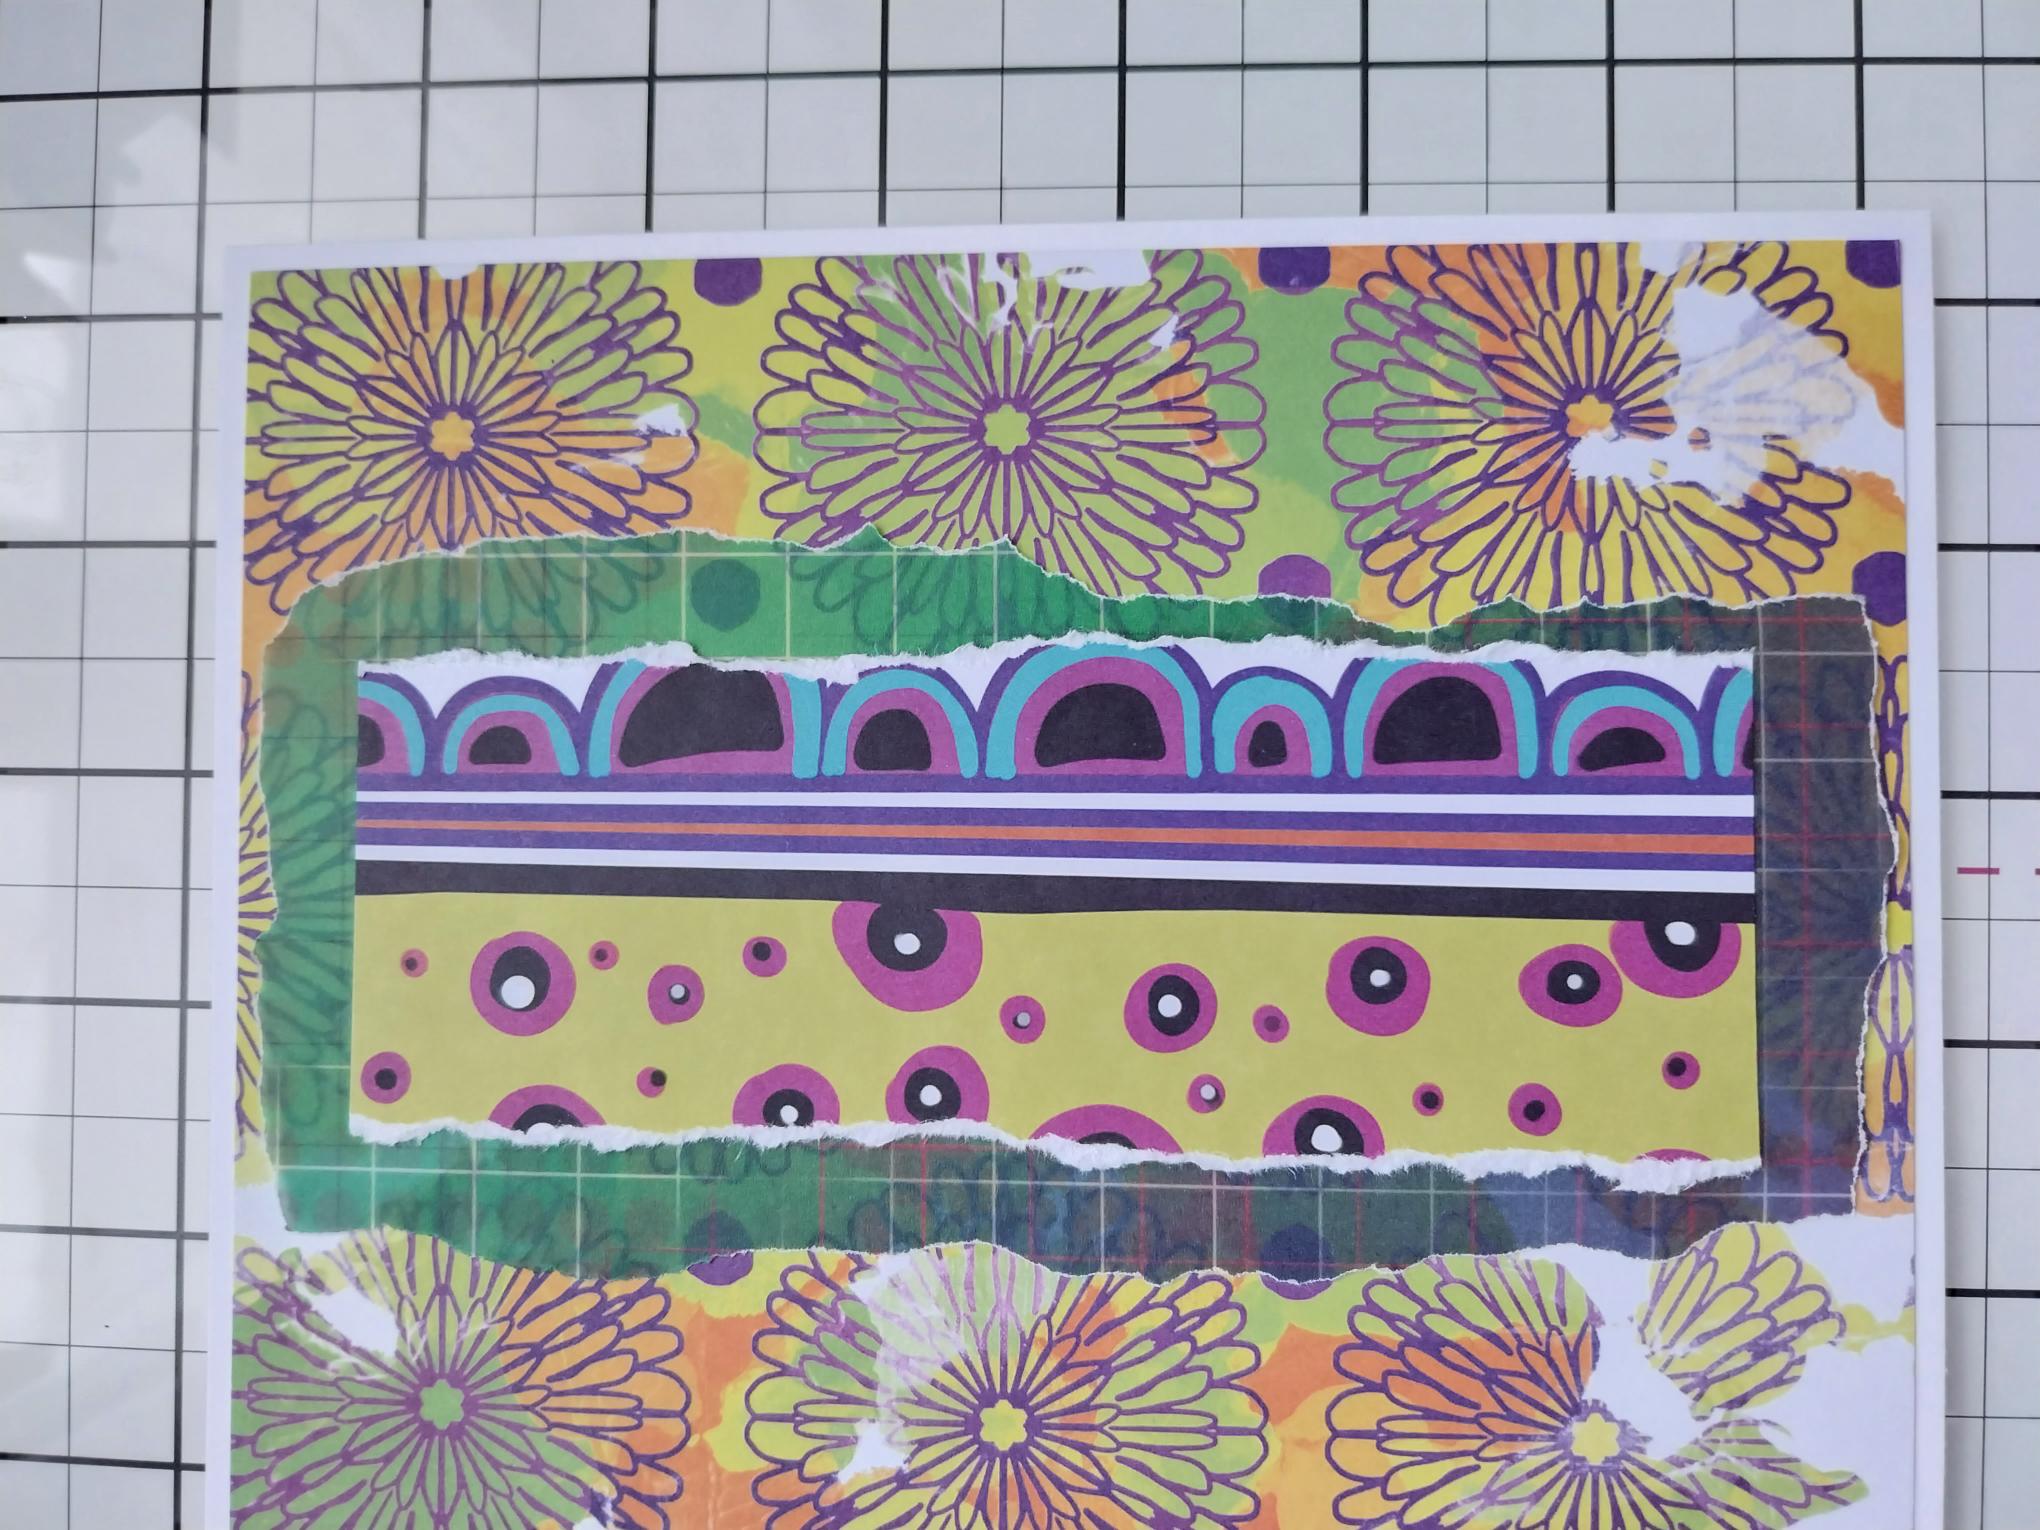
Adhere the paper panel on top of the vellum panel, then adhere this to your card, as seen here. |
|
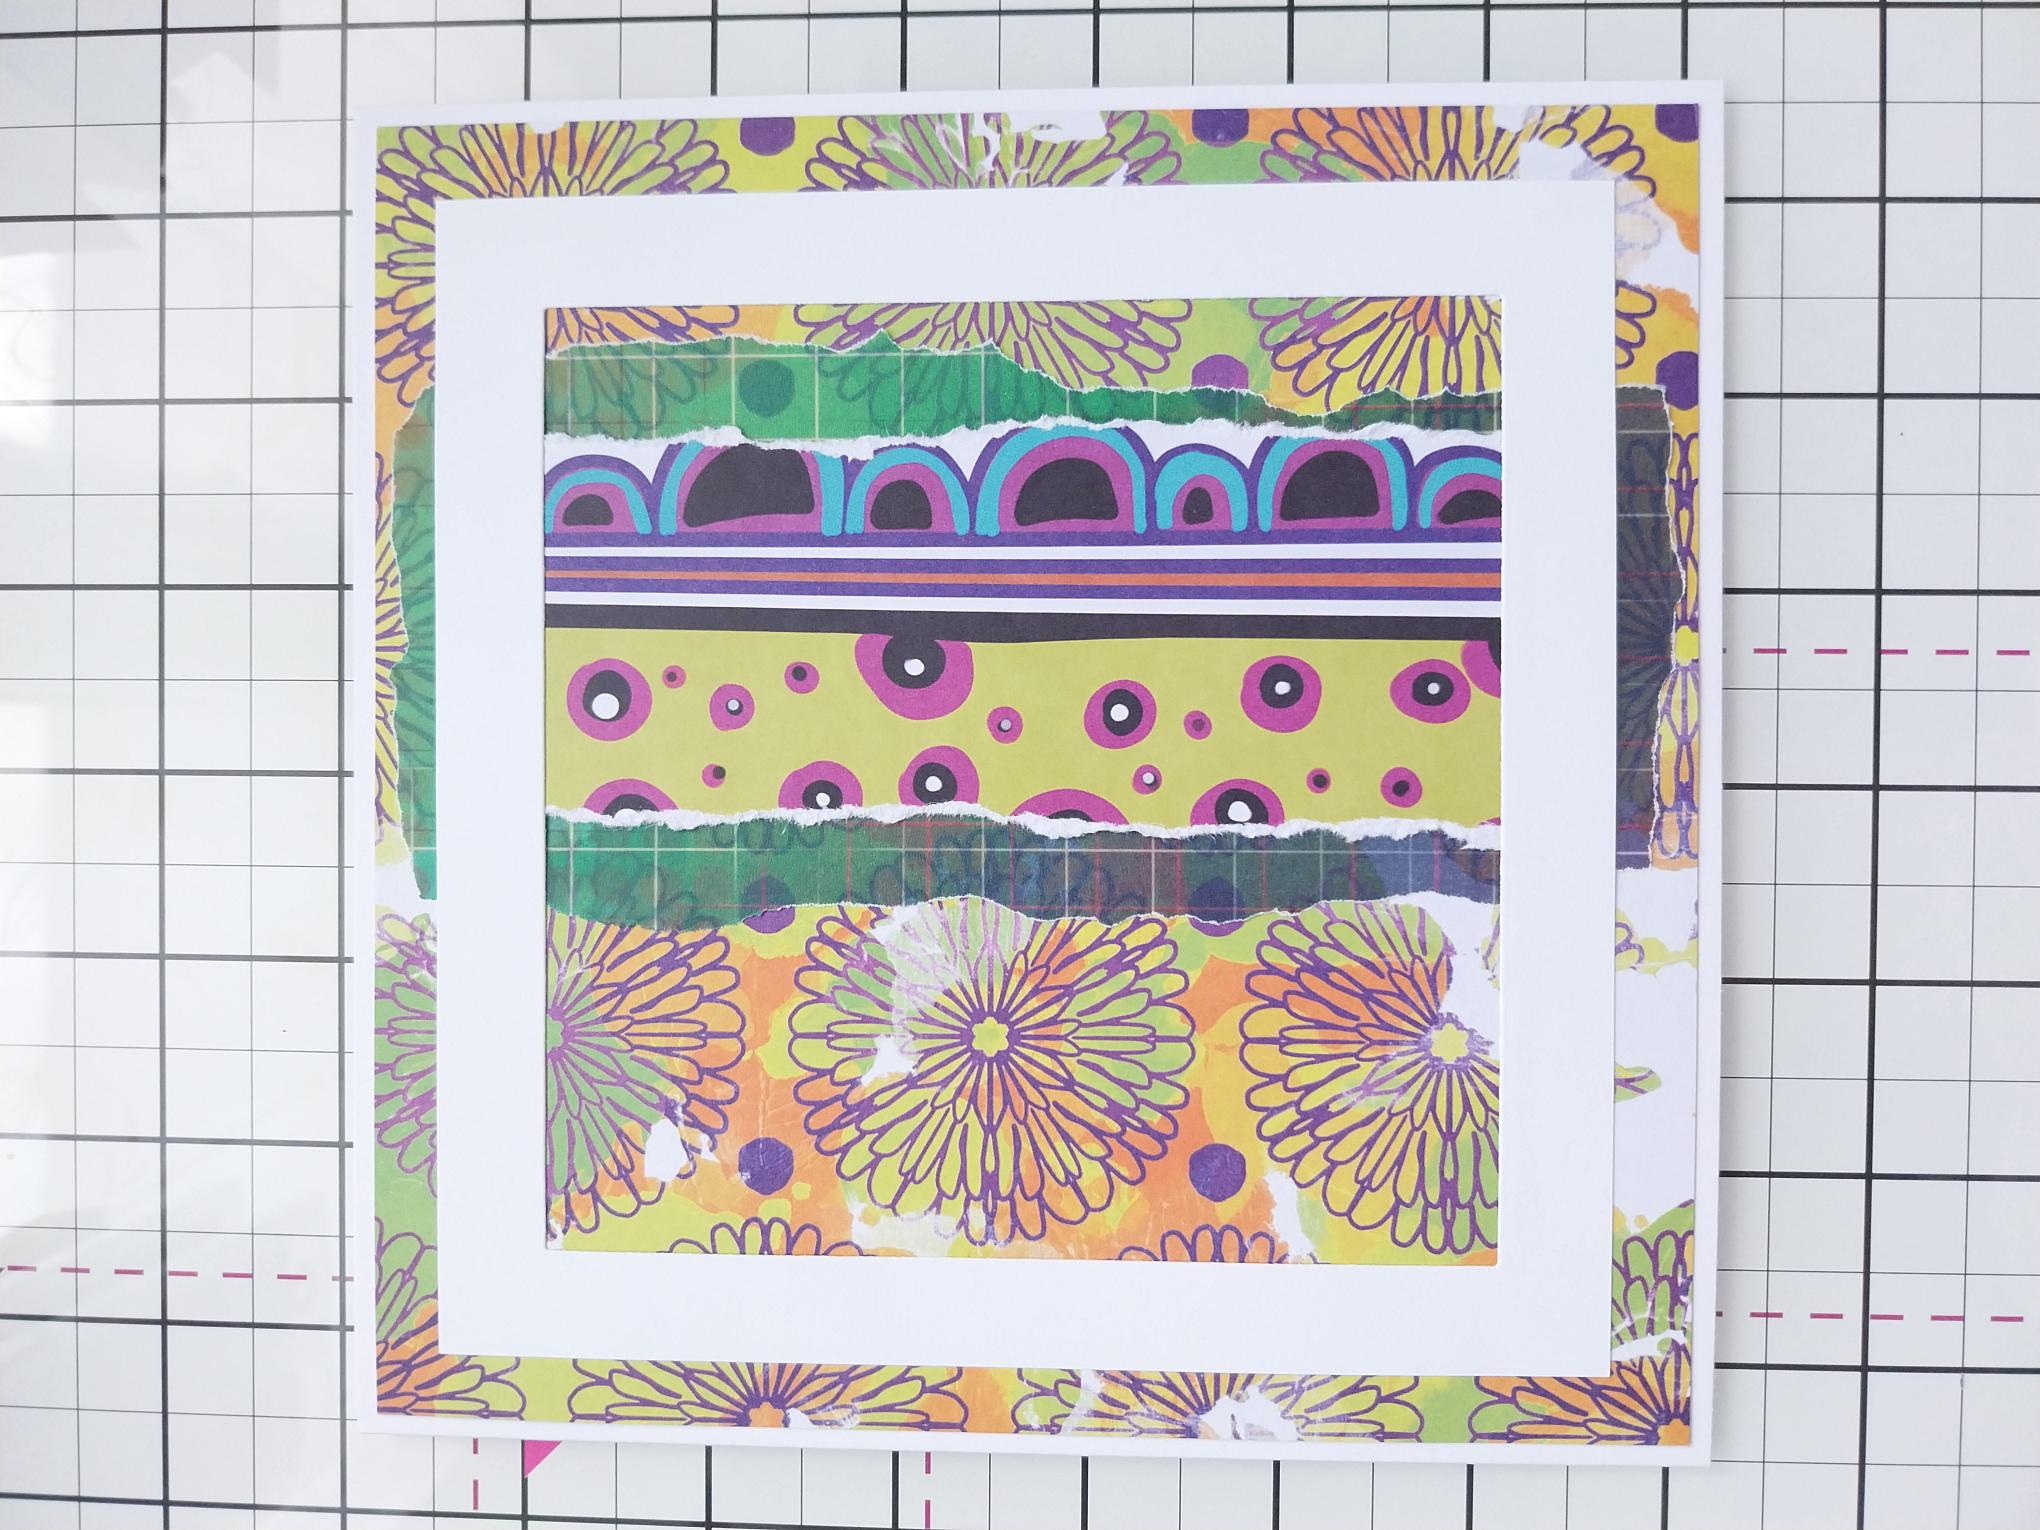
Adhere your die cut white frame on to your card, flat with wet glue or raised with foam pads. Pop your card to one side. |
|
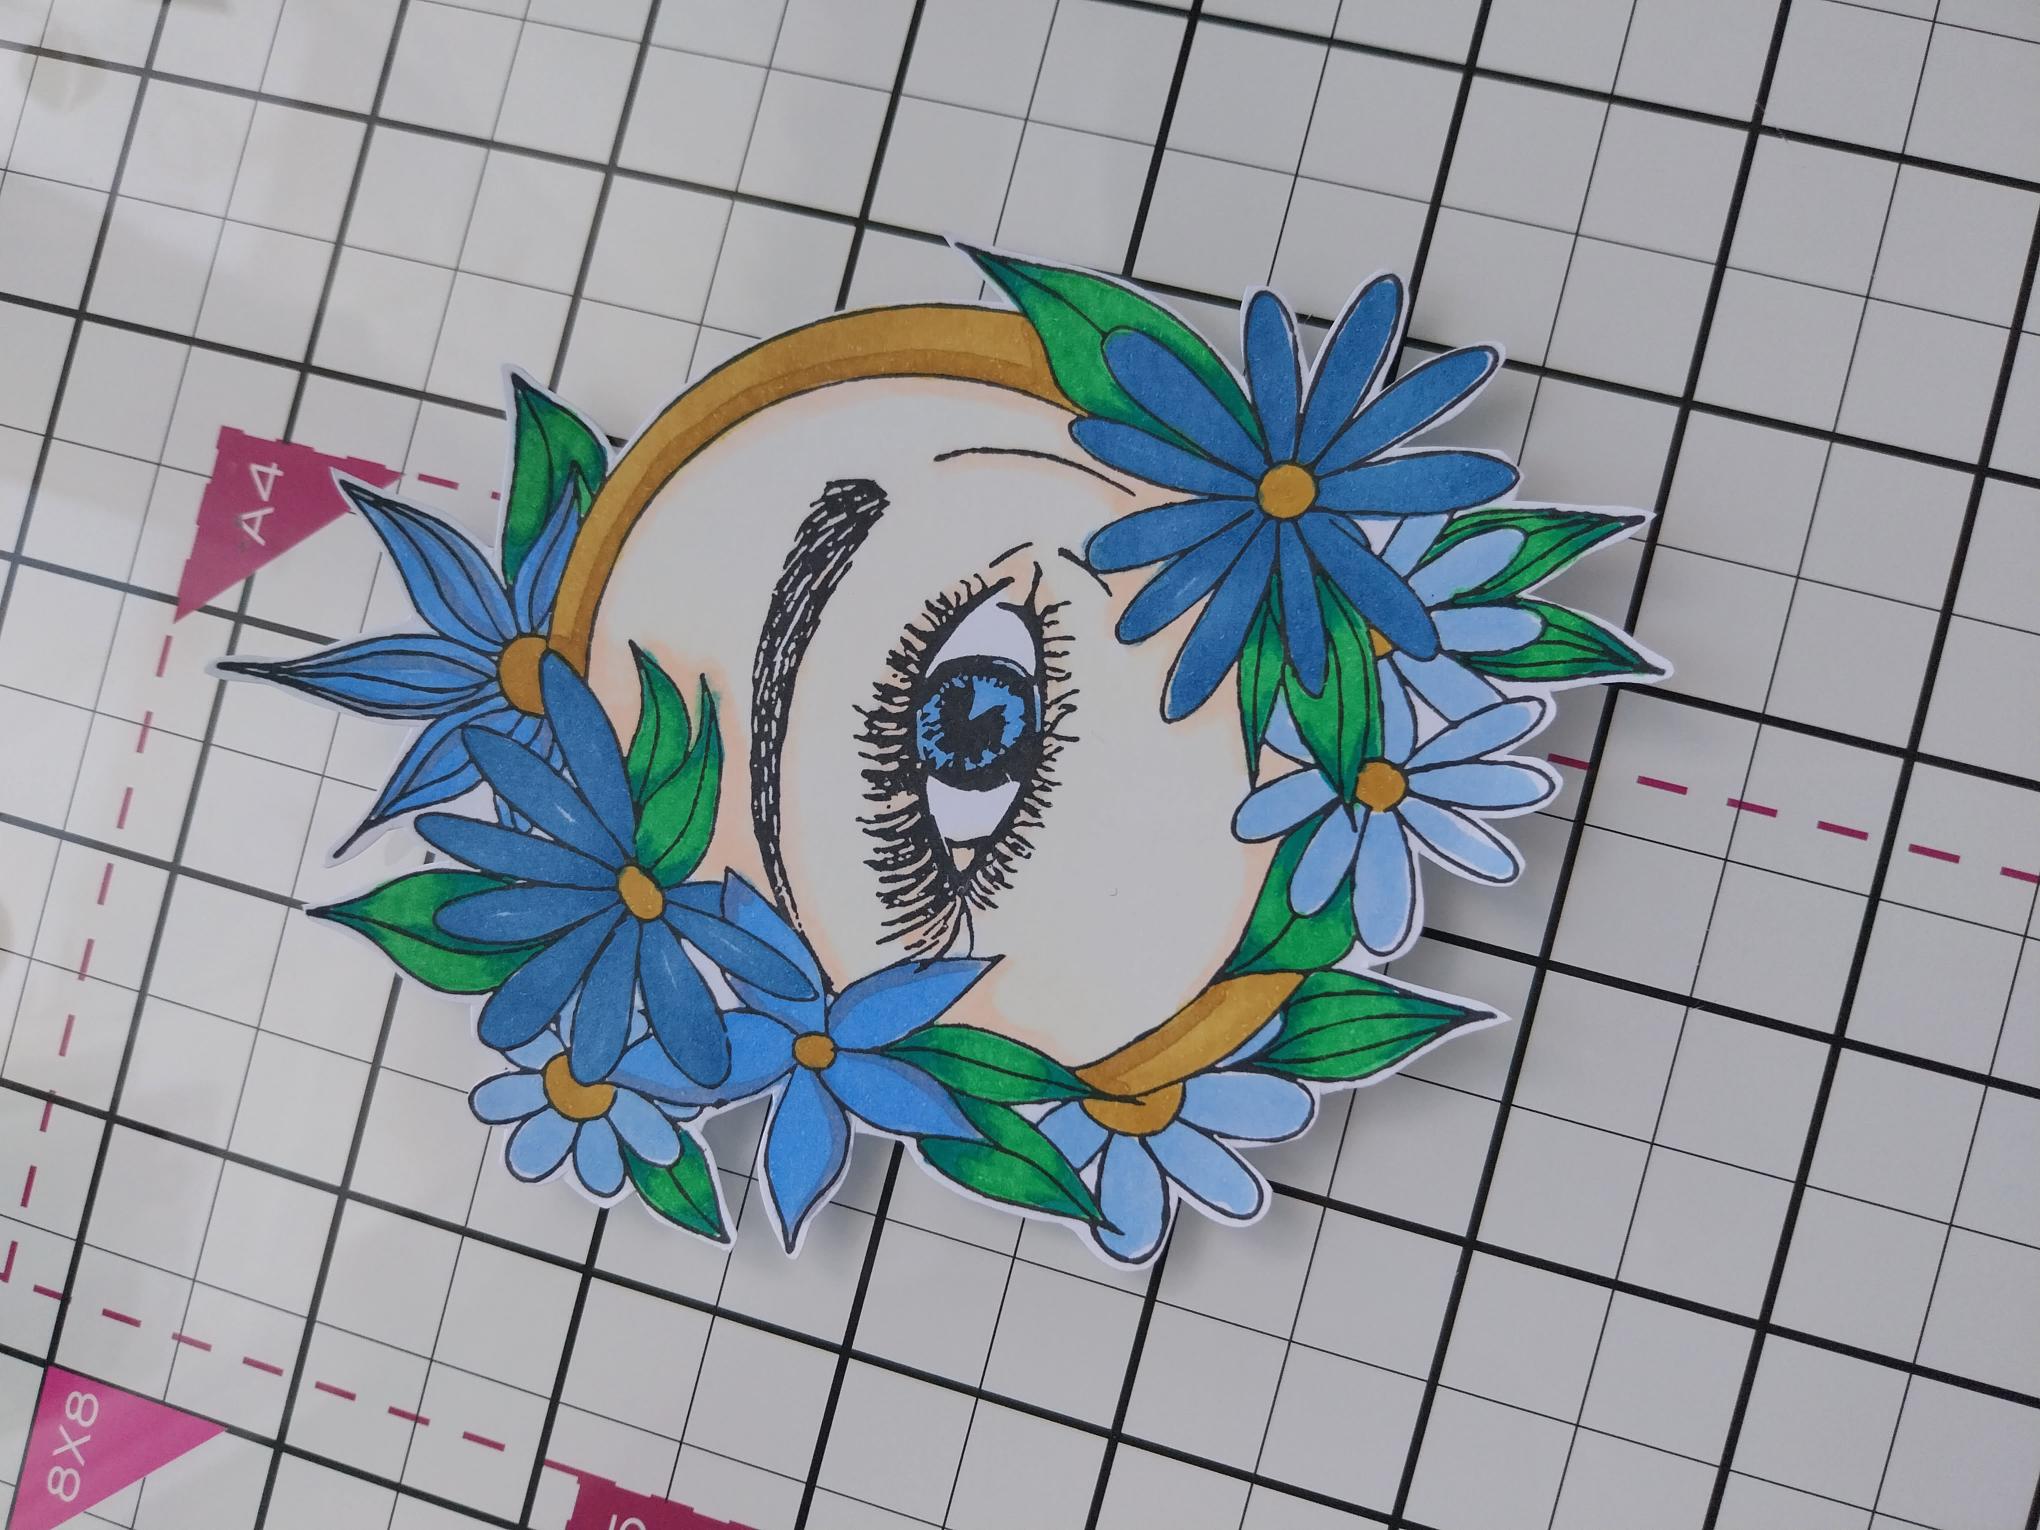
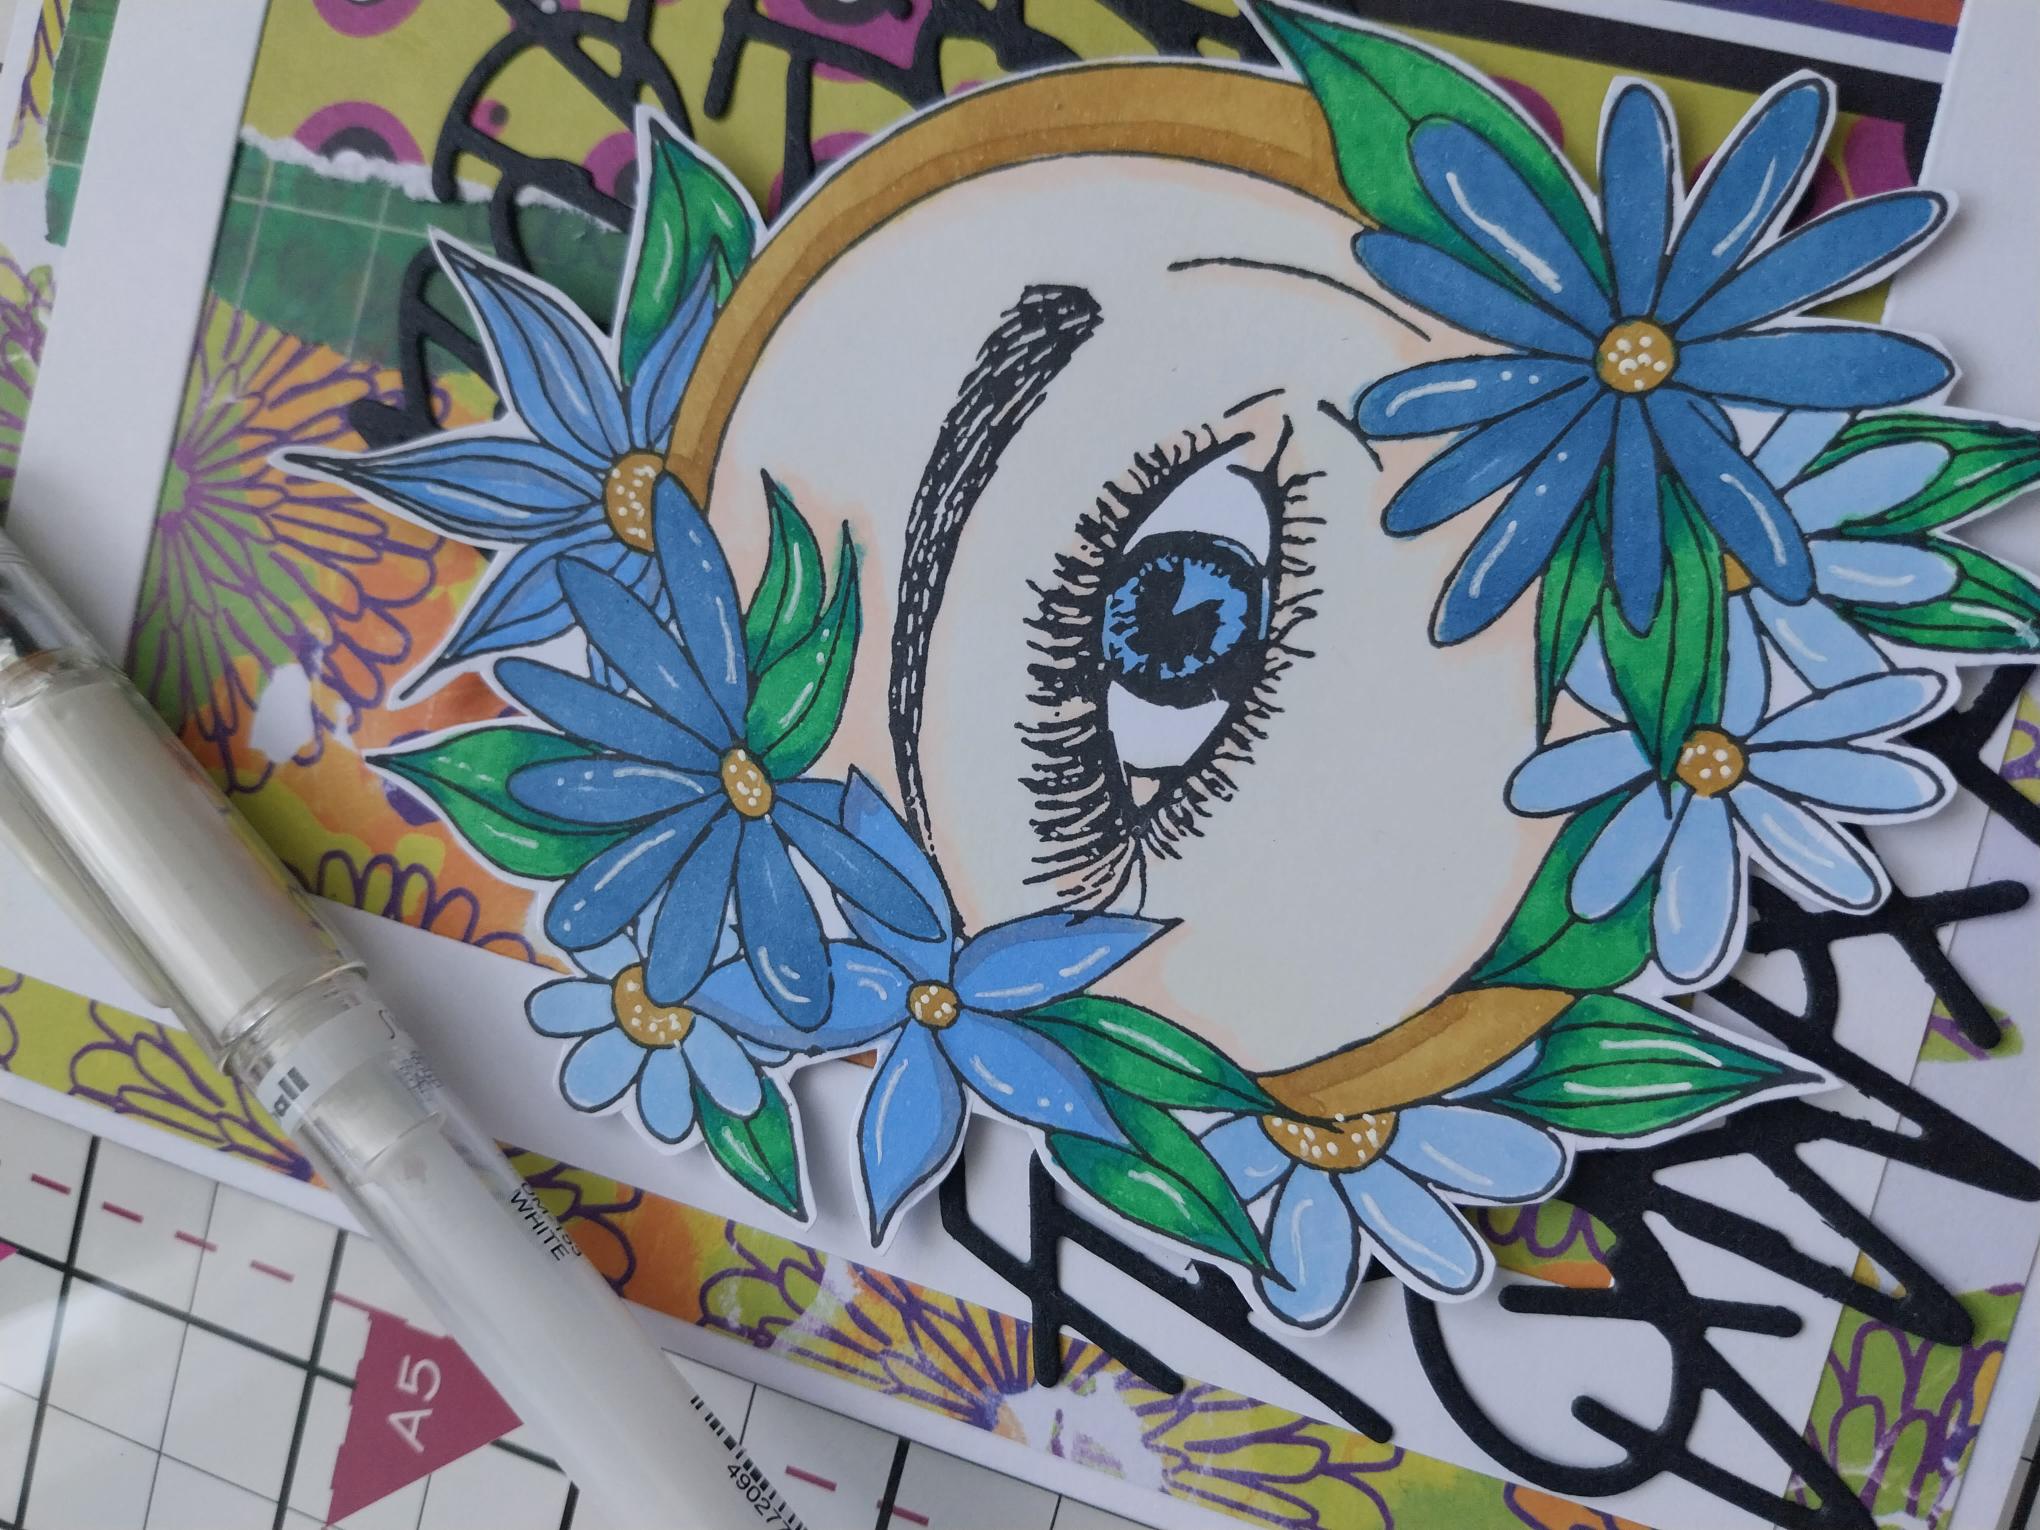
Stamp this eye-catching image!! in Midnight, on to a piece of white card. Fussy cut before colouring in with your Gossip alcohol pens. Pop a sheet of copy paper underneath, to protect your work surface from the ink that bleeds through the cardstock. |
|
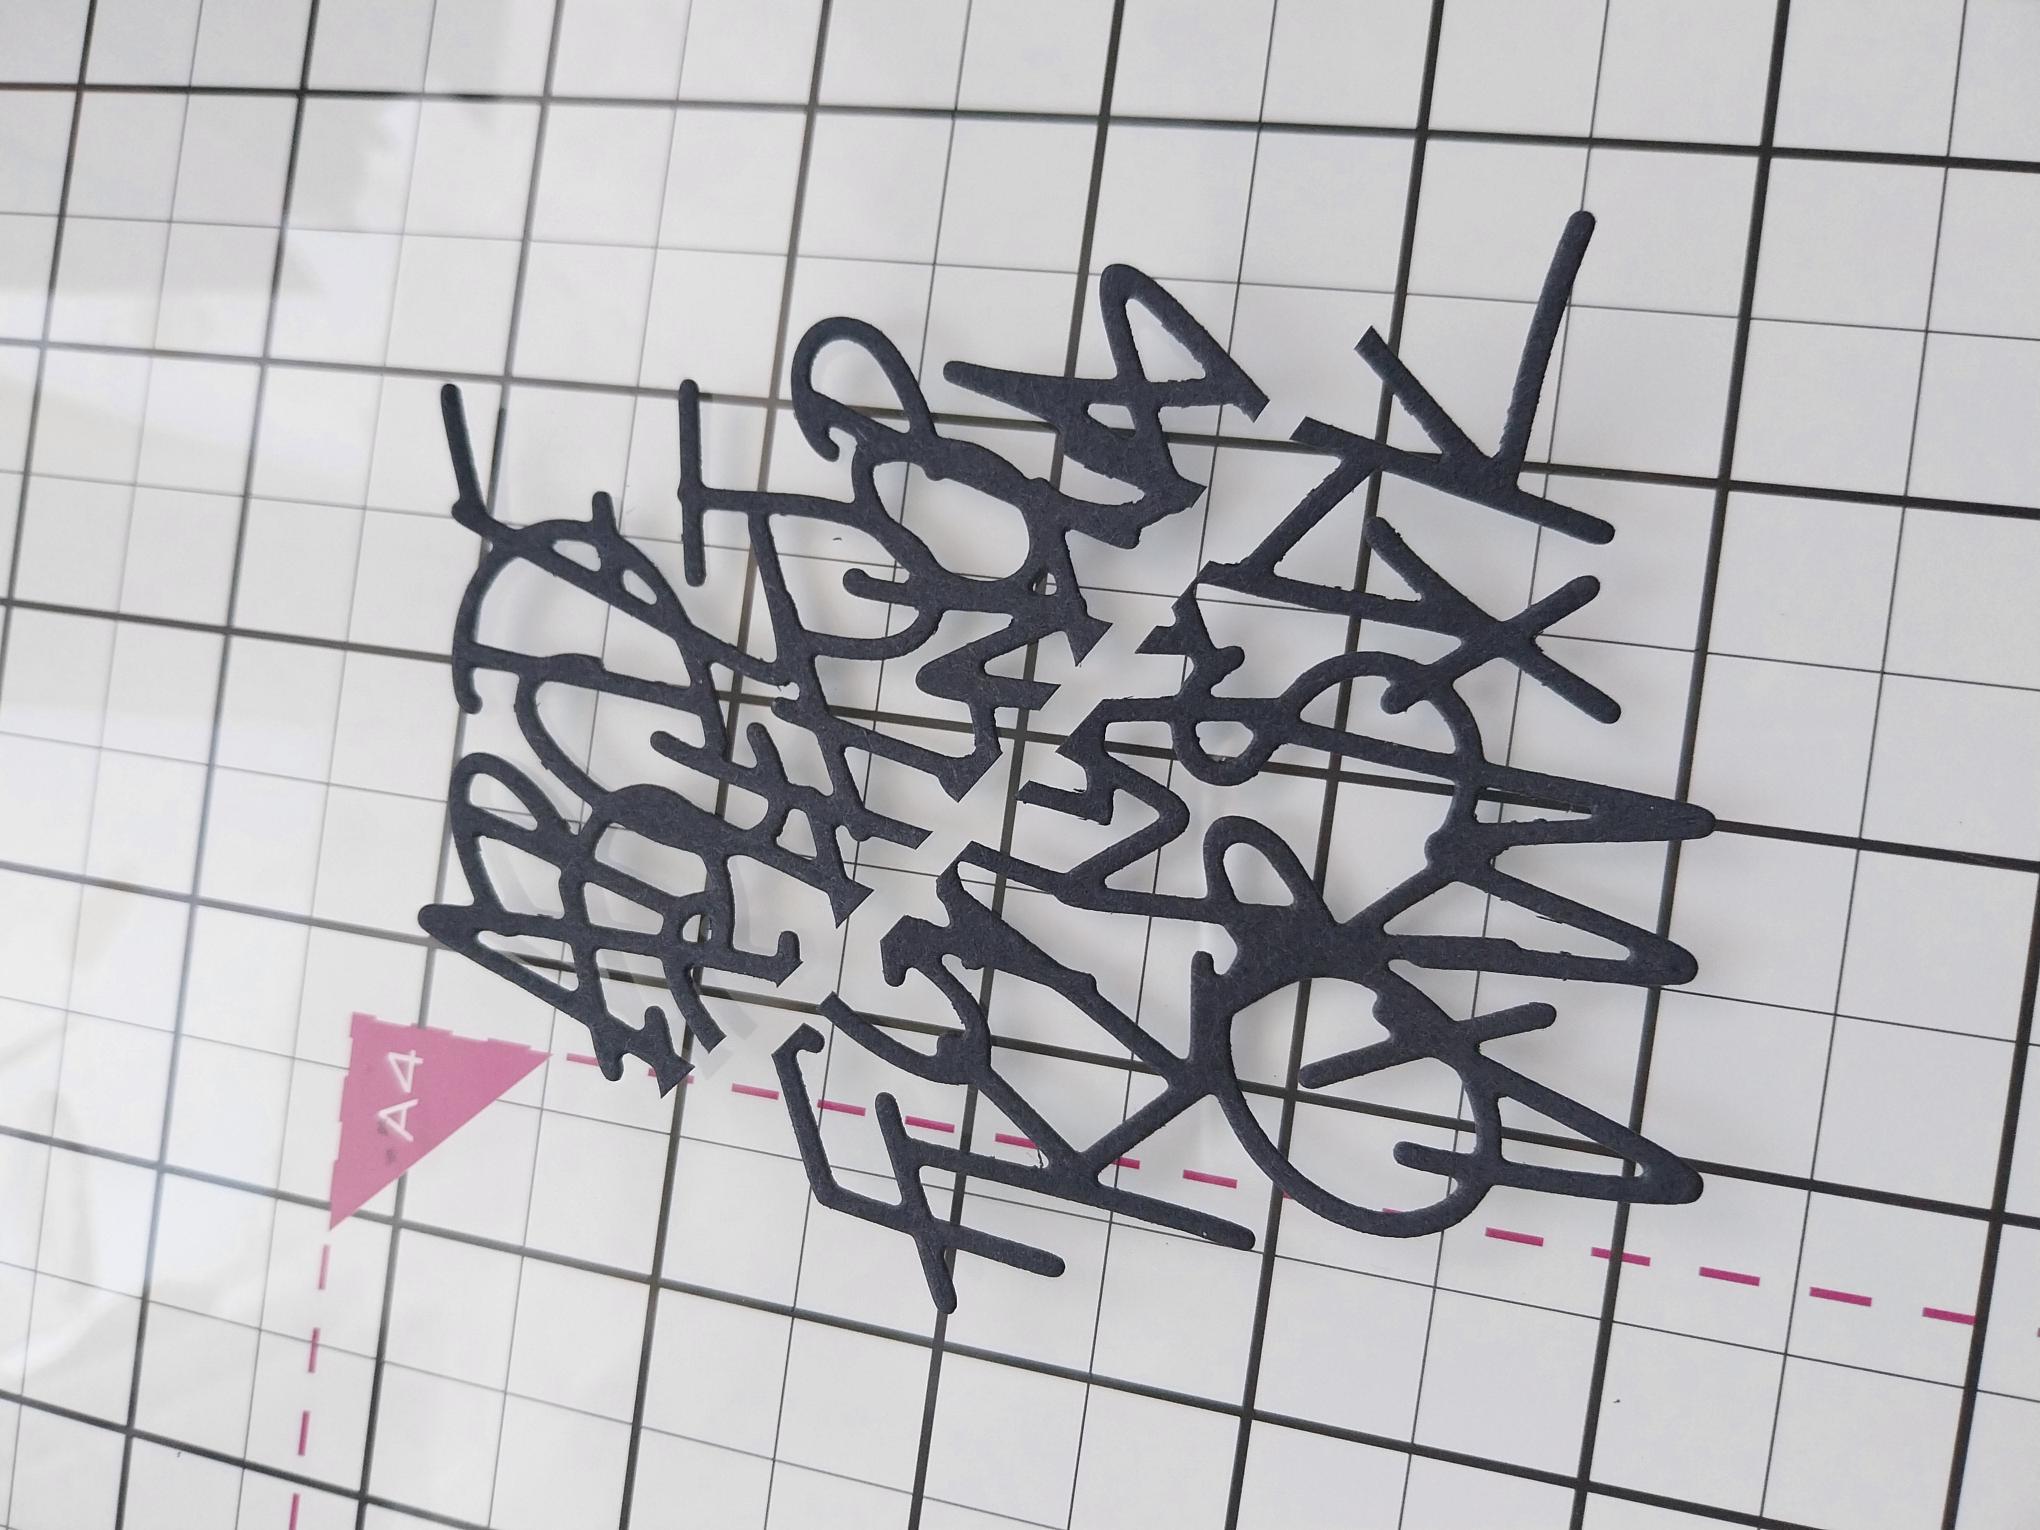
Die cut this Alphabet texture die from black card, then cut diagonally, to create 2 individual die cut elements. |
|
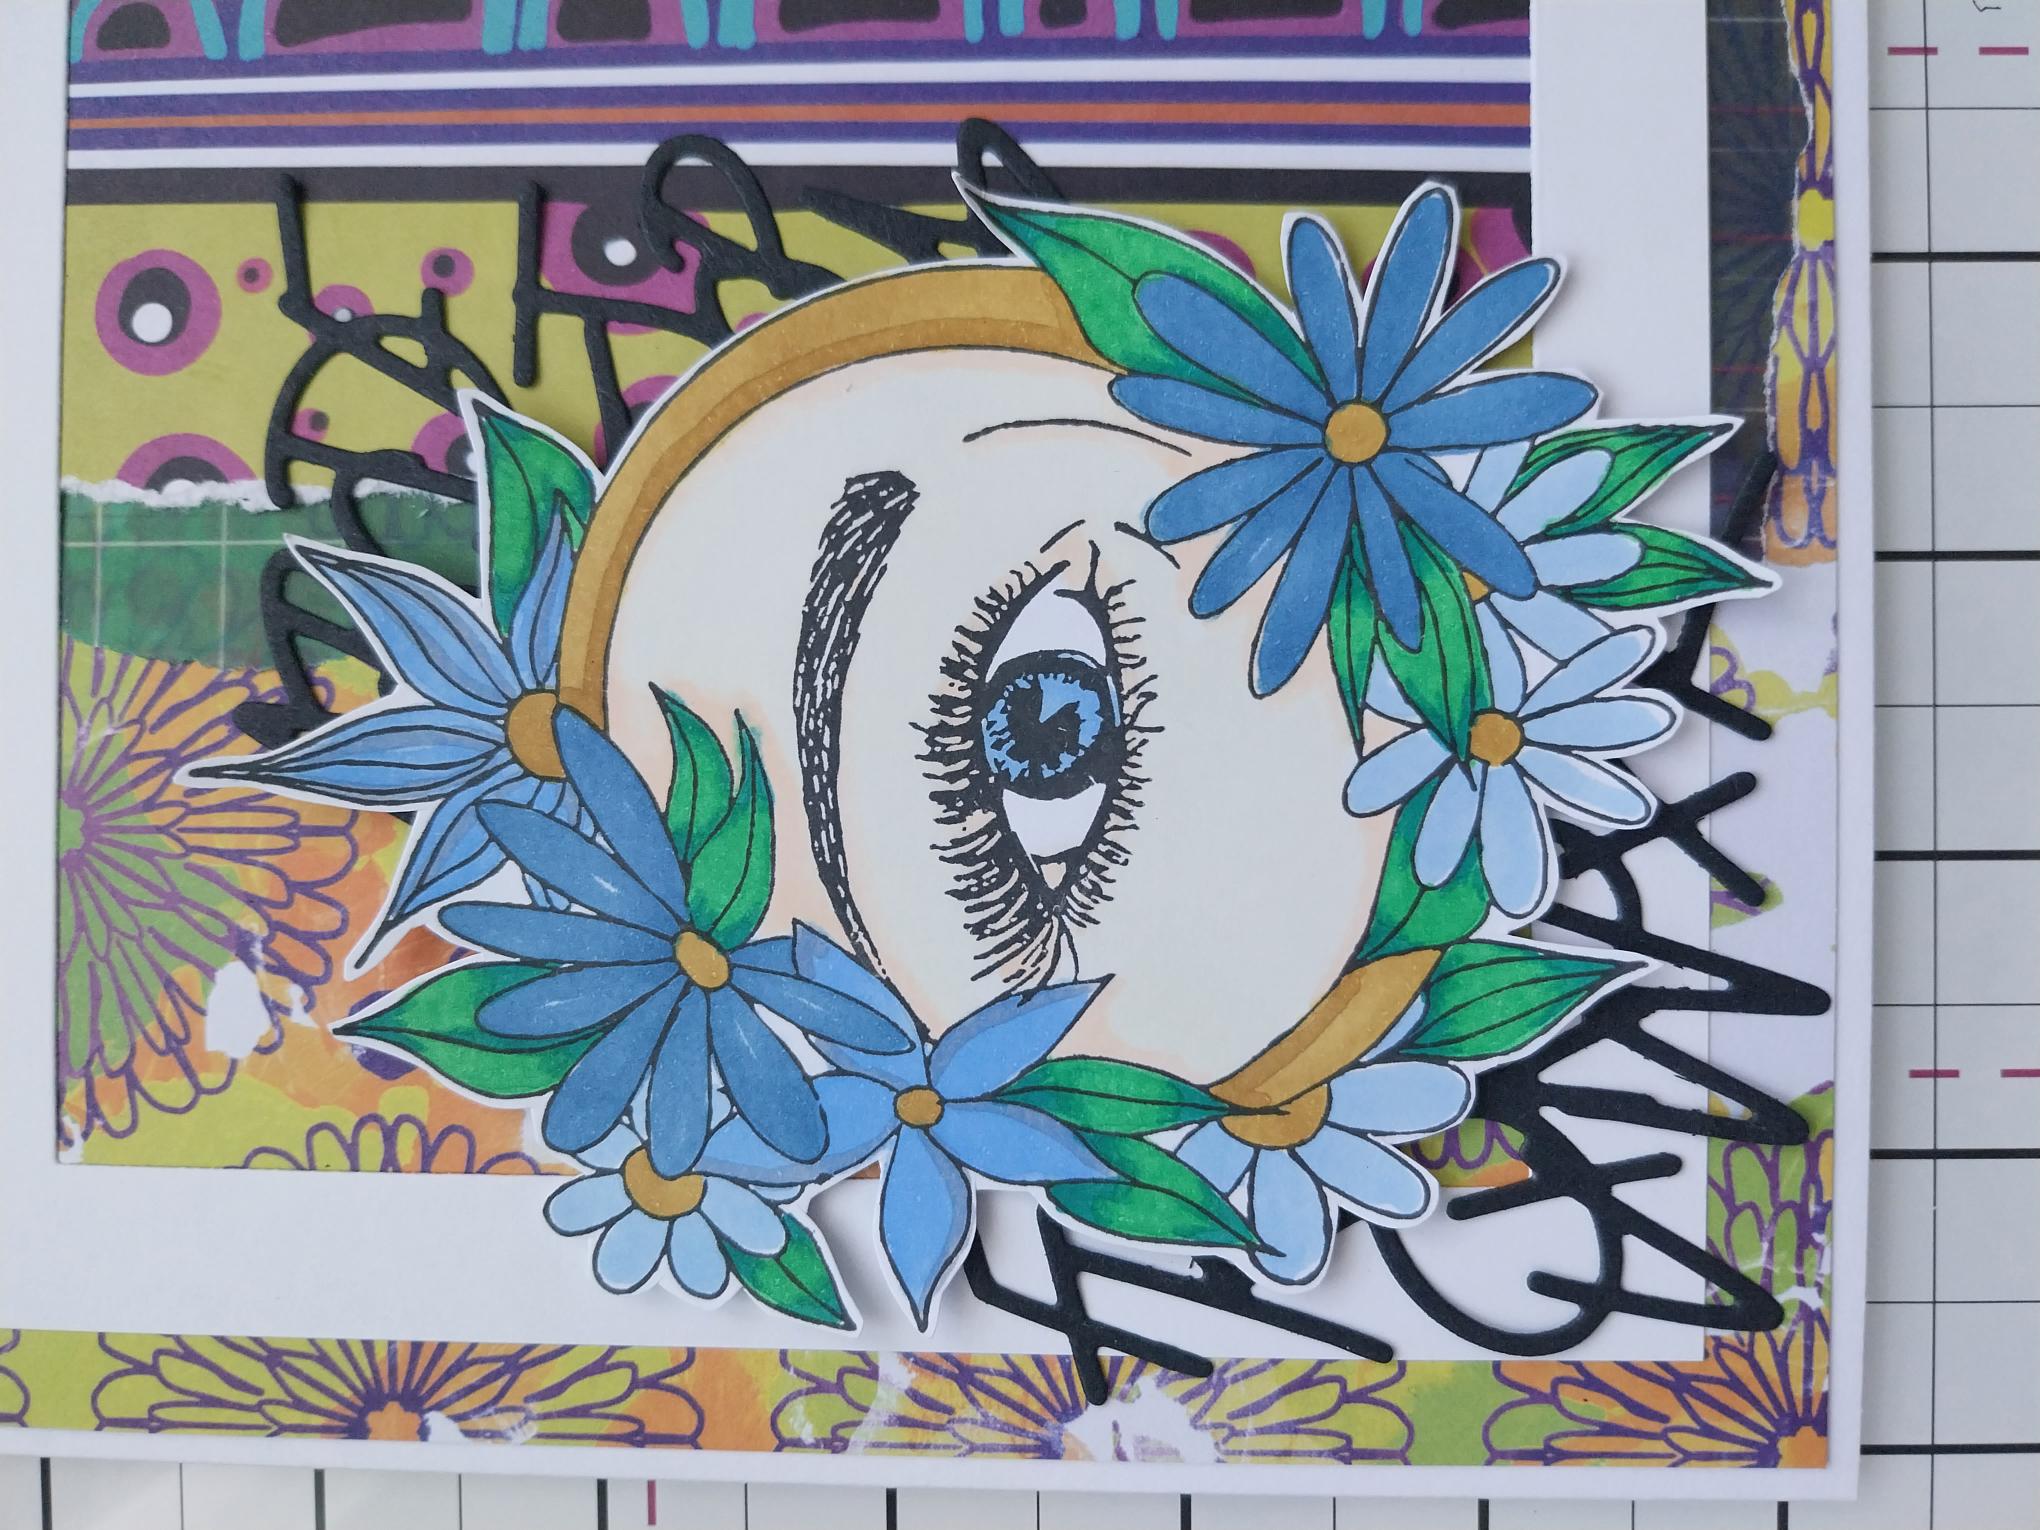
Use foam pads to adhere your coloured image in the bottom left corner of the die cut frame. Tuck the alphabet die cuts just under the image, bottom left and top right and secure in place with glue. Pop the card aside. |
|
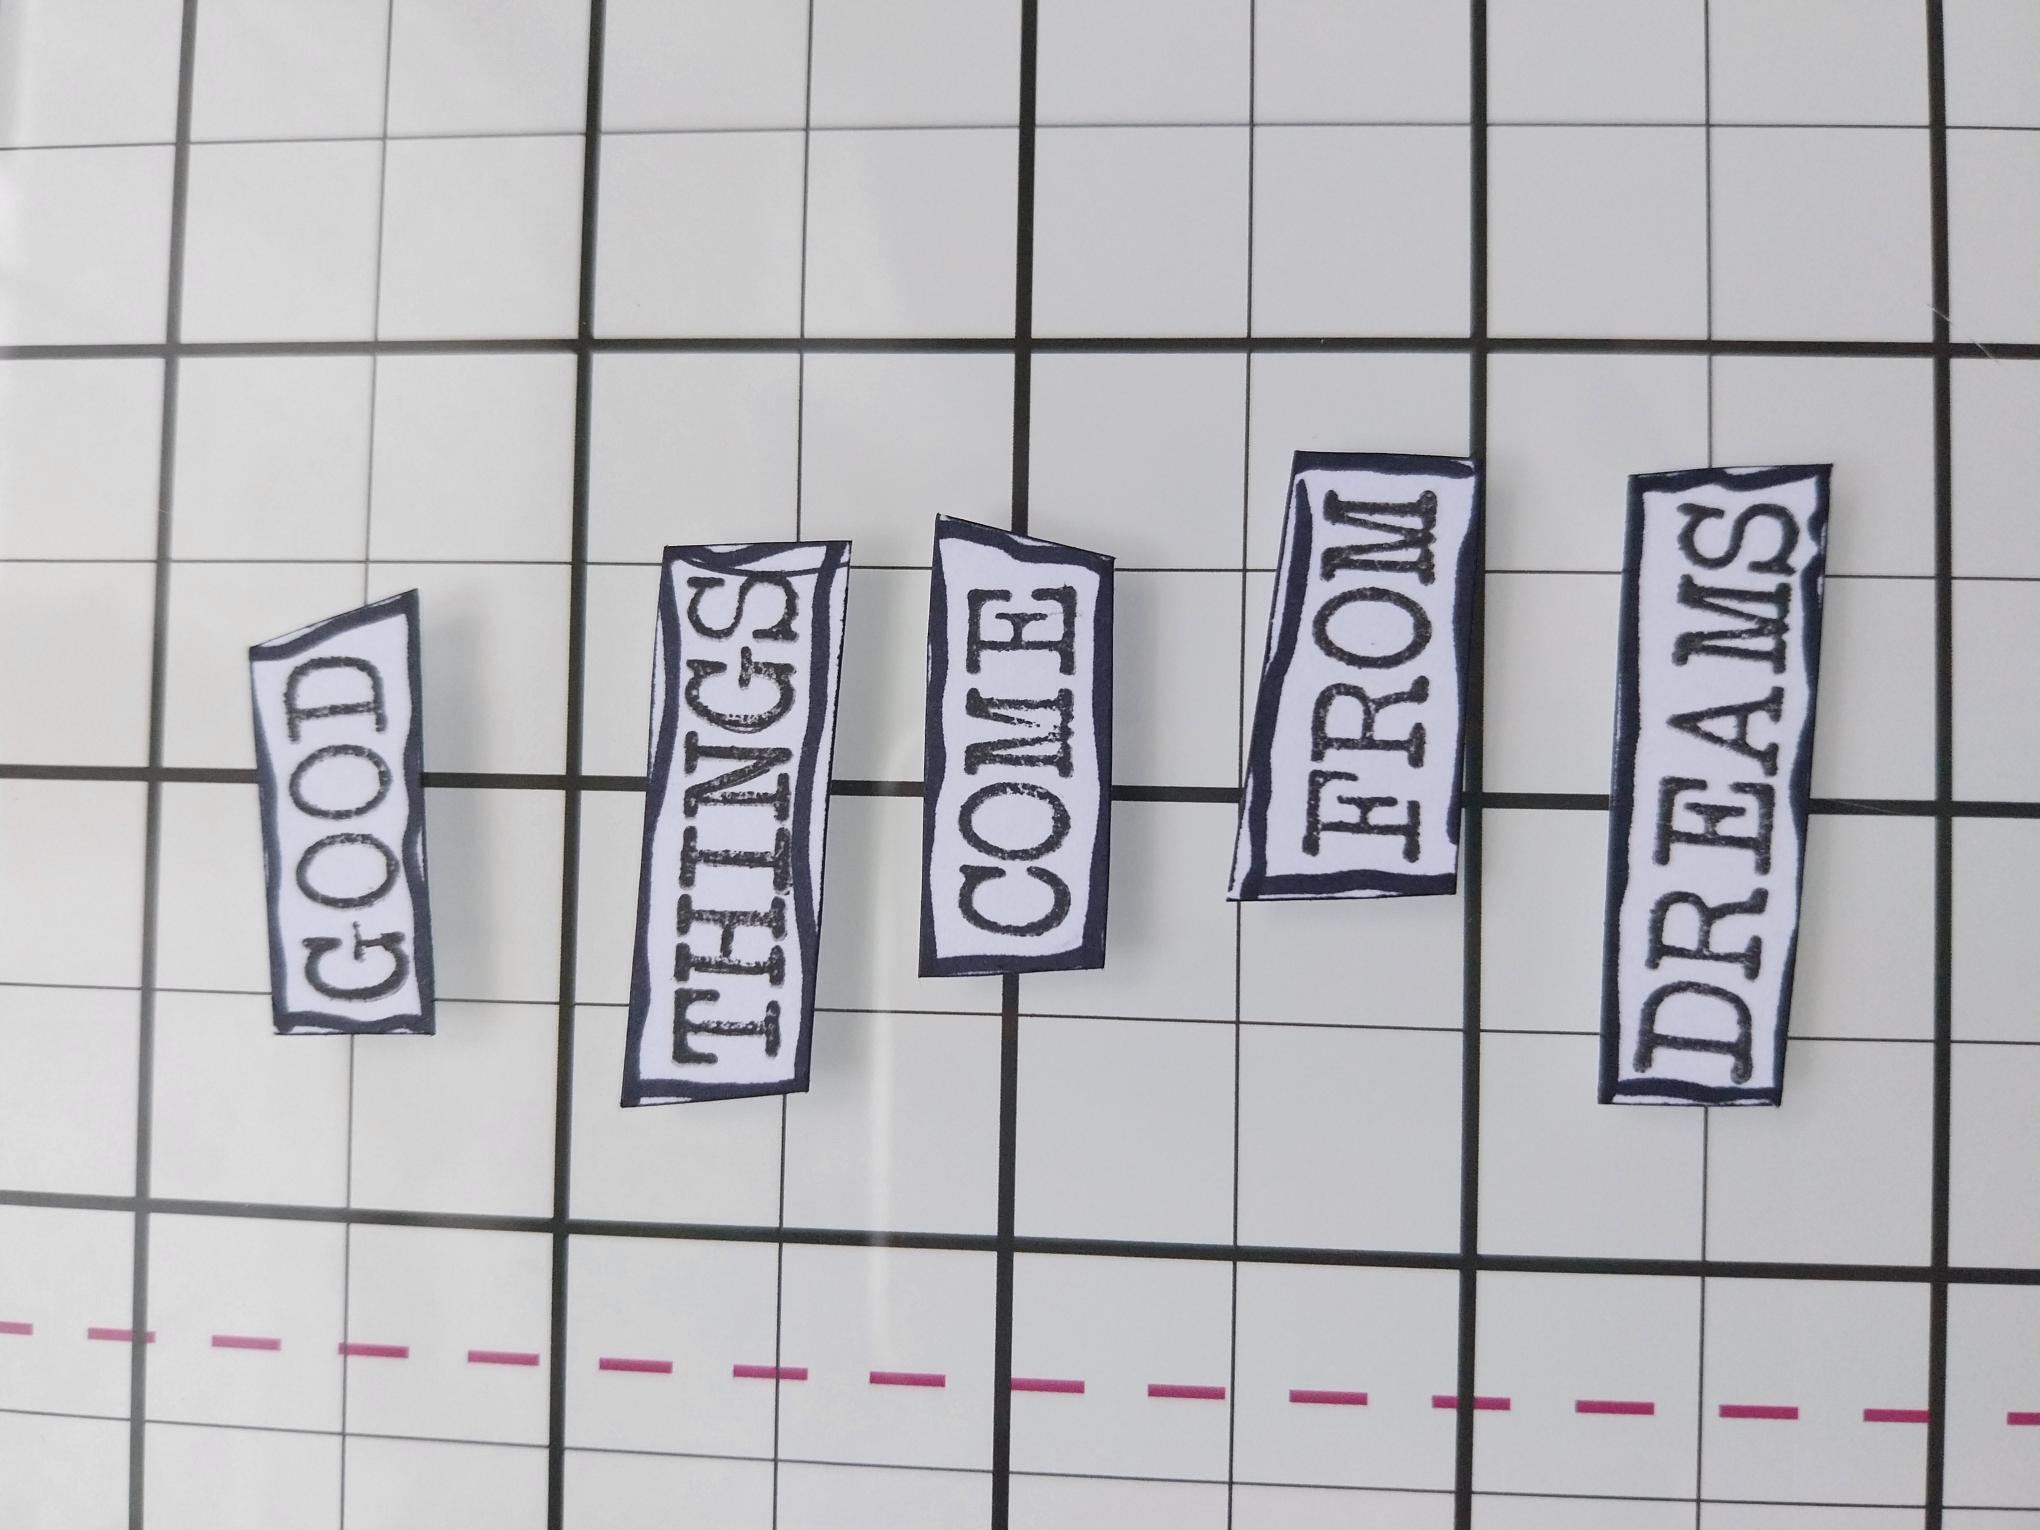
Stamp these words from the More Than Words stamp set, on to white card with the Midnight ink. Cut around each word, before going around the edges of the card with a black pen. |
|
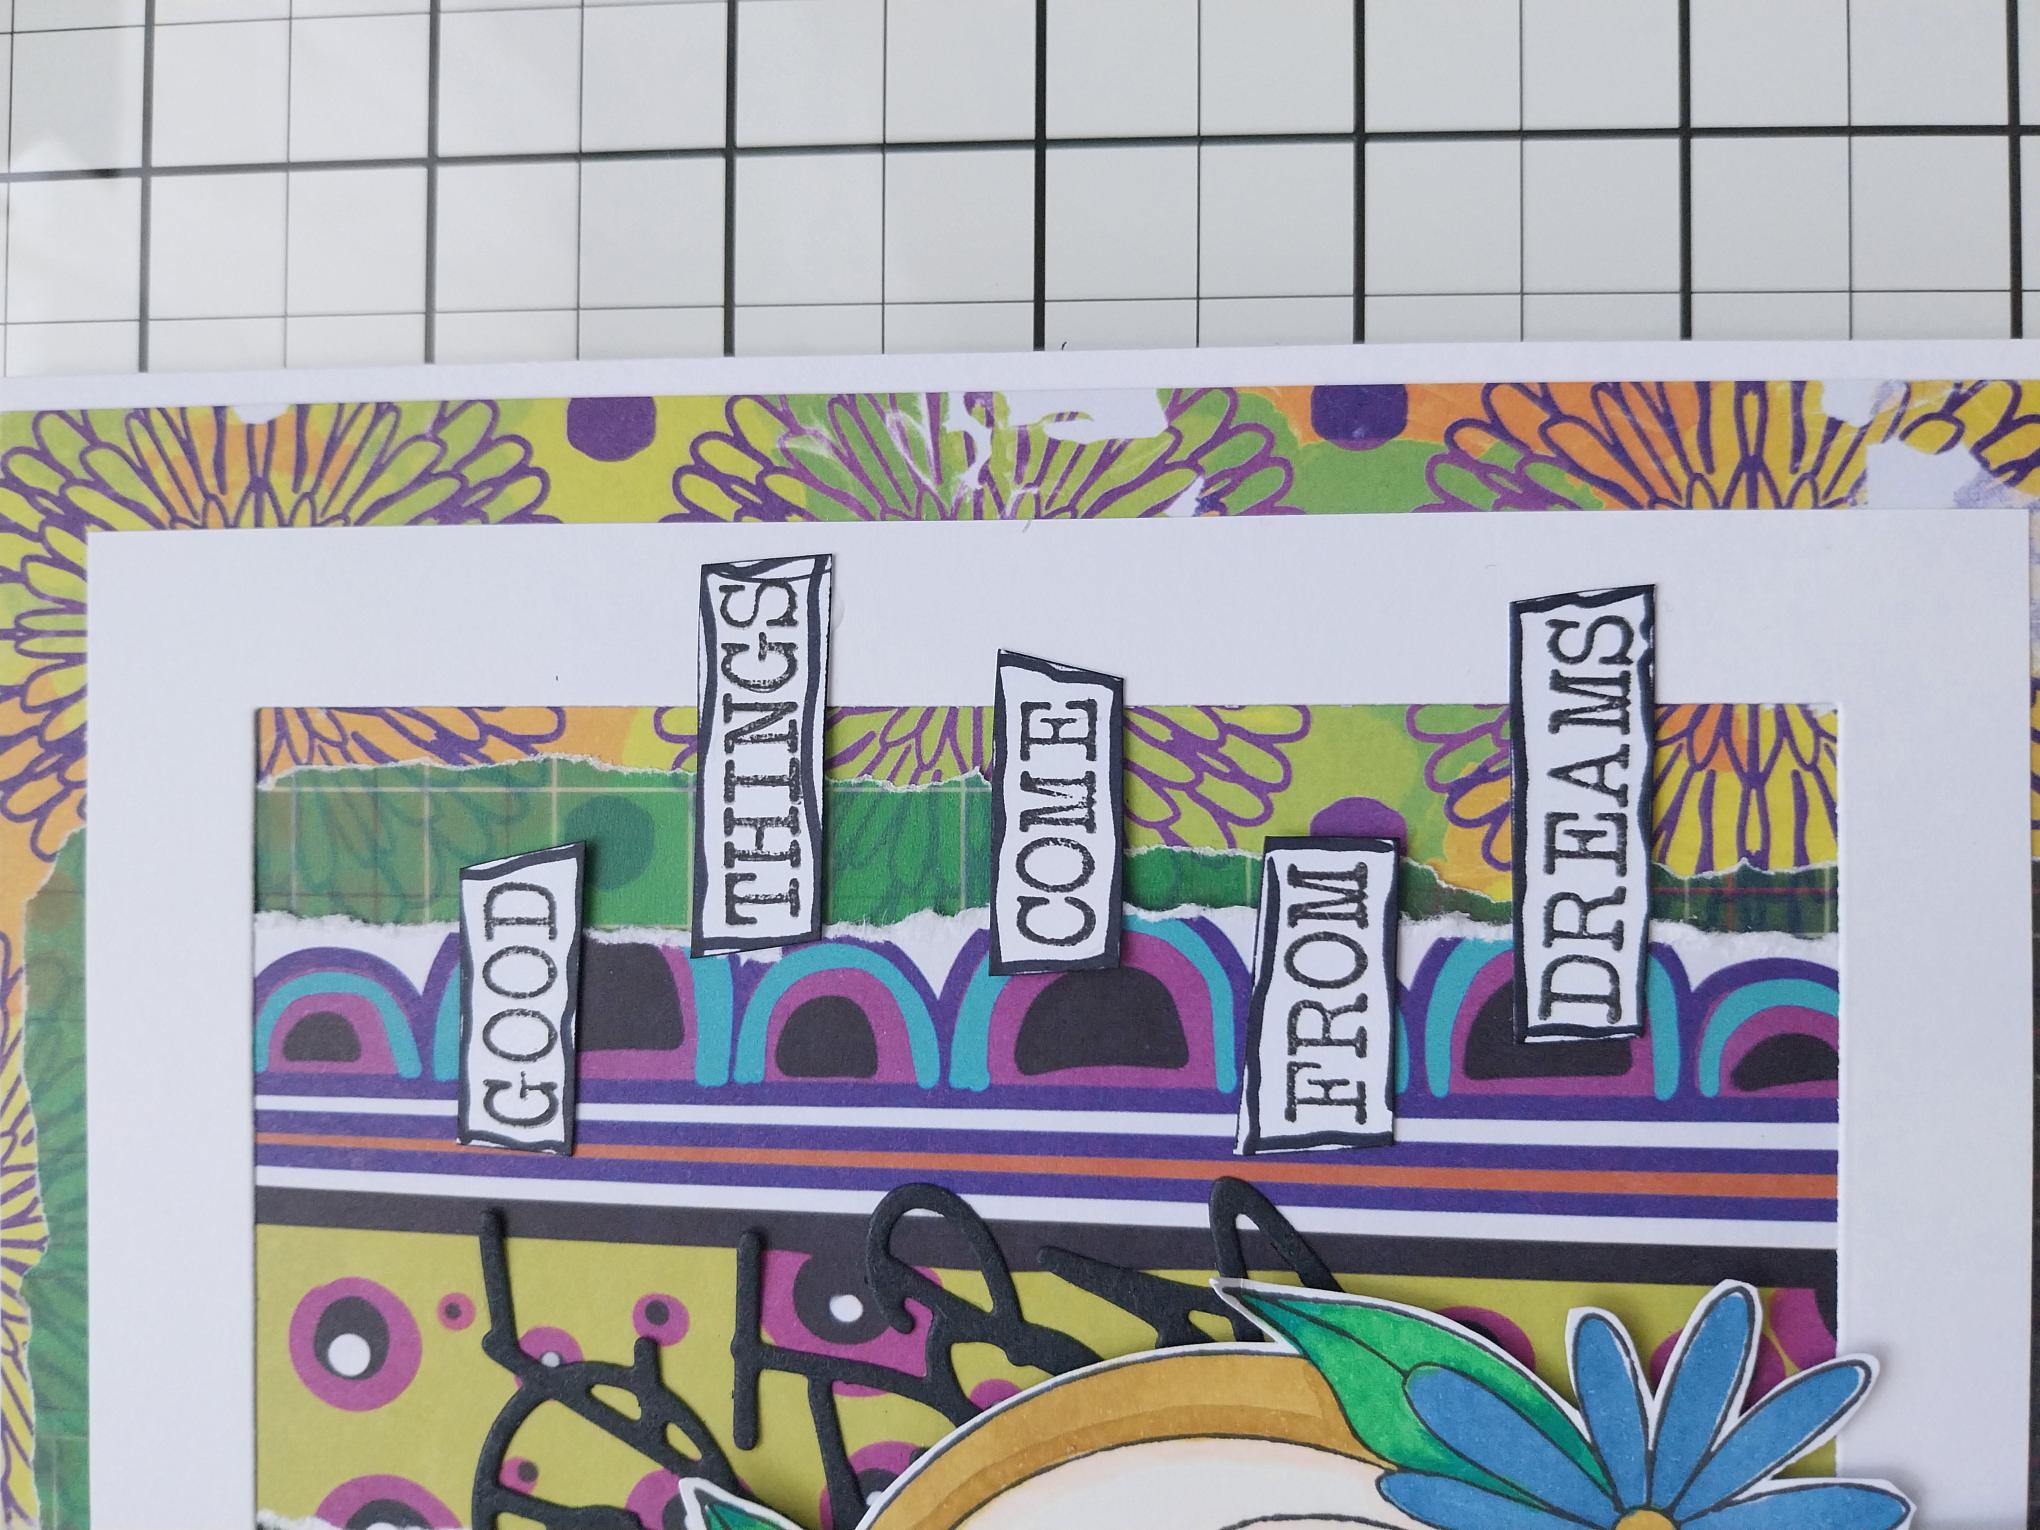
Adhere down the right side of your artwork, with foam pads. |
|
To complete your project, use your Imala white gel pen to add accents and highlights to your artwork, as required. |