Give your friends $10 off their first order!
Refer a FRIEND


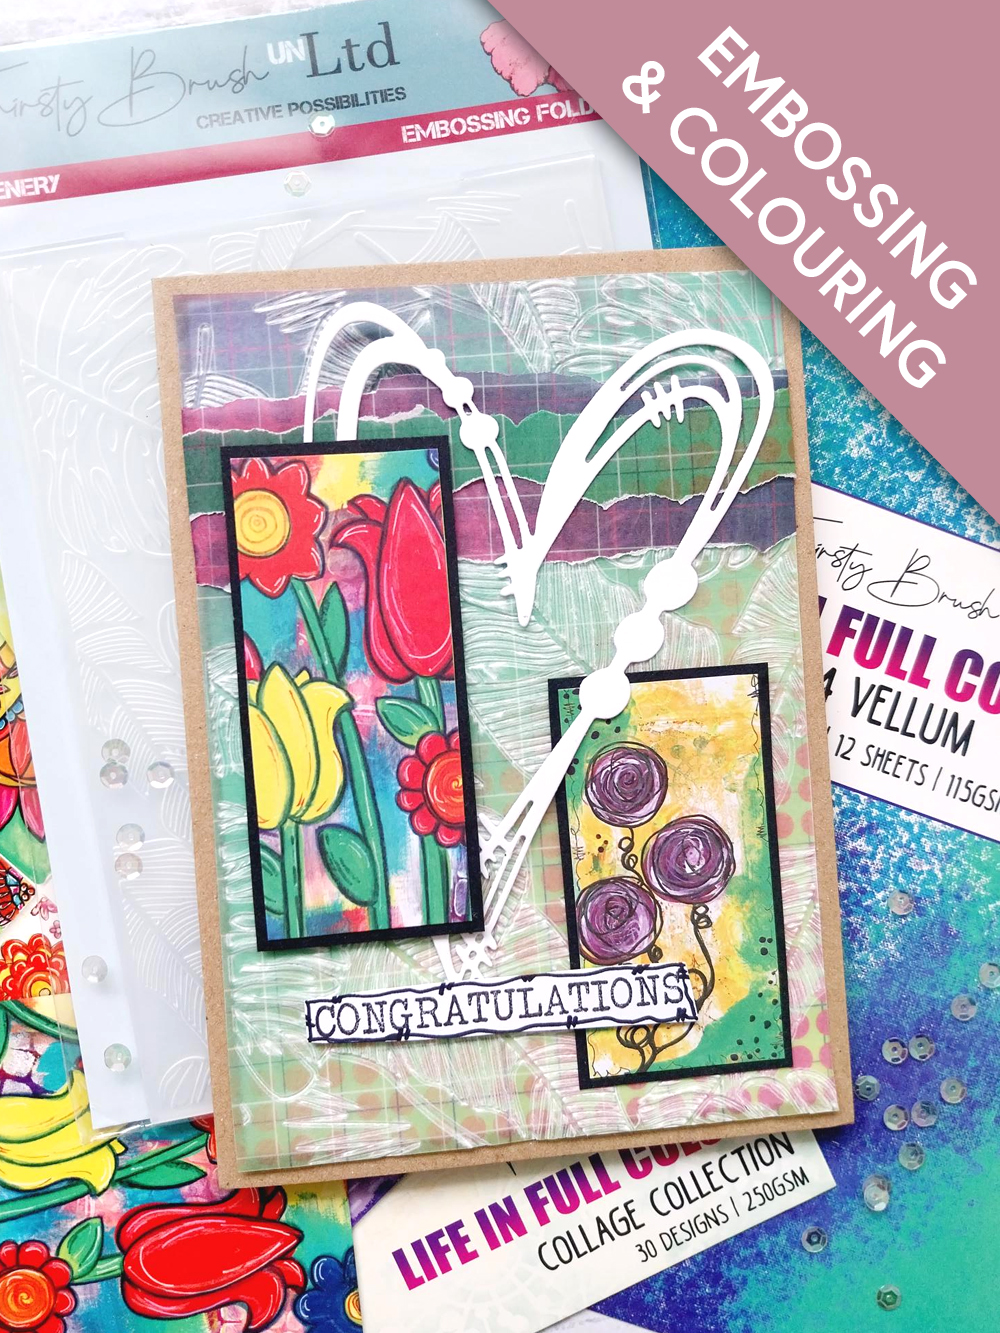
WHAT YOU WILL NEED:
Kraft card blank 7 x 5"
Black card
White card
Thirsty Brush UnLtd Life In Full Colour A4 Vellum Pack
Thirsty Brush UnLtd Life In Full Colour A4 Paper Pack
Thirsty Brush UnLtd Greenery Embossing Folder
Thirsty Brush UnLtd More Than Words Stamp Set
Thirsty Brush UnLtd Mixed Up Hearts Die Set
SBM Hybrid Ink Pad: Midnight
Black pen
Eureka 101 Watercolour Tablet
SBM Magnetic glass mat
Paper Trimmer
Perfect Together Glue
Foam pads
Double-sided adhesive tape/tape runner
Die Cutting machine
[click image to enlarge] 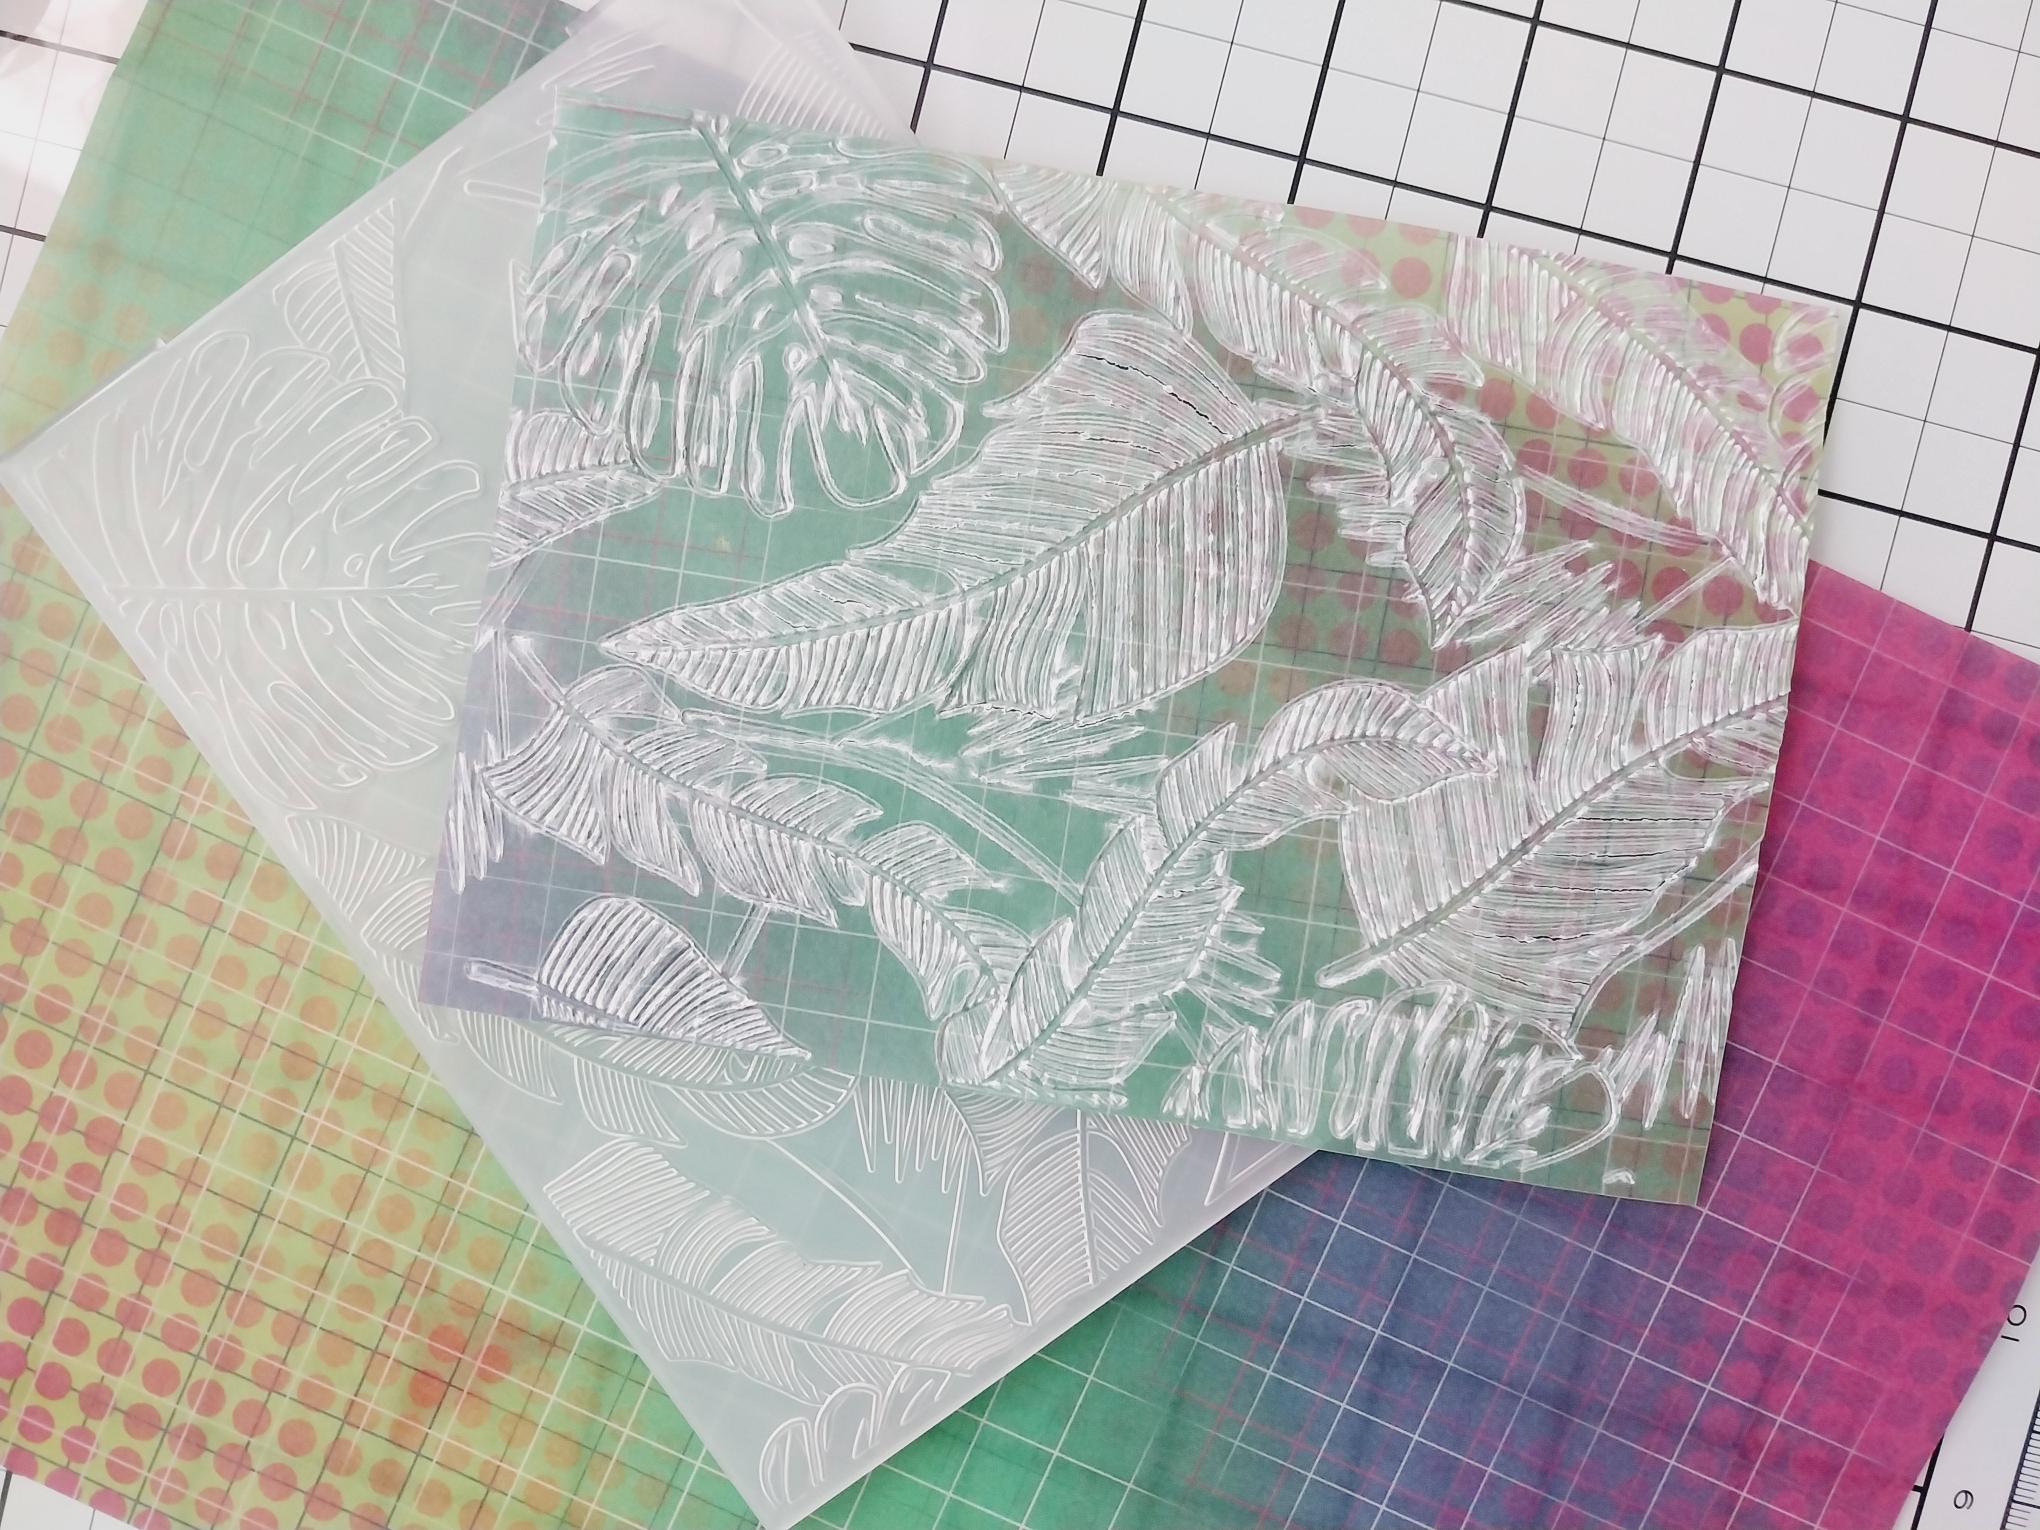
|
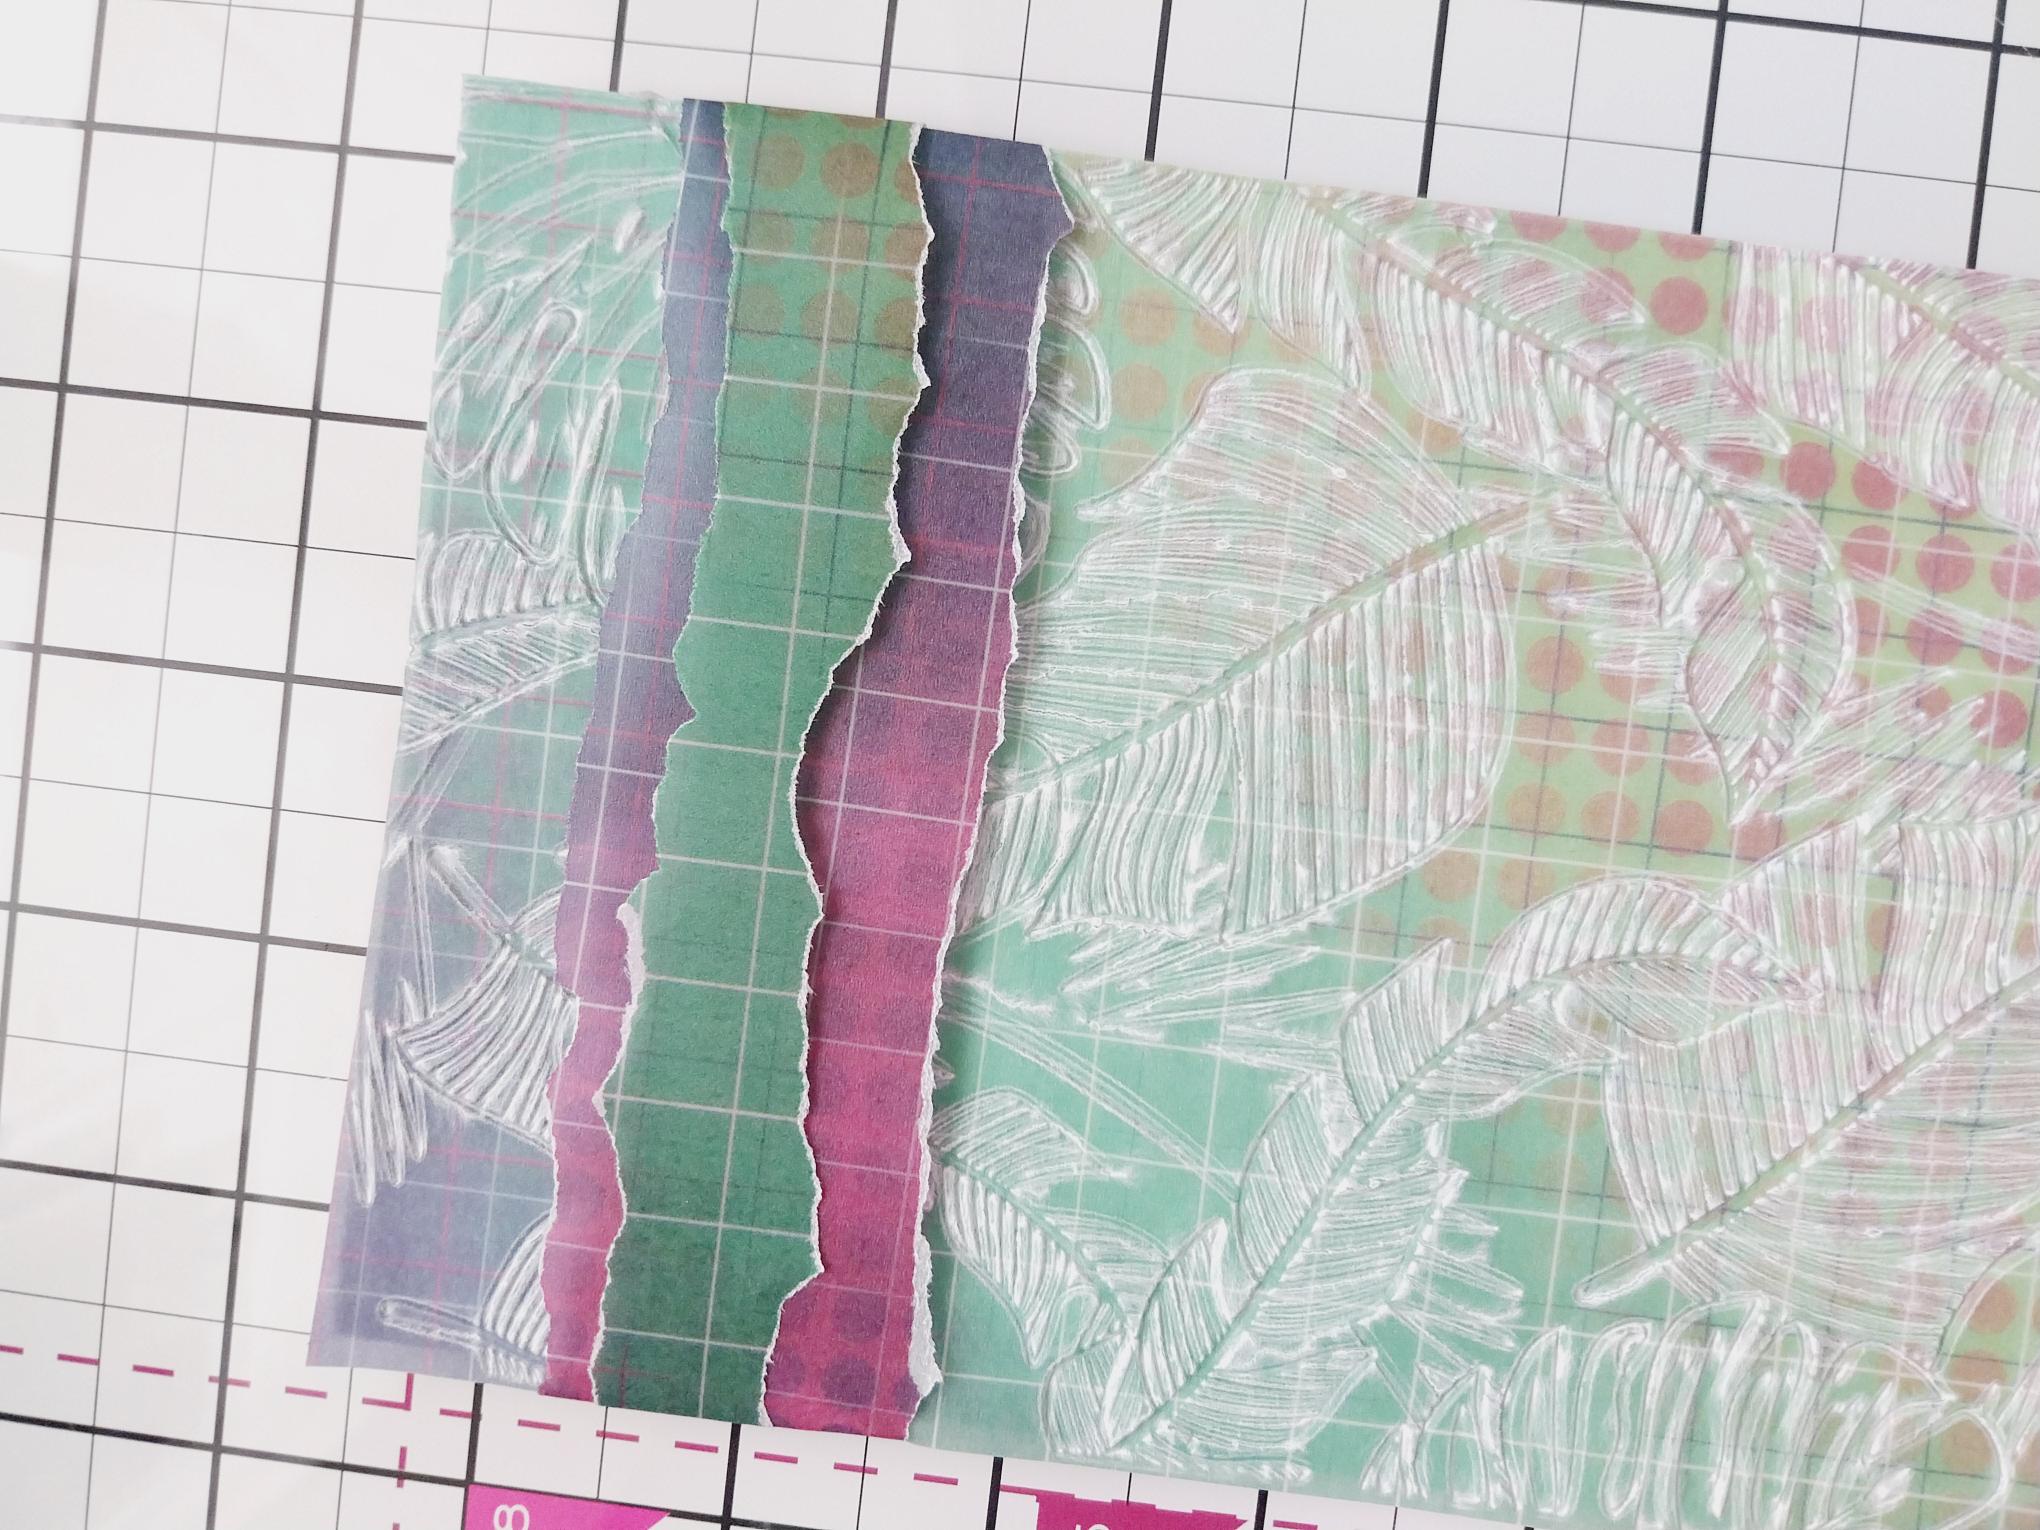
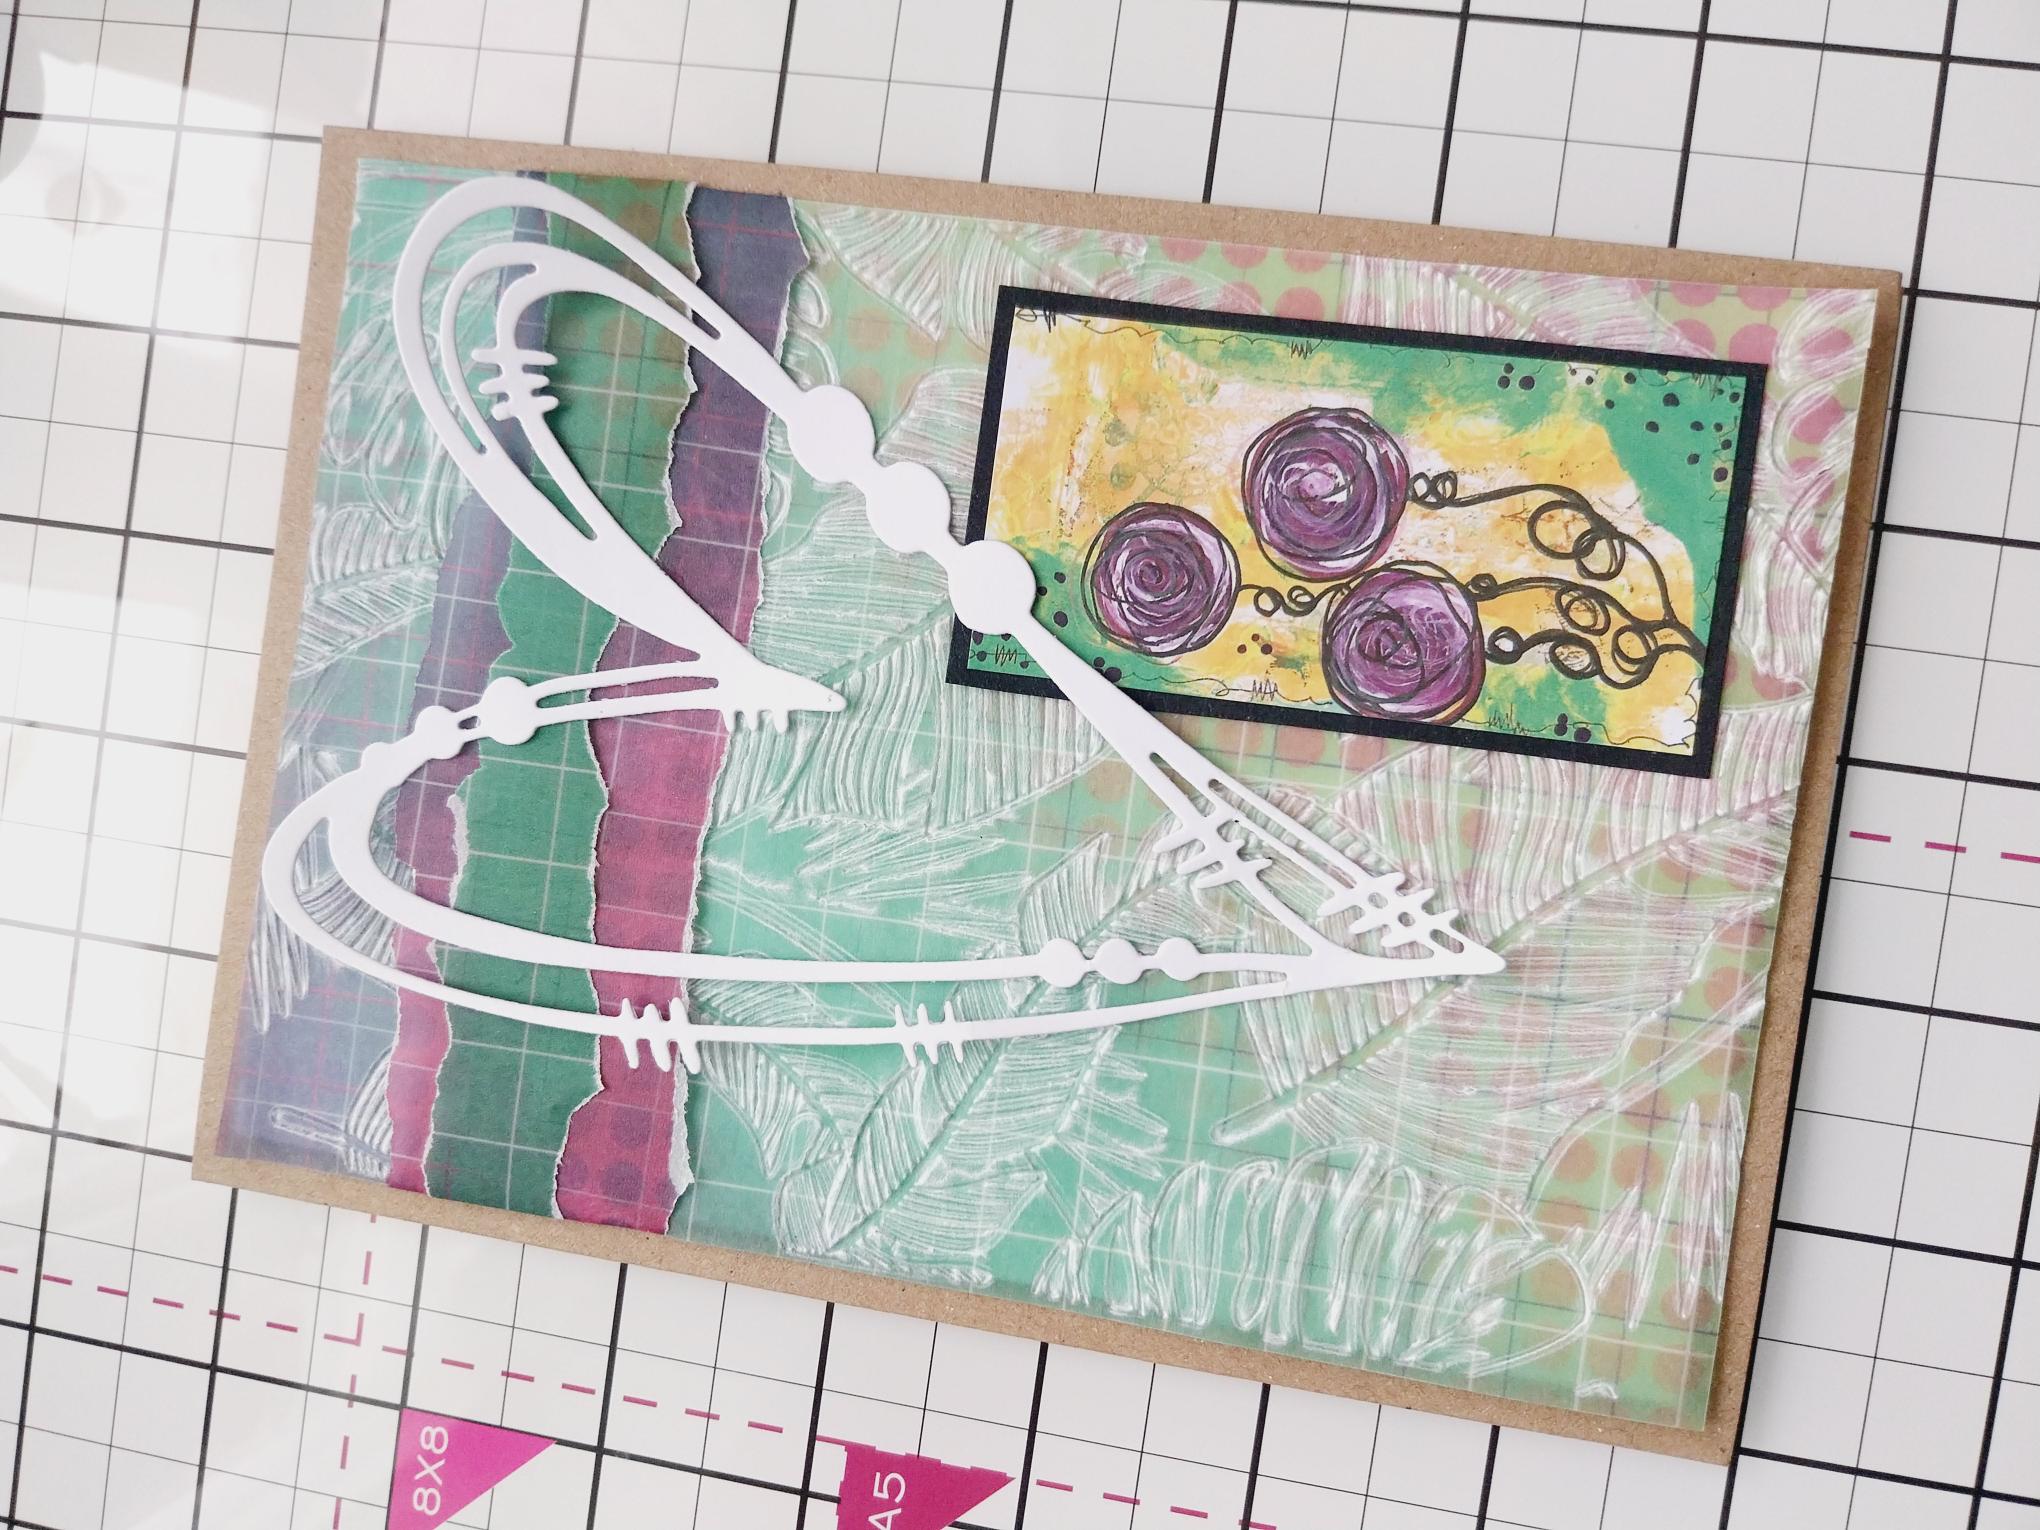
Remove this beautiful checked vellum, from the Life In Full Colour Vellum Pack and trim to about 7 x 5", incorporating the amber, yellow and green hues. Set the remaining vellum to one side, for a later step. Place the vellum inside the Greenery embossing folder and run it through your embossing machine. |
|
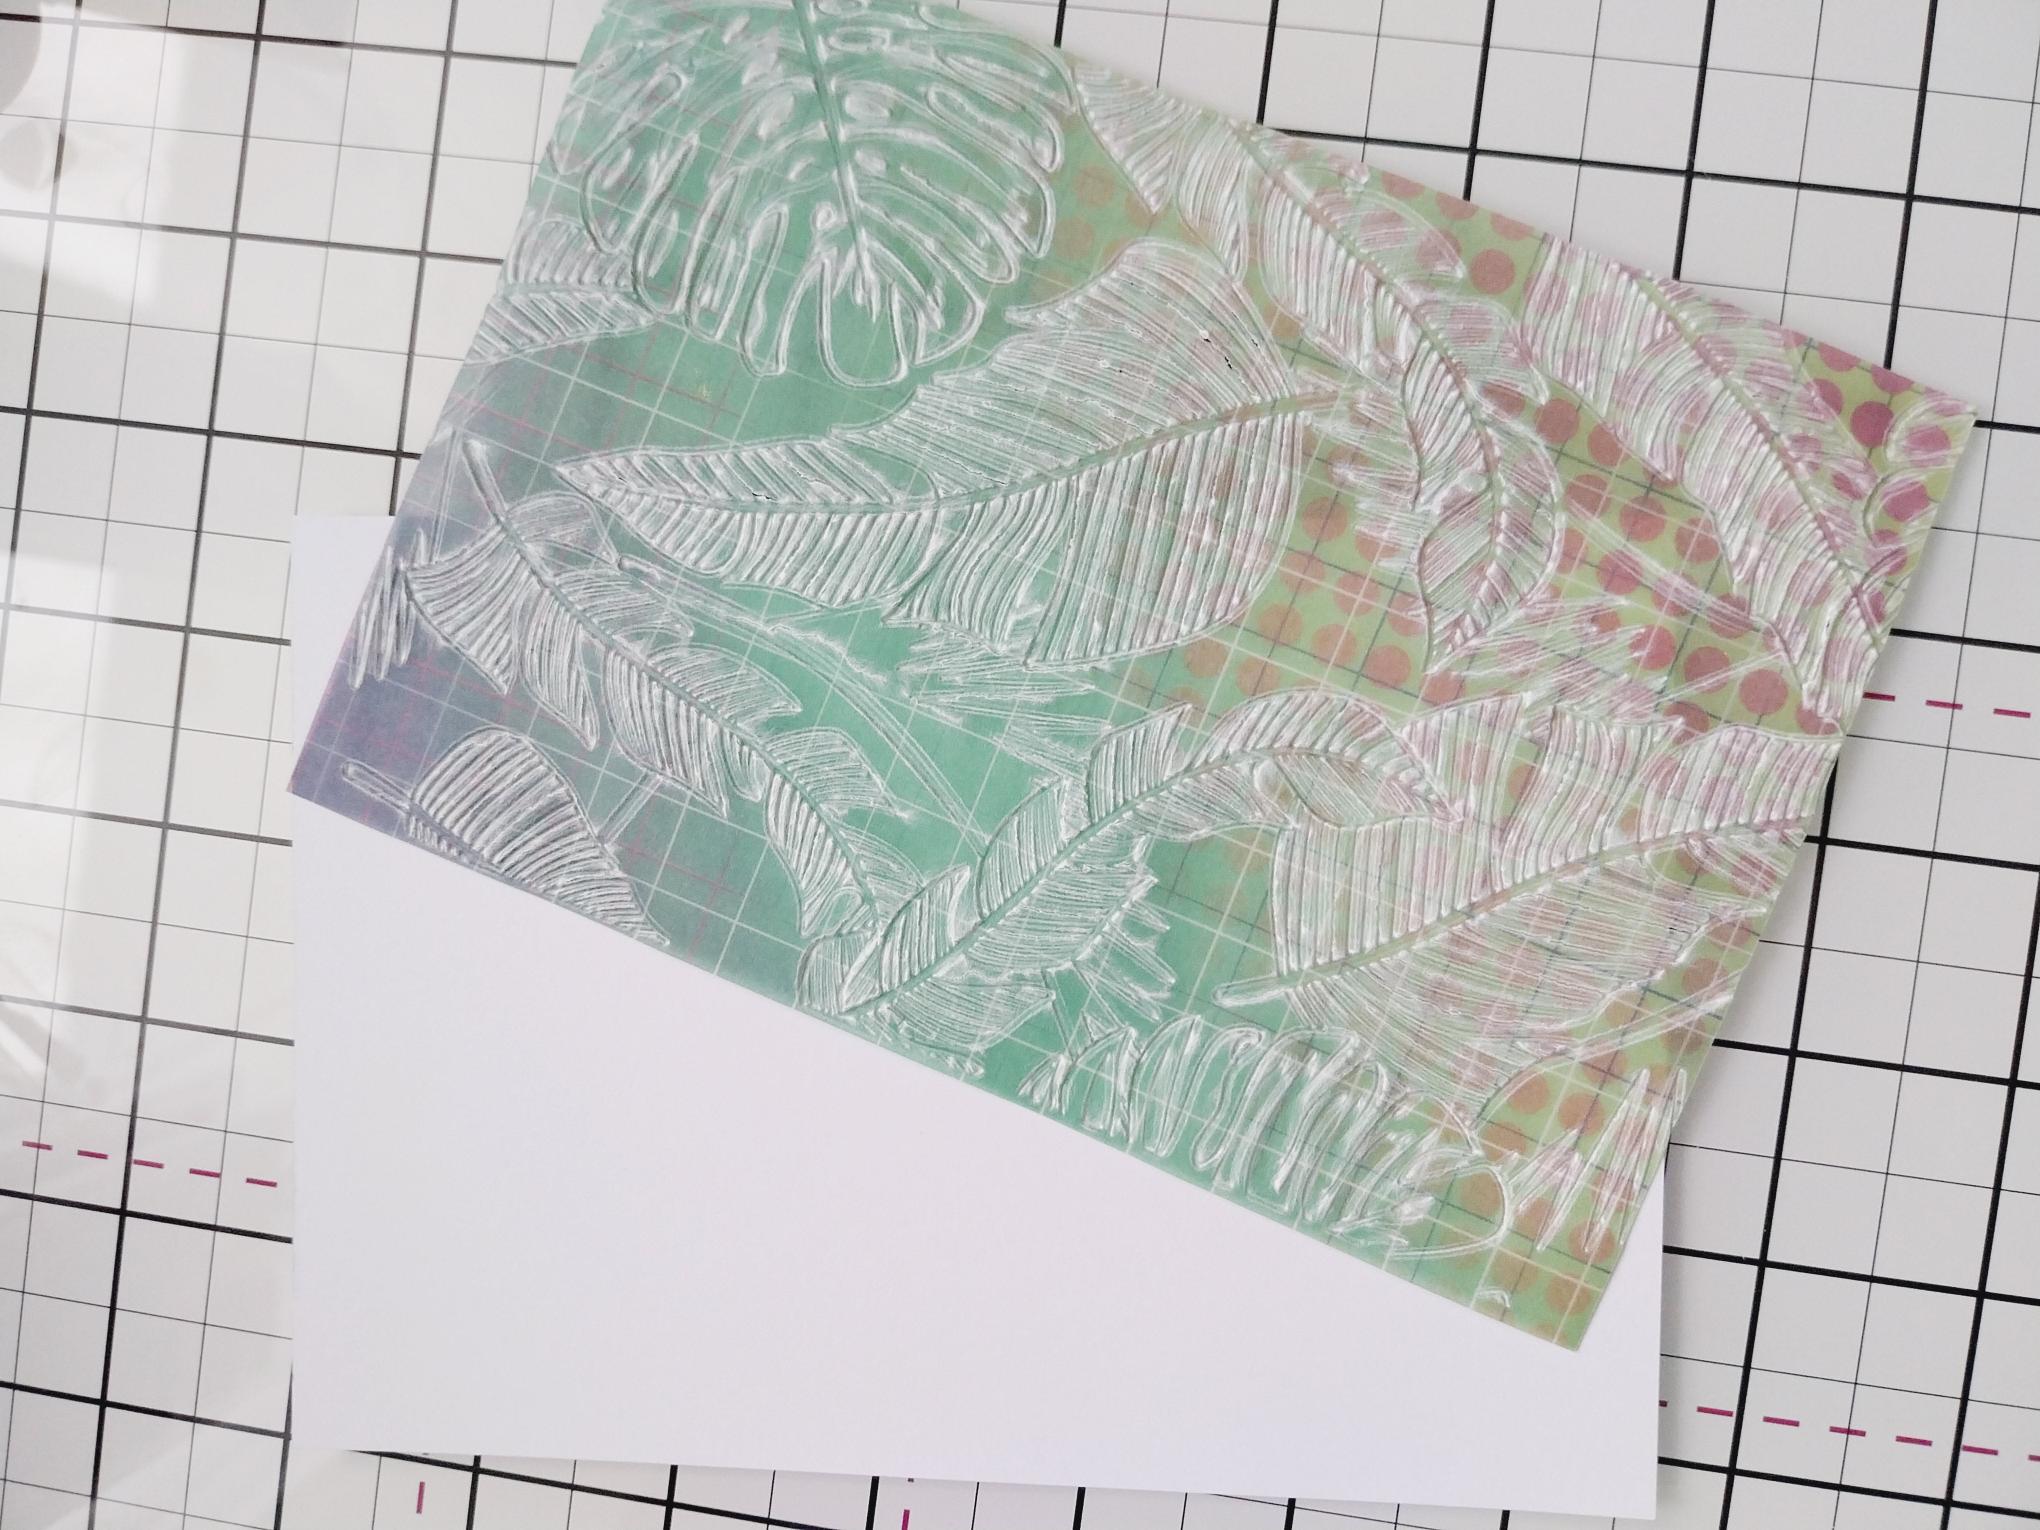
Now trim your embossed vellum to 6 1/2 x 4 1/2". |
|
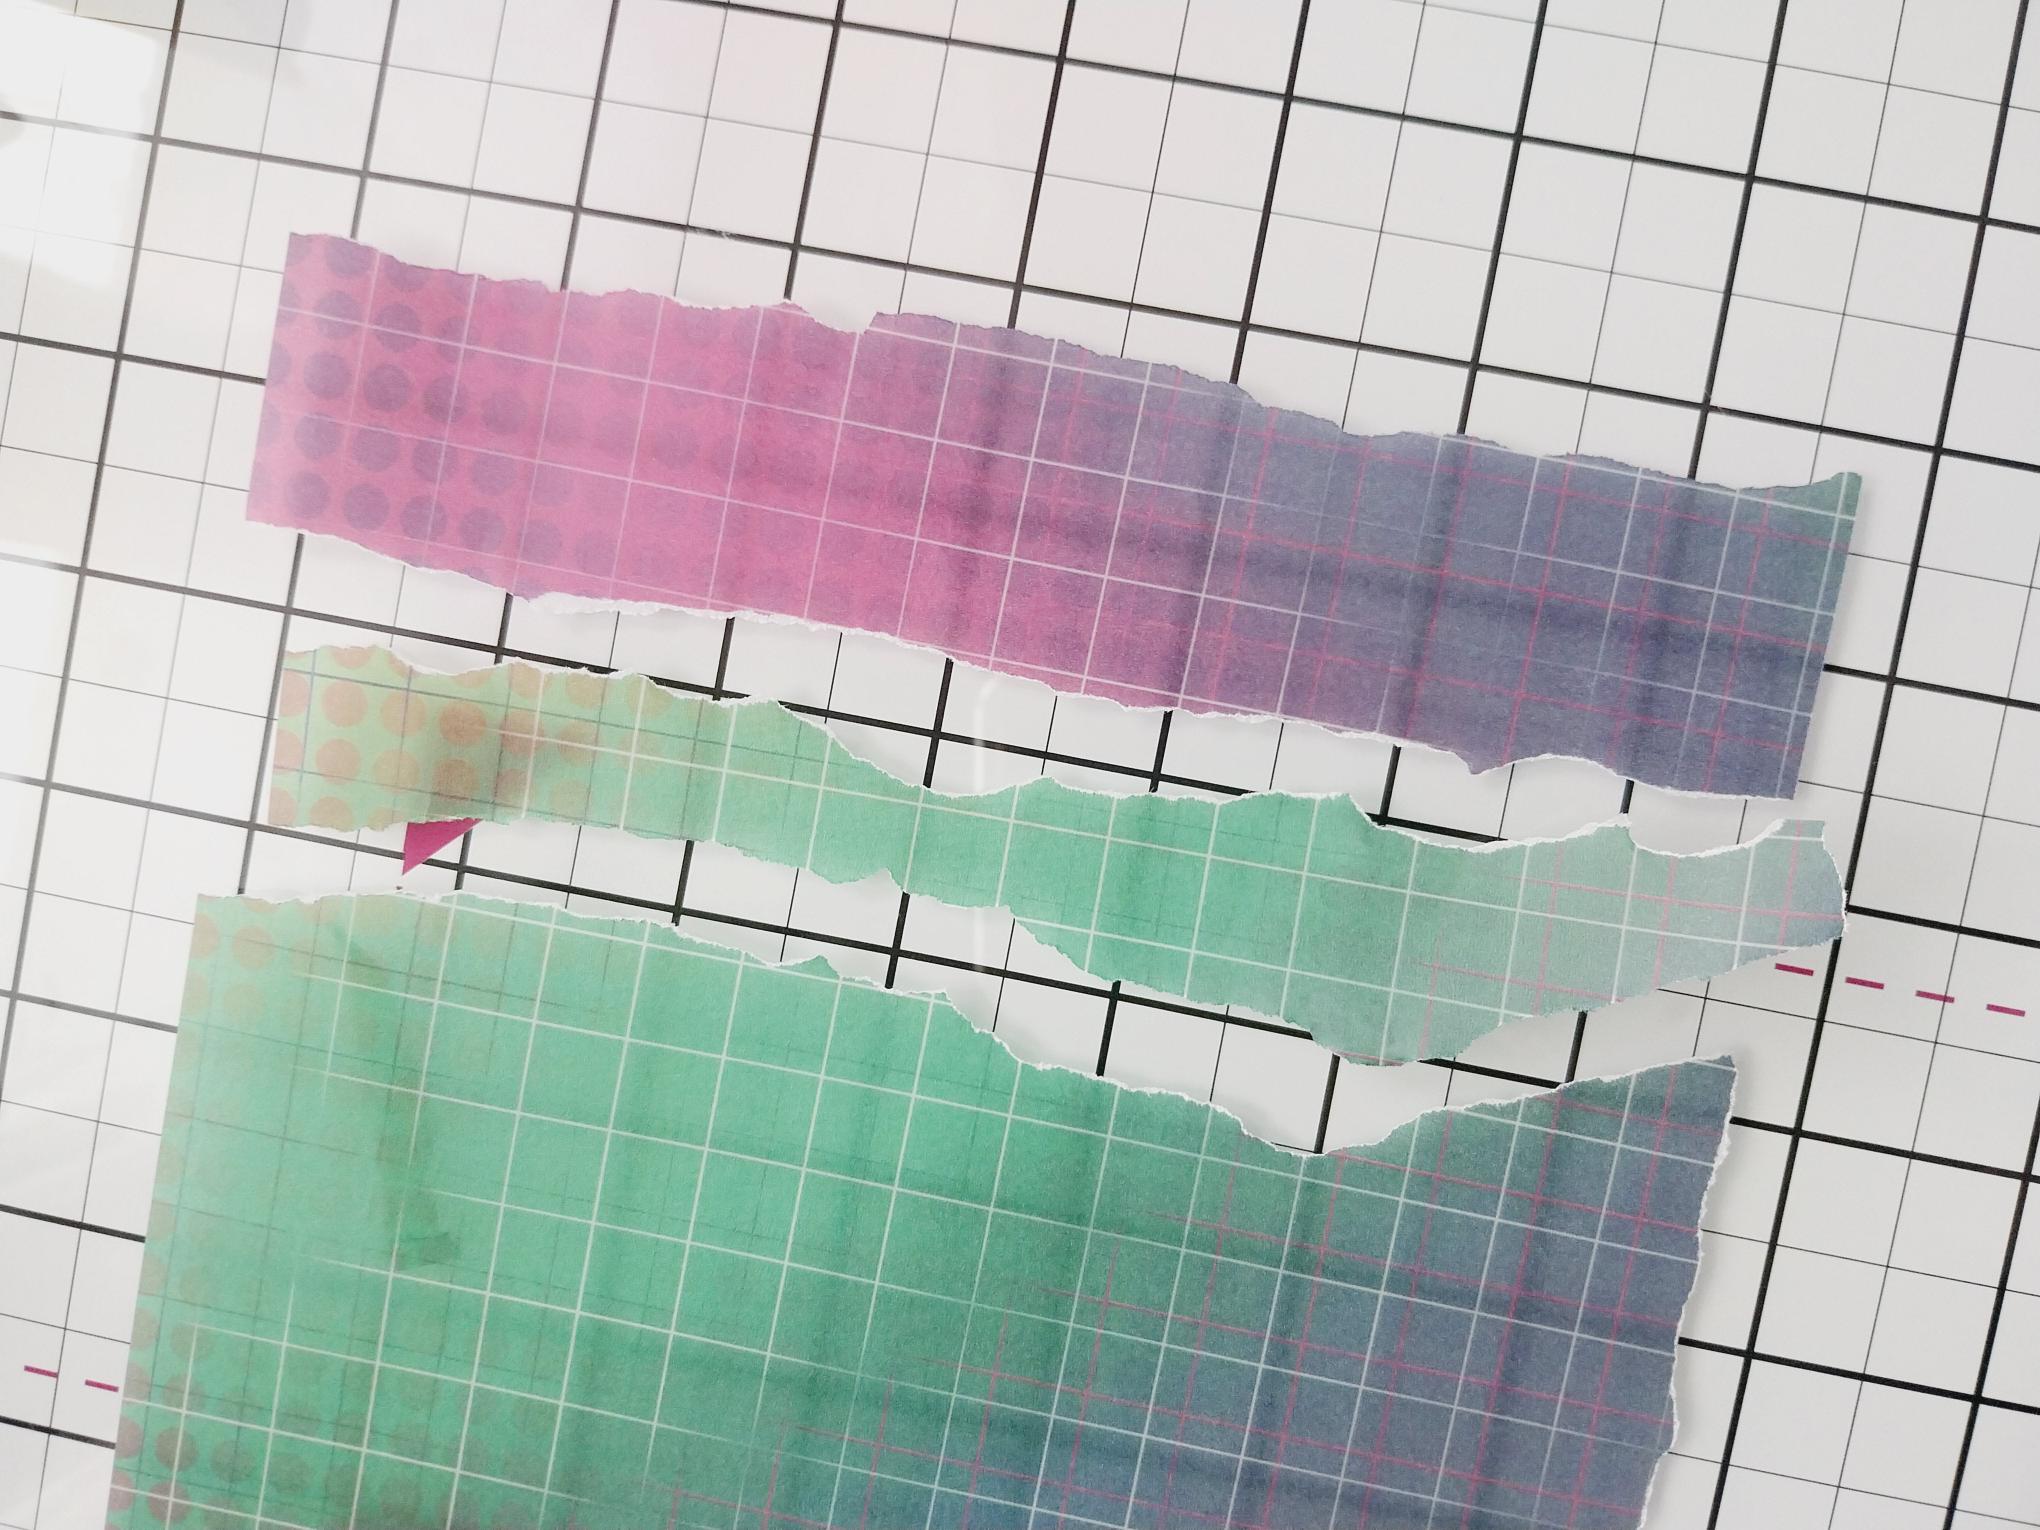
From the leftover vellum, tear 2 panels from the pink and blue hues, one wider than the other. |
|
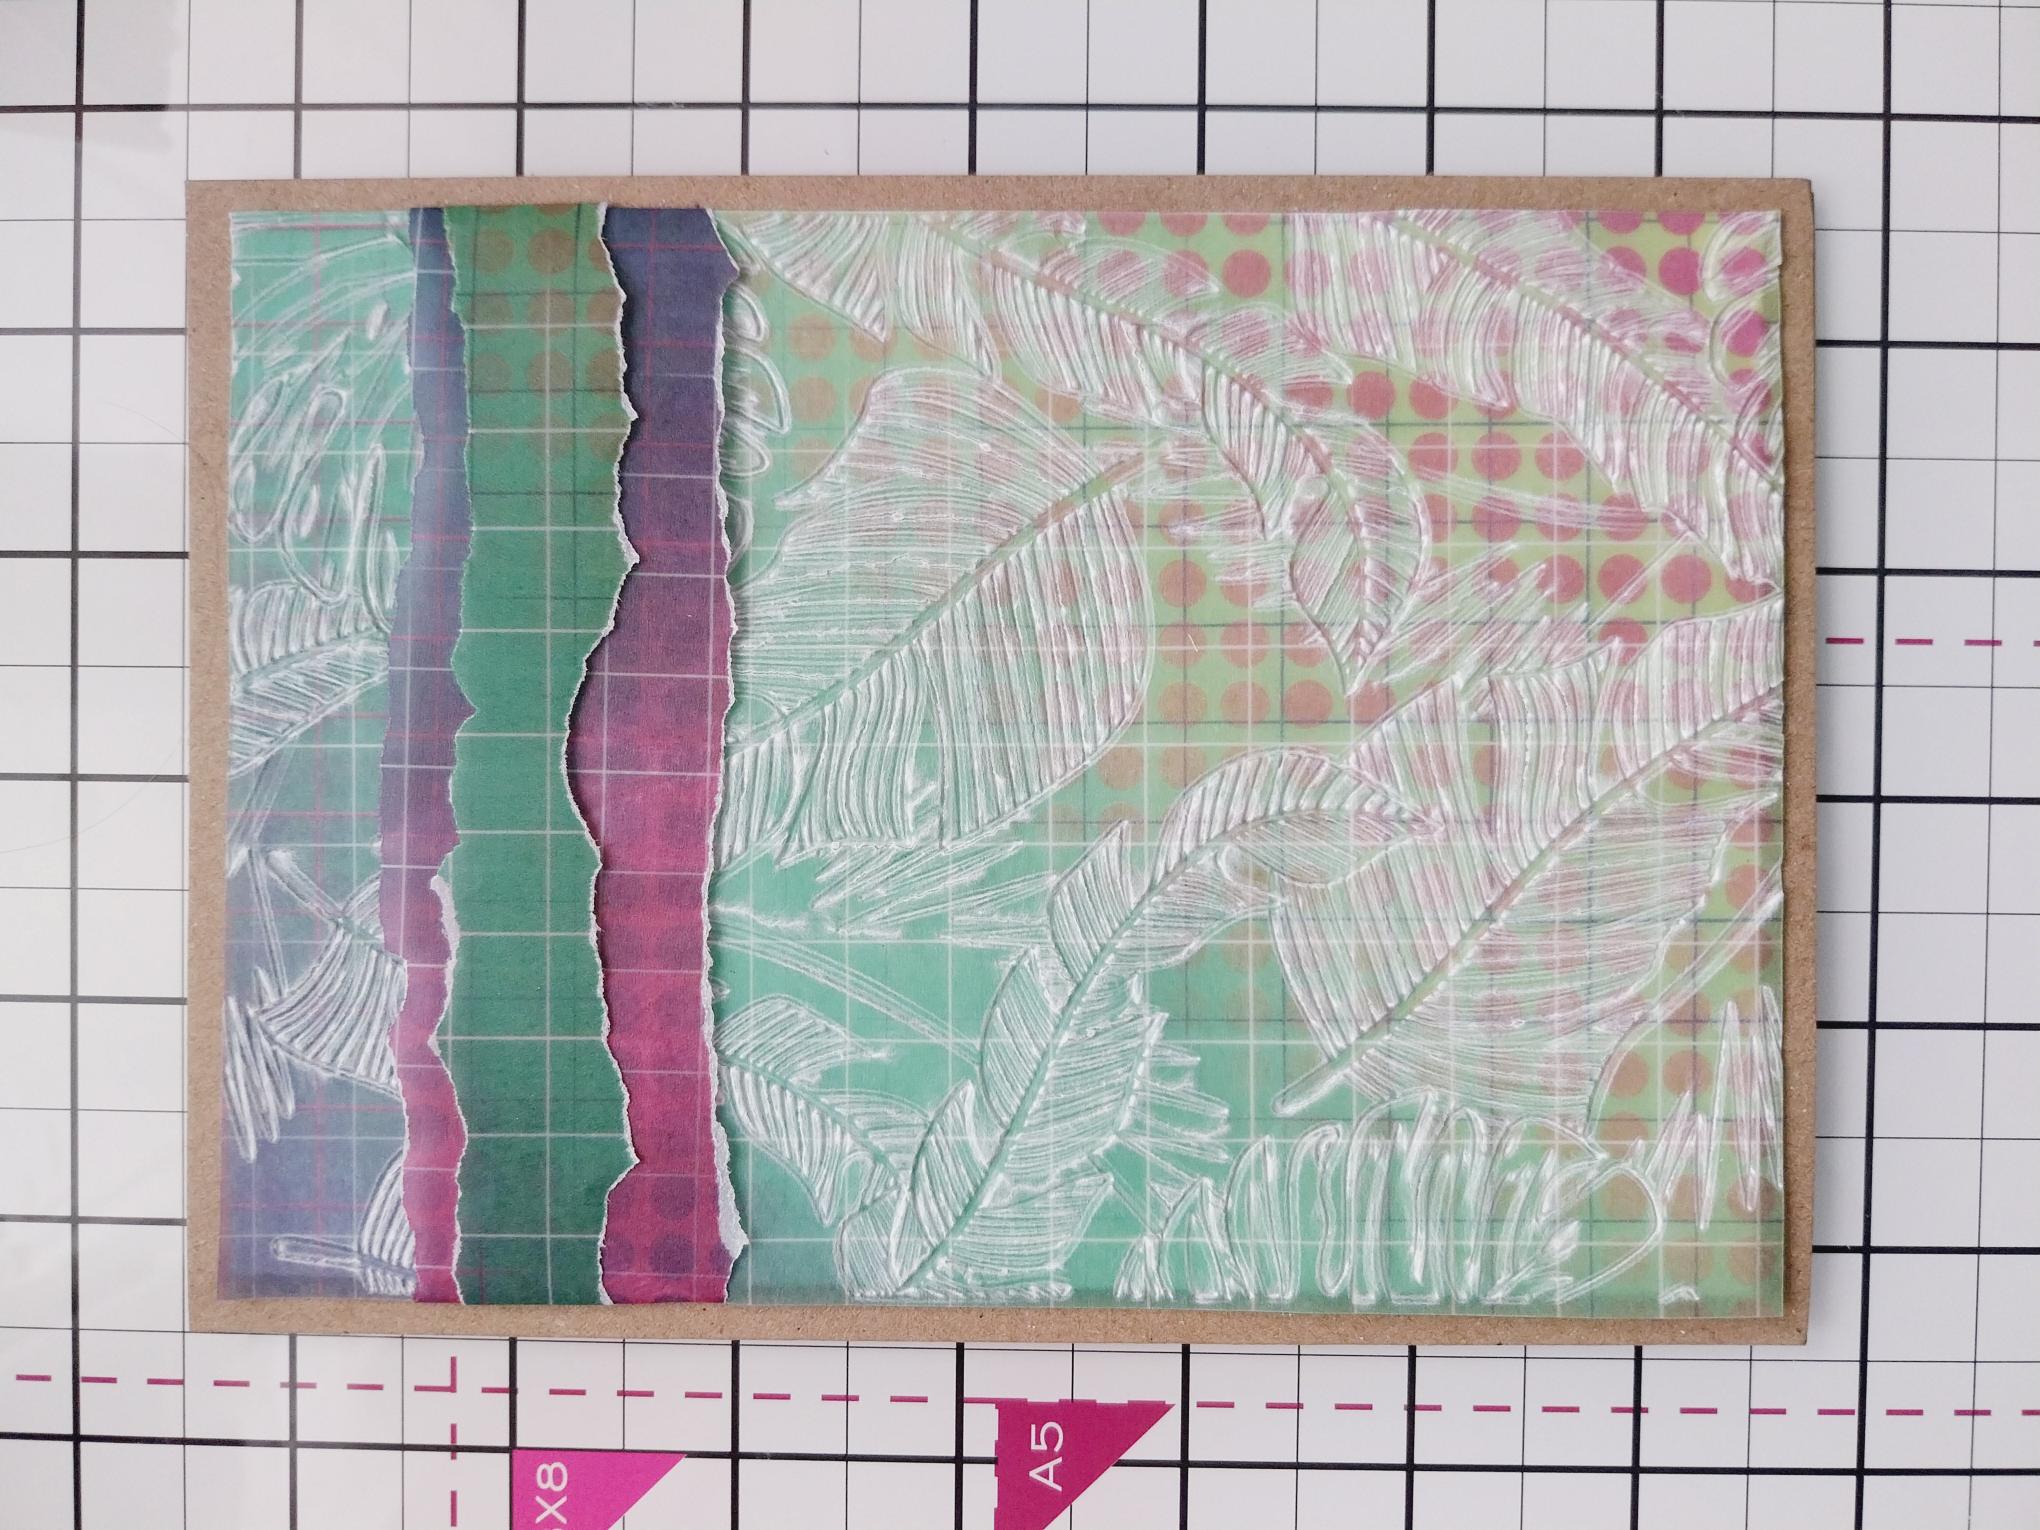
Place the widest torn vellum panel across the top third of the embossed vellum. Tuck the edges over and secure on the reverse with your adhesive tape/tape runner. Place the other vellum strip on top, again securing on the reverse. |
|
Adhere this to your kraft card blank and pop to one side. |
|
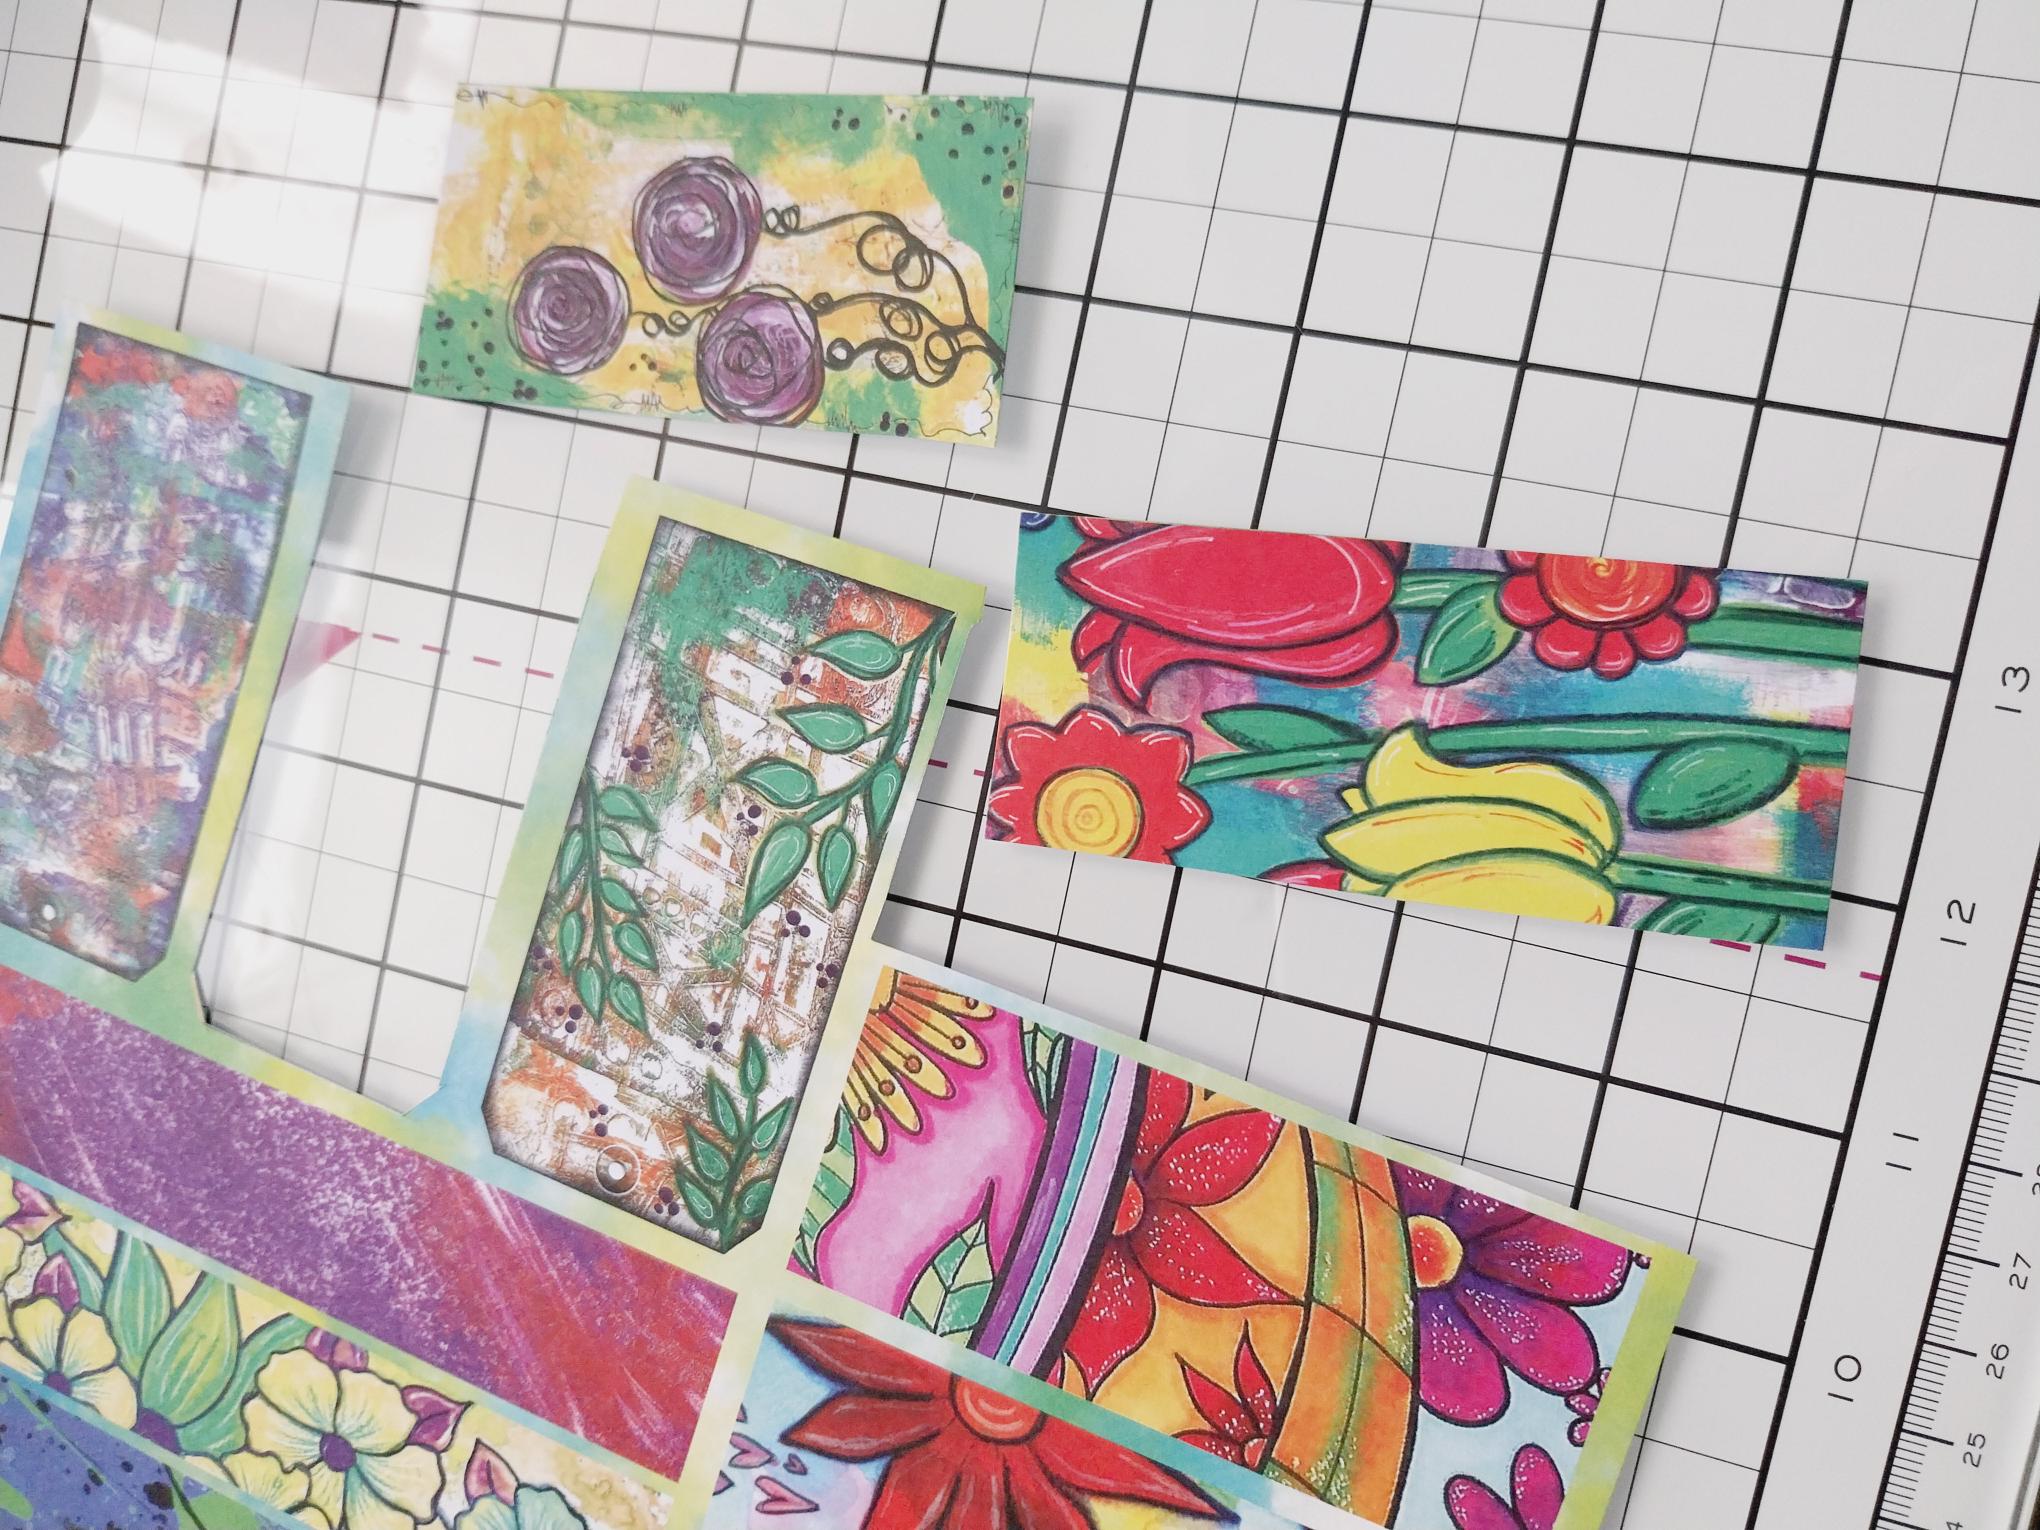
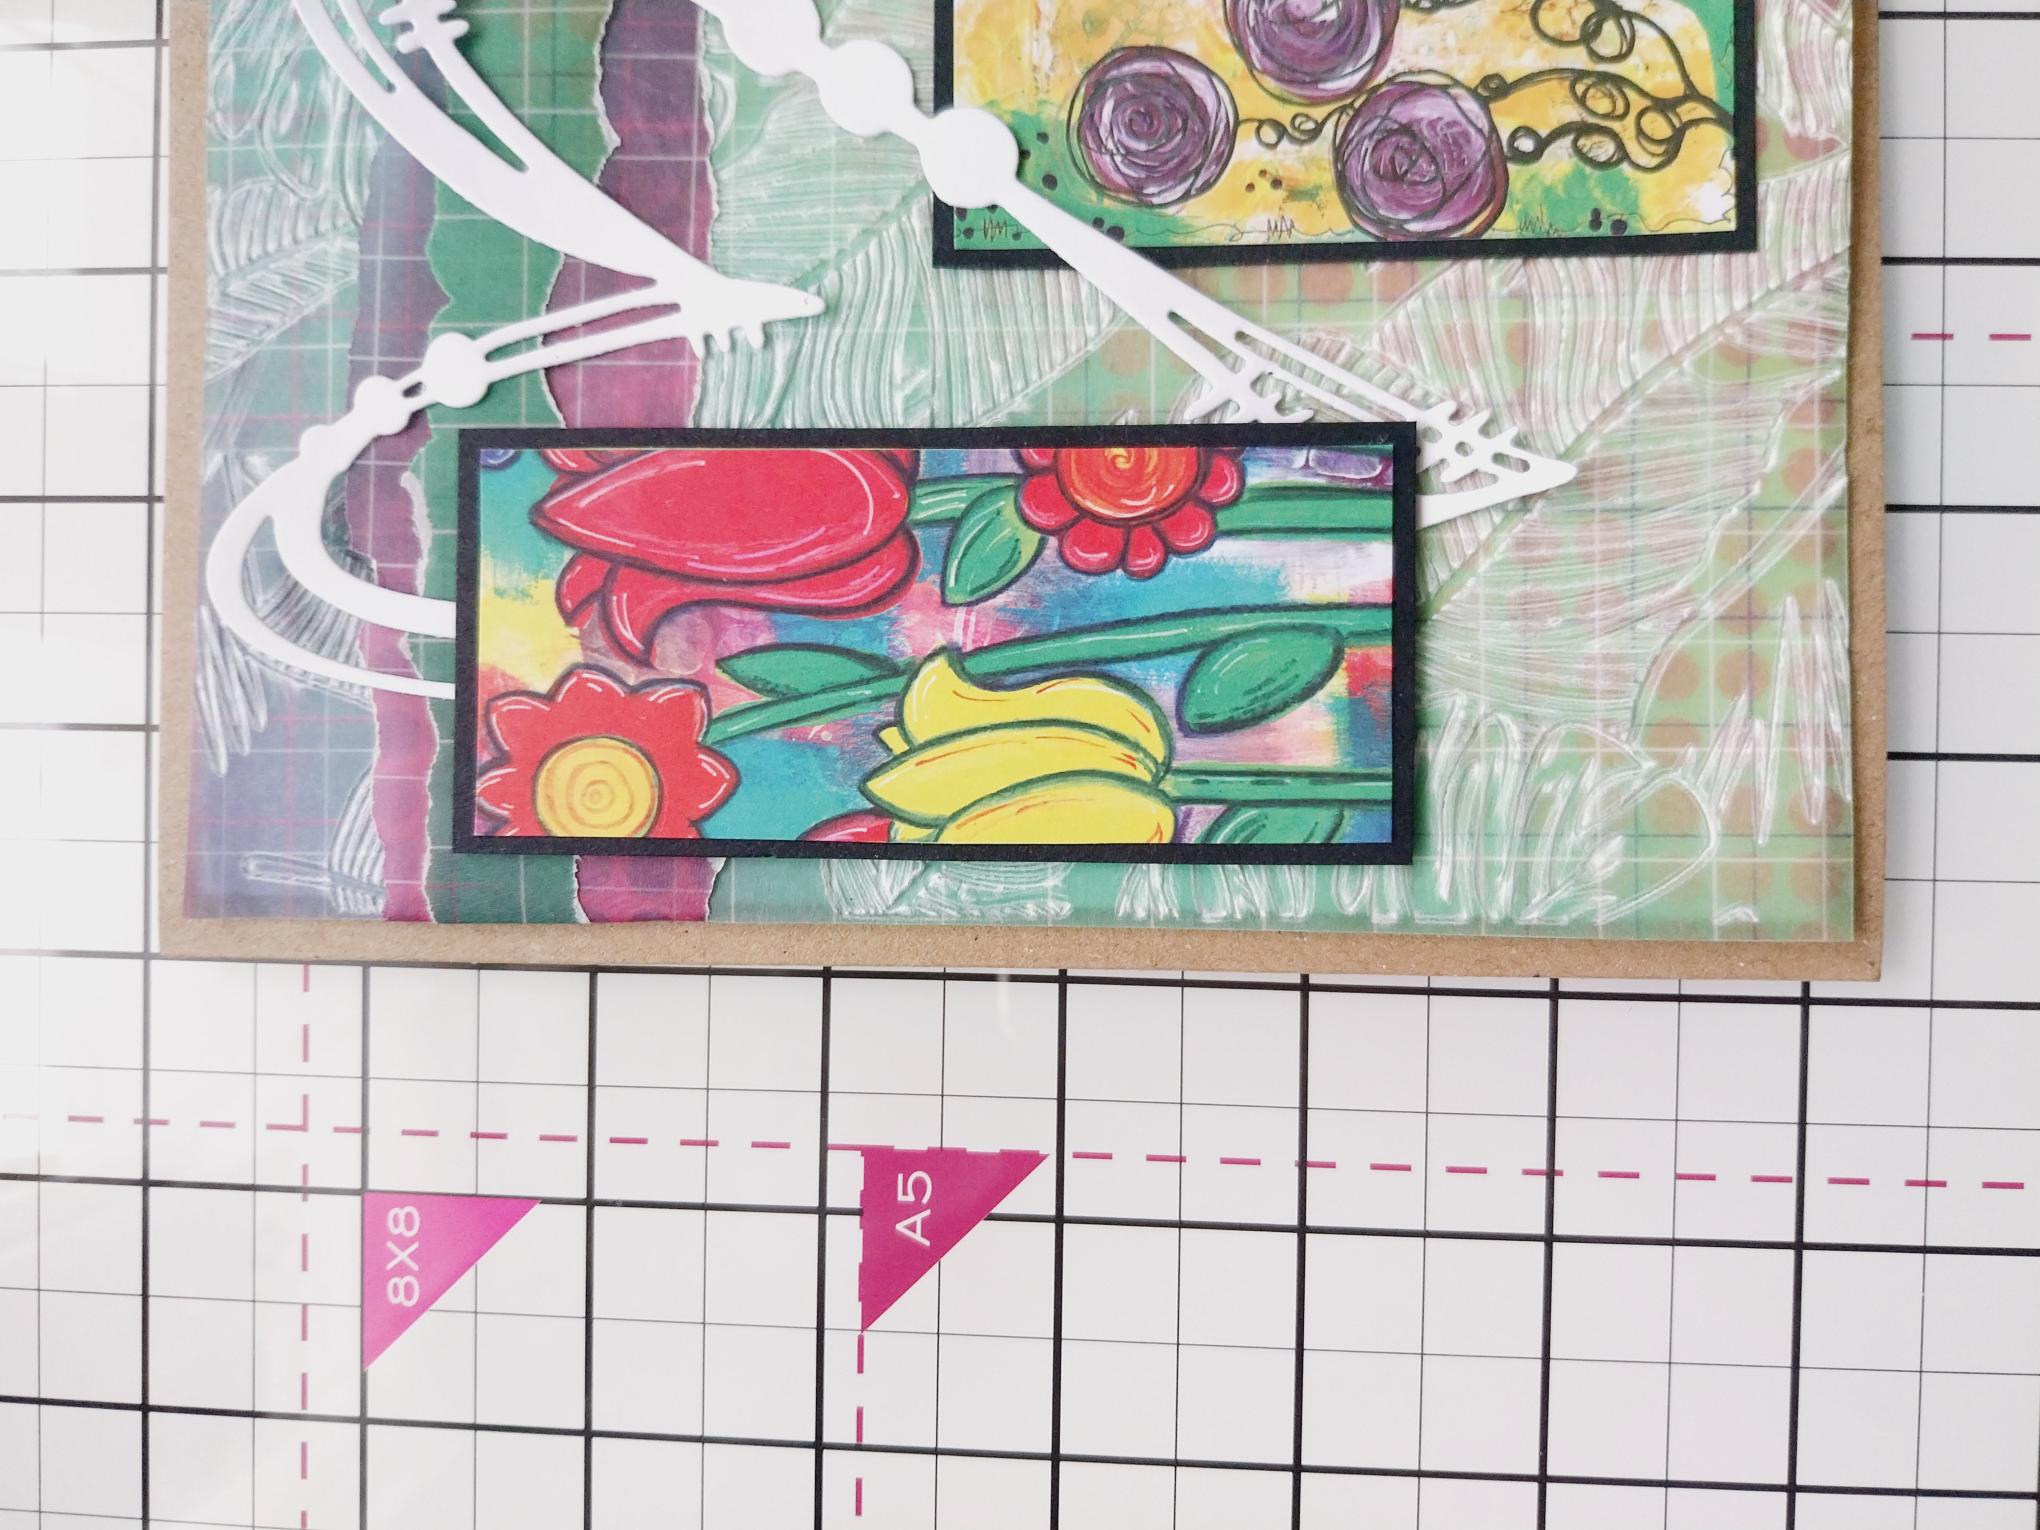
Remove this topper and banner sheet, from the Life In Full Colour A4 paper pack and cut out these 2 rectangular, floral toppers. |
|
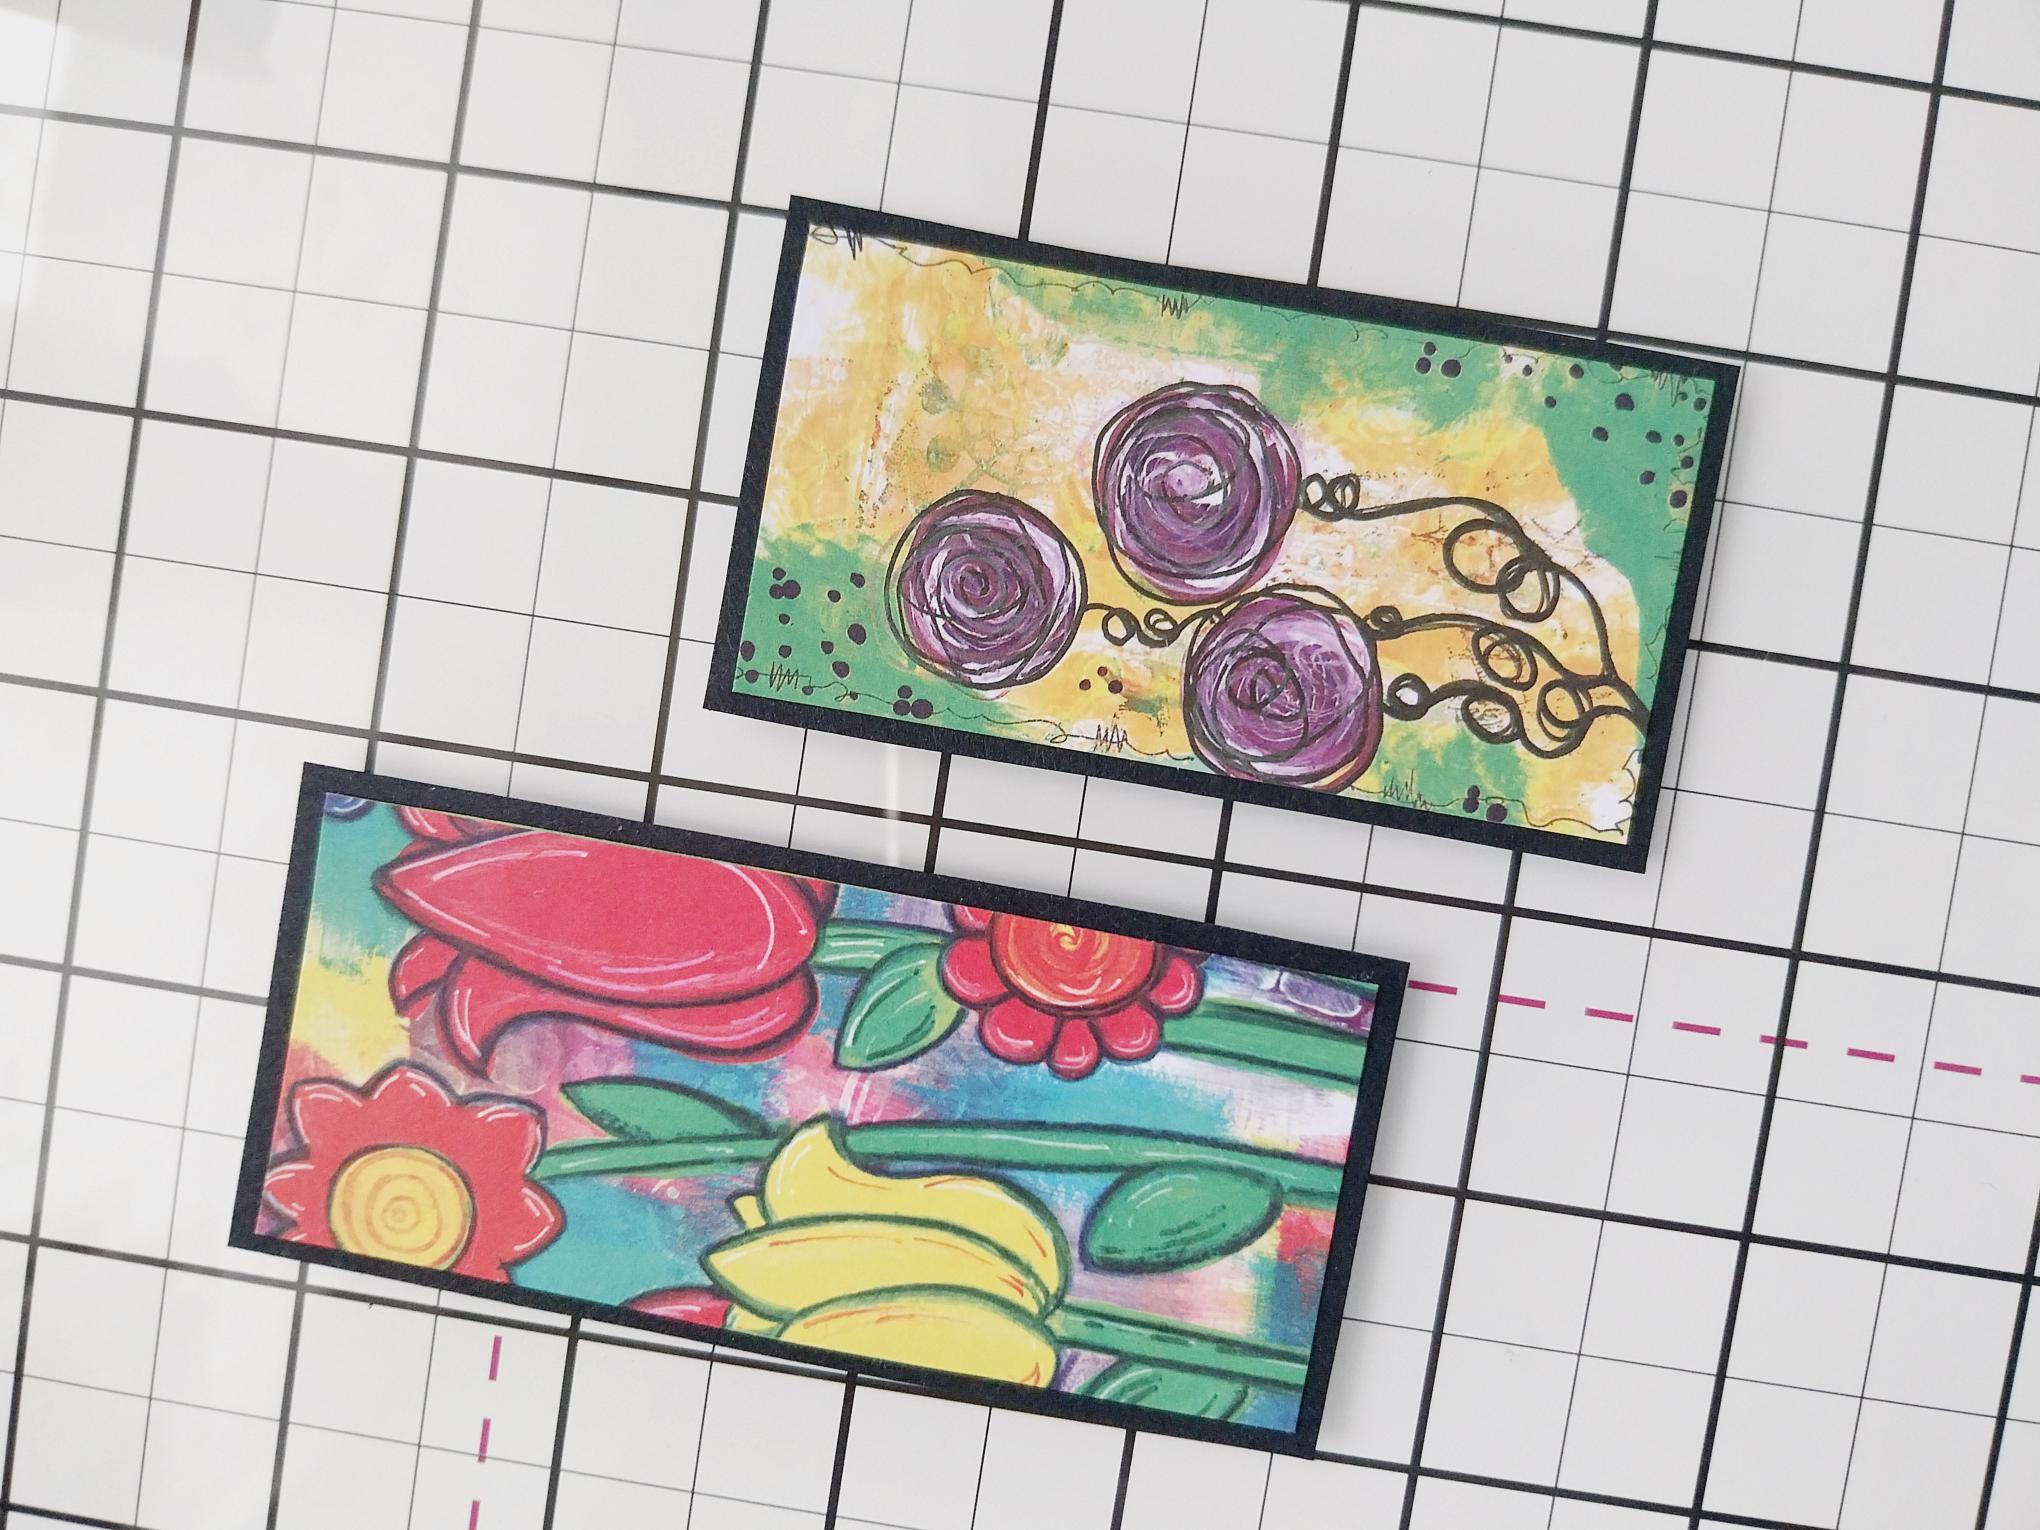
Adhere each topper to black cardstock and trim to create a "mat". Pop to one side. |

|
Die cut this gorgeous heart, from the Mixed Up Heart Die Set, in white cardstock. TIP: If you want a more dimensional 3D element, then die cut 3 or 4 and adhere together. |
|
Adhere the smallest floral panel flat, in the bottom right corner of your card, before adhering your 3D heart on top, as seen here. |
|
Now adhere the other floral panel, raised with foam pads, down the left side of the card, on top of the heart. |
|
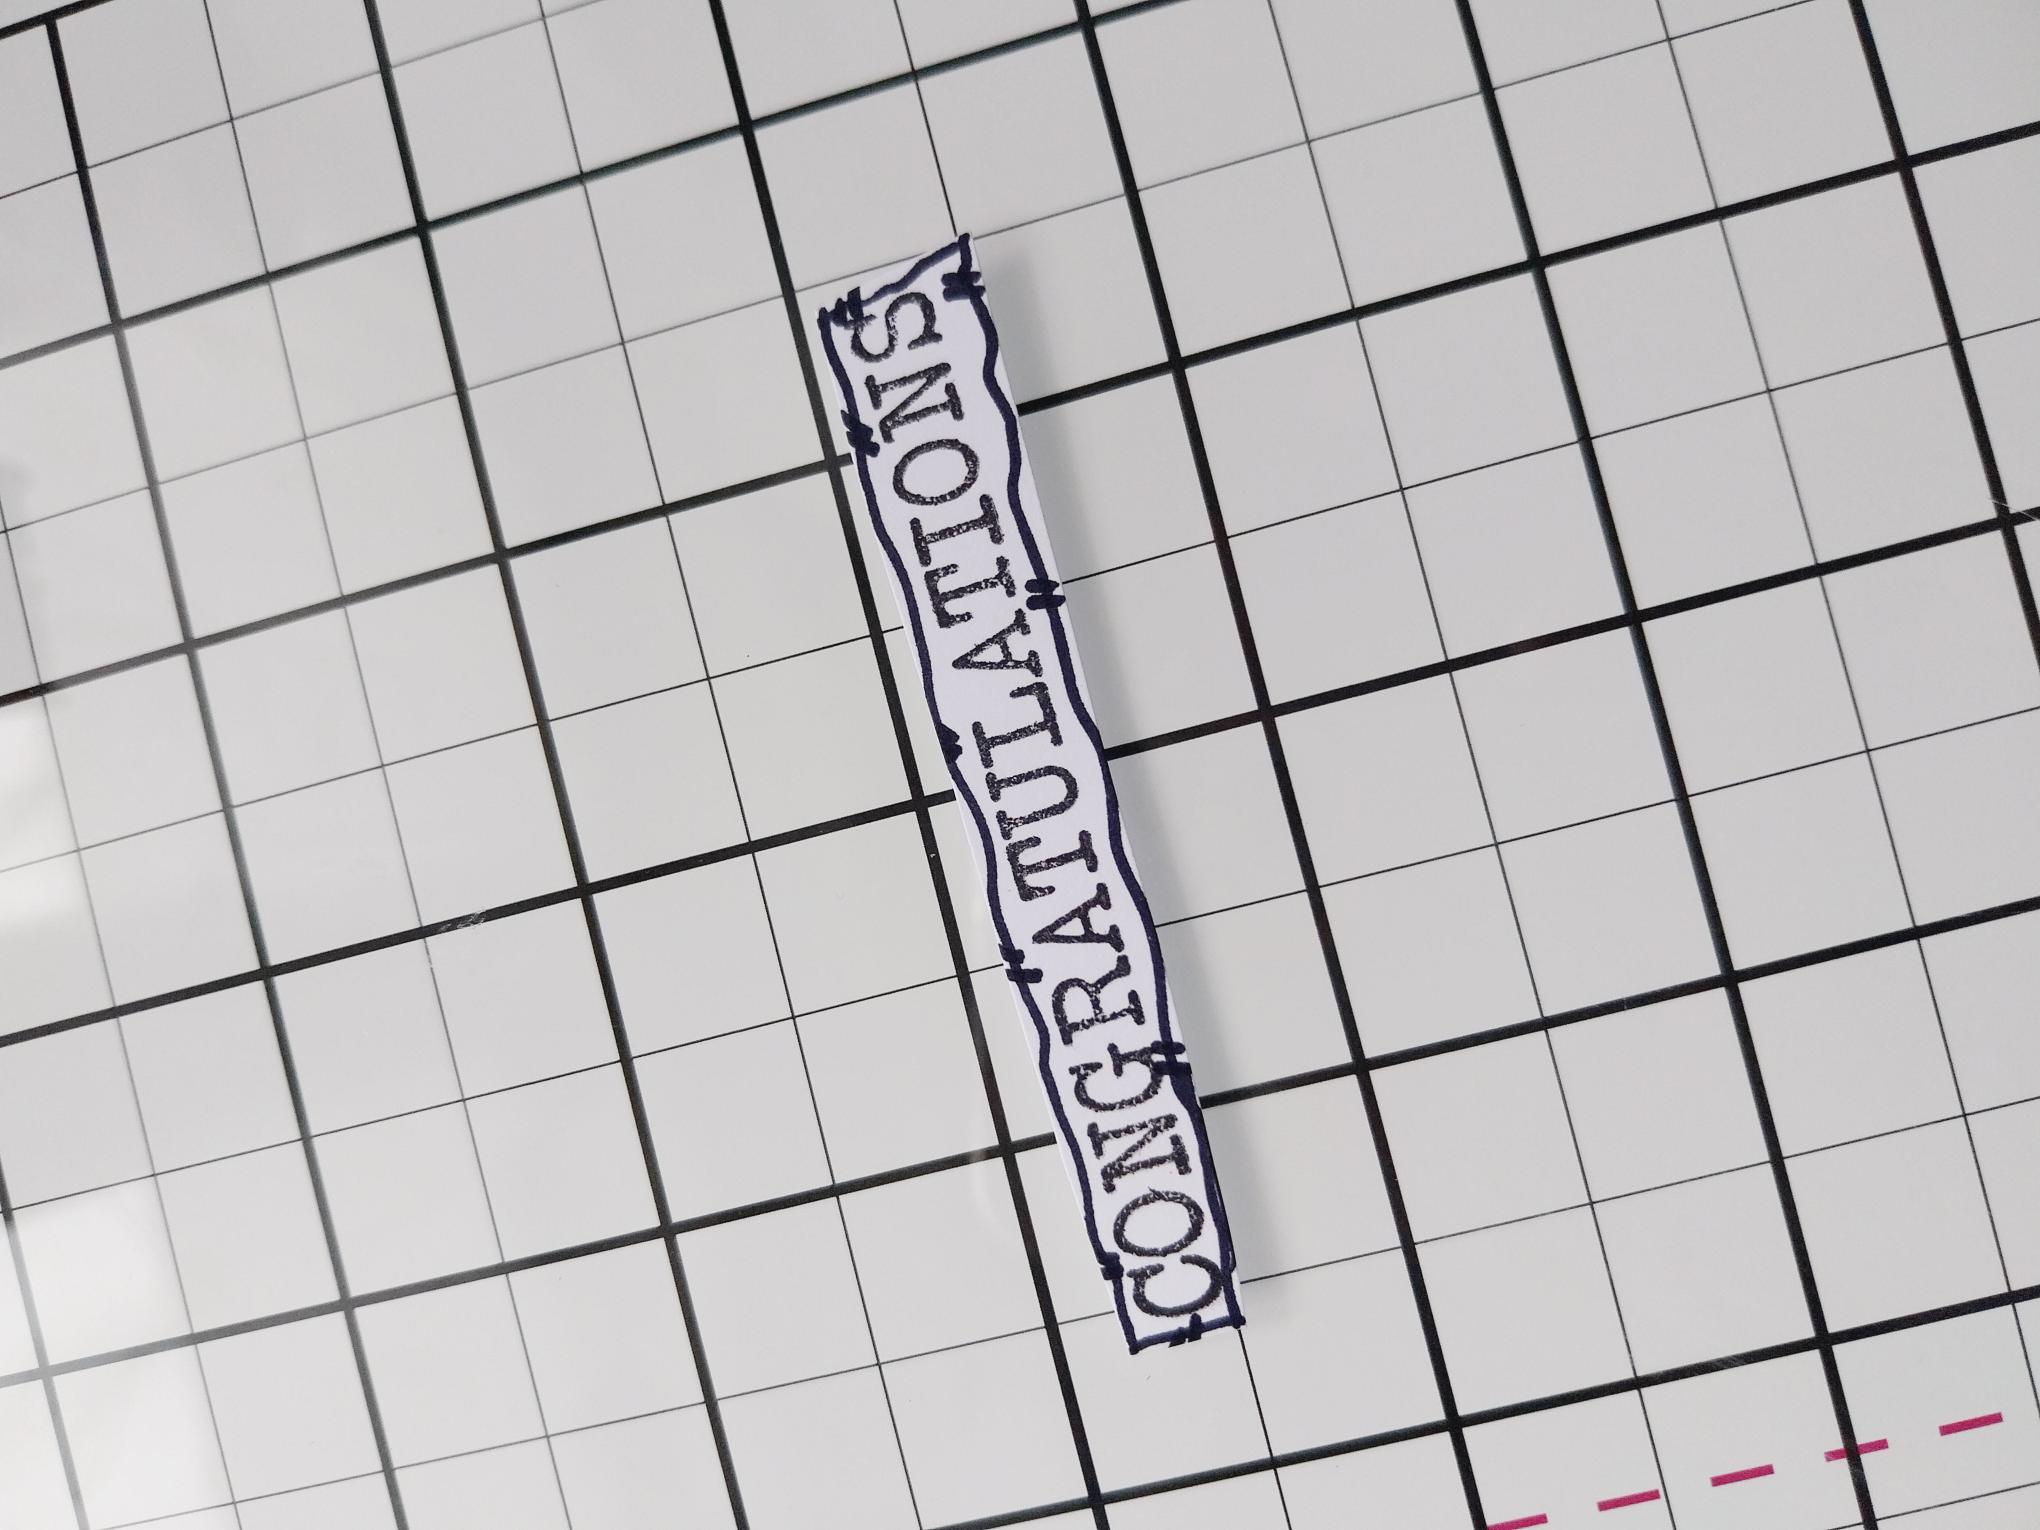
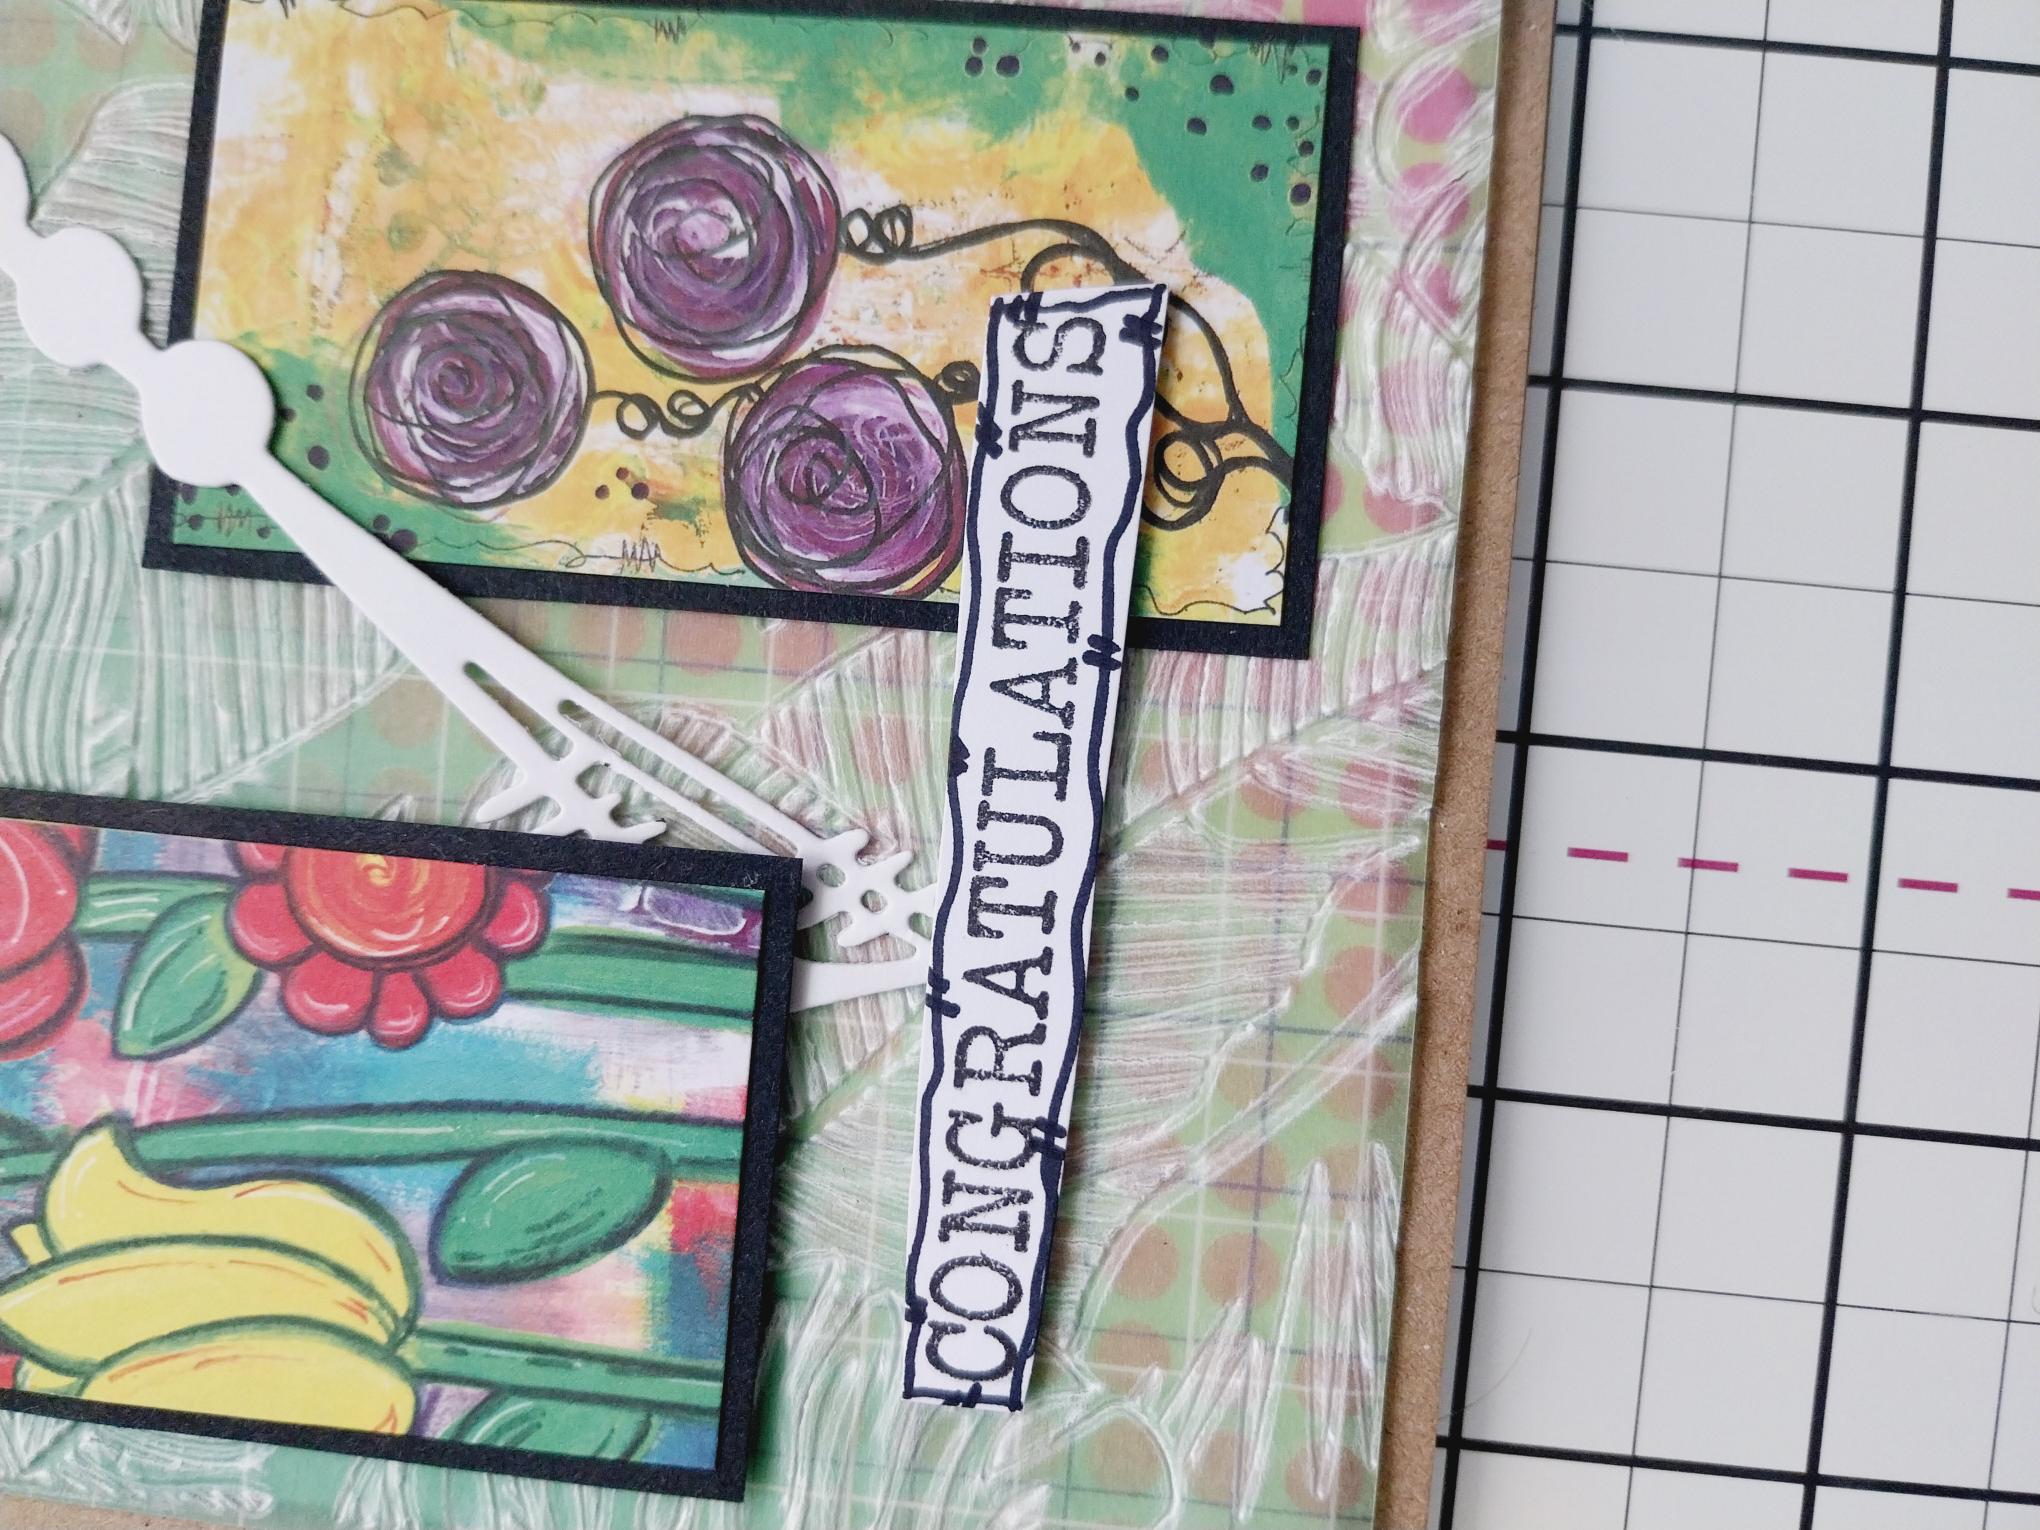
Stamp "Congratulations" from the More Than Words Stamp Set, in Midnight, on to a piece of white card. Trim and use a black pen to draw a decorative, wiggly frame. |
|
Adhere across the bottom of your artwork, with foam pads, to complete your project. |