Give your friends $10 off their first order!
Refer a FRIEND


WHAT YOU WILL NEED:
White landscape card blank 8 1/4 x 5 3/4"
Black card 6 3/4 x 4 3/4"
White card 7 x 5" (TWO)
White card
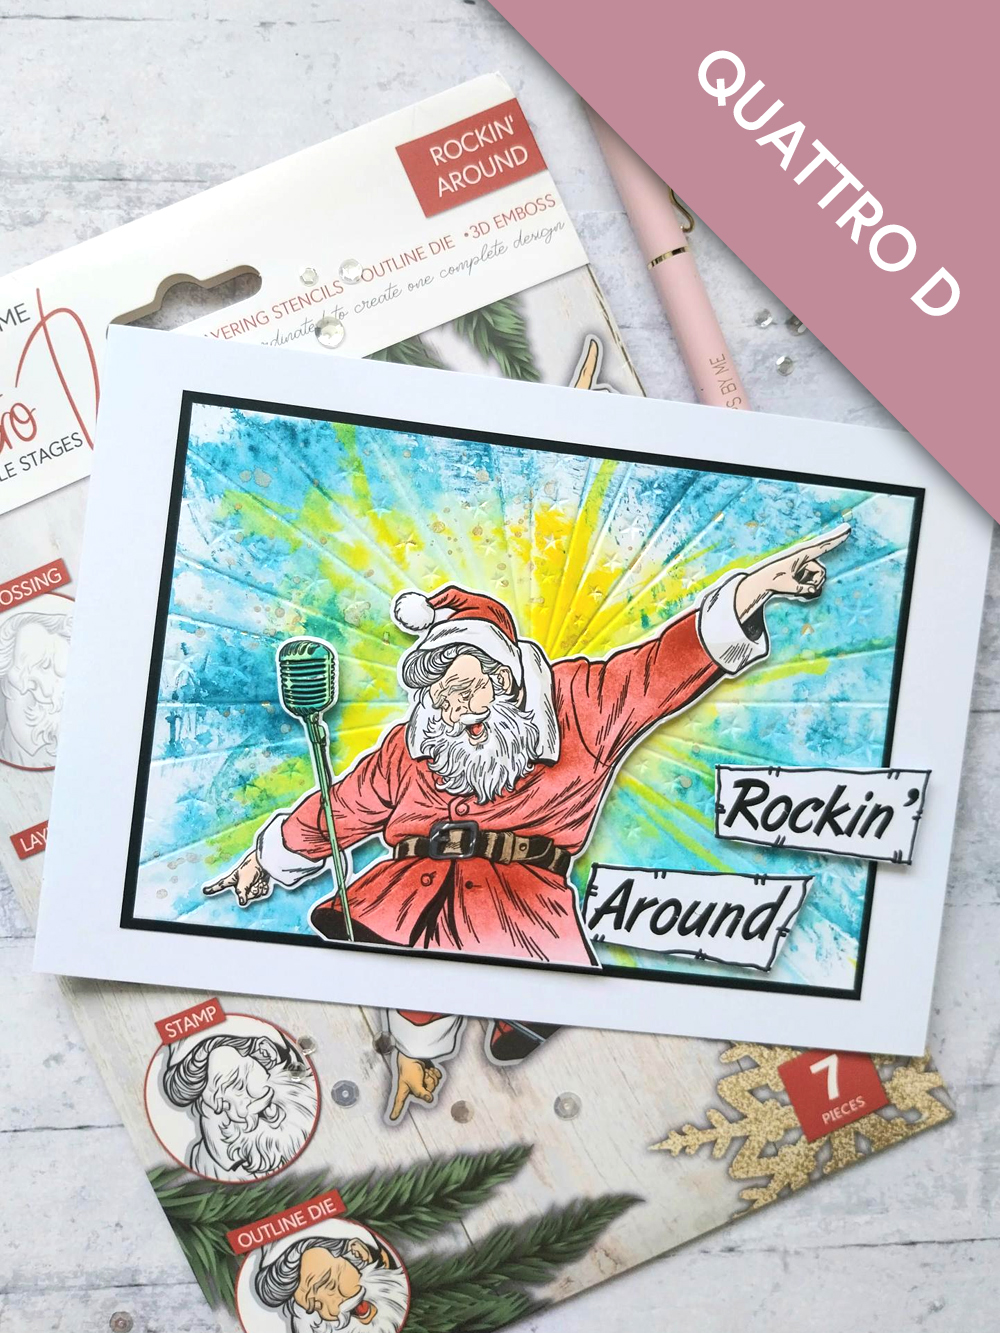
Quattro D Rockin' Around Collection
Signature Watercolour HD3D Carnival Embossing Folder
SBM Hybrid Ink Pad: Midnight
SBM Premium Dye Ink Pad: Redwood, Limeade, Tiffany, Sherbet
Distress Ink/Oxide Ink Pad: Tattered Rose, Walnut Stain, Lost Shadow, Black Soot
Blending tool
Water spray bottle
WOW Heat tool
Paint brush
Black Pen
Pearlywinks Pearl Mist Spray: Golden Shimmer
Eureka 101 Watercolour Tablet
SBM Magnetic glass mat
Paper Trimmer
Perfect Together Glue
Foam pads
Die Cutting machine
[click image to enlarge] 
|
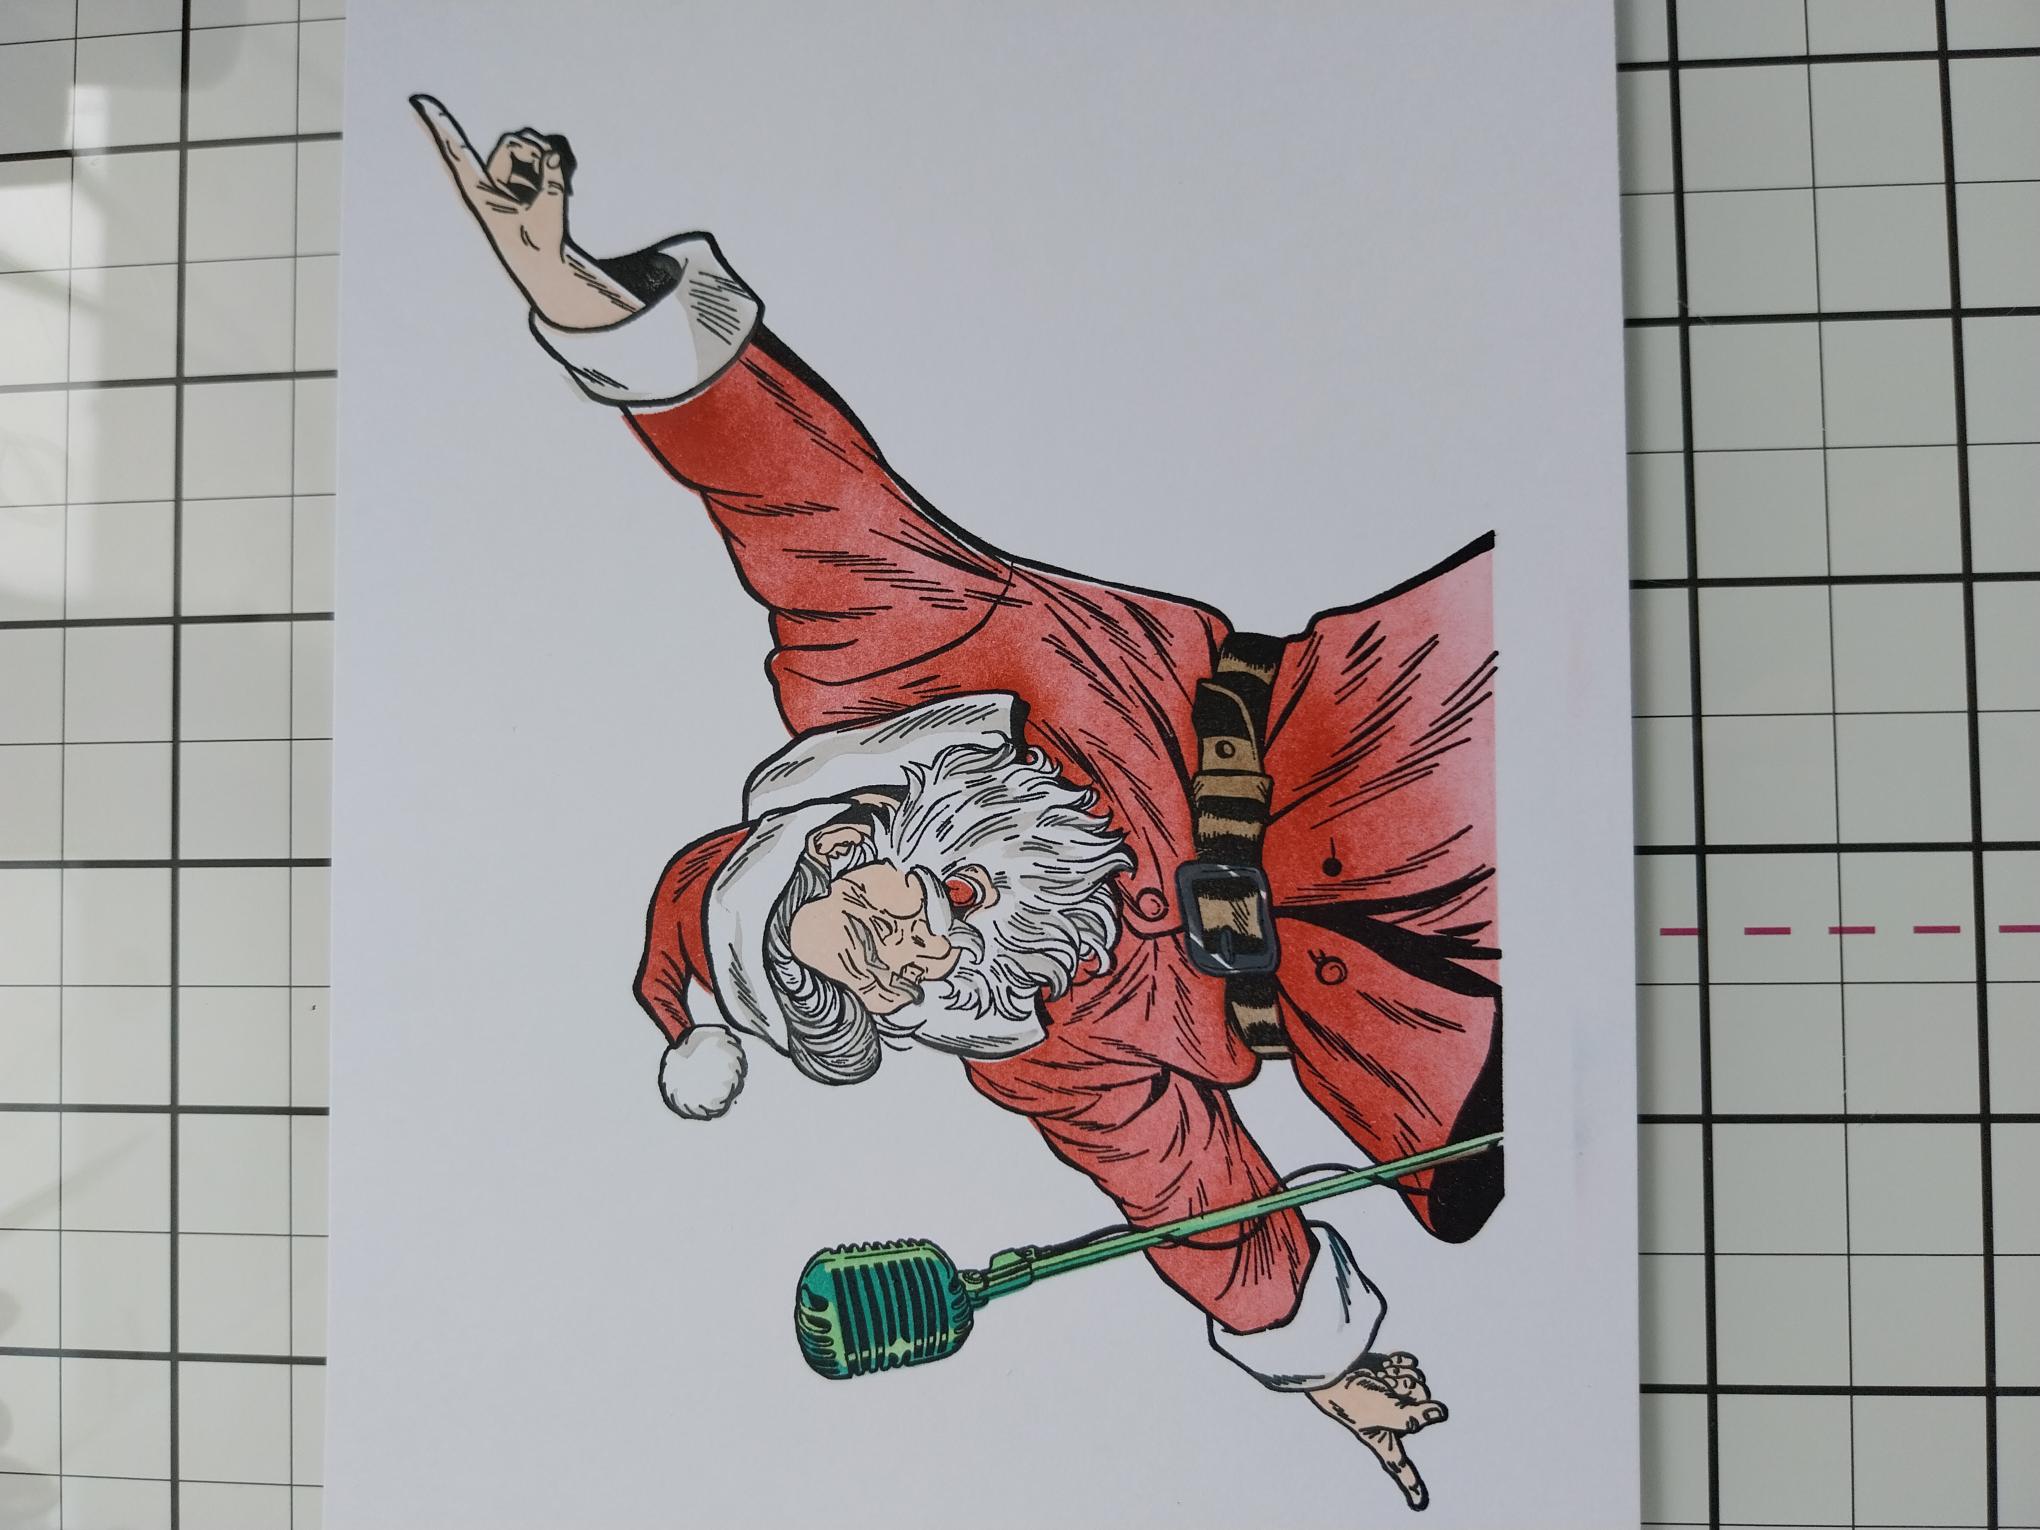
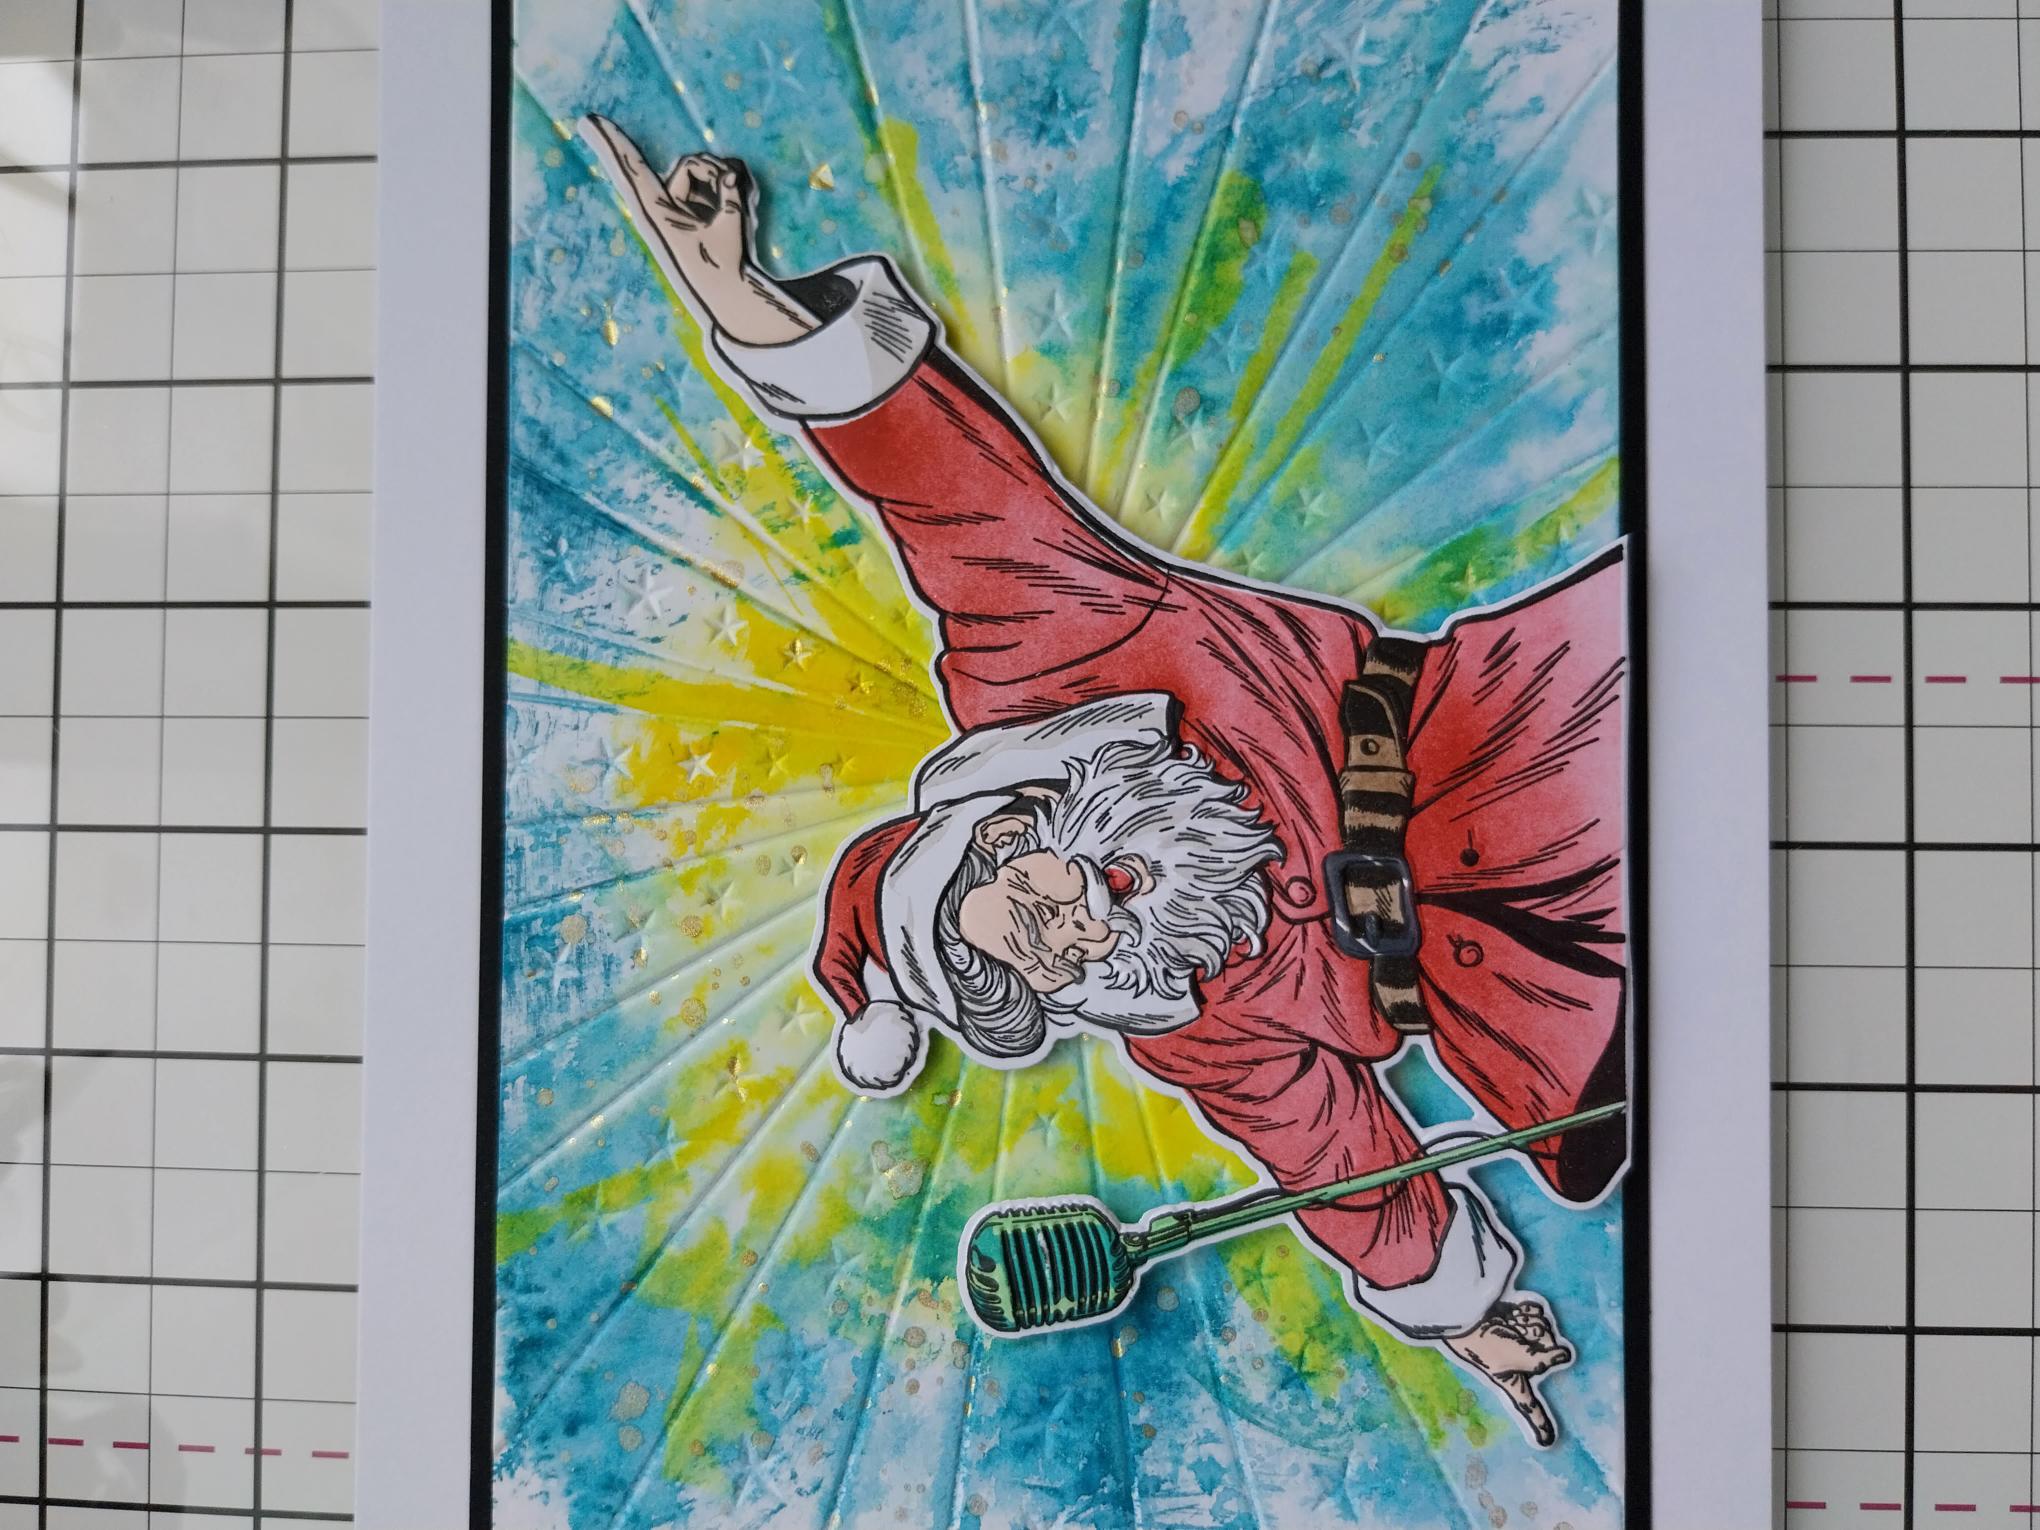
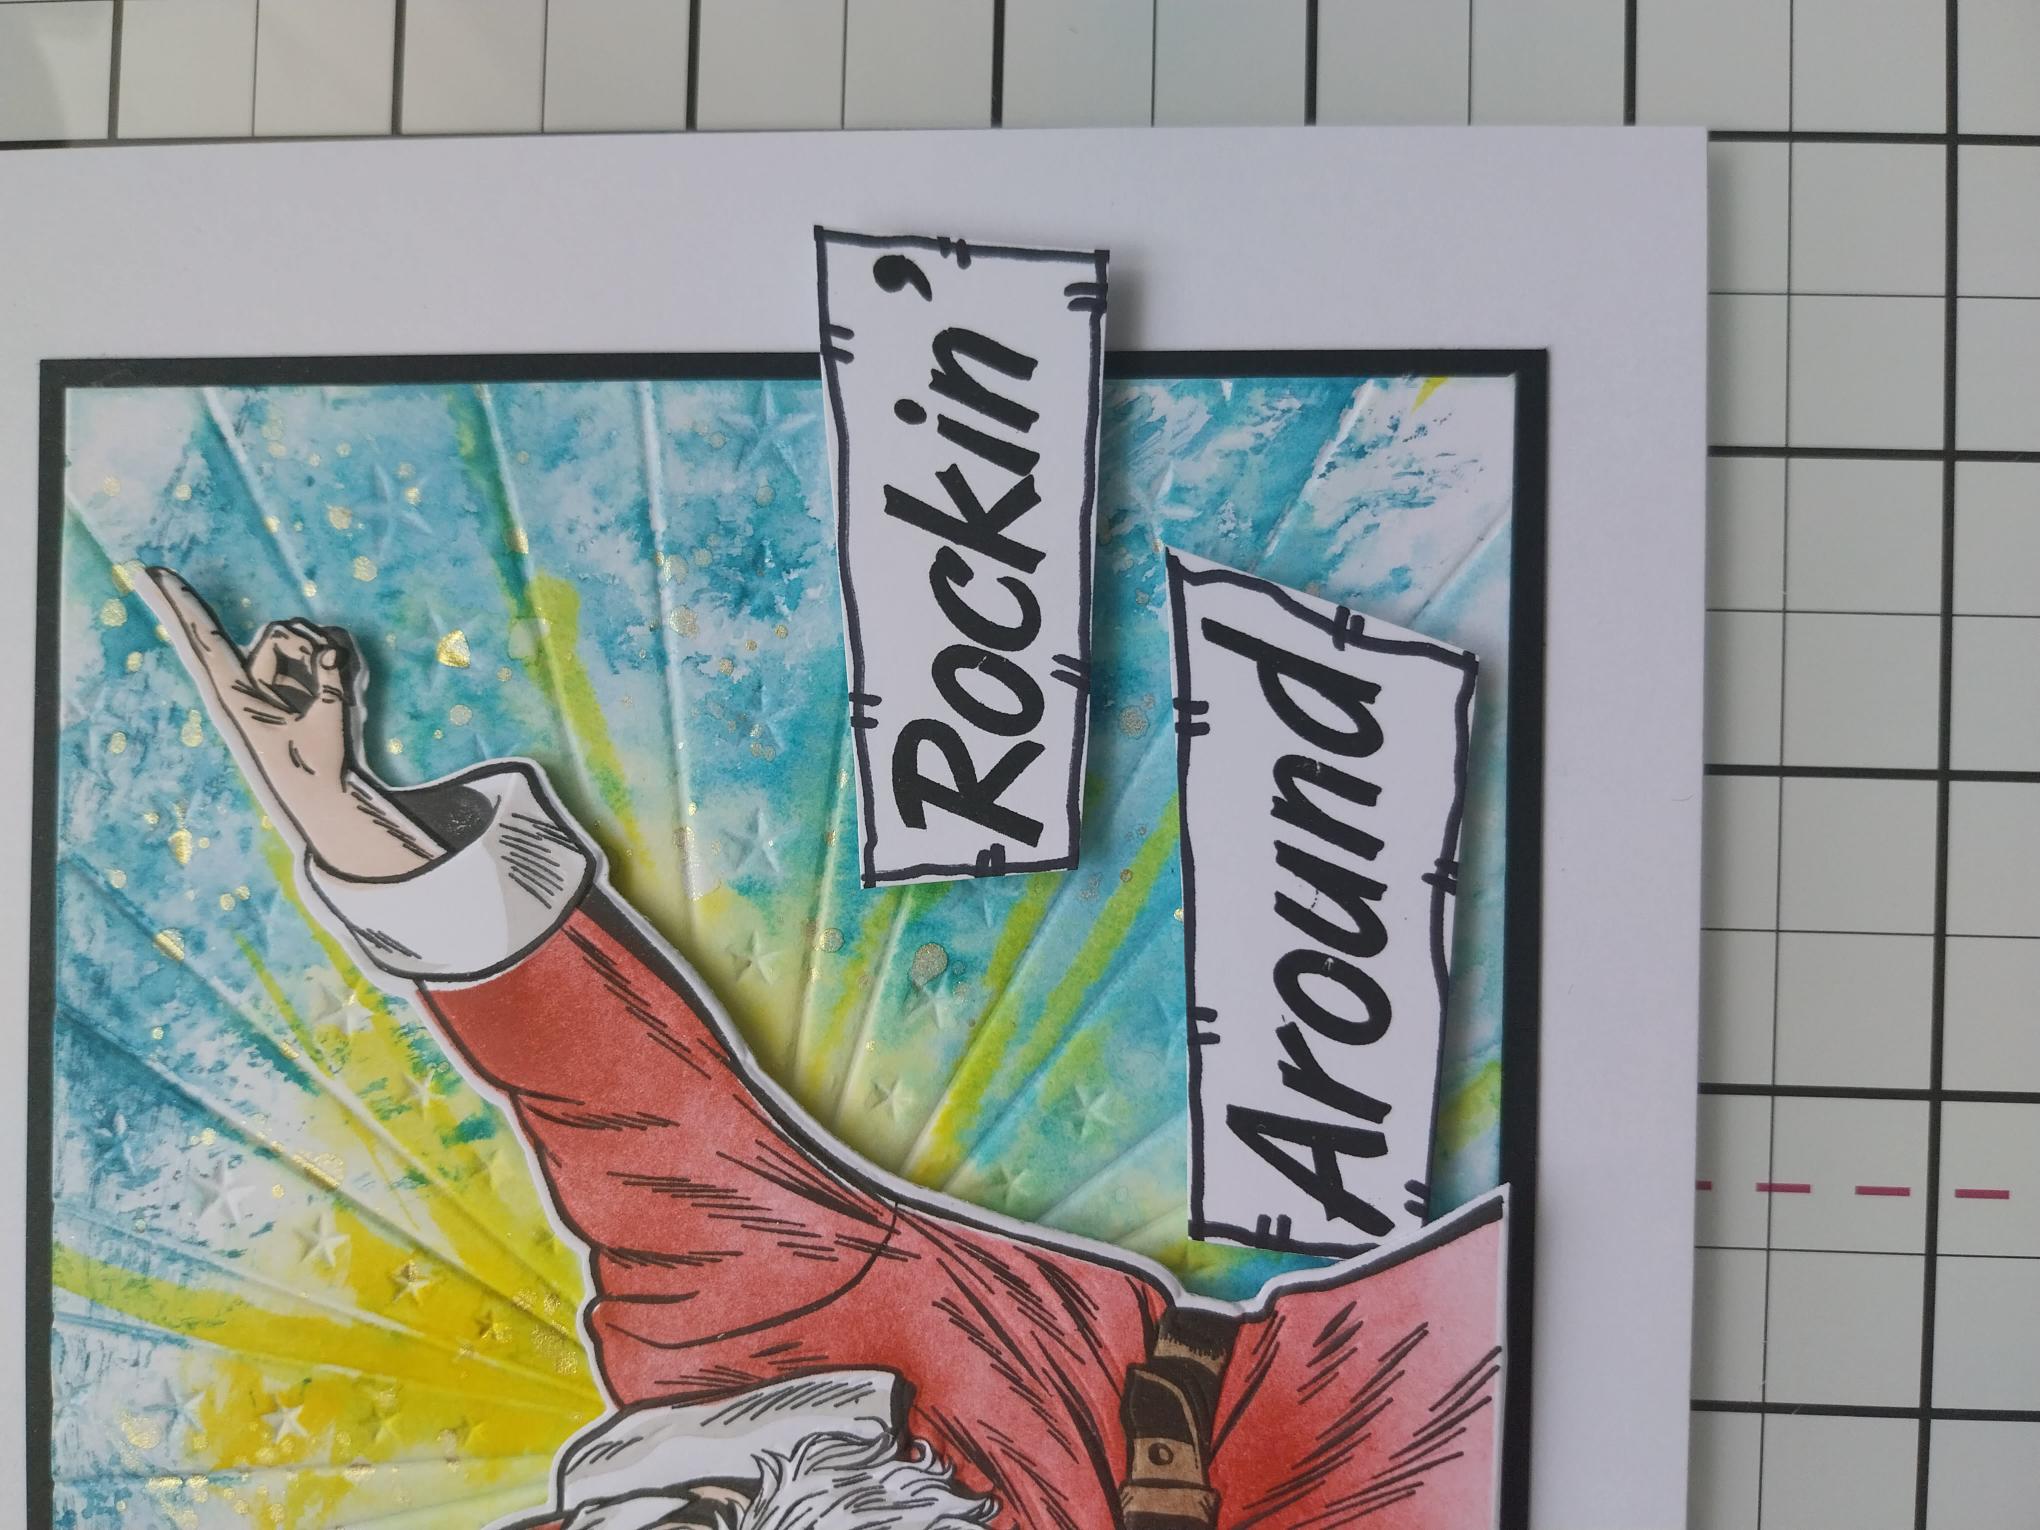
Place stencil 1 from the Quattro D collection, on to one sheet of the 7 x 5" white card. Use your blending tool to apply the Redwood ink through the stencil, applying more depth of colour where the shadow would be. Line up stencil 2, using the 4 corner hearts if needed and blend with Walnut Stain on his belt and the Tattered Rose for Santa's skin. Blend Black Soot through the belt buckle on stencil 3 and finally, Limeade for the microphone. Finally, line up stencil 4 and blend Lost Shadow for his beard, coat cuffs and hat and the Tiffany for the shadow on his microphone. |
|
Ink the coordinating stamp with the Midnight ink, line it up and stamp over your stencilled Santa. |
|
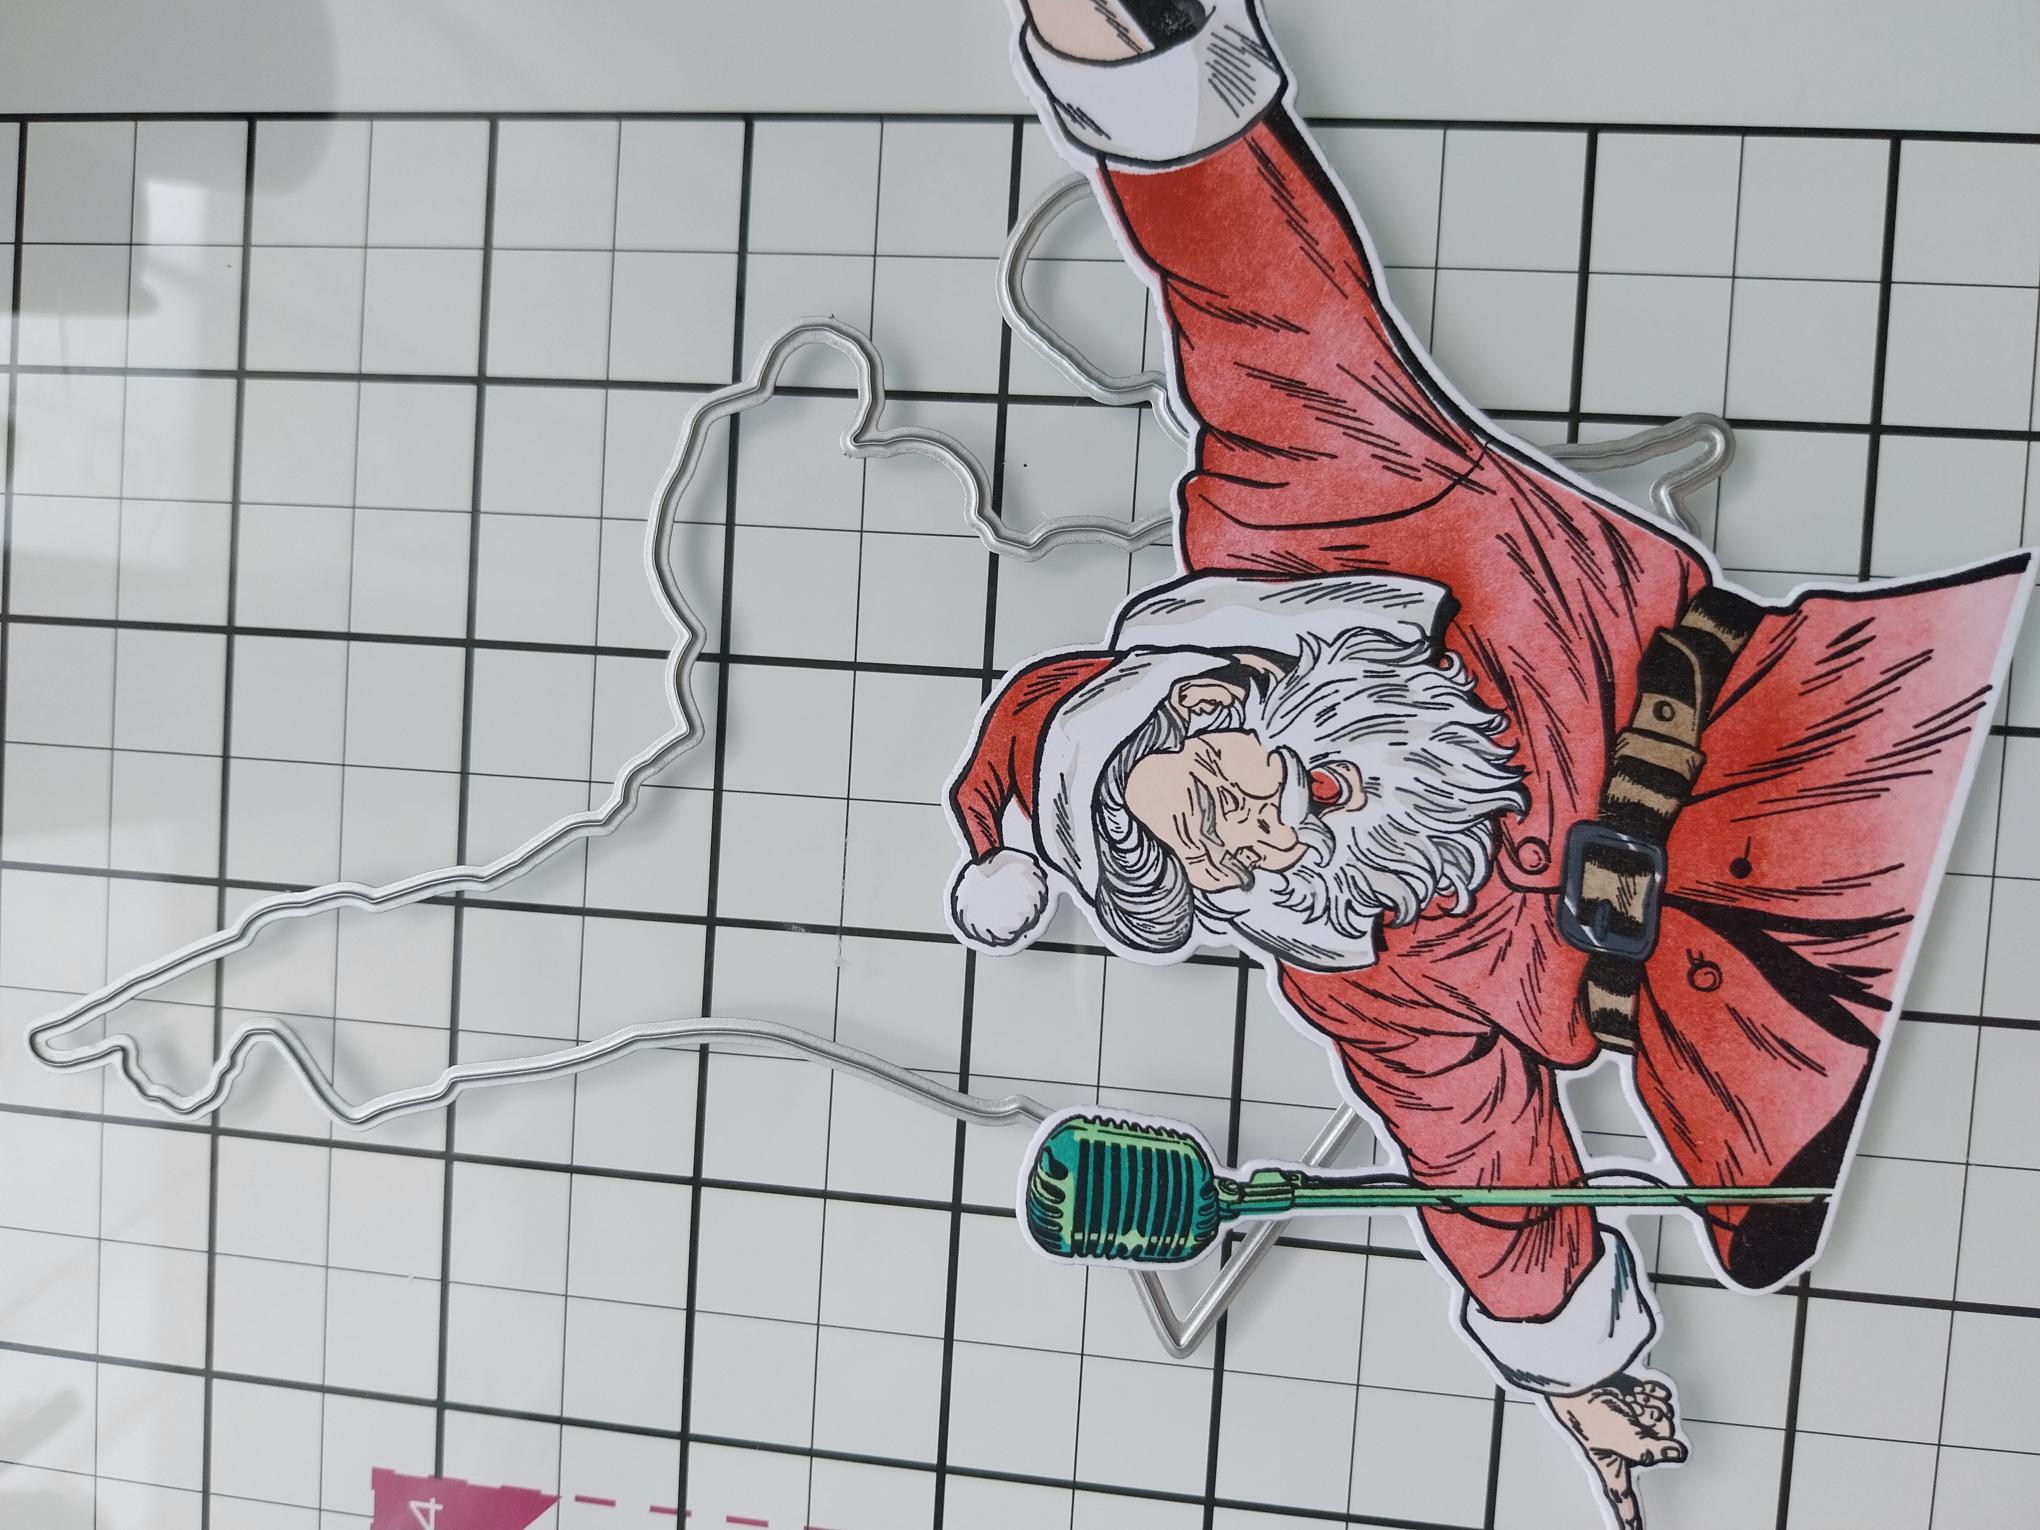
Die cut with the coordinating die, from the collection. |
|
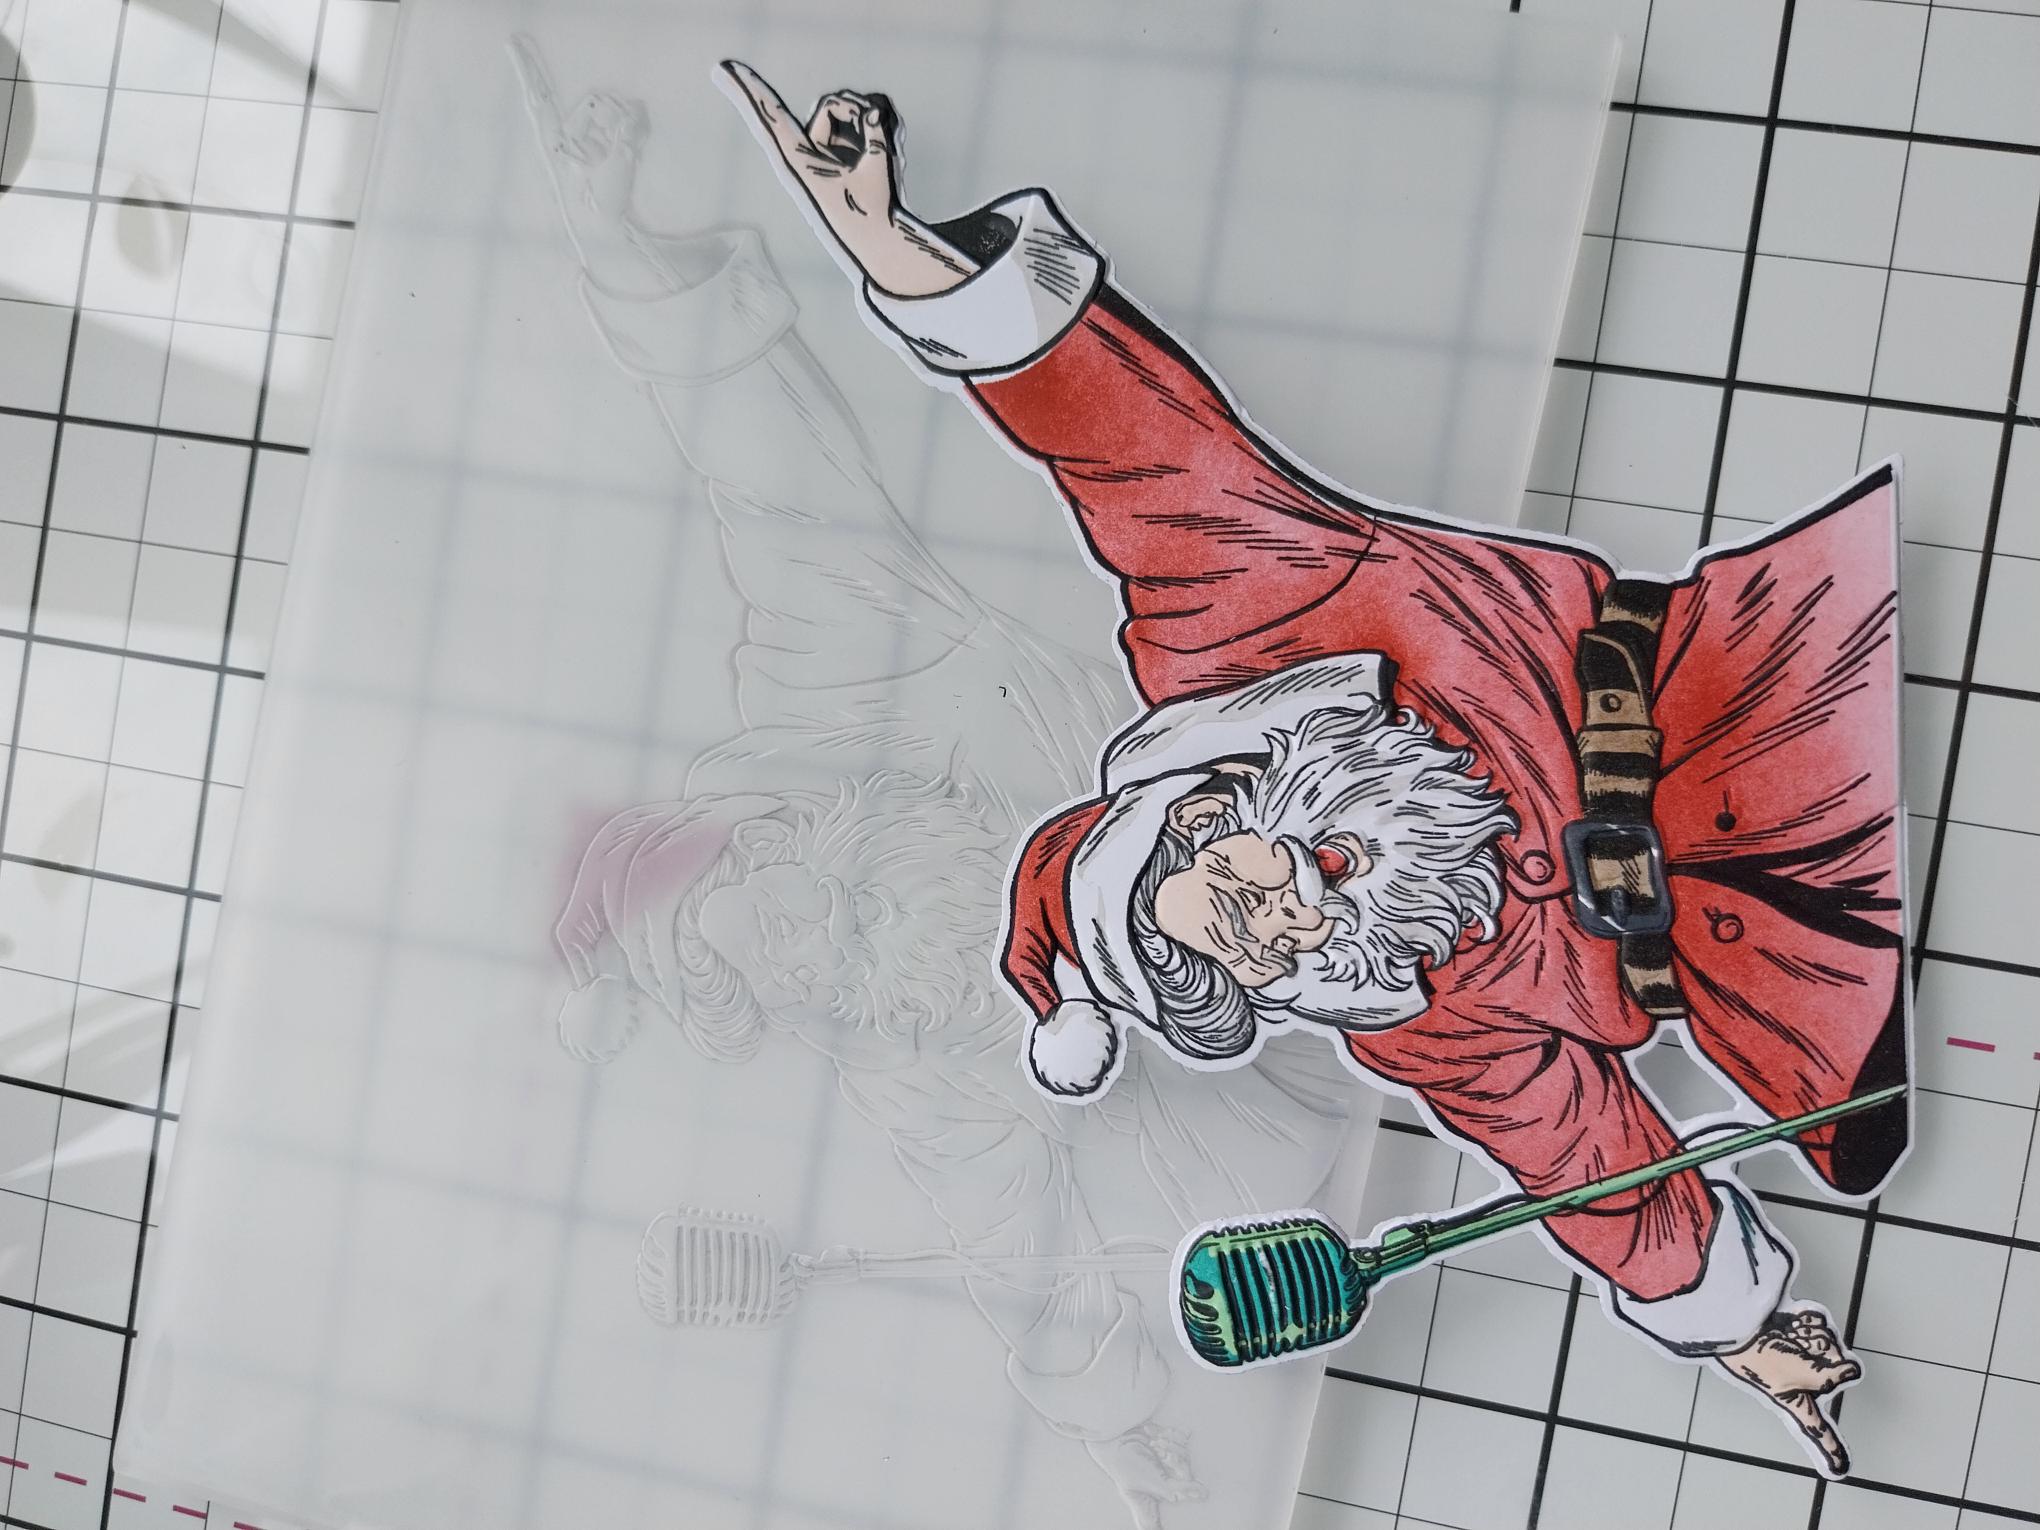
Place your die cut Santa inside the coordinating embossing folder and run it through your machine. Pop our Santa to one side. |
|
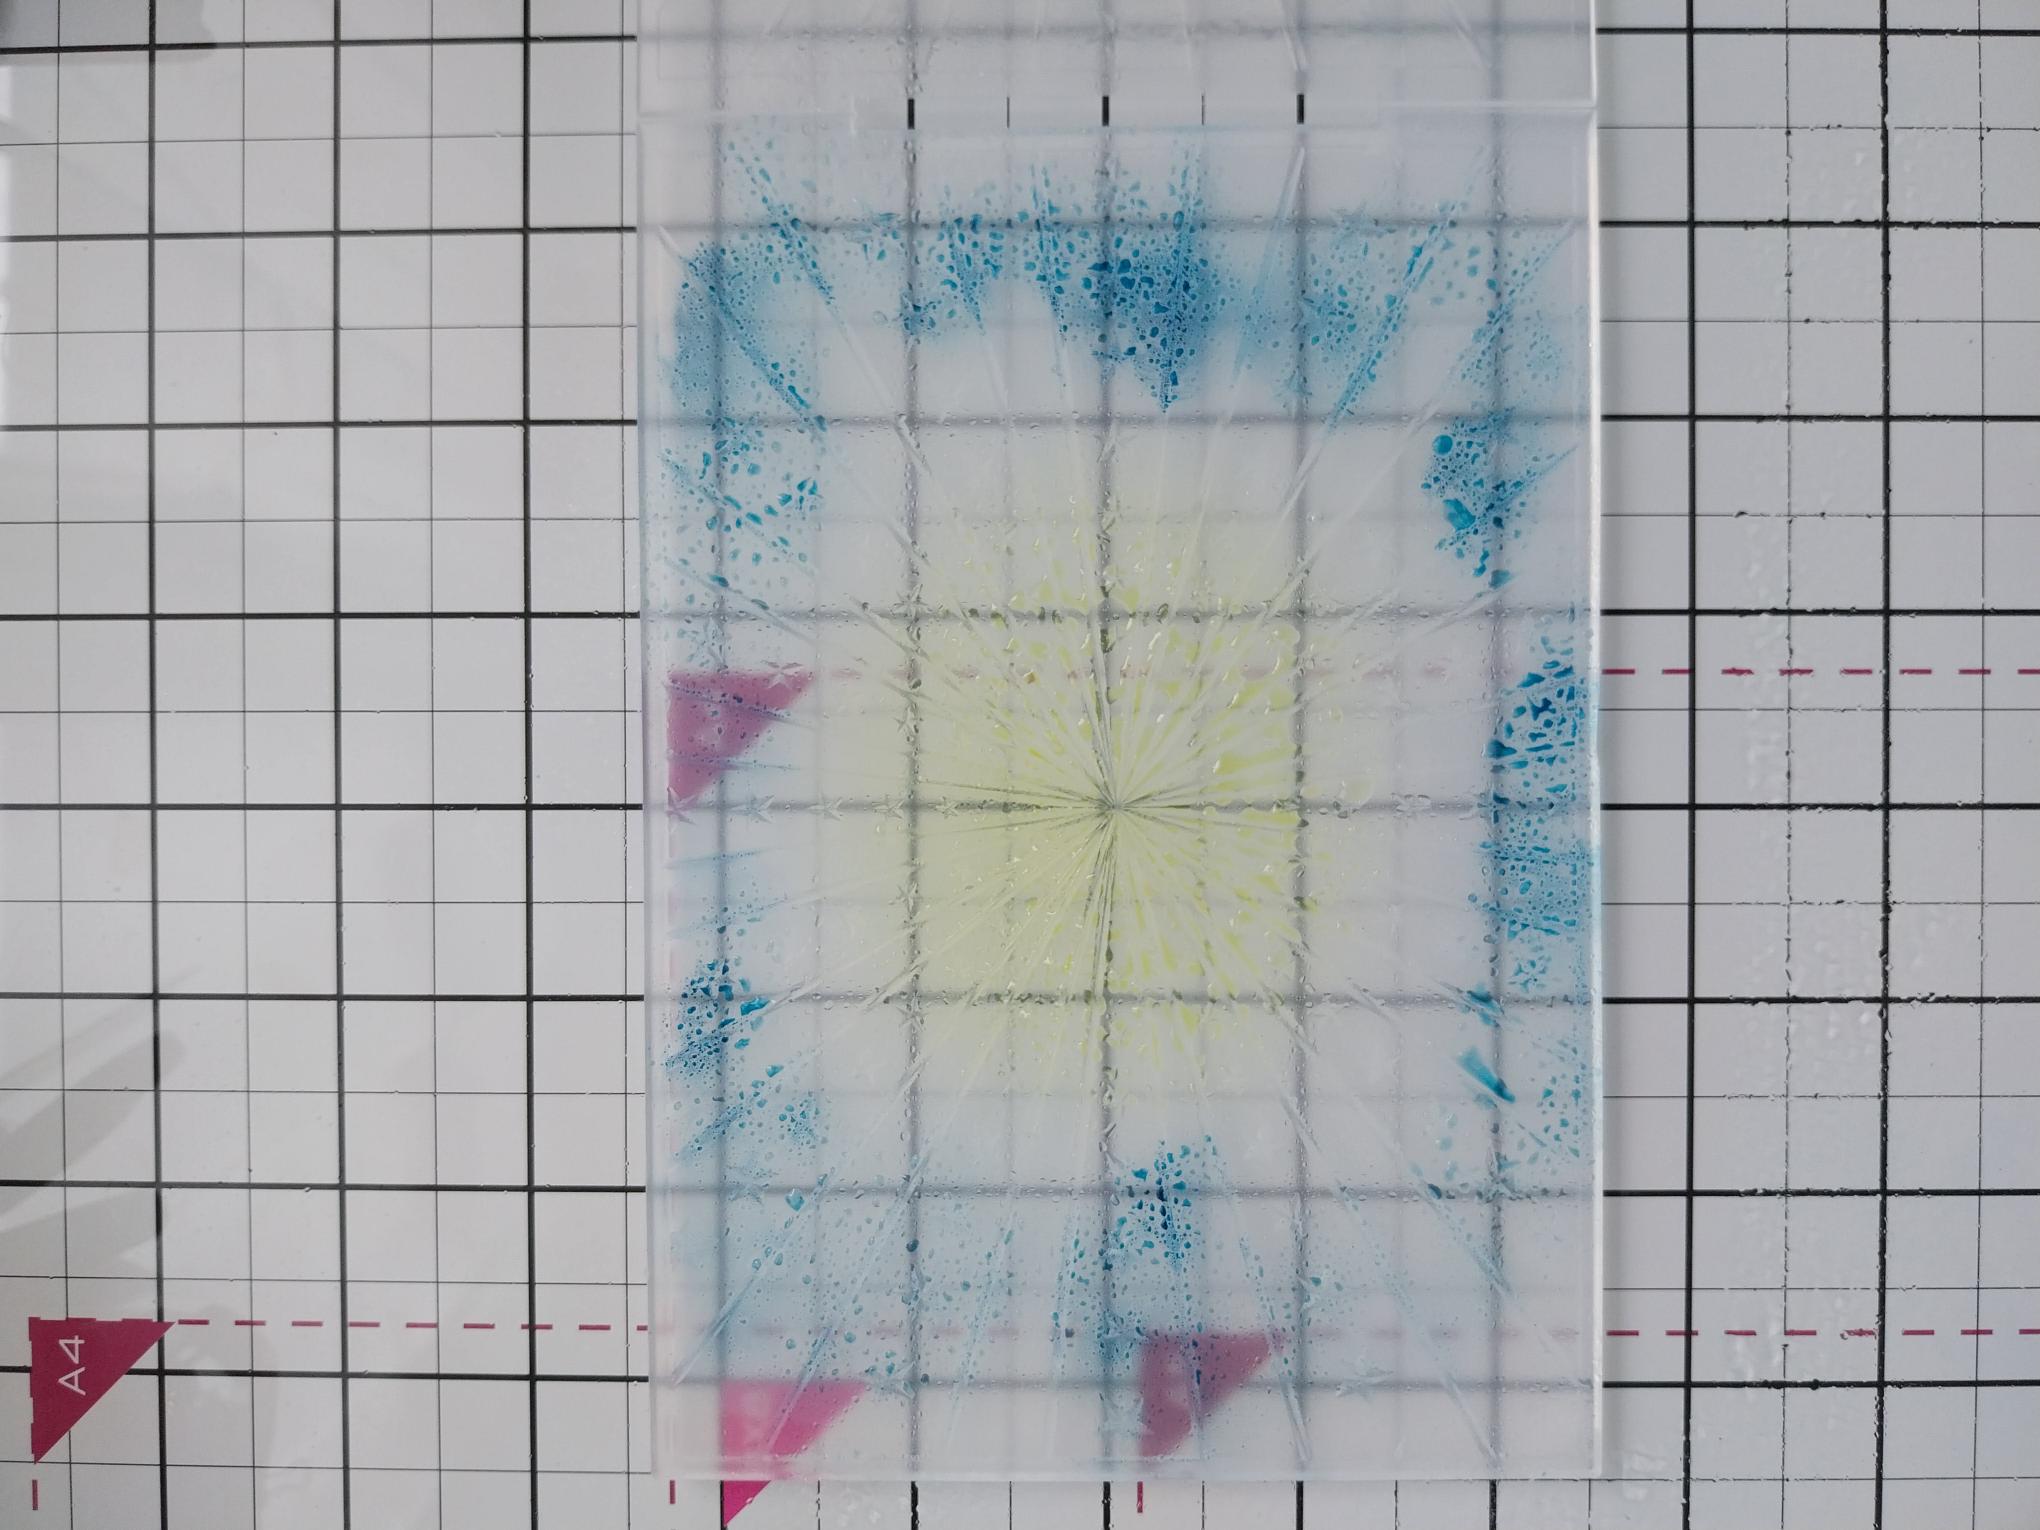
Lay the Carnival HD3D embossing folder on your glass mat and apply the Sherbet ink pad directly around the centre of the DEBOSSED side of the folder. Apply the Tiffany ink pad around the outer edges and then spritz the ink with water. Place the remaining sheet of 7 x 5" white card inside the folder and run it through your machine. |
|
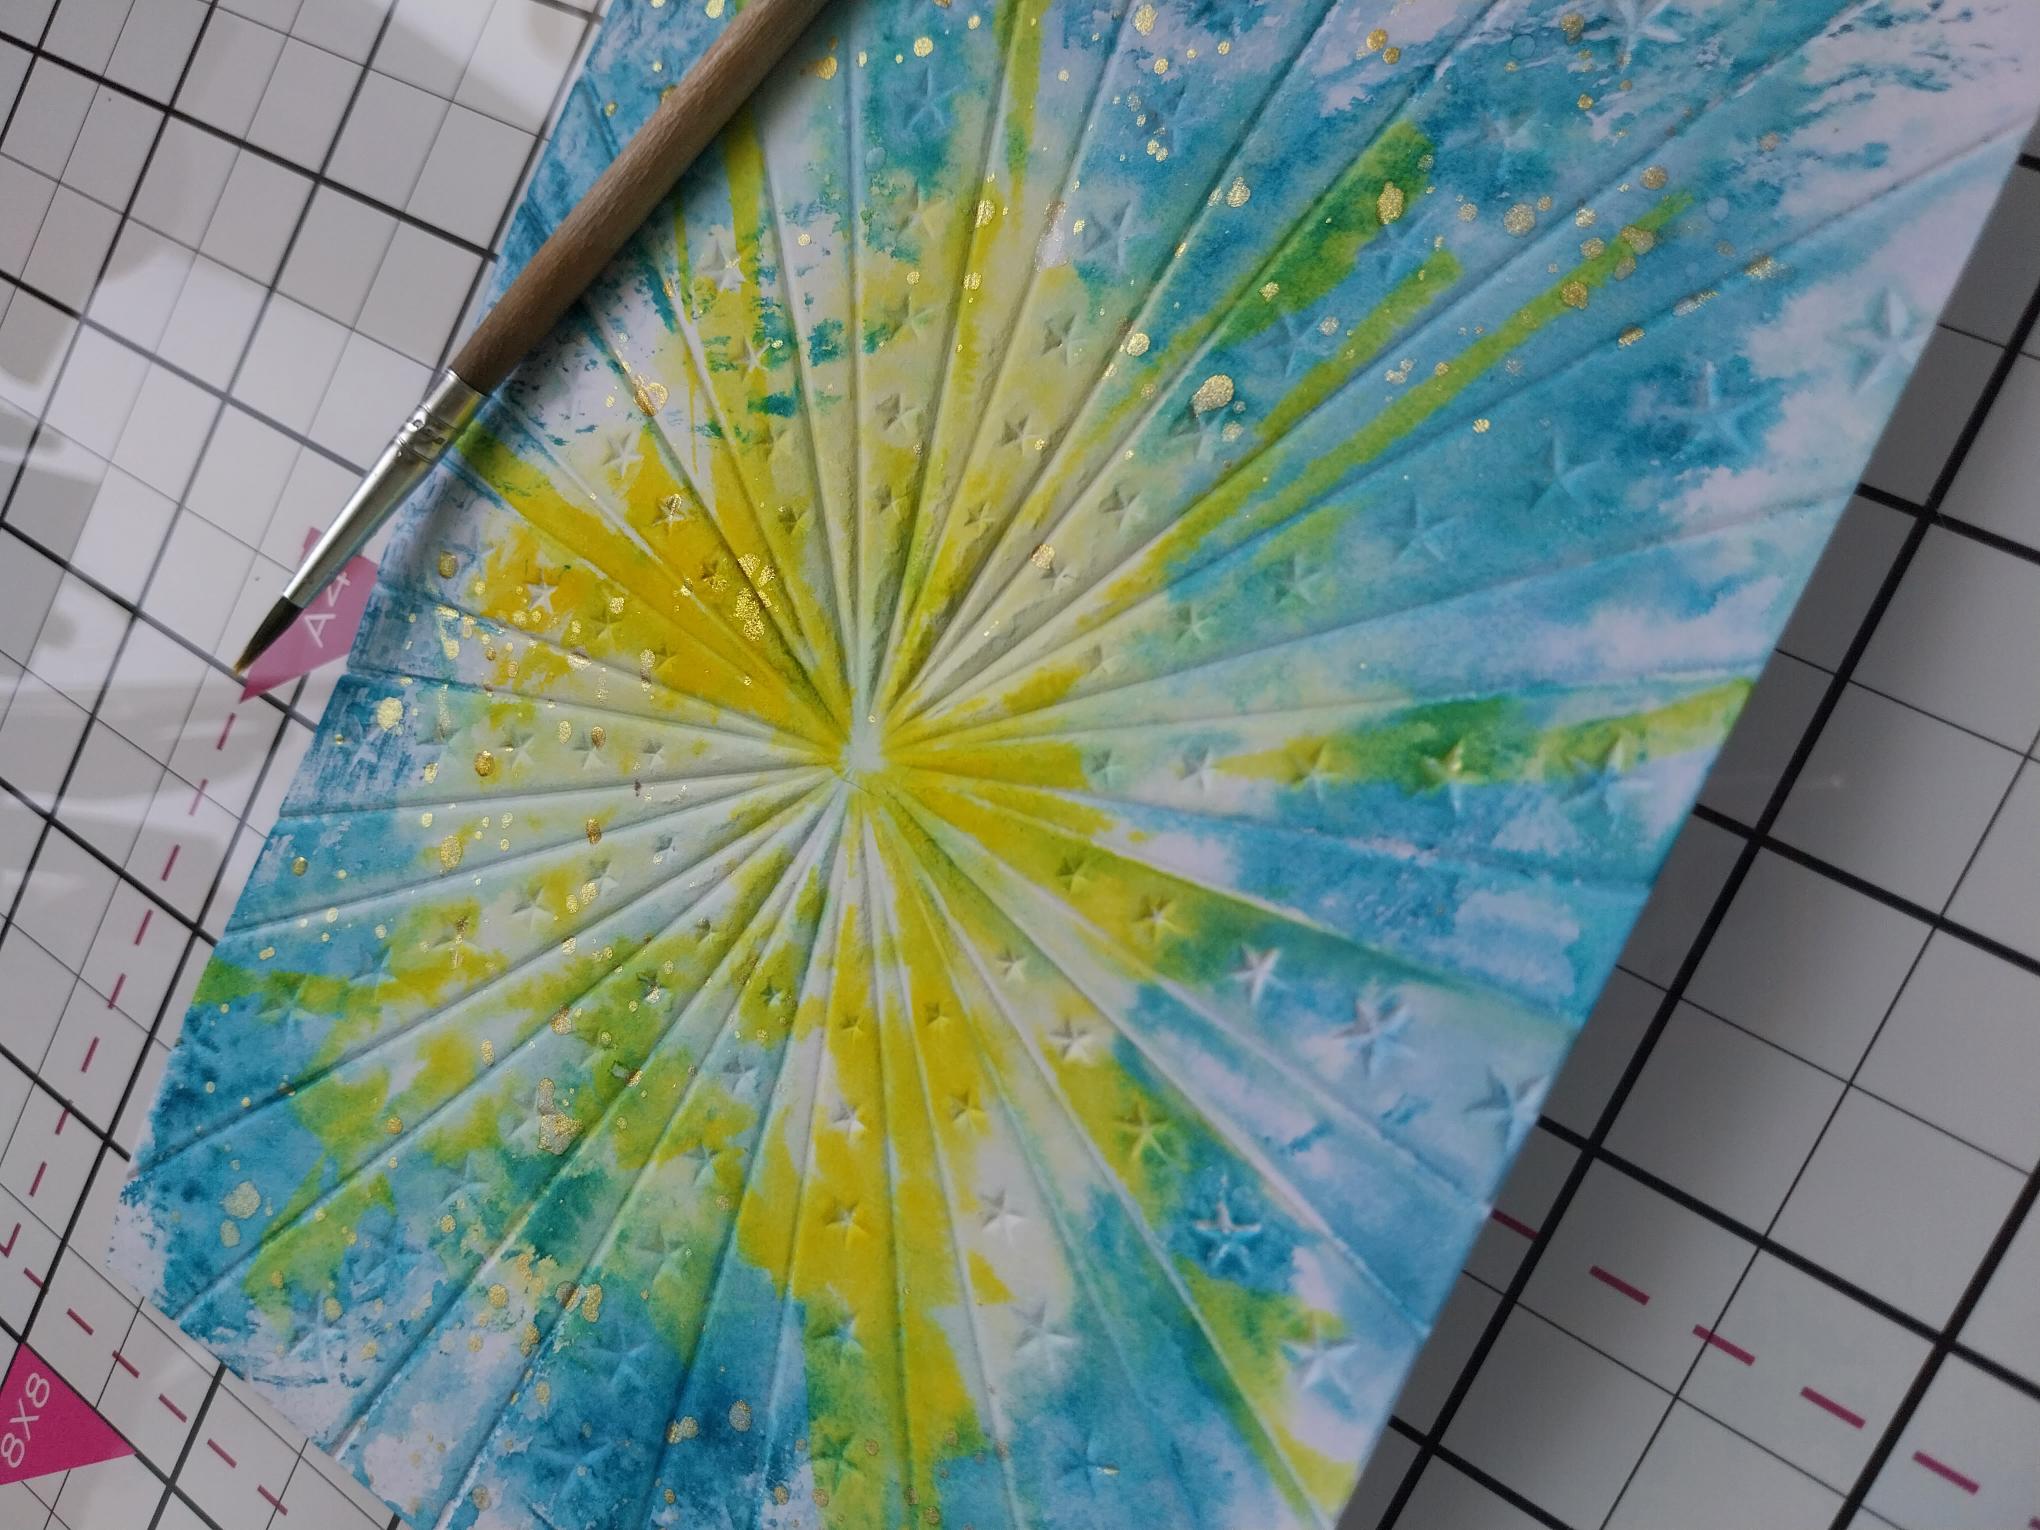
Splatter water over your inky, embossed background, wait a few seconds then mop up the excess water and ink, with a paper towel. Blast the background dry with your heat tool. |
|
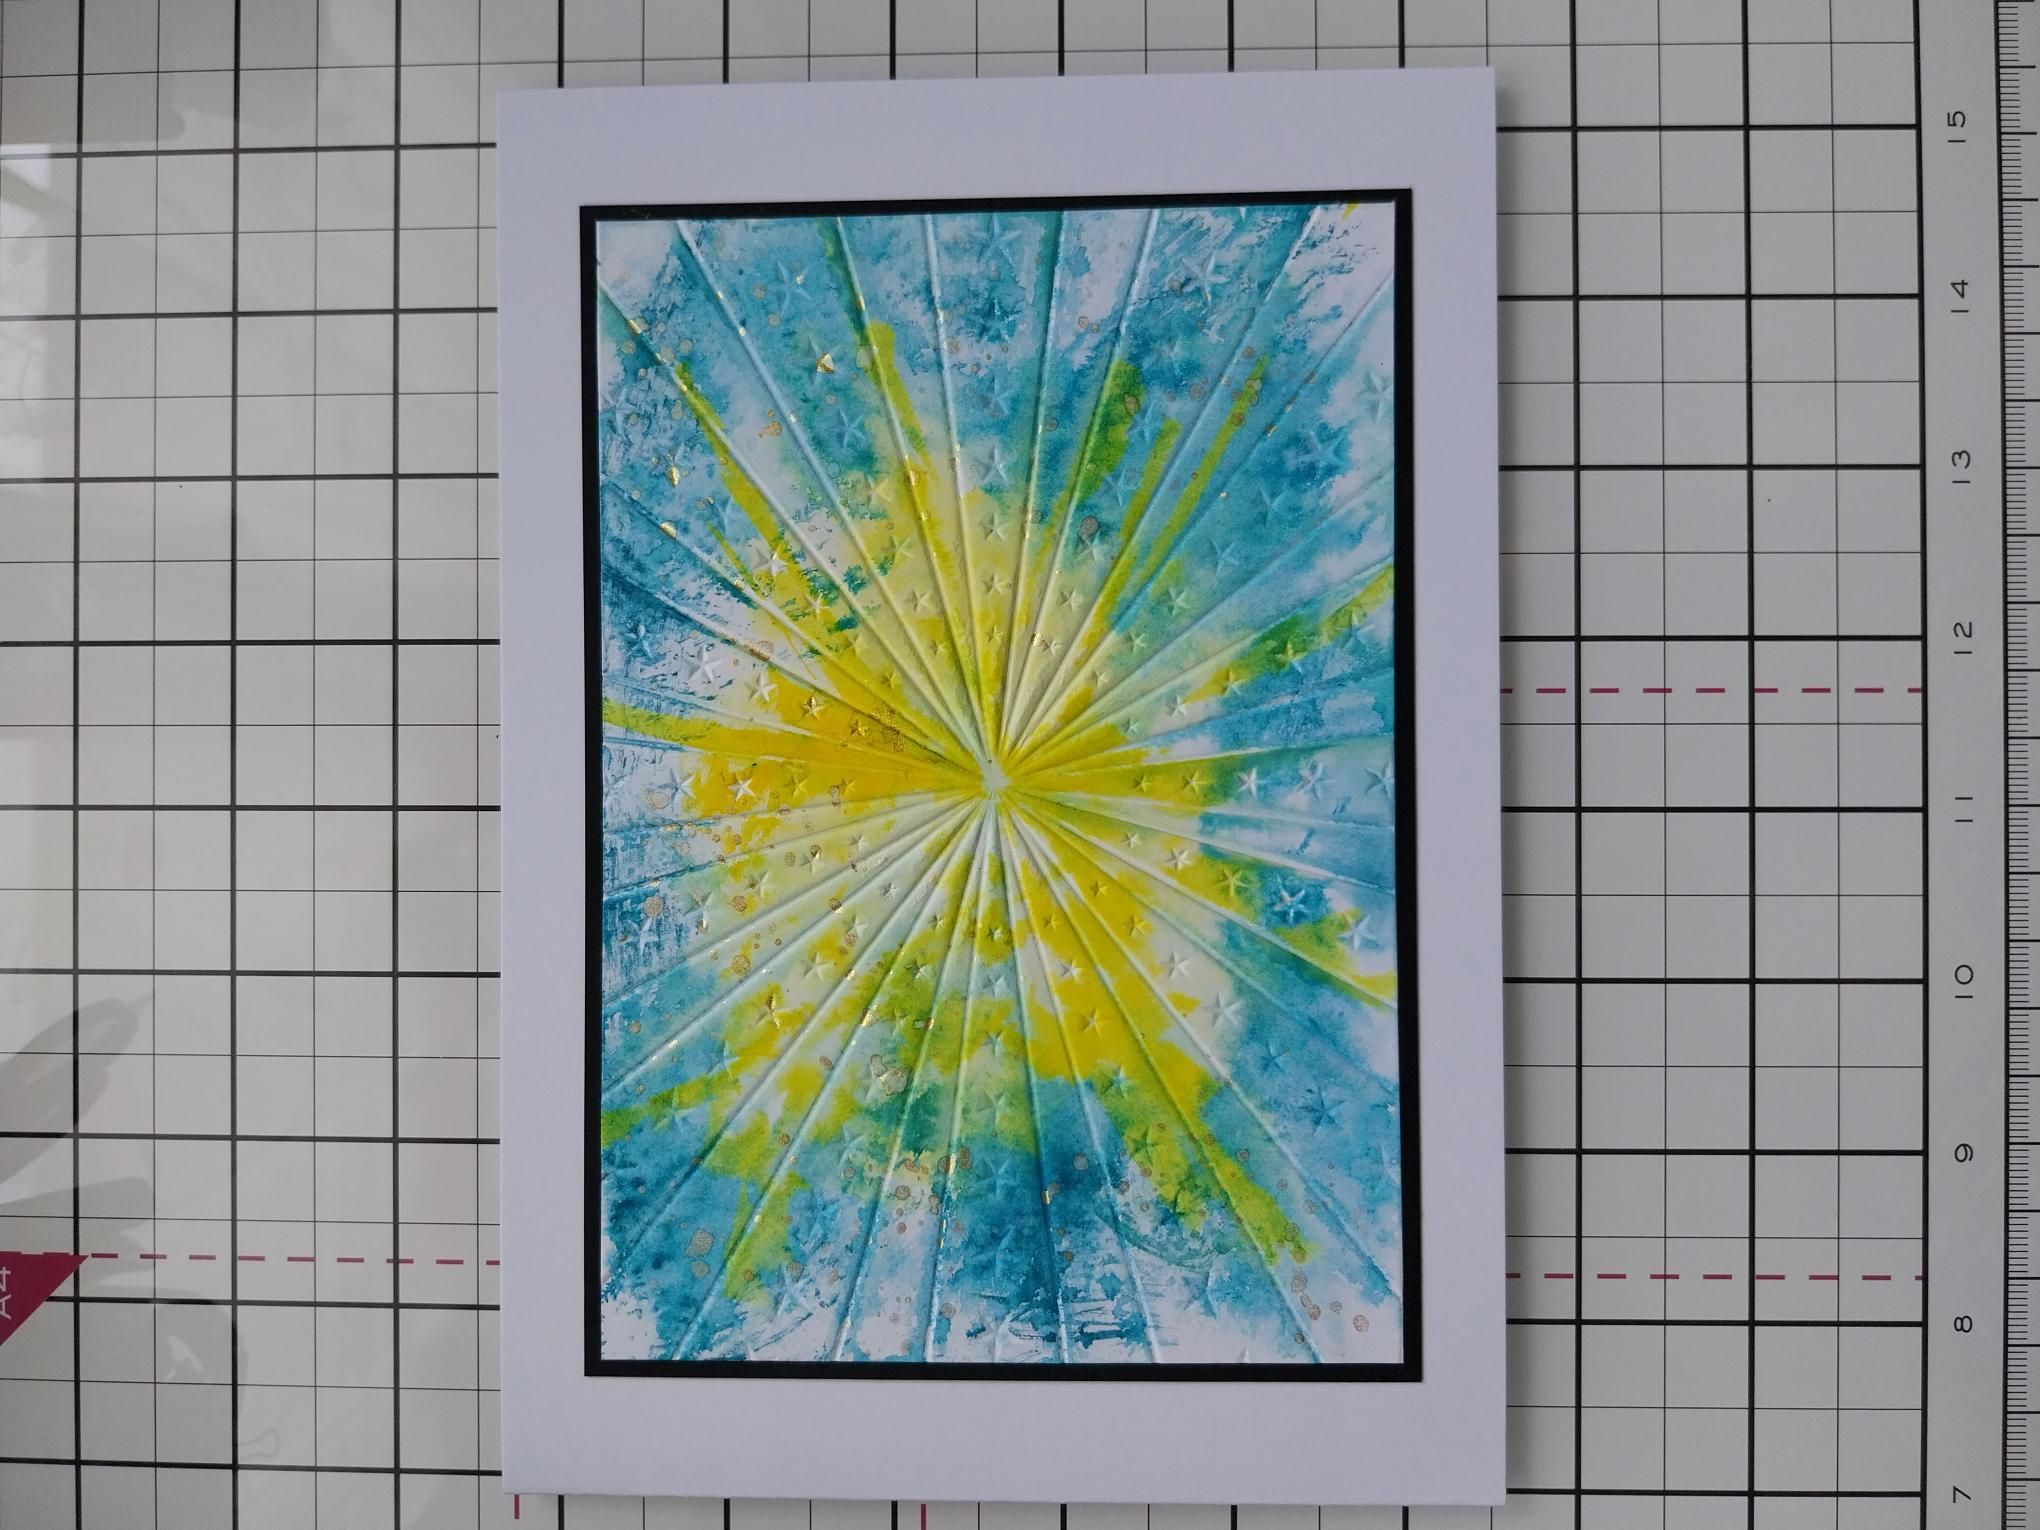
Adhere your background on to the black card trimmed to 6 3/4 x 4 3/4" and then on to your white, landscape card blank. |
|
Adhere Santa on to your card, with foam pads, for added dimension, before popping your card to one side. |

|
Stamp the sentiment in the Midnight ink, on to a piece of white card. Cut in to seperate words before using a black pen to draw a decorative frame around each. |
|
Use foam pads to adhere your sentiments to your card and Santa is ready to ROCK!!! |