Give your friends $10 off their first order!
Refer a FRIEND


WHAT YOU WILL NEED:
White card blank 7 x 7"
Black card 6 x 6"
White card
Avago Ink Designs Graffiti Monster Stencil and Stamp Set
Avago Ink Designs Graffiti Monster 8 x 8" Paper Pad
Avago Ink Designs Graffiti Monster 8 x 8" Foundation Pack
Avago Ink Designs Graffiti Monster 5 x 7" Stamp and Die Set
SBM Hybrid Ink Pad: Midnight
SBM No-Line Ink pad
Gossip Alcohol Pens
Black Pen
Imala white gel pen
Eureka 101 Watercolour Tablet
SBM Magnetic glass mat
Paper Trimmer
Perfect Together Glue
Foam pads
Die Cutting machine
[click image to enlarge] 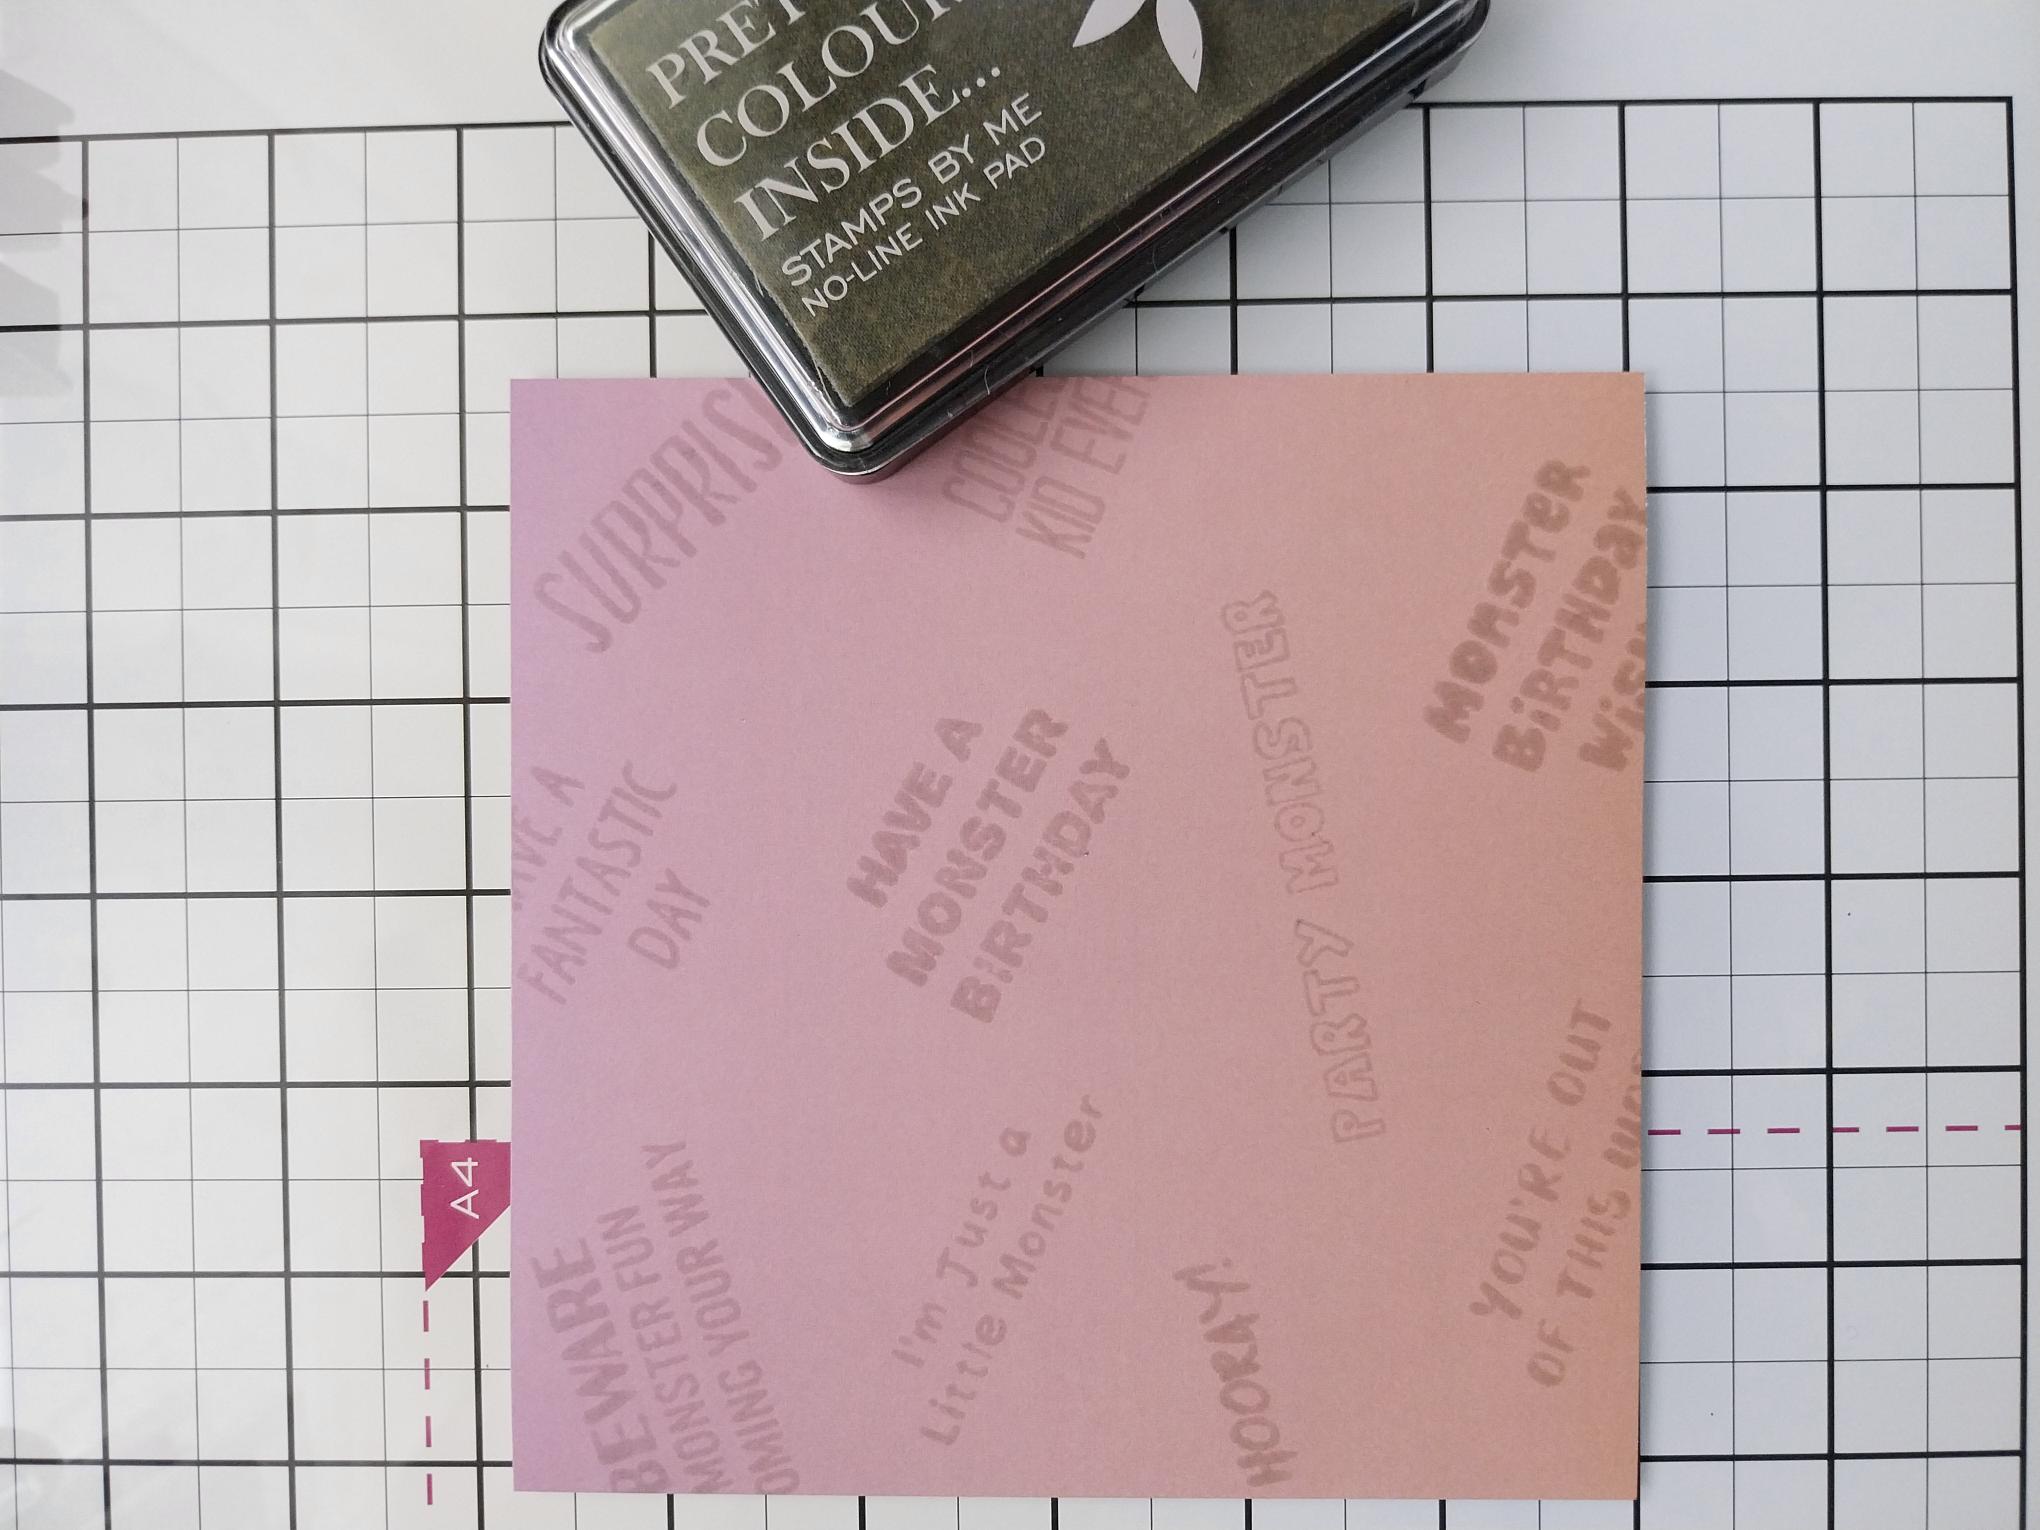
|
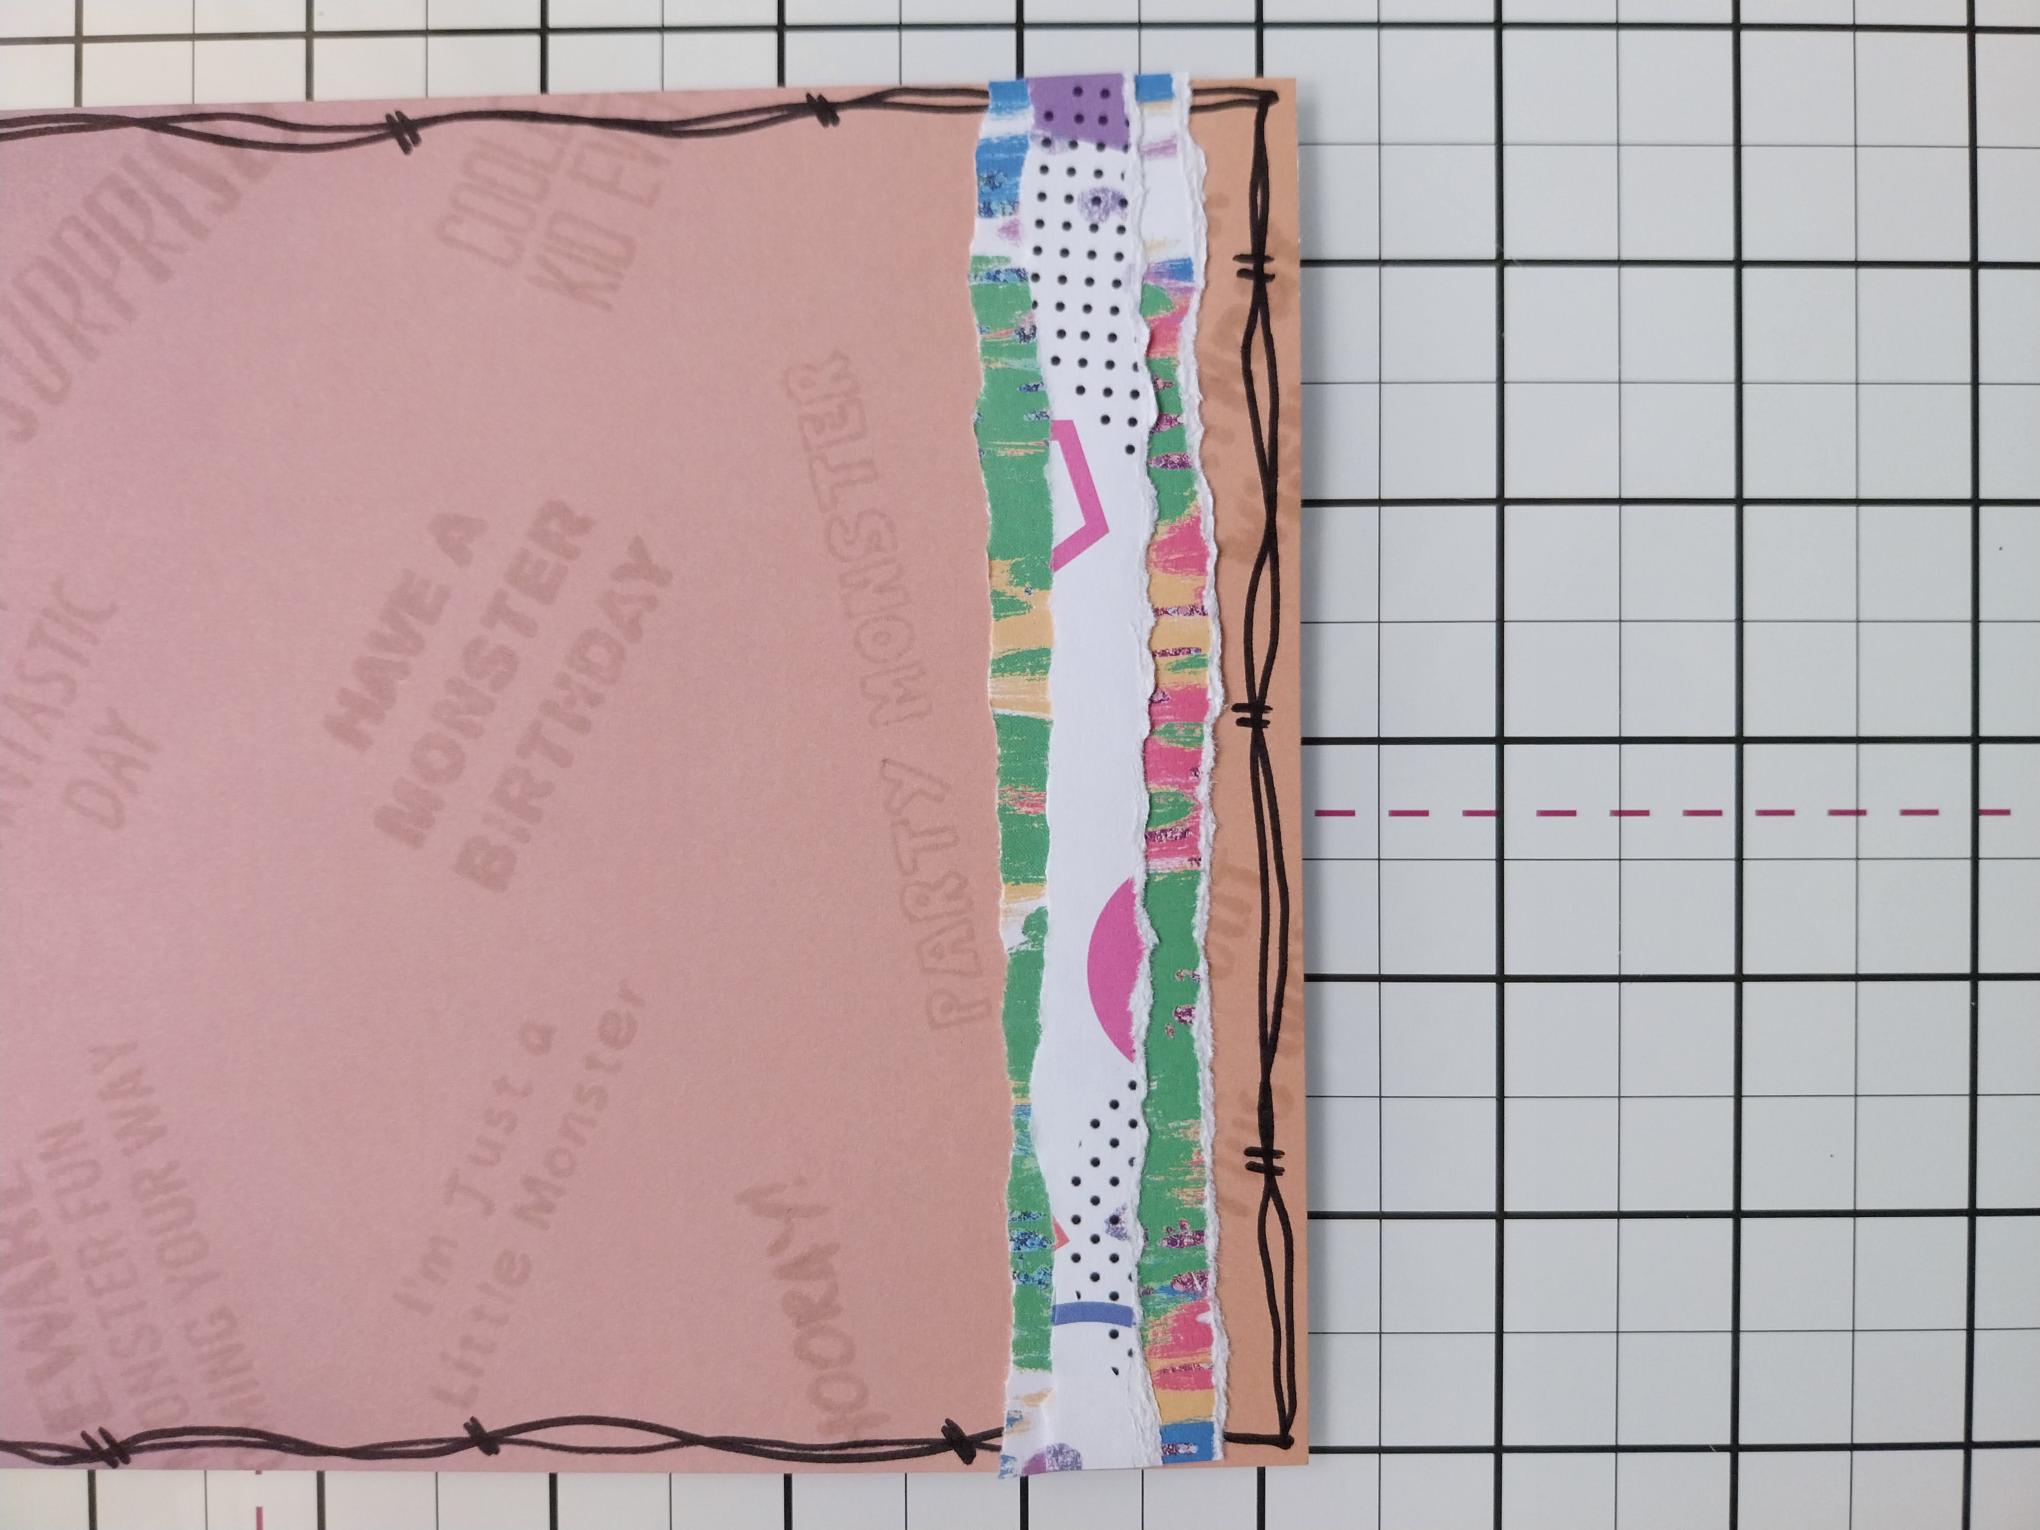
Remove this ombre paper from the Graffiti Monster Foundation pack and cut to 5 3/4" square. Stamp a selection of sentiments, from the stencil and stamp set, on to your ombre paper with our no-line ink pad. It gives a delicate watermark effect! |
|
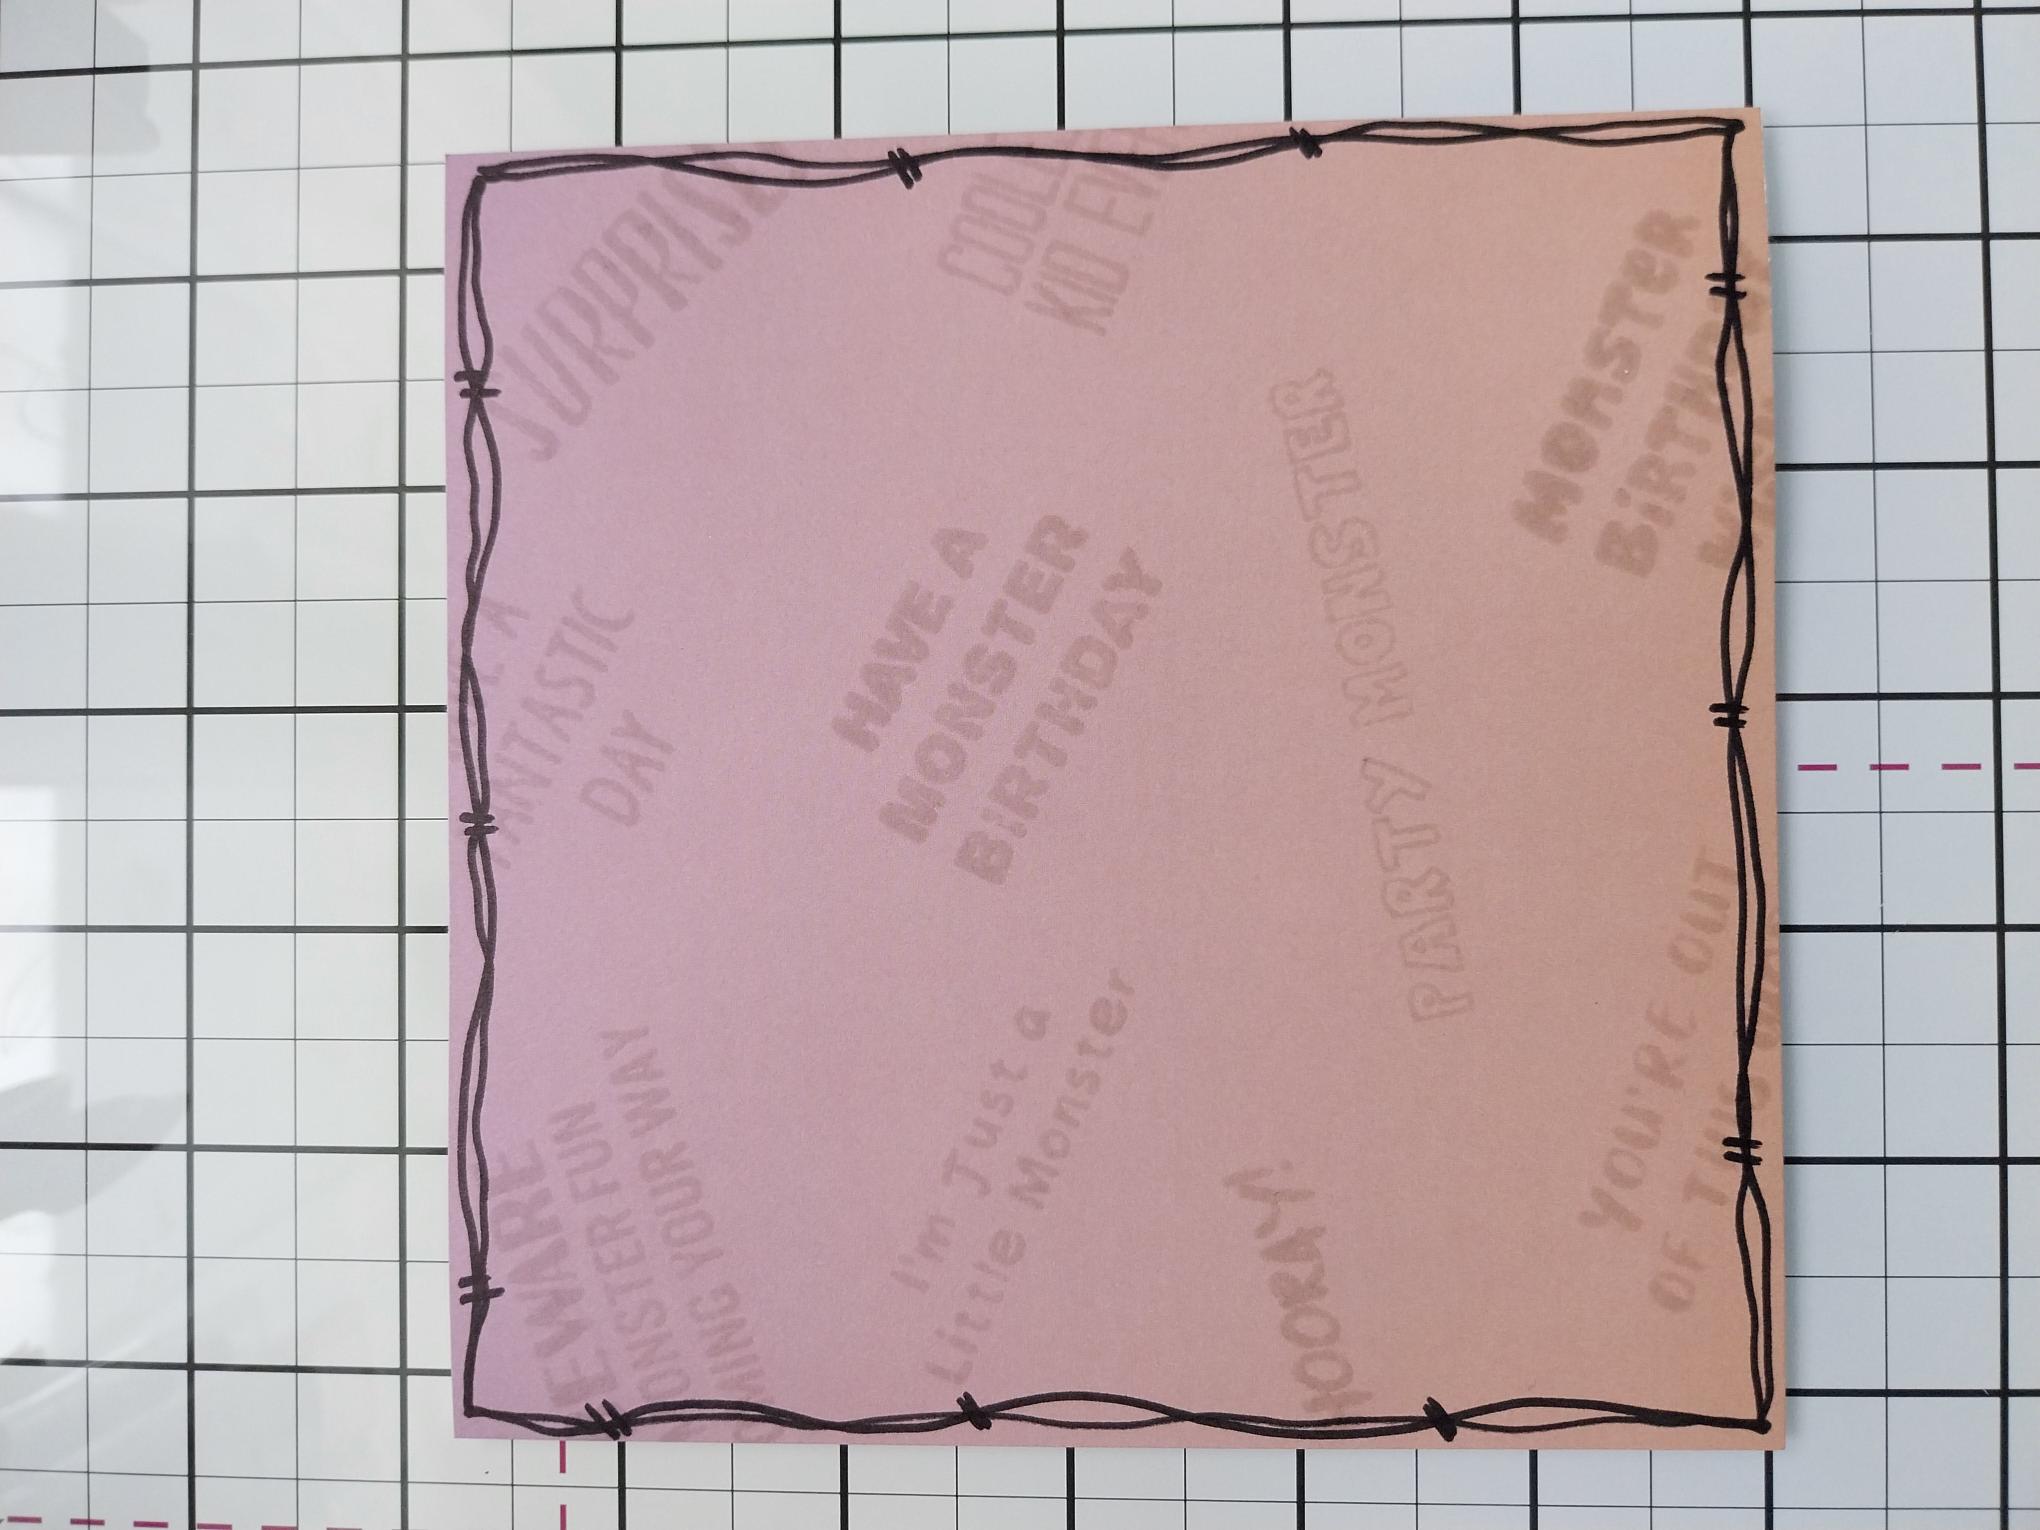
Use a black pen to draw a decorative, wiggly frame around the stamped paper. |
|
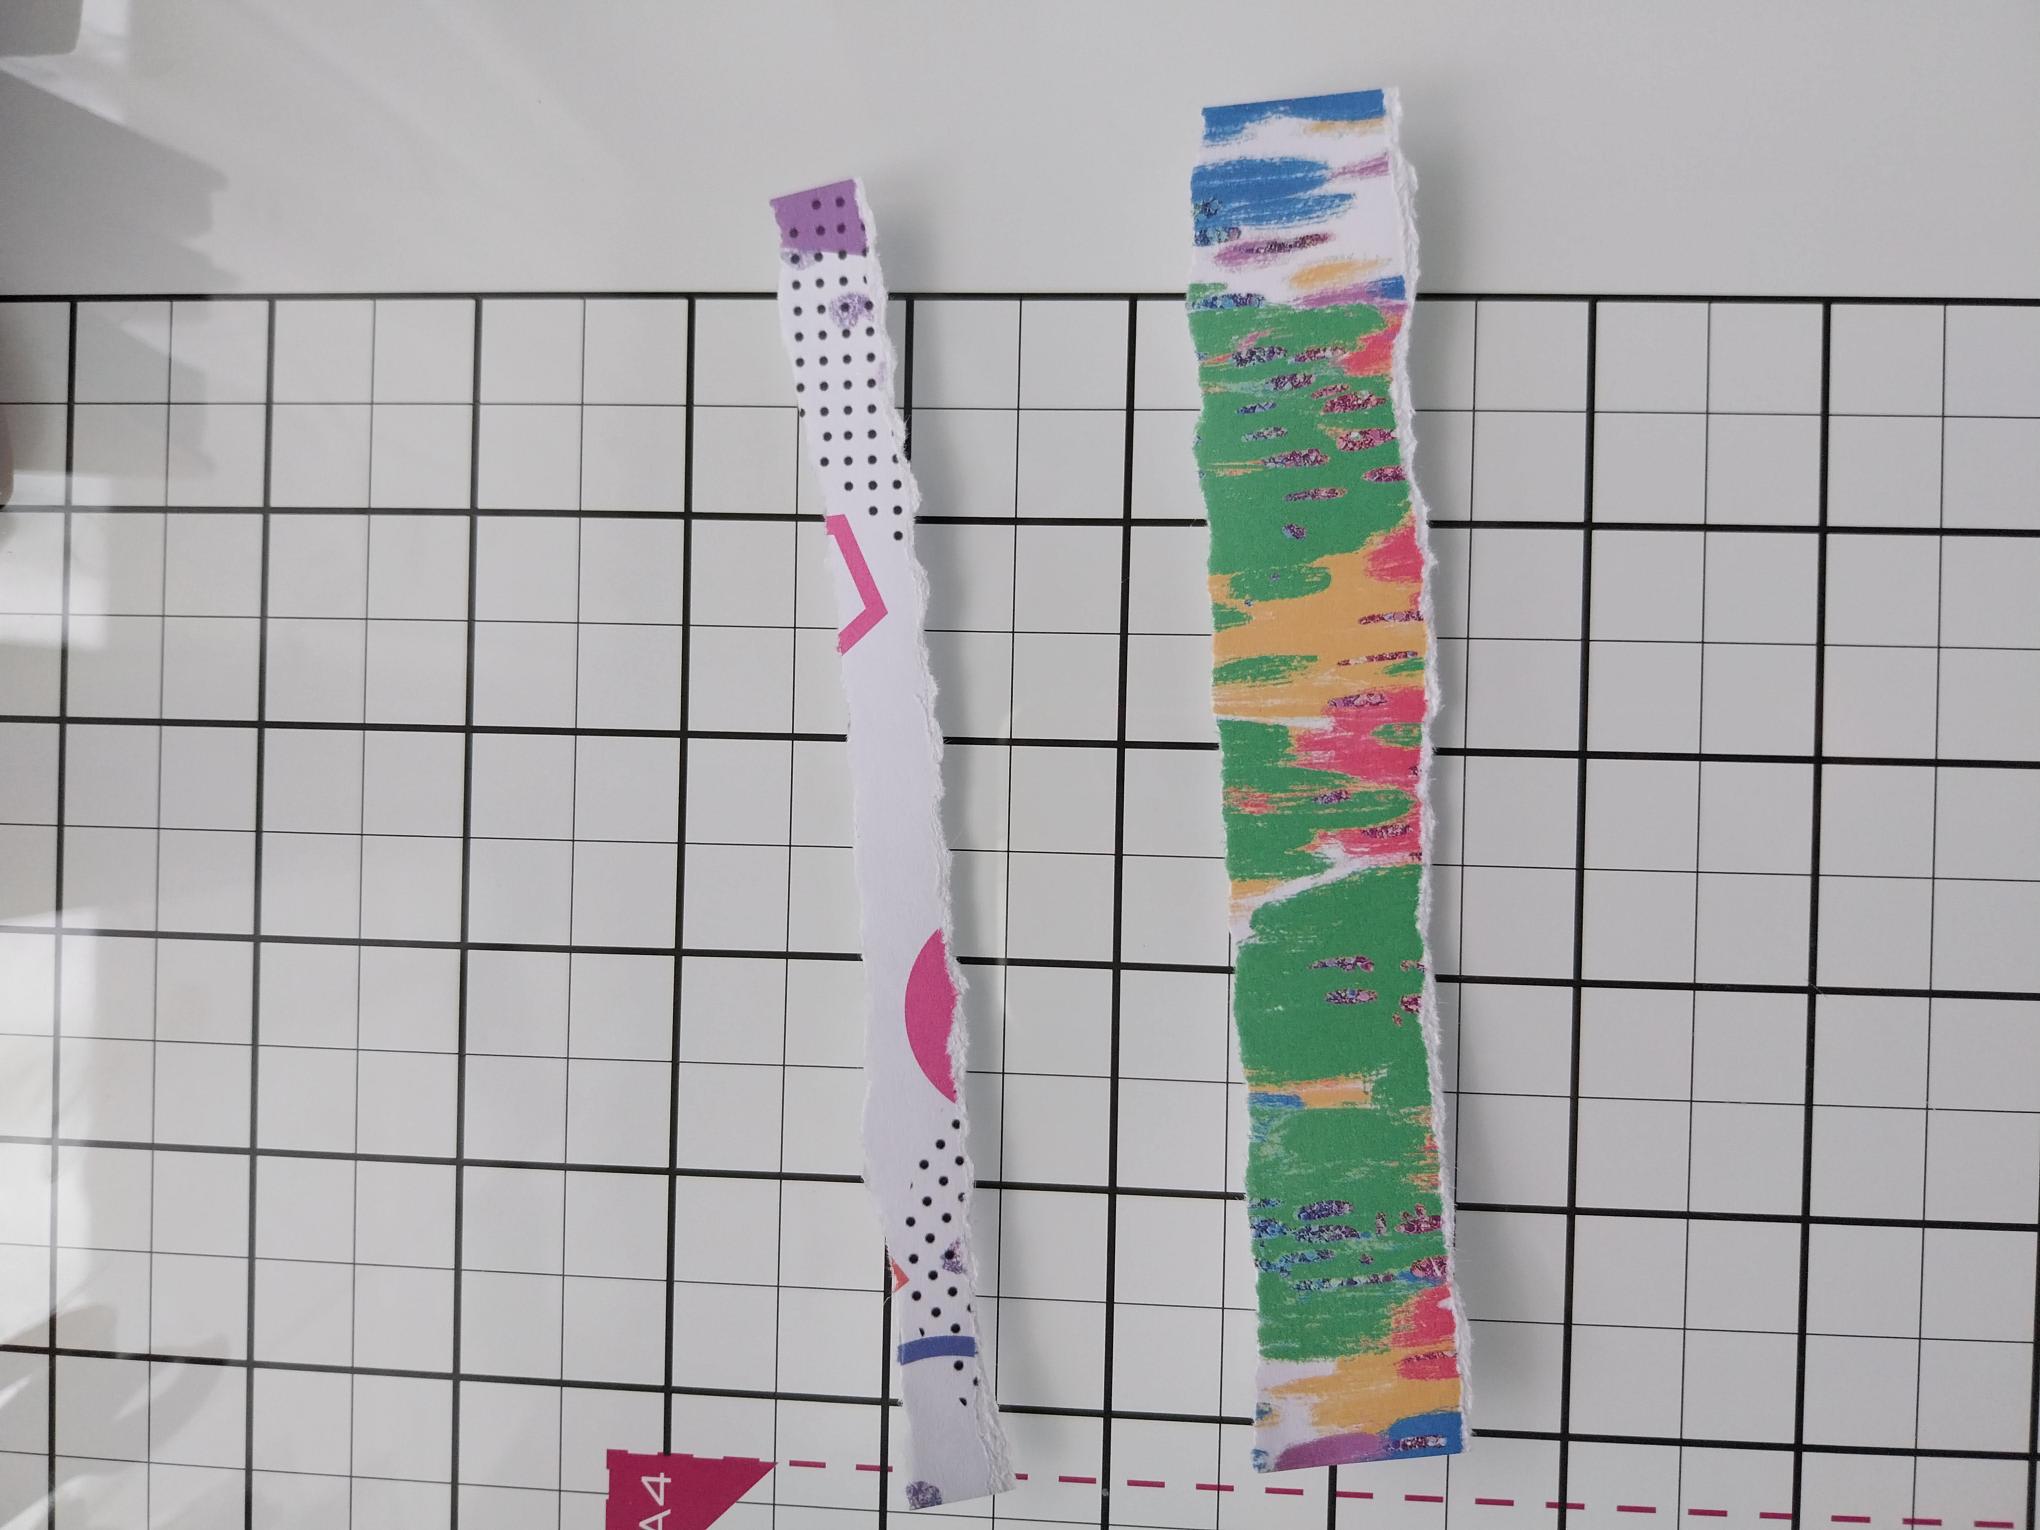
Tear 2 strips of paper, from the Graffiti Monster patterned paper pad, 5 3/4" in length and one strip wider than the other. |
|
Adhere the widest strip across the bottom third of the stamped paper and the narrower strip on top. |
|
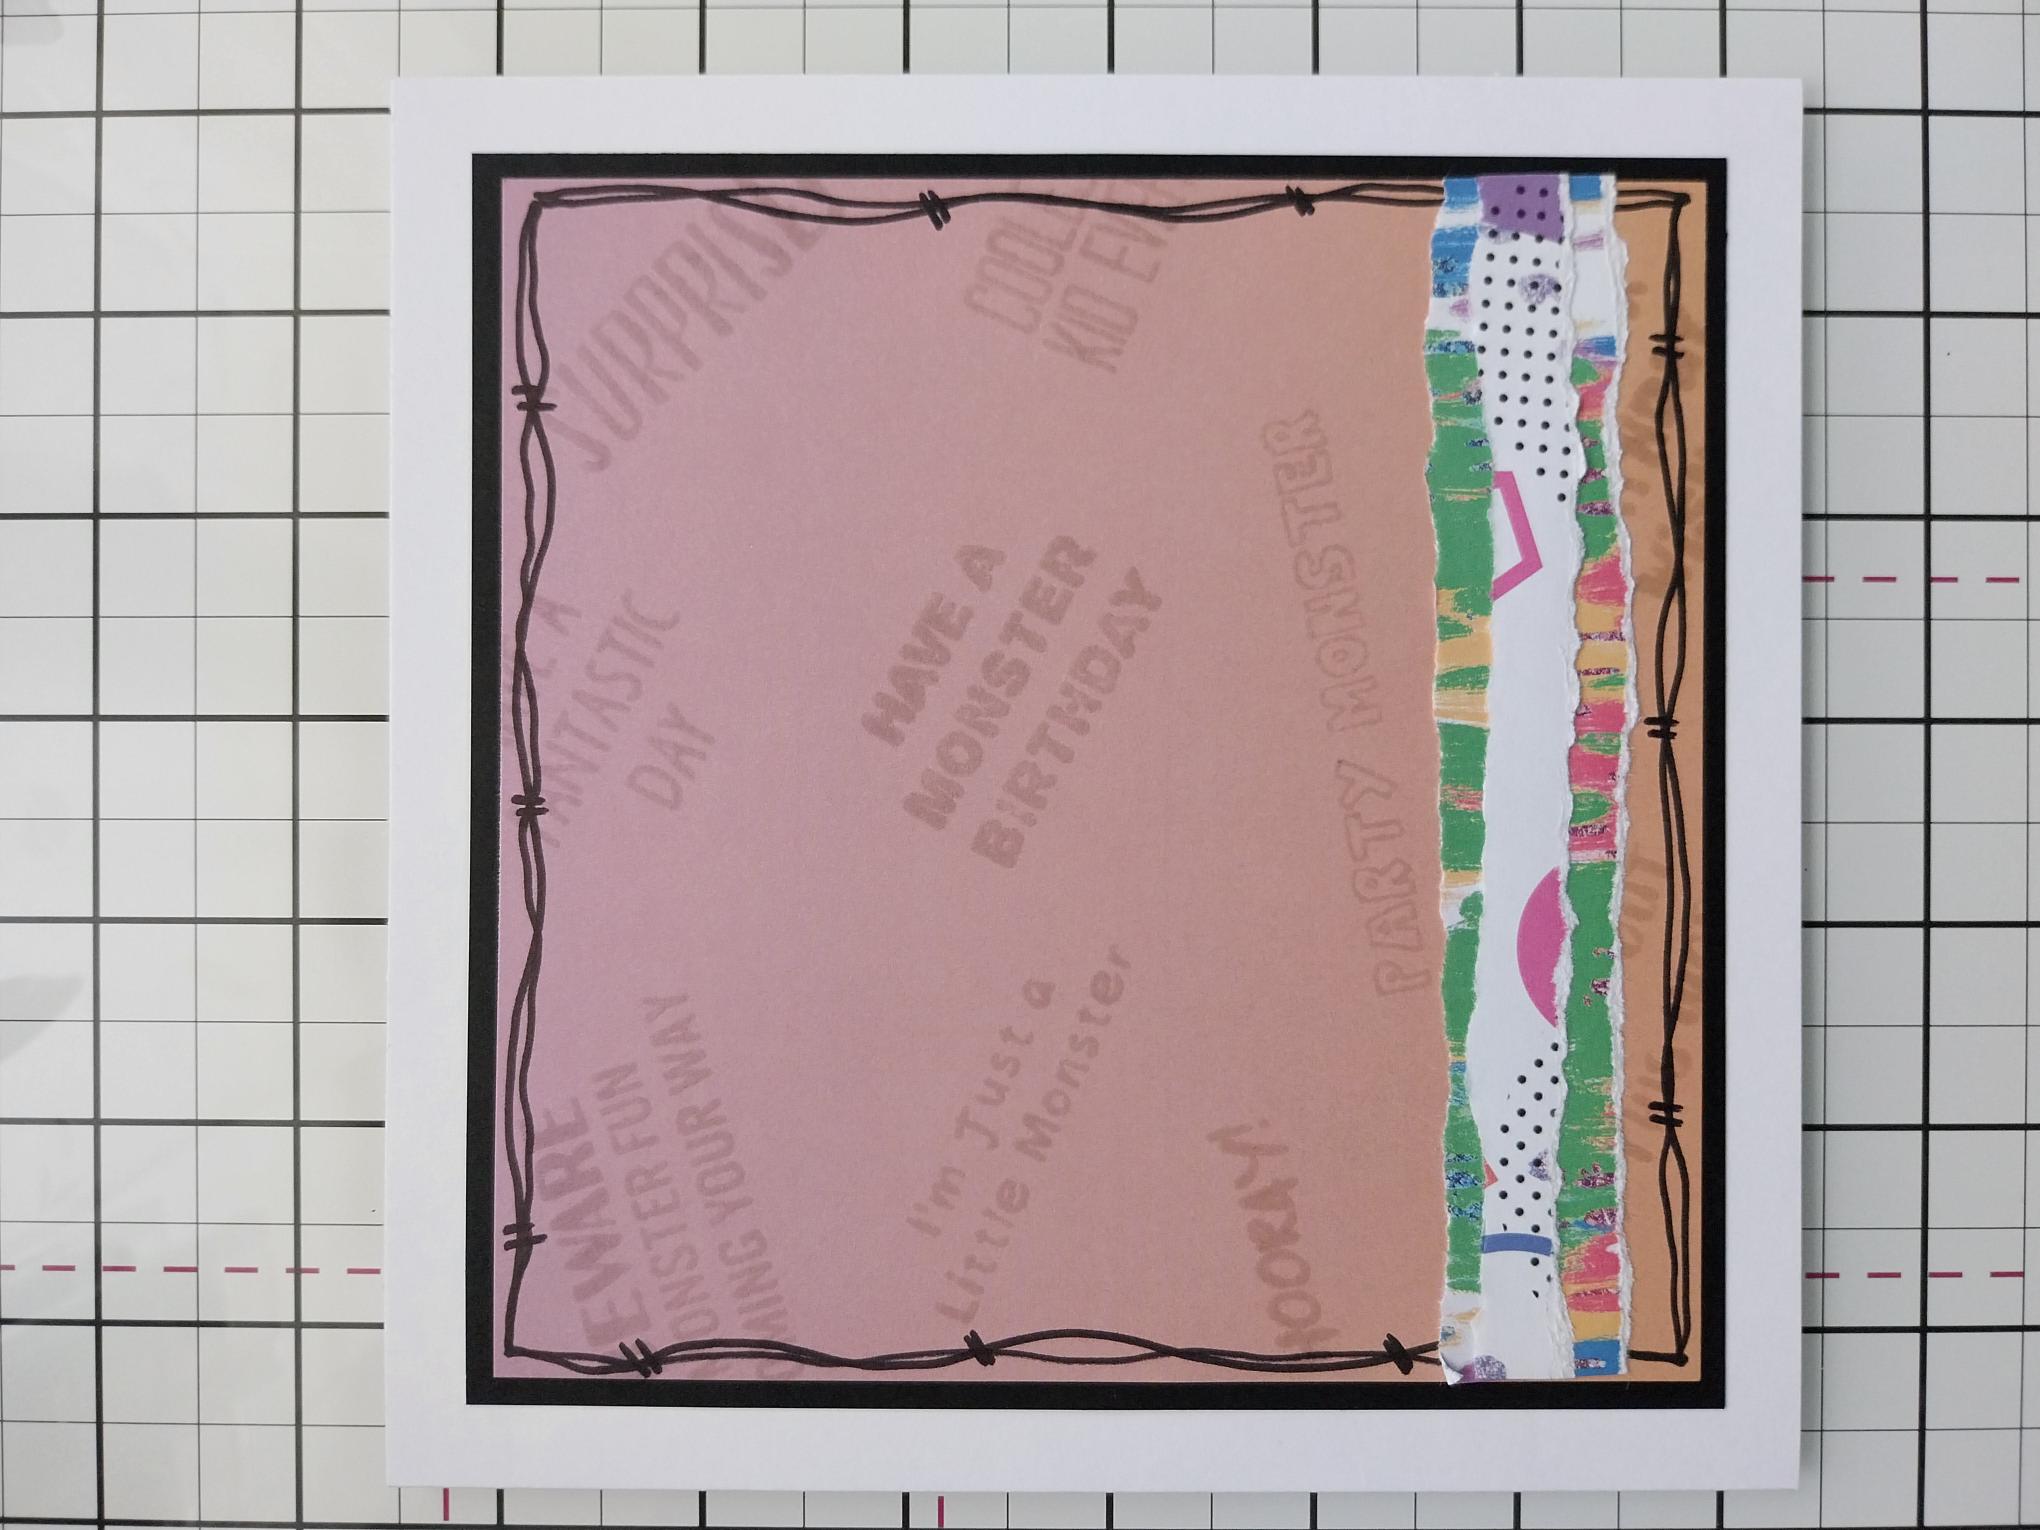
Adhere this on to the black card cut to 6 x 6" and then on to the front of your white, 7" square card blank. |

|
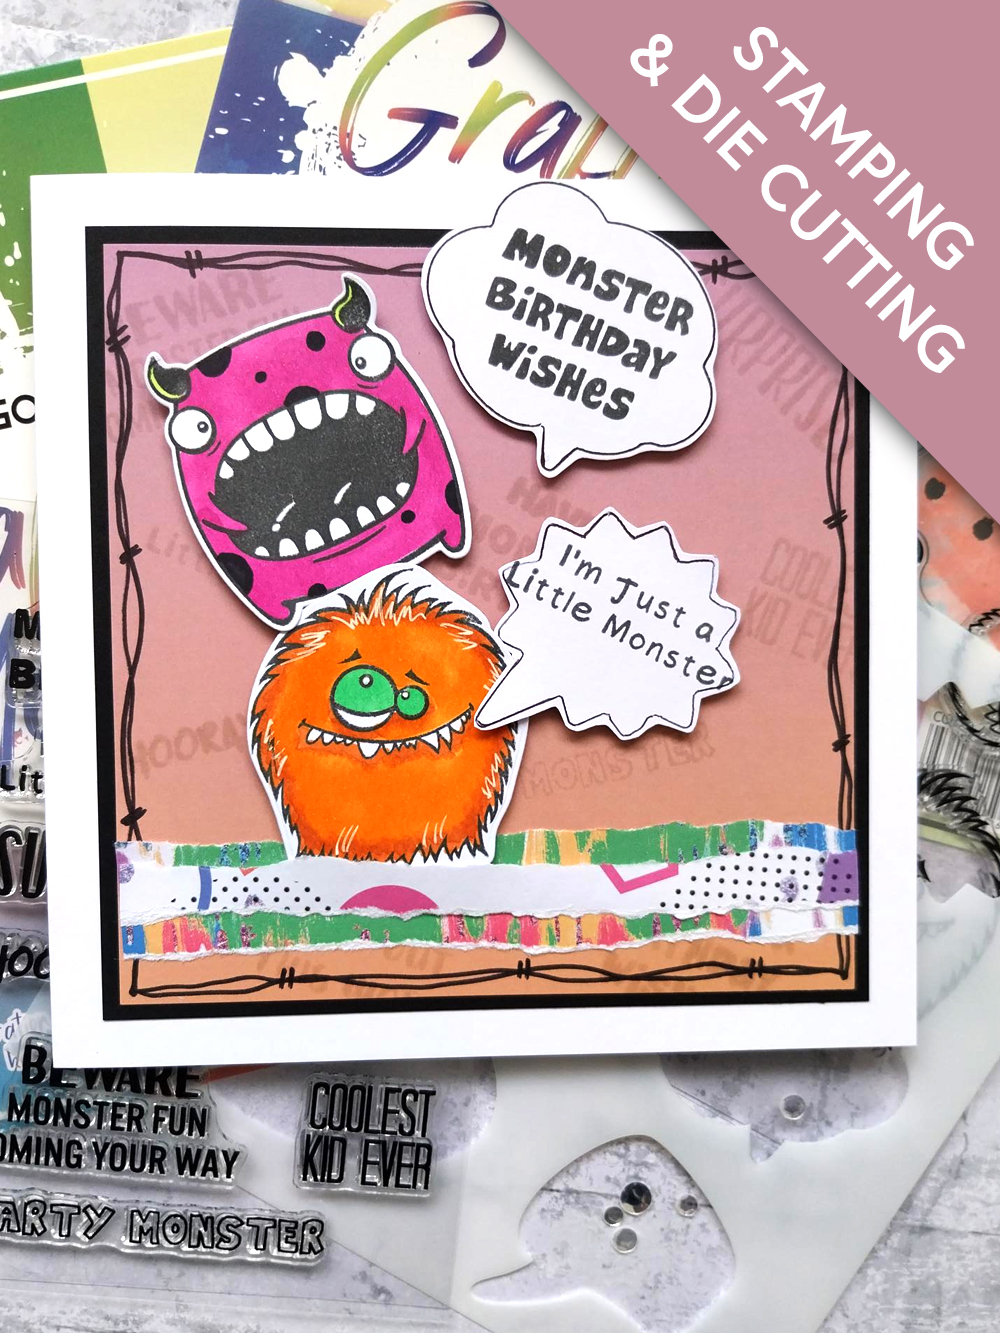
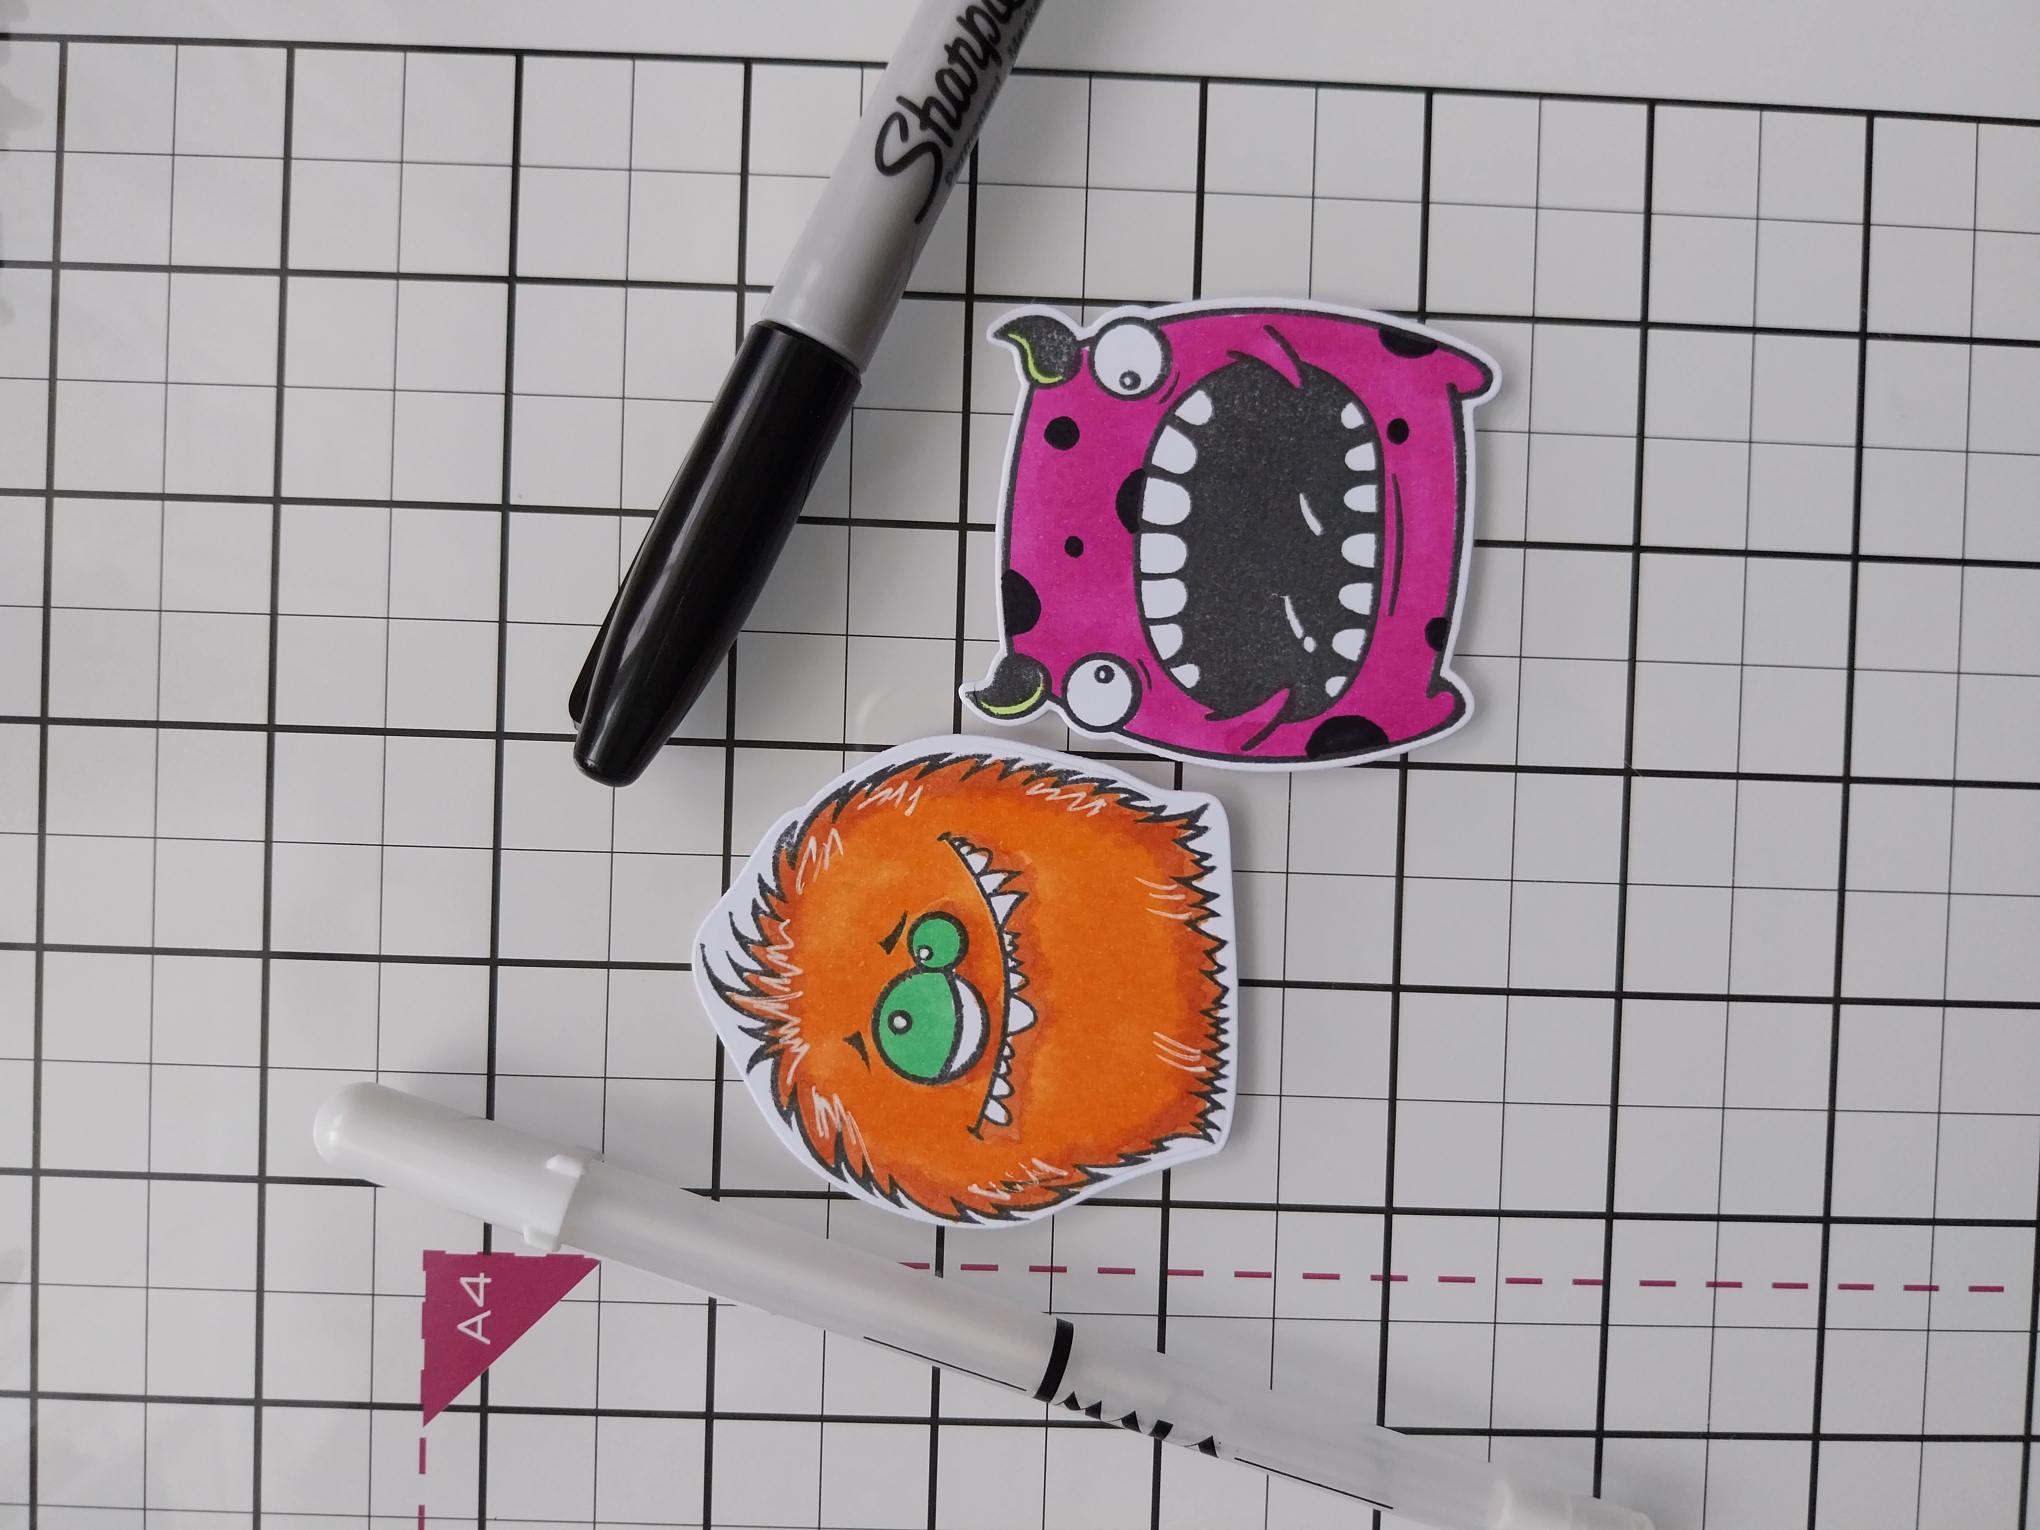
Stamp these 2 cheeky characters with the Midnight hybrid ink, on to a piece of white card. Use the coordinating dies to cut them out. Colour them in with your alcohol pens, placing a sheet of copy paper underneath. This will protect your work surface from the alcohol ink that bleeds through the card.This is perfectly normal! |
|
Use a black and white gel pen to add accents and highlights to your characters, as required. I decided to add a "spotty" look to one of my cheeky monsters! |

|
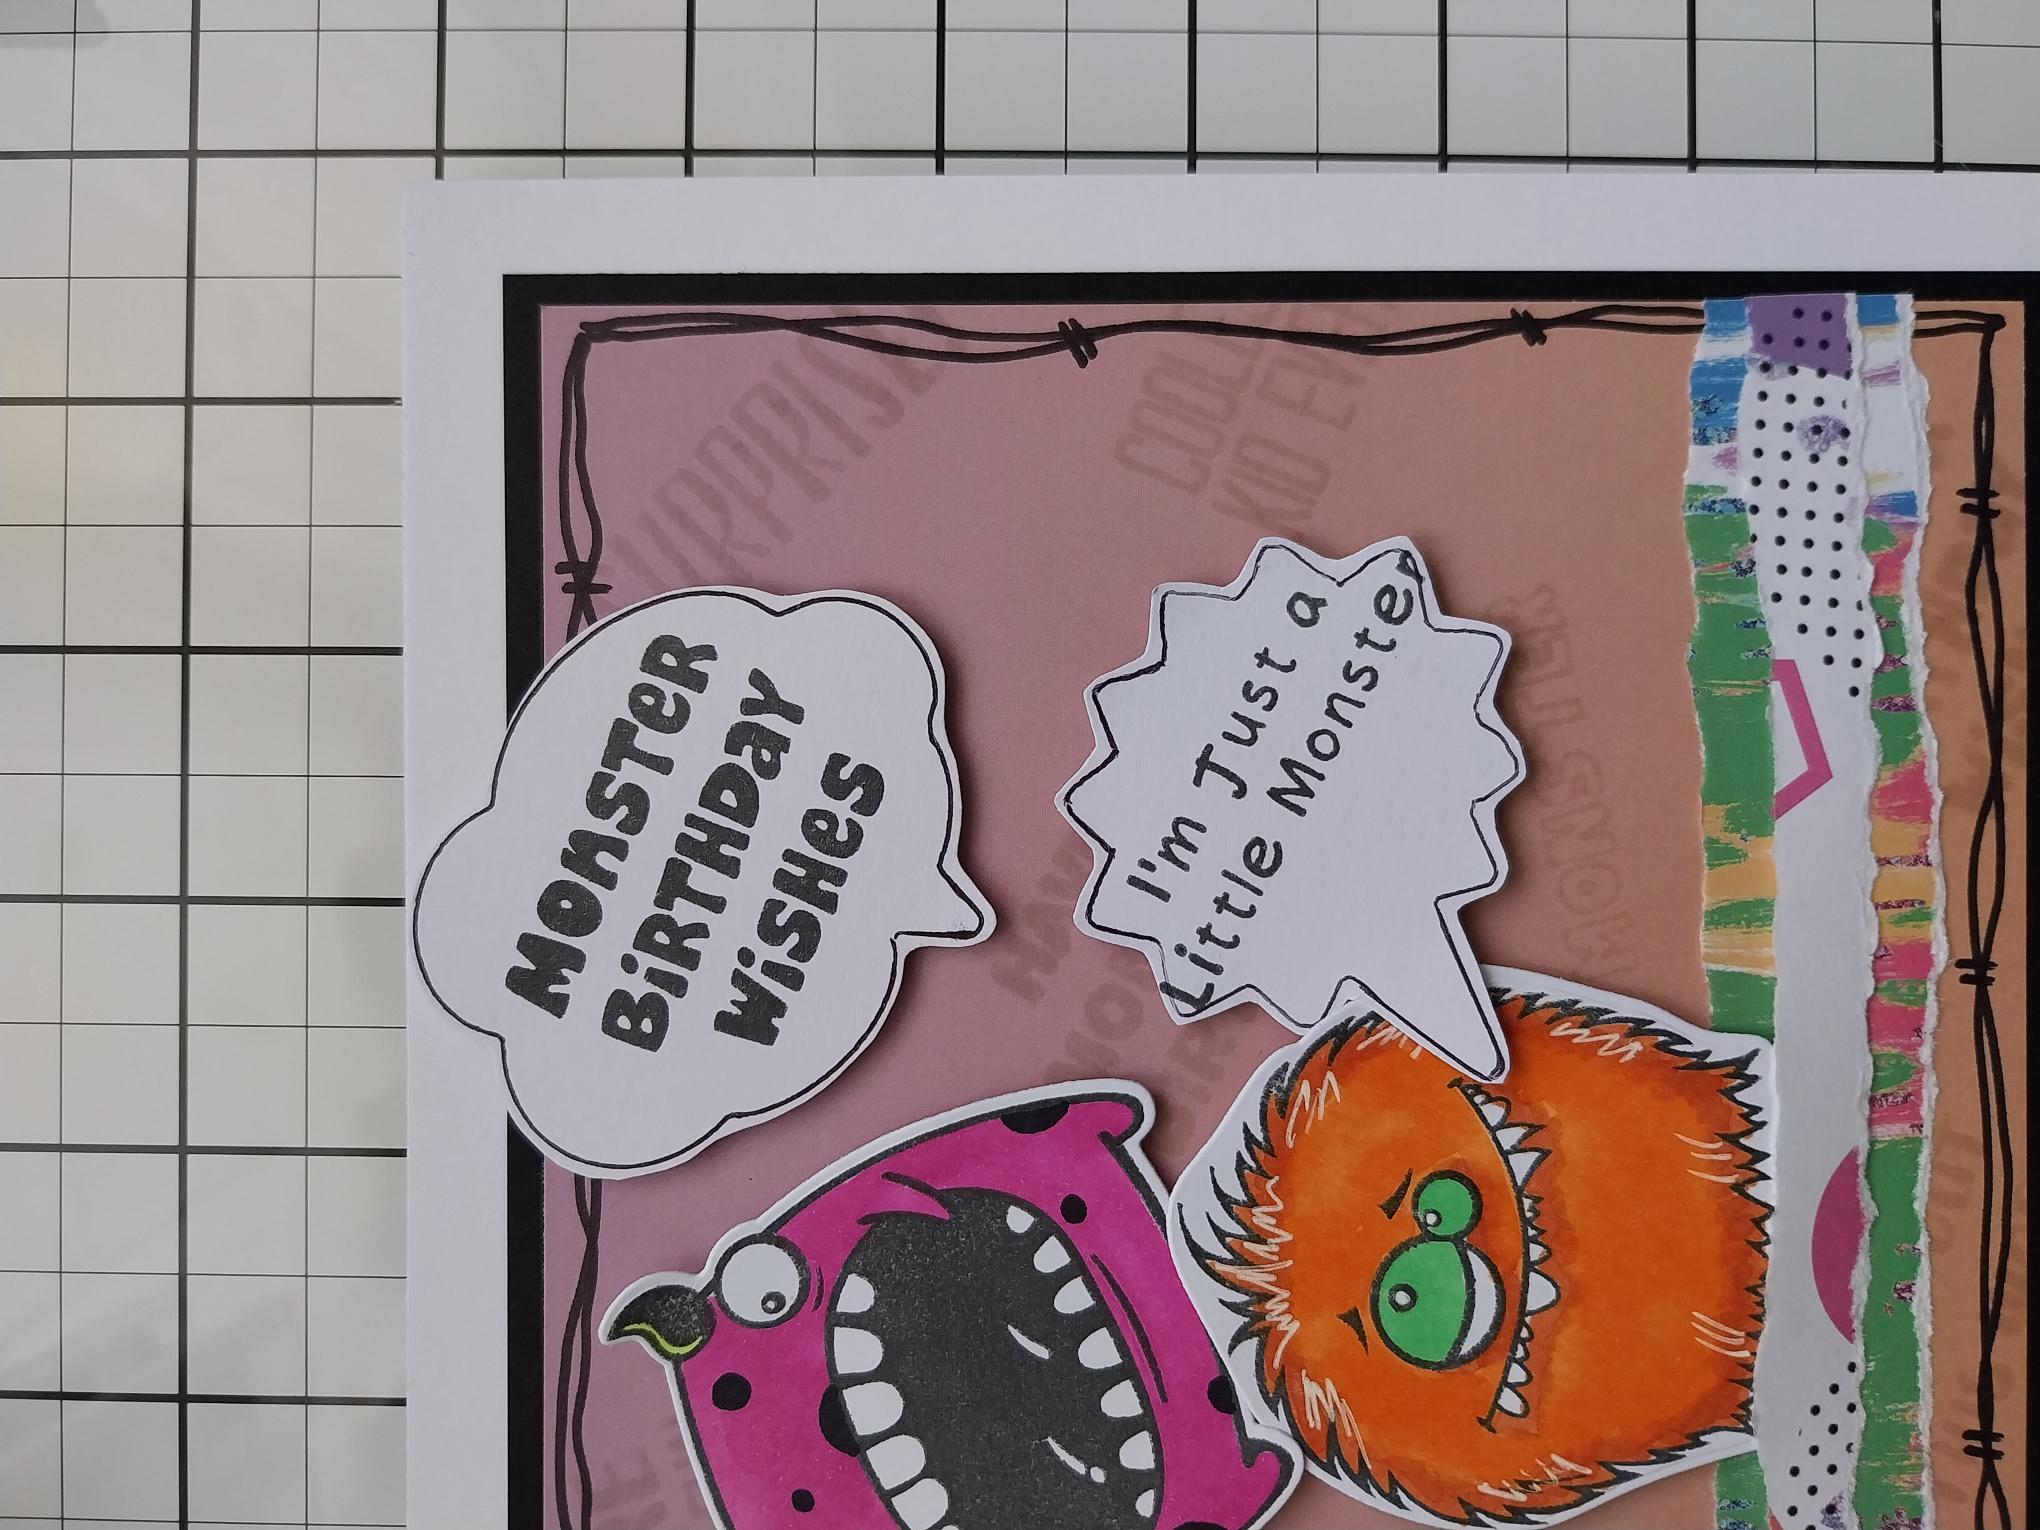
Adhere them down the left side of your background, so one is standing on the other's head! Use a combination of wet glue and foam pads, to add dimension to your card. |
|
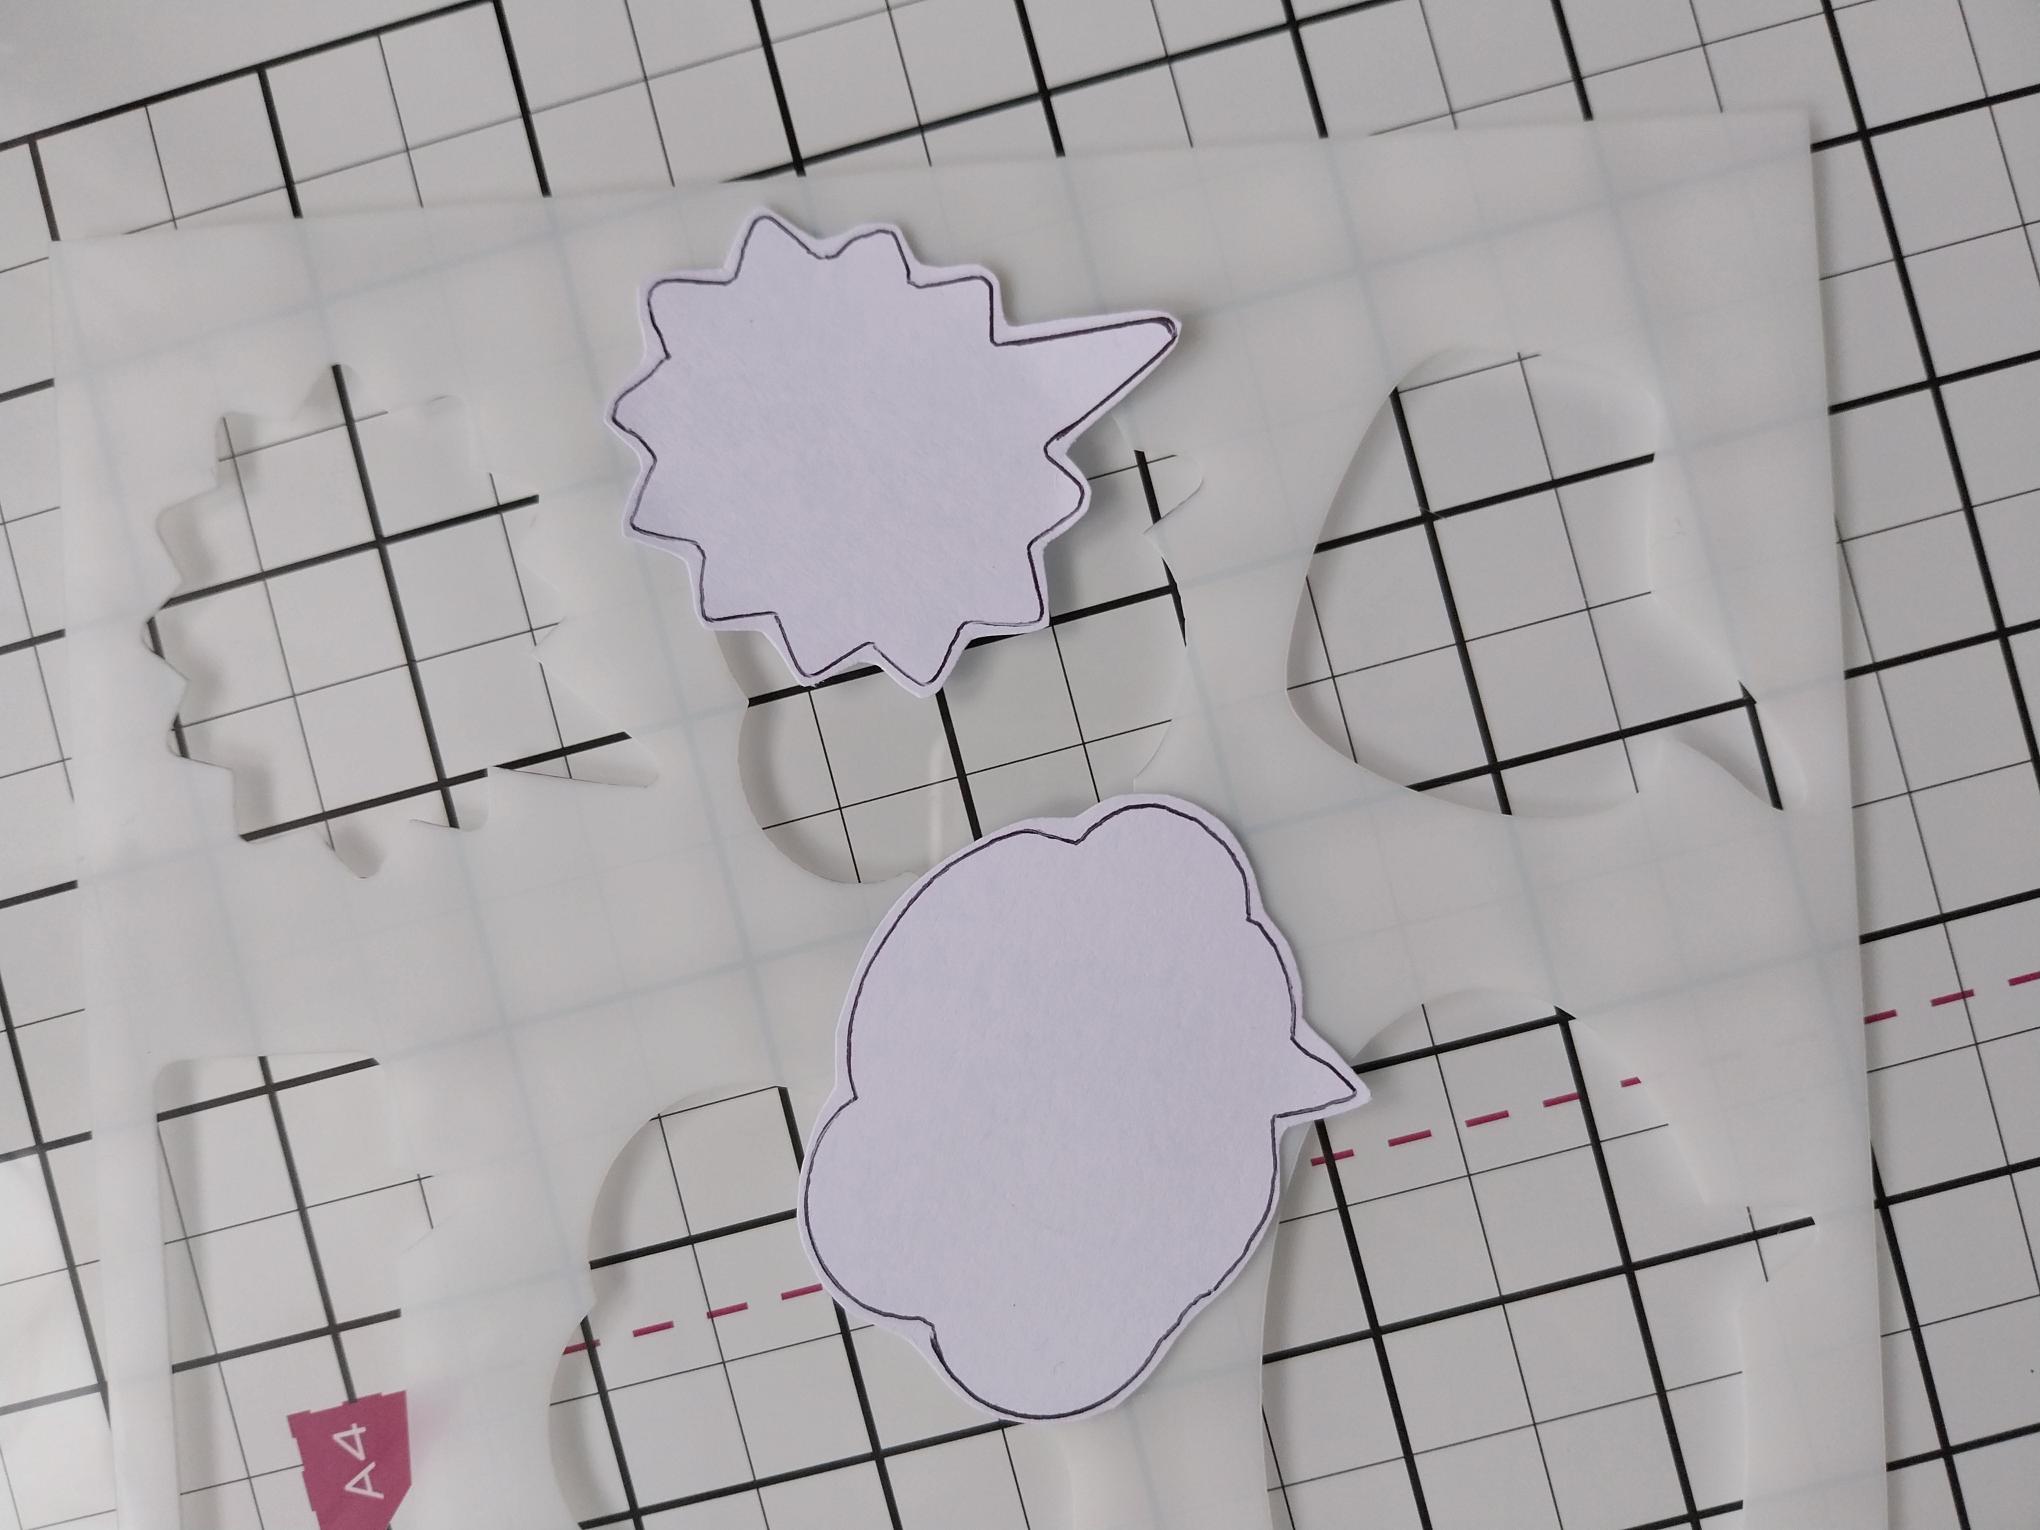
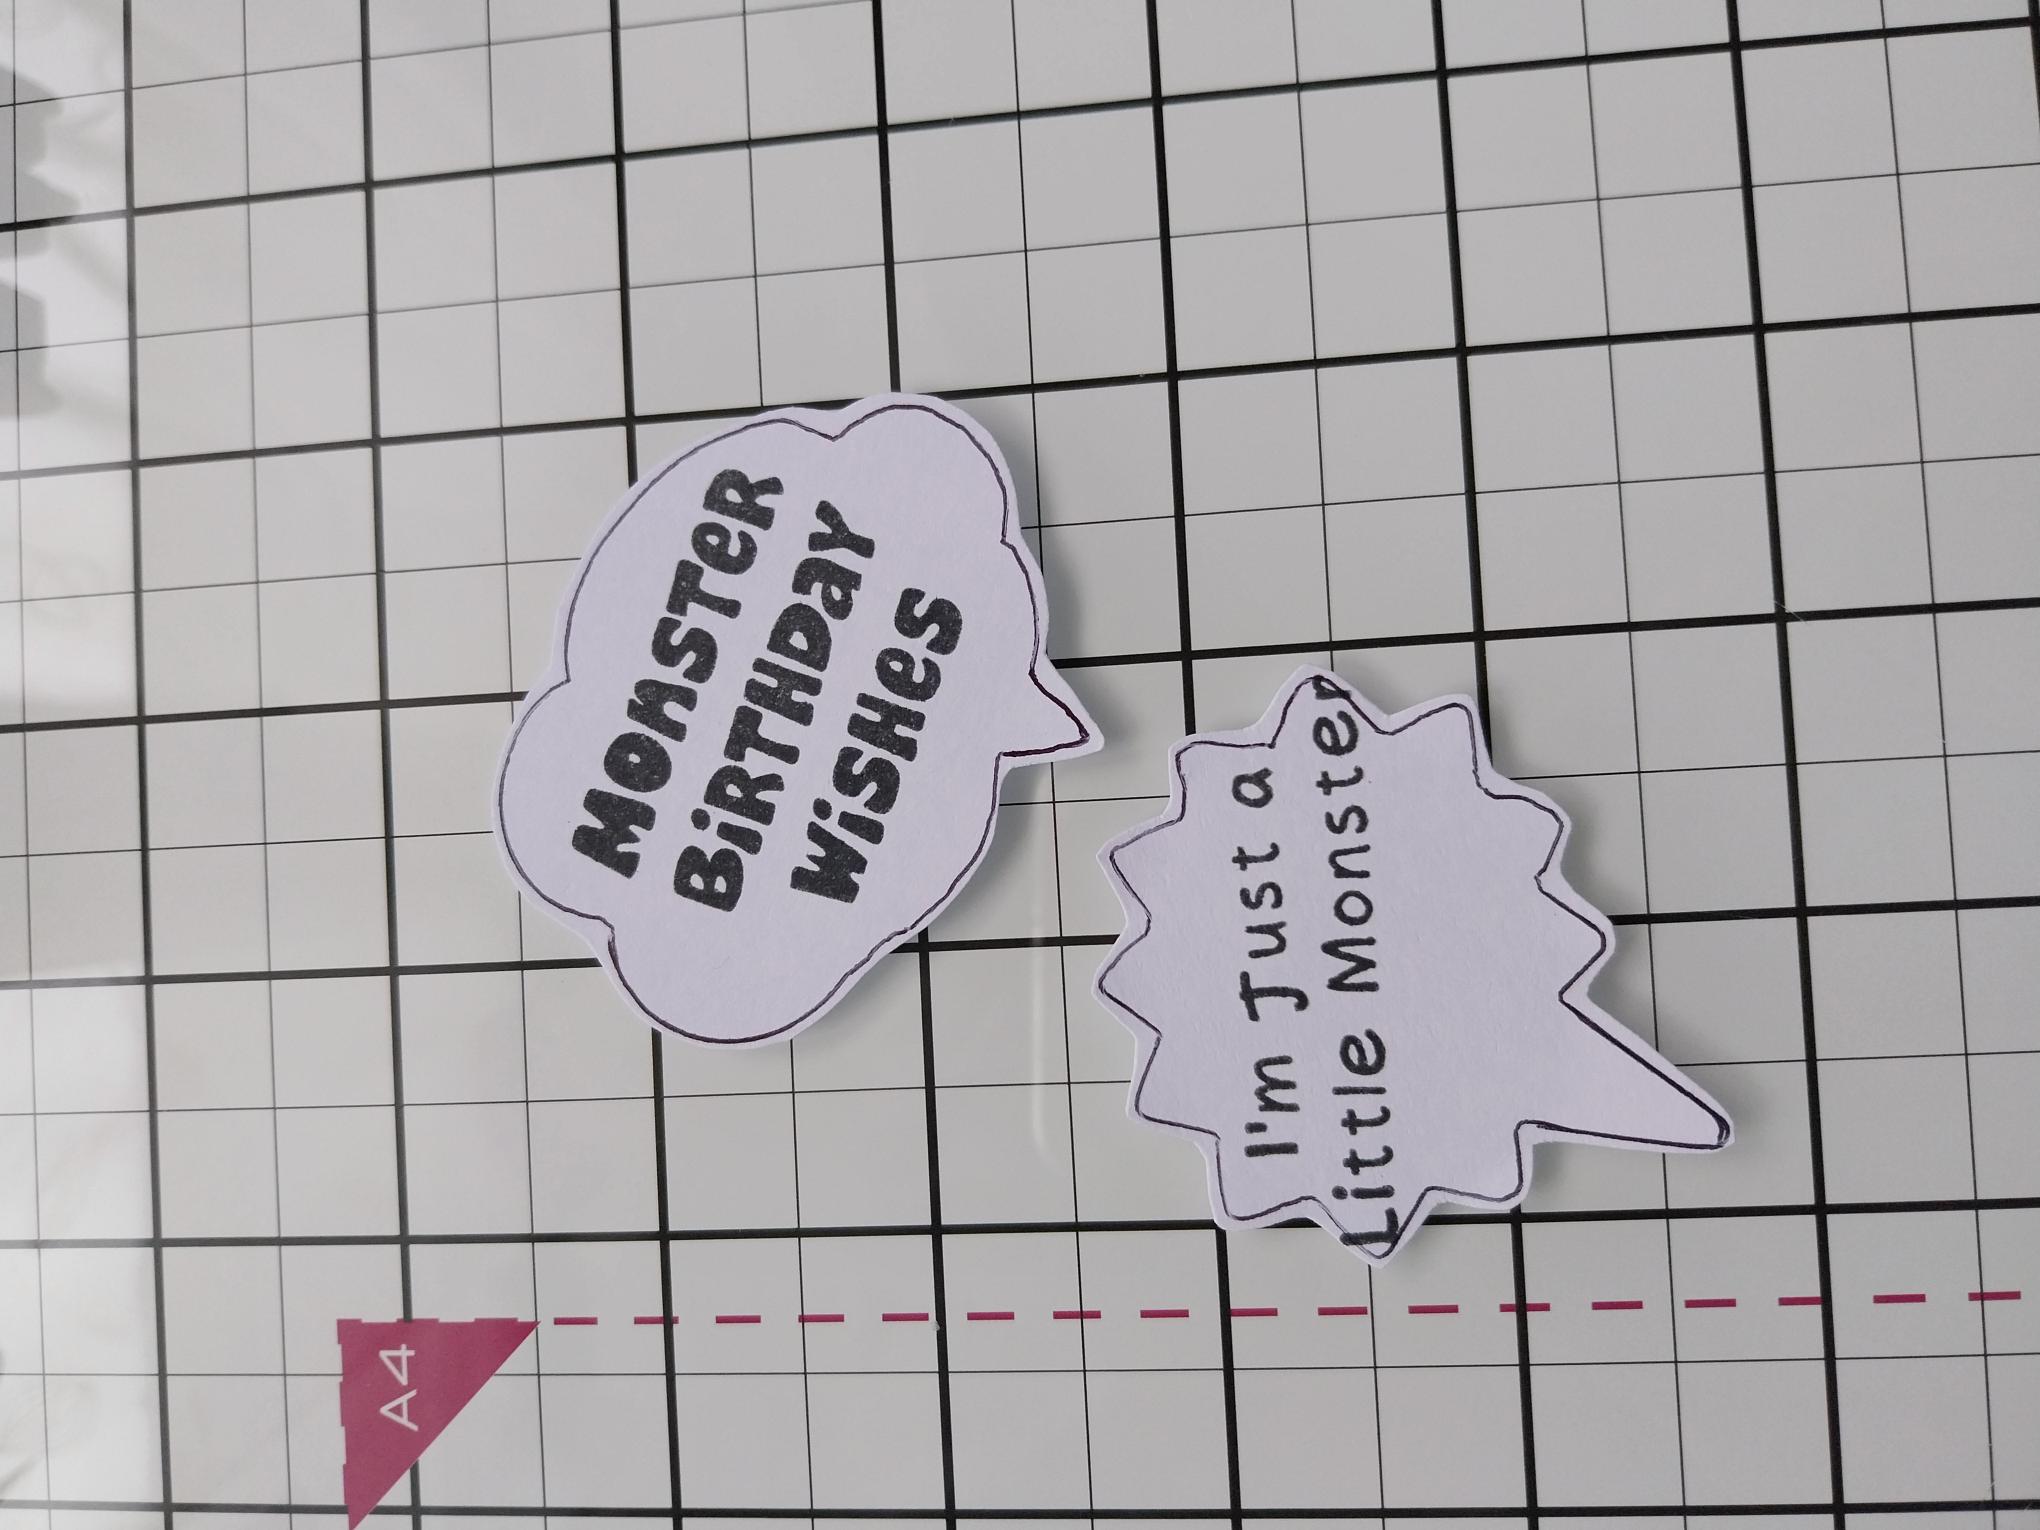
Draw around 2 of the stencil speech bubbles, on to a piece of white card, then fussy cut. |
|
Stamp these sentiments, in the Midnight ink, in the middle of your speech bubbles. |
|
To finish your project, adhere each sentiment with foam pads, adjacent to each monster. |