Give your friends $10 off their first order!
Refer a FRIEND


WHAT YOU WILL NEED:
A4 black card
A4 Glitter card (colour of your choice)
White card
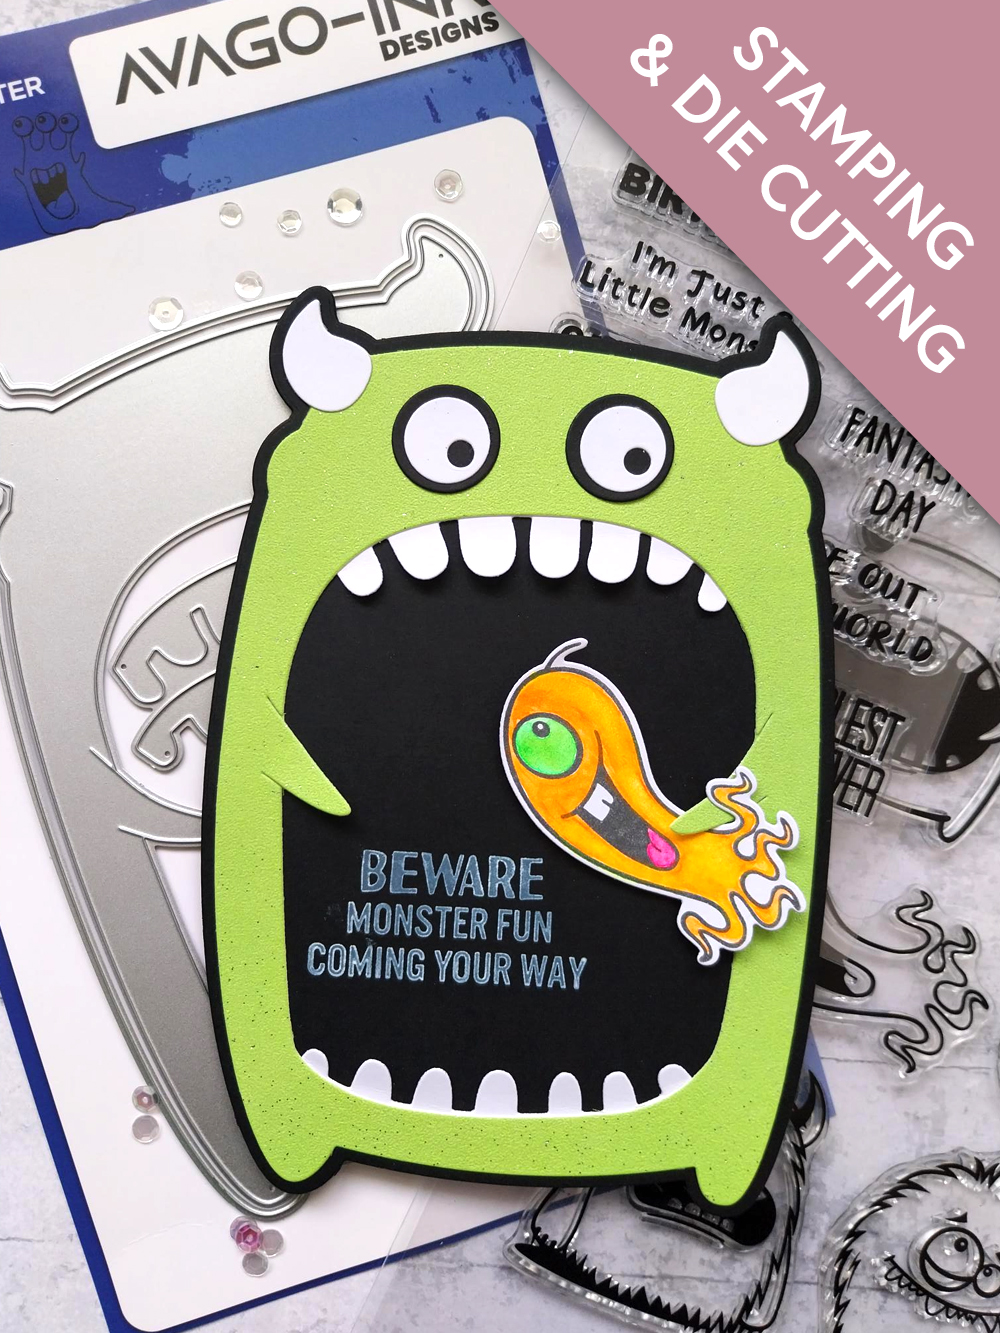
Avago-Ink Designs Graffiti Monster Die Set
Avago-Ink Designs Graffiti Monster 7 x 7" Stencil and Stamp Set
Avago-Ink Designs Graffiti Monster 5 x 7" Stamp and Die Set
SBM Hybrid Ink Pad: Midnight
SBM Pigment Ink Pad: Cotton
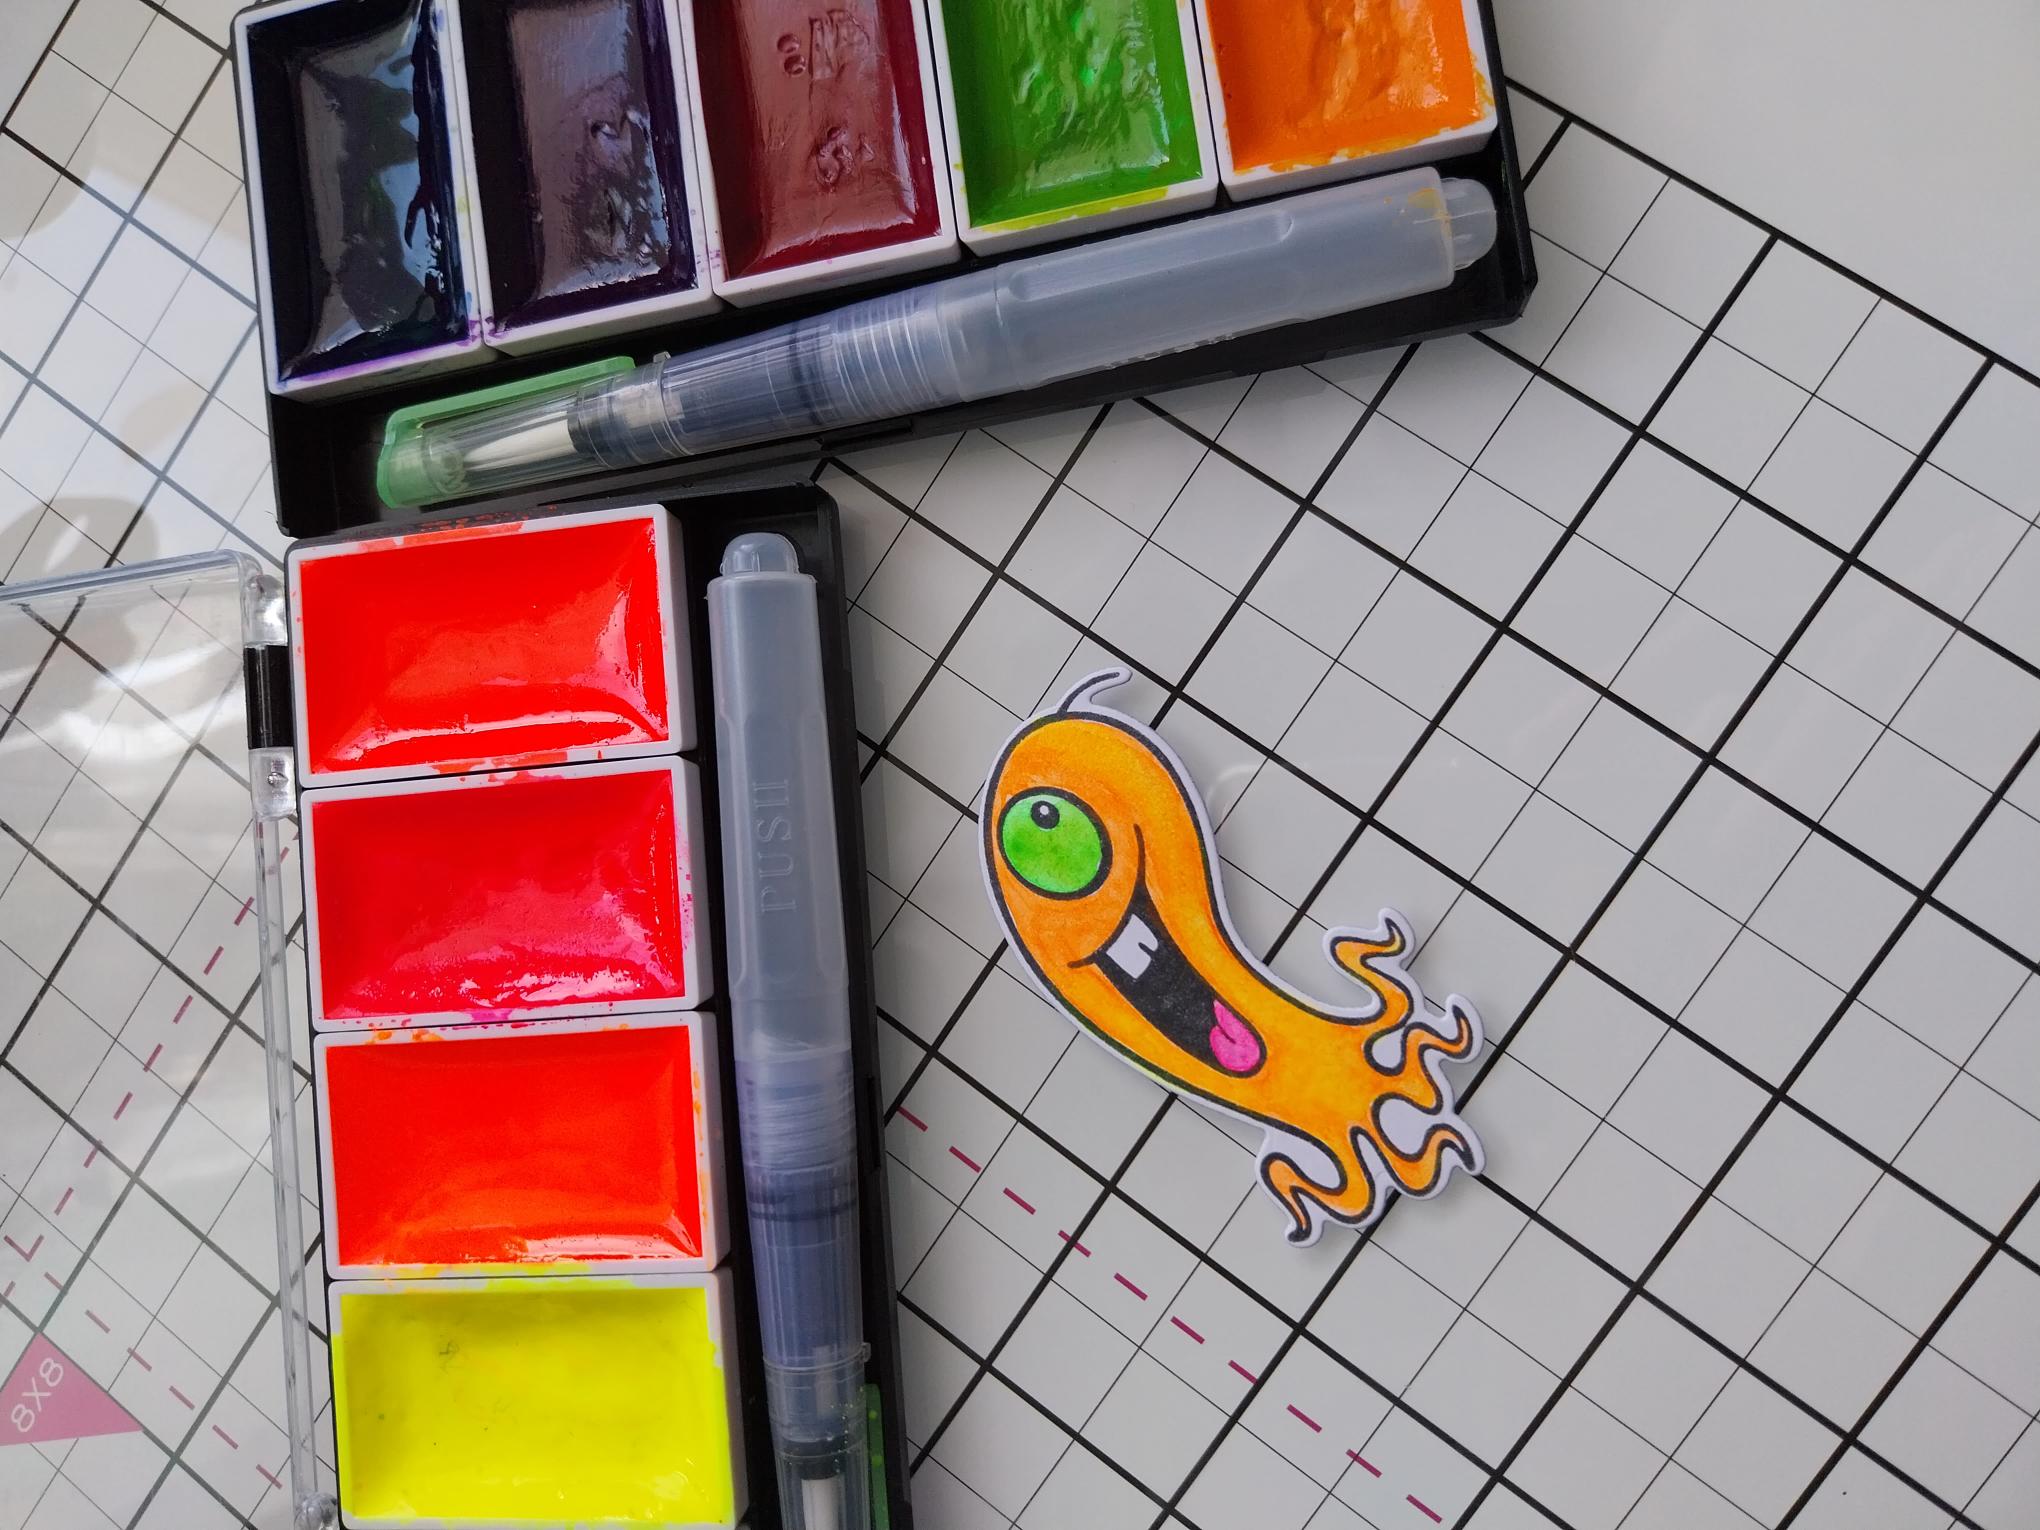
Thirsty Brush UnLtd Neon Paints: Collection 1 & 2
Paint brush
Eureka 101 Watercolour Tablet
SBM Magnetic glass mat
Score tool
Perfect Together Glue
Red liner tape
Die Cutting machine
[click image to enlarge] 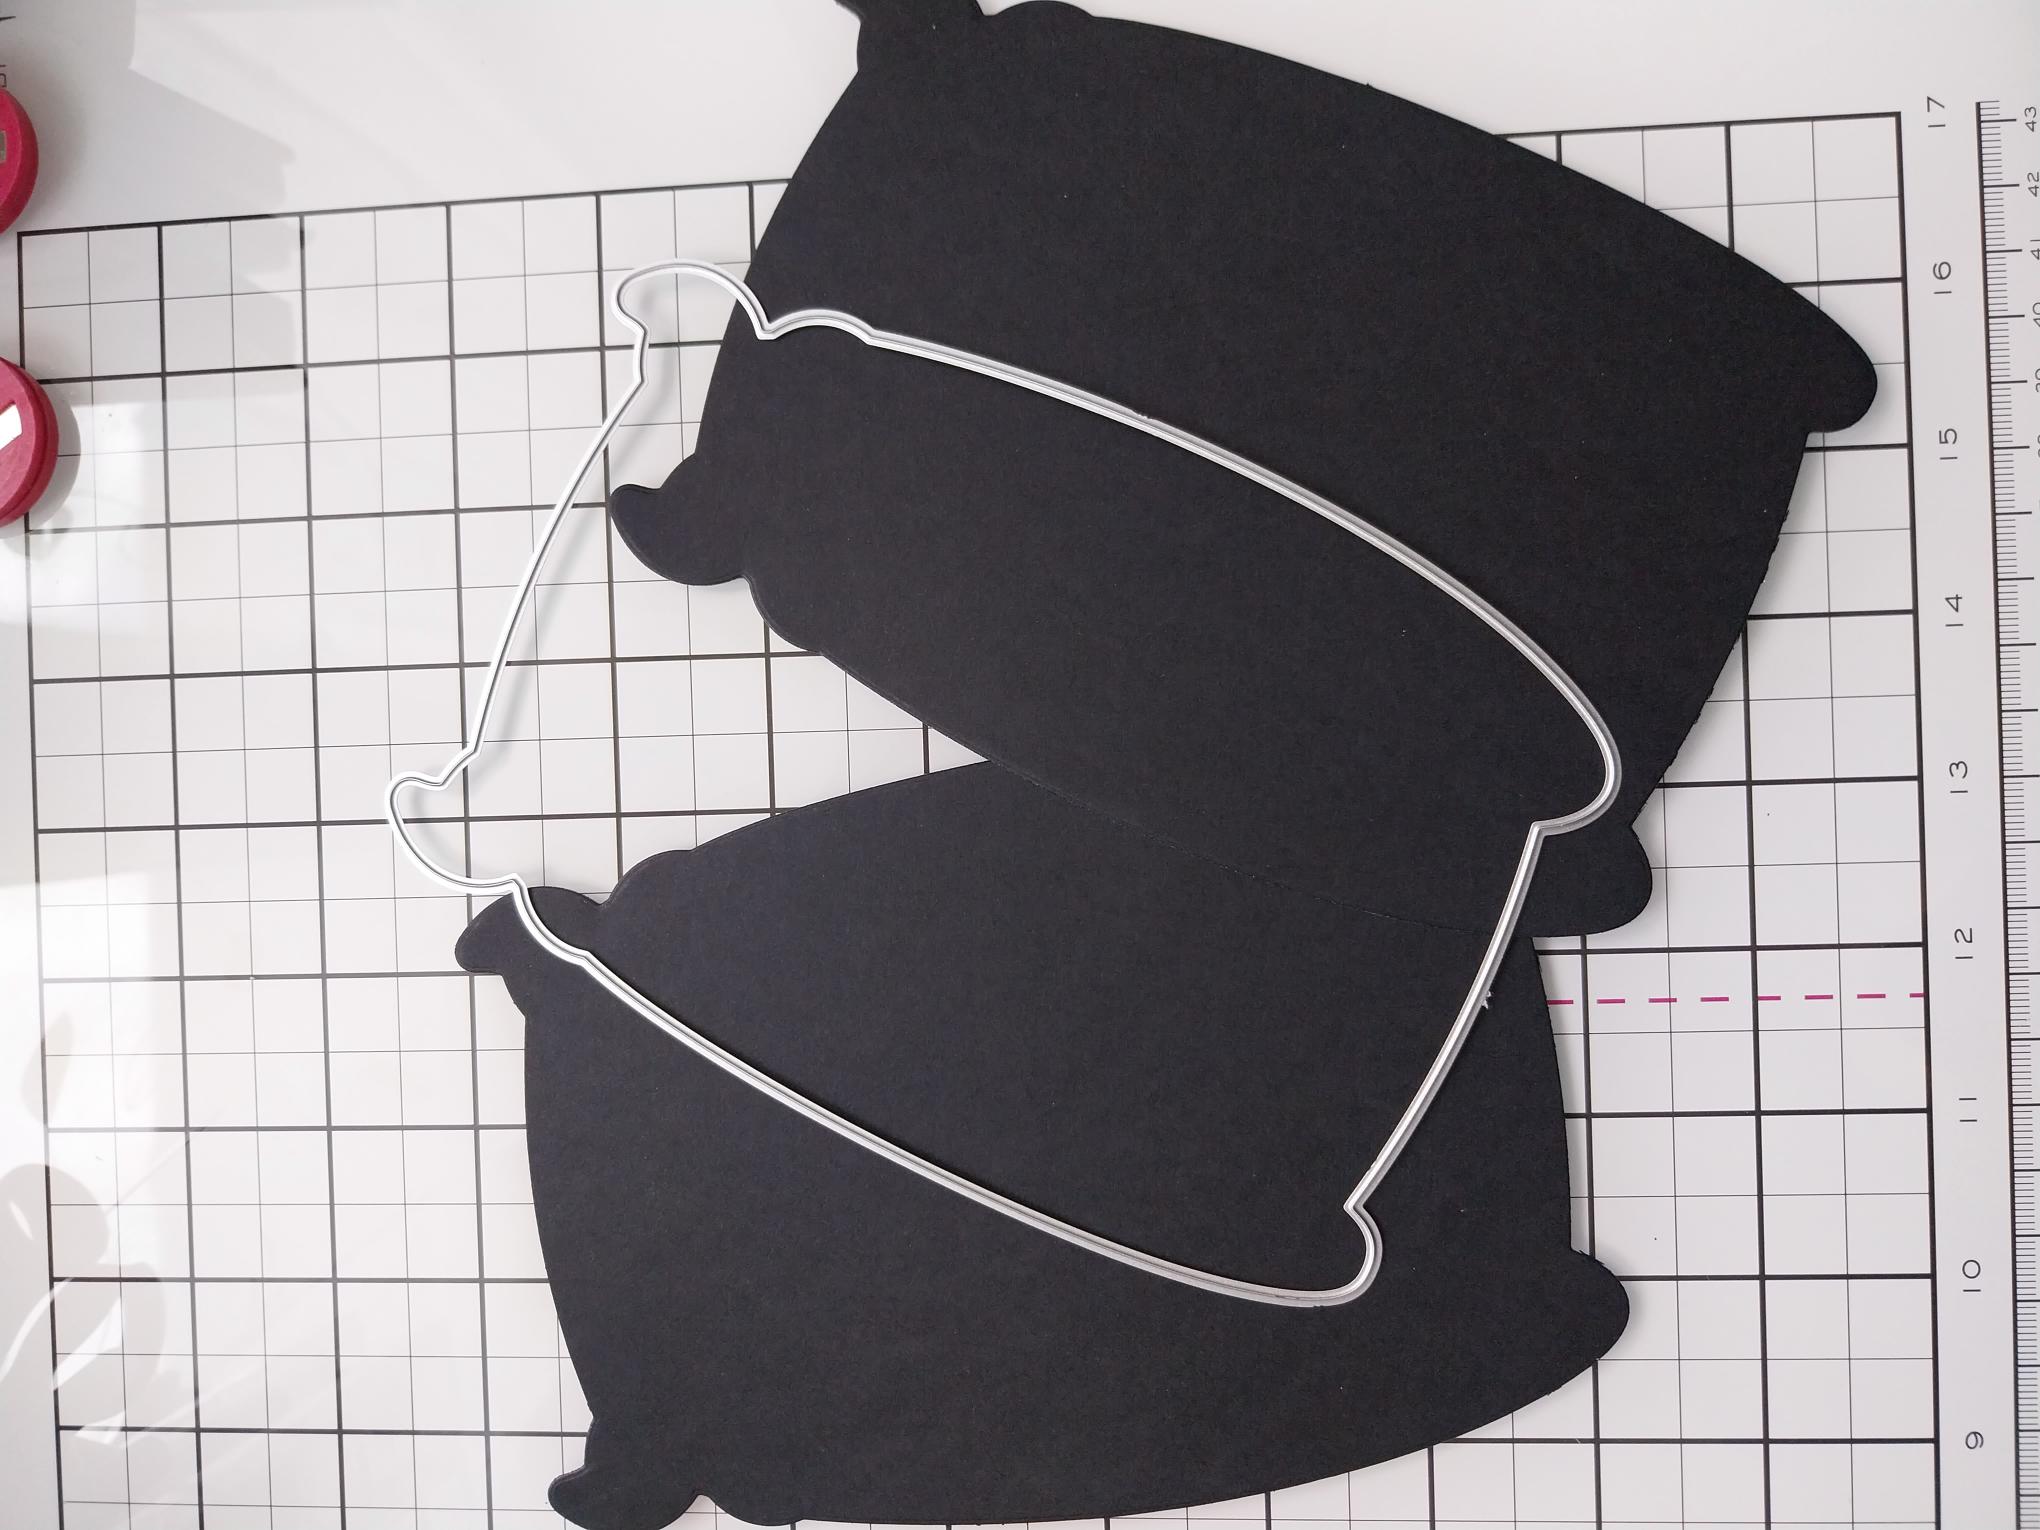
|
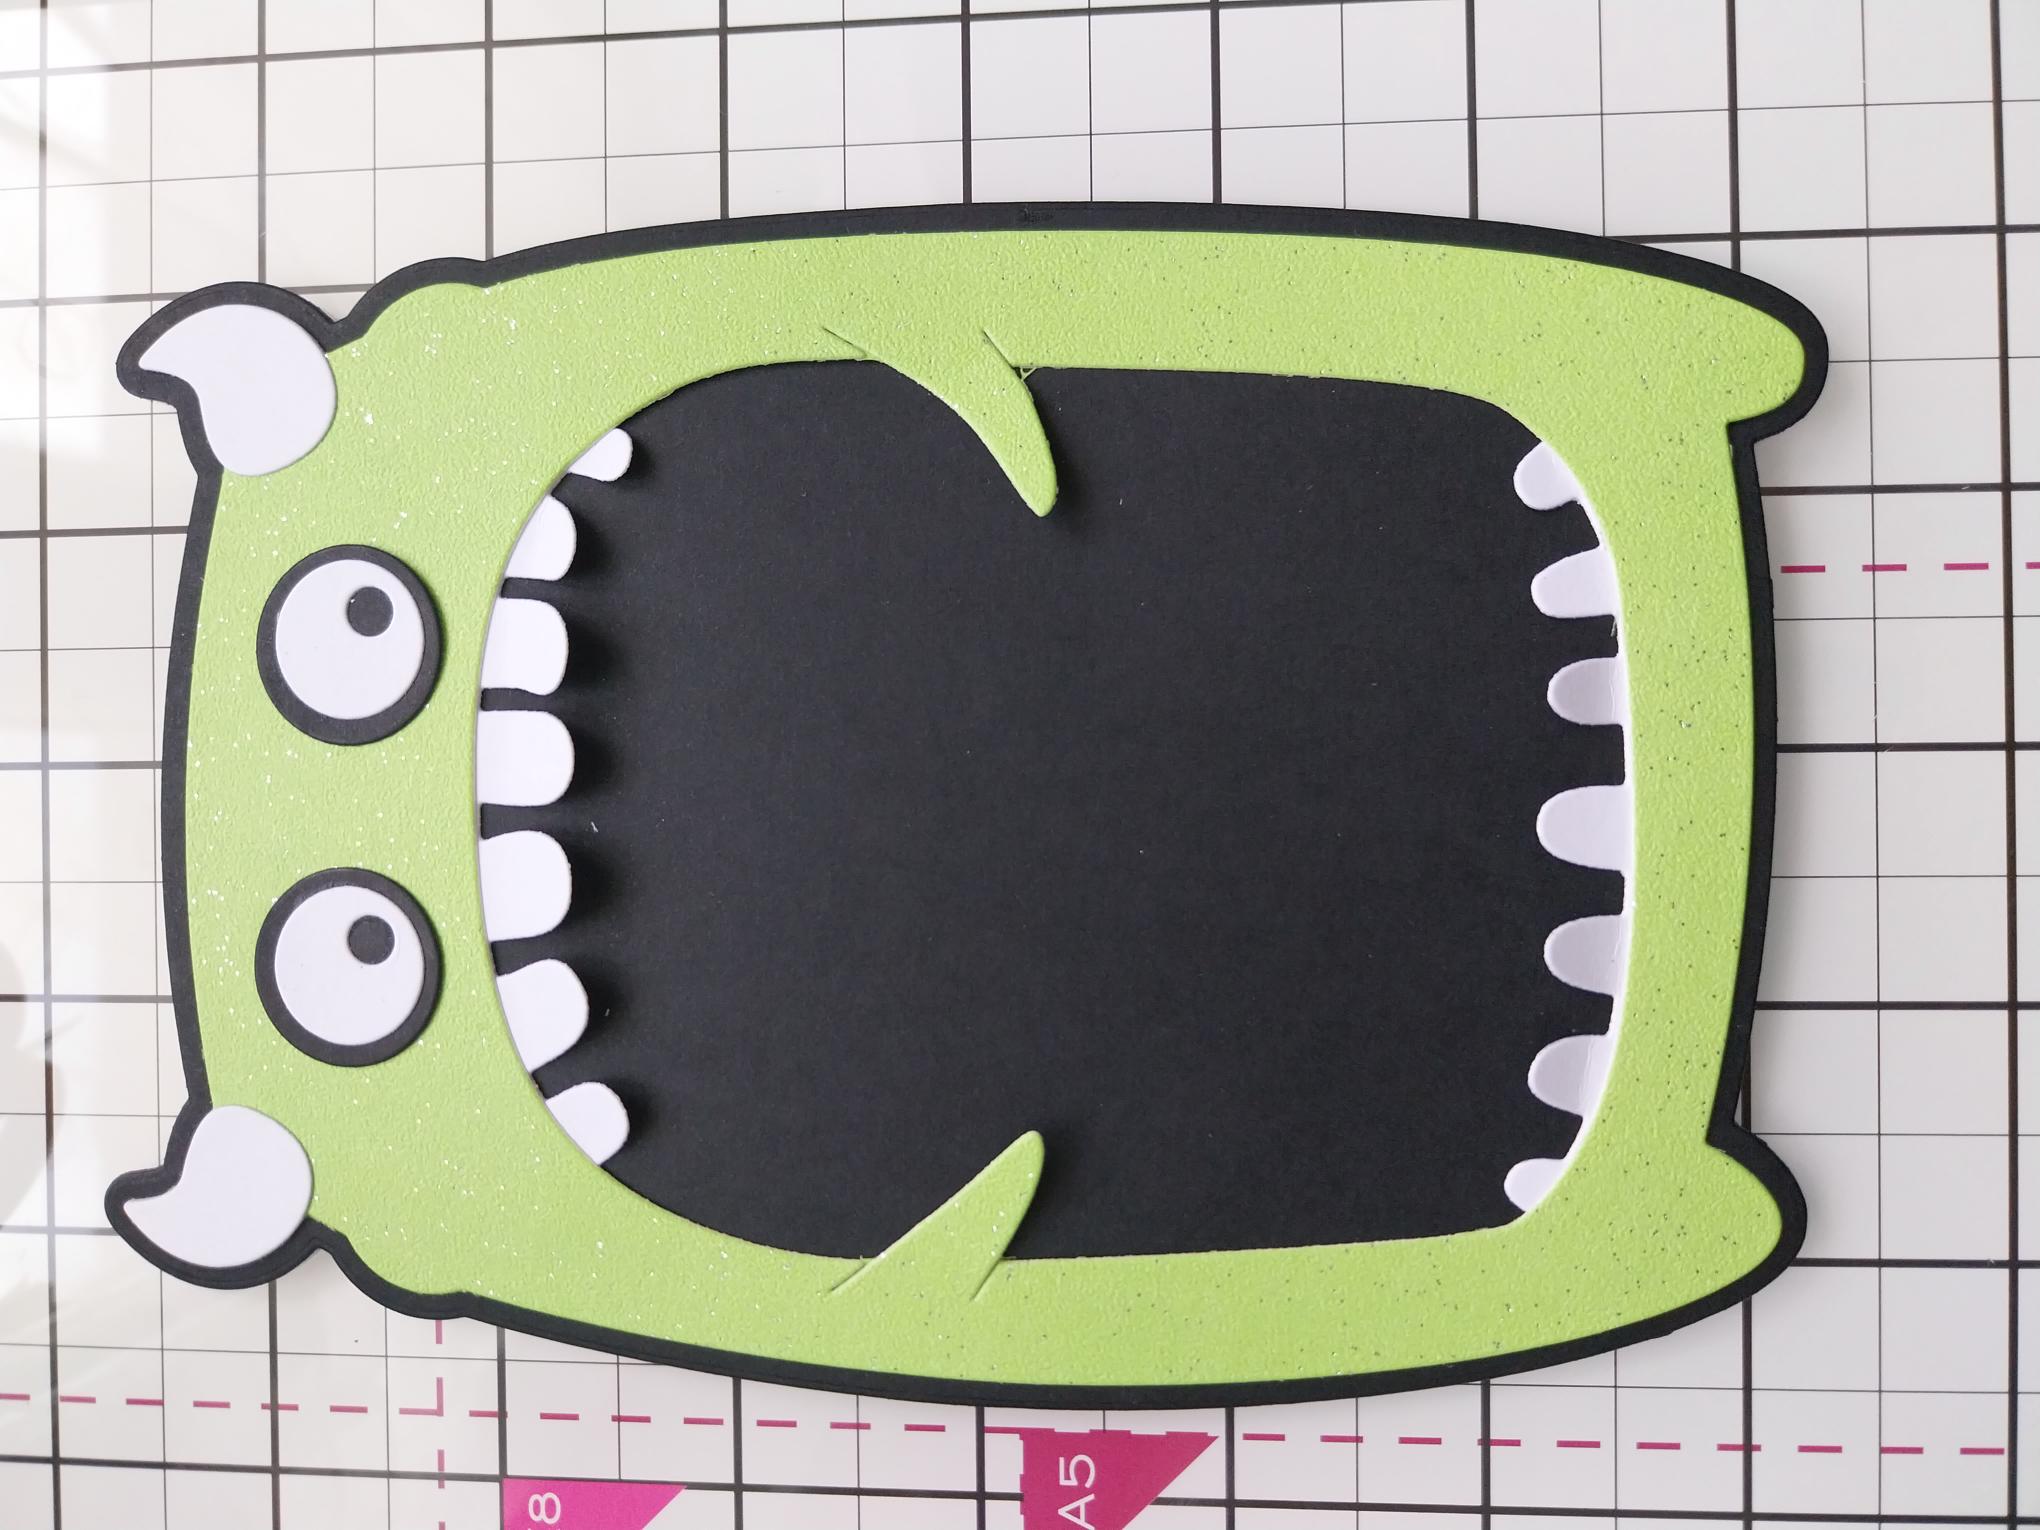
Use the outline die from the Graffiti Monster die set, to cut TWO monsters from black card. Set the remaining black card to one side, as you will need it later. |
|
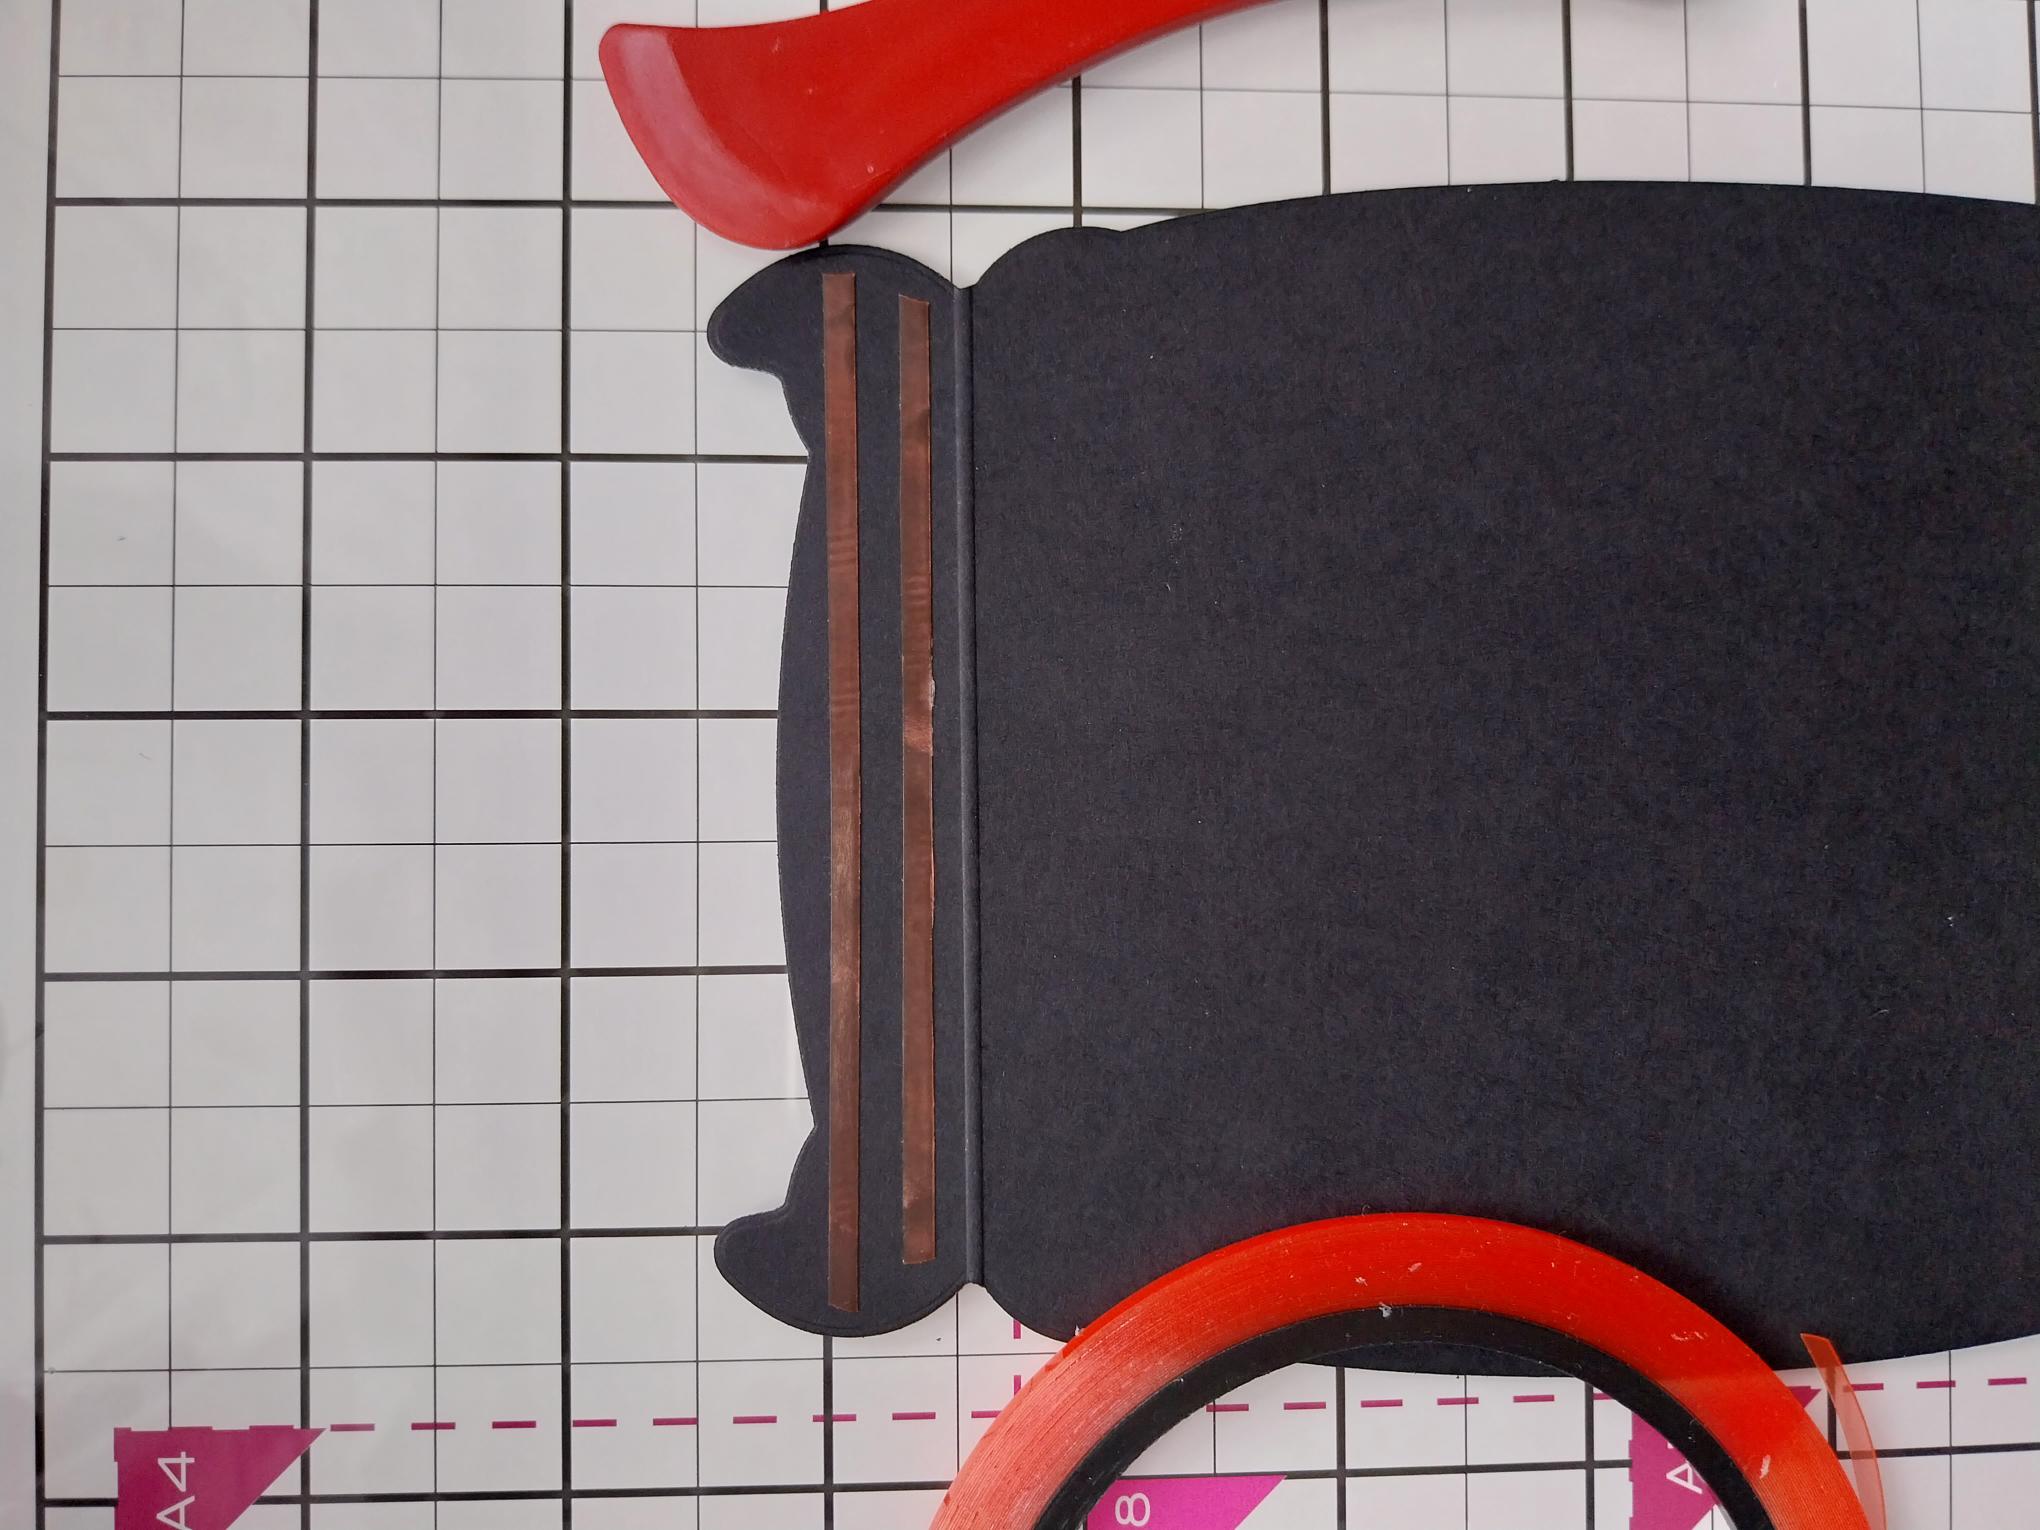
Score across ONE of the black die cut monsters, about 1cm down from the top and apply red liner tape ABOVE the score line. |
|
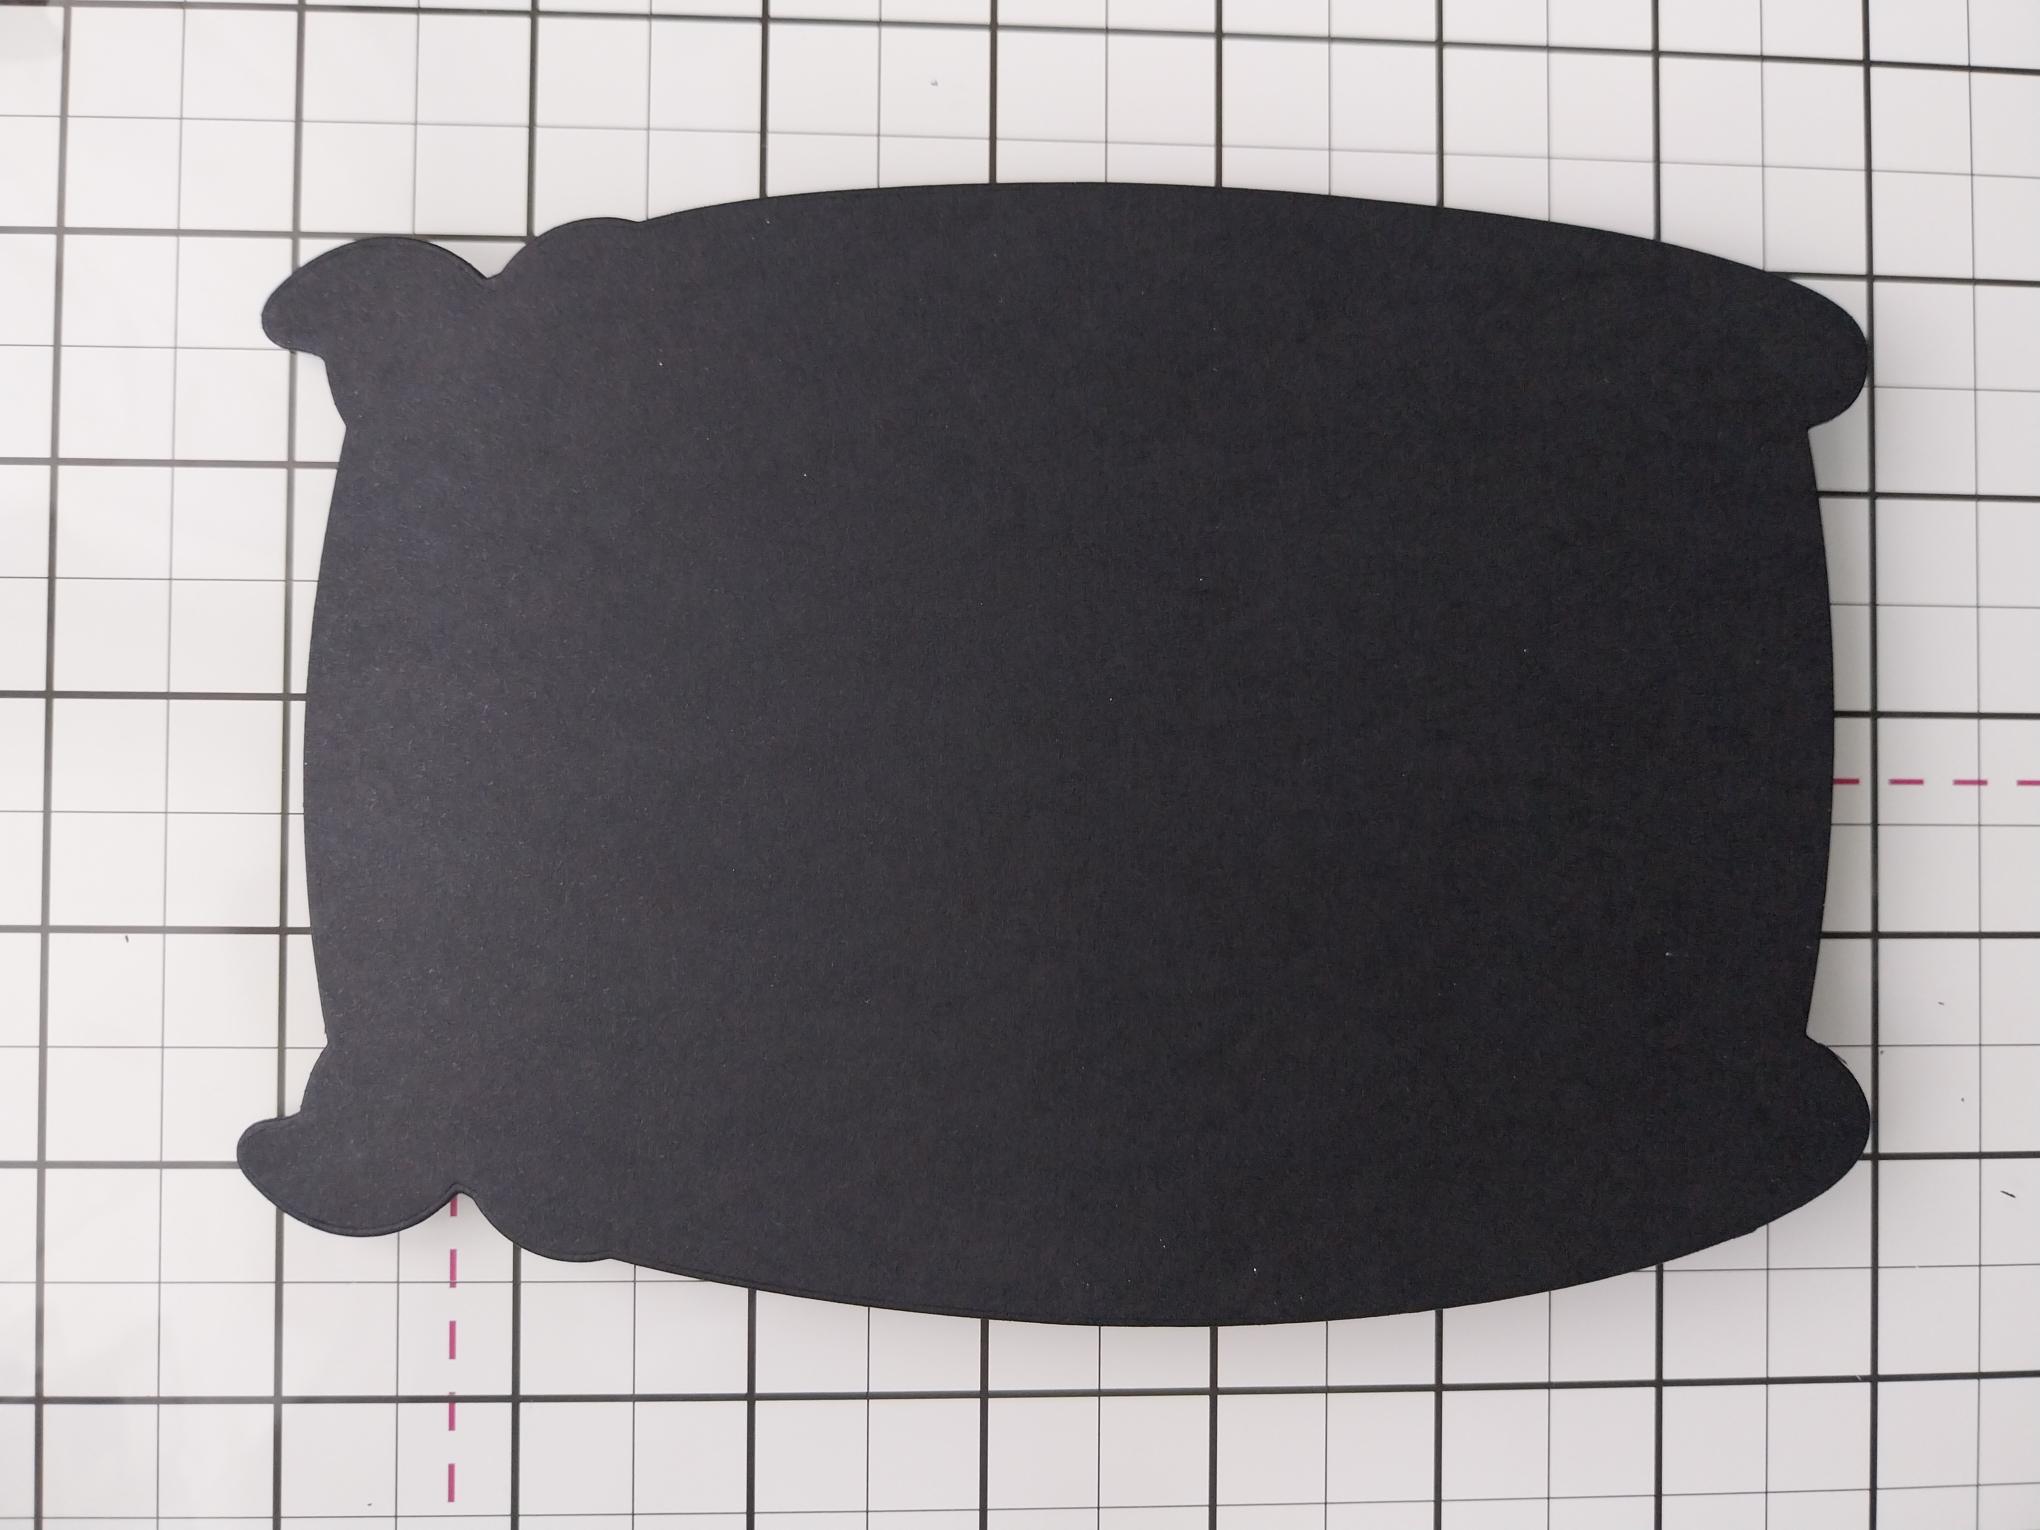
Adhere the two monsters together, to create your shaped card blank and set to one side. |
|
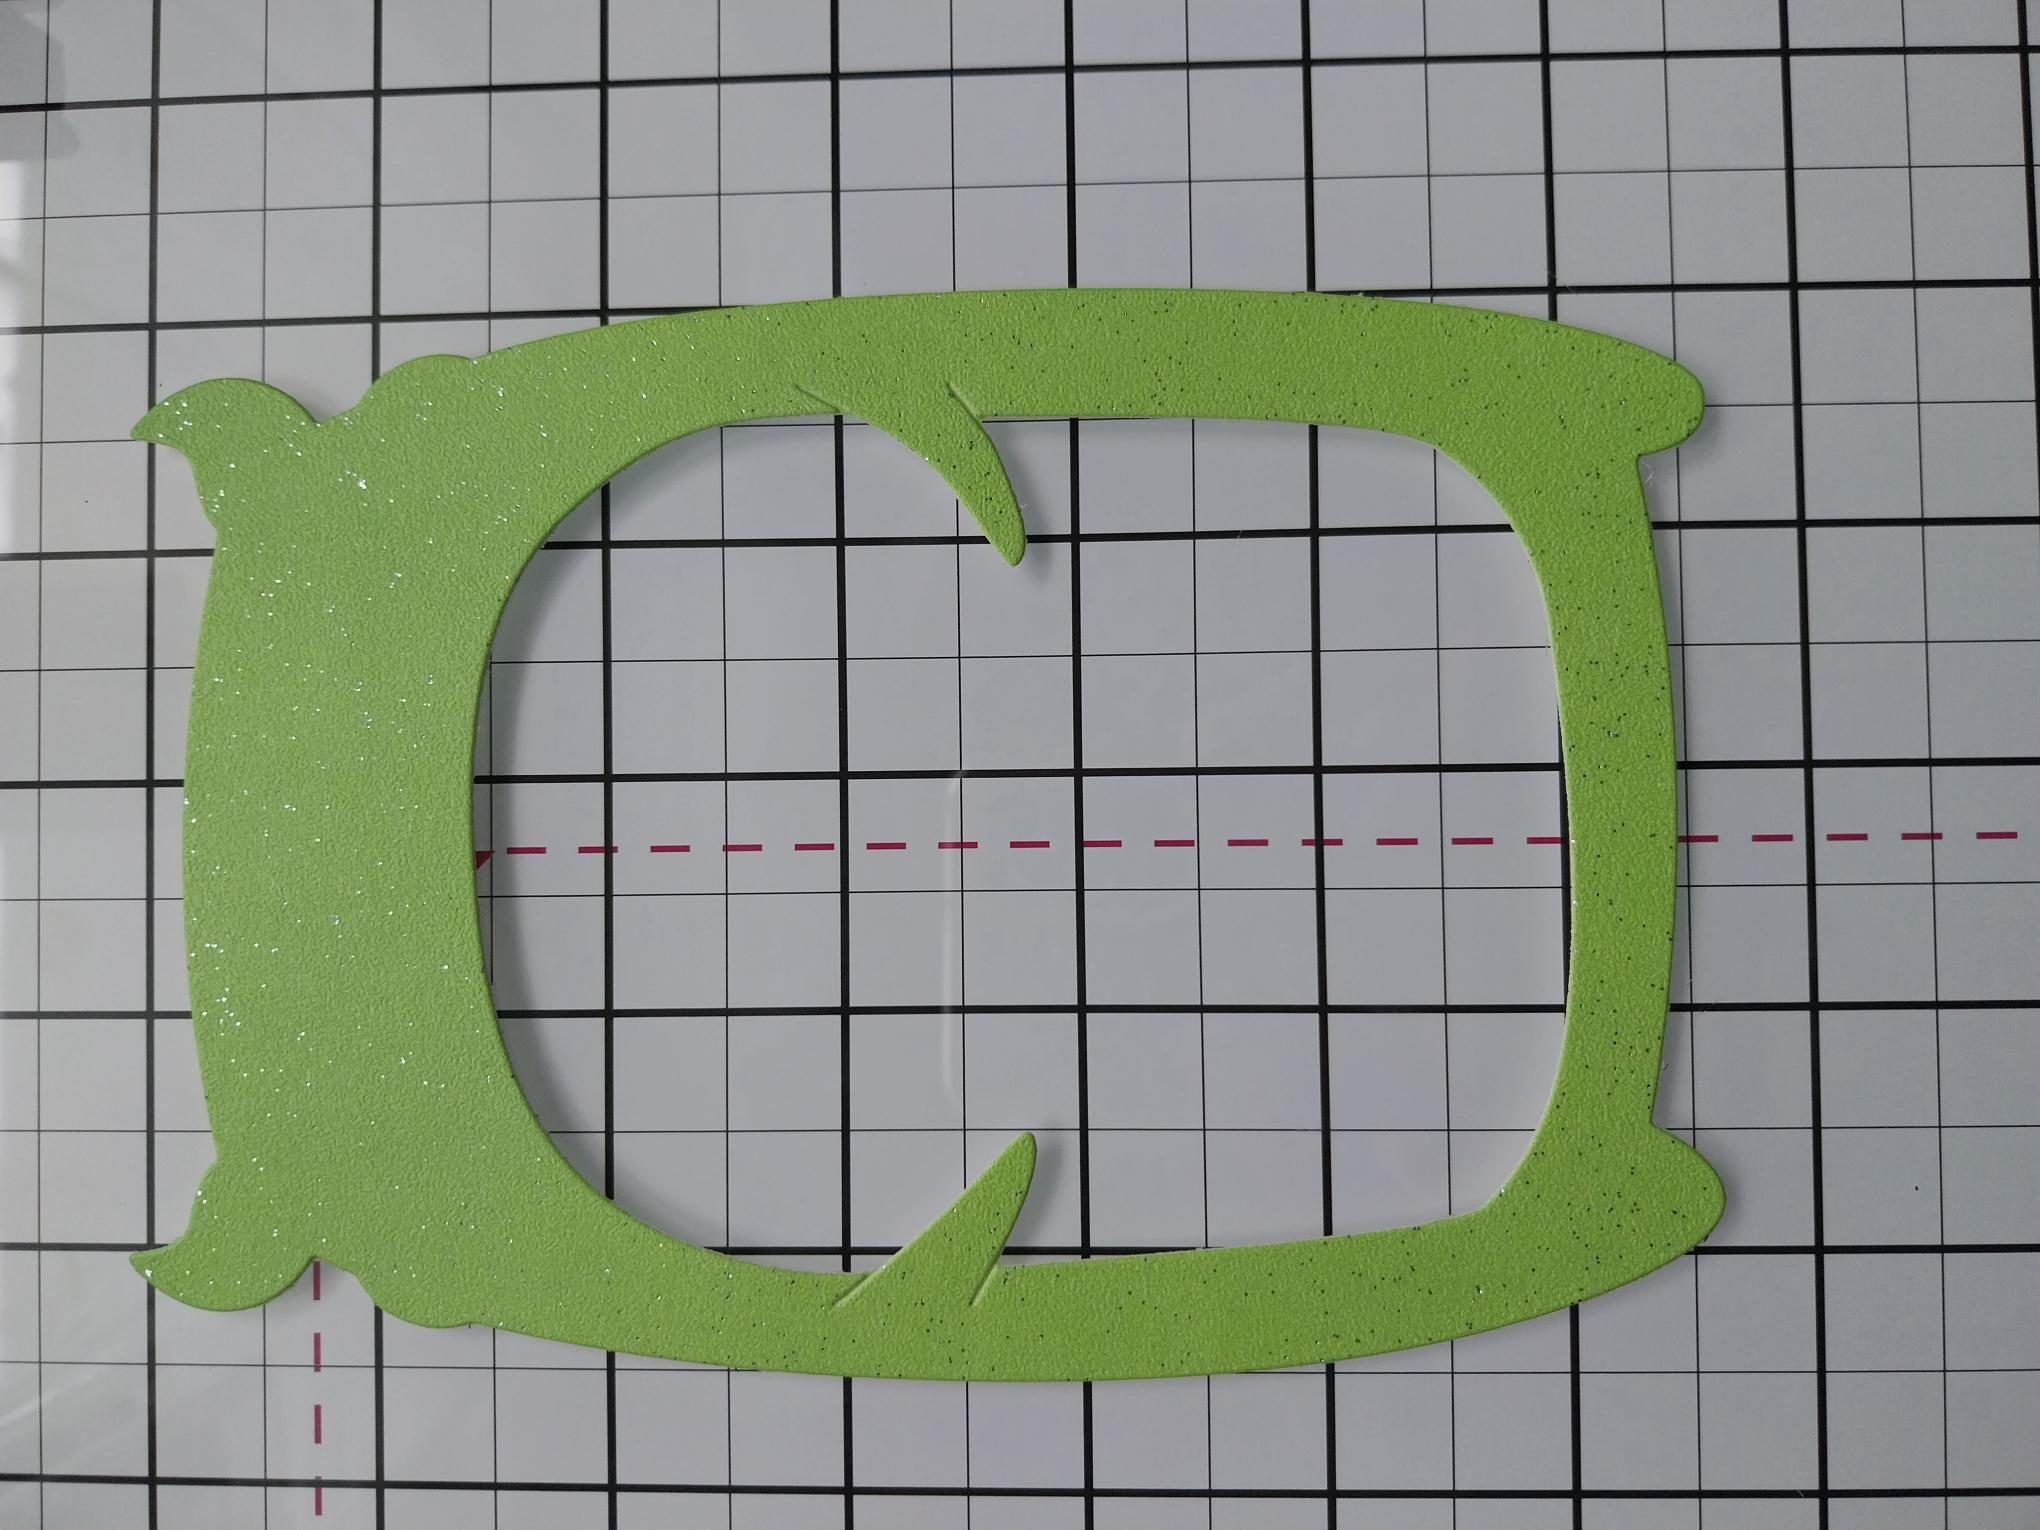
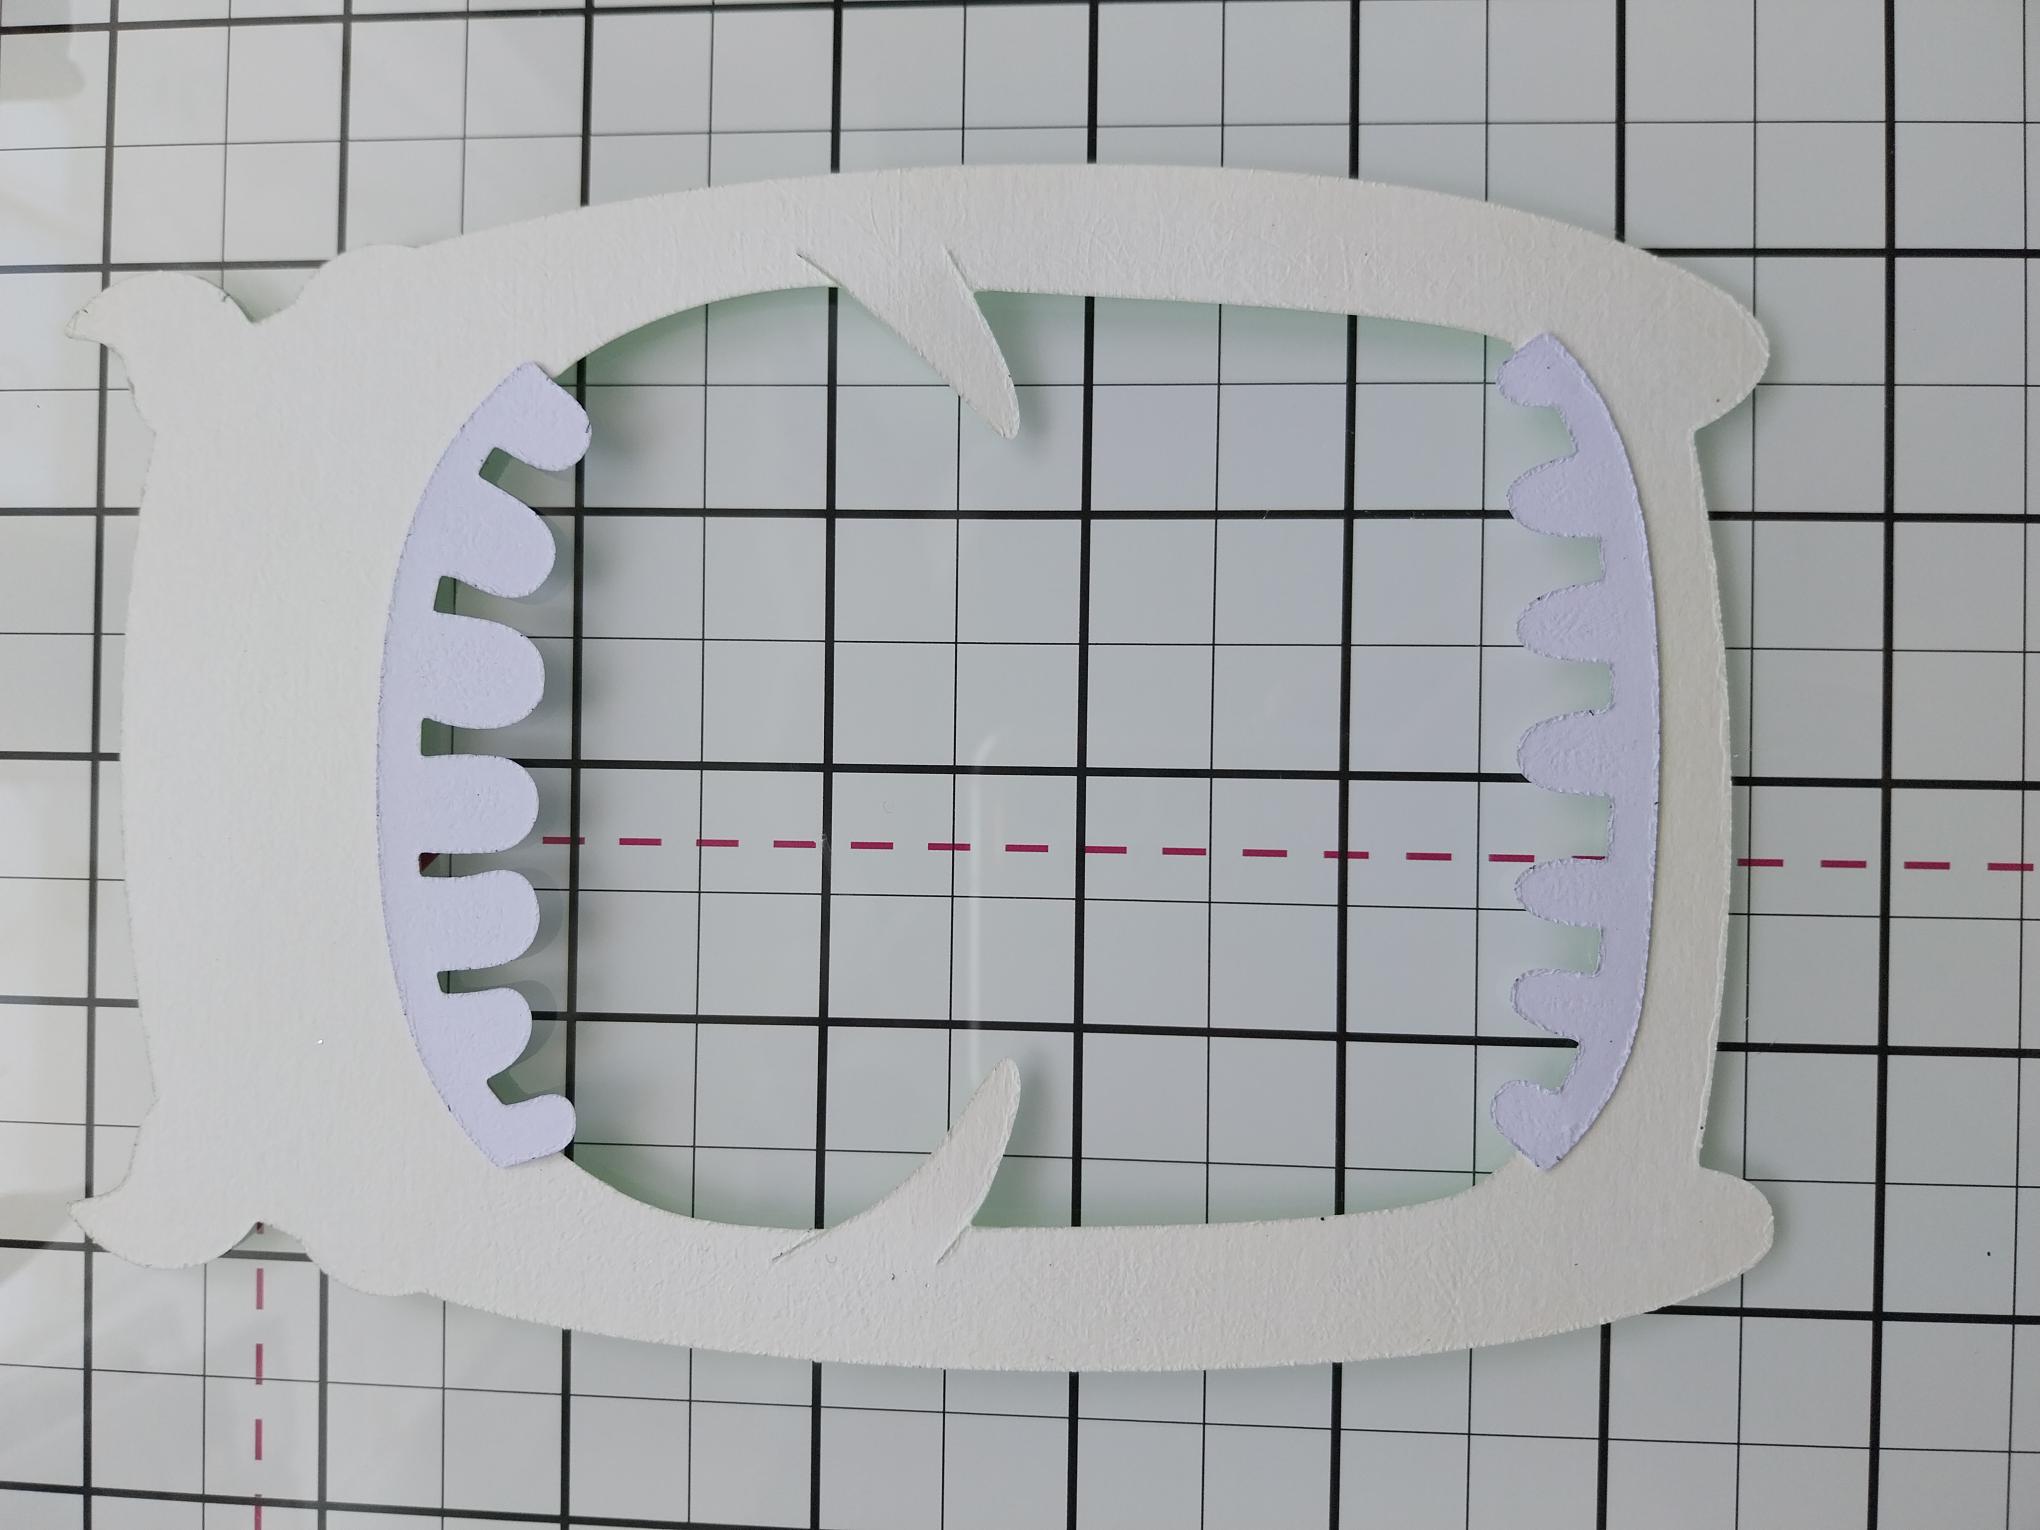
Use the detailed die to cut your monster from your chosen glitter card. |
|
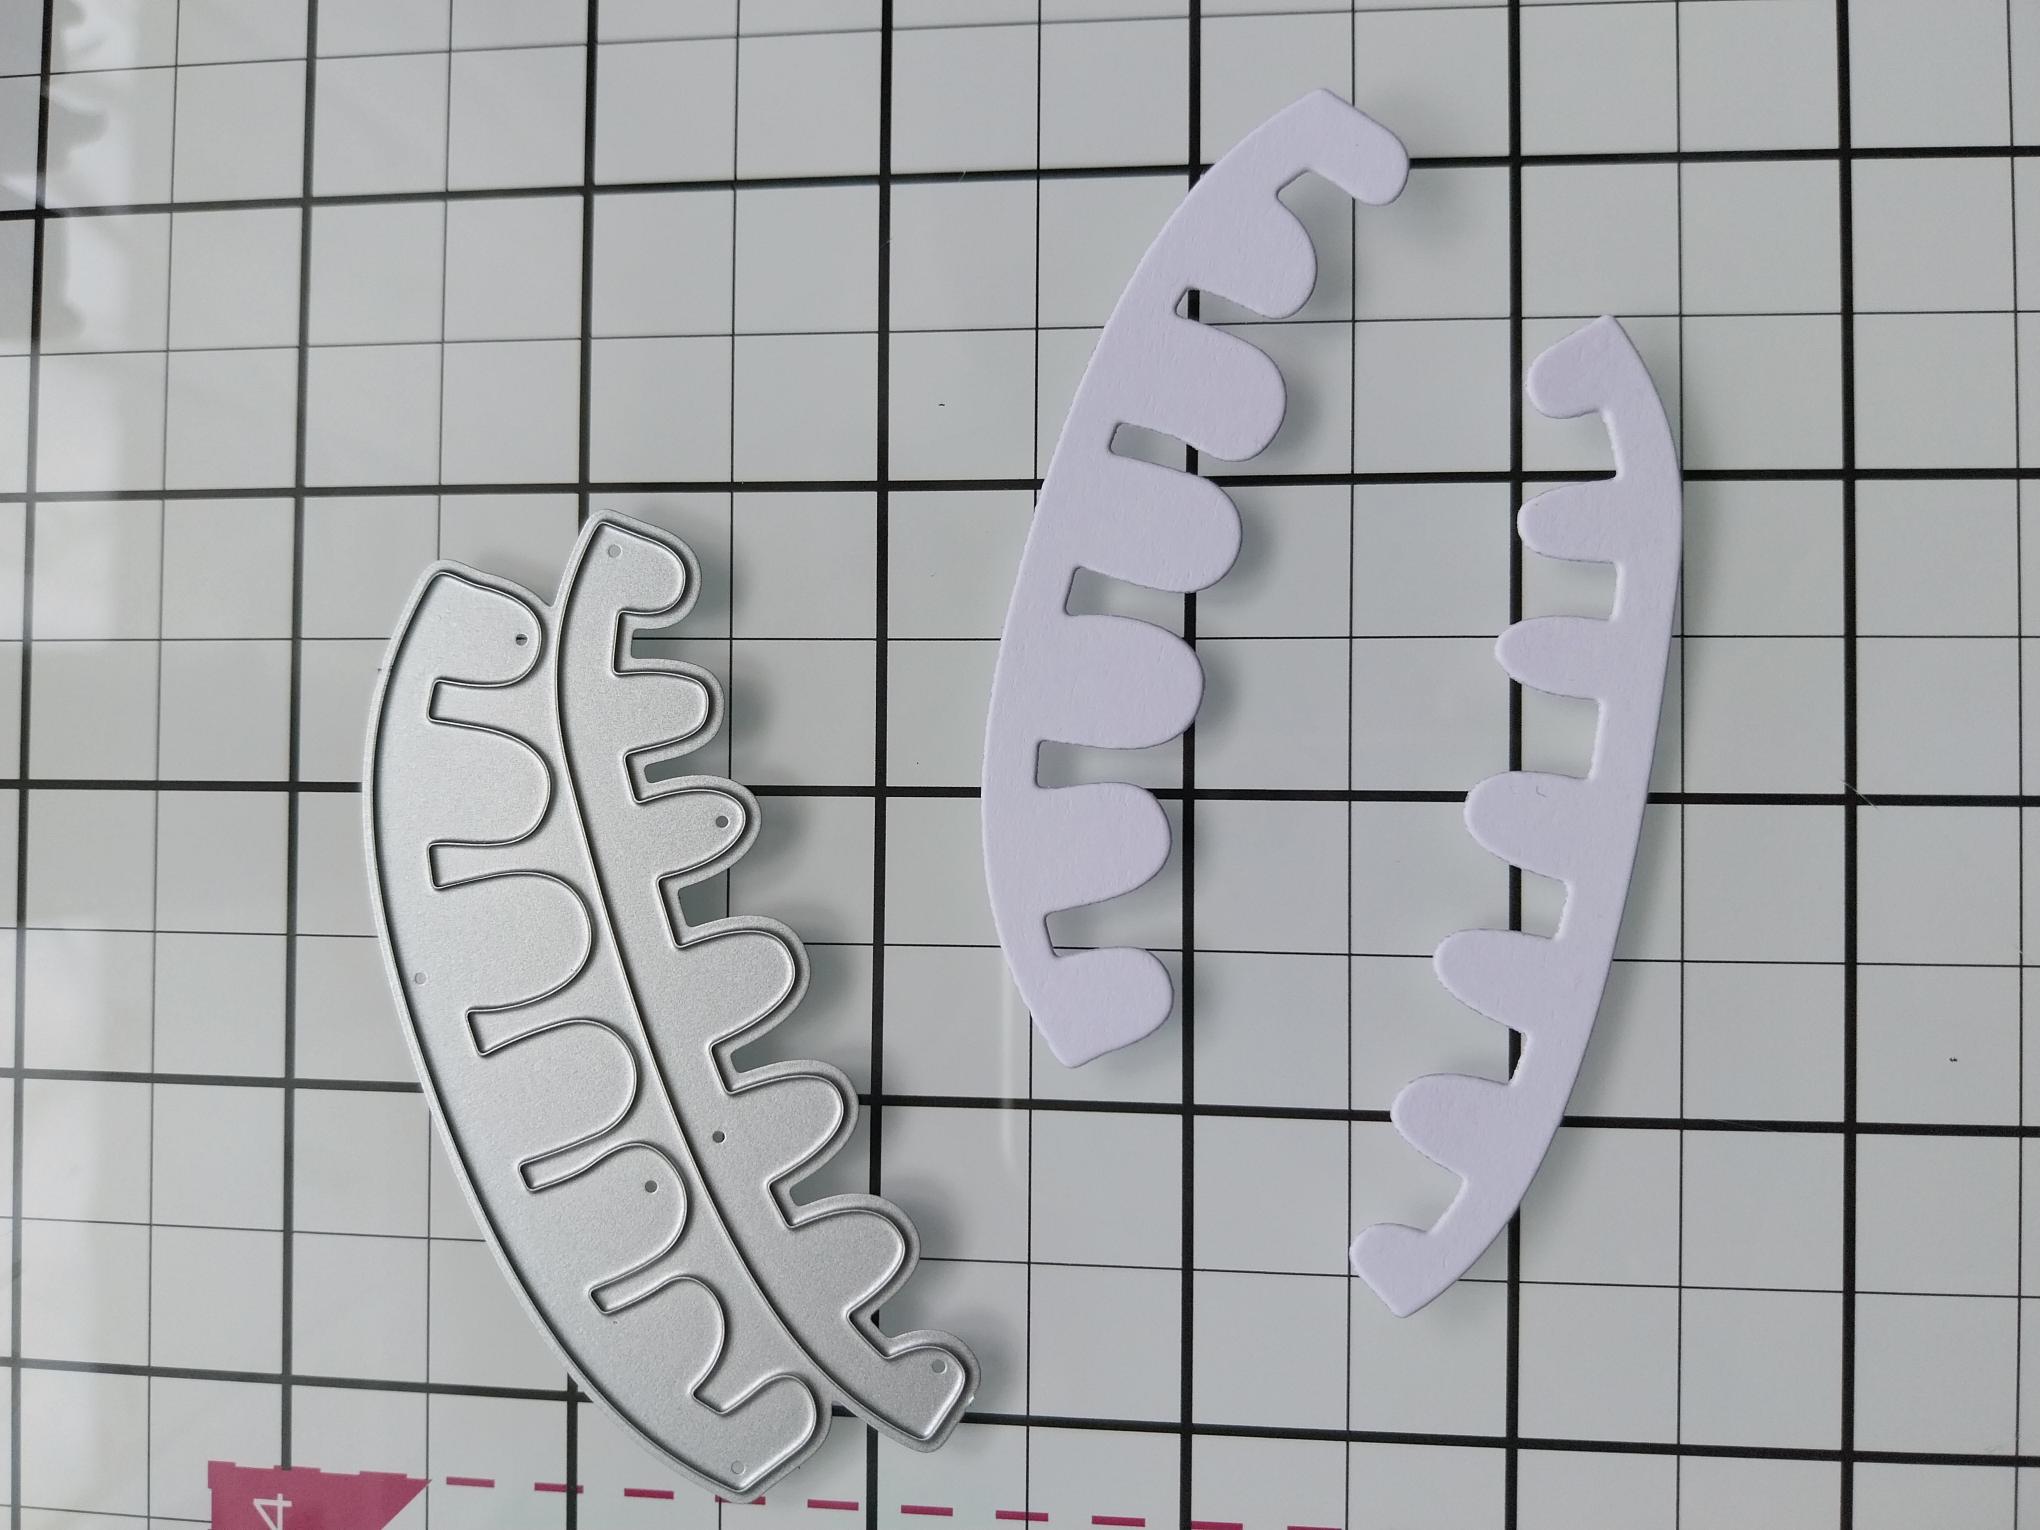
Die cut the "teeth" from white card. |

|
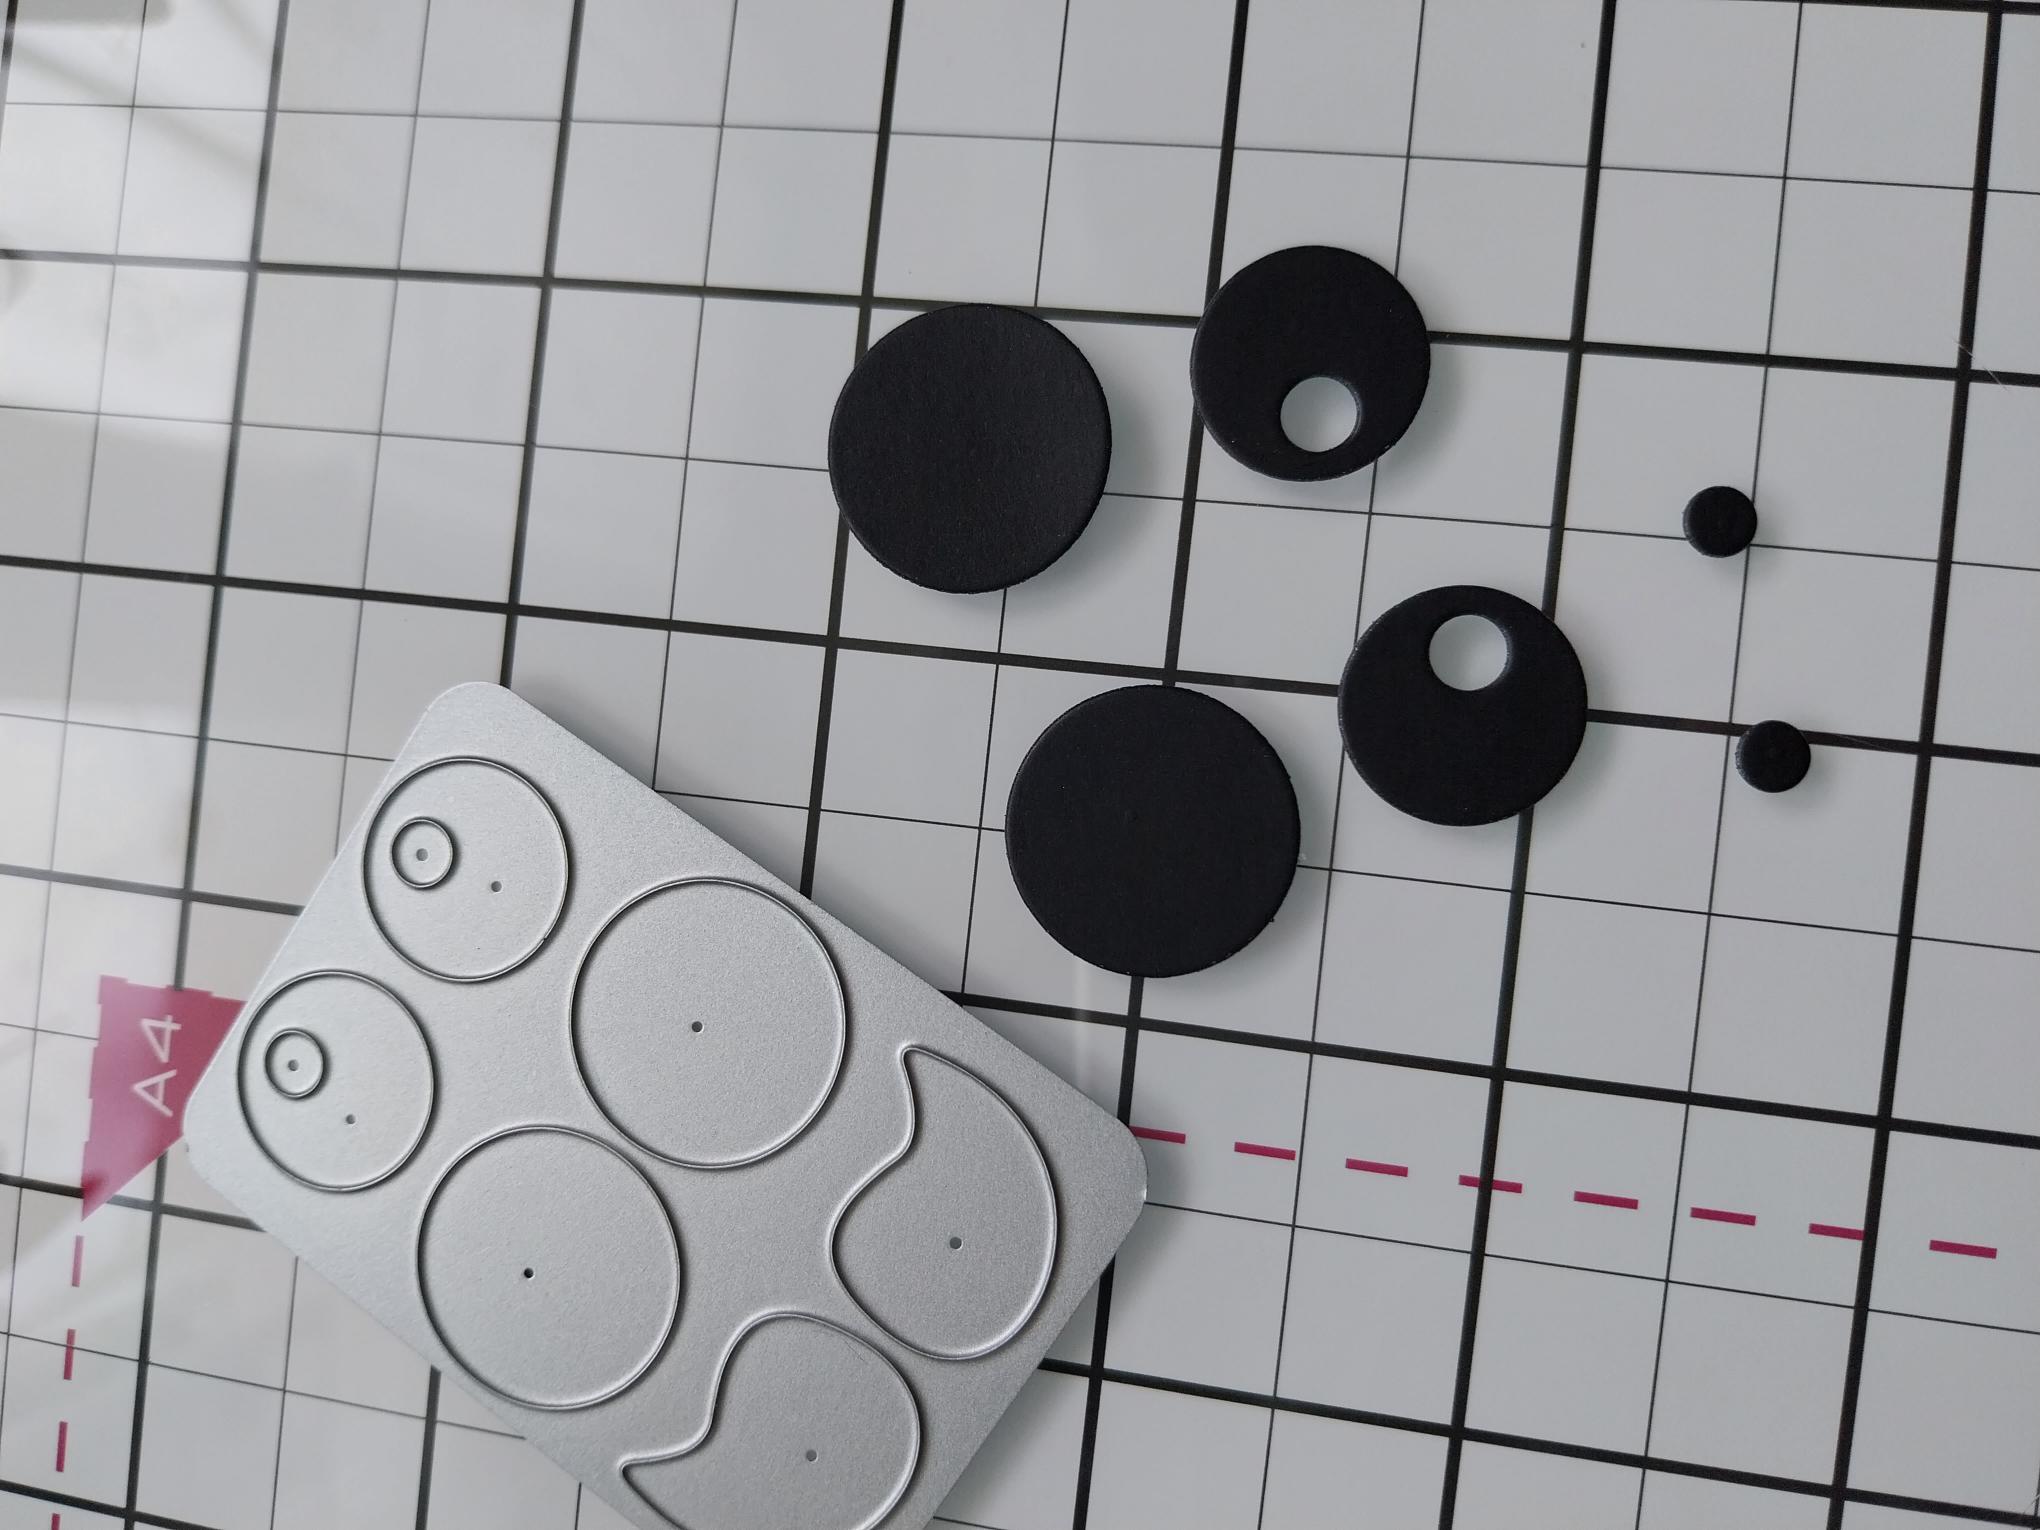
Die cut the eyes and horns, from white card. |
|
Die cut another set from the leftover black card that you set aside earlier. |
|
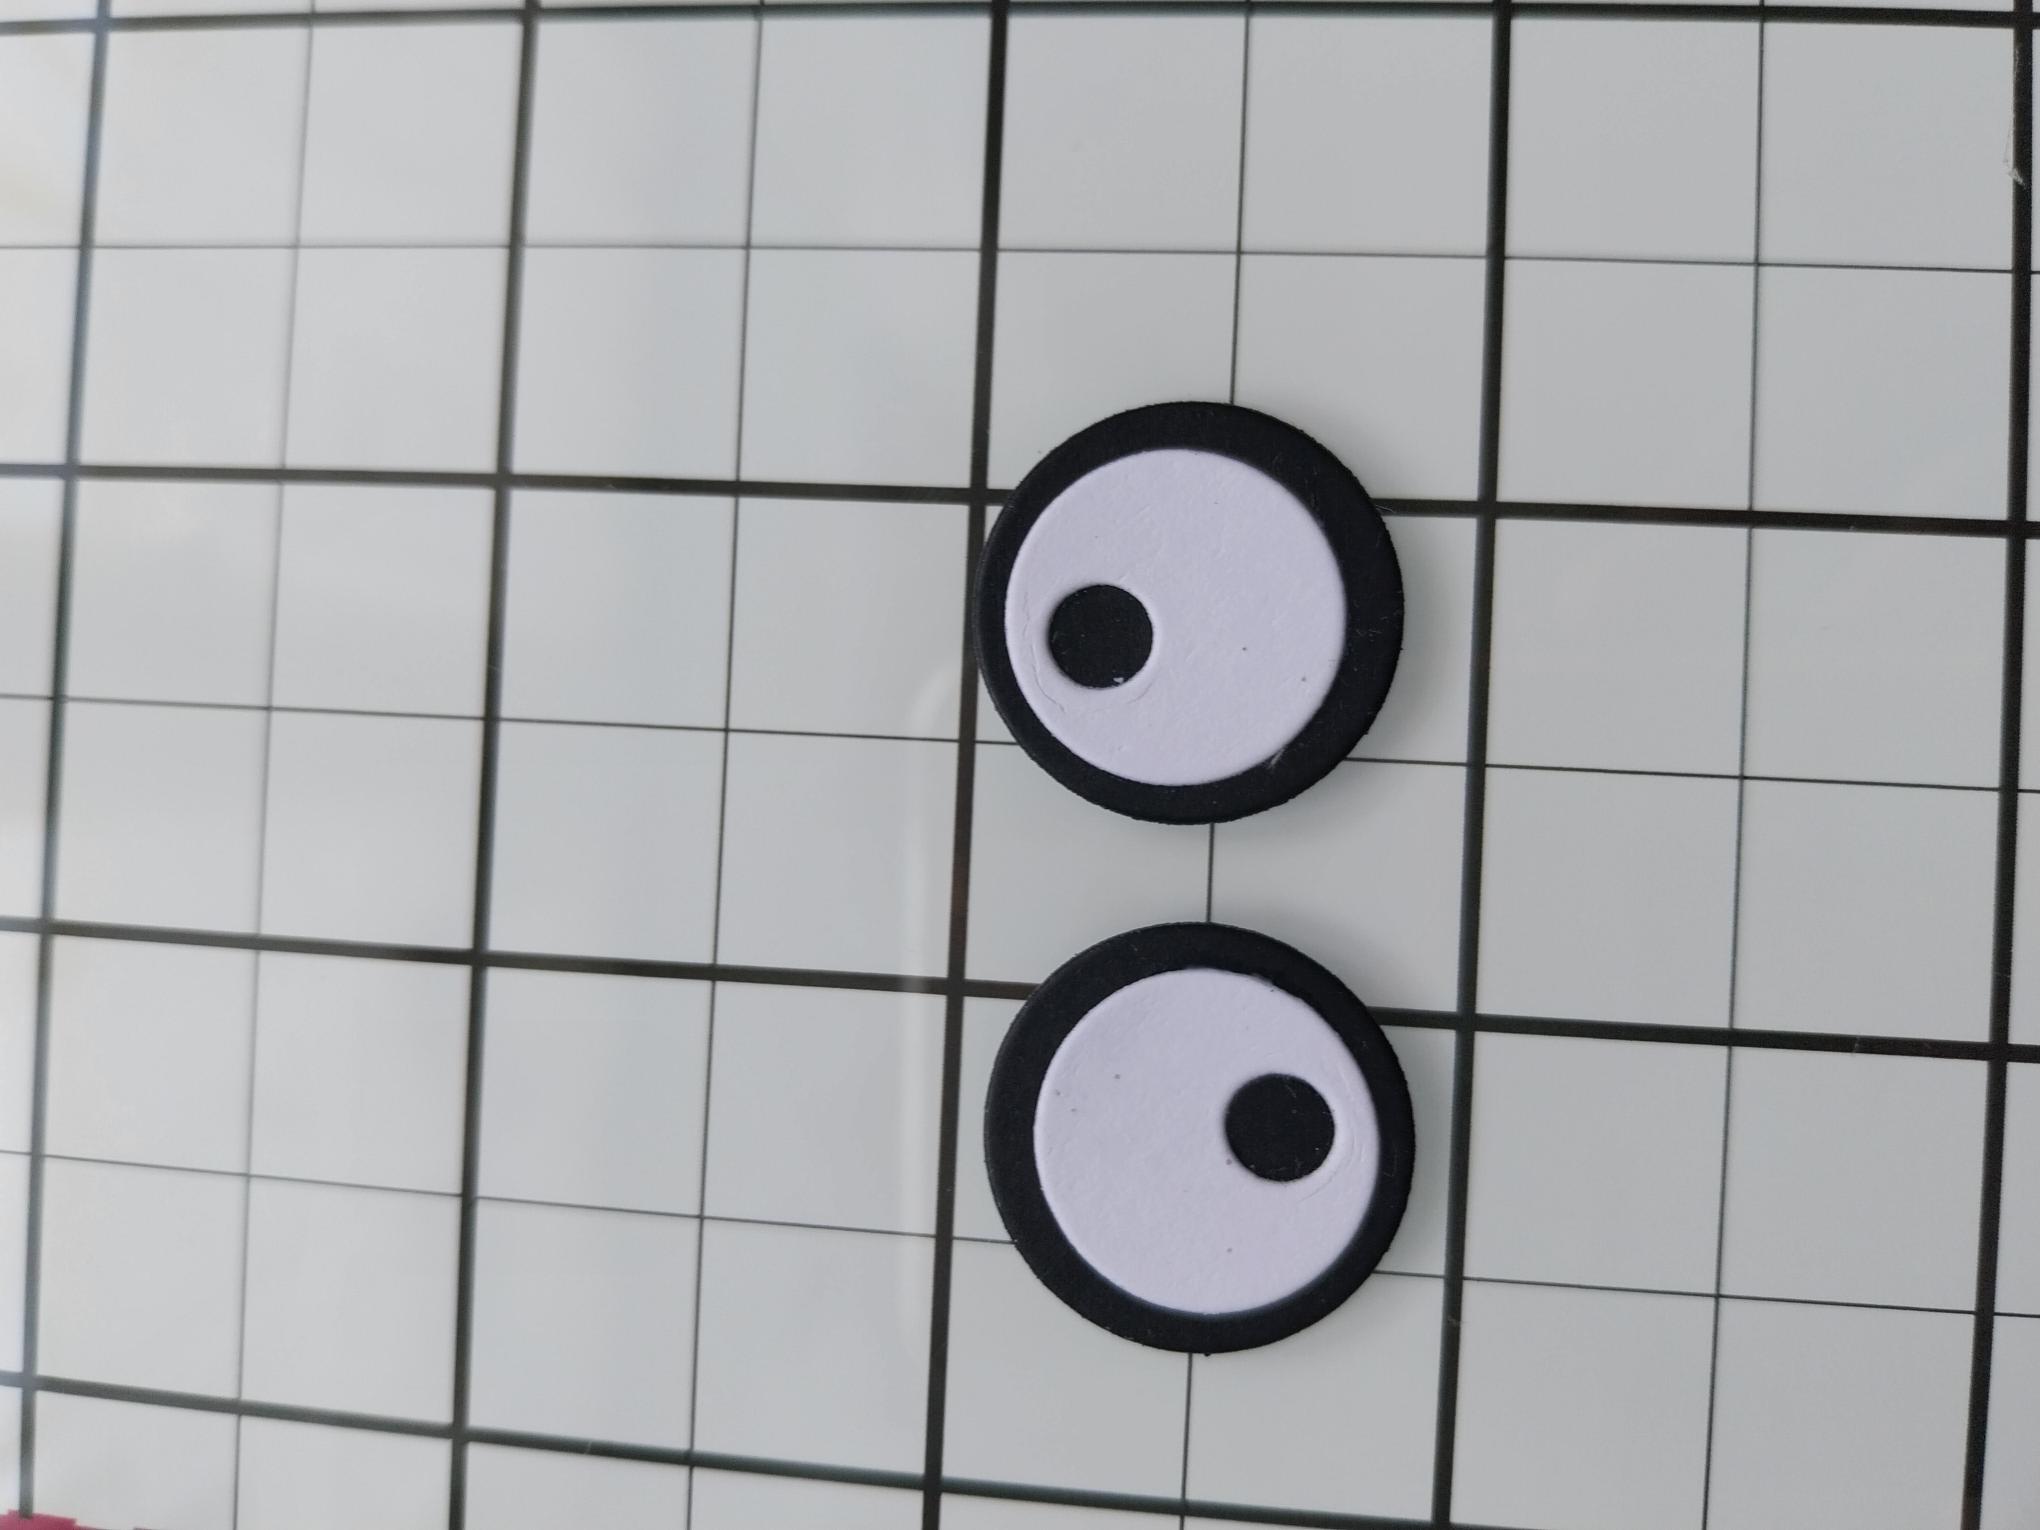
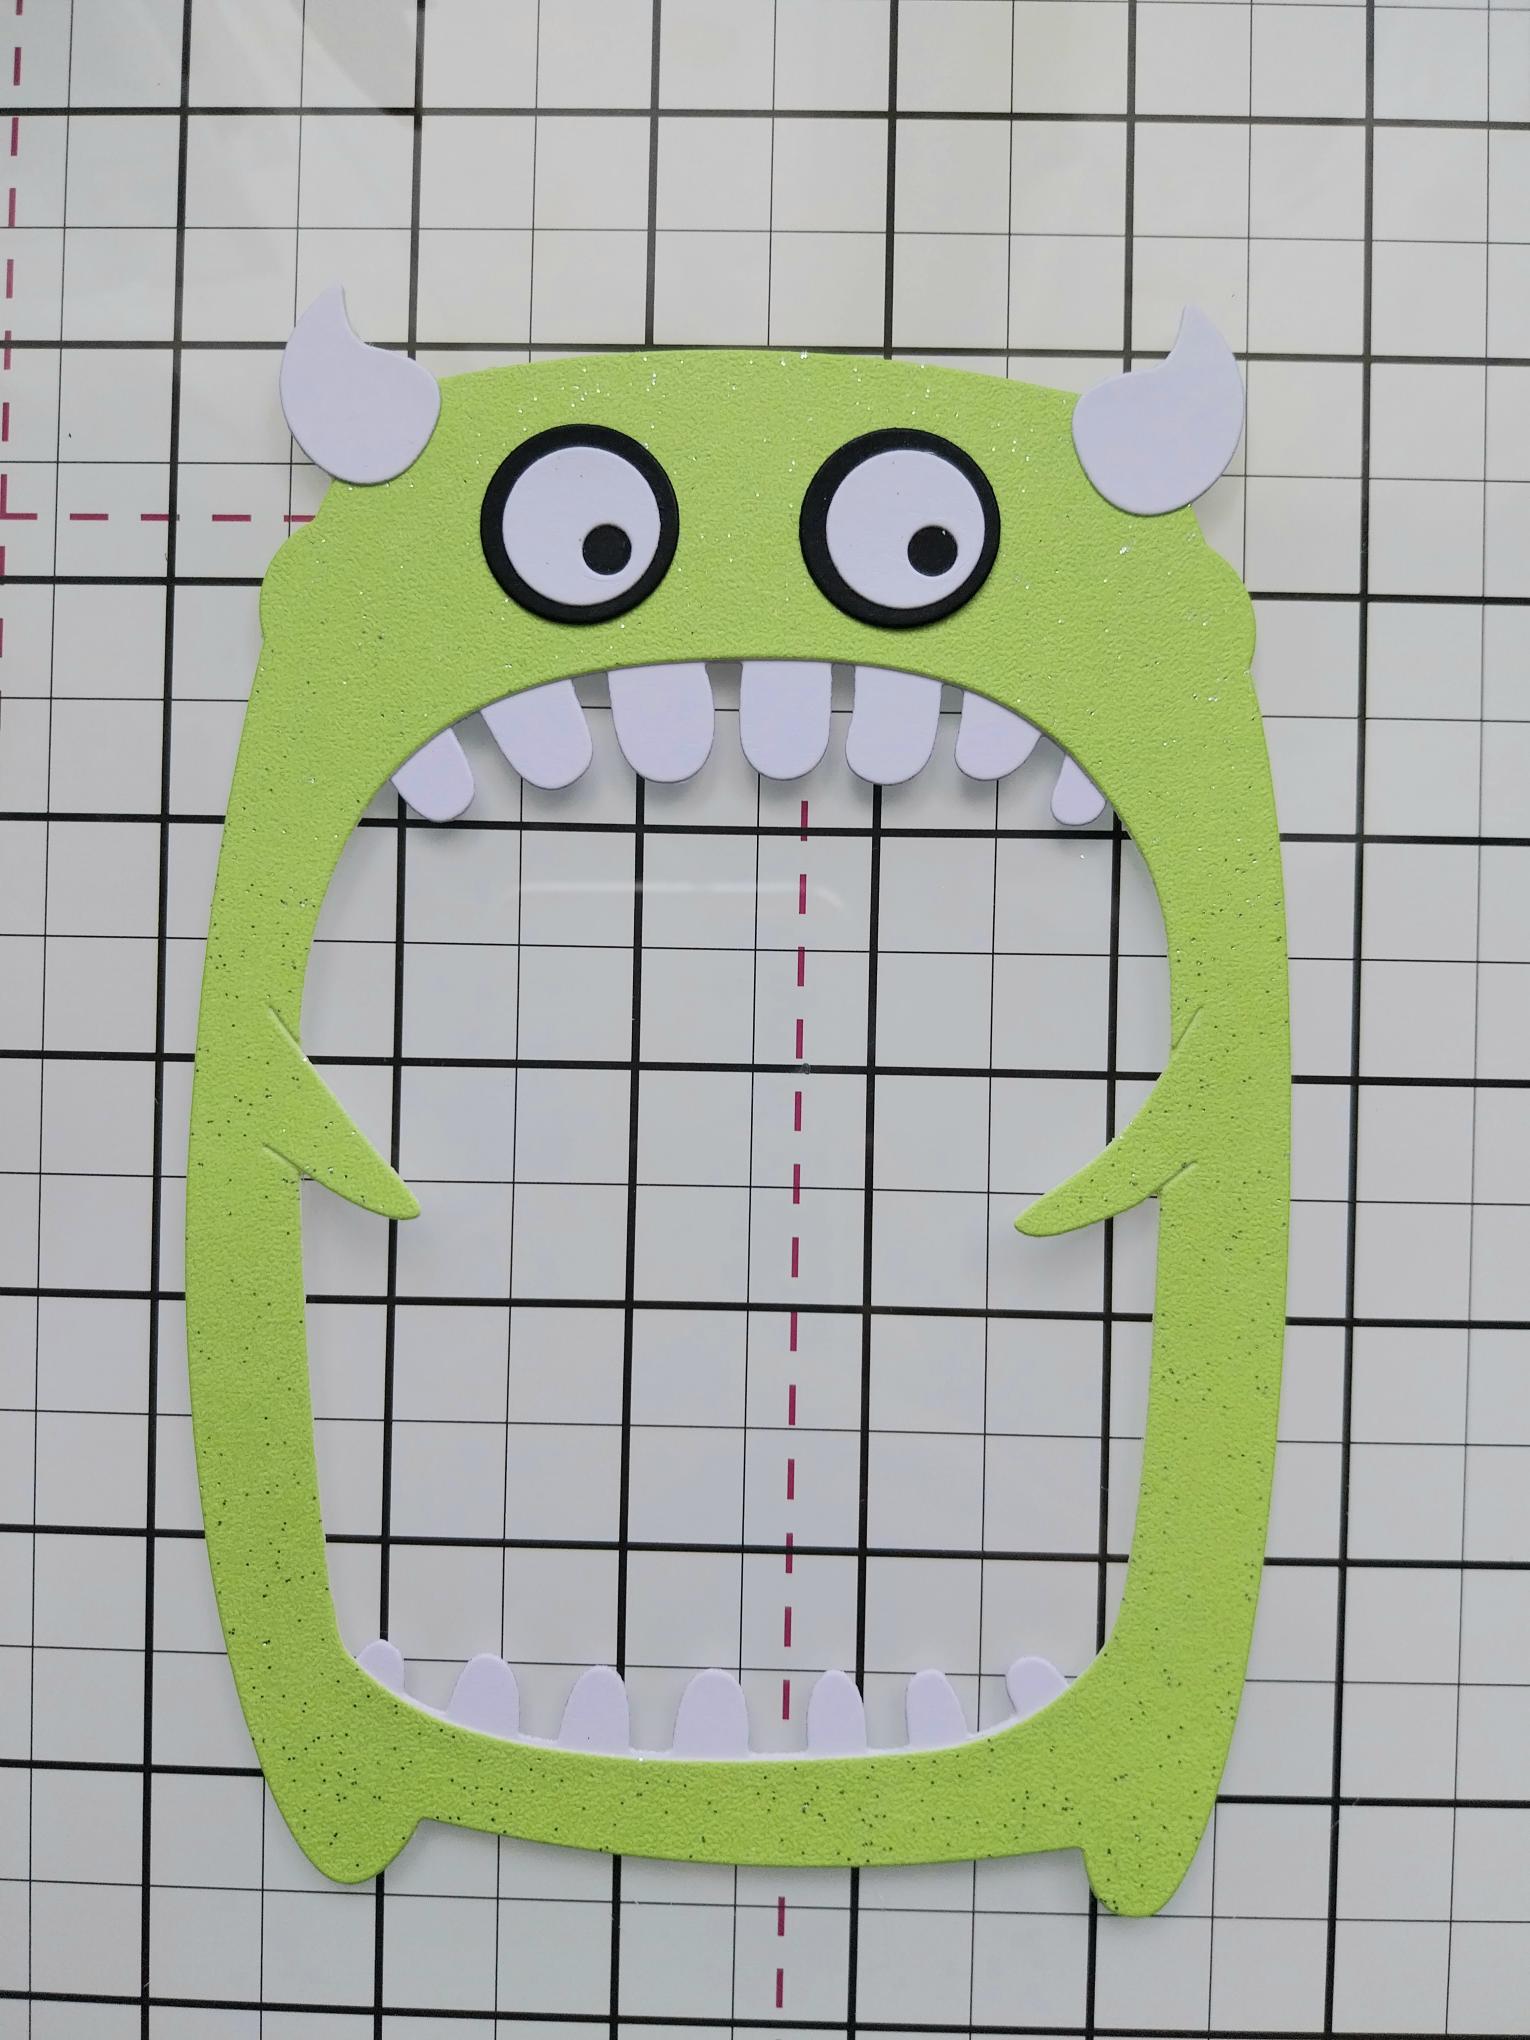
Adhere a combination of the die cut elements together, to create your monster's eyes. |
|
Adhere the "teeth" in place, securing them on the reverse of your glitter monster. |
|
Adhere the eyes and horns in place, as desired. You can add wiggly, googly eyes if you so wish!! |
|
Adhere your glitter monster on to your black, shaped card blank and pop to one side. |
|
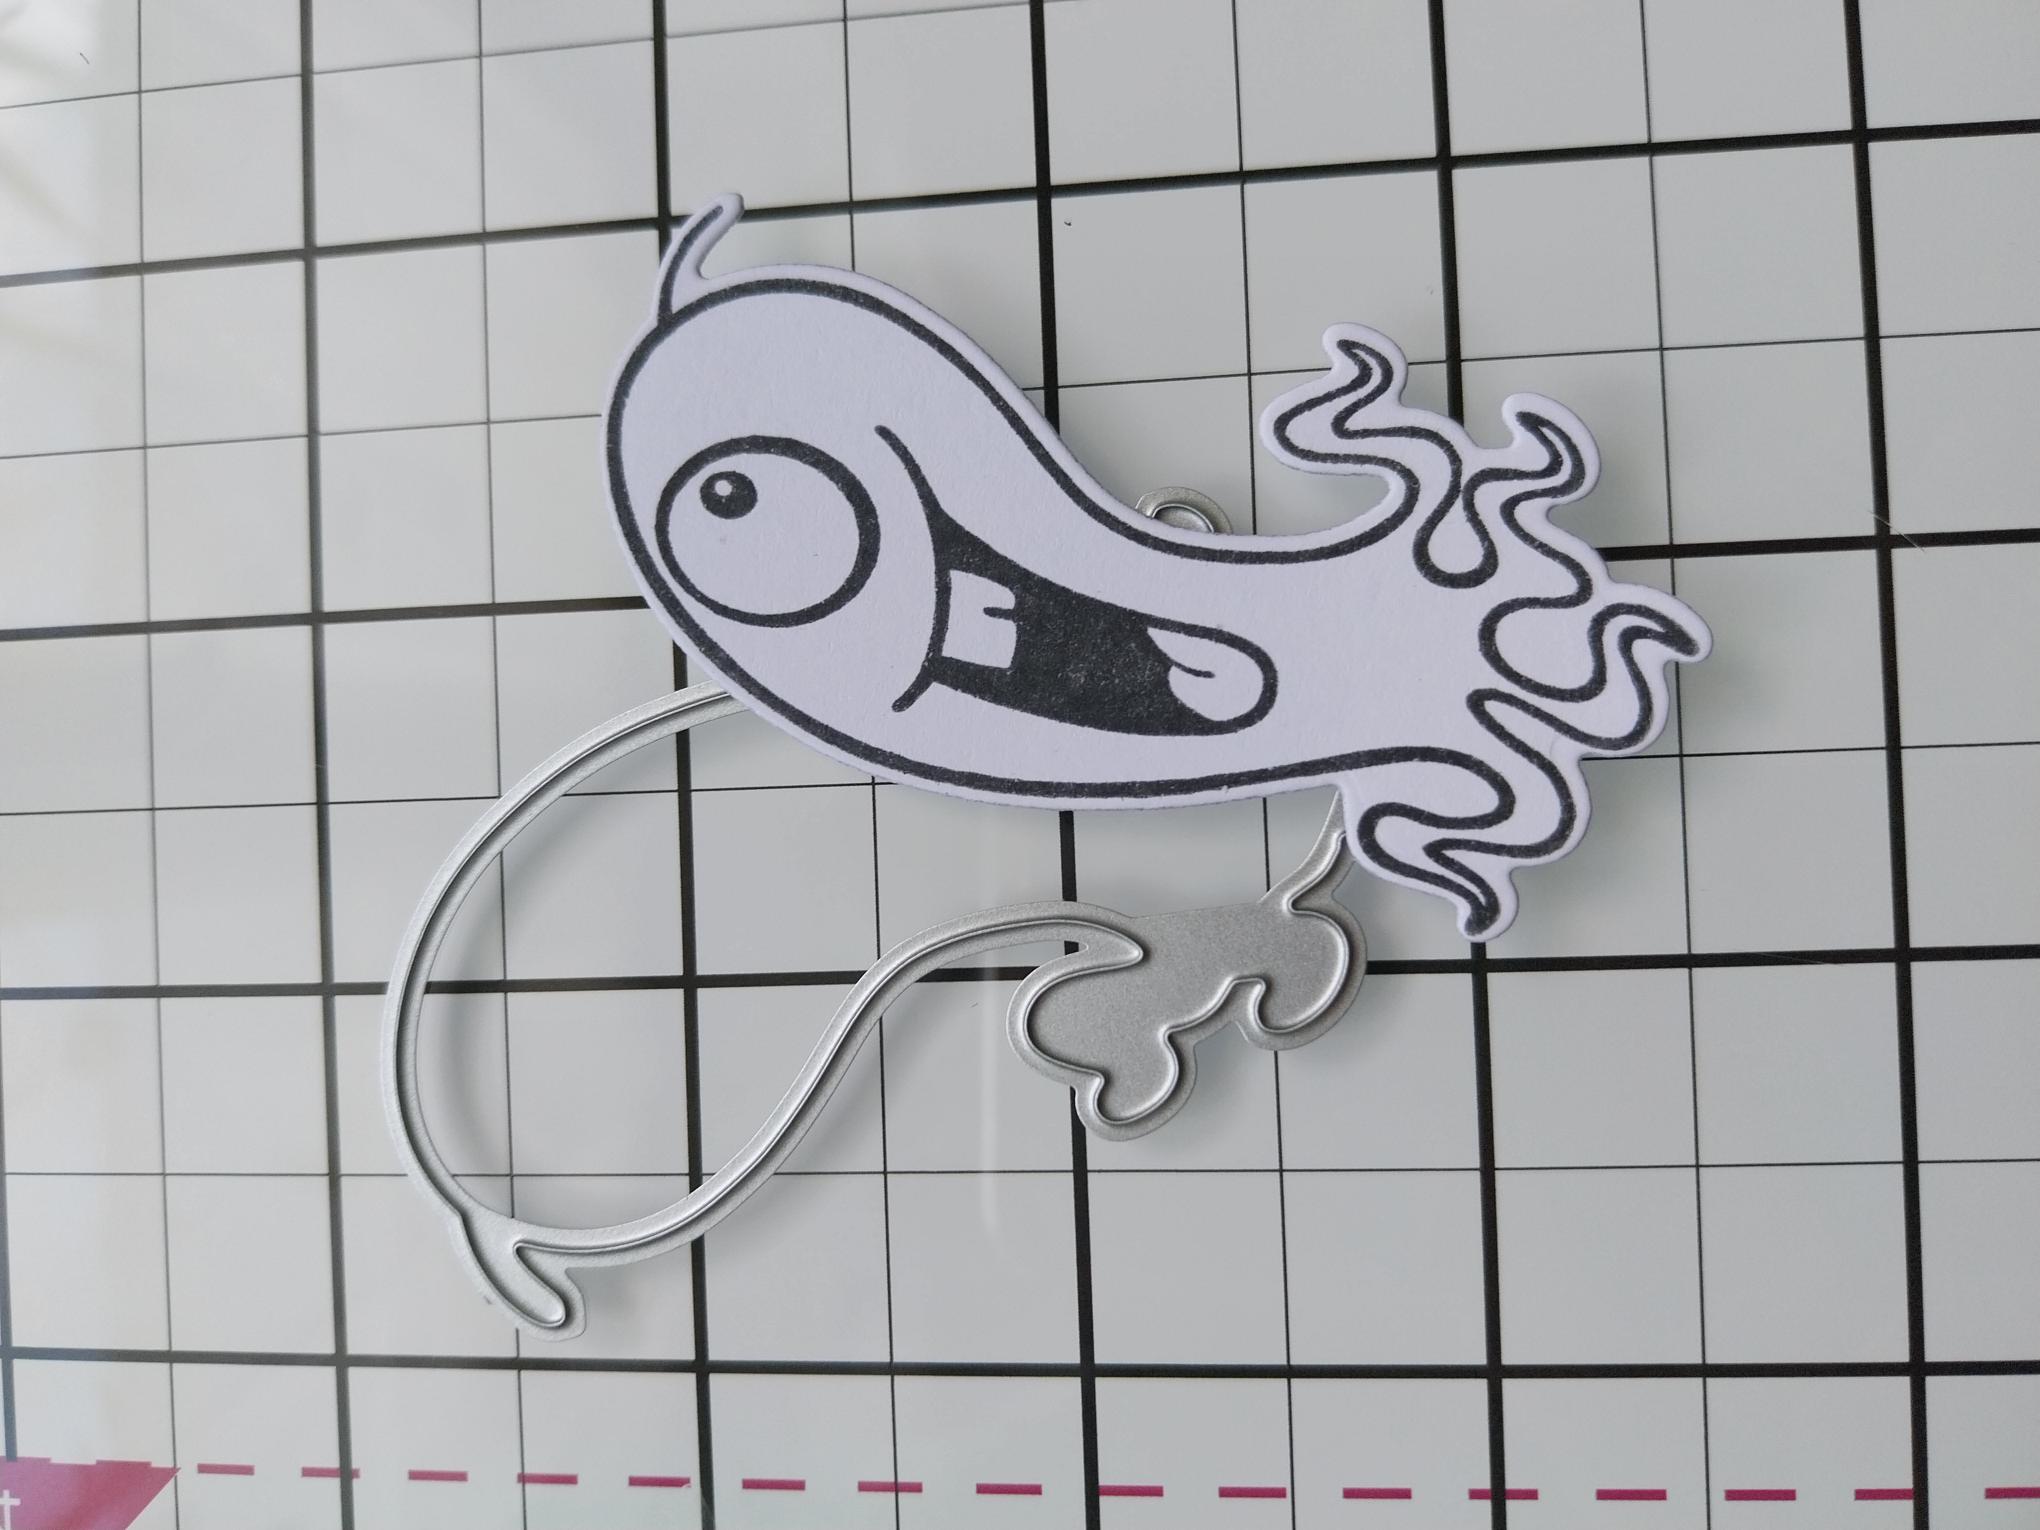
Stamp this cheeky Monster in the Midnight ink, on to a piece of white card and use the coordinating die to cut it out. |
|
Use your neon watercolour paints to colour it in. |
|
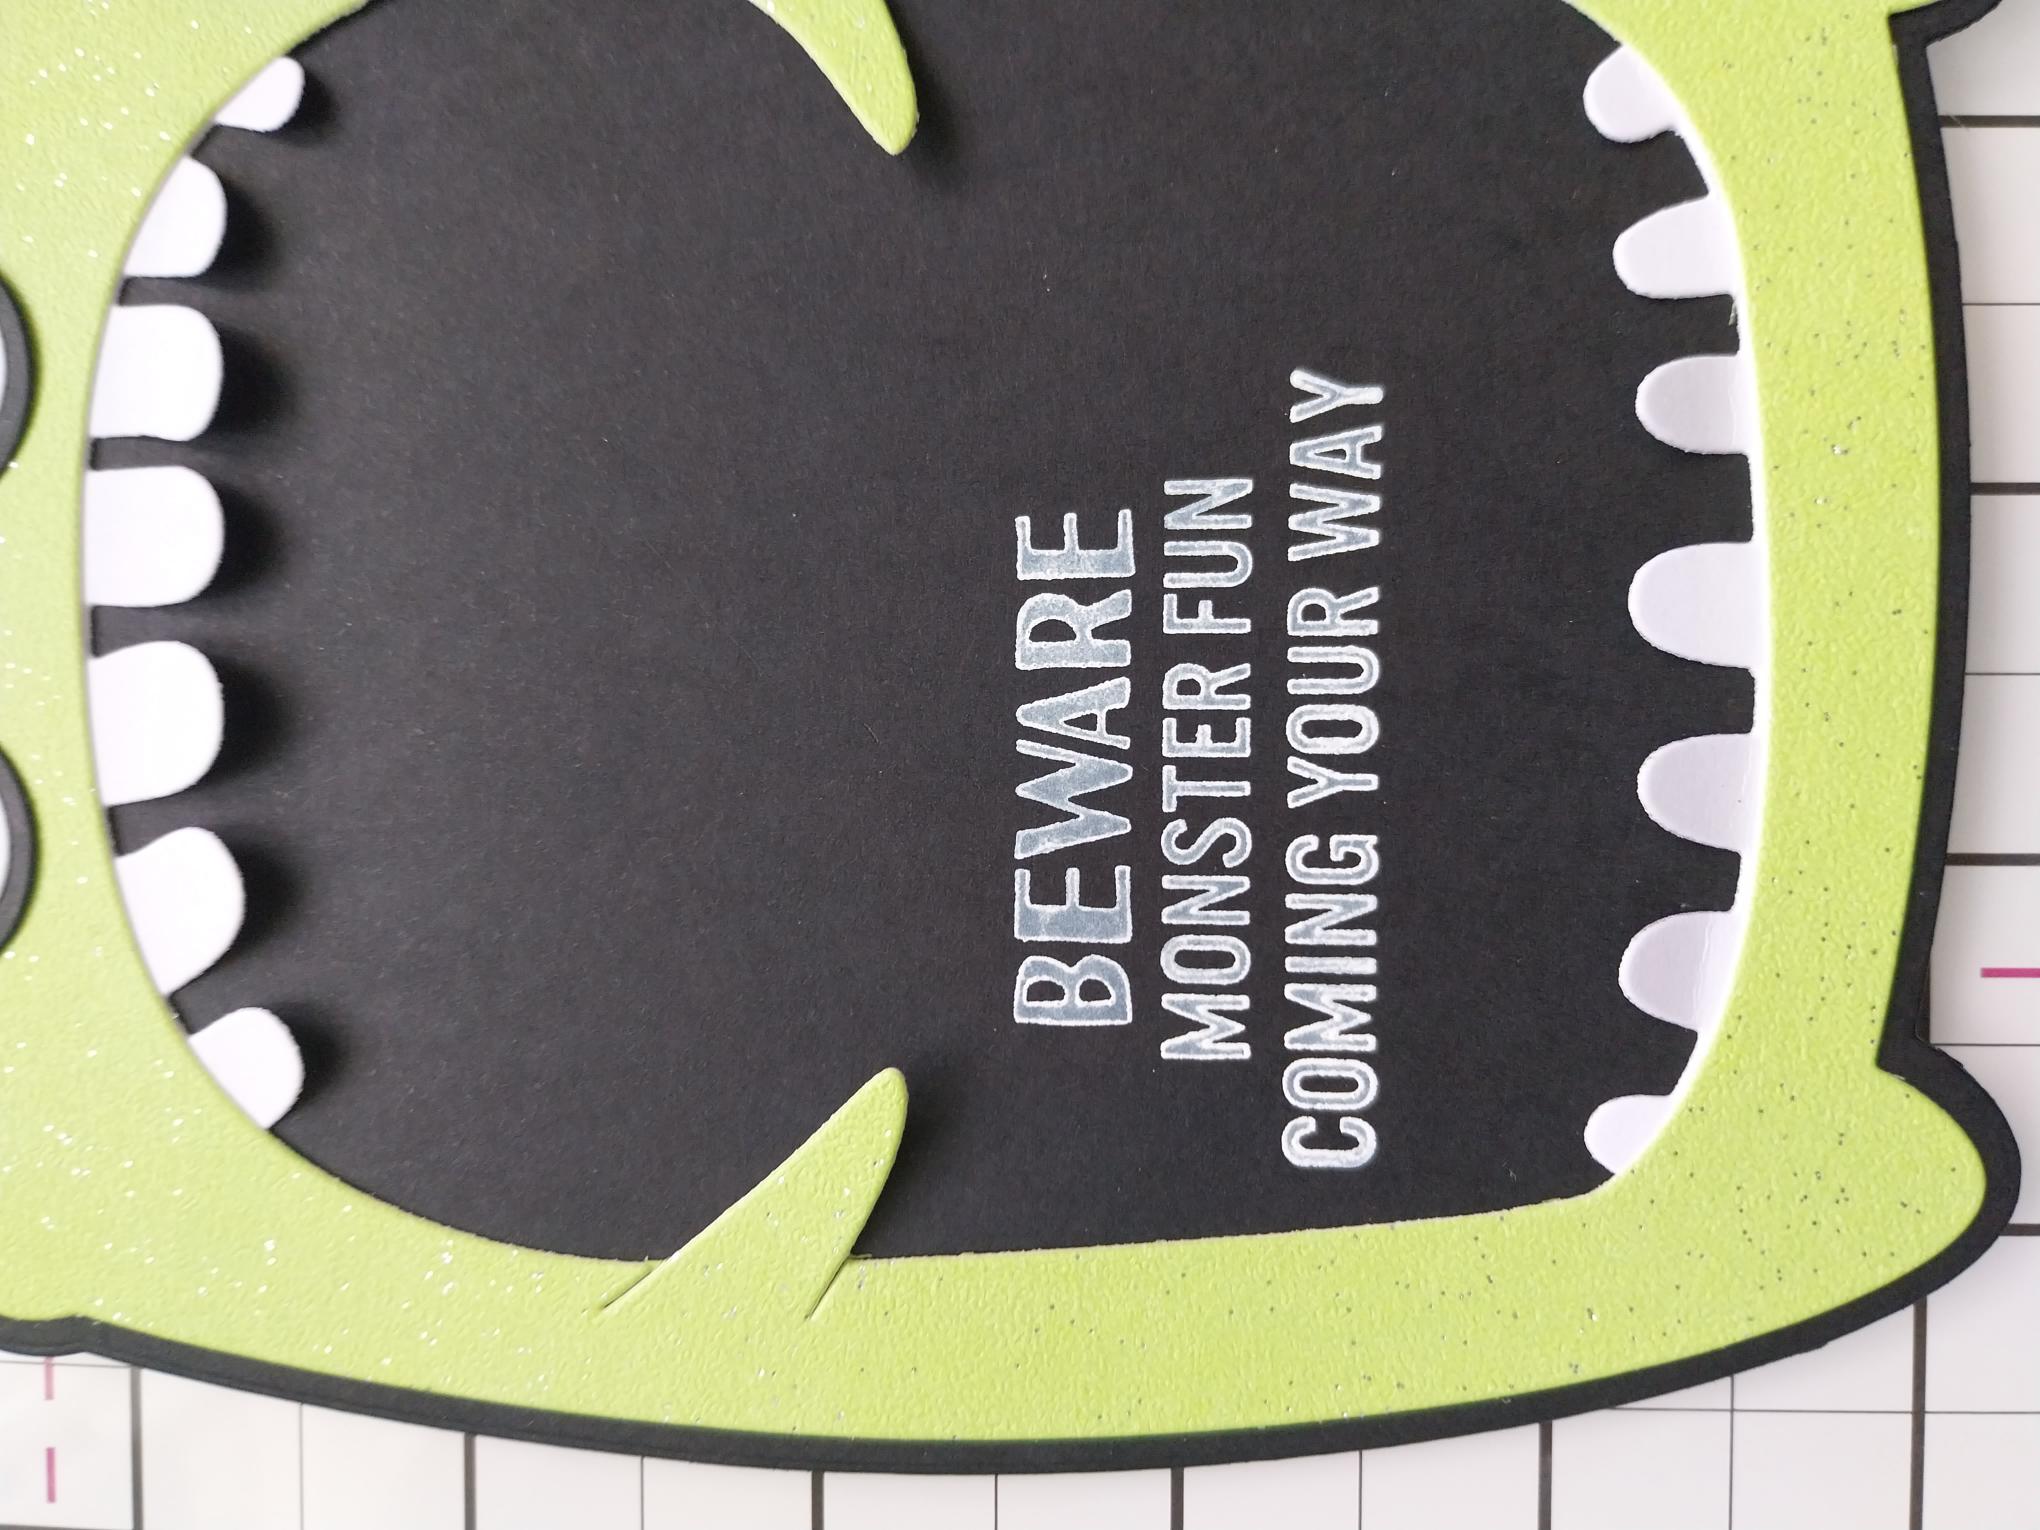
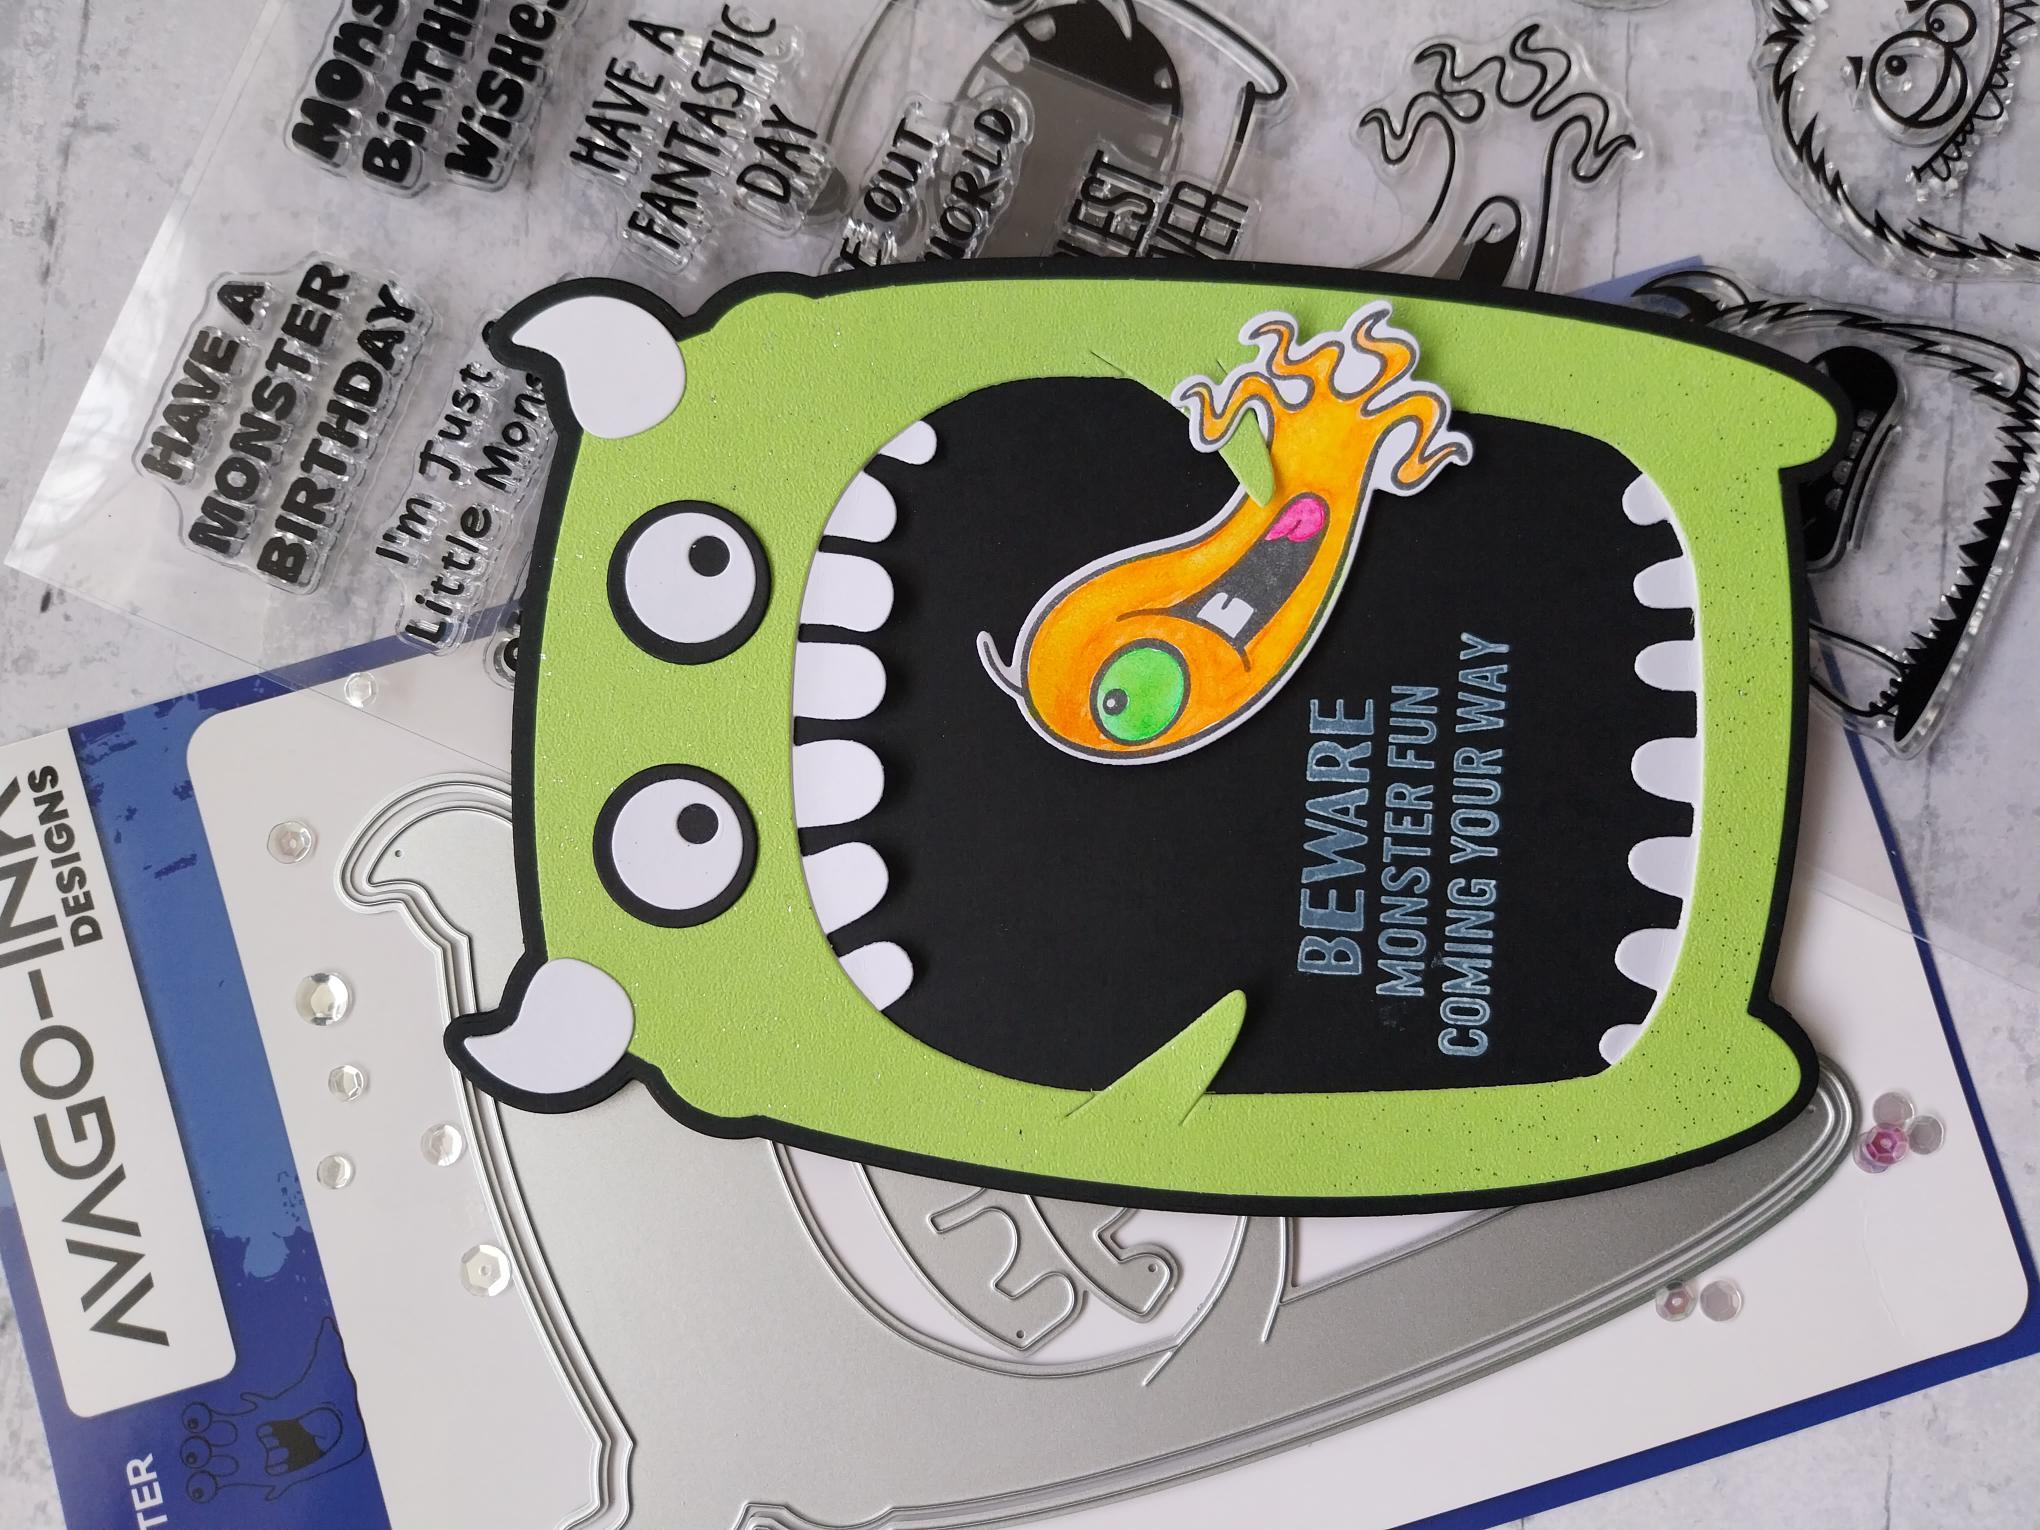
Using your die cut monster as a guide, stamp the sentiment from the stencil and stamp set, with the Cotton pigment ink, so it sits to the left of where your monster will be. NB: Pigment ink is slow drying and will smudge, so make sure it's completely dry. If you're impatient like me, give it a quick blast with a heat tool! |
|
To finish, adhere your cheeky monster so he's captured under the glitter monster's arm! Gottcha!!!! |