Give your friends $10 off their first order!
Refer a FRIEND


WHAT YOU WILL NEED:
White DL card blank 8 1/4 x 4"
Black card 8 1/4 x 3 3/4"
White card 8 1/4 x 3 1/2"
Black card 3 3/4 x 1 1/4"
White card 3 3/4 x 1"
White card
Avago-Ink Designs Graffiti Monster 5 x 7" Stamp set
Avago-Ink Designs Graffiti Monster 7 x 7" Stamp and Stencil set
SBM Hybrid Ink Pad: Midnight
Paint brush
Thirsty Brush UnLtd Neon Paints: Collection 1 & 2
Eureka 101 Watercolour Tablet
SBM Magnetic glass mat
Paper Trimmer
Perfect Together Glue
Foam pads
Masking sheet/copy paper
Die Cutting machine
[click image to enlarge] 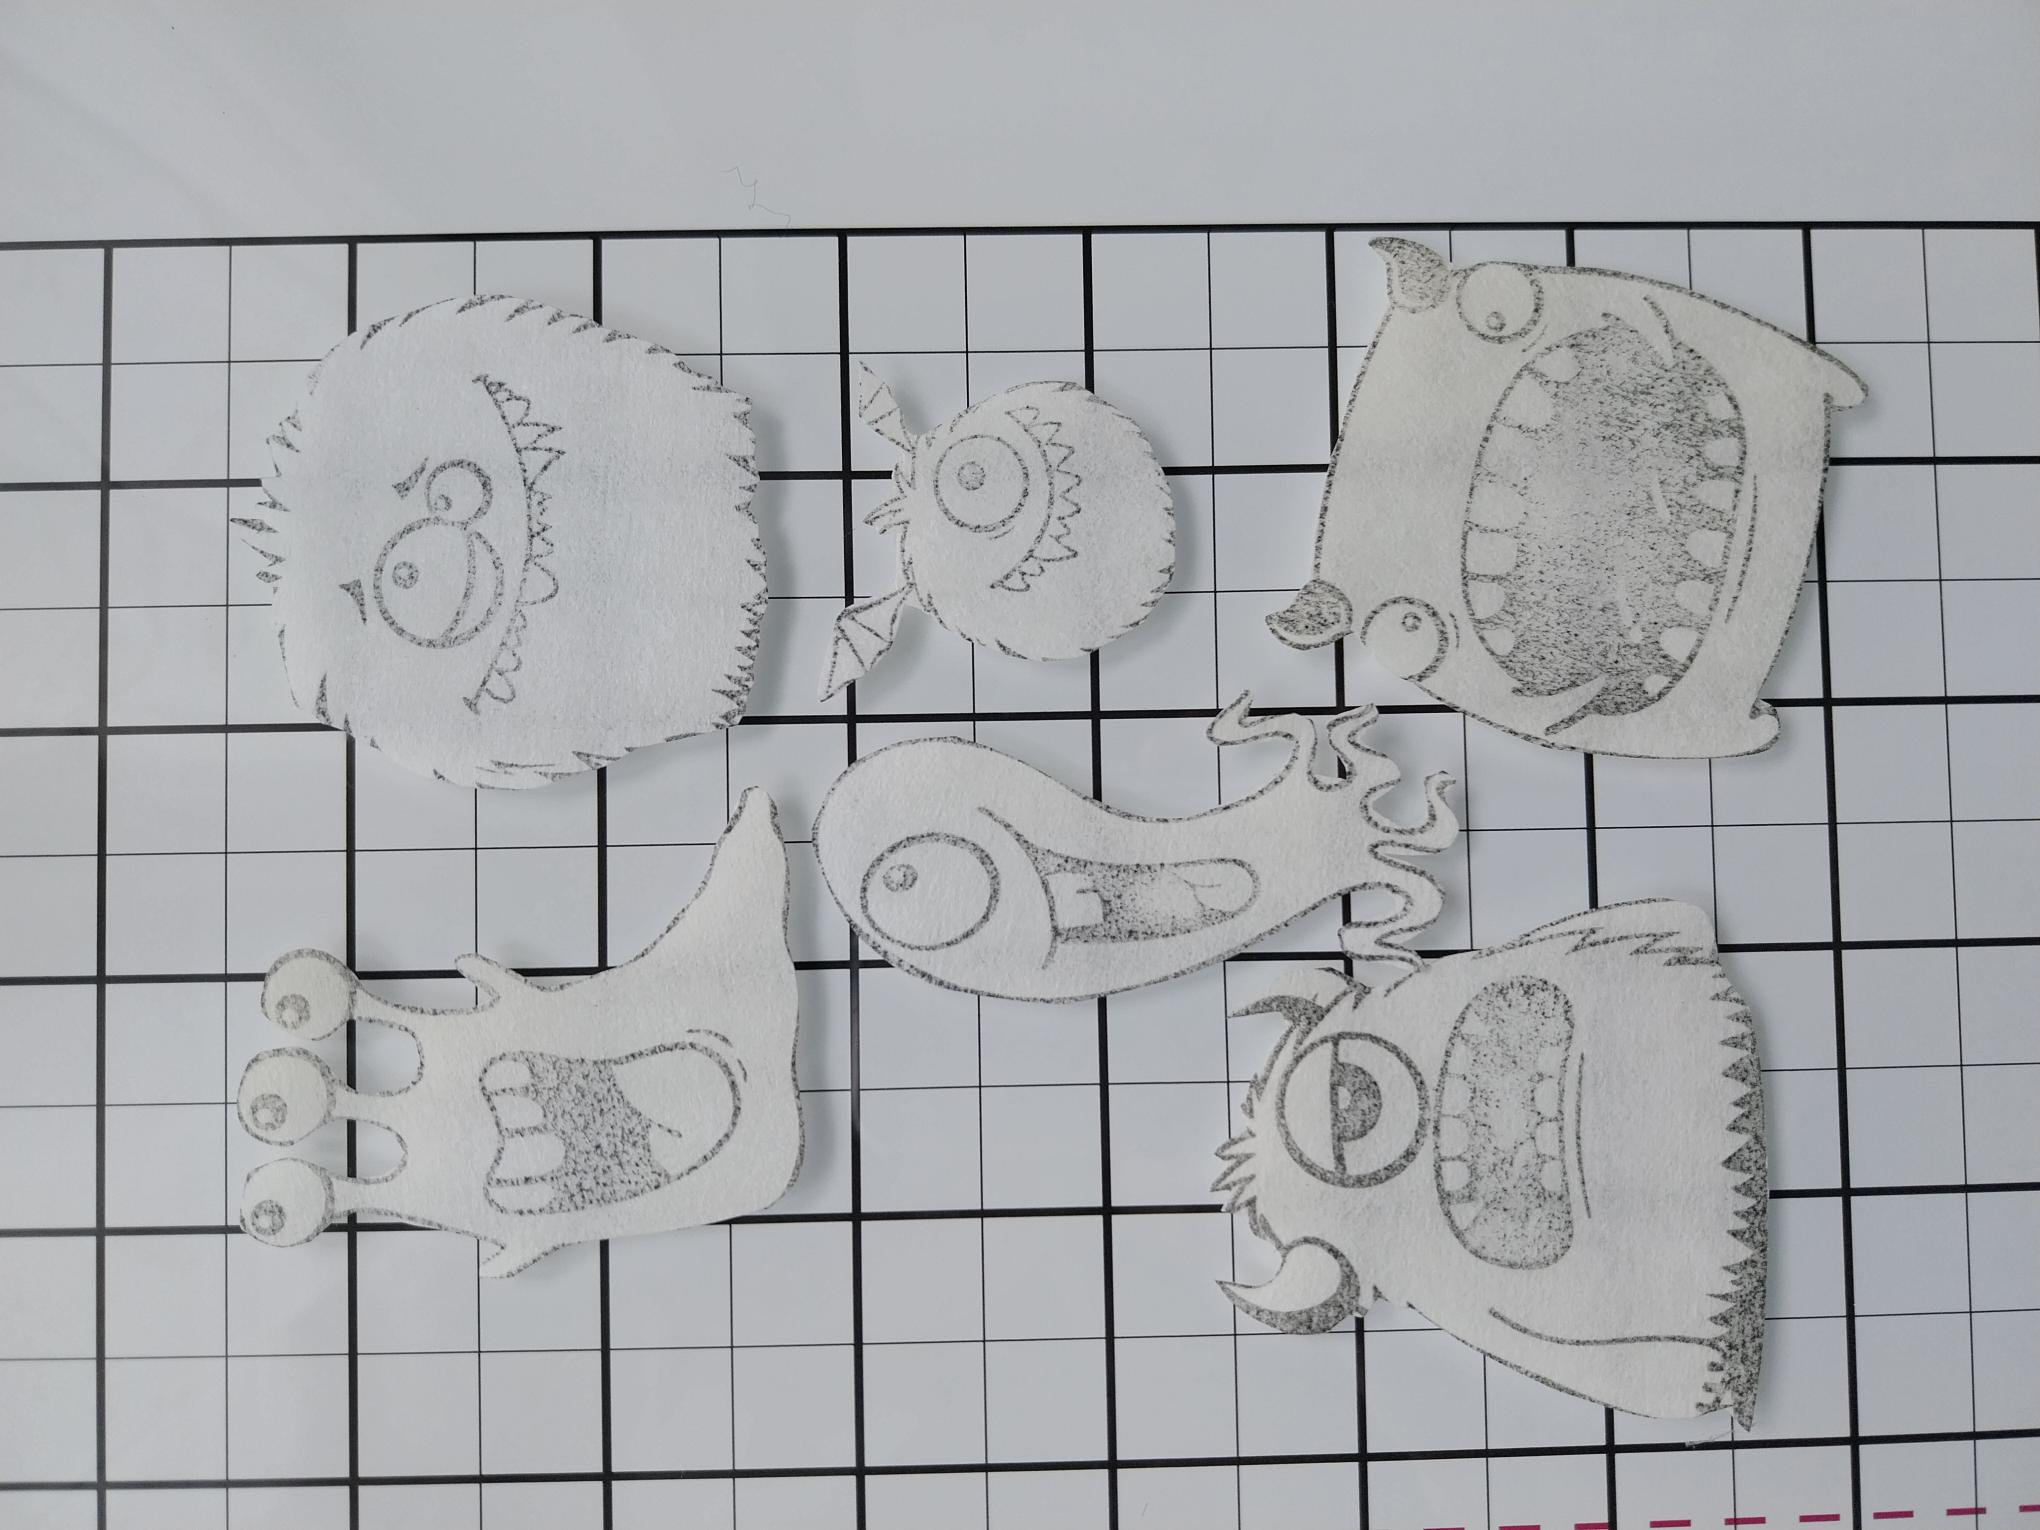
|
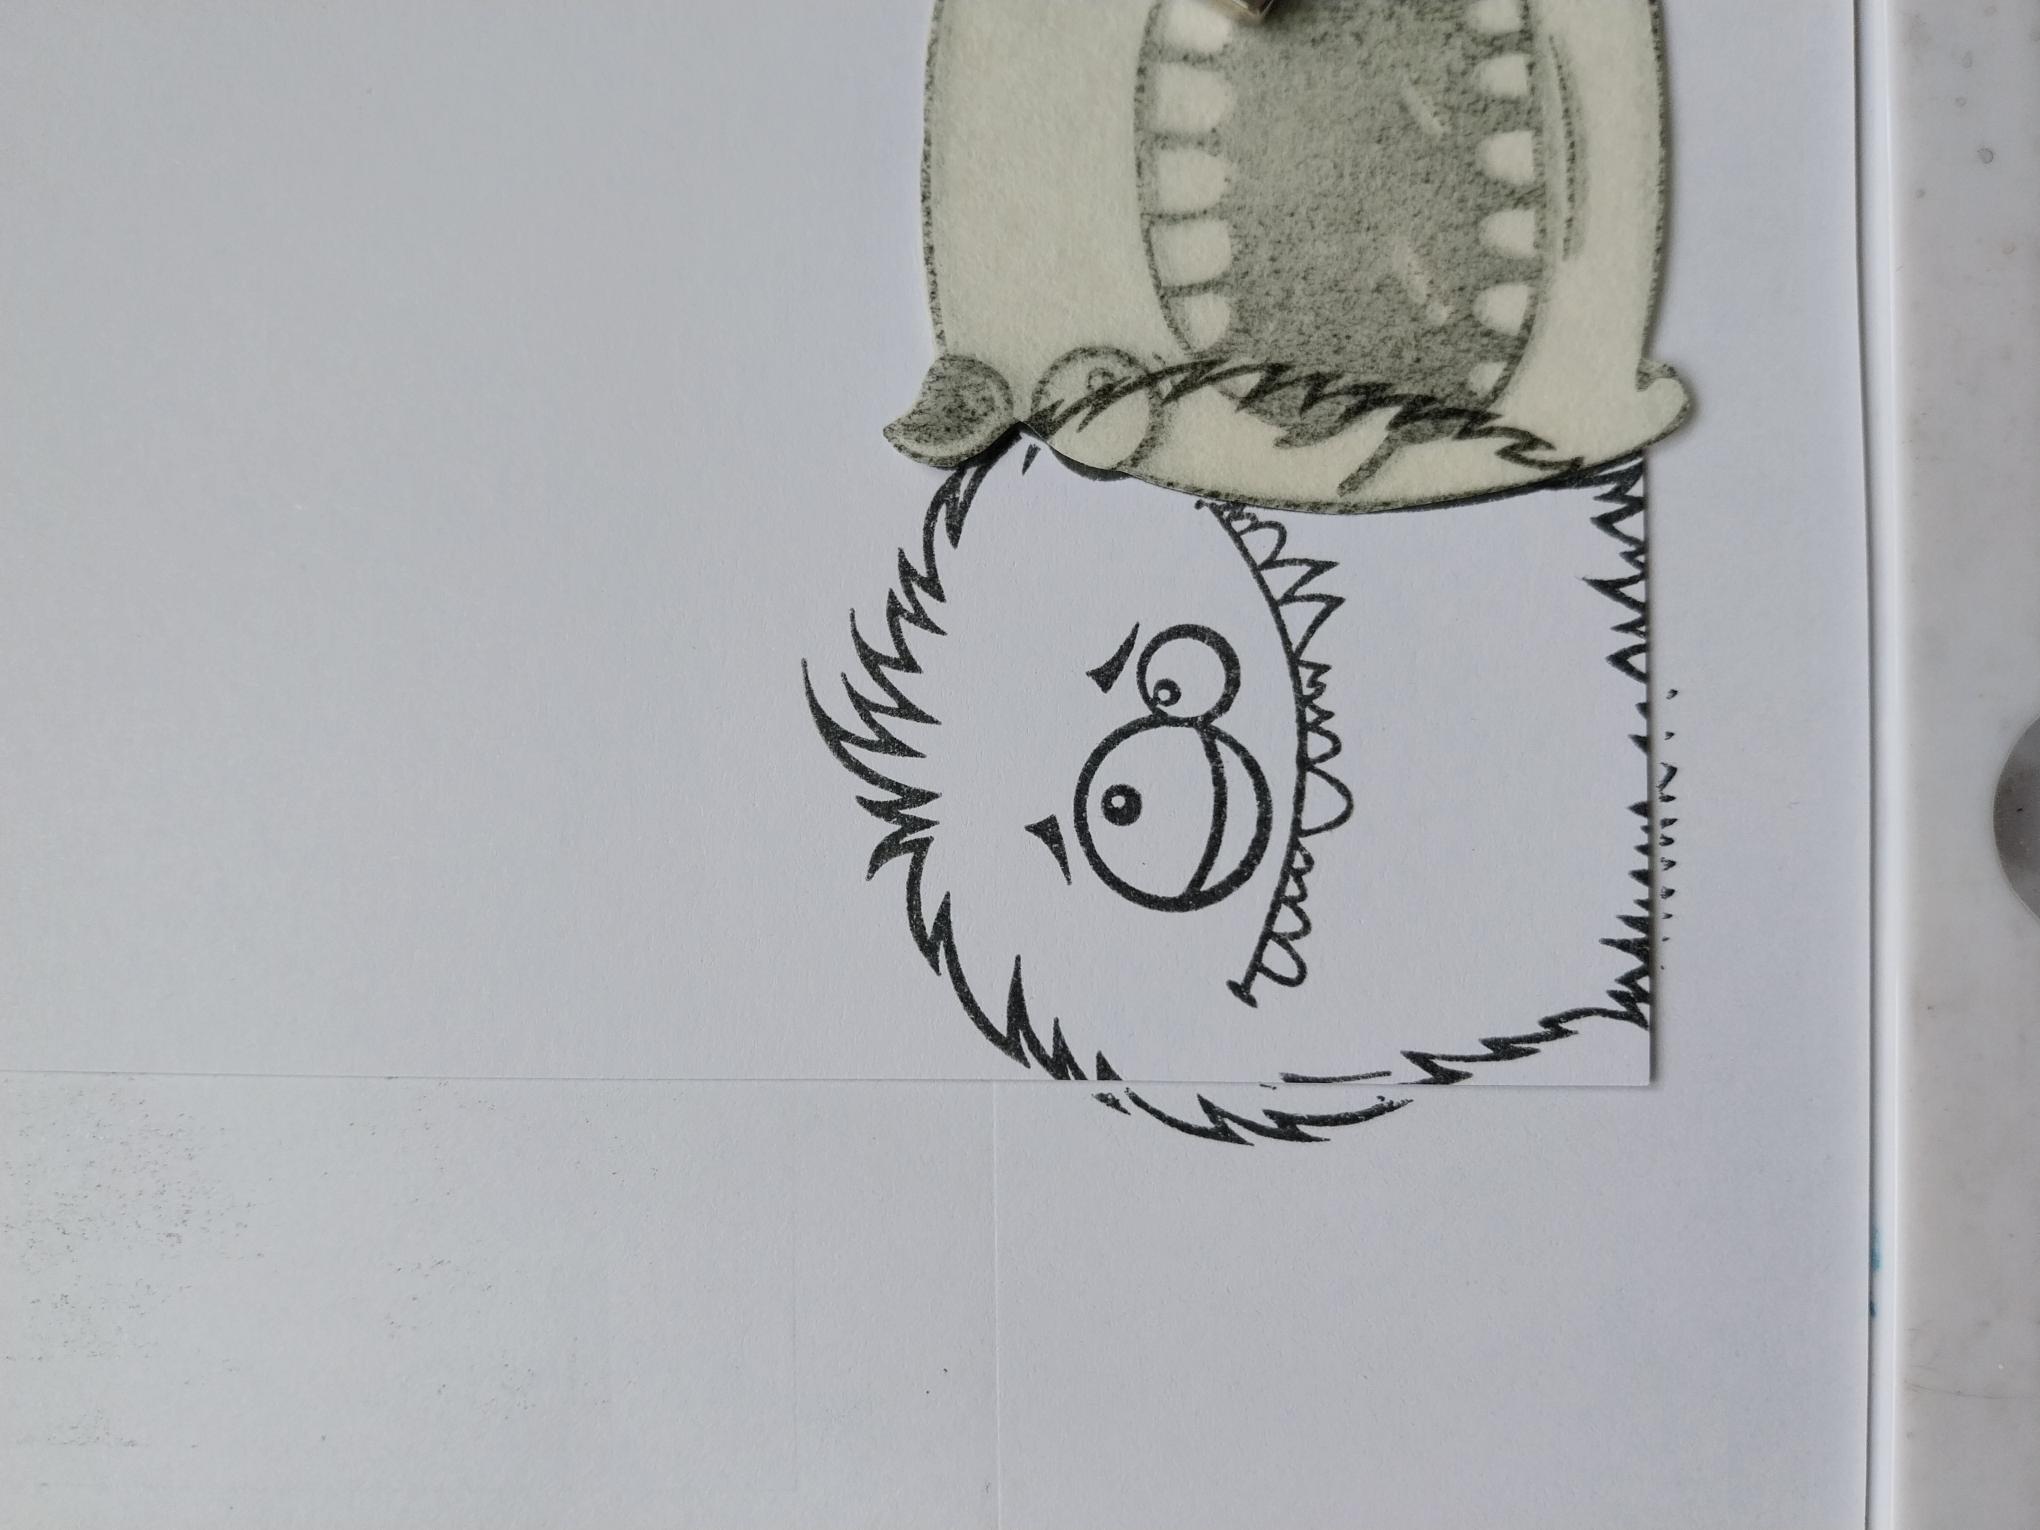
Stamp our Graffiti Monsters on to a masking sheet, or a piece of copy paper and fussy cut to create your "masks", keeping as close to the stamped lines as possible. |
|
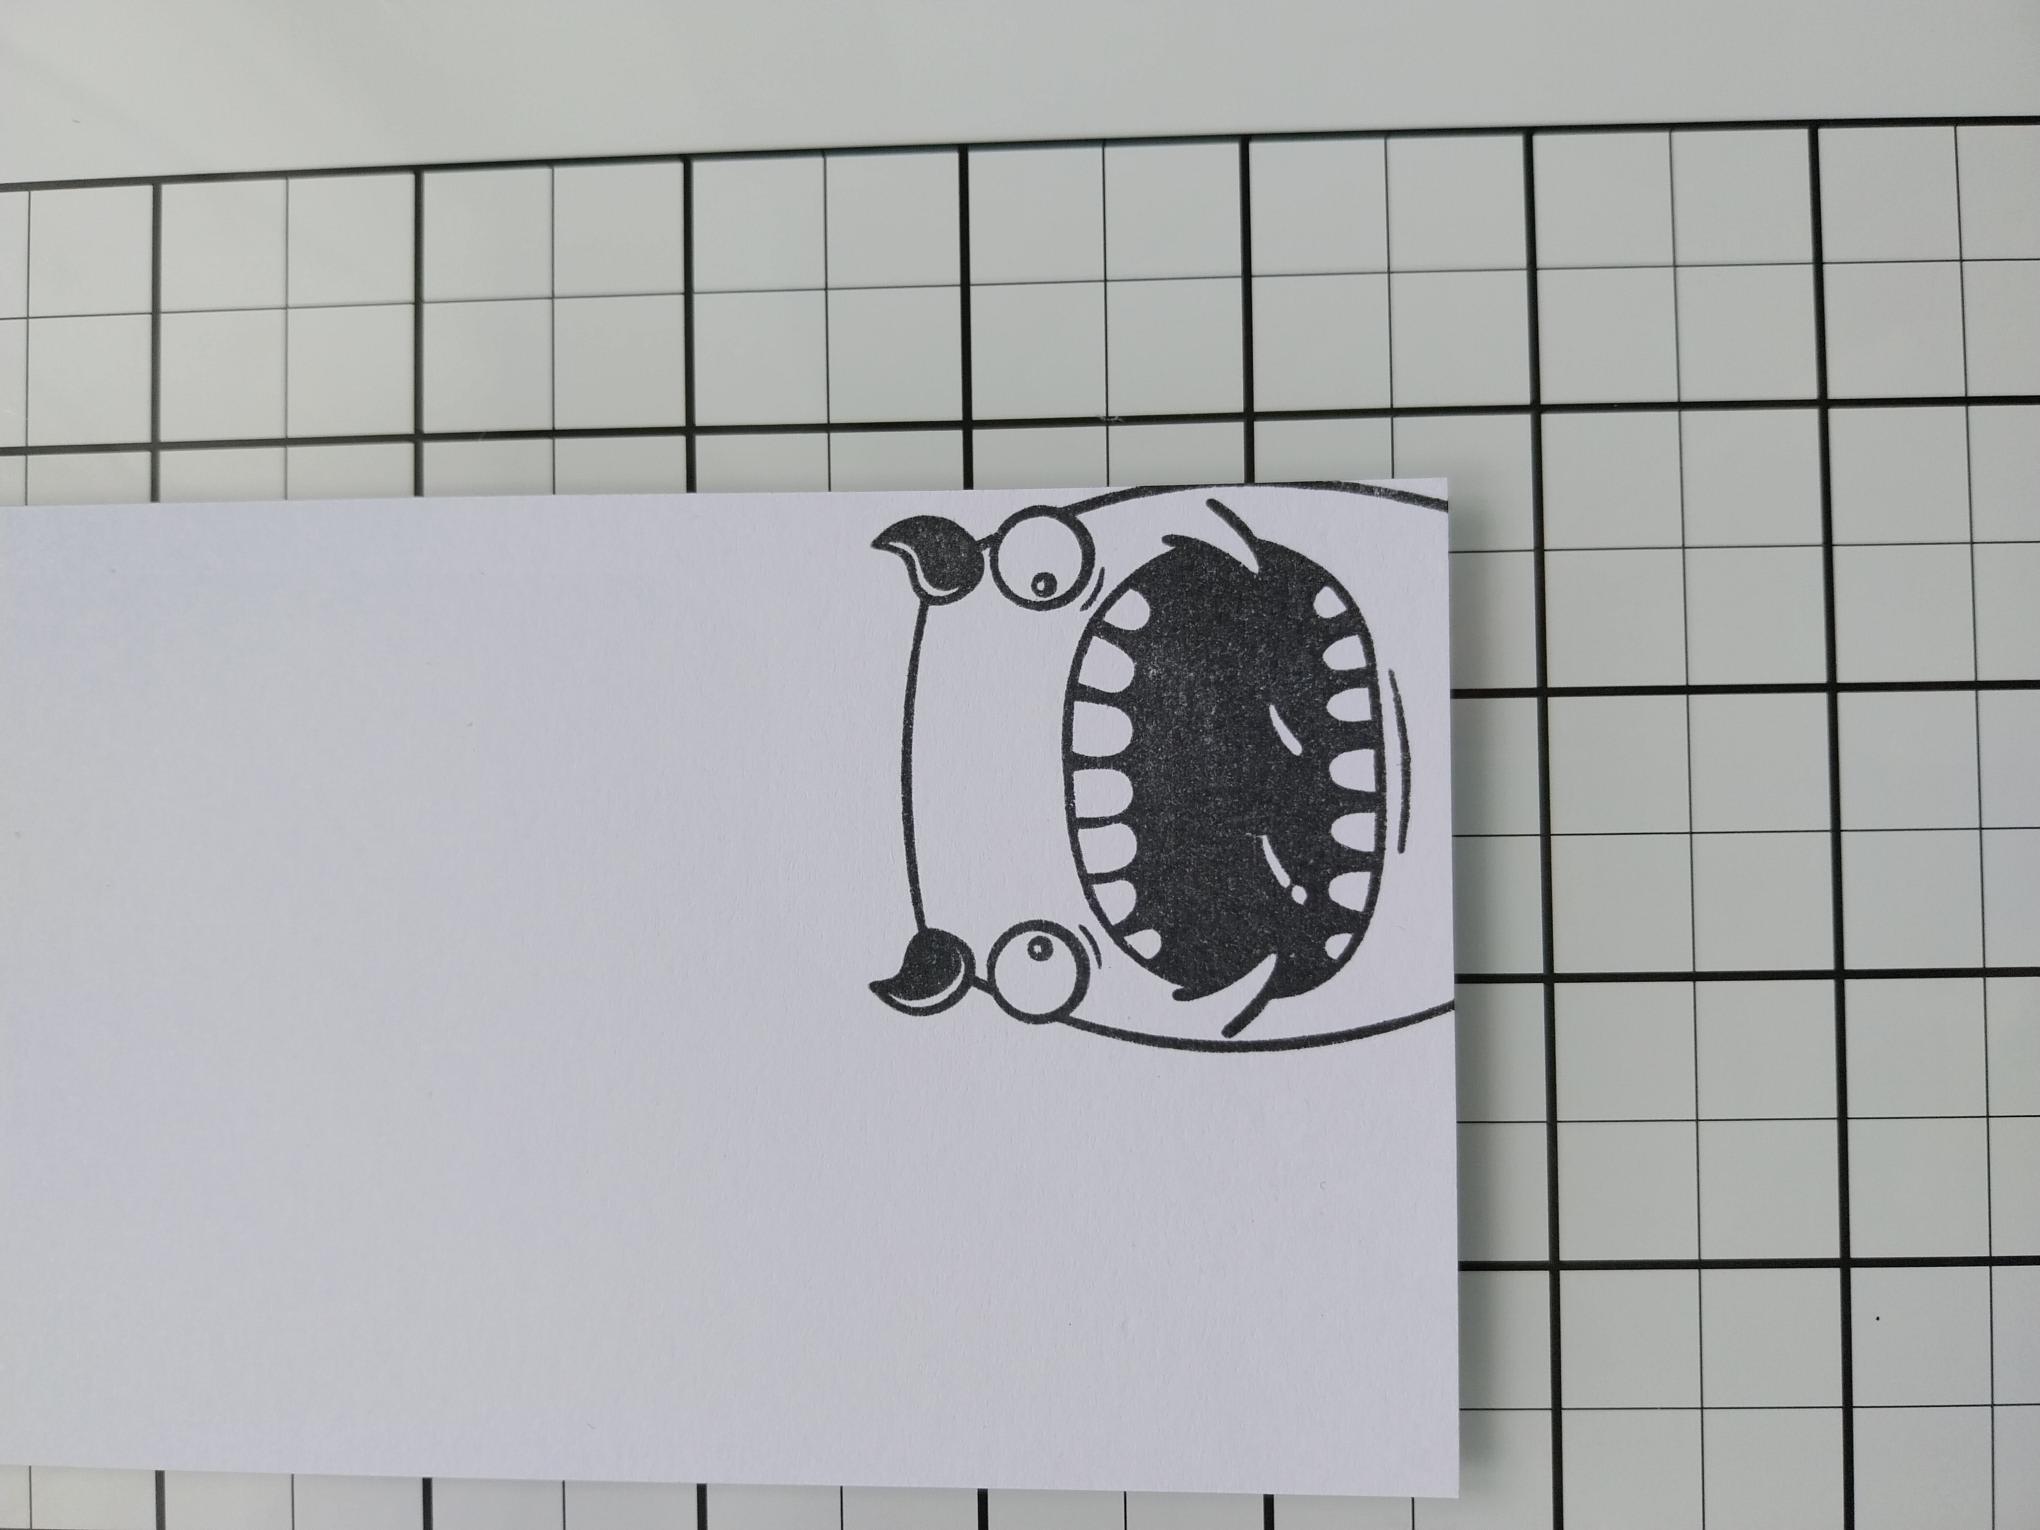
Ink up the first monster with the Midnight ink and stamp in the bottom right corner of the white card, cut to 8 1/4 x 3 1/2". |
|
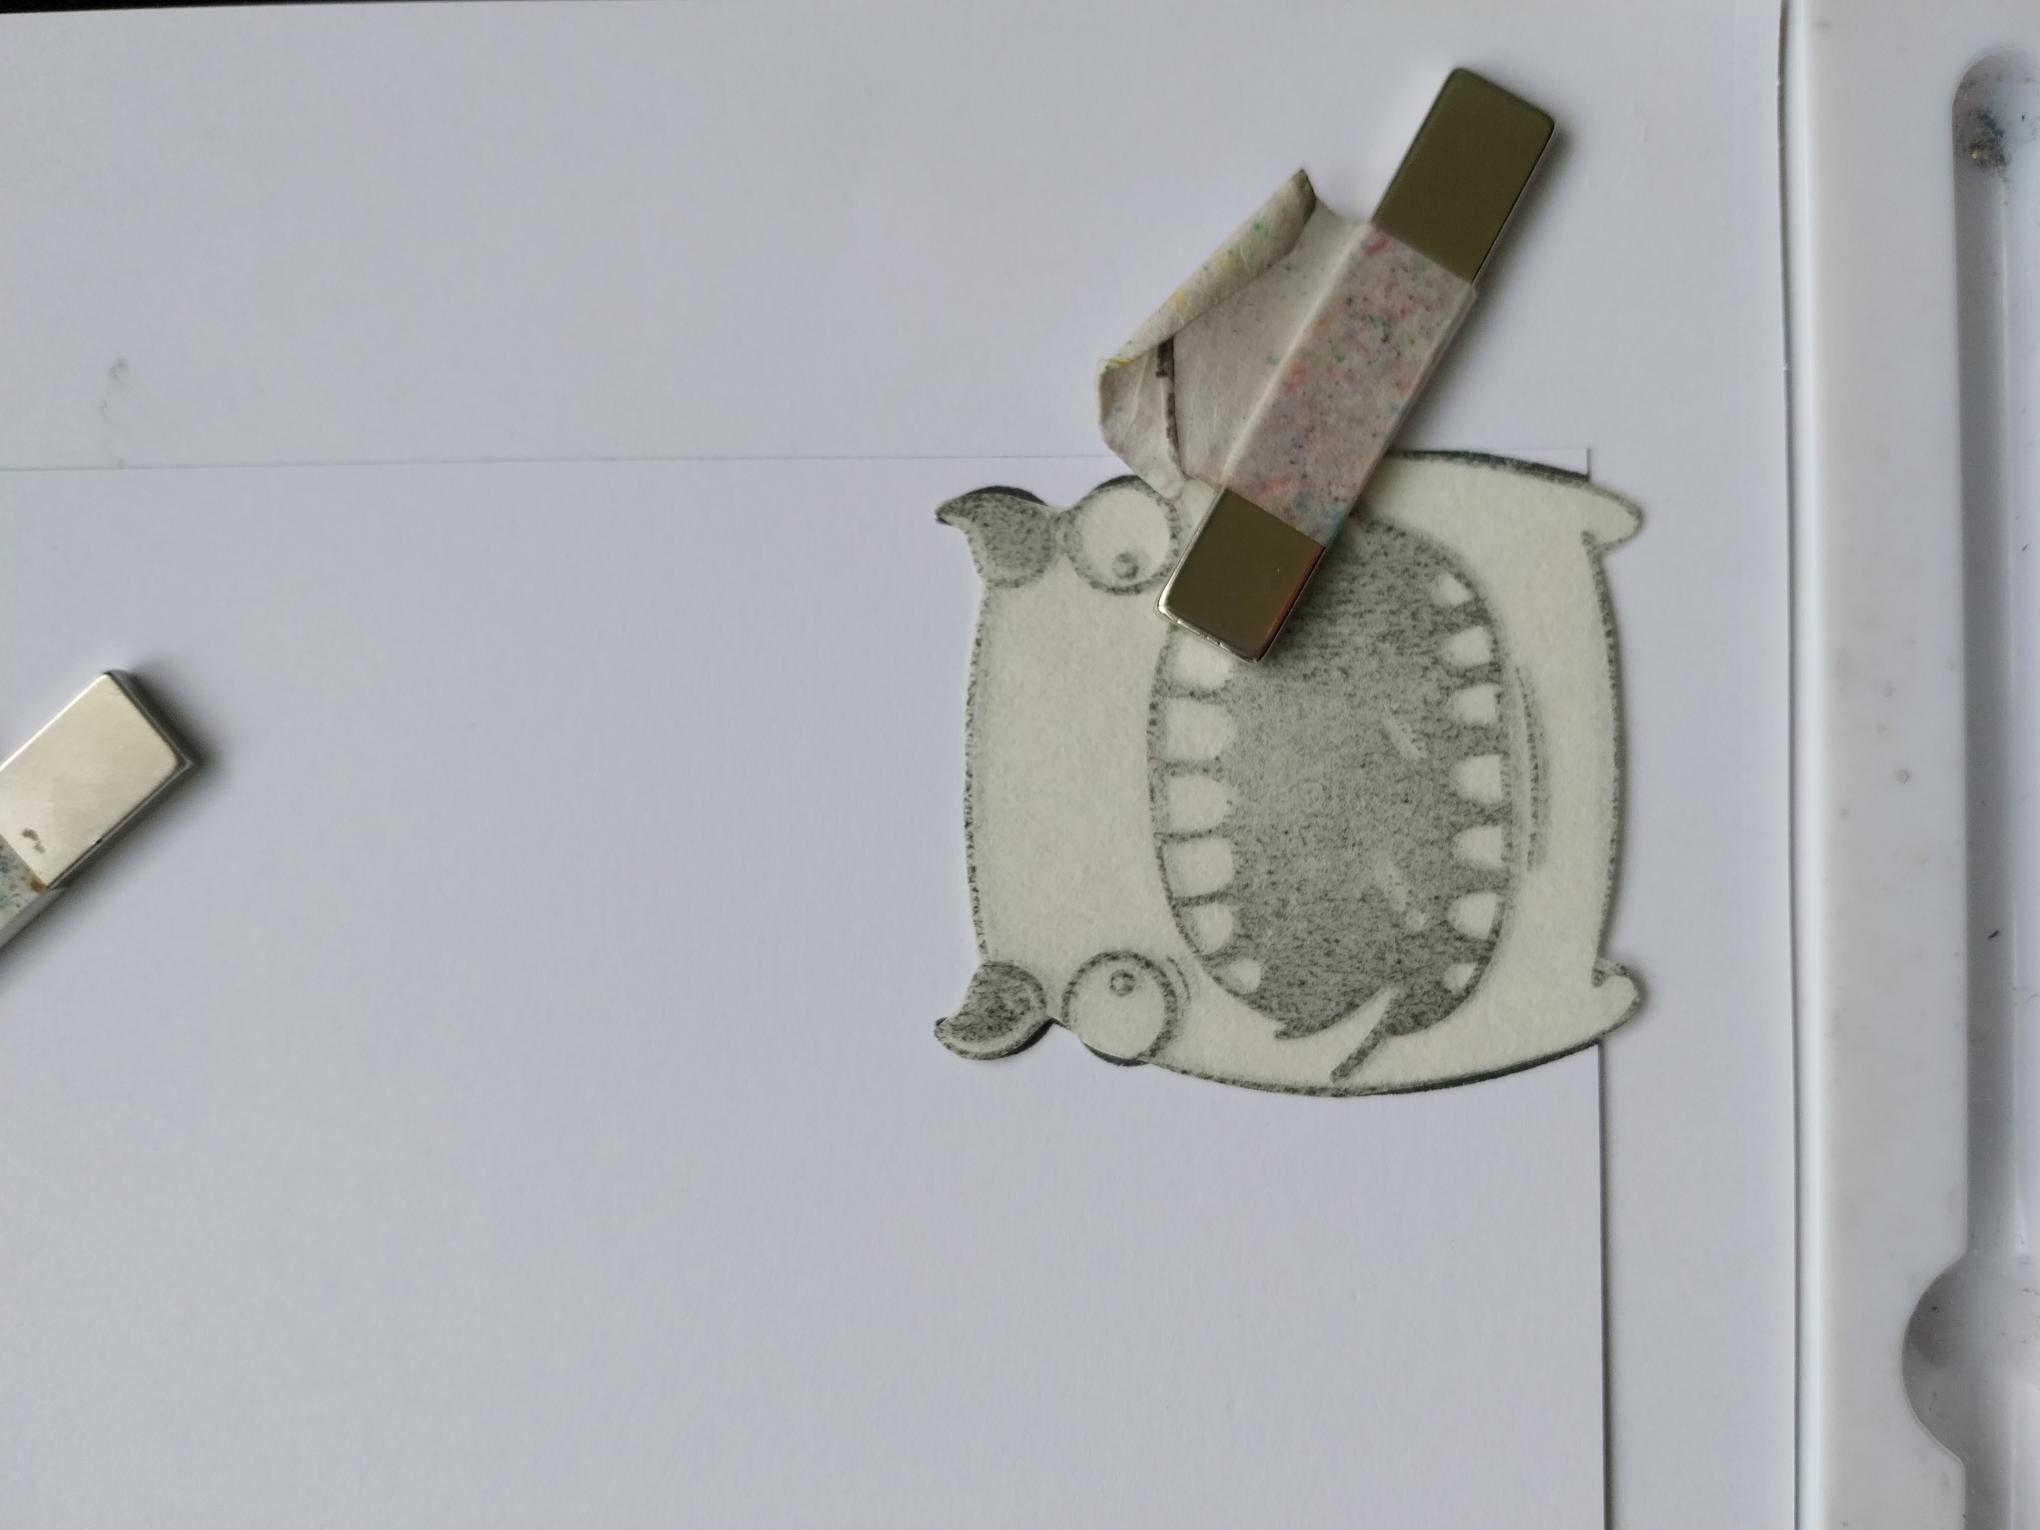
Cover your stamped image with the appropriate "mask". Tip: Place a sheet of copy paper underneath your card, as you will be doing a lot of stamping off the edges of the card. |
|
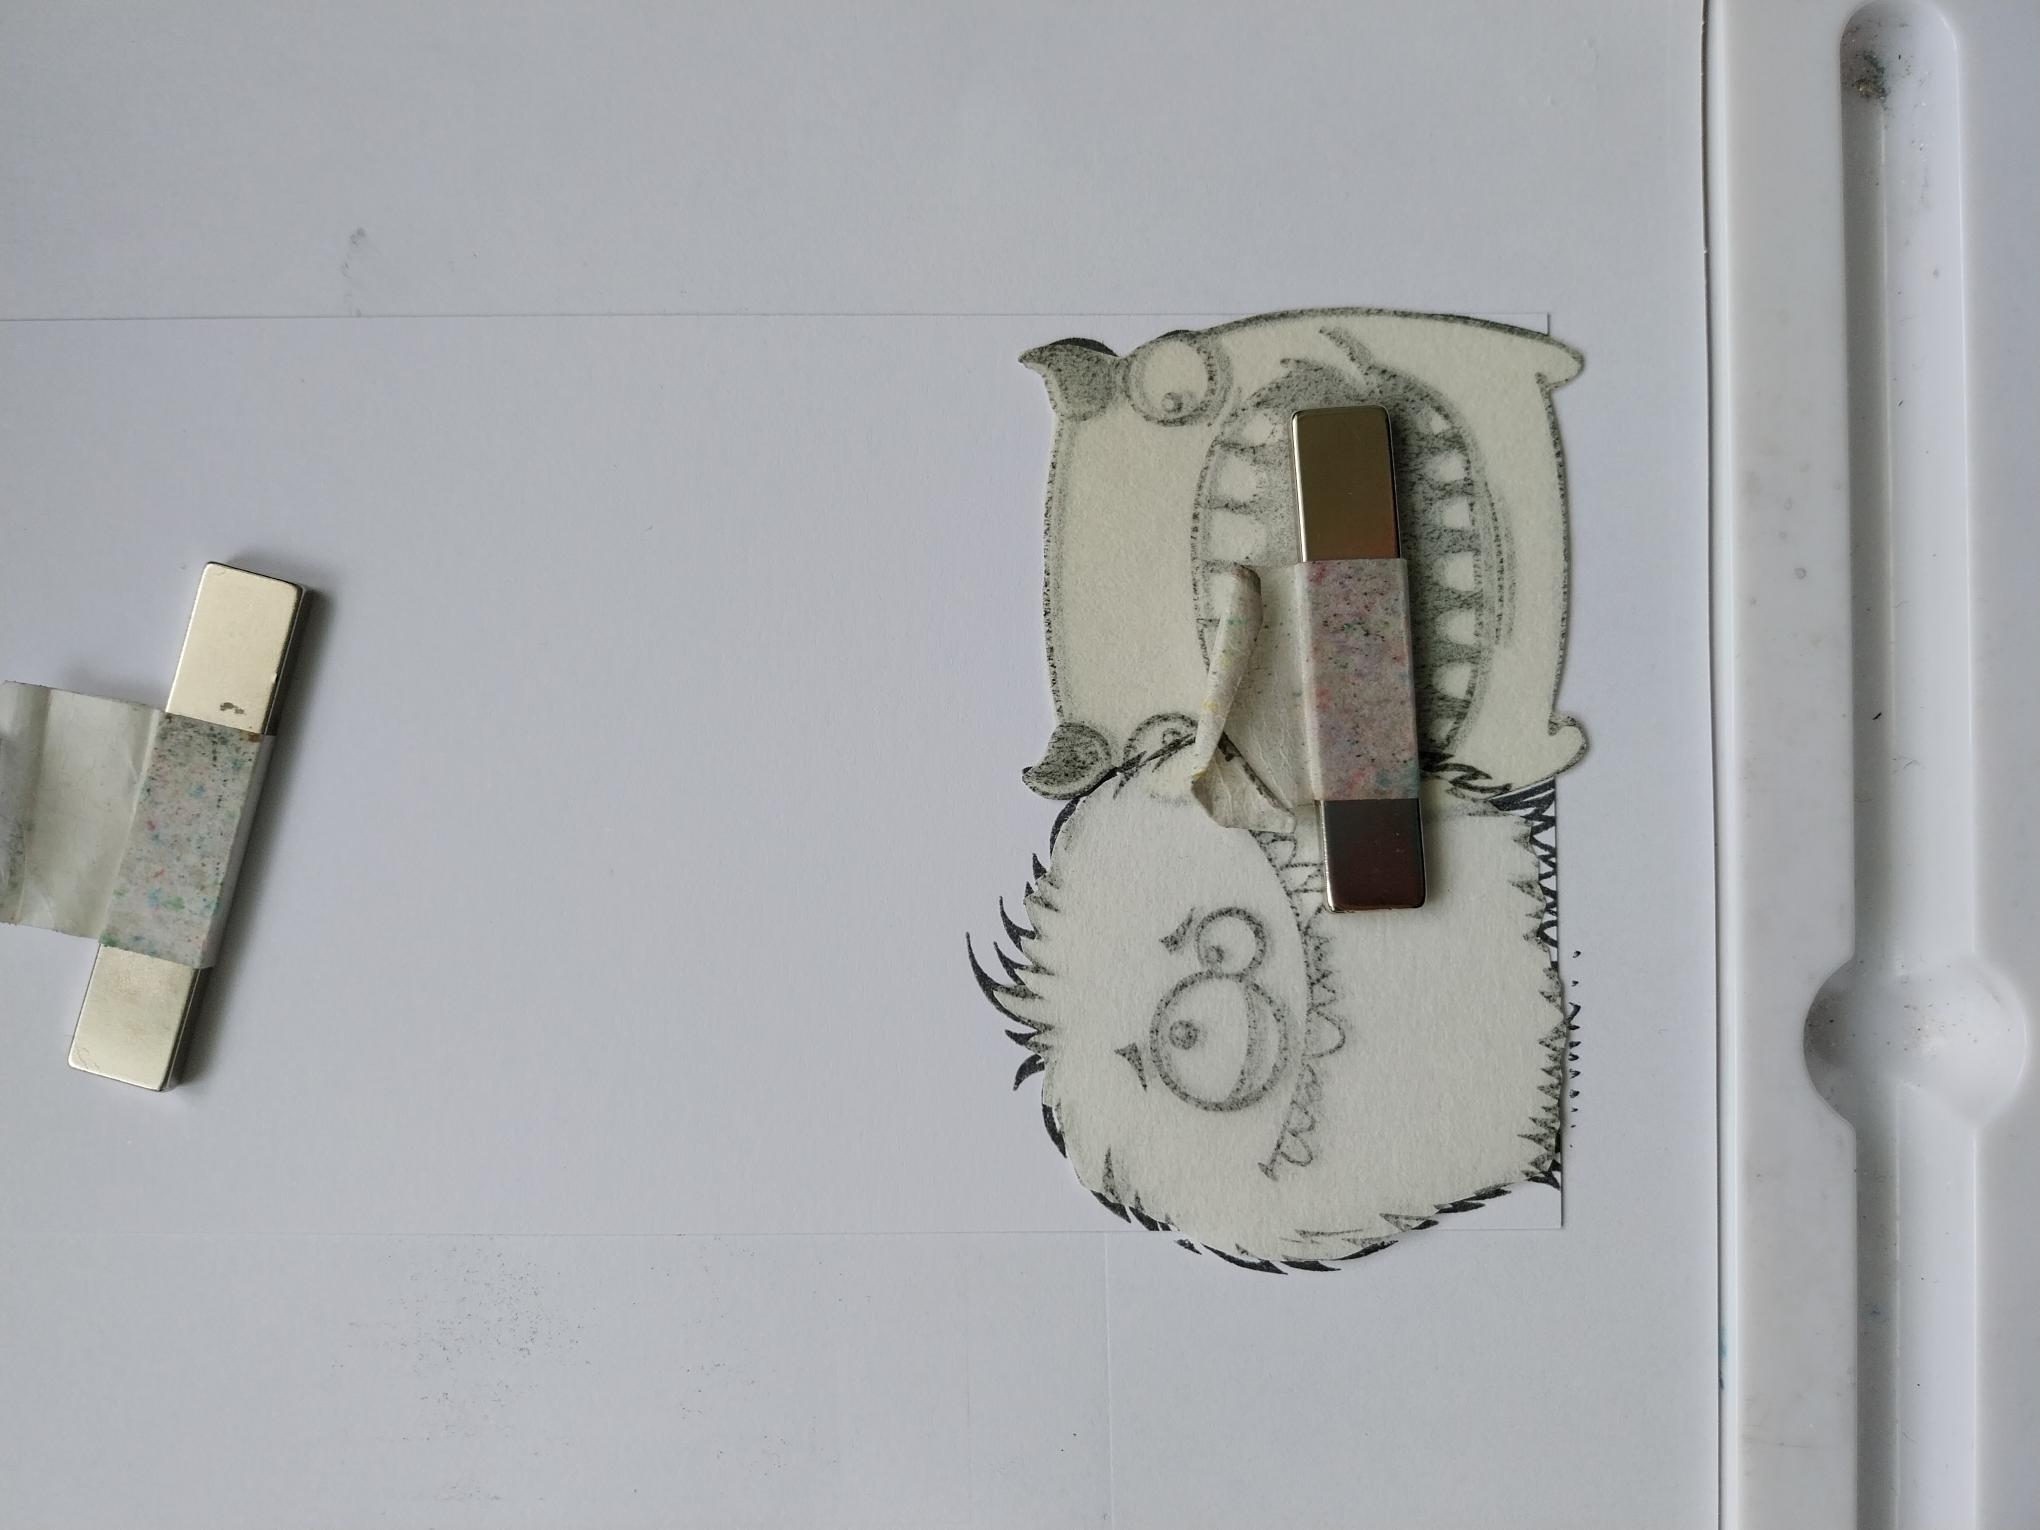
Stamp your next monster in Midnight, so it's just overlapping the masked-off monster. |
|
Cover the second image with it's "mask". |
|
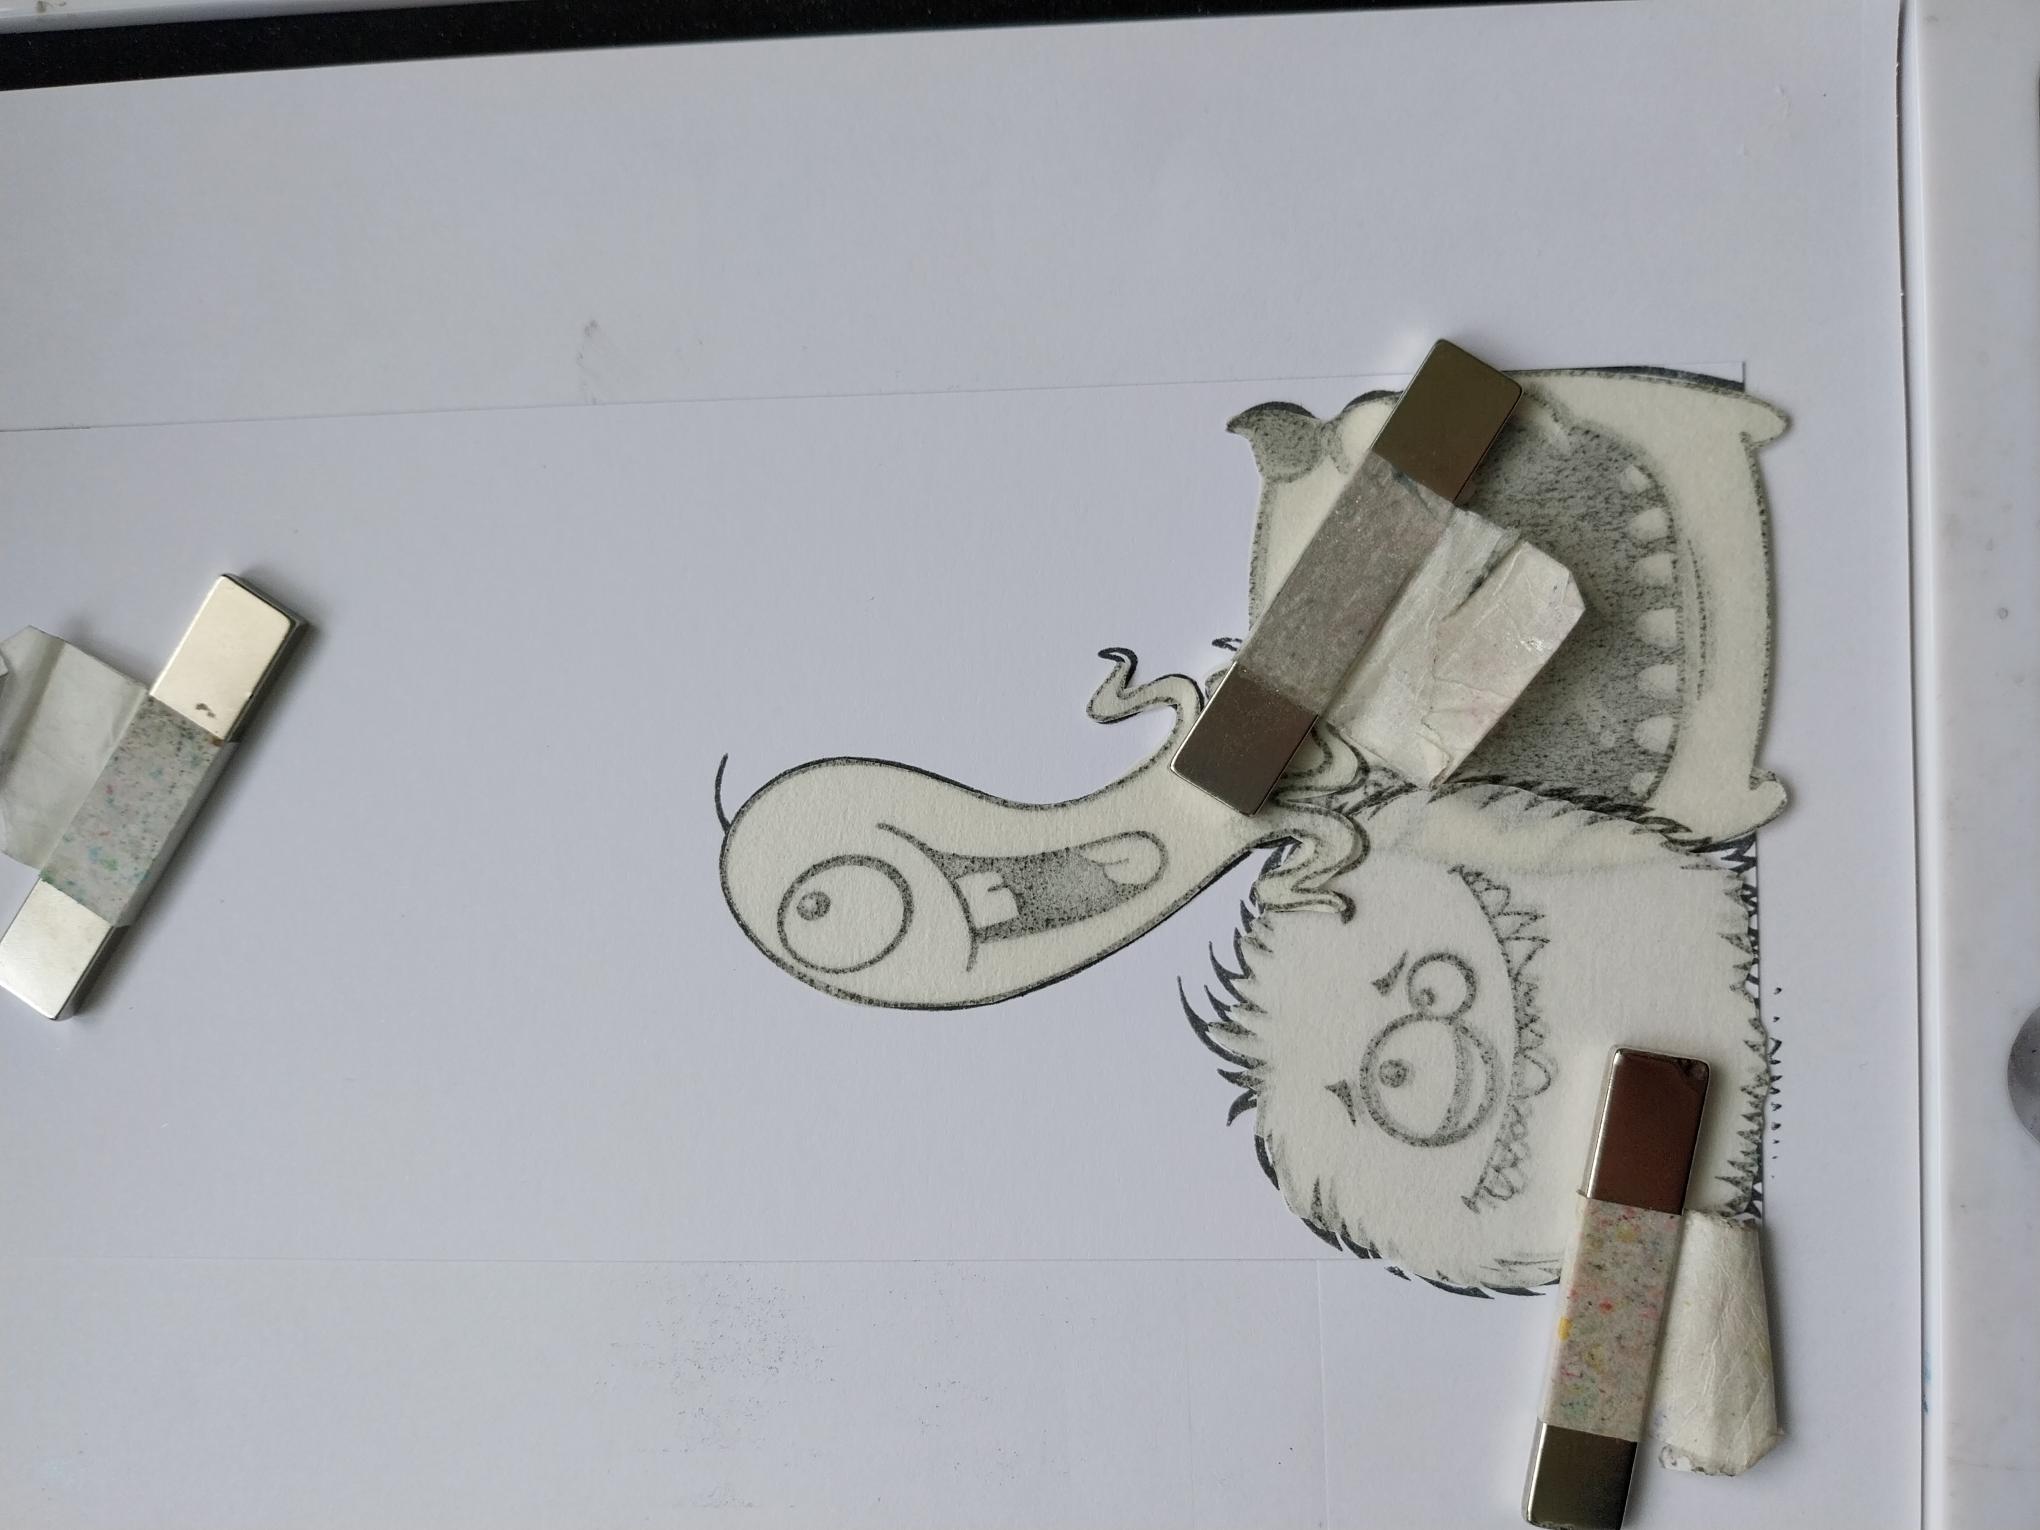
Stamp another monster peeking up, from behind the 2 masked-off monsters, then cover with it's "mask". This "masking technique" is how you create your dimensional, layered look, stamping the images you want at the front first, then masking those off before stamping the images you want to appear "behind". |
|
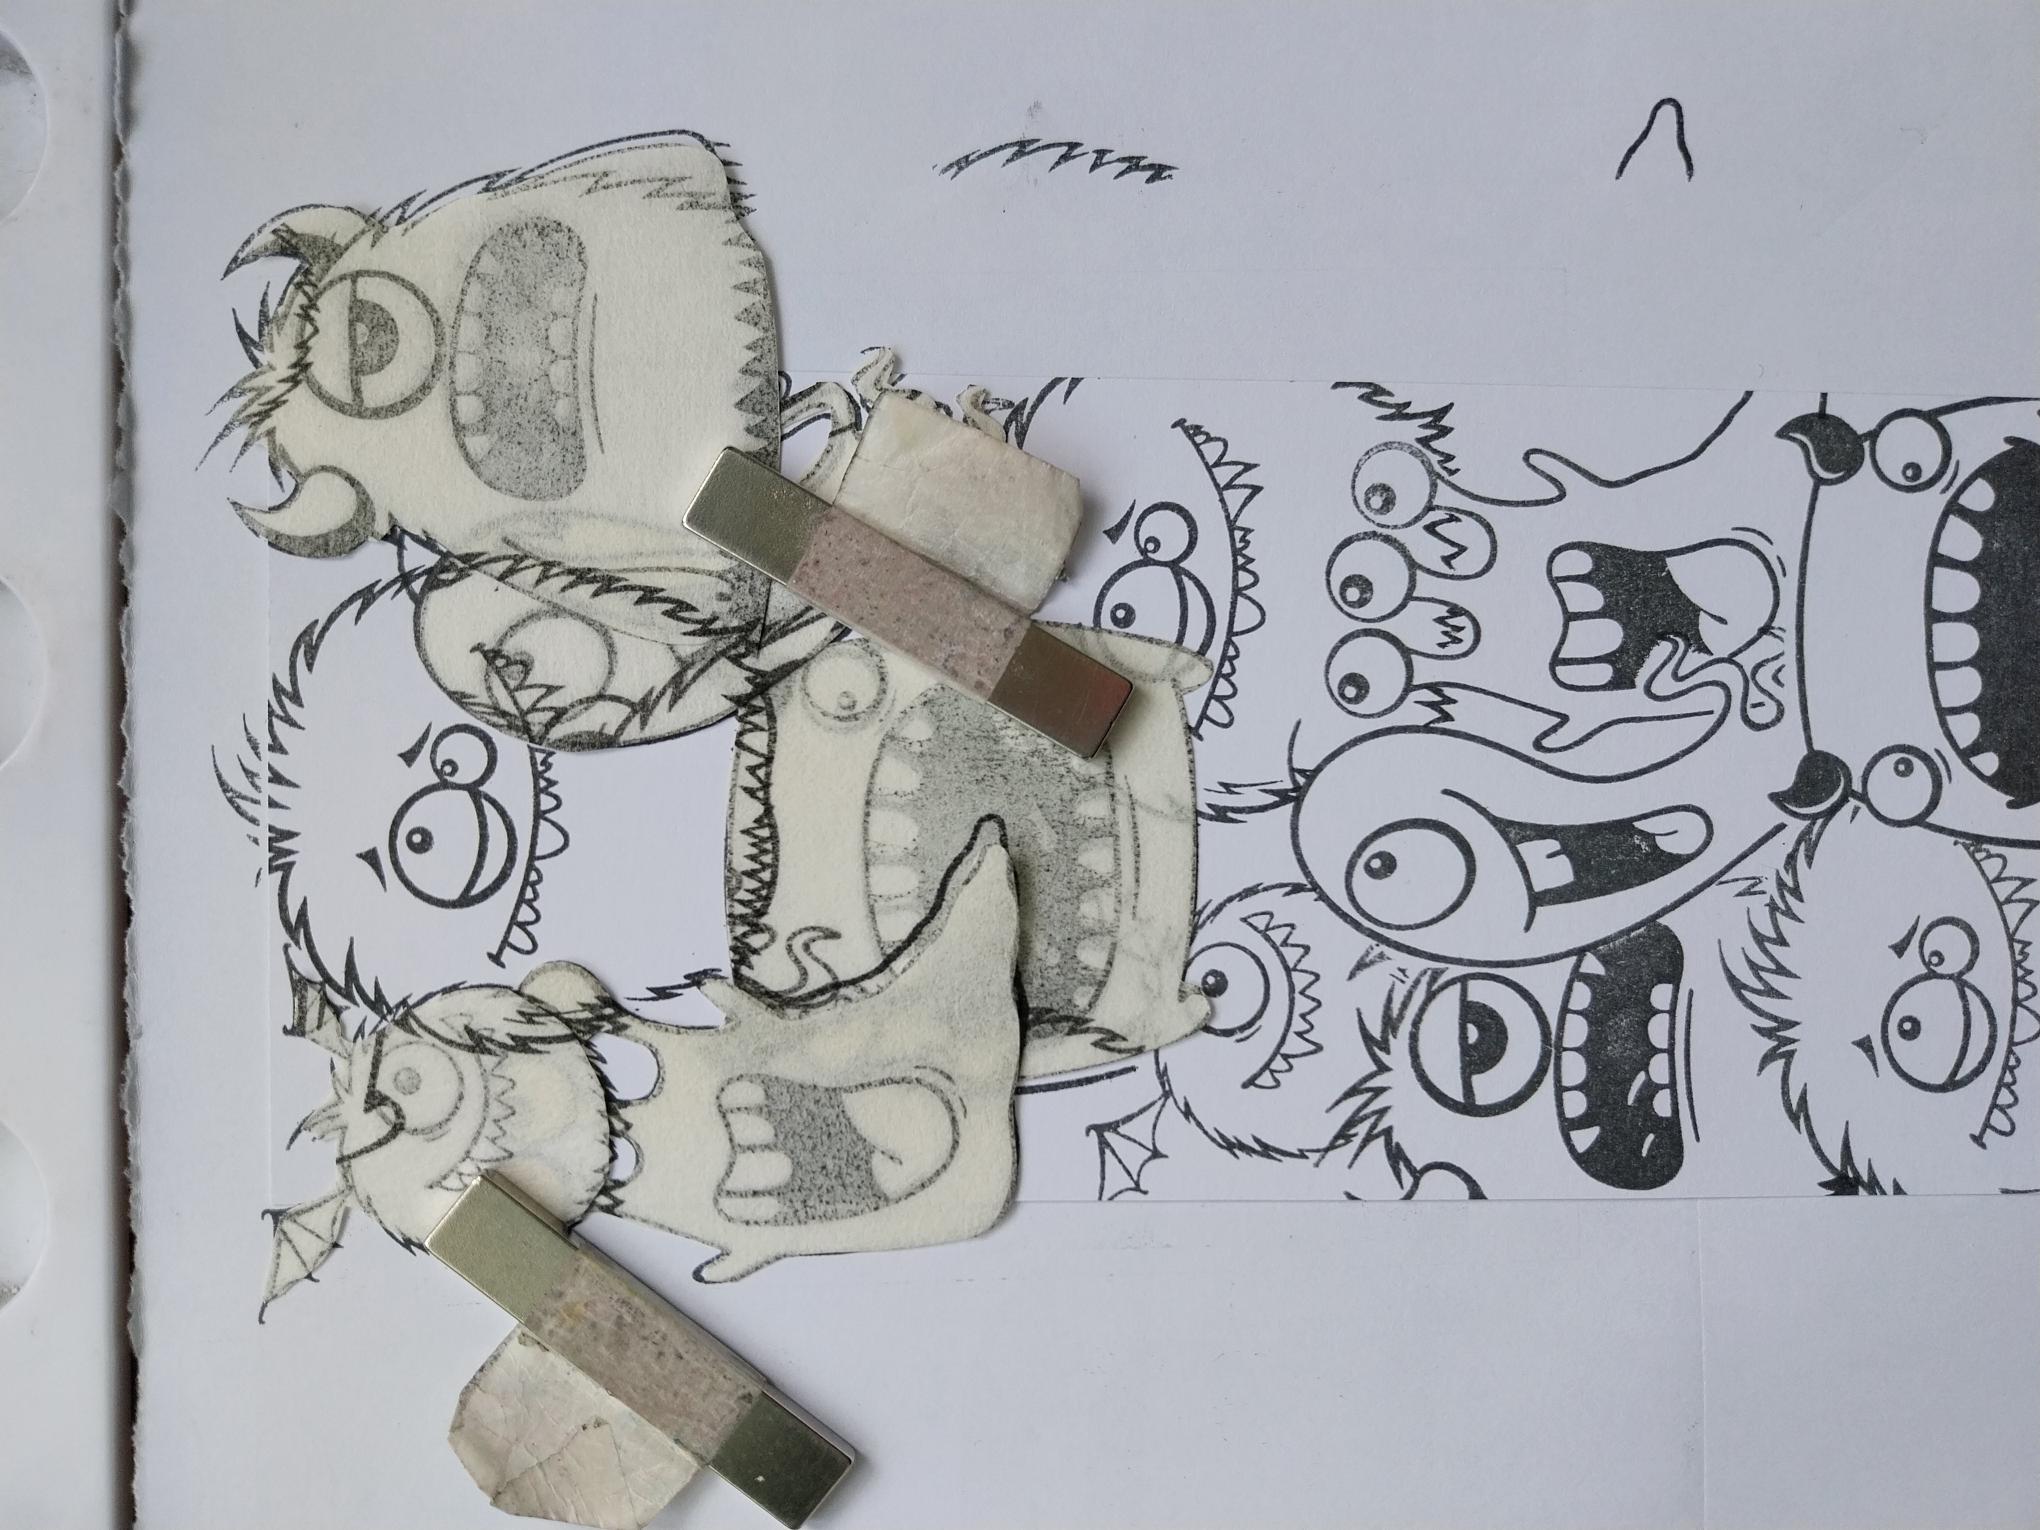
Using the tecniques from the previous steps, continue to stamp and cover your images with the "masks", until you have covered the white card with your stamped monsters. NB: You only have to "mask off" the images you want the next image to appear behind, so you can move your masks around and re-use them, as many times as required. |
|
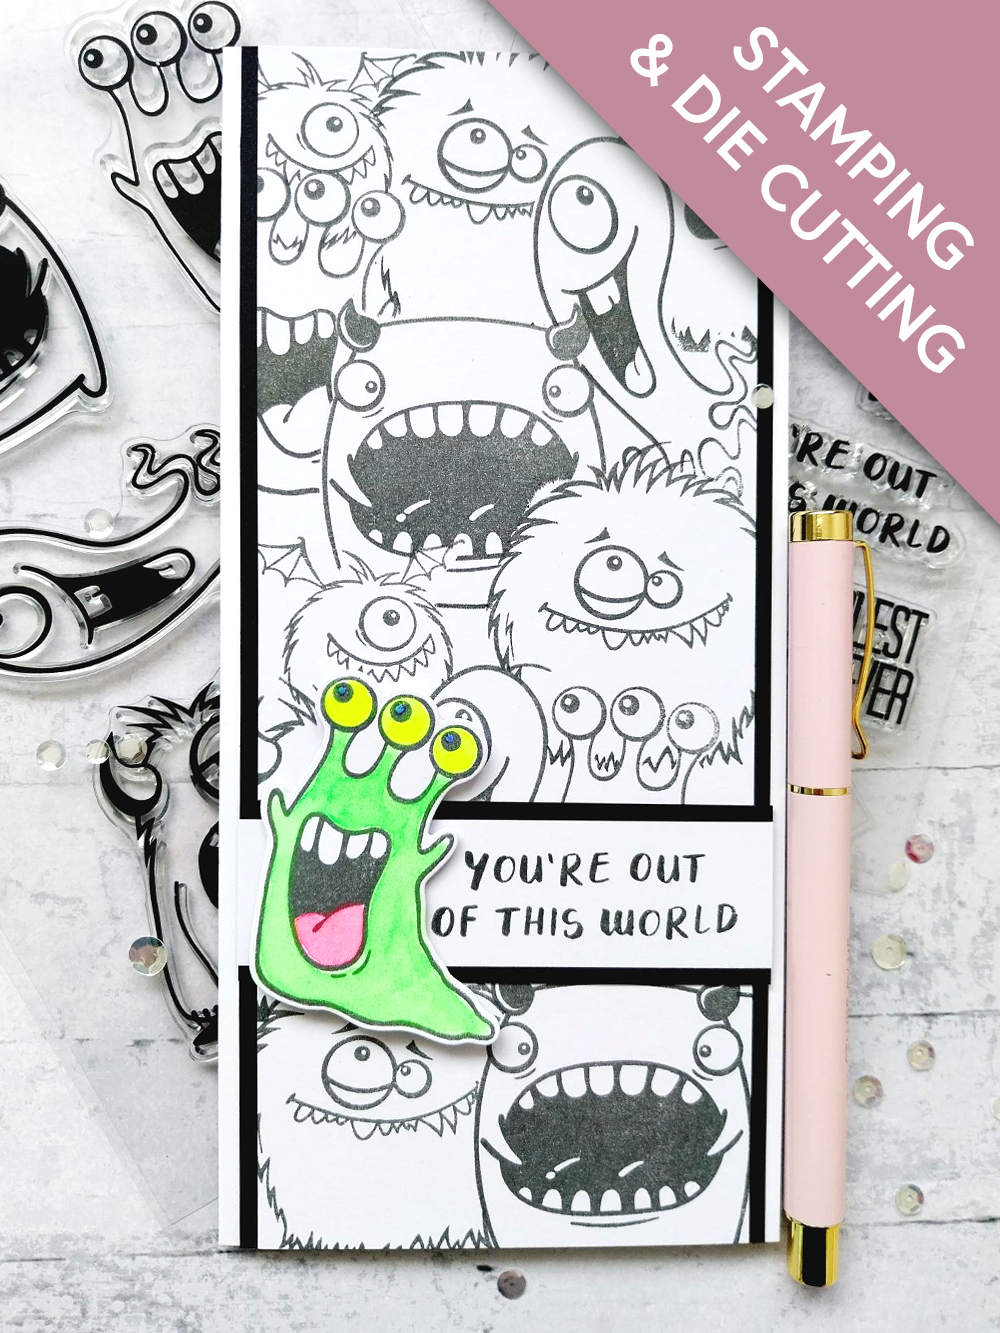
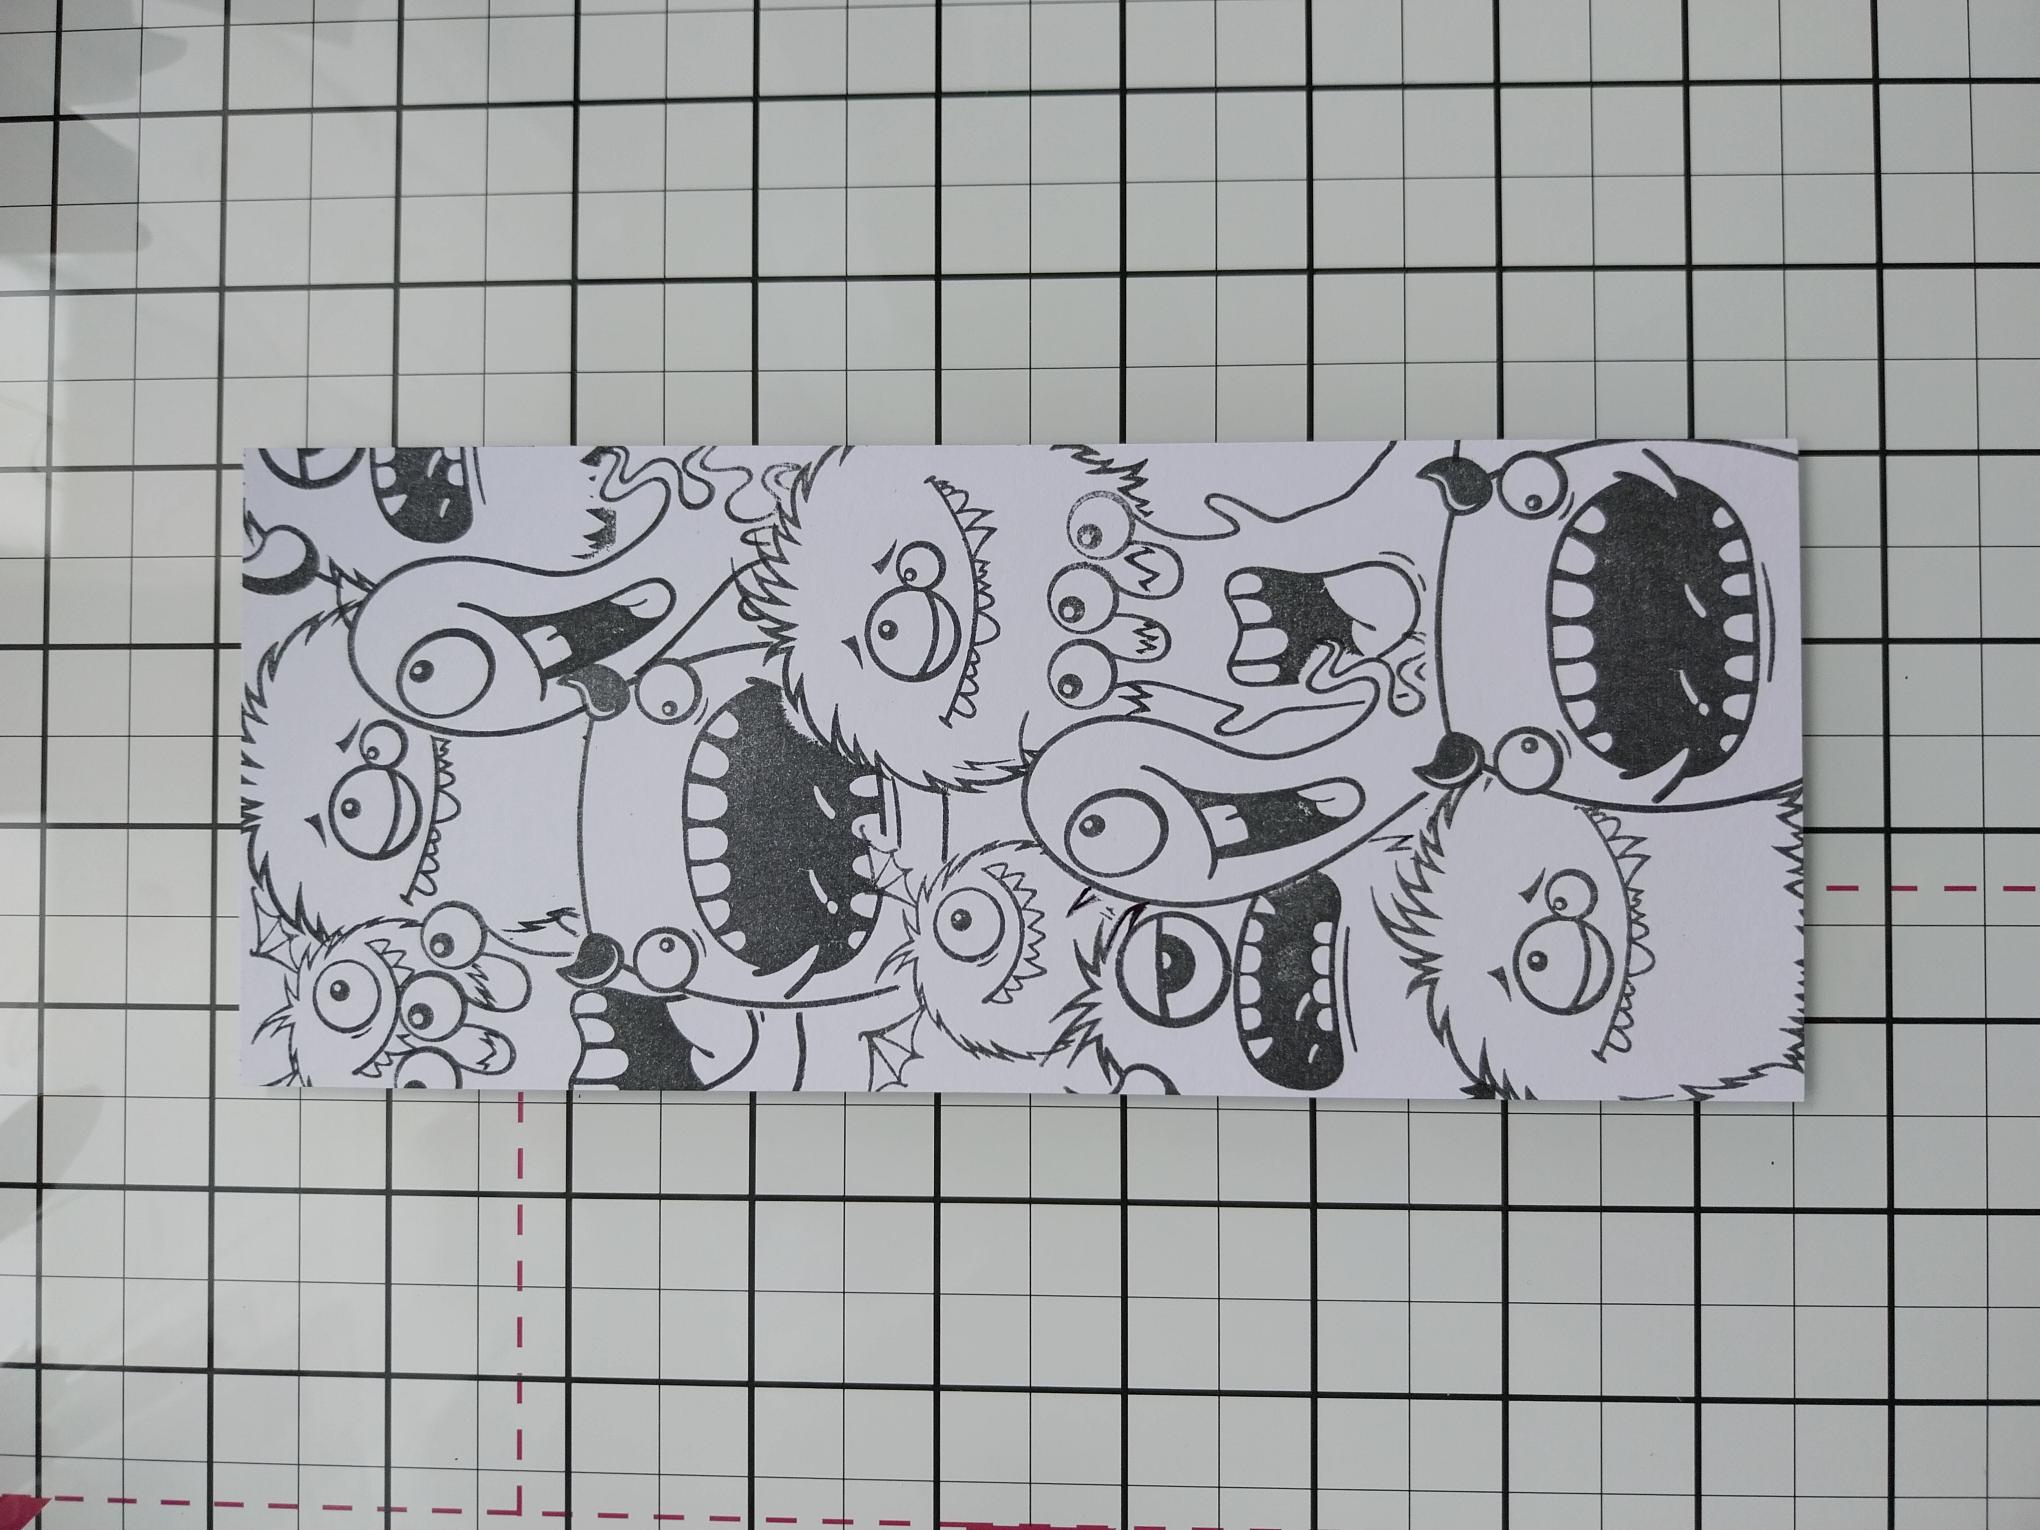
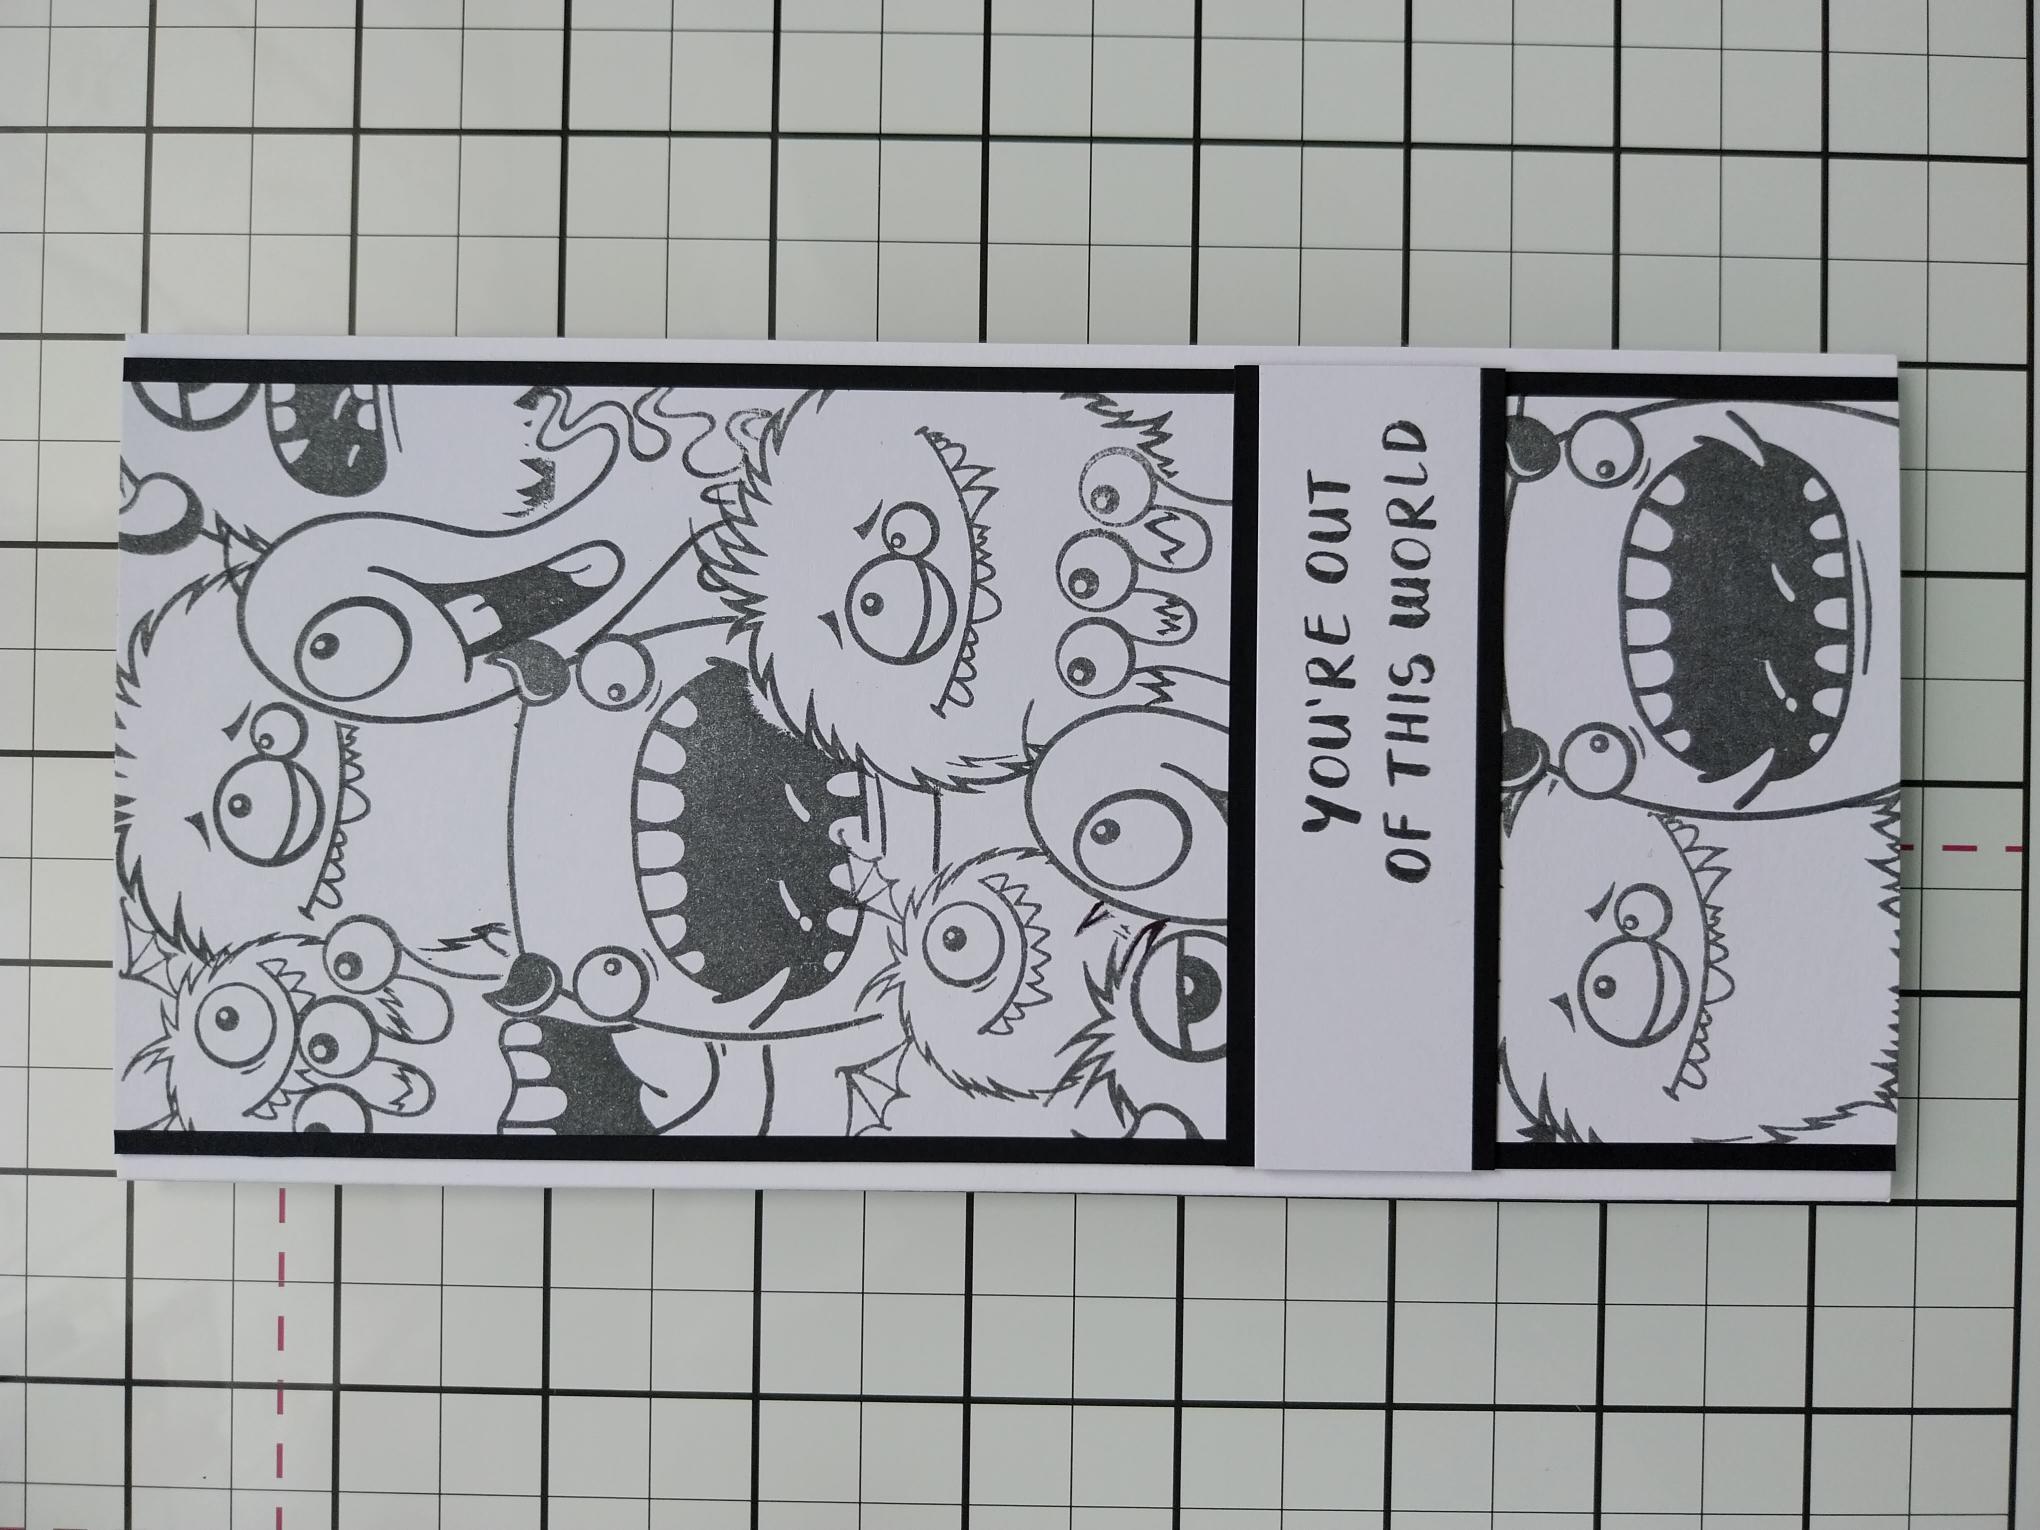
Remove all your masks and voila...a fabulous array of cheeky monsters!! |
|
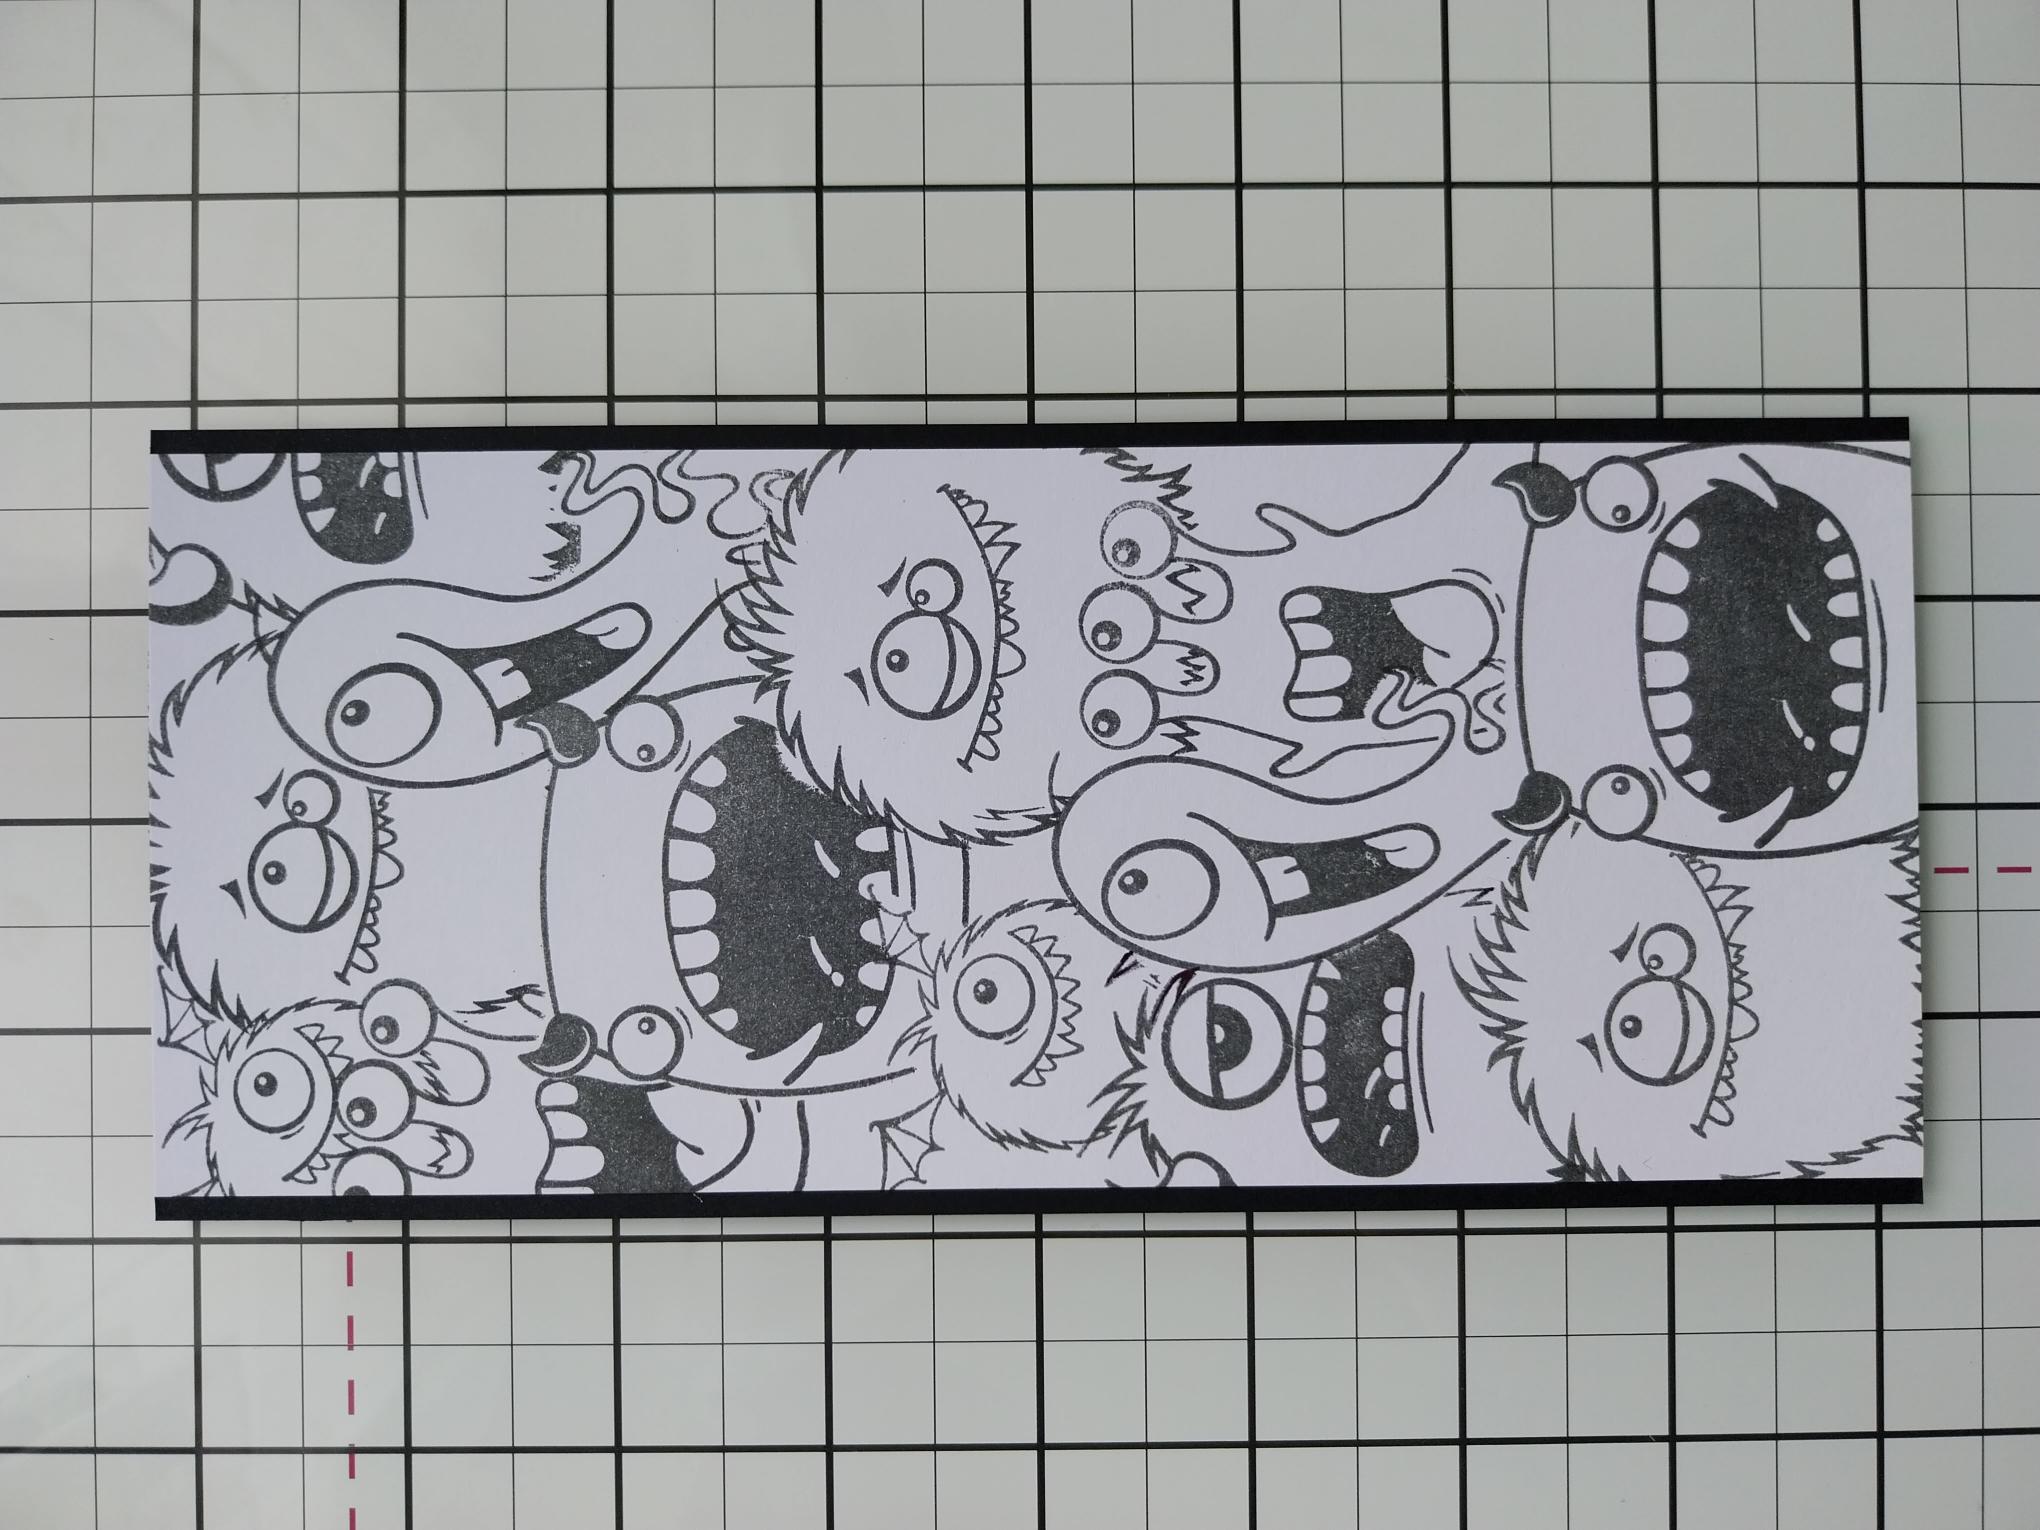
Adhere this on to the black card cut to 8 1/4 x 3 3/4", so the top and bottom edges are flush and there is an equal amount of black card visible down the left and right side. Pop to one side. |
|
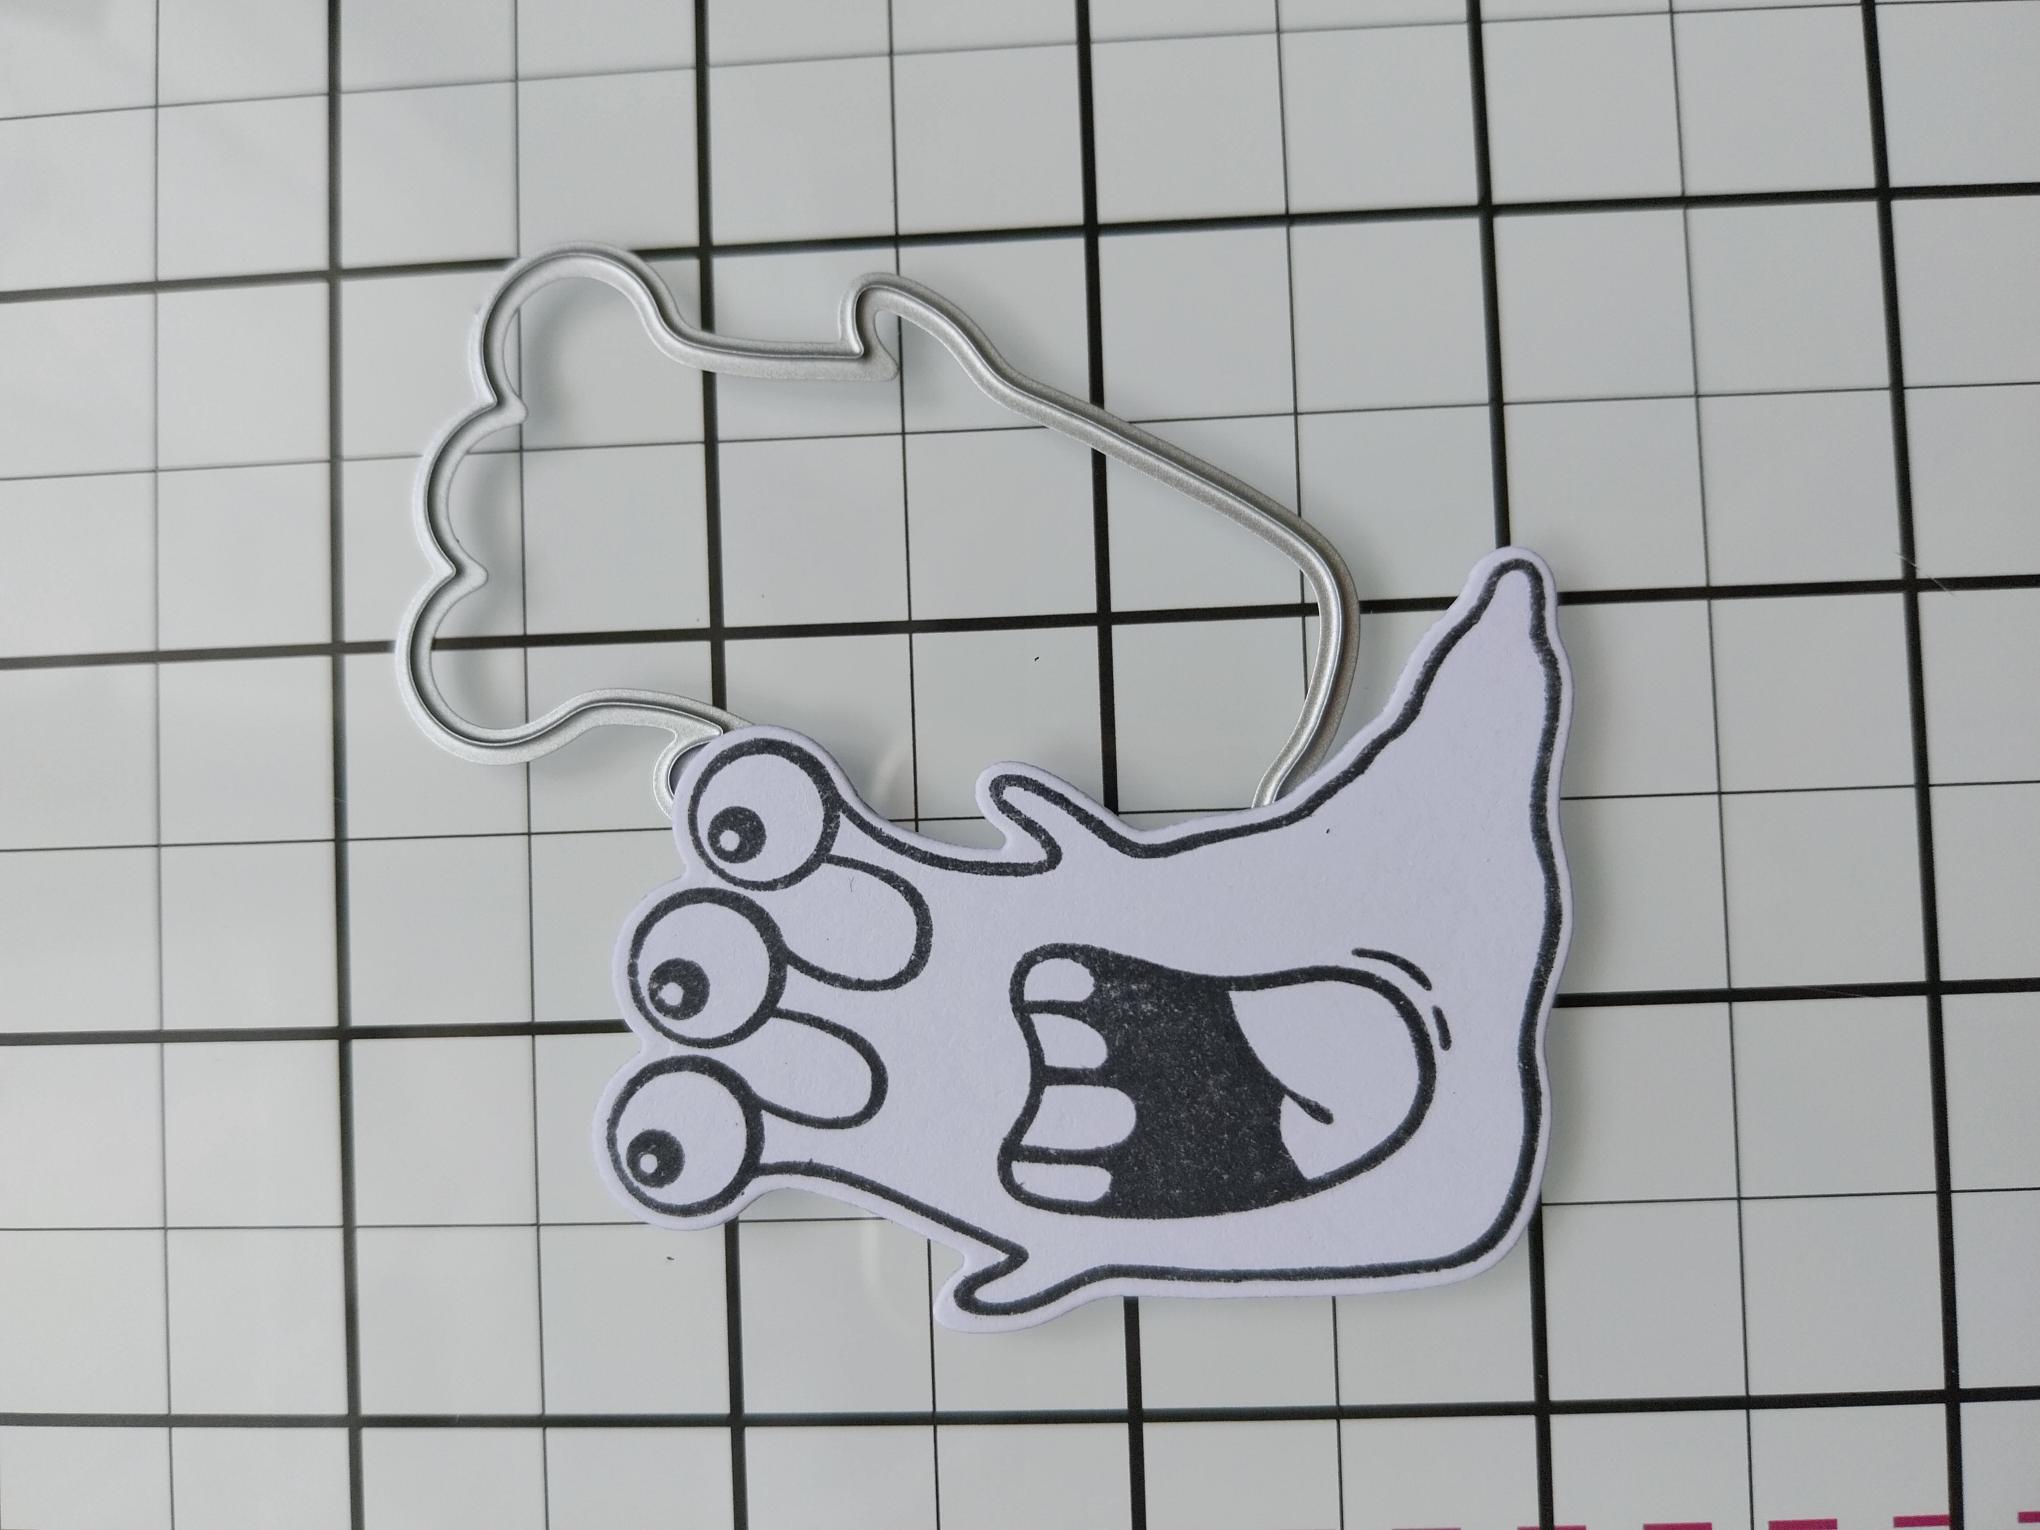
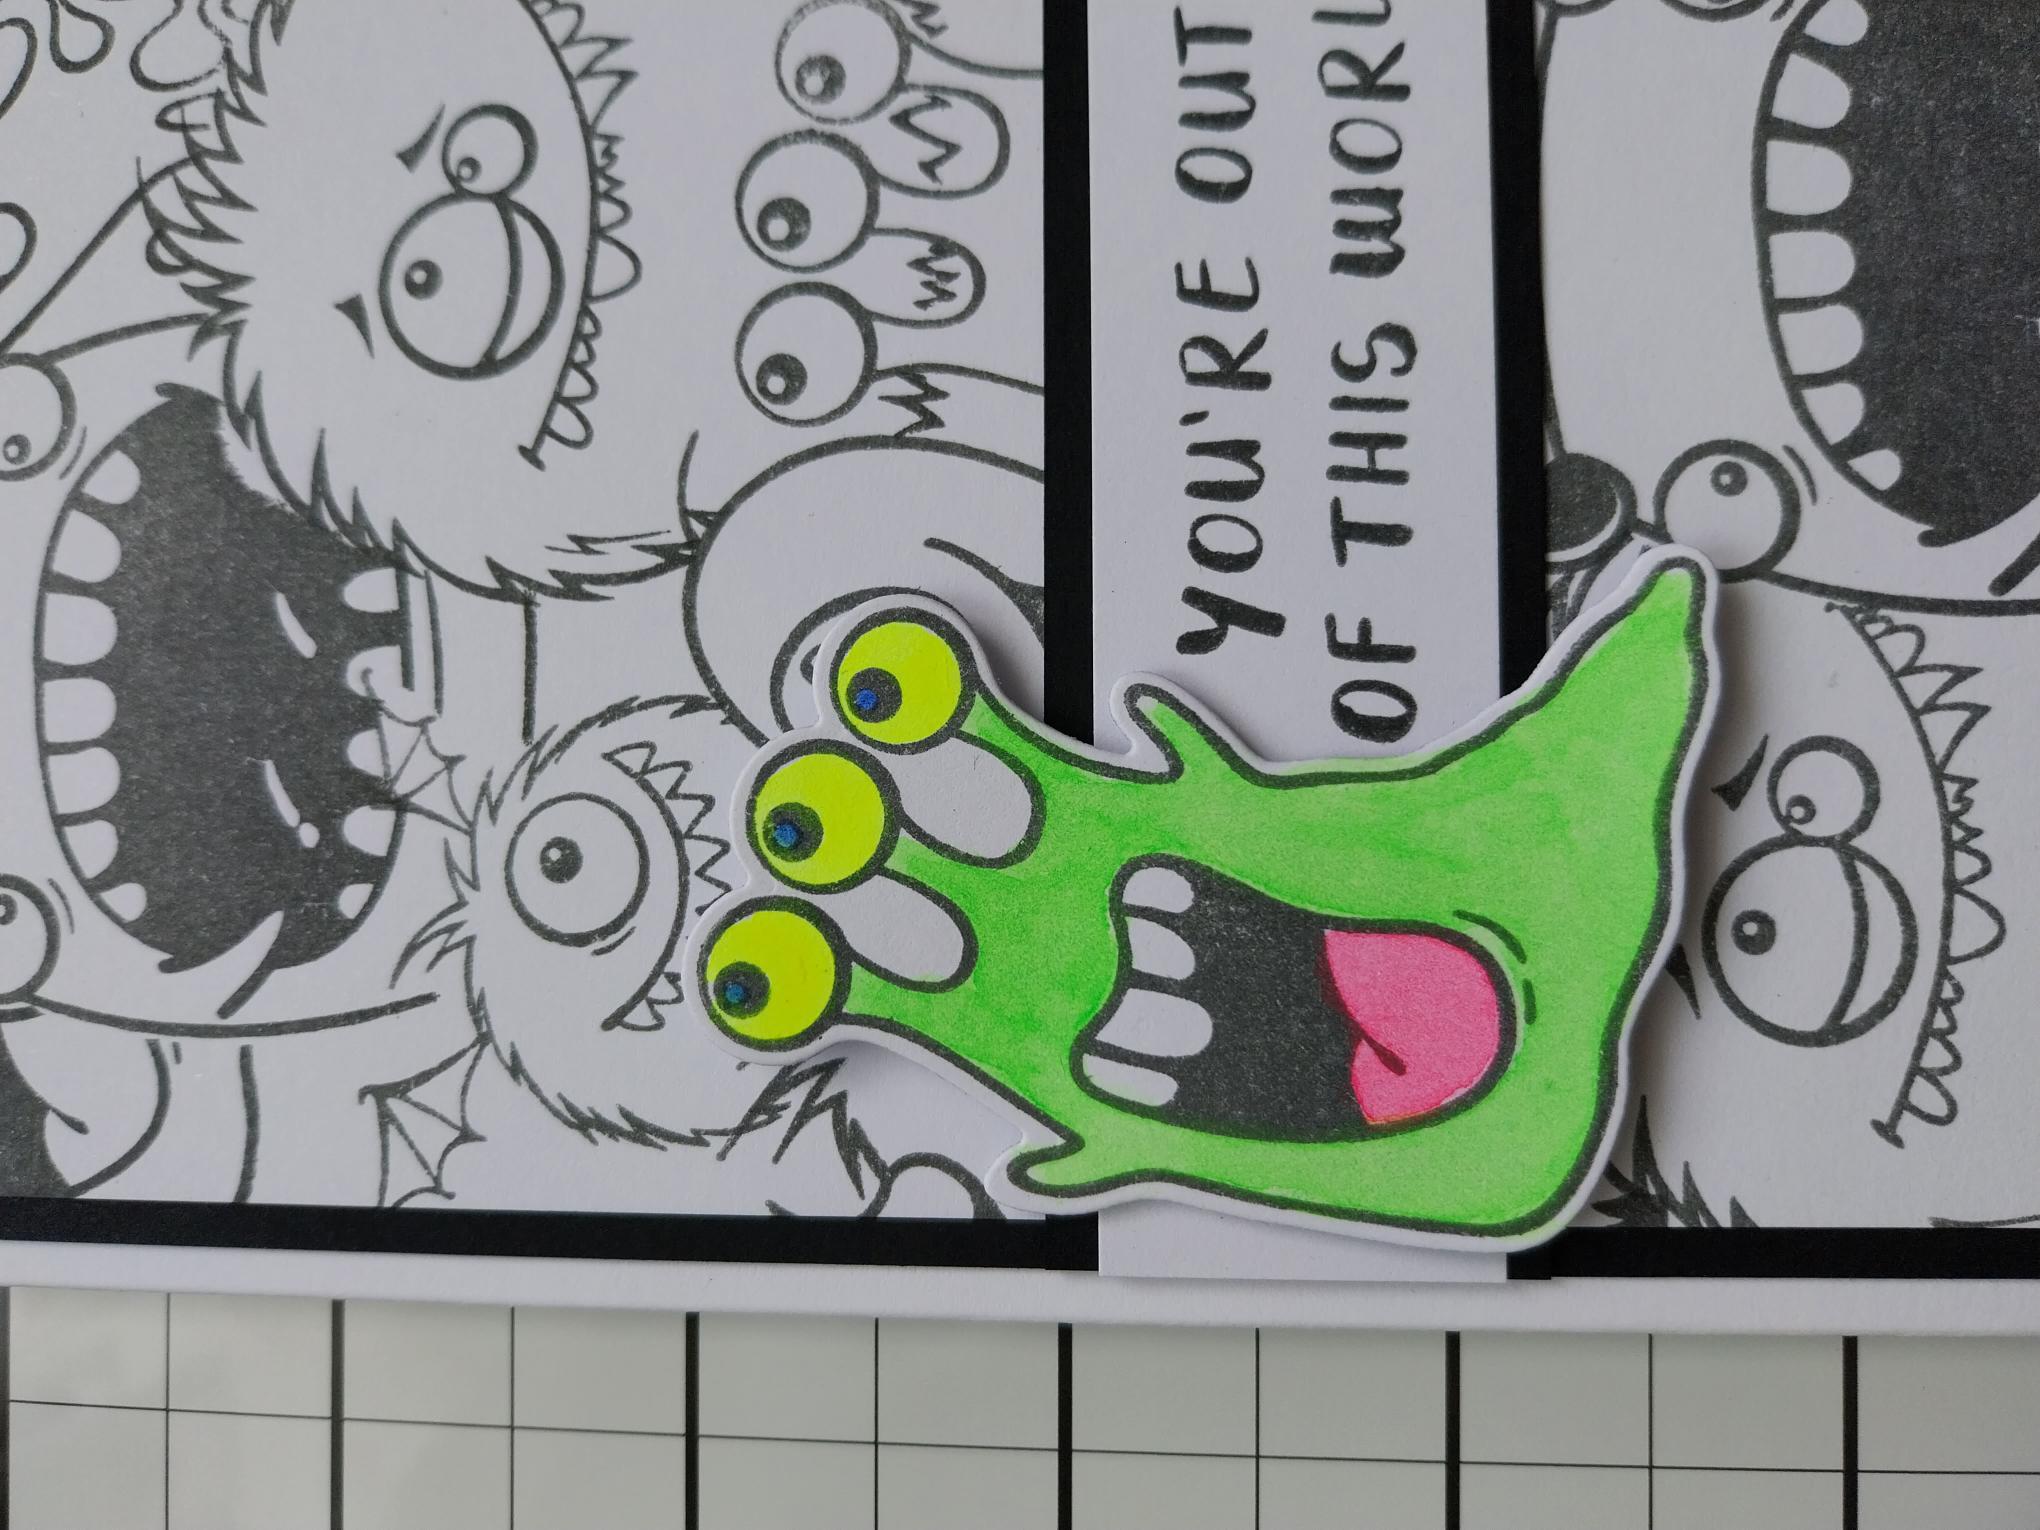
Stamp one of the cheeky monsters on to a piece of white card and use the coordinating die to cut it out. |
|
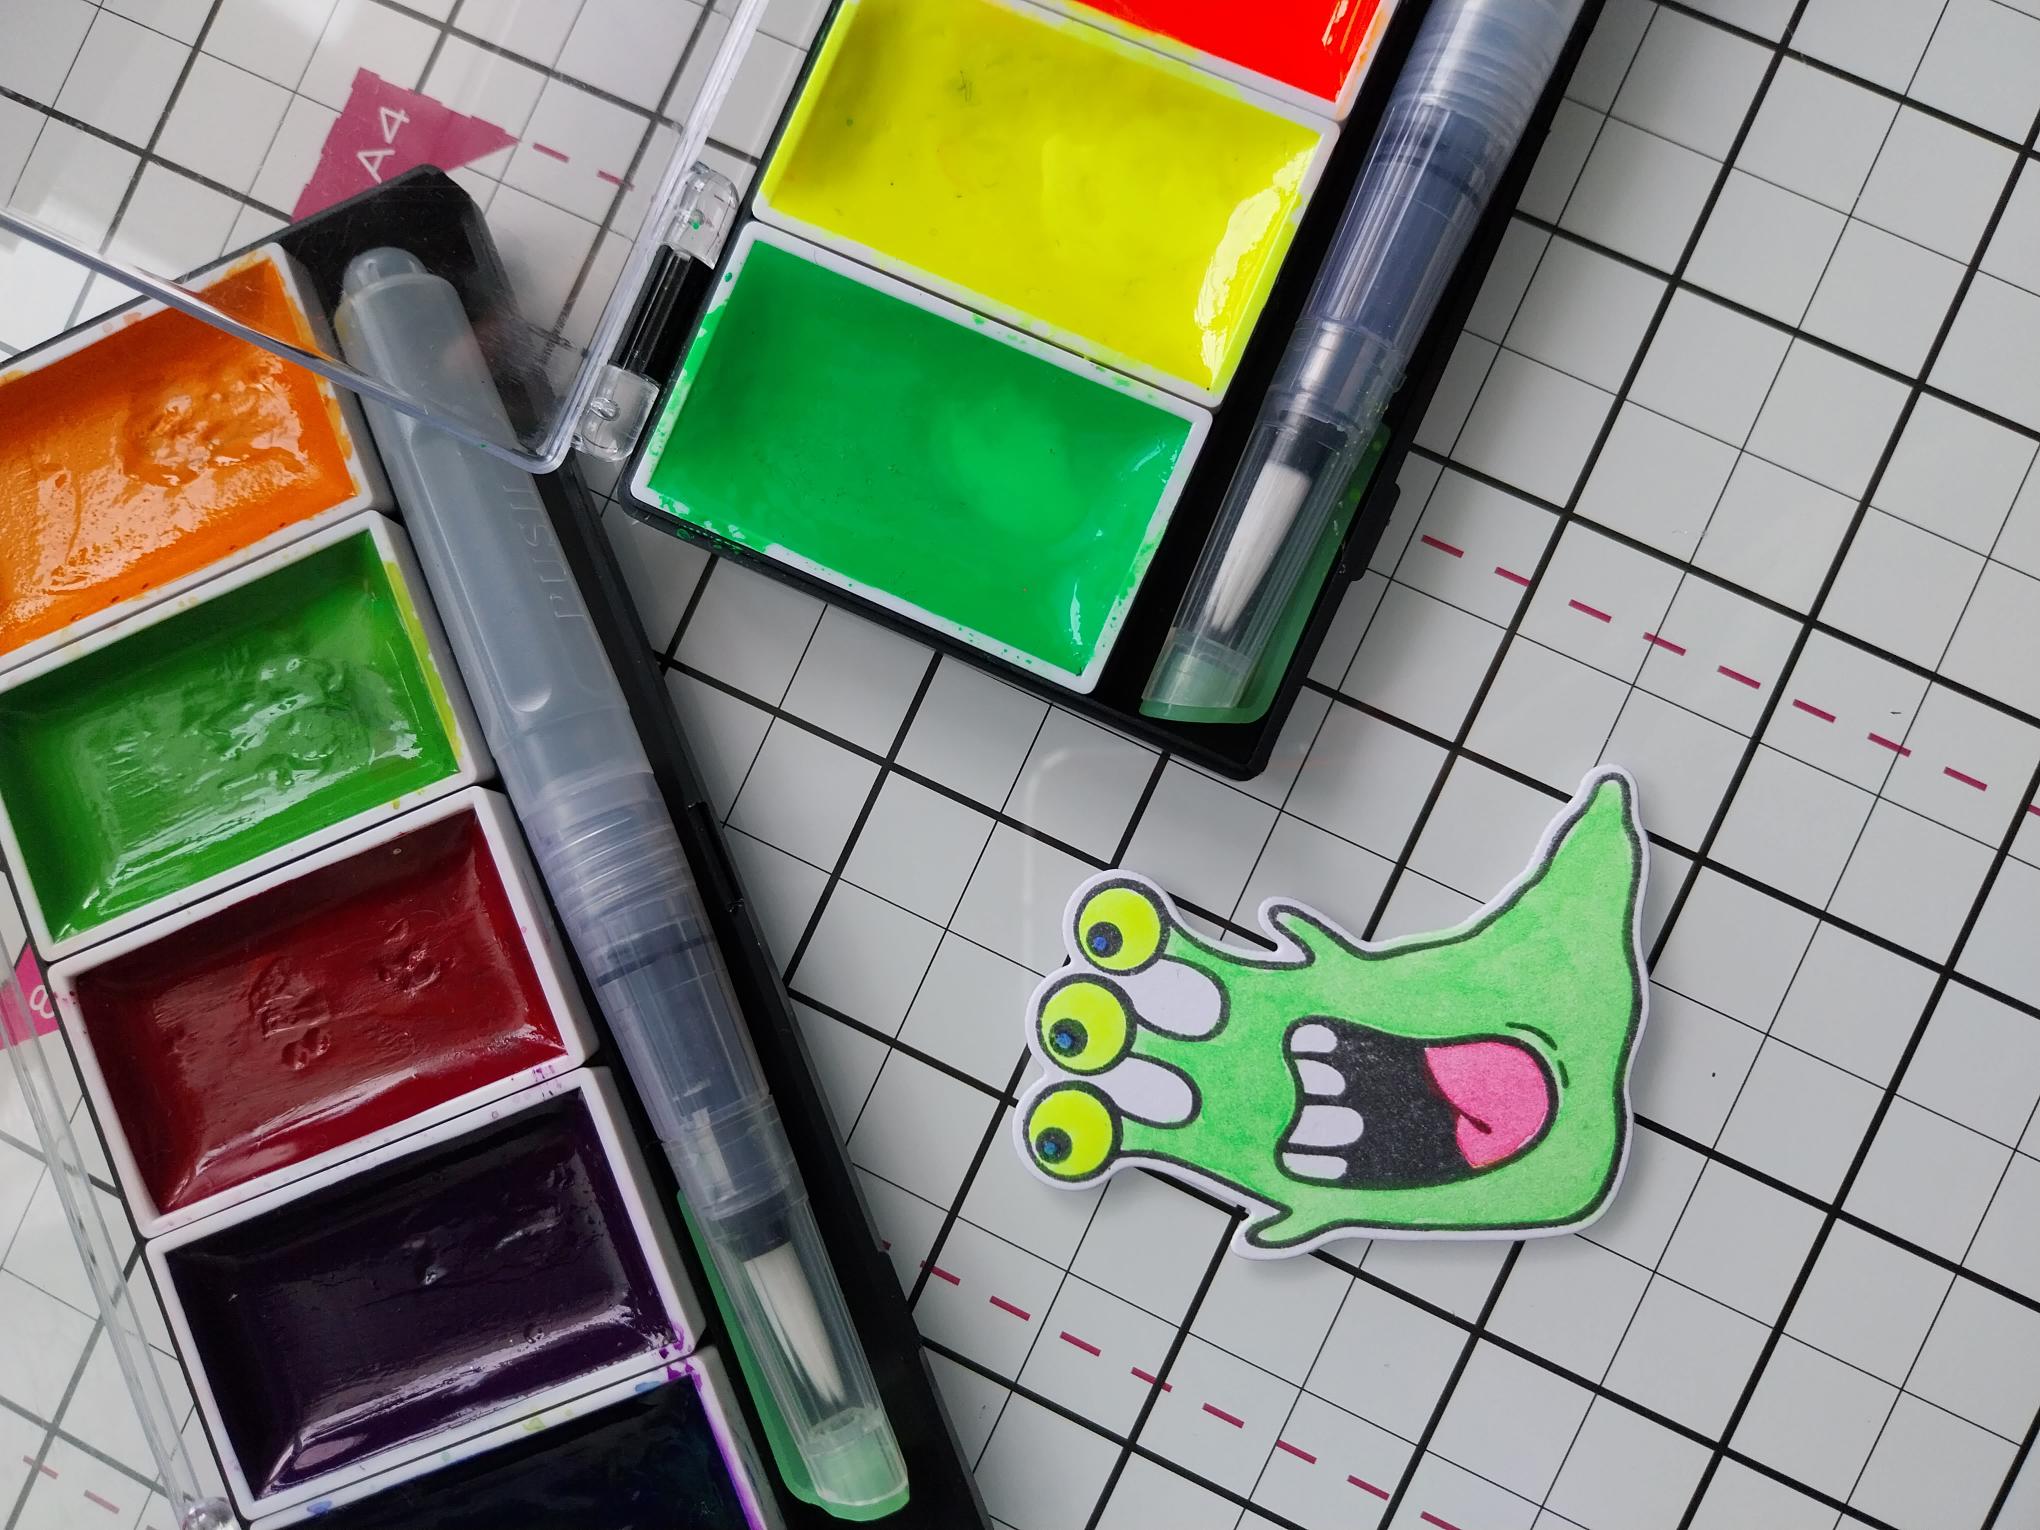
Paint with your neon watercolour paints. |
|
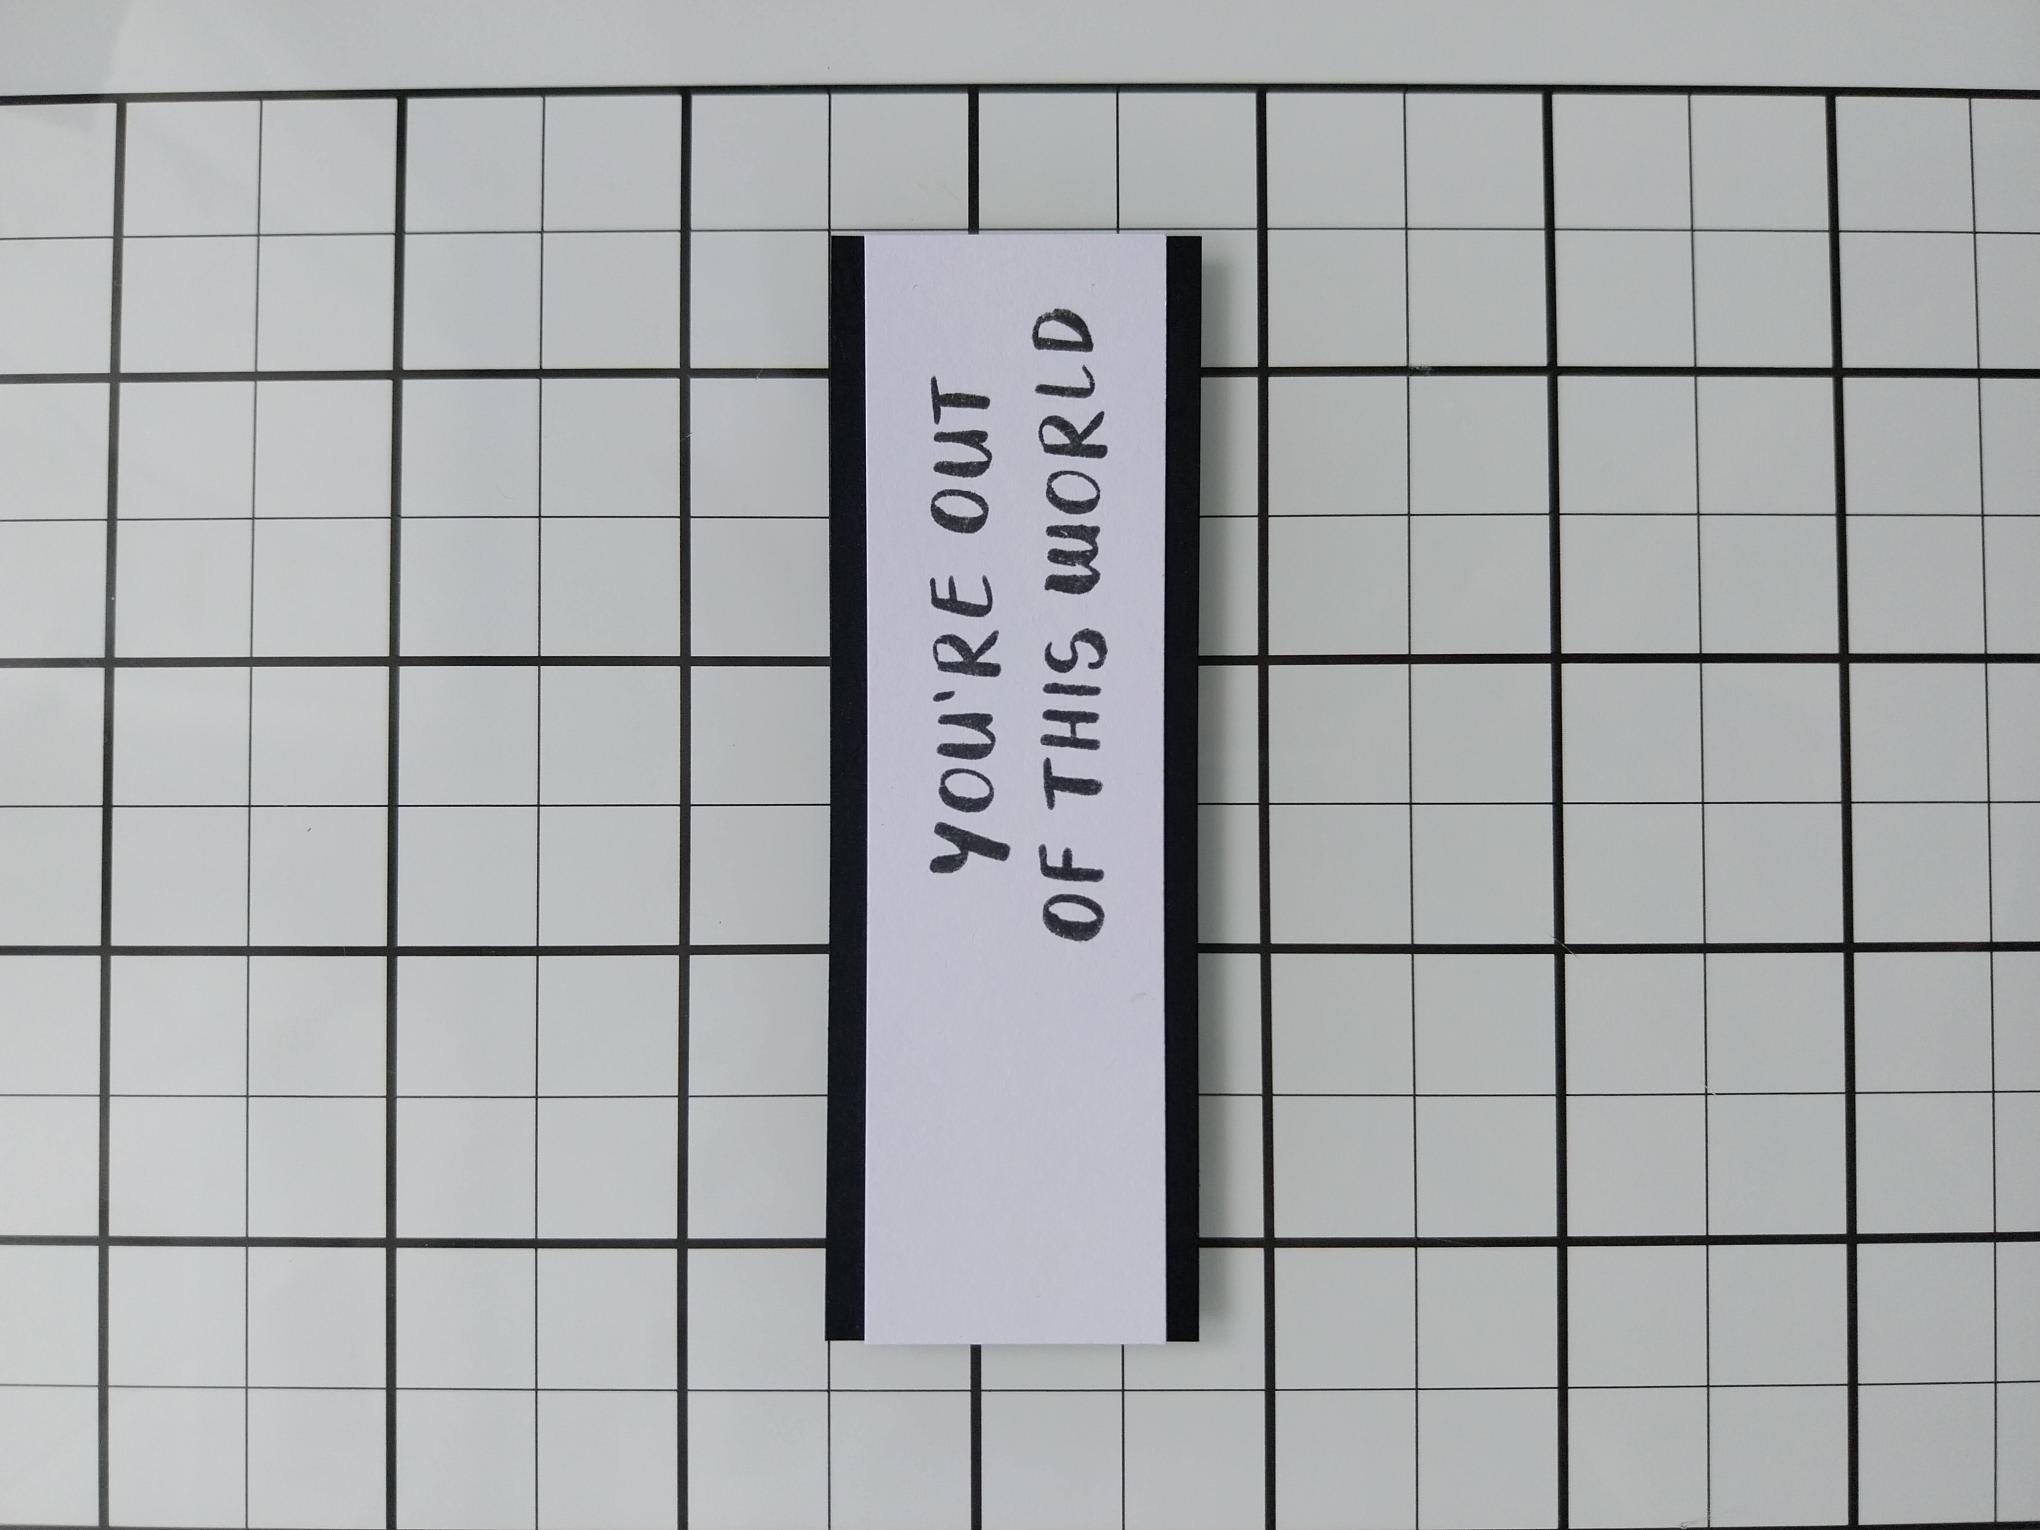
Stamp the sentiment in Midnight, to the right of the white card cut to 3 3/4 x 1", then adhere to the black card cut to 3 3/4 x 1 1/4", as seen here. |
|
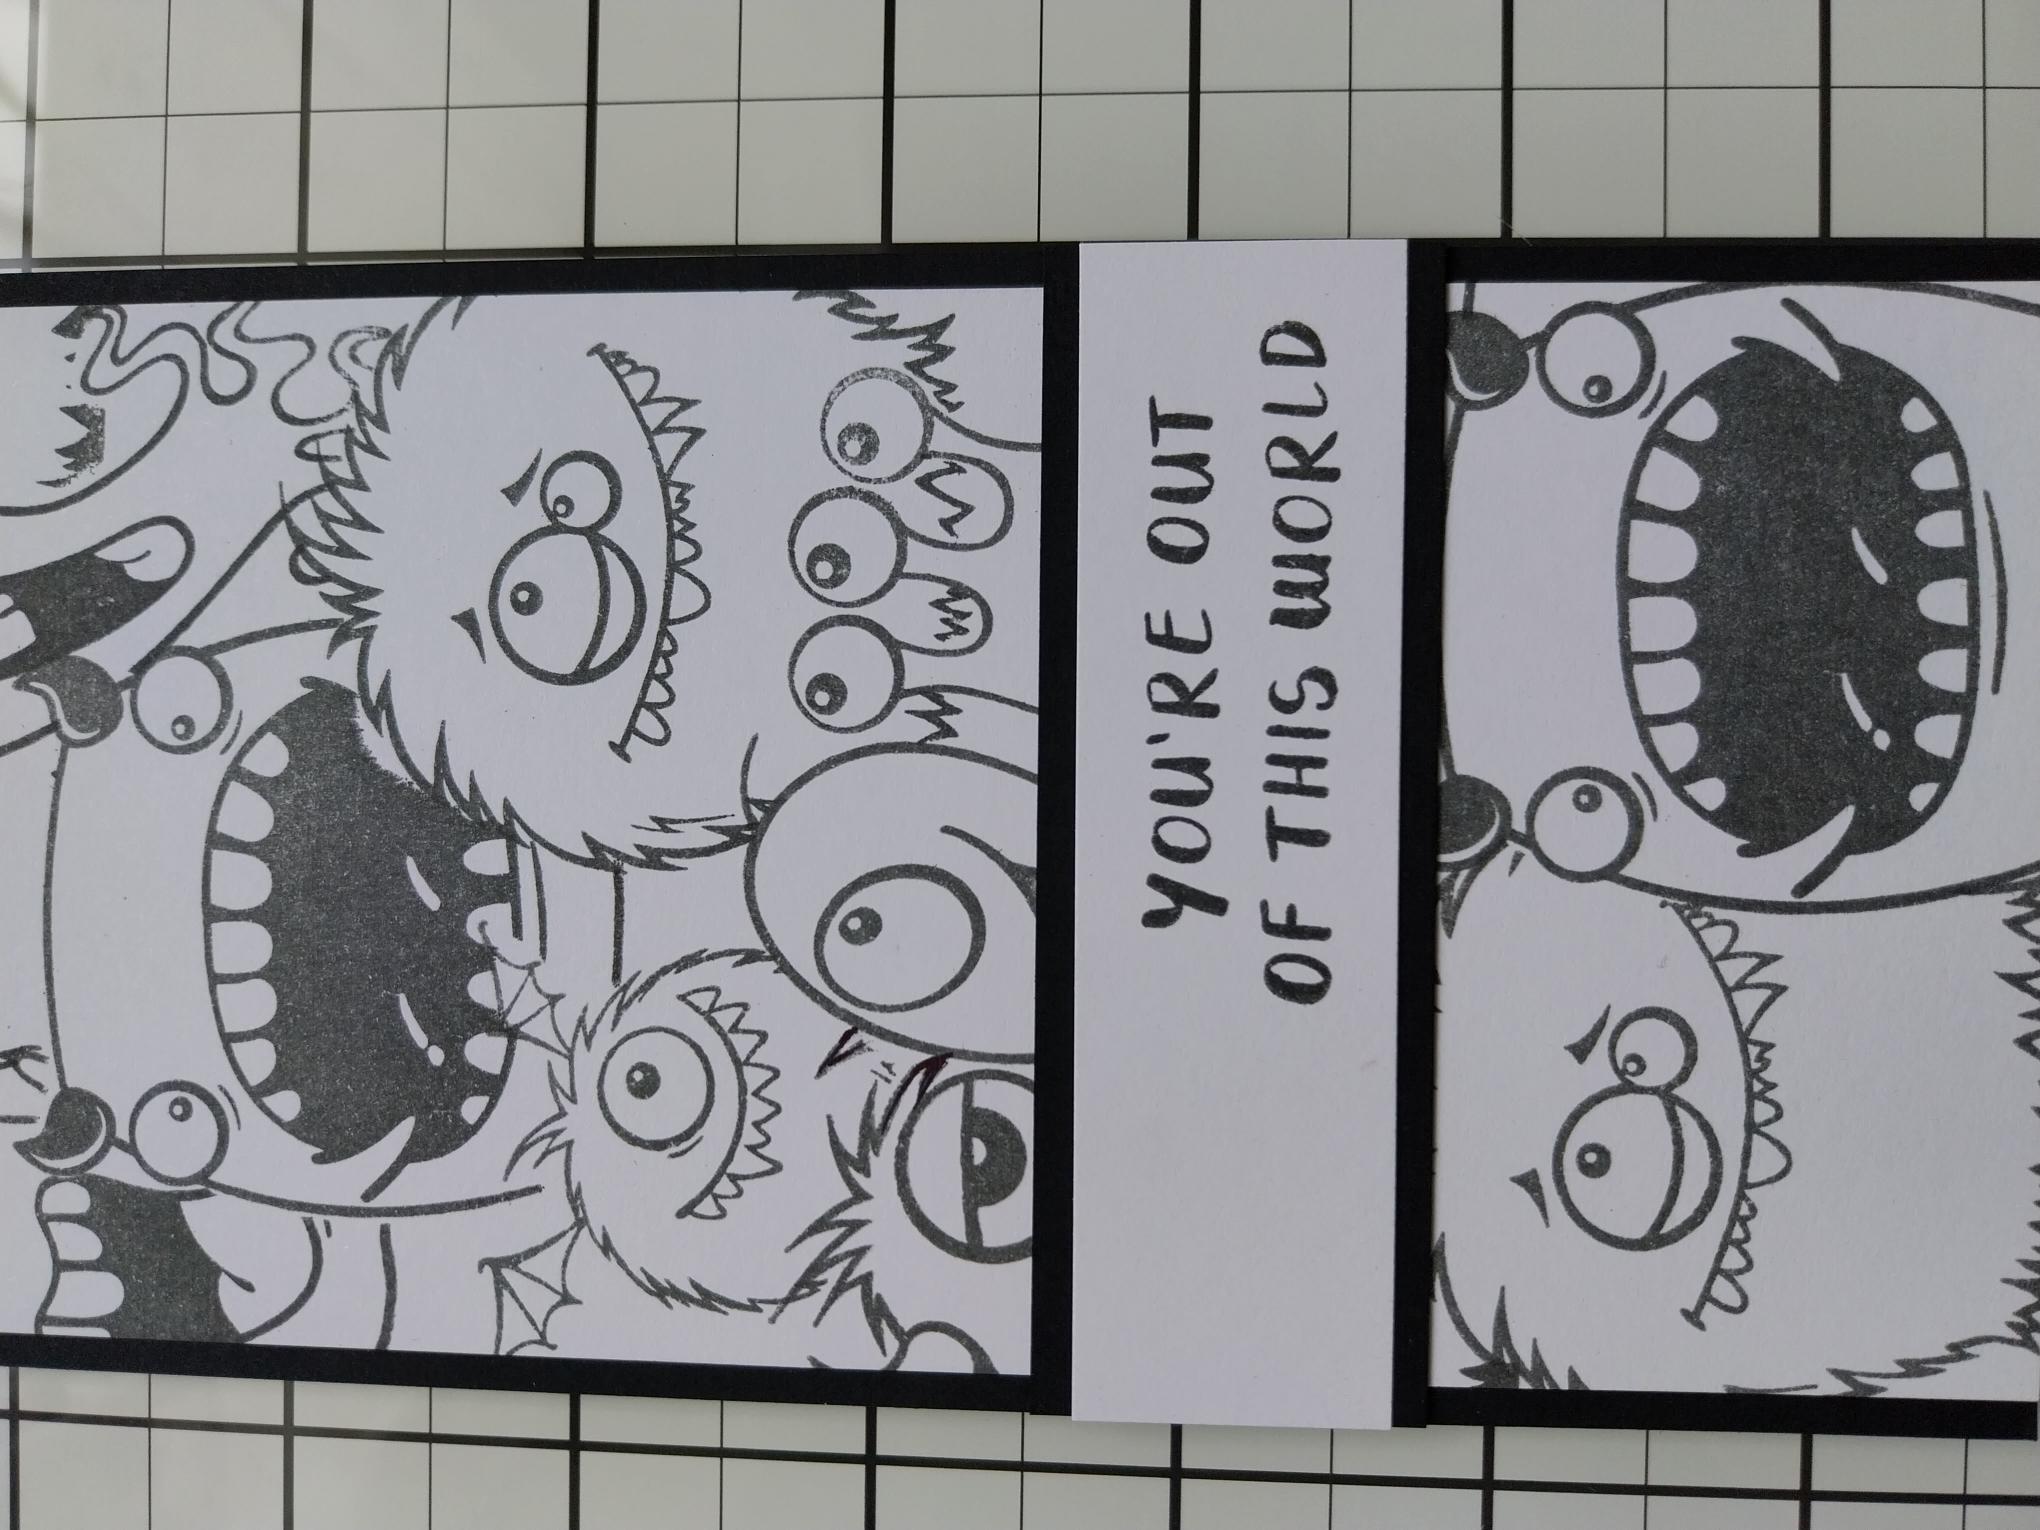
Adhere across the bottom third of your stamped card. |
|
Adhere this to your DL card so the top and bottom are flush and there is an equal amount of white card visible, down the left and right side. |
|
Use foam pads to adhere your monster to the left of the stamped sentiment, to finish. |