Give your friends $10 off their first order!
Refer a FRIEND


WHAT YOU WILL NEED:
Kraft DL card blank 8 1/4 x 4"
Mulberry & Gold Damask 8 x 8" Paper Pack
Mulberry & Gold Damask 6 x 6" Sentiment Pack
Mulberry Frames Stamp and Die Set
SBM Hybrid Ink Pad: Midnight
Stickles: Diamond
Twine
Eureka 101 Watercolour Tablet
SBM Magnetic glass mat
Paper Trimmer
Perfect Together Glue
Foam sheet/foam pads
Die Cutting machine
[click image to enlarge] 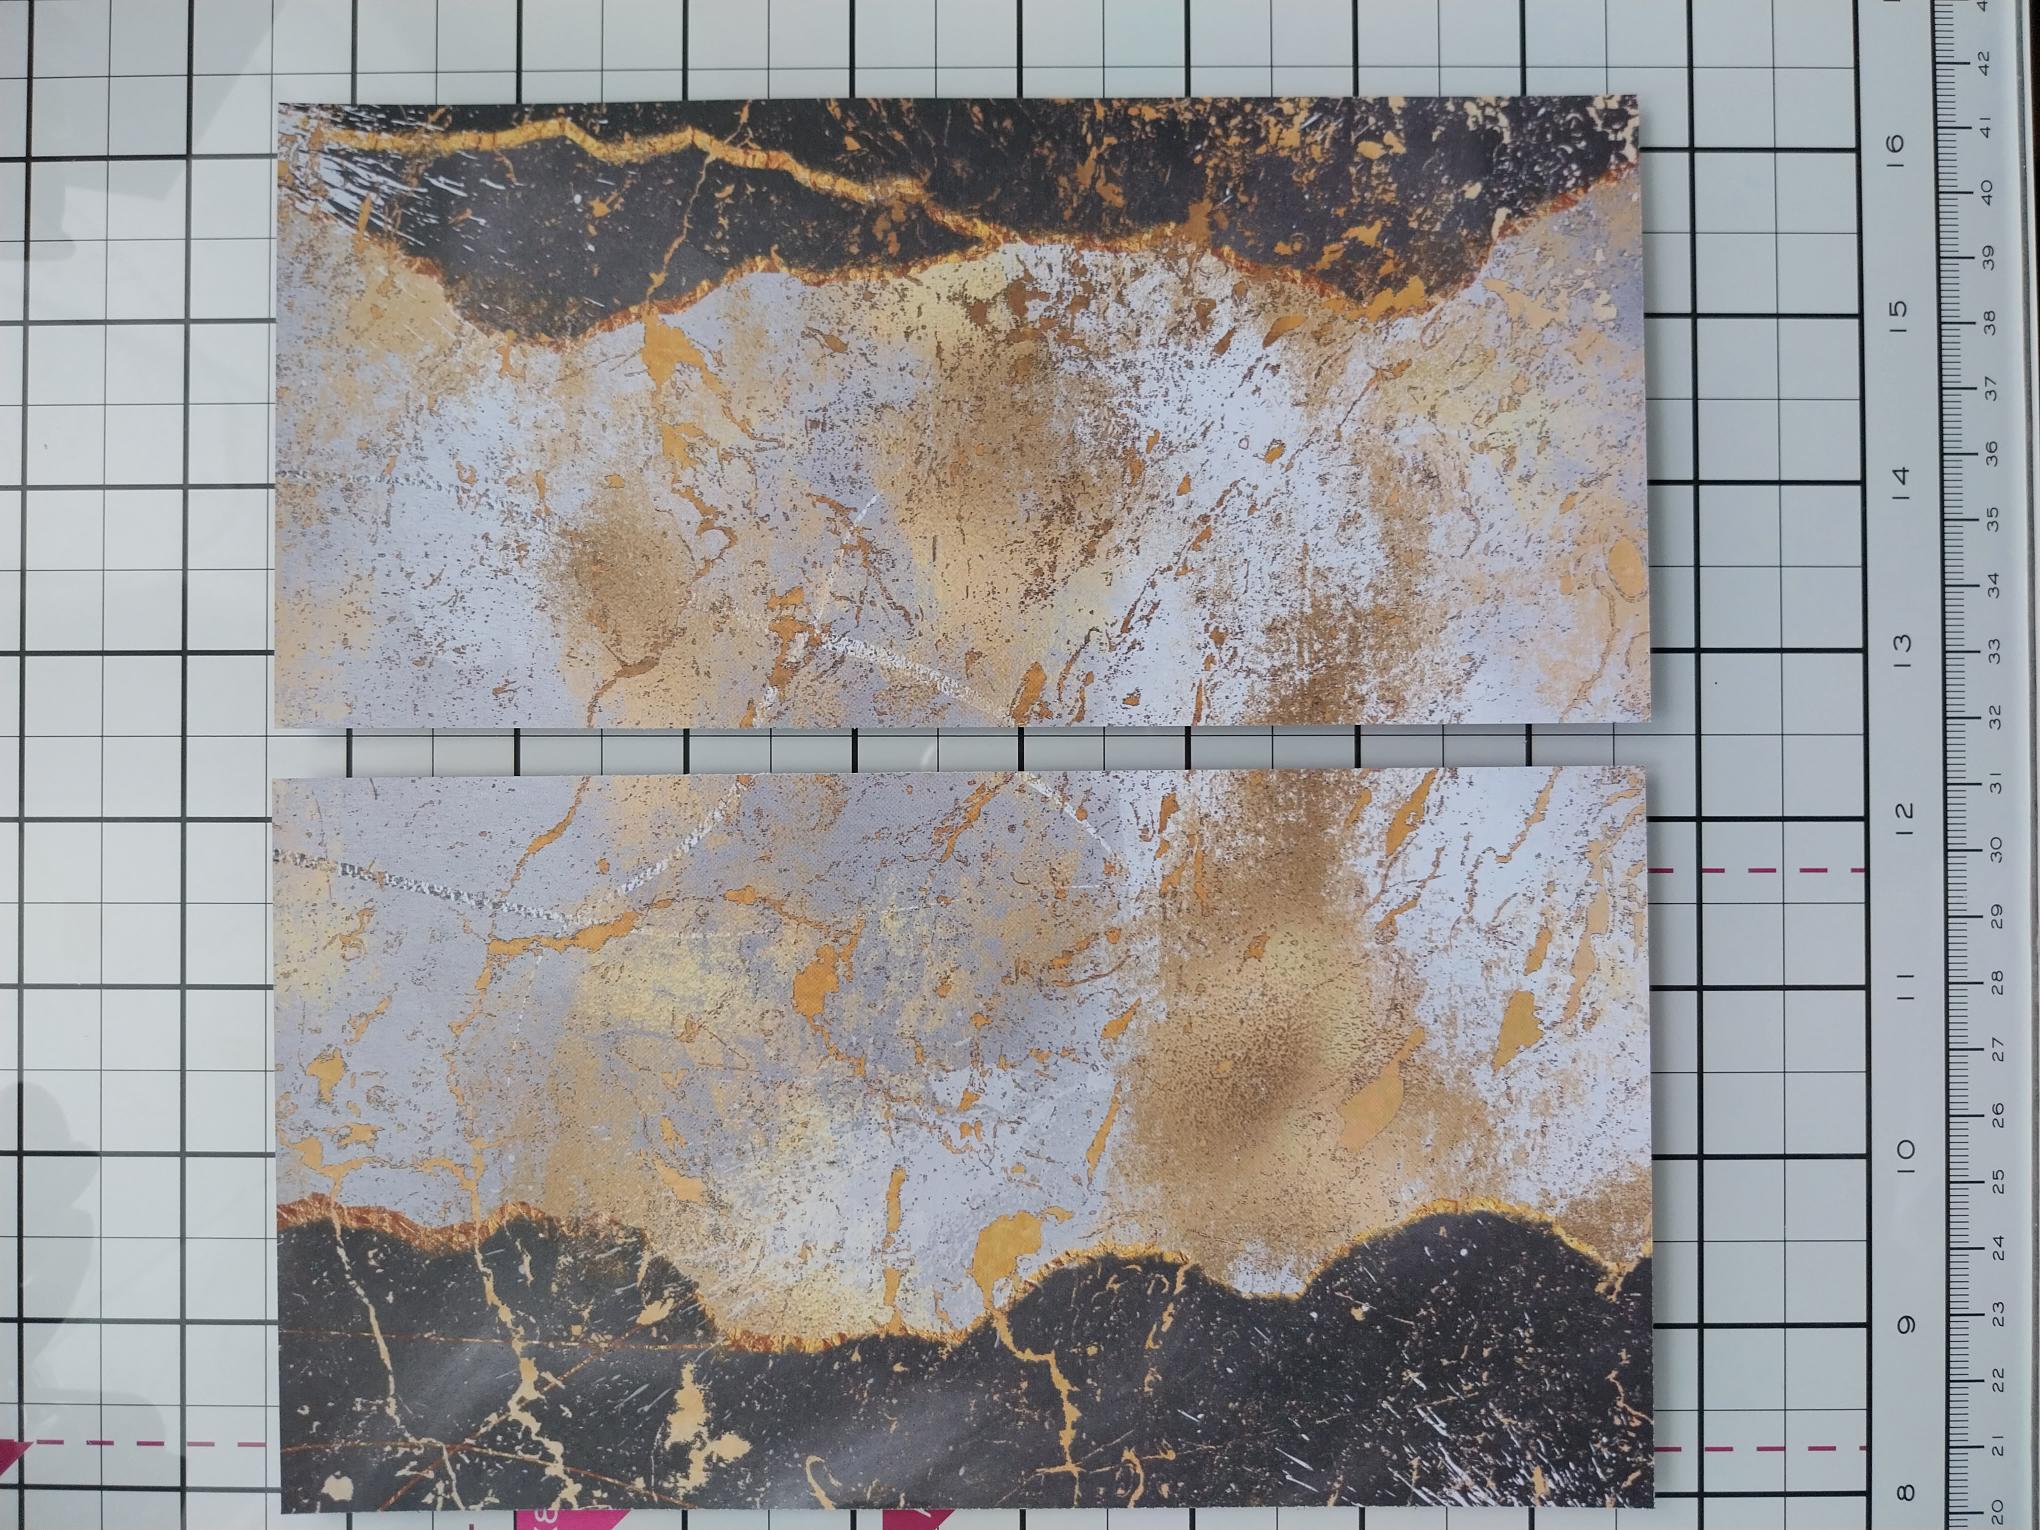
|
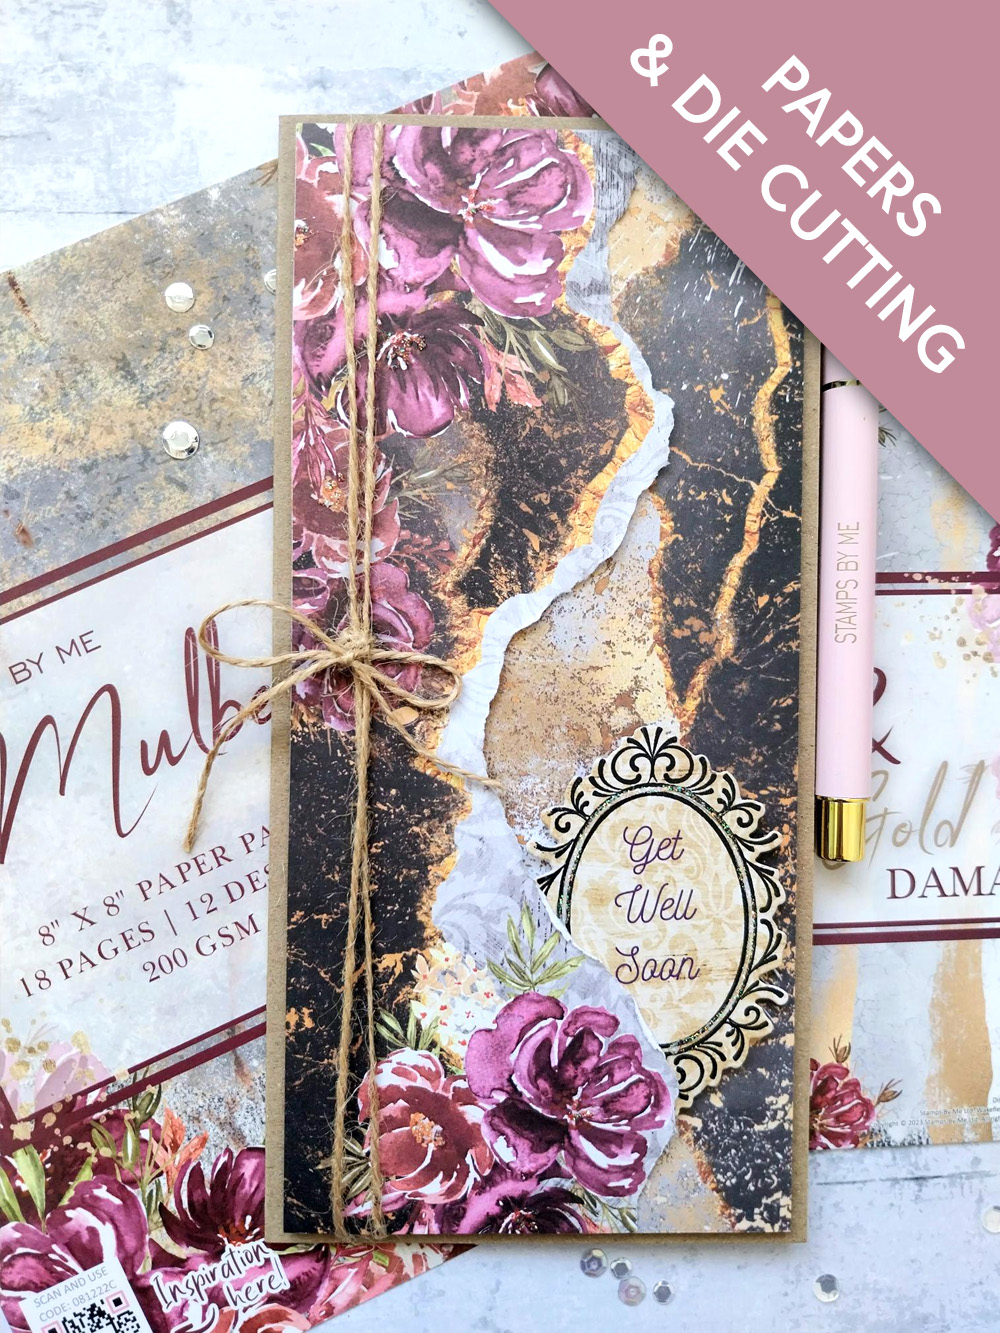
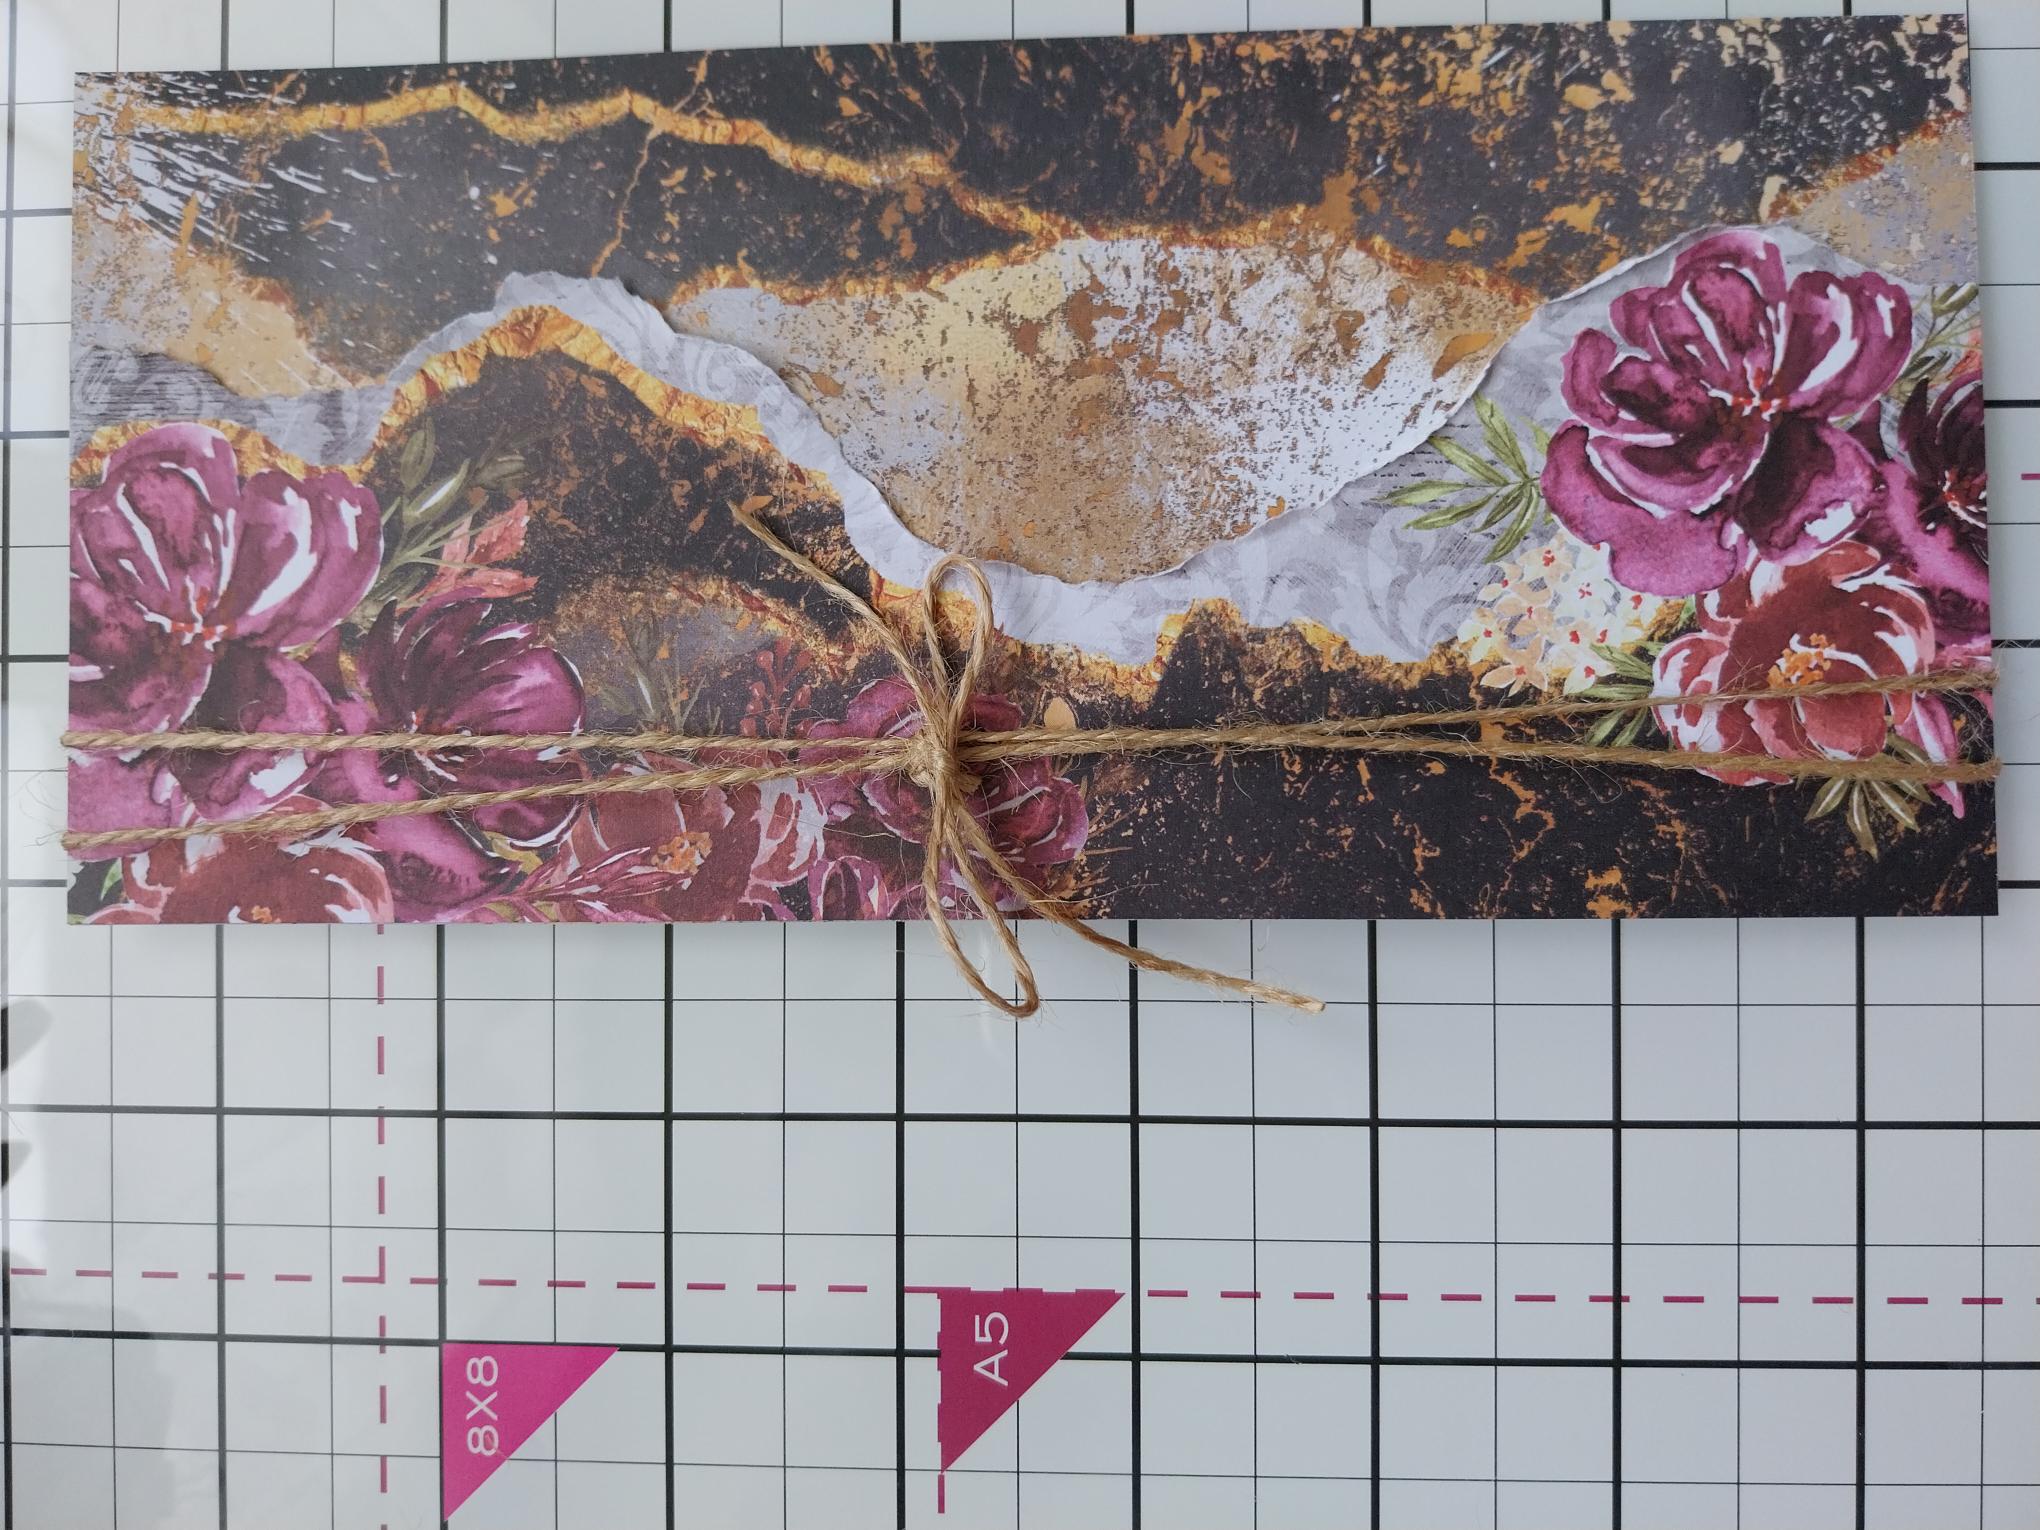
Remove this decorative sheet from the 12 x 12" paper pack and trim off a piece, 8 x 3 3/4". |
|
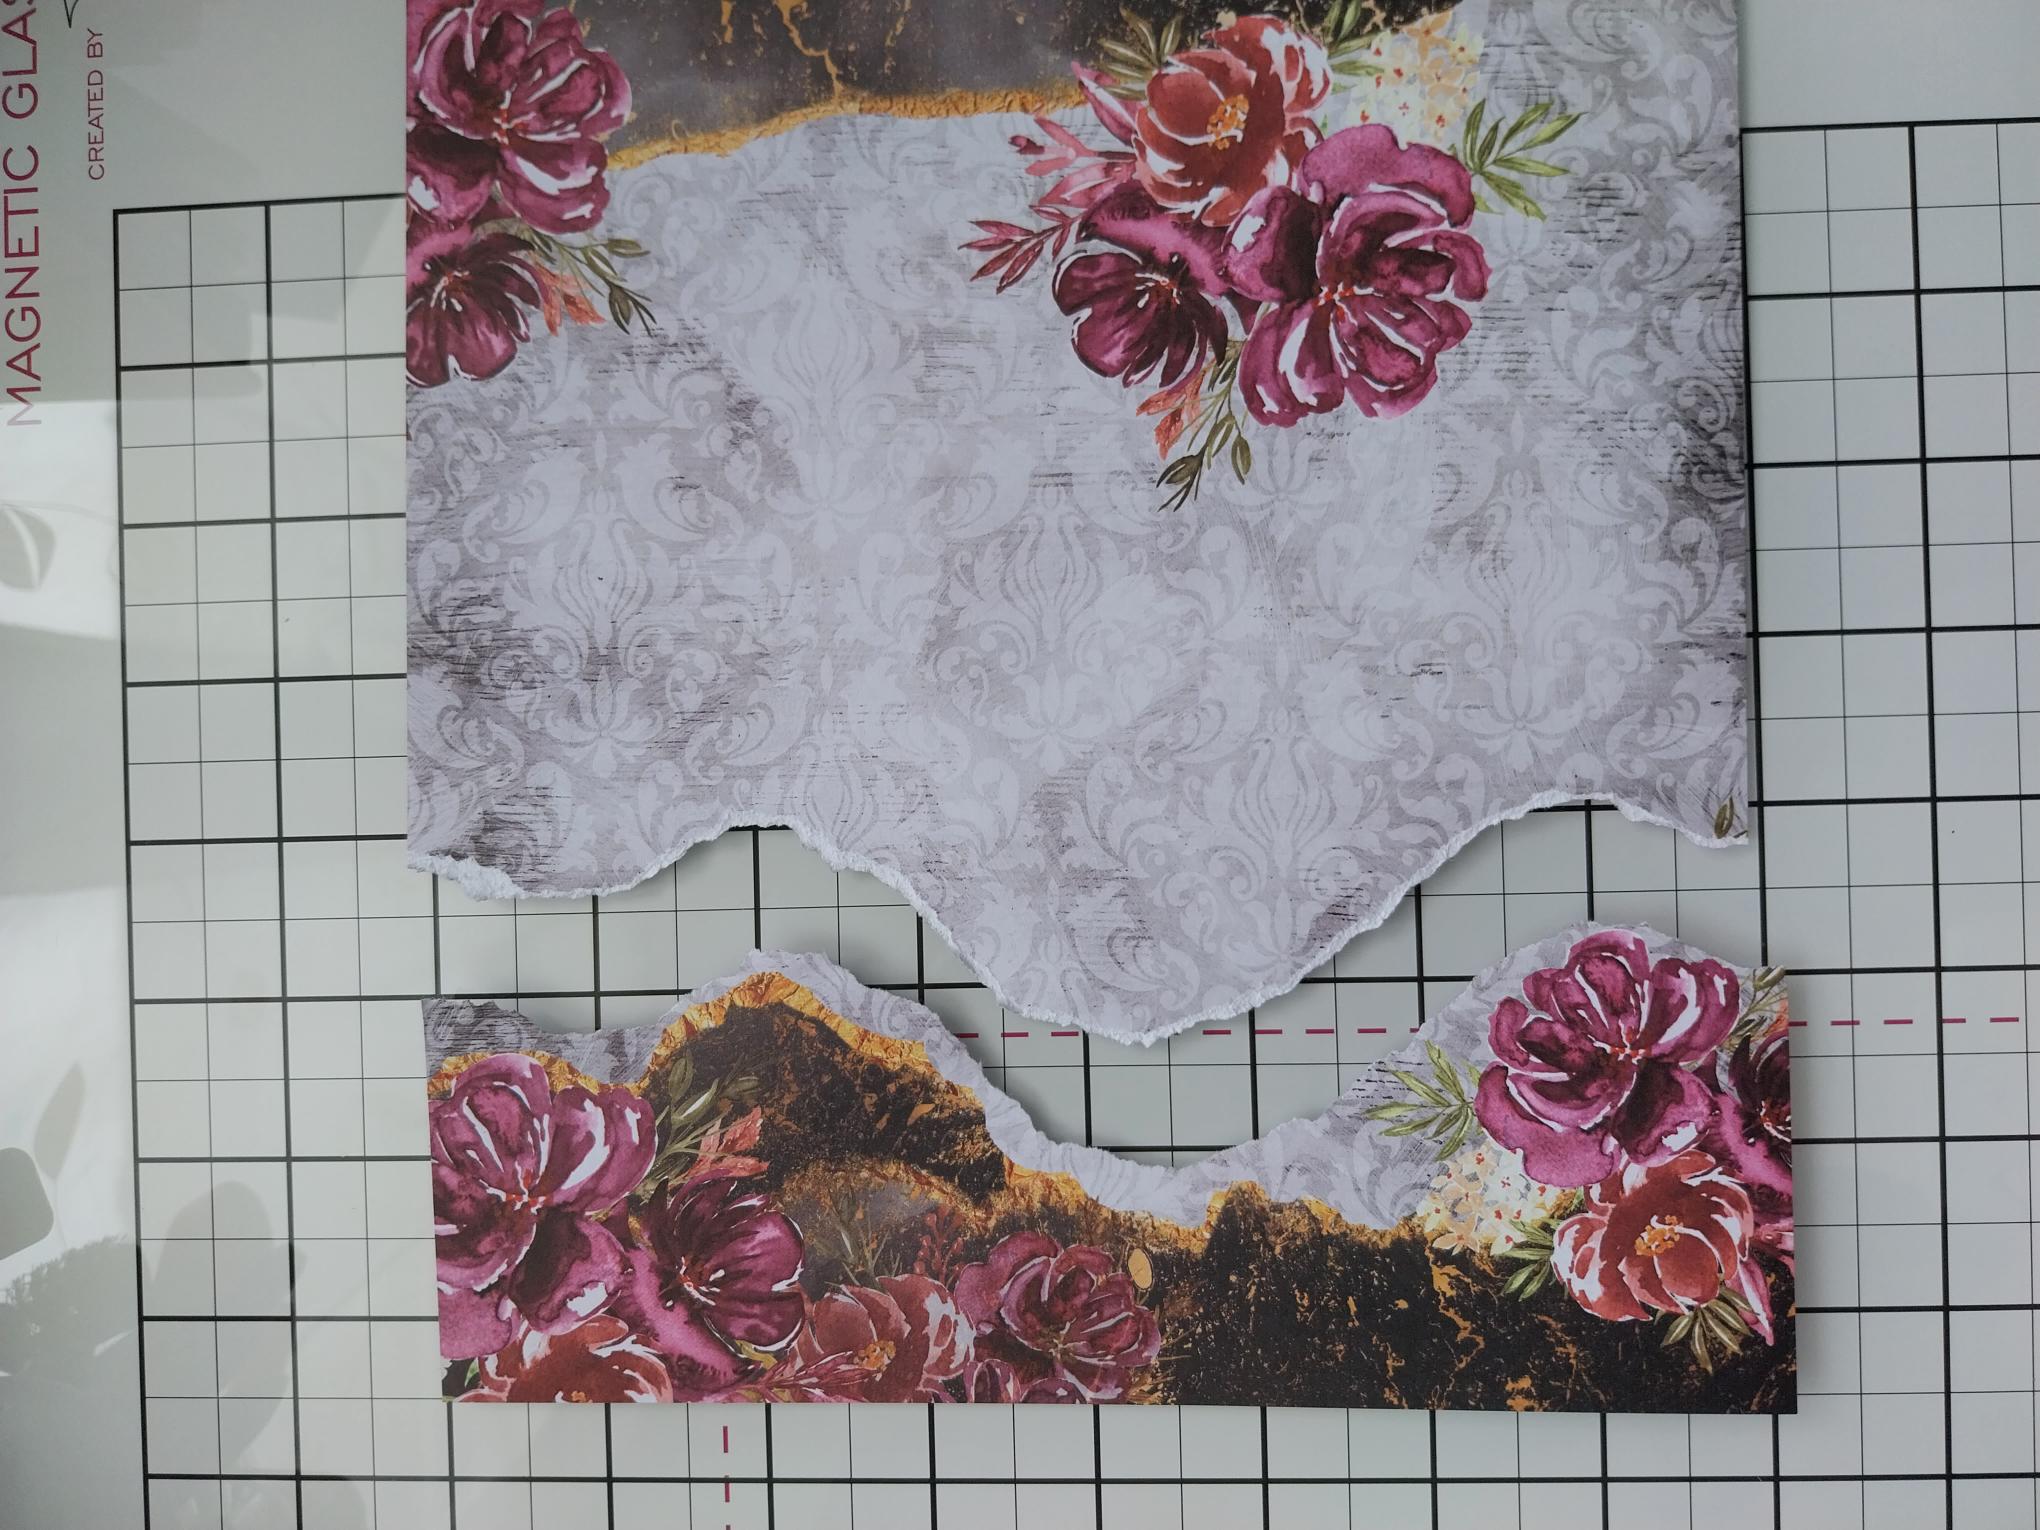
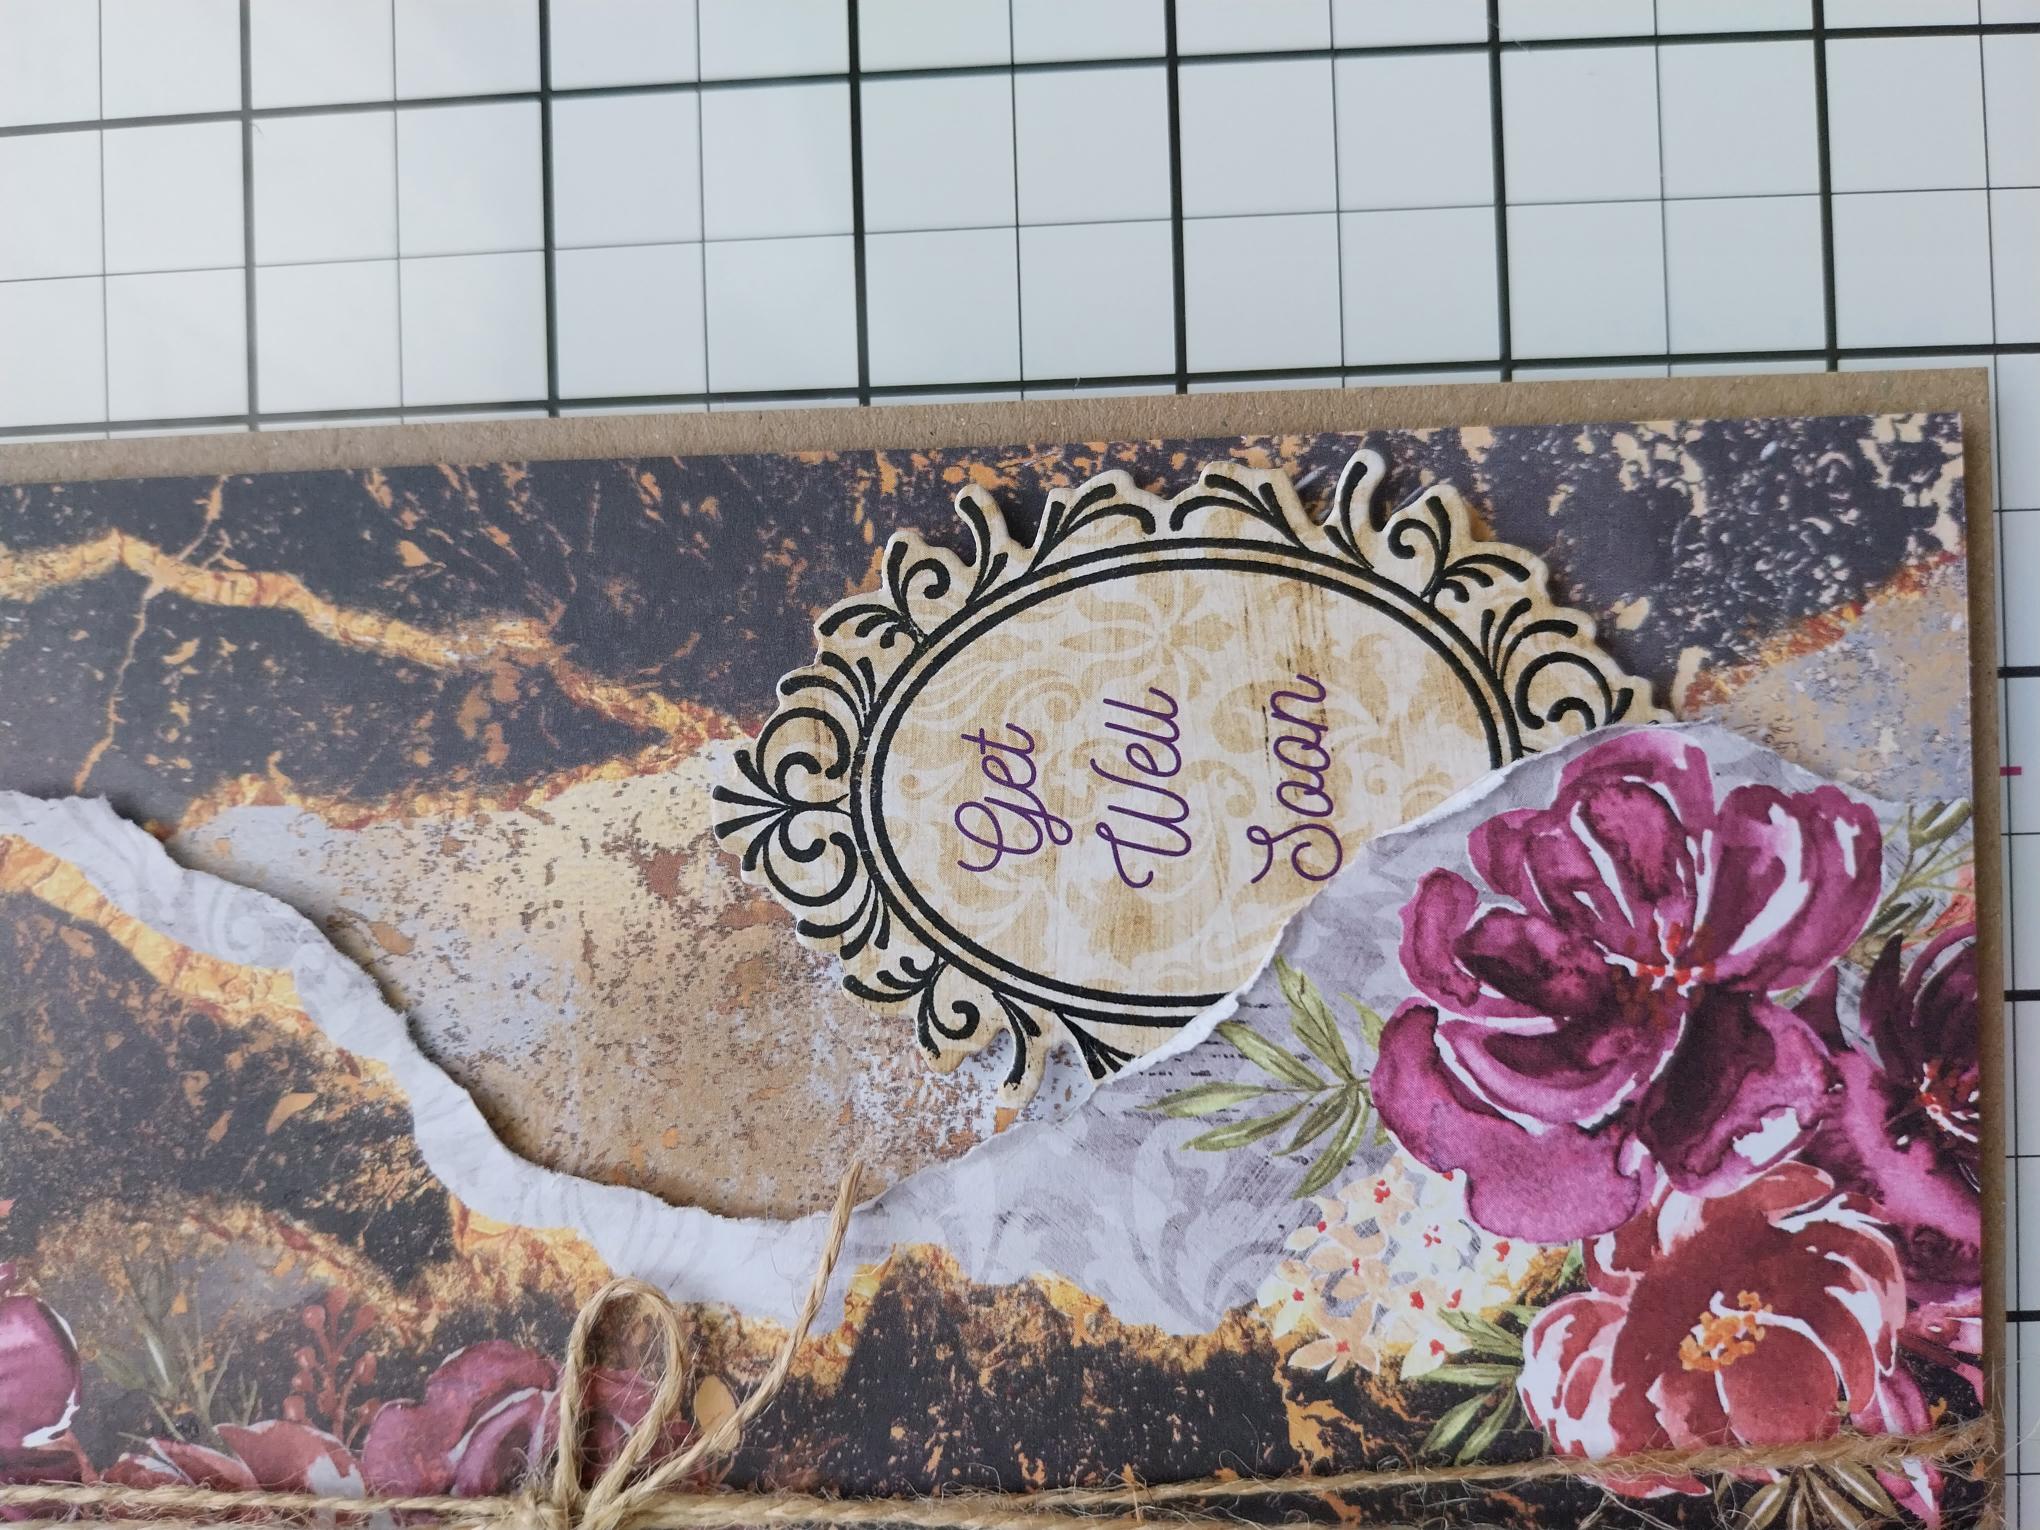
Remove this decorative sheet, from the pack and tear down and around, the floral images, as seen here. |
|
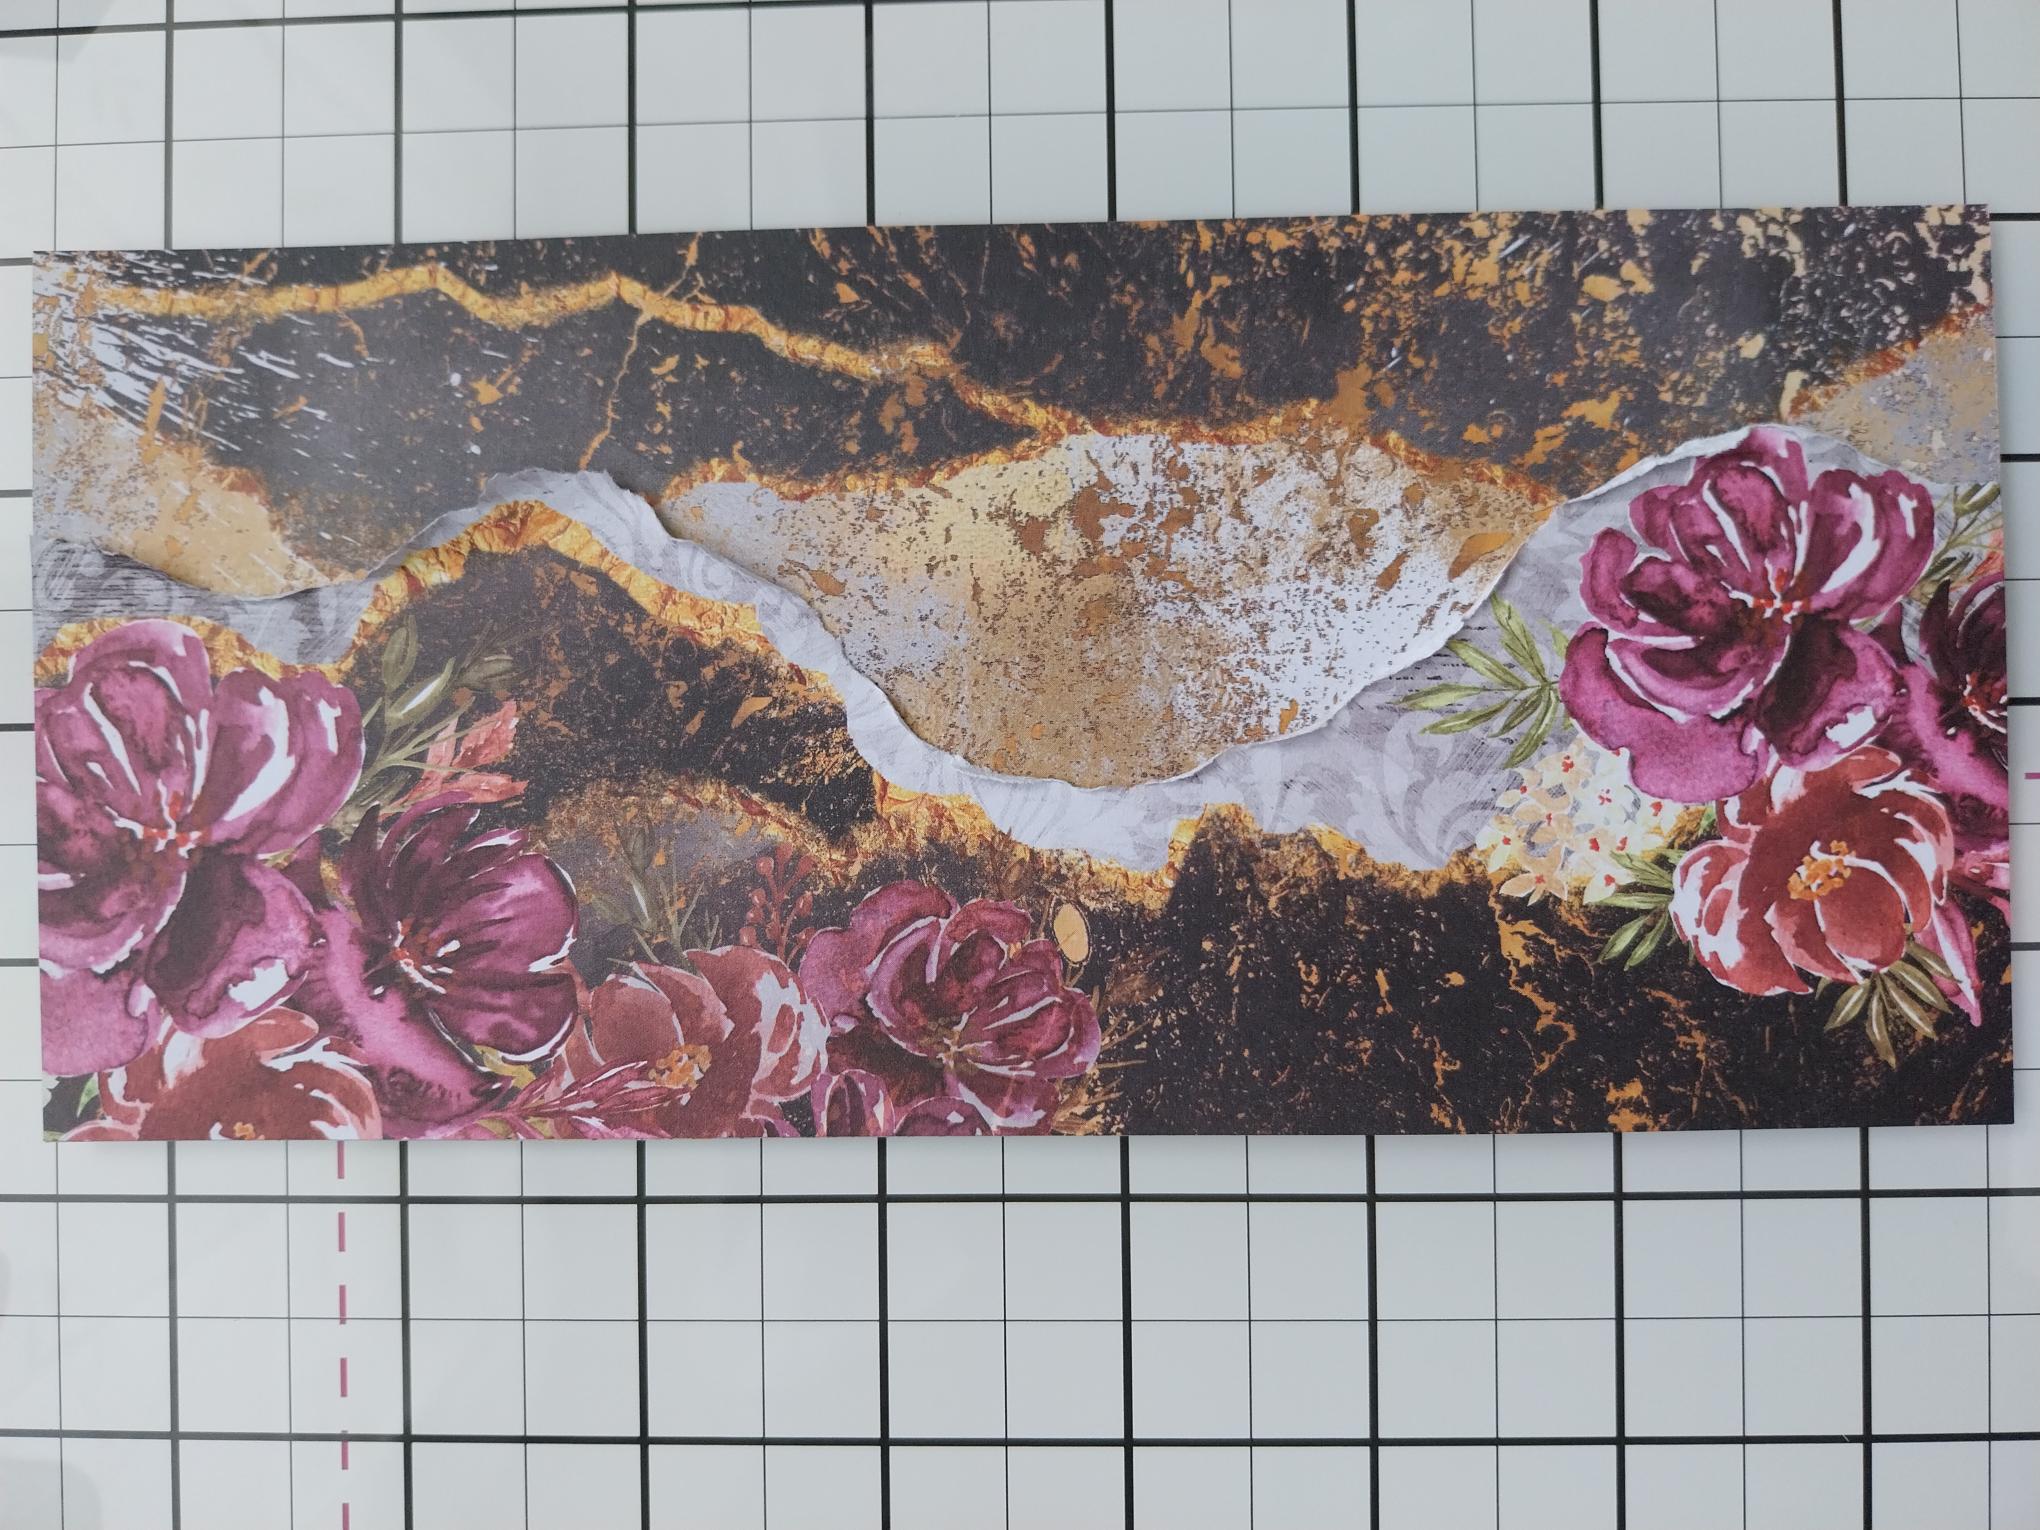
Adhere the torn, floral paper flush with the top, bottom and left edge of the paper panel, scrunching and lifting the torn edge, for added dimension. |
|
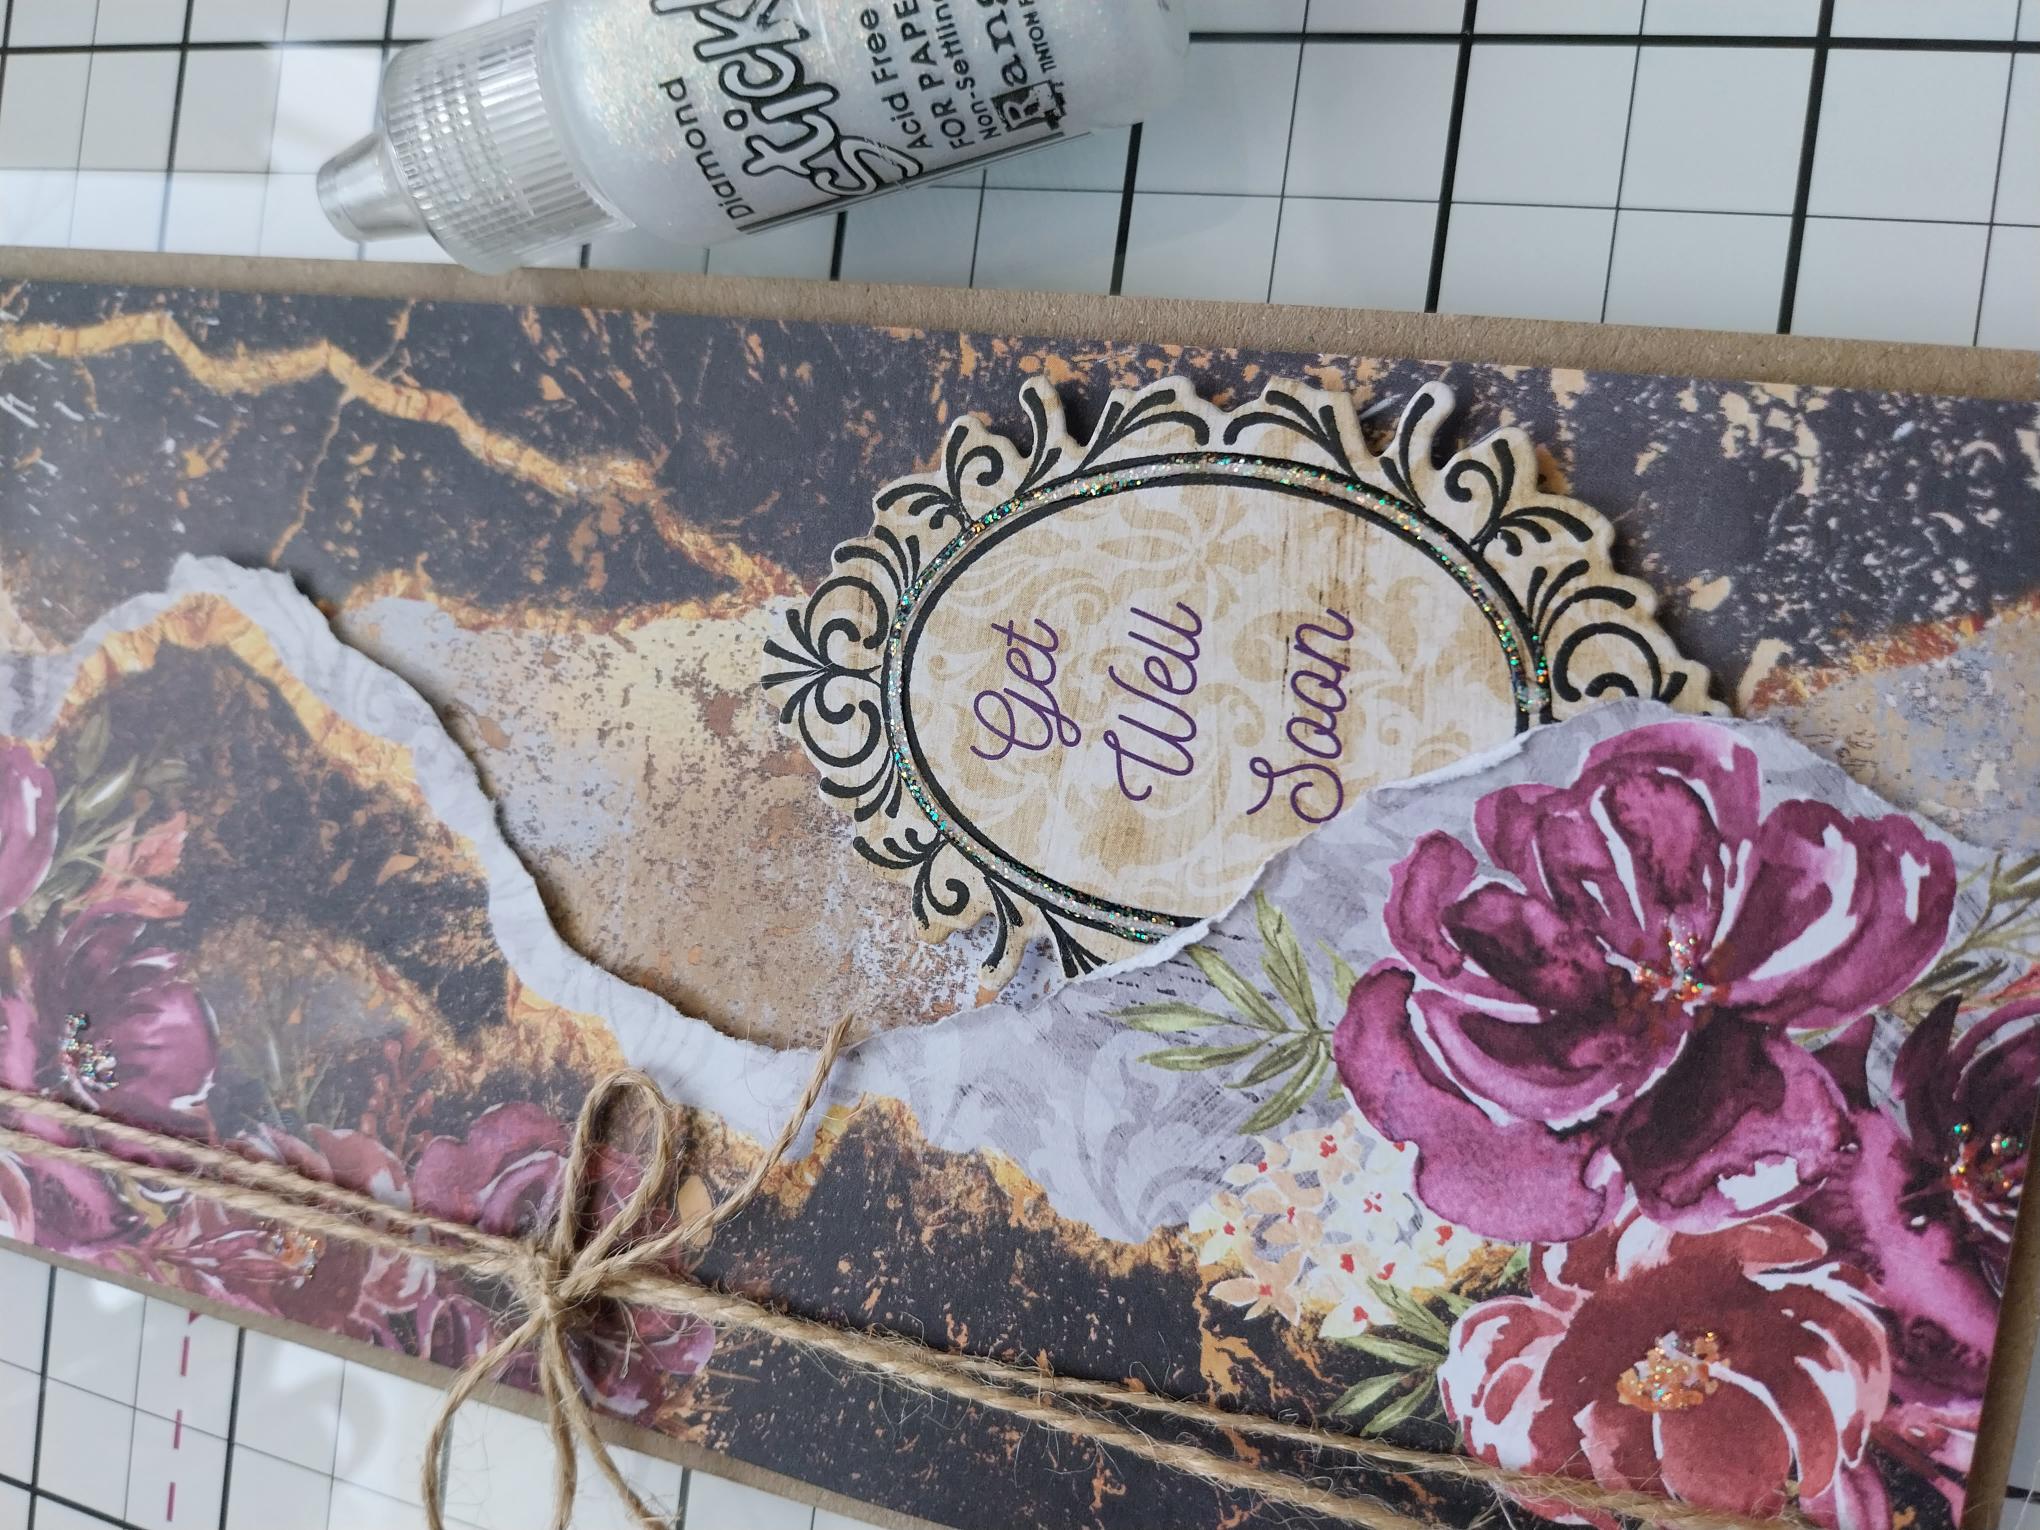
Wind a piece of twine several times, around the left side of the papers and secure with a bow, as seen here. |
|
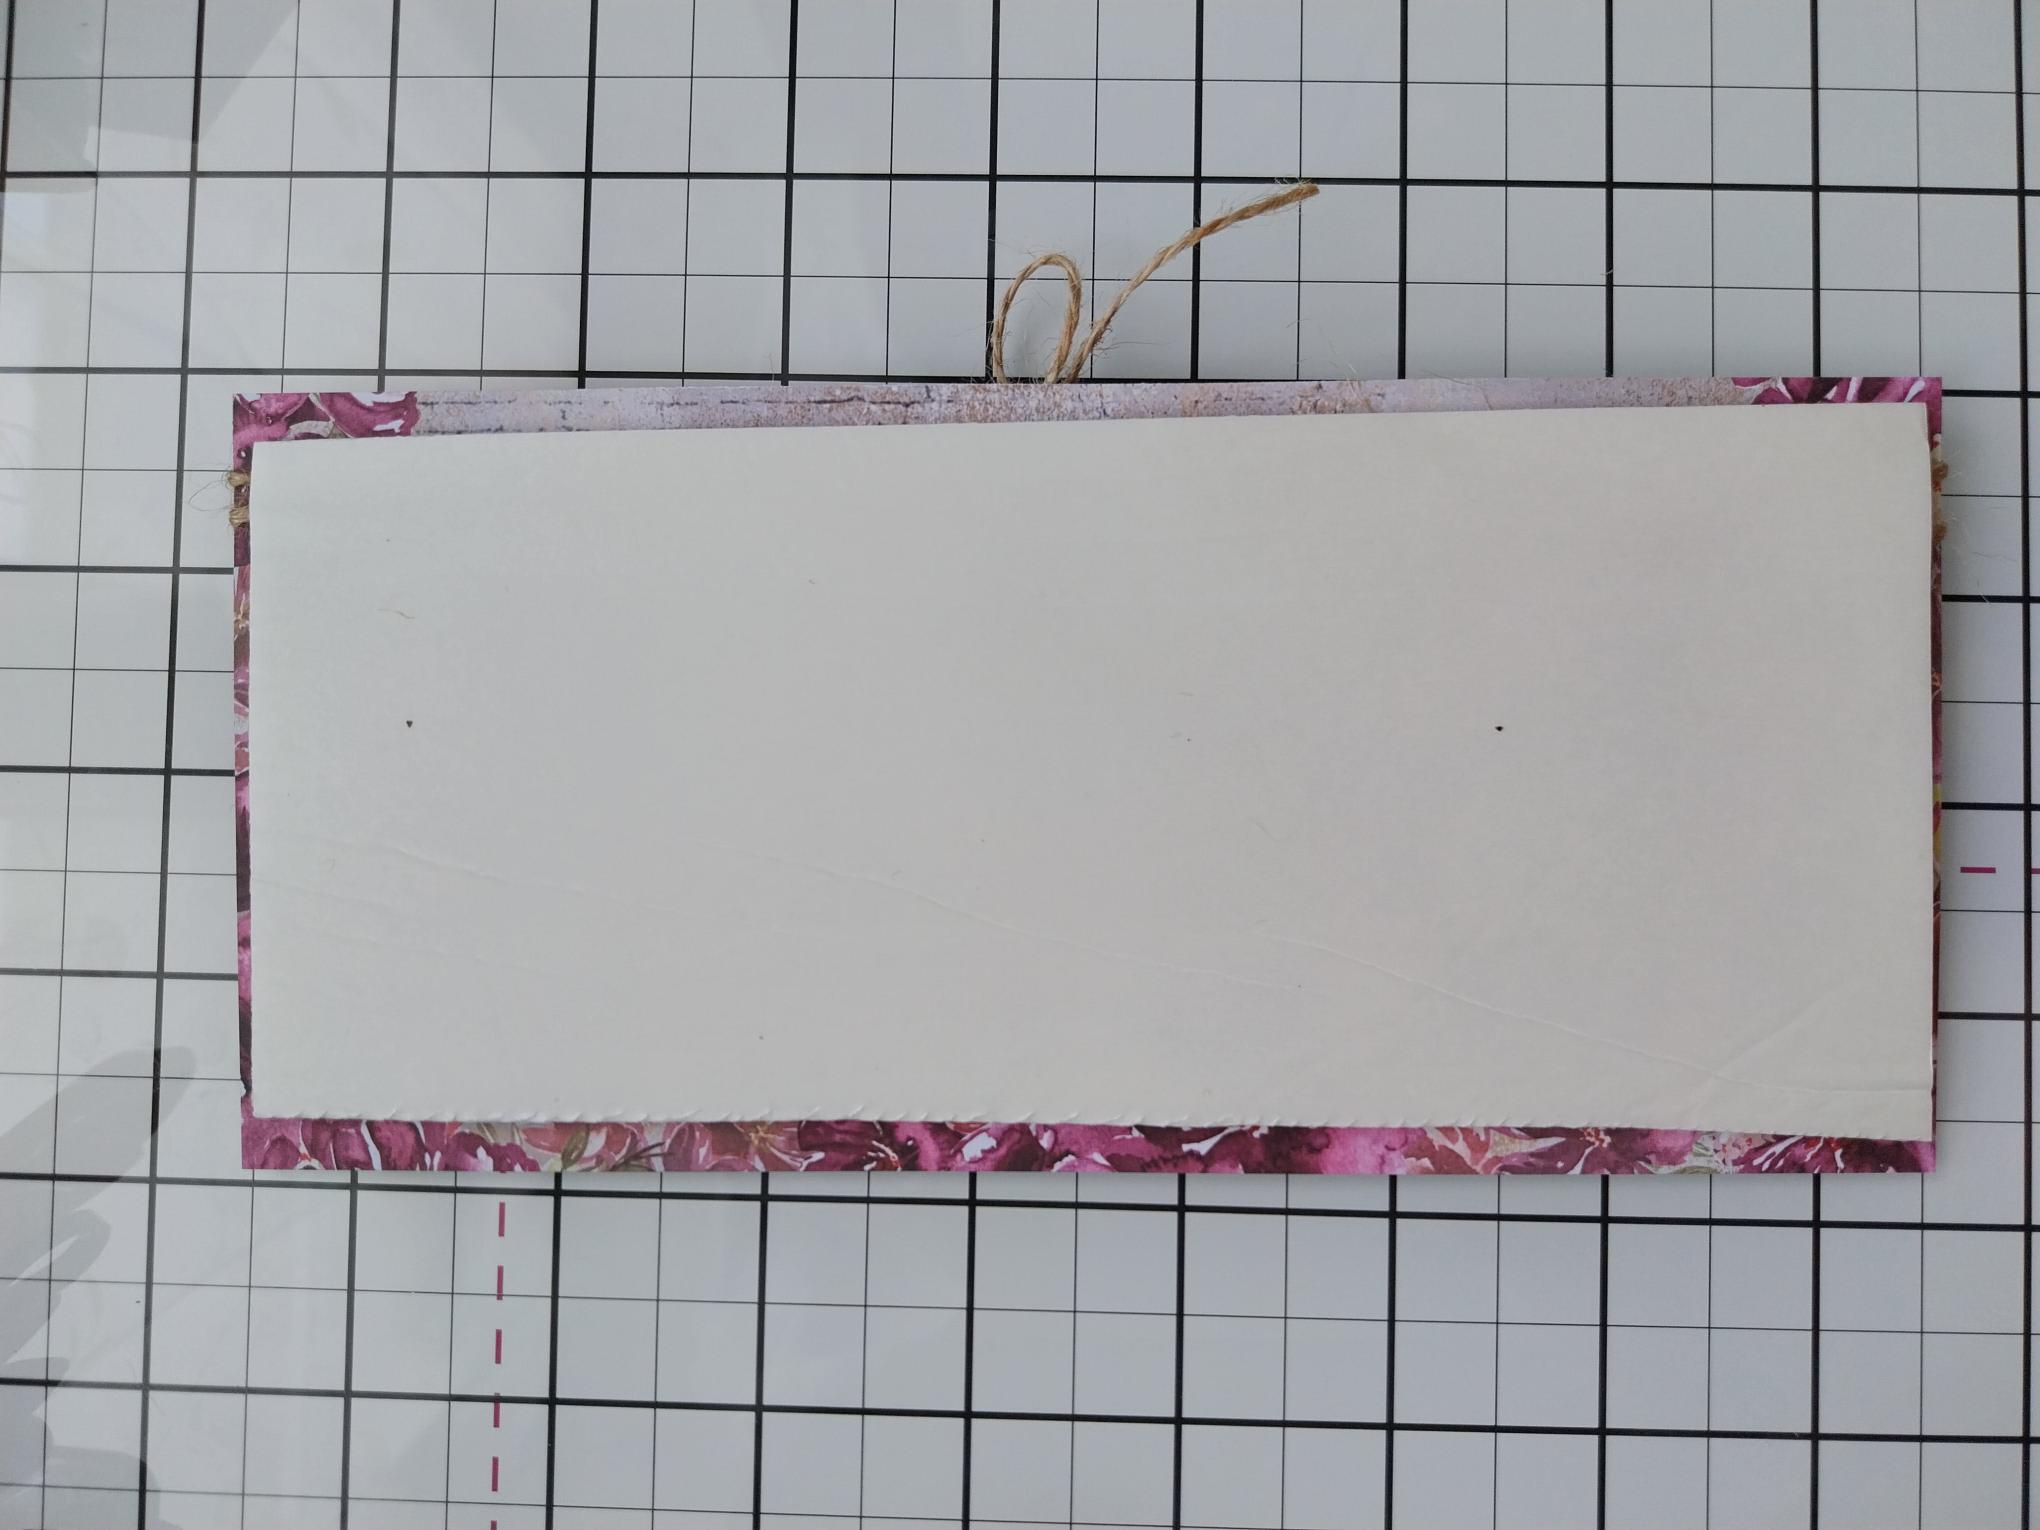
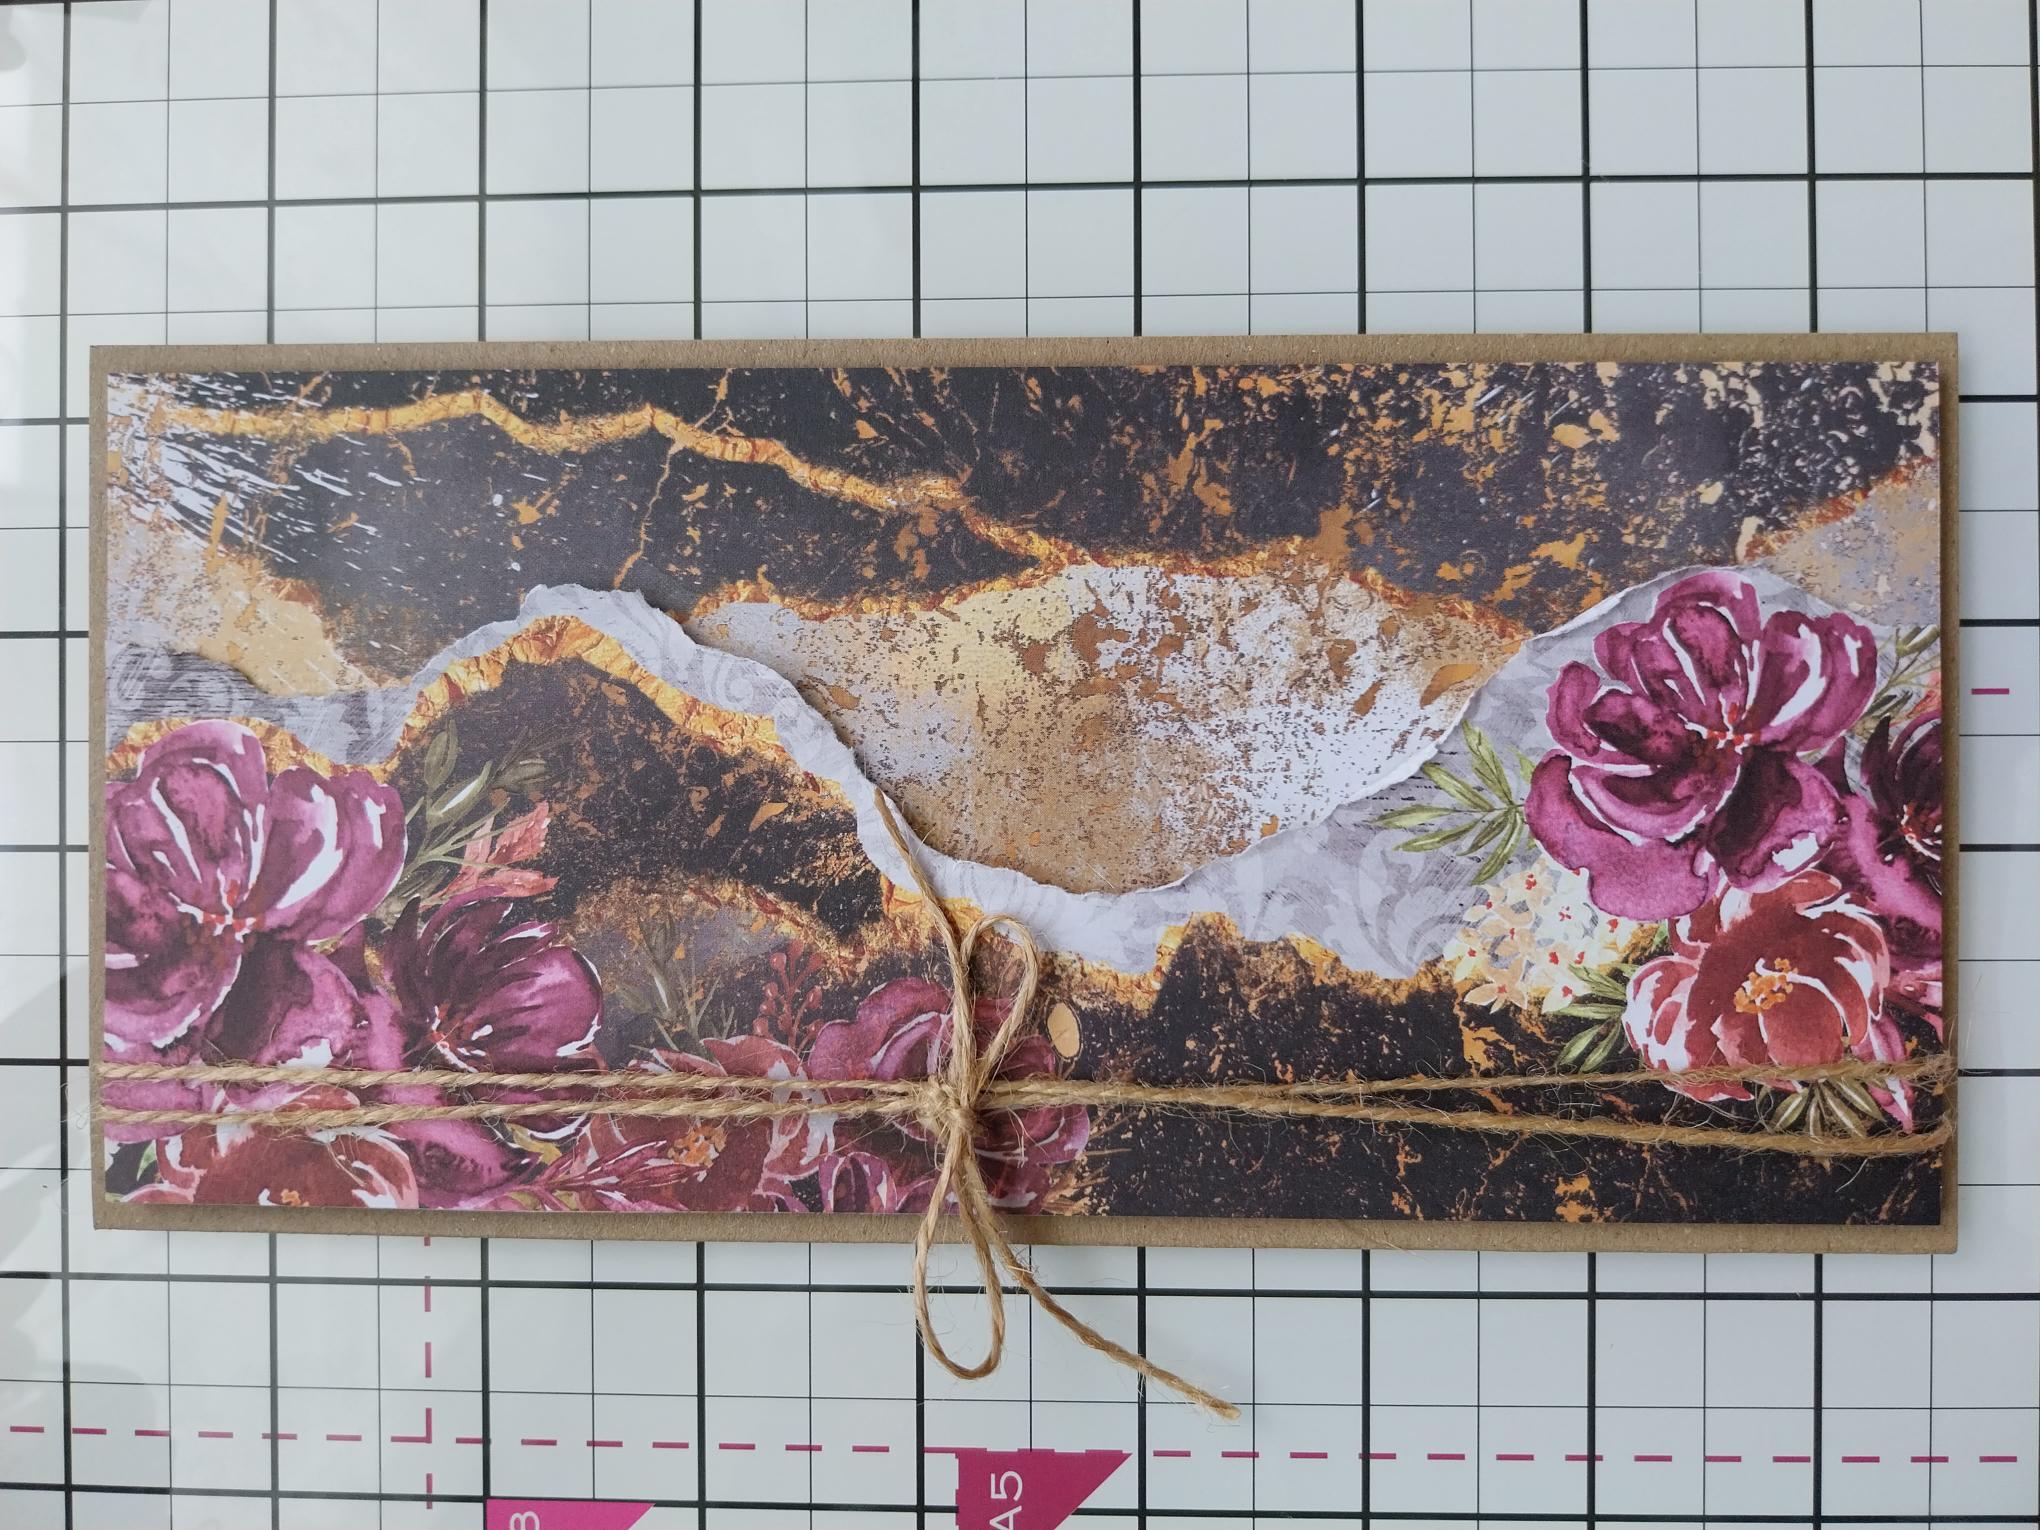
Trim and adhere a foam sheet, or foam pads, to the back of your panel. |
|
Adhere to your DL kraft card blank and pop to one side. |
|
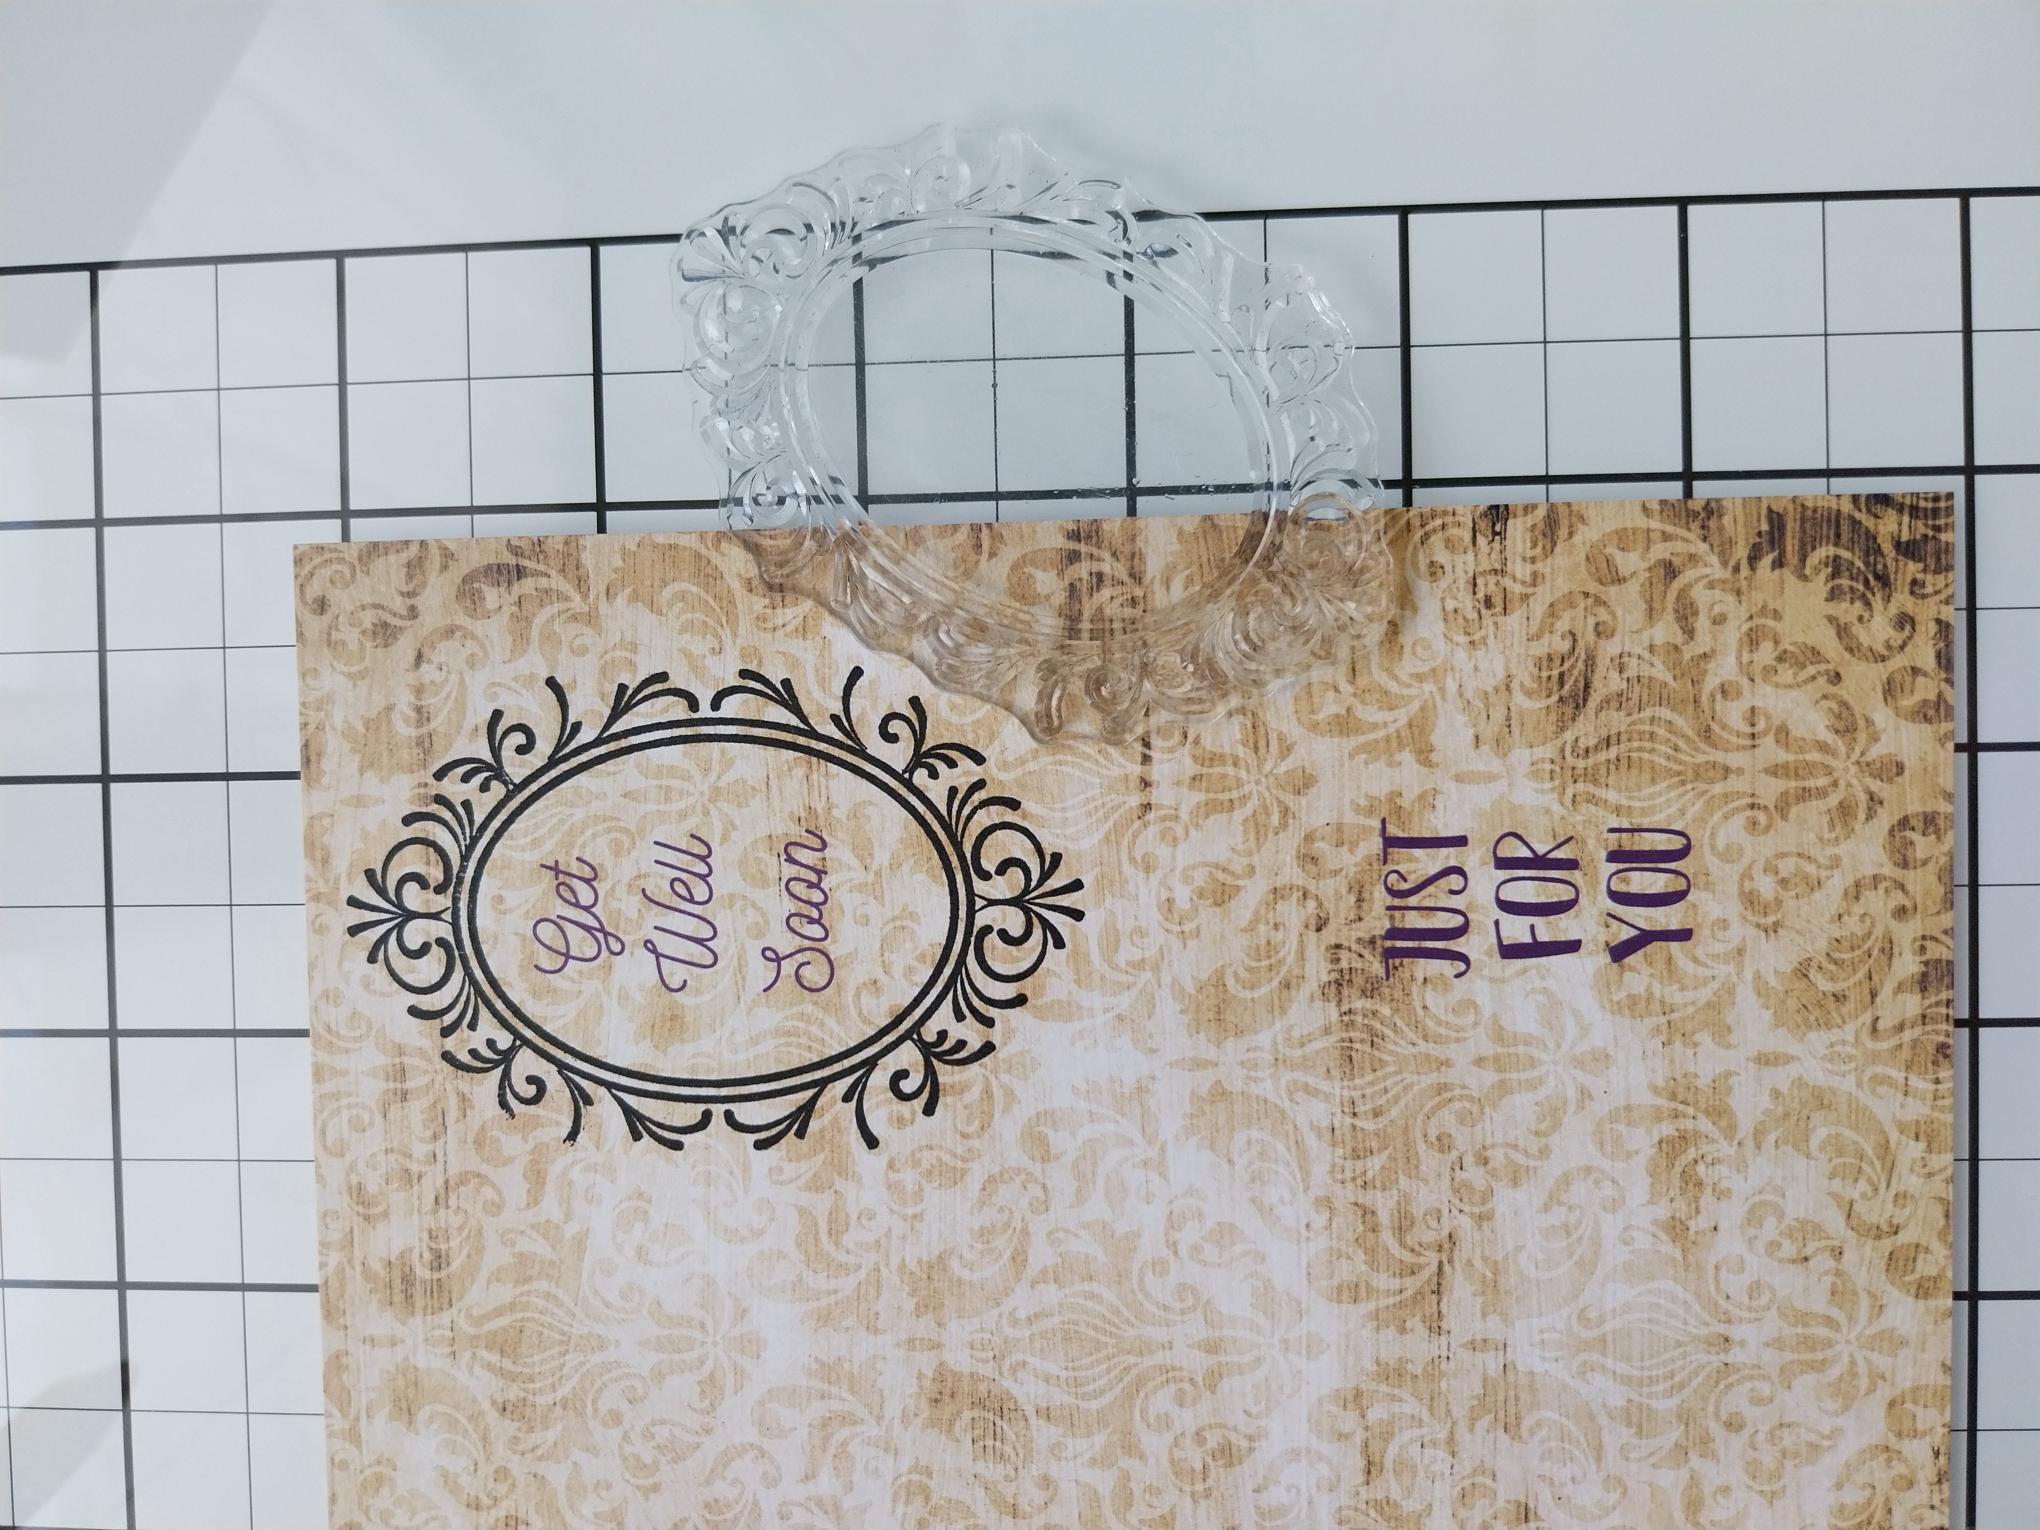
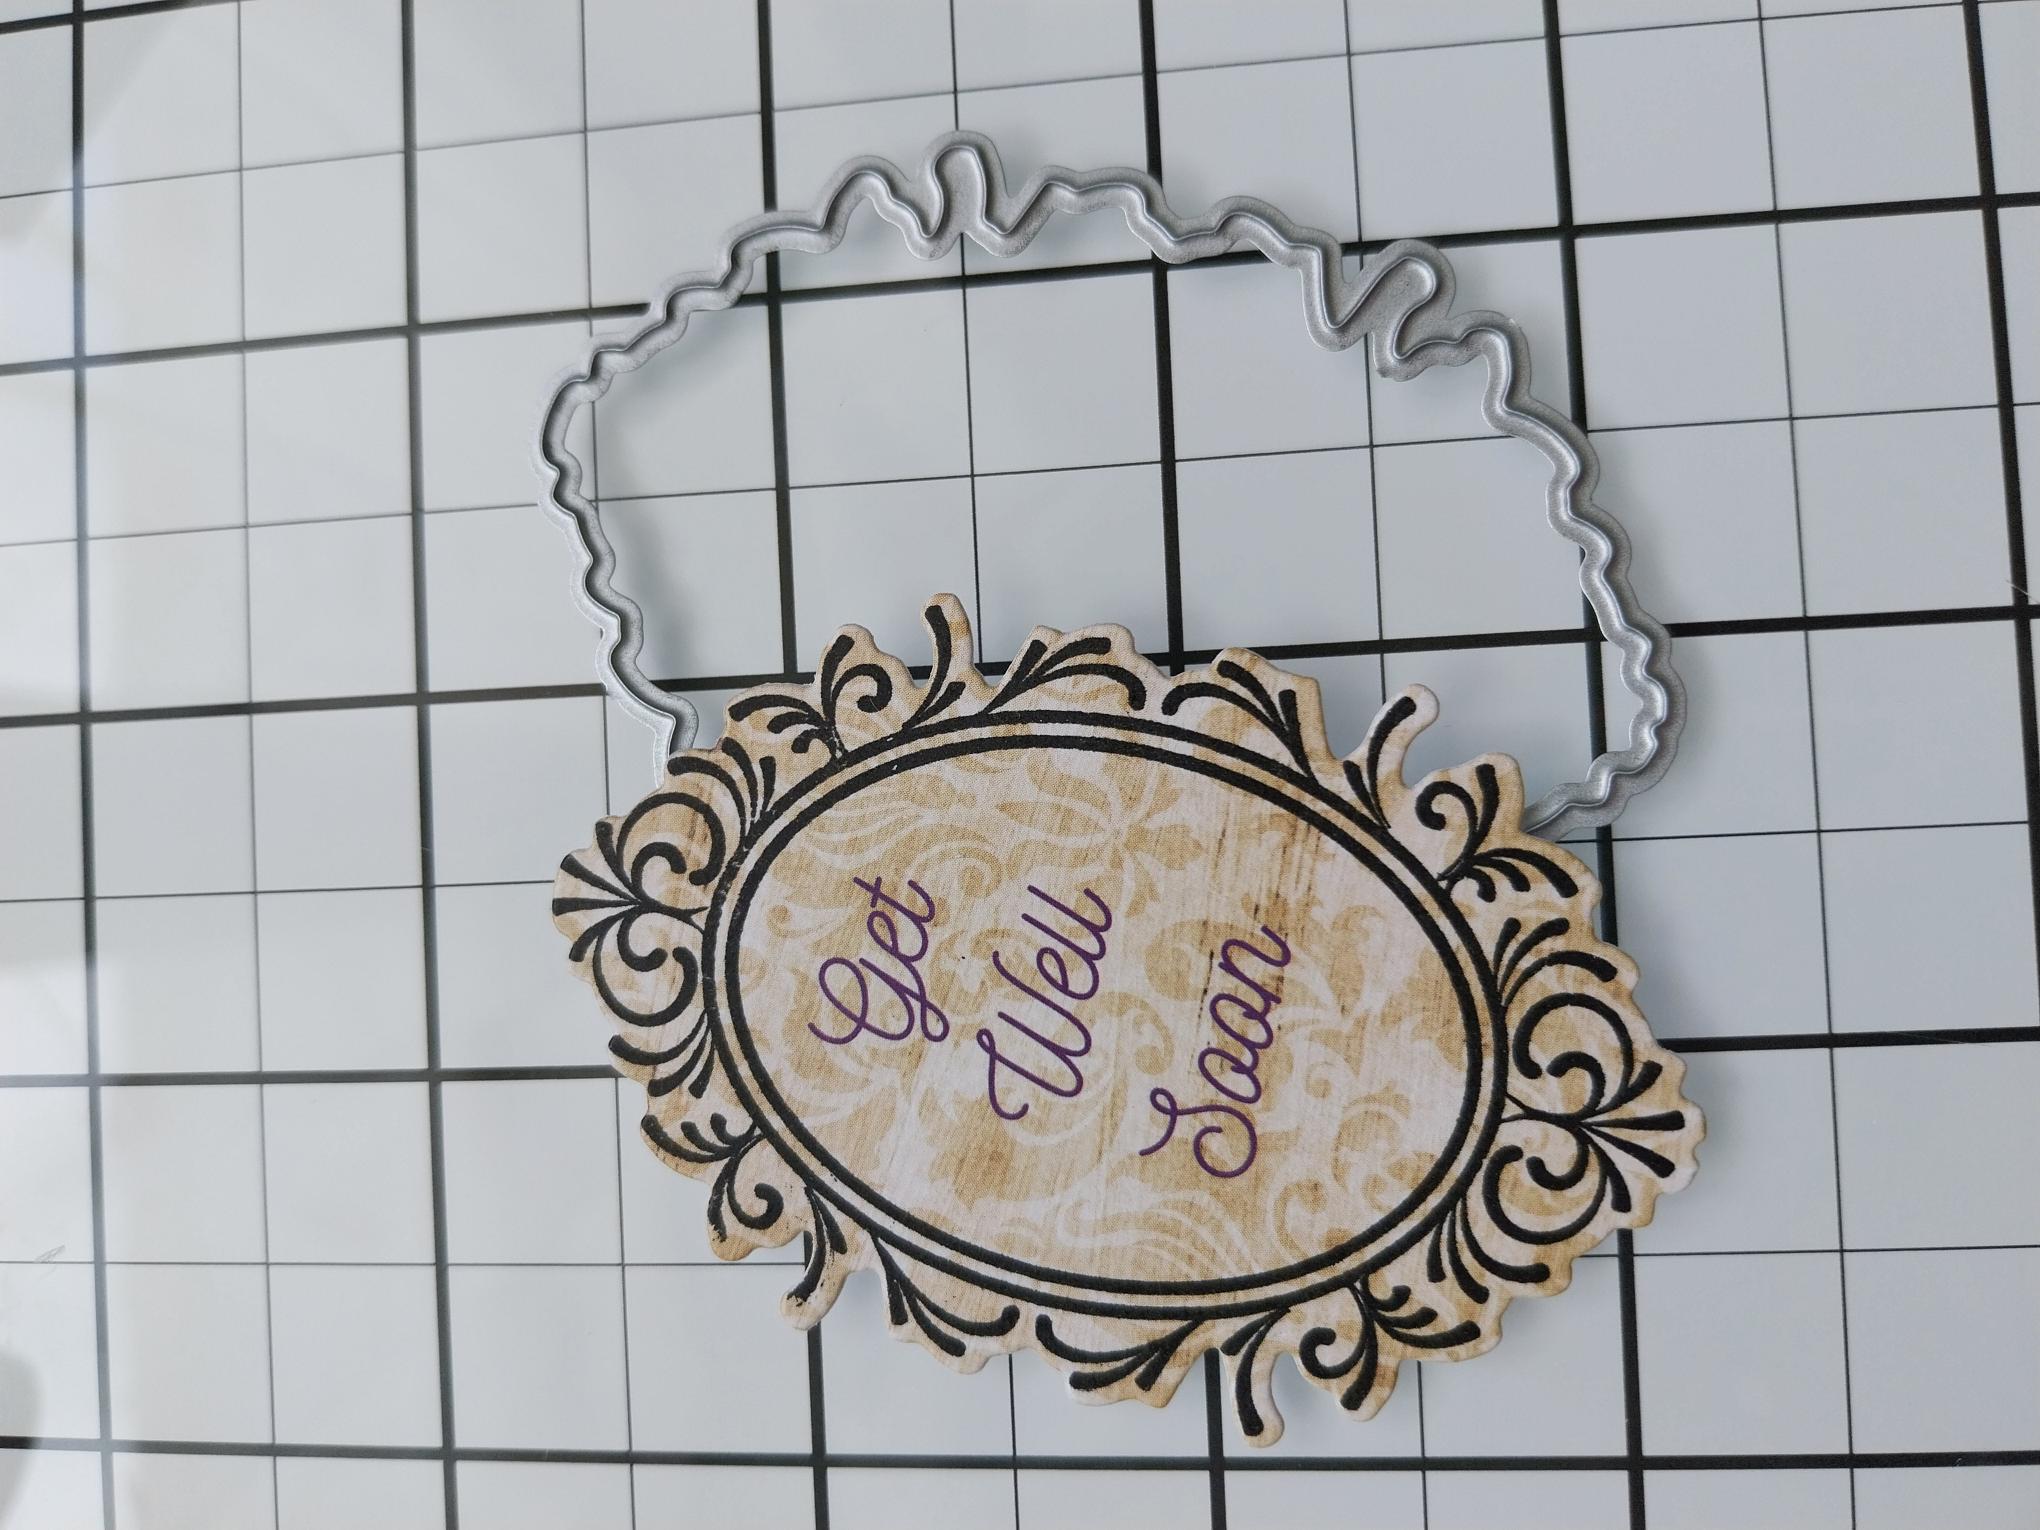
Remove this sheet from the Mulberry & Gold Damask 6 x 6" Sentiment Pack. Stamp the oval frame, from the Mulberry Frames Stamp And Die set, around the printed "Get Well Soon" sentiment, in the Midnight hybrid ink |
|
Use the coordinating die to cut it out. |
|
Adhere with wet glue, tucked under the torn paper edge, in the bottom right corner of your card. |
|
To finish, use your Stickles to add a touch of glitter and sparkle around the frame and on the printed floral images. |