Give your friends $10 off their first order!
Refer a FRIEND


WHAT YOU WILL NEED:
Black landscape card blank 6 x 5"
Kraft card 5 3/4 x 4 3/4"
White card 6 x 6"
Mulberry Frames Stamp And Die Set
Mulberry & Gold Damask 7 x 5" Vellum Pack
Mulberry 7 Gold Damask 8 x 8" Paper Pack
Elegant Rose HD3D Embossing Folder and Die Collection
WOW Embossing Ink Pad
WOW Heat Tool
WOW Gold Embossing Powder
Anti-static bag
Sequins: Amethyst
Gem pick up and pokey tool
Confetti Ink: Mushroom, Satin
Stickles: Diamond
Eureka 101 Watercolour Tablet
SBM Magnetic glass mat
Paper Trimmer
Perfect Together Glue
Die Cutting machine
[click image to enlarge] 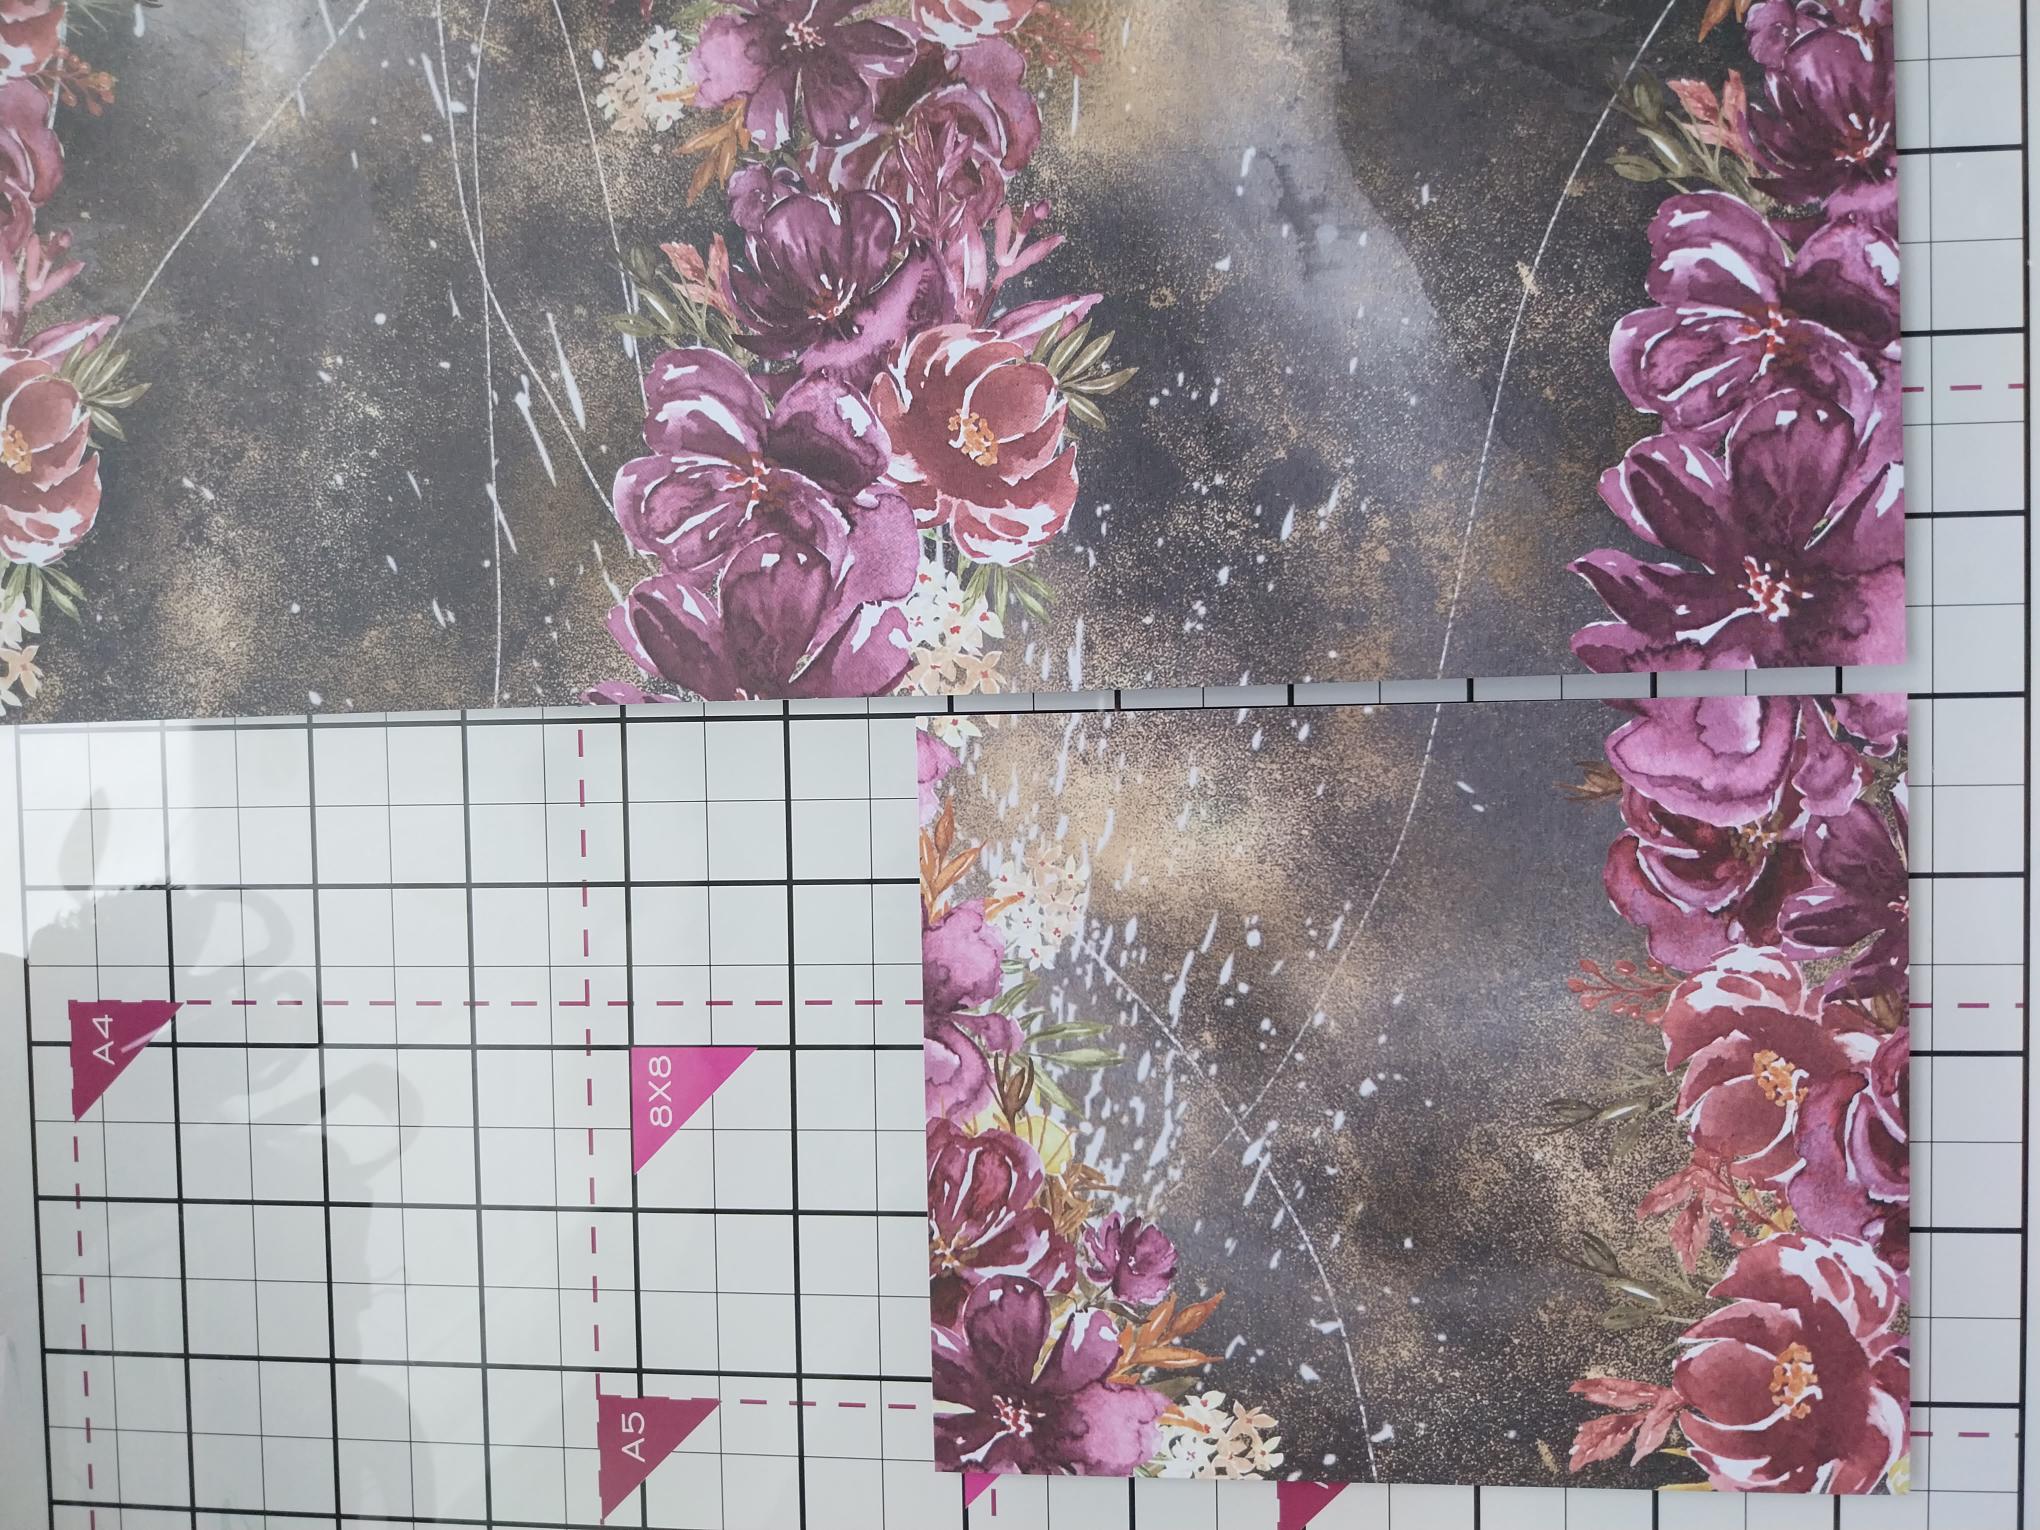
|
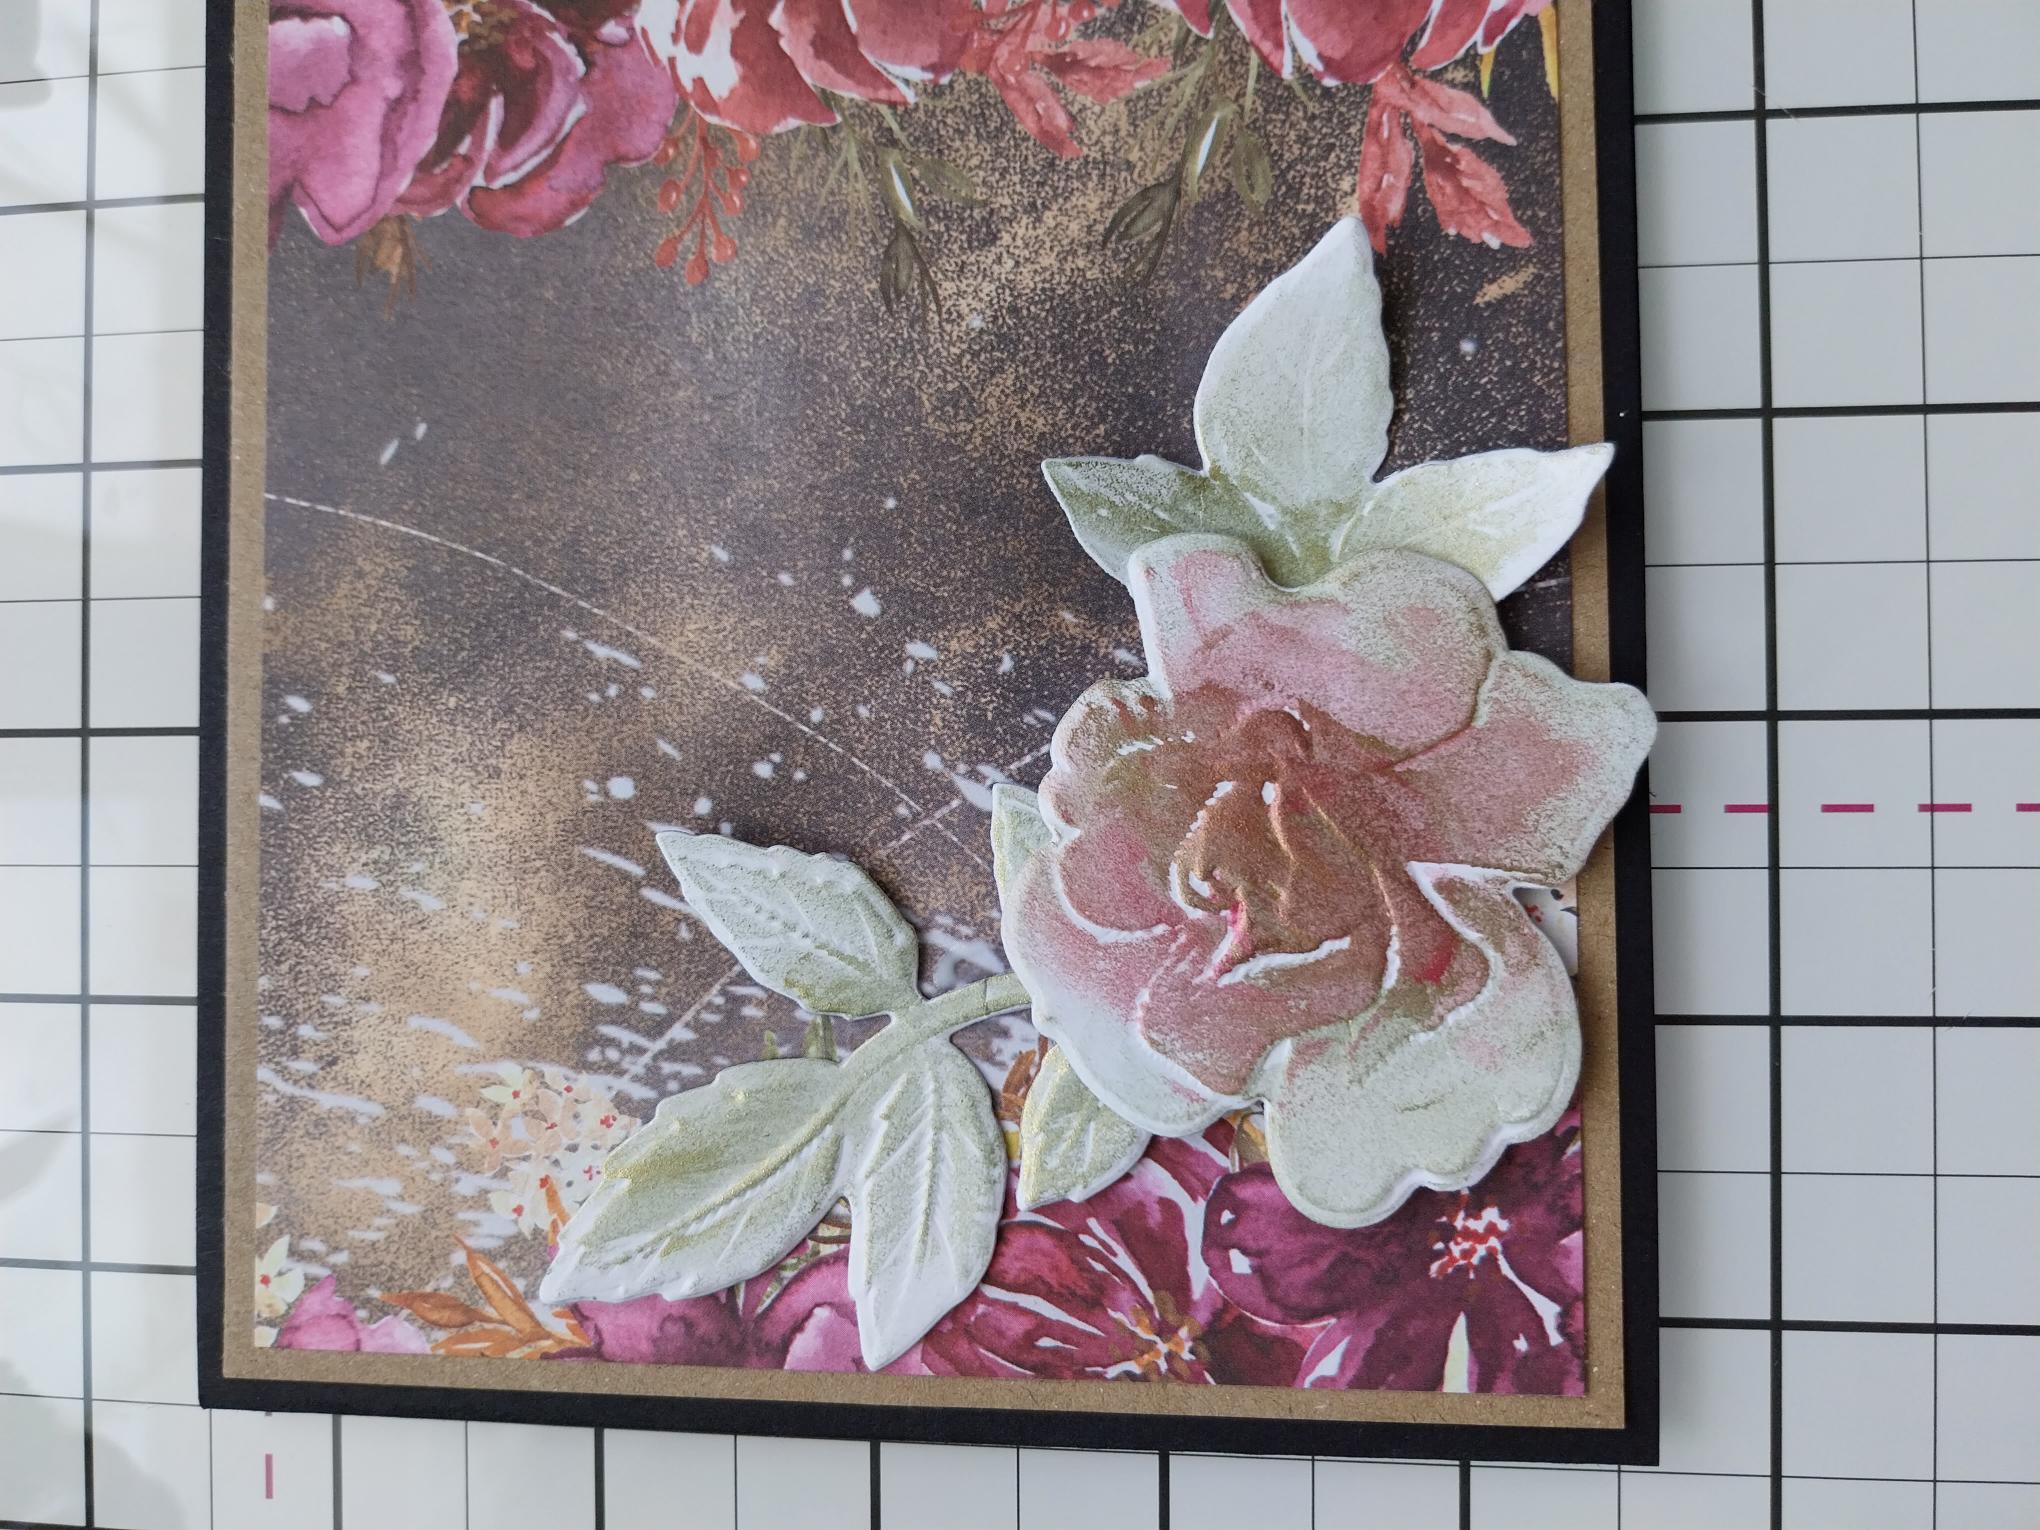
Trim this beautiful Mulberry & Gold paper to 5 1/2 x 4 1/2". |
|
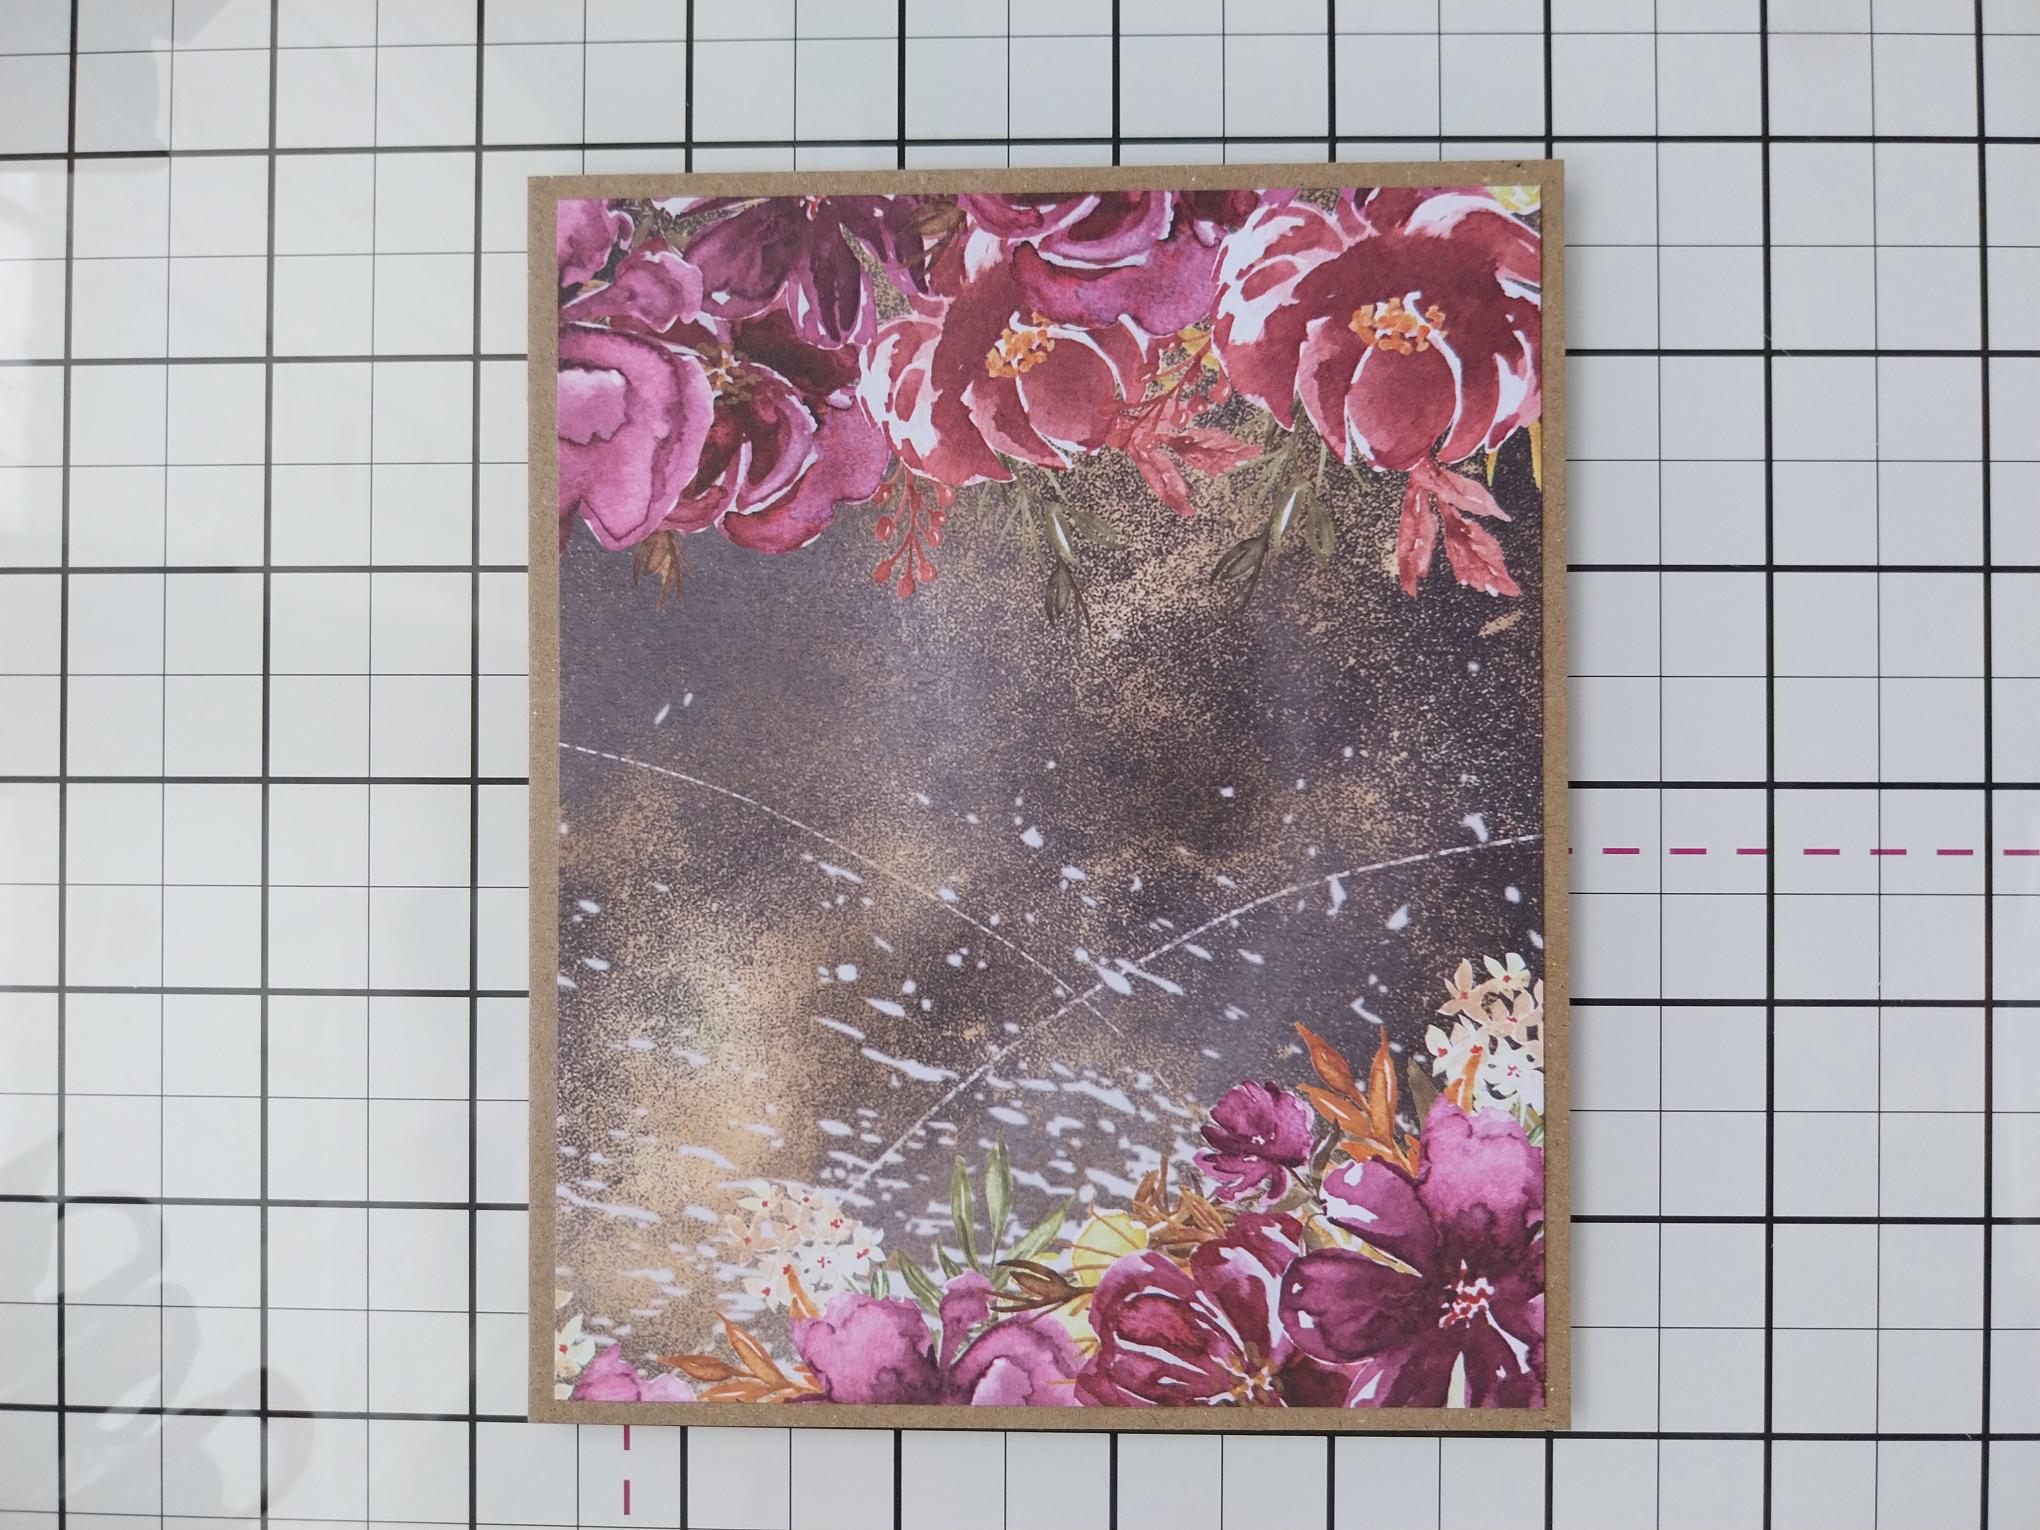
Adhere on to the kraft card, cut to 5 3/4 x 4 3/4". |

|
Adhere this to your black, landscape card blank and pop to one side. |
|
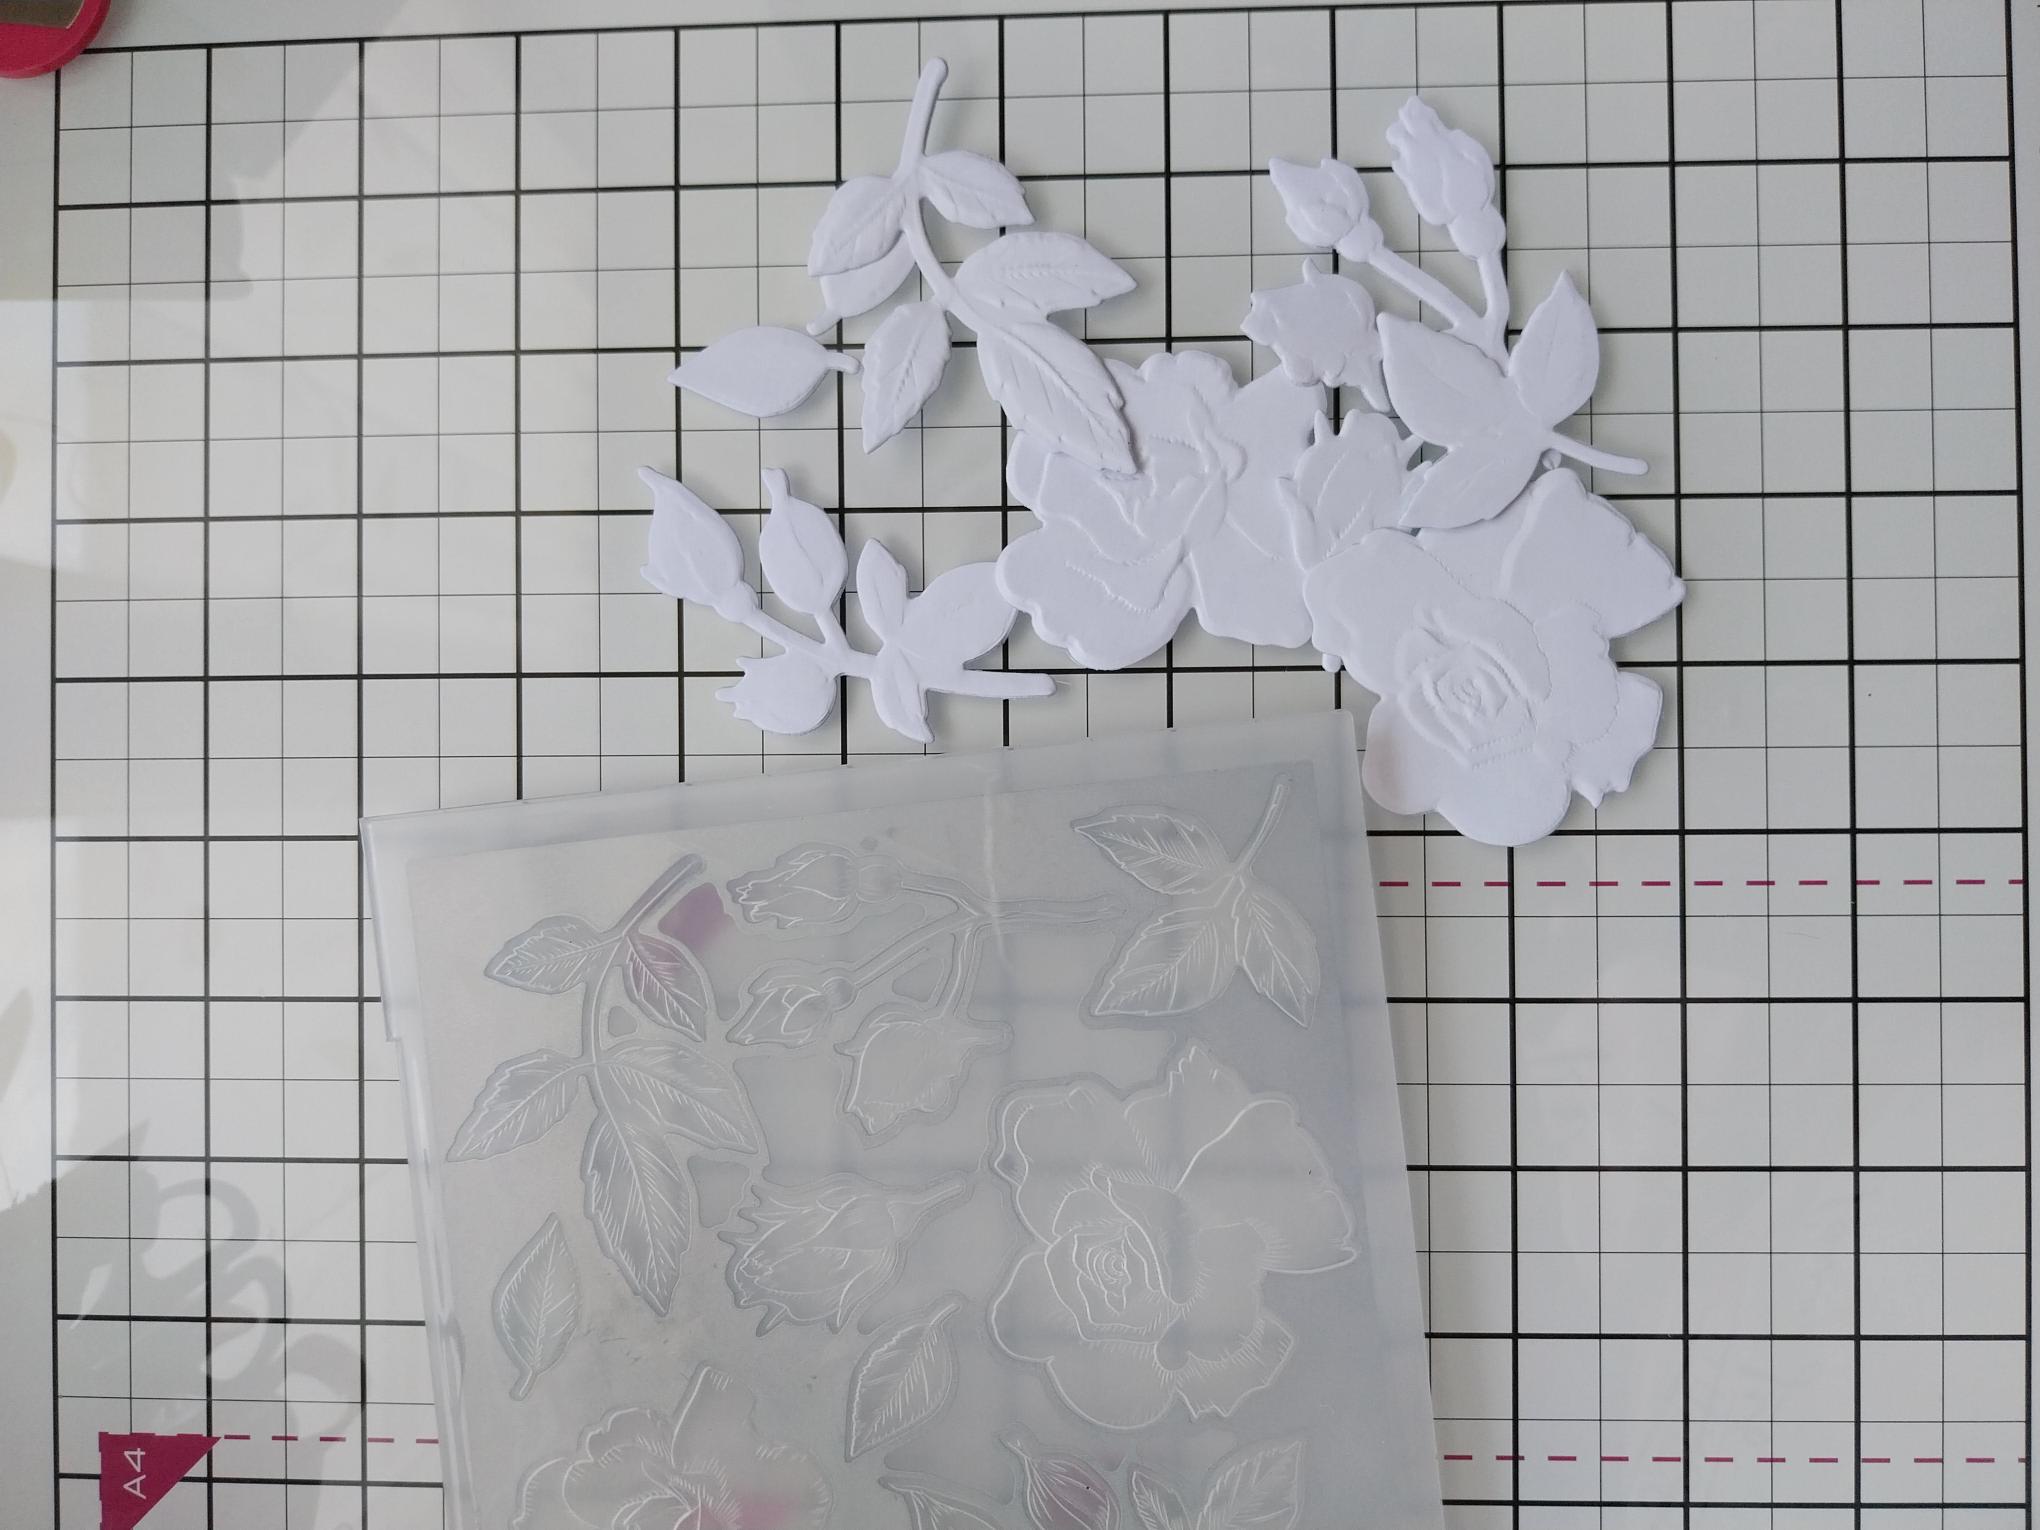
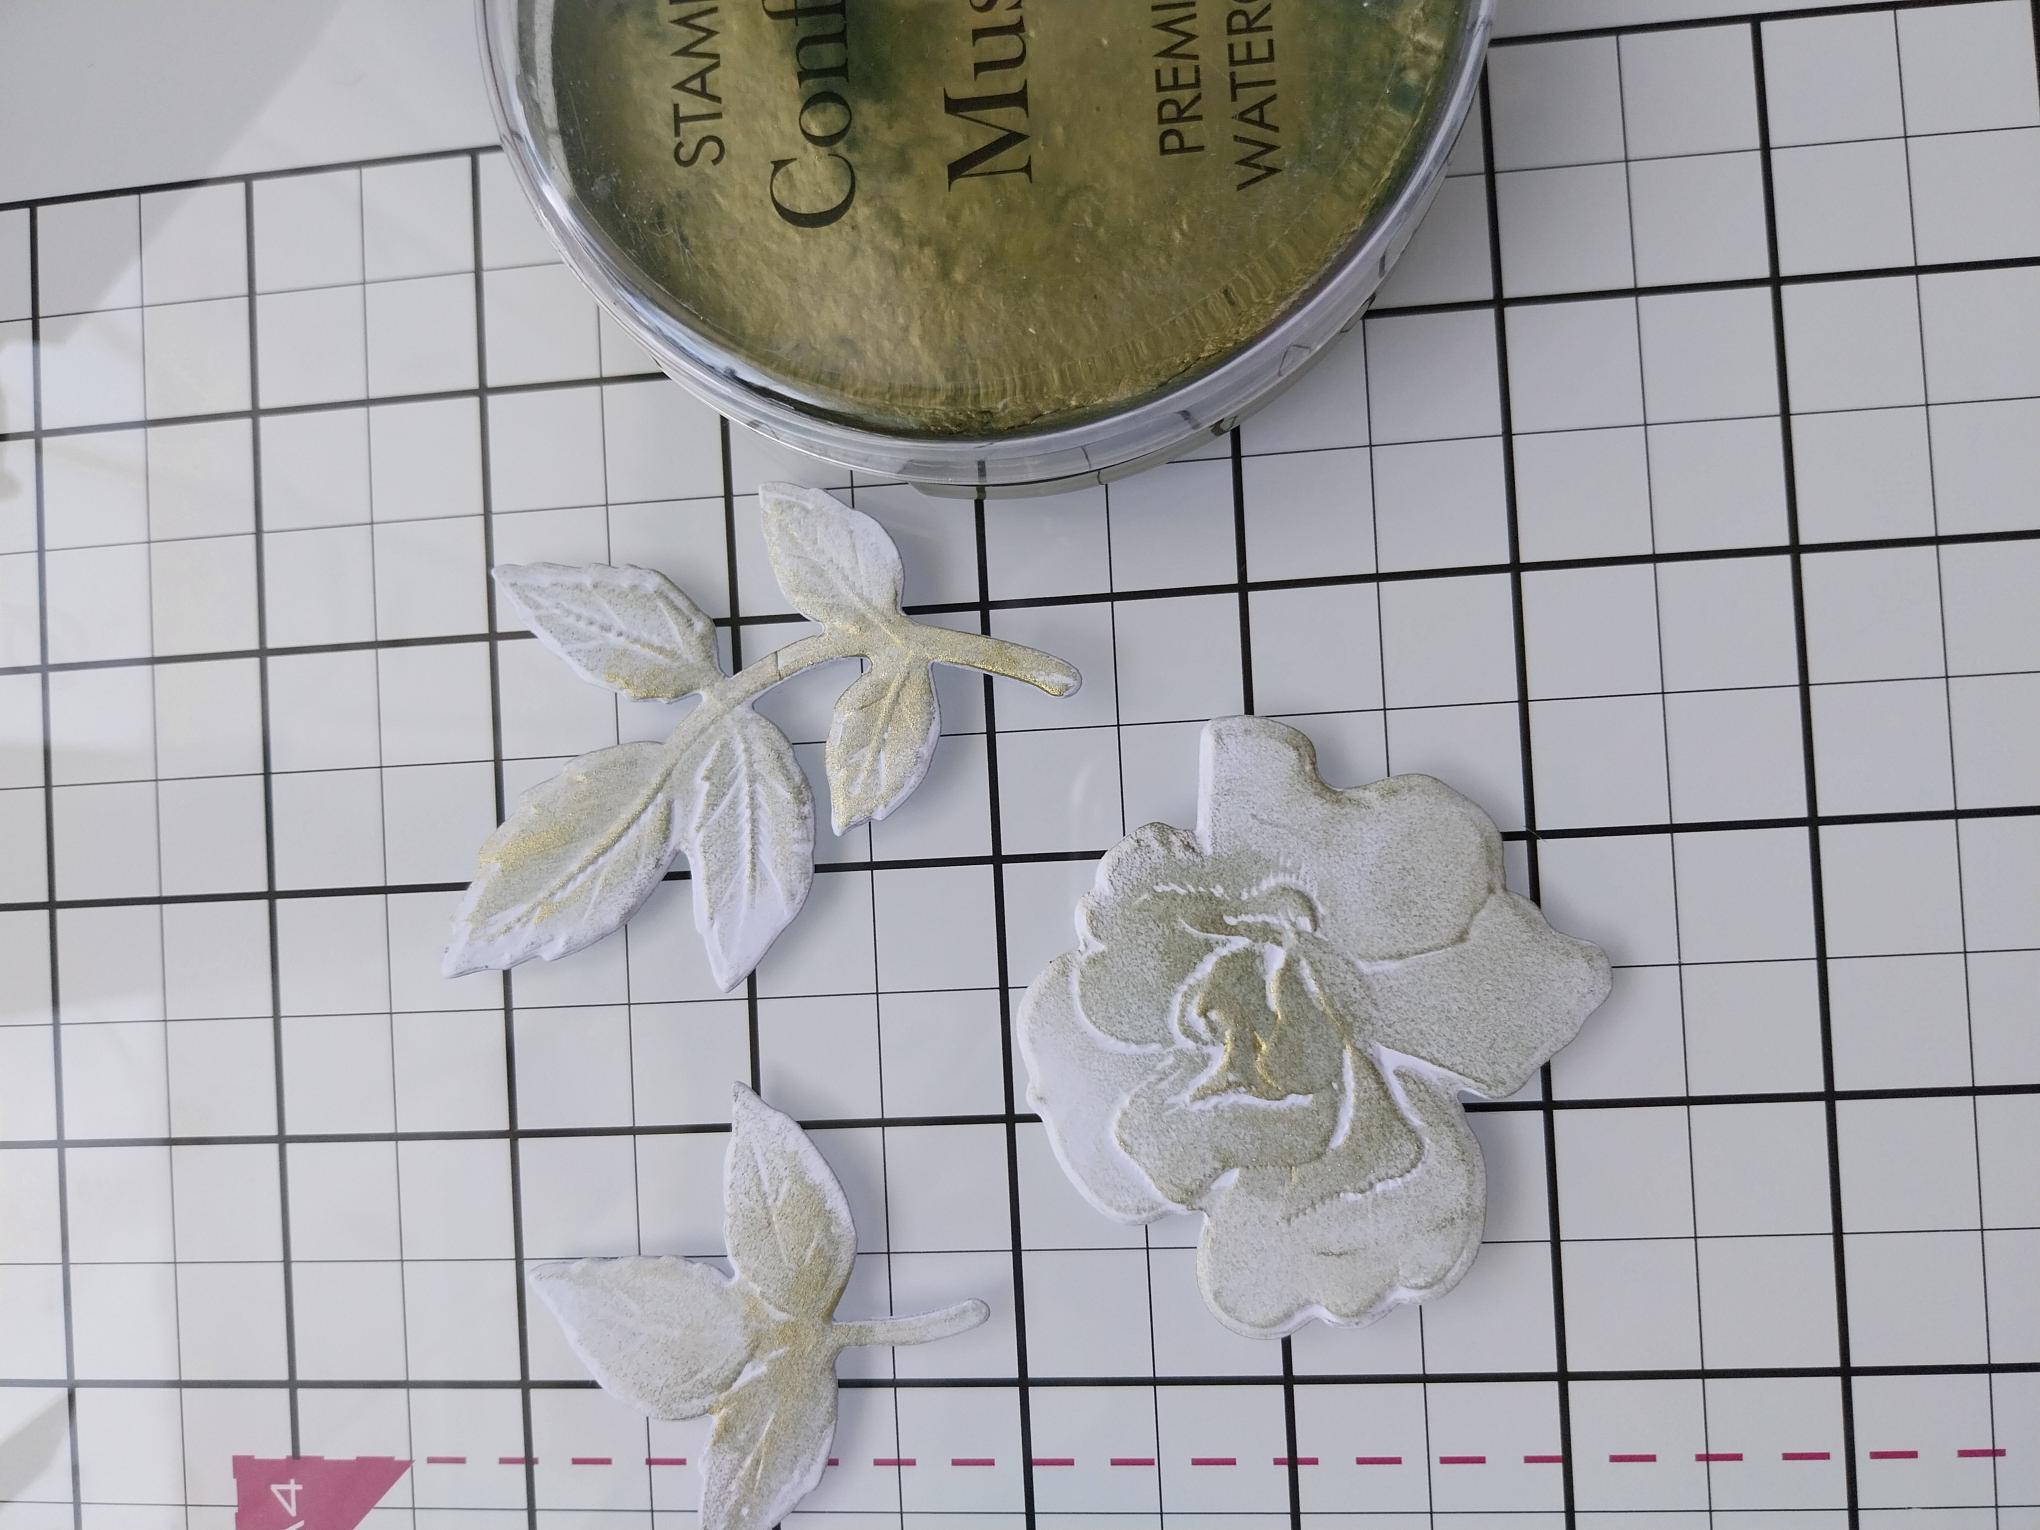
Place the 6" square white card inside the Elegant Rose embossing folder, with built-in die and run it through your machine. |
|
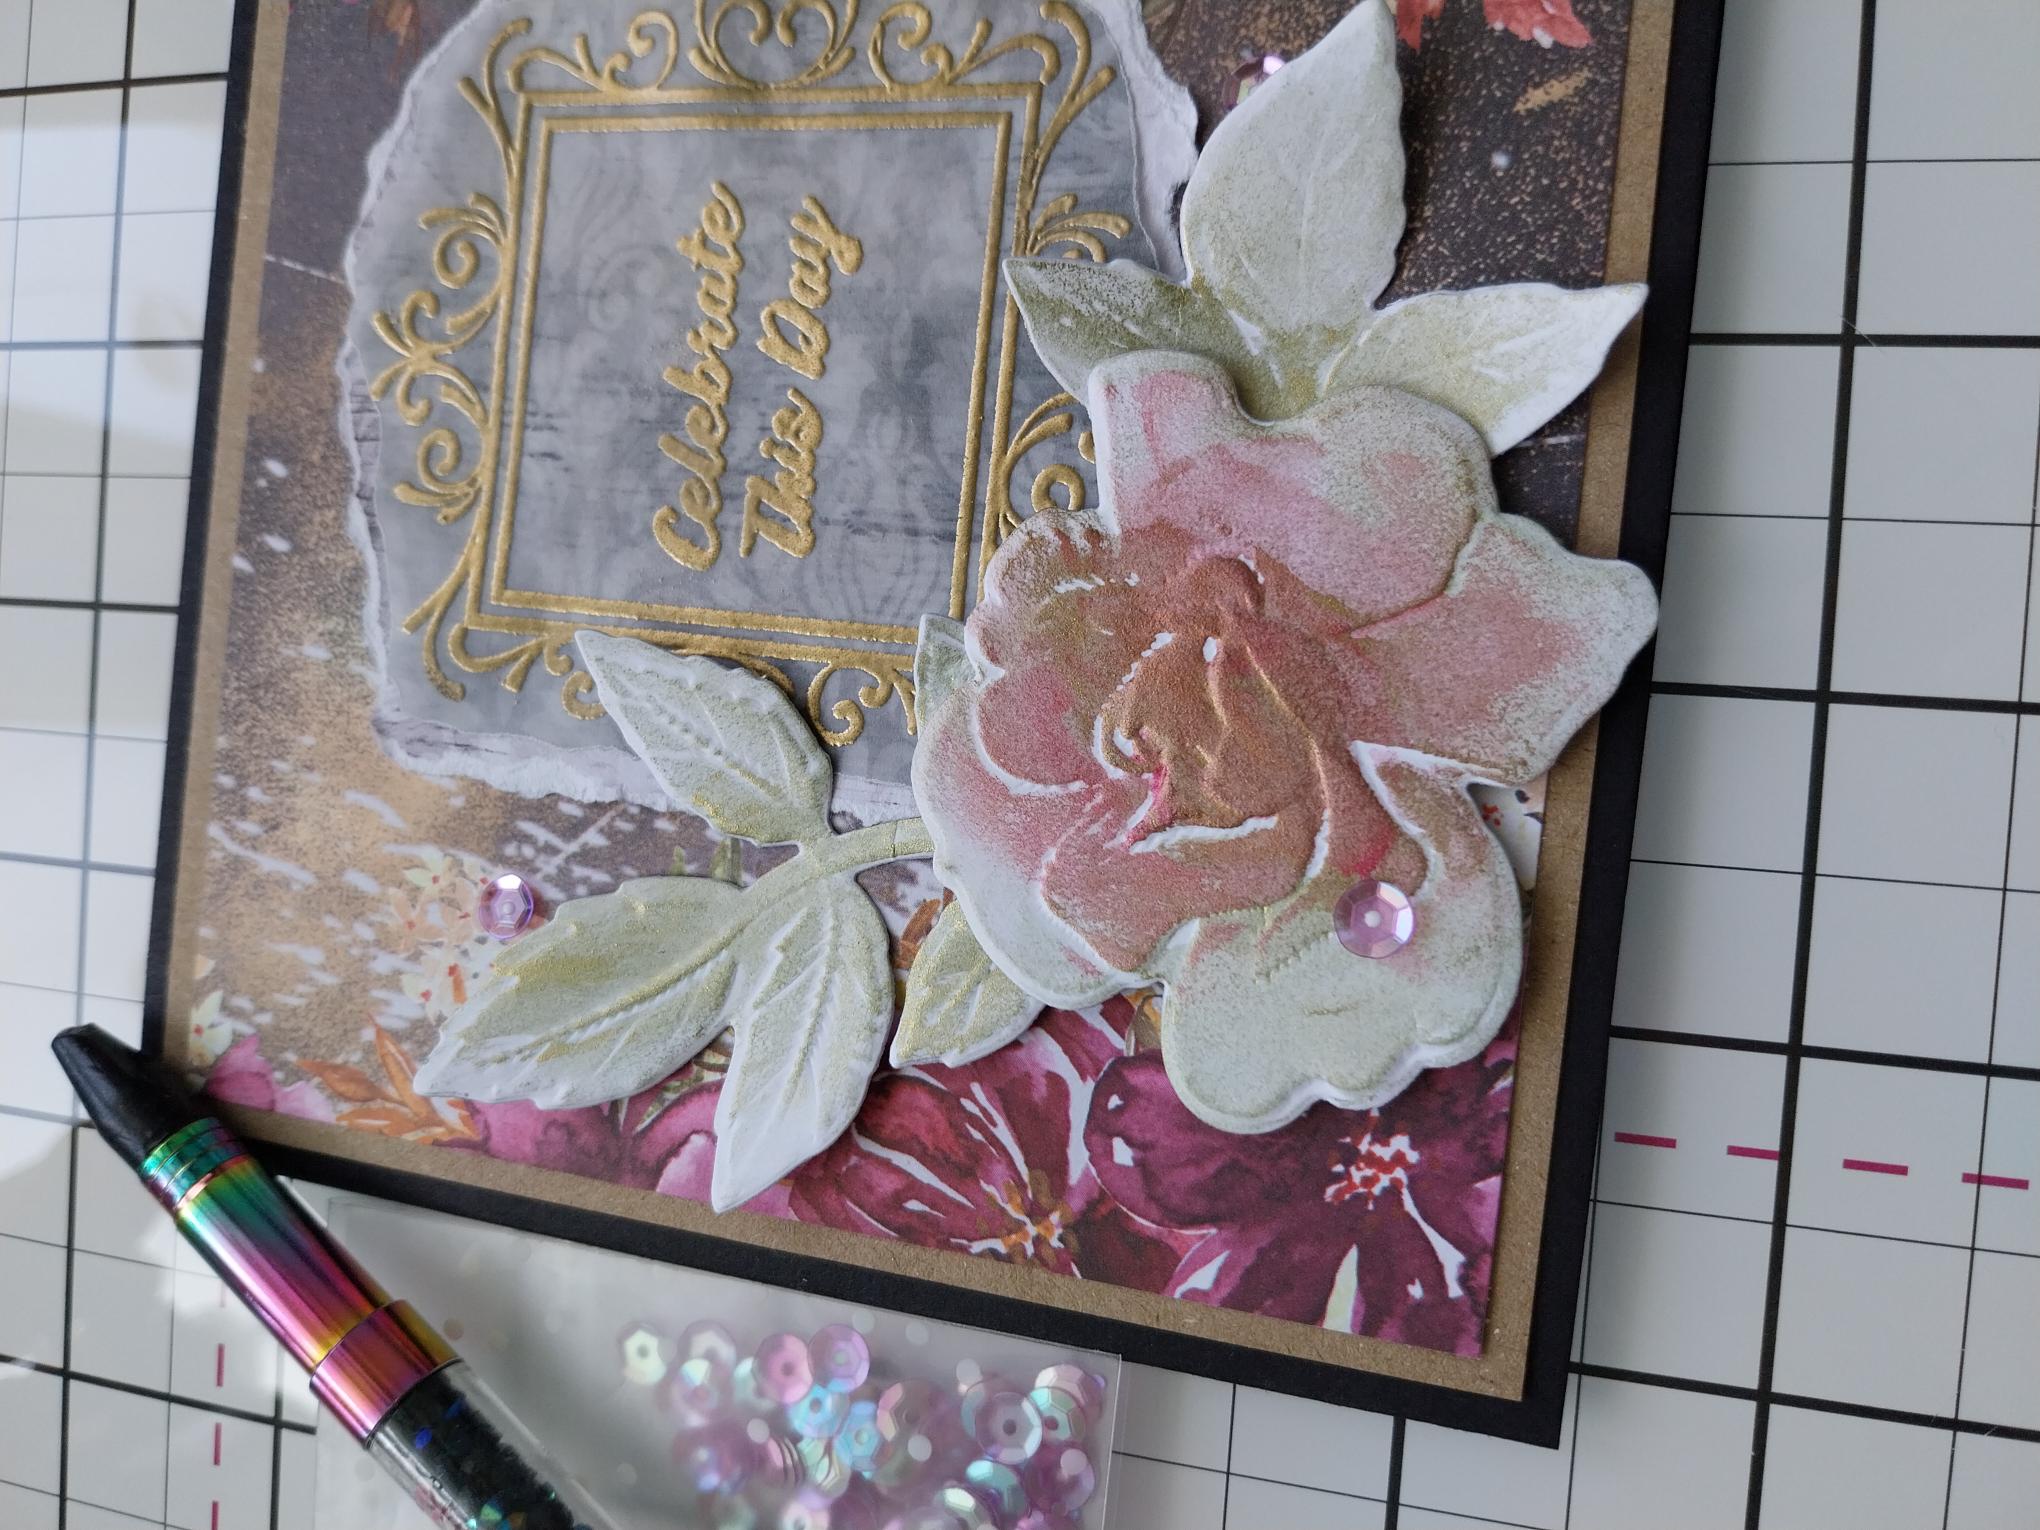
Add water to the Mushroom Confetti ink and lightly apply to the embossed areas of your die cut elements, using the pad of your finger. You can build up the intensity of the colour in some areas, to enhance the design. |
|
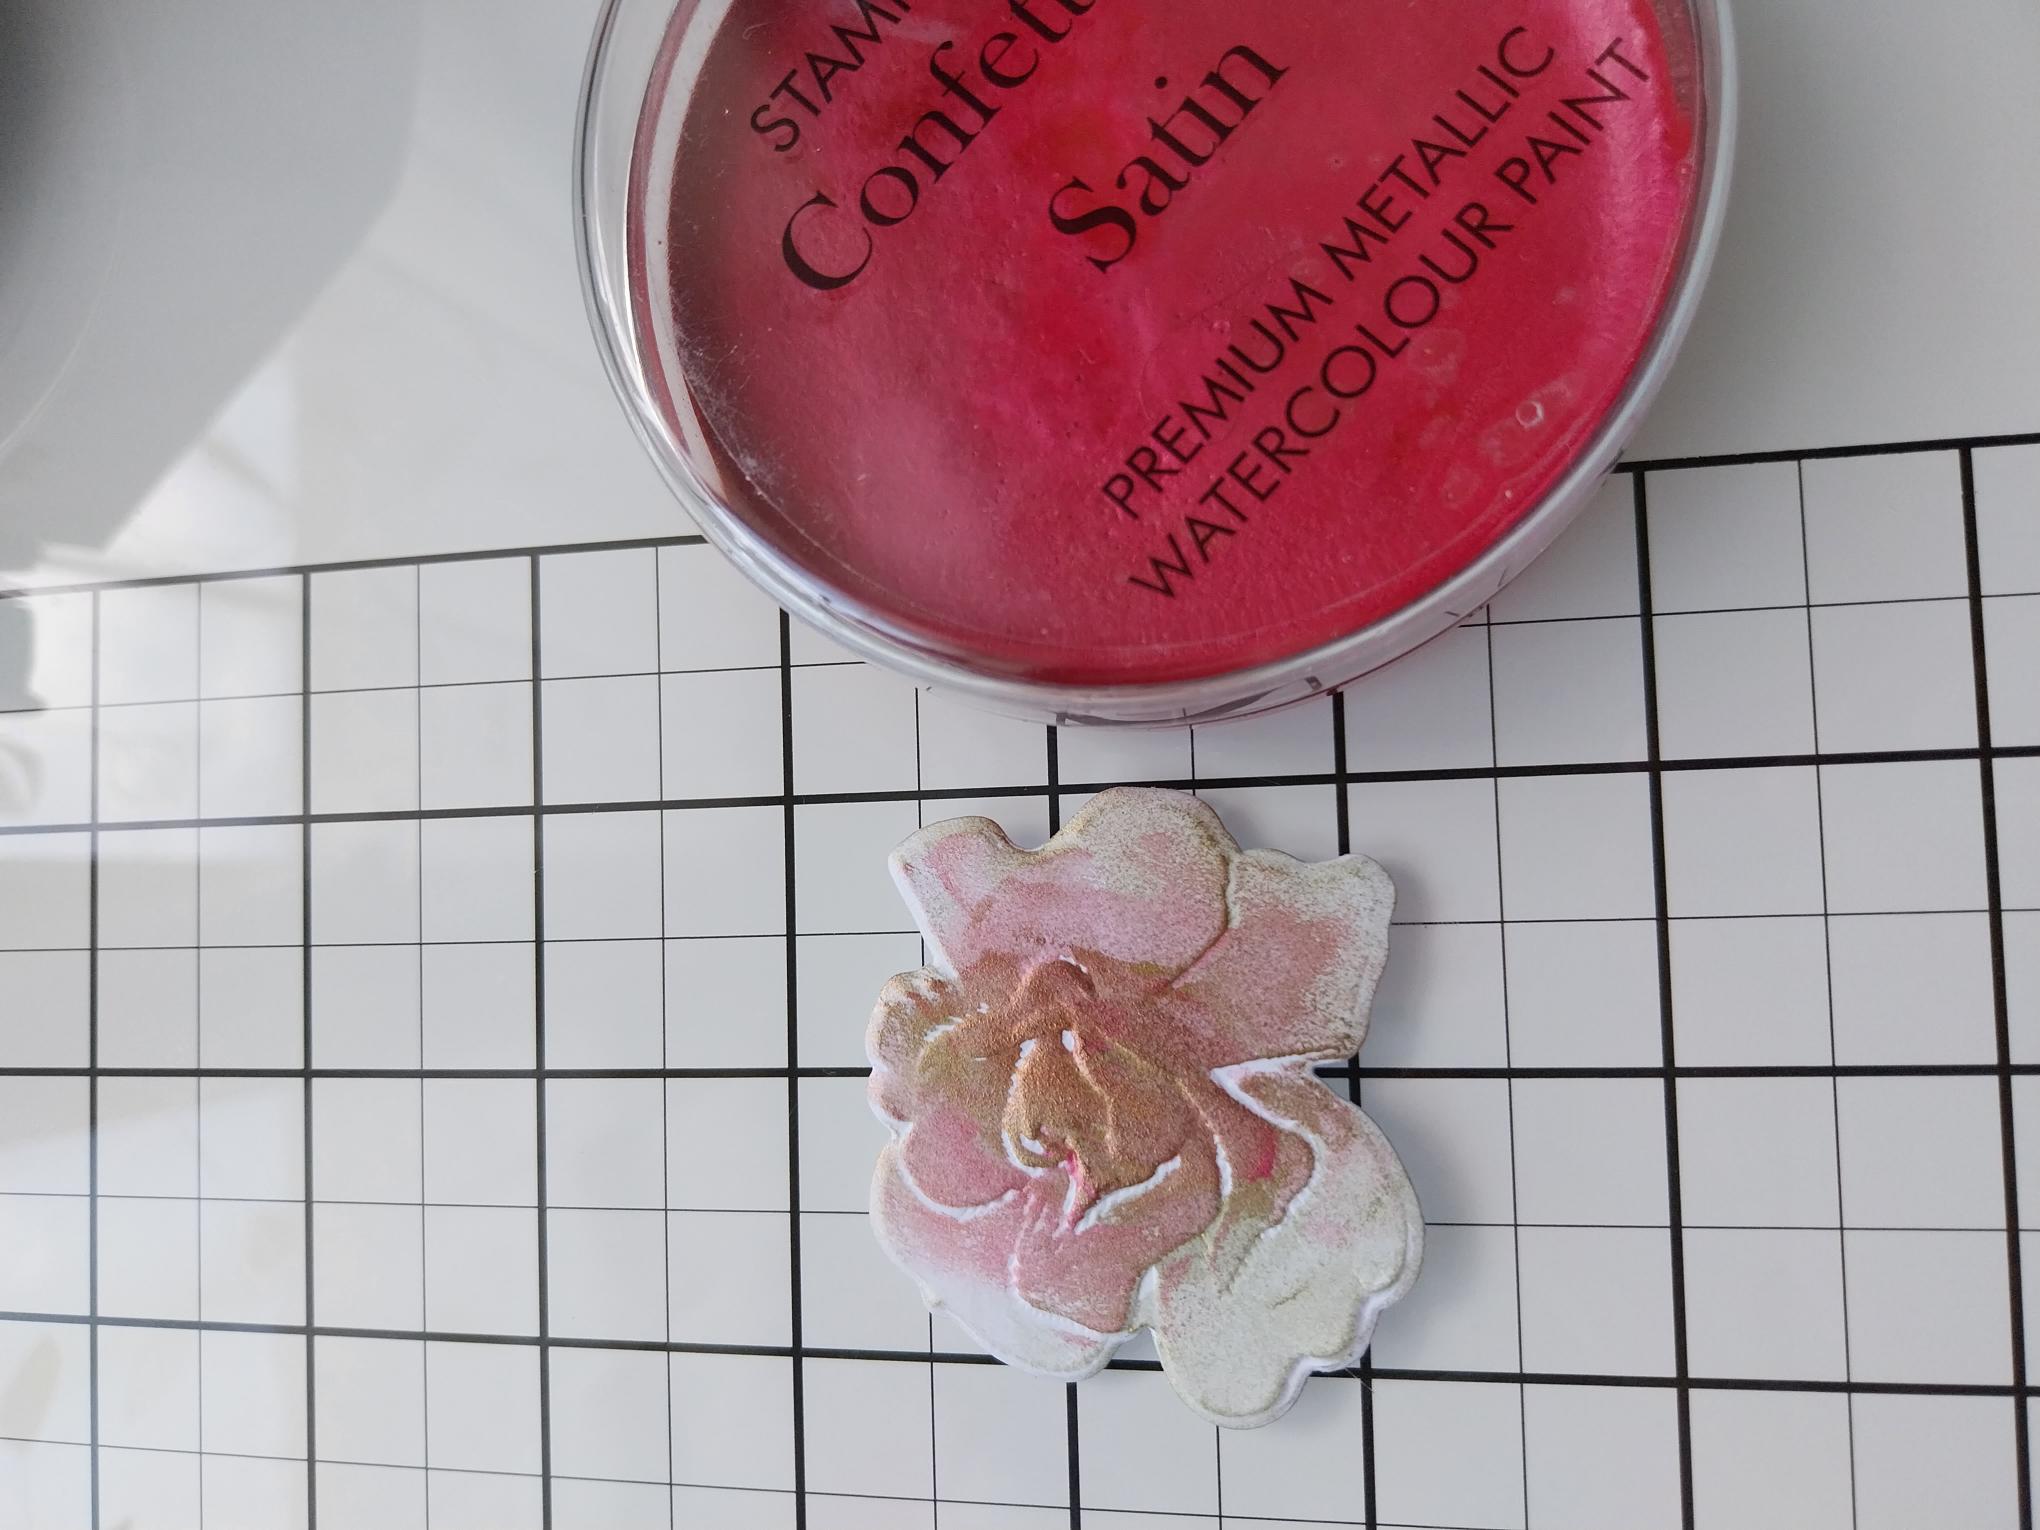
Repeat the above process, using the Satin Confetti Ink on to the Rose floral element only. |
|
Adhere your 3D elements to the bottom left of your card, using a combination of wet glue and foam pads, then pop your card to one side. |
|
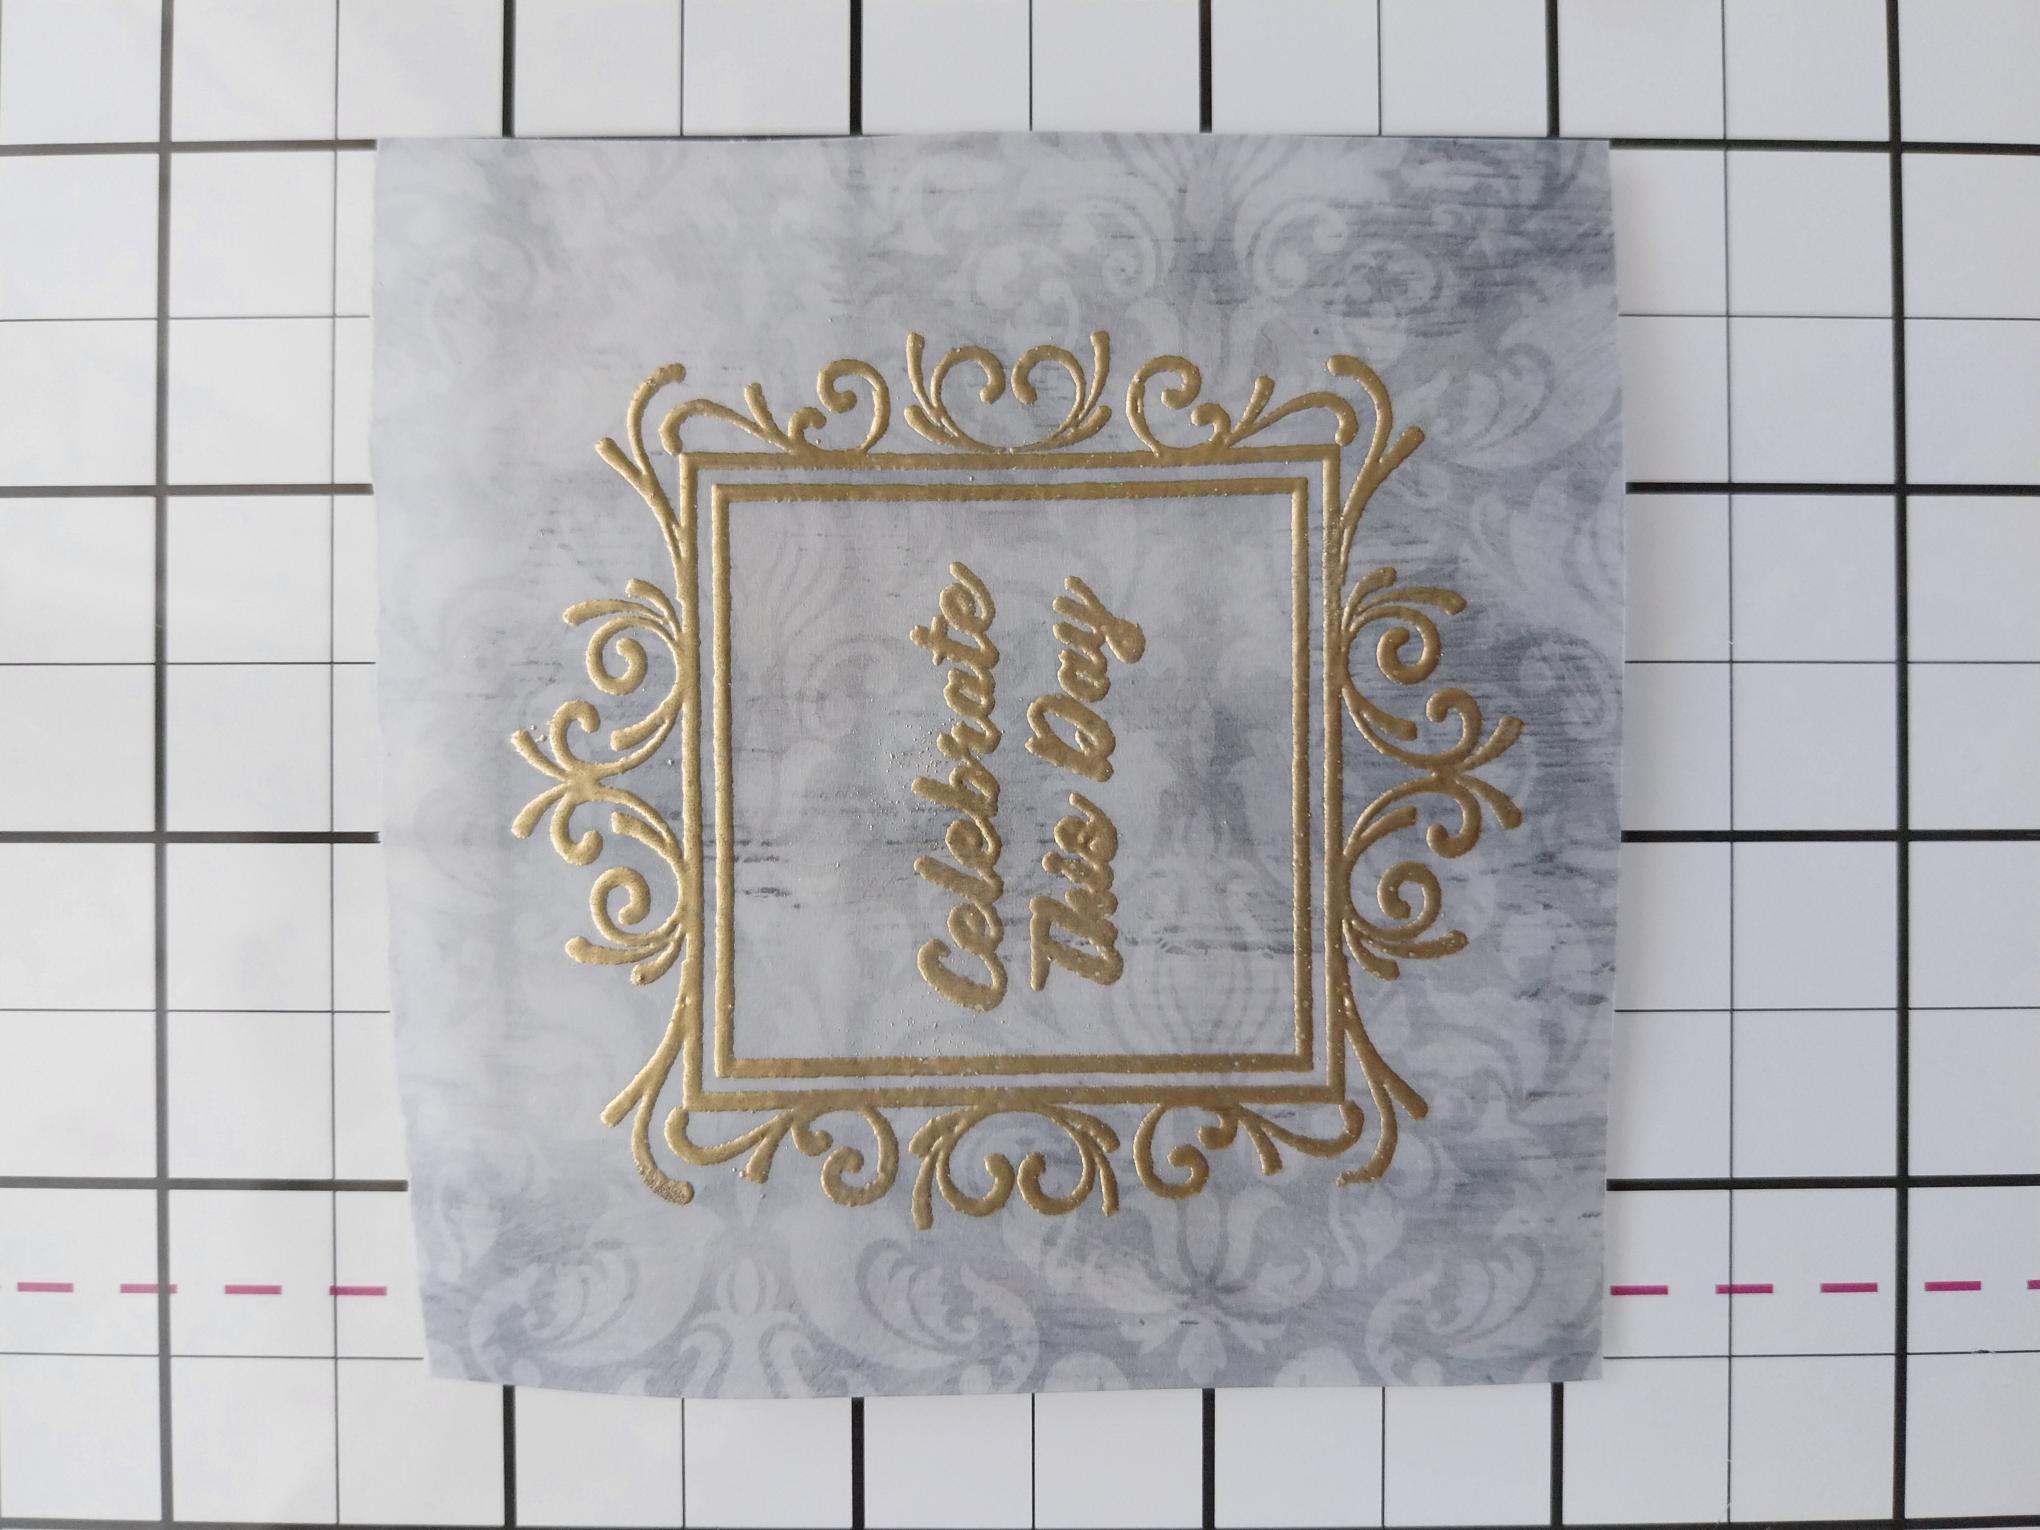
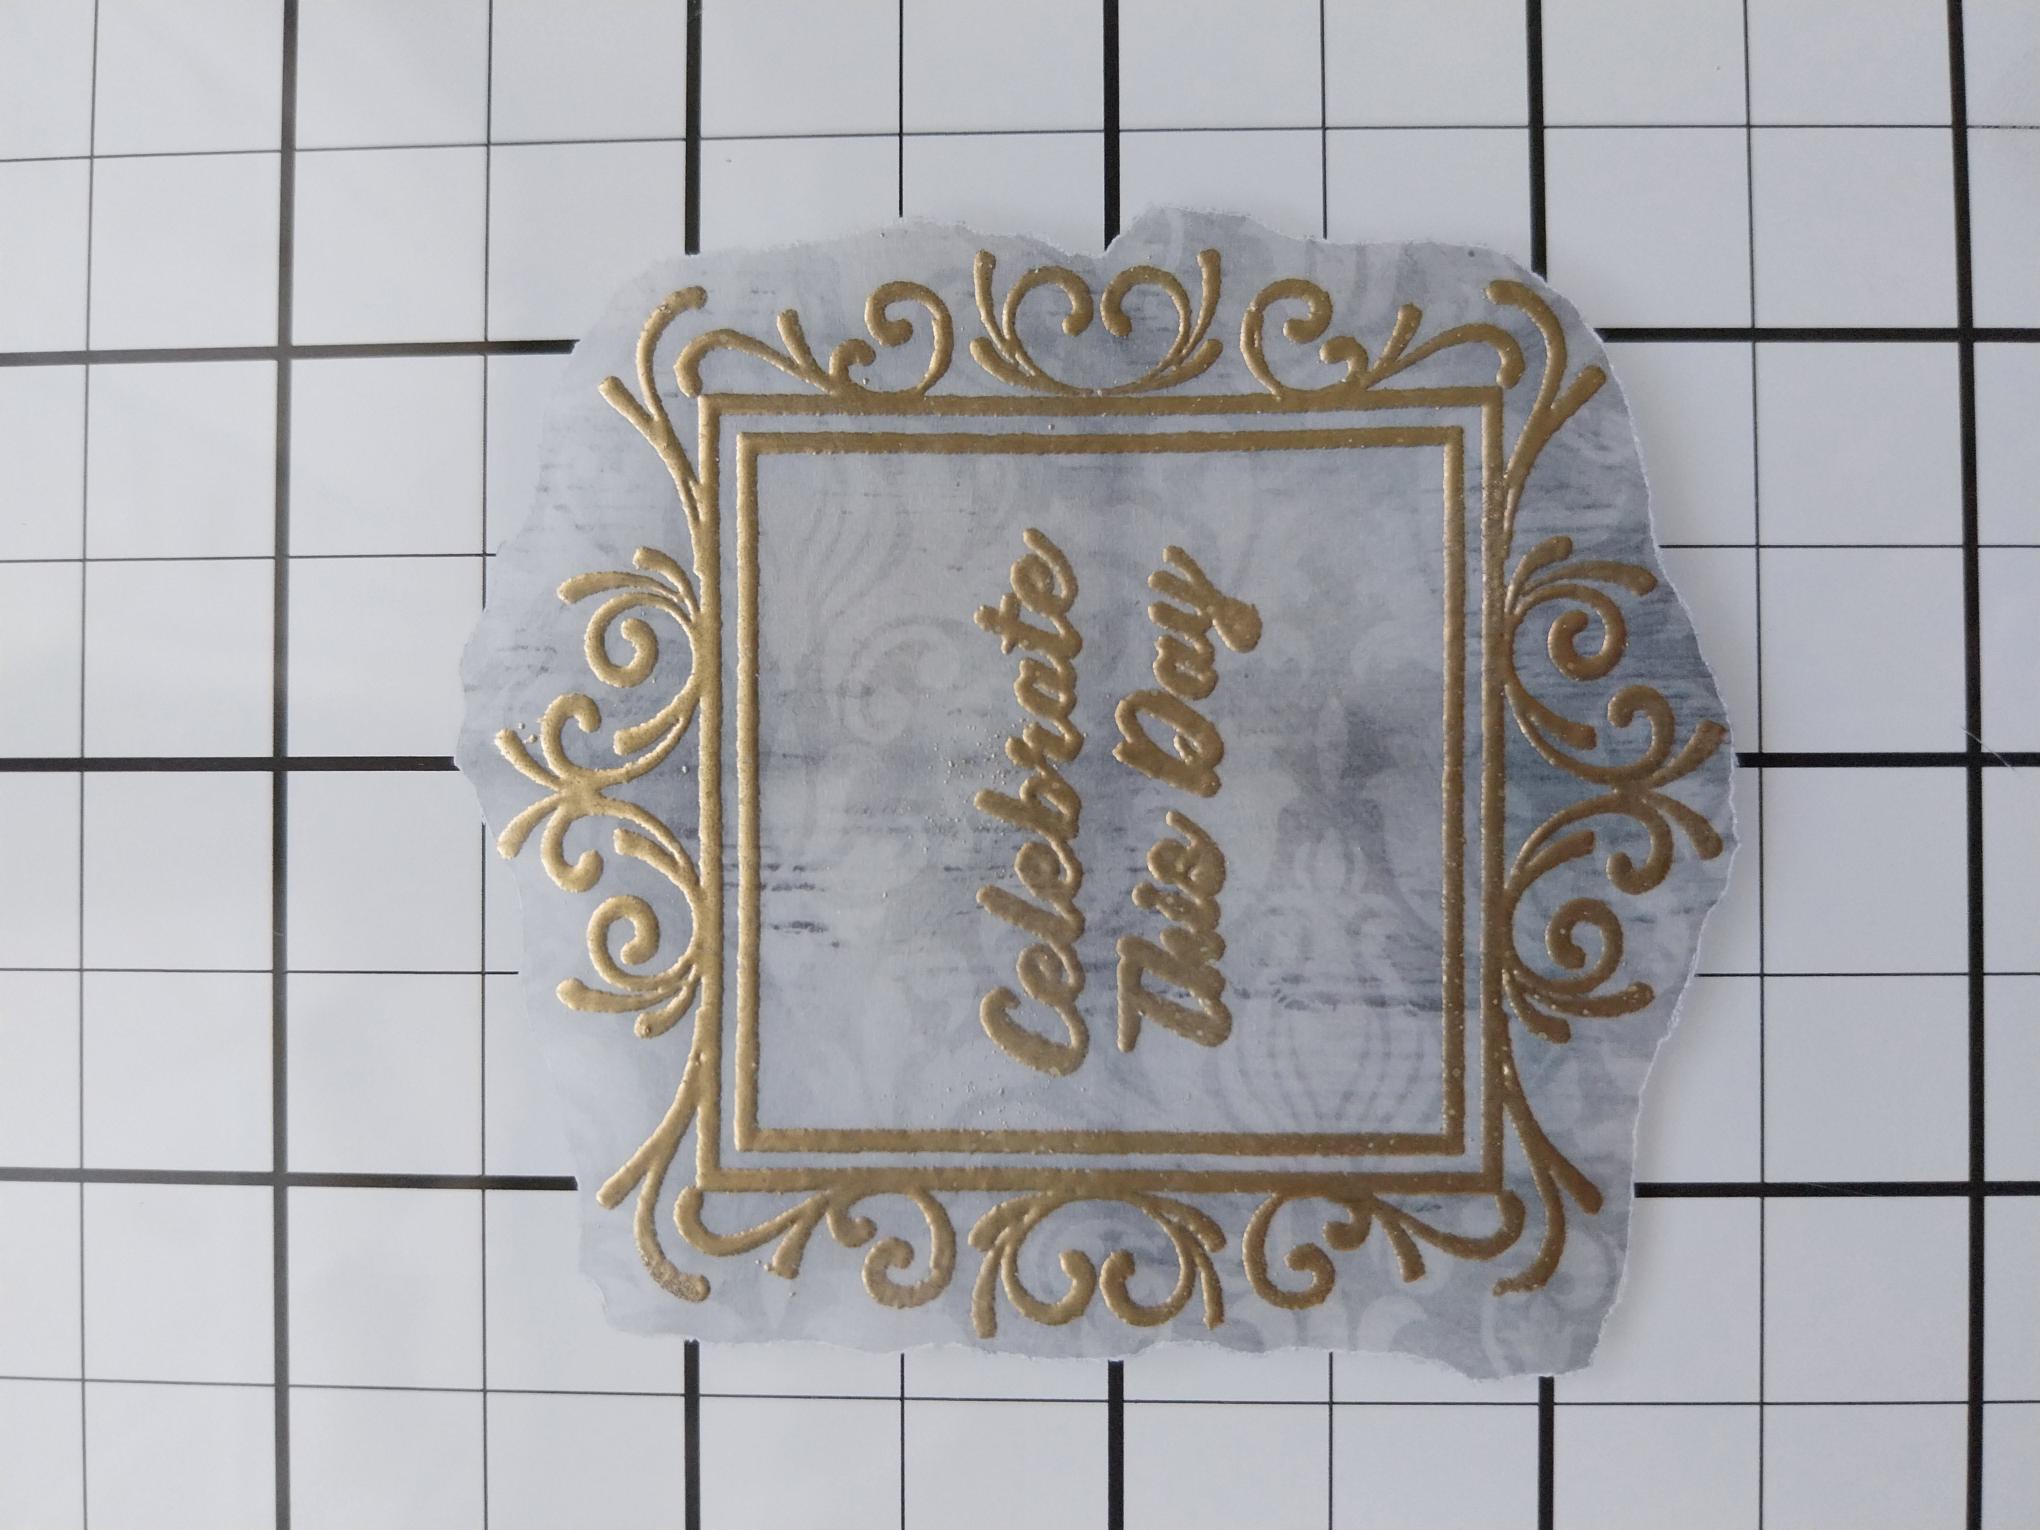
Tear a piece of the Mulberry & Gold vellum, bigger than the square Mulberry Frame stamp. Wipe over the vellum with your anti-static bag, before stamping the frame with the WOW sticky, embossing ink. Apply the Gold embossing powder on to the sticky ink, shake off the excess then heat set with your heat tool. Ensure your heat gun is hot BEFORE you take it to the vellum, as this will help minimise warping or burning the vellum! |
|
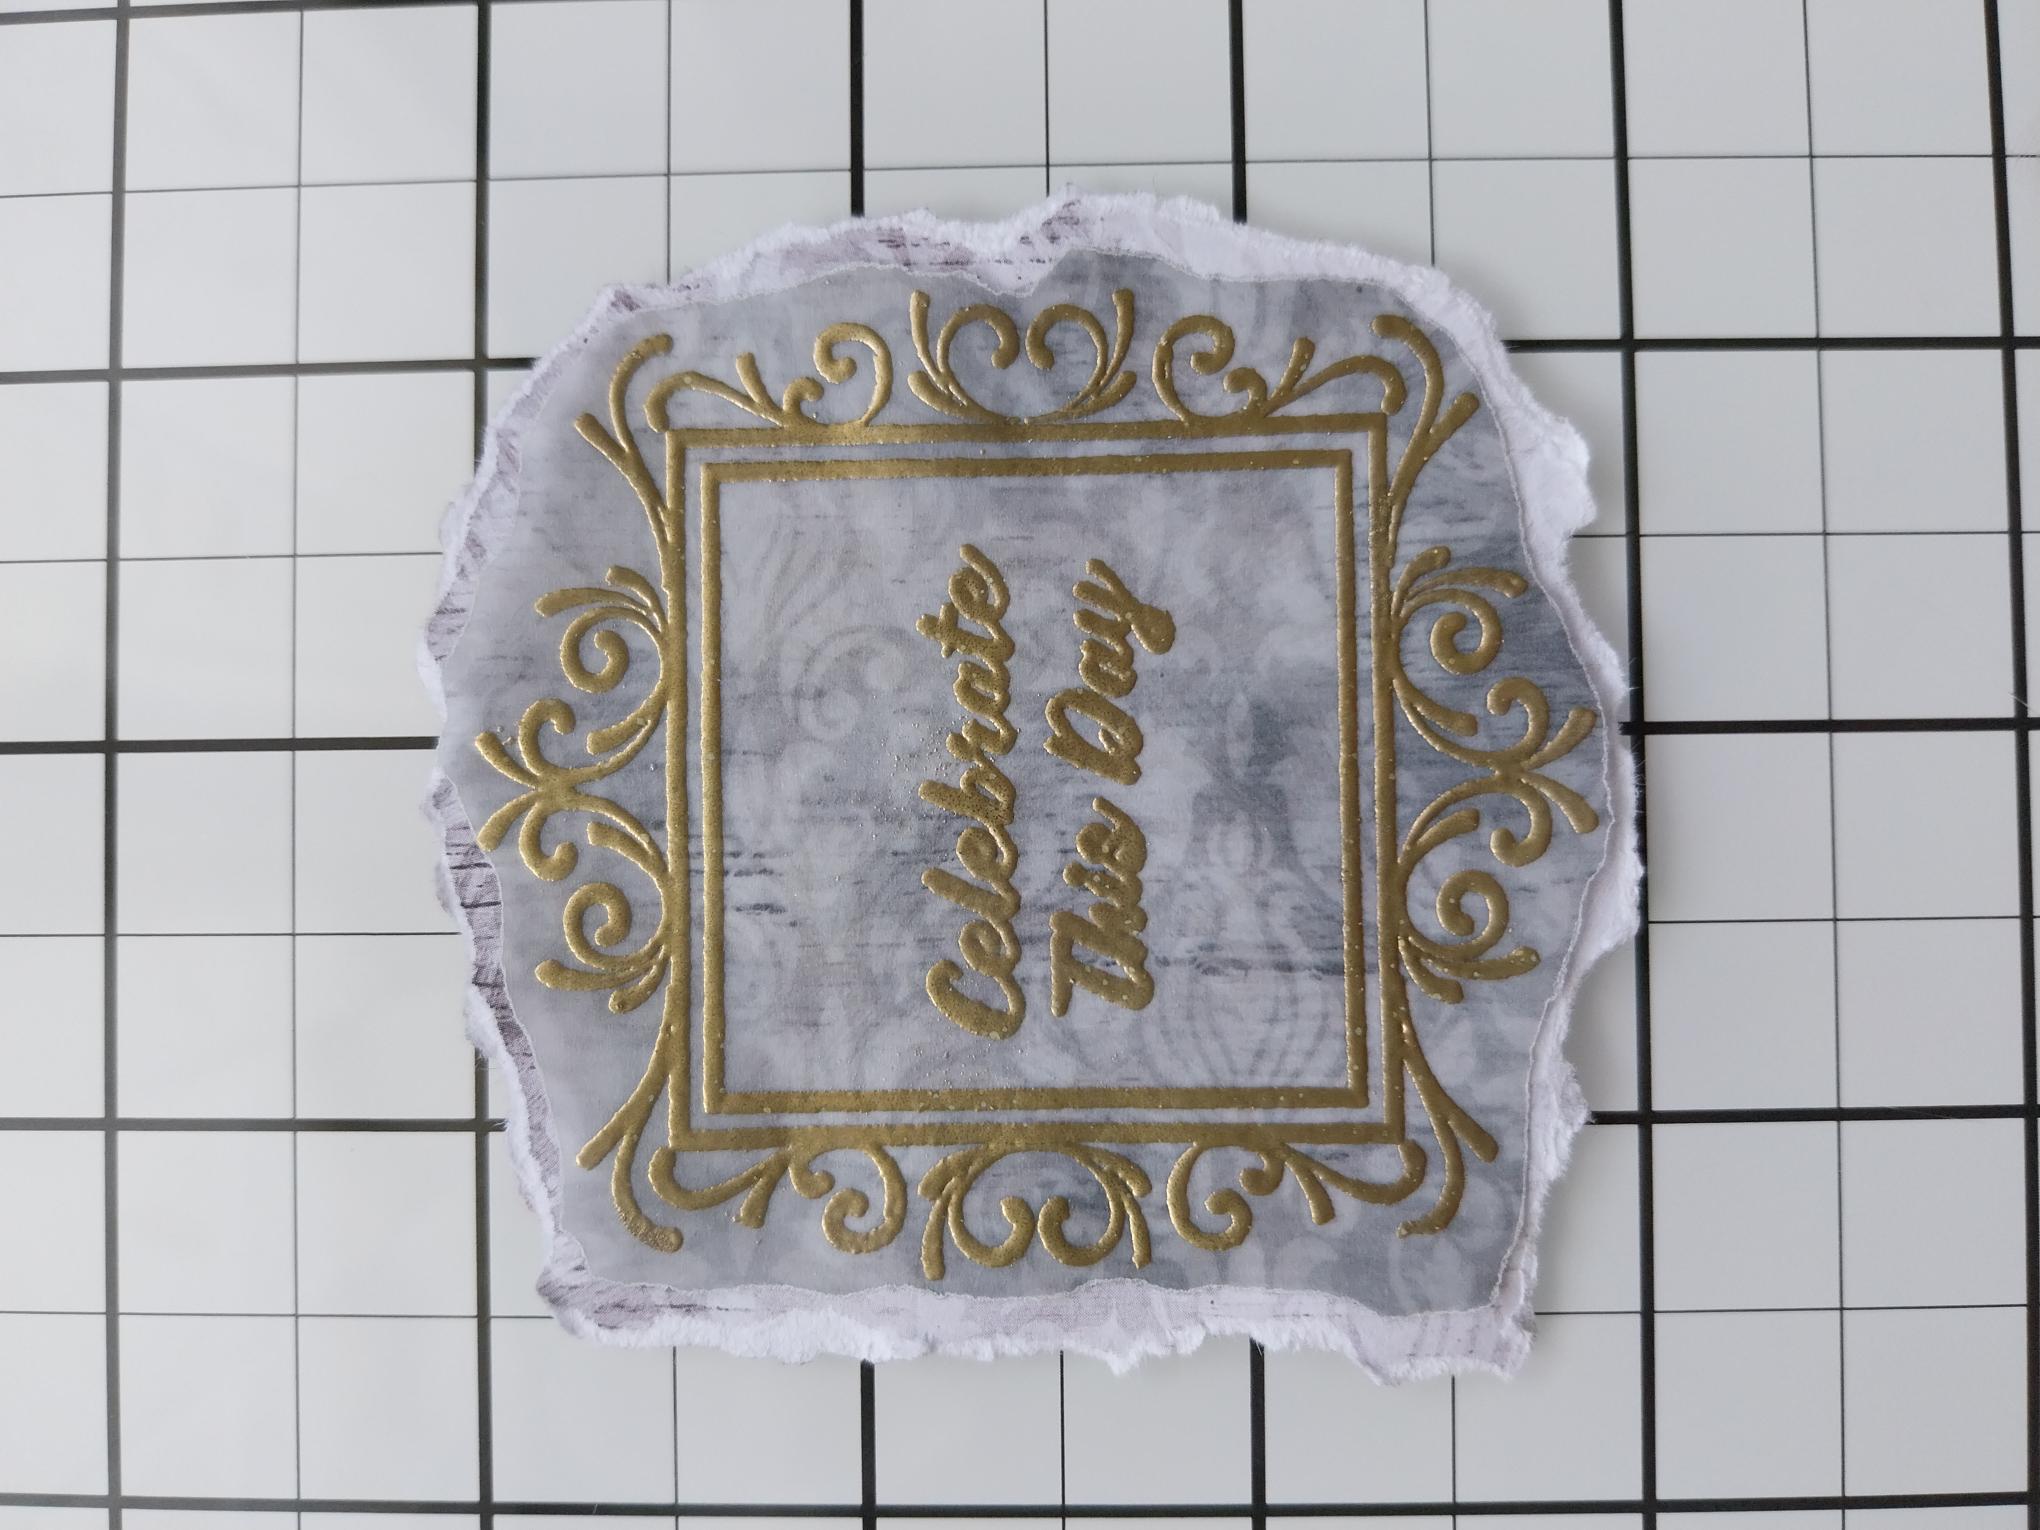
Tear around the embossed frame, following the shape of the stamped image. |
|
Adhere this on to a piece of a pale decorative sheet, from the same paper pack, and tear around to create a mat. |
|
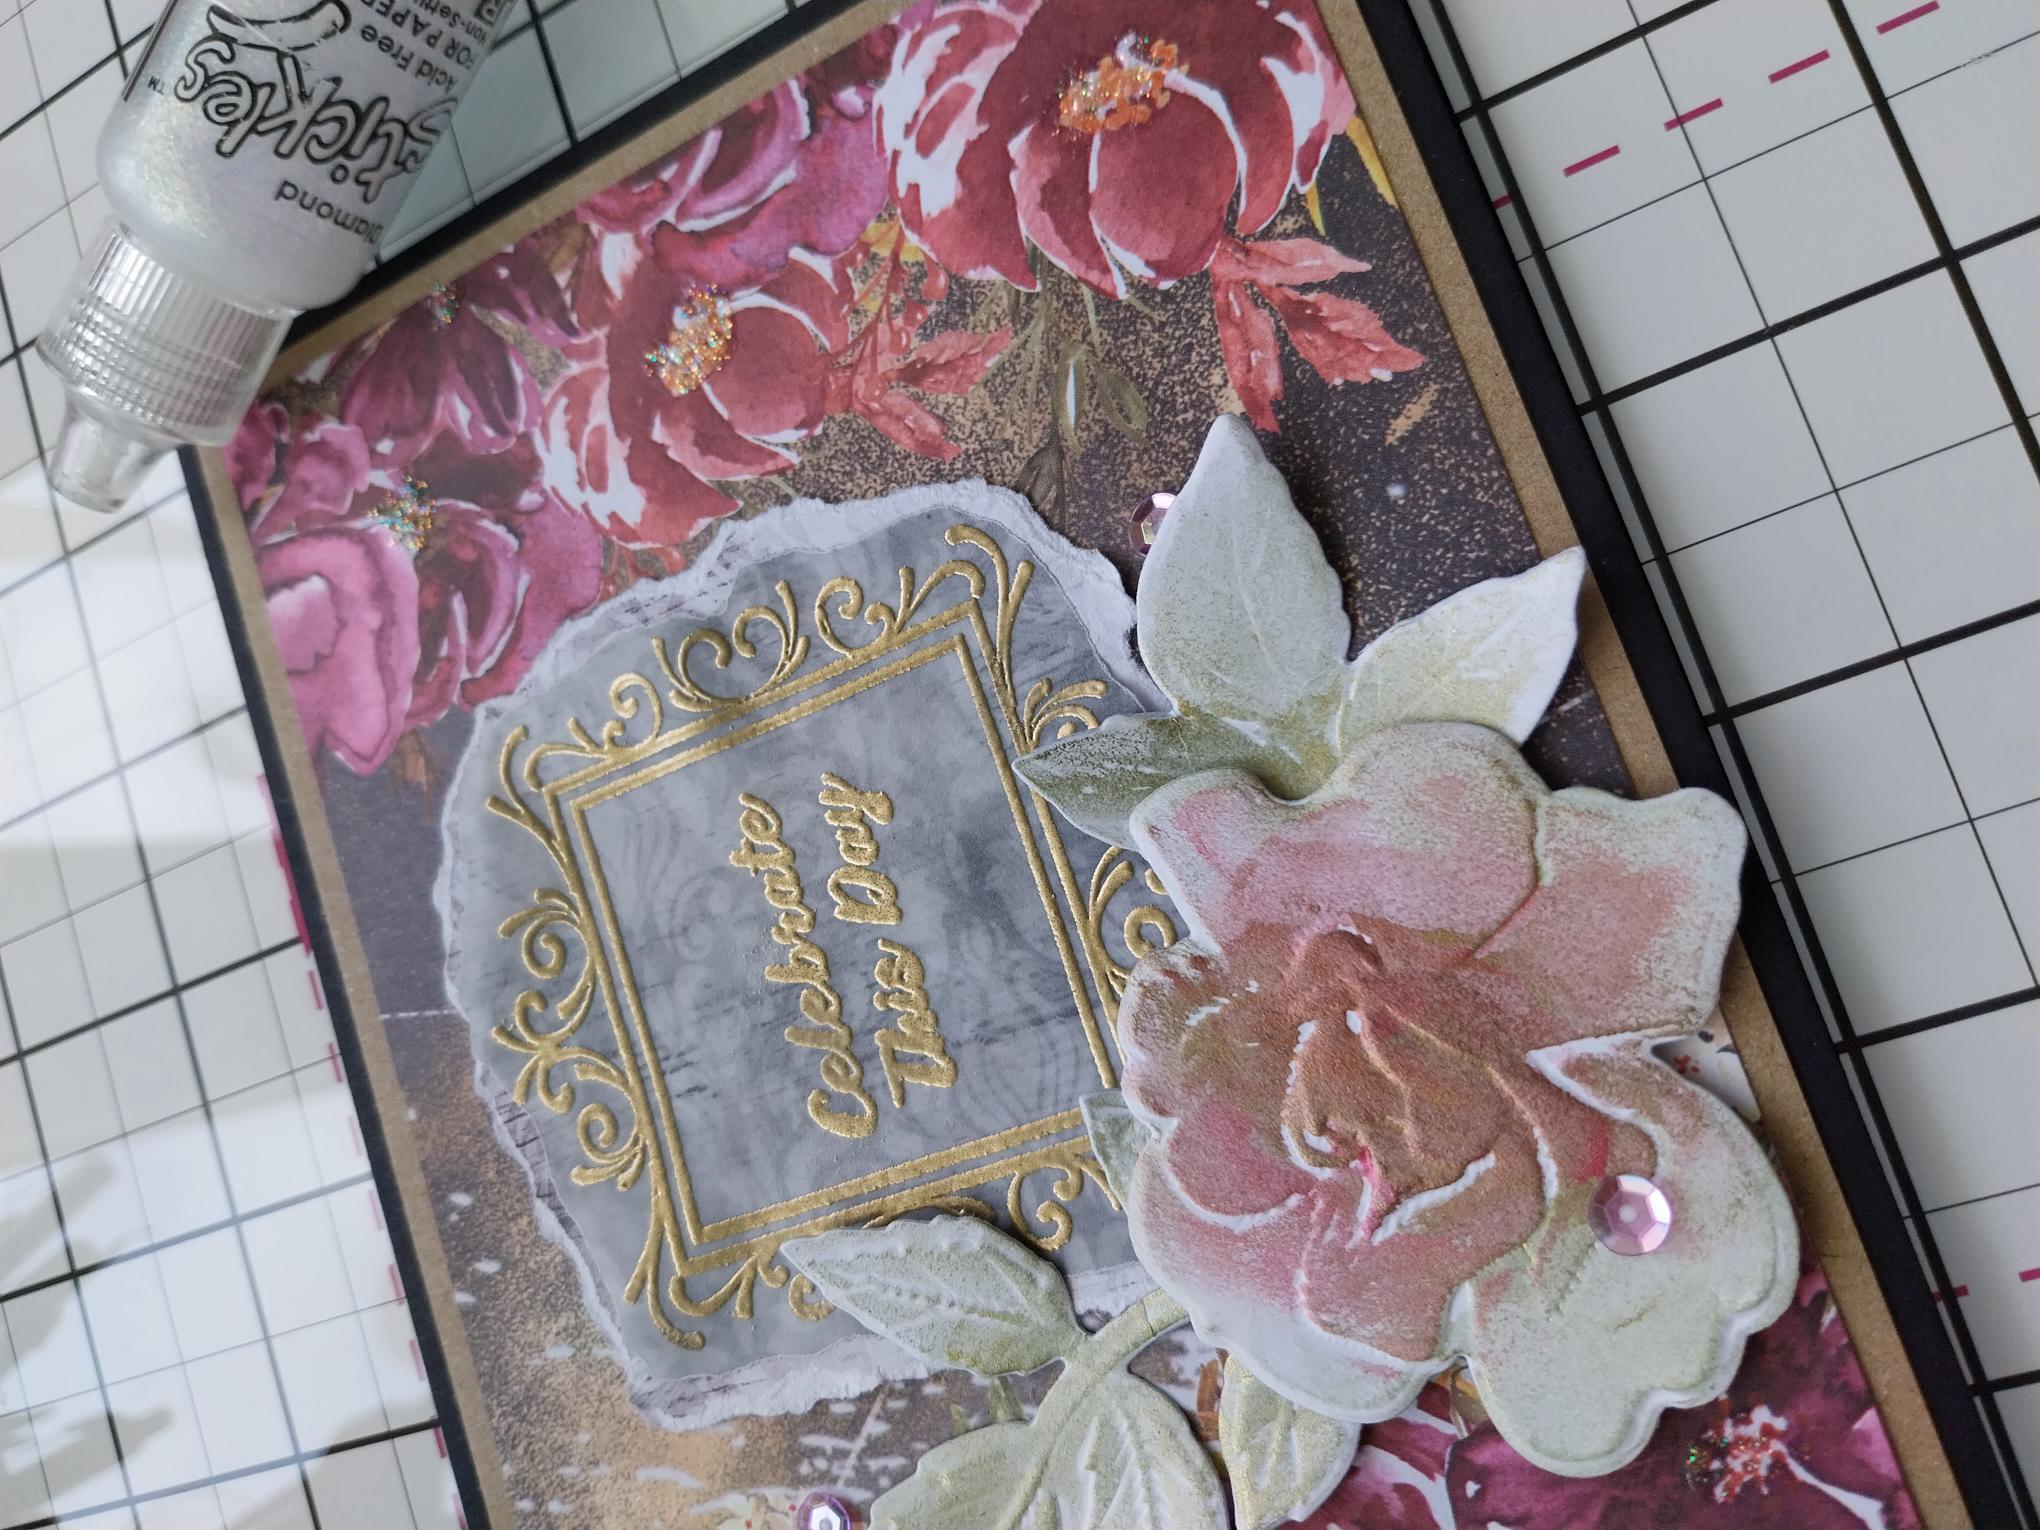
Tuck under your 3D floral element and adhere in place with a little glue. Add a few sequins on, around and tucked under your 3D elements. |
|
Add Stickles to the printed Mulberry images, to finish. |