Give your friends $10 off their first order!
Refer a FRIEND


WHAT YOU WILL NEED:
White card blank 7 3/4 x 5 3/4"
Black card 7 1/4 x 5 1/4"
White card 6 3/4 x 4 3/4"
White card 6 1/2 x 4 1/2"
White card
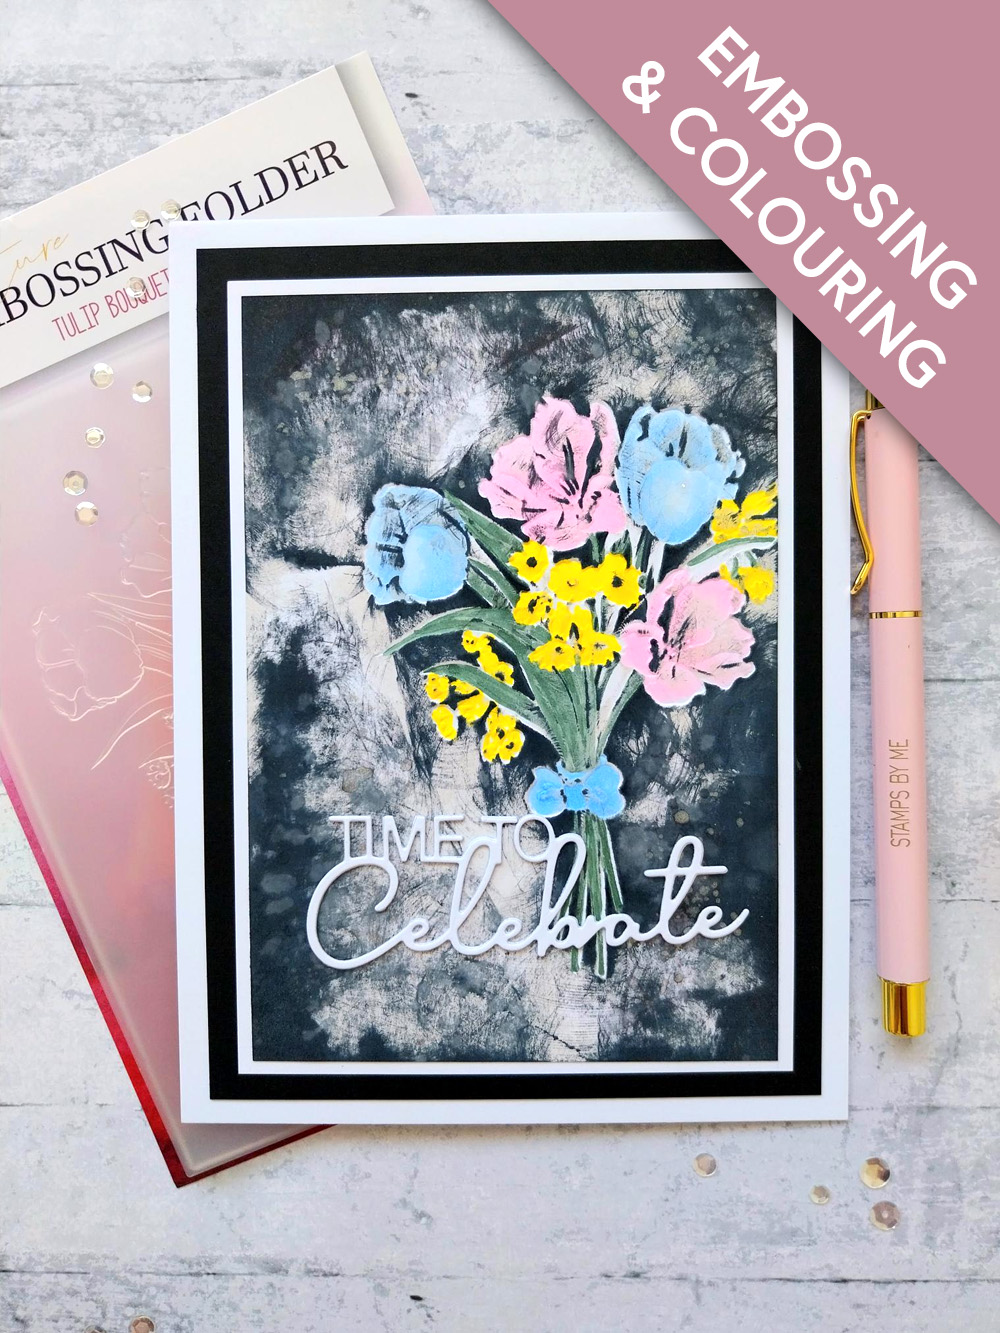
Watercolour 3D Tulip Bouquet Embossing Folder
Creative Words A5 Die Collection
Distress Oxide Ink Pad: Lost Shadow
Distress Ink Pad: Black Soot
Gossip alcohol pens
Pearlywinks Pearl Mist: Diamond Glitter Pearl
Paint brush
WOW heat tool
SBM Magnetic glass mat
Paper Trimmer
Perfect Together Glue
Die Cutting machine
[click image to enlarge] 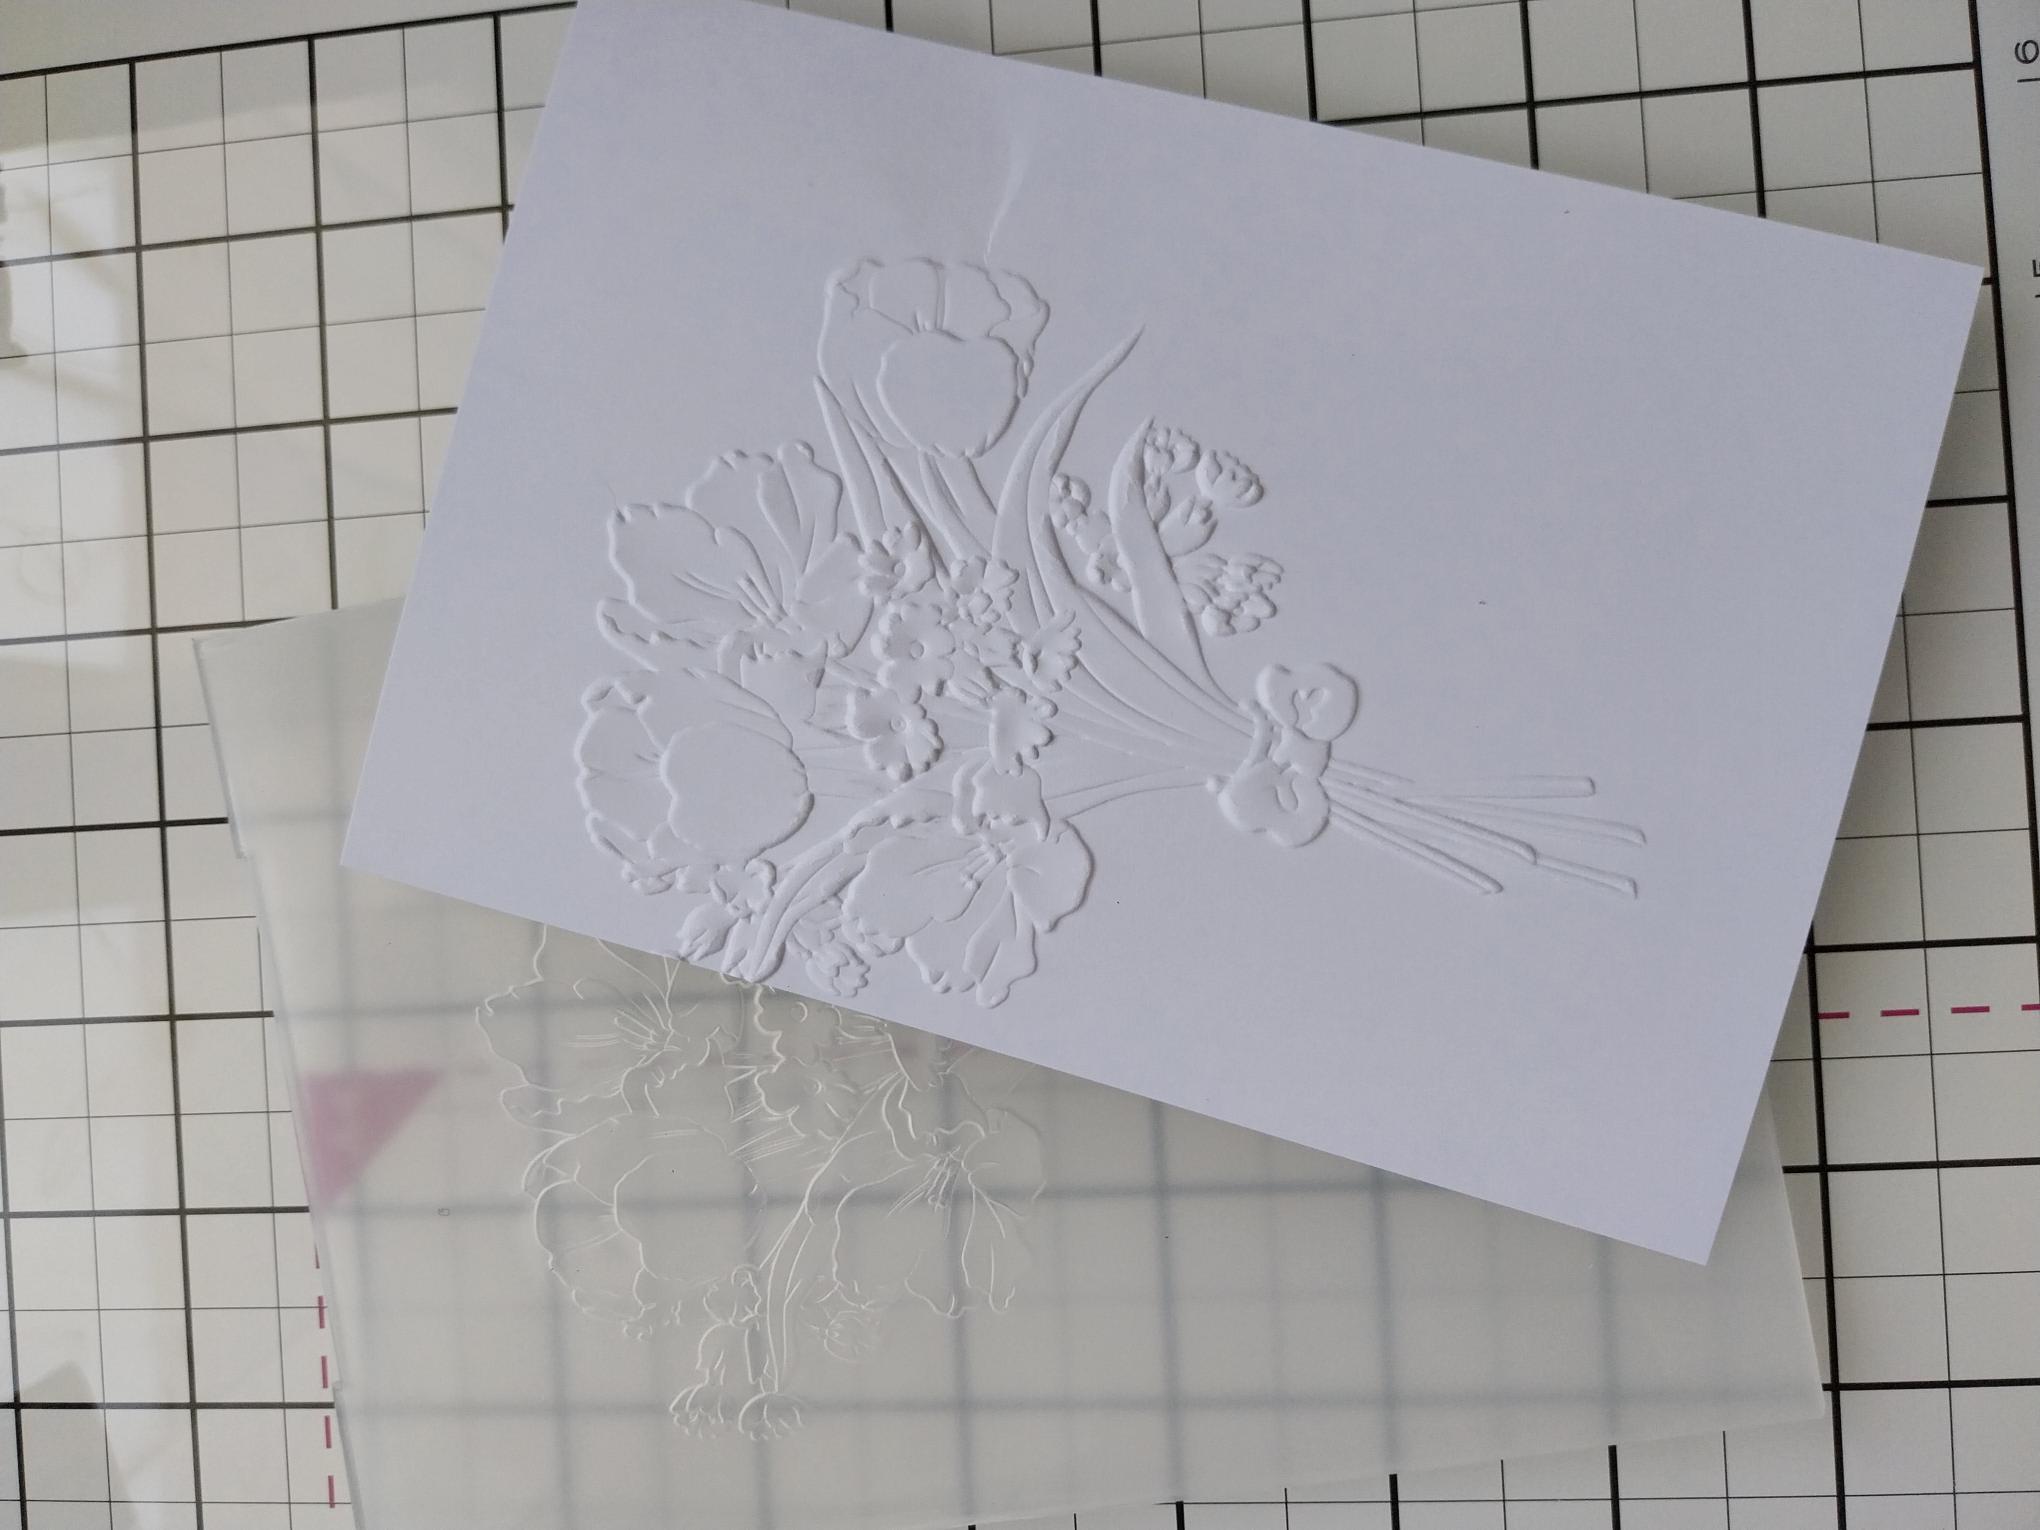
|
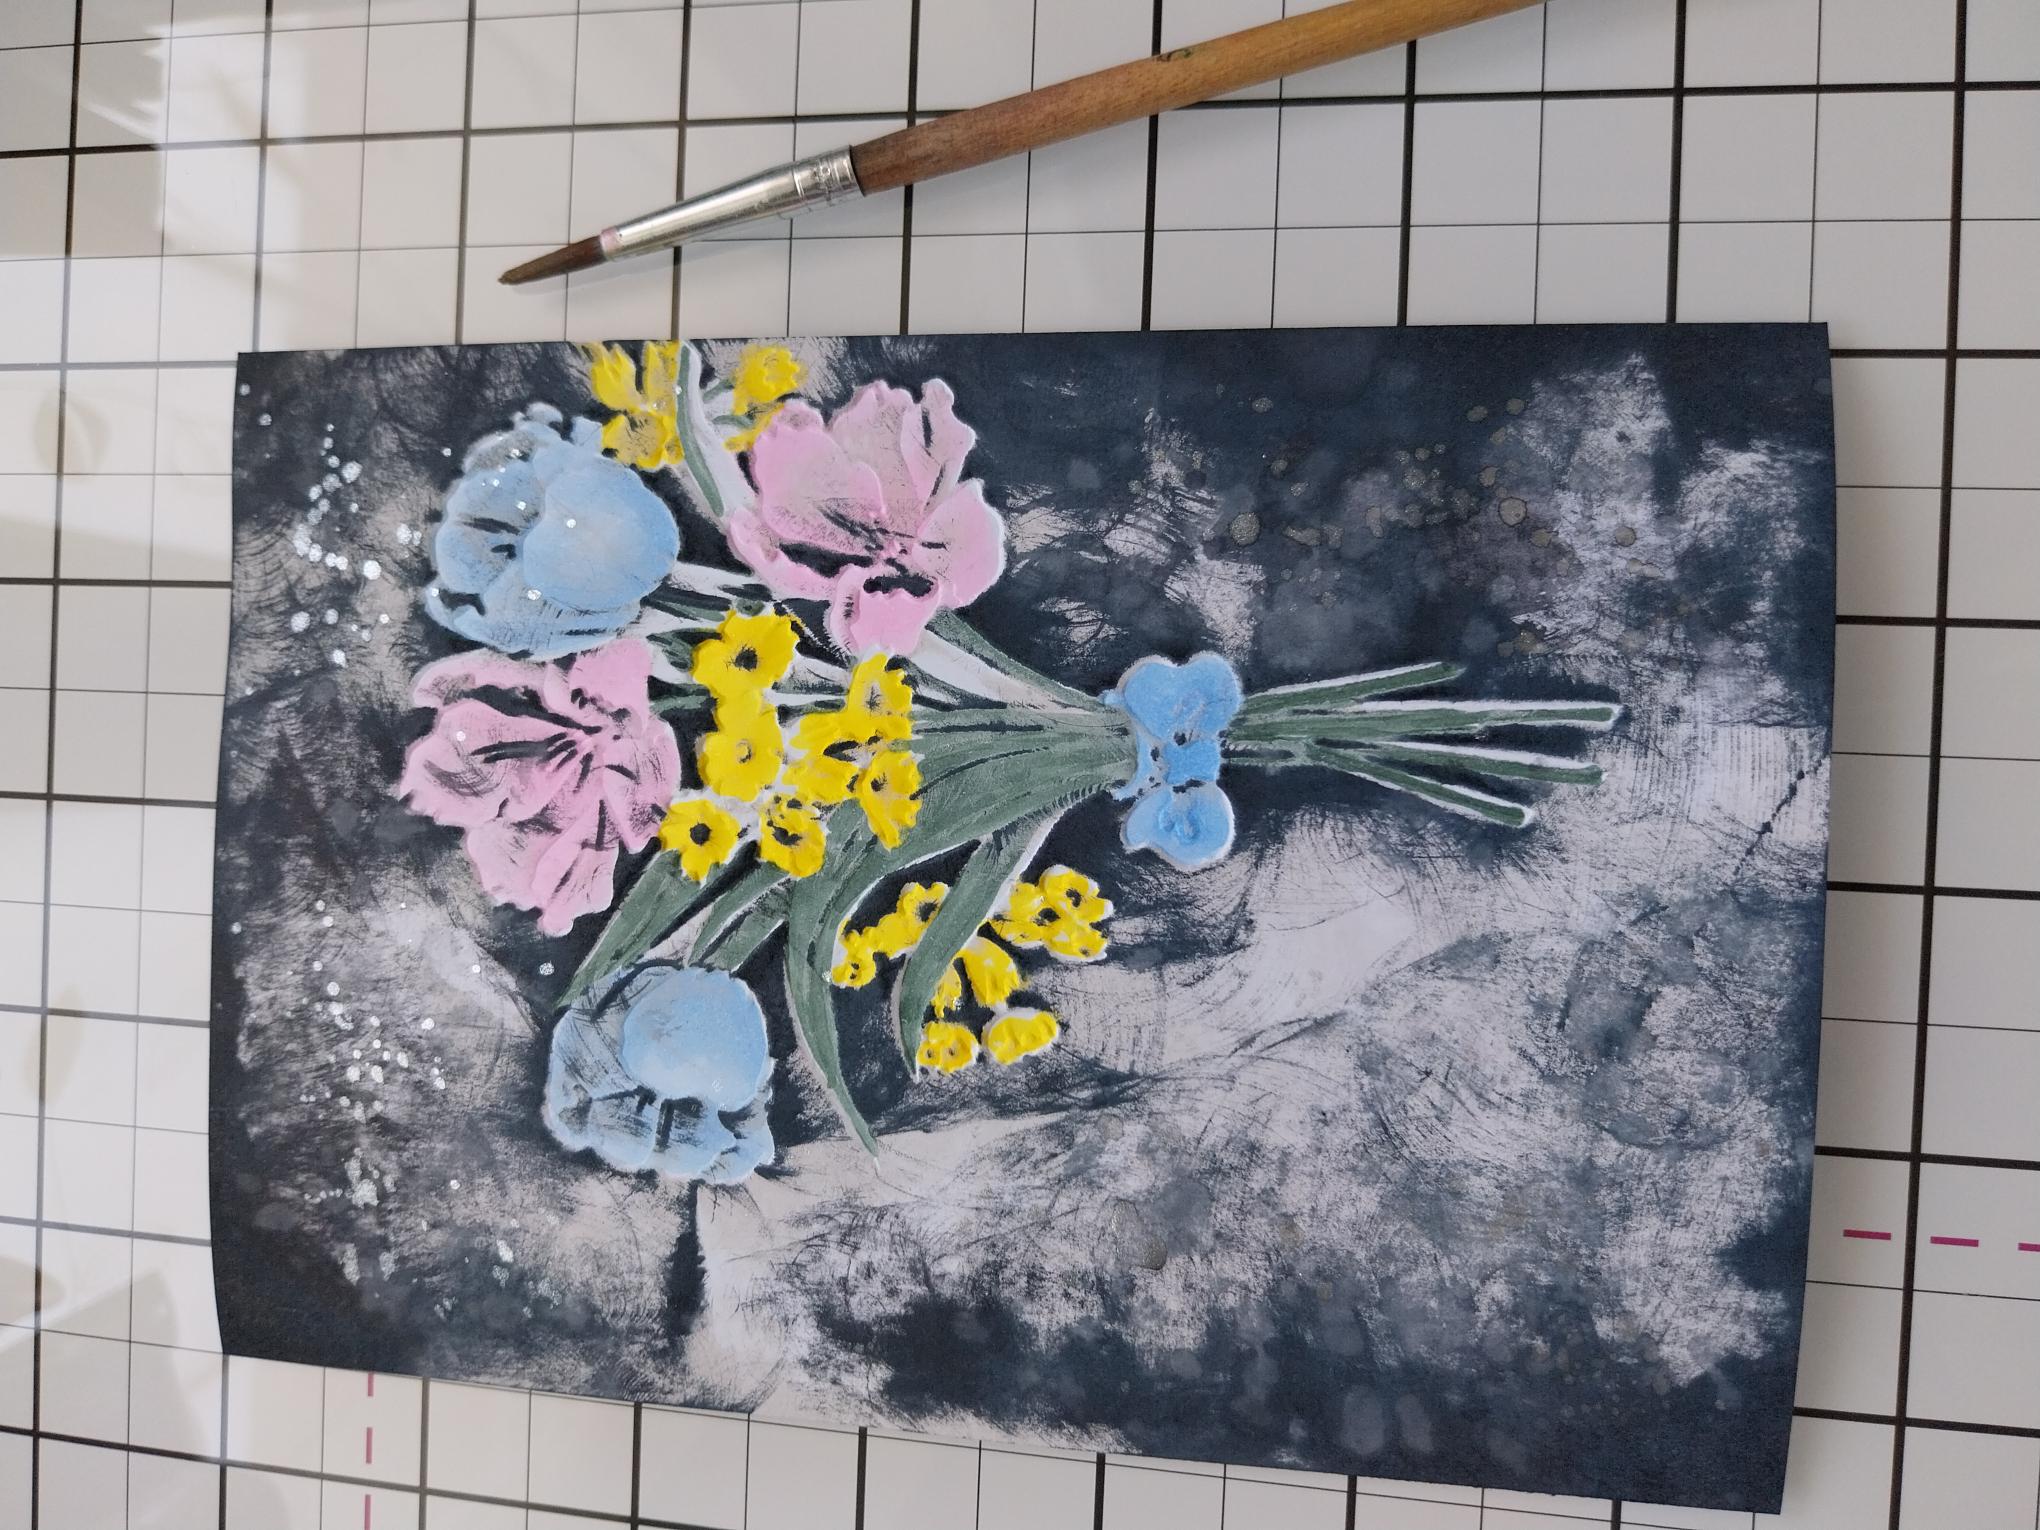
Place the white card trimmed, to 6 1/2 x 4 1/2", inside the Tulip Bouquet embossing folder, so the image is captured just off the edge of the cardstock. Run it through your embossing machine. |
|
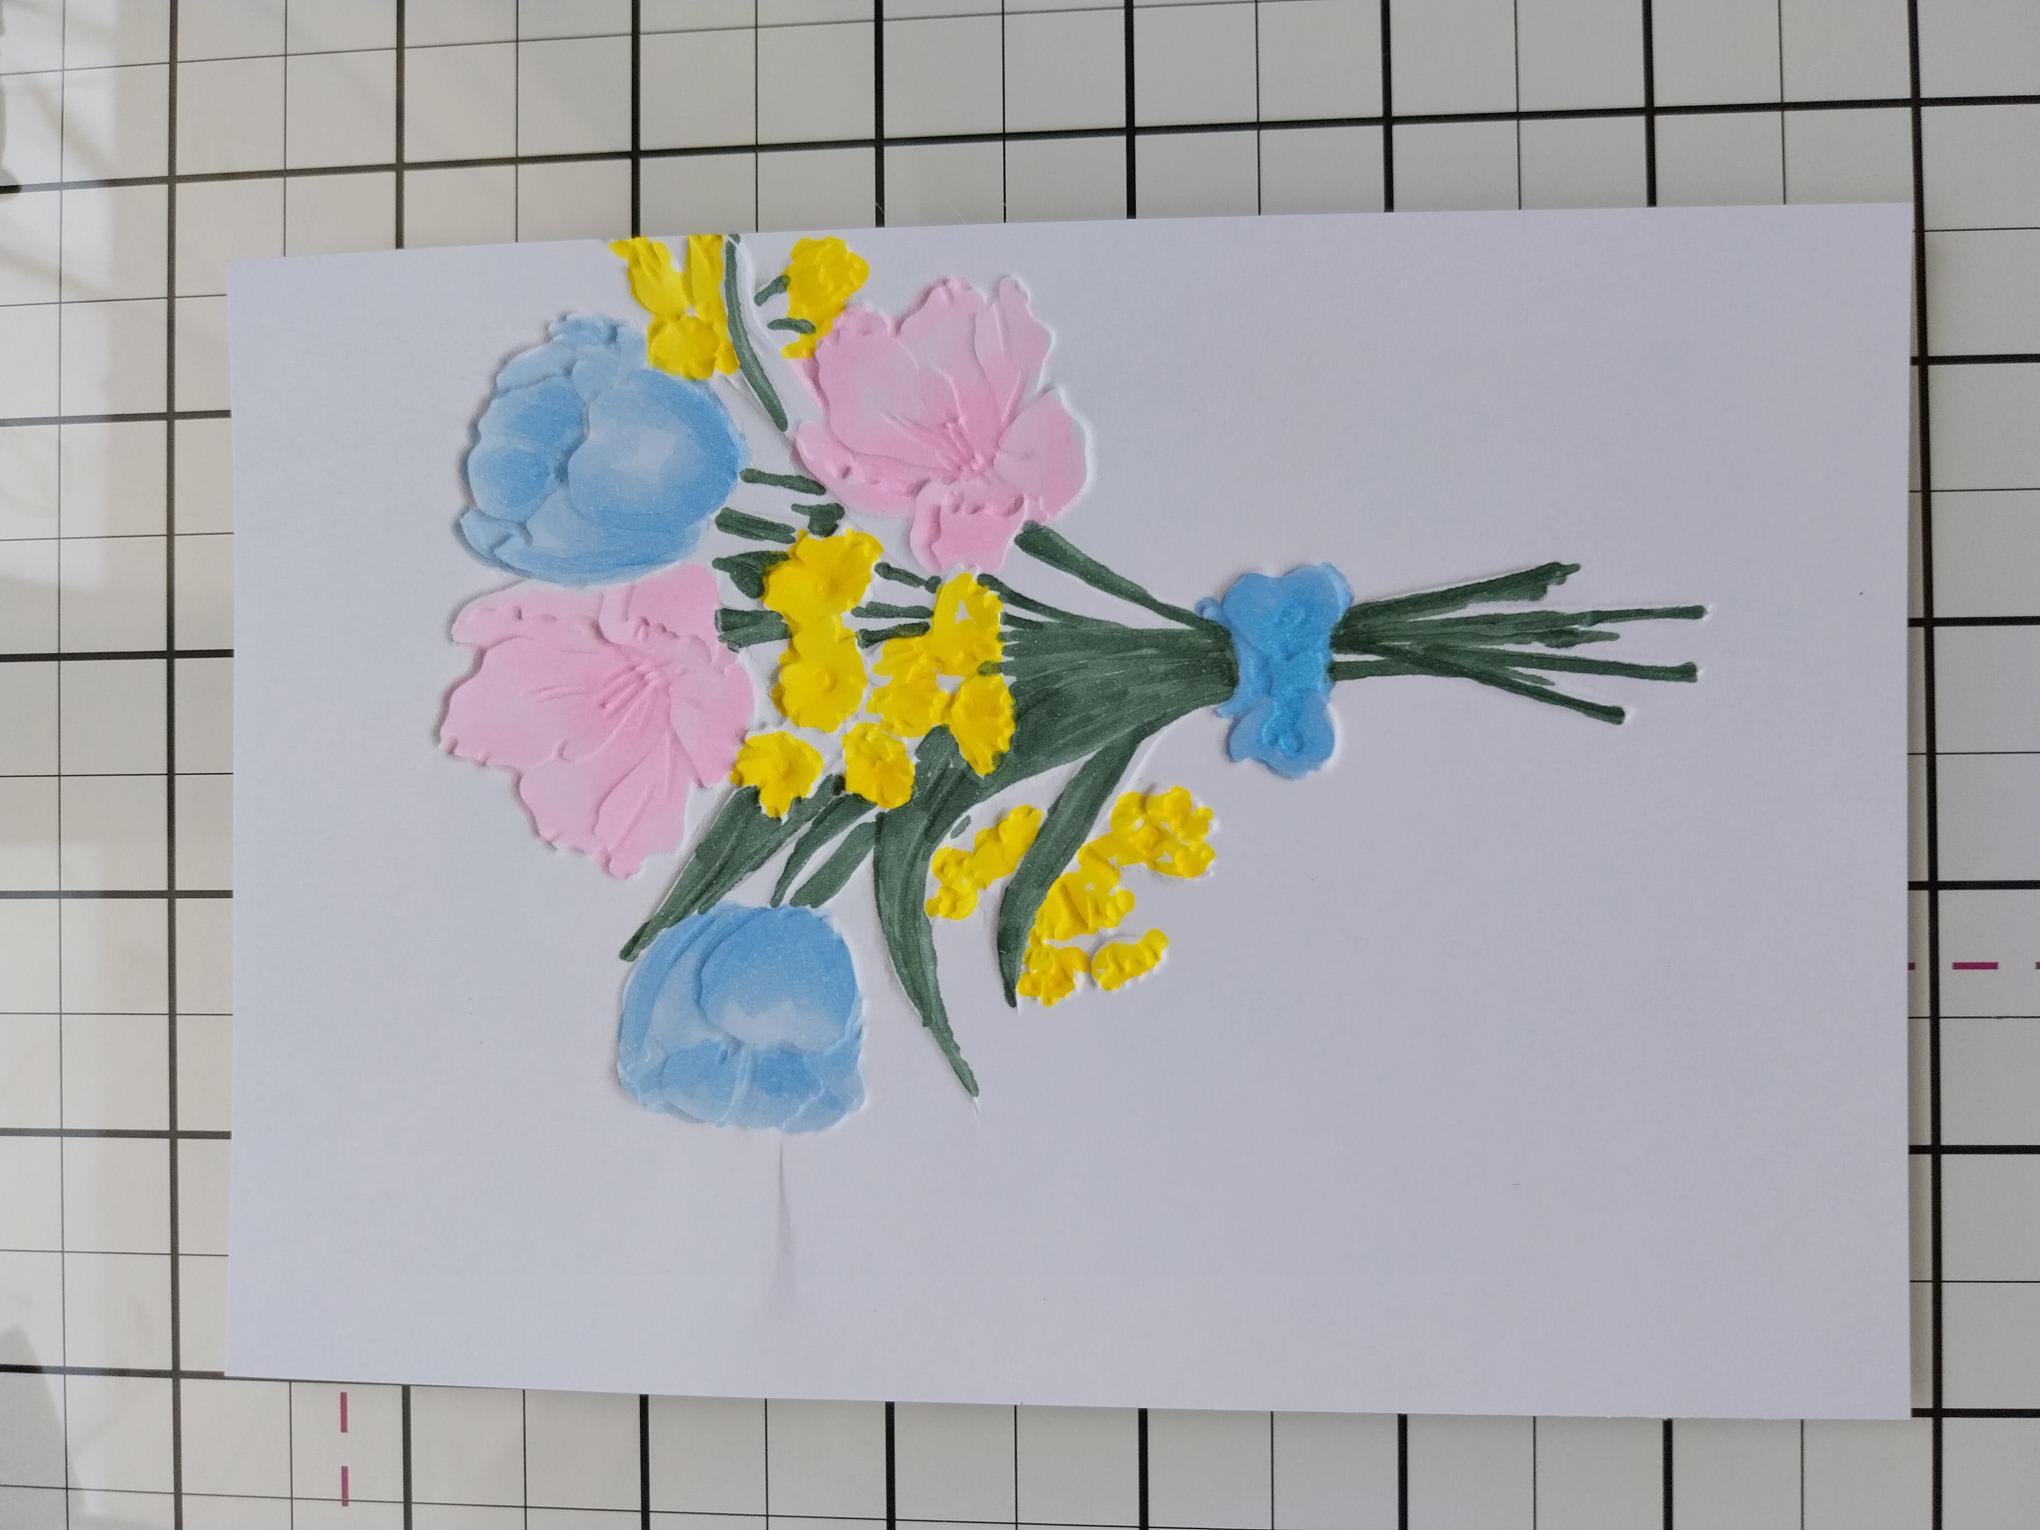
For this technique you will need to turn it over and use the DEBOSSED side. Colour in your debossed image using your alcohol pens, placing a sheet of copy paper underneath, to protect your work surface from the ink that bleeds through the card. |
|
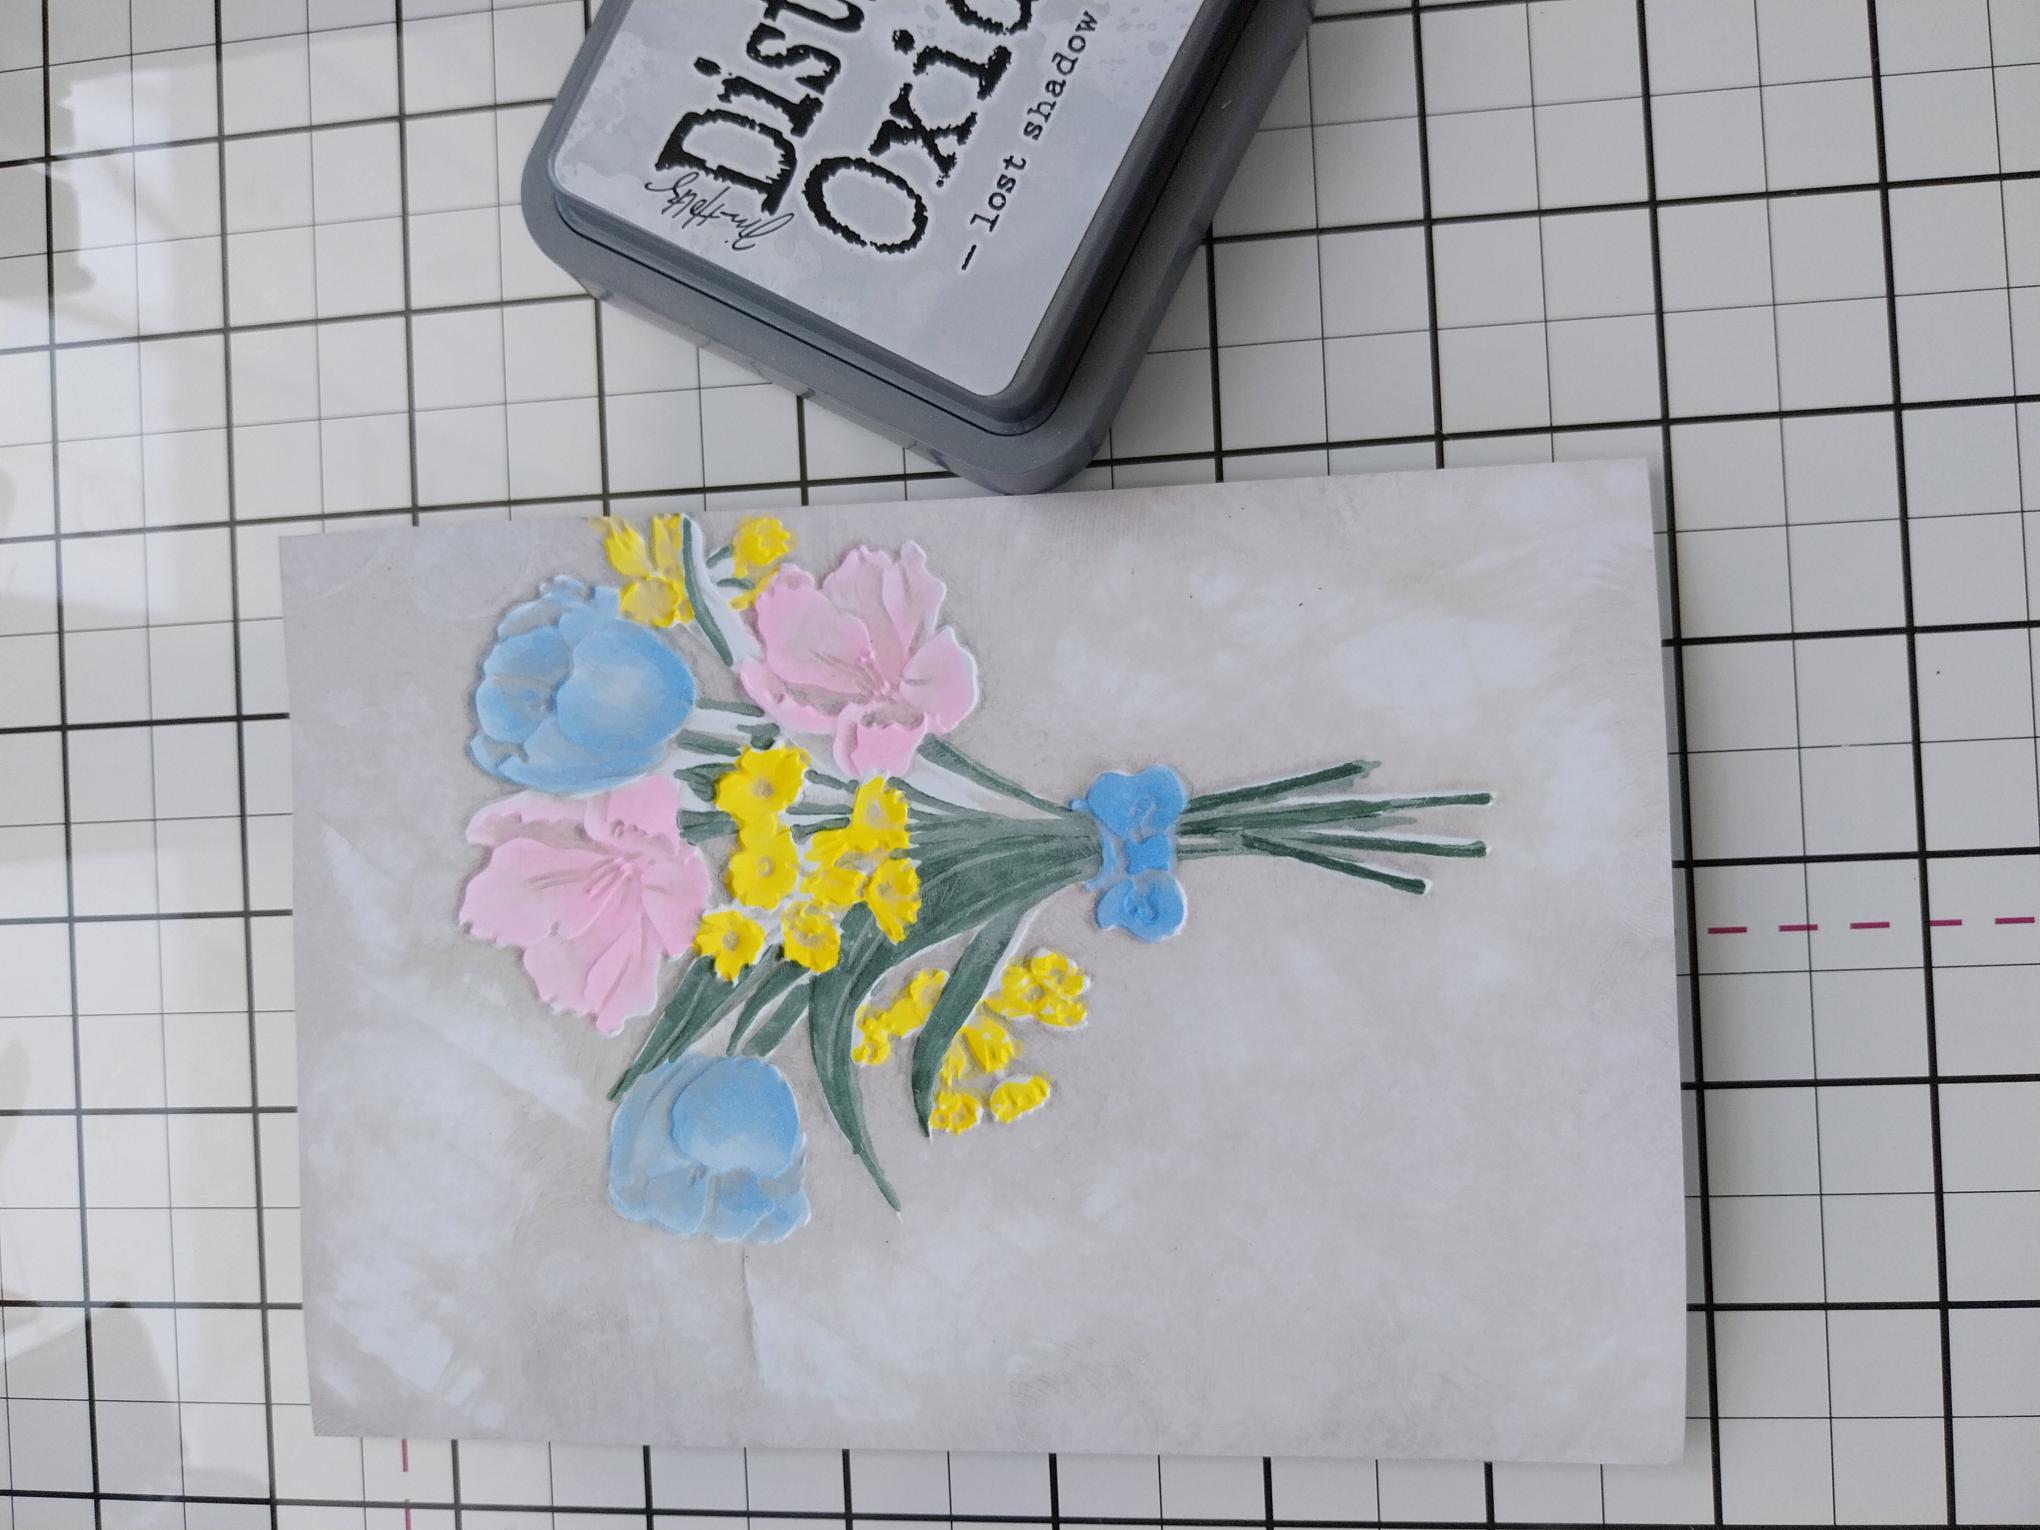
Lightly blend your Lost Shadow Oxide ink pad directly over your card, including the coloured debossed image! You can leave white spaces as this will give your artwork a distressed look. Blast the ink dry, with your heat tool. |

|
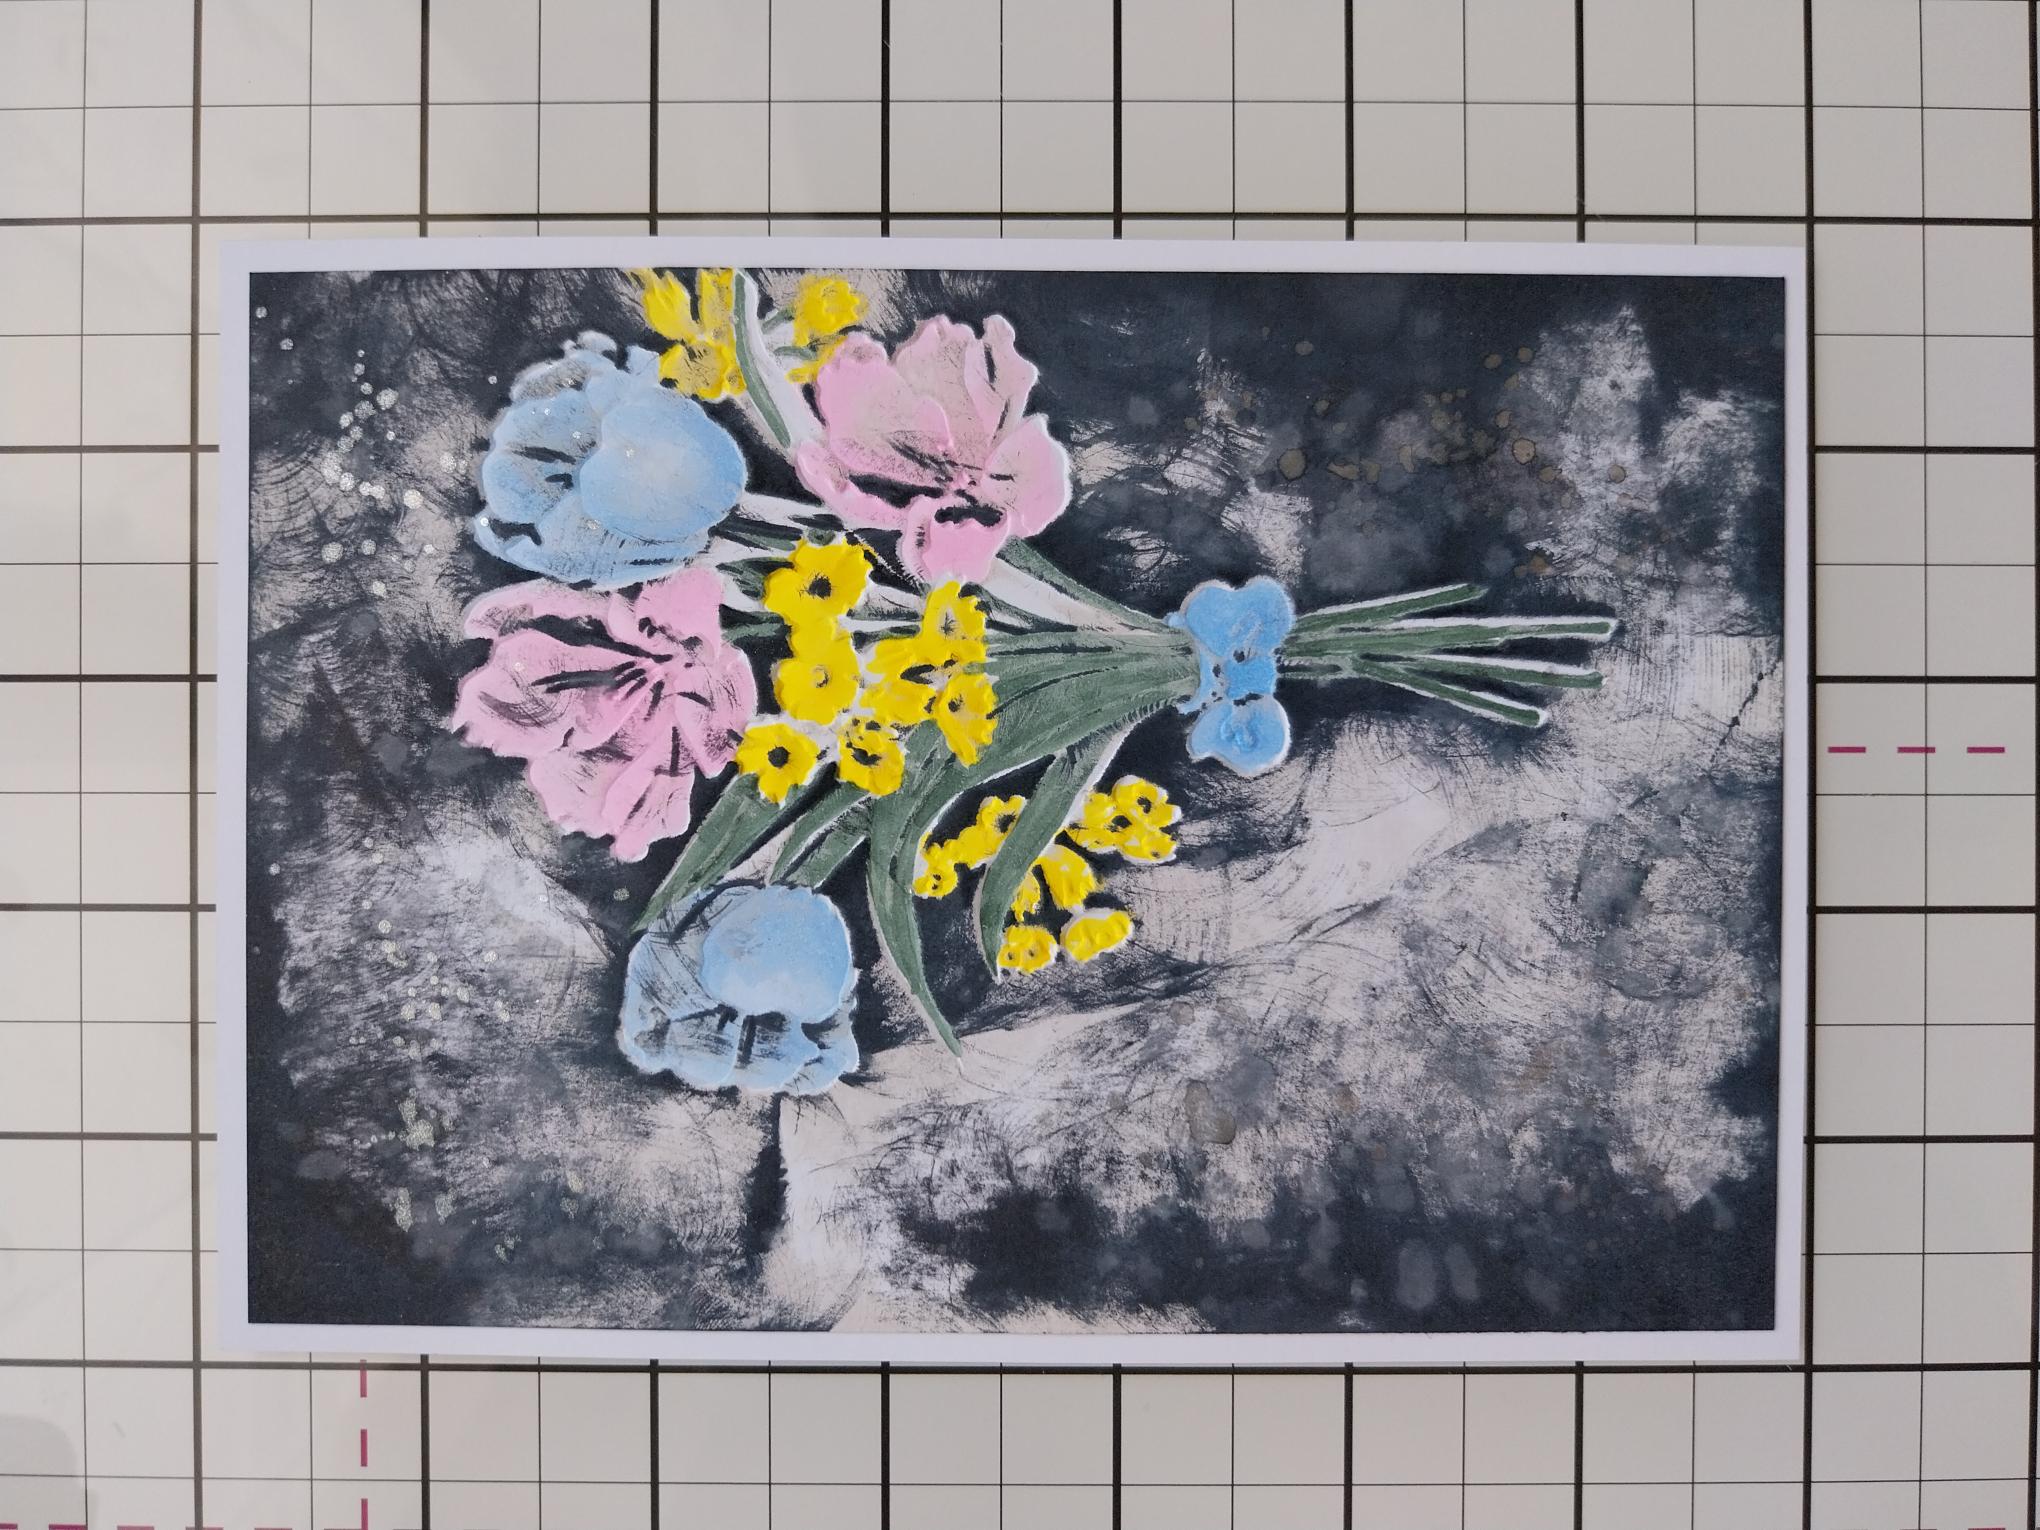
Now randomly blend the Black Soot ink pad around the edges, ensuring you capture areas of your coloured, debossed image. Blast the ink dry with your heat tool. At this stage, you can now go back in with the inks, adding colour and intensity as required.
|
|
Splatter droplets of water over your artwork, wait a few seconds then mop up the excess with a paper towel. Swirl the Pearlywinks Pearl Mist, to activate the mica. Spray a little on to your glass mat, then splatter over your artwork. Dry with your heat tool. |
|
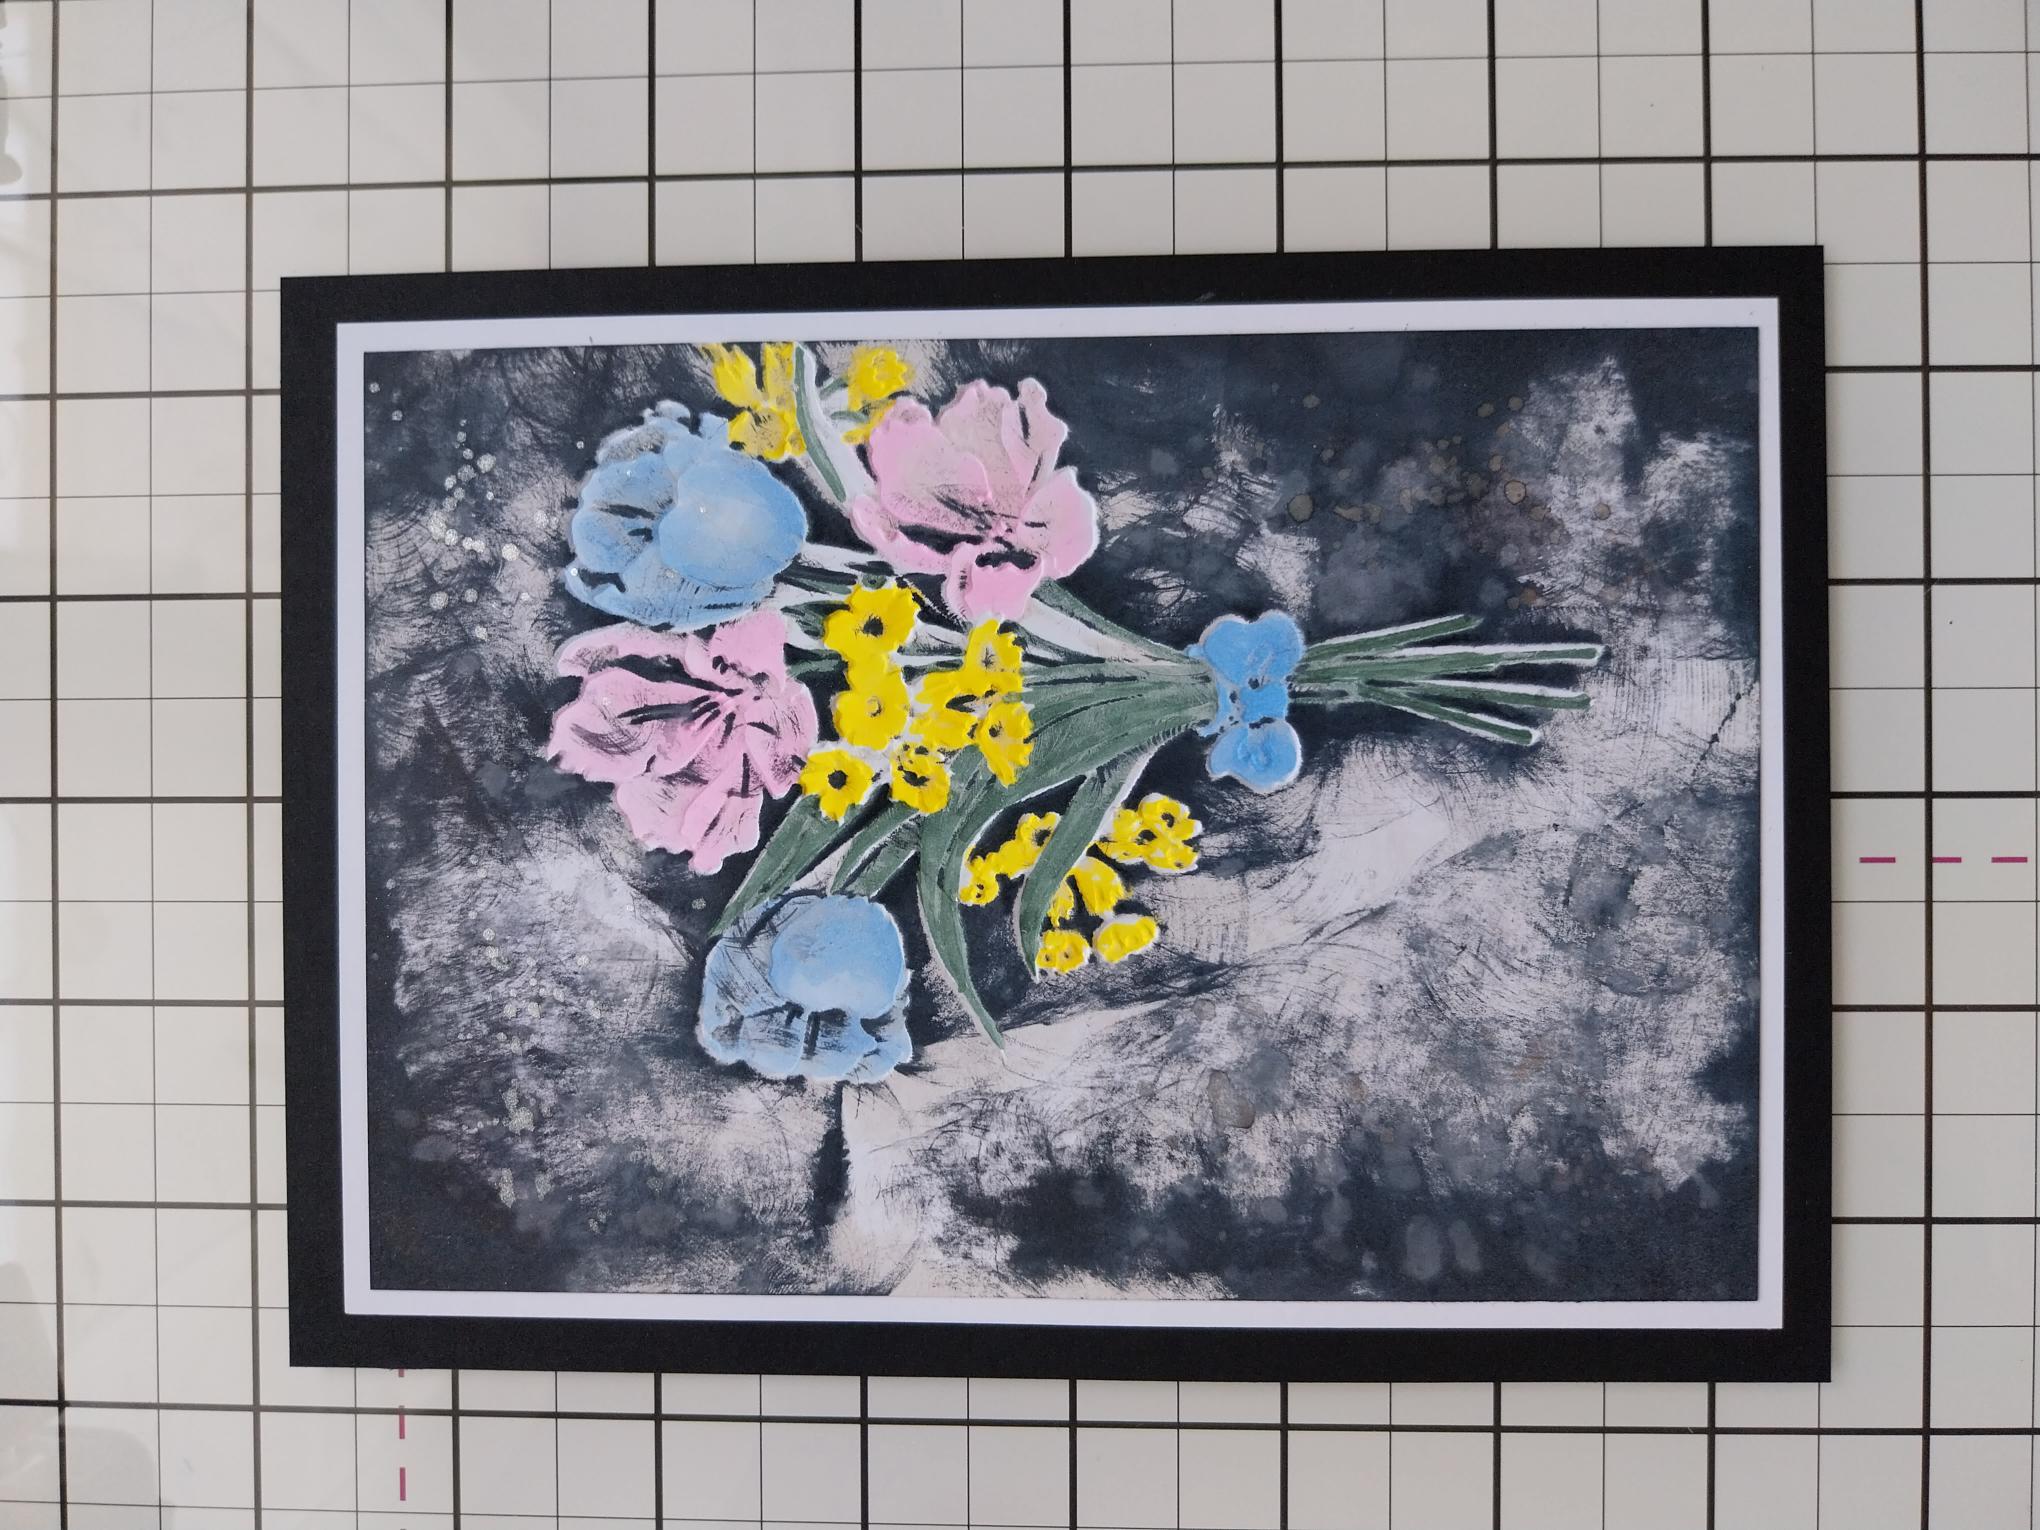
Adhere your artwork on to the white card cut to 6 3/4 x 4 3/4". |
|
Adhere this on to the black card cut to 7 1/4 x 5 1/4". |
|
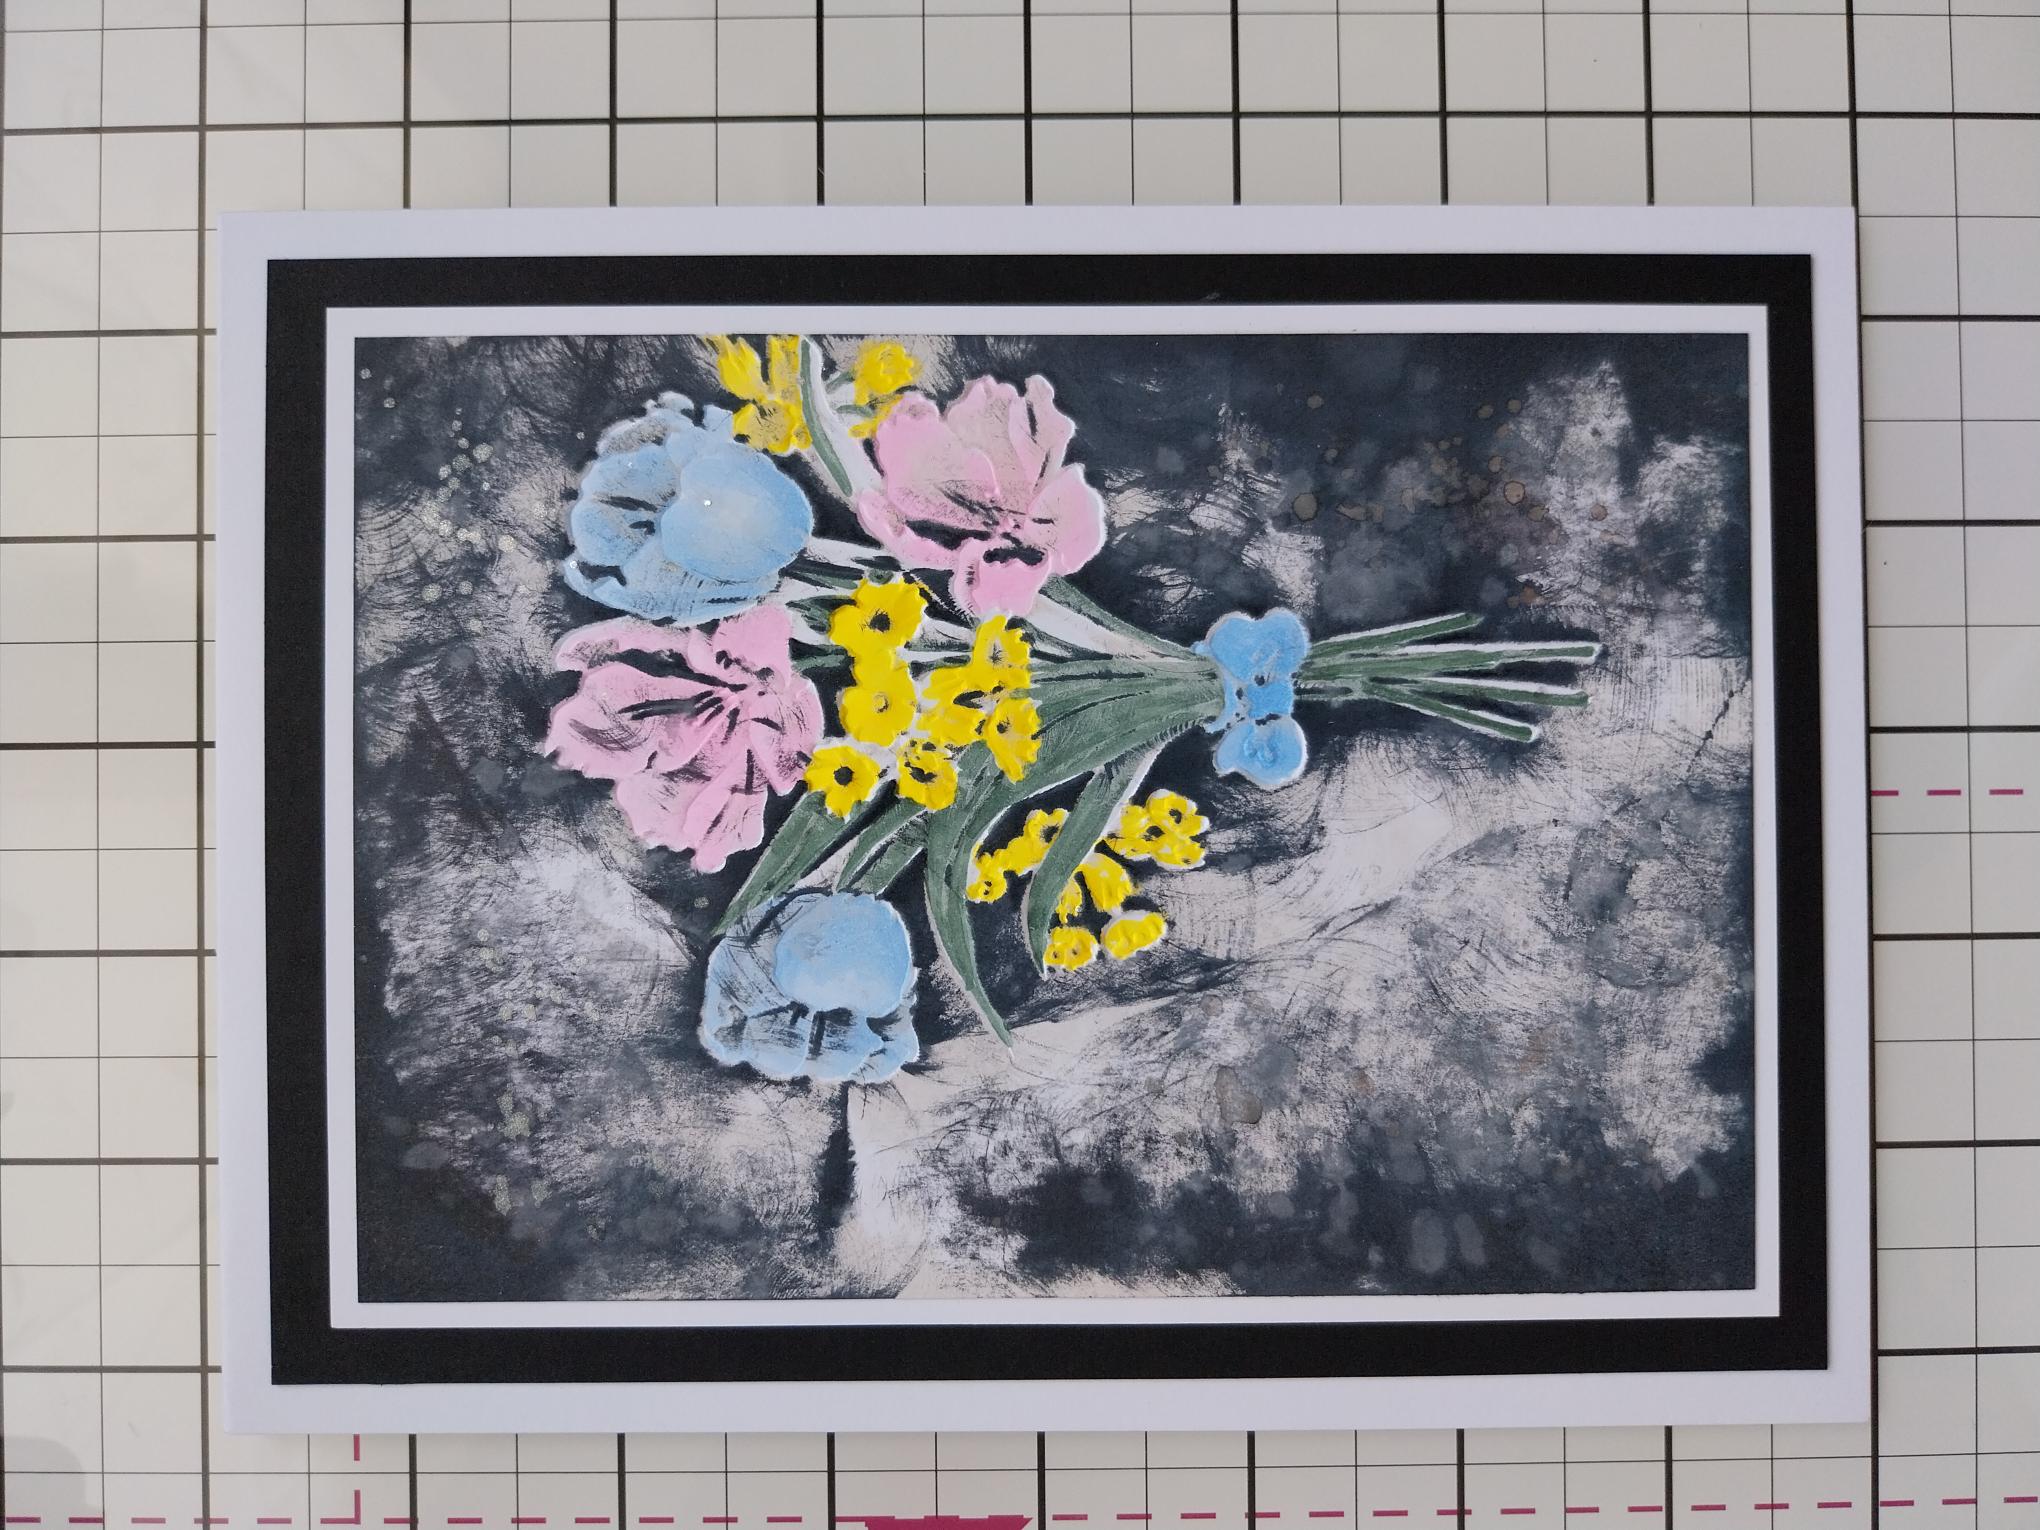
Adhere to the front of your white card blank and set aside. |
|
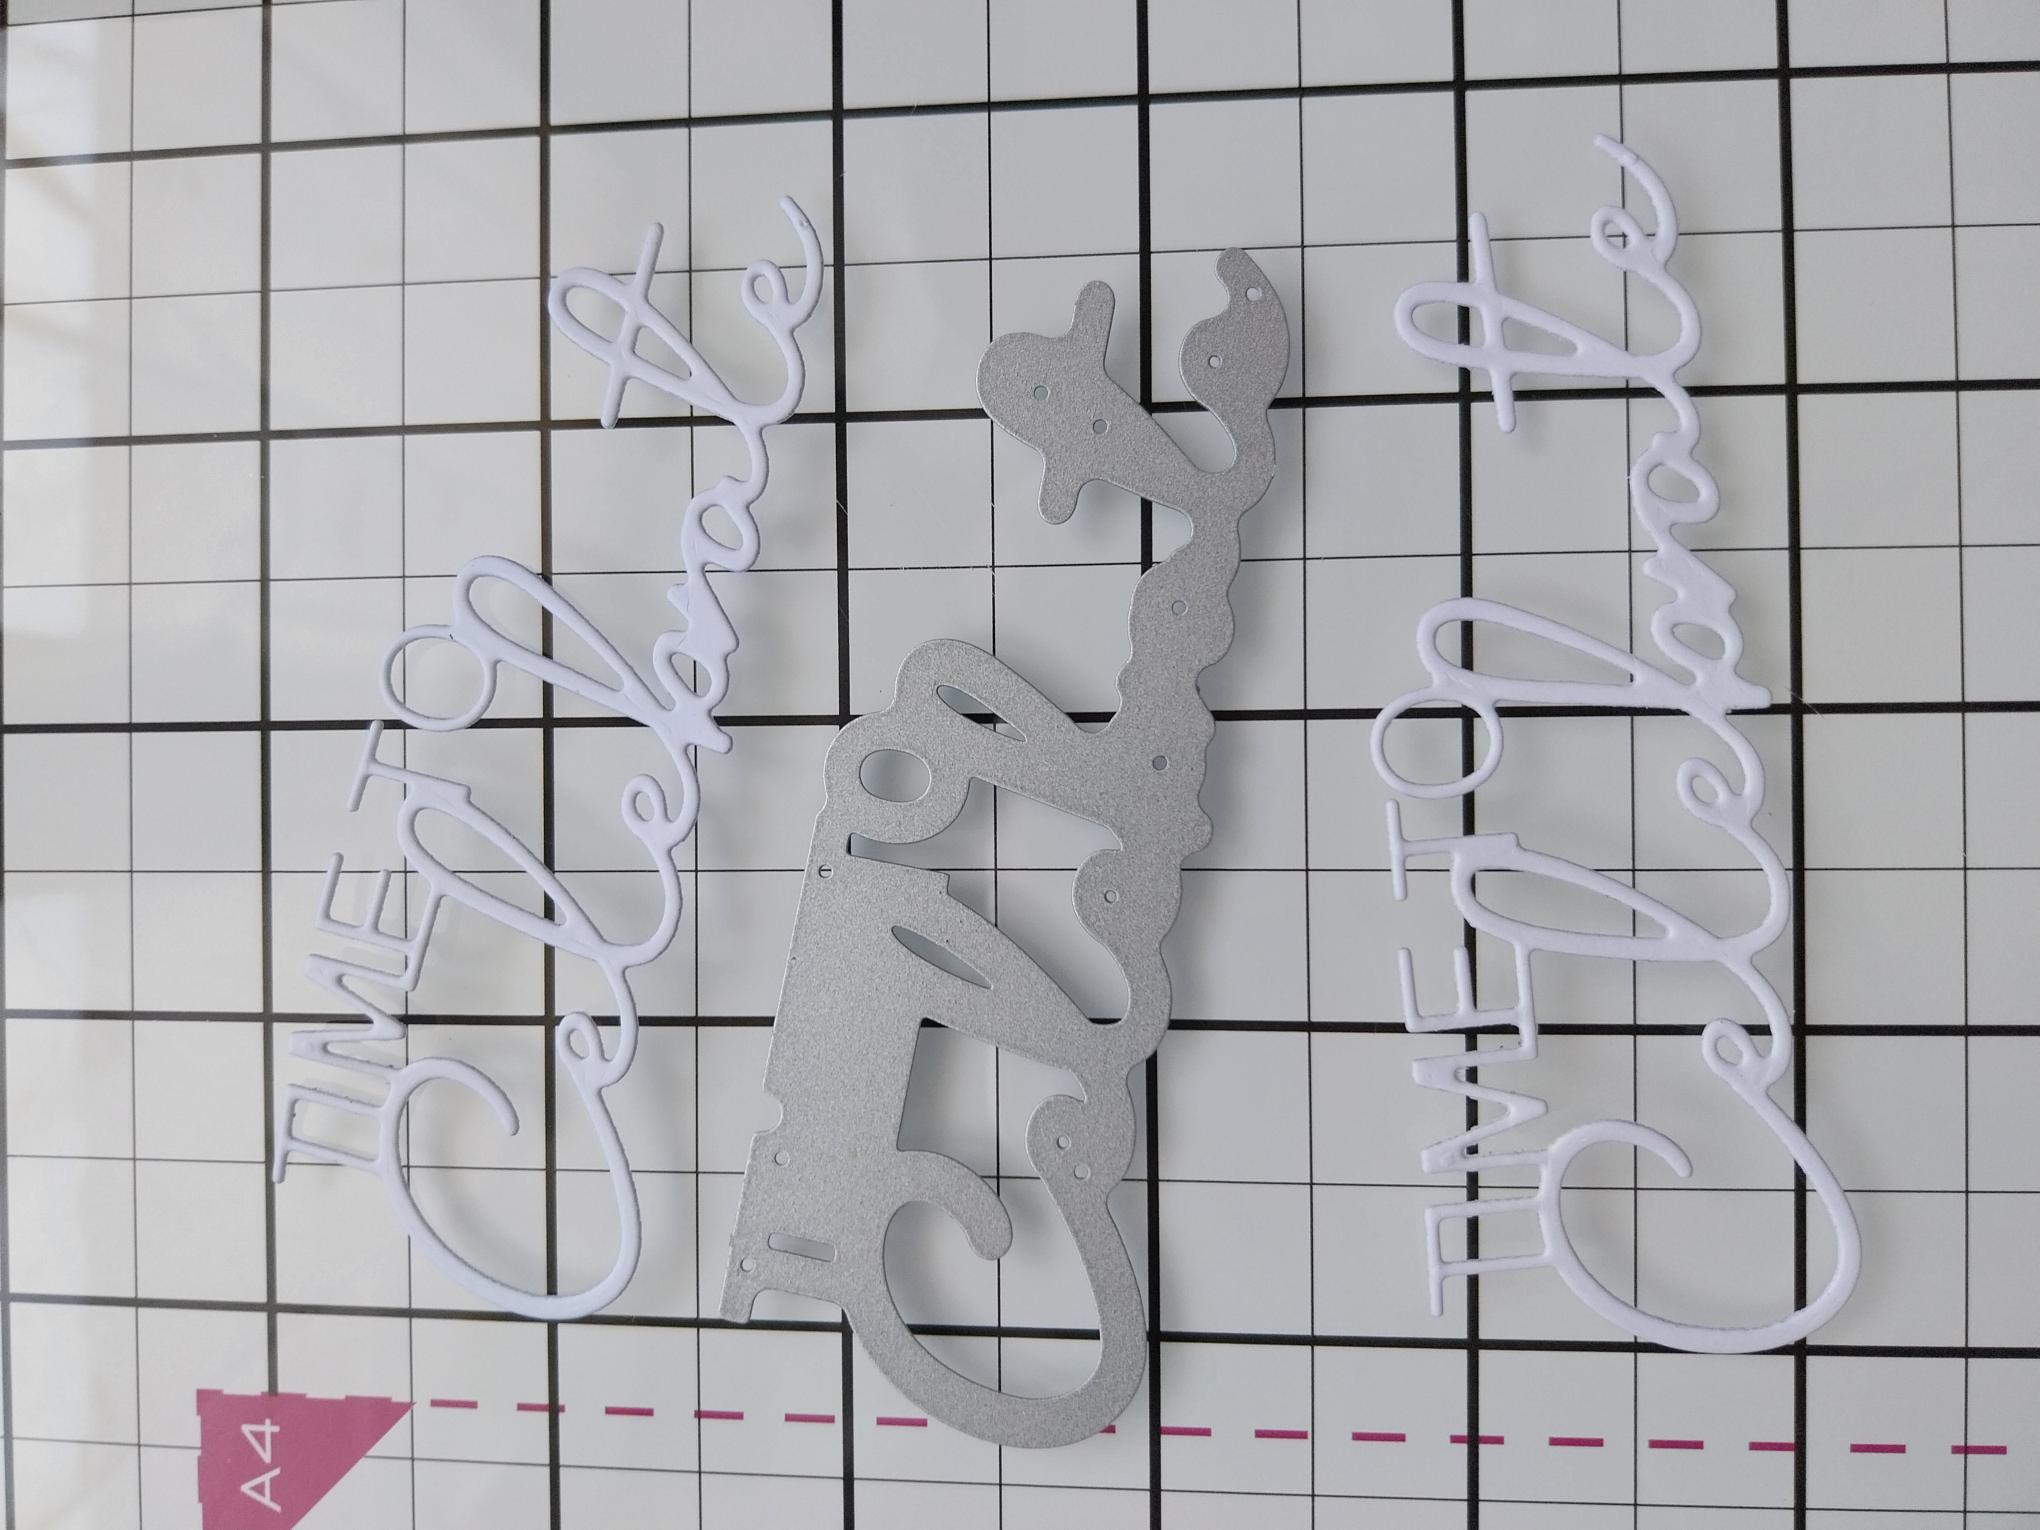
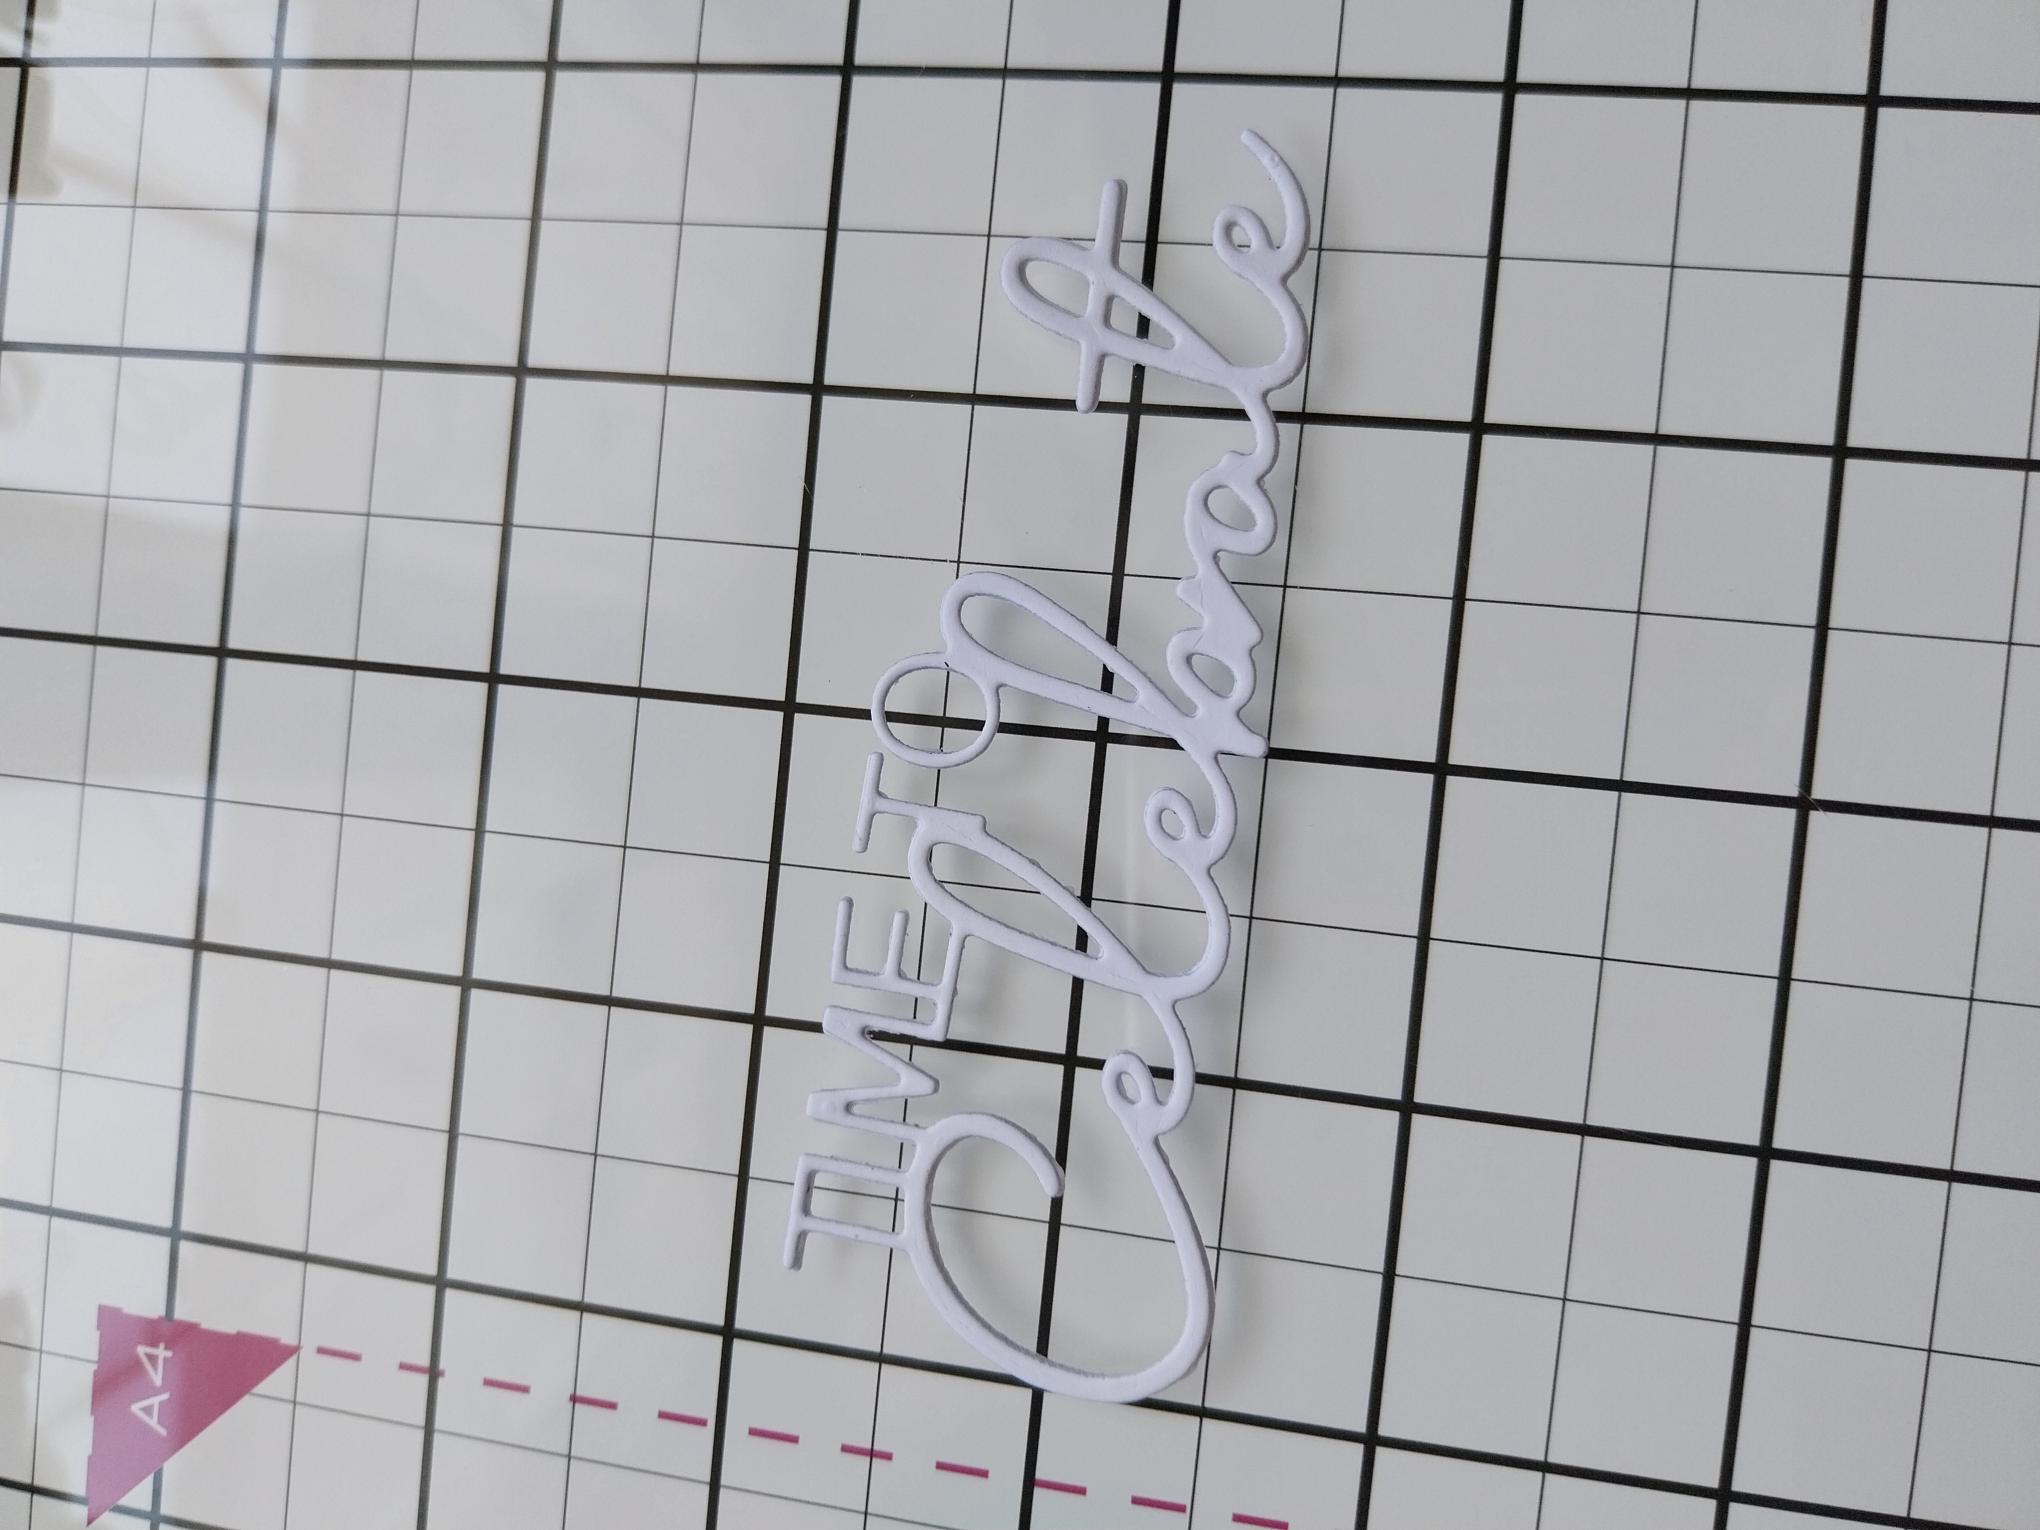
Die cut TWO white "Time To Celebrate" sentiments, from the Creative Words Die Collection. You can cut more, depending on how 3D you want it to be. |
|
Adhere together to create a more substantial 3D sentiment. |
|
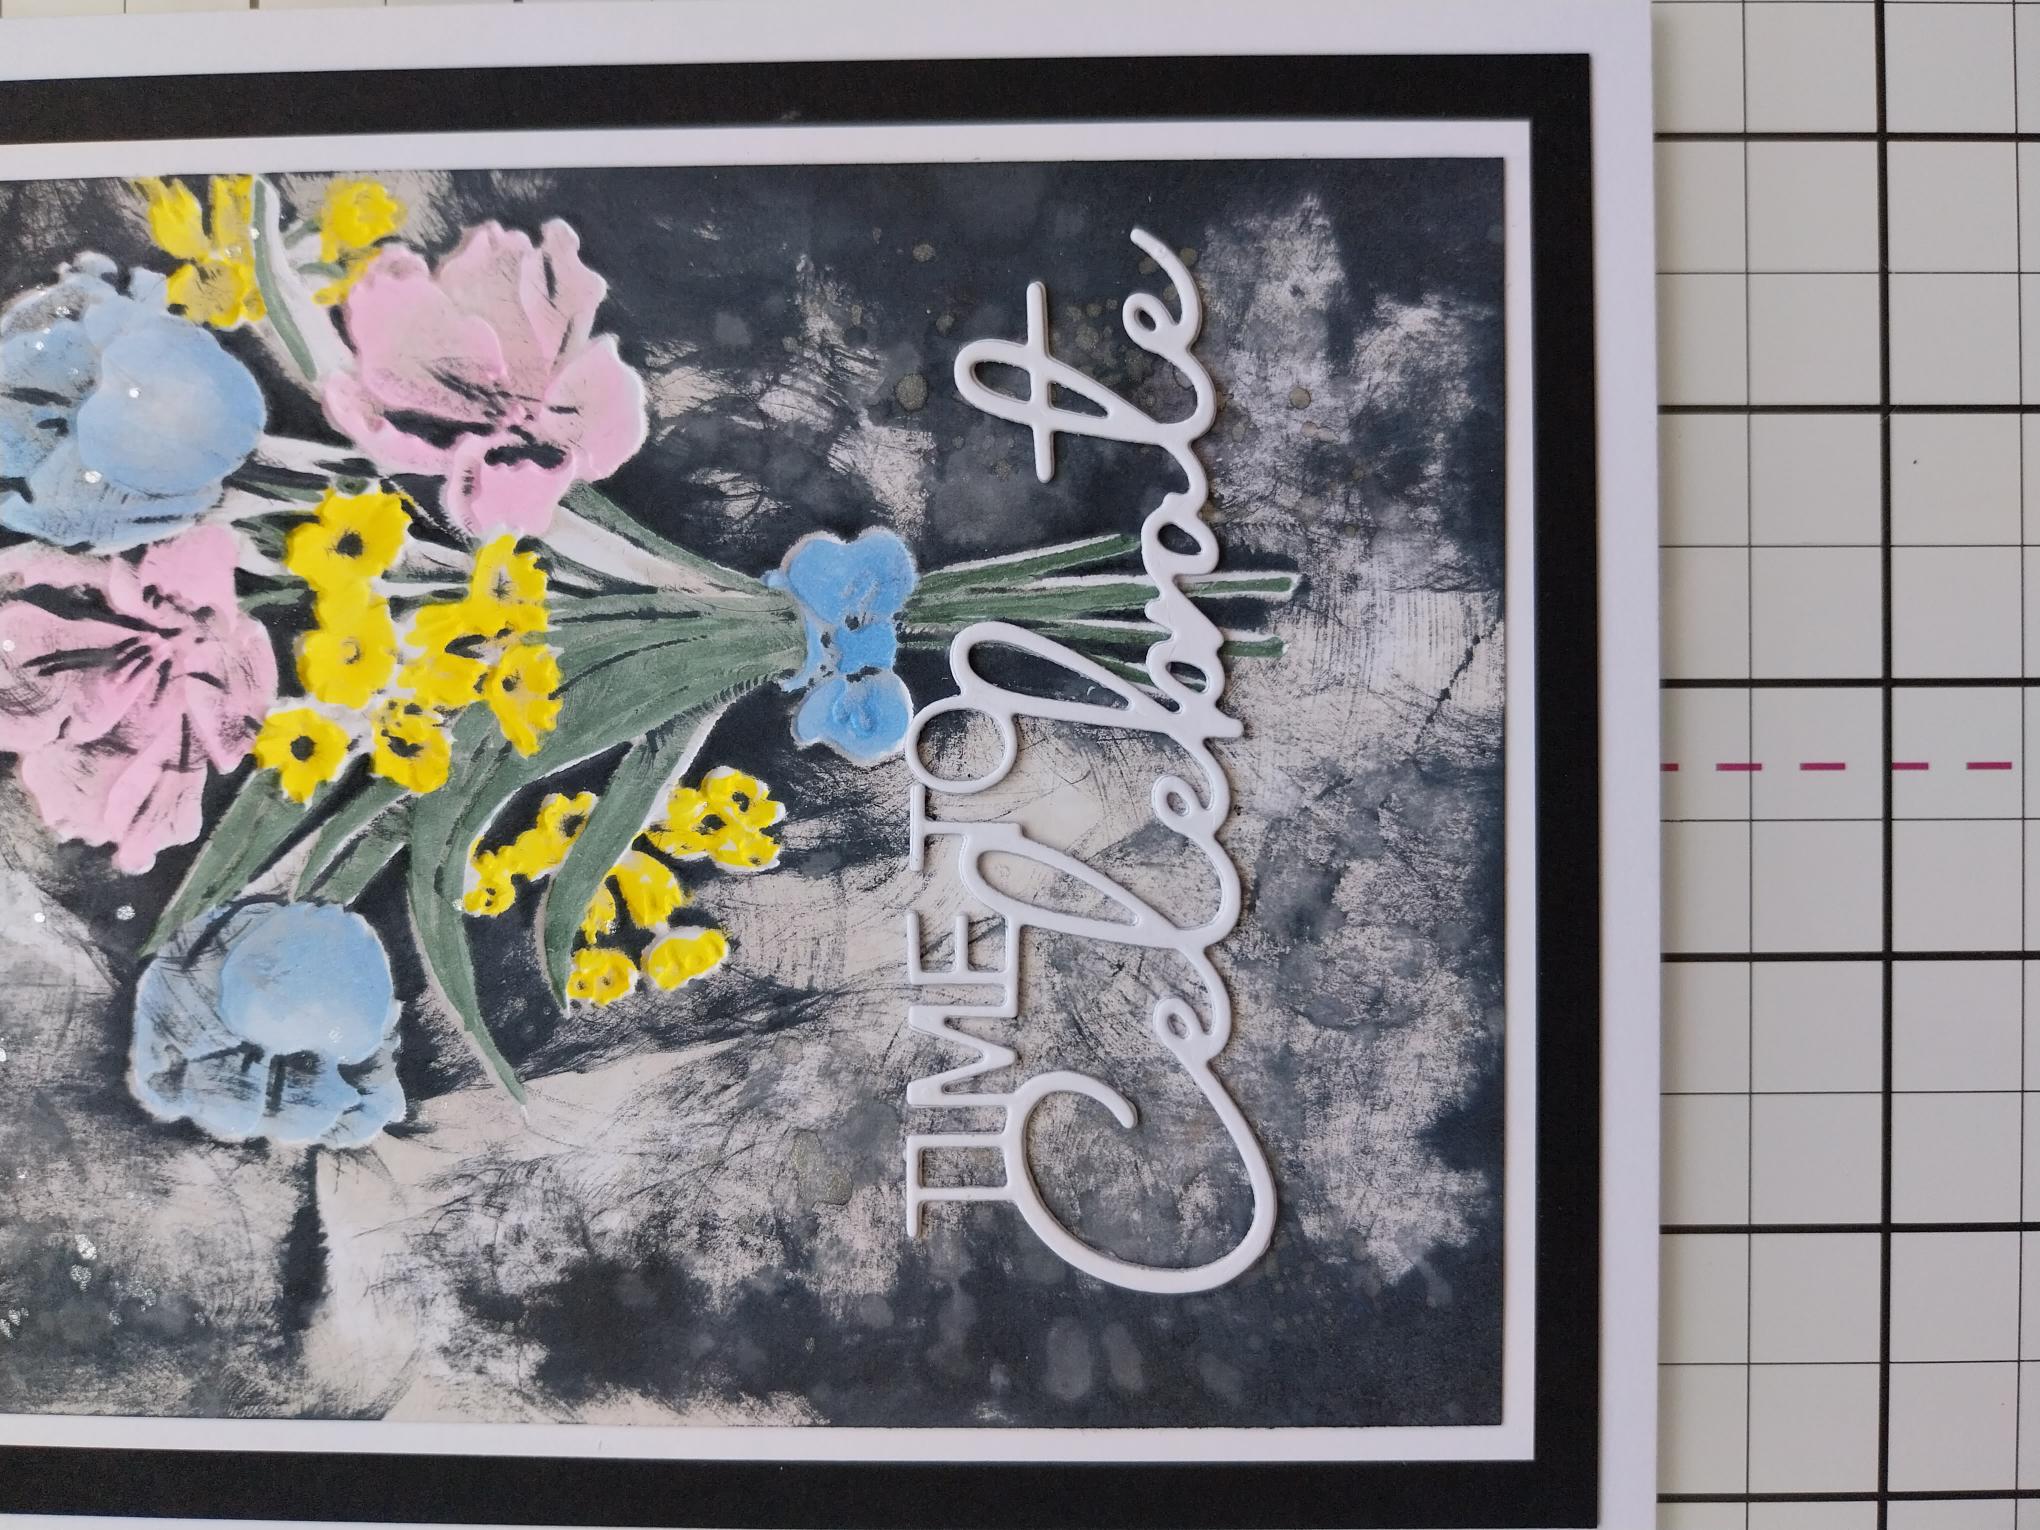
To finish, adhere your sentiment across the stems of your Tulip Bouquet. |