Give your friends $10 off their first order!
Refer a FRIEND


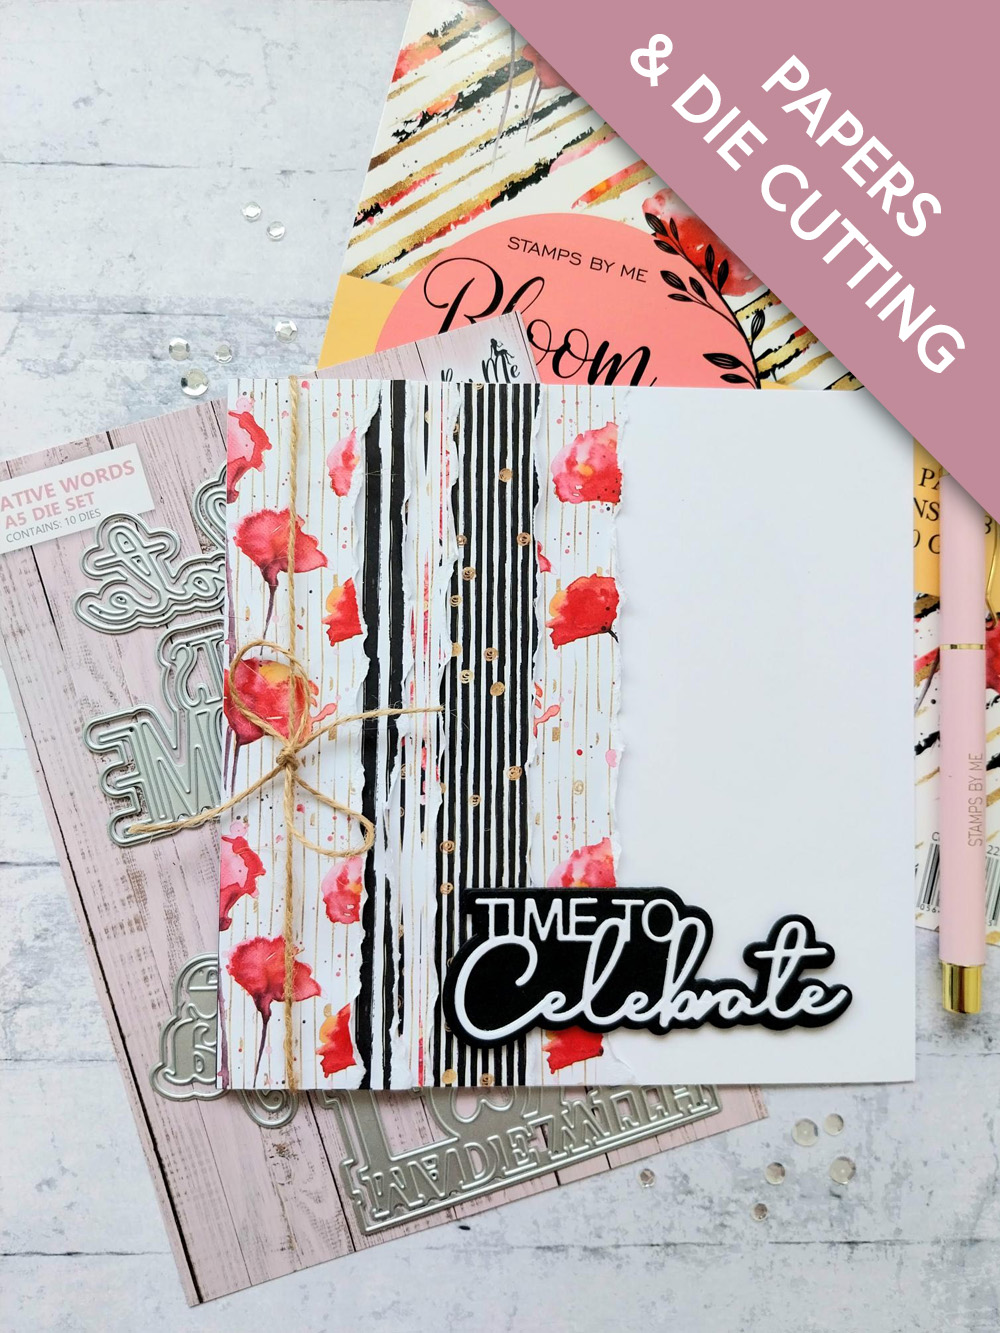
WHAT YOU WILL NEED:
White card blank 6 3/4" square
Black/white cardstock
Creative Words A5 Die Collection
Bloom & Wild 8 x 8" Paper Pack
Twine
Paper Trimmer
Perfect Together Glue
Foam Pads
Die Cutting machine
[click image to enlarge] 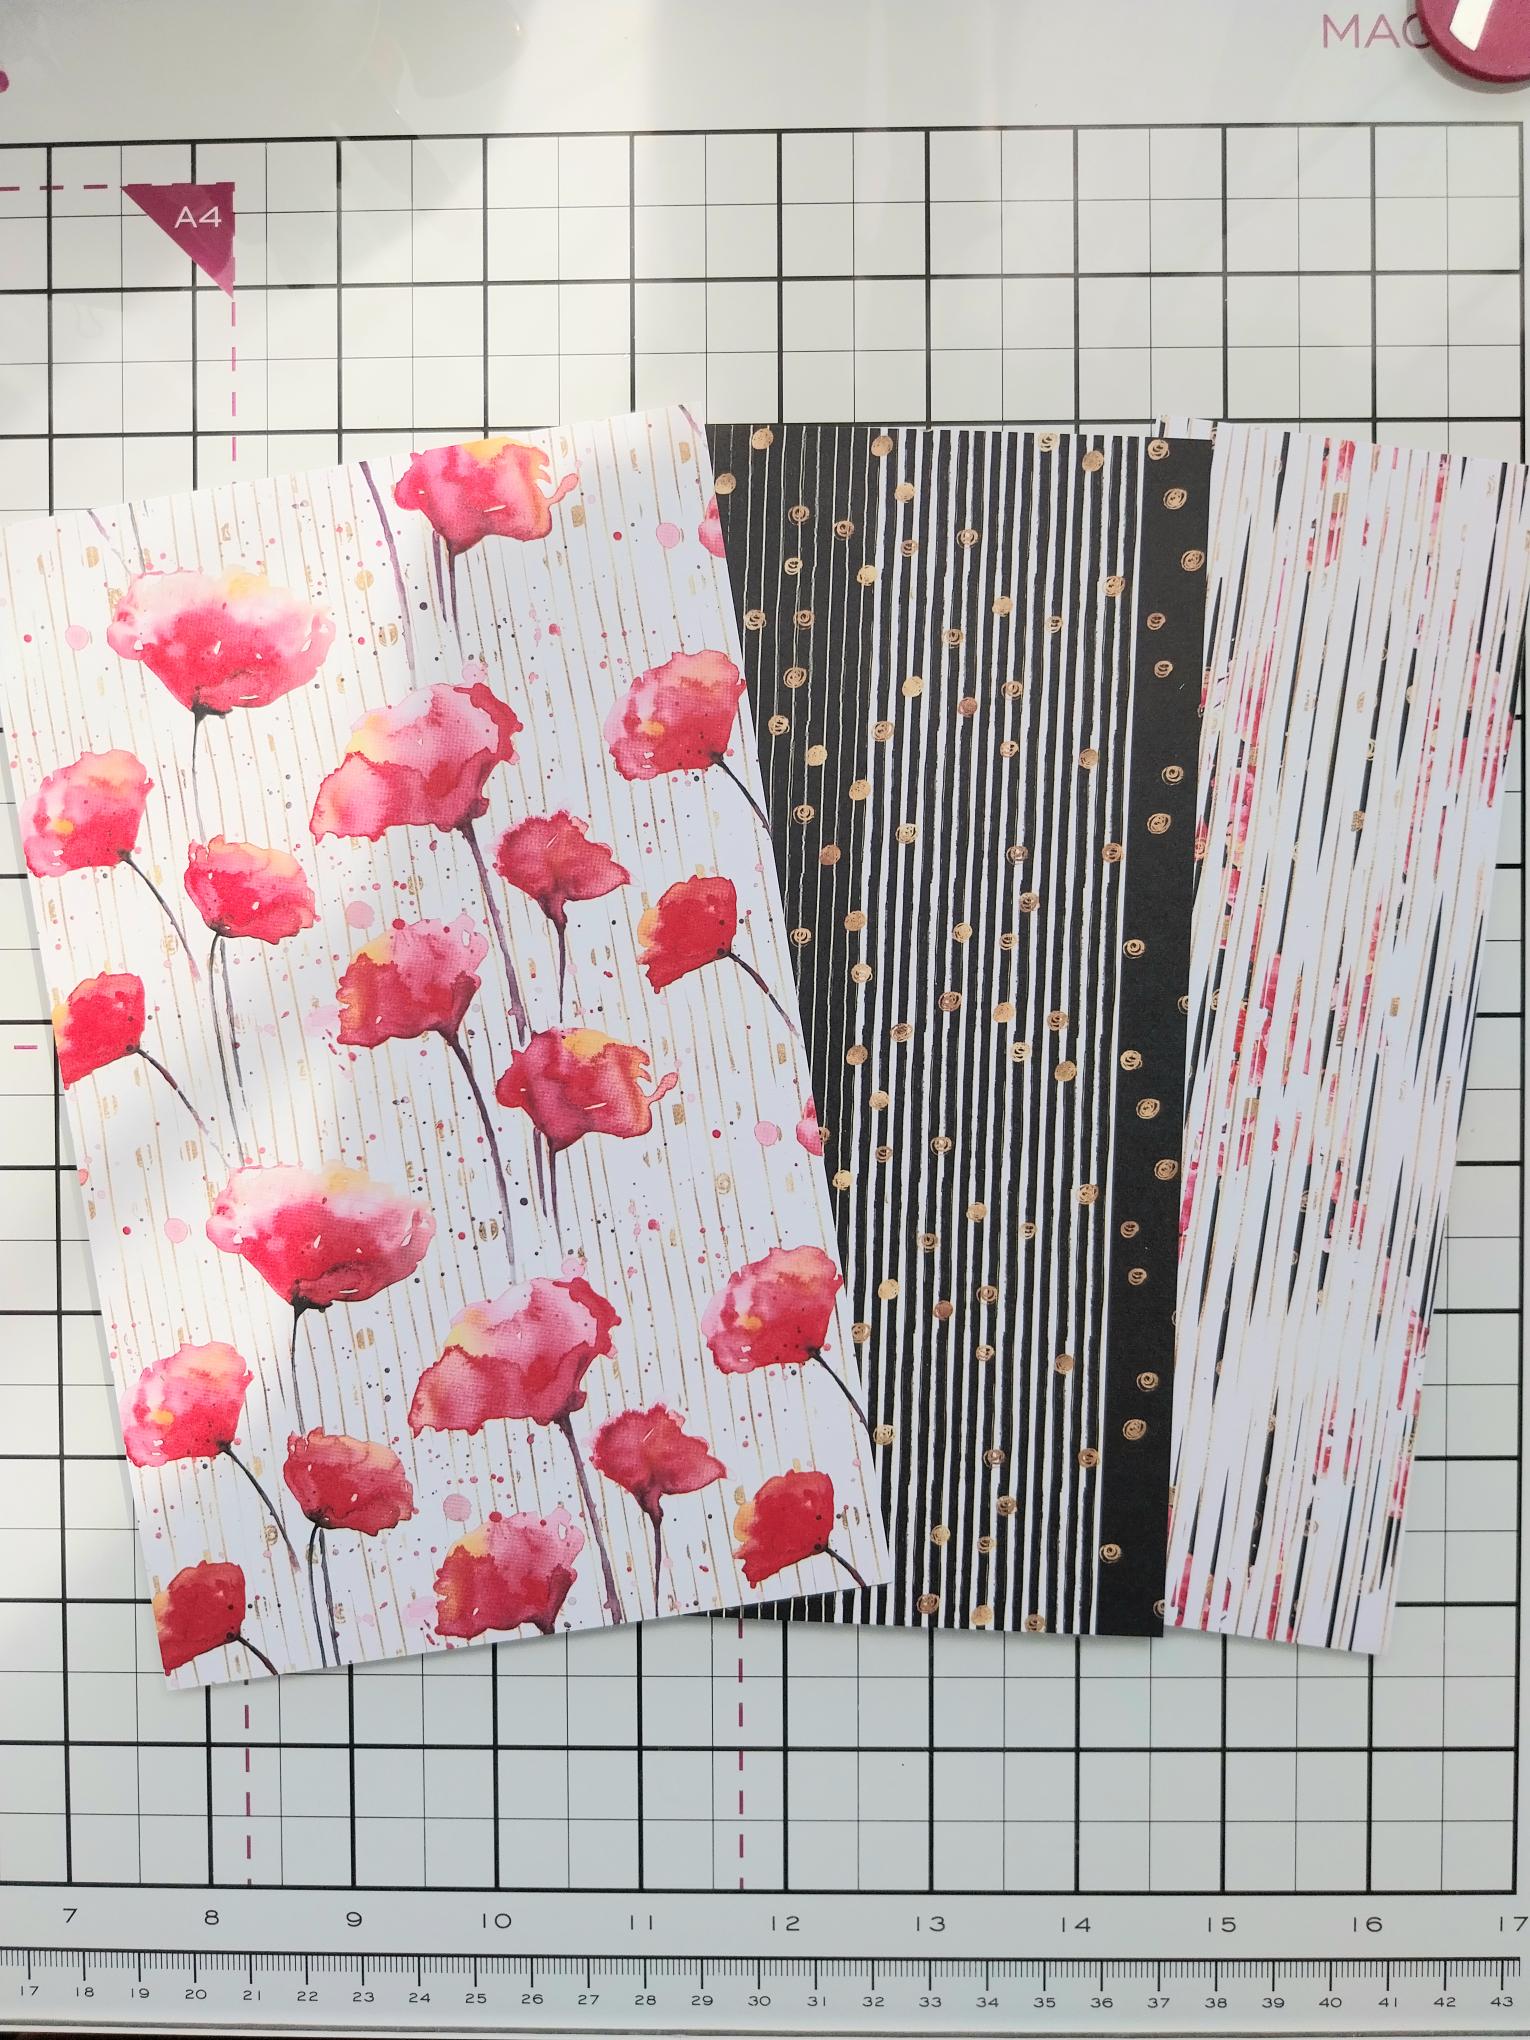
|
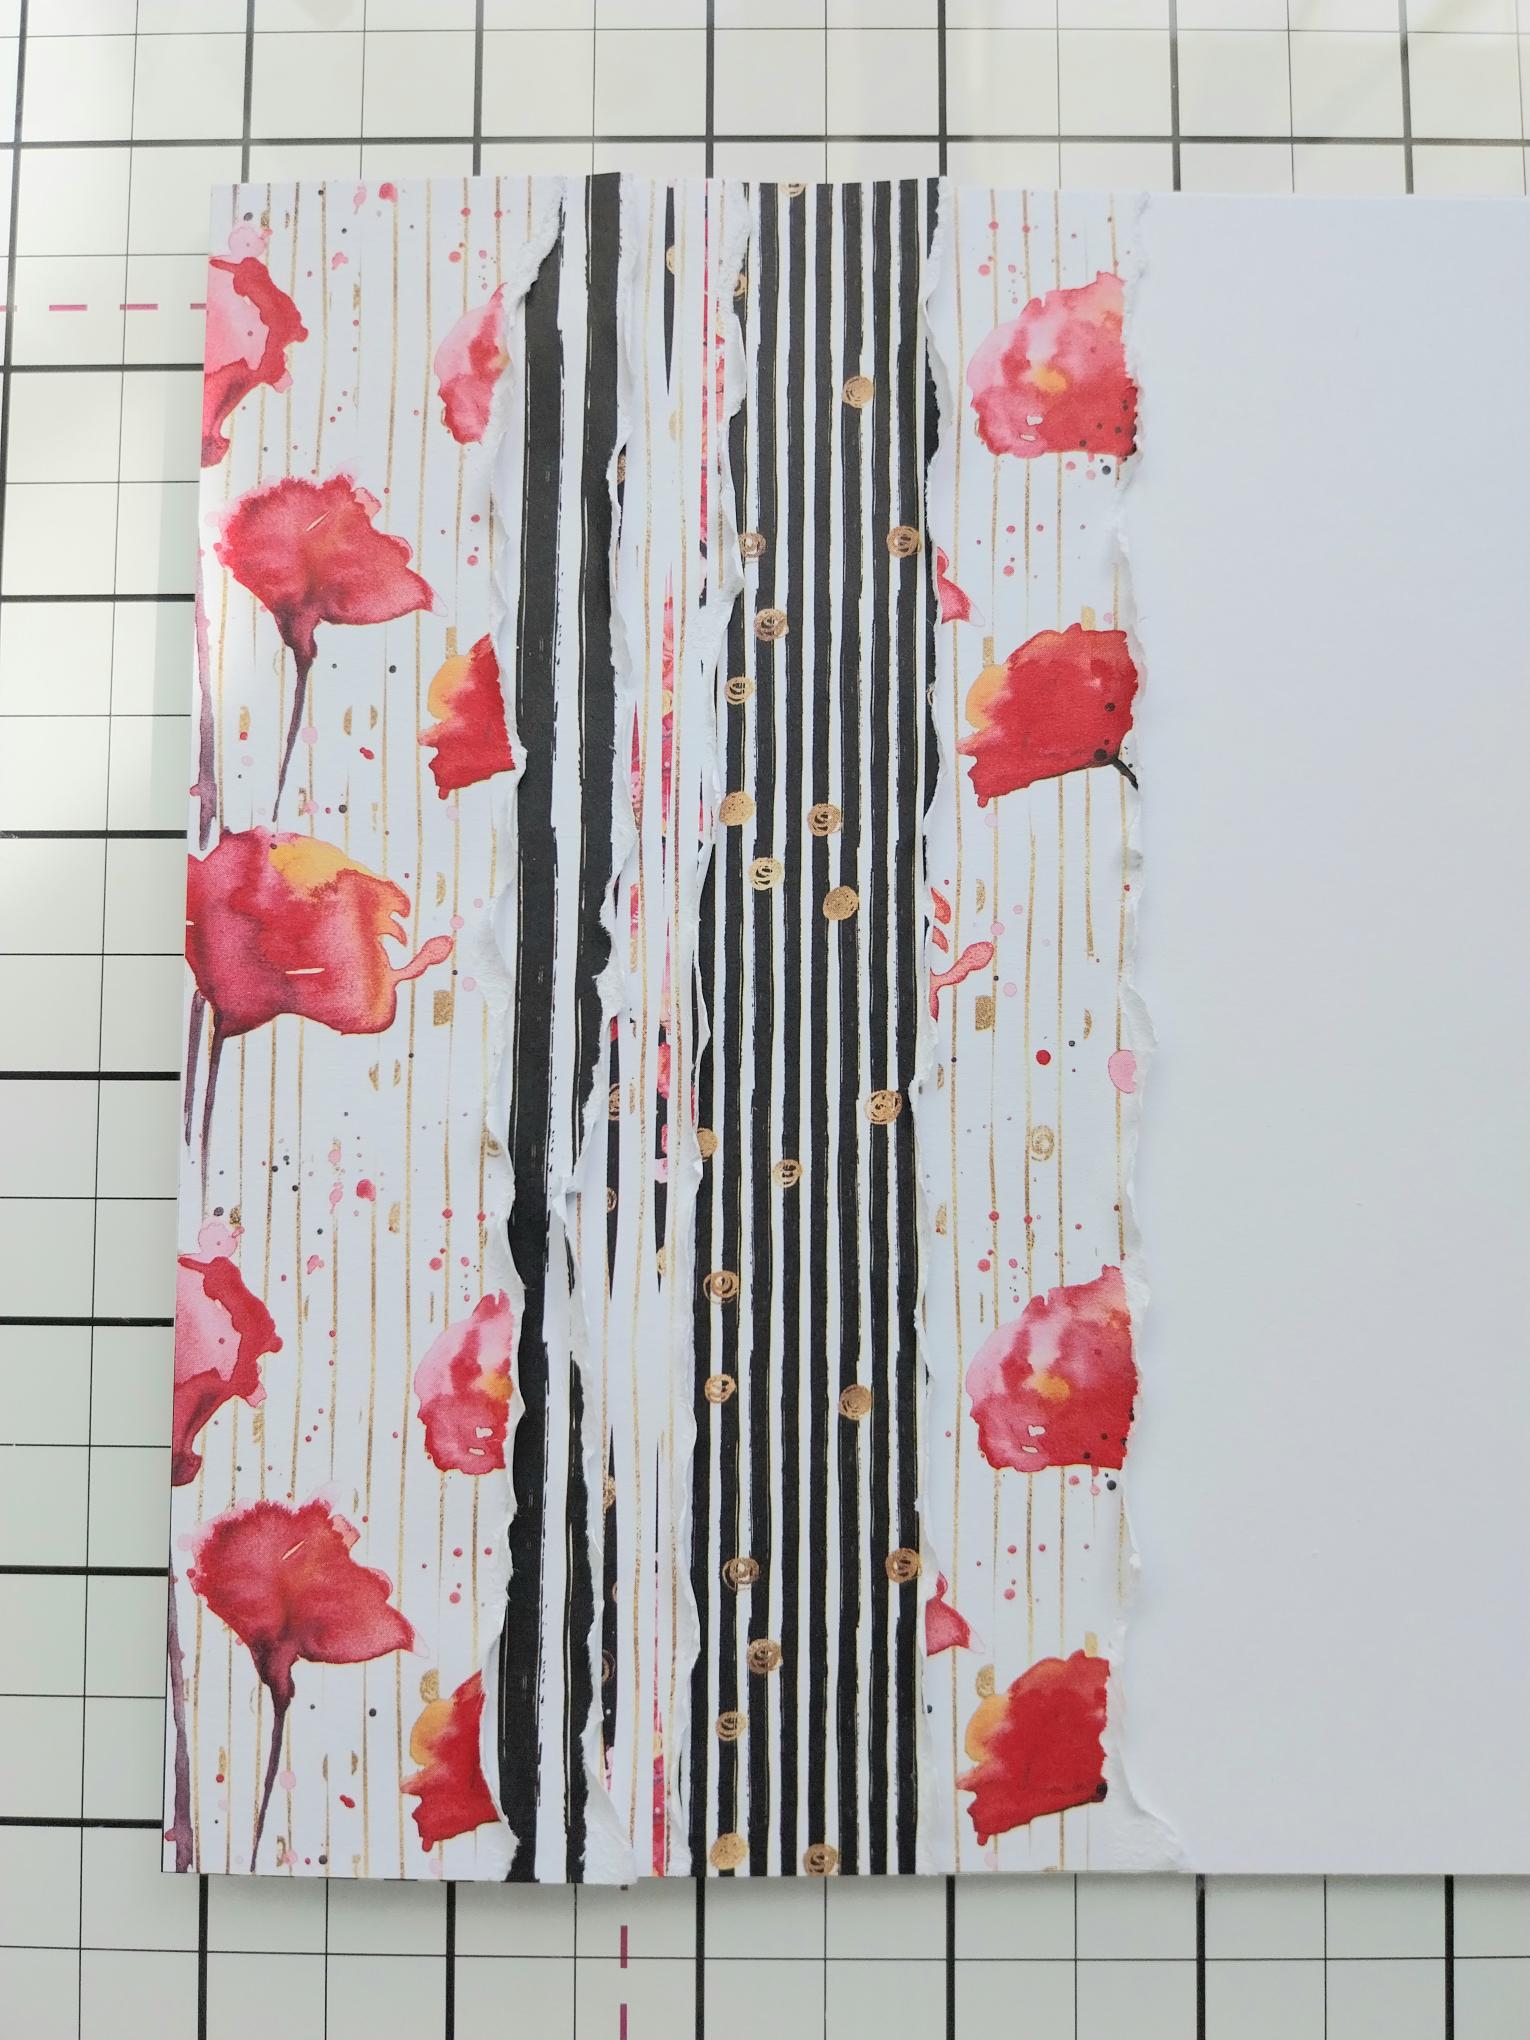
You will need 3 different papers from the Bloom & Wild Paper Pack, trimming each sheet to 6 3/4" in height, same as your card blank. |

|
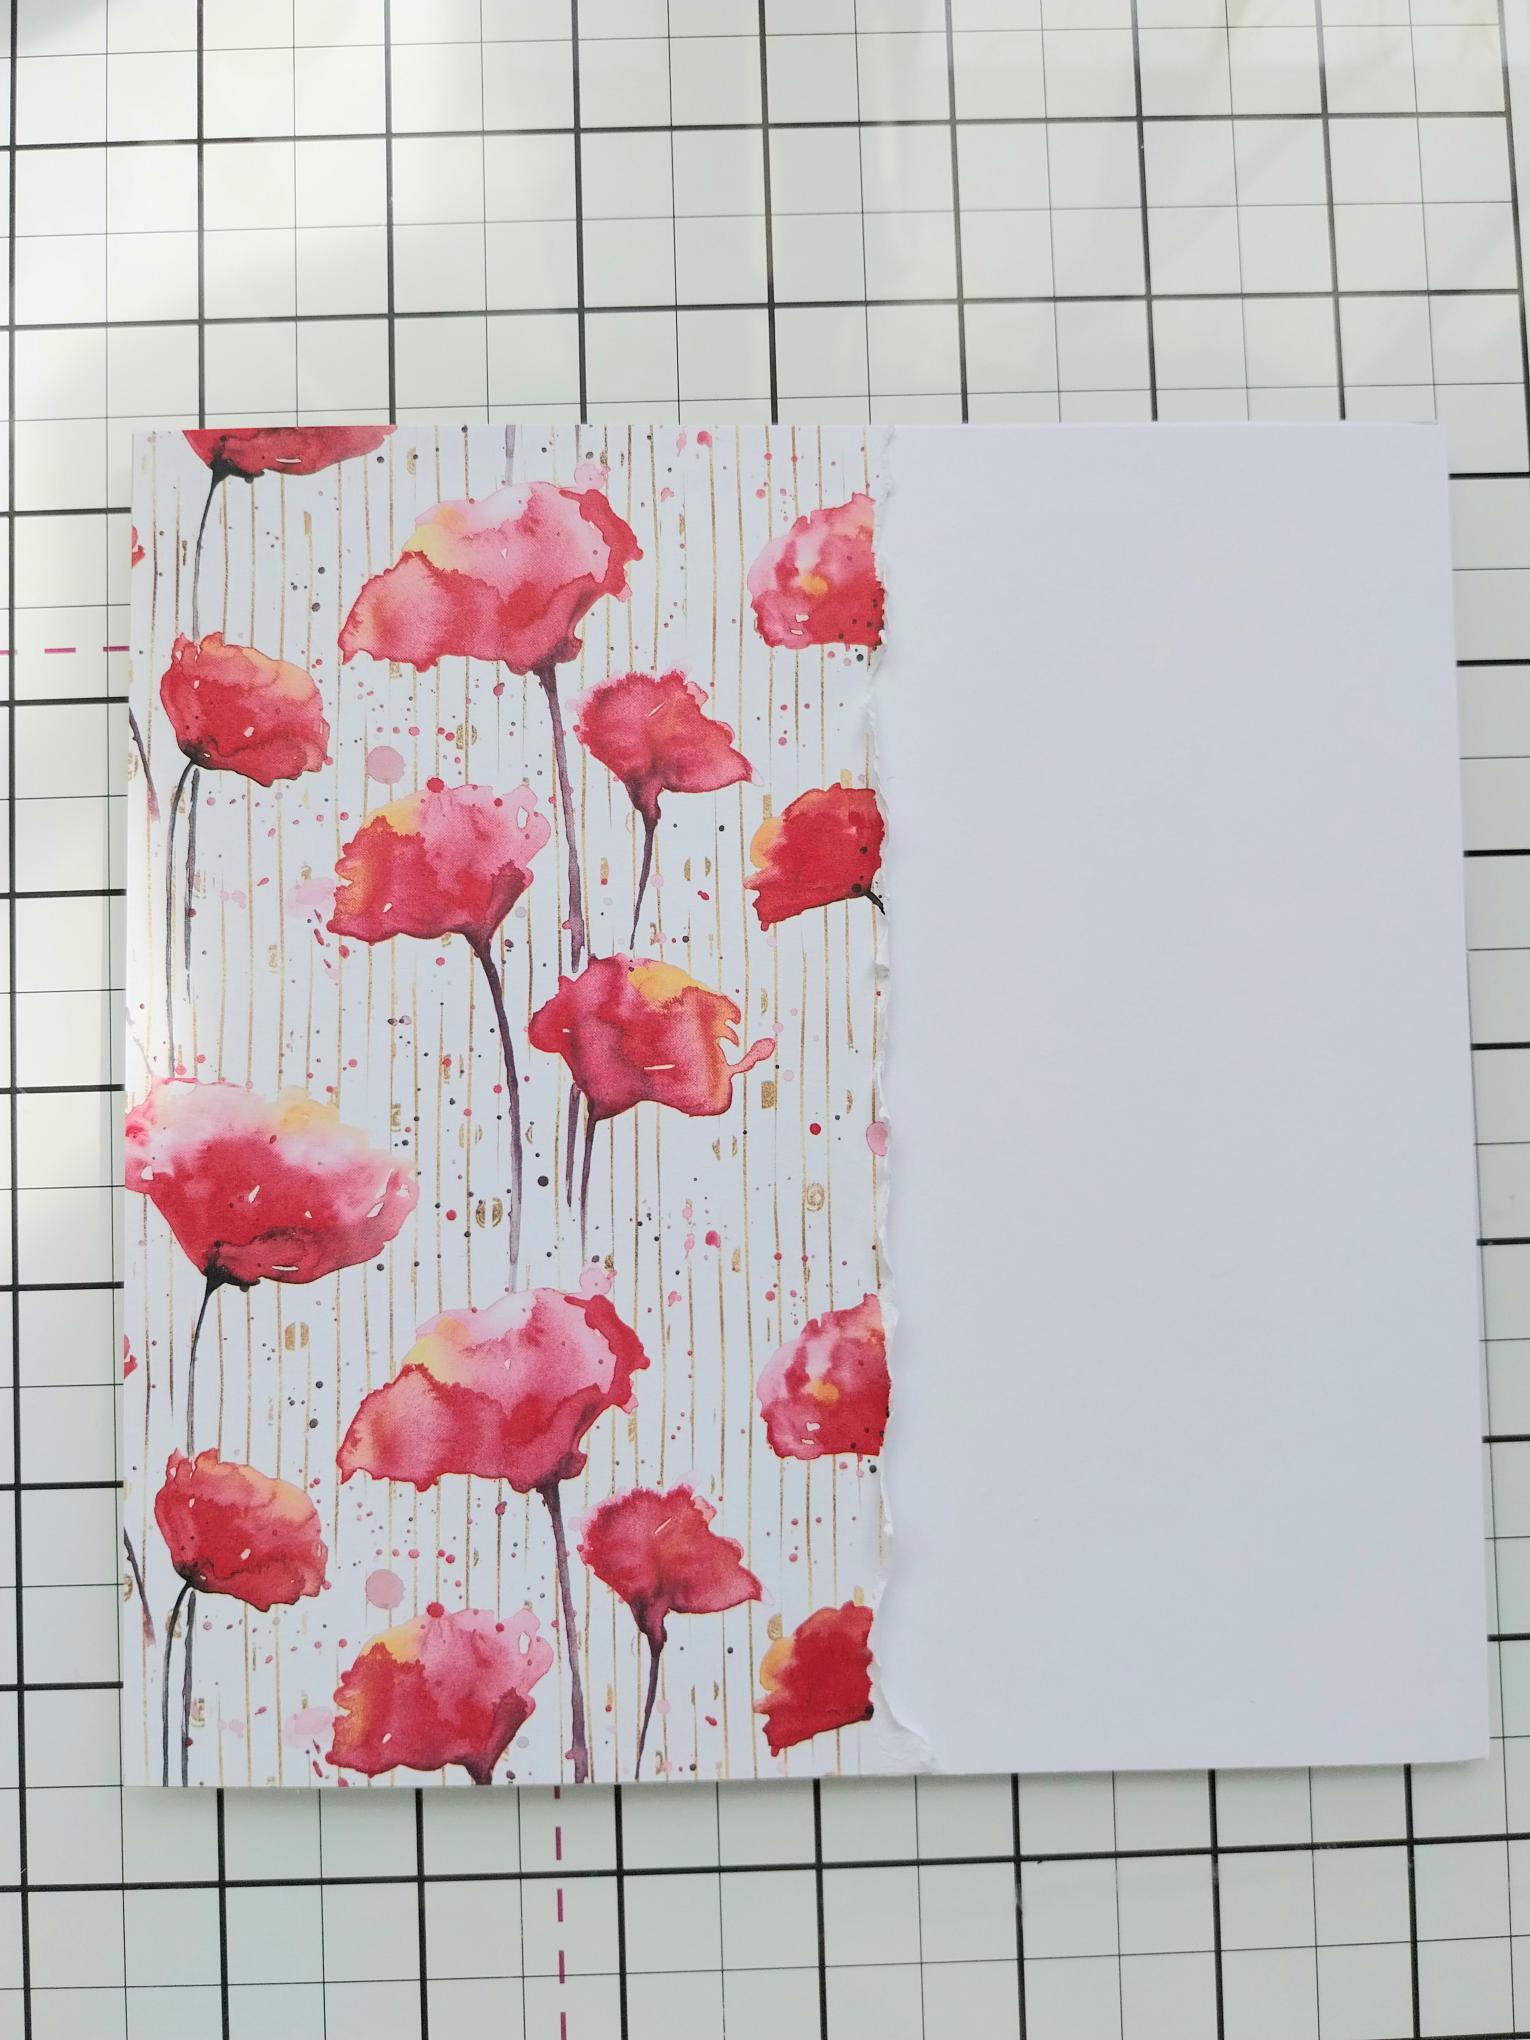
Tearing down one edge of the papers, you want to create FIVE torn panels, each decreasing in width, as shown here. Each one is to have a straight cut, left side. |
|
Adhere the WIDEST torn panel directly on to your card blank, the straight side flush with the left edge of the card blank. Keep the torn edge loose and scrunched for added effect. |
|
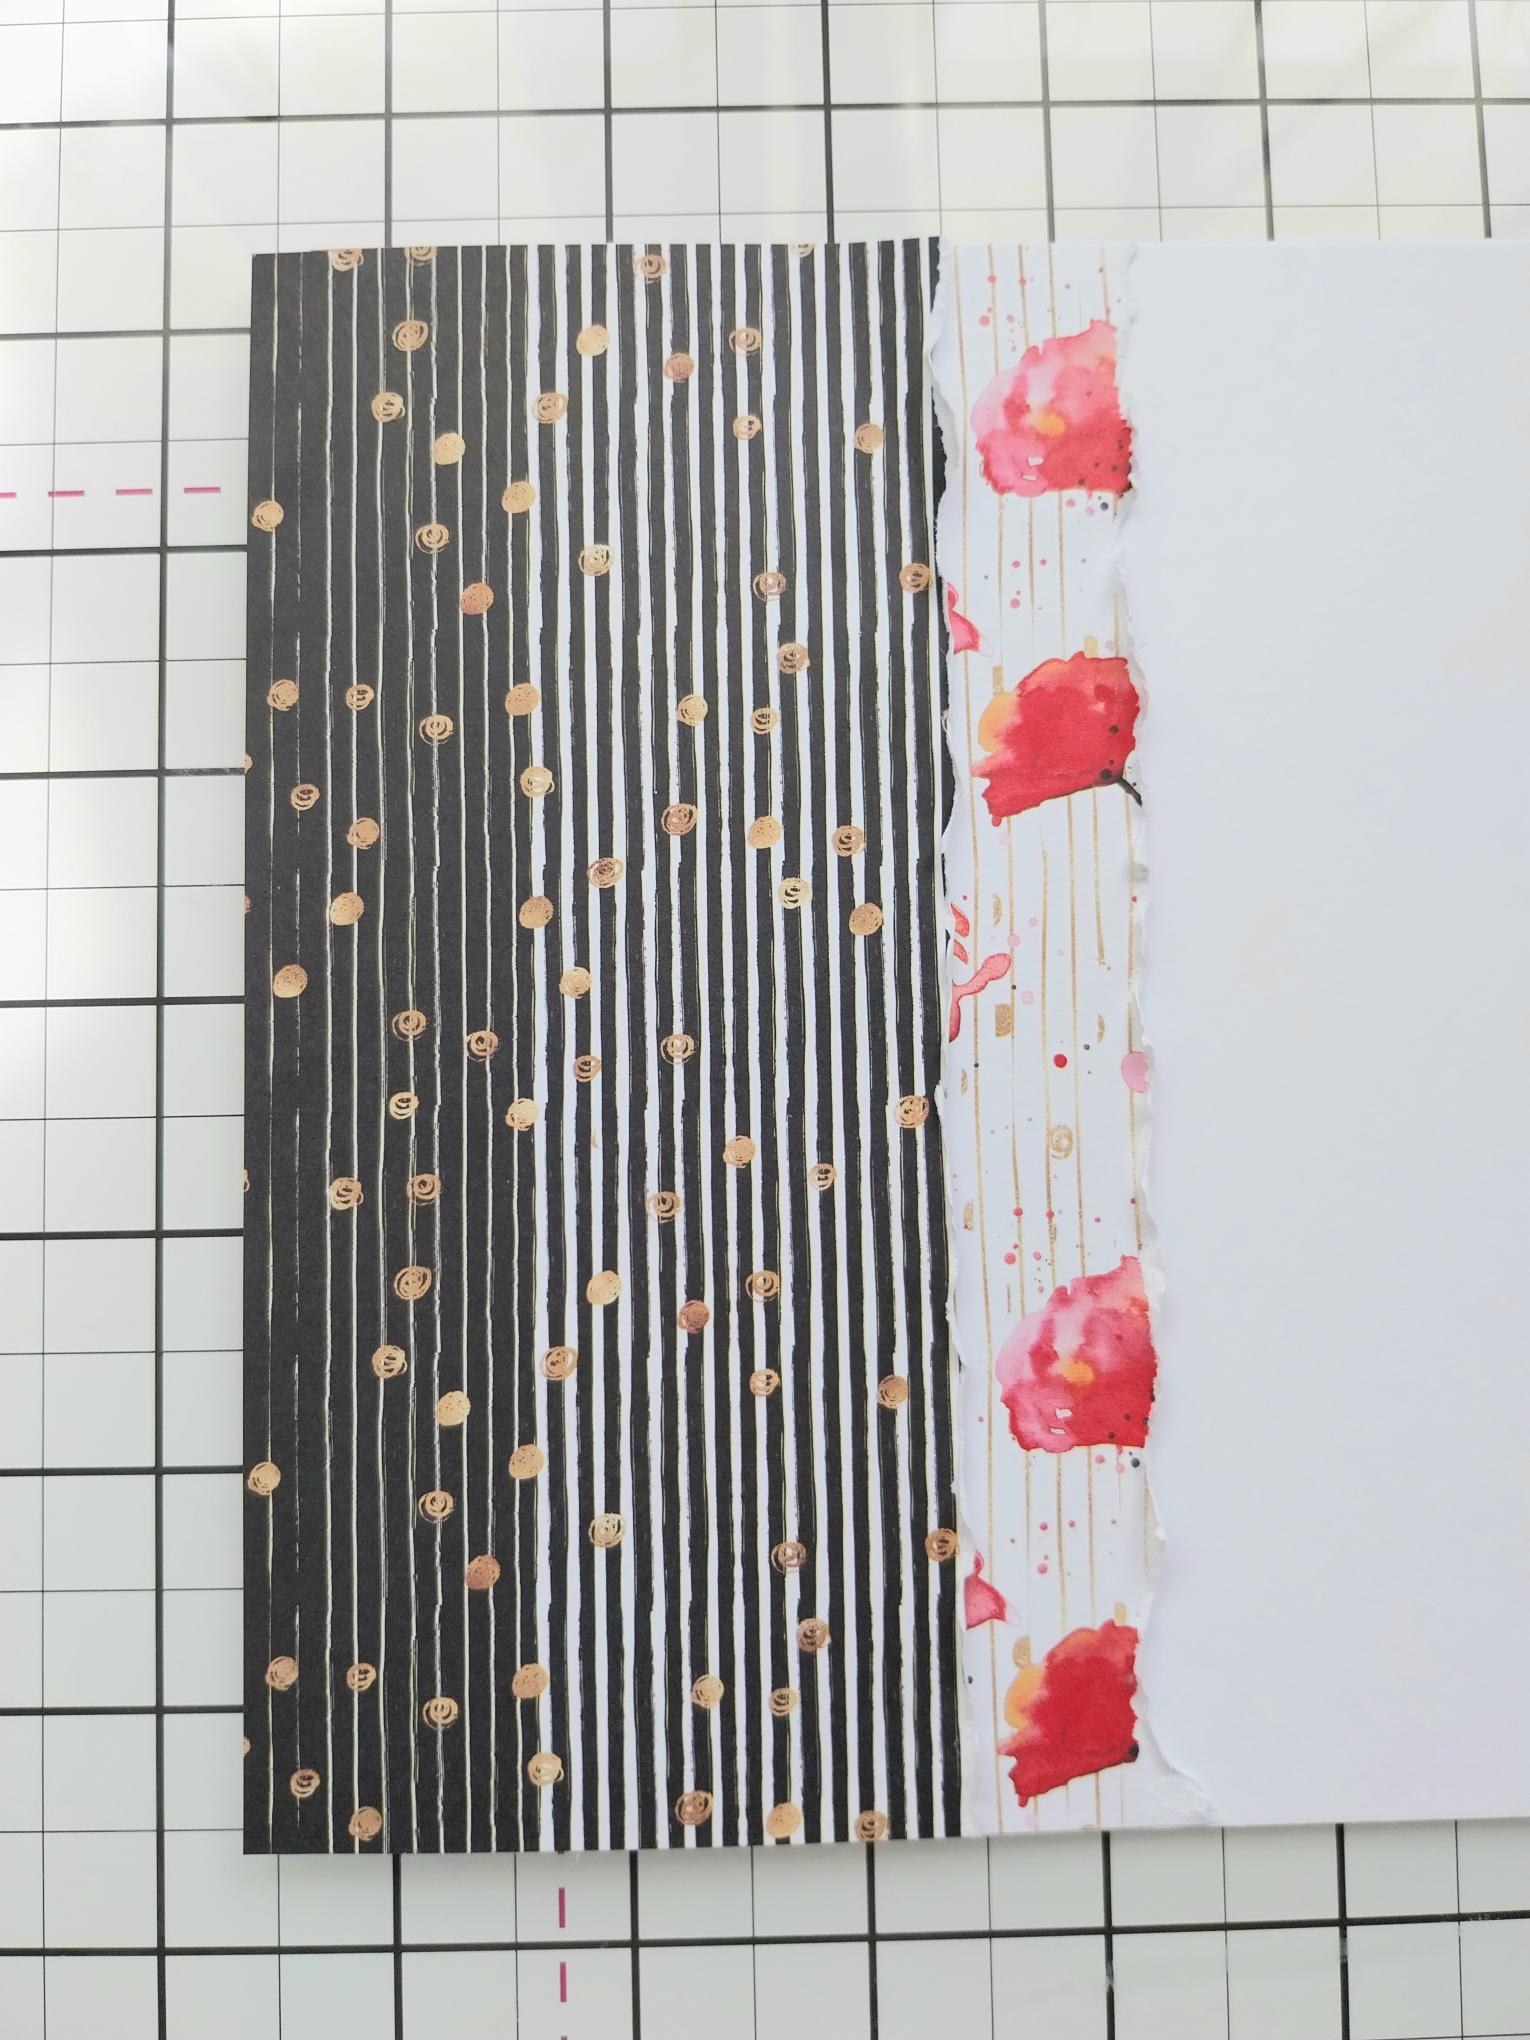
Adhere the next width down, again adhering it flush with the left edge of the card blank and scrunching the torn edge. |
|
Repeat this process with the remaining panels, each time adhering the next width down, flush with card blank edge and scrunching all torn edges. Pop your card to one side. |
|
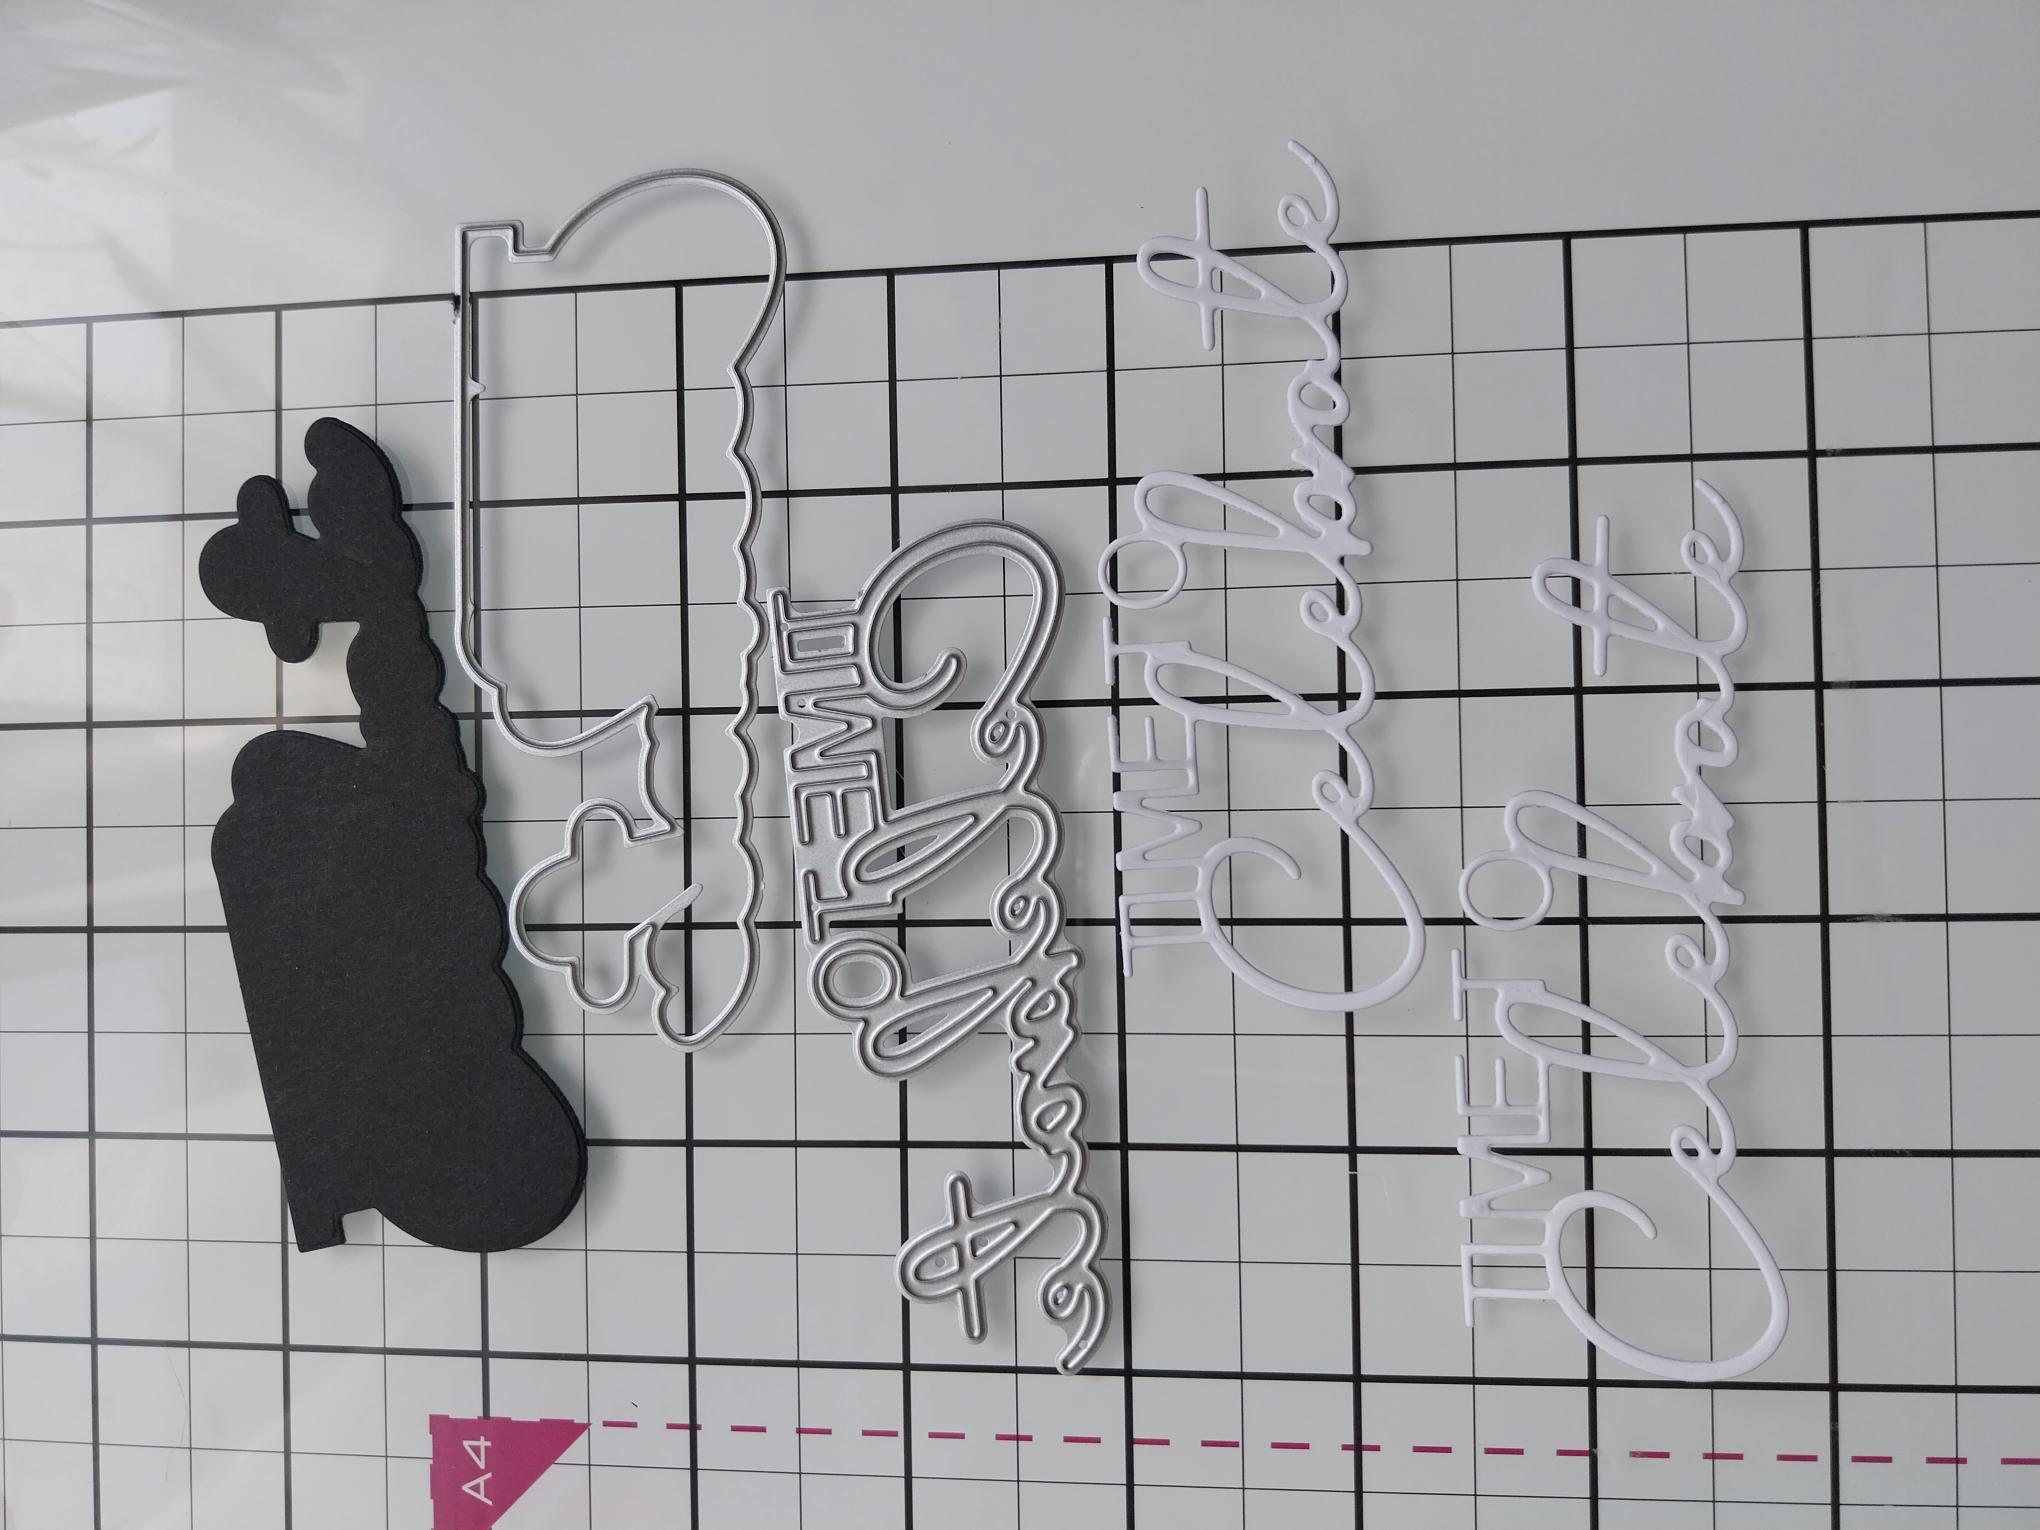
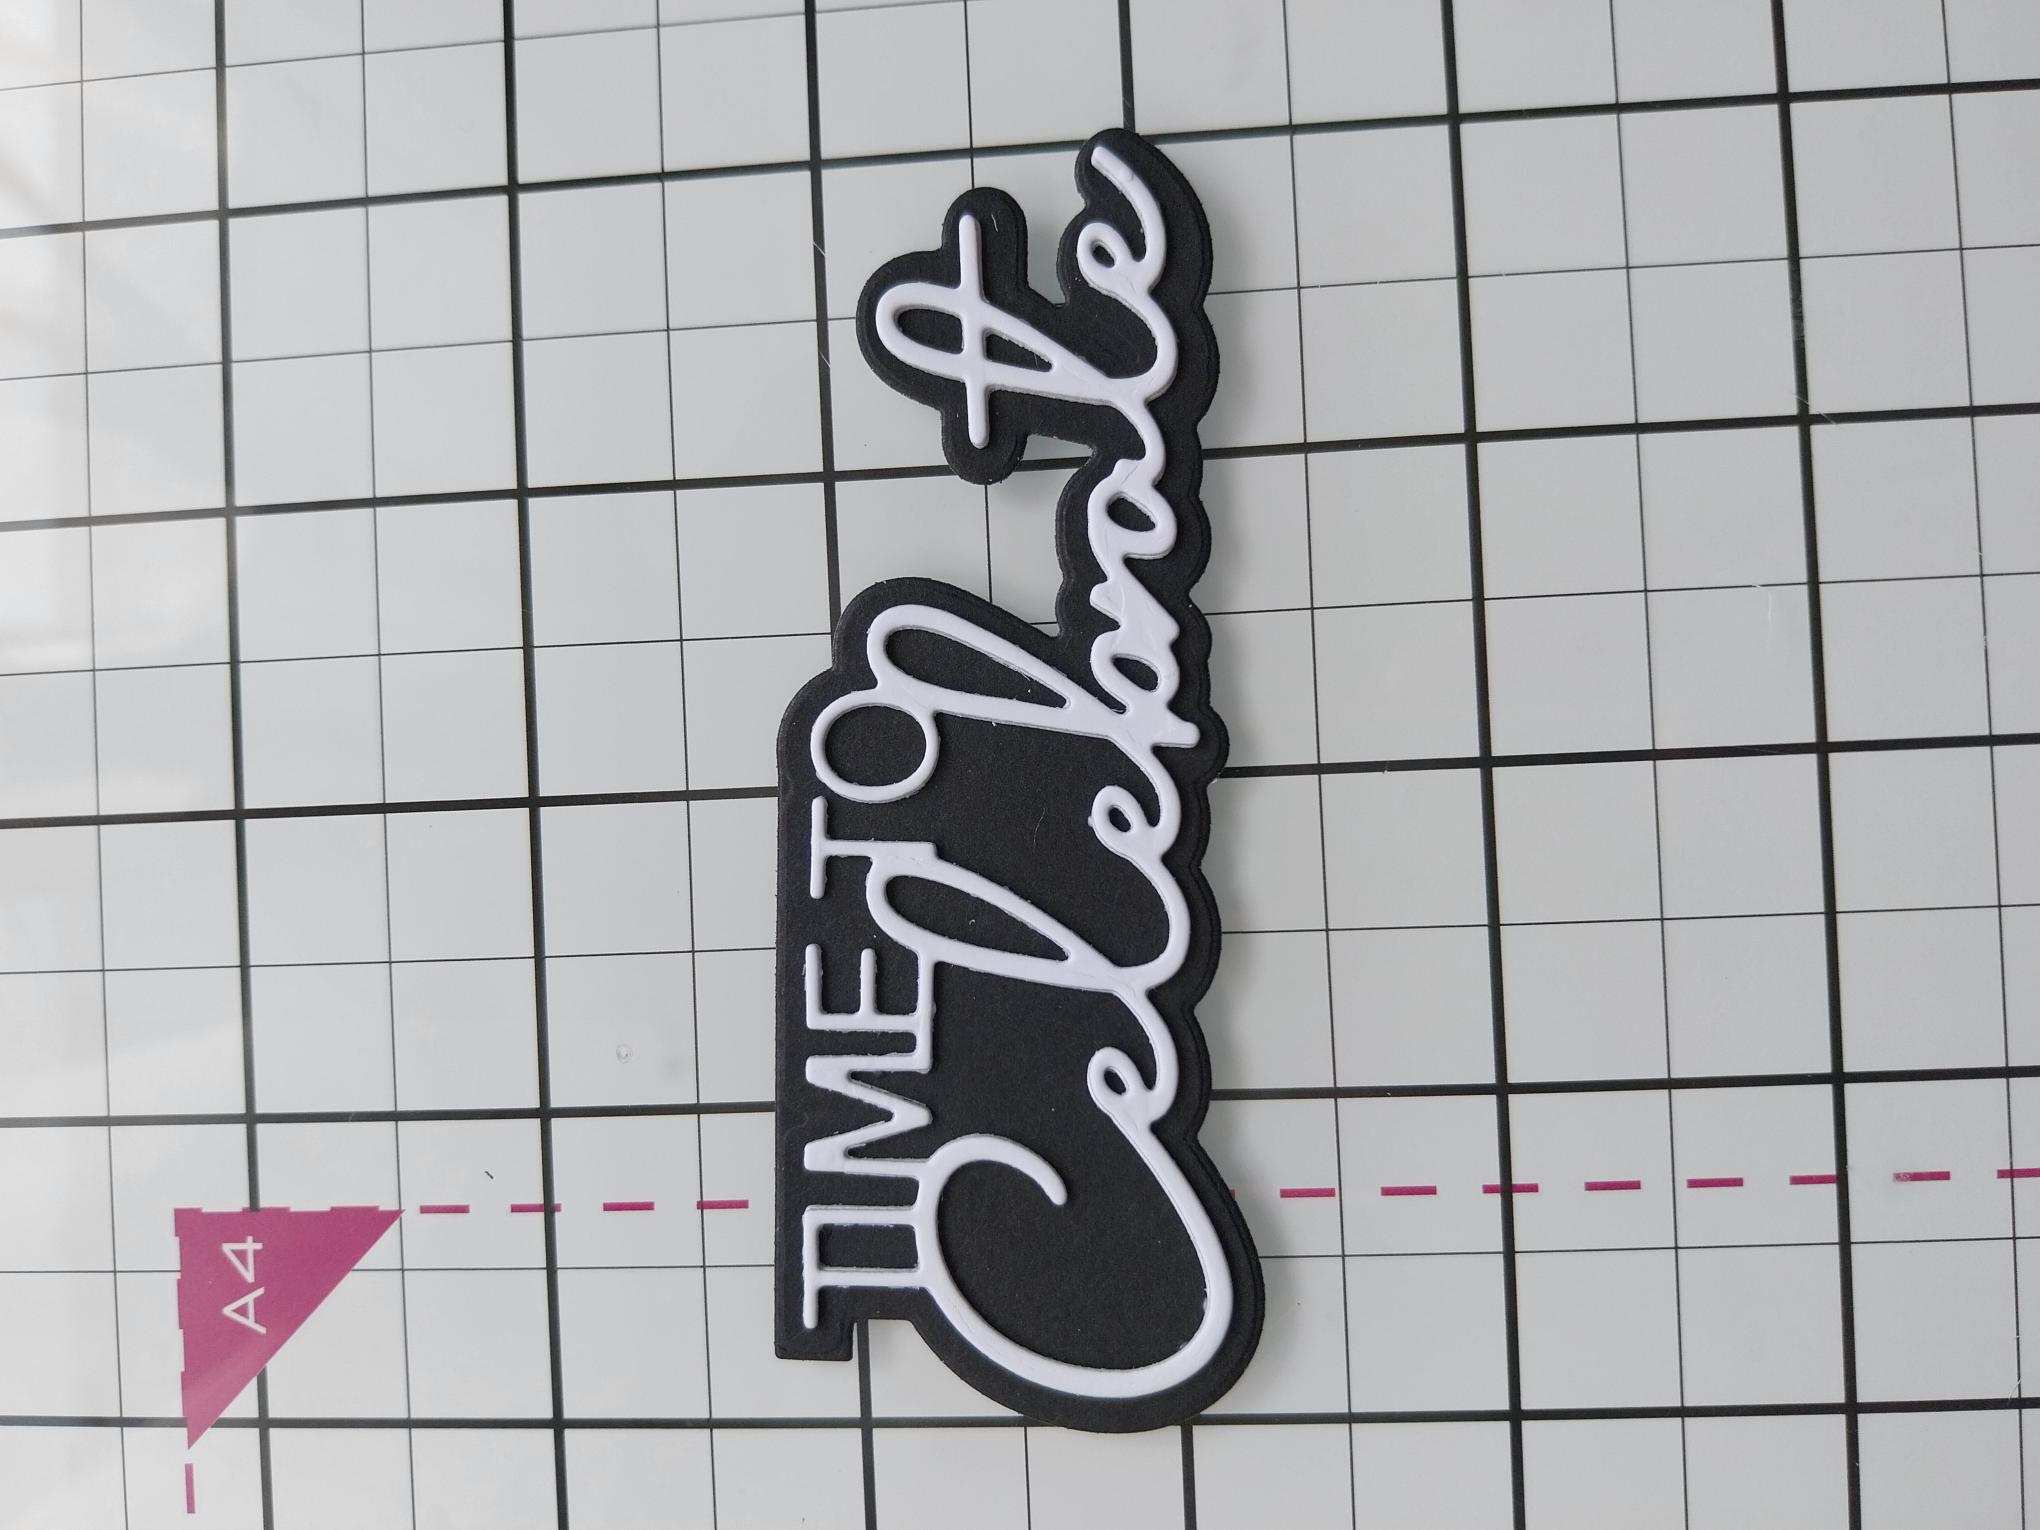
Using both the detailed and mat "Time To Celebrate" dies, from the Creative Words Die Collection, die cut TWO white detailed sentiments and ONE black sentiment mat. |
|
Adhere the two white sentiment dies together and then adhere on top of the black, die cut mat. |

|
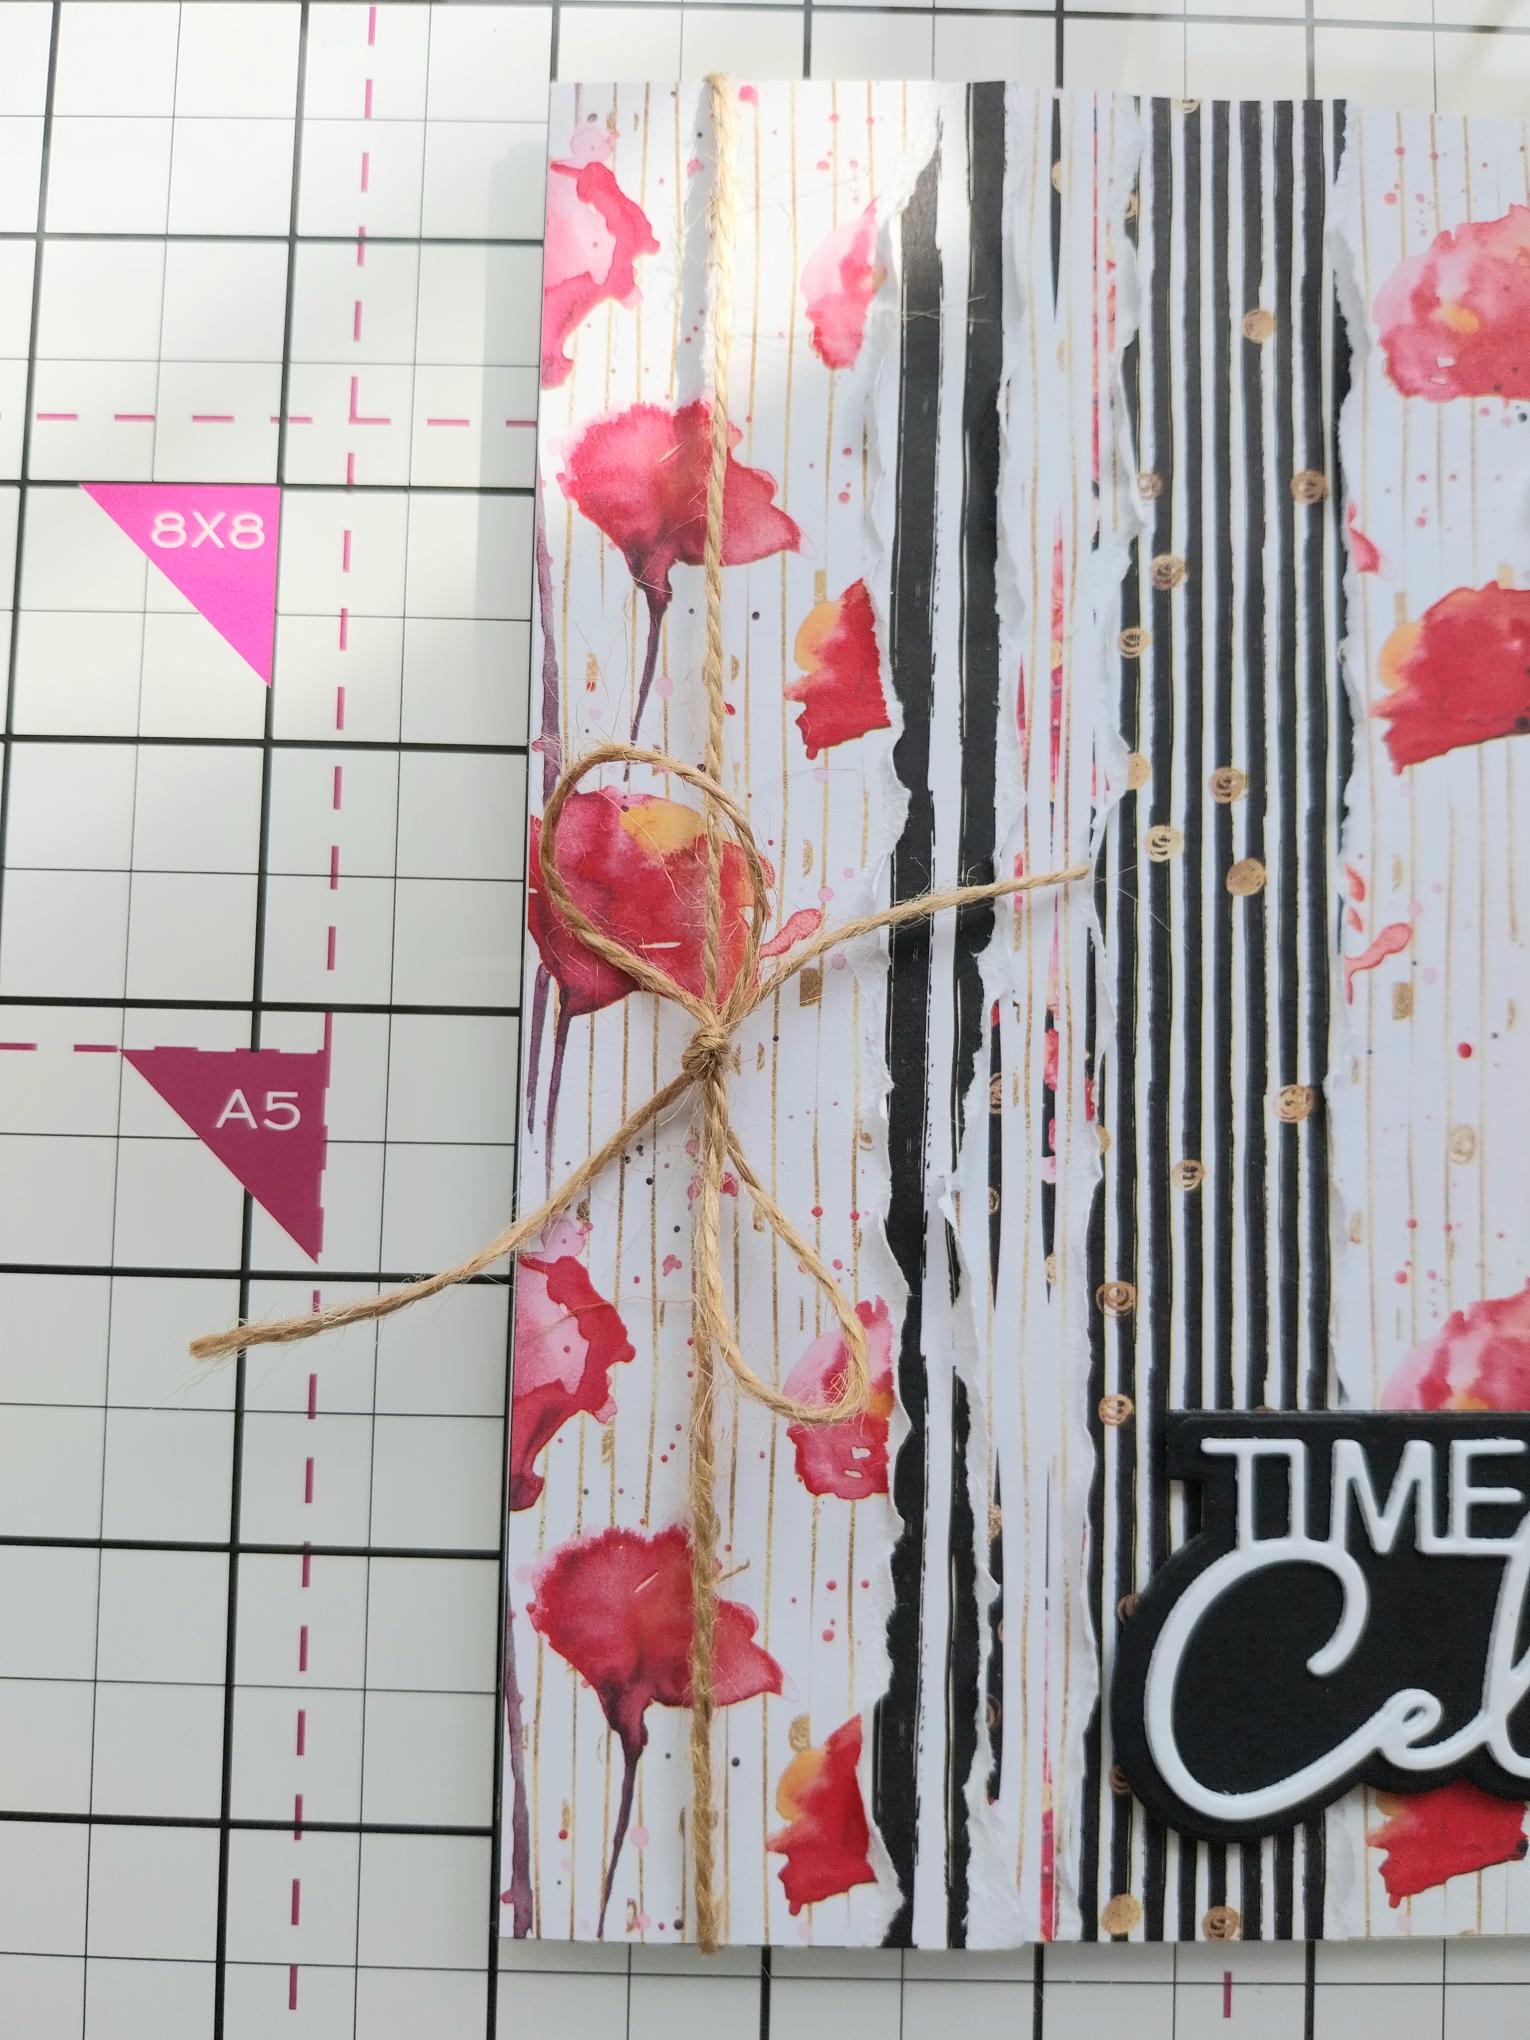
Use foam pads to adhere you die cut sentiment across the lower, right hand side of your card. |
|
To finish, tie a piece of twine around the left side, of the front page of your card, tying it in a bow over the top of the torn paper. |