Give your friends $10 off their first order!
Refer a FRIEND


WHAT YOU WILL NEED:
Kraft card blank 7 x 7"
Kraft card blank (landscape) 5 1/4 x 3 3/4"
Black/kraft cardstock
Songbirds Vintage Fold & Seal Envelopes
Songbirds Vintage Card Toppers
Winter Solstice 8 x 8" Paper Pack
Winter Solstice A5 Stamp Collection
Christmas Blessings Stamp Collection
Creative Words Die Collection
Archival Ink Pad: Shadow Grey
Versafine Ink Pad: Smoky Grey
Stickles: Unicorn
Eureka 101 Watercolour Tablet
SBM Magnetic glass mat
Paper Trimmer
Perfect Together Glue
Red liner tape
Die Cutting machine
[click image to enlarge] 
|
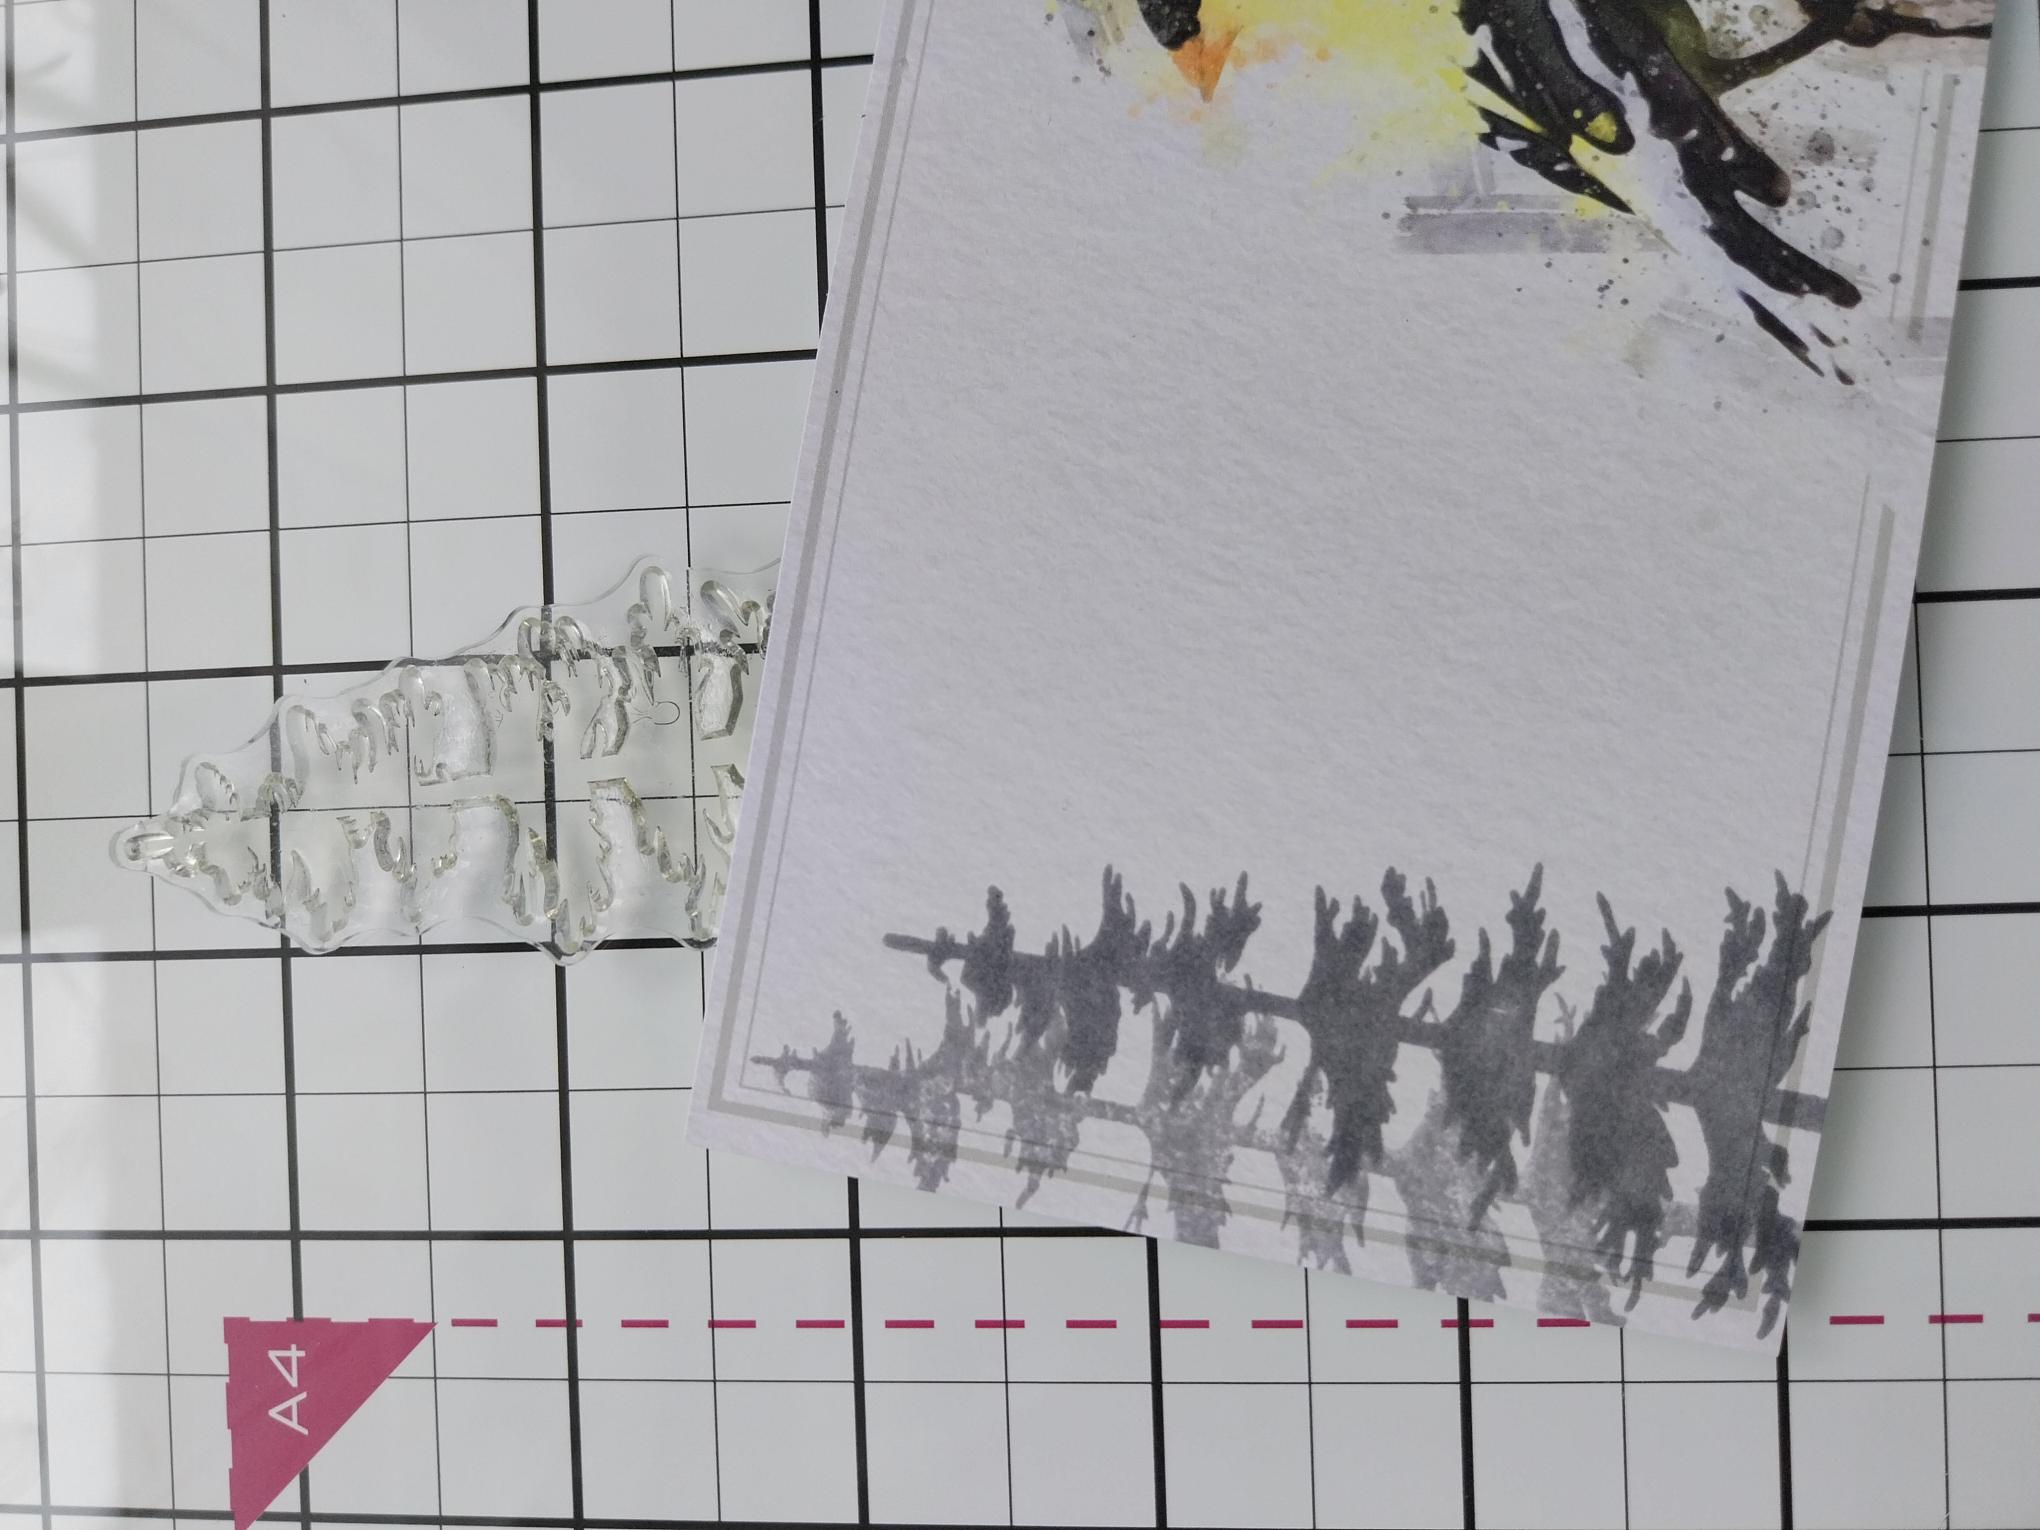
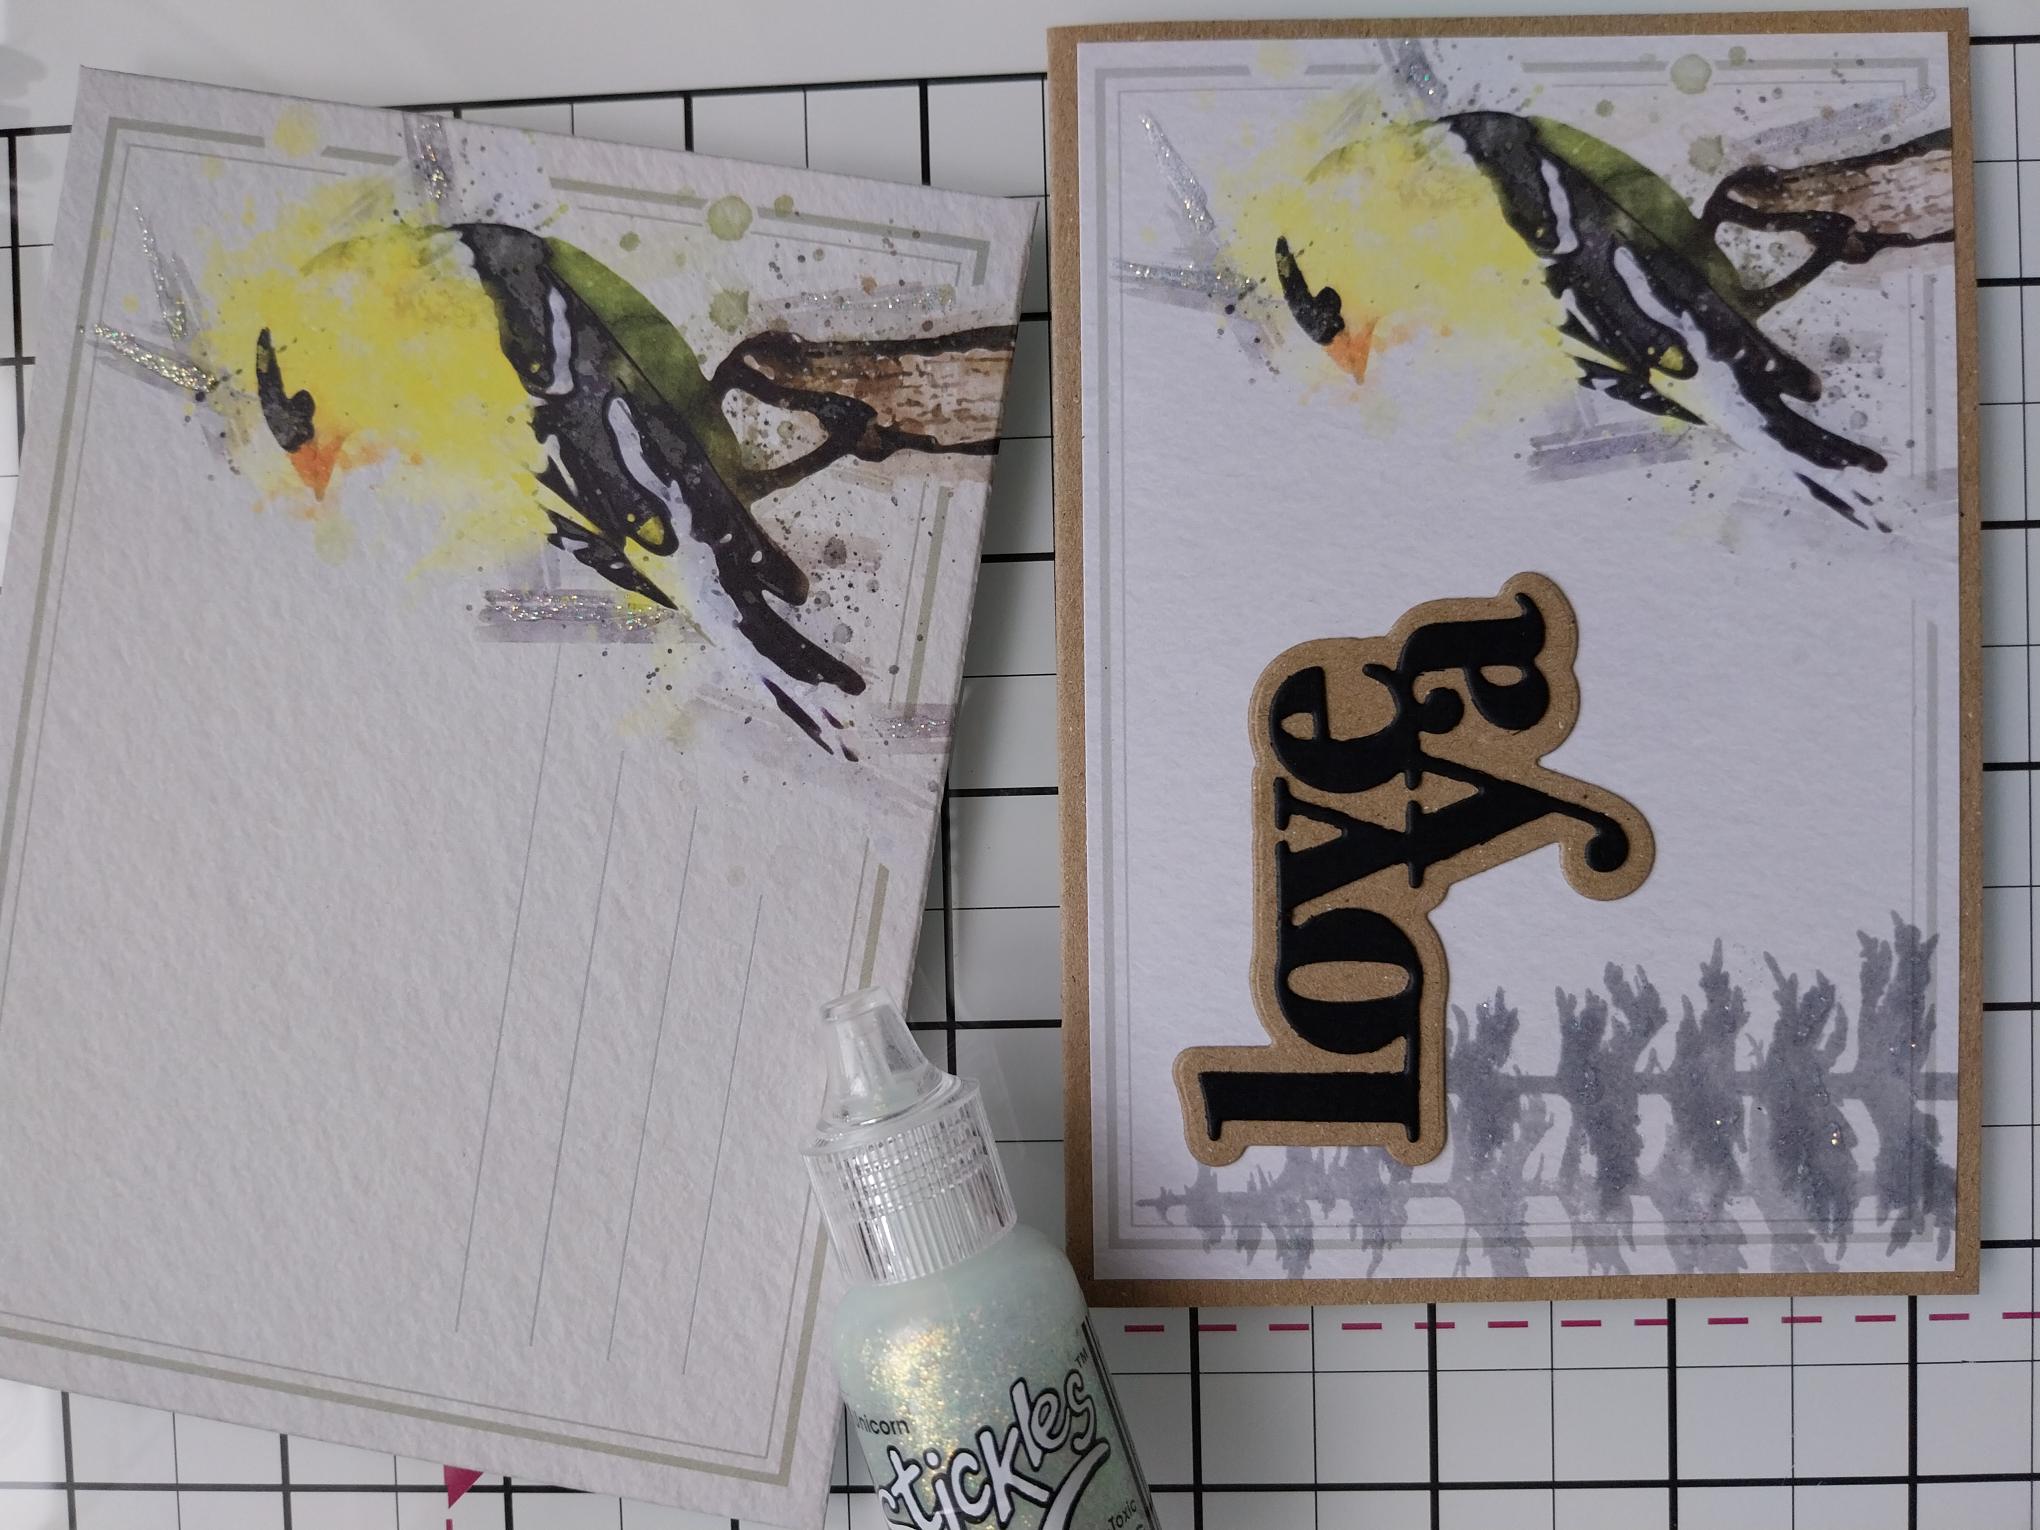
You will need this beautiful Vintage Songbirds topper and coordinating envelope, for this project. Fold along the pre-scored lines and seal the envelope flaps in place with a little wet glue or tape. |
|
Stamp this tree, from Winter Solstice, in the Archival ink, down the left side of the topper. Do not re-ink but stamp it again, this time taking it off the left edge of the topper....this is known as first and second generation stamping. |
|
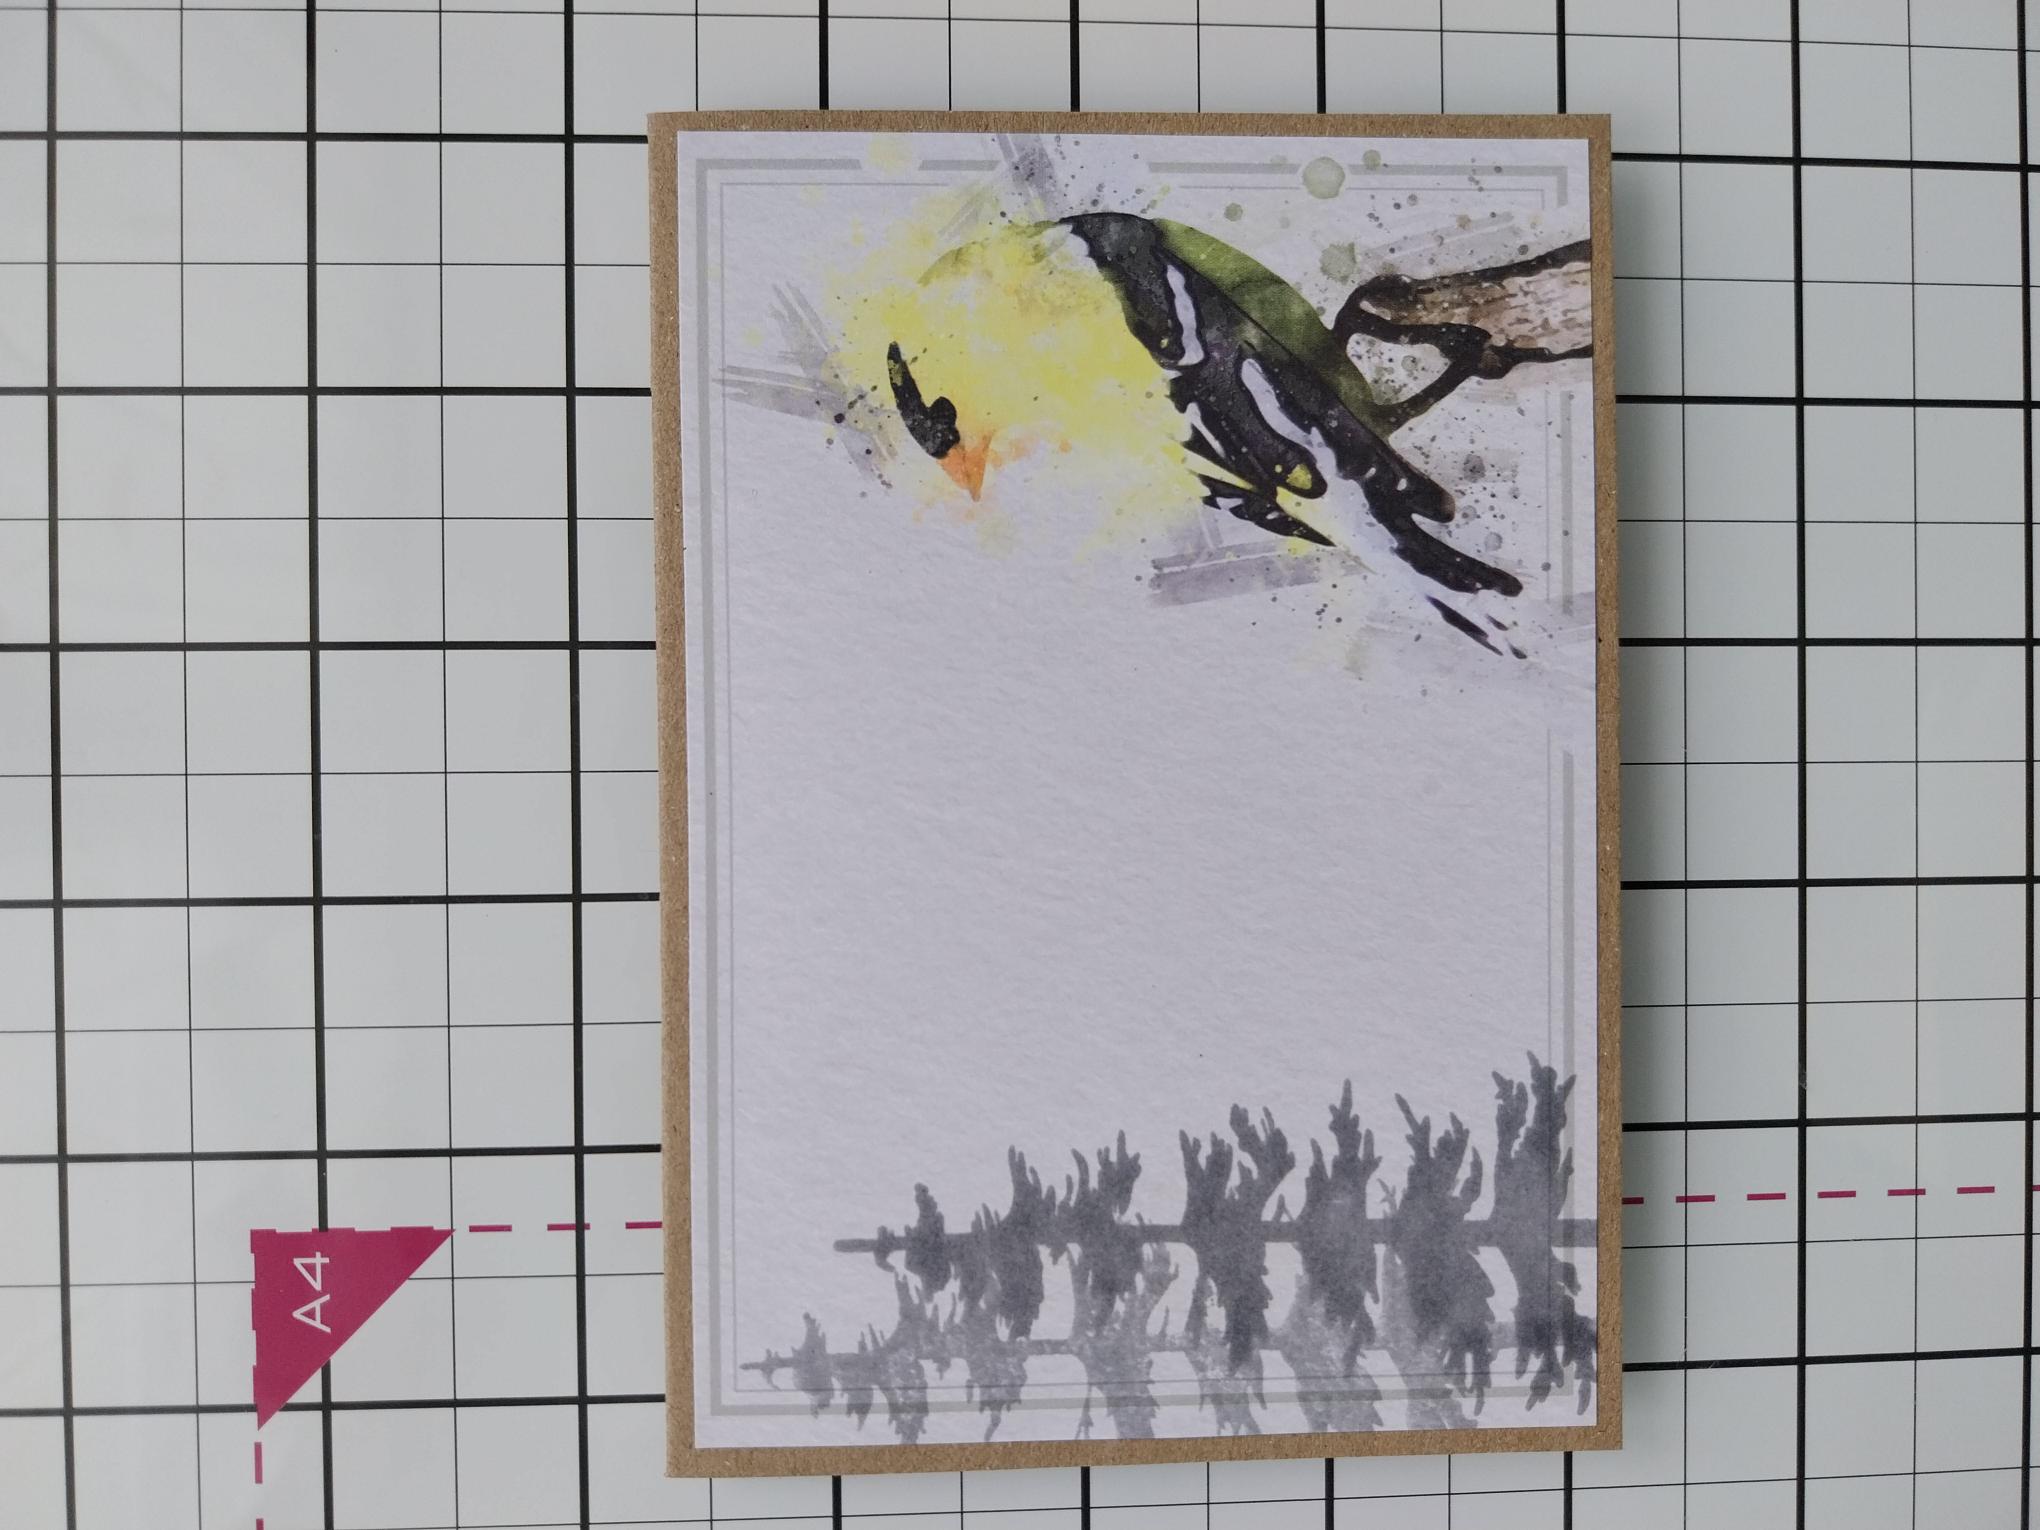
Adhere your topper to the landscape, kraft card blank, then pop to one side, with the matching envelope. |
|
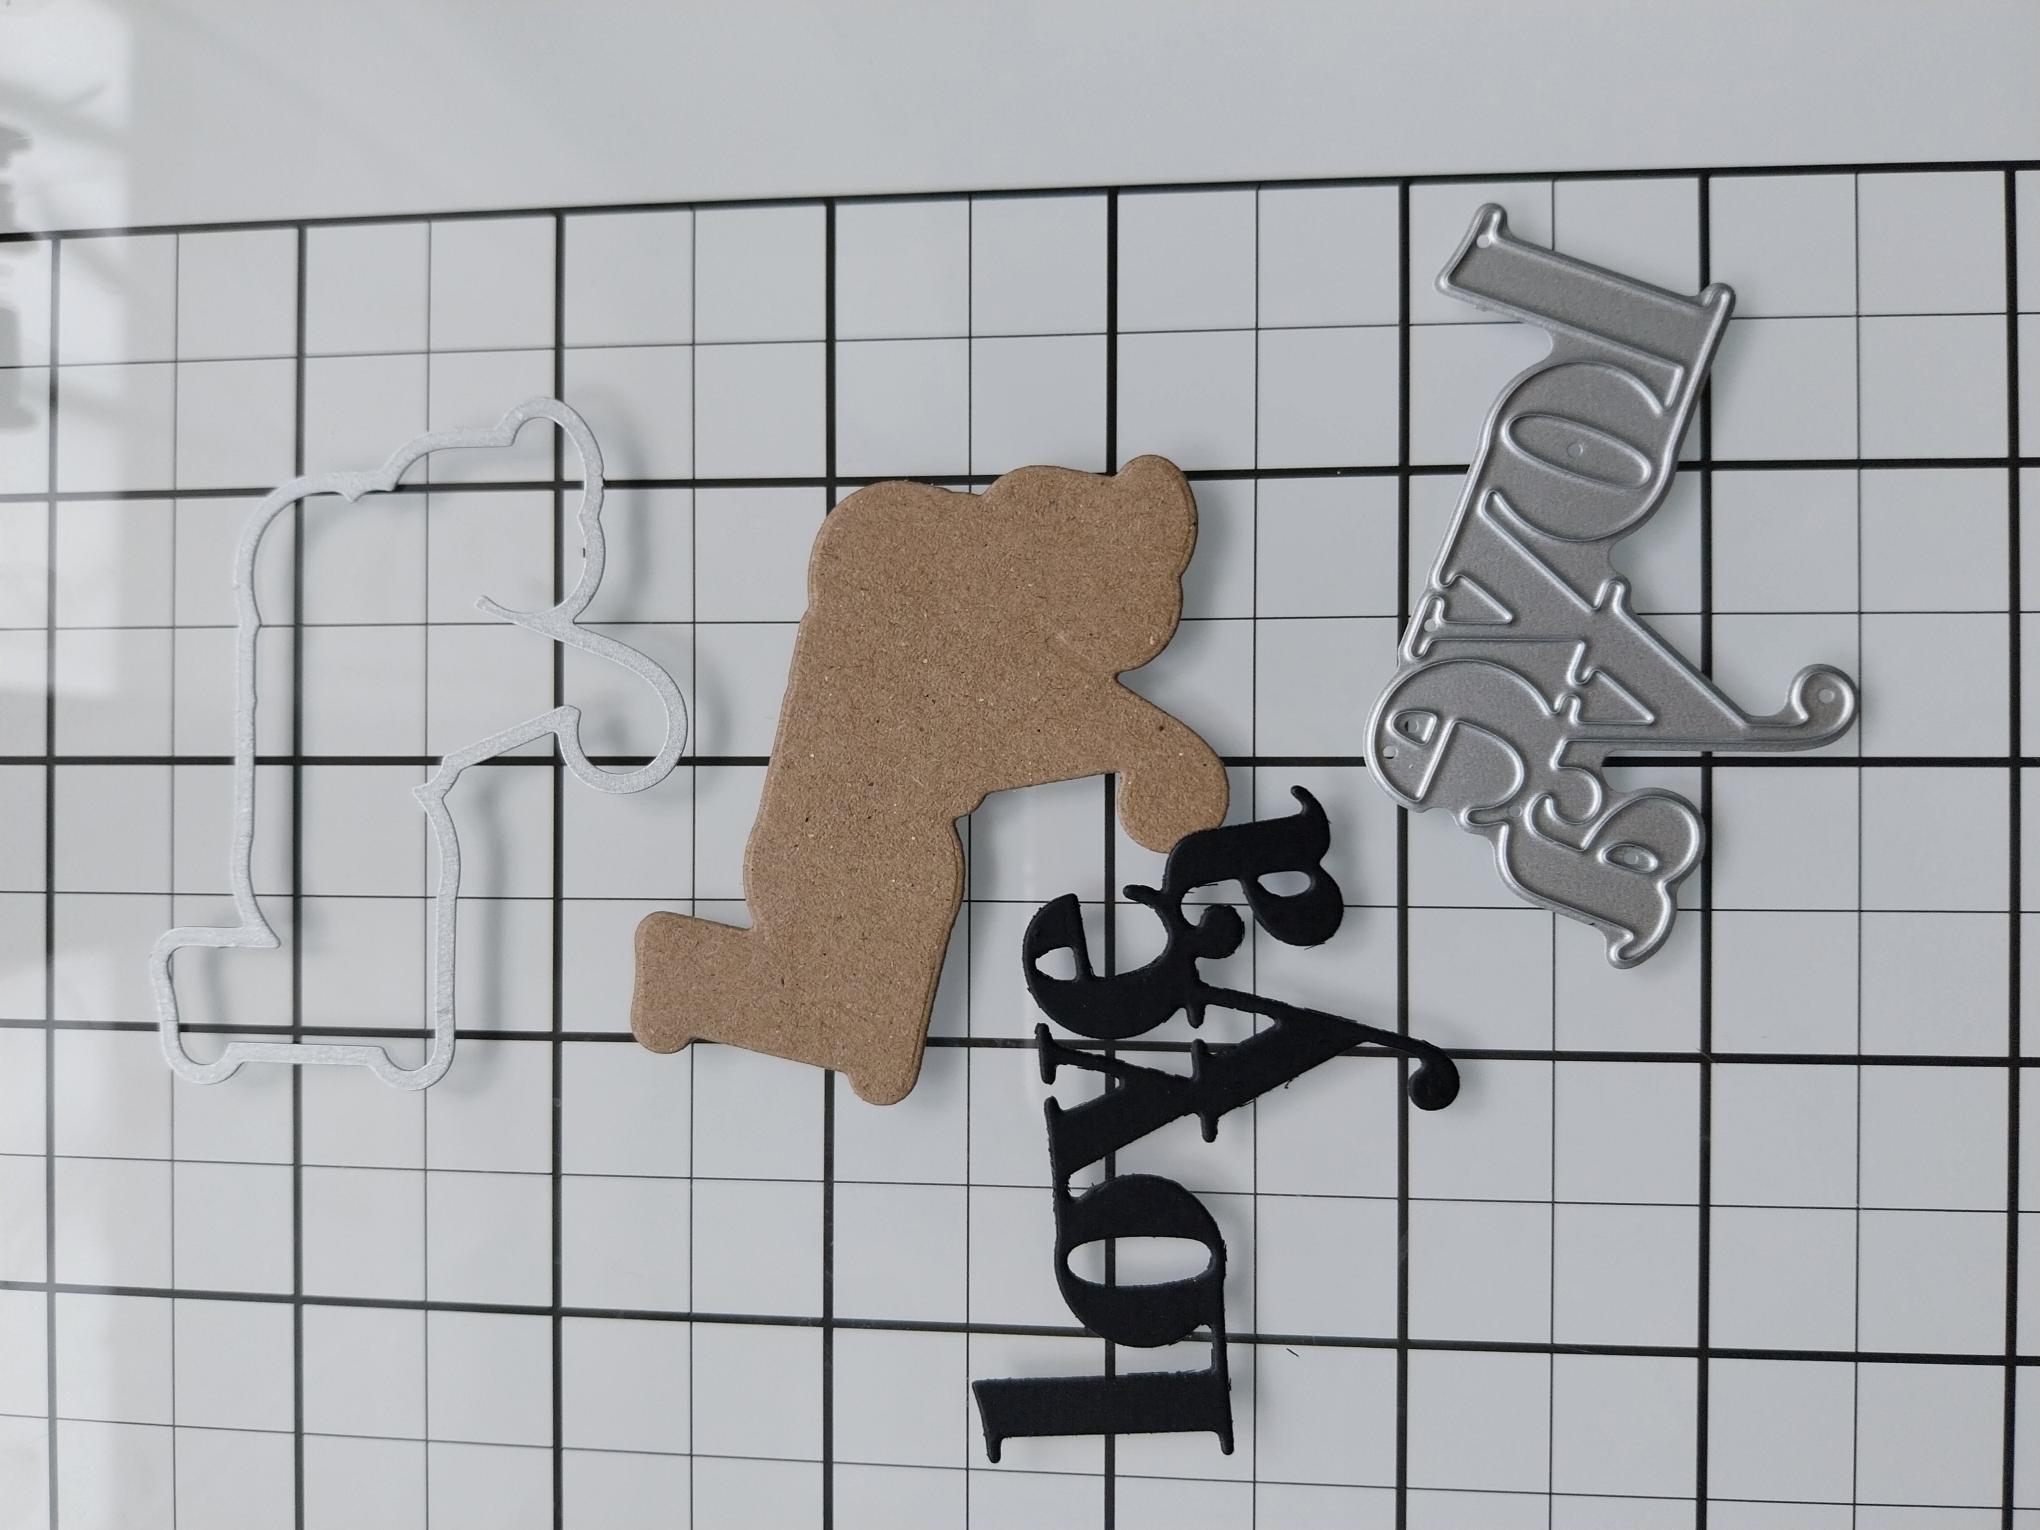
Use the "Love Ya" from the Creative Dies Collection, to cut a mat from kraft card and the detailed die from black card. |

|
Adhere together, to create your layered sentiment. |

|
Glue your sentiment to the top left of your card and set to one side. |
|
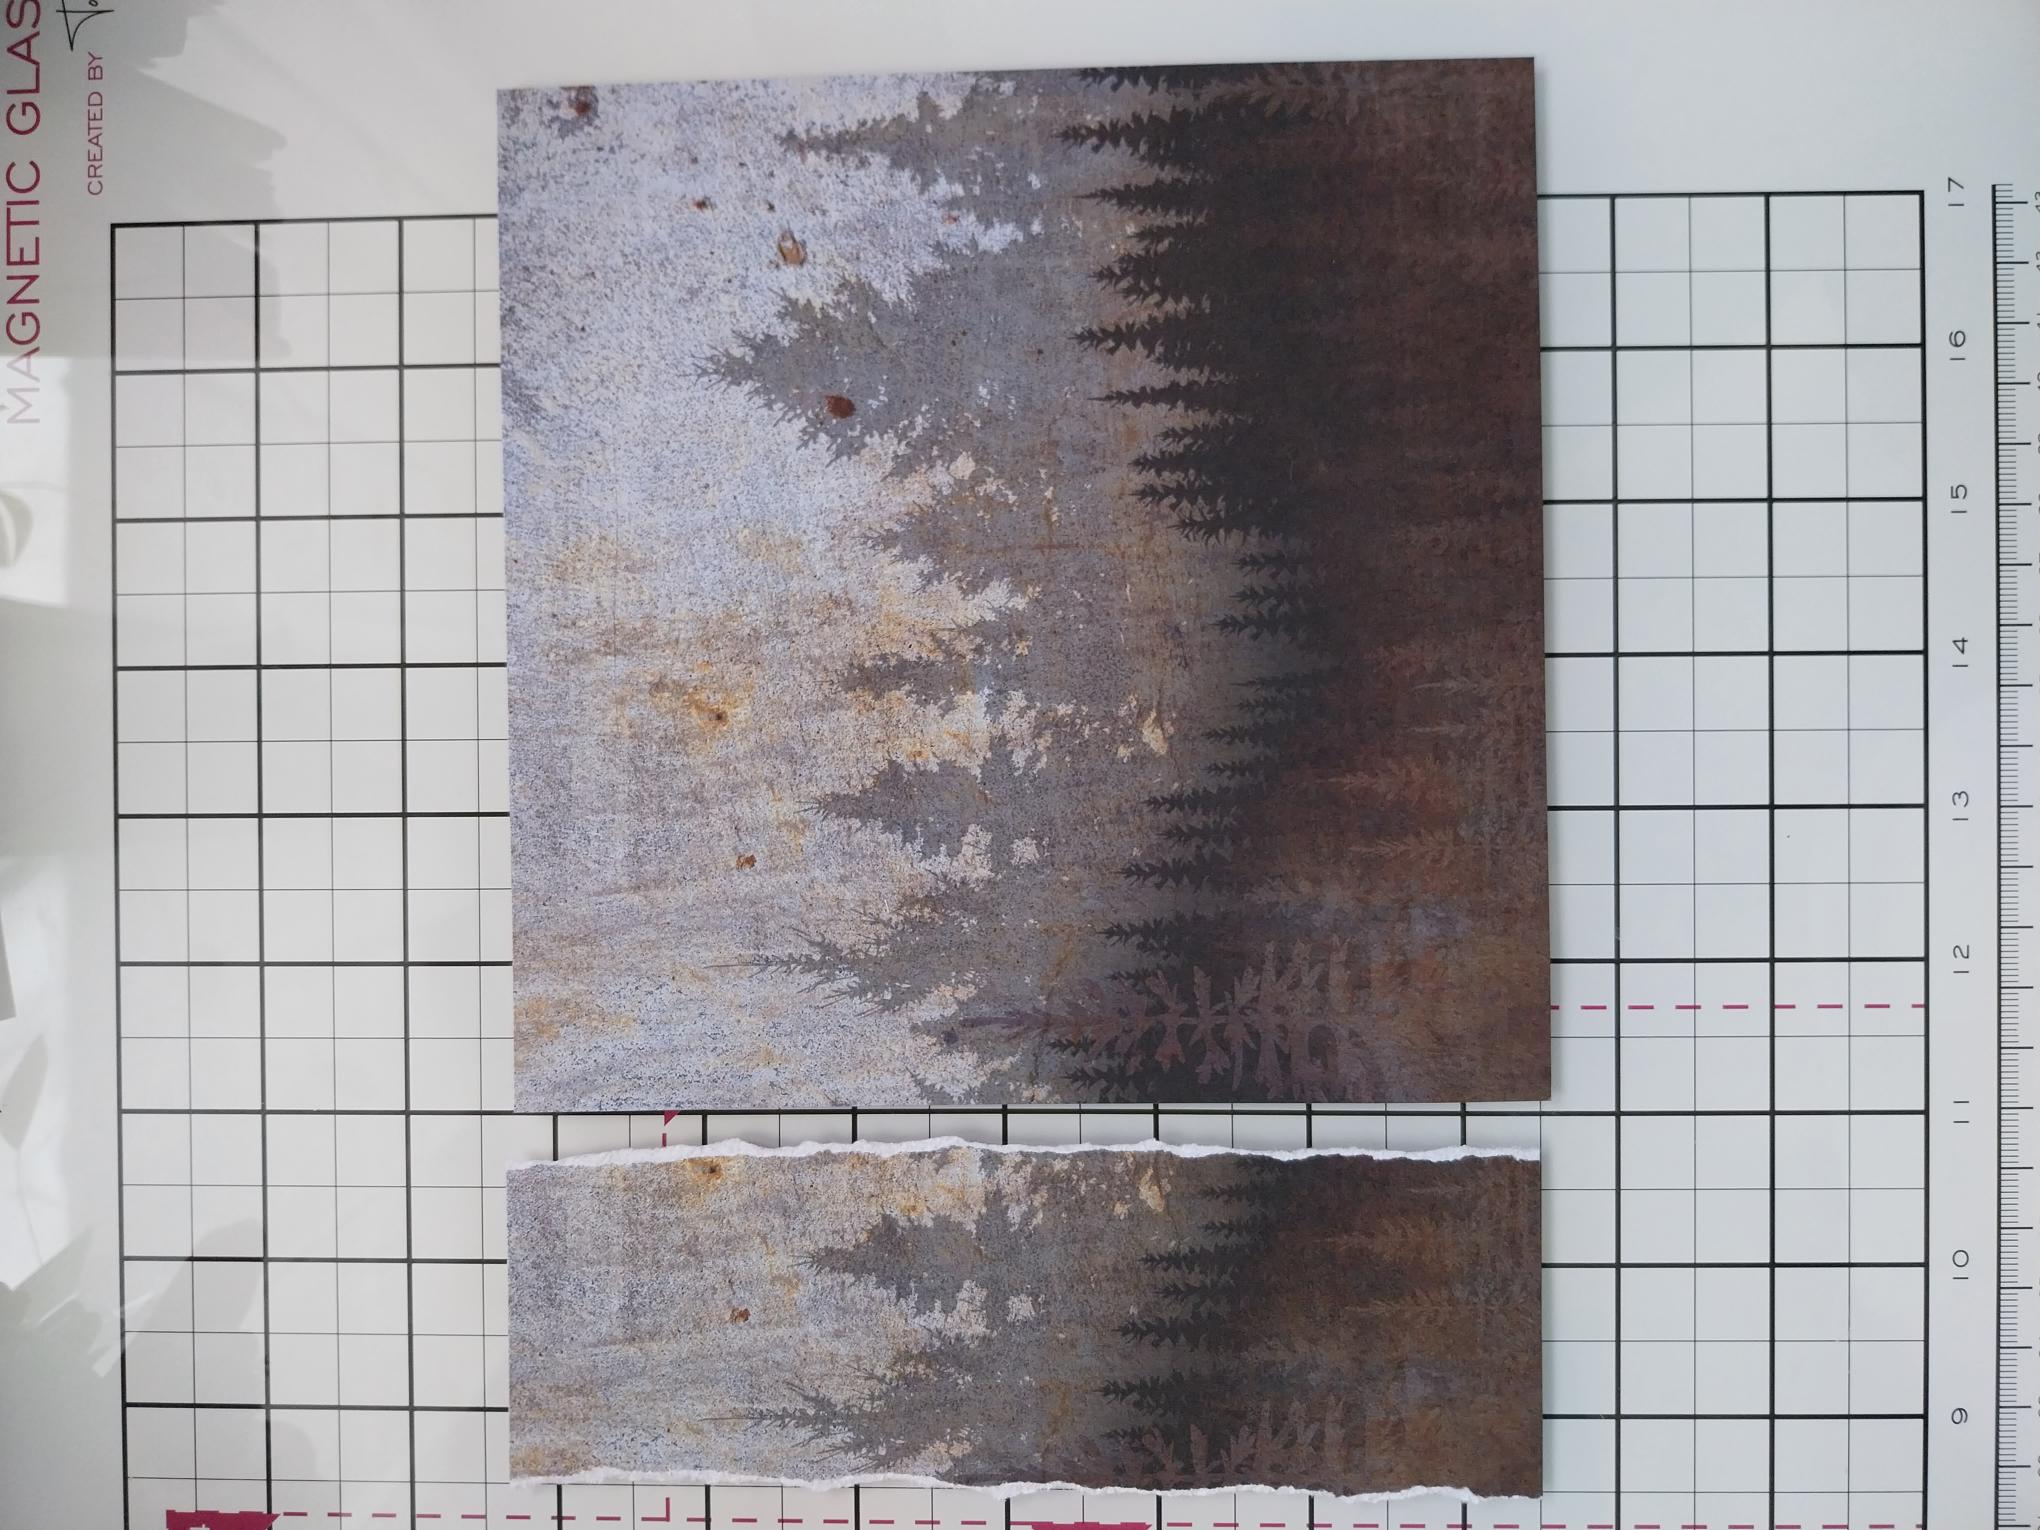
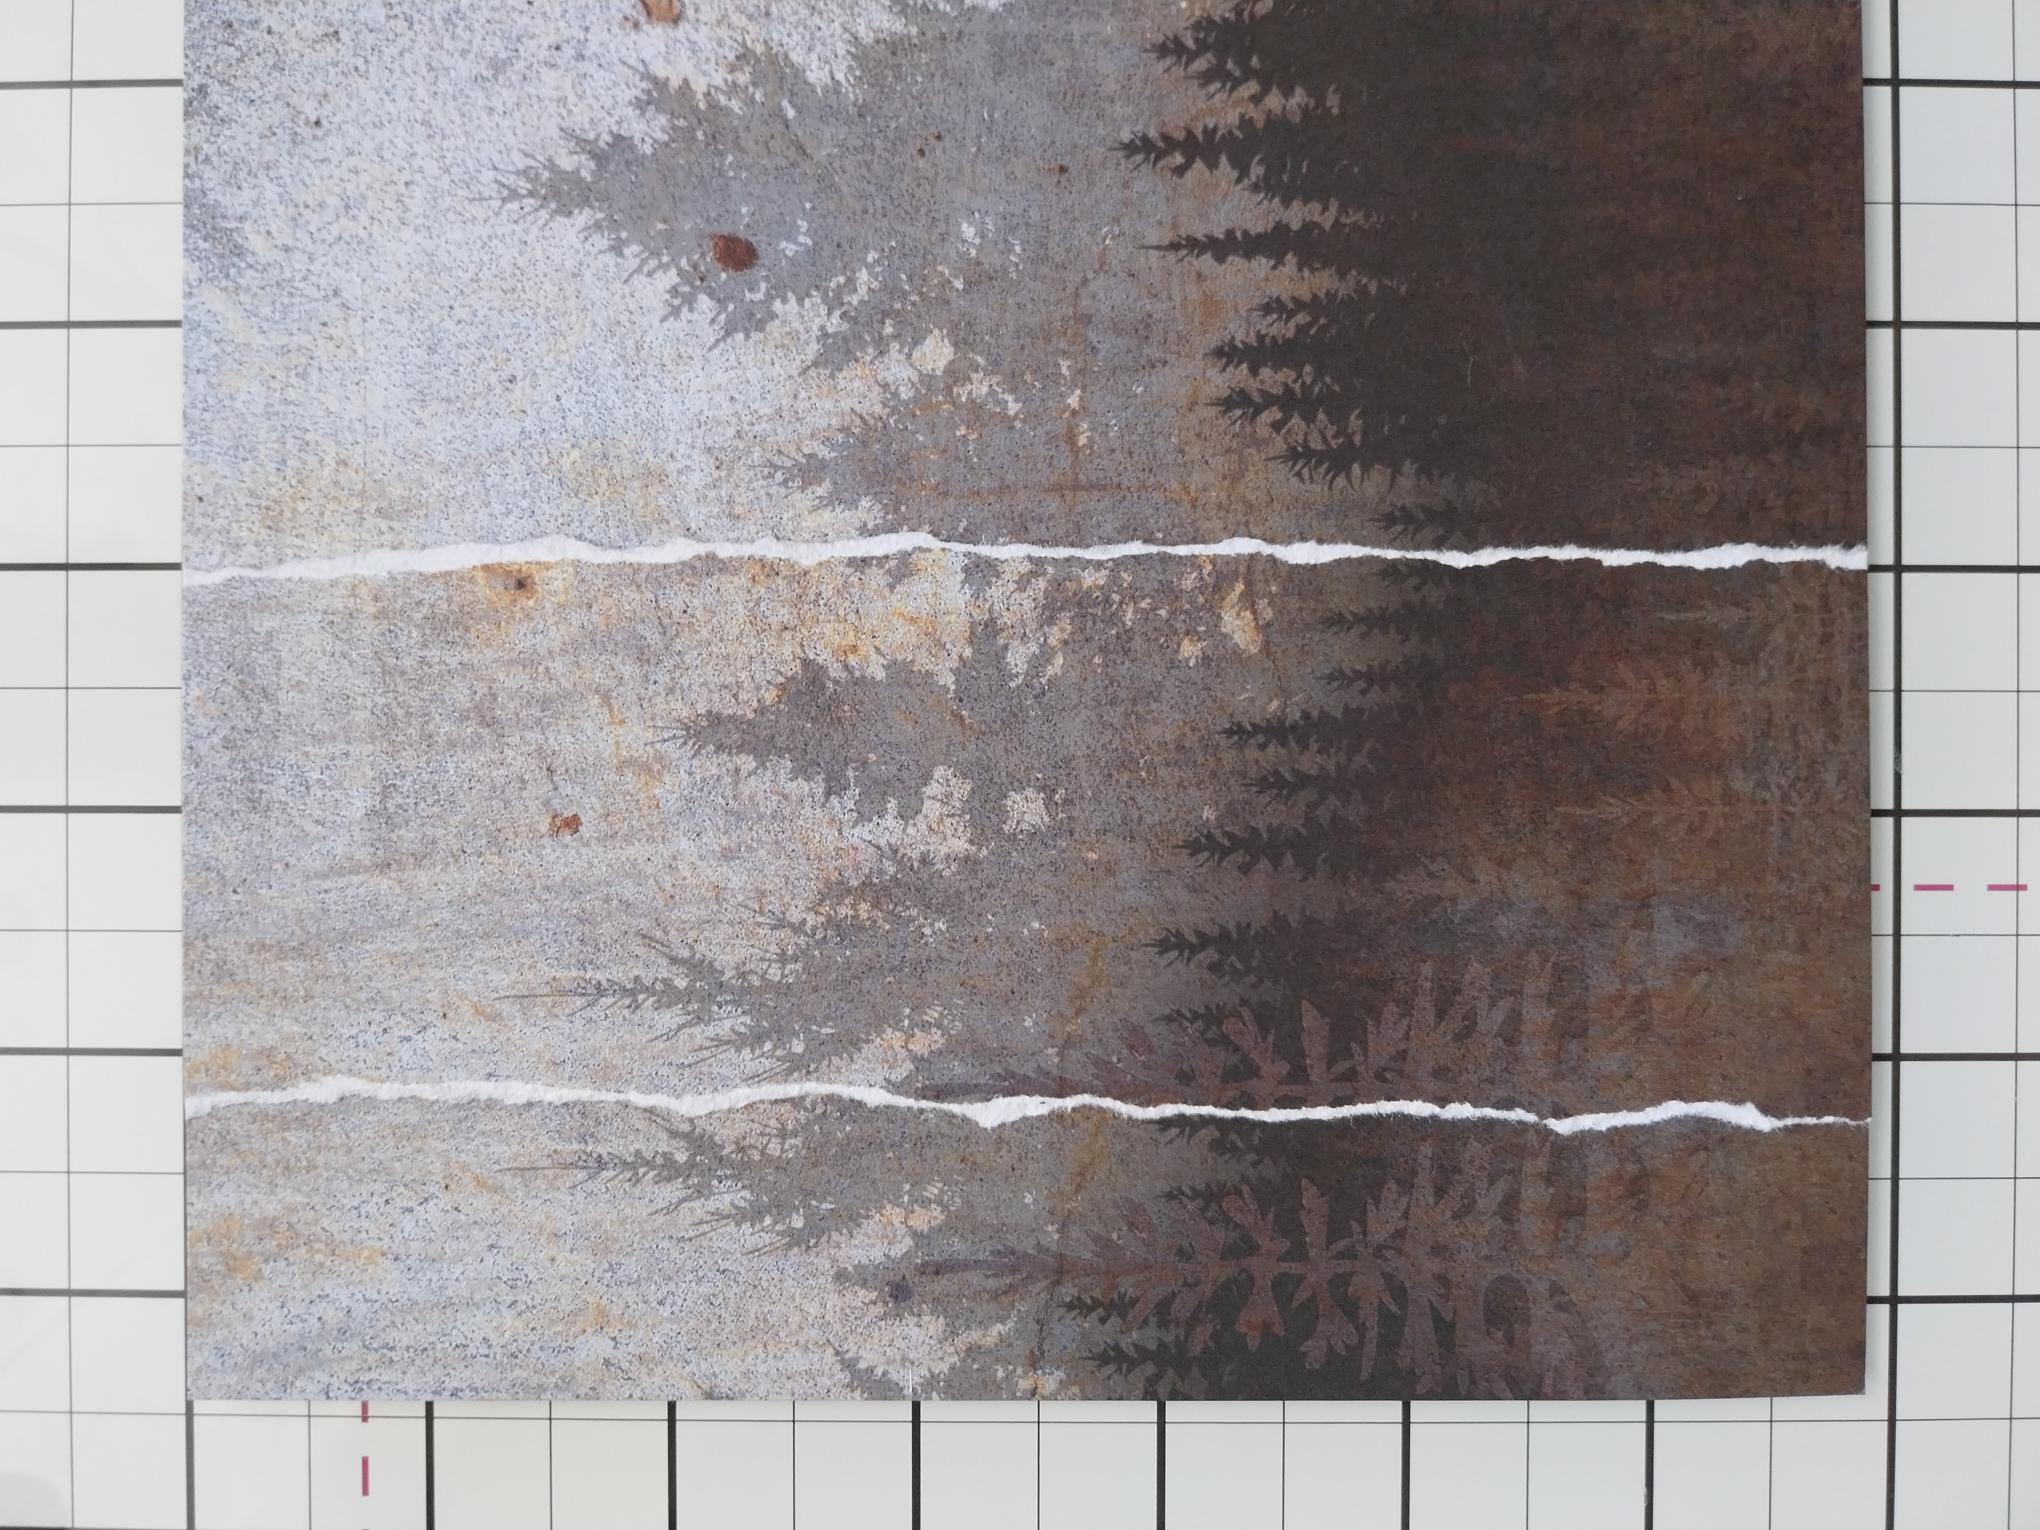
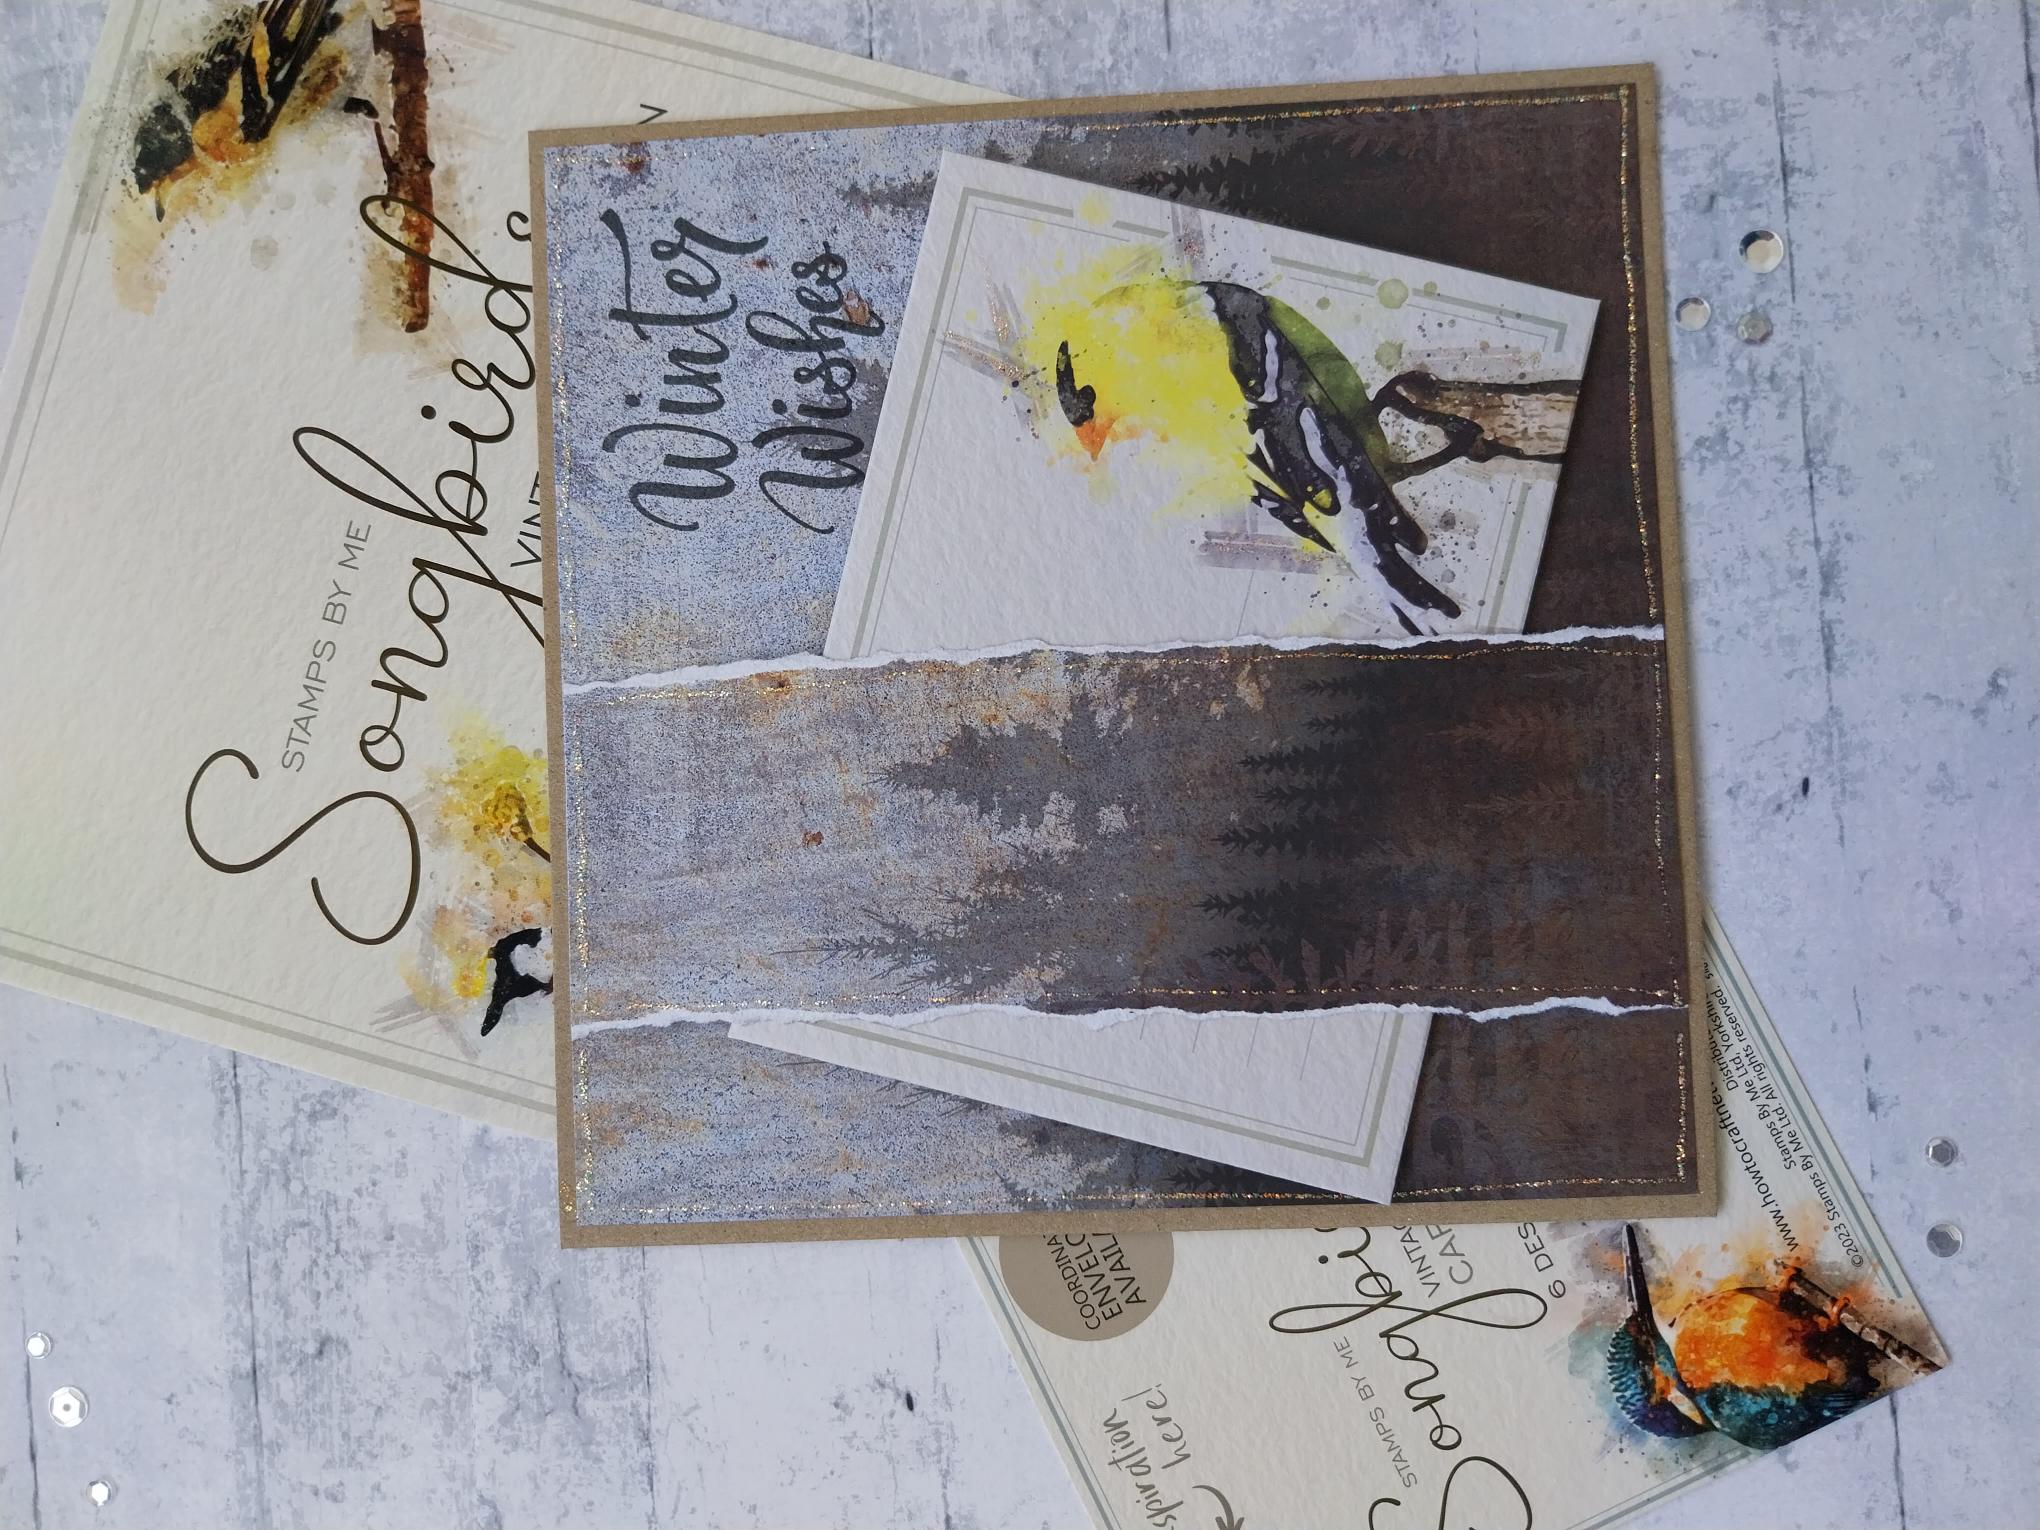
Take TWO sheets of this decorative paper from the Winter Solstice 8 x 8" Paper Pack. Trim the first to 6 3/4" square. You need to tear a panel from the second piece, ensuring that when the panel is lined up with the pattern on the first sheet, the panel will sit just to the left of the centre line (see next step). |
|
Place a piece of red liner tape along the top and bottom of the panel only. Peel off the backing, line up the image on the panel with the image on the square paper underneath and adhere in place. You now have an "open" band to slide your gift card under. |
|
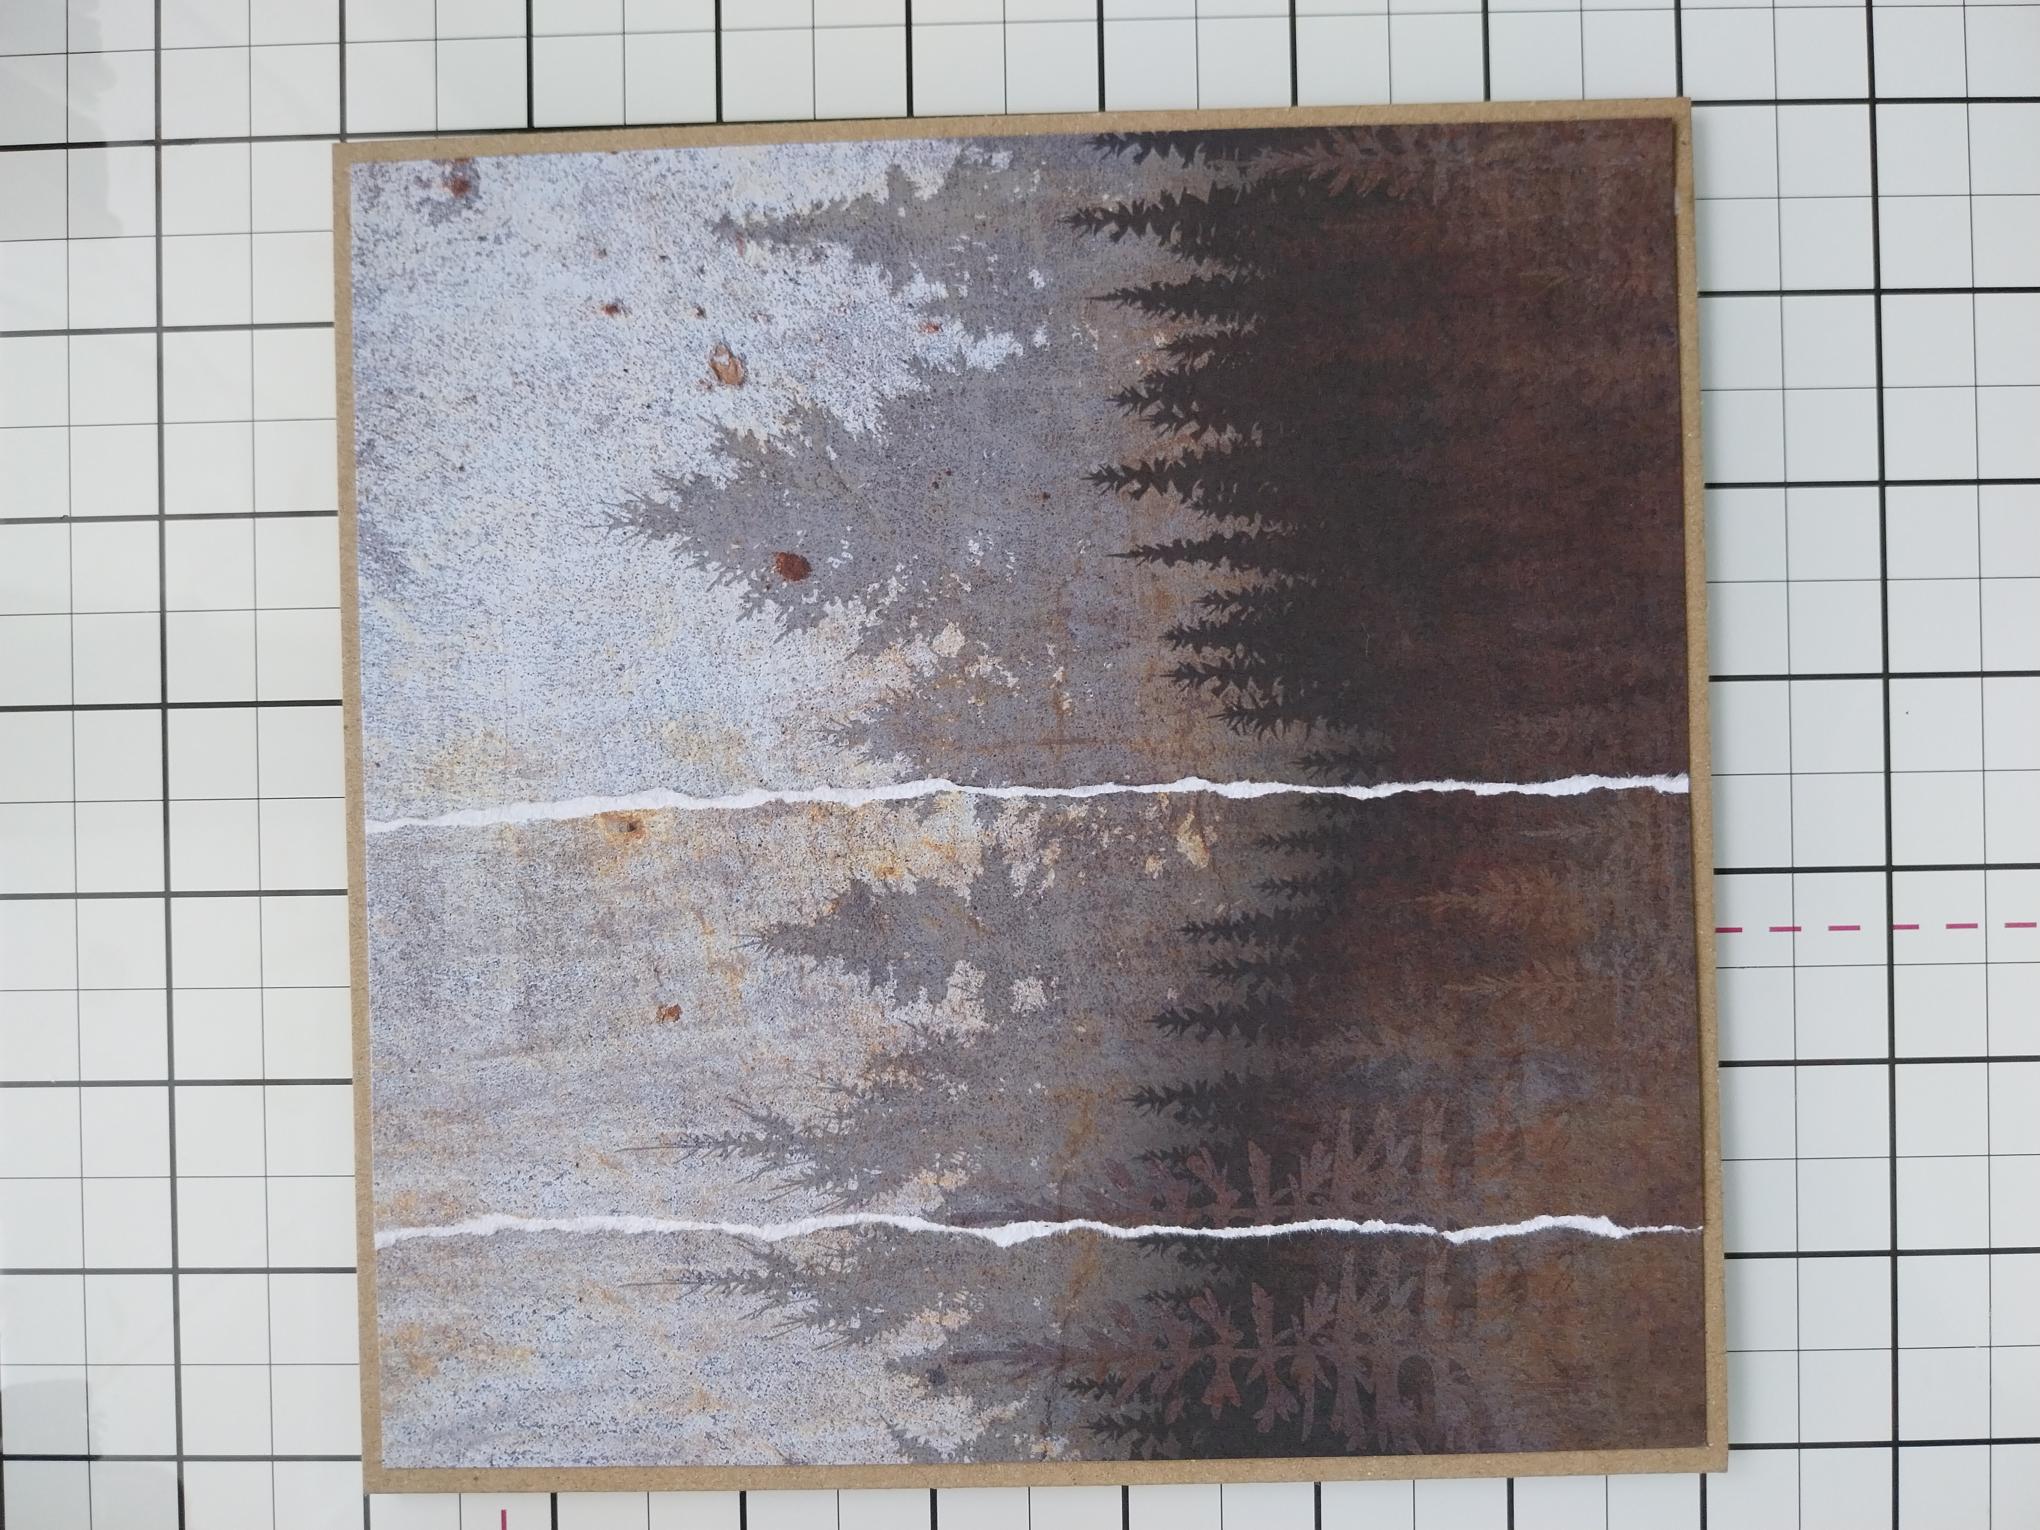
Adhere this to the front of your 7" square, kraft card blank. |
|
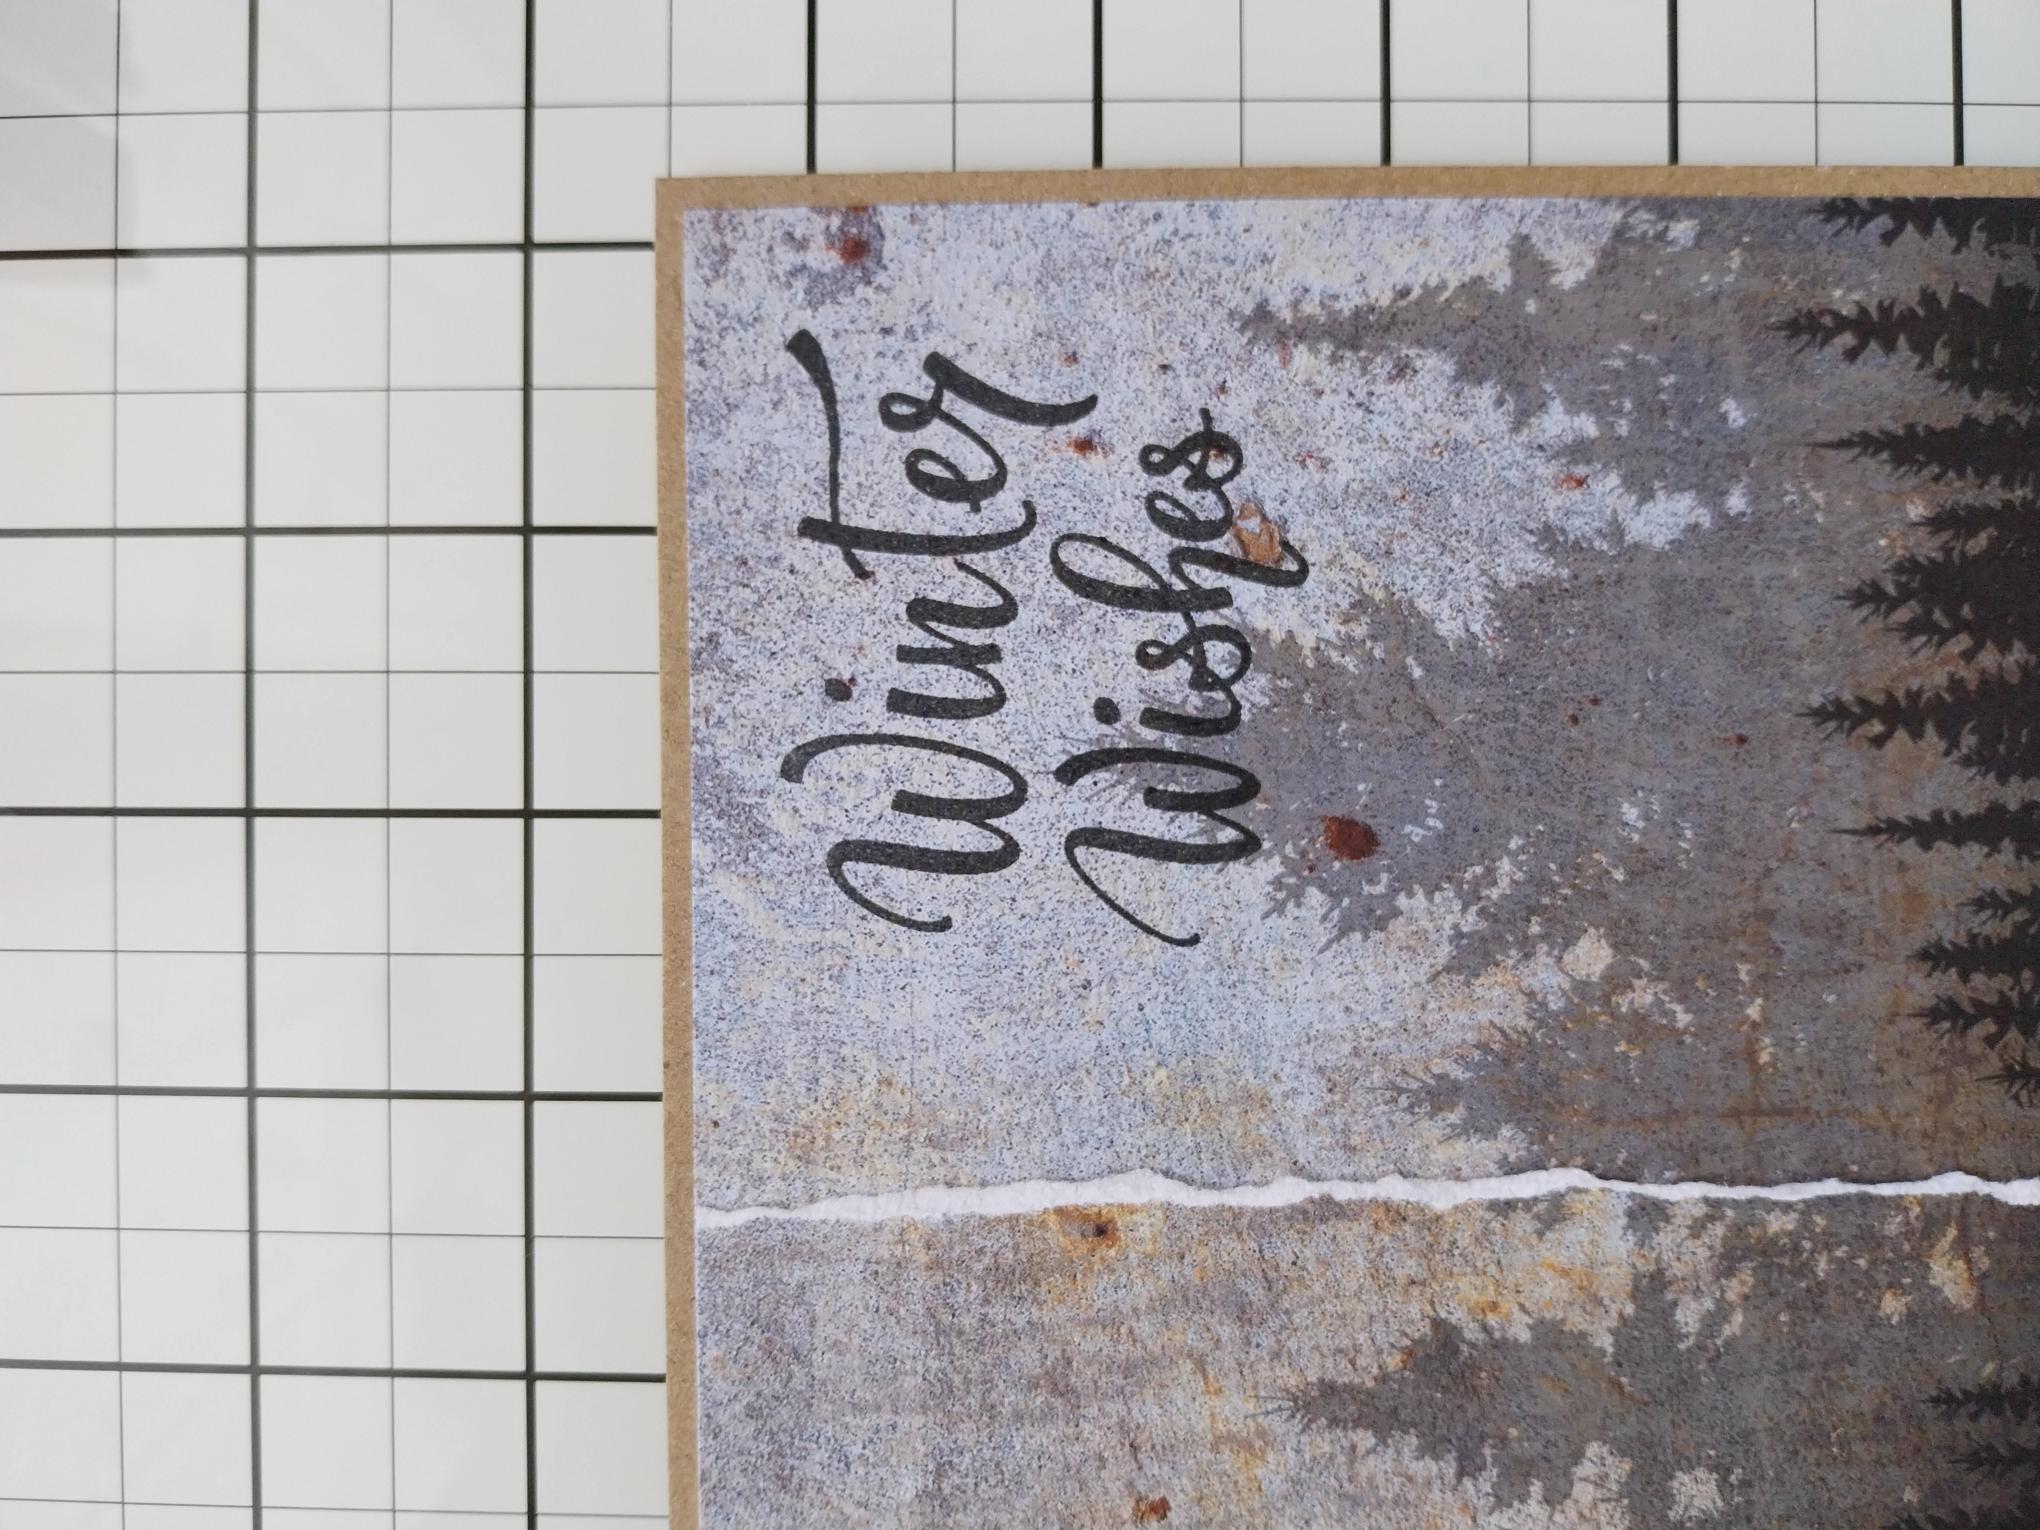
Stamp your sentiment with the Smokey Grey Versafine, in the top right corner of your card. |
|
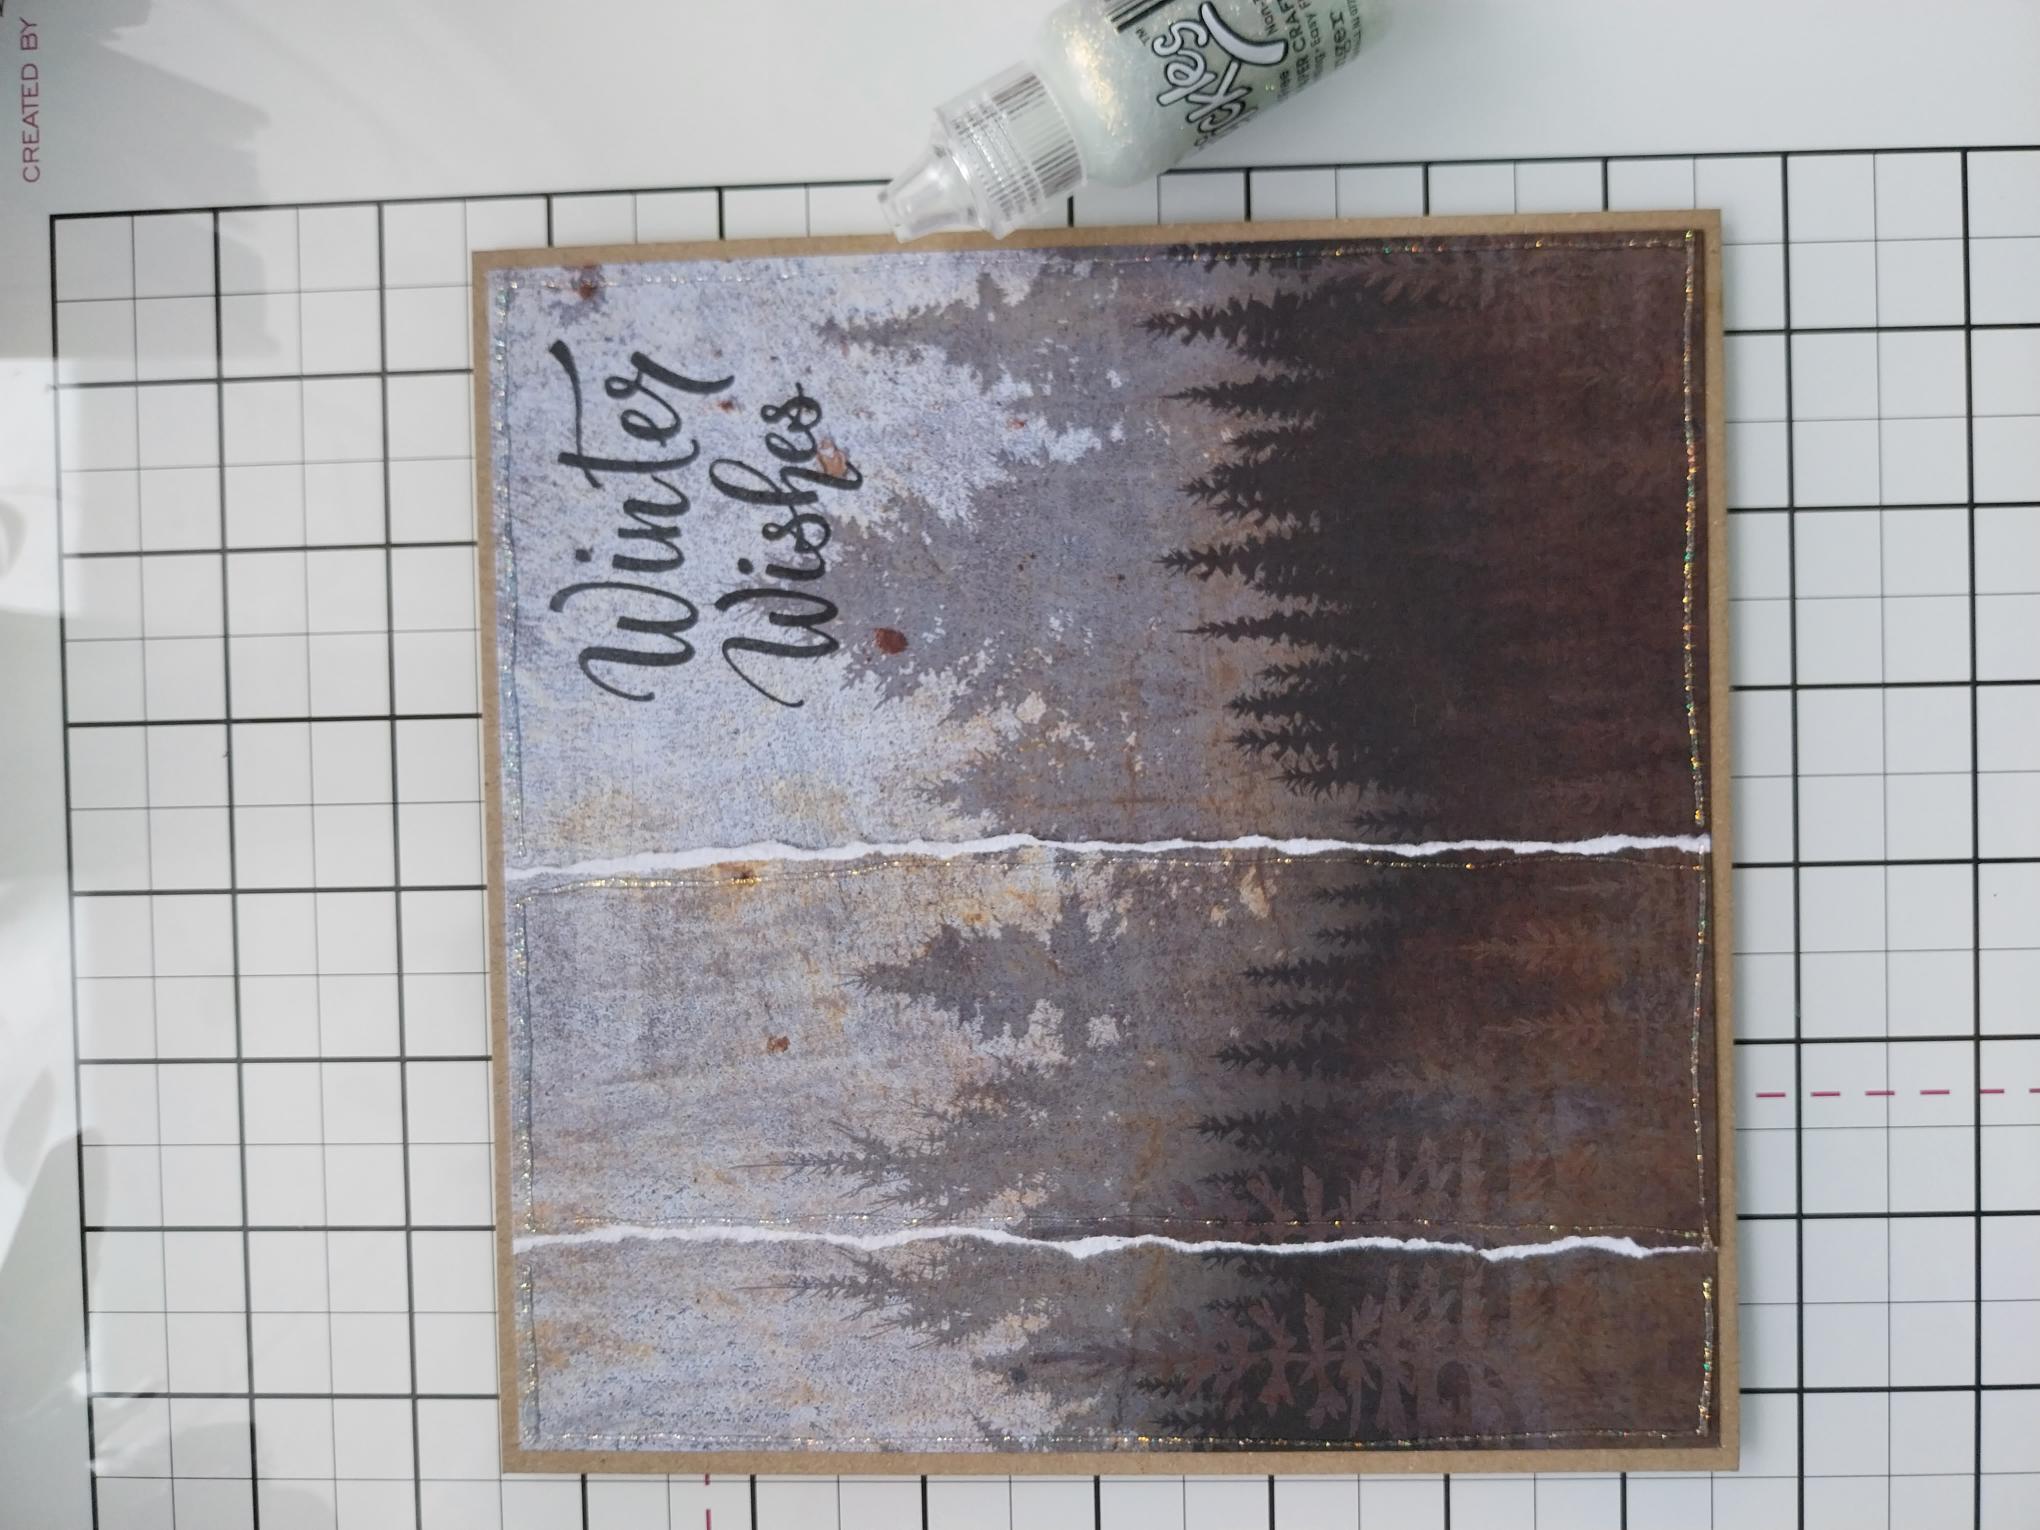
Use your Stickles to add a touch of festive sparkle and glitter, to the forest trees. |
|
Add a touch of sparkle to your coordinating card and envelope. |
|
Once the glitter is dry, you can pop your card in the envelope and slide it under the torn band. Voila, one beautiful card and gift card ready to give to a loved one. |