Give your friends $10 off their first order!
Refer a FRIEND


WHAT YOU WILL NEED:
Kraft card blank (x2) 5 1/4 x 3 3/4"
White card blank (x2) 5 1/4 x 3 3/4"
Kraft/black/white cardstock
Songbird Noir Fold & Send Envelope Collection
Songbird Noir Card Topper Collection
Songbird Vintage Fold & Send Envelope Collection
Songbird Vintage Card Topper Collection
Tied With Love Die Collection
Saying Hello Stamp and Die Collection
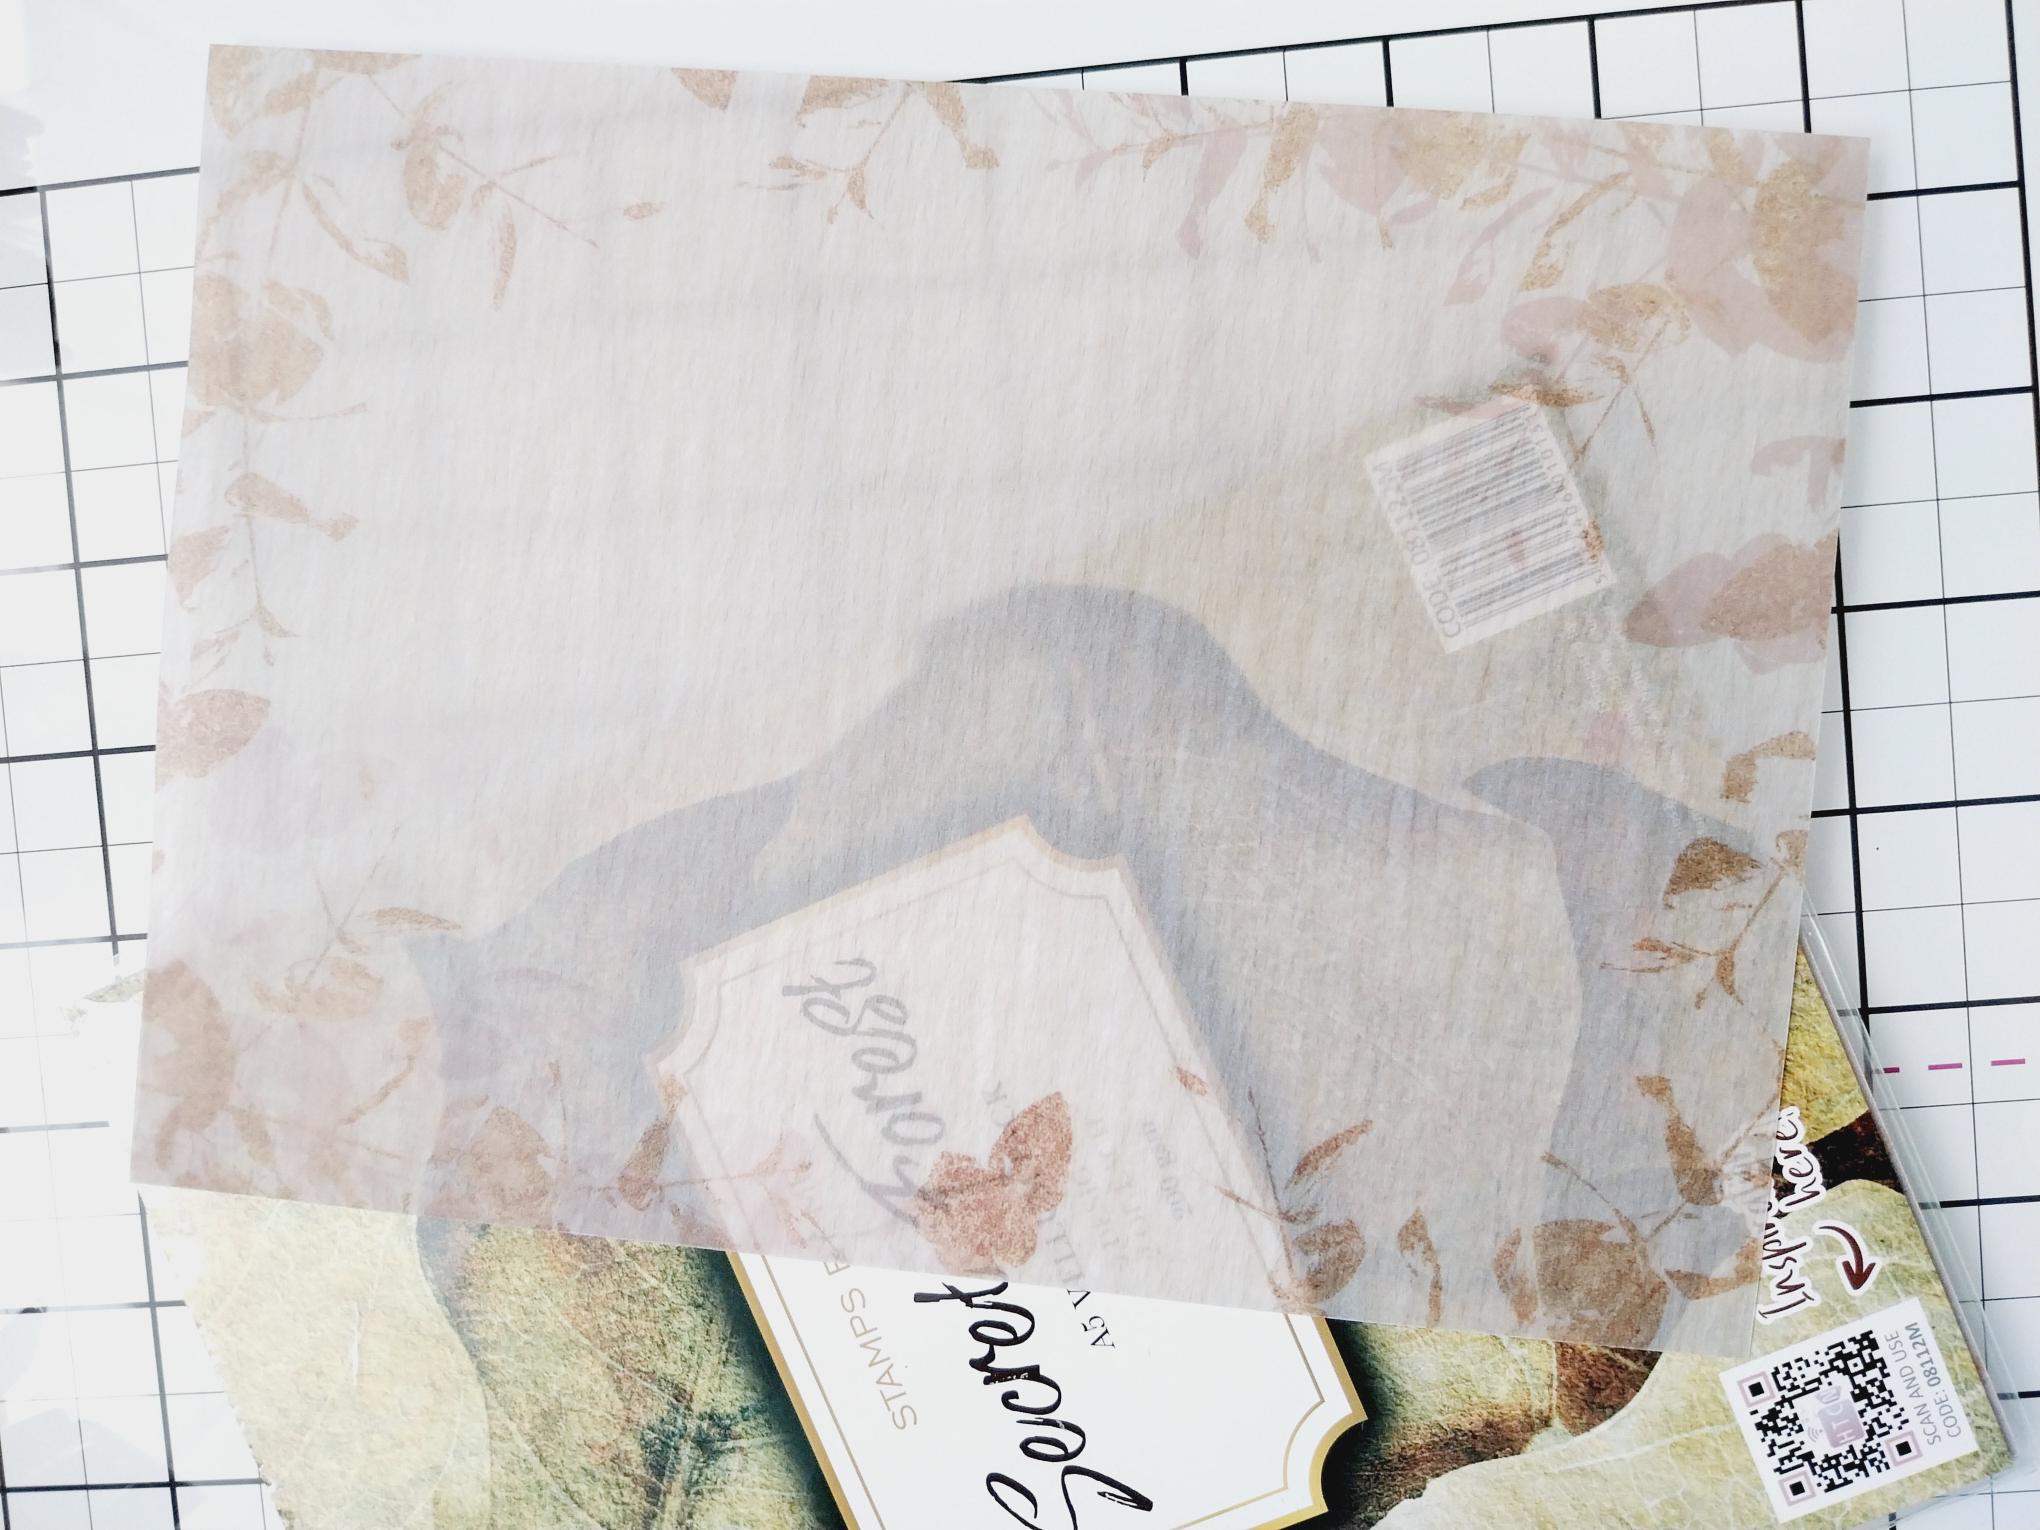
Secret Forest A5 Vellum Pack
SBM Hybrid Ink Pad: Midnight
Eureka 101 Watercolour Tablet
SBM Magnetic glass mat
Paper Trimmer
Perfect Together Glue
Die Cutting machine
[click image to enlarge] 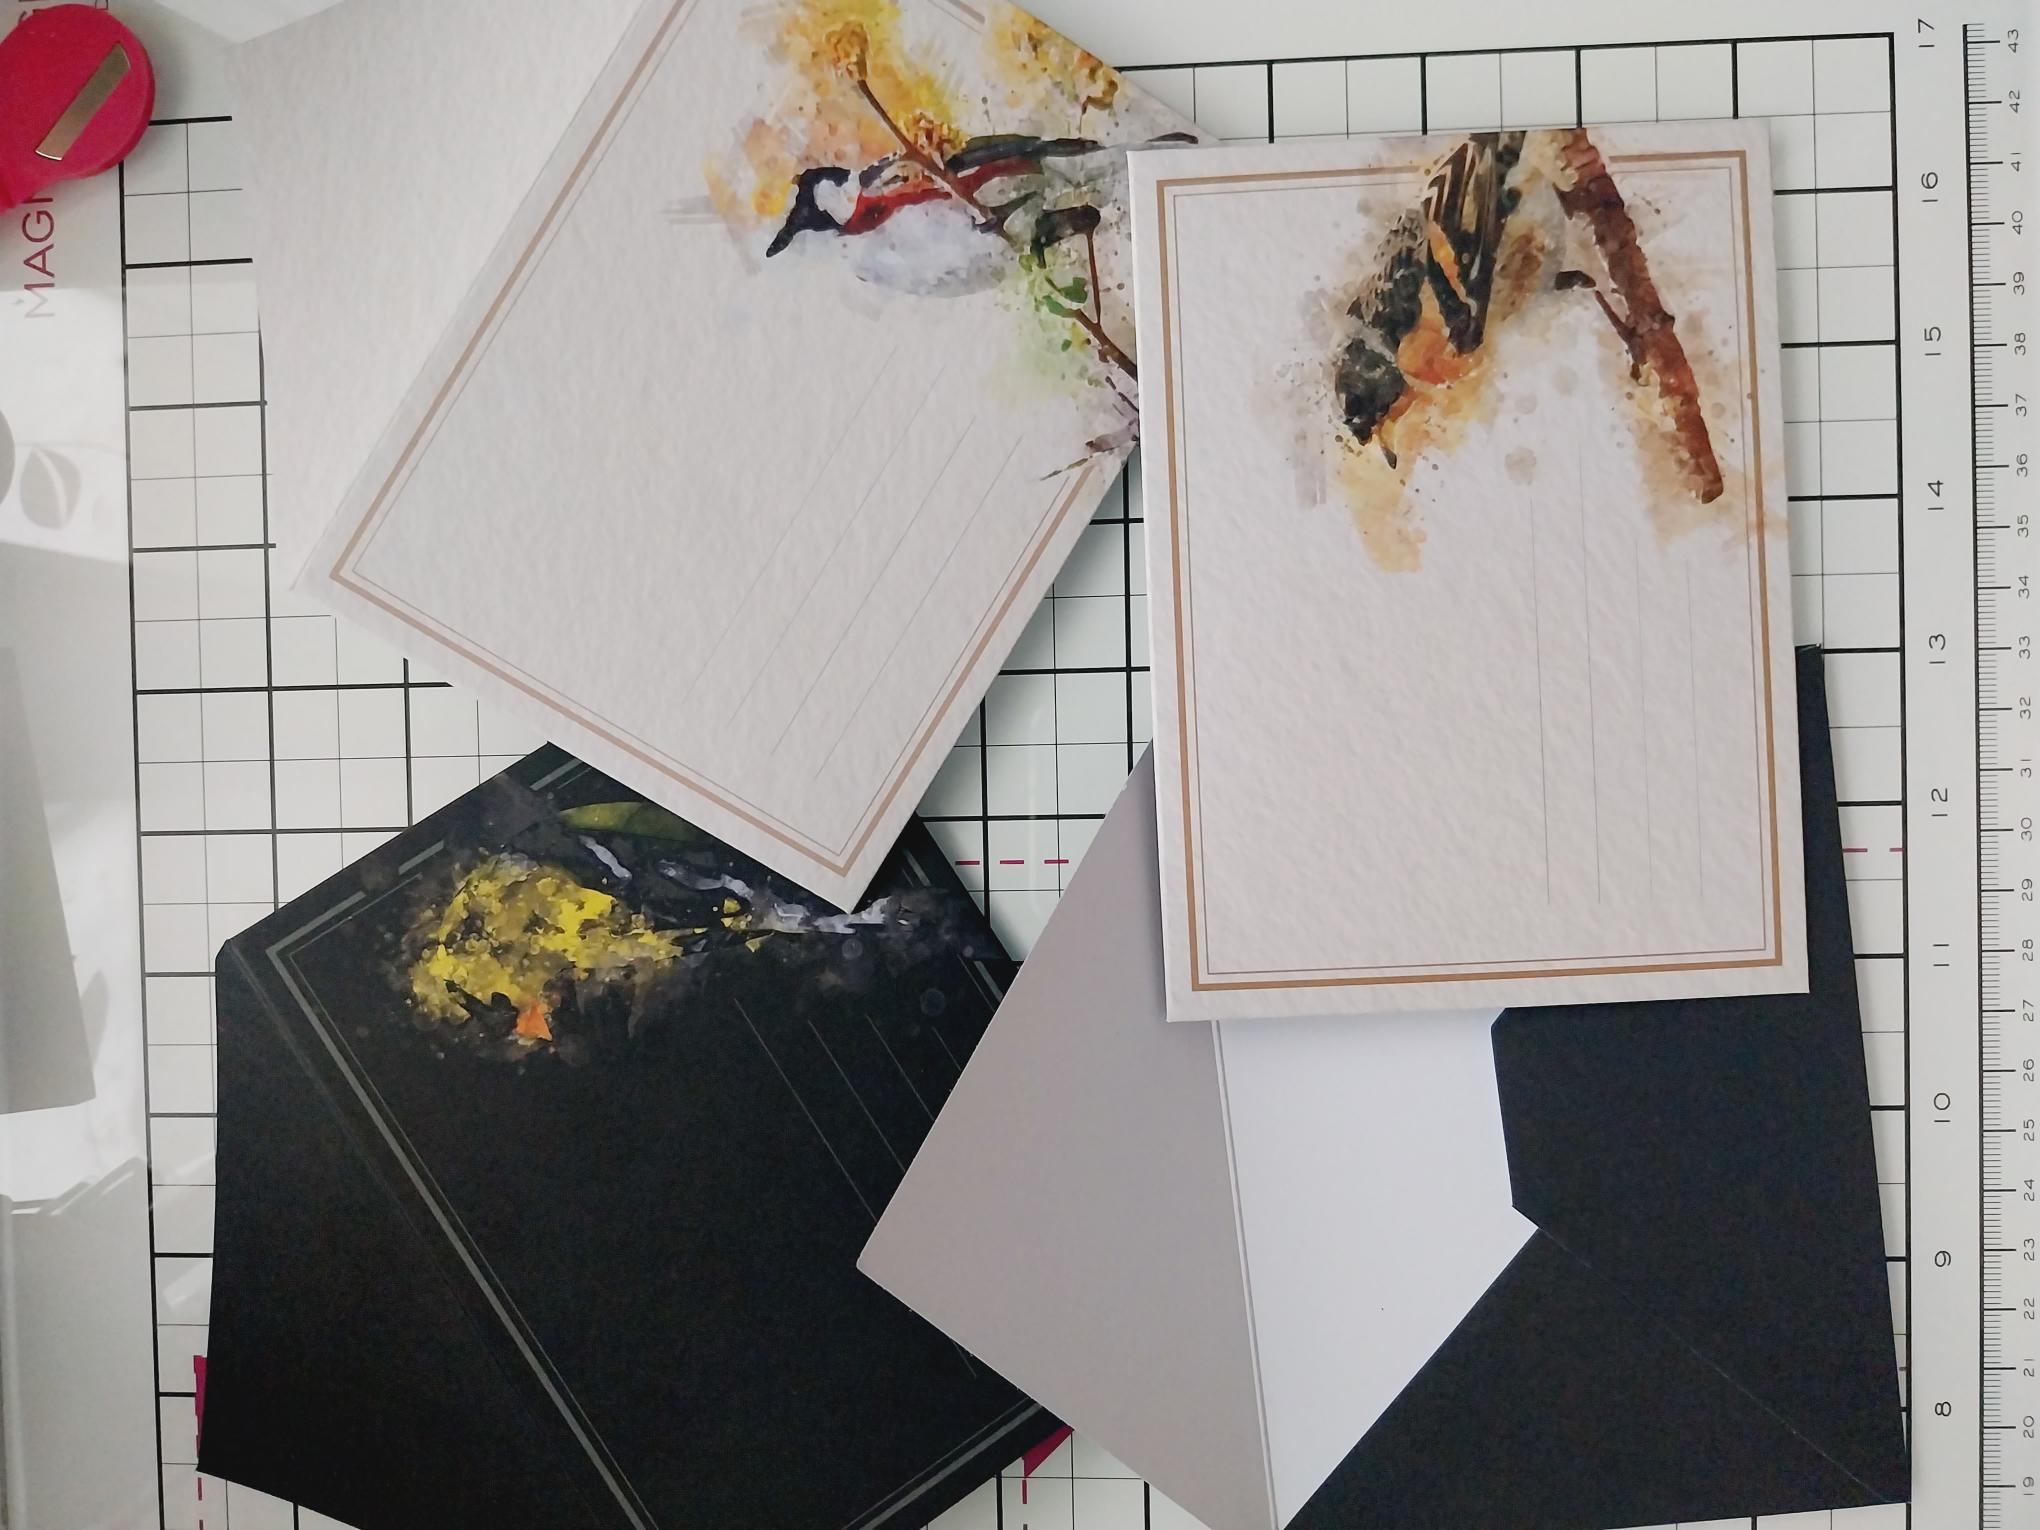
|
Choose TWO envelopes from the Noir collection and TWO from the Vintage collection. Fold along the pre-scored lines and glue flaps in place. |
|
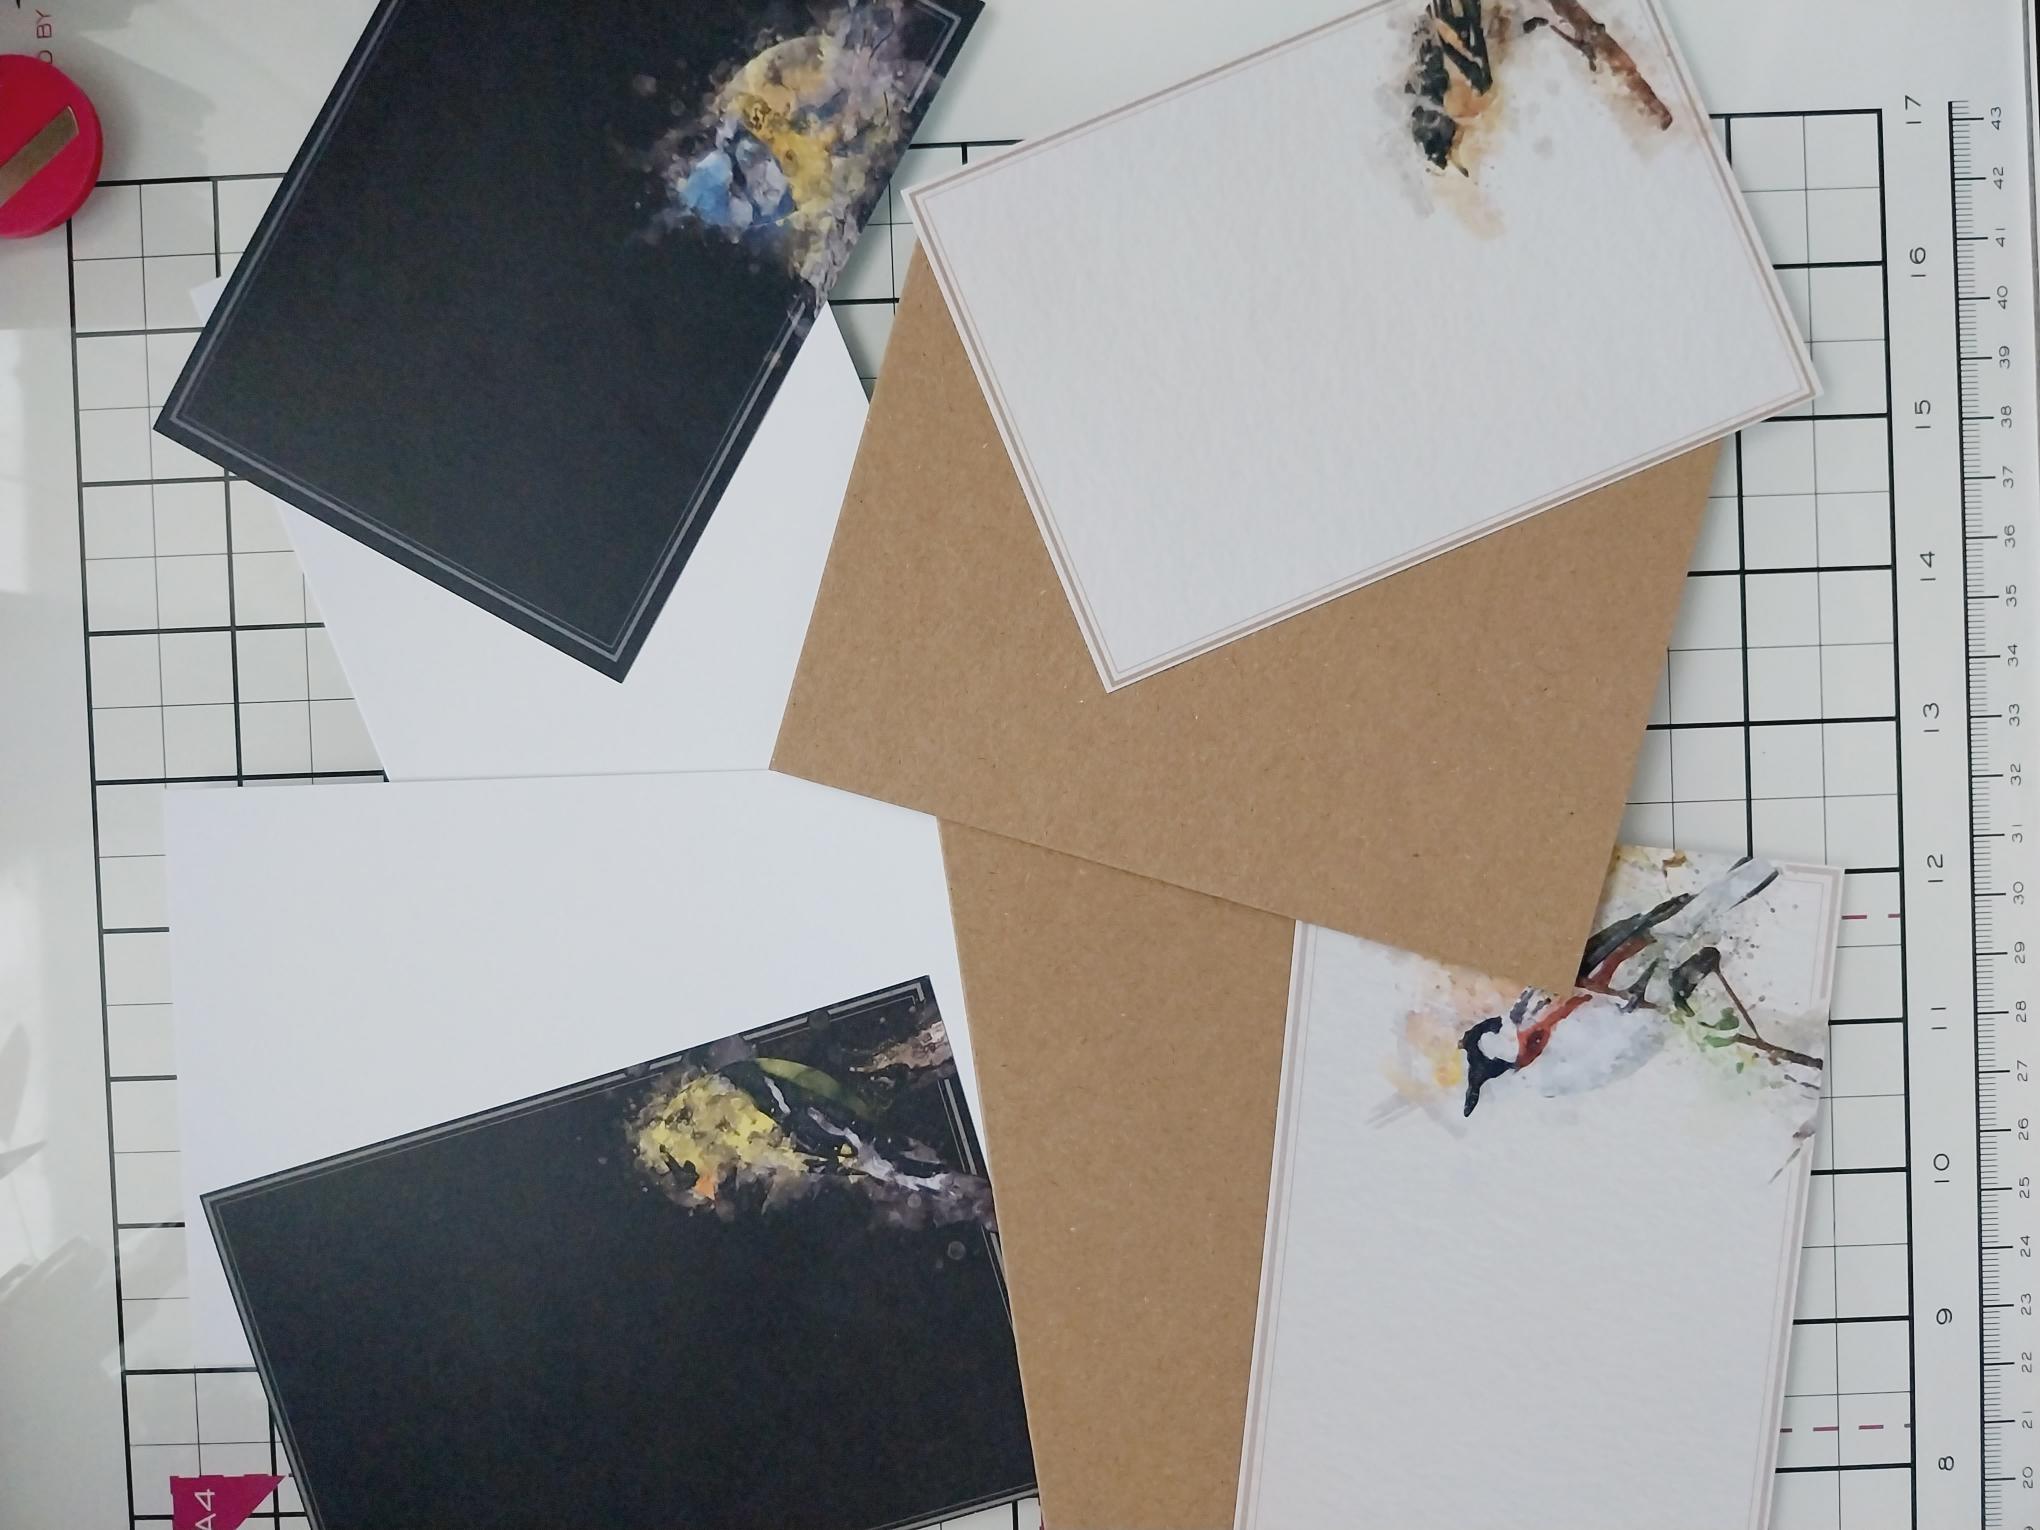
Find the FOUR coordinating toppers from both collections. |
|
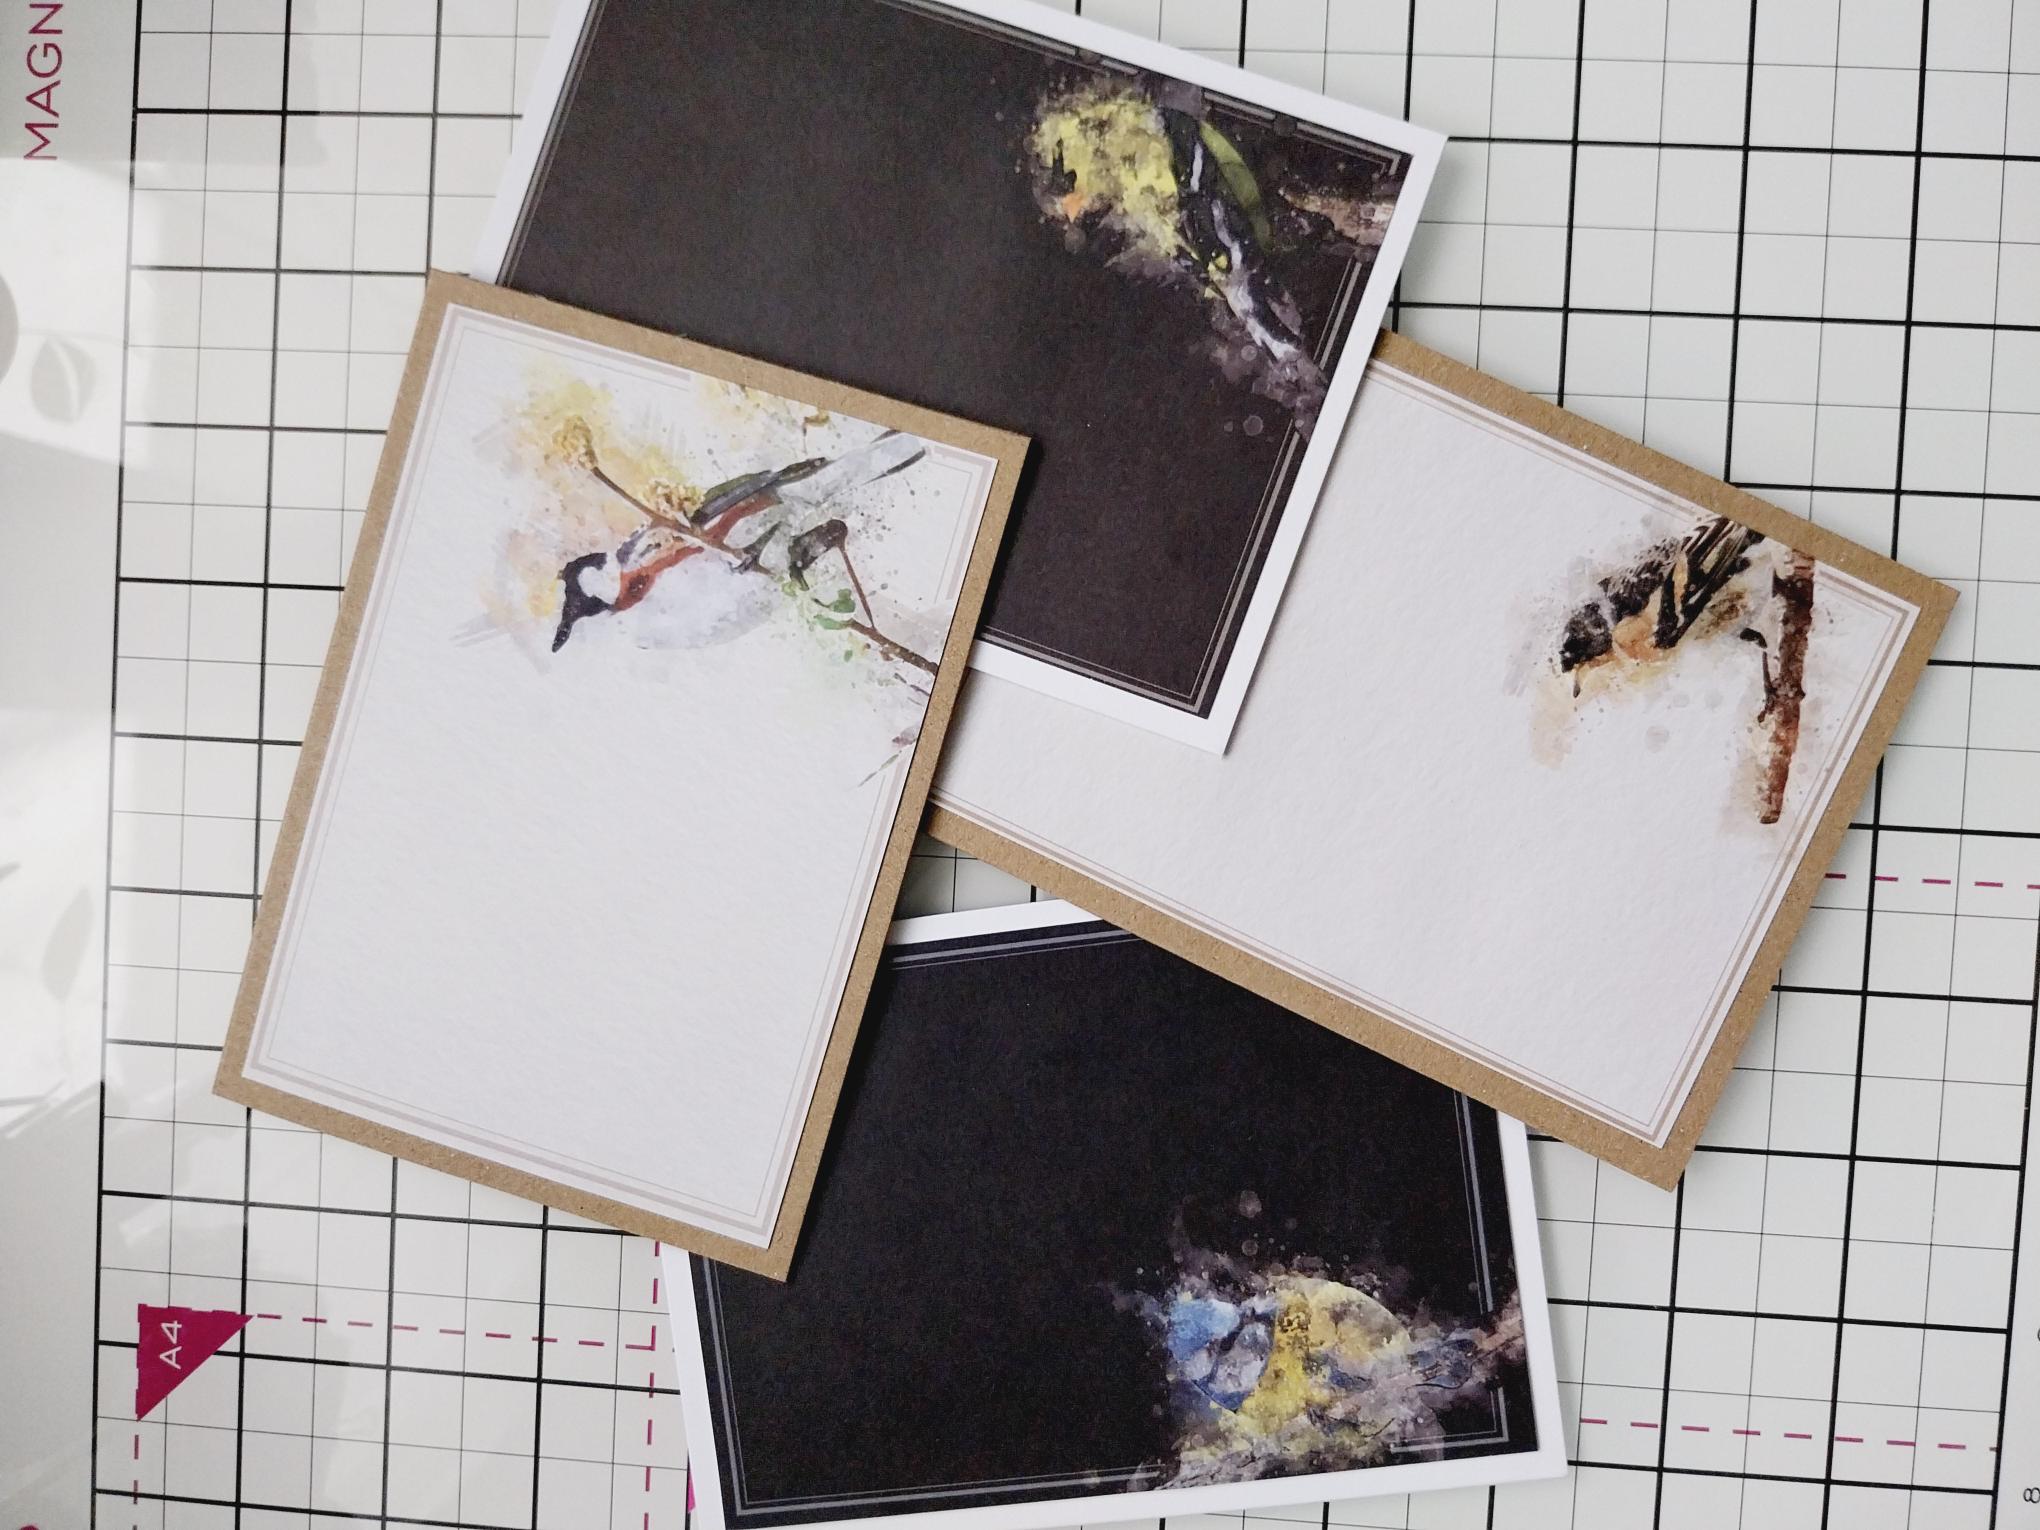
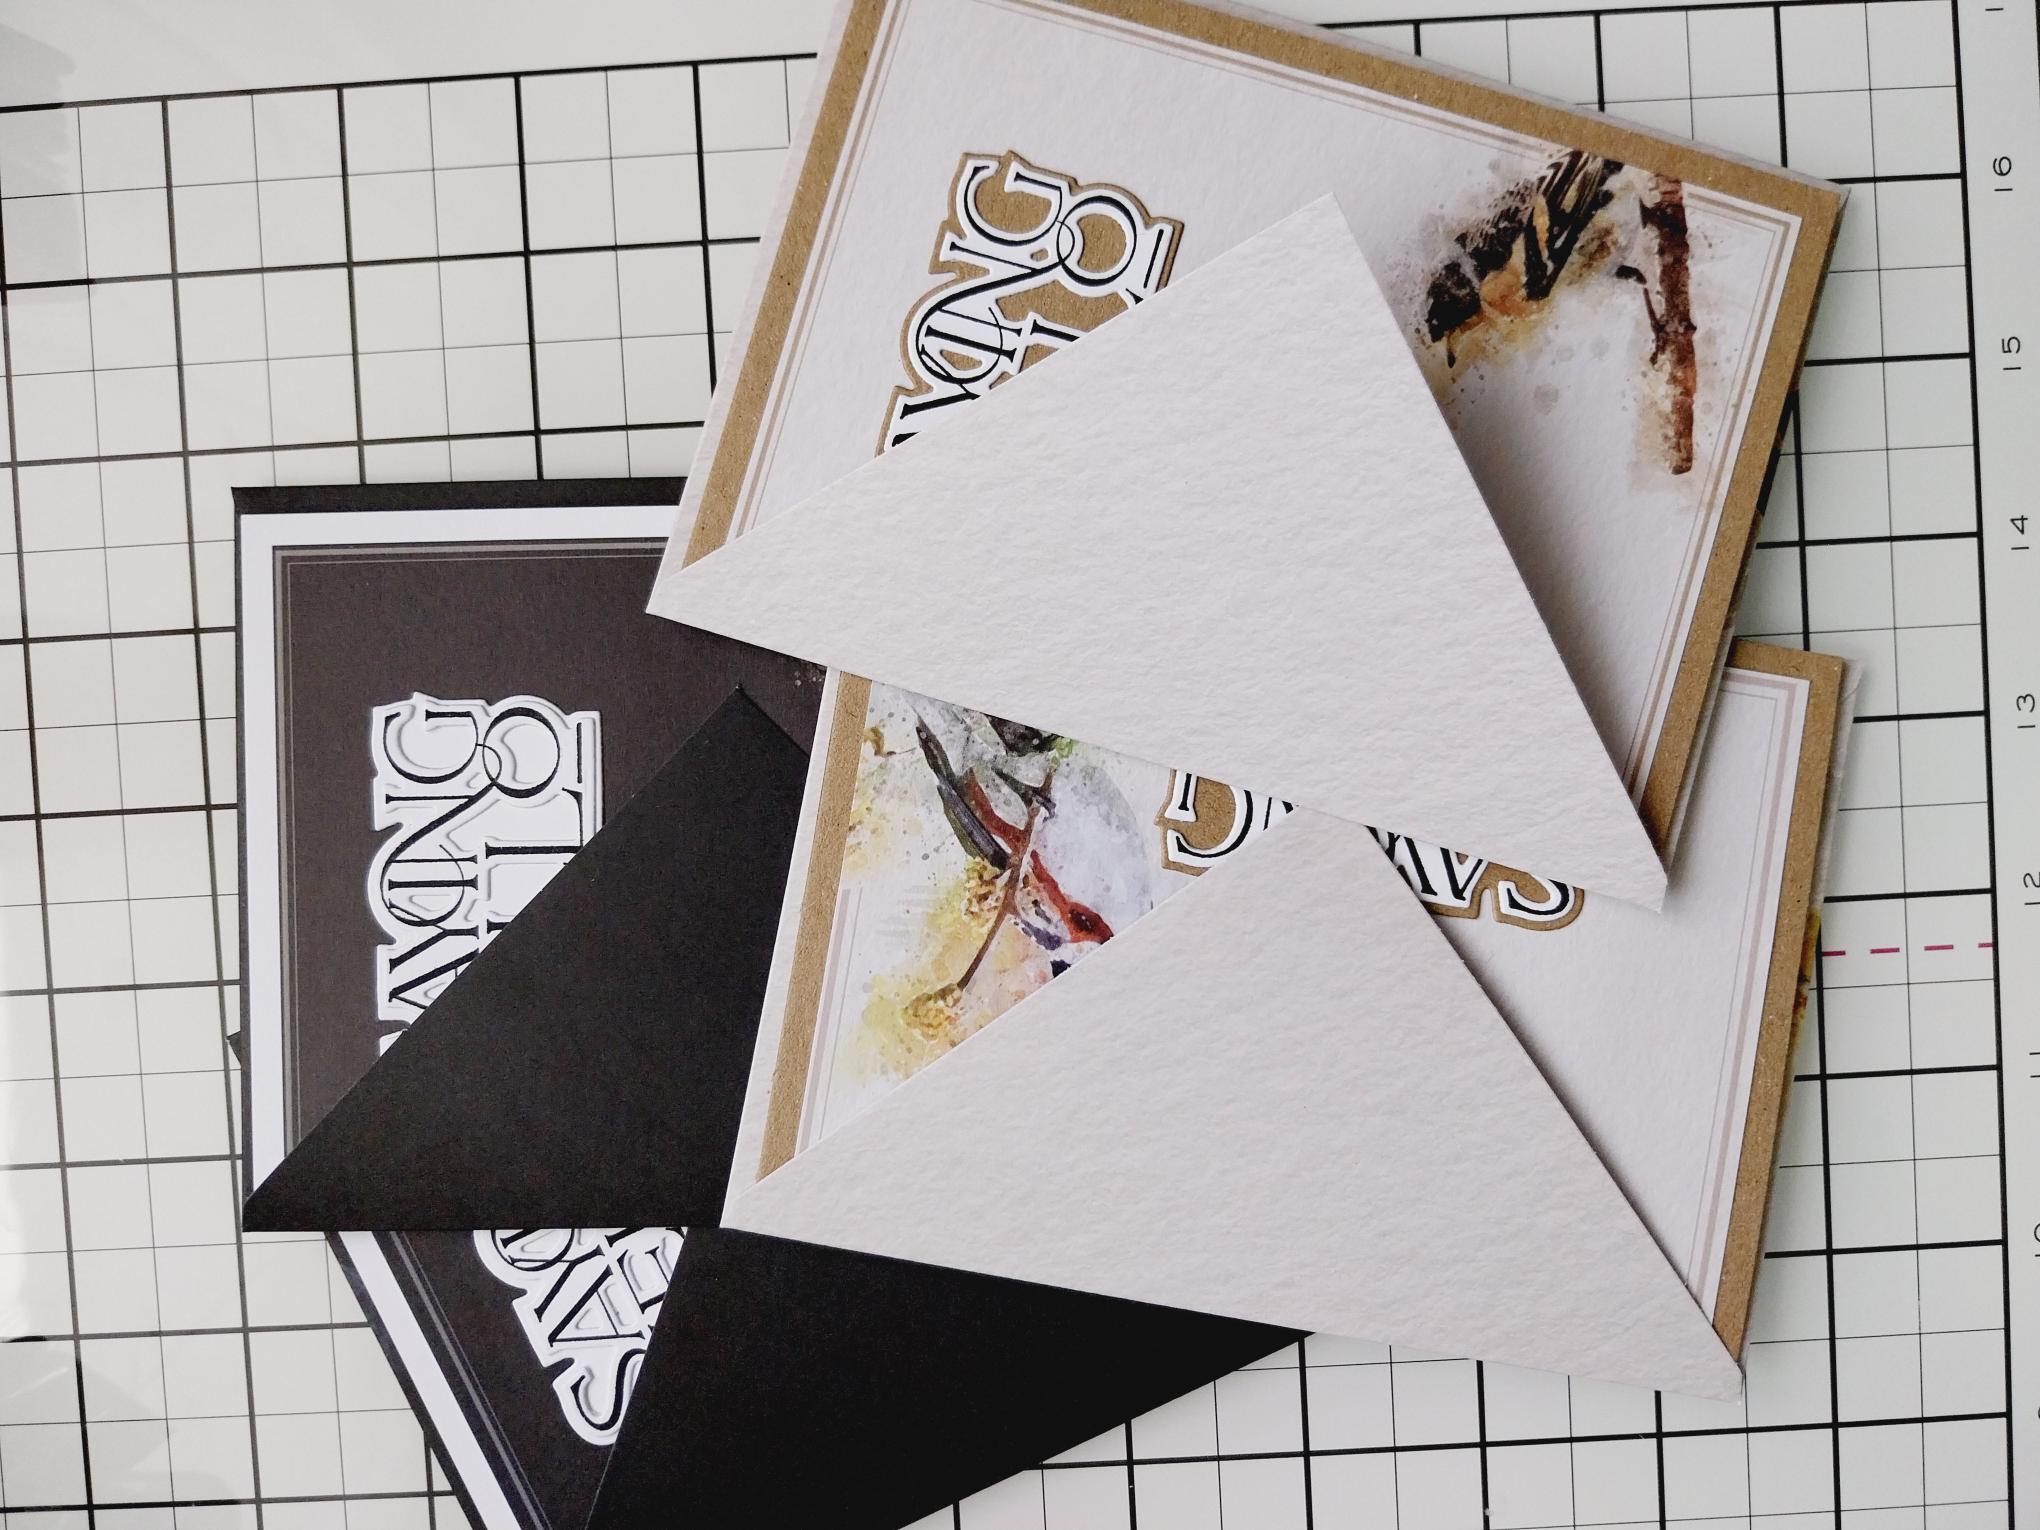
Adhere the Noir toppers to the white card blanks and the Vintage toppers to the kraft card blanks, as seen here. Pop them all to one side. |
|
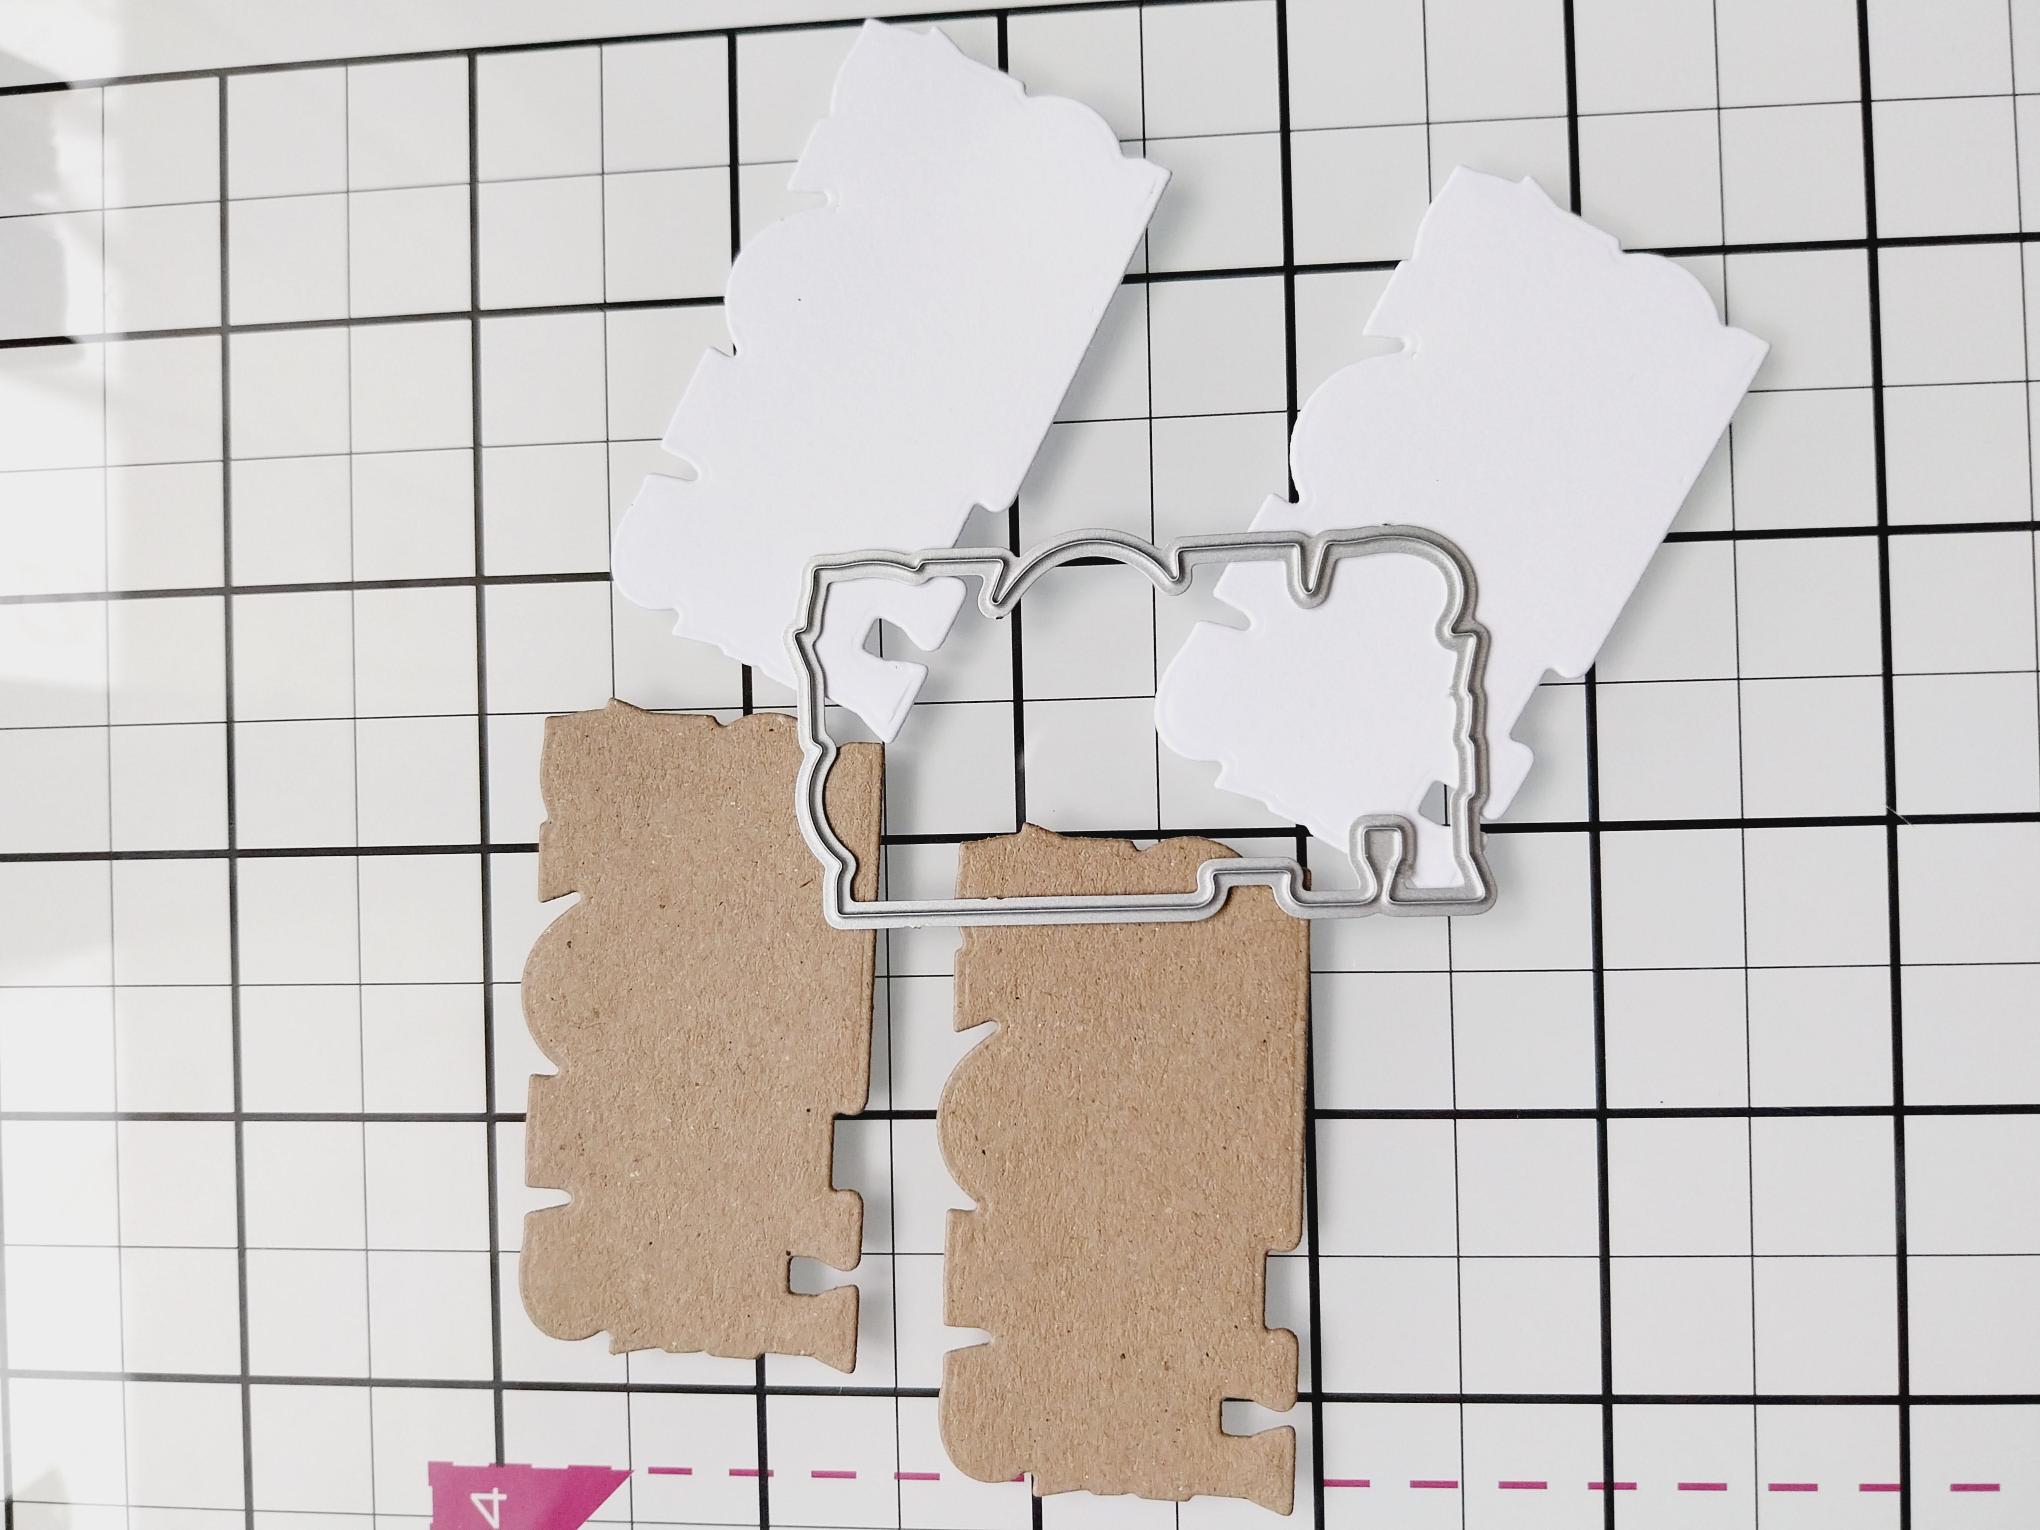
Using the "Saying Hello" mat die, cut TWO from kraft and TWO from white cardstock. |
|
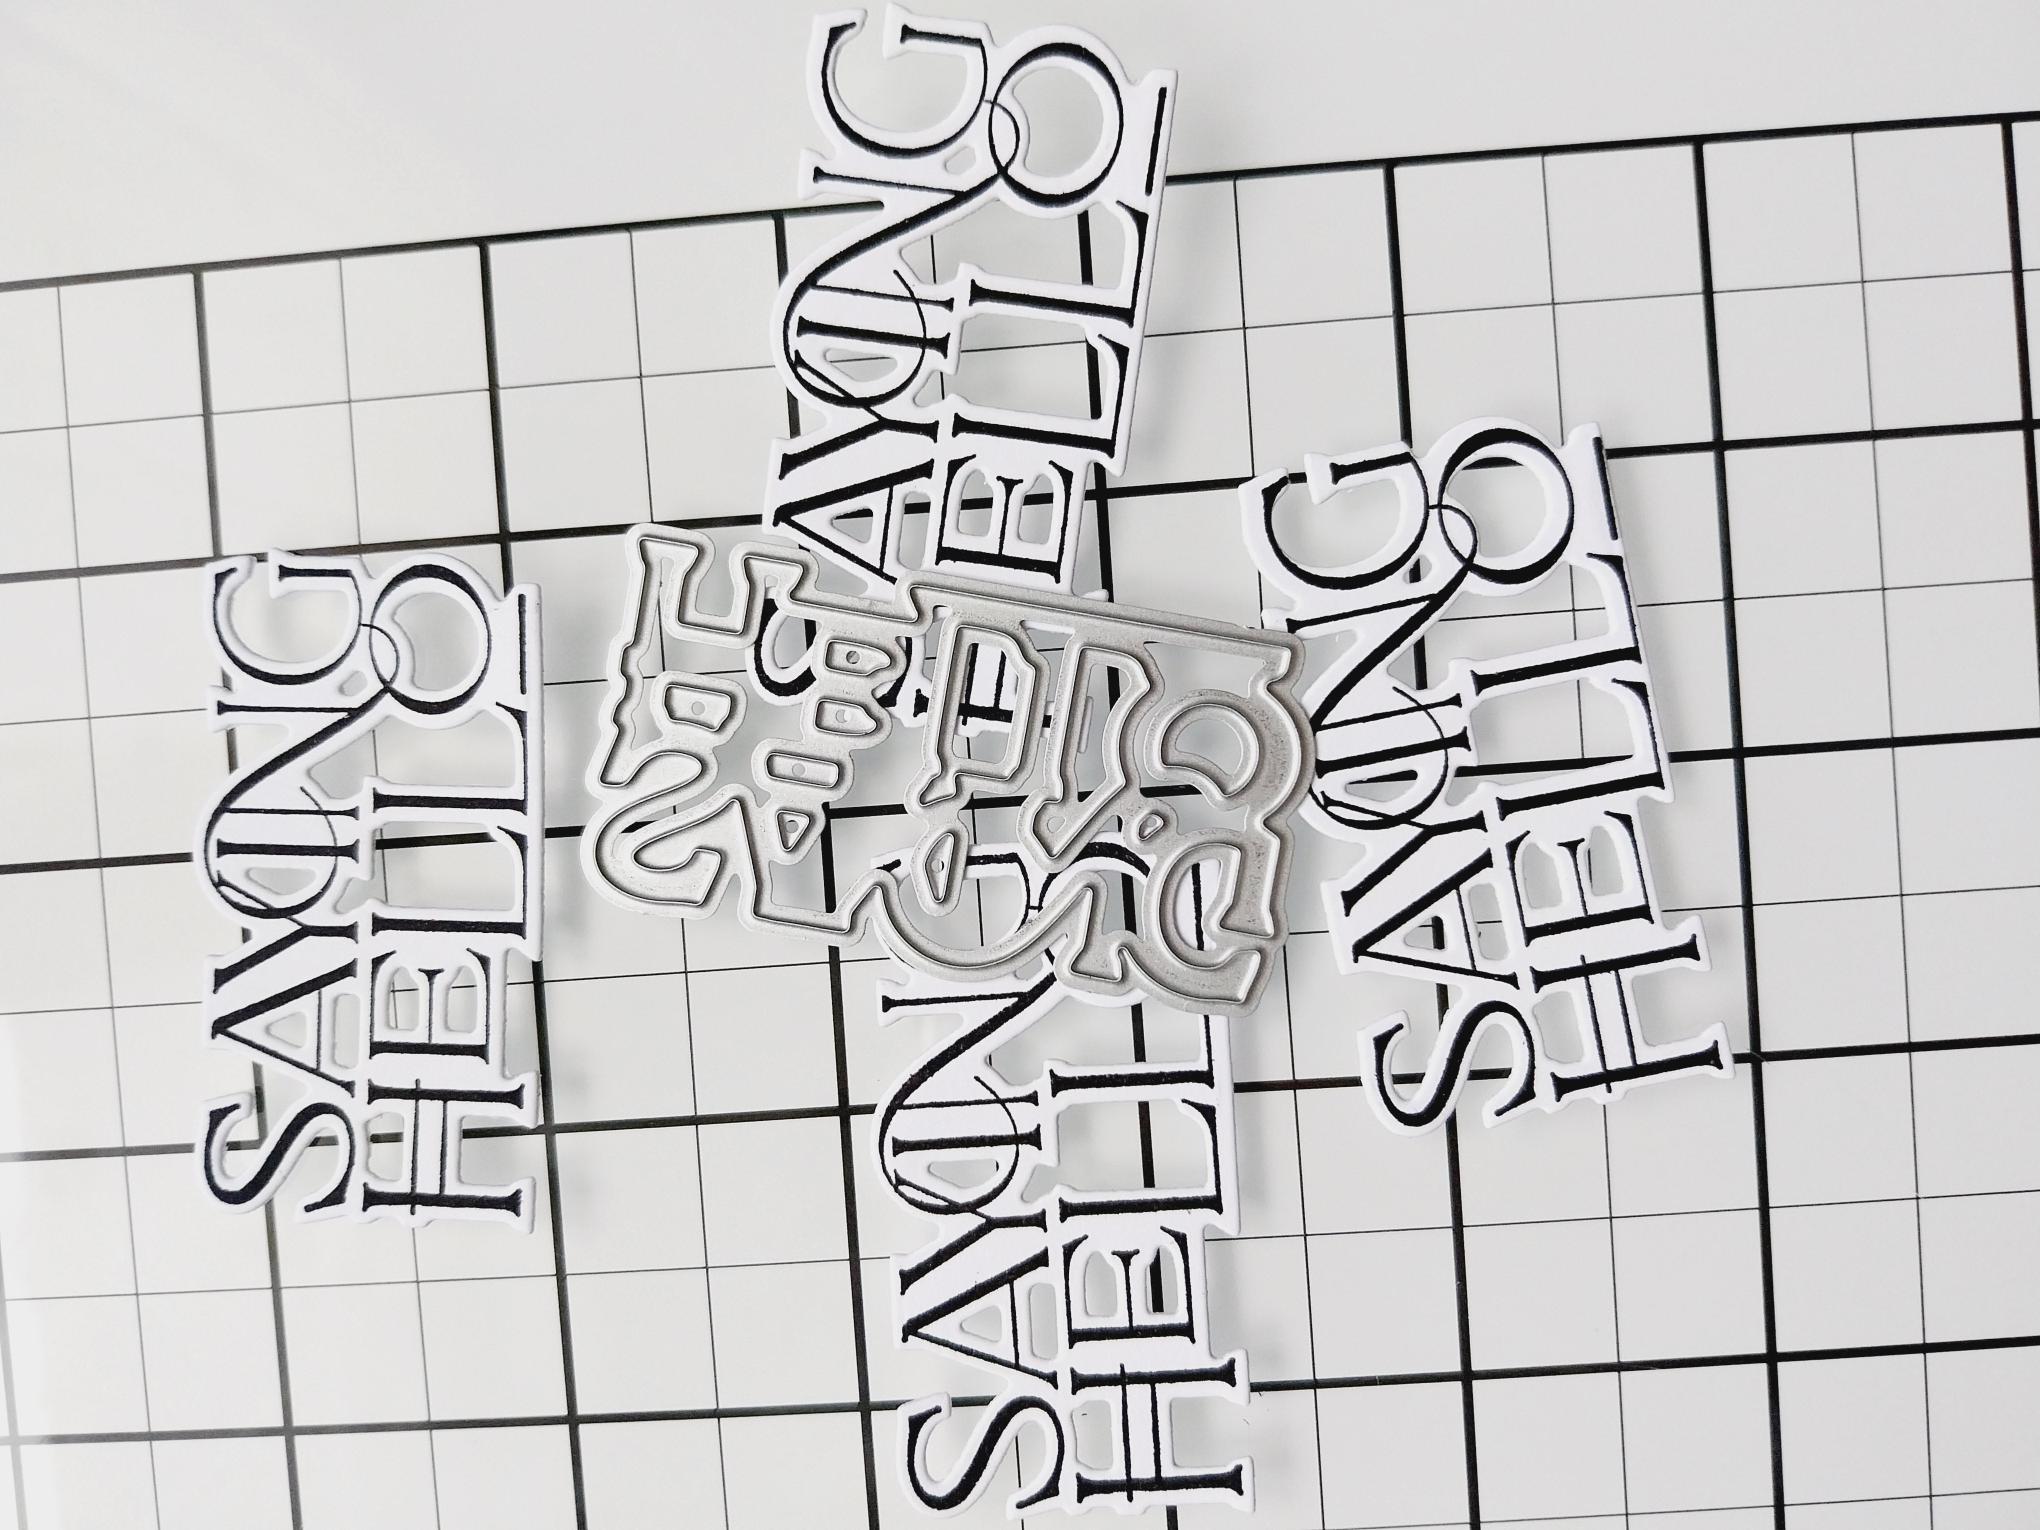
Stamp "Saying Hello" FOUR times with the Midnight hybrid ink, on to white card stock. Use the coordinating detailed die to cut them out. |
|
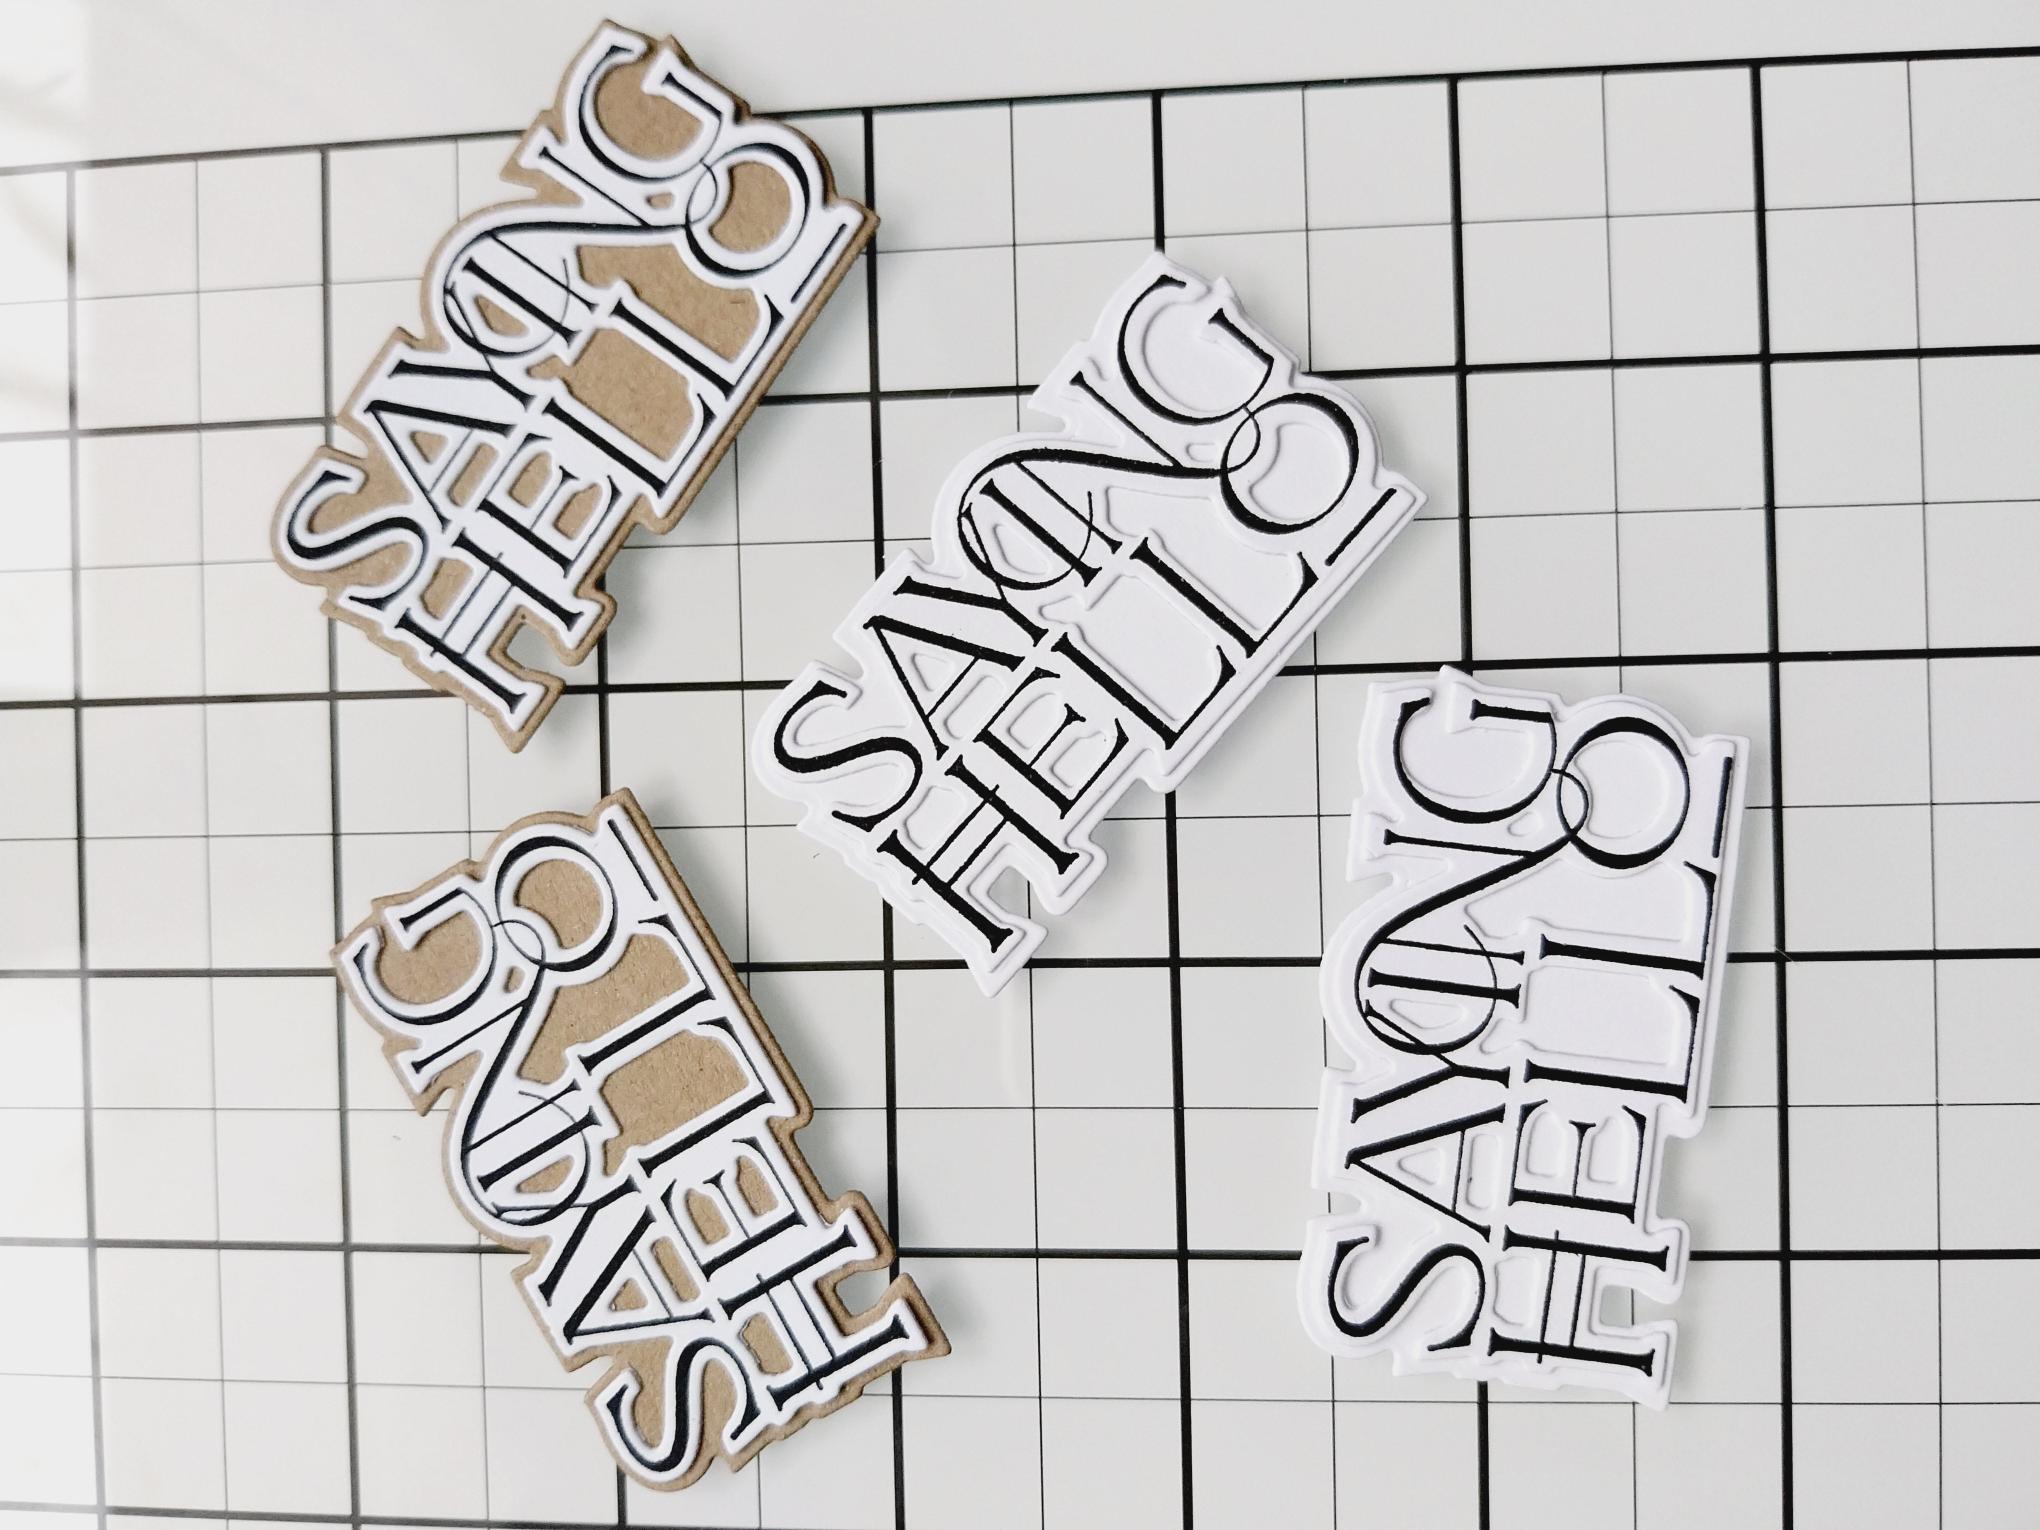
Adhere the die cut sentiments on to the FOUR die cut mats. |
|
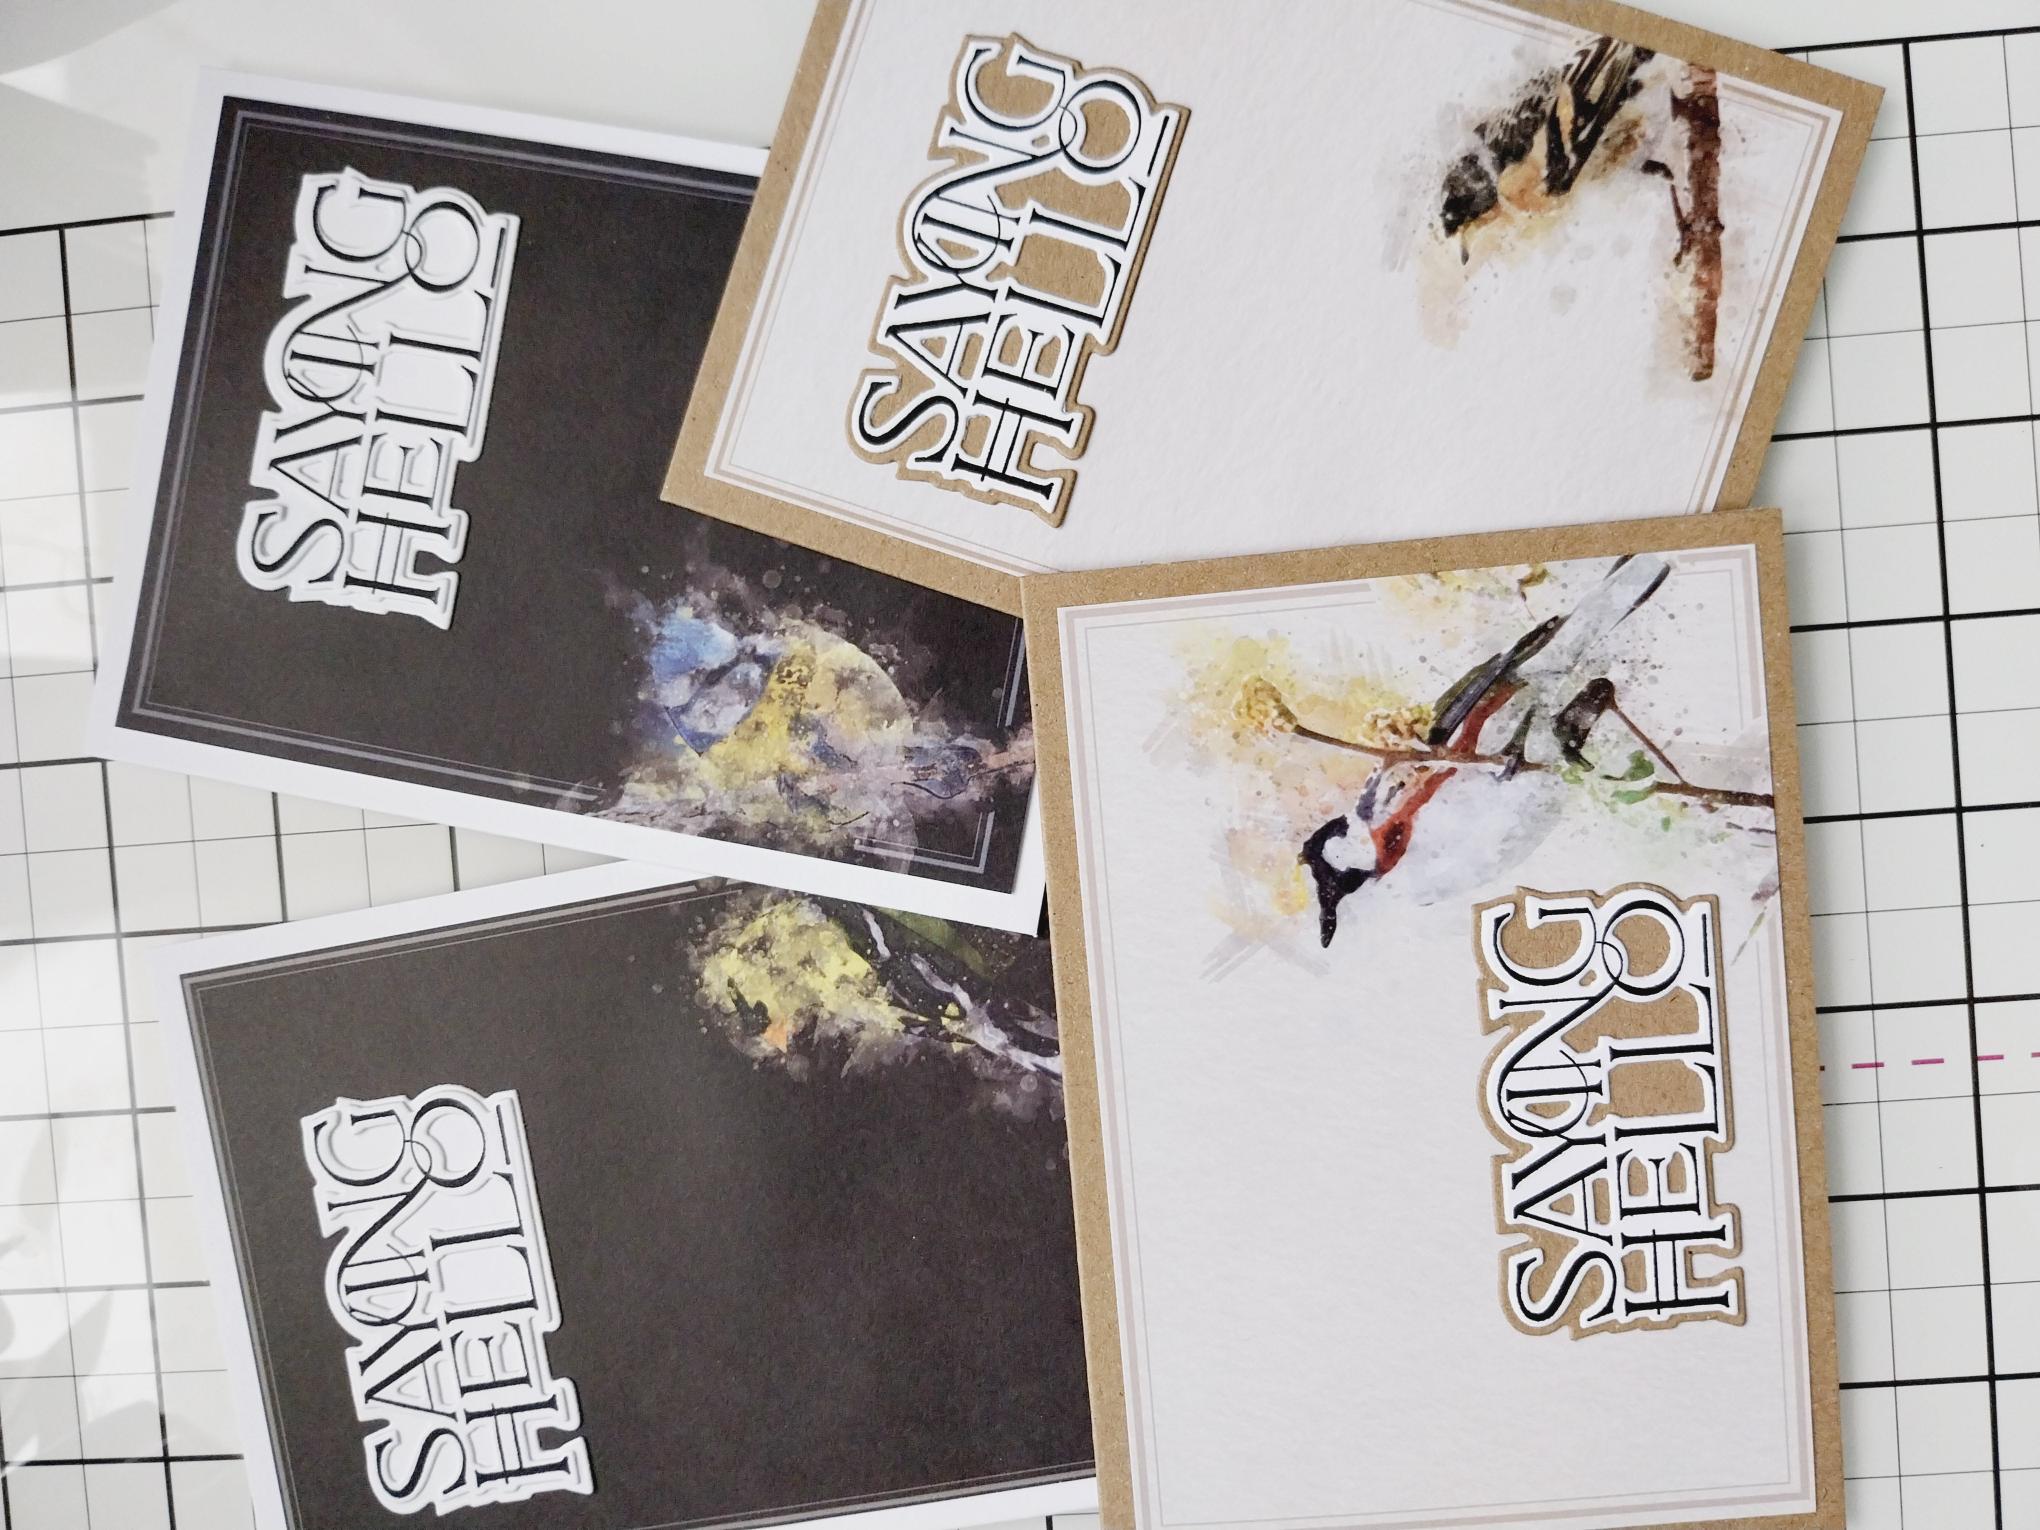
Glue the kraft sentiments on to the Vintage cards and the white sentiments on to the Noir cards. Positioning of the sentiments, on each card, is up to you. |
|
Tuck each card on to it's matching envelope and pop to one side. |
|
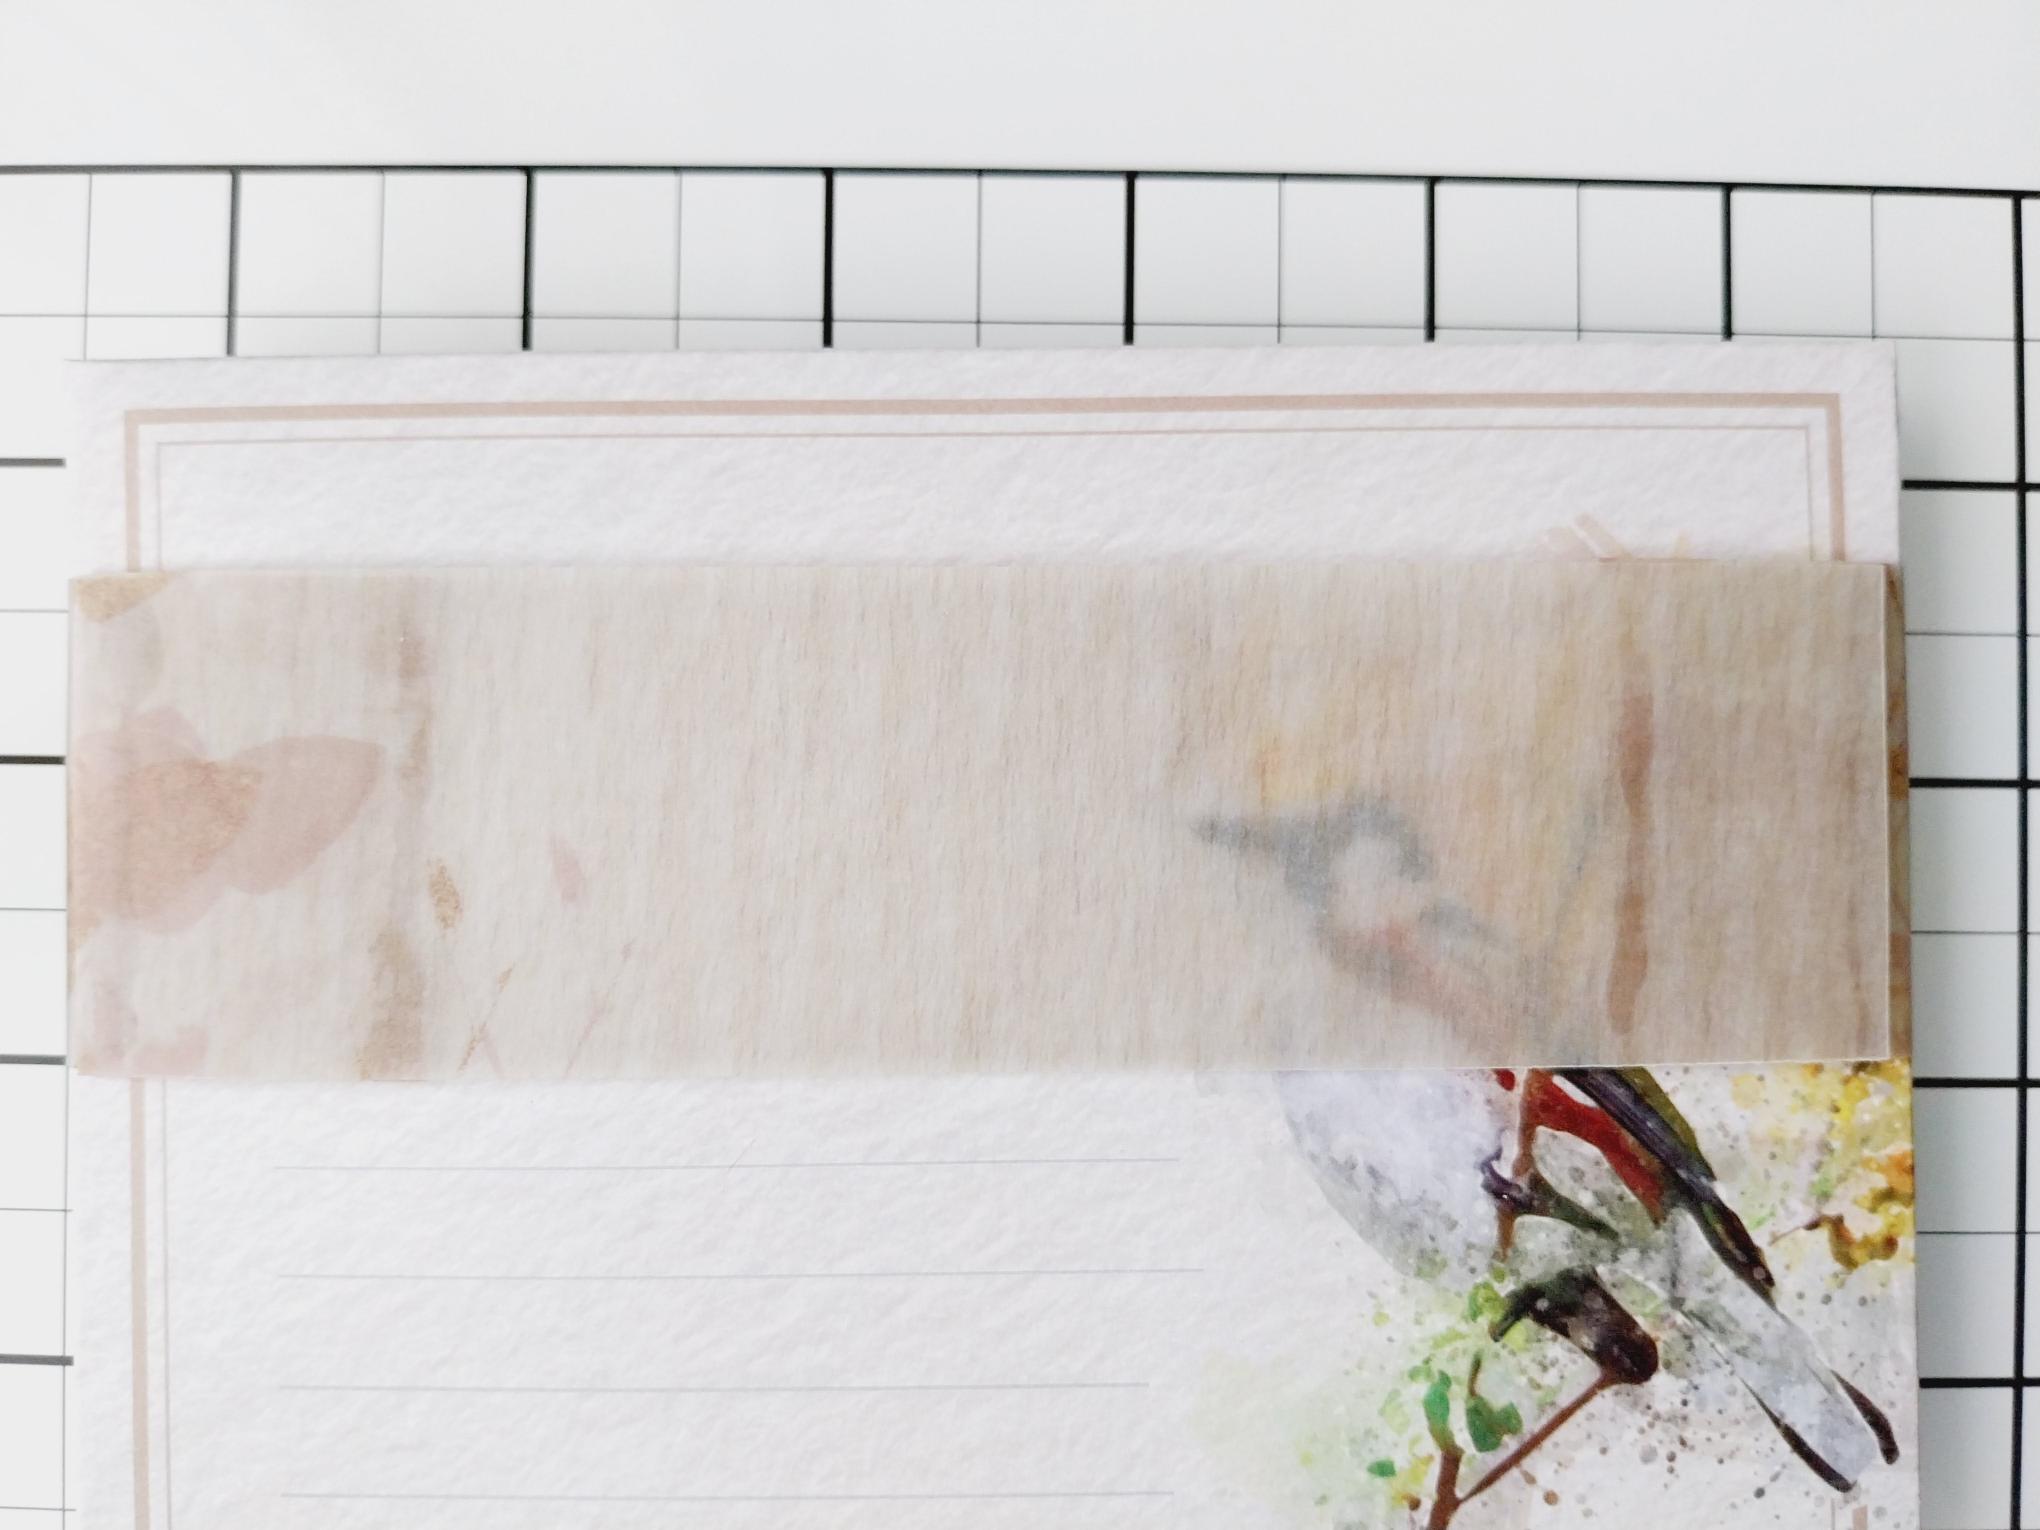
Remove this beautiful vellum sheet from the Secret Forest Vellum Collection. |
|
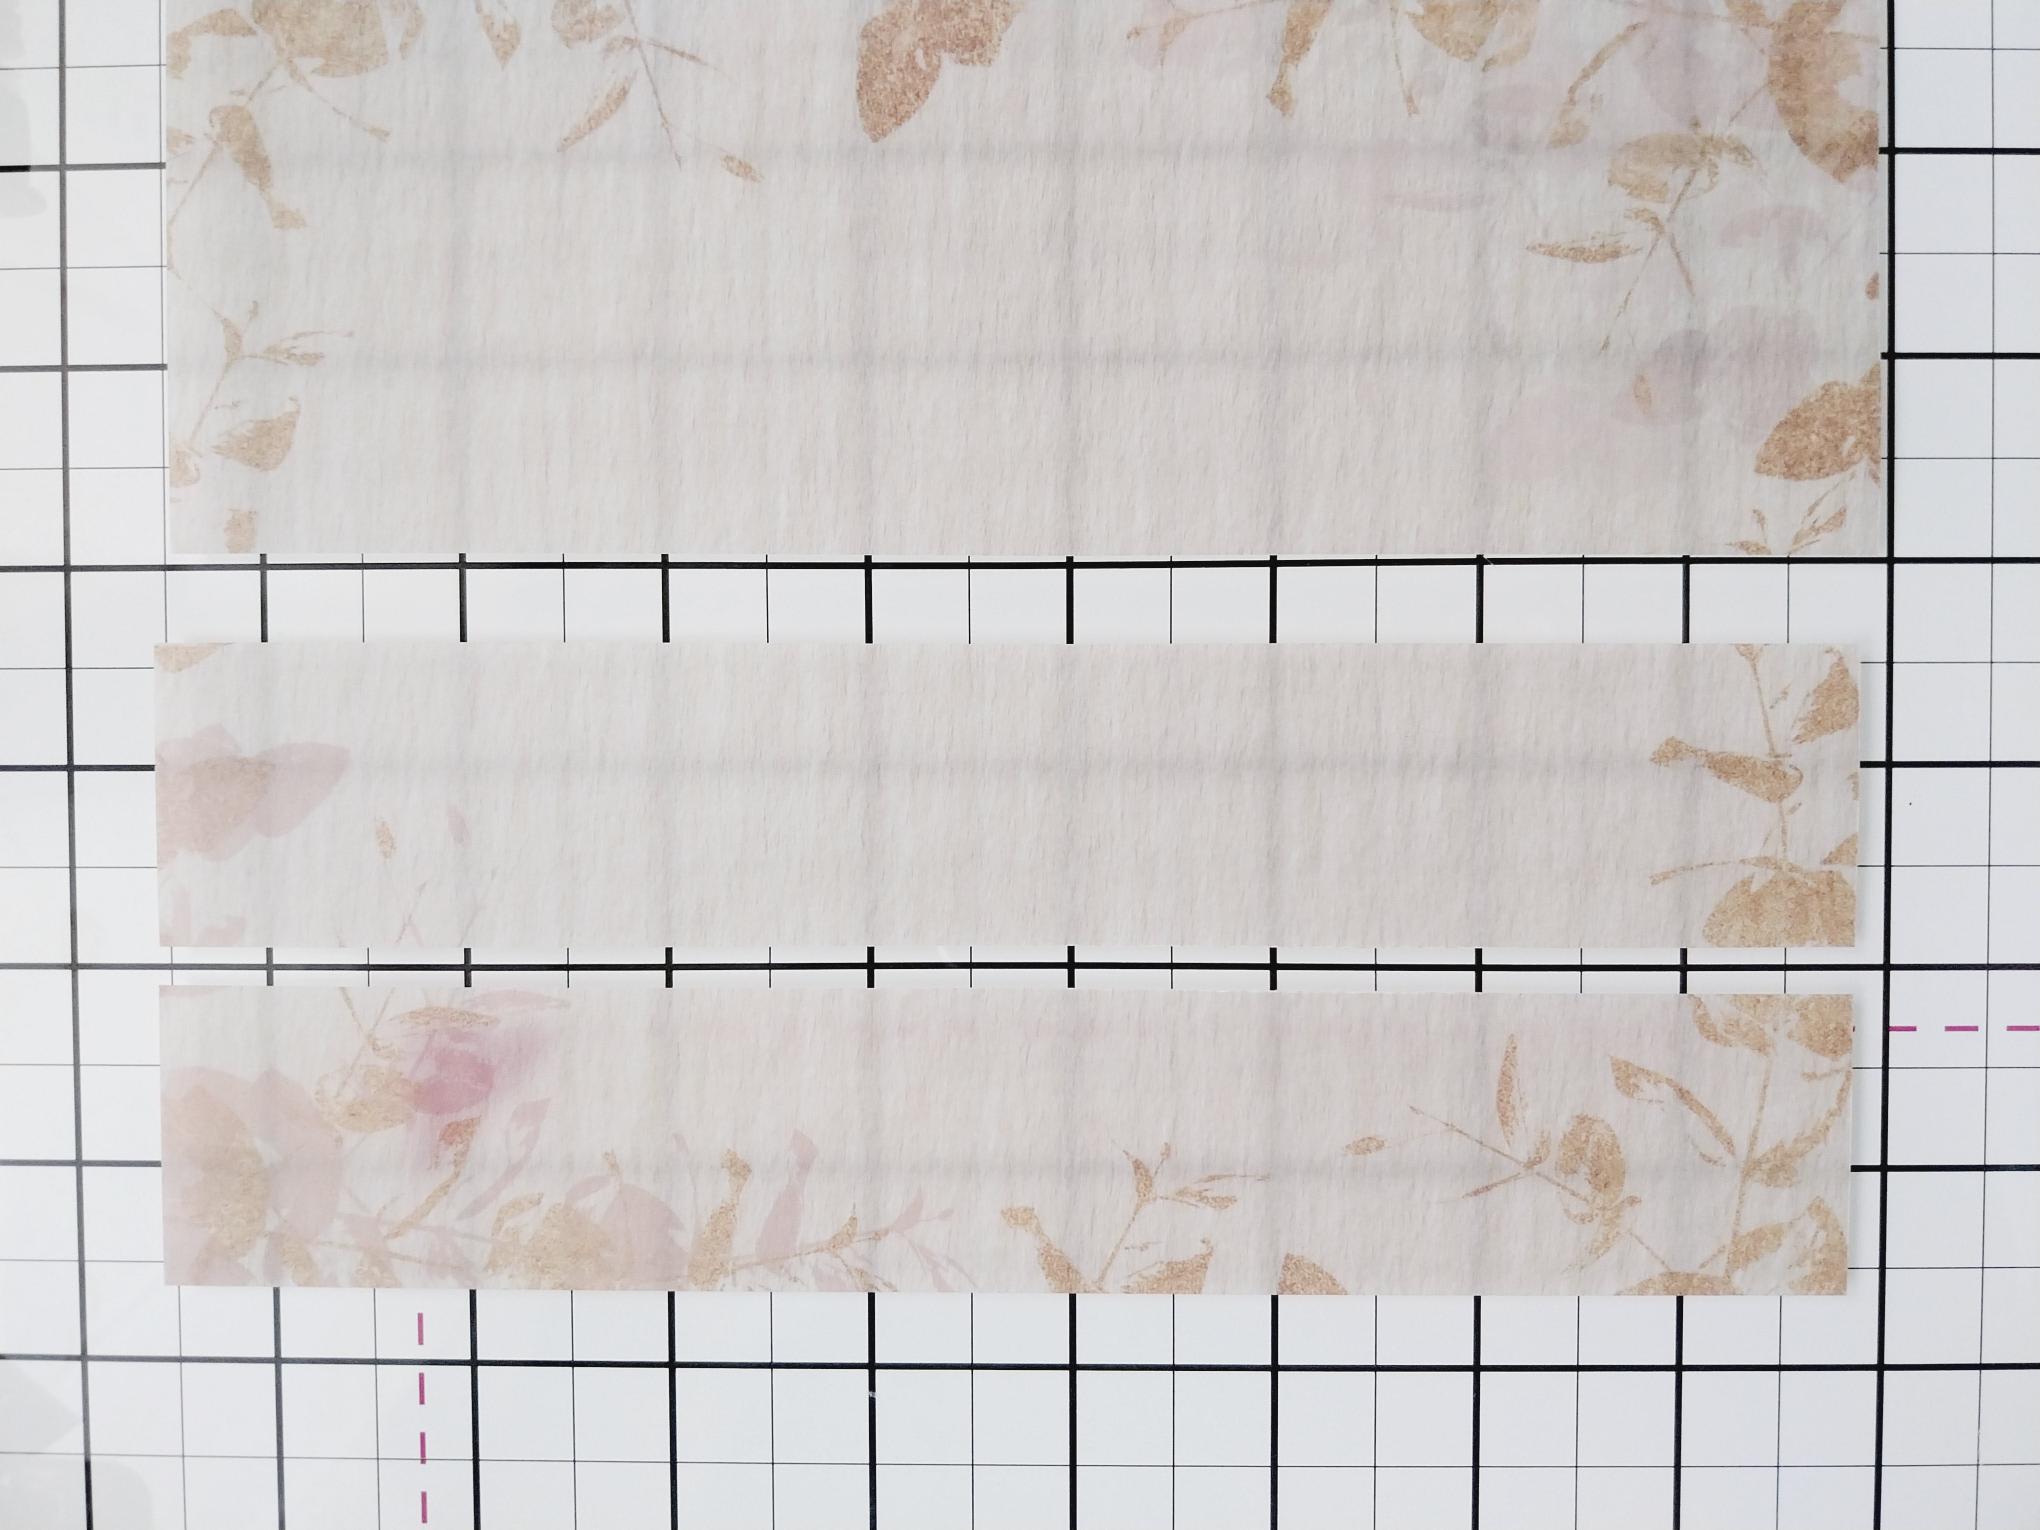
Trim TWO panels, the same width...this will be your "belly band", so how wide you want it is up to you. |
|
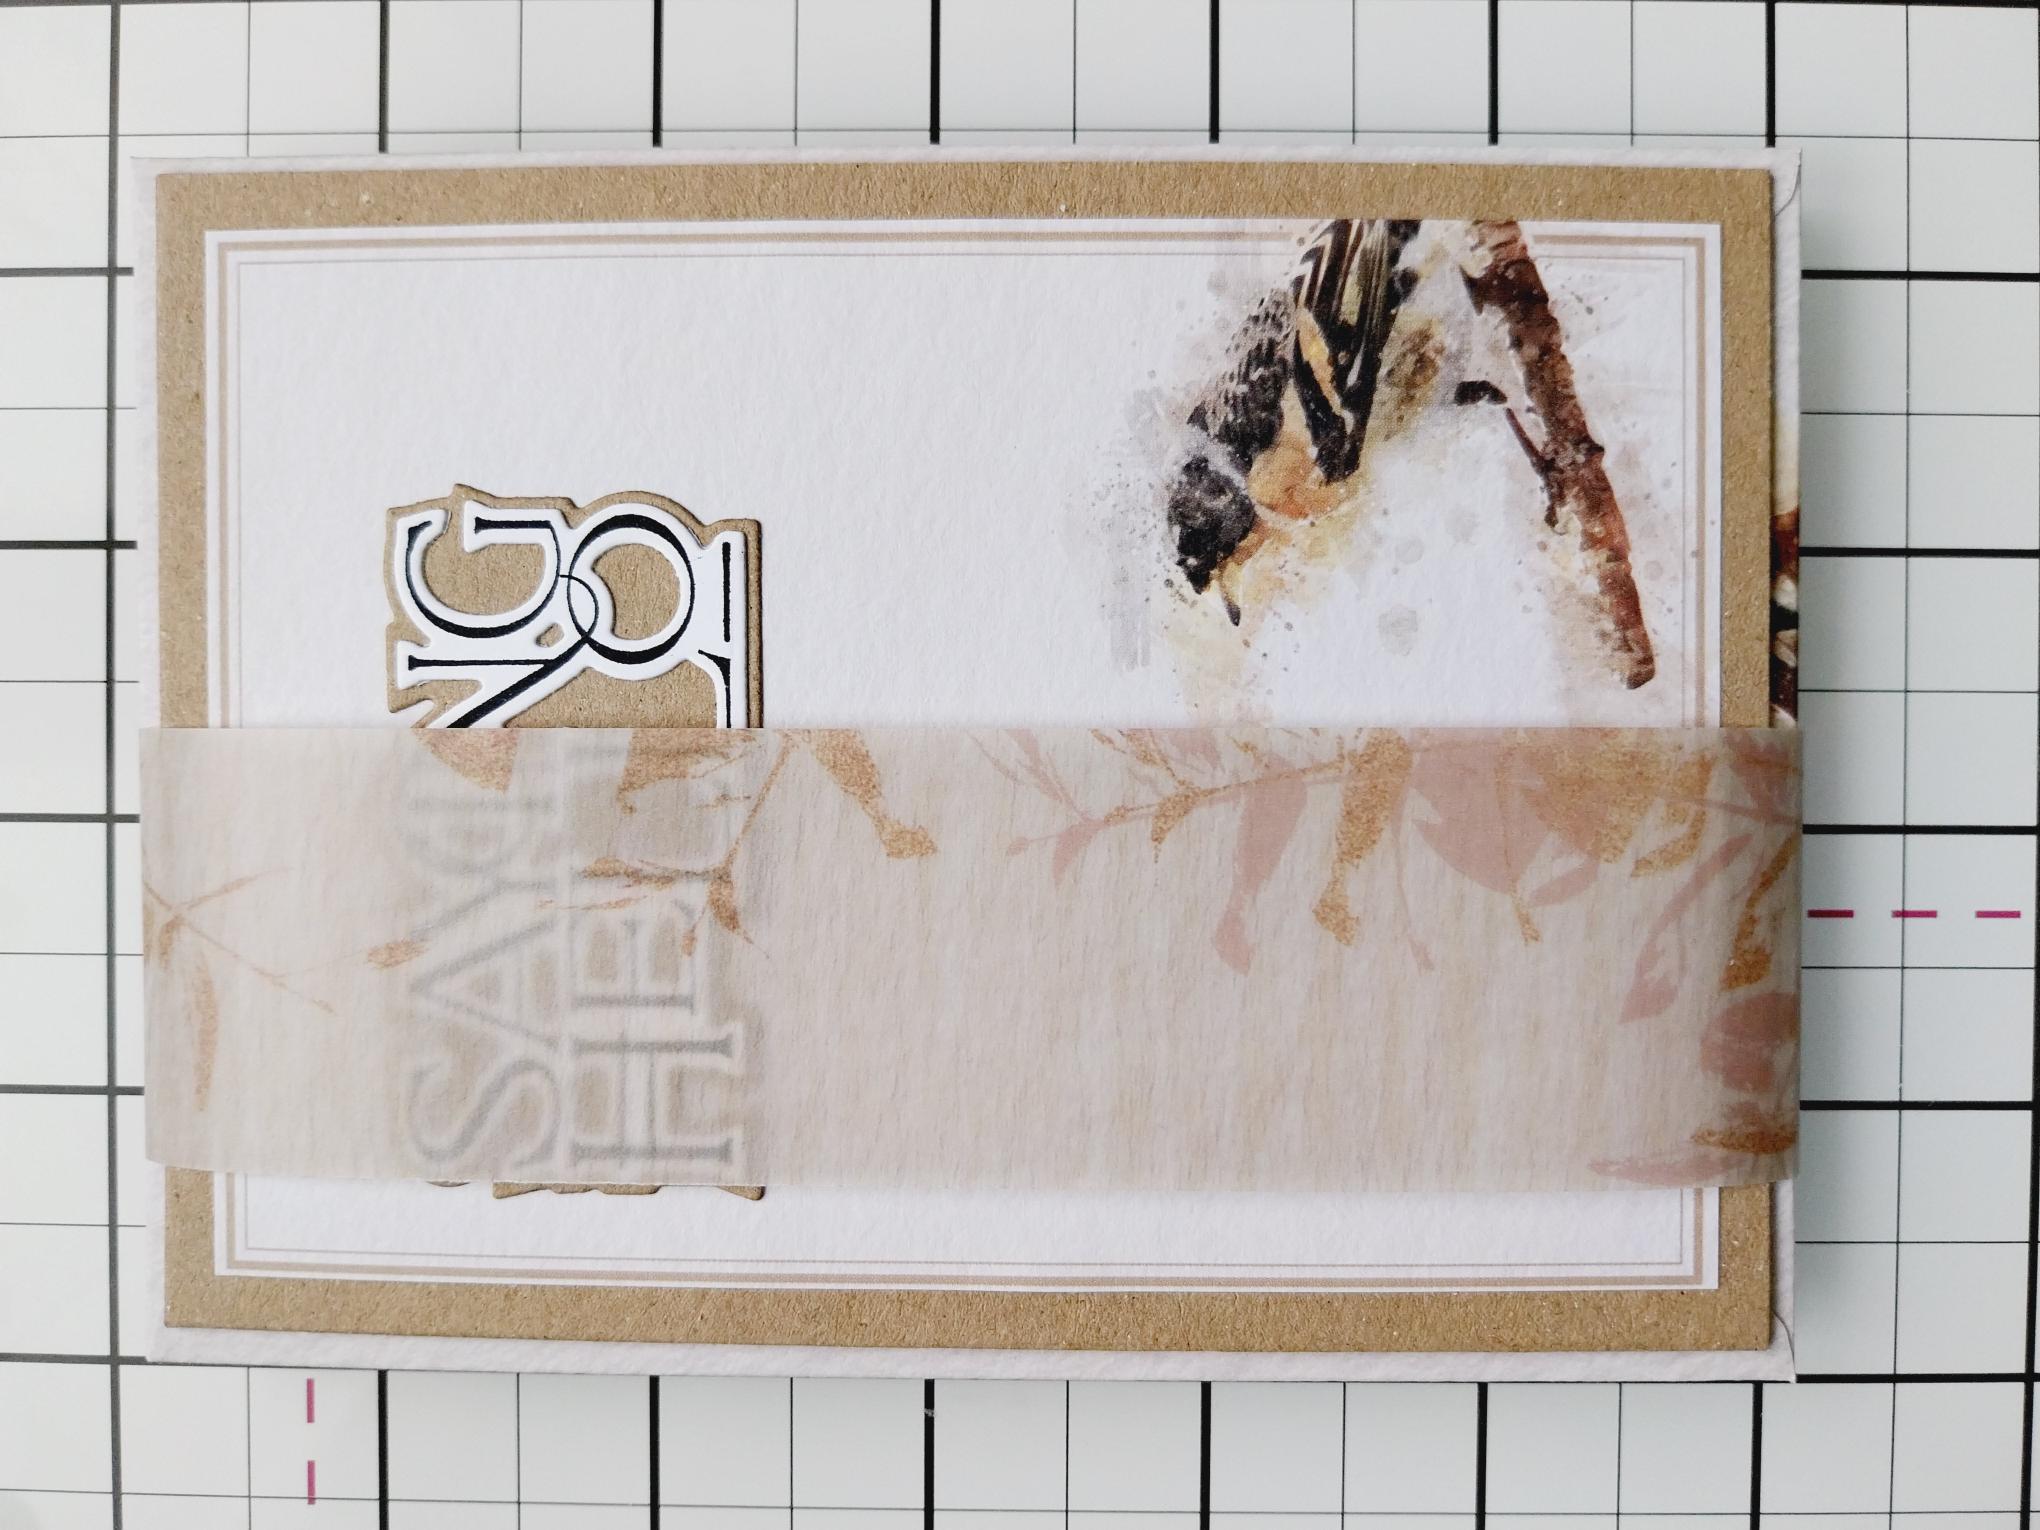
Place the first vellum panel down the left side of your pack of cards and envelopes. |
|
Turn them over and use the second vellum panel to connect and create your complete belly band. Trim off any excess vellum where required and glue the two panels together. Ensure your belly band is not too tight and will slide smoothly on and off, your notelet set. Pop your notelets to one side. |
|
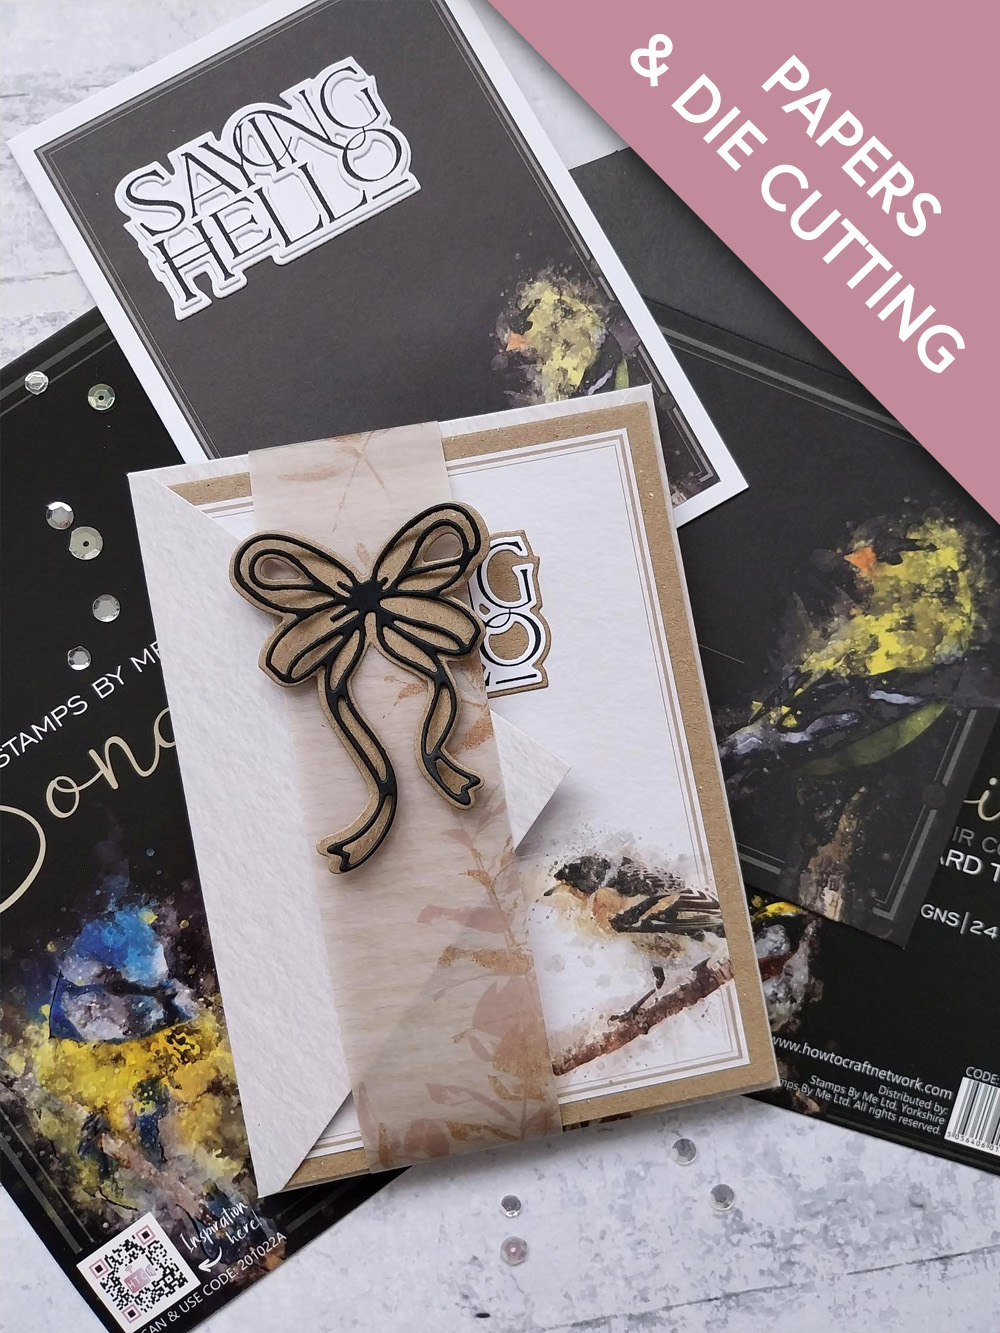
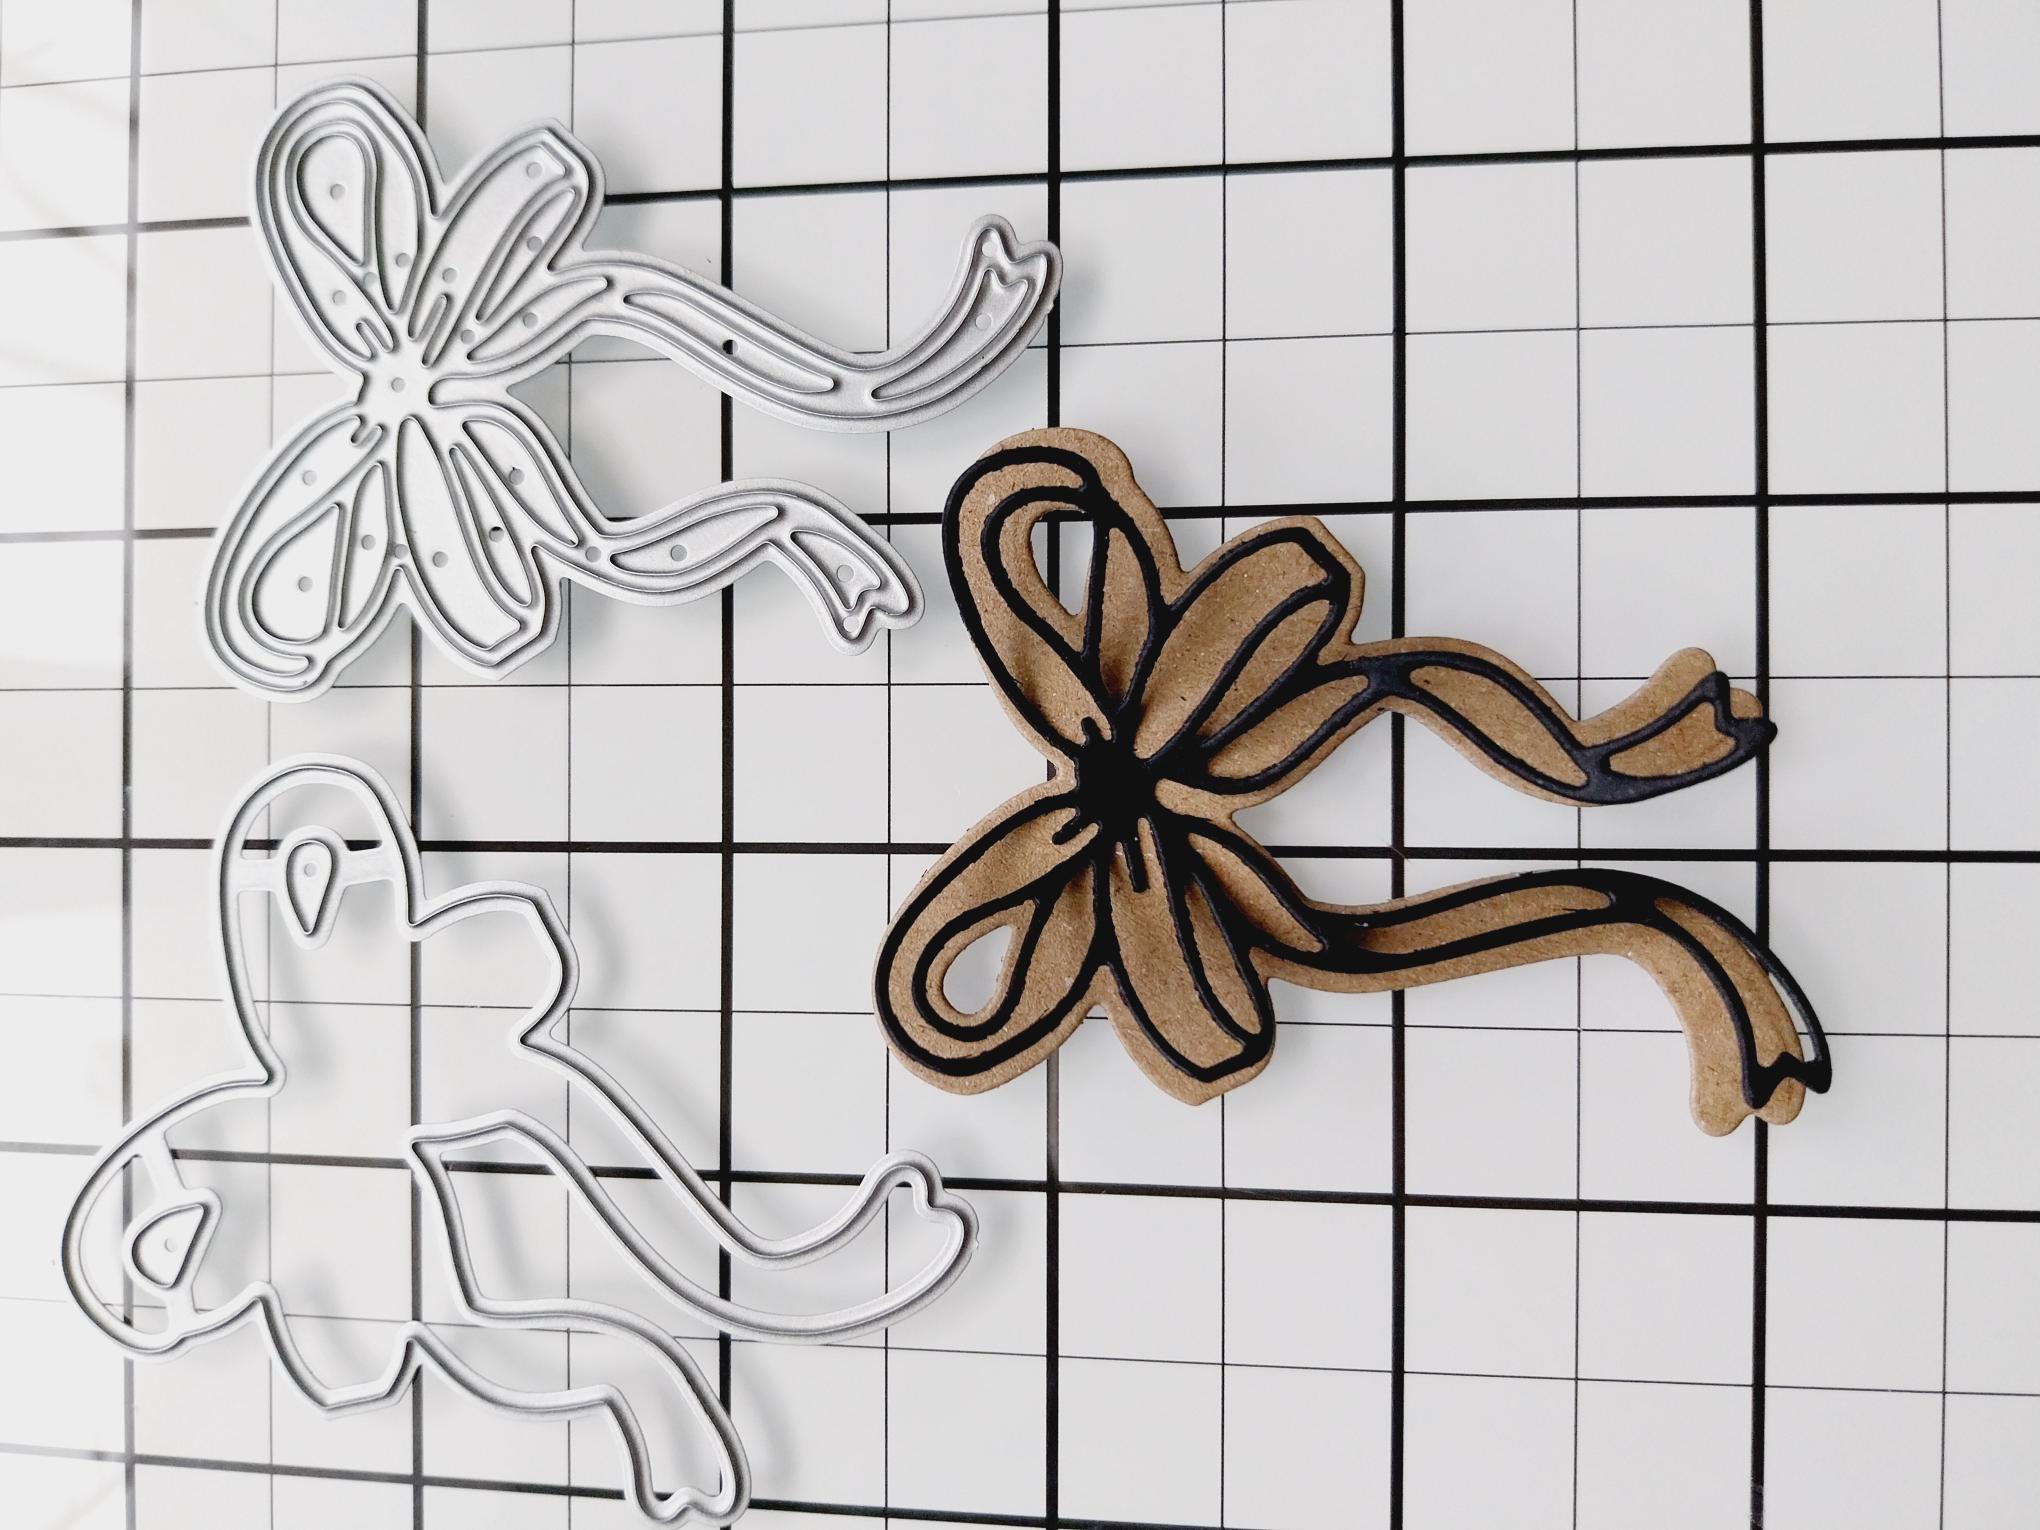
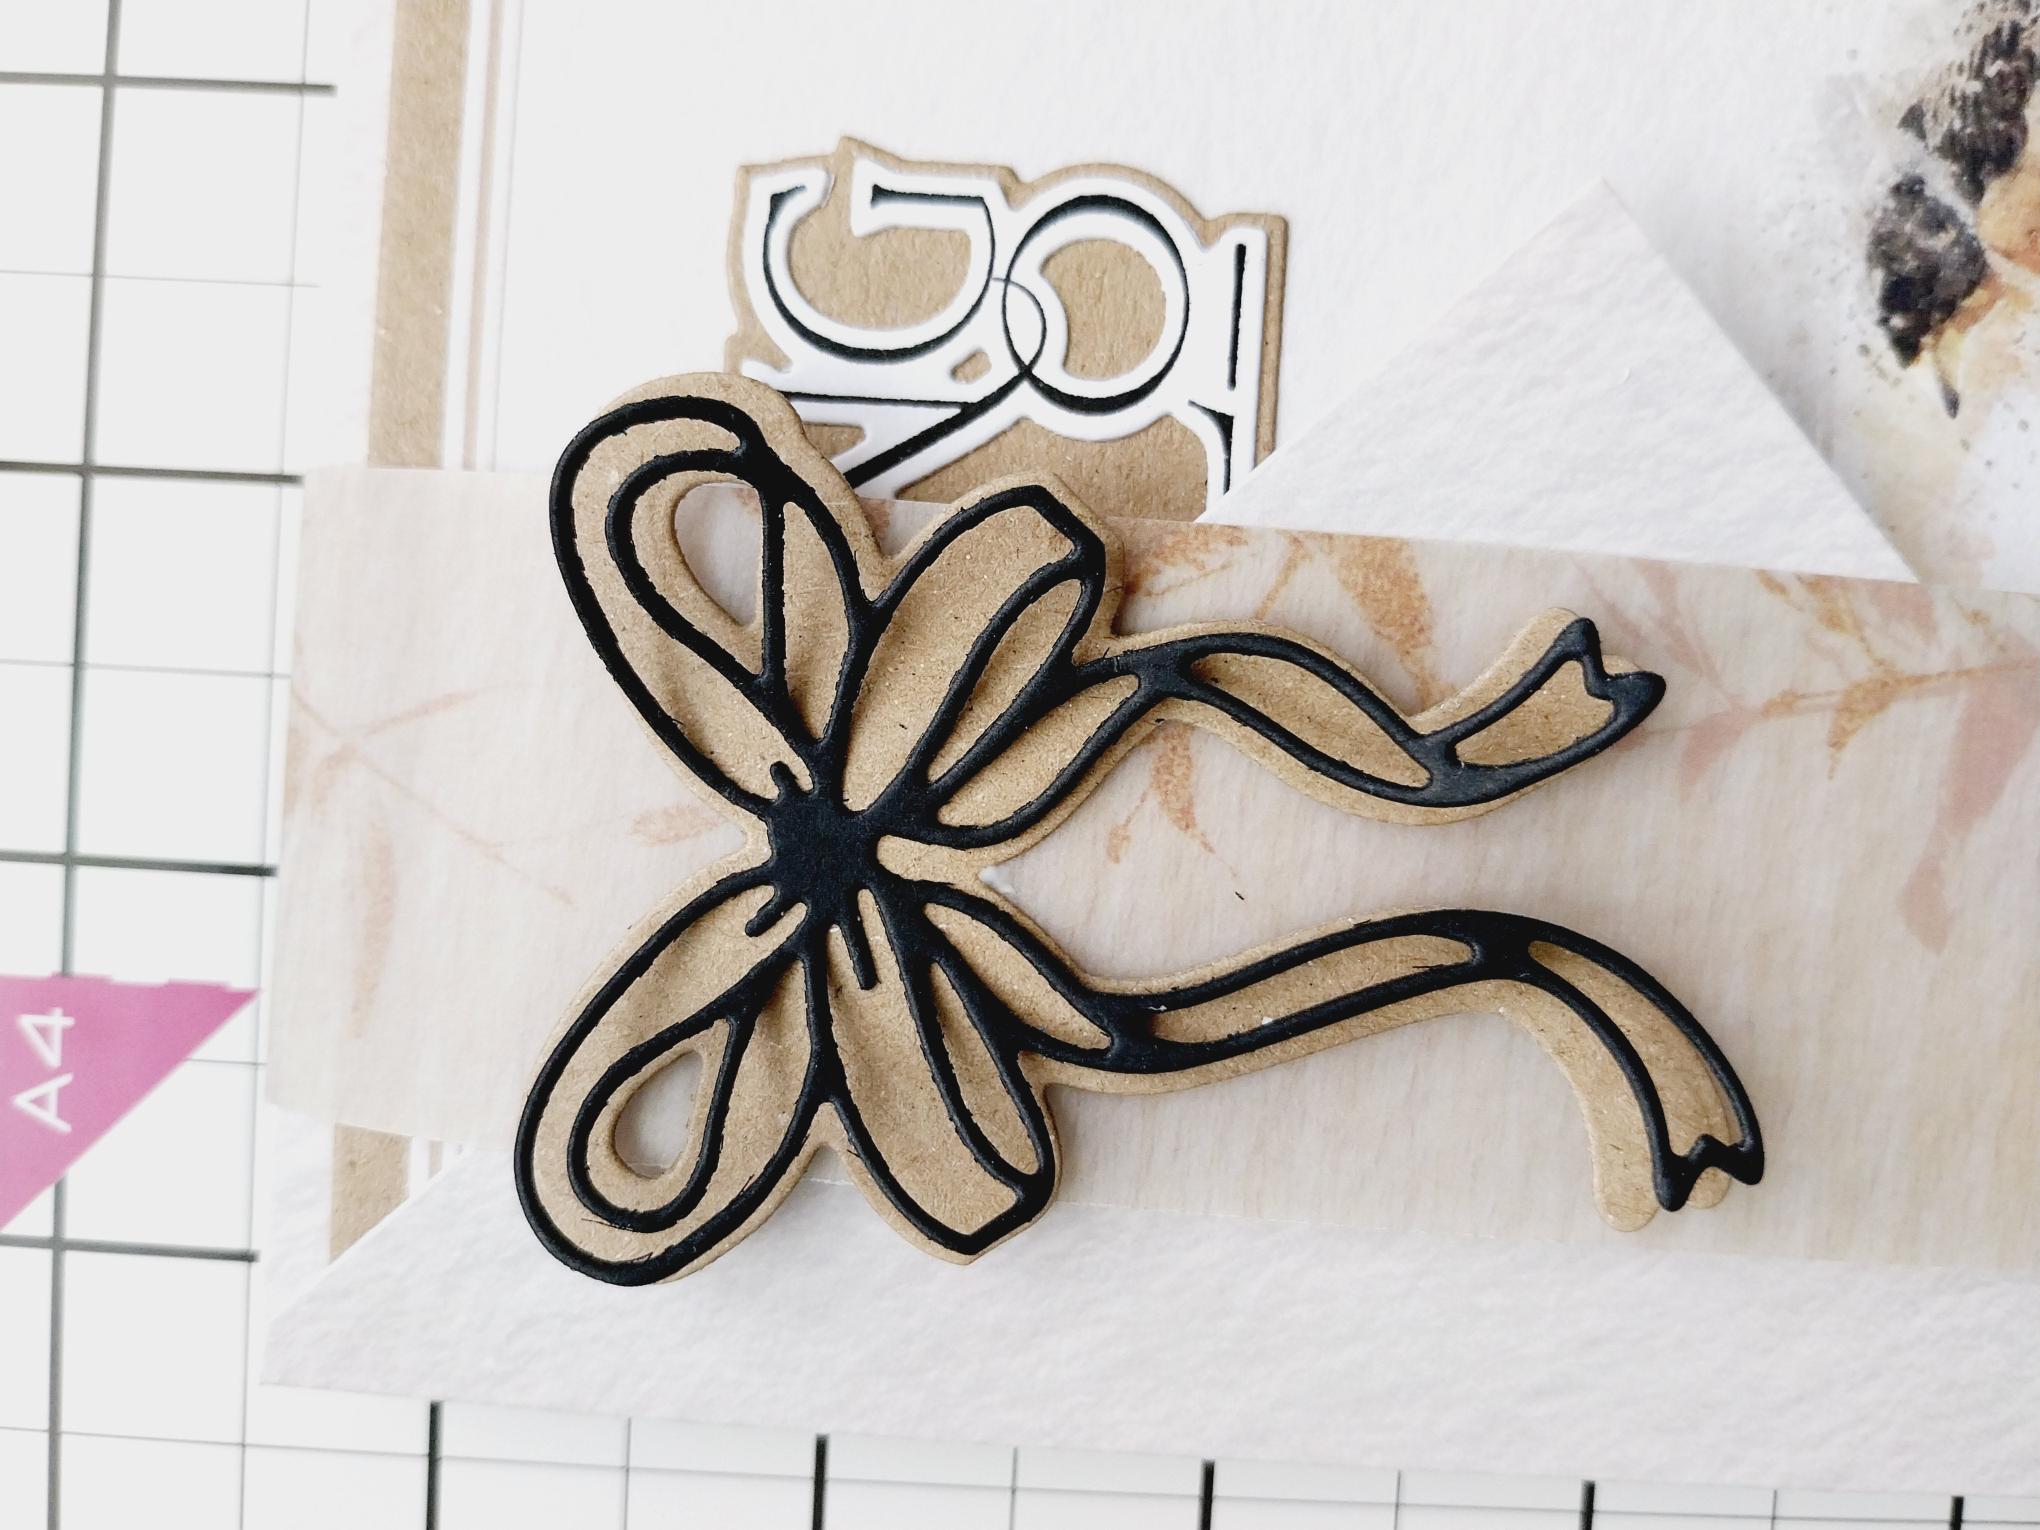
Use these bow dies, from the Tied With Love Die Collection, cutting the detailed bow from black card and the mat from kraft. Pop a little glue just in the centre of the bow and adhere to the mat, lifting up the bows and allowing the tails to hang loose. |
|
Adhere the bow towards the top of your belly band and voila....you have a beautiful notelet gift set!! |