Give your friends $10 off their first order!
Refer a FRIEND


WHAT YOU WILL NEED:
White card blank 7 x 5"
White card
Charcoal Roses Card Toppers
Chalkboard Florals Card Toppers
Classic Celebration 8 x 8" Paper Pack
Classic Celebration 8 x 8" Vellum Pack
All Surfaces Charcoal 8 x 8" Paper Pack
Thirsty Brush UnLtd Framed Hearts Creative Dies
Stamps By Me Box Kit Magazine (edition 2)
SBM Magnetic glass mat
Paper Trimmer
Perfect Together Glue
Double-sided adhesive tape
Foam pads
Die Cutting machine
[click image to enlarge] 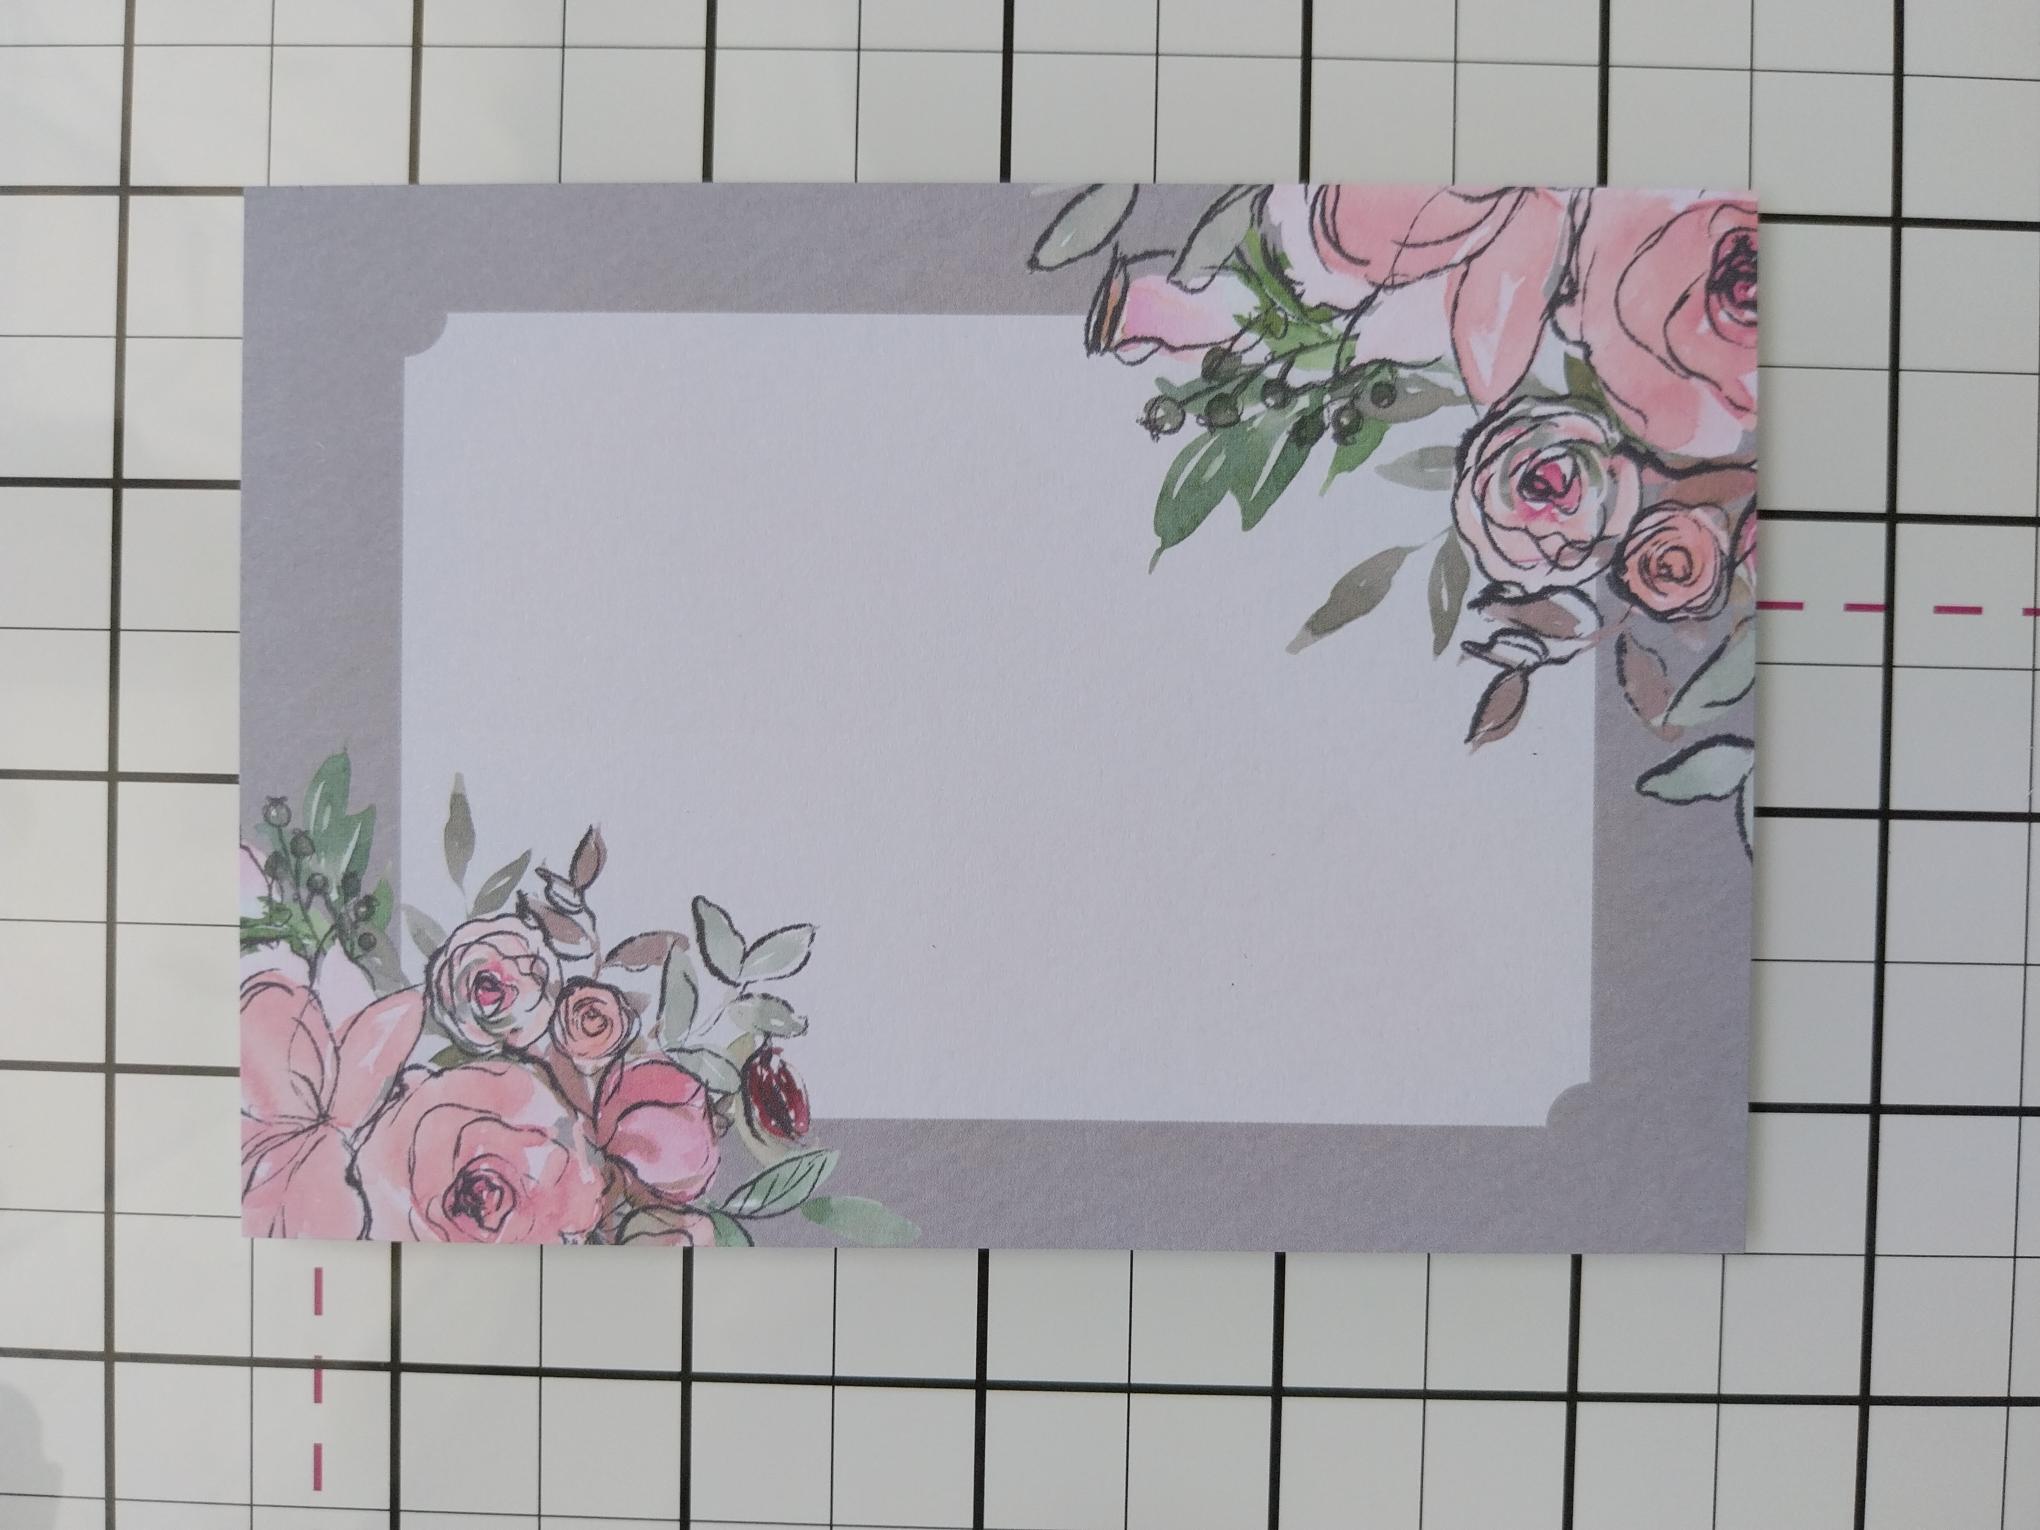
|
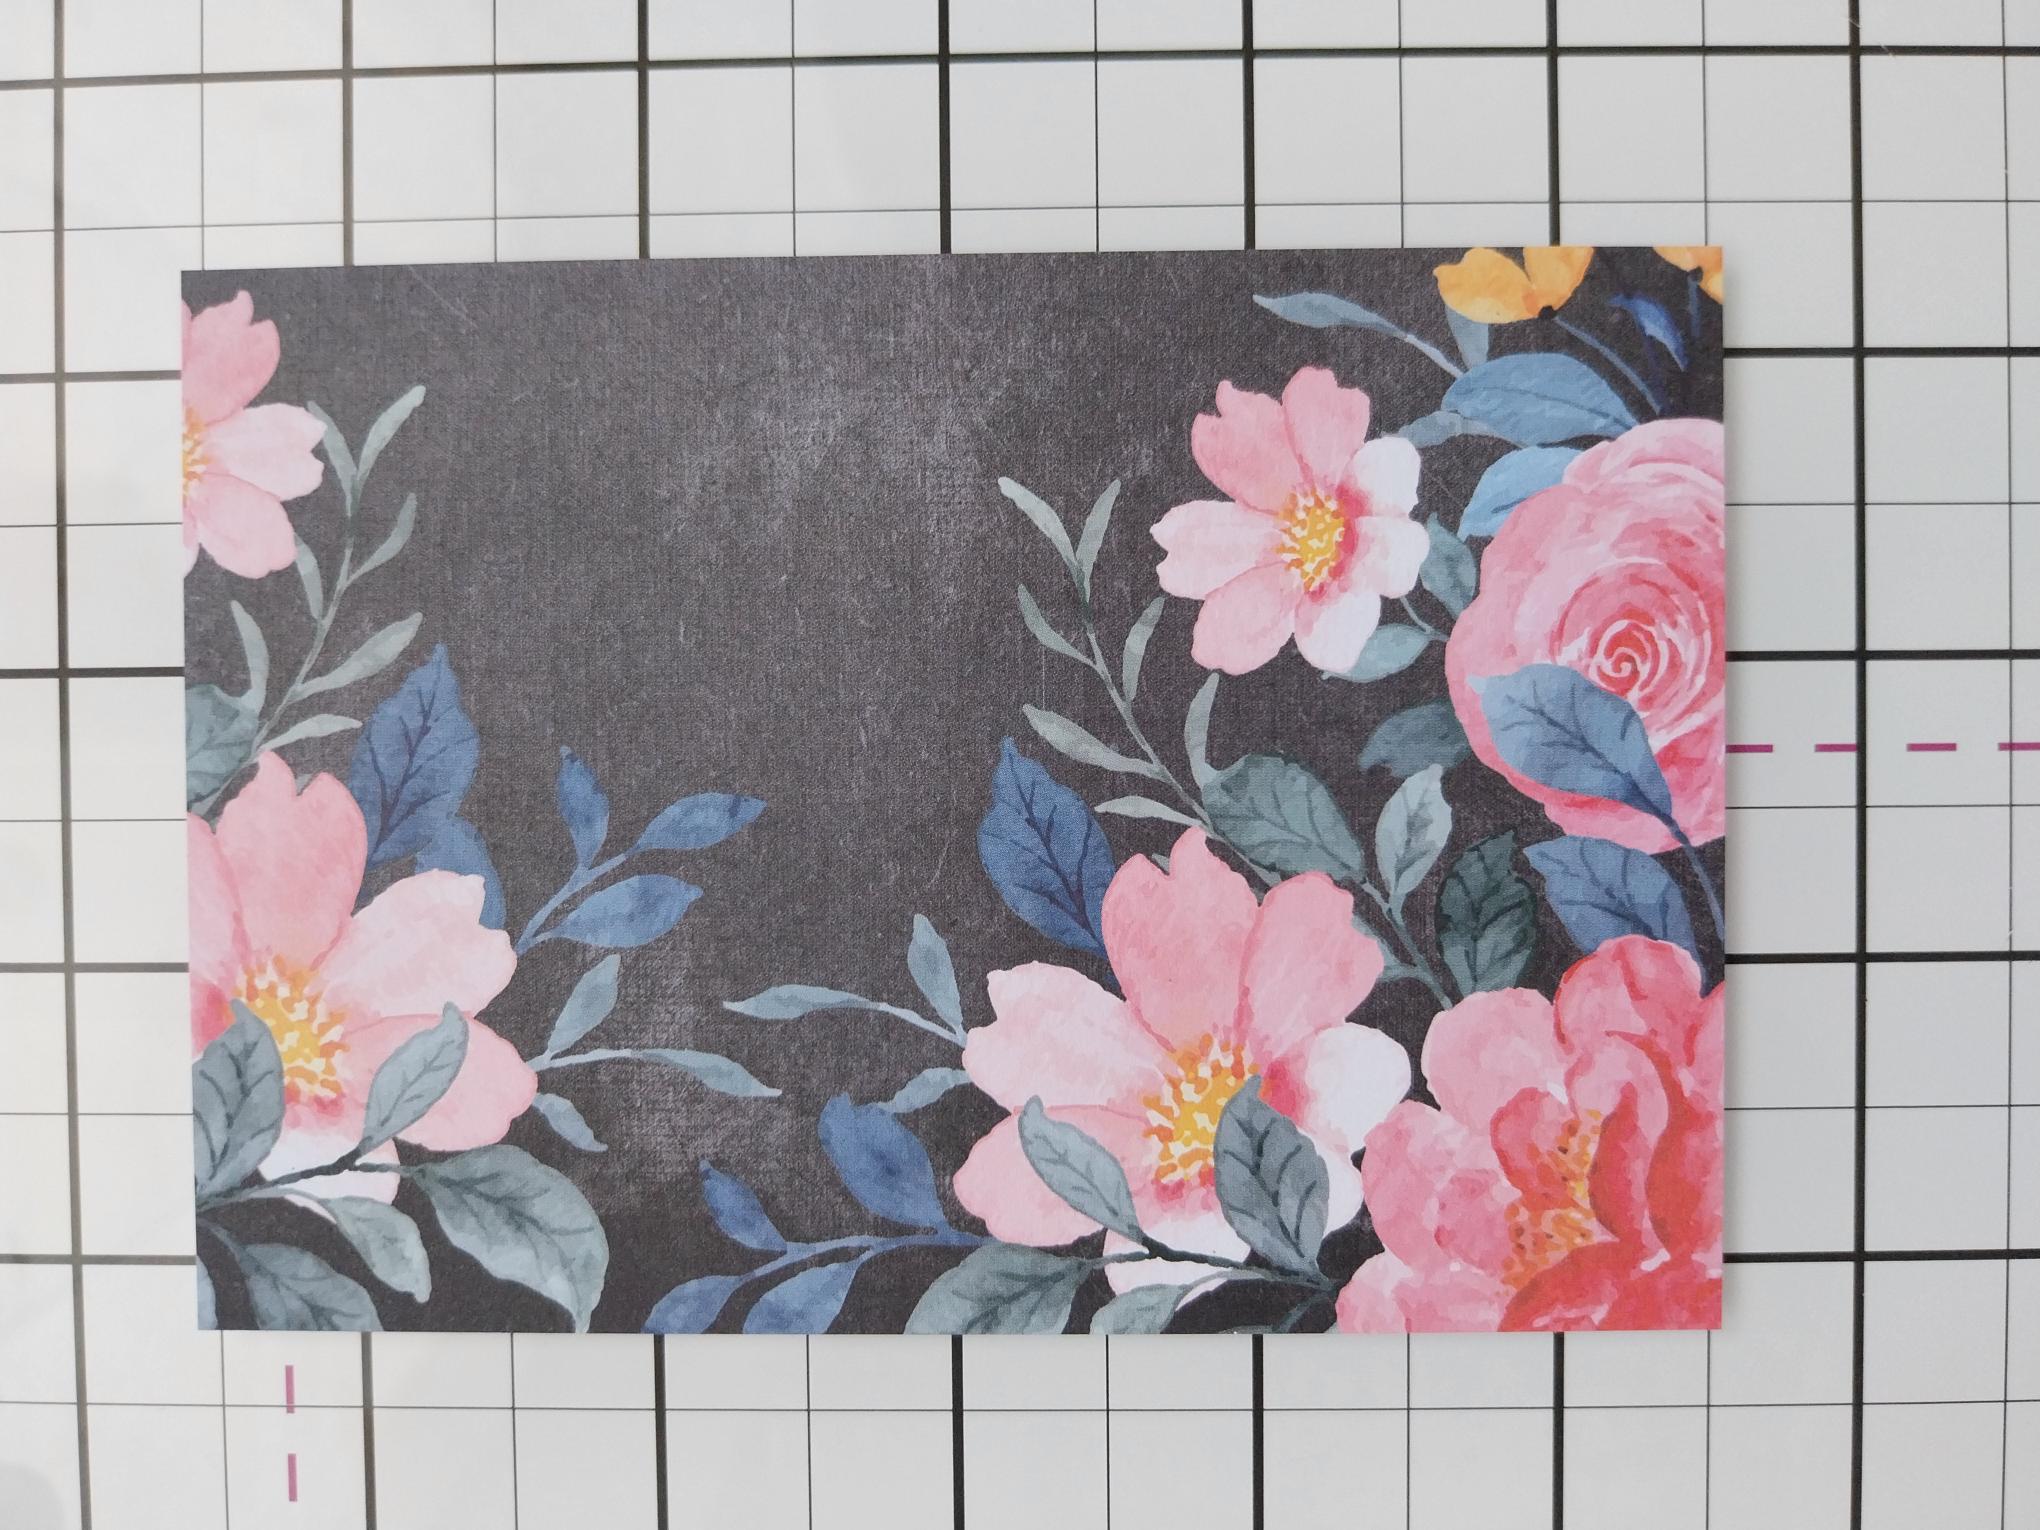
You'll need this beautiful topper from the Charcoal Card Topper Collection, for this project. |
|
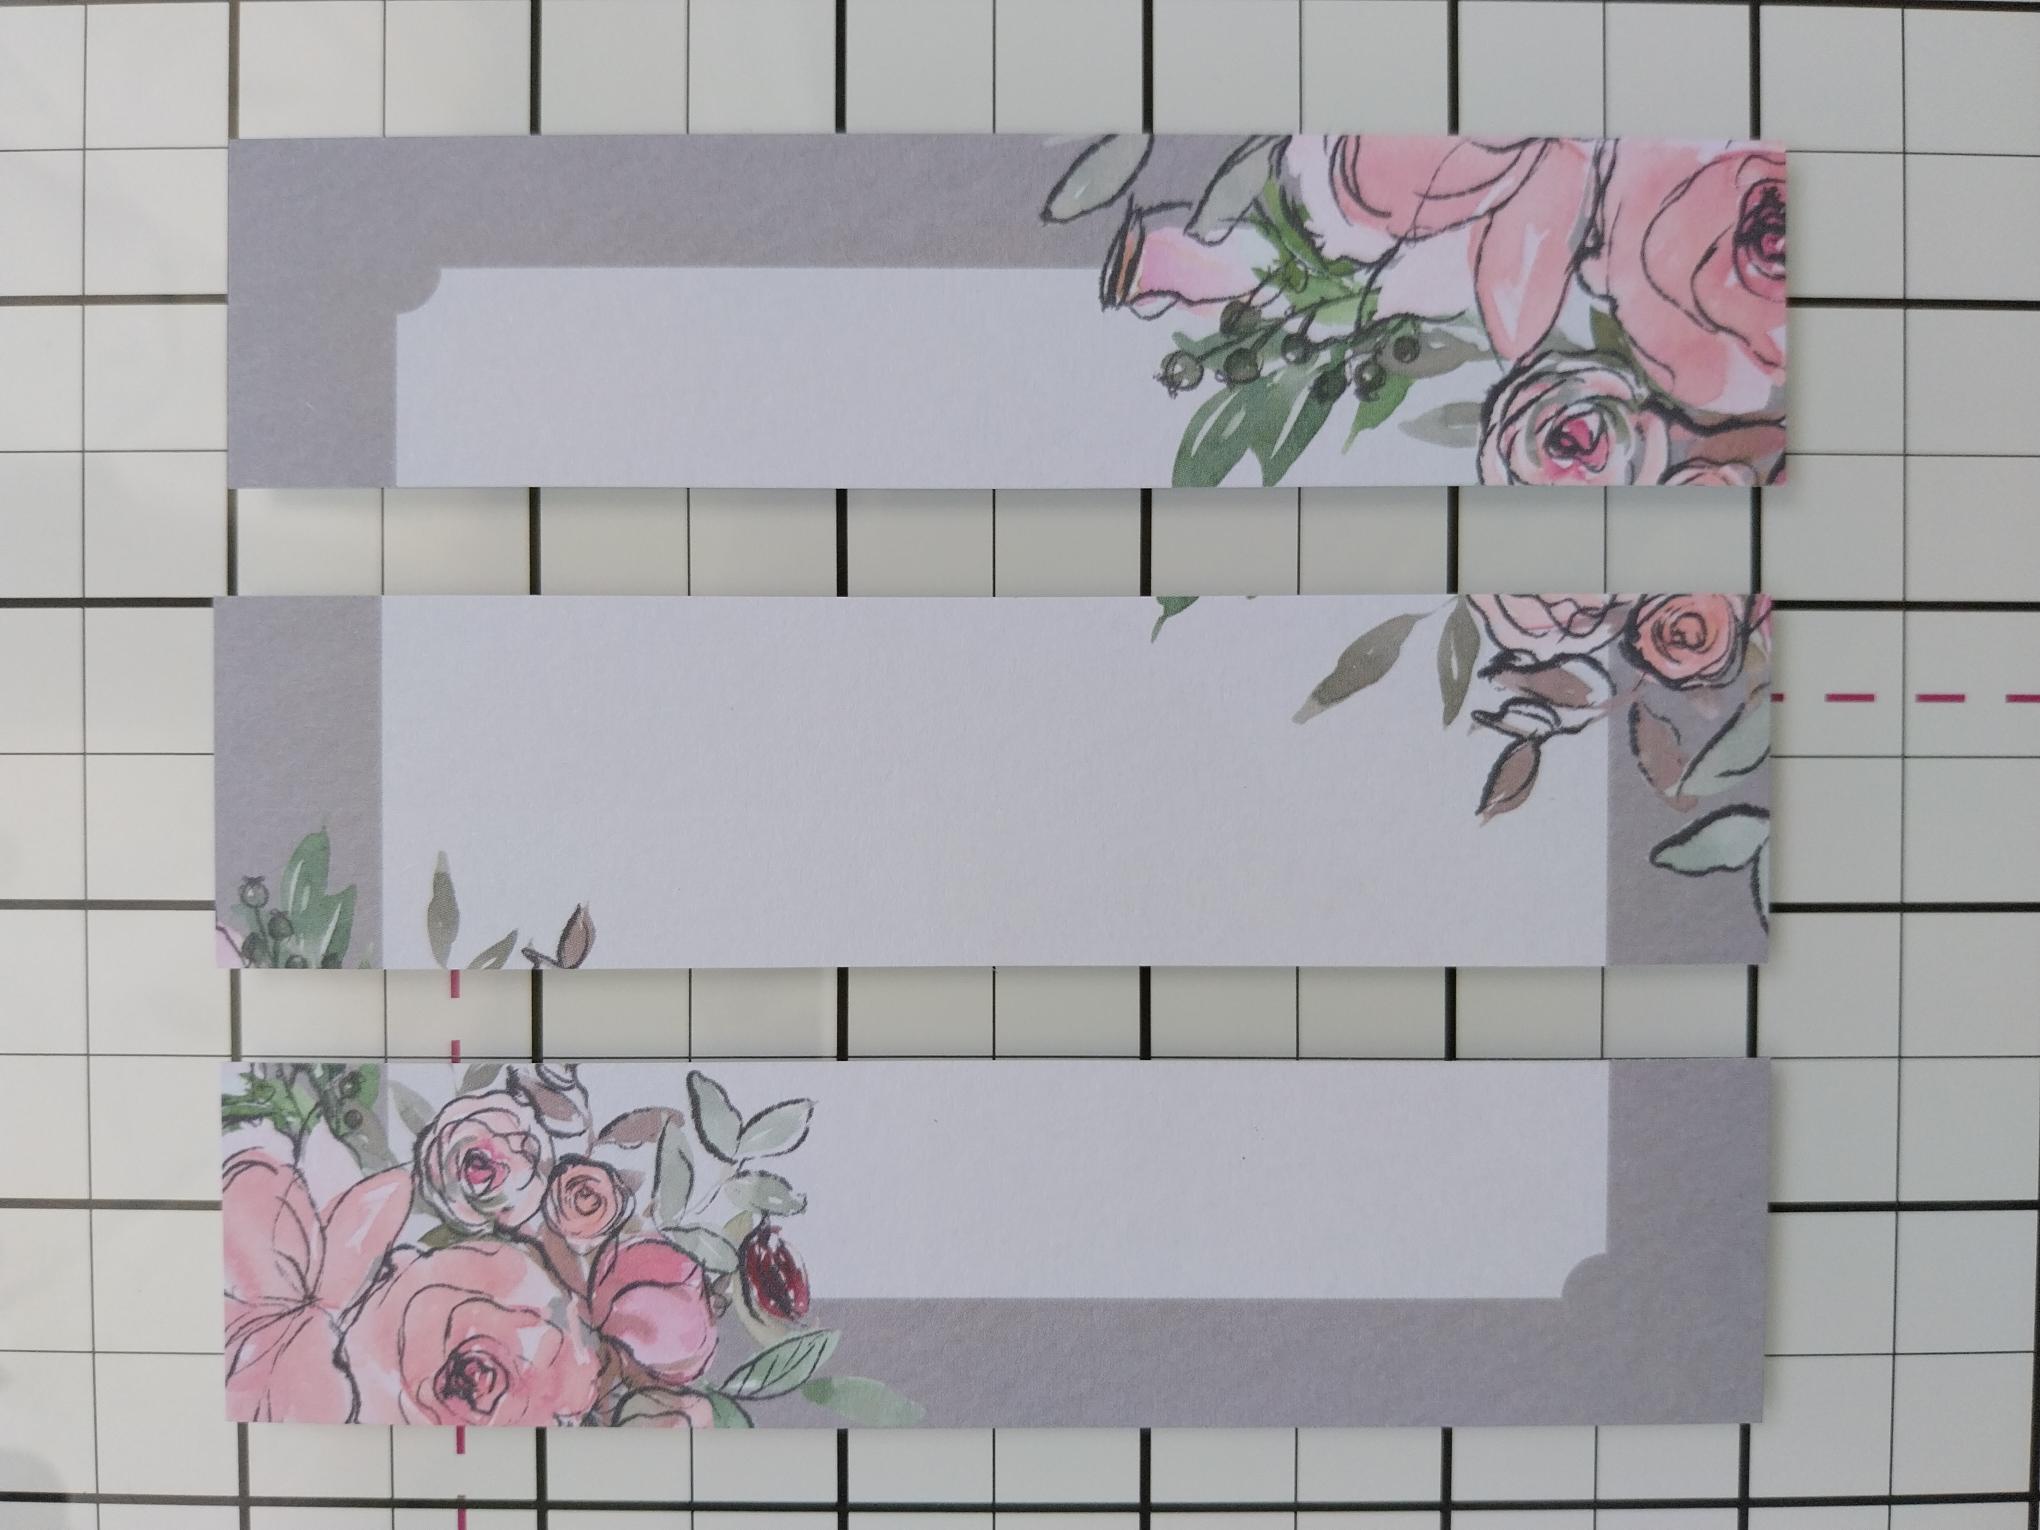
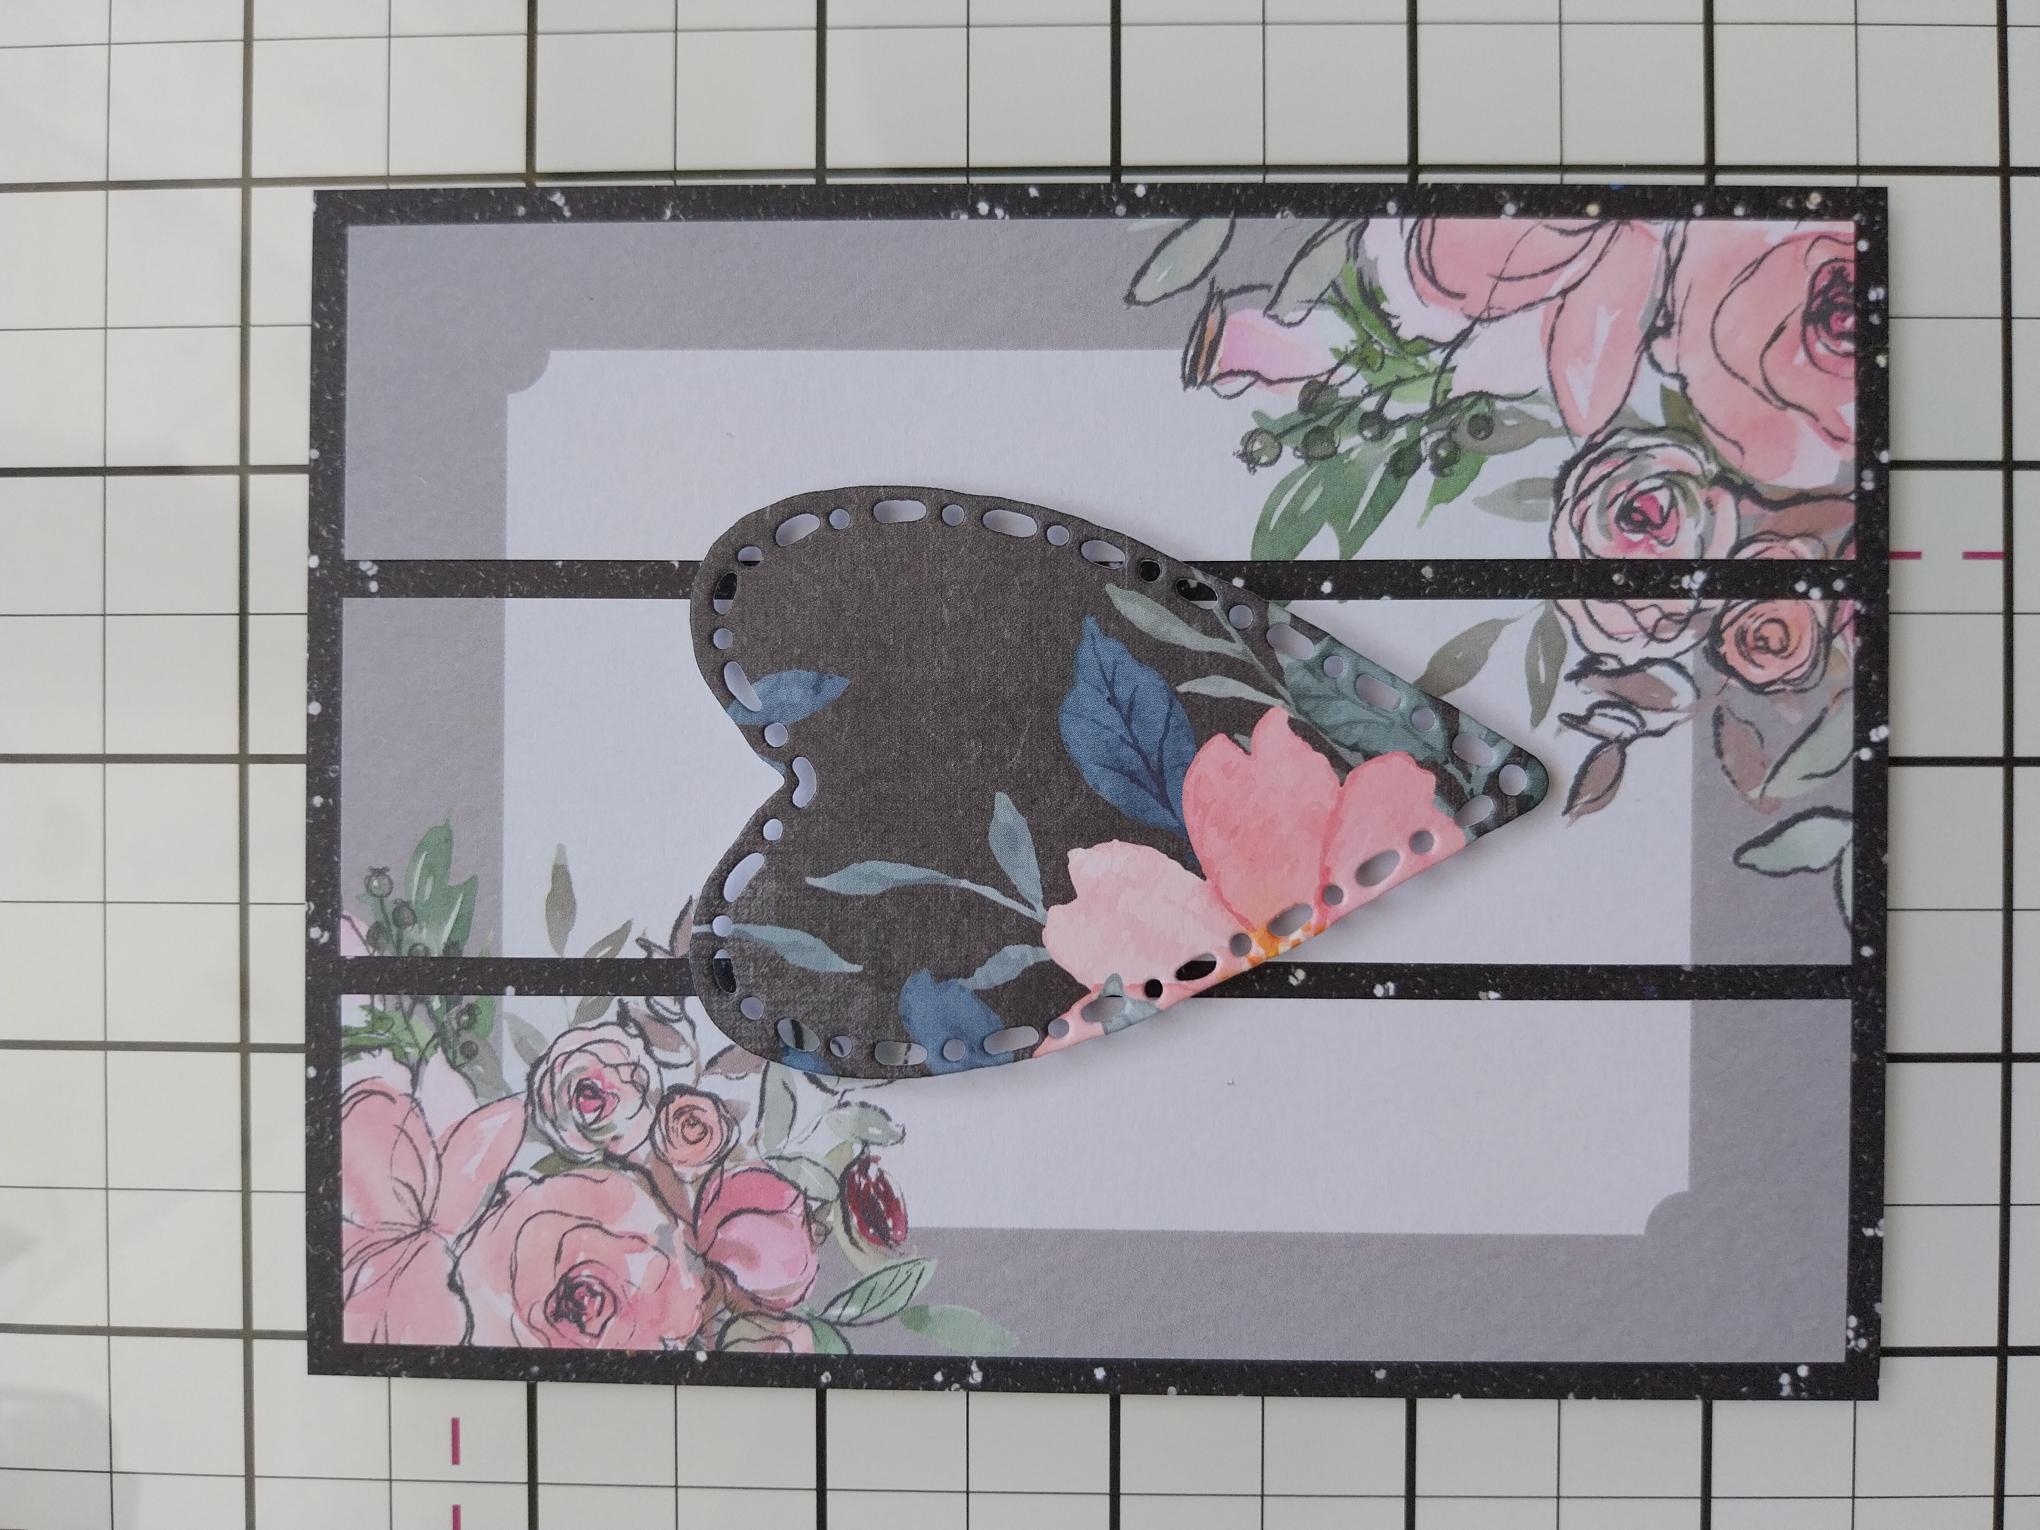
Cut your topper in to 3 vertical panels, as shown here. |
|
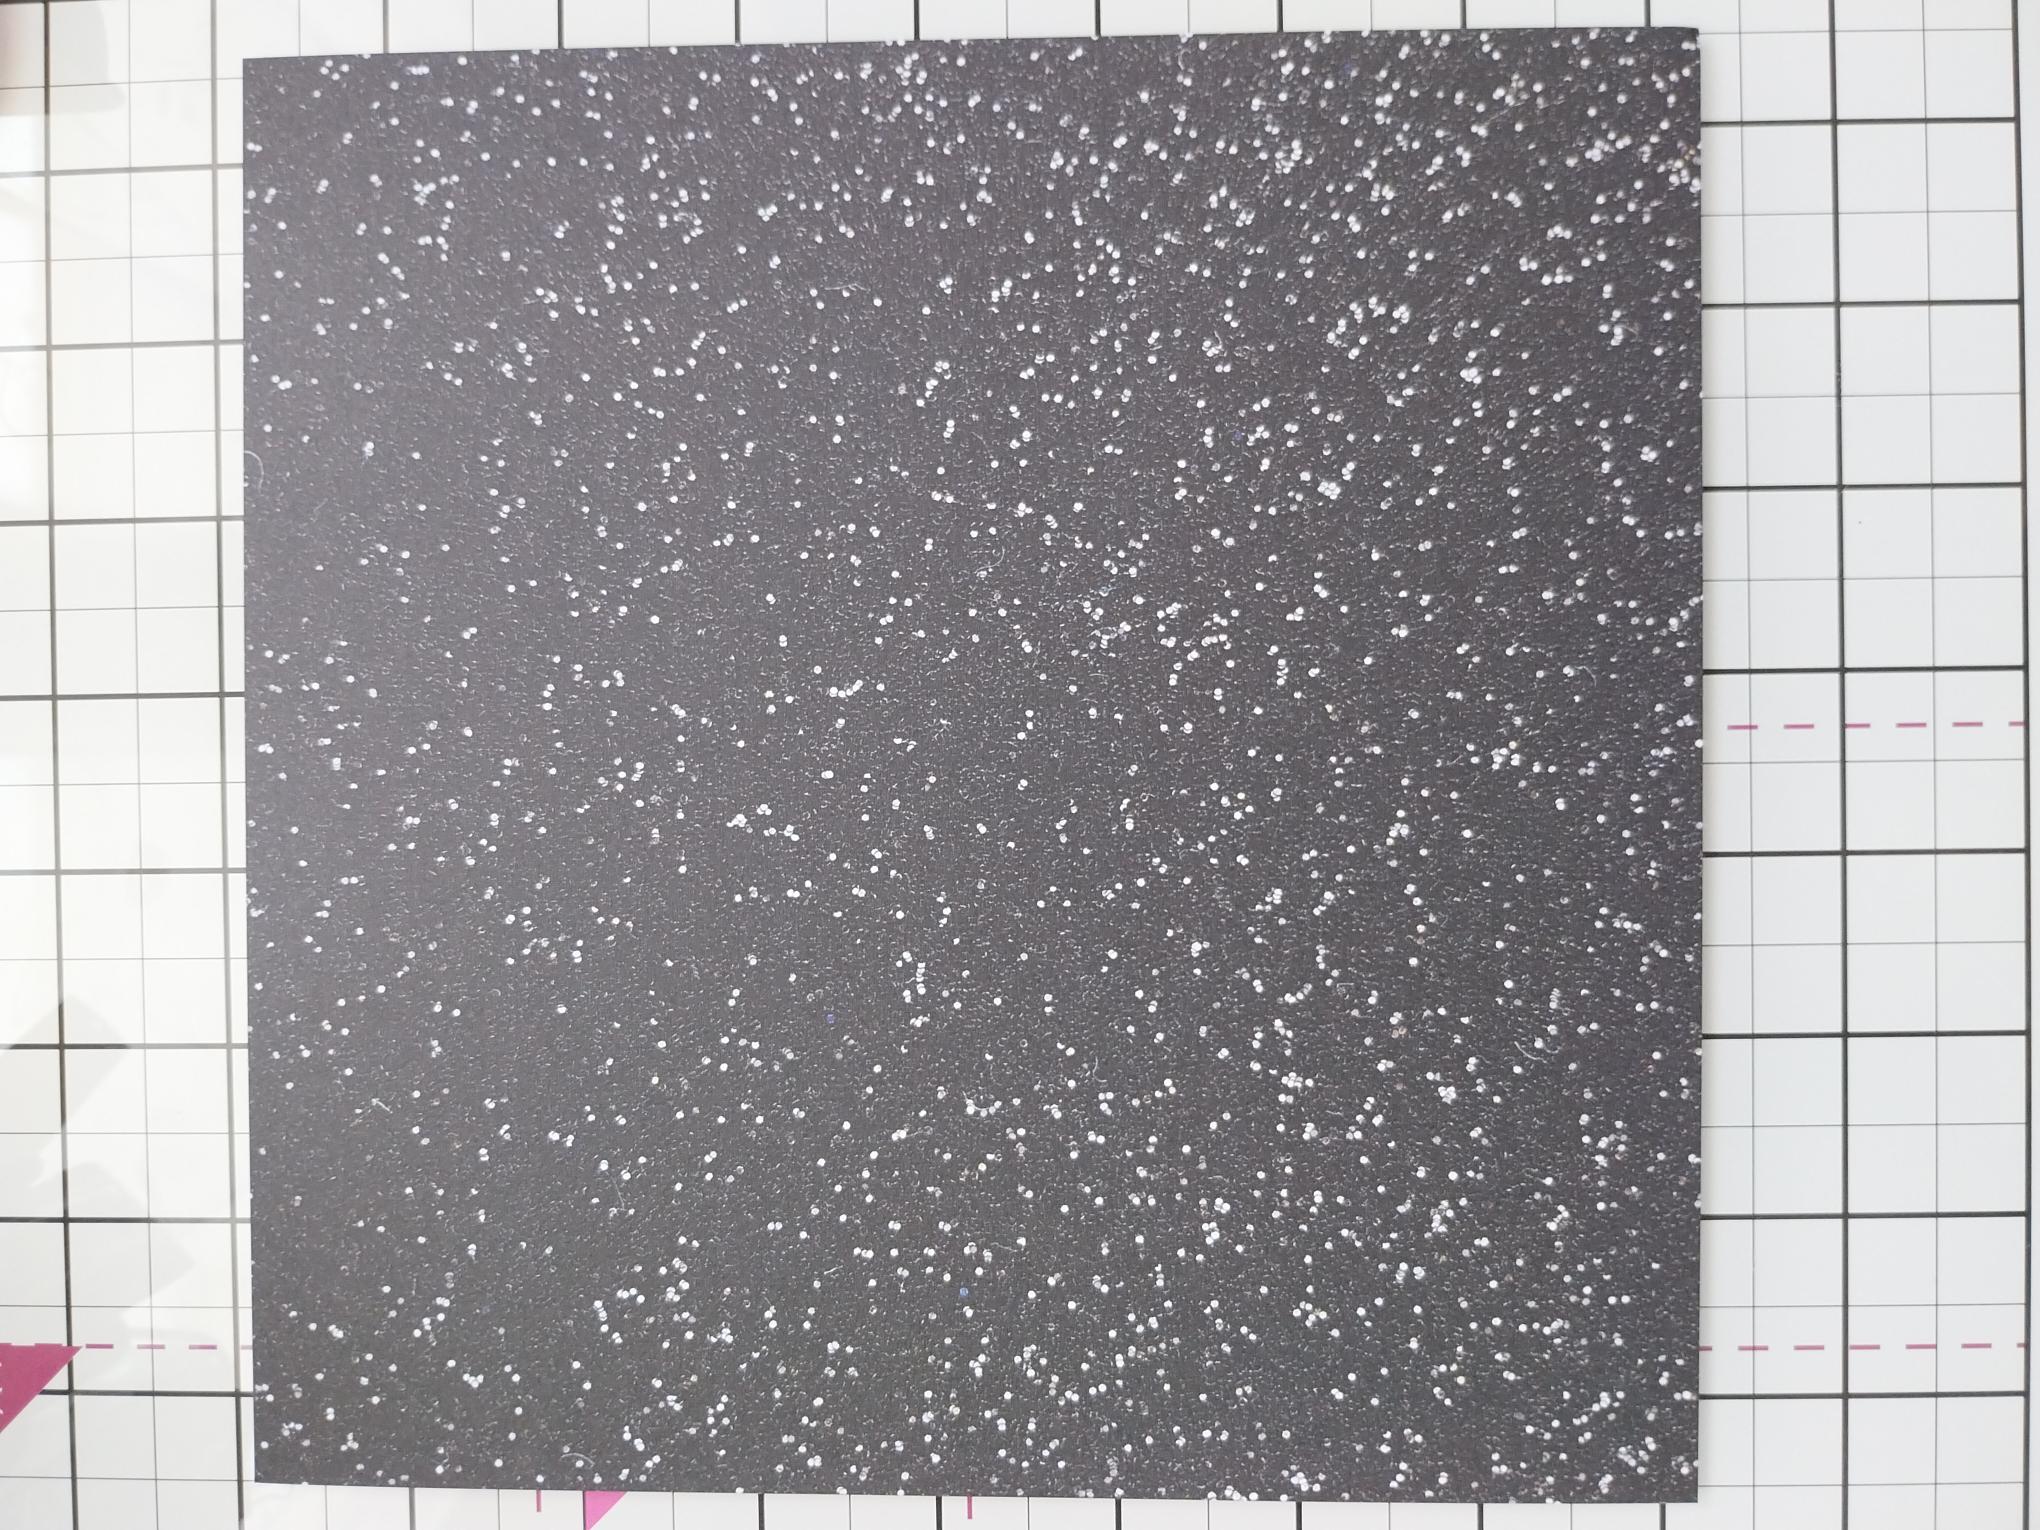
Remove this decorative paper from the Charcoal All Surfaces pack and trim to 5 1/4 x 4". |
|
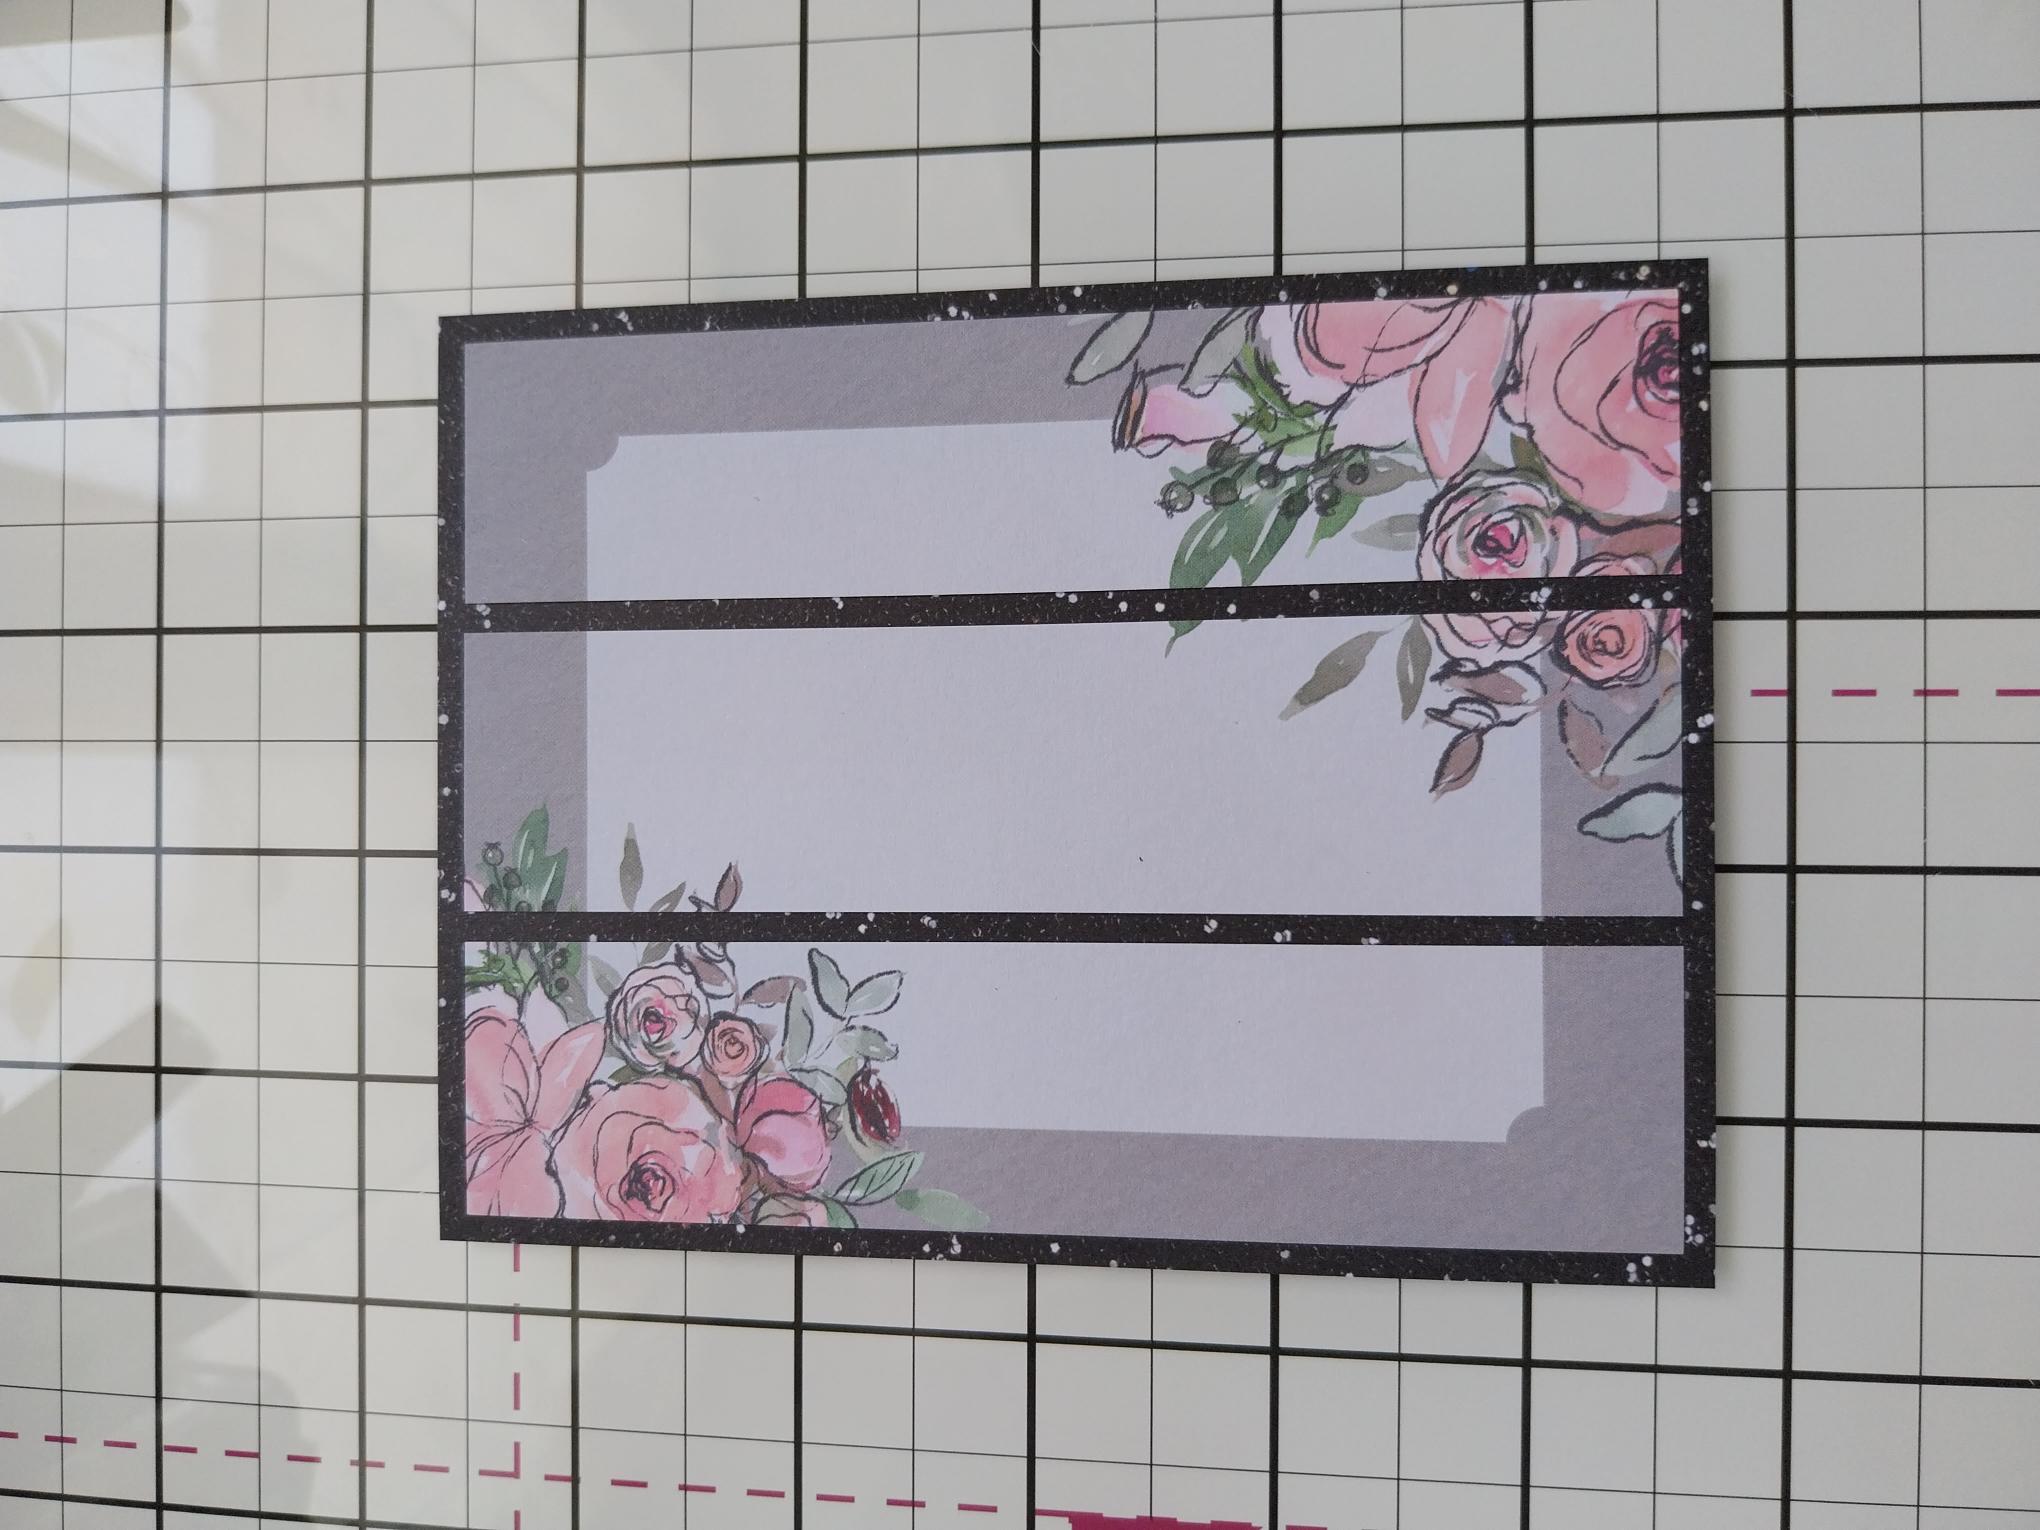
Adhere your 3 topper panels on to the Charcoal paper, then pop to one side. |
|
Remove this topper from the Chalkboard Card Topper Collection. |
|
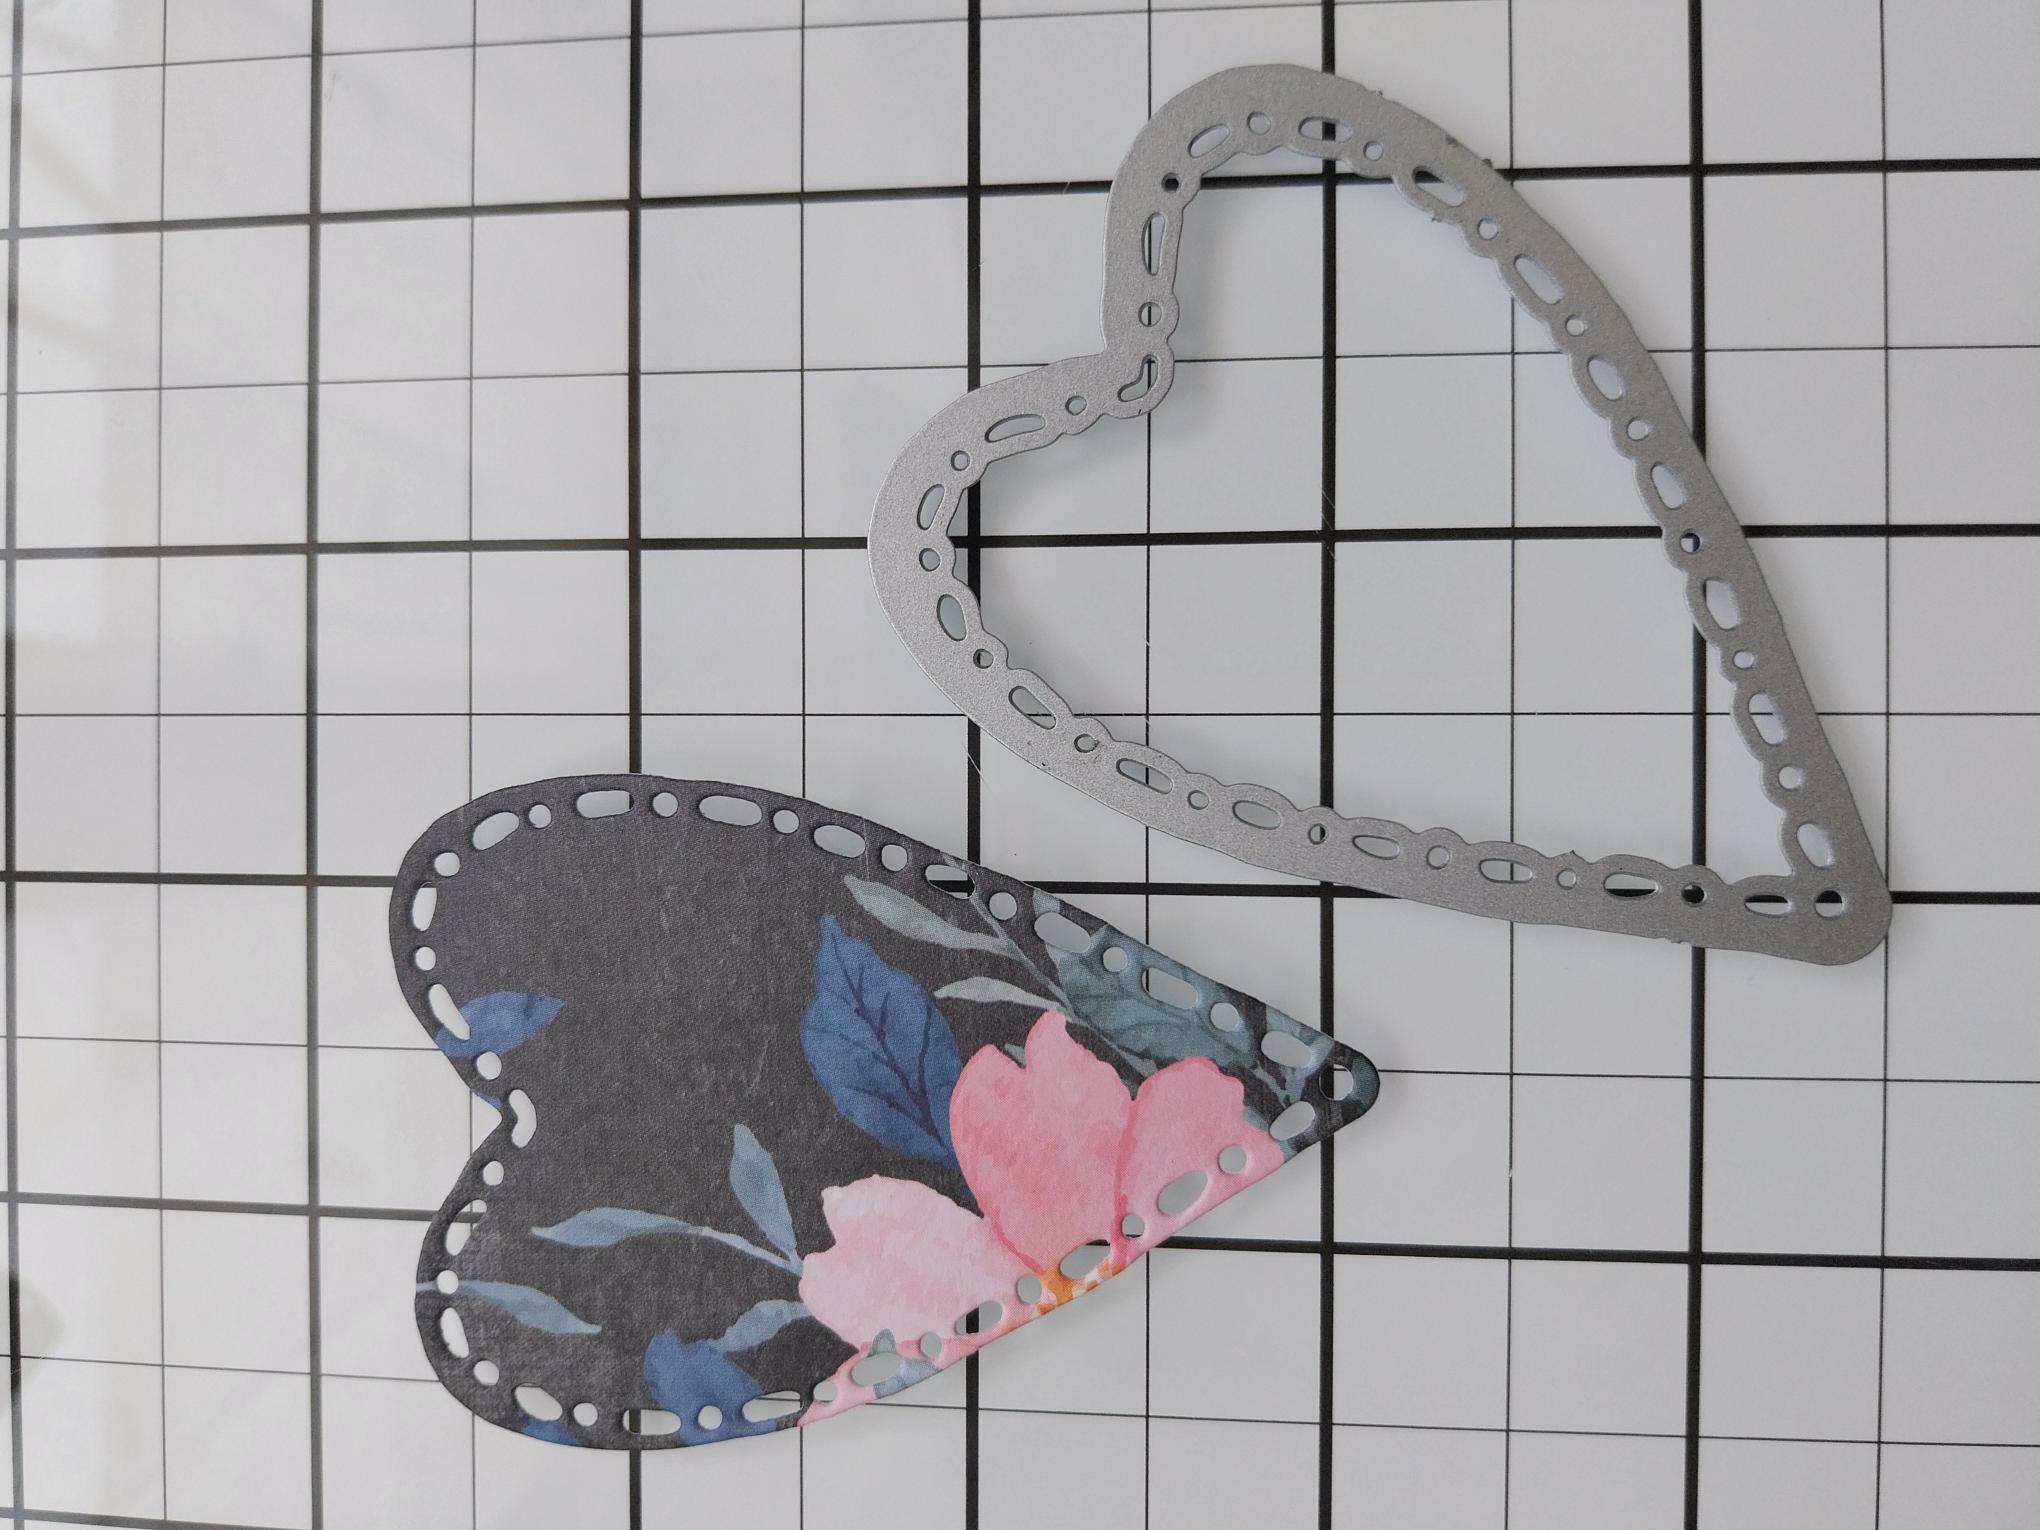
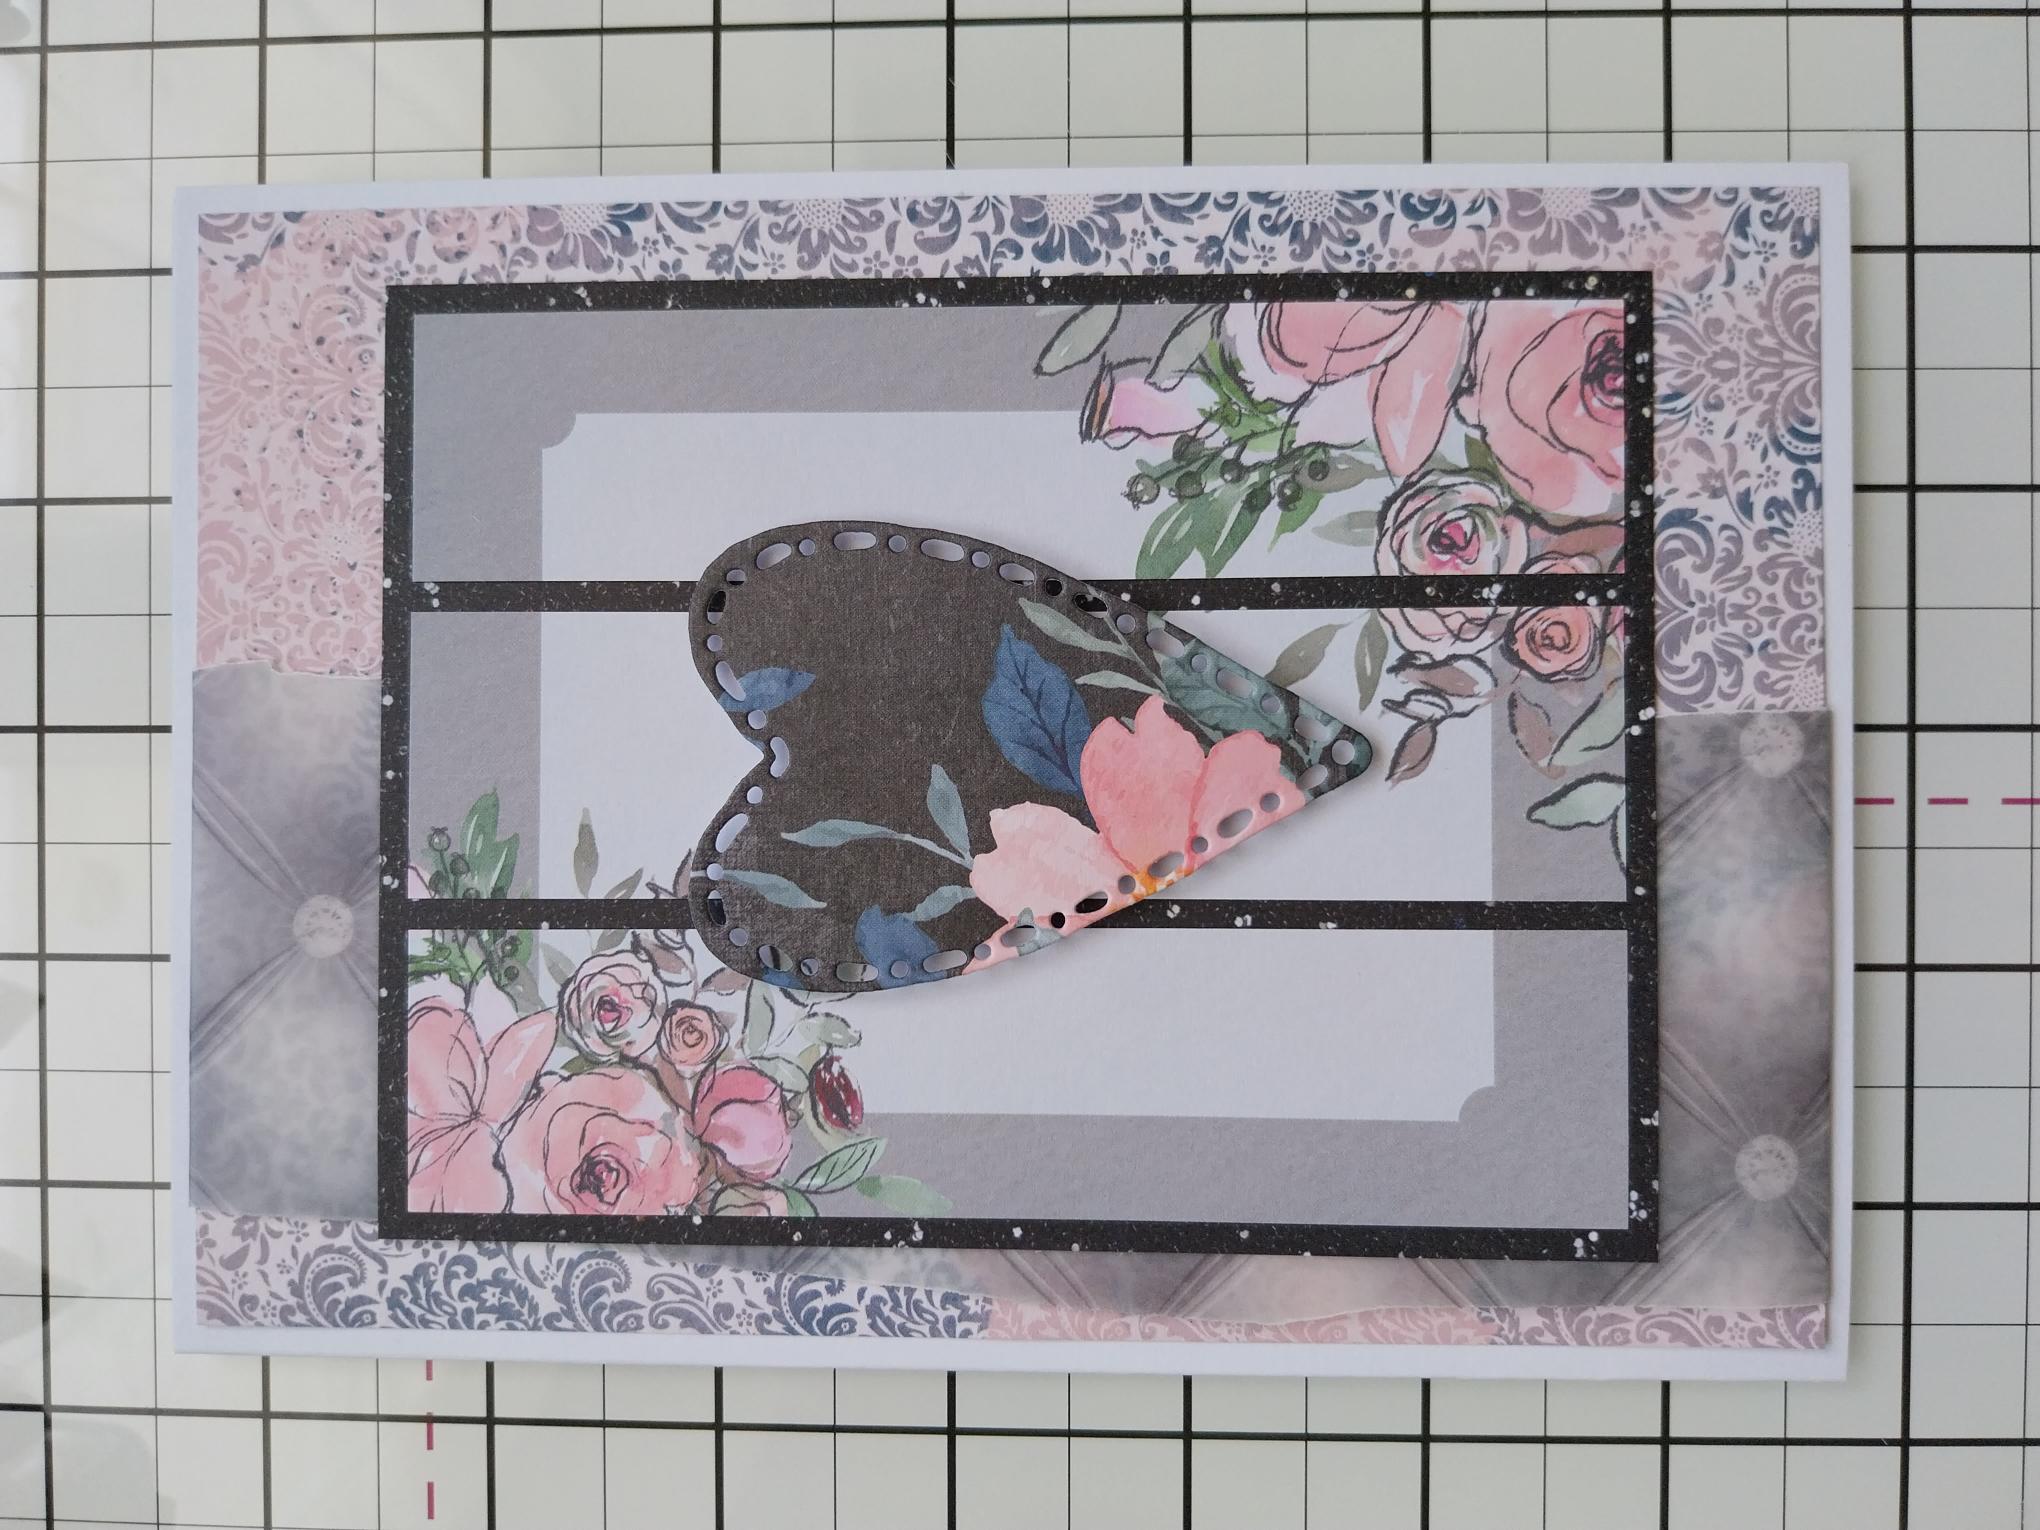
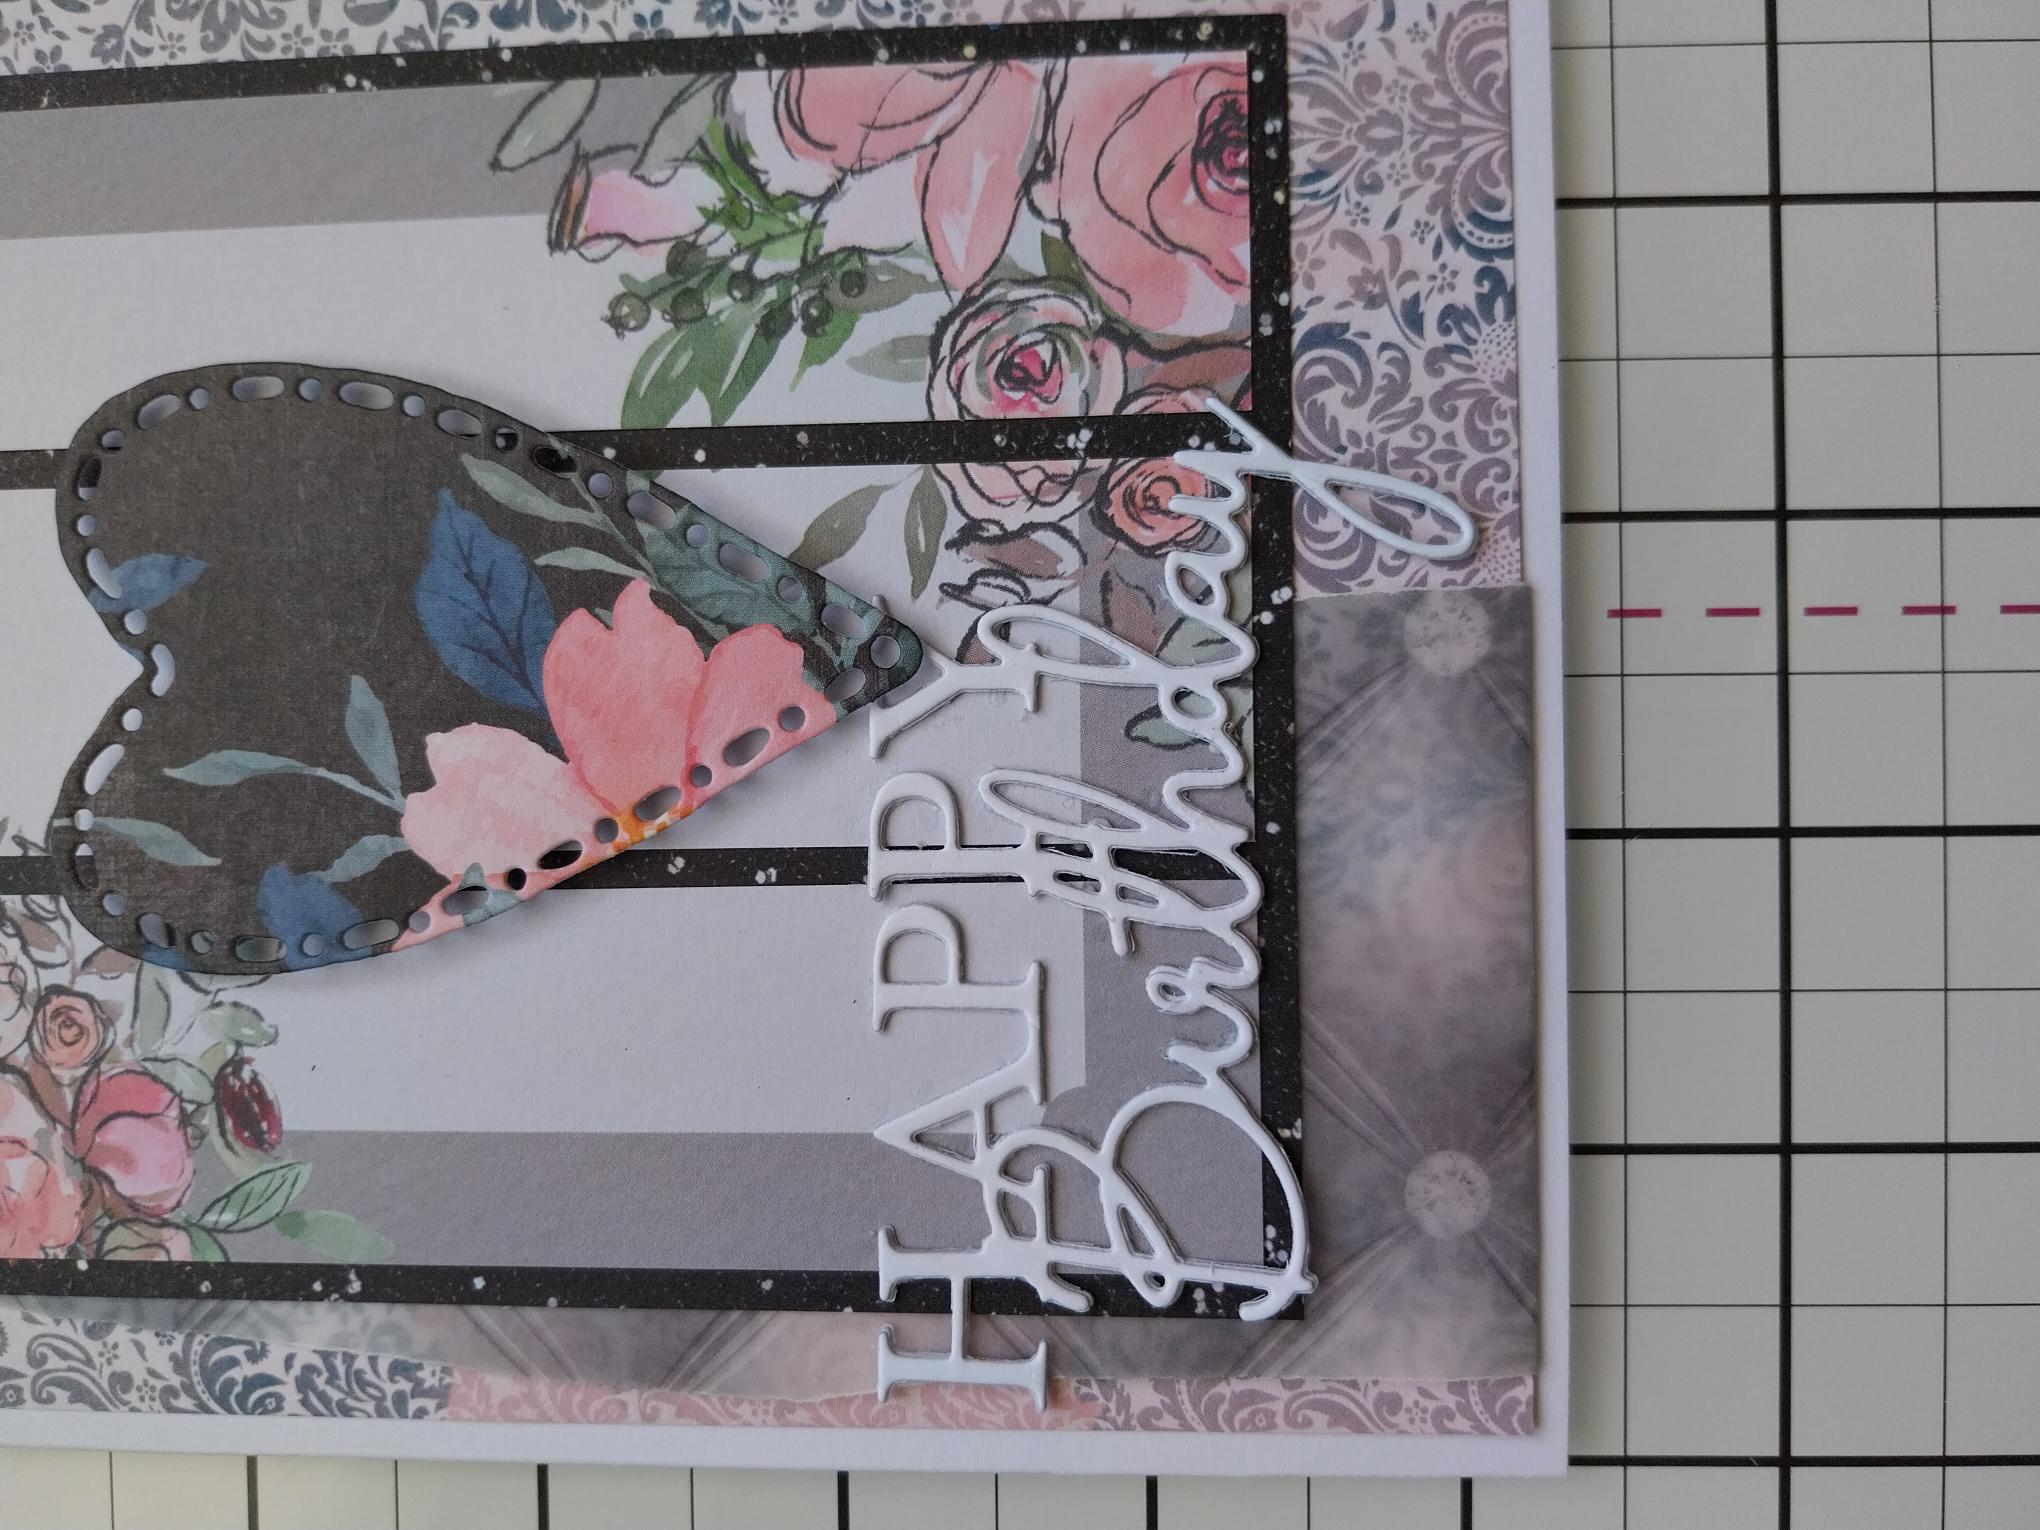
Use the 3 x 2" Framed Heart die to cut out your heart topper. |
|
Use foam pads to adhere to the centre of your panelled topper, before popping it to one side. |

|
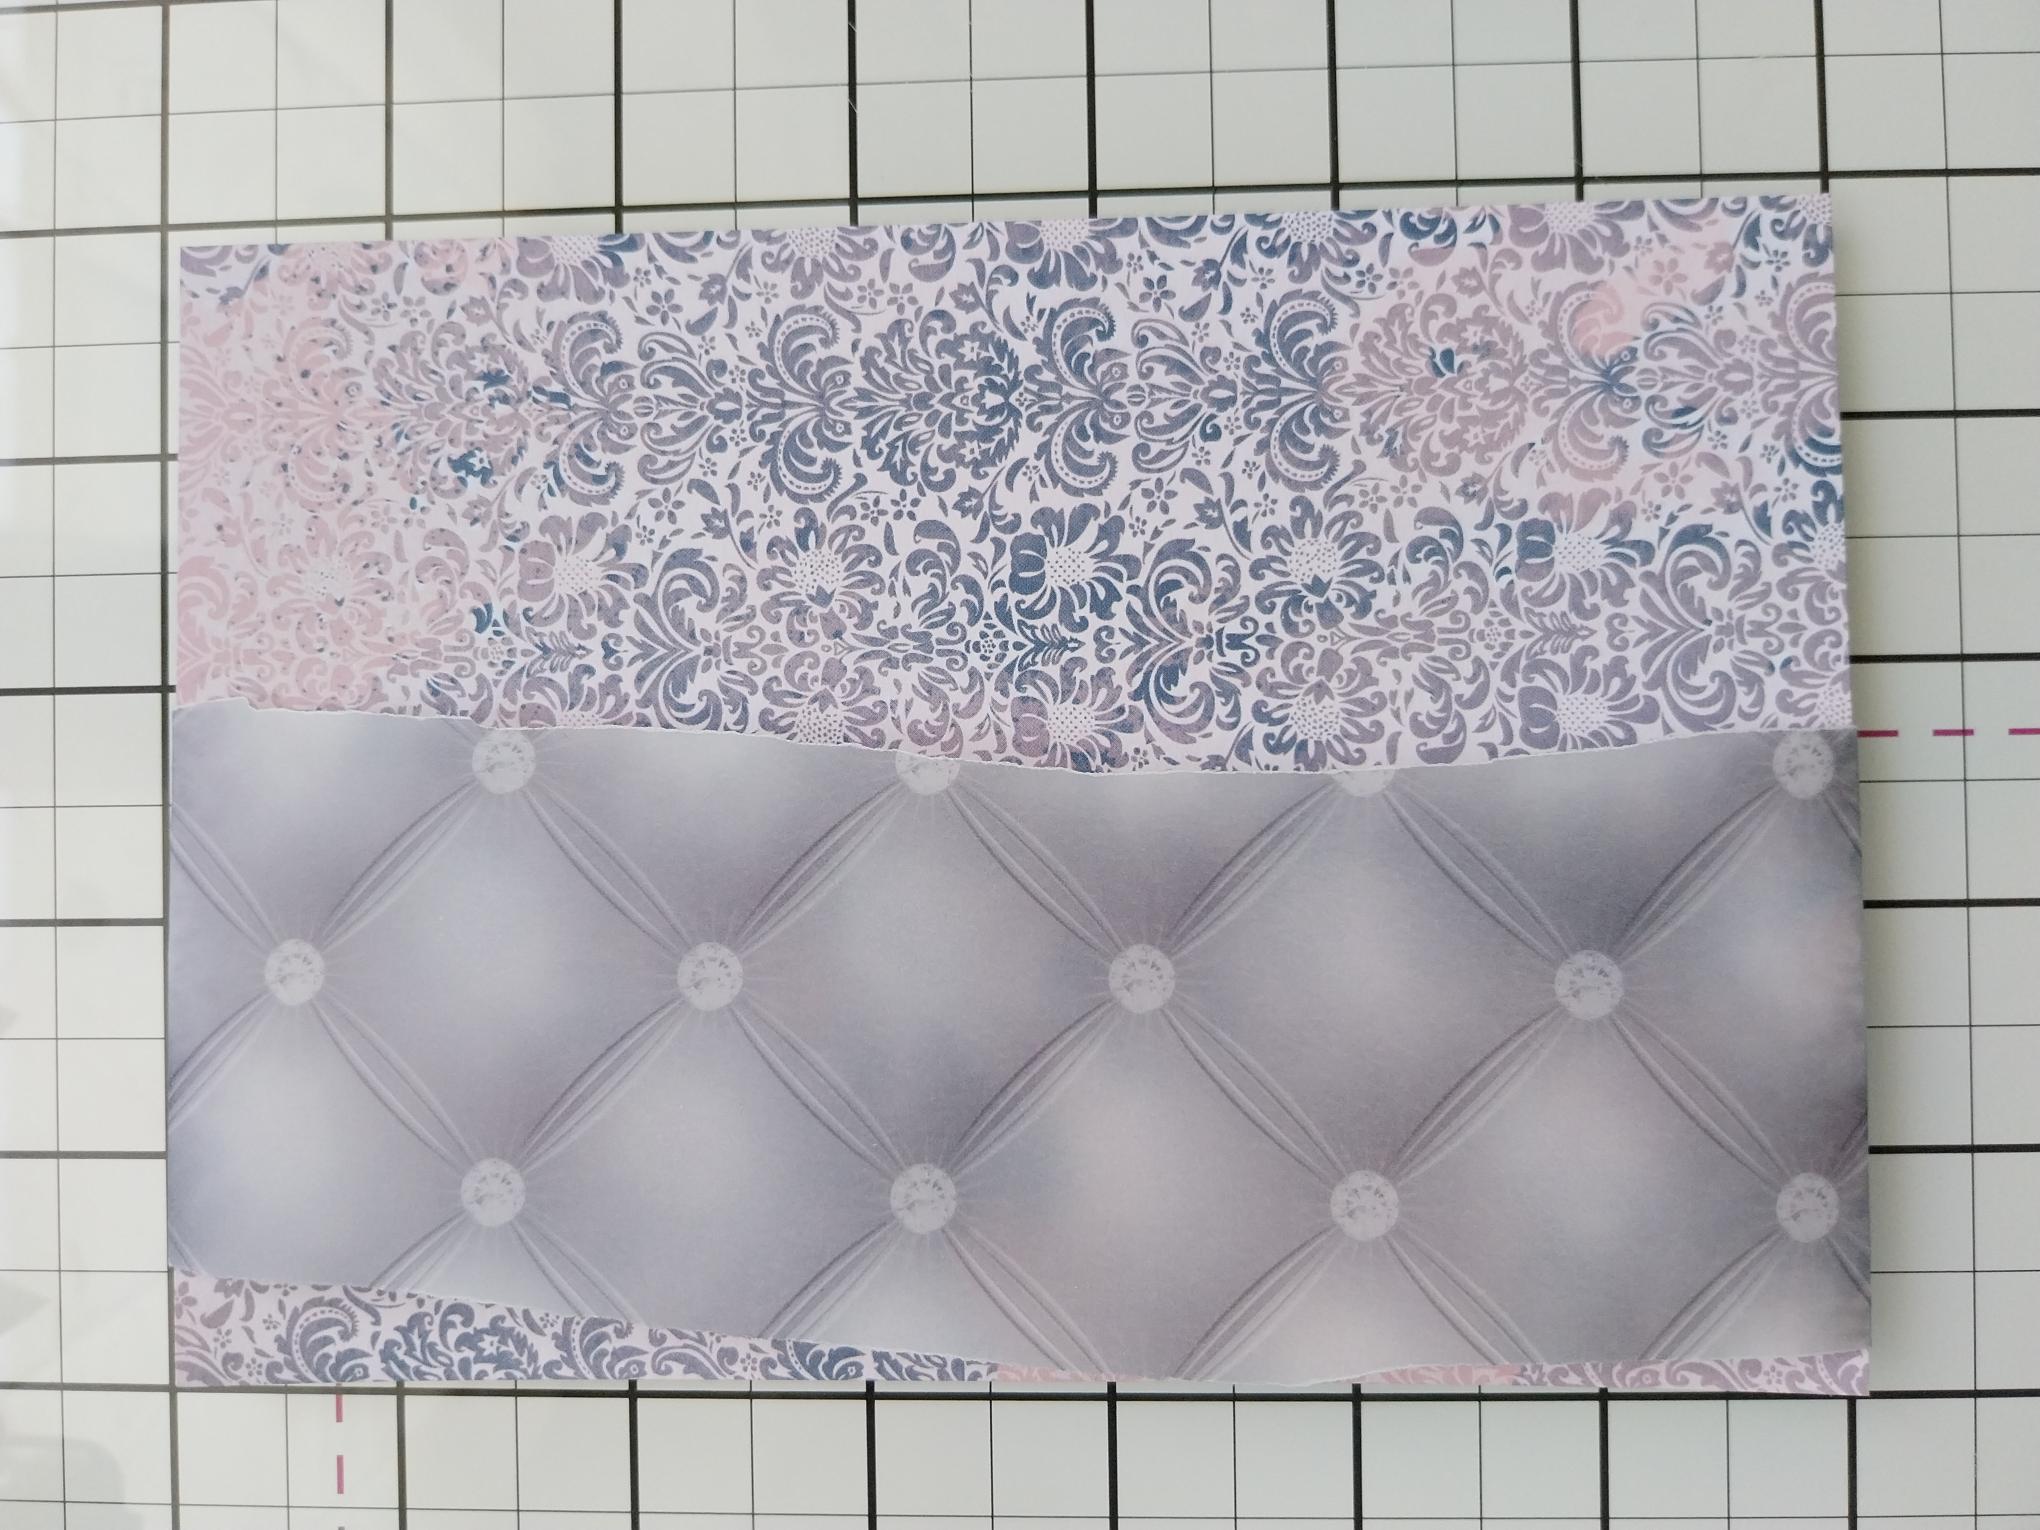
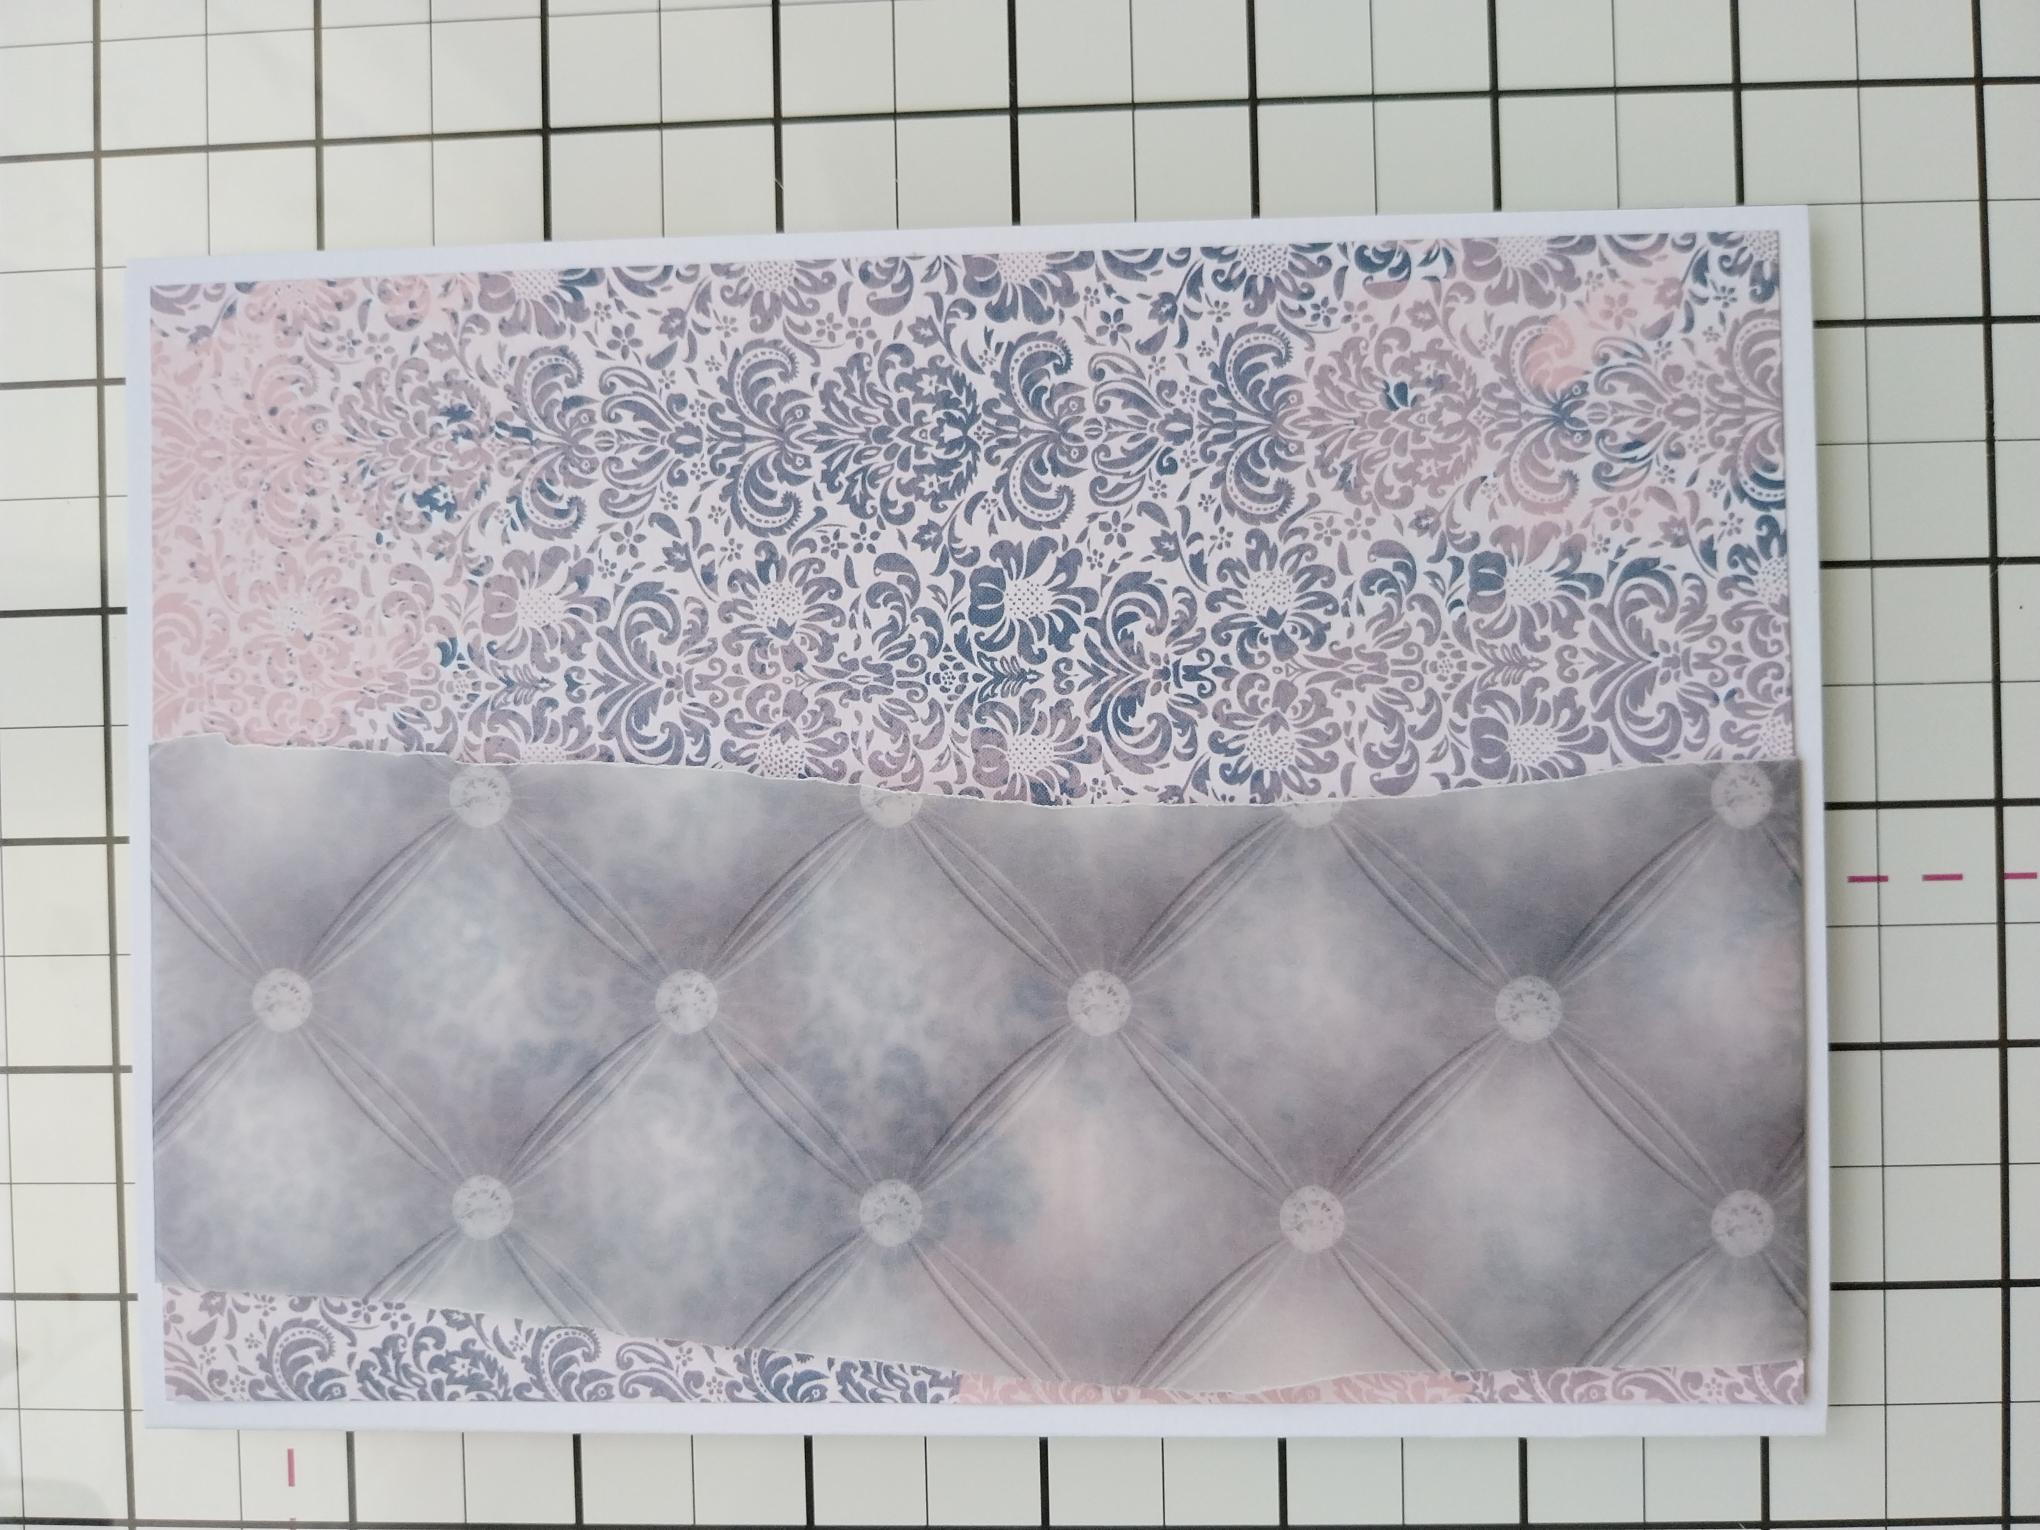
Remove this gorgeous paper from the Classic Celebration paper pack and trim to 6 3/4 x 4 3/4". |

|
Take this vellum from the Classic Celebration Vellum pack and tear a panel roughly 7 1/2 x 2 1/2". |
|
Place the vellum panel down the left side of the patterned paper, tuck over the top and bottom edges and secure on the reverse of the paper, with double-sided tape. |
|
Adhere to the front of your white card blank. |
|
Adhere your panelled topper in the centre of your card and pop to one side. |
|
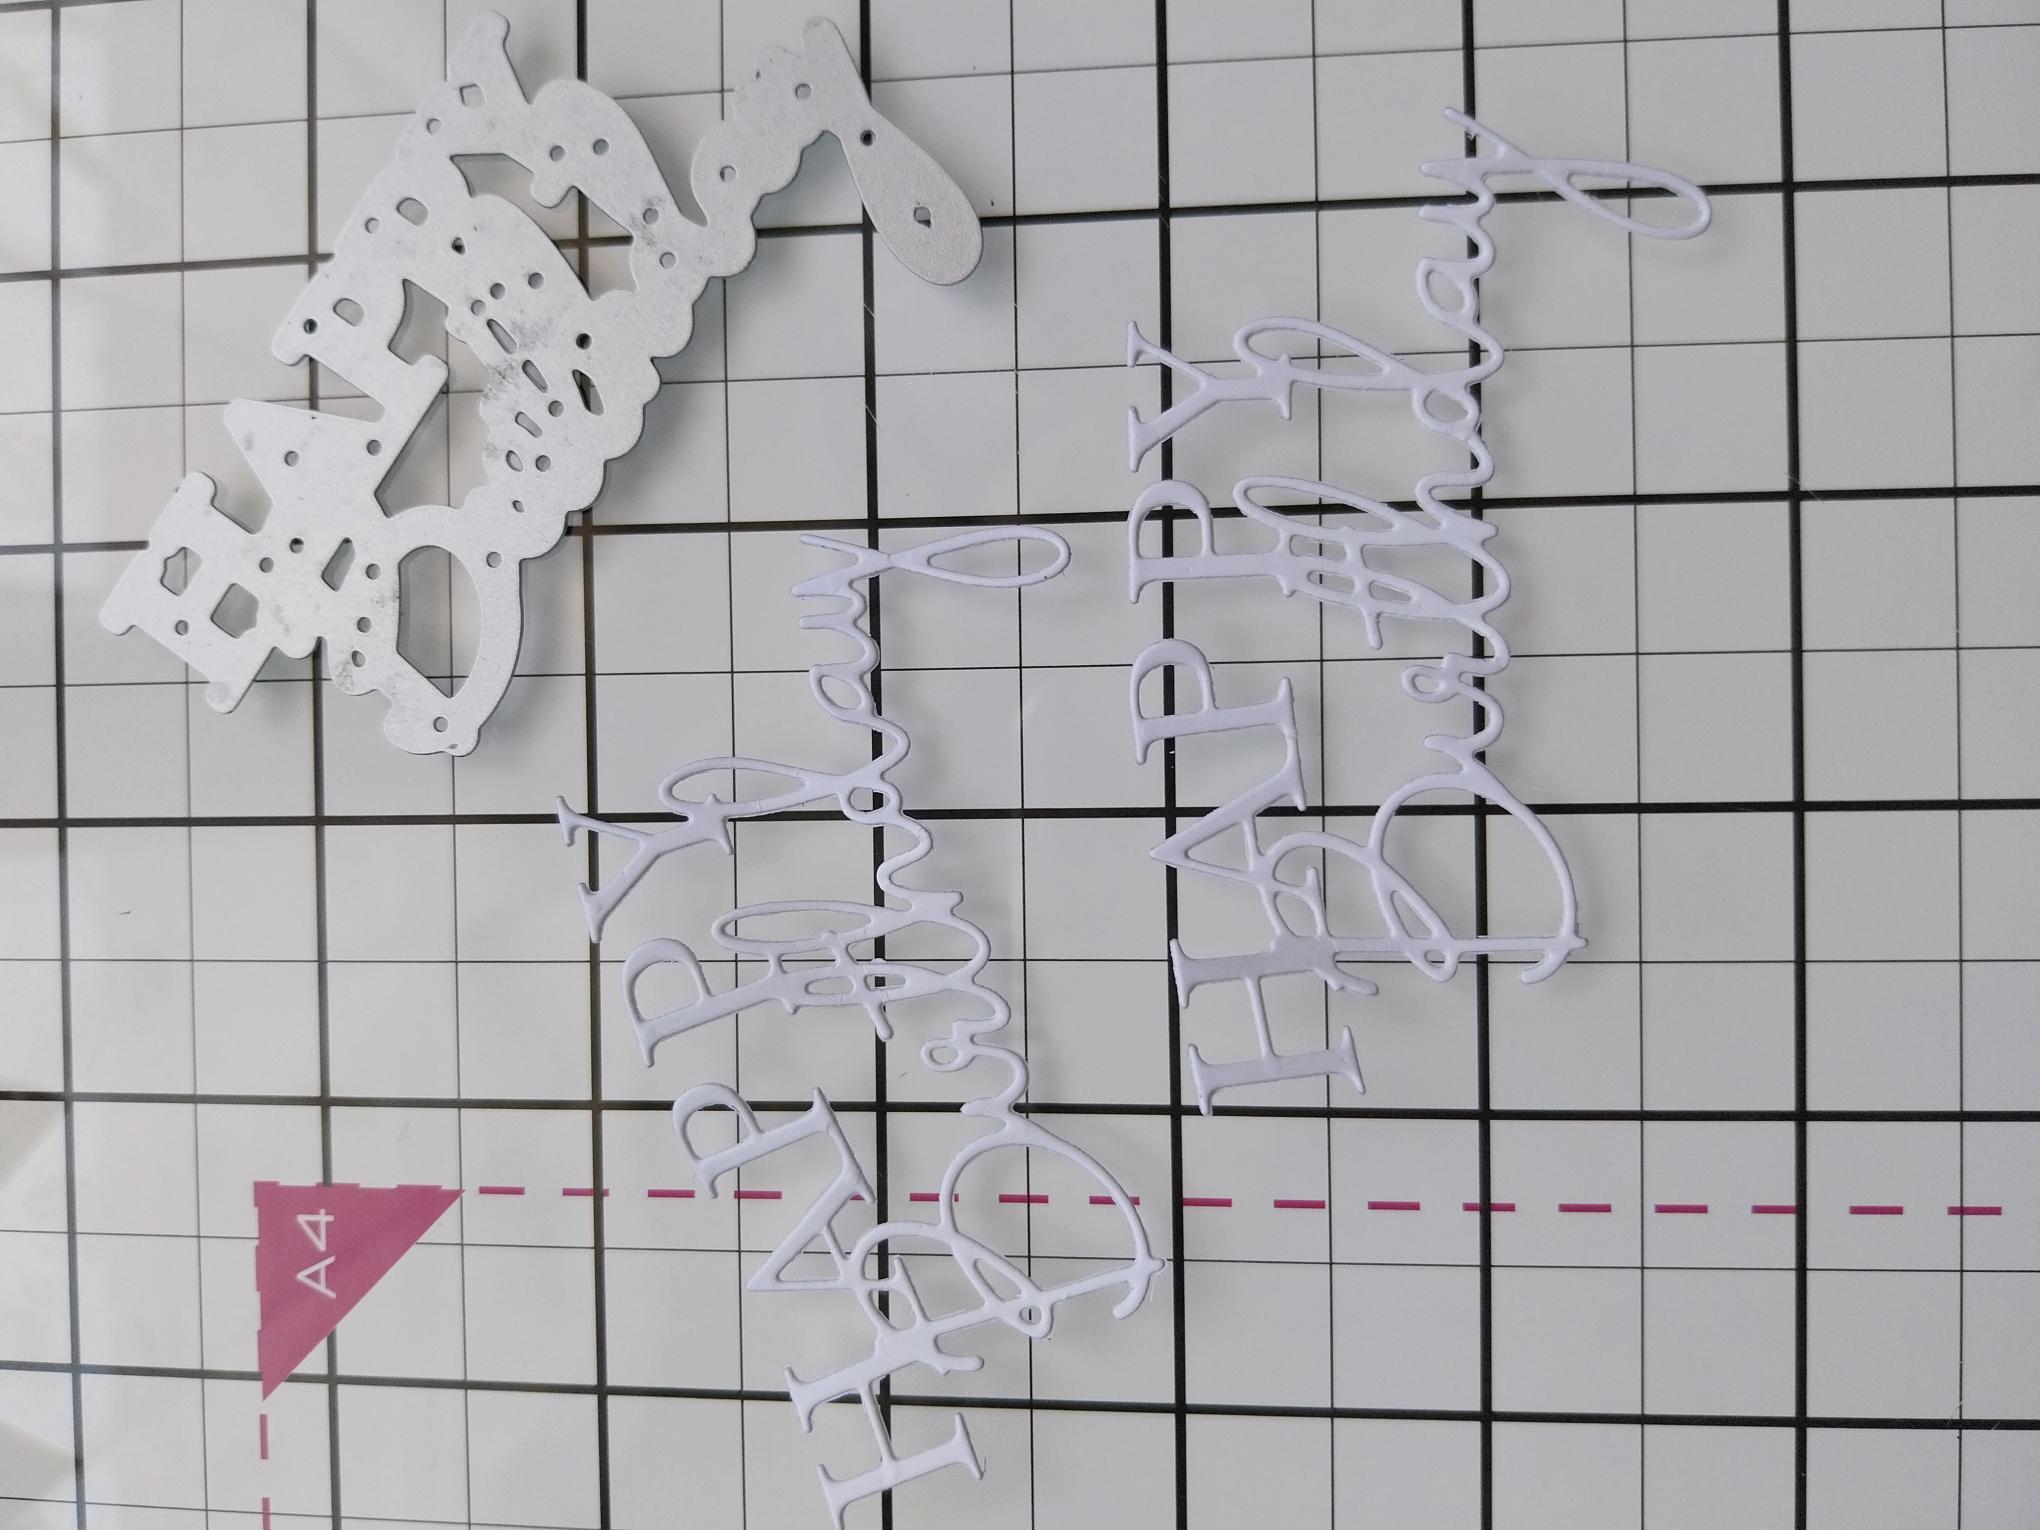
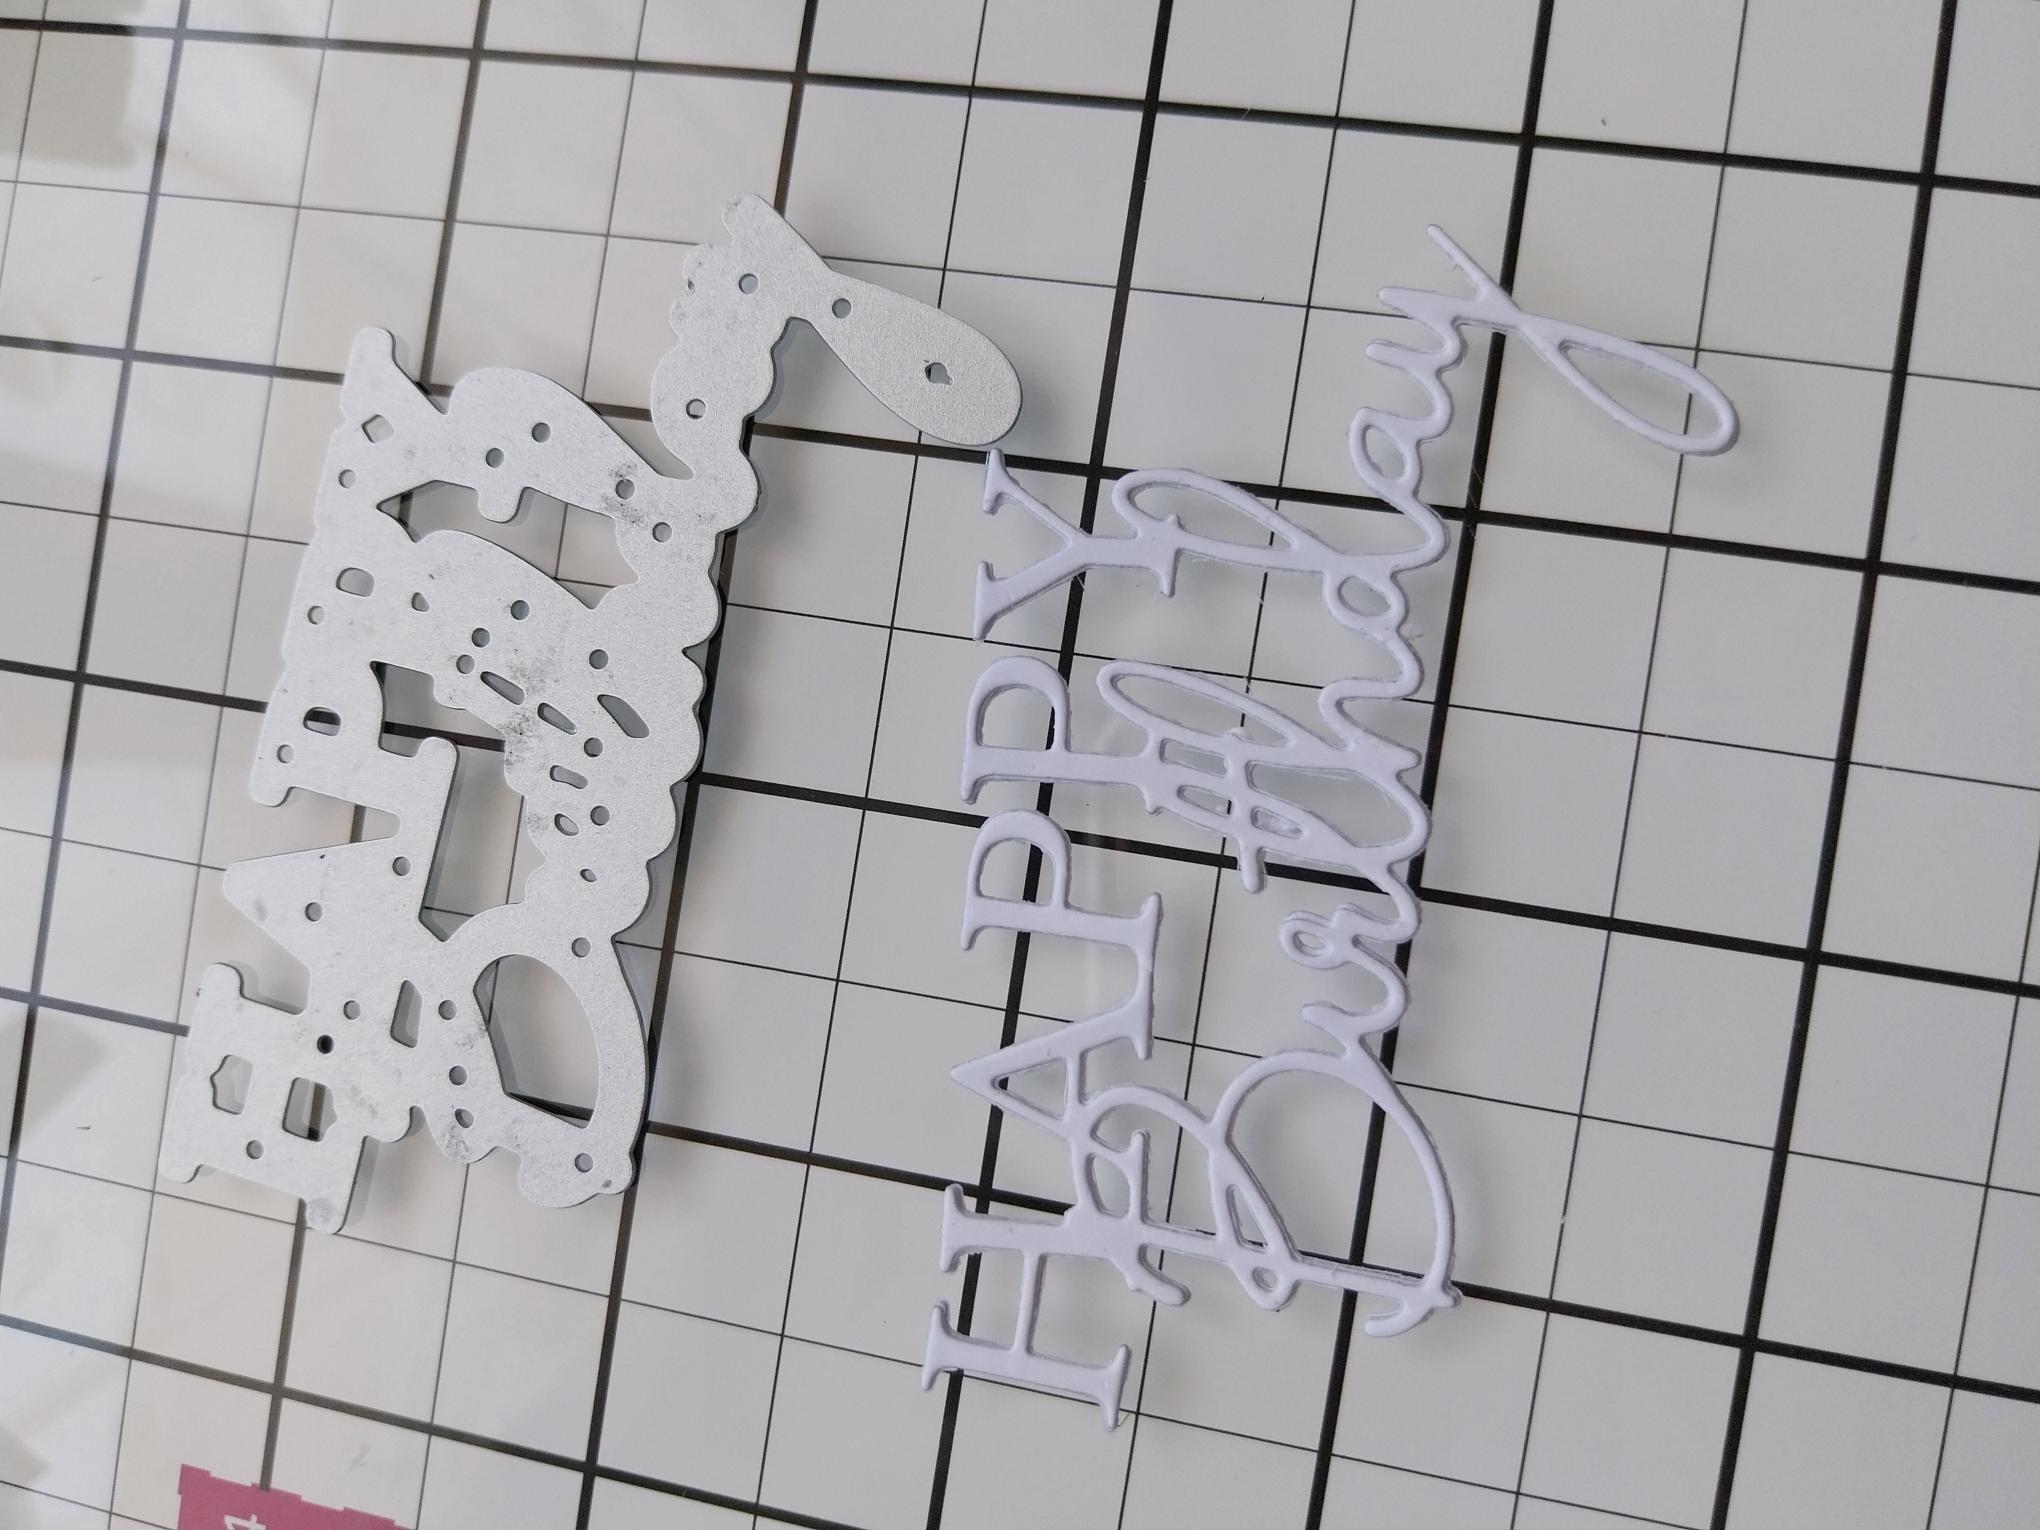
Cut TWO "Happy Birthday" sentiments from white card, using the die from the SBM Box Magazine. |
|
Adhere the sentiments together. NB: The more you die cut and adhere together, the more dimensional your sentiment element will be. |
|
Adhere your sentiment to the bottom left of your card, to finish. |