Give your friends $10 off their first order!
Refer a FRIEND


WHAT YOU WILL NEED:
Pink card blank 8 x 5 1/2"
Pink card blank 5 1/4 x 3 3/4"
Black card 5 x 3 1/2"
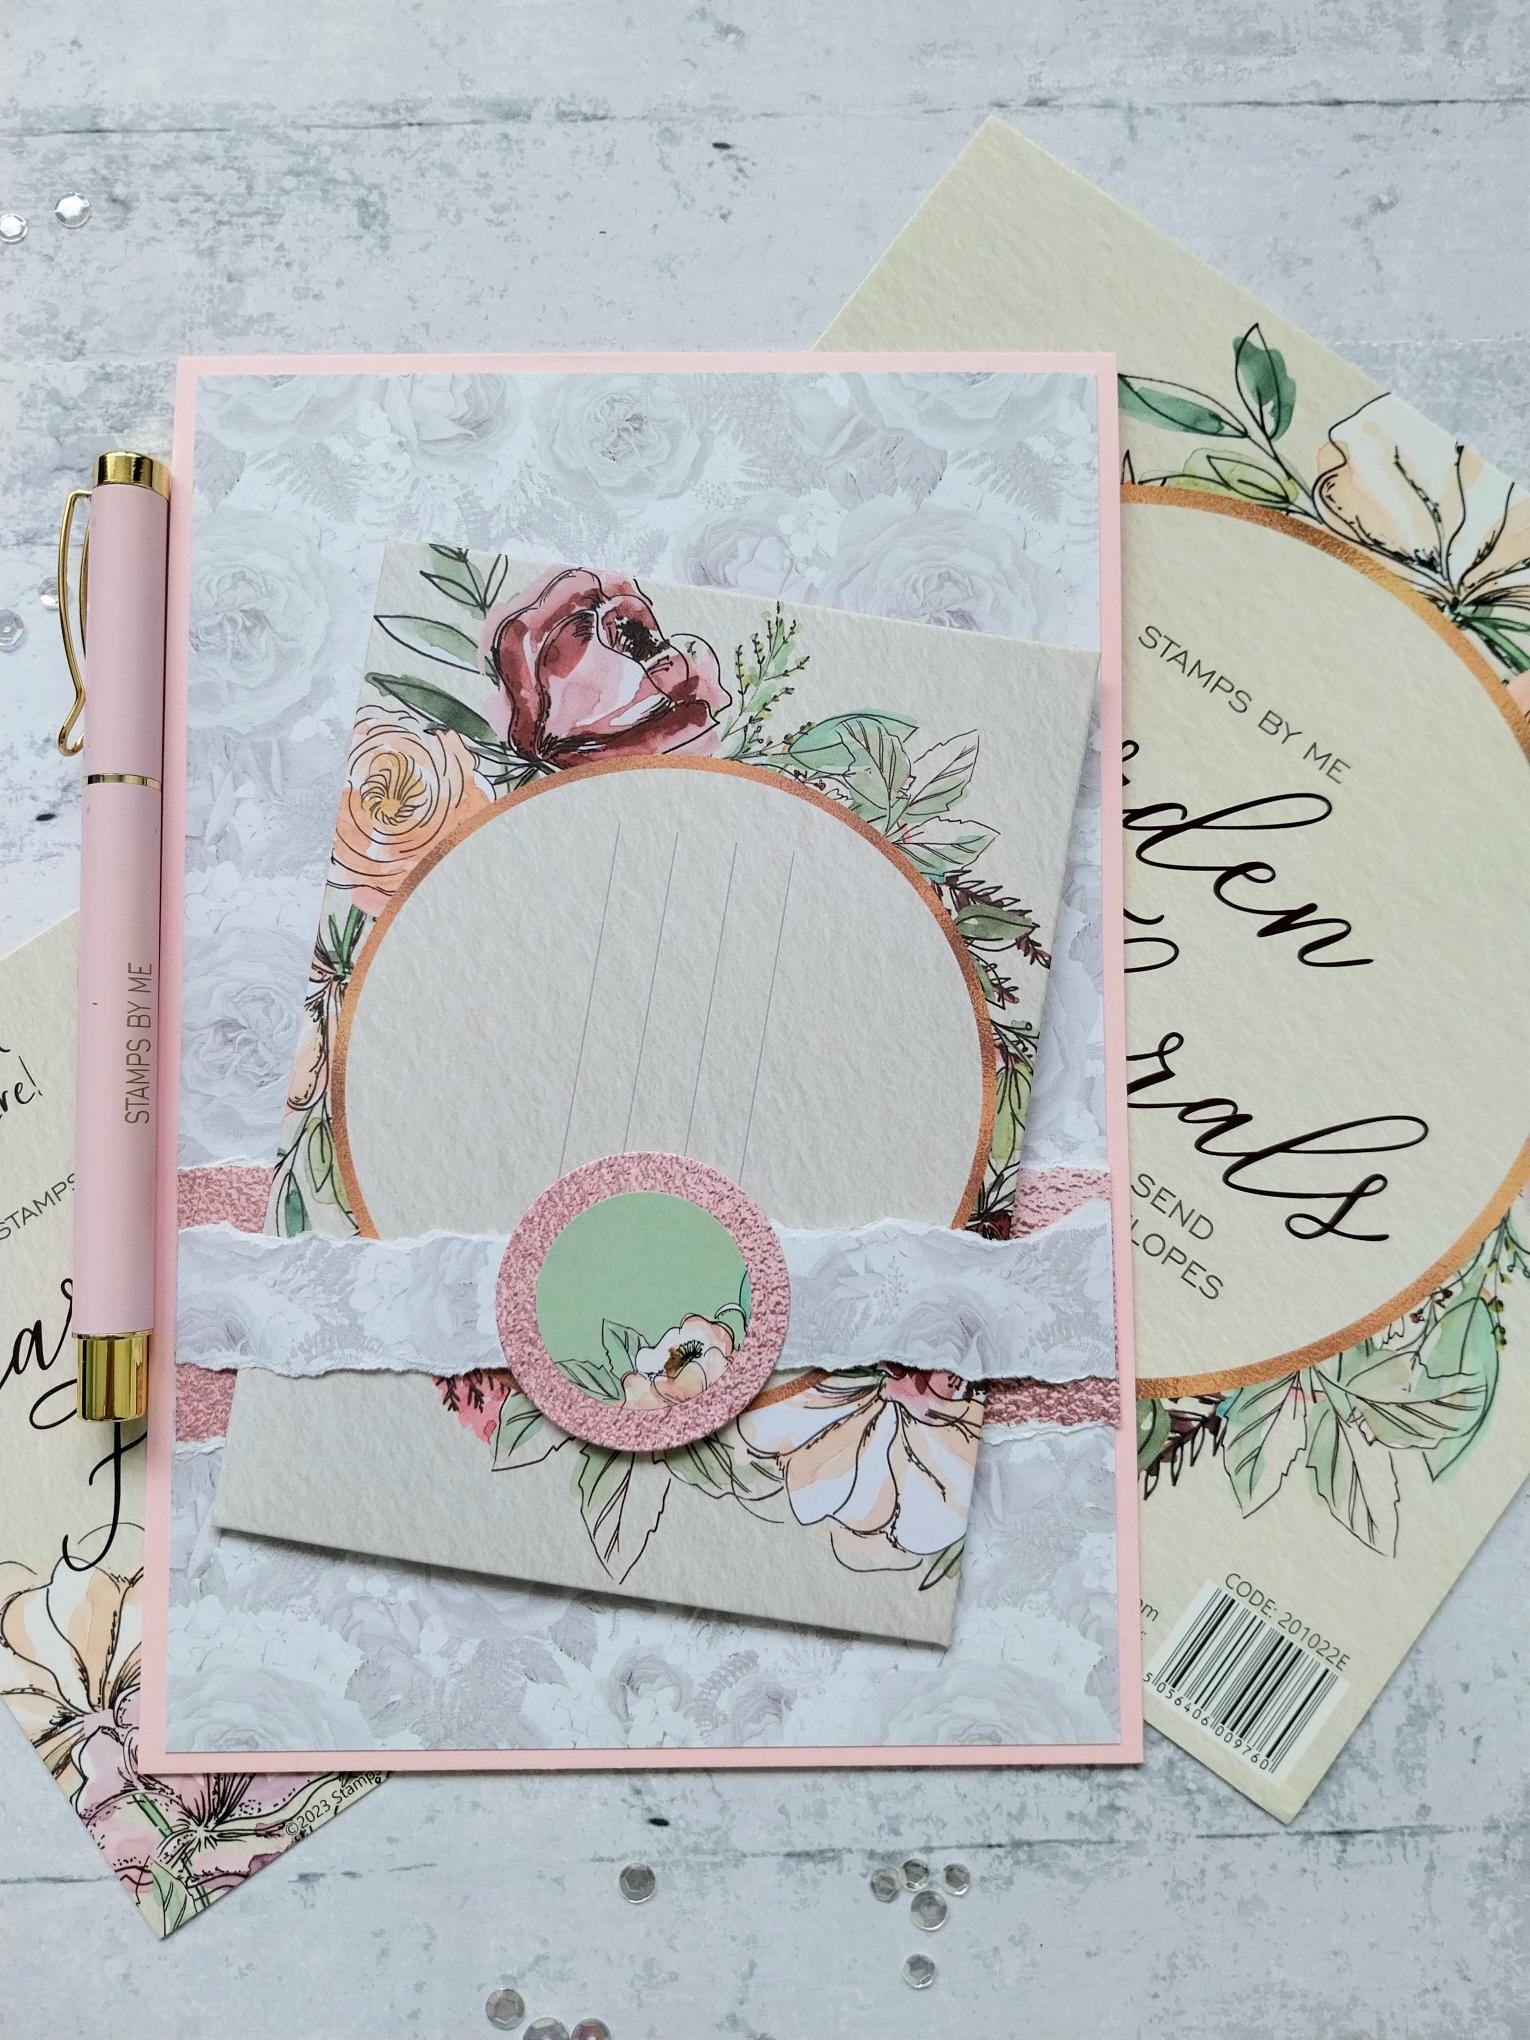
Garden Florals Fold & Send Envelopes
Garden Florals Card Toppers
Saying Hello Stamp And Die Collection
Classic Celebration 8 x 8" Paper Pack
Classic Celebration 8 x 8" Textured Paper Pack
Versafine Ink Pad: Smokey Grey
Circle Die 1 1/2" diameter
Eureka 101 Watercolour Tablet
SBM Magnetic glass mat
Paper Trimmer
Perfect Together Glue
Red liner tape
Die Cutting machine
[click image to enlarge] 
|
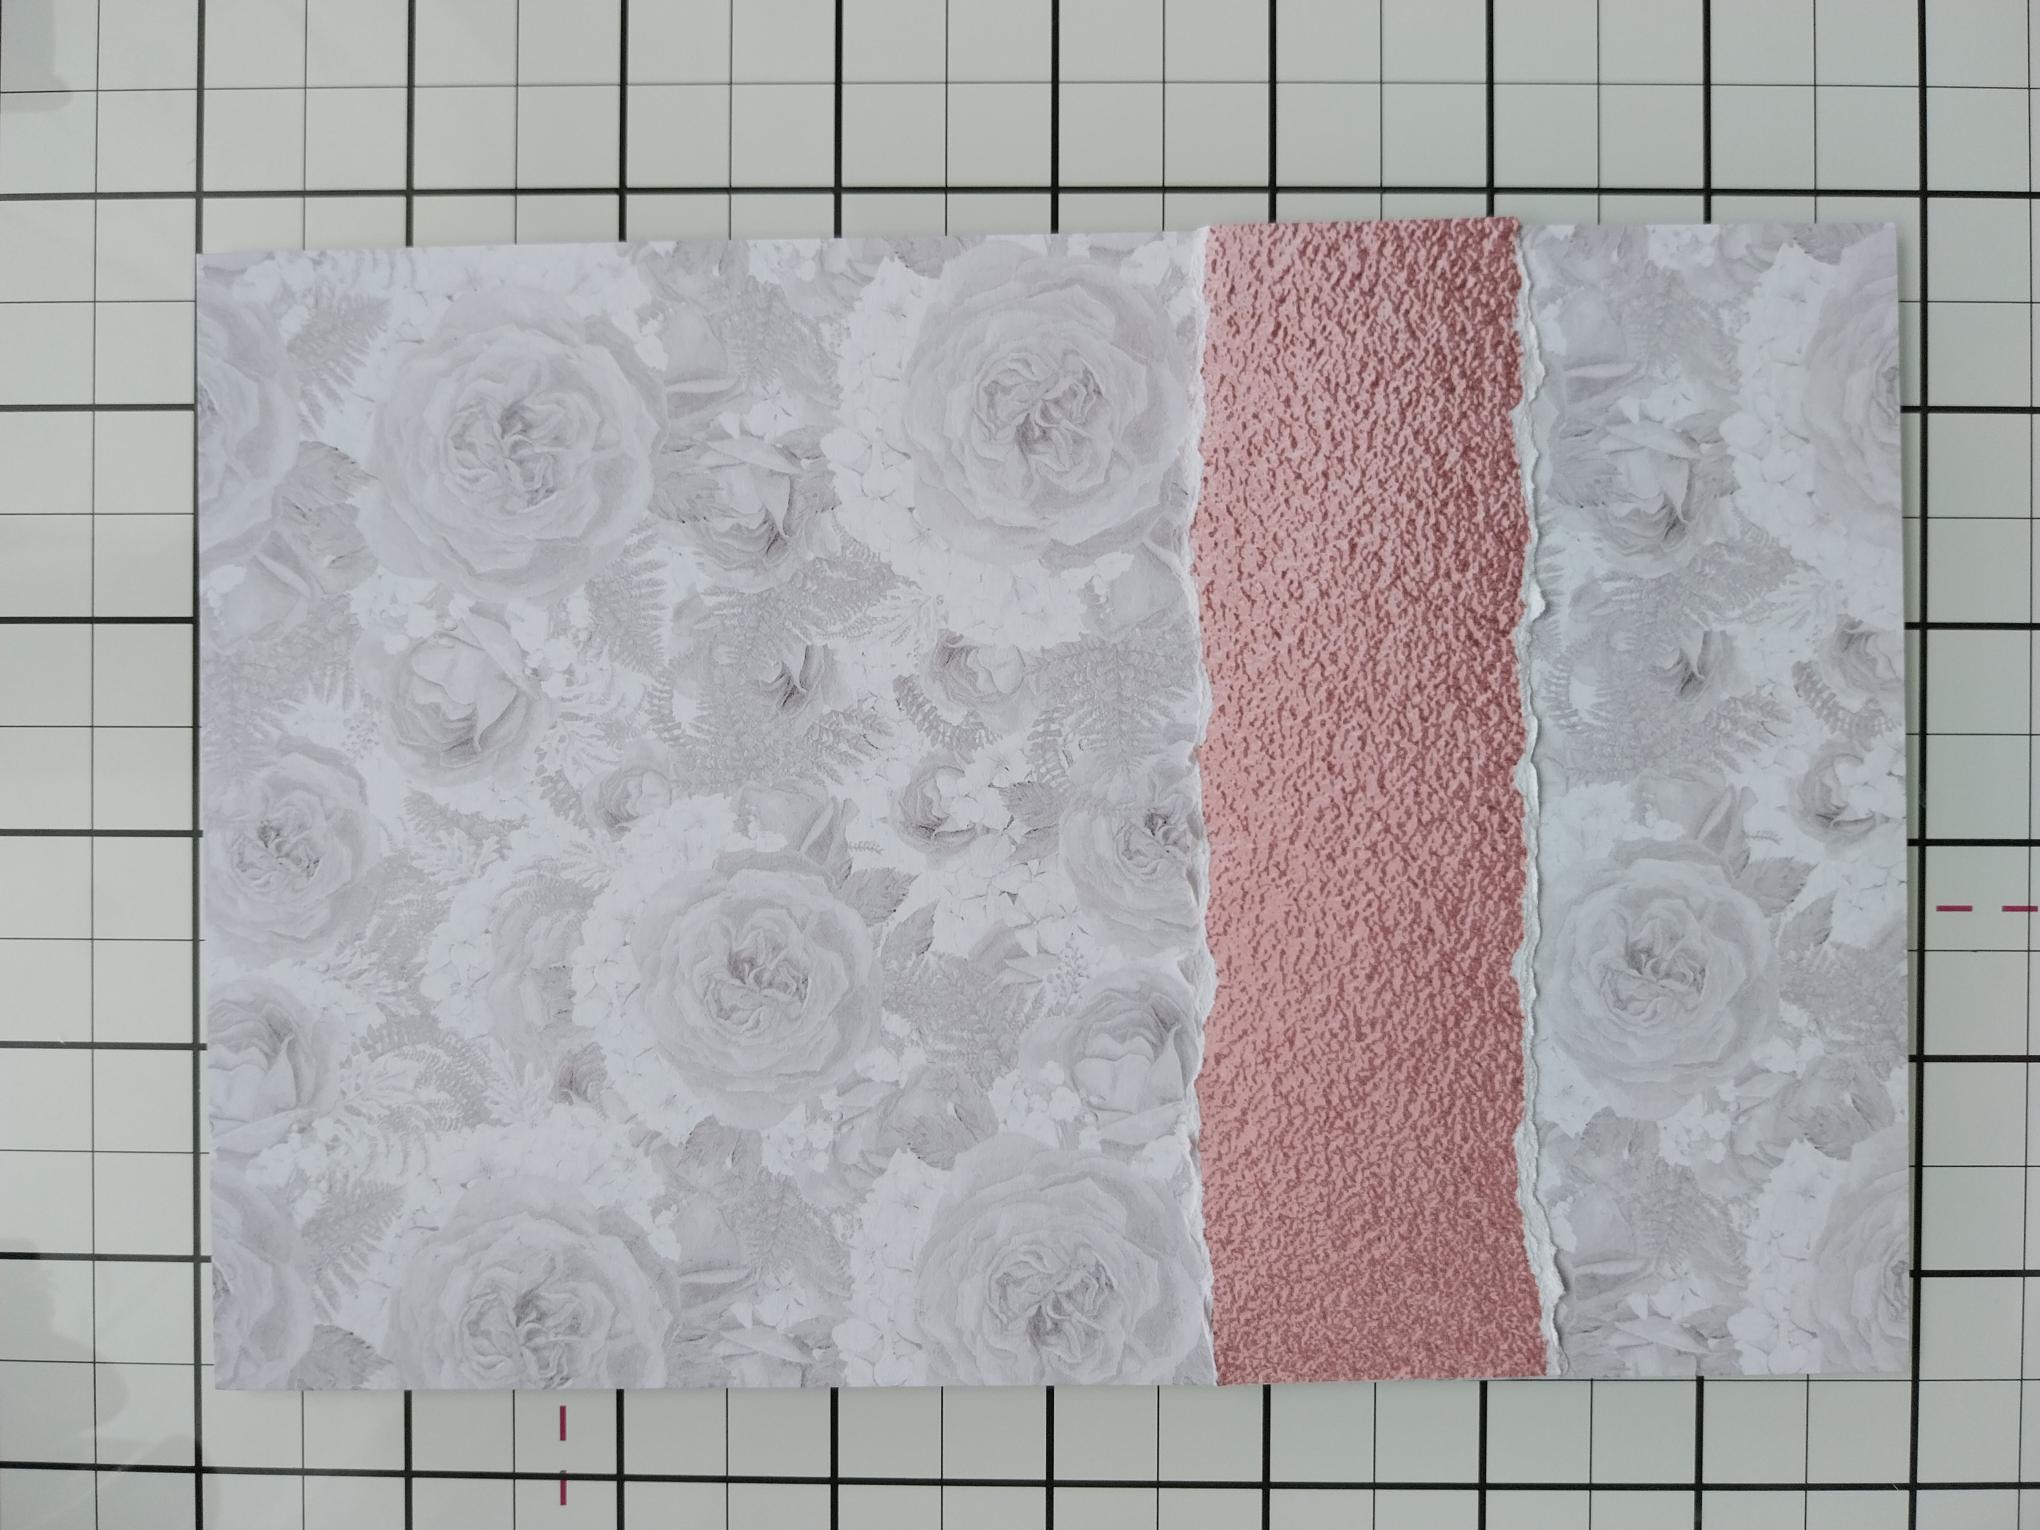
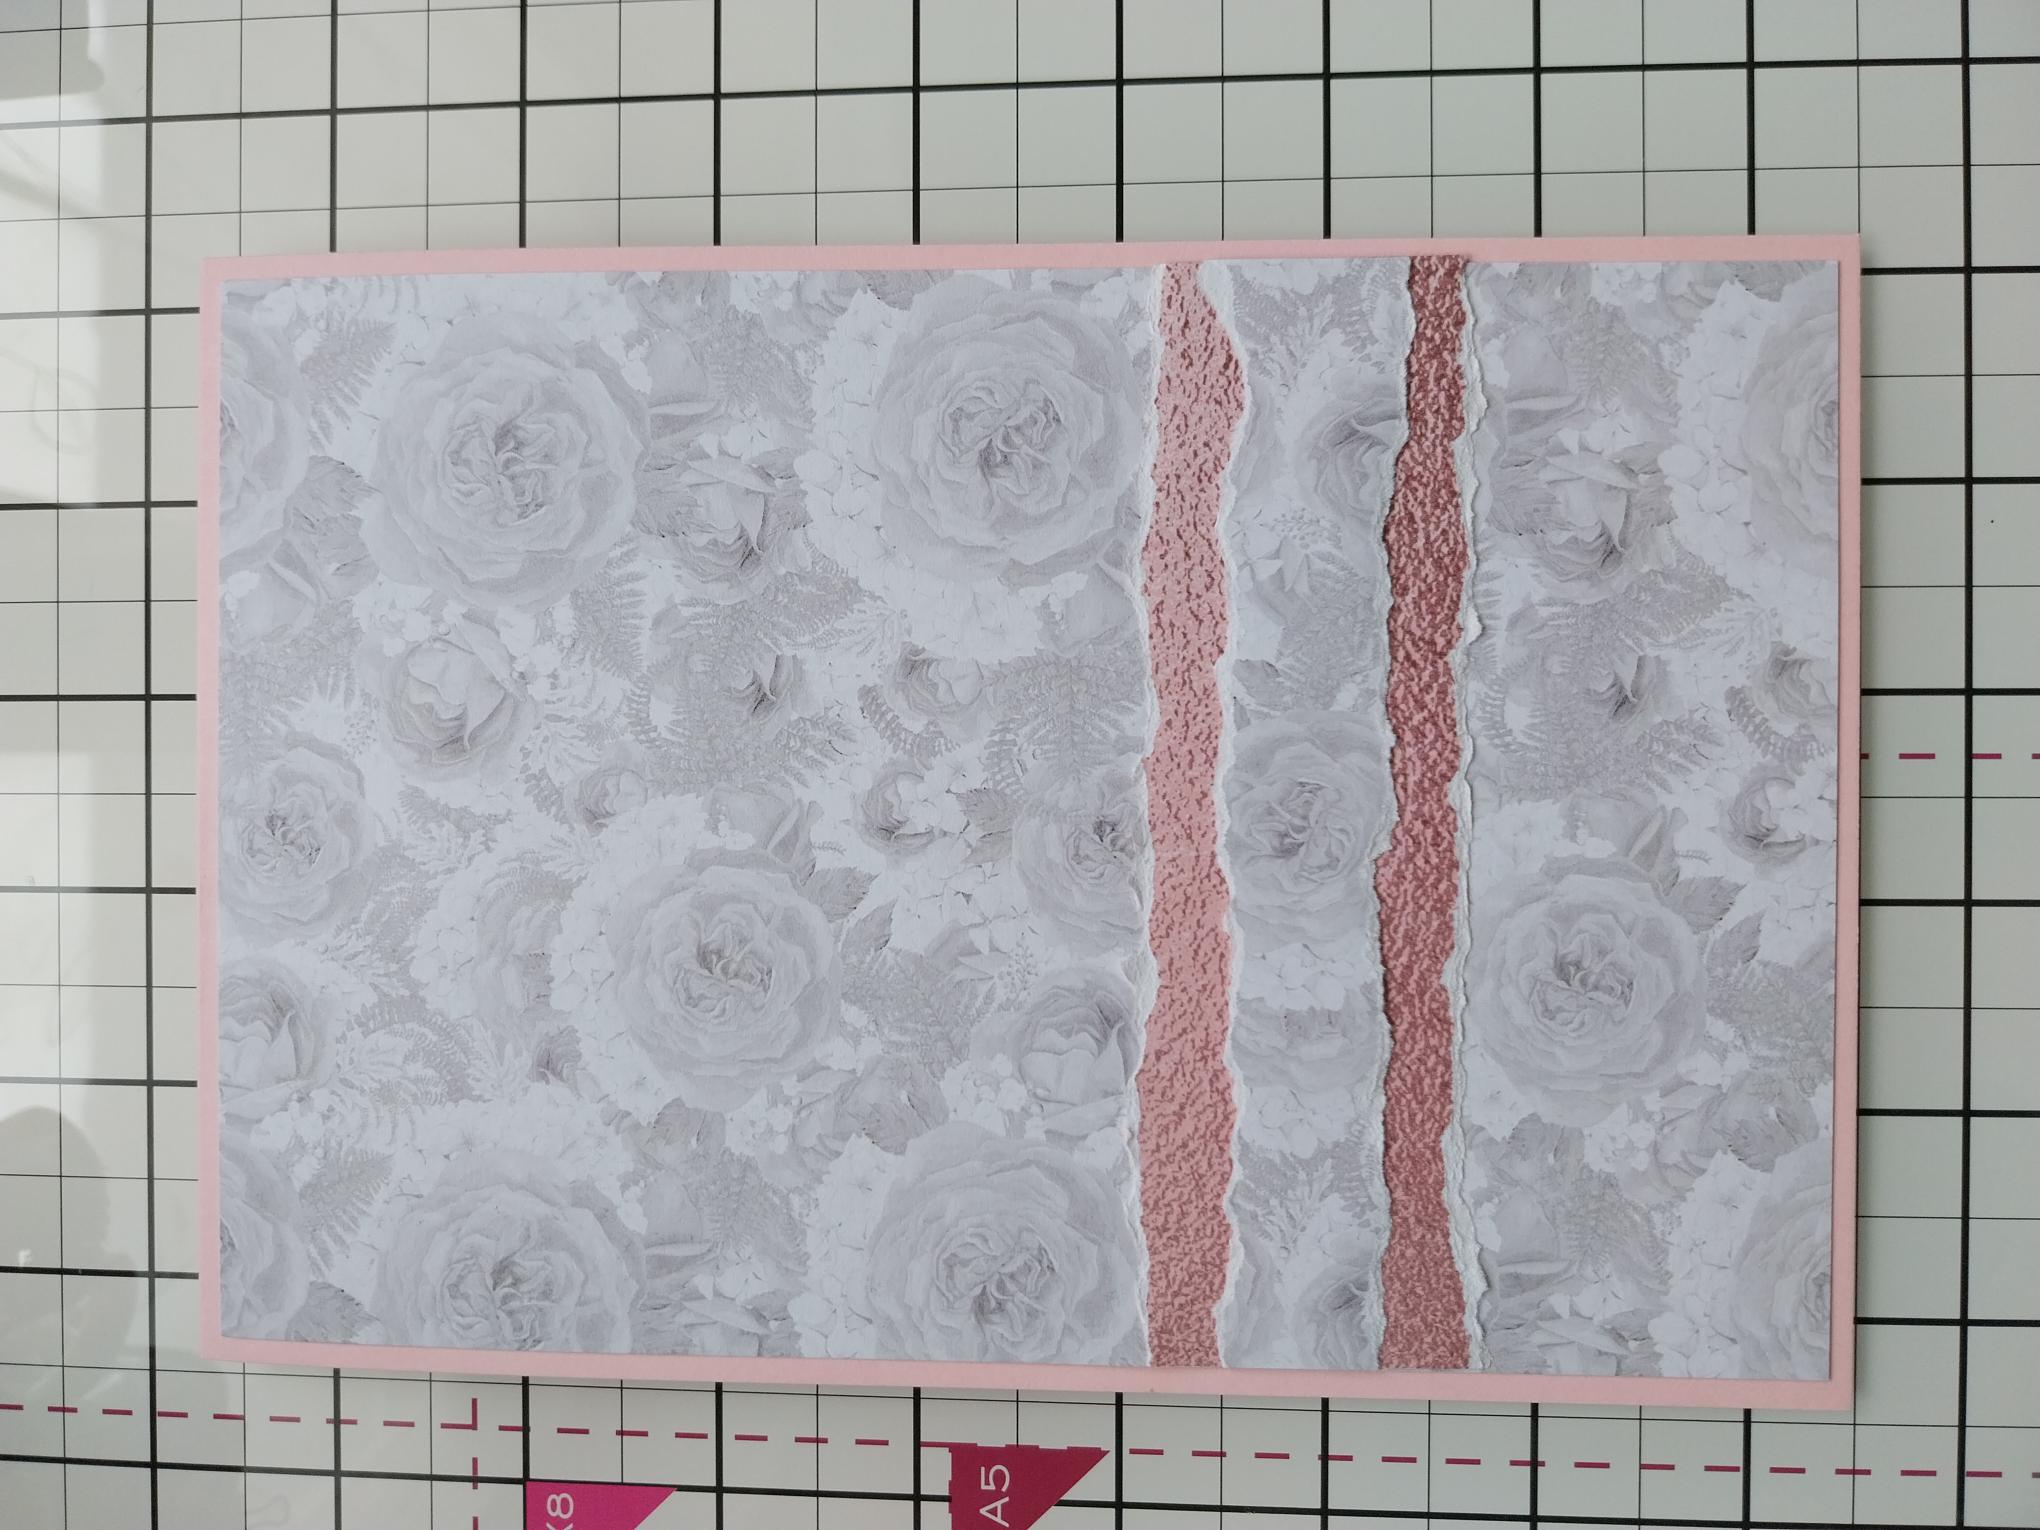
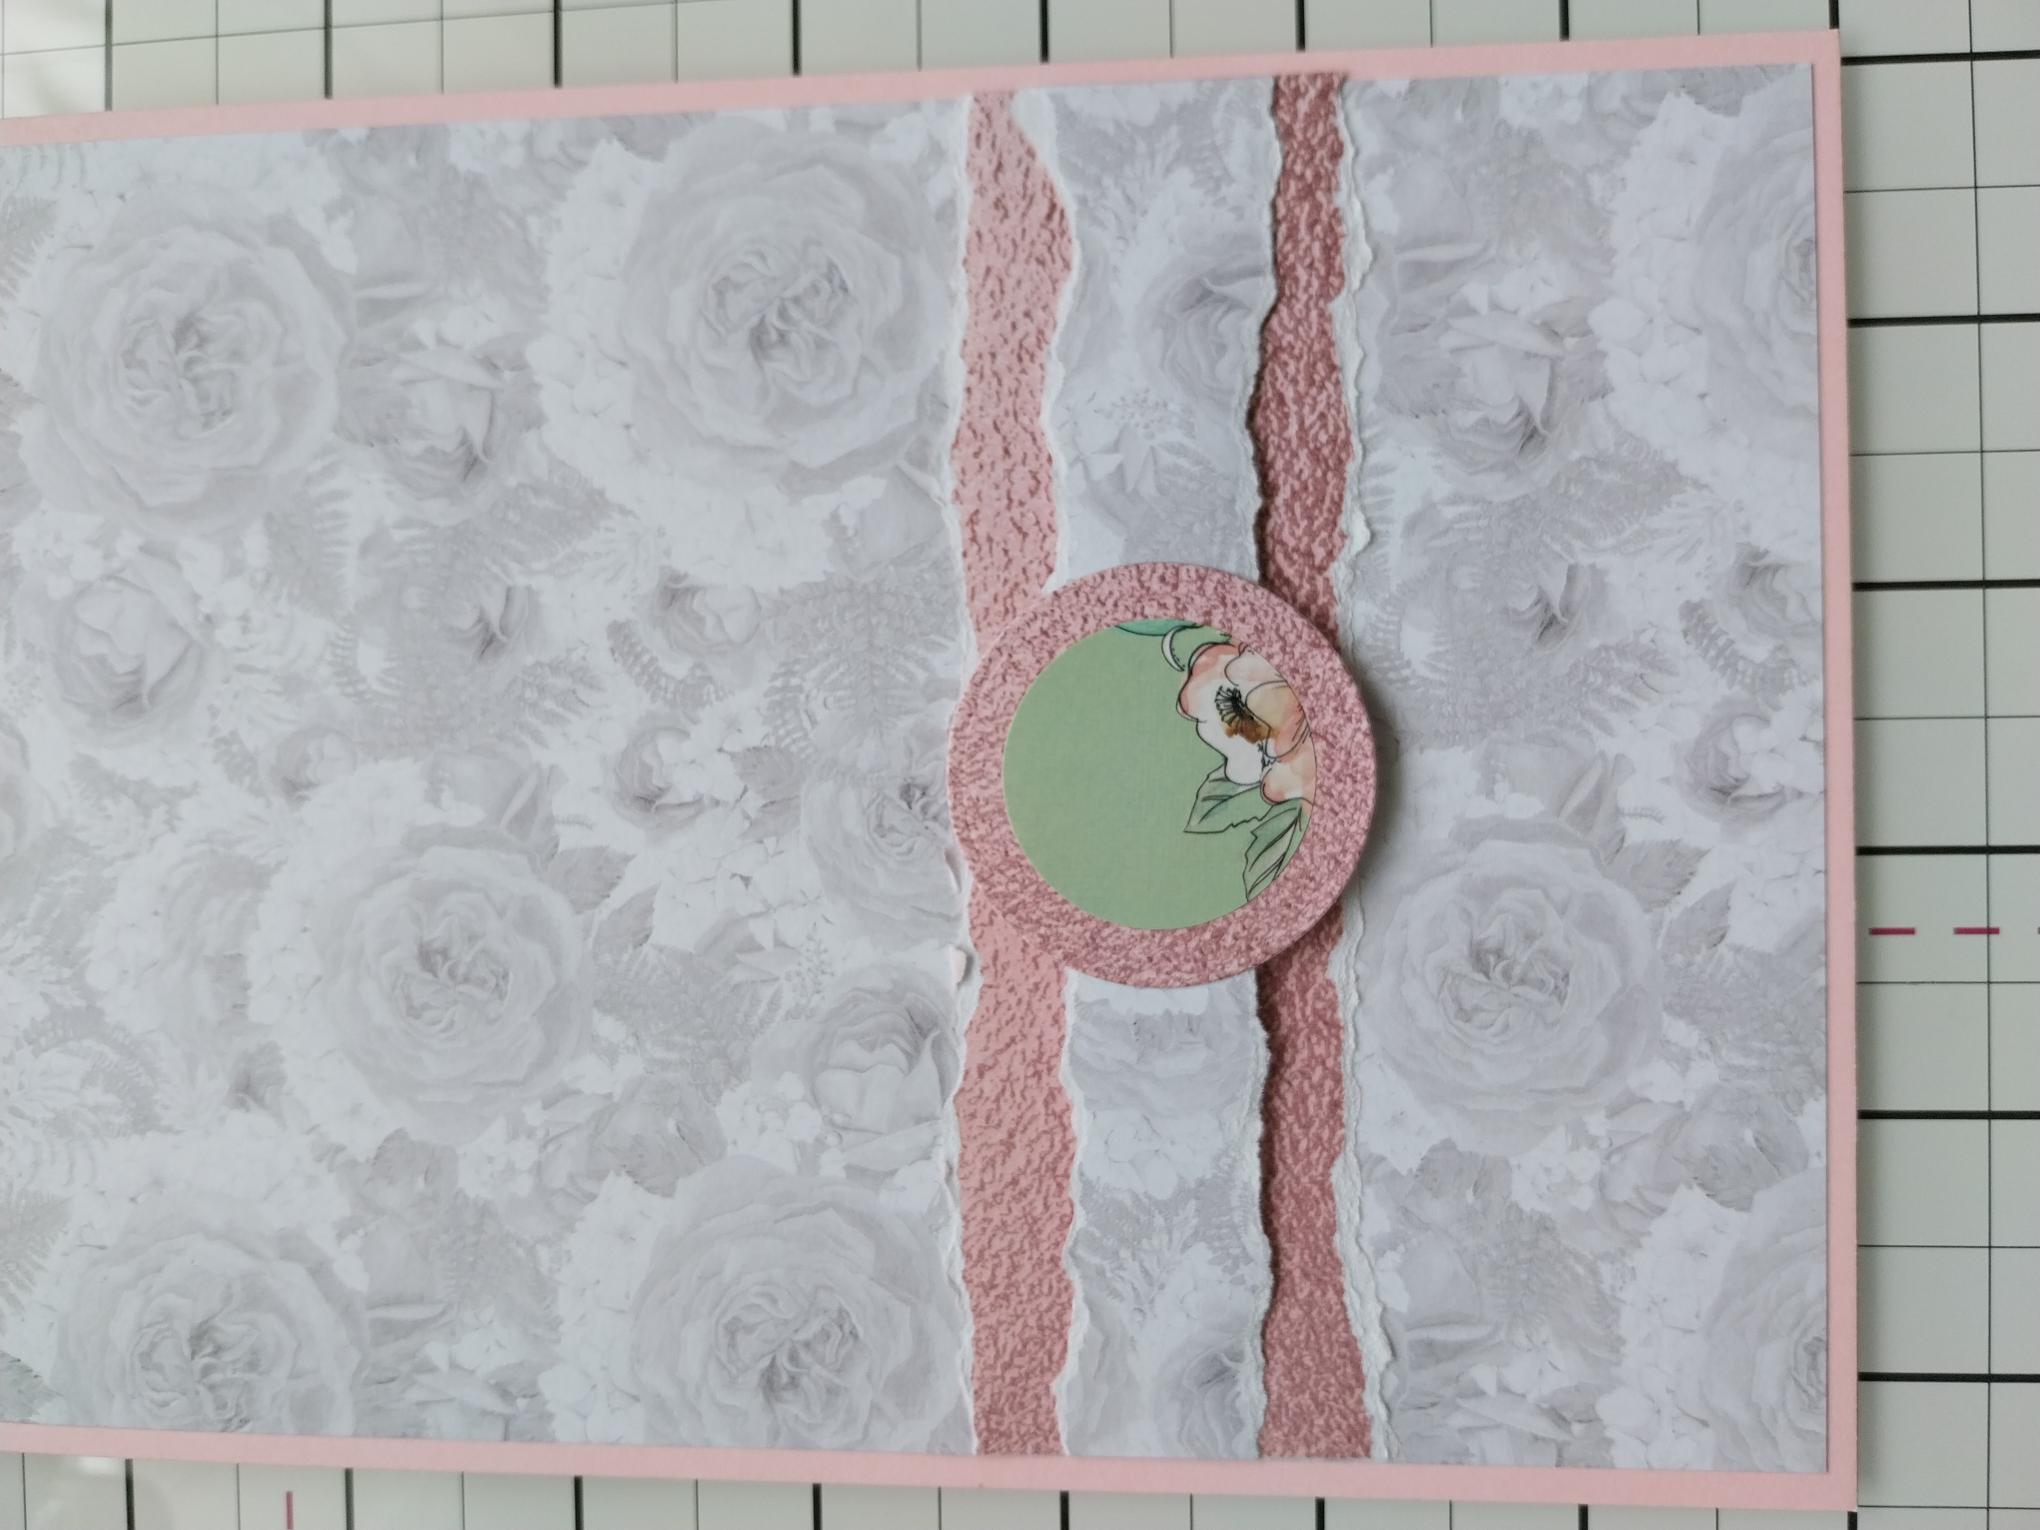
Trim this beautiful decorative paper, from the Classic Clelebration paper pack to 7 3/4 x 5 1/4". |
|
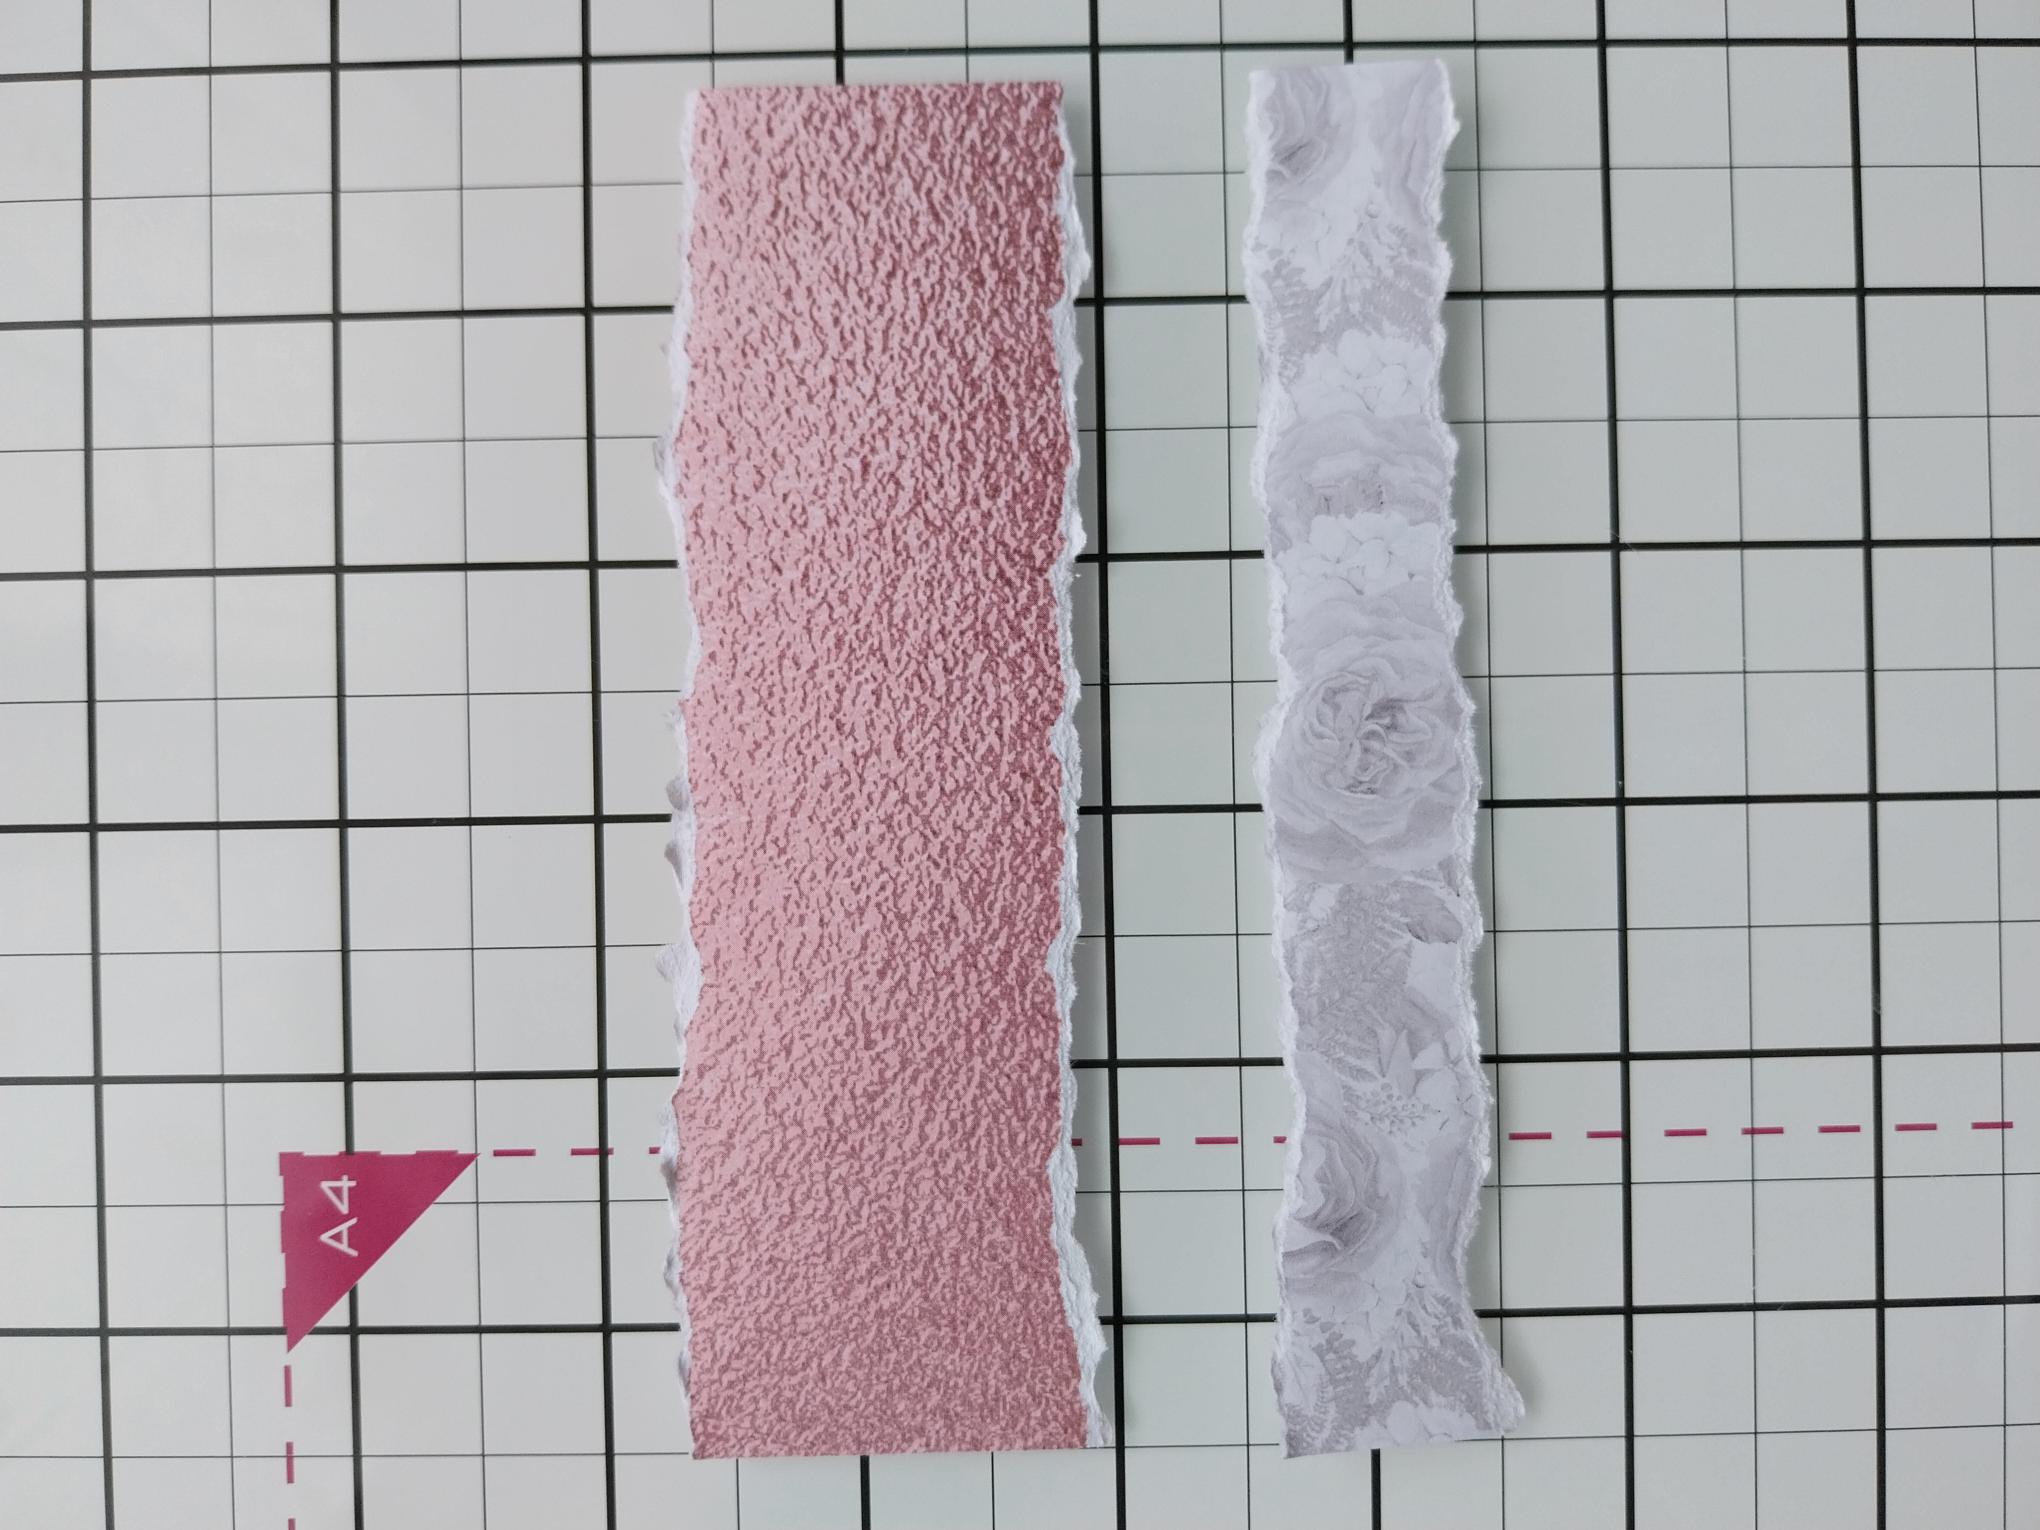
From the leftover paper, tear a narrow panel 5 1/4" long. Tear another panel the same length but wider, from the pink textured paper out of the Classic Celebration Textured pack. |
|
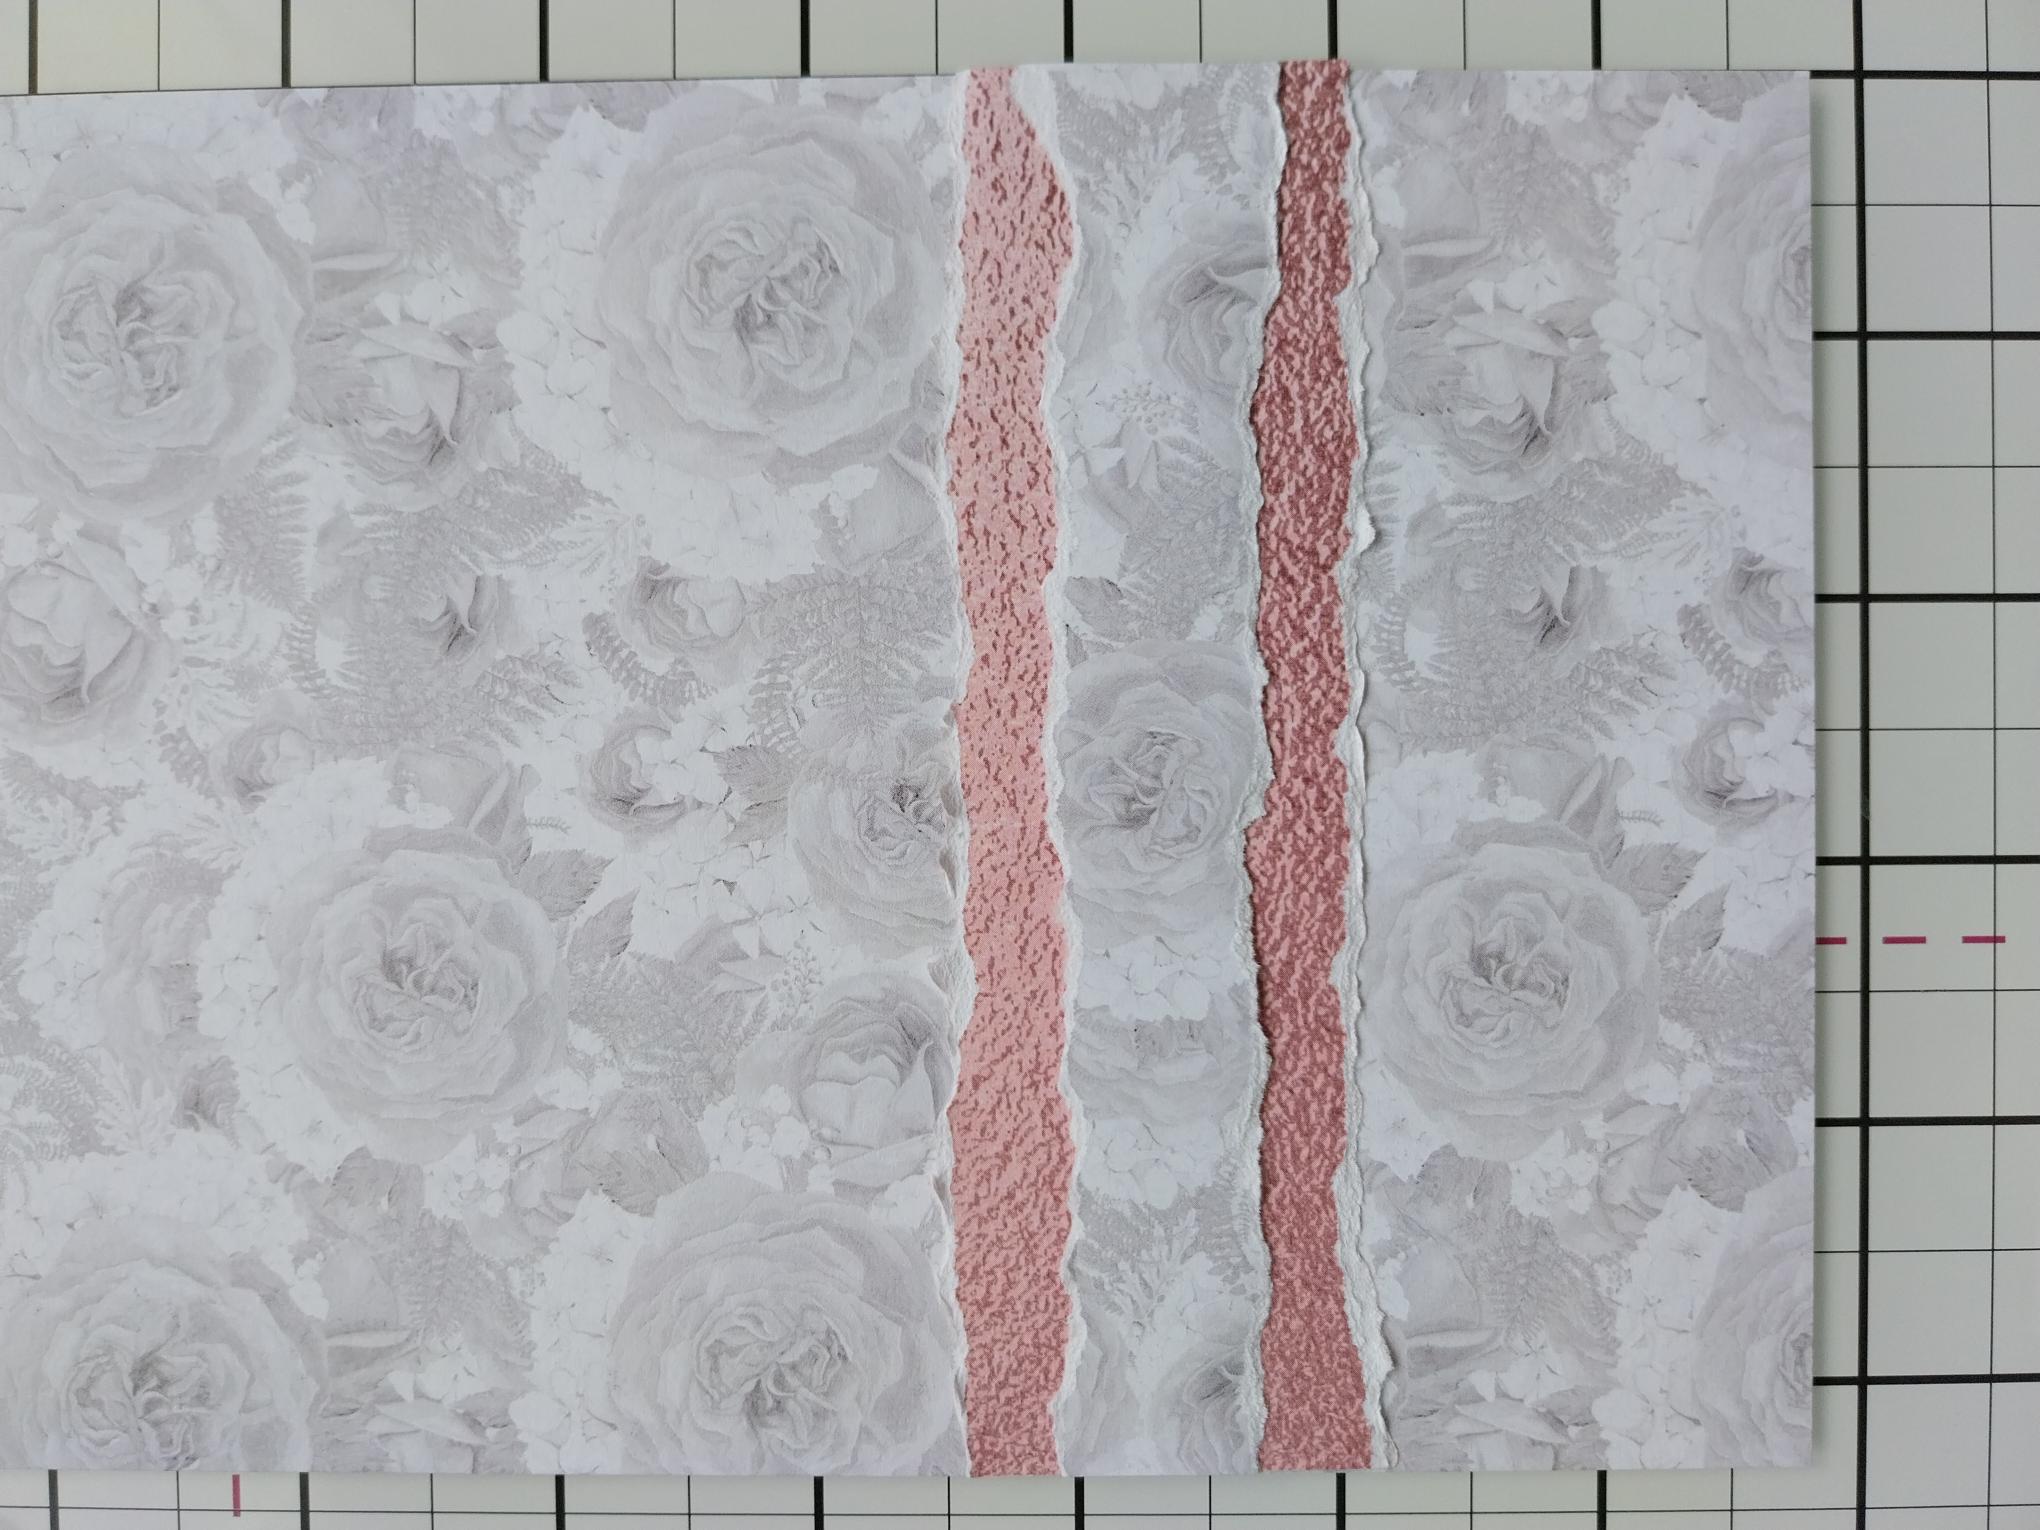
Adhere the pink paper panel flat, across the decorative paper, just under halfway down. |
|
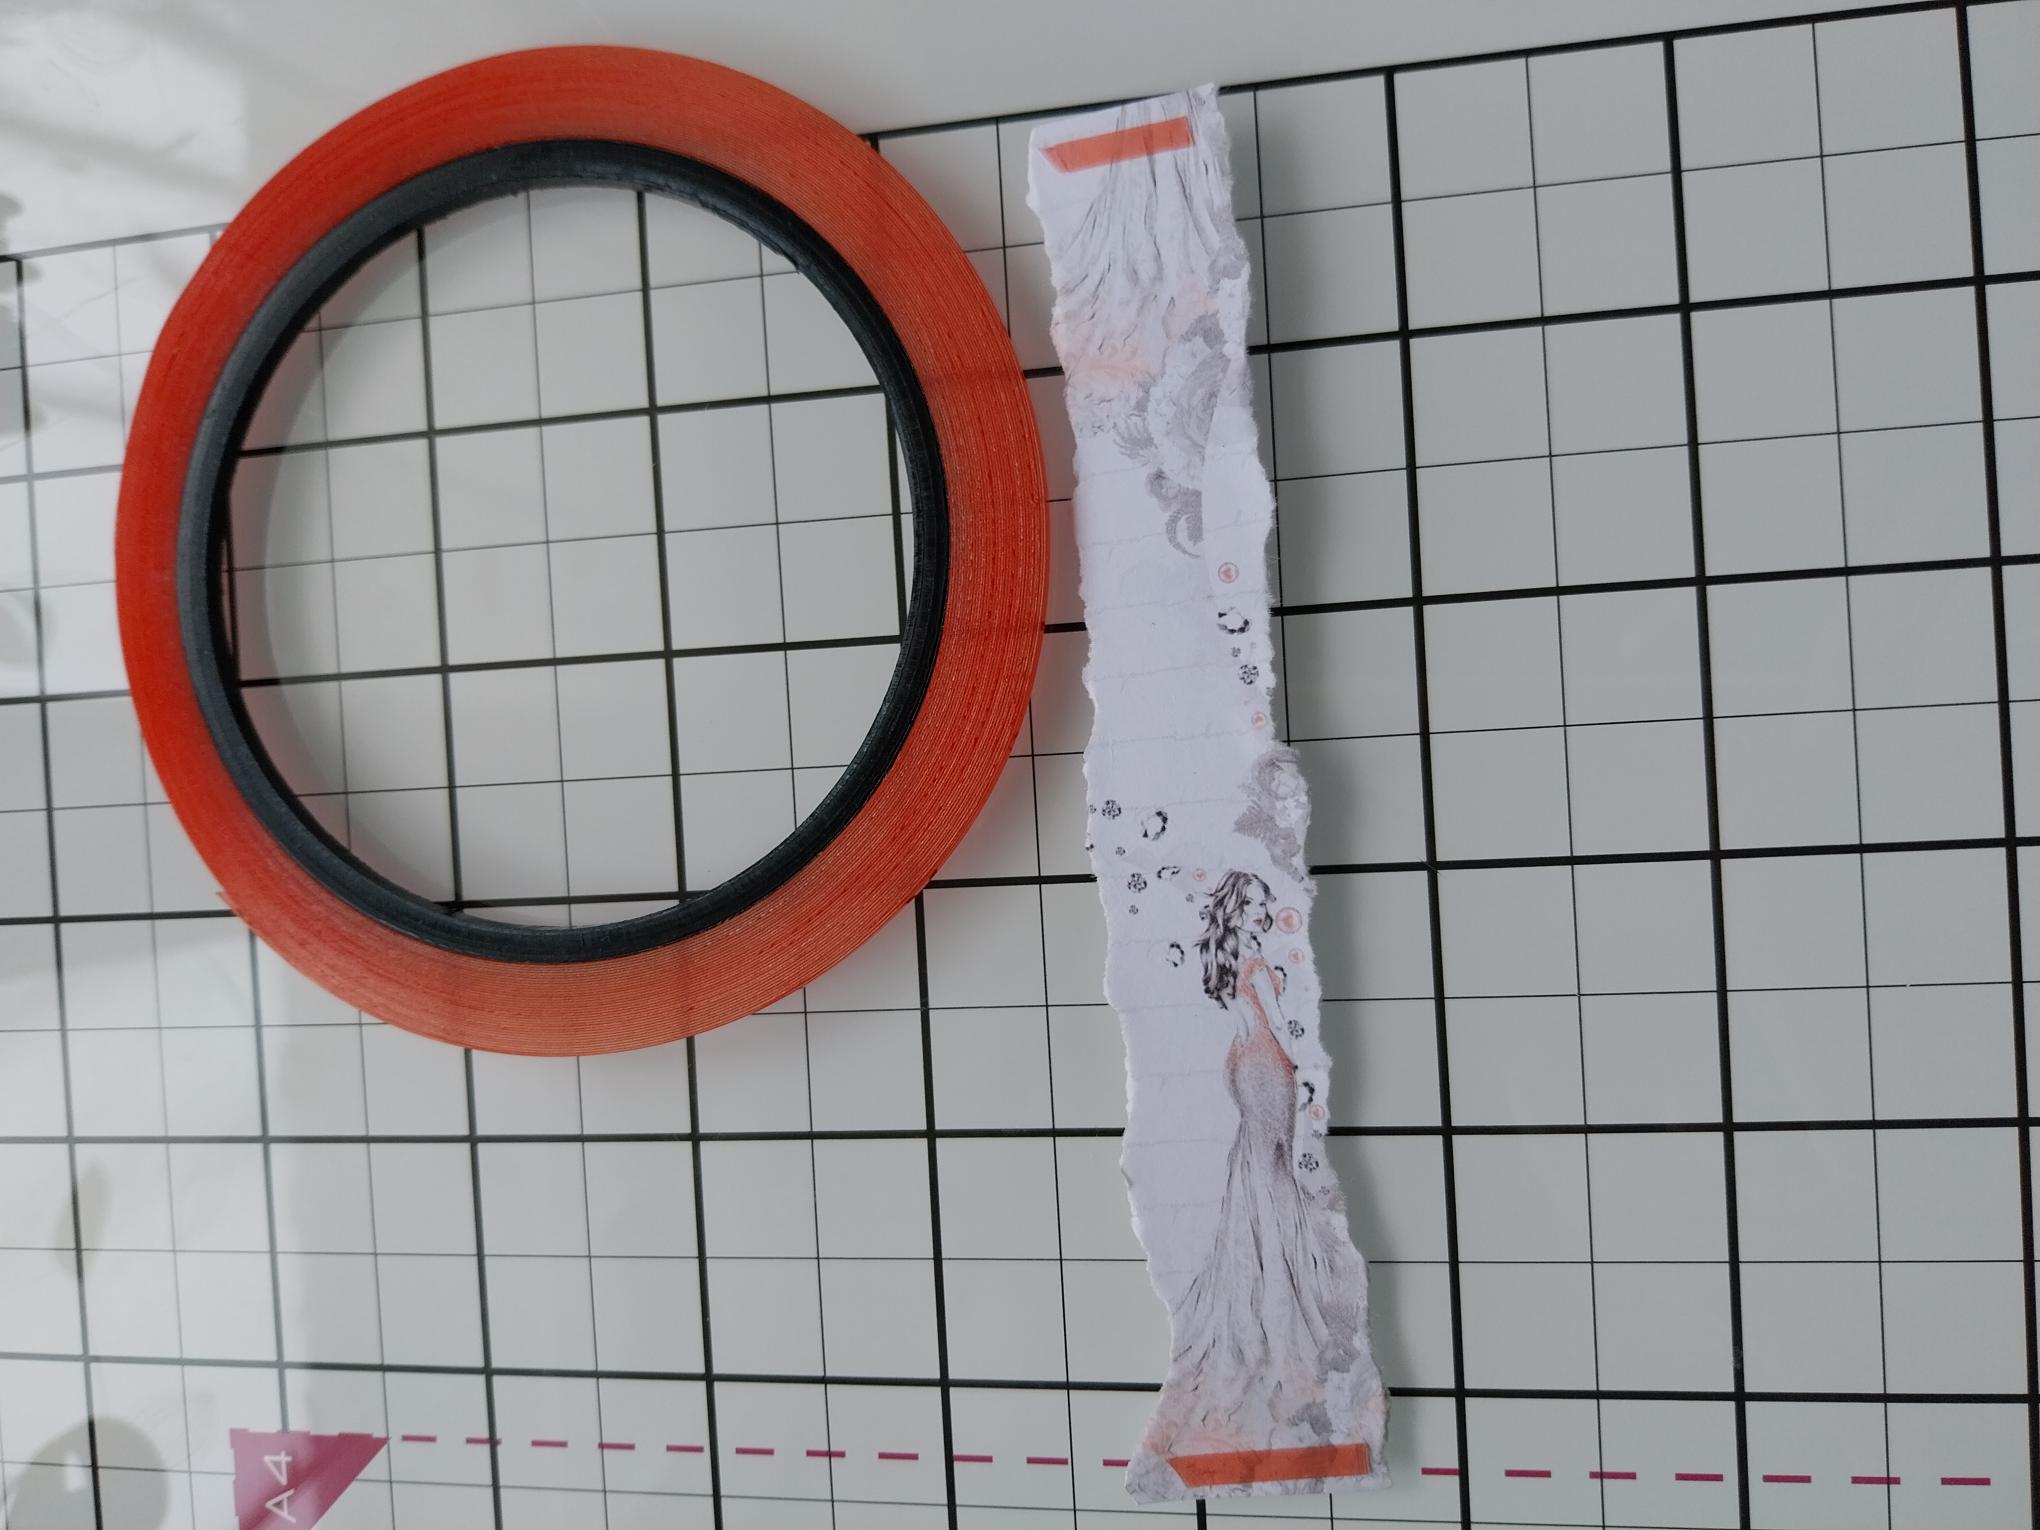
Pop red liner tape down the sides only, on the narrower paper panel, as shown here. |
|
Remove the backing tape and adhere the sides flush, with the edges of the paper. You now have a band to slide your envelope under. |
|
Adhere this on to your pink card blank and pop to one side. |
|
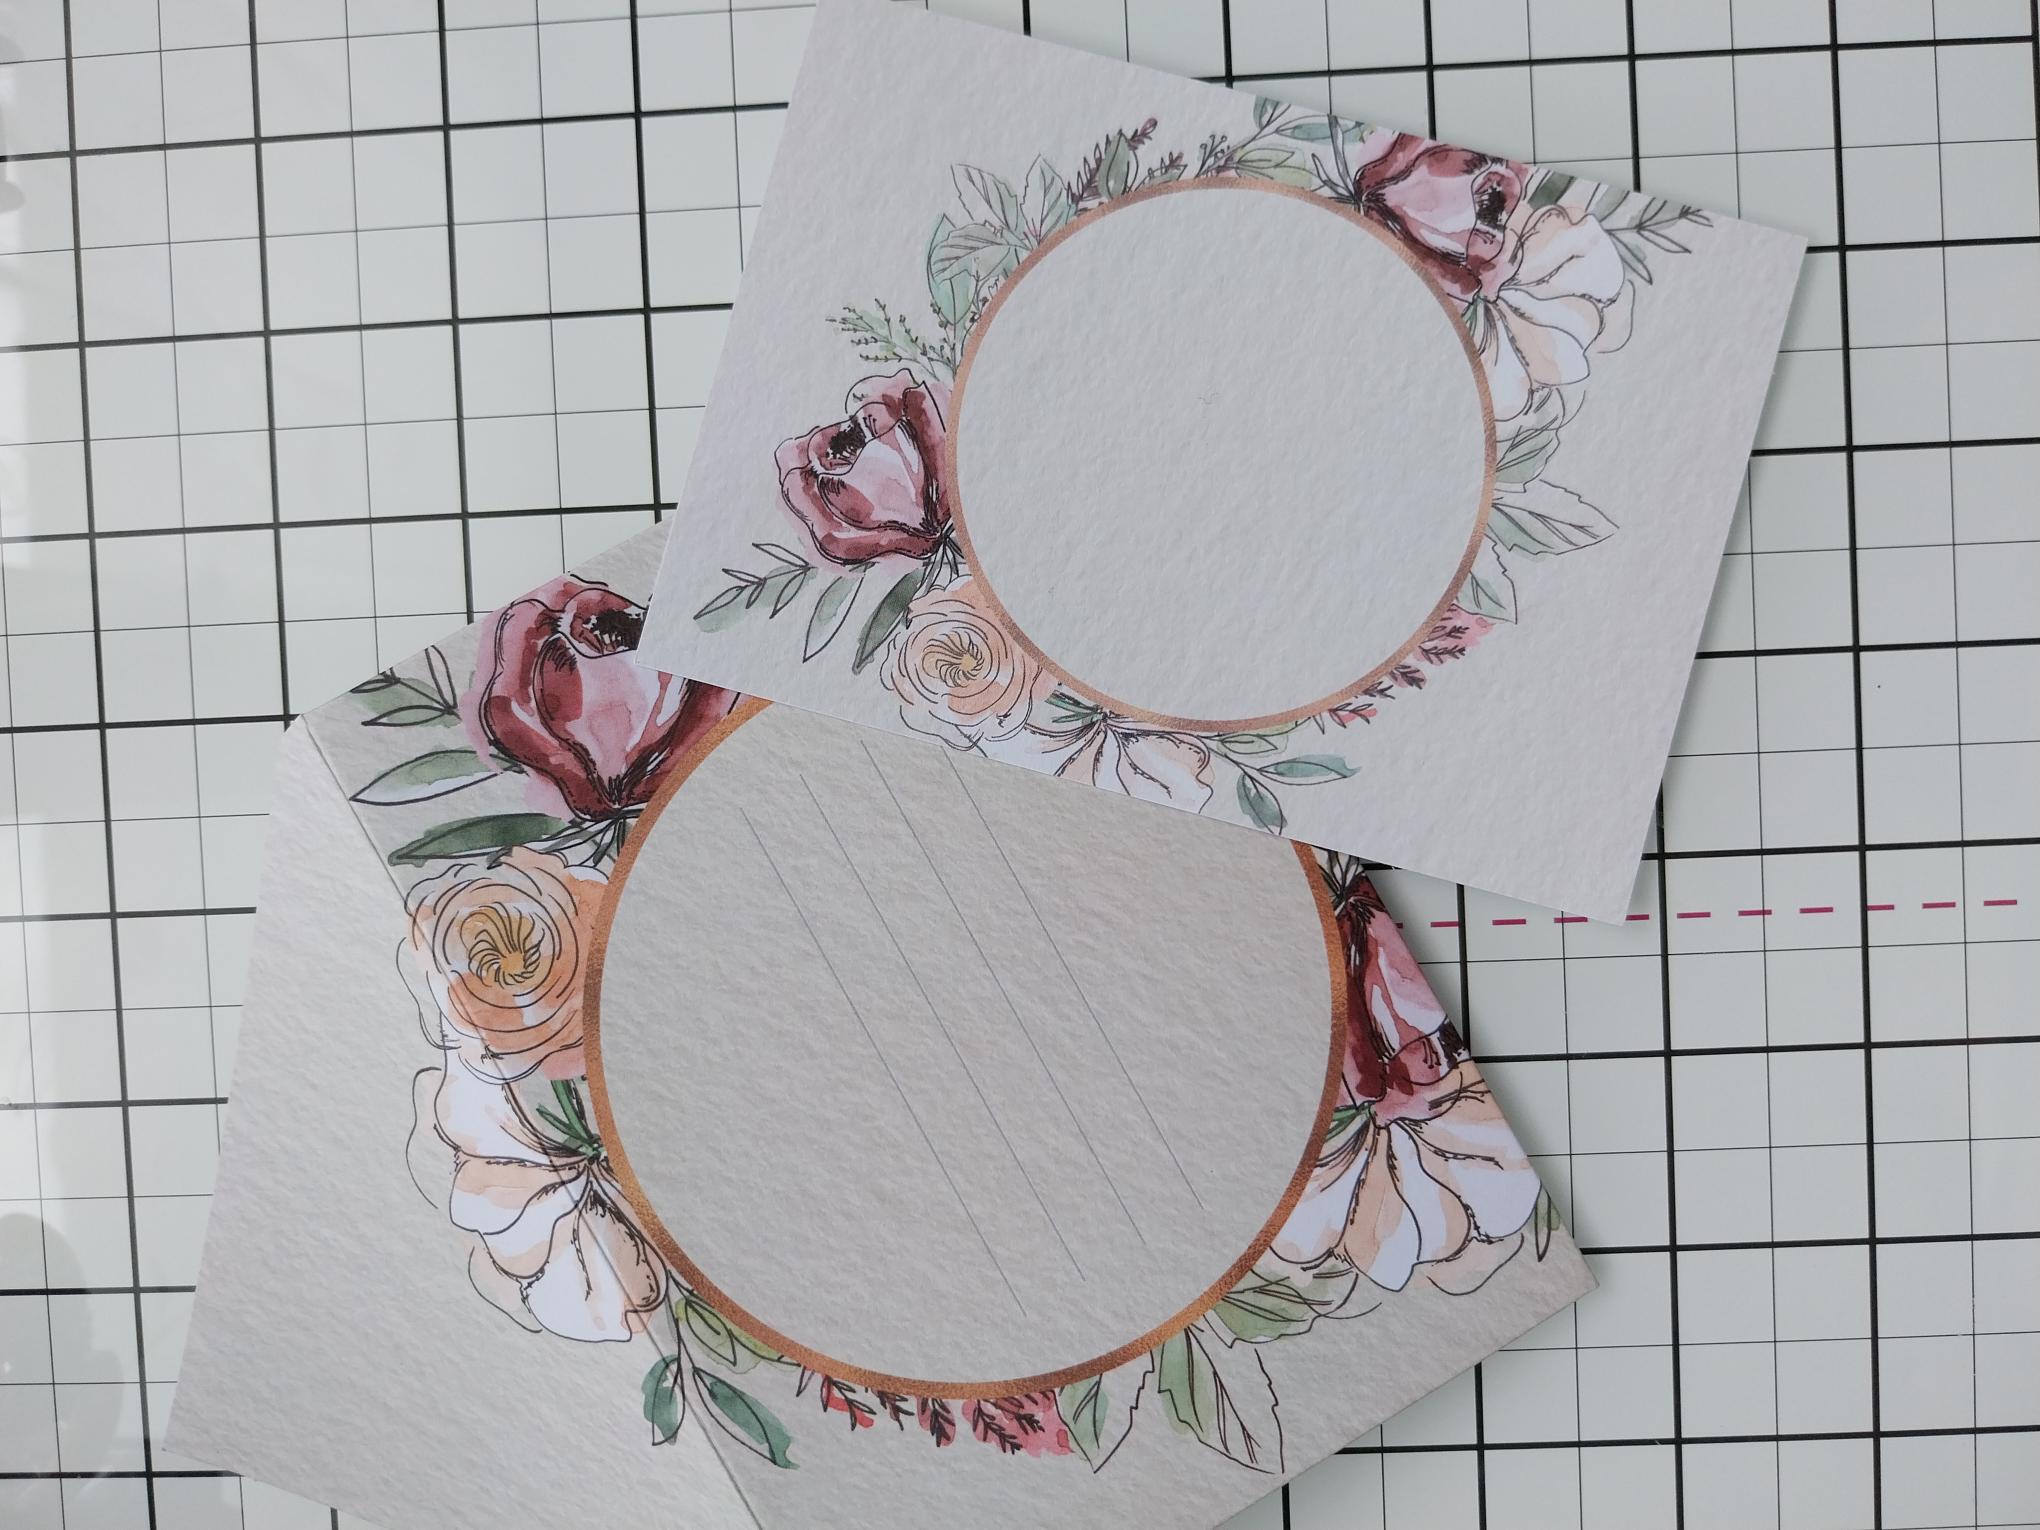
Take the coordinating topper and envelope from the Garden Florals Collection. Score and fold on the pre-scored envelope lines and secure with tape or wet glue. |
|
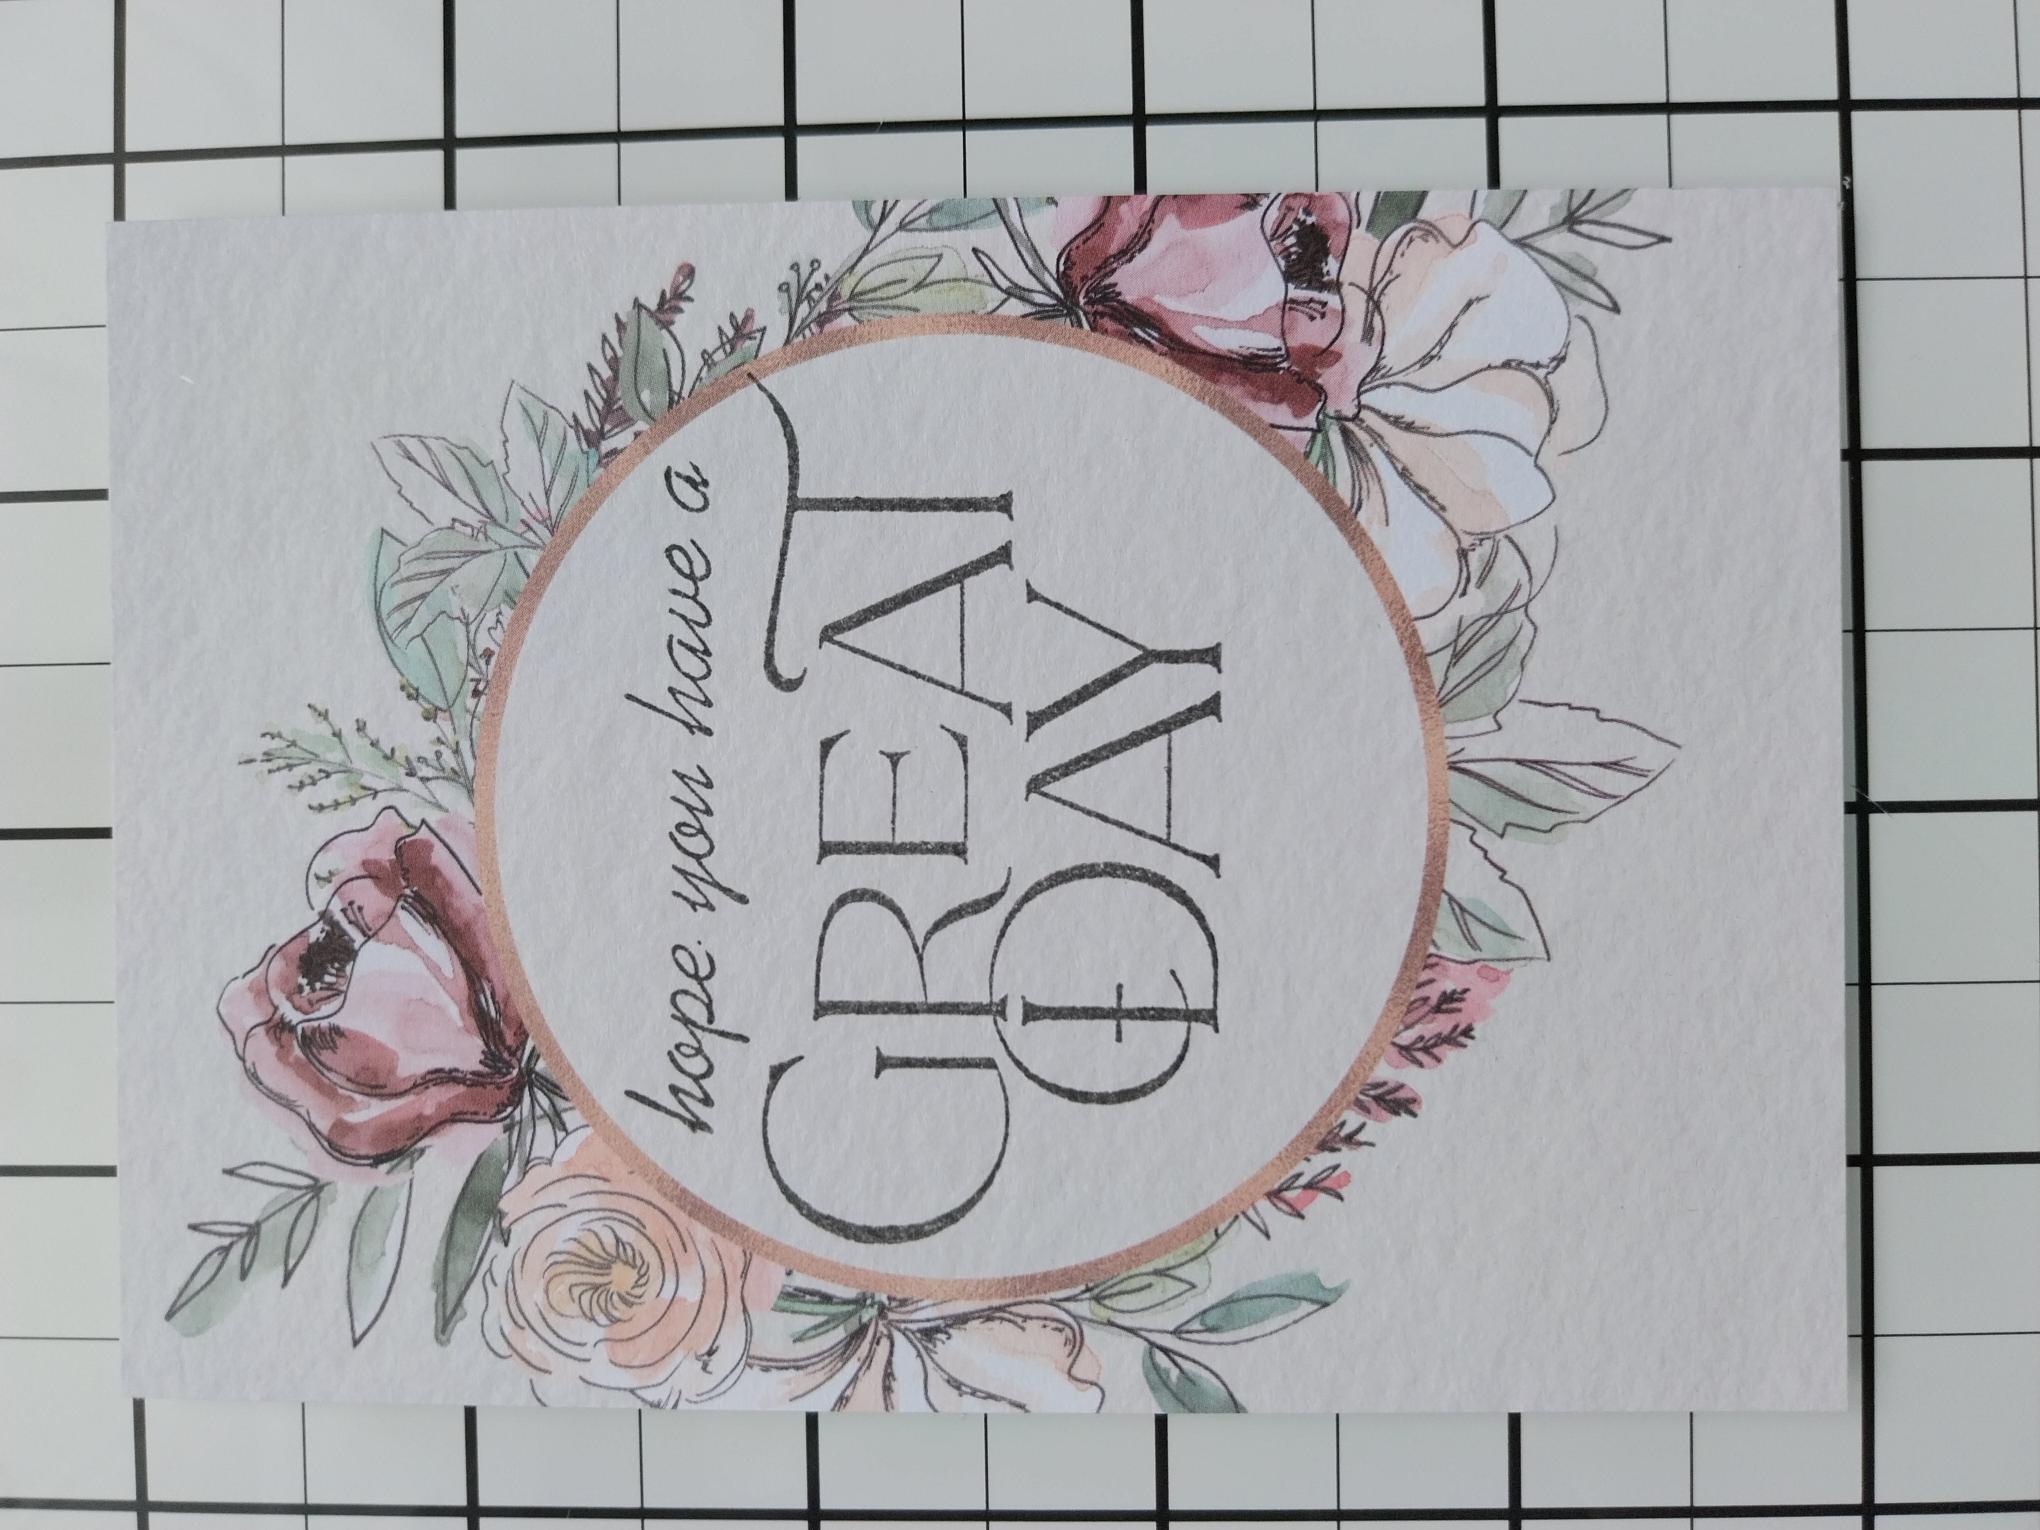
Stamp the "Great Day" and add-on sentiment, from the Saying Hello Collection, in the Smokey Grey Versafine, in the centre of the floral topper wreath. |
|
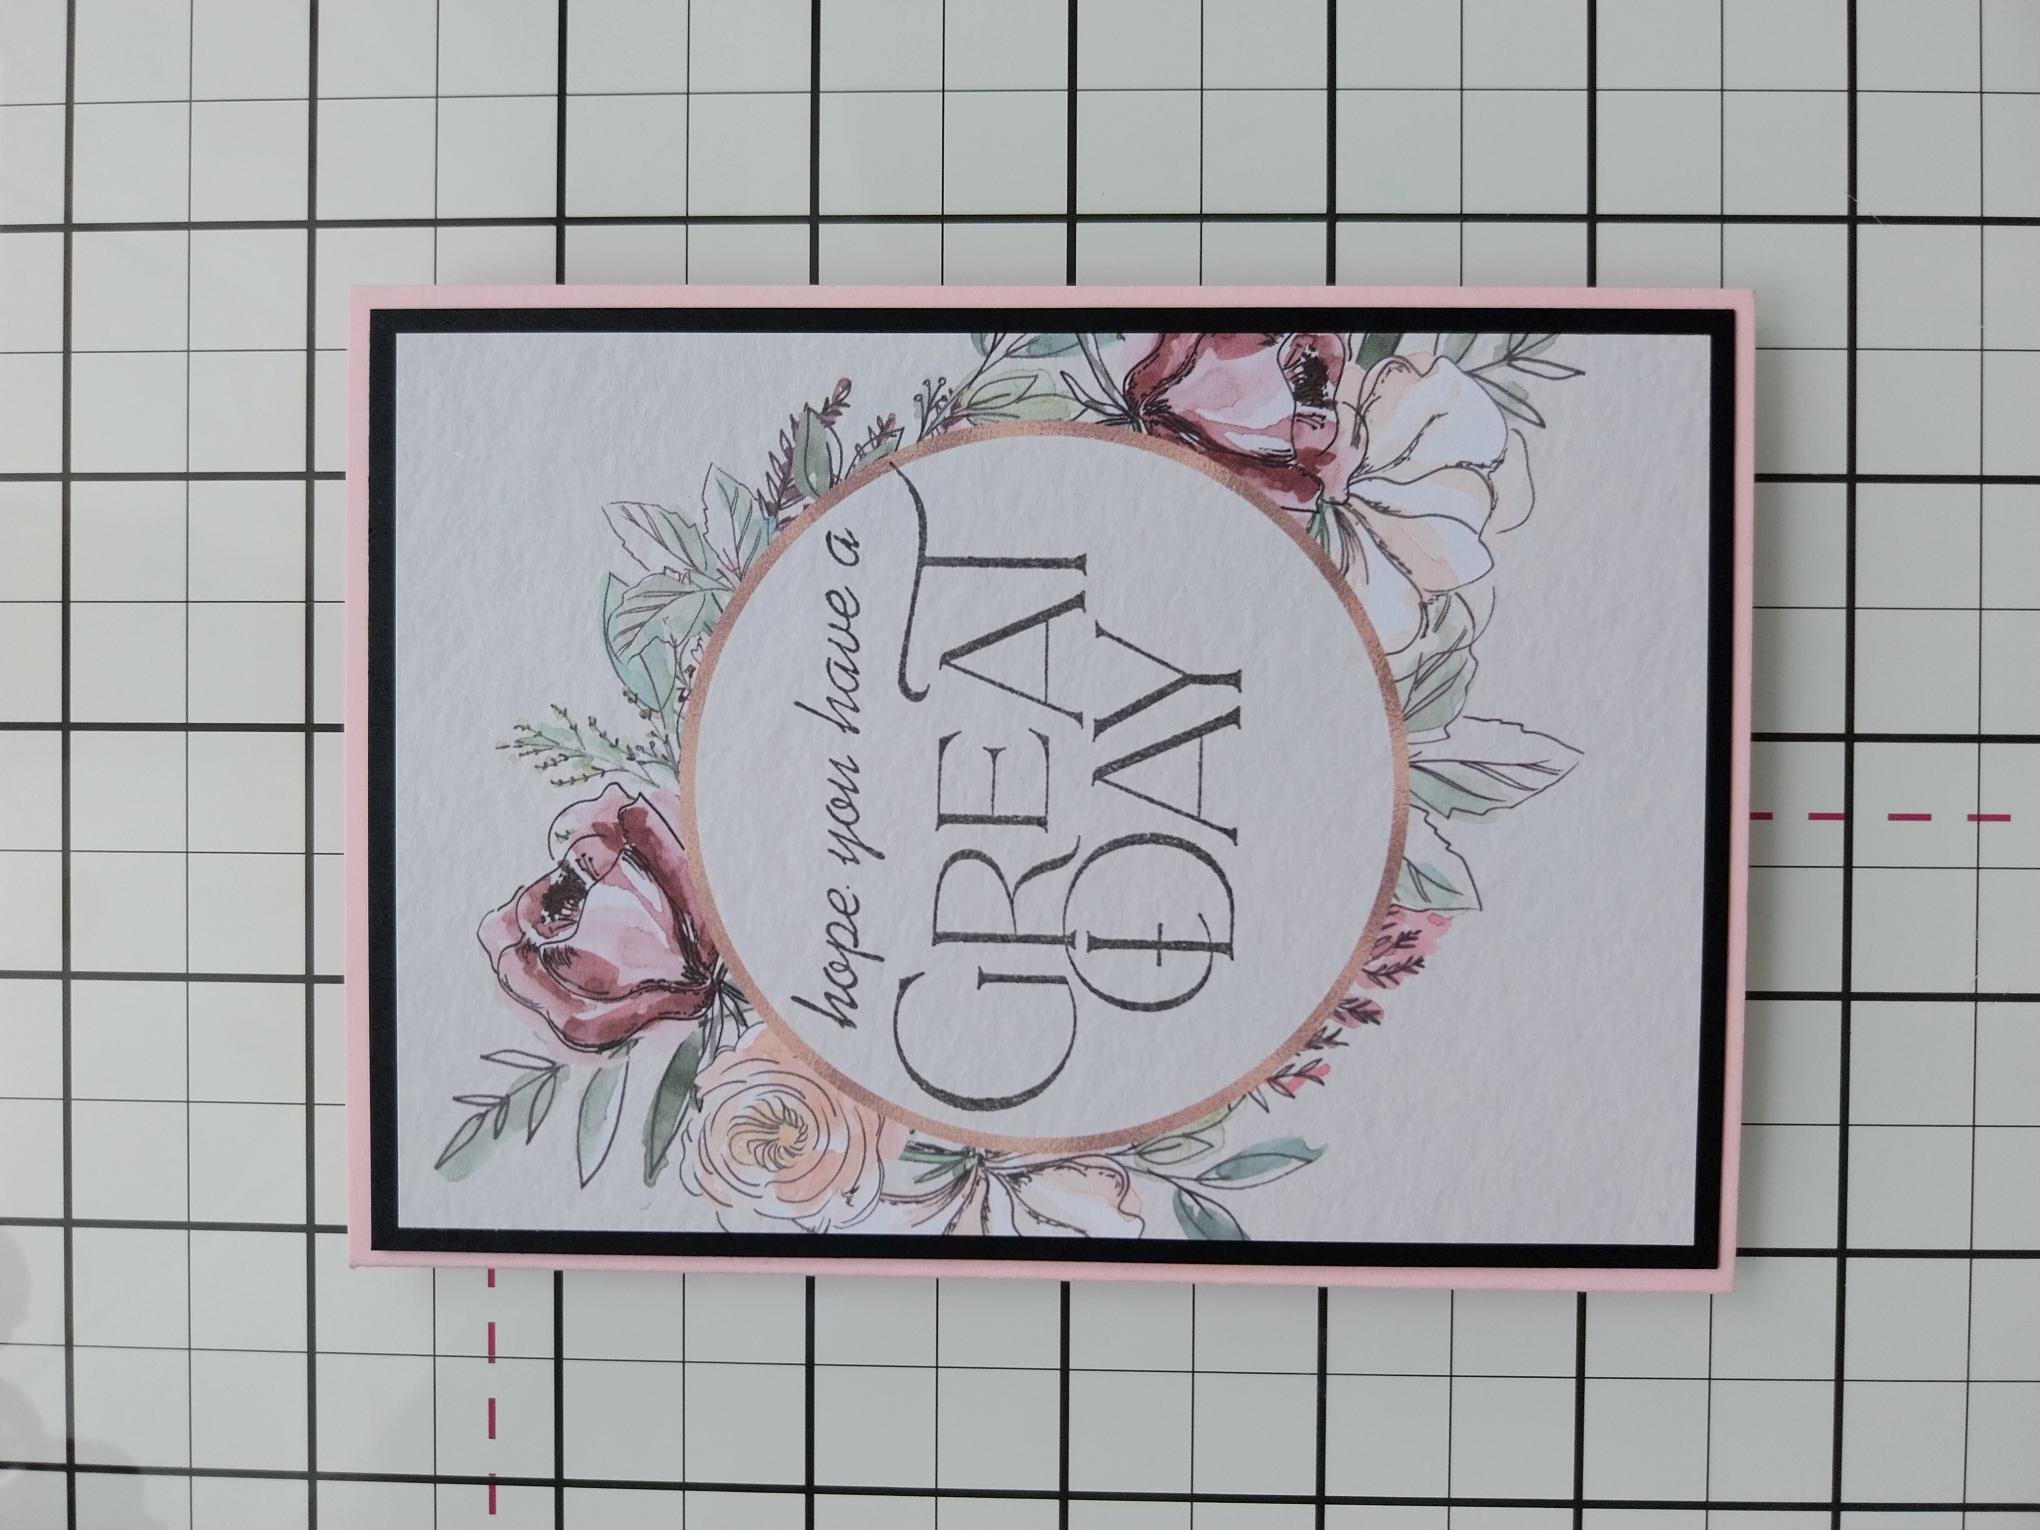
Adhere this on to the black card, trimmed to 5 x 3 1/2" and then on to the pink card blank, cut to 5 1/4 x 3 3/4". |
|
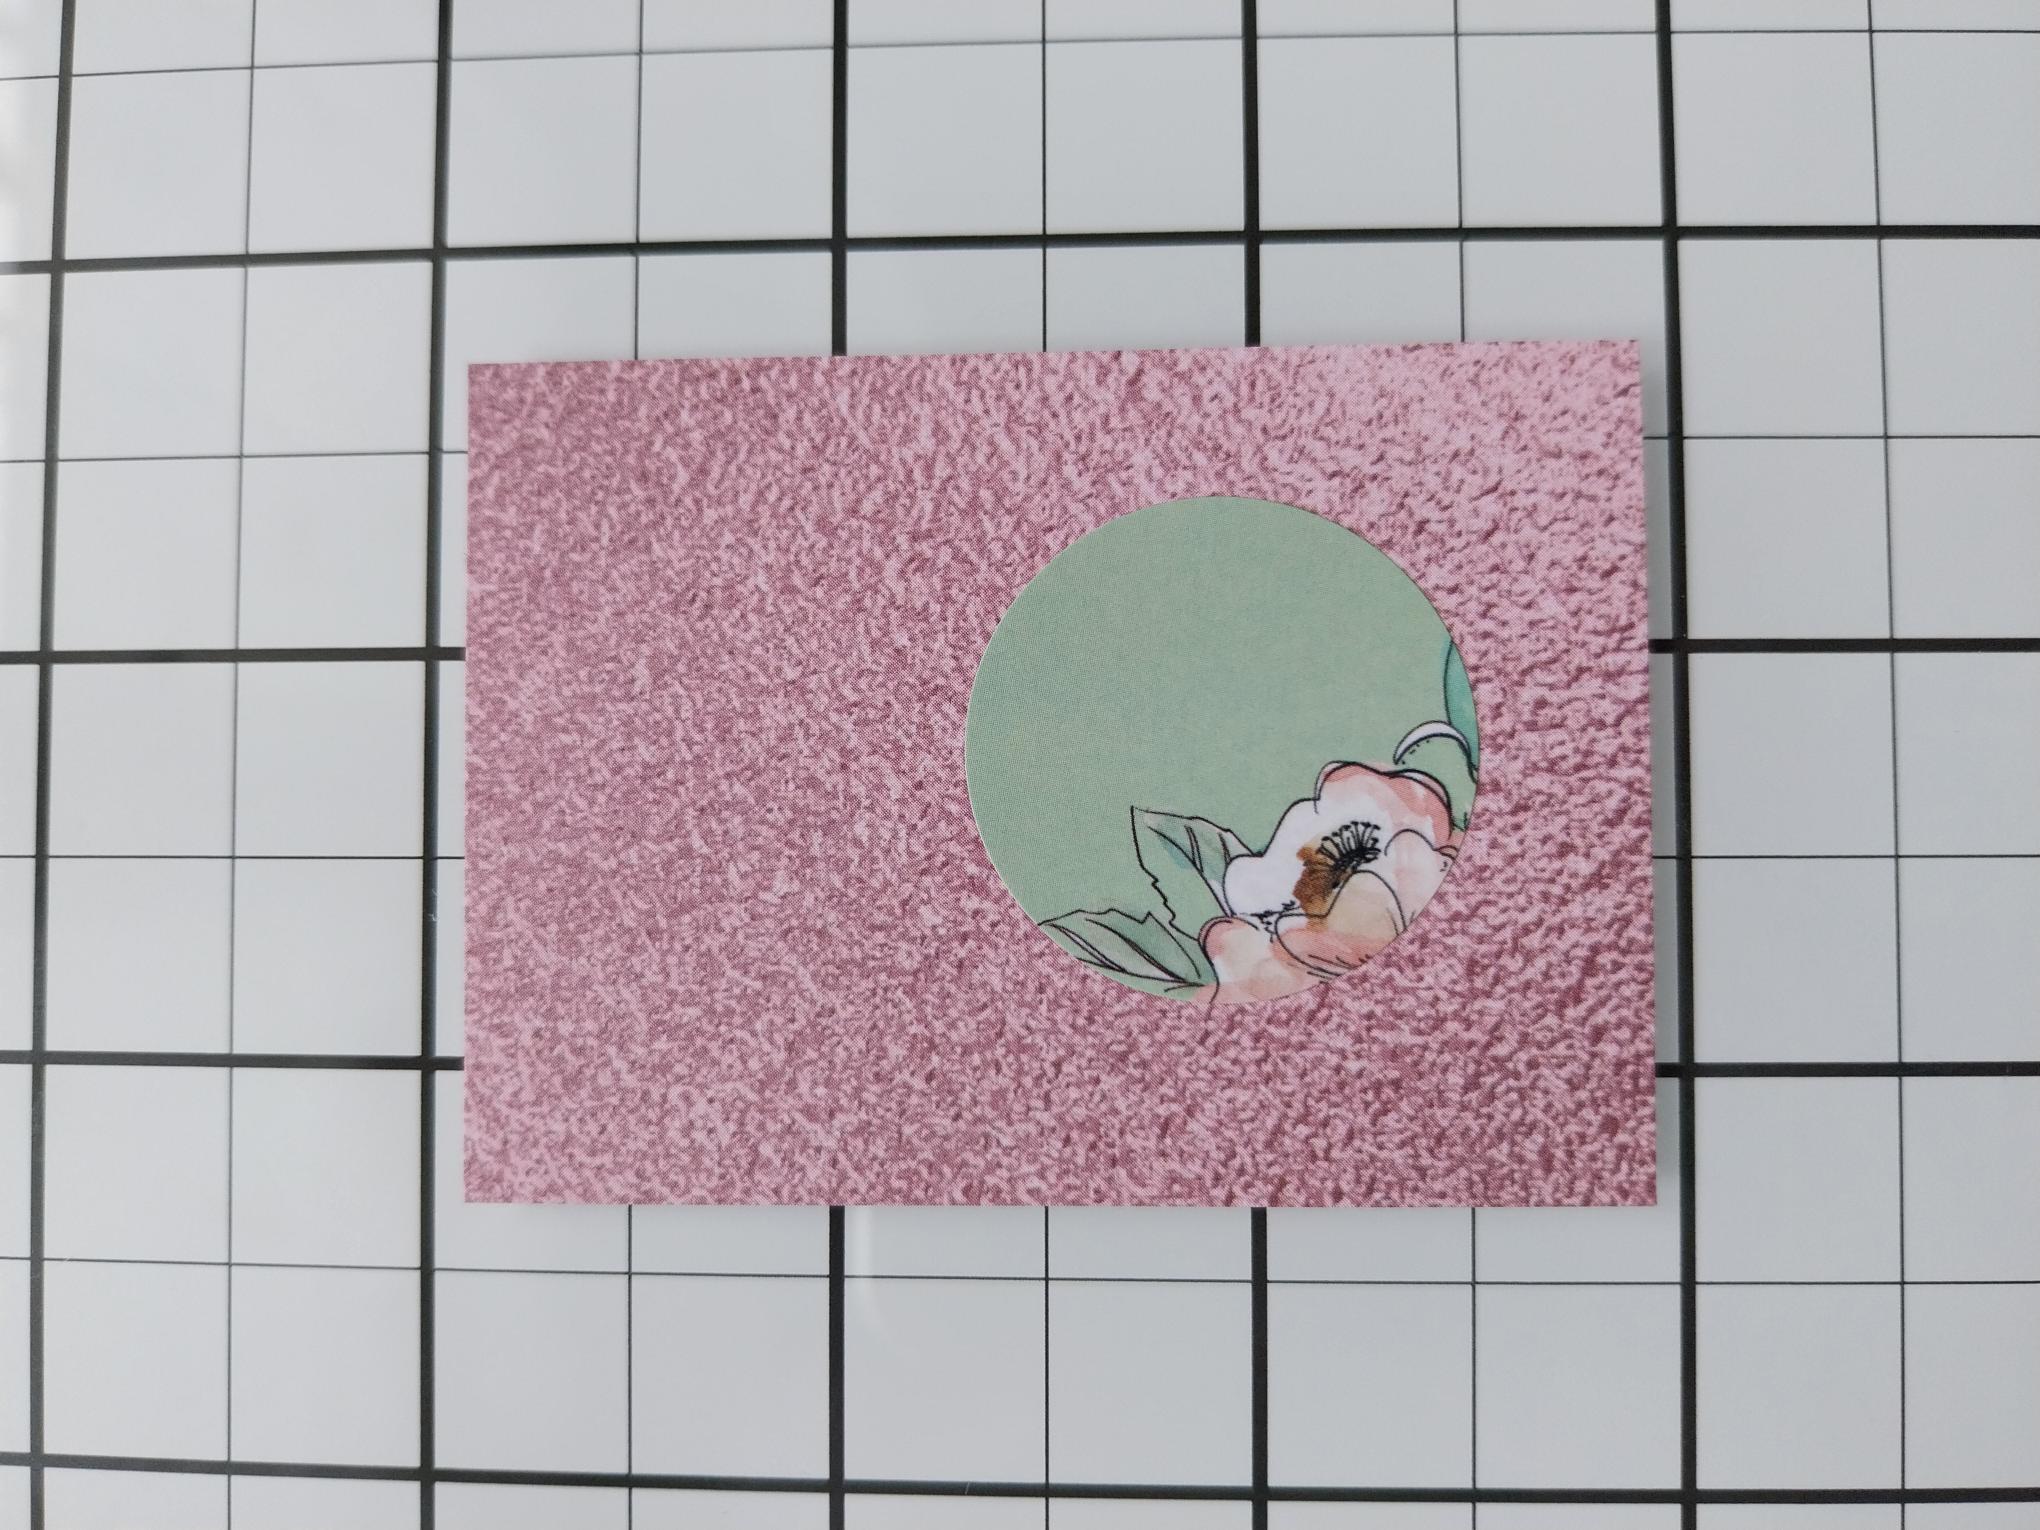
Stick this coordinating sticker, from the Garden Florals Envelope Collection, on to a scrap of the left-over pink textured paper, used earlier. |
|
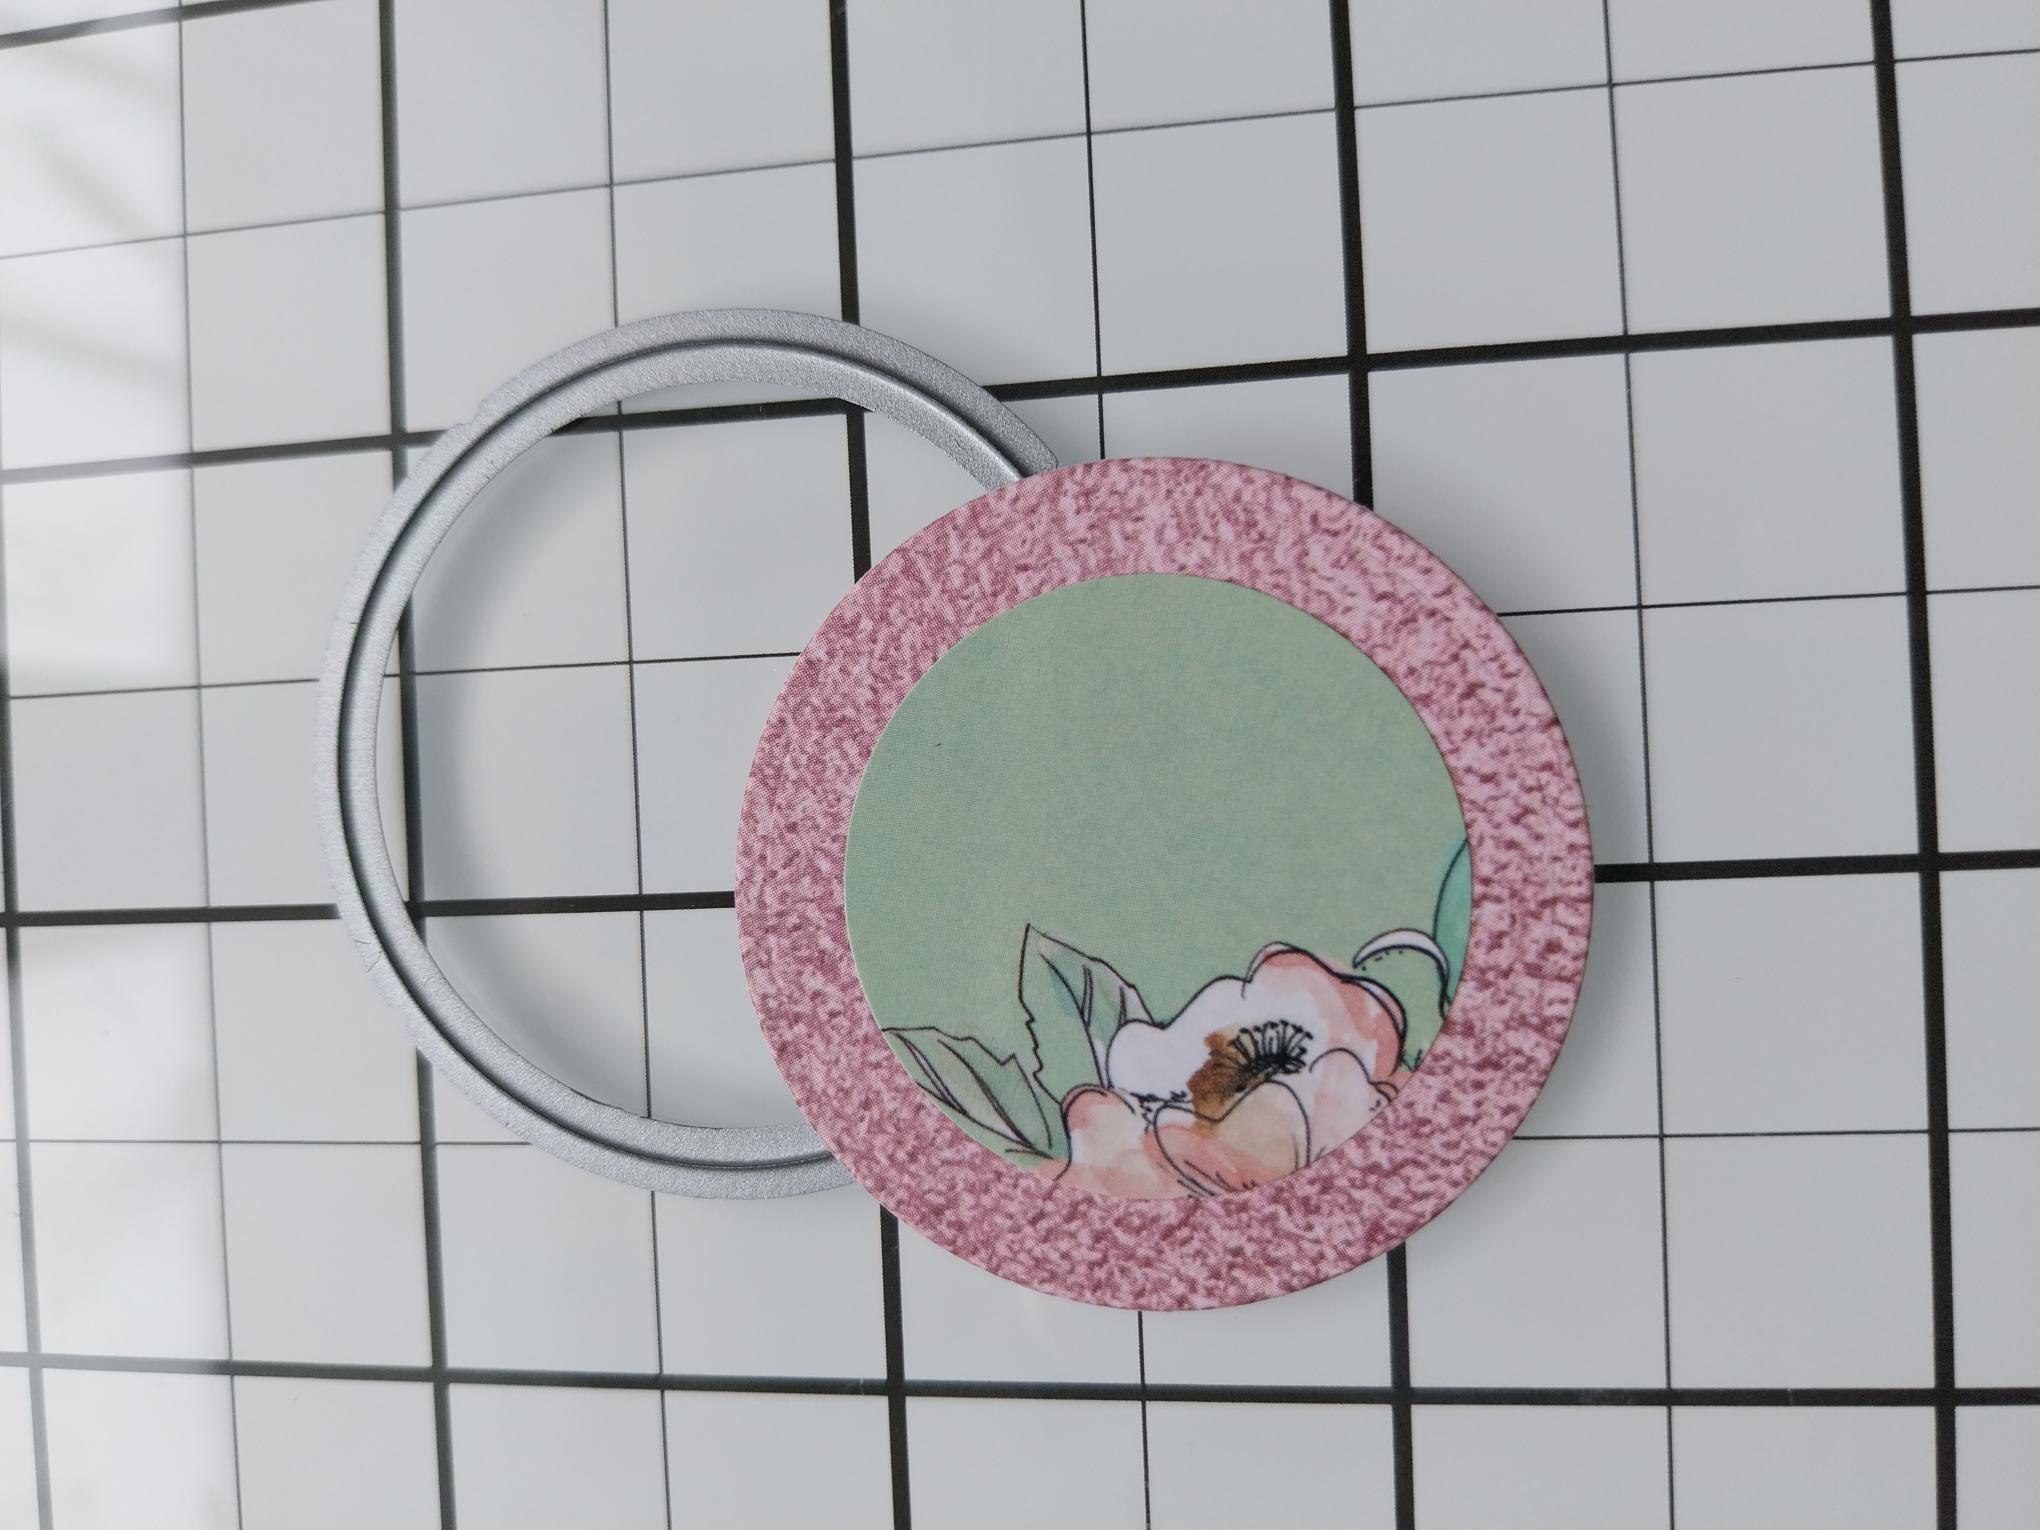
Cut out with your circle die. |
|
Adhere to the centre of the panels, ensuring you only apply glue across the middle, allowing the envelope to still slide under the band. |
|
You can now pop your card/gift card, inside the envelope and slide it under the band. A beautiful way to present your gift. |