Give your friends $10 off their first order!
Refer a FRIEND


WHAT YOU WILL NEED:
White card blank 7 x 5"
White card
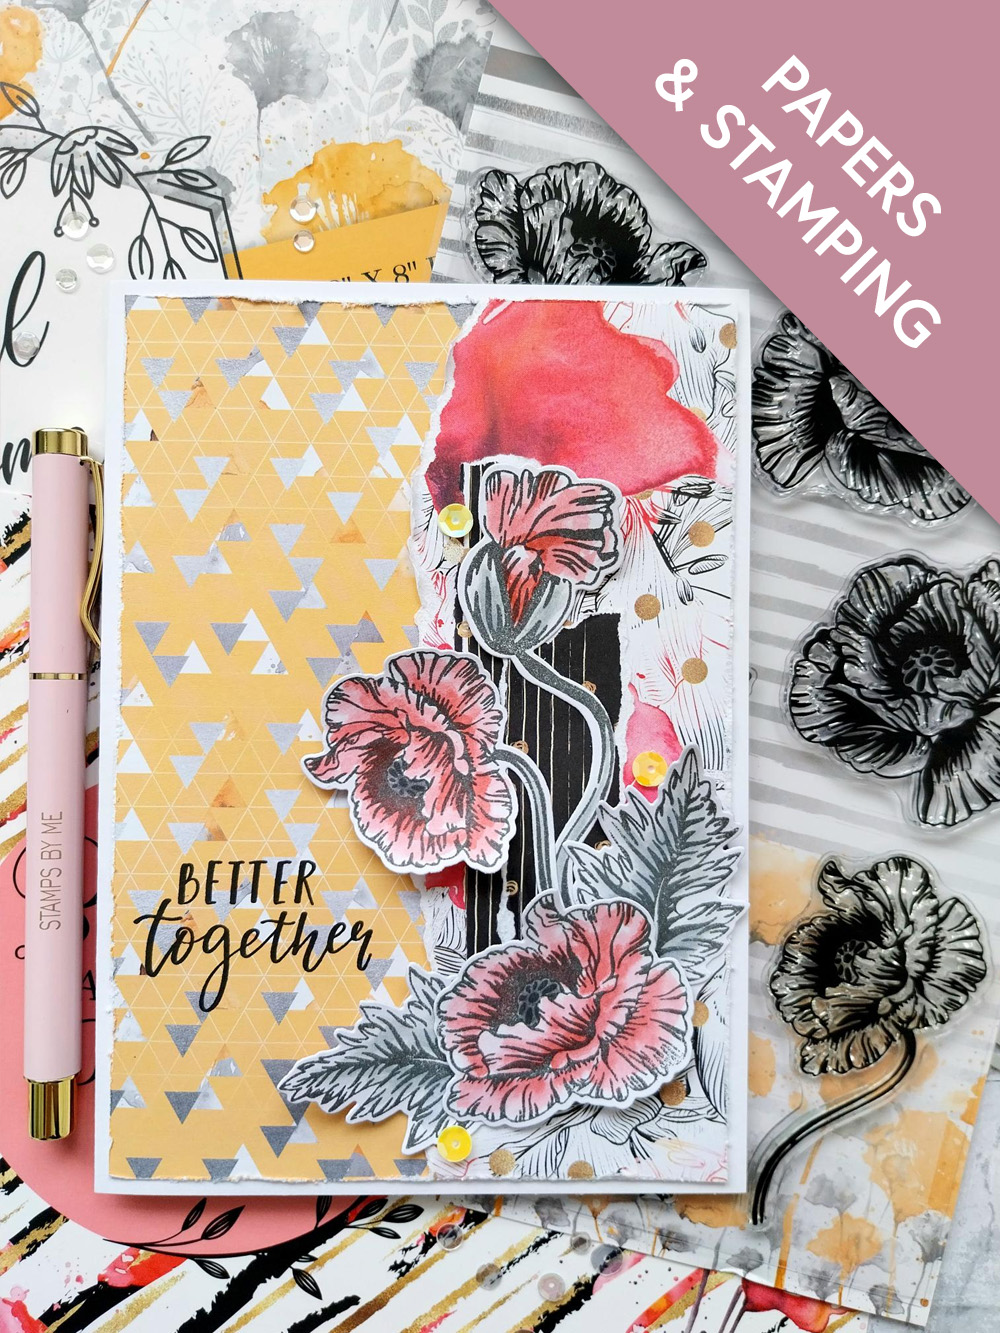
Poppy Haze A5 Stamp and Die Collection
Floral Romance 8 x 8" Paper Pack
Bloom & Wild 8 x 8" Paper Pack
Better Together Stamp Collection
SBM Hybrid Ink Pad: Midnight
SBM Premium Dye Ink Pad: Redwood
Distress Oxide: Iced Spruce
Distress Ink Pad: Black Soot
Paint brush
Yellow sequins
Gem pick up and pokey tool
Blending tool
Eureka 101 Watercolour Tablet
SBM Magnetic glass mat
Paper Trimmer
Perfect Together Glue
Foam pads
Scissors
Die Cutting machine
[click image to enlarge] 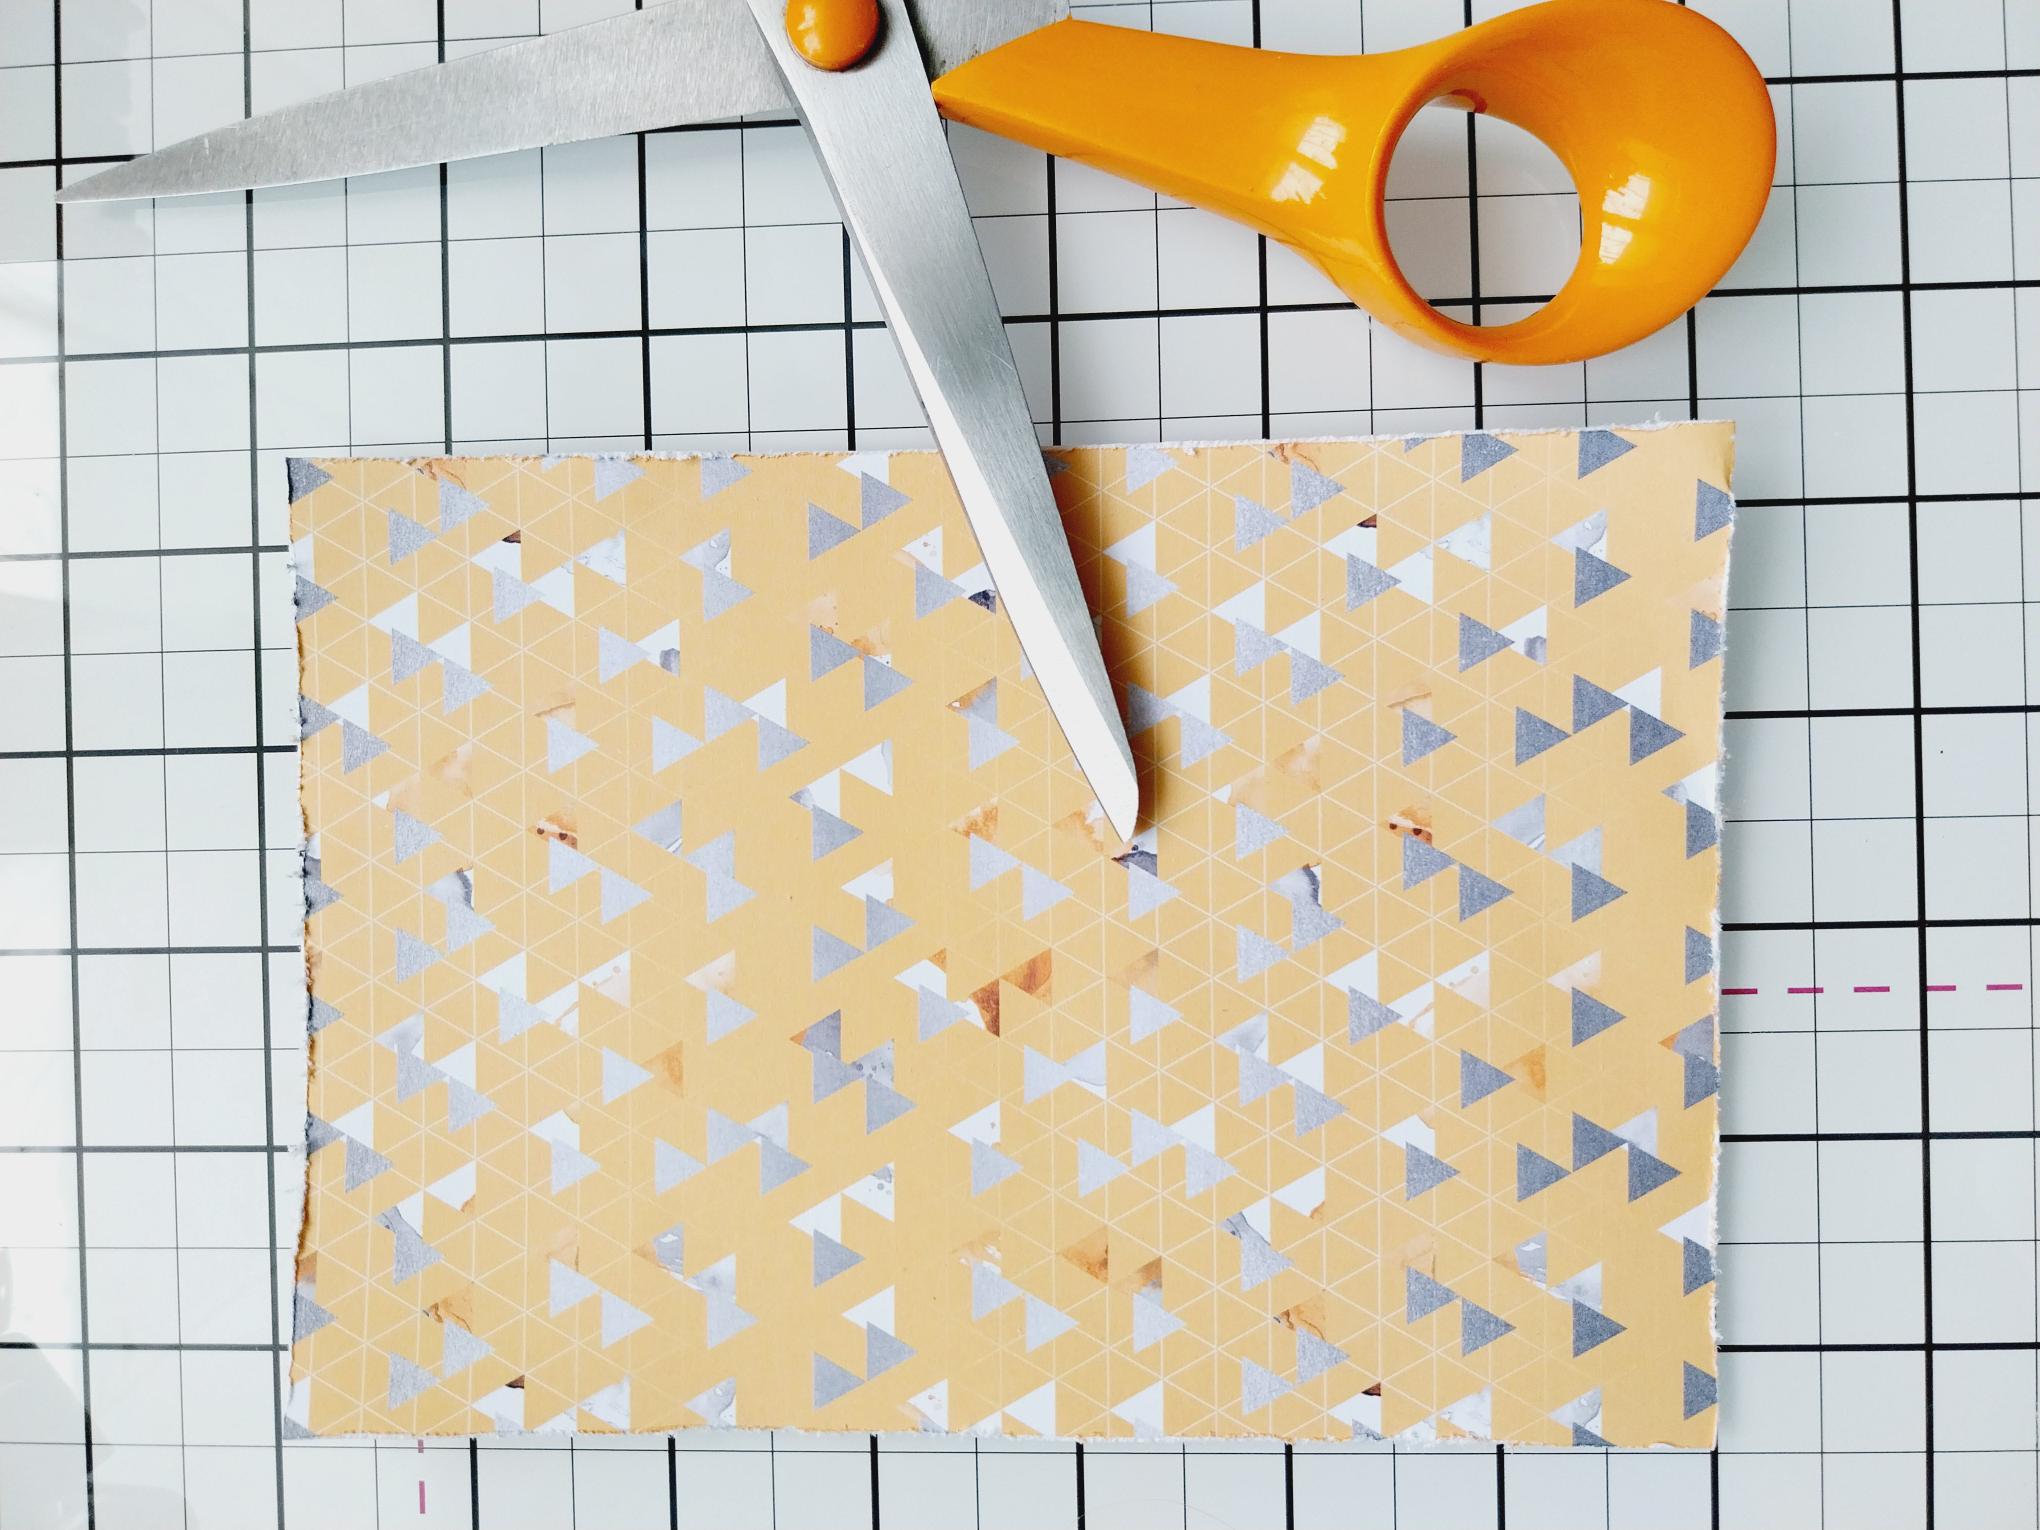
|
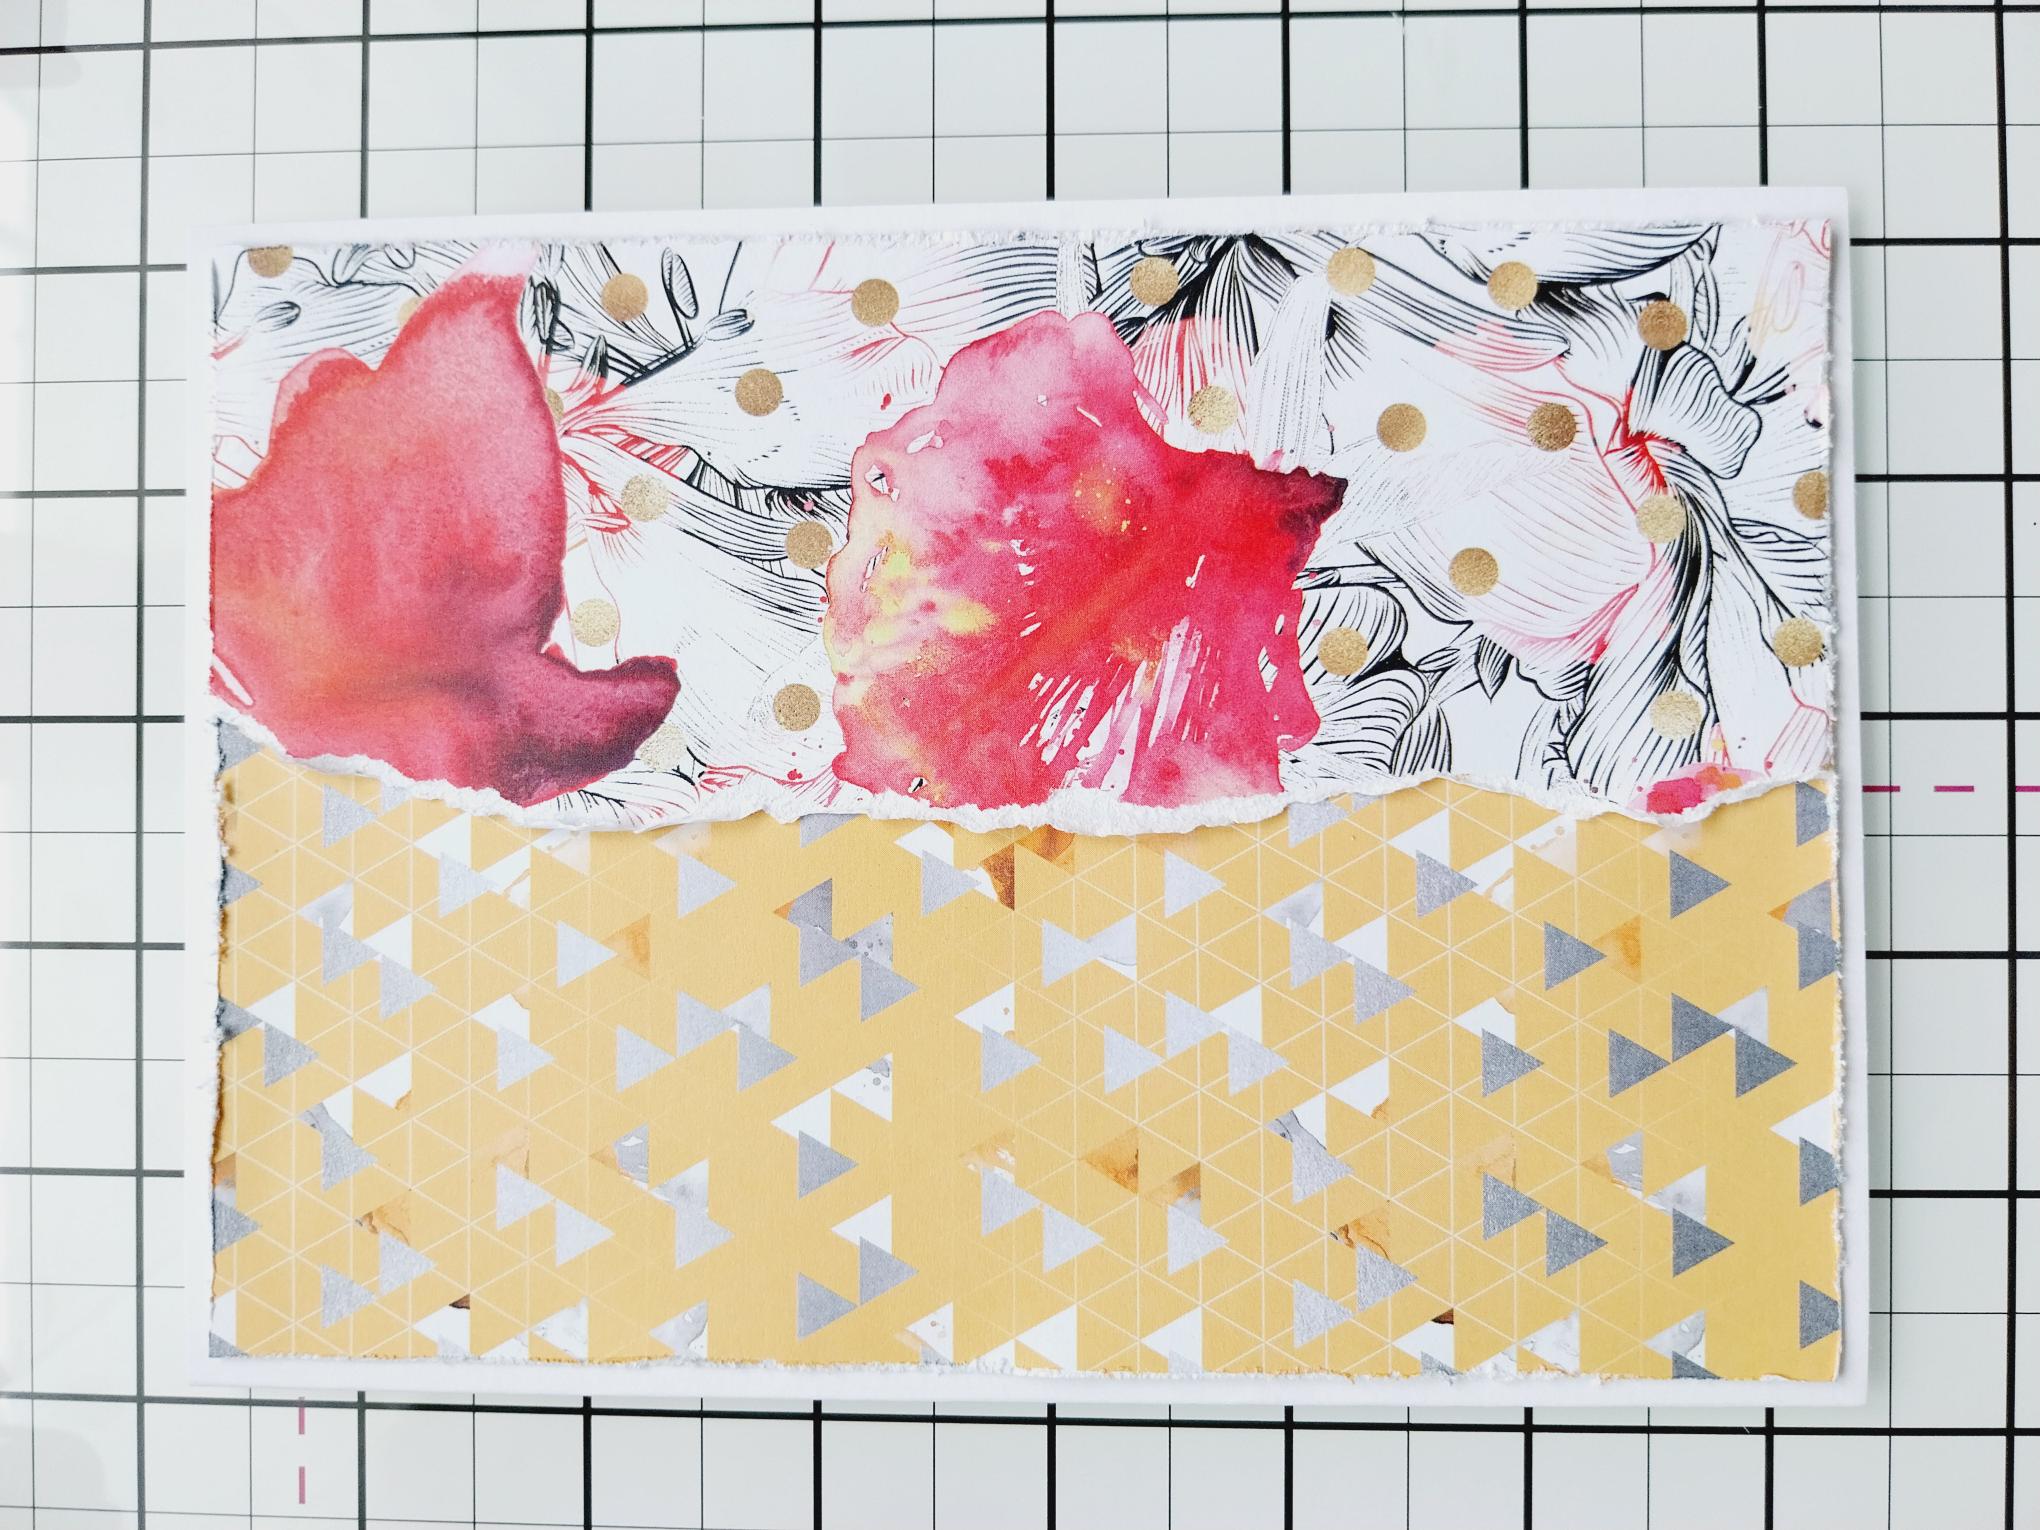
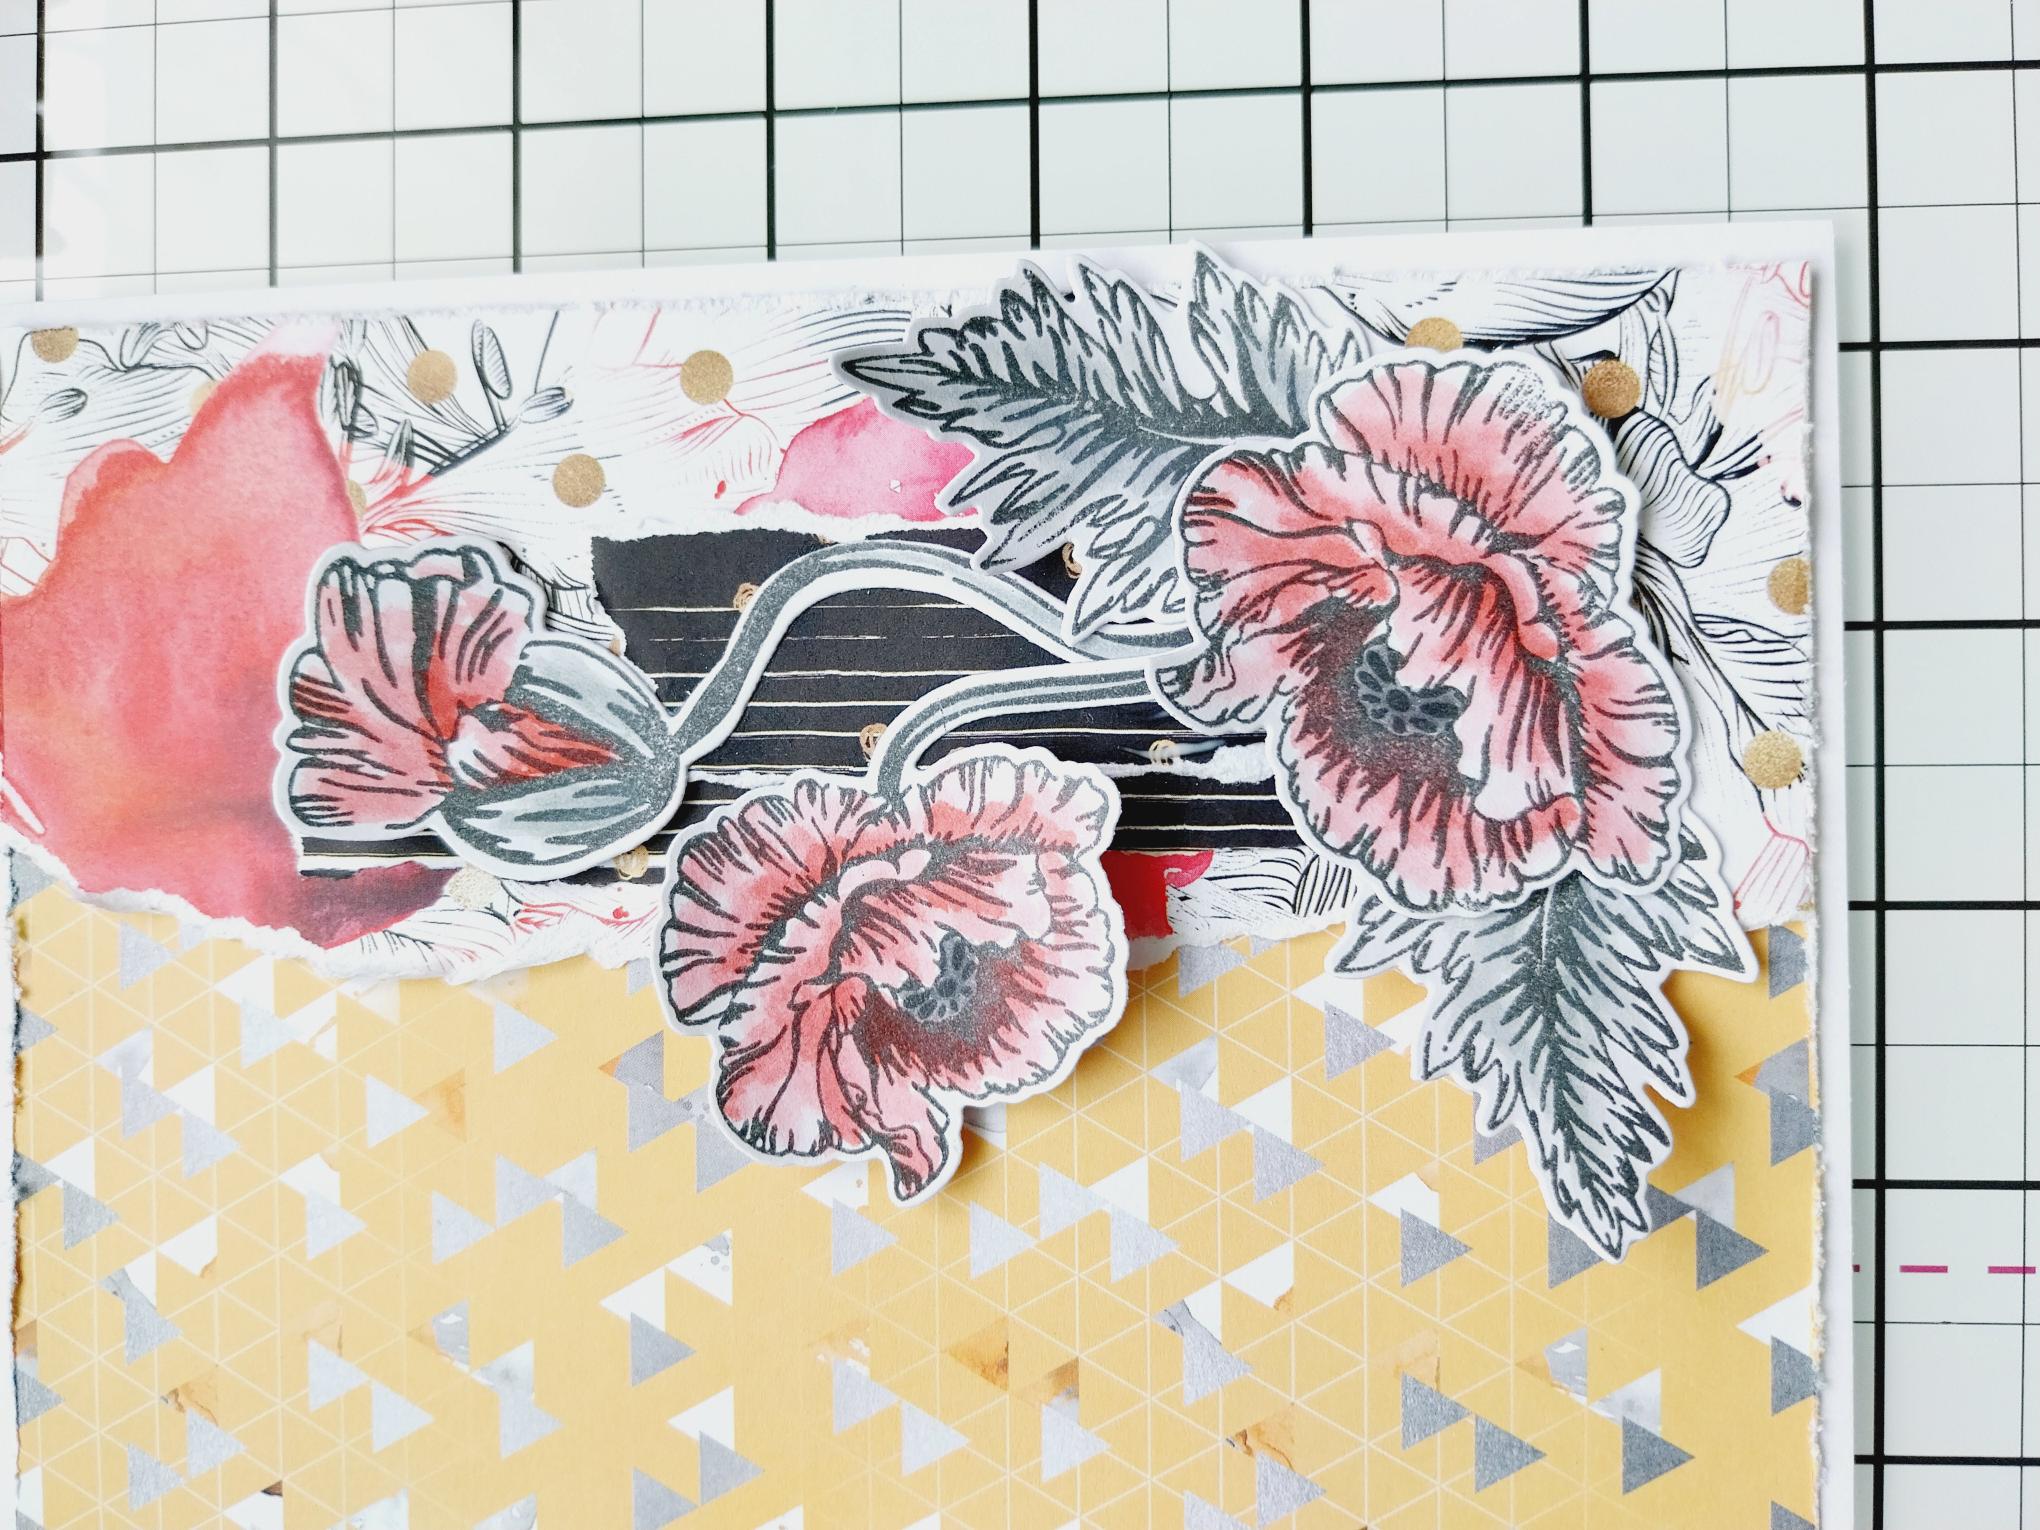
Trim this decorative paper, from the Floral Romance paper pack, to 6 3/4 x 4 3/4". Use your scissors to distress the edges. |
|
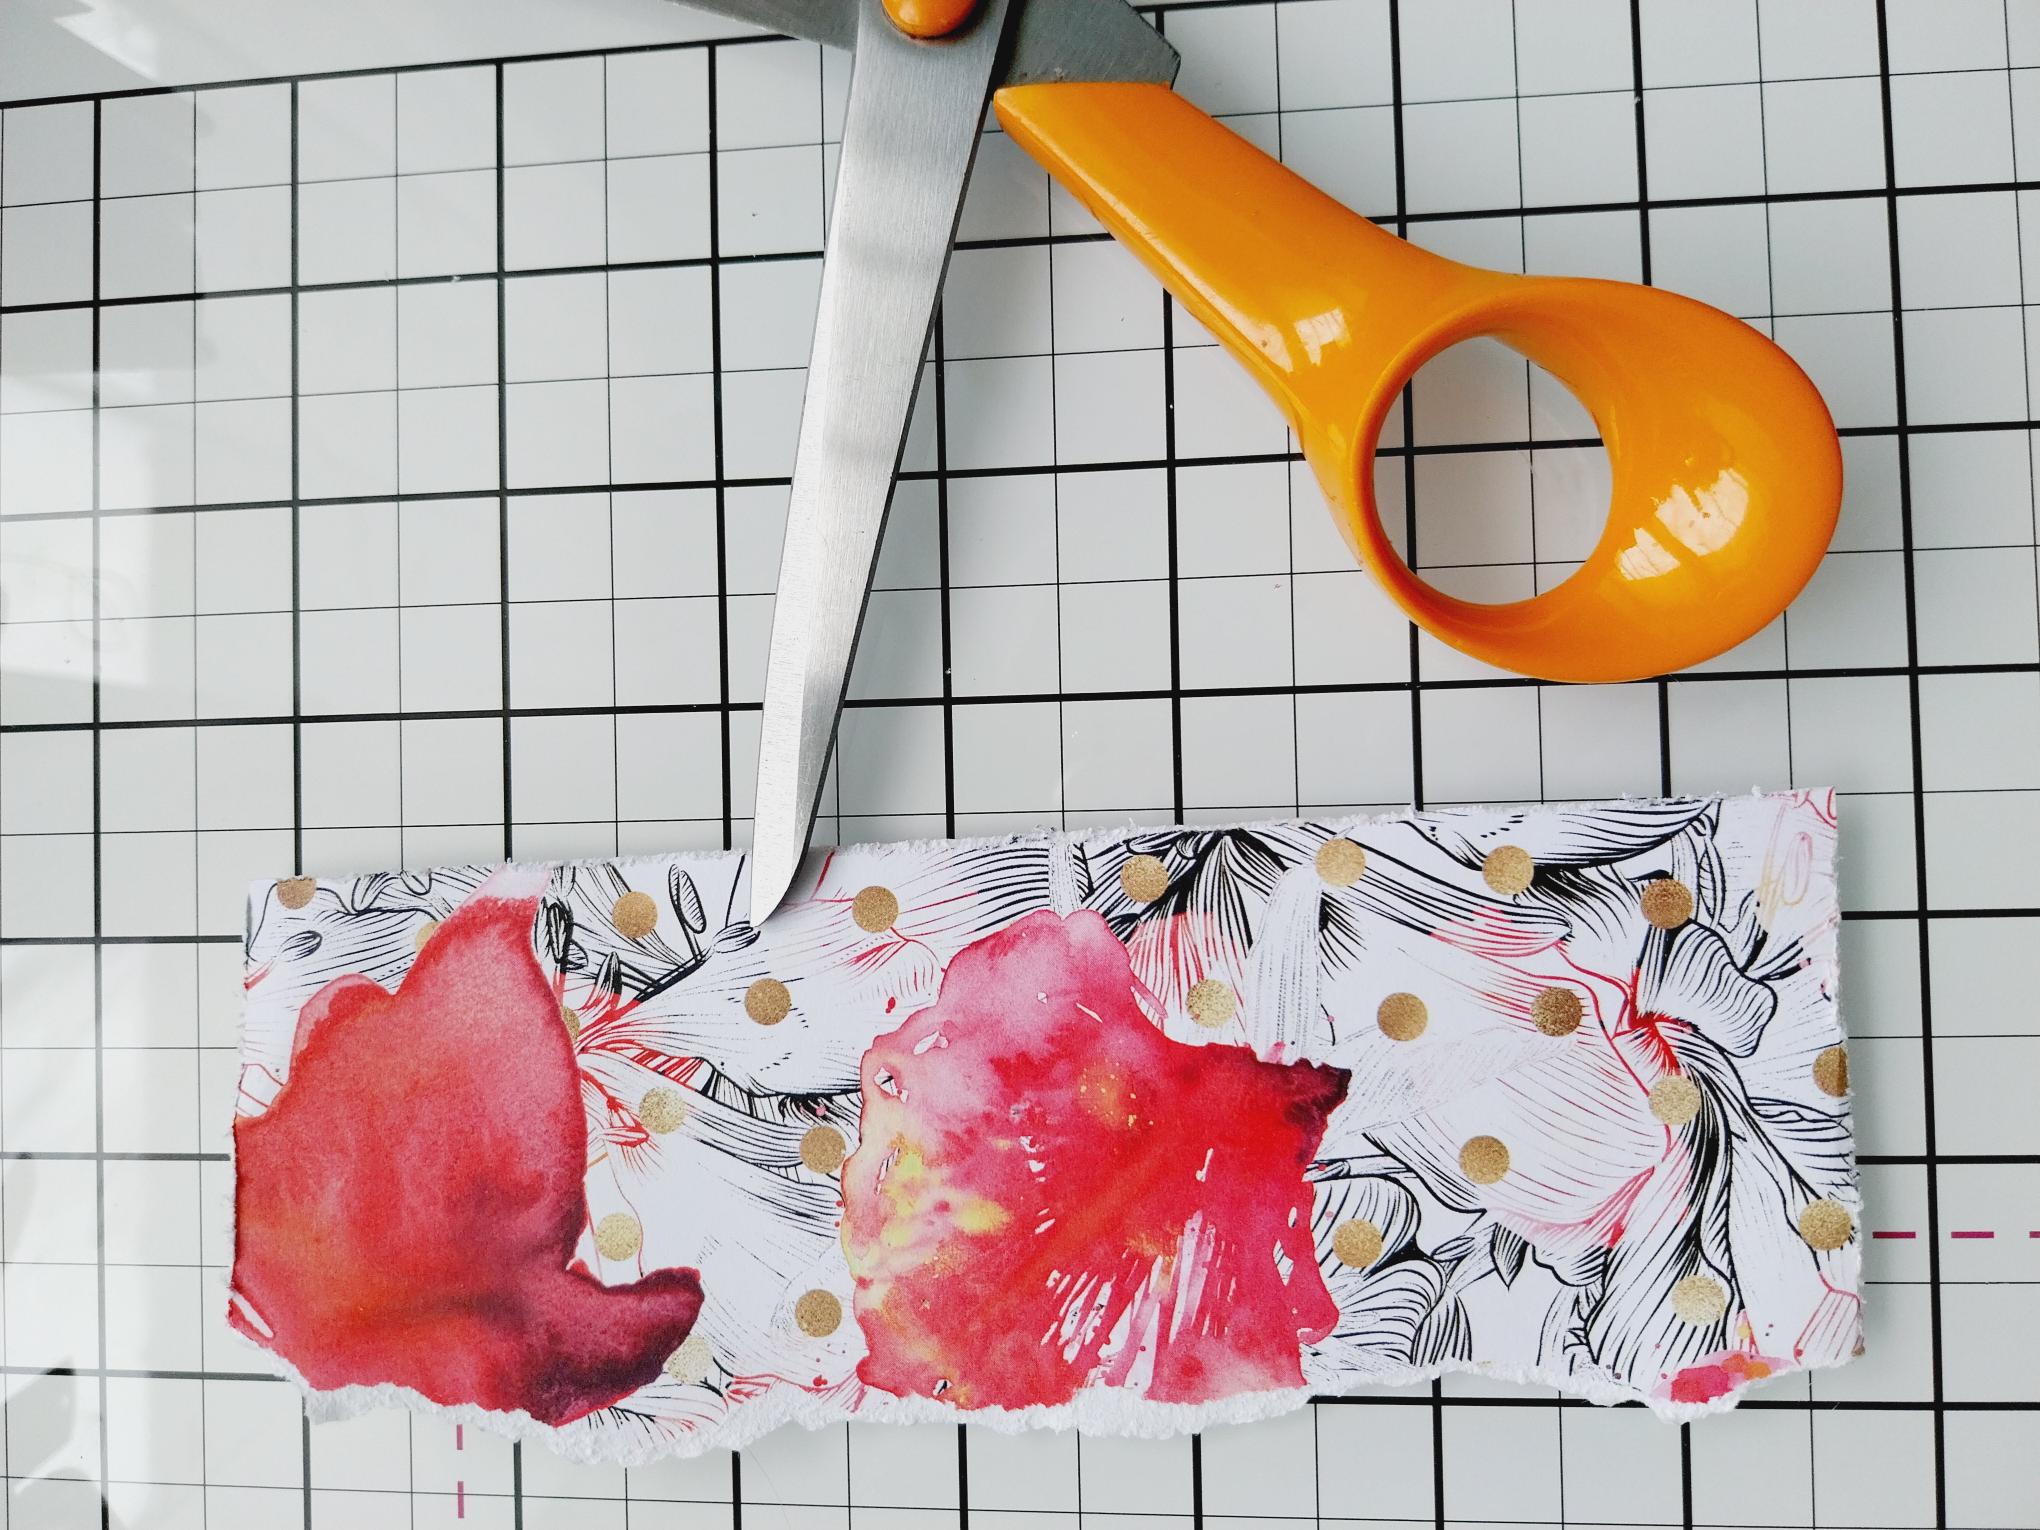
Trim this paper from the Bloom & Wild pack, to 6 3/4 and then tear as wide as you want it. Use your scissors to distress all edges. |
|
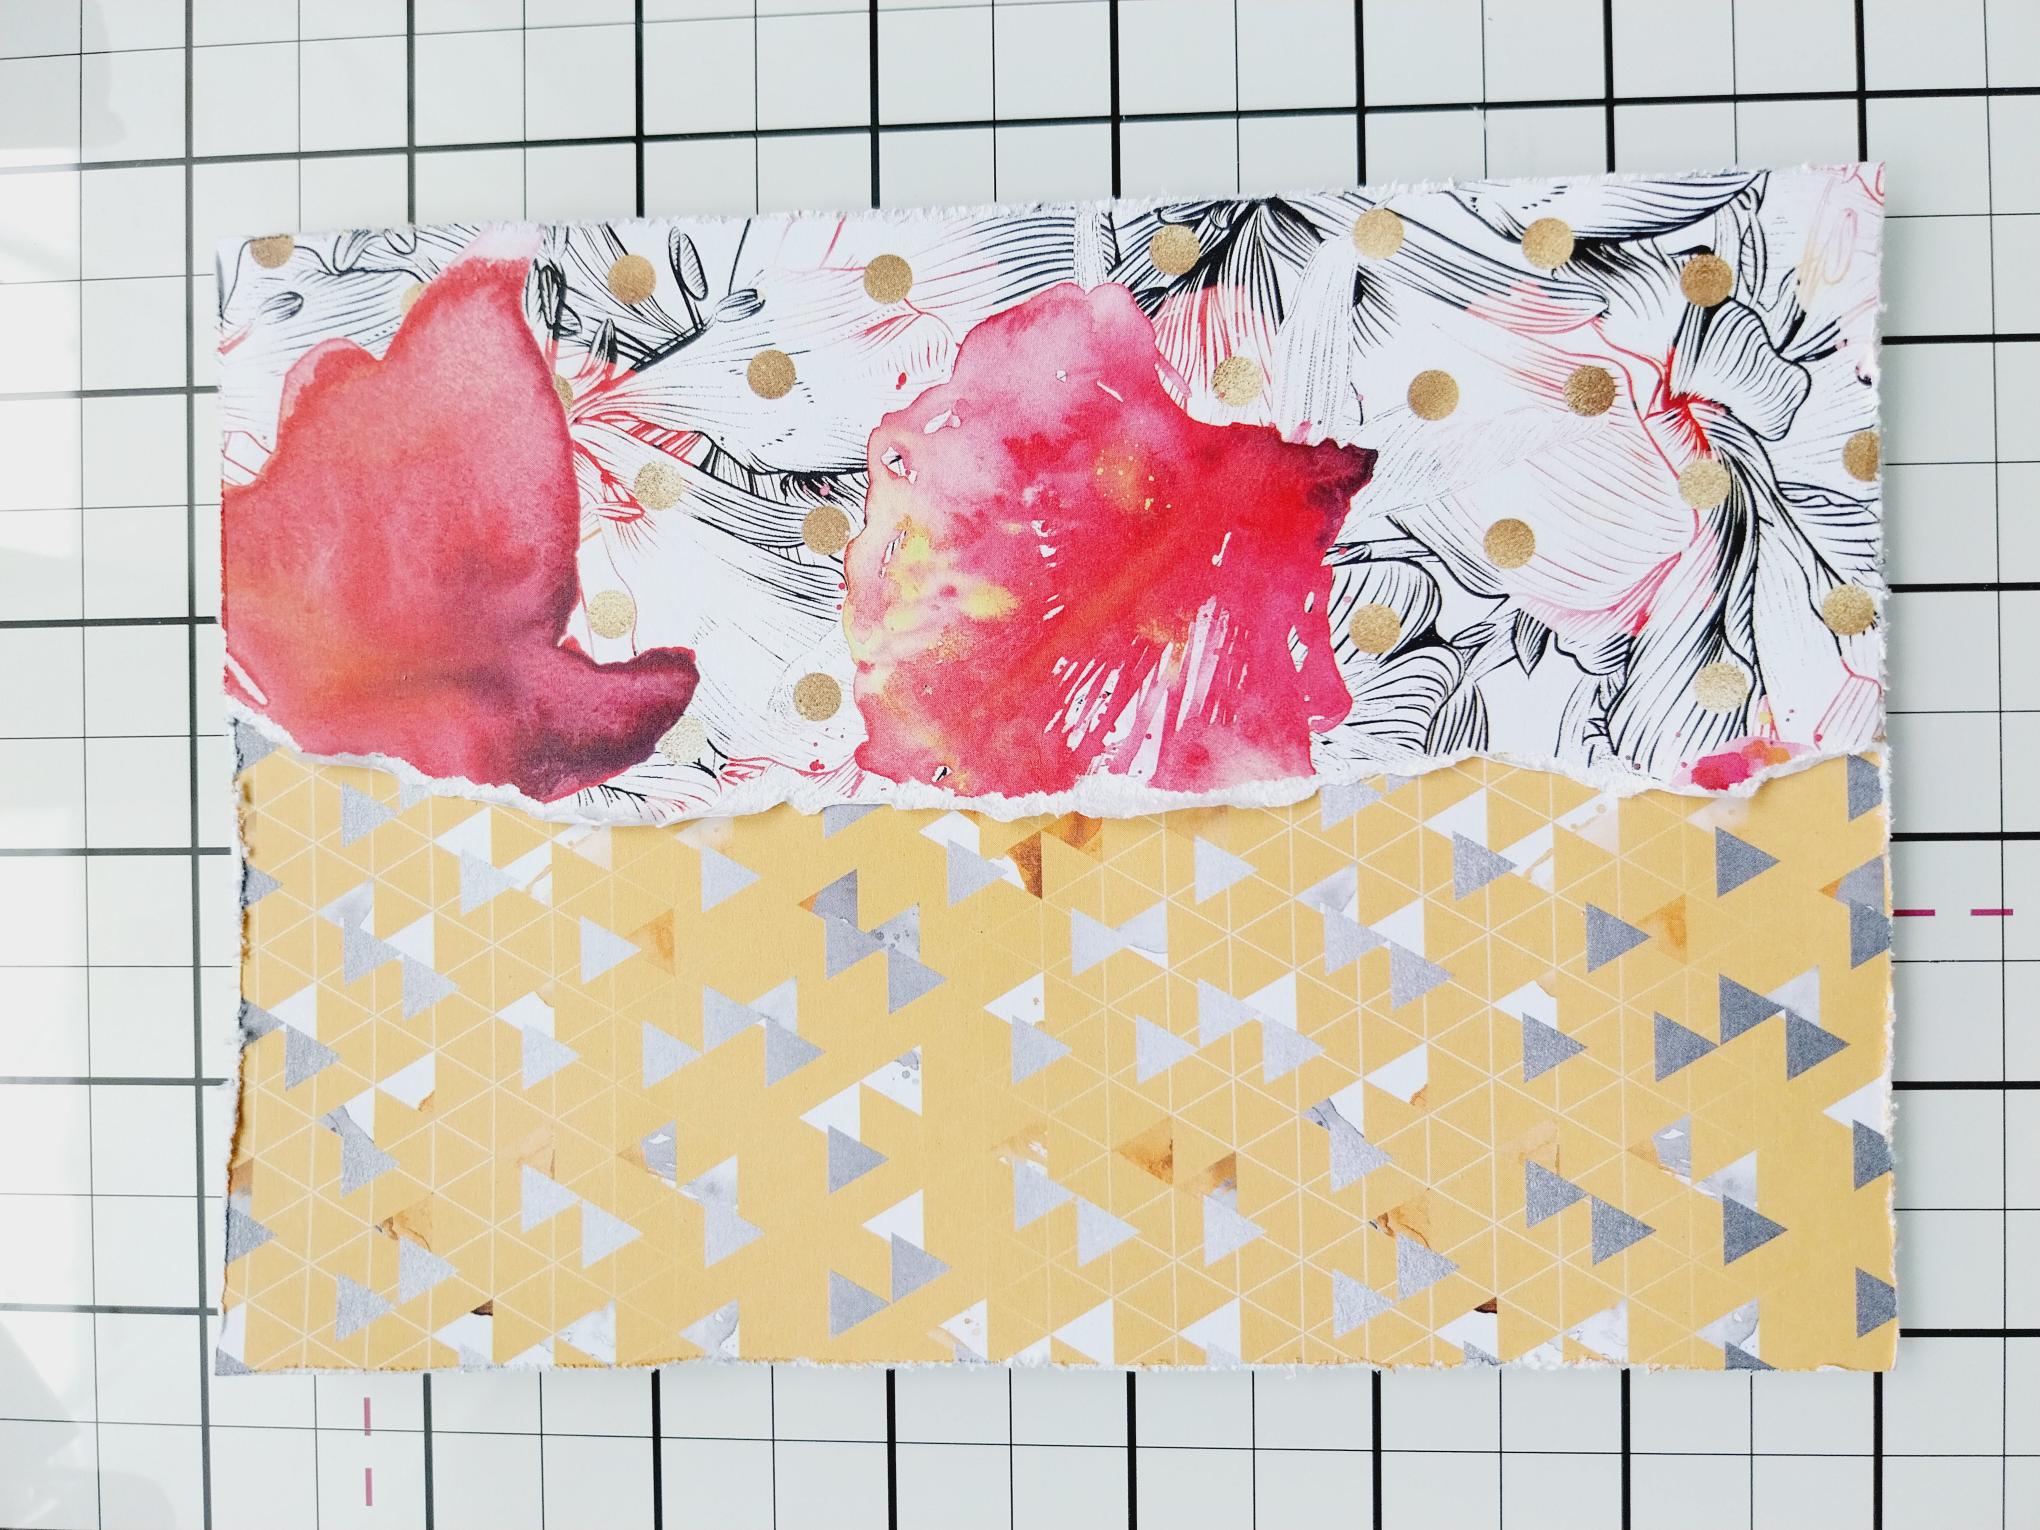
Adhere the Poppy paper down the right side of the background paper, lifting and pinching the torn edge, to add to that distressed look. |
|
Adhere to the front of your card blank, then pop aside. |
|
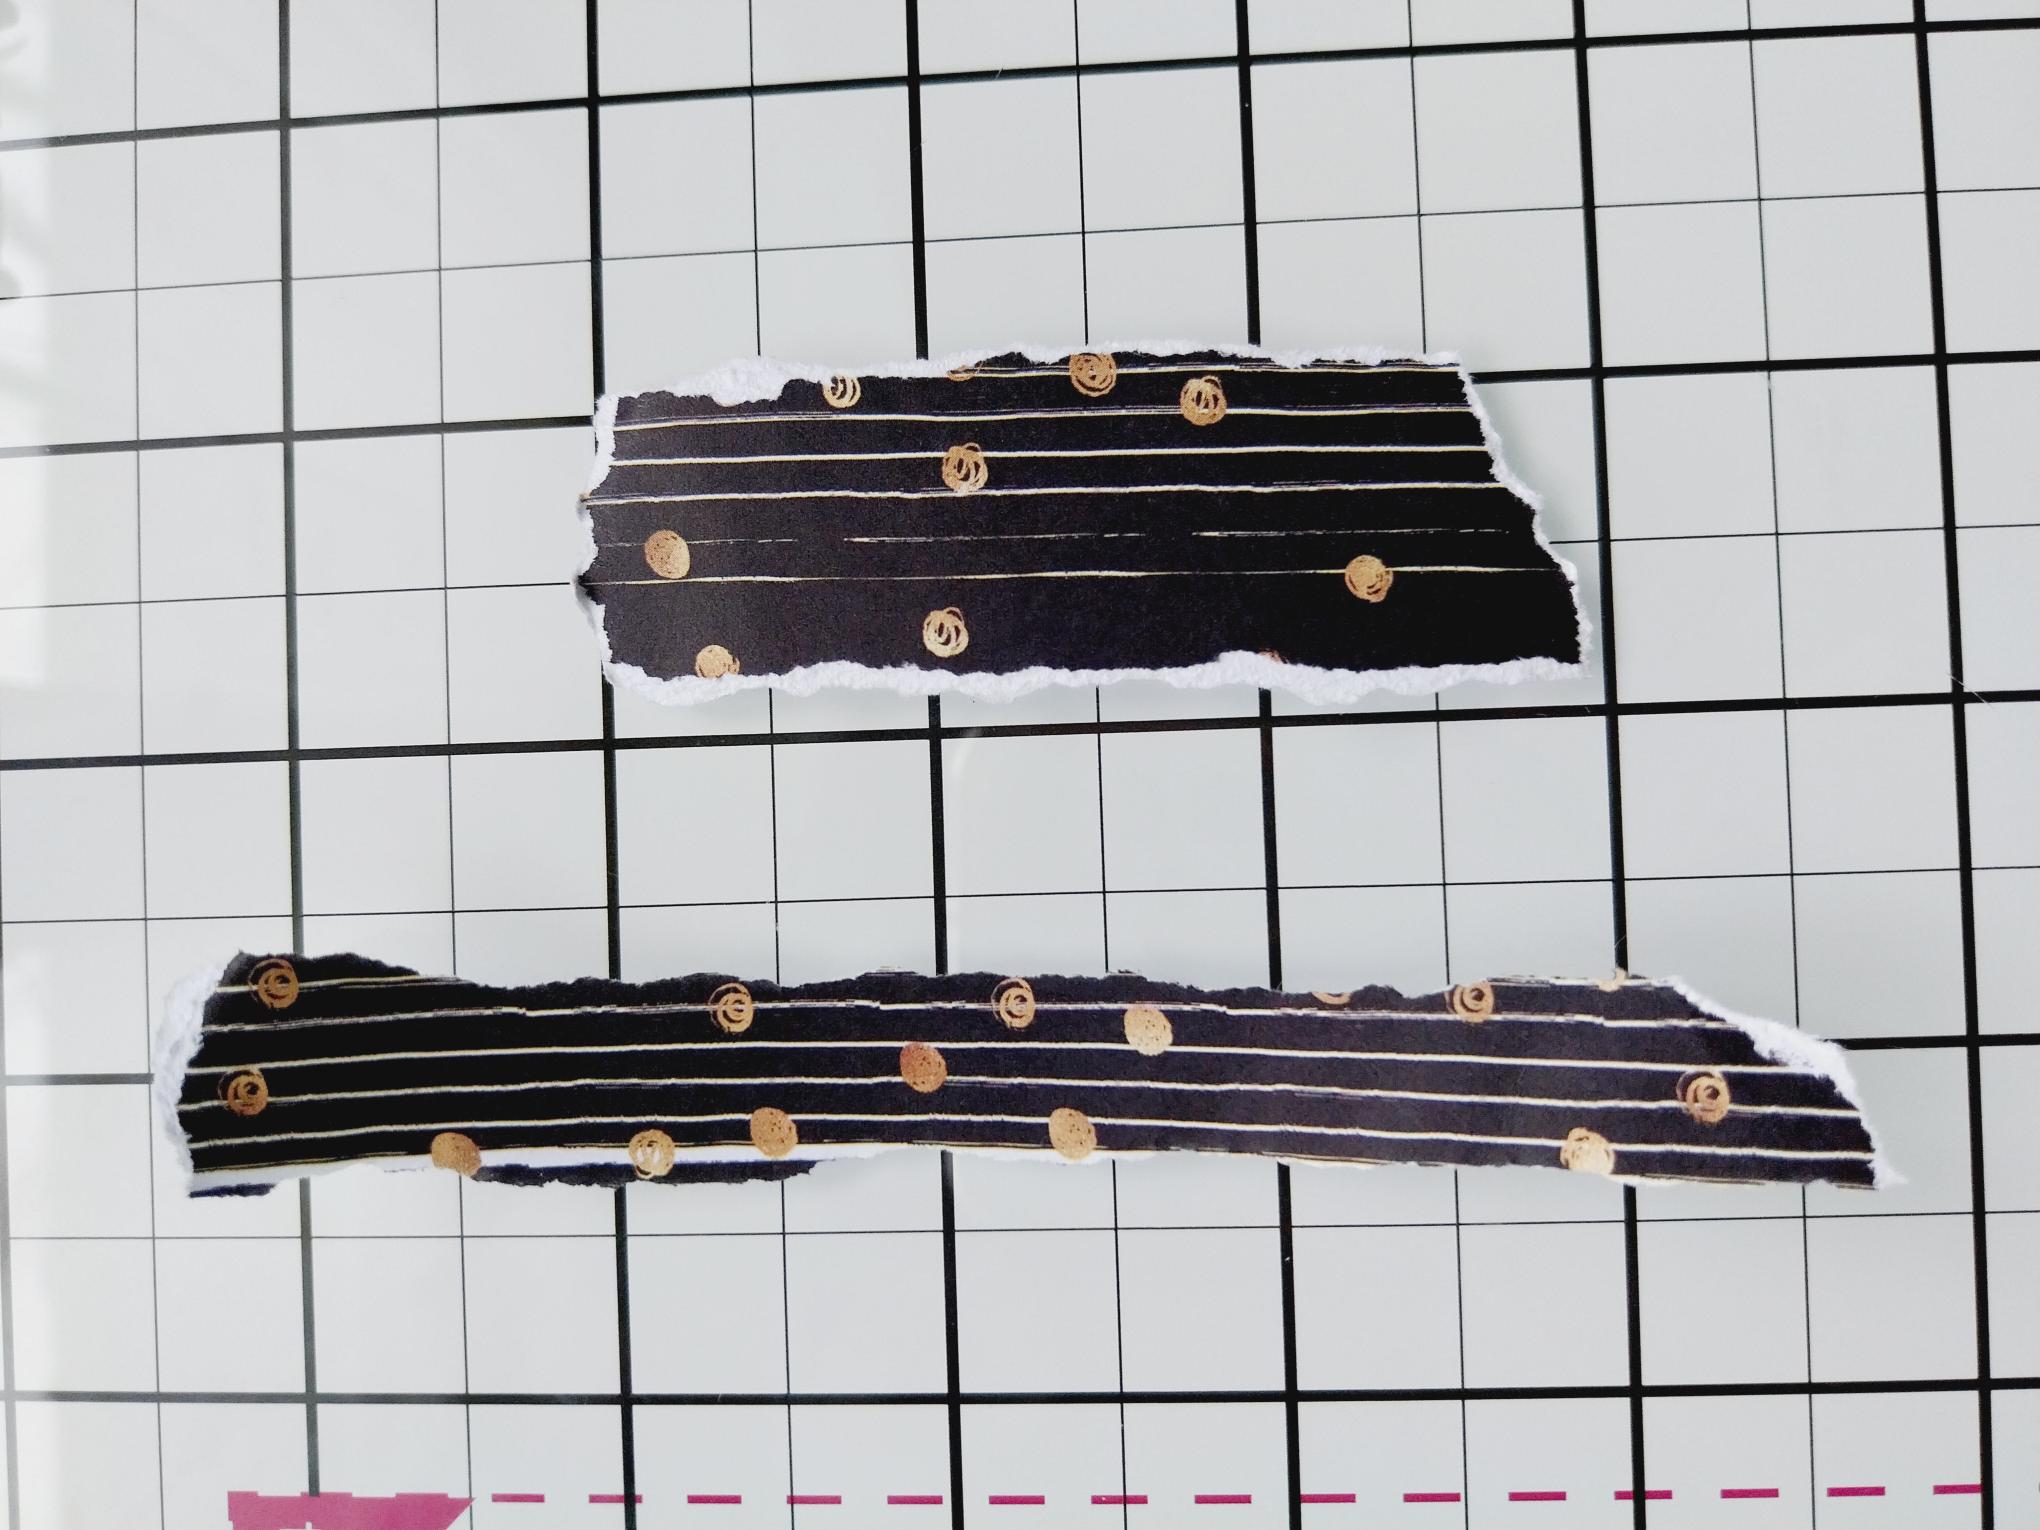
Tear 2 strips from this paper, which is in the Bloom & Wild paper pack. |
|
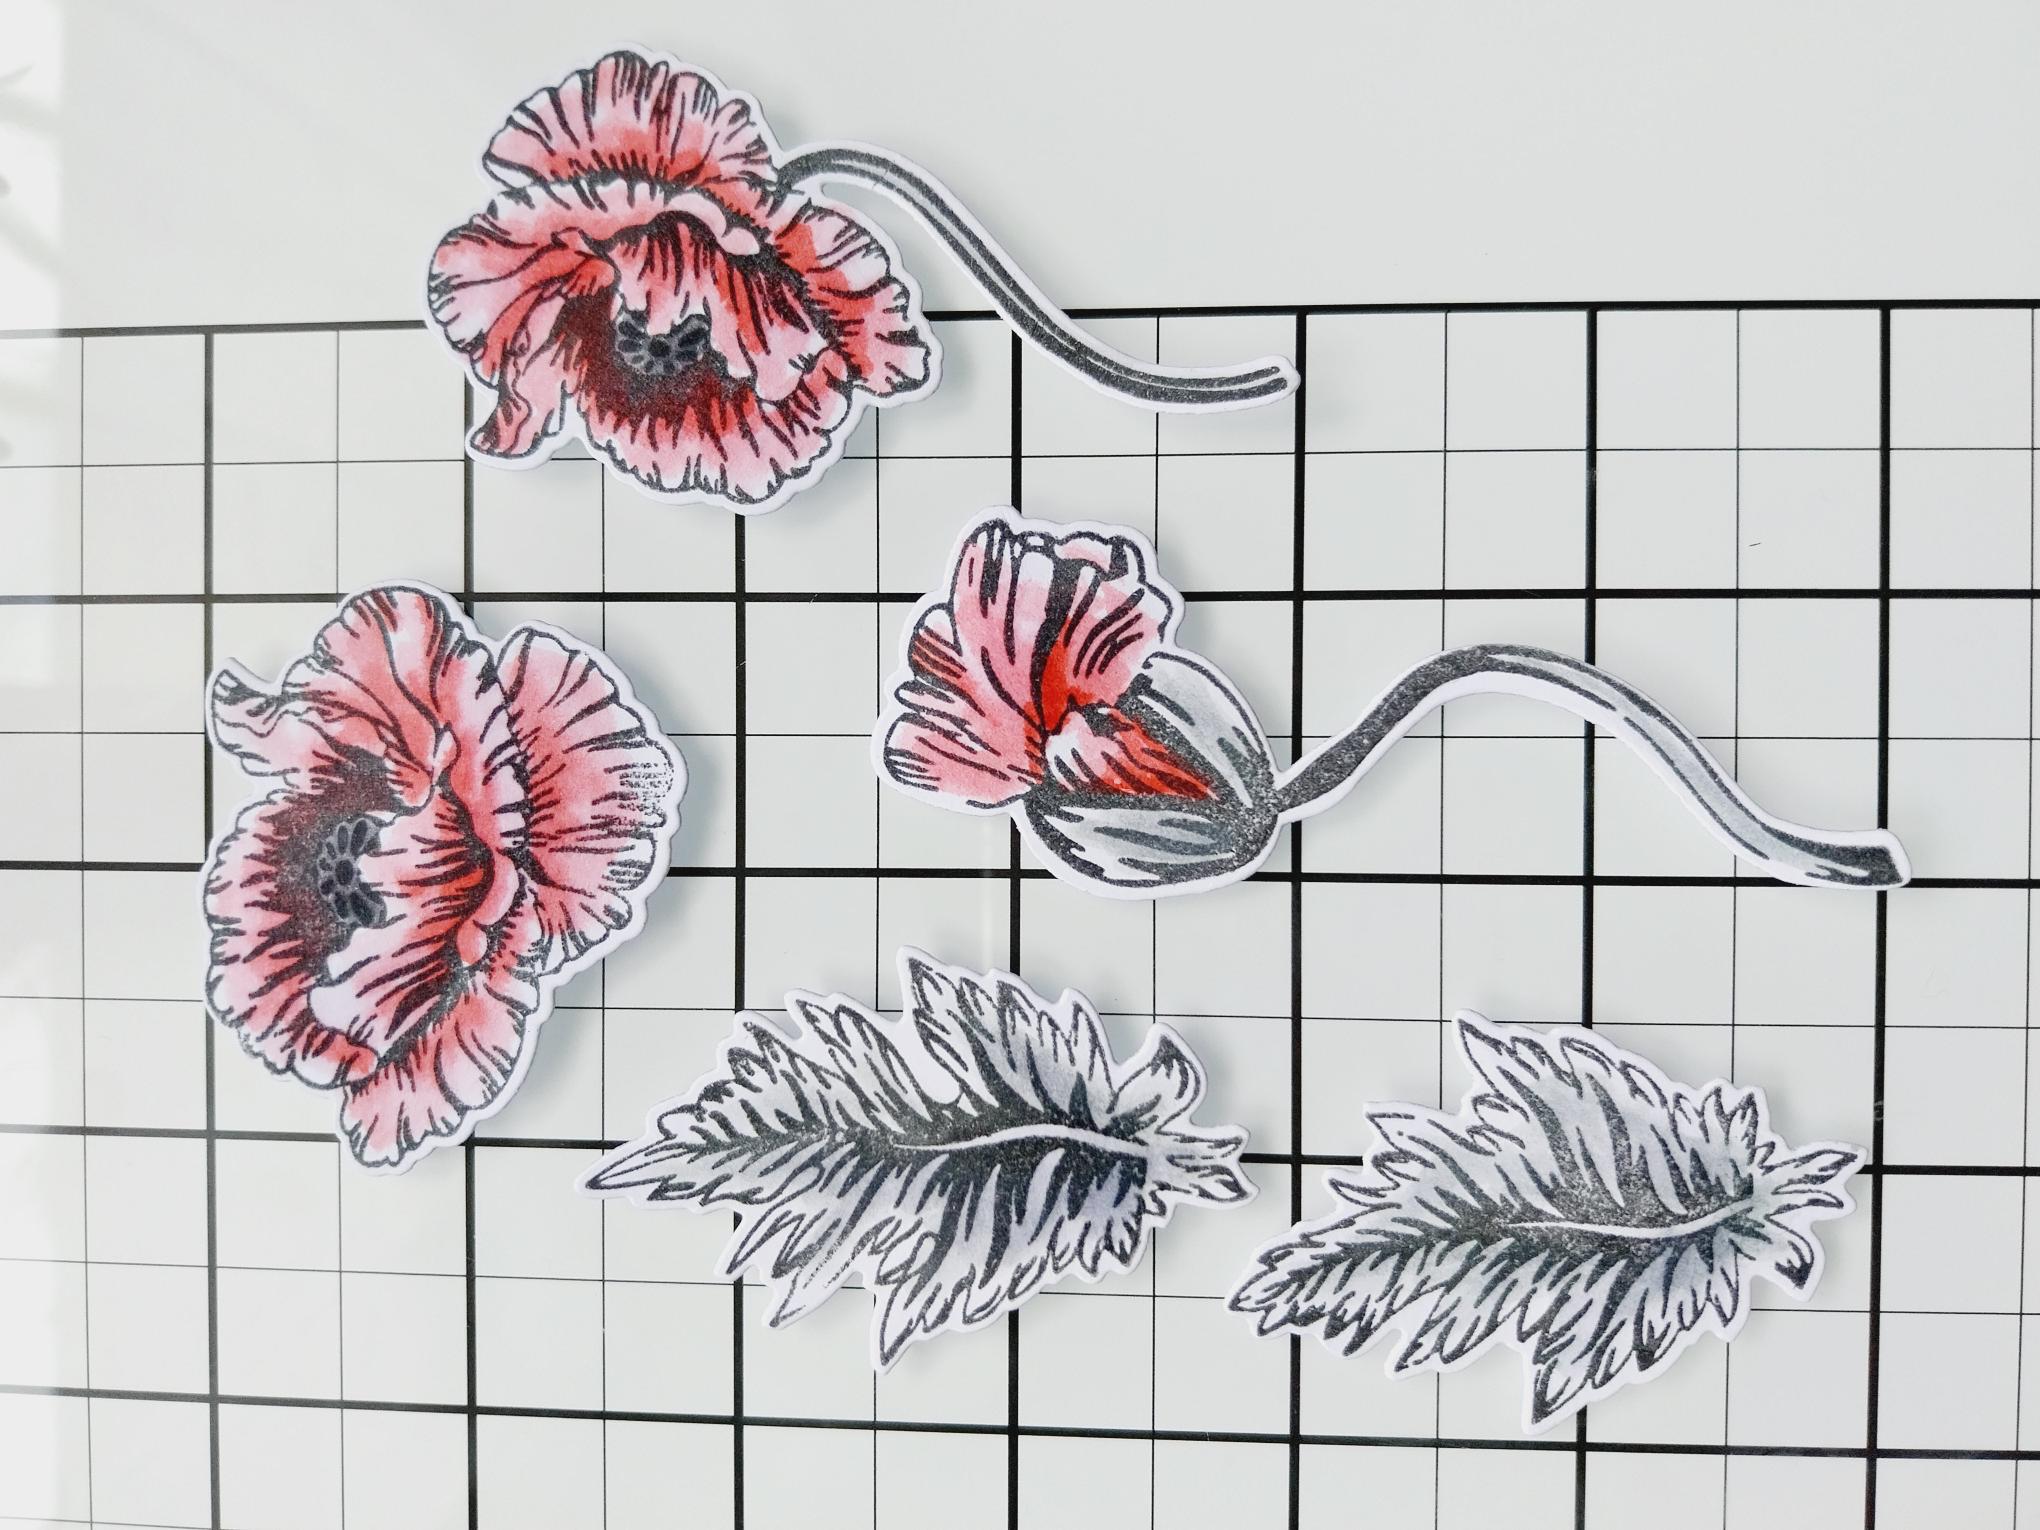
Stamp these floral and foliage images, from Poppy Haze, with the Archival on to a piece of white card. Use the coordinating dies to cut them out. Smoosh your Redwood, Iced Spruce and Black Soot inks on to your glass mat. Add a little water and paint your die cut elements. |
|
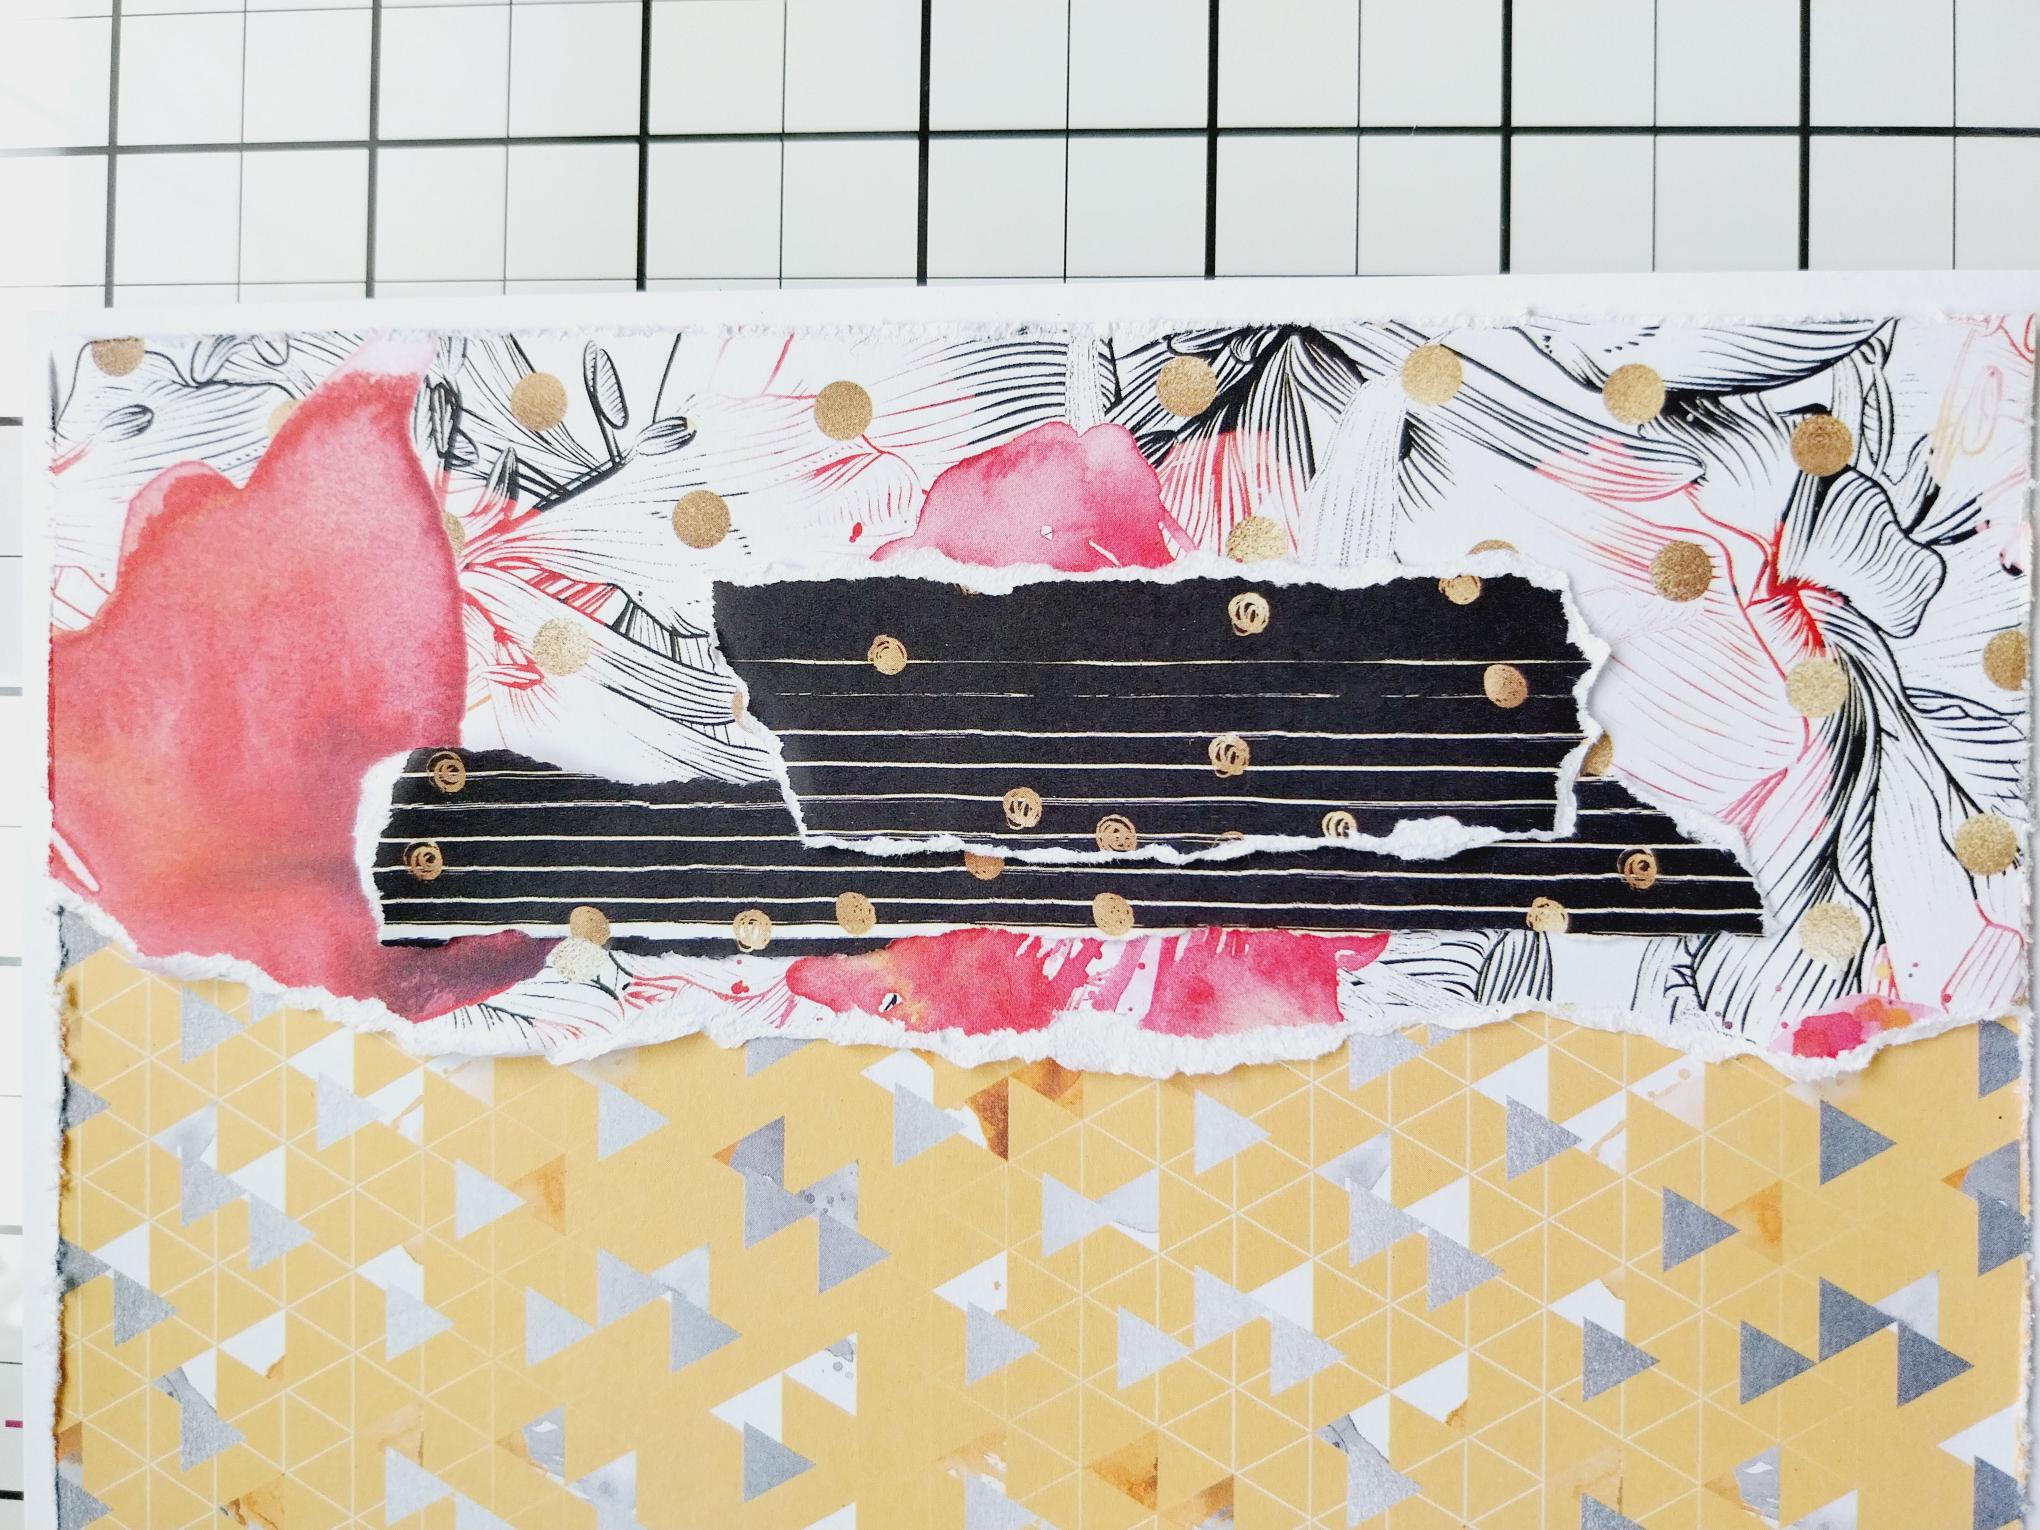
Using your 3D die cut elements as a positional guide, adhere the torn papers to the left of the Poppy paper, so they will sit beneath your florals. |
|
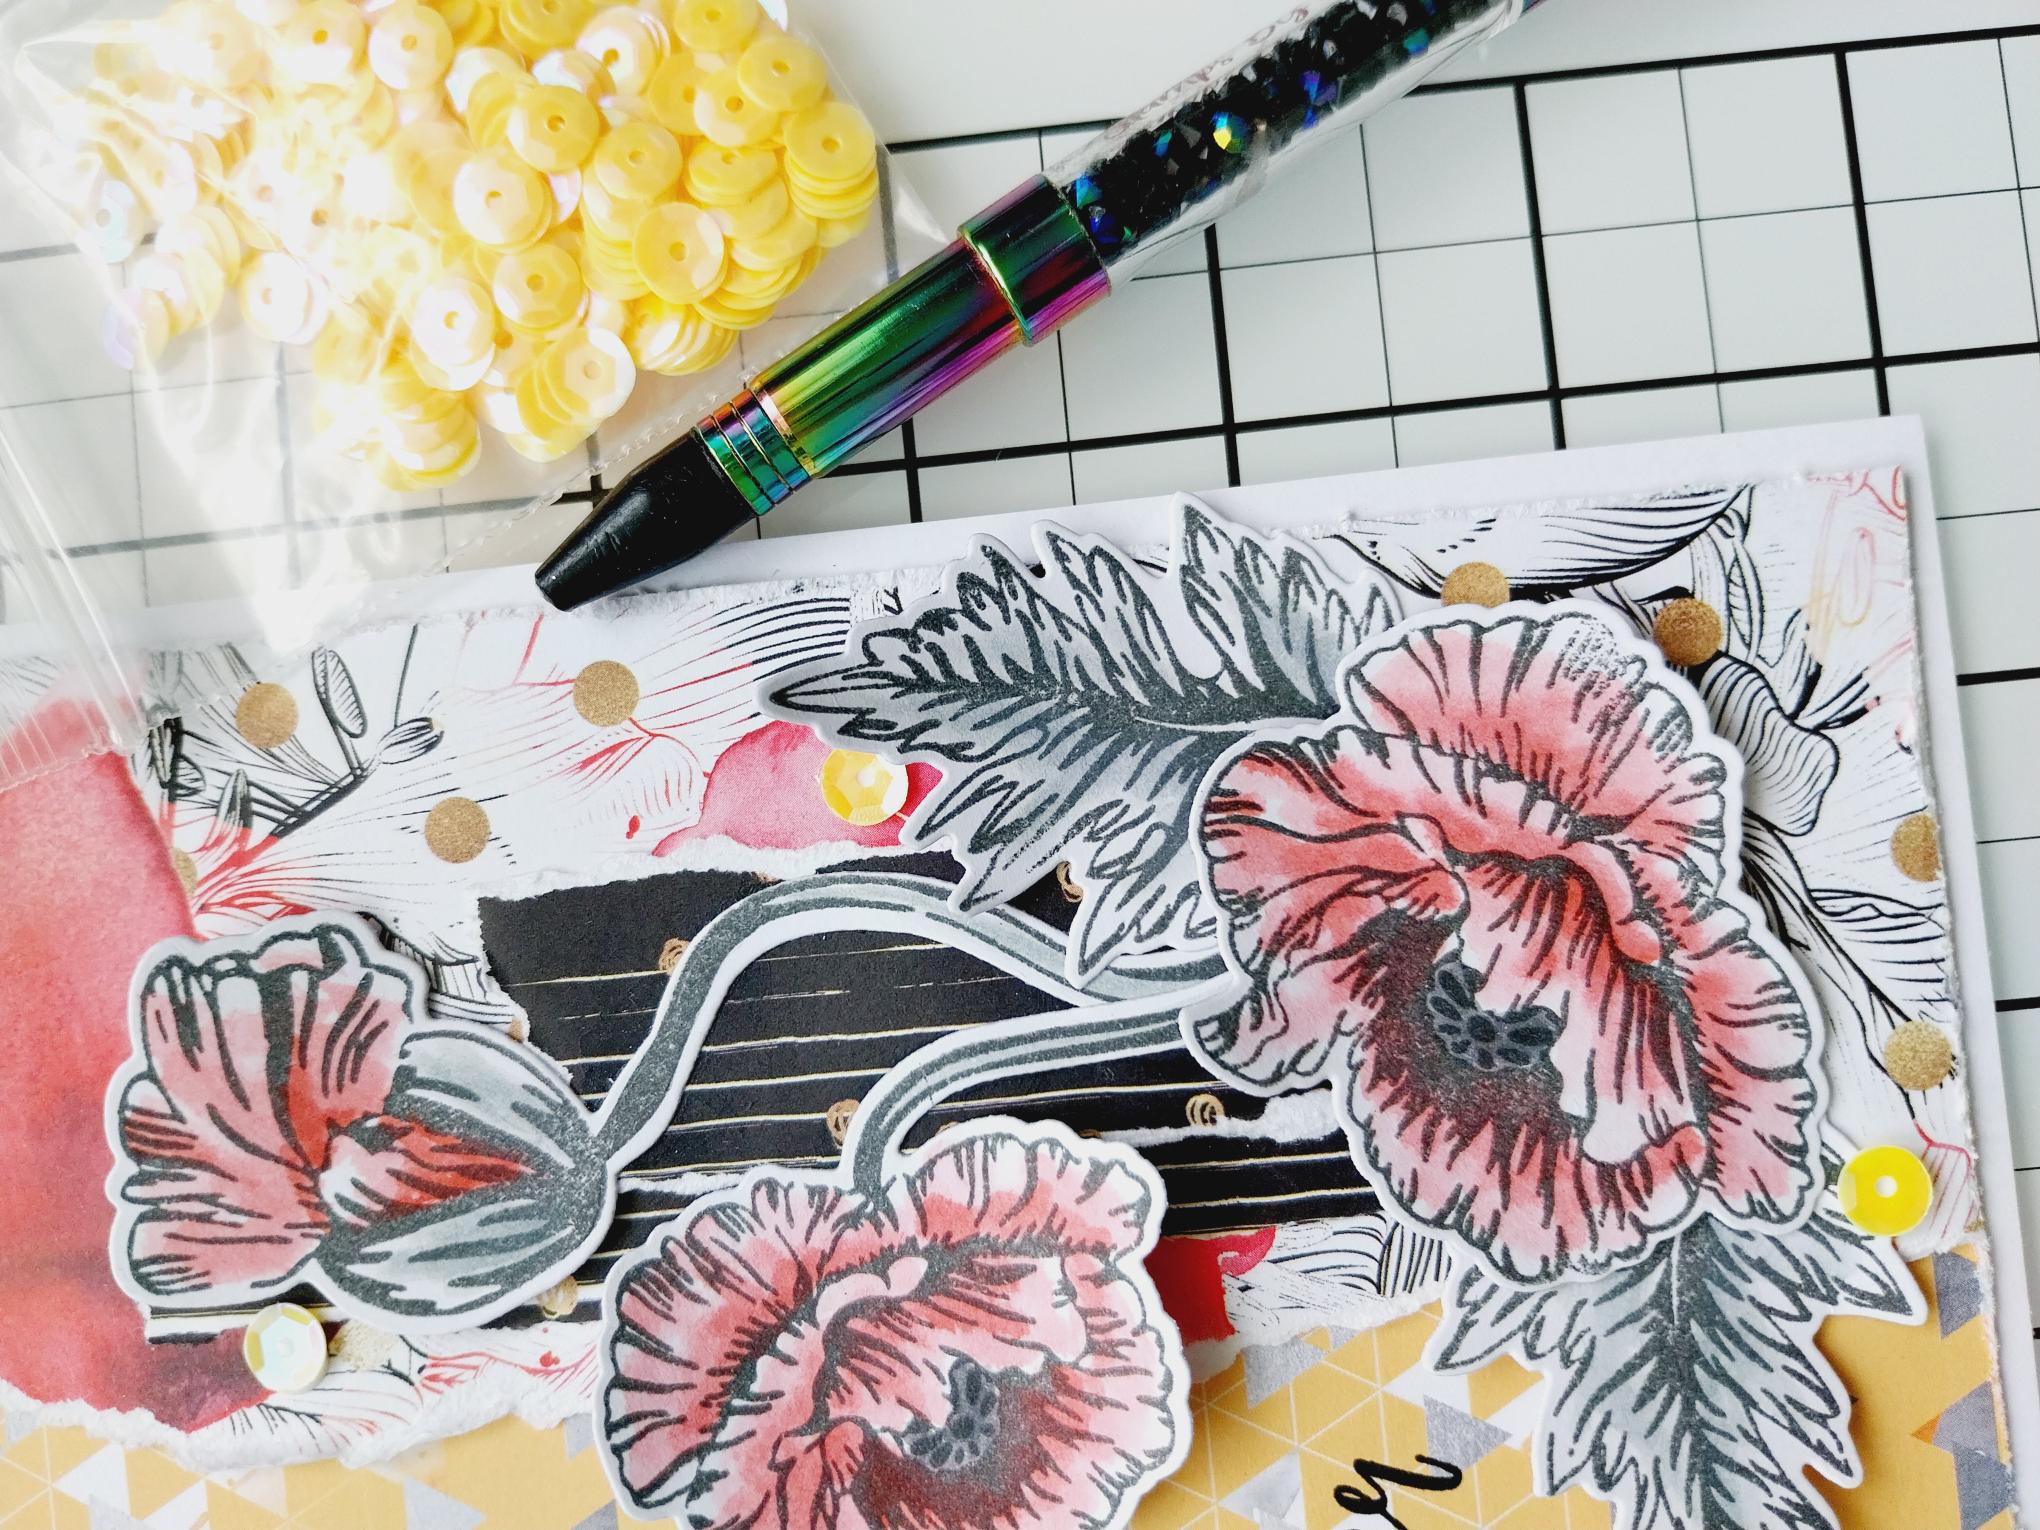
Adhere your die cut elements on top of the torn paper, using a combination of wet glue and foam pads. |
|
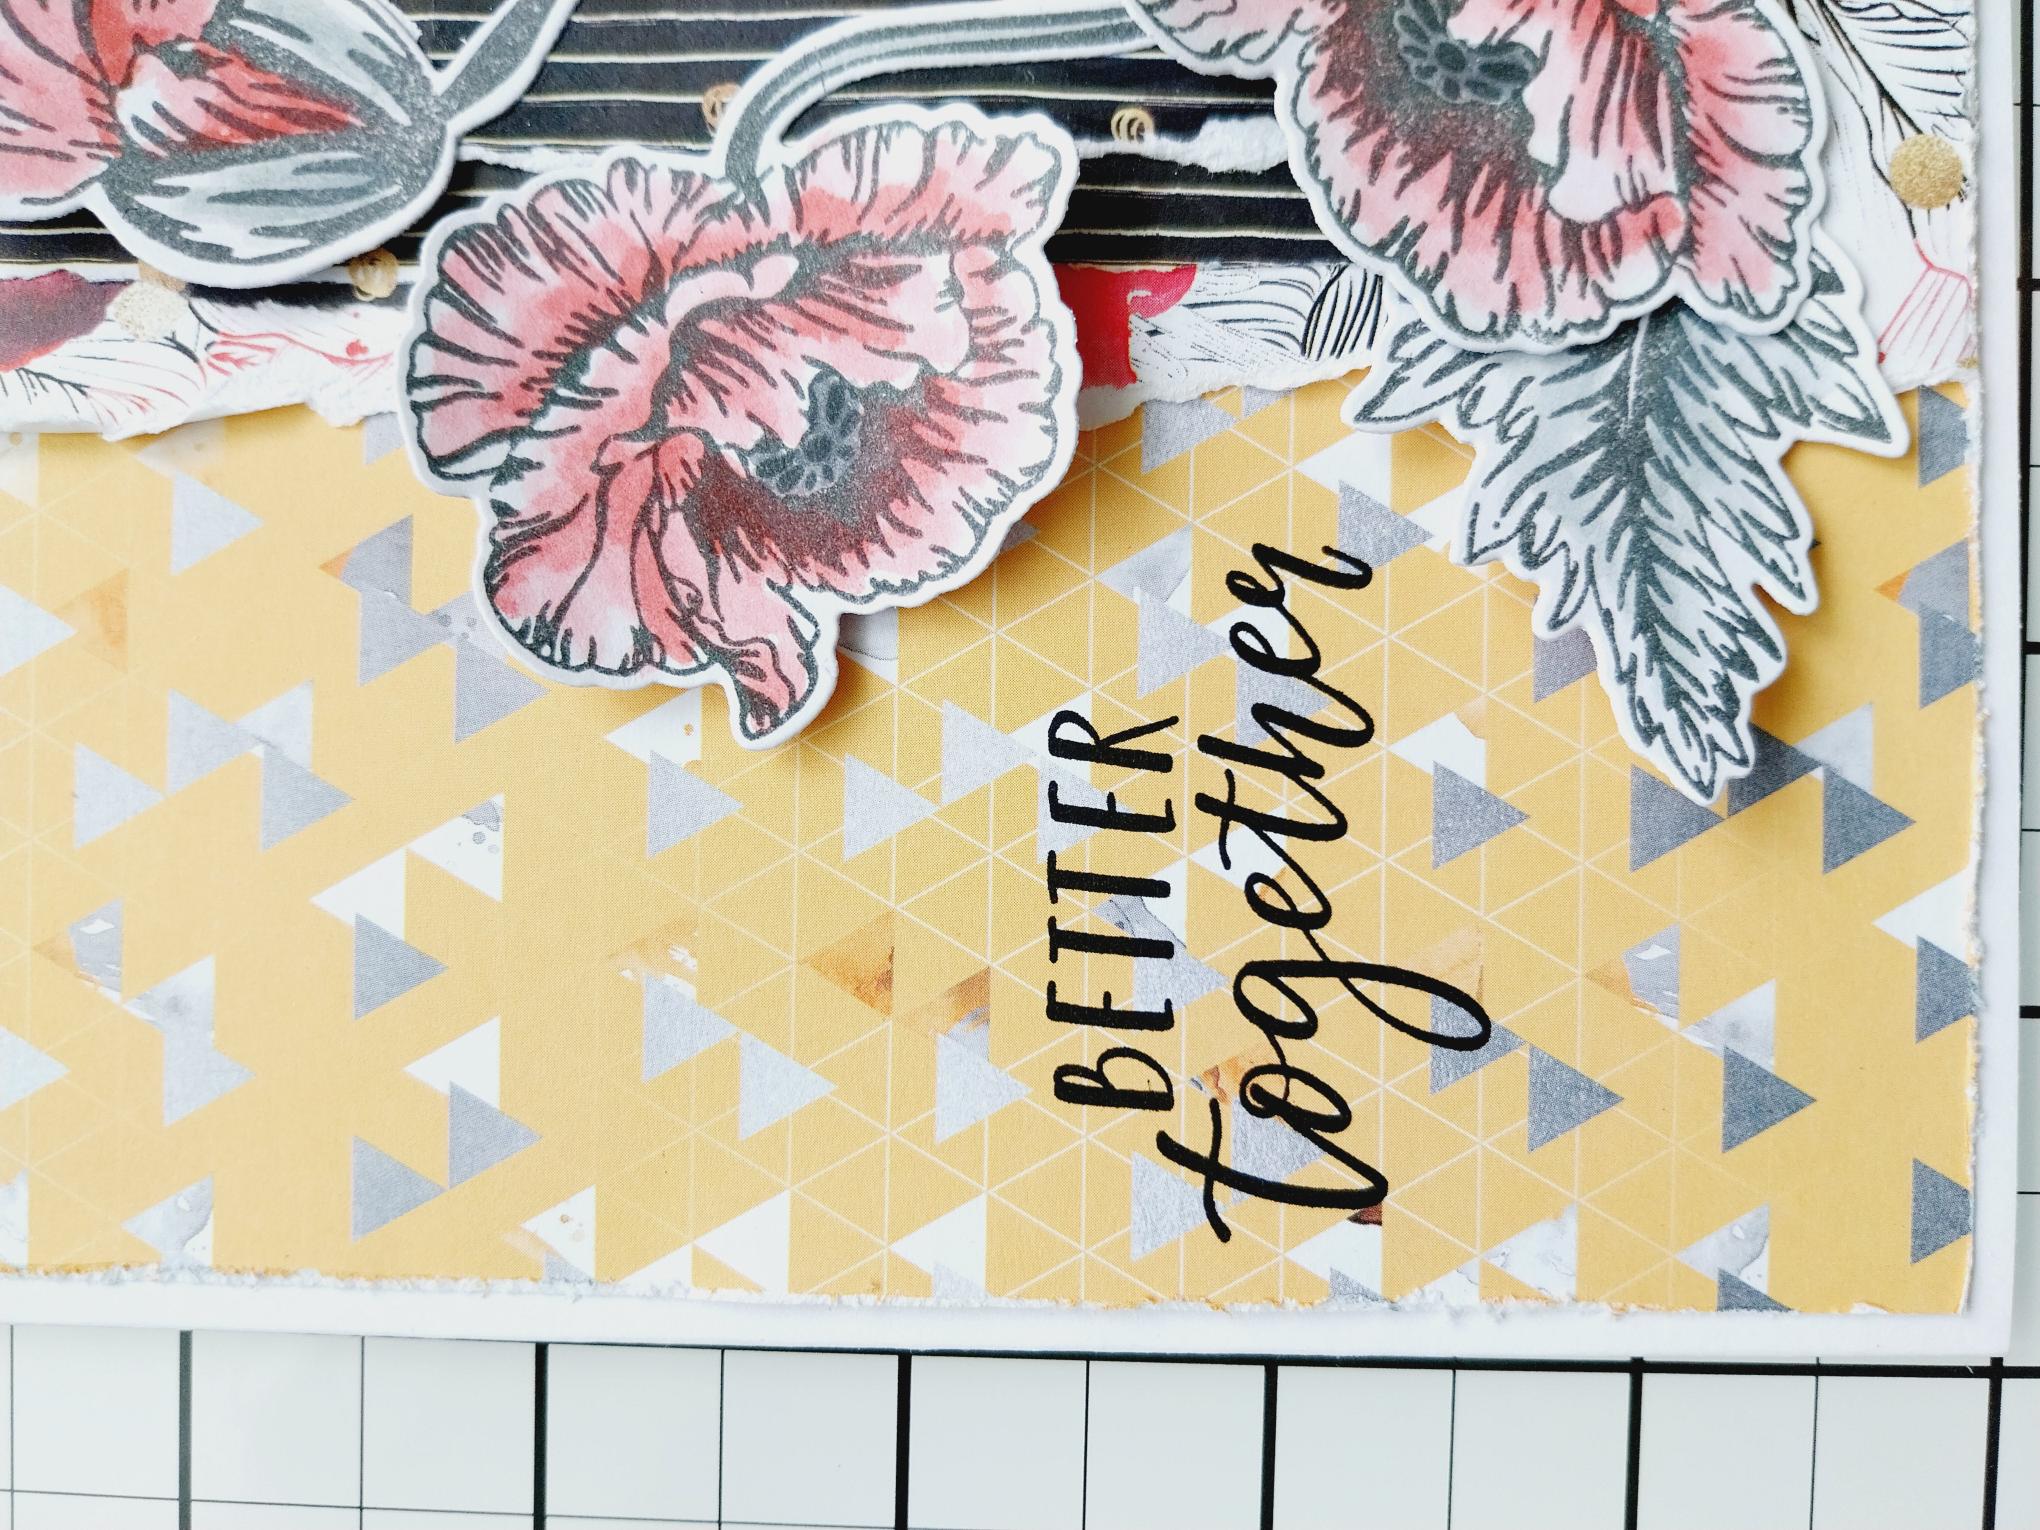
Stamp the "Better Together" sentiment in Midnight, from the collection of the same name, to the left of your floral display. |
|
Finish by adding sequins on, around and peeking out from your 3D floral display. |