Give your friends $10 off their first order!
Refer a FRIEND


WHAT YOU WILL NEED:
White DL card blank 8 x 4"
Black card
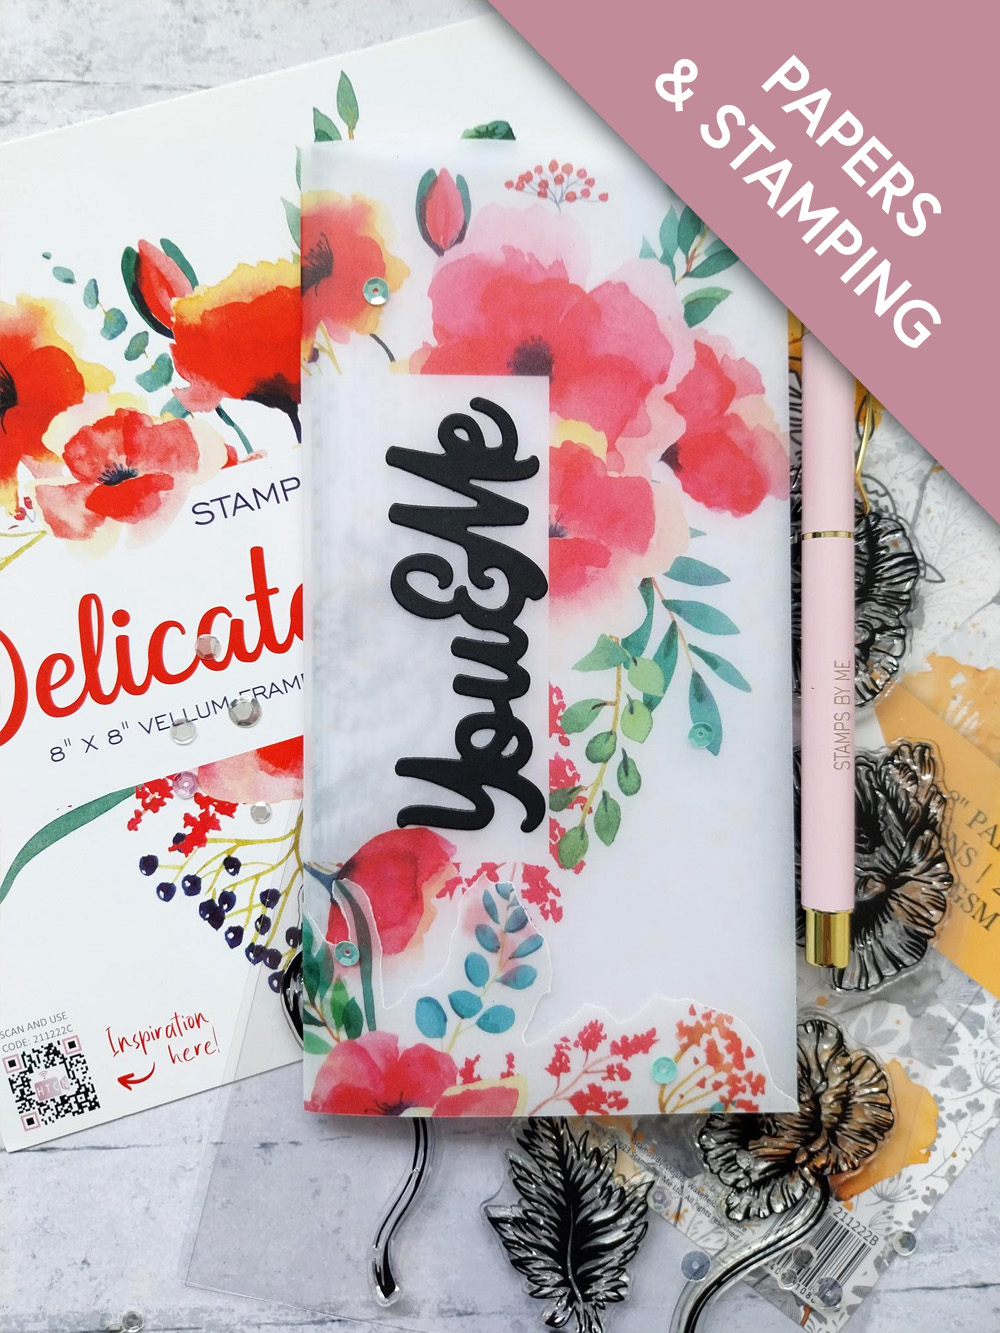
Delicate Florals 8 x 8" Vellum Pack
Floral Romance 8 x 8" Paper Pack
Poppy Haze Stamp And Die Collection
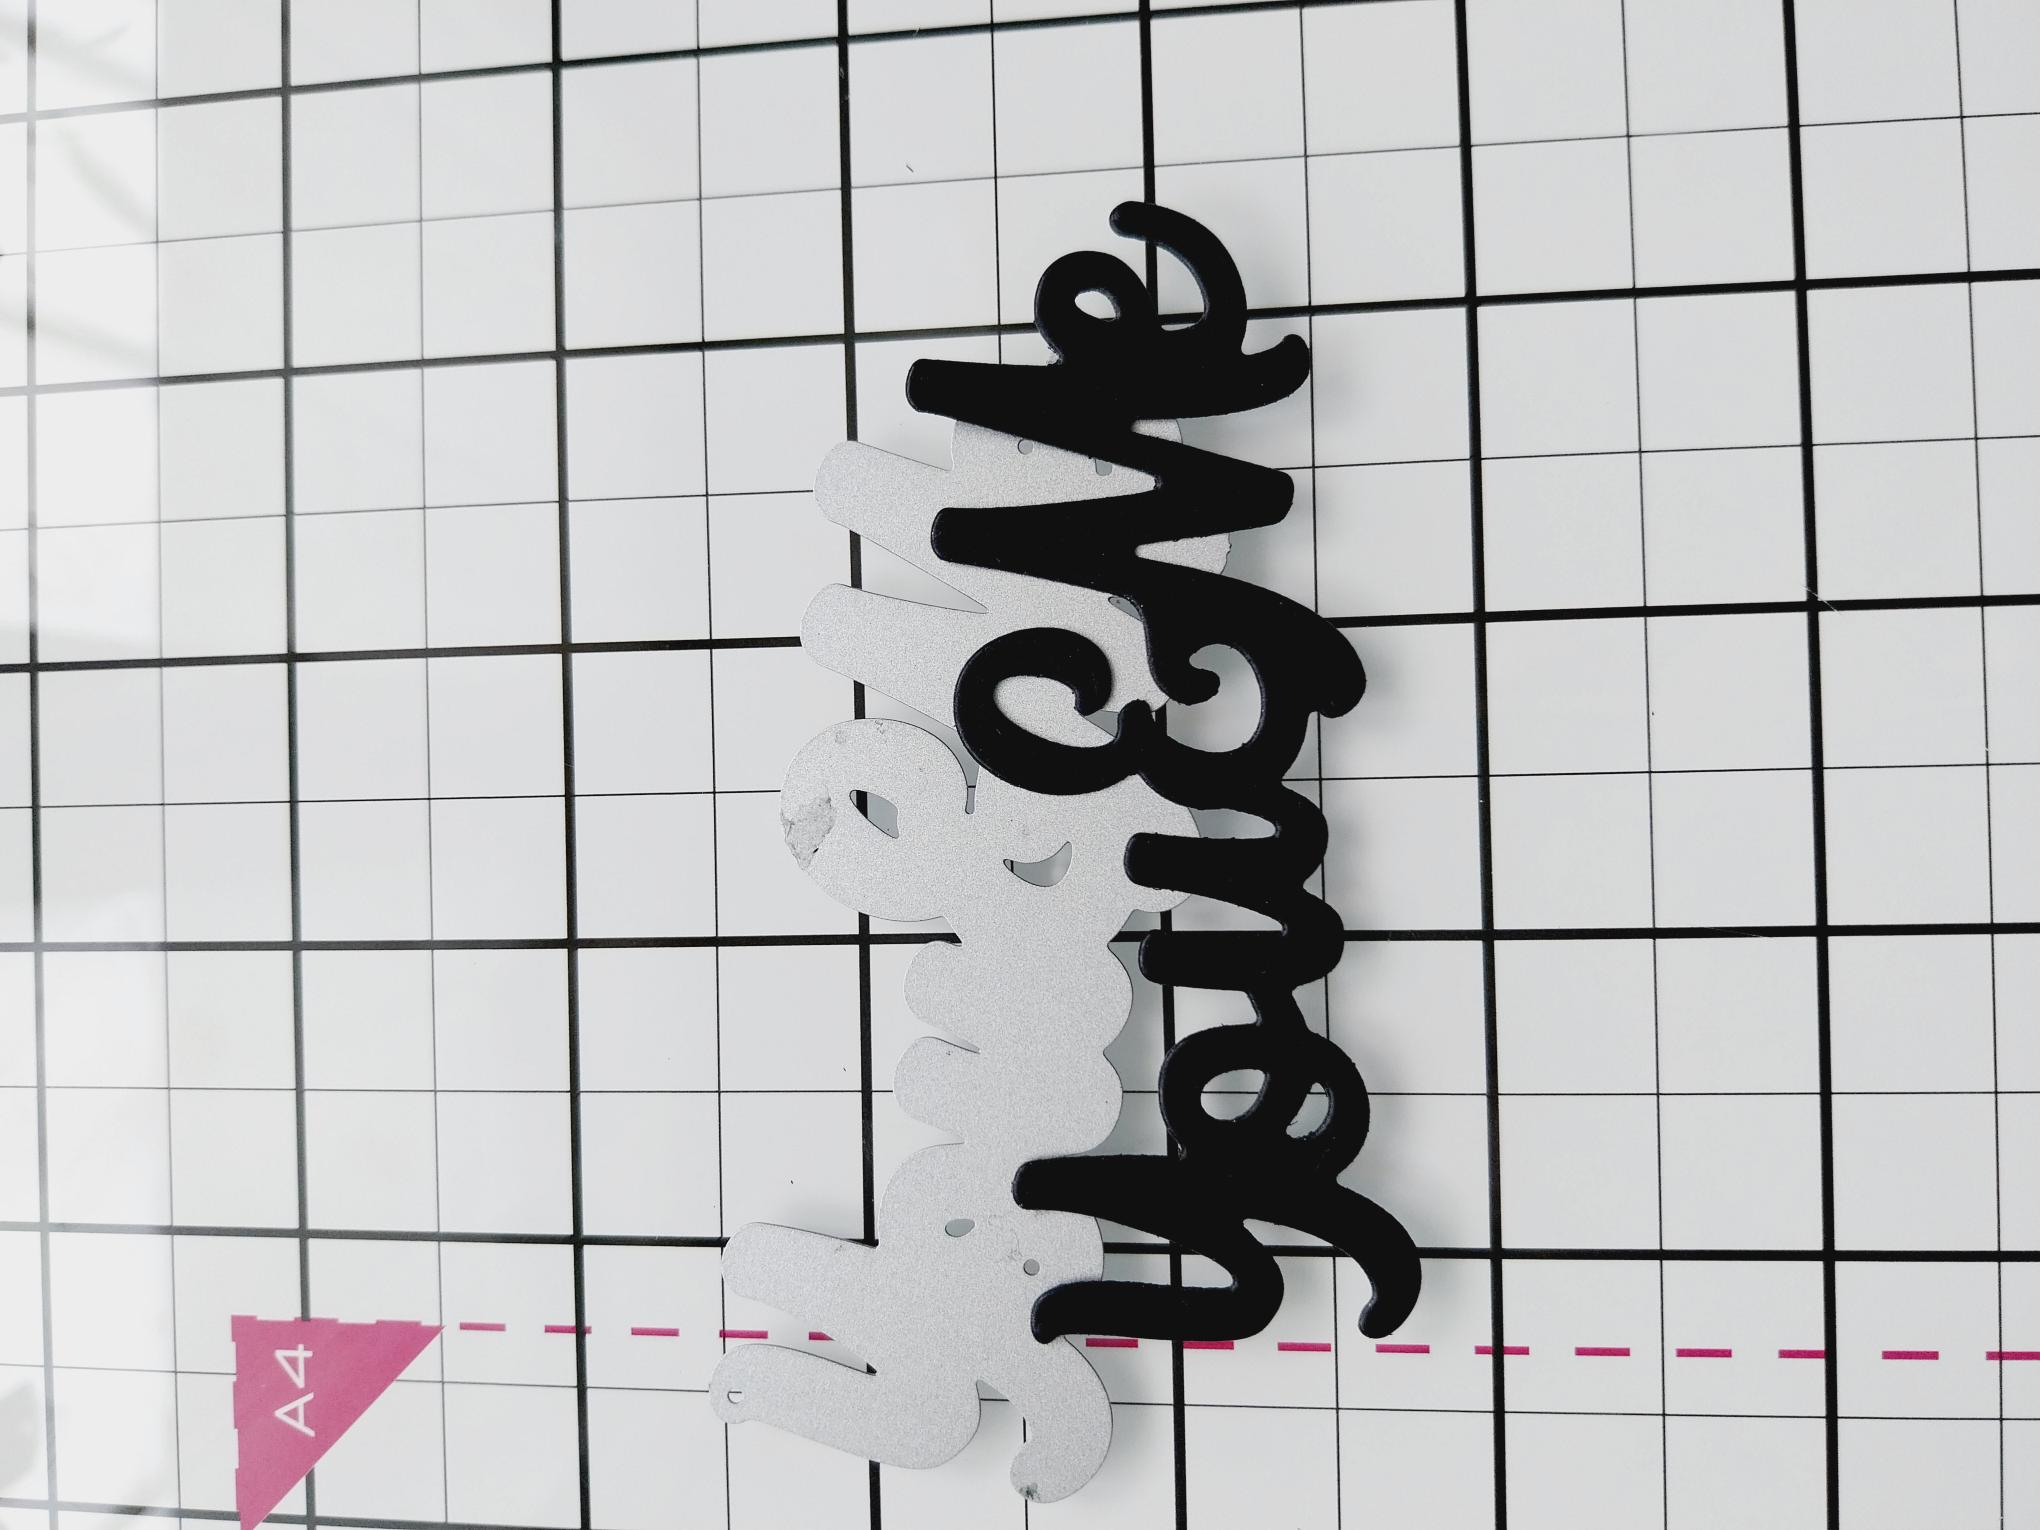
You & Me Die Collection
Archival Ink Pad: Shadow Grey
Distress Oxide: Iced Spruce
Blending tool
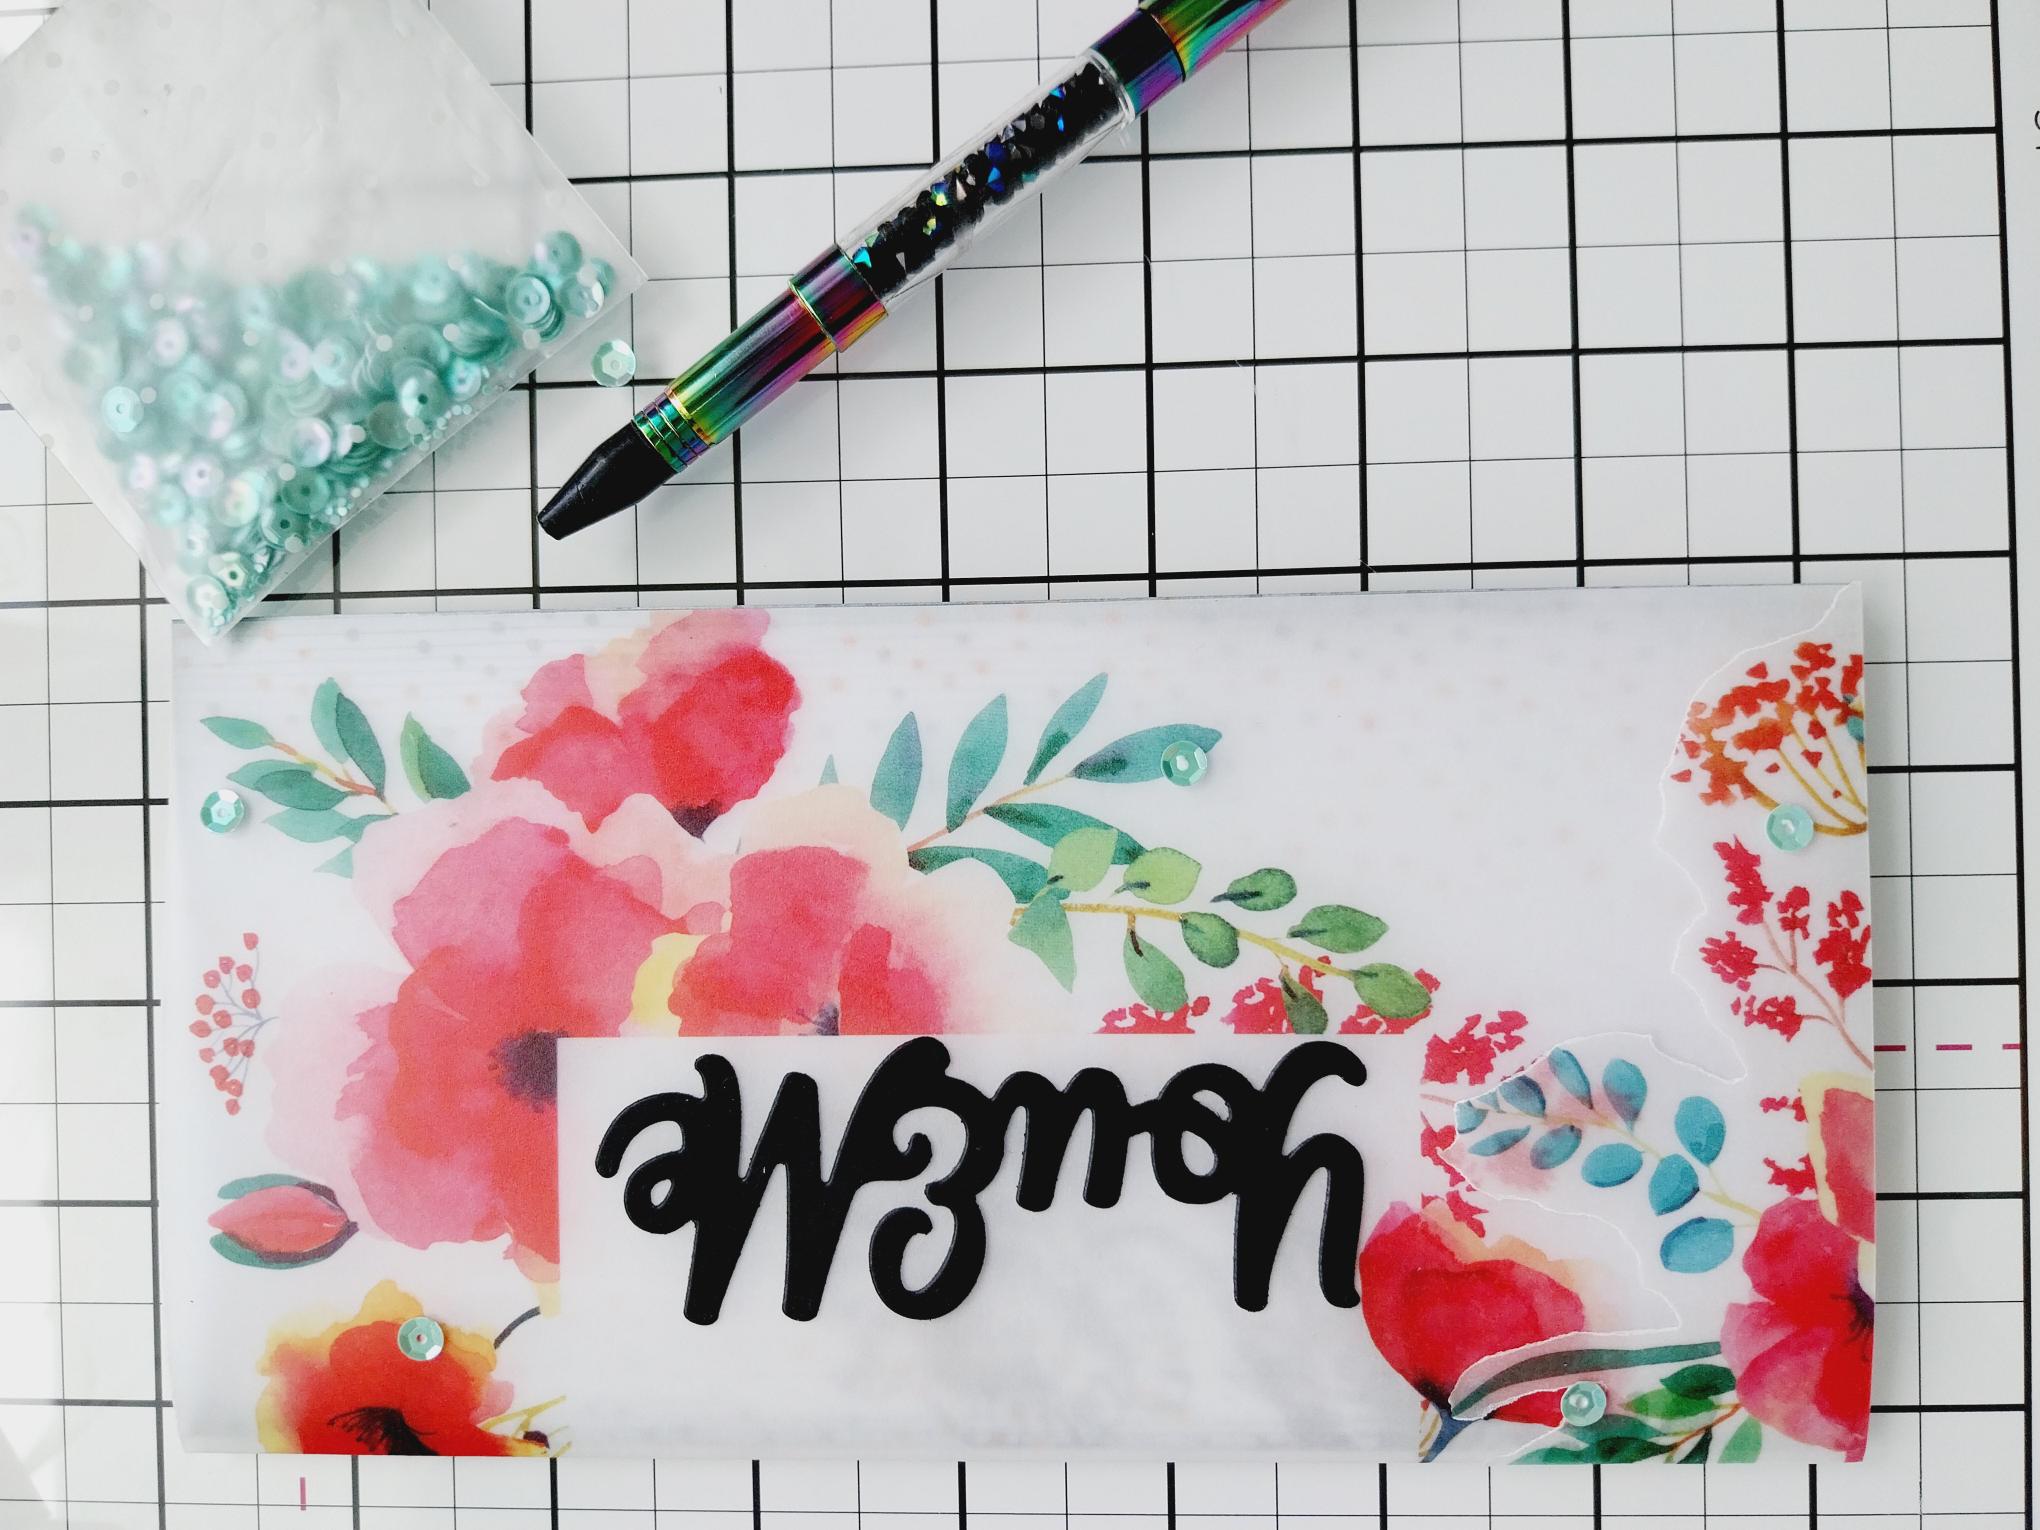
Sequins: Down The Bay
Gem pick up and pokey tool
Eureka 101 Watercolour Tablet
SBM Magnetic glass mat
Paper Trimmer
Perfect Together Glue
Tape runner/vellum glue dots
Die Cutting machine
[click image to enlarge] 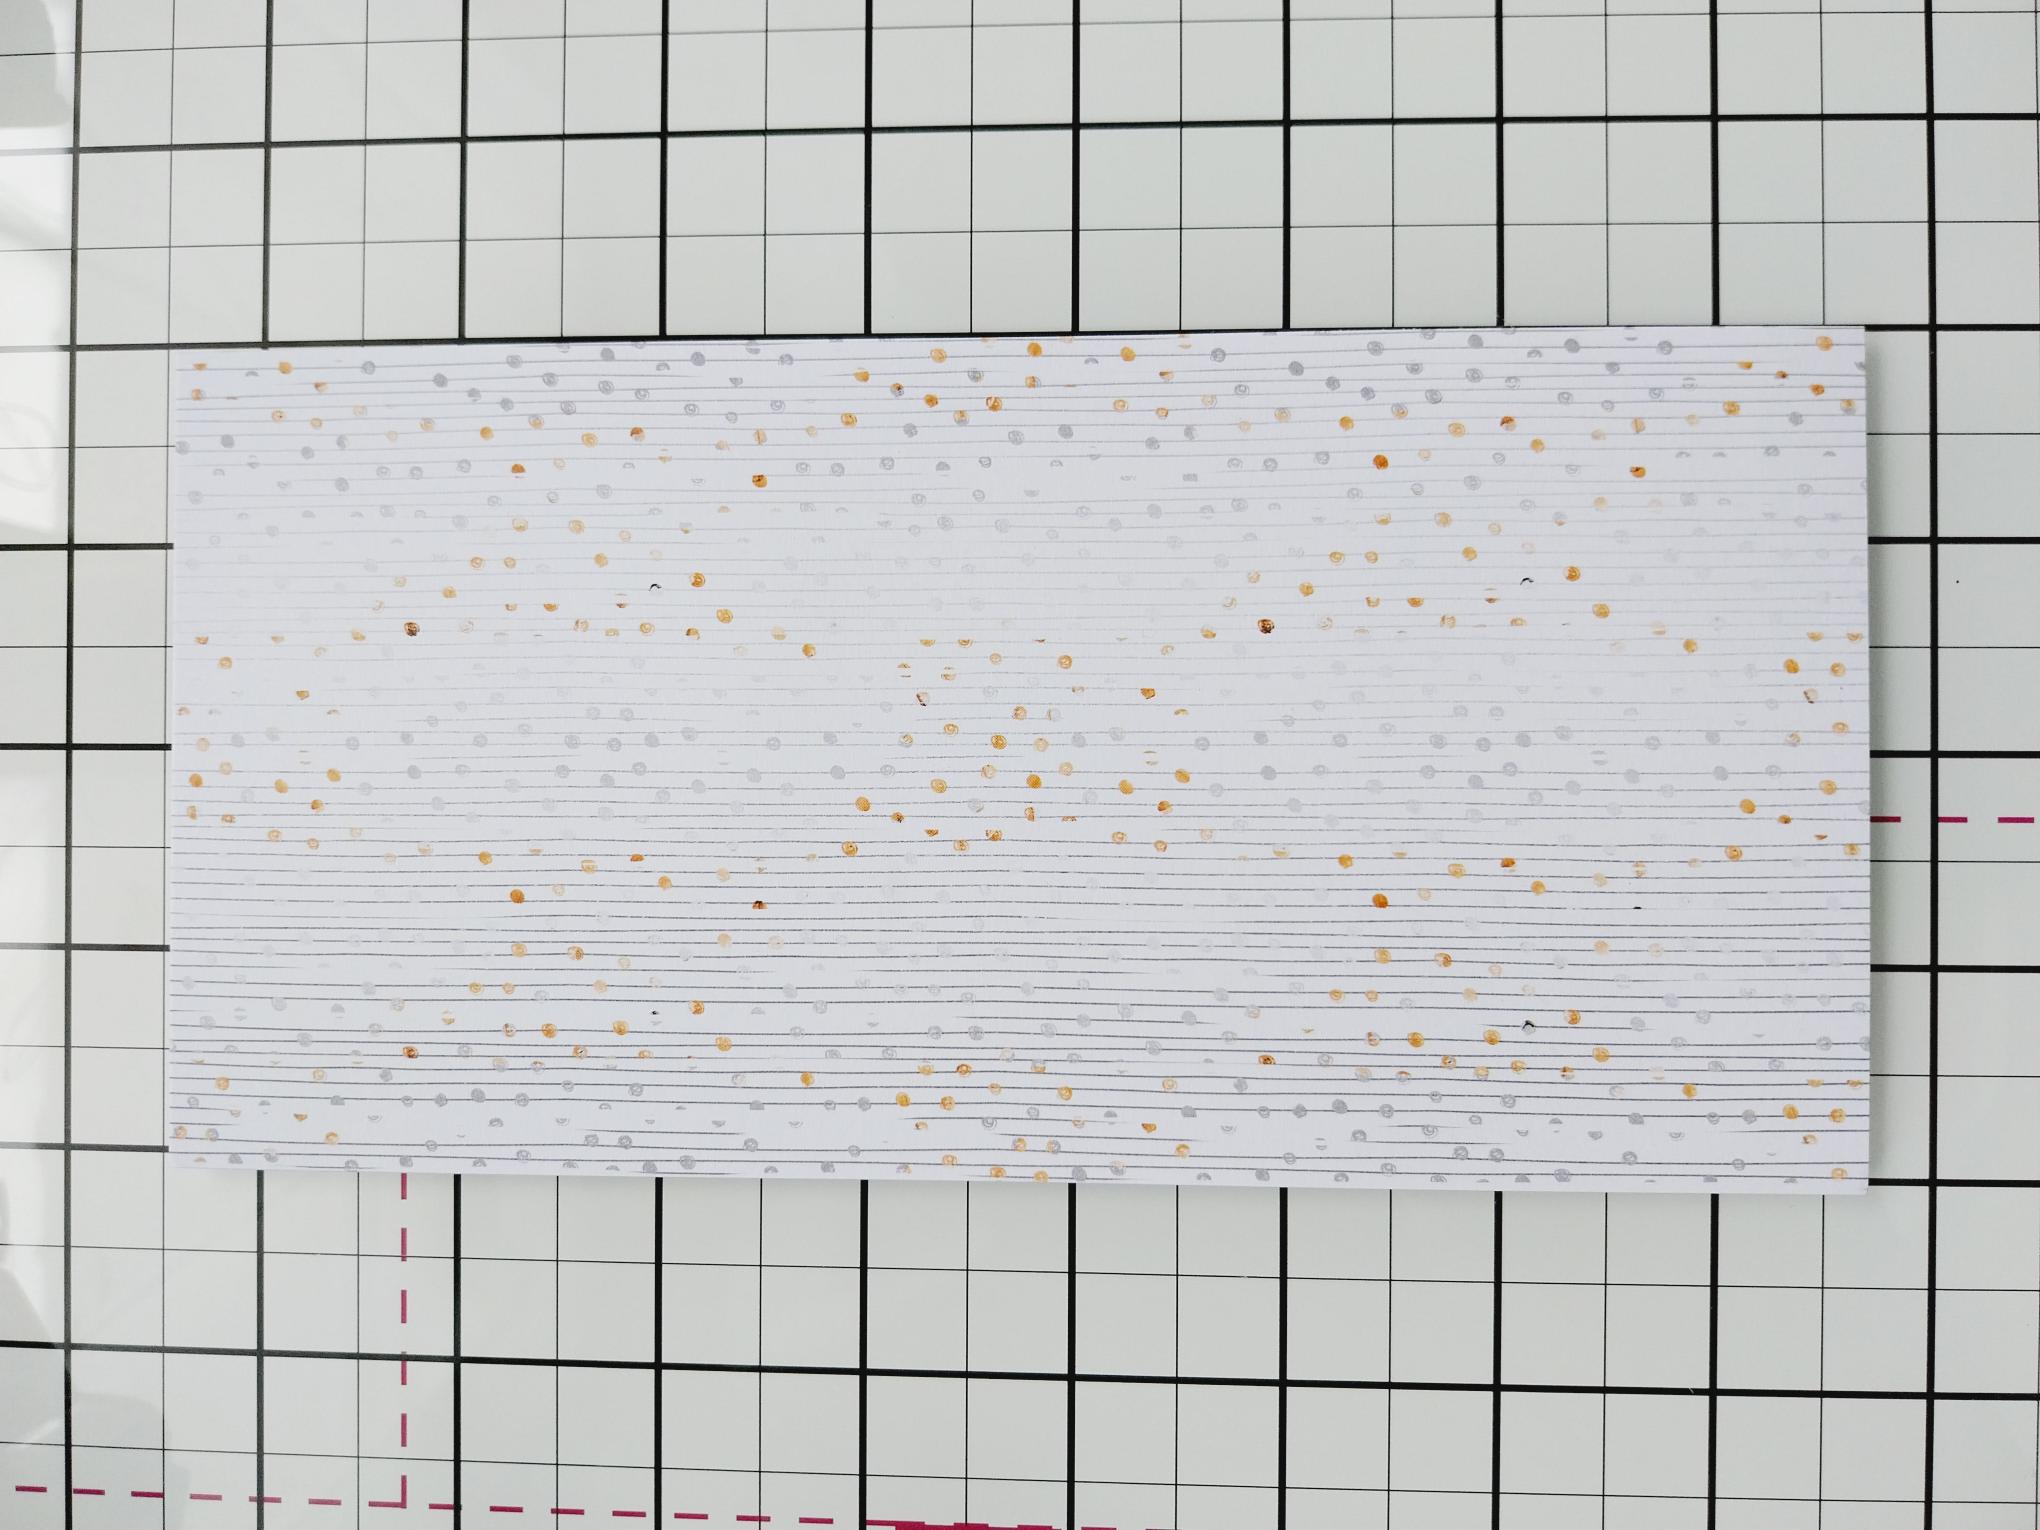
|
Trim this decorative paper, from the Delicate Florals paper pack, to 8 x 4" (same size as your DL card blank). |
|
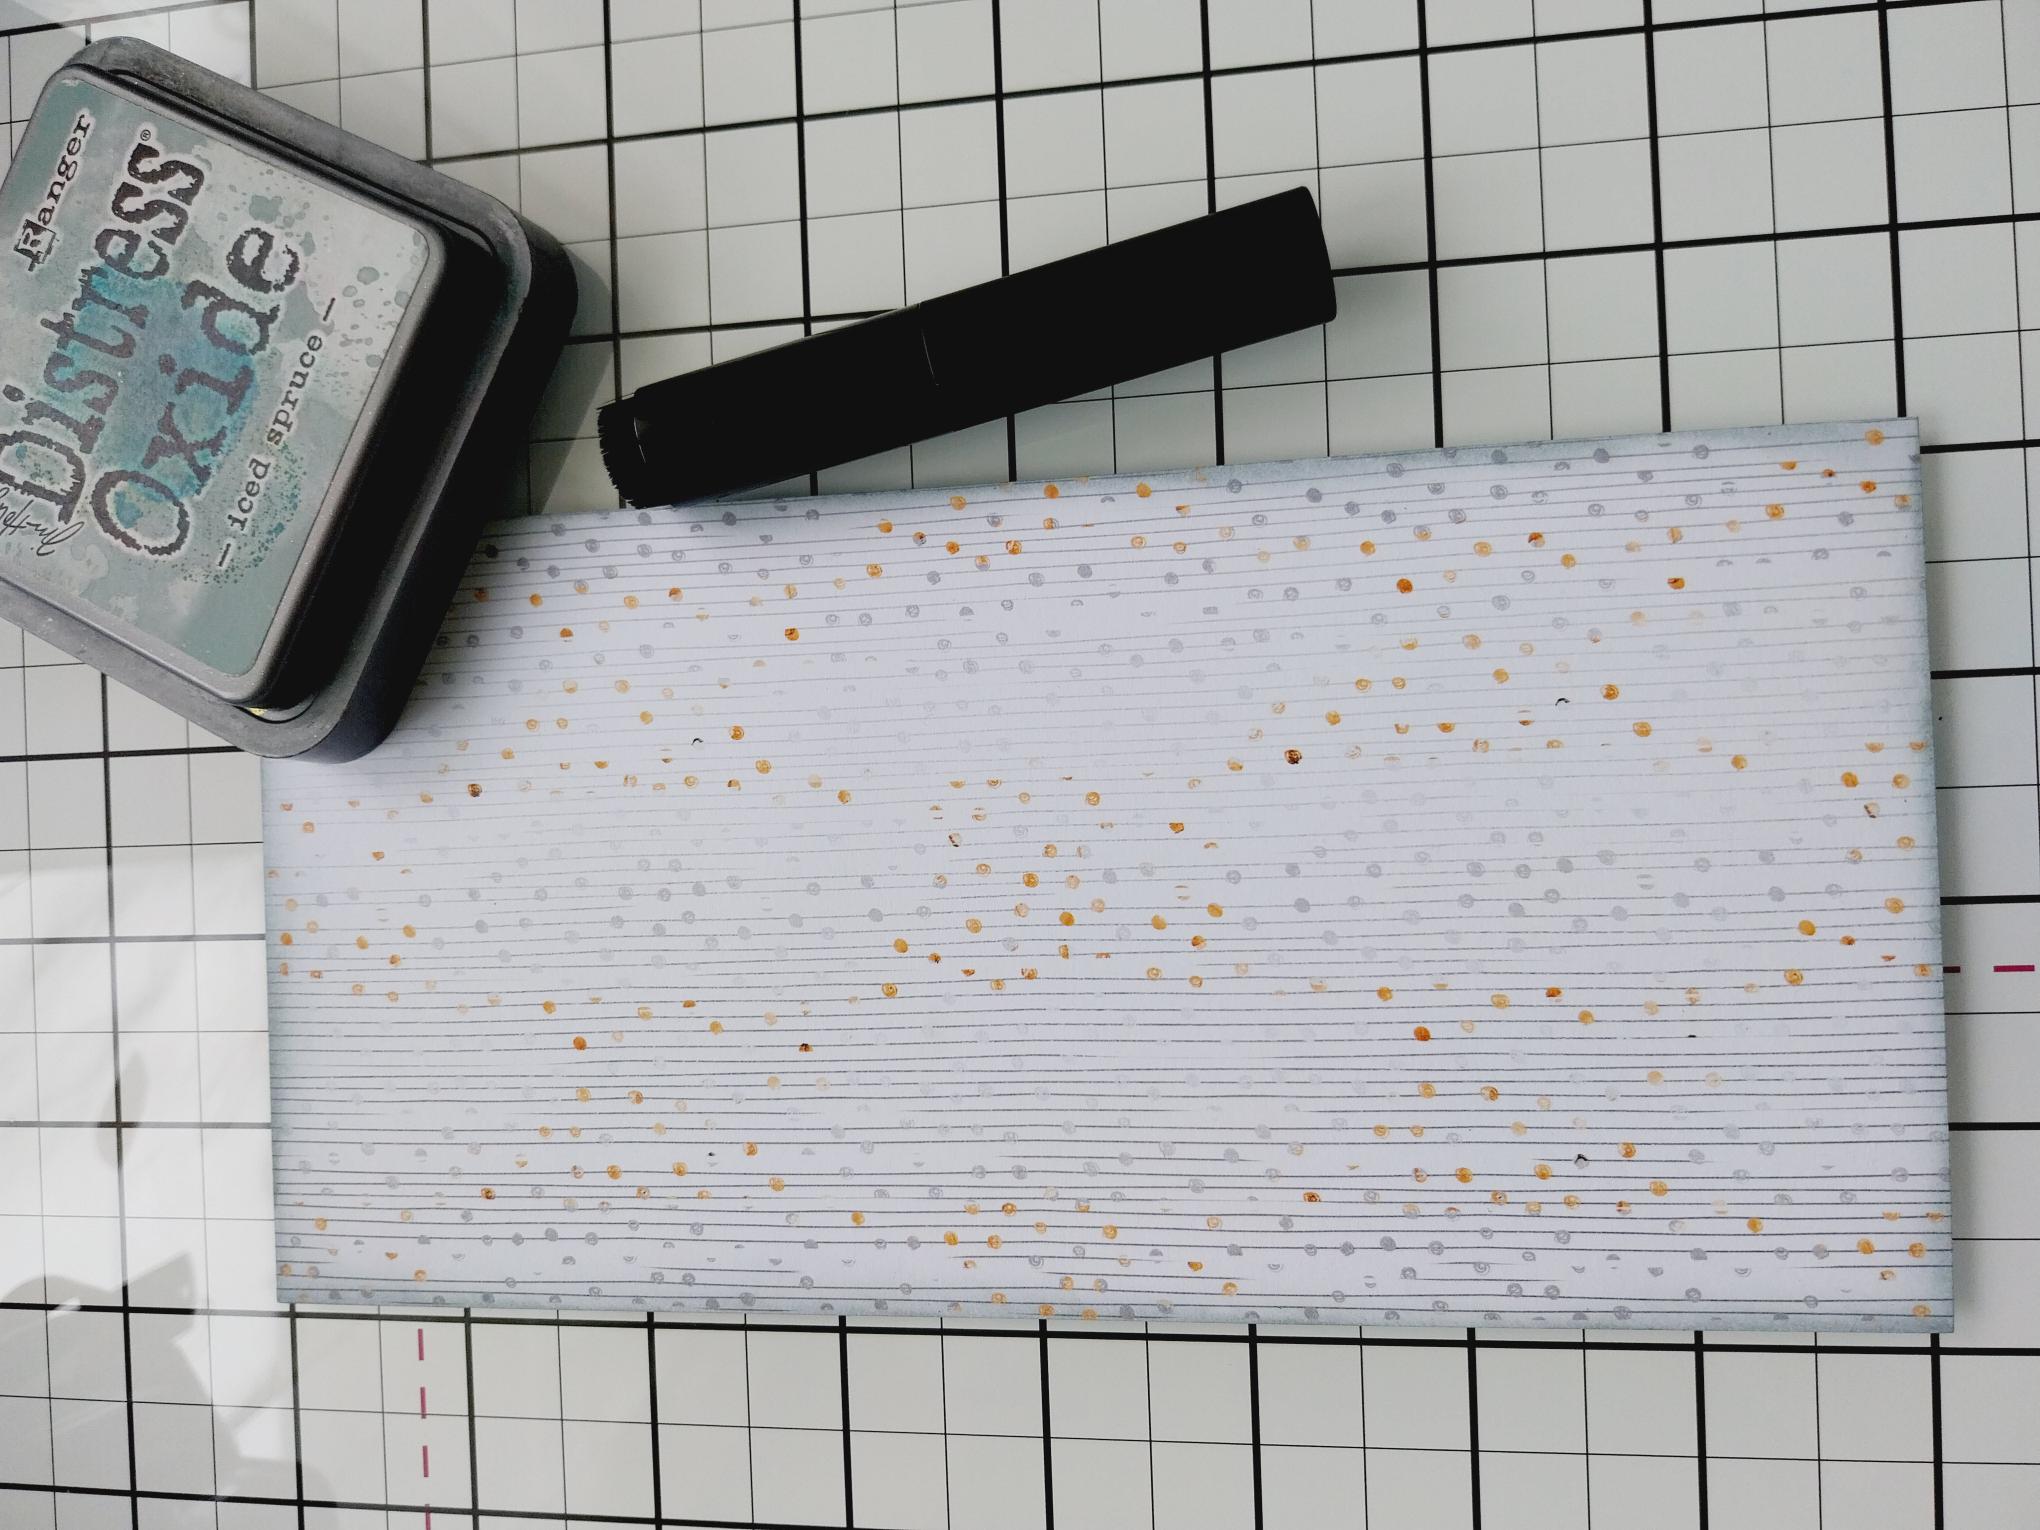
Adhere to the front of your card blank, before blending around the edges with the Iced Spruce Oxide. |
|
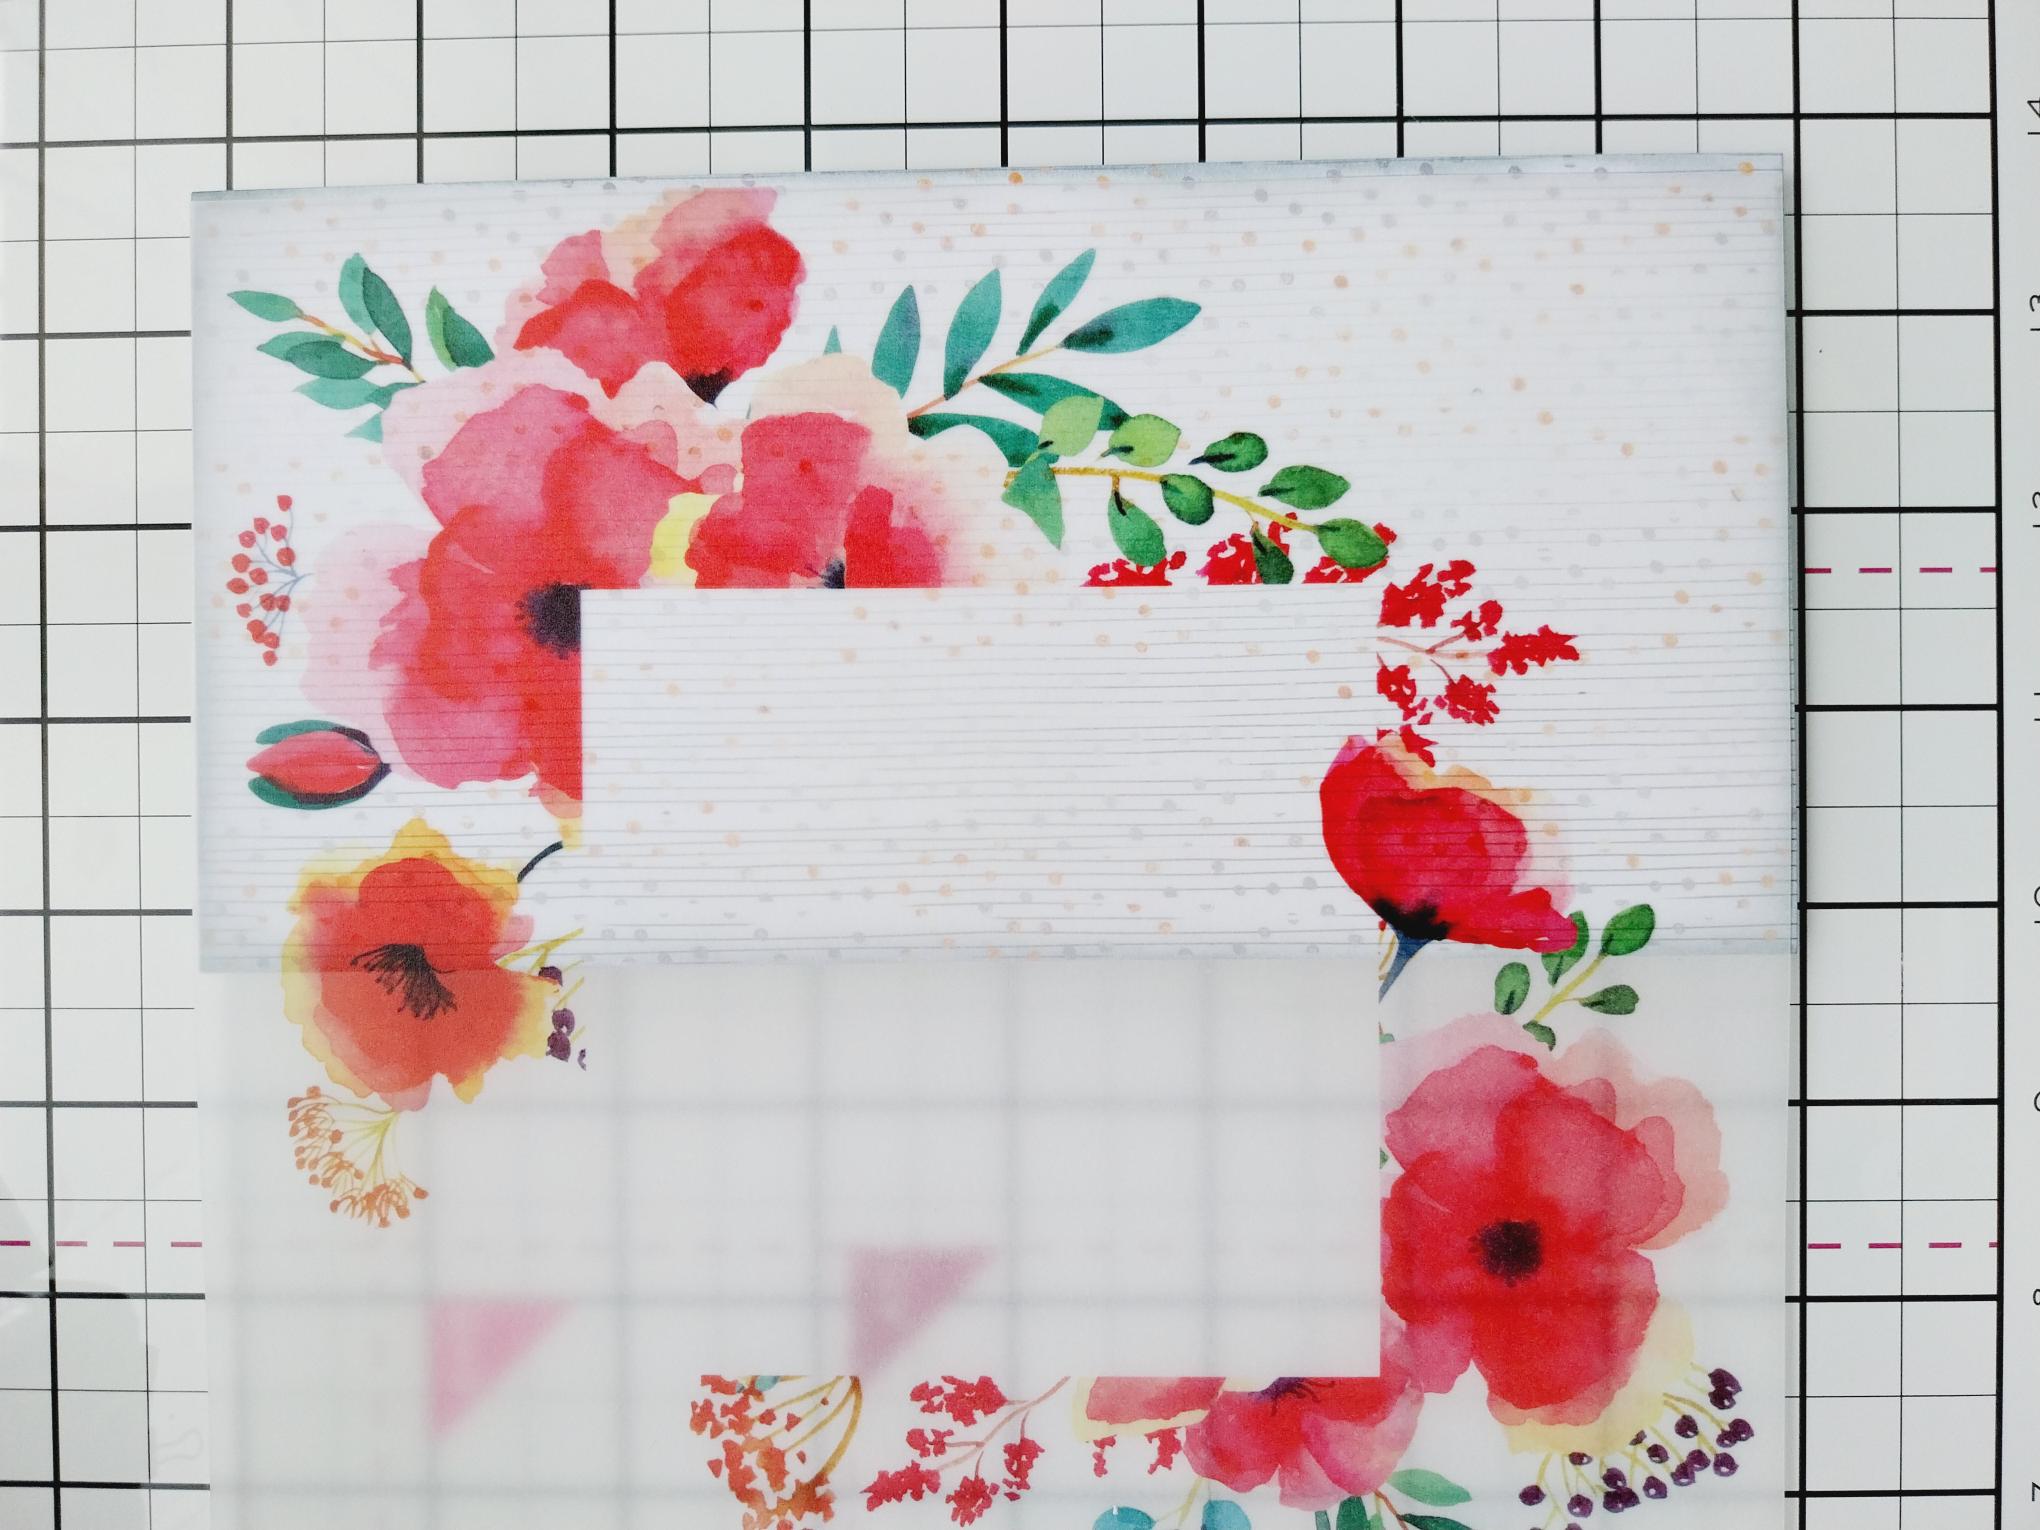
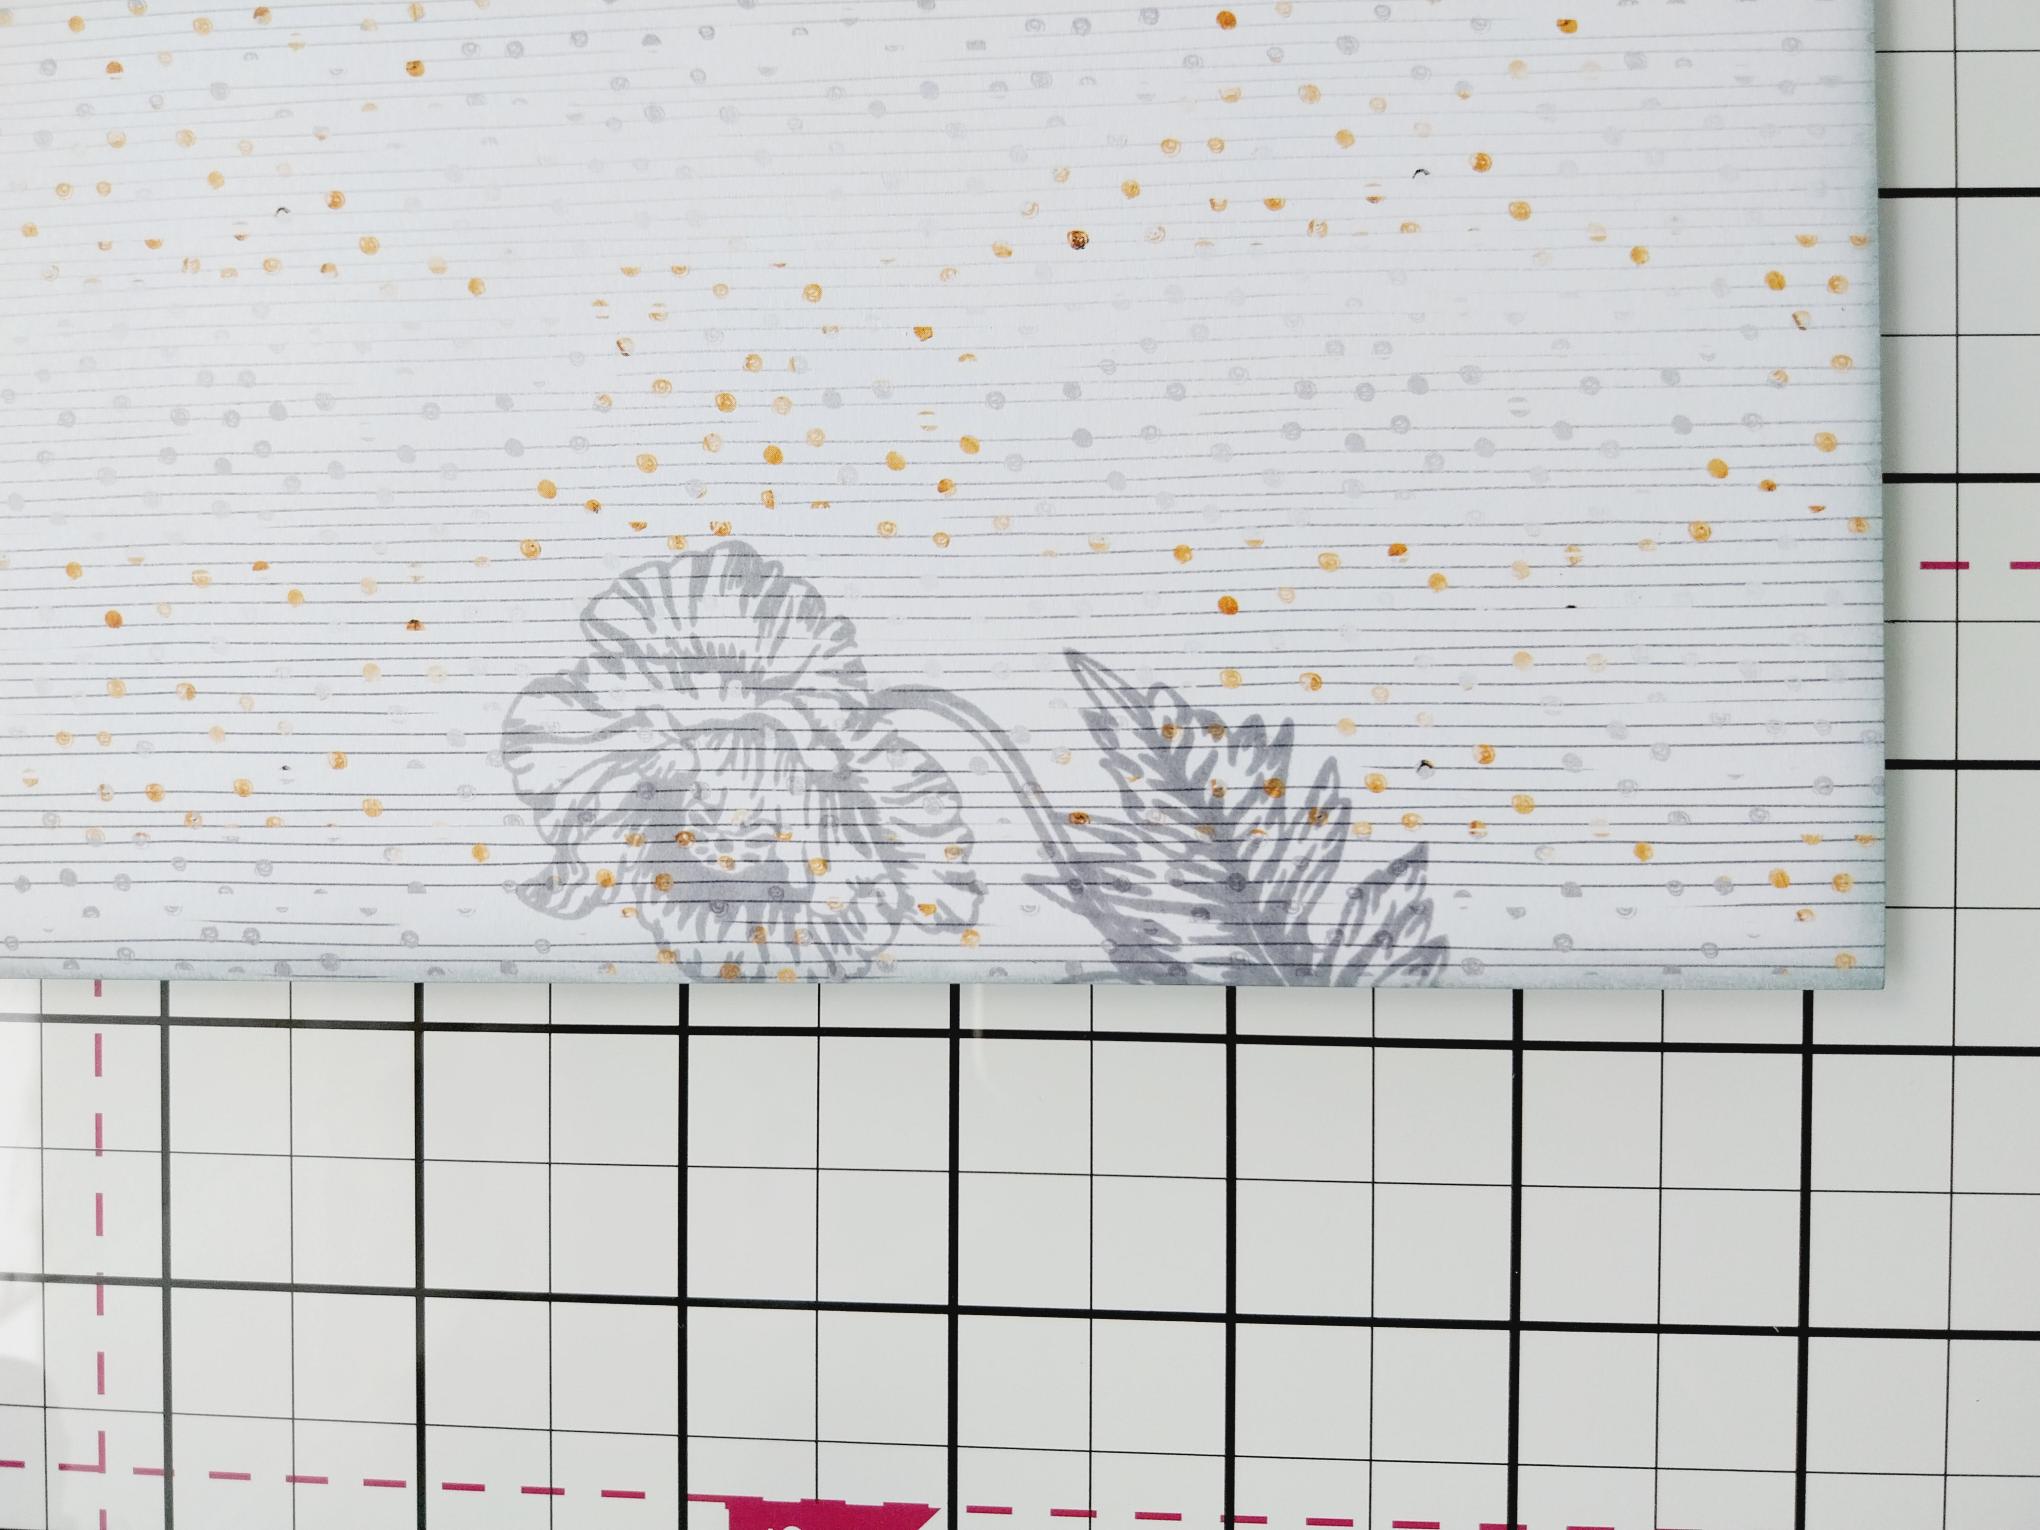
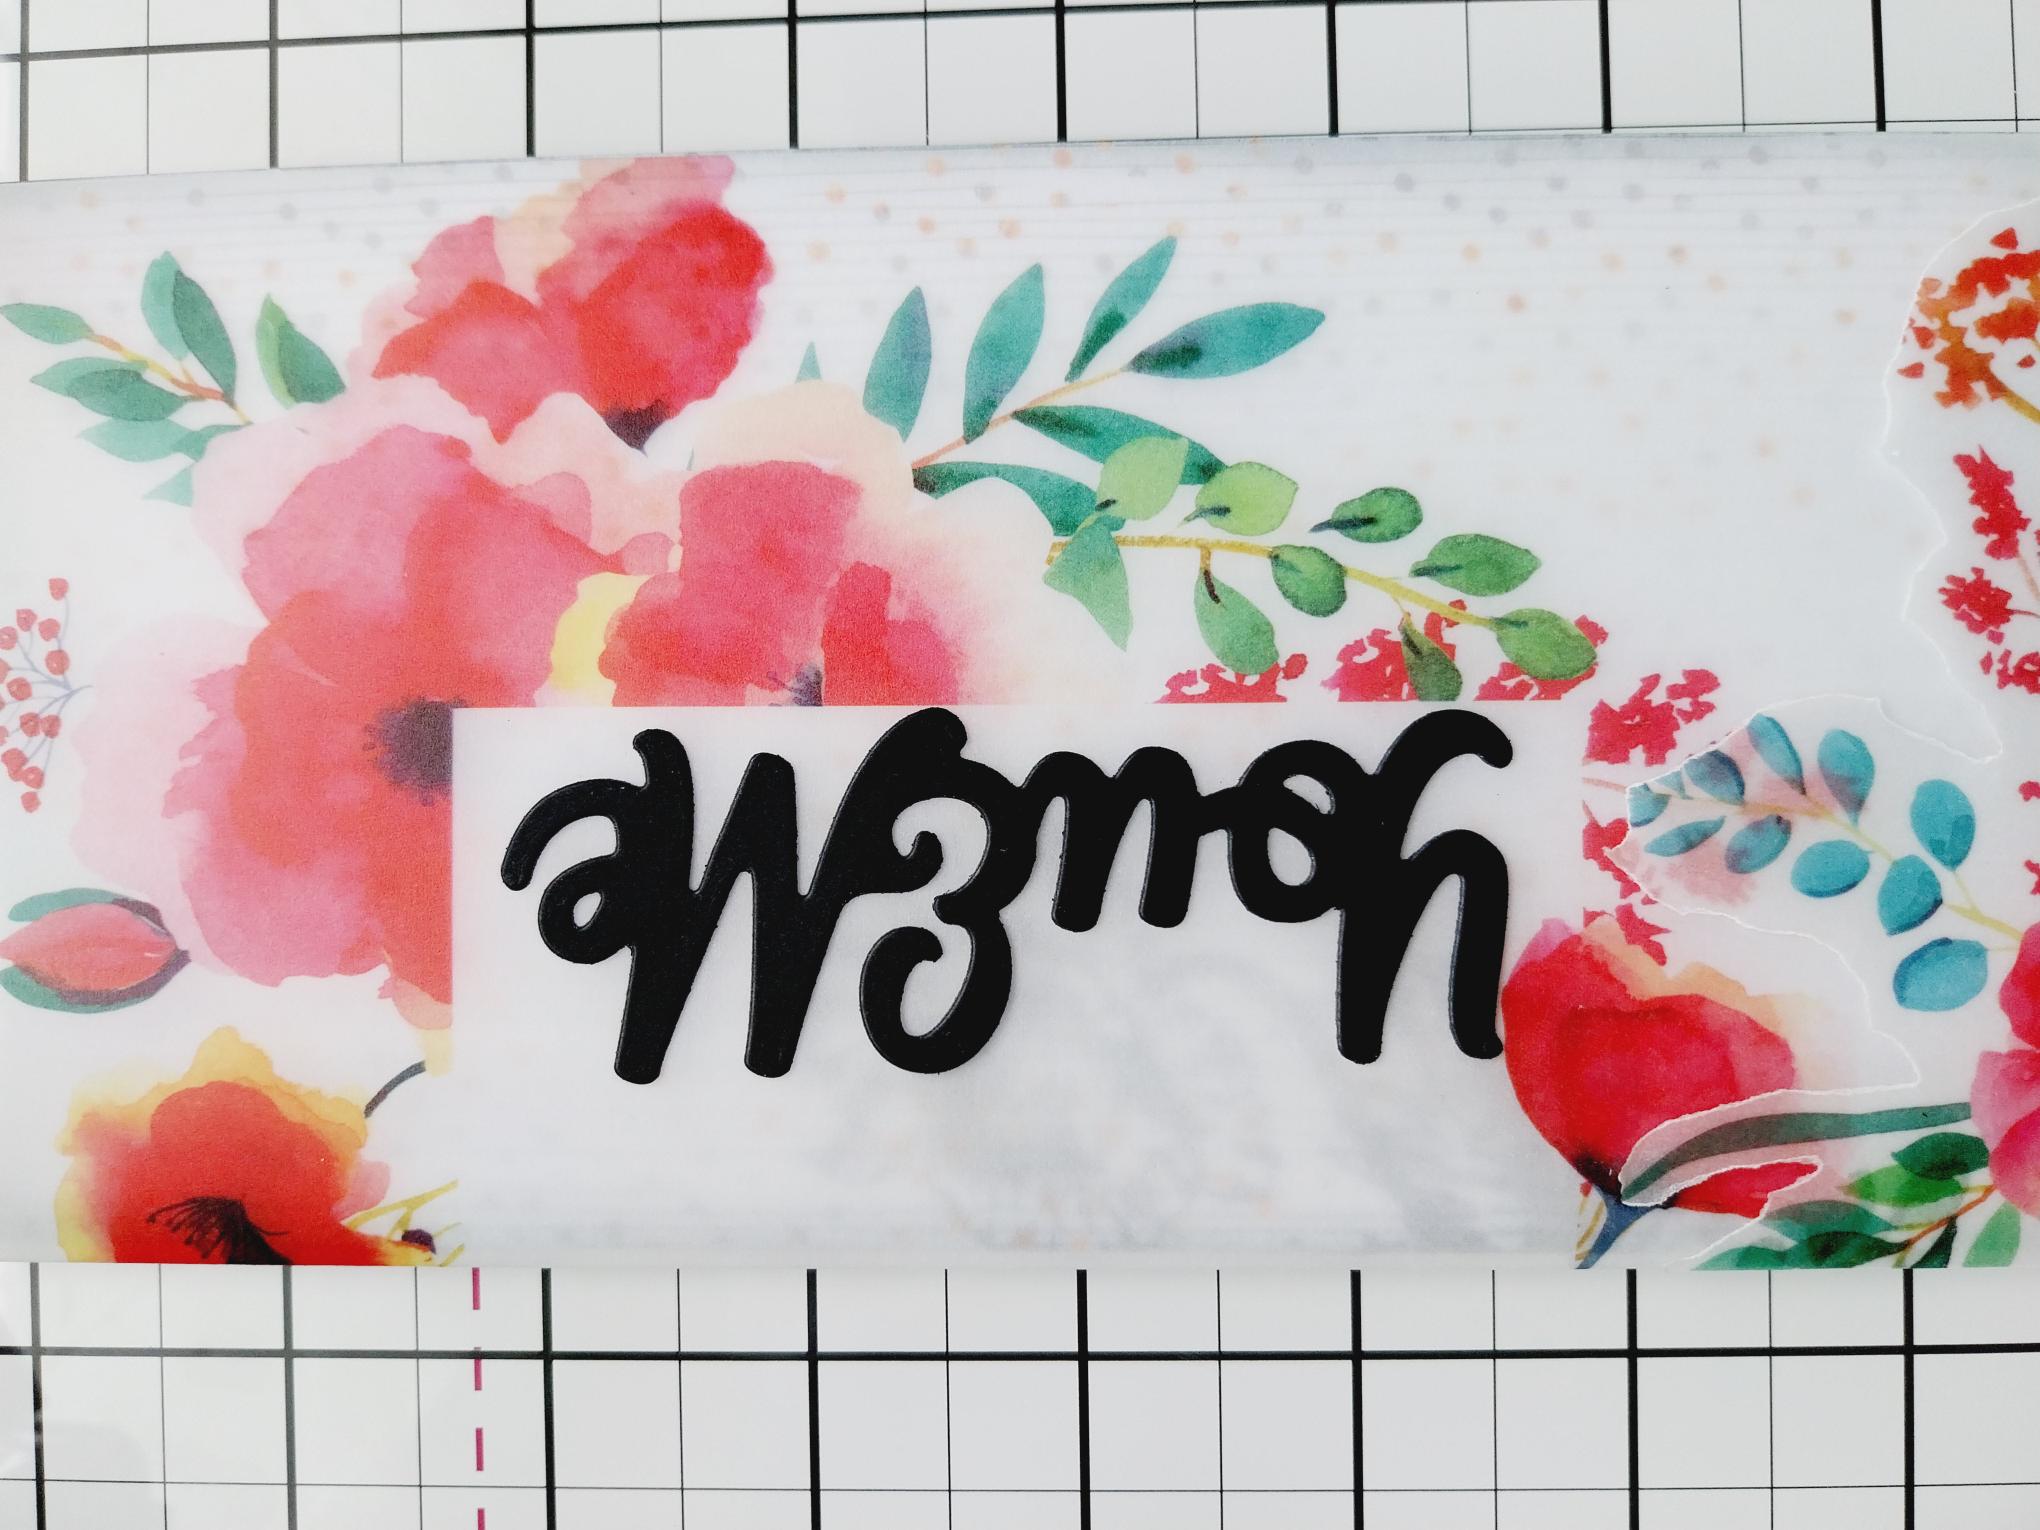
Place this decorative vellum sheet on top of your card blank, so the right side is flush with the card and make a mark where the open panel is, on the paper underneath. |
|
Stamp this Poppy with the Archival, so it's coming in from the left edge and will be visible within the vellum panel. |
|
Place the vellum sheet back in position on the card blank, make a mark and trim off the left side so there are a couple of cm's overhanging, as seen here. Pop the trimmed piece of vellum to one side, as you will need it in a minute. |

|
Fold the vellum overhang over the left edge of the card blank and secure on the reverse with your tape runner or vellum dots. |
|
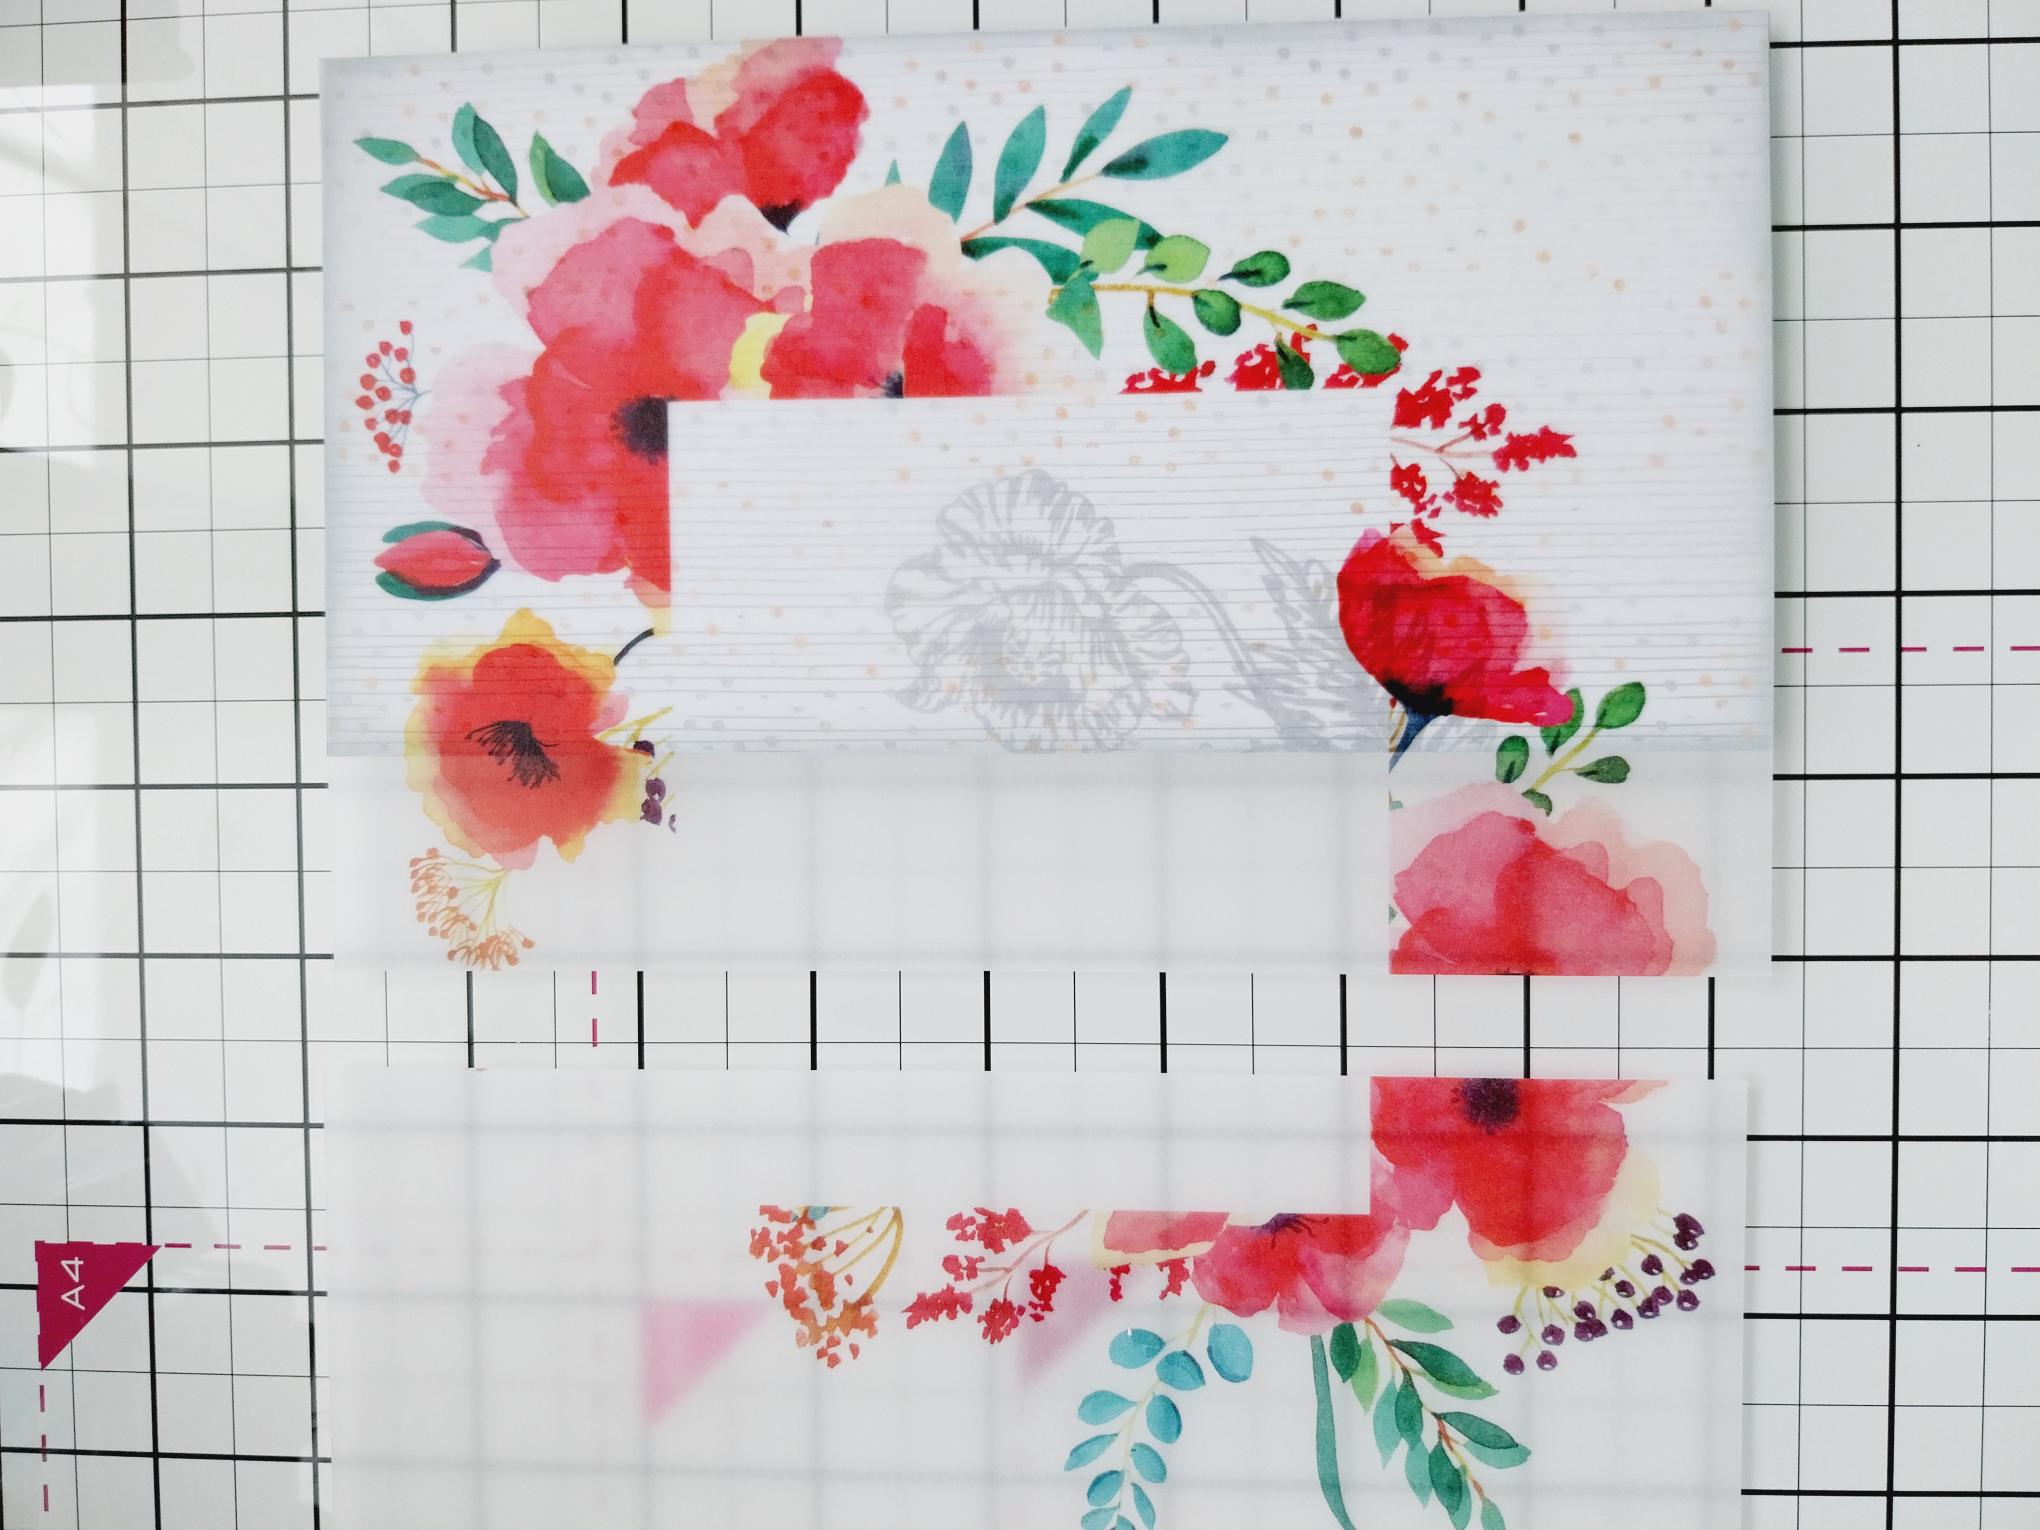
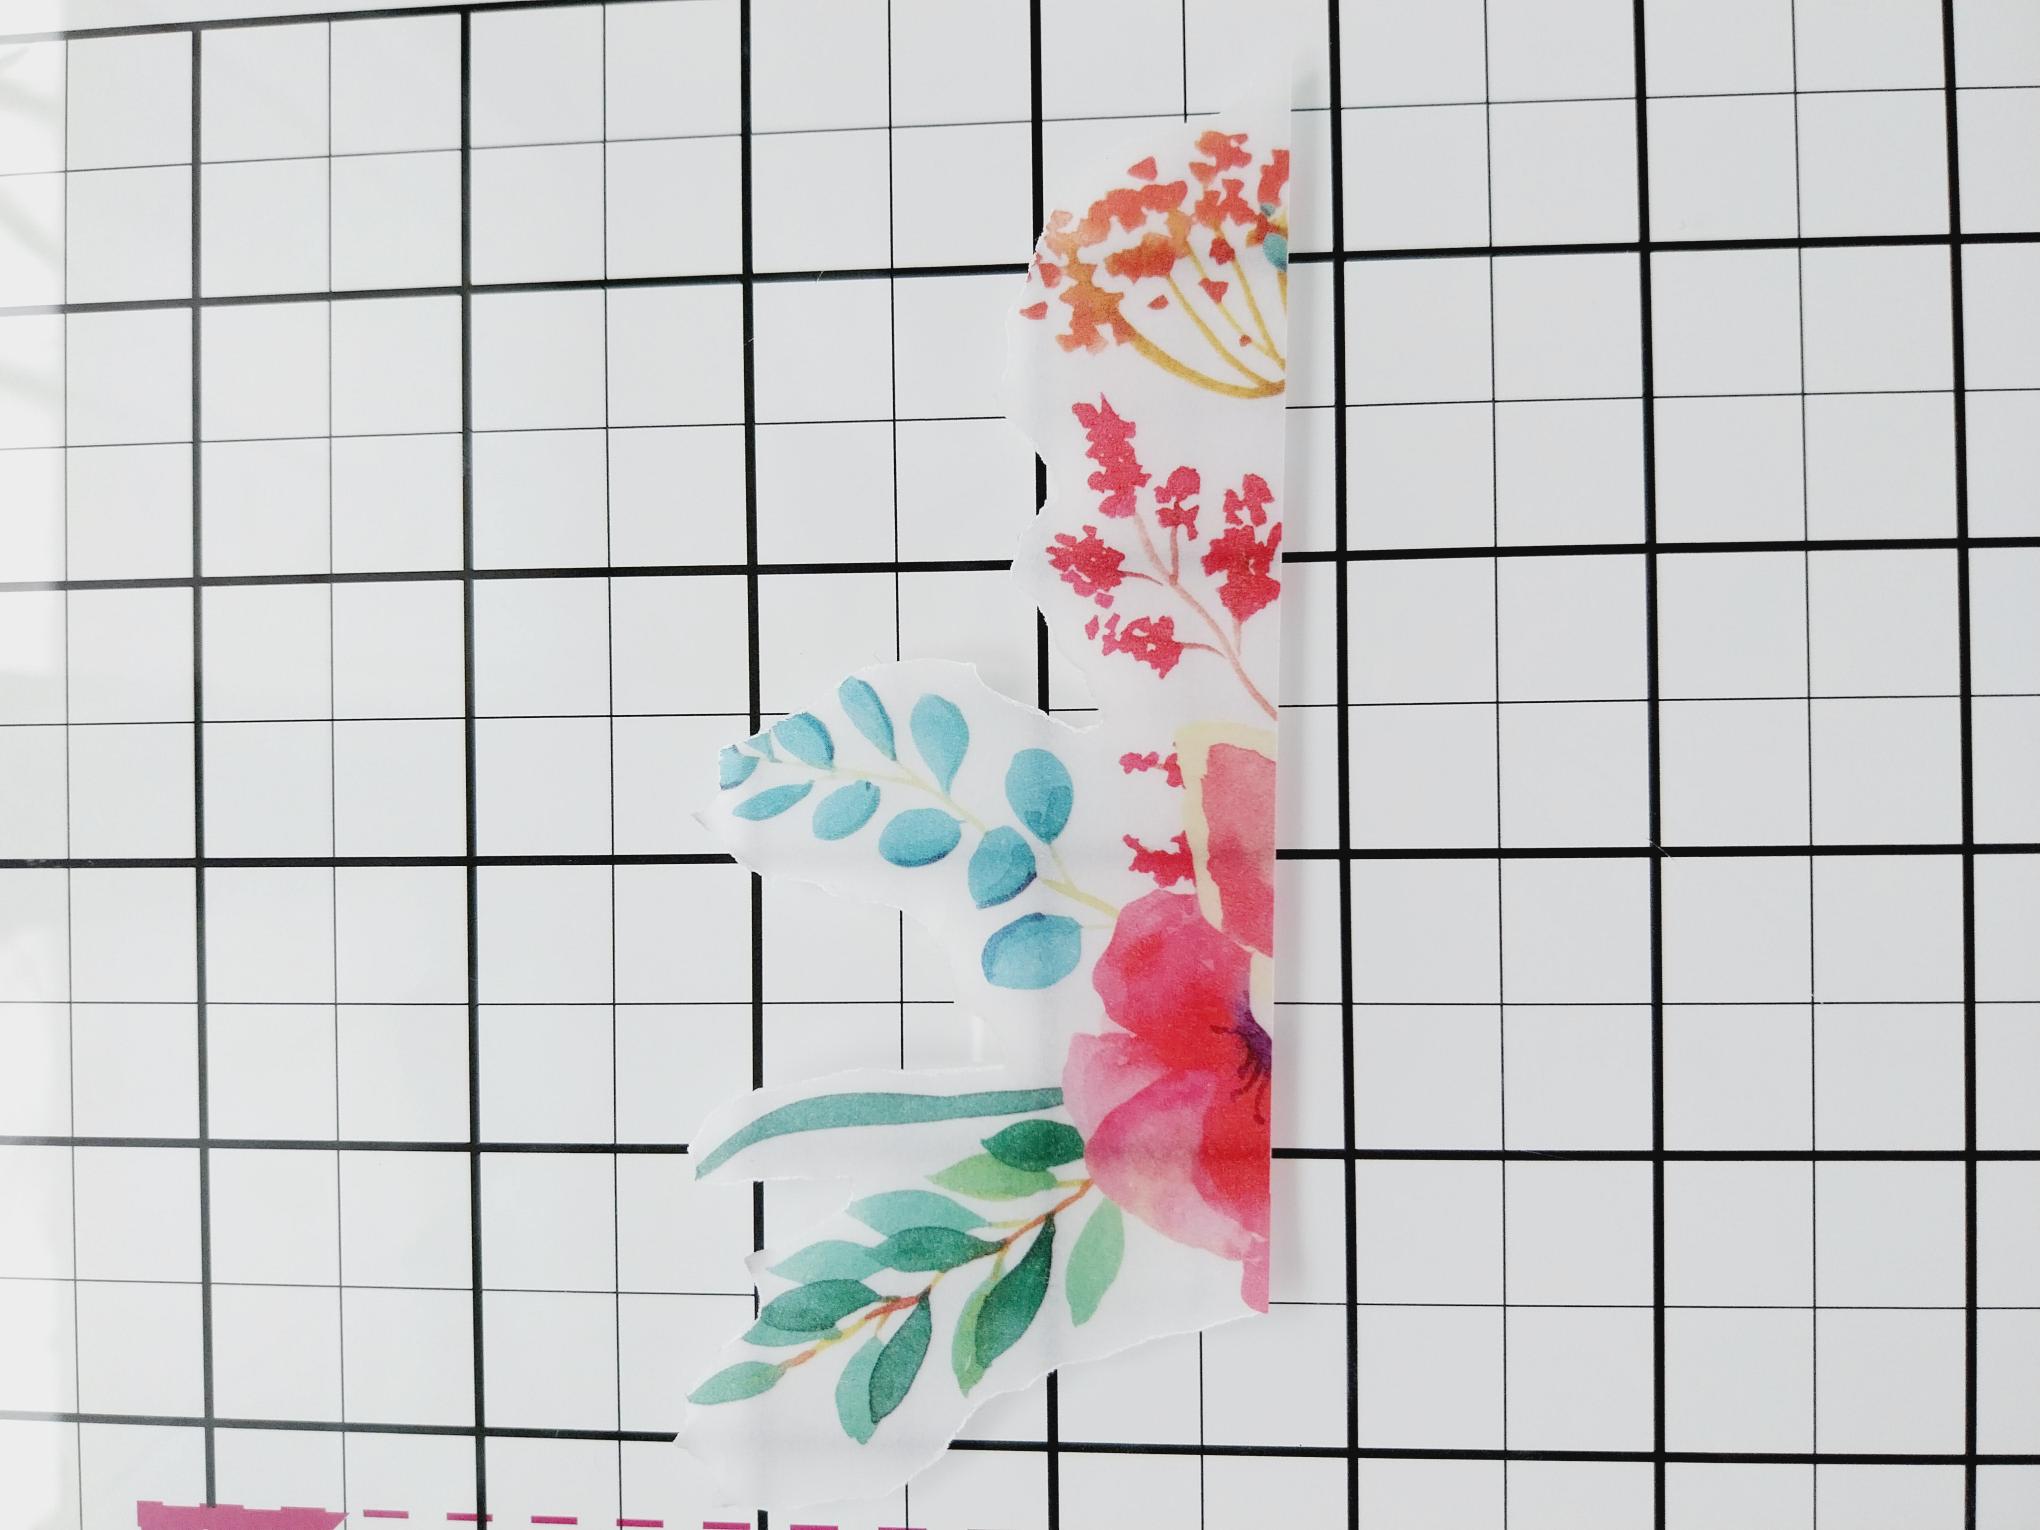
From the vellum you set aside, tear around this floral image. You can use scissors but I like the raw look of tearing it! |
|
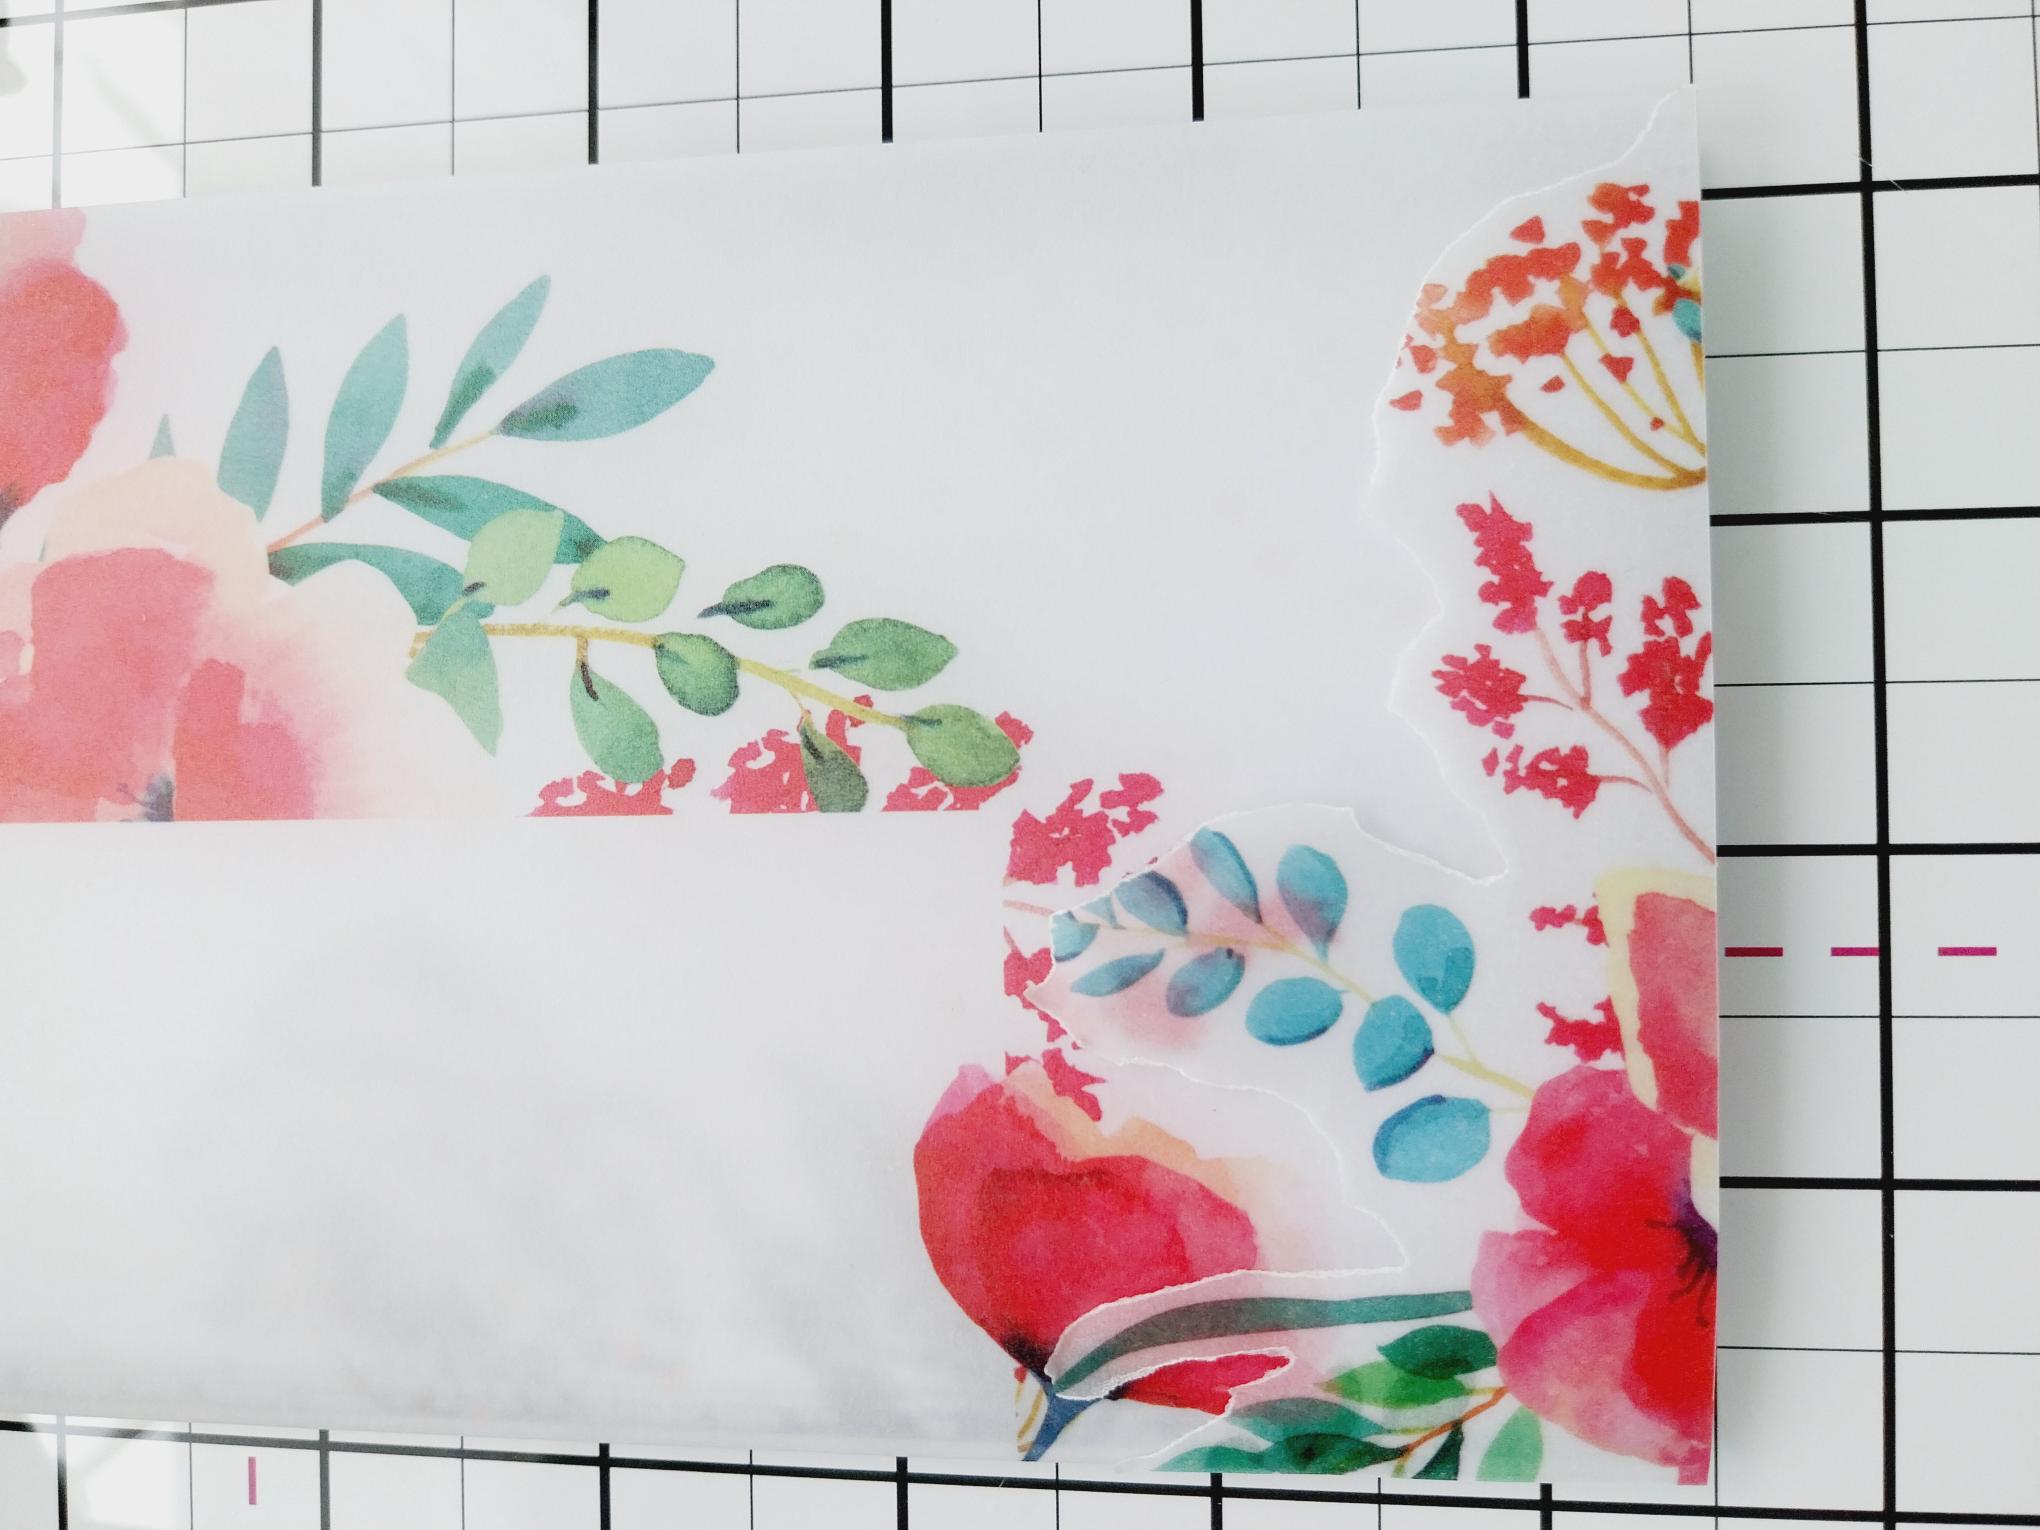
Adhere along the bottom of your card, leaving the leaves and tops of the floral elements loose. Pop your card to one side. |
|
Die cut the You & Me sentiment from black card. You can cut 2 or 3 and adhere together, to create a substantial 3D element. |
|
Adhere your sentiment down the right side of the vellum panel. |
|
Finish your card with a few sequins, as required. |