Give your friends $10 off their first order!
Refer a FRIEND


WHAT YOU WILL NEED:
Kraft card (construction weight- 250gsm+)
White card
Floral Romance 8 x 8" paper pack
Poppy Haze A5 Stamp and Die Collection
Deboss Circle Nesting Die Collection
Archival Ink Pad: Shadow Grey
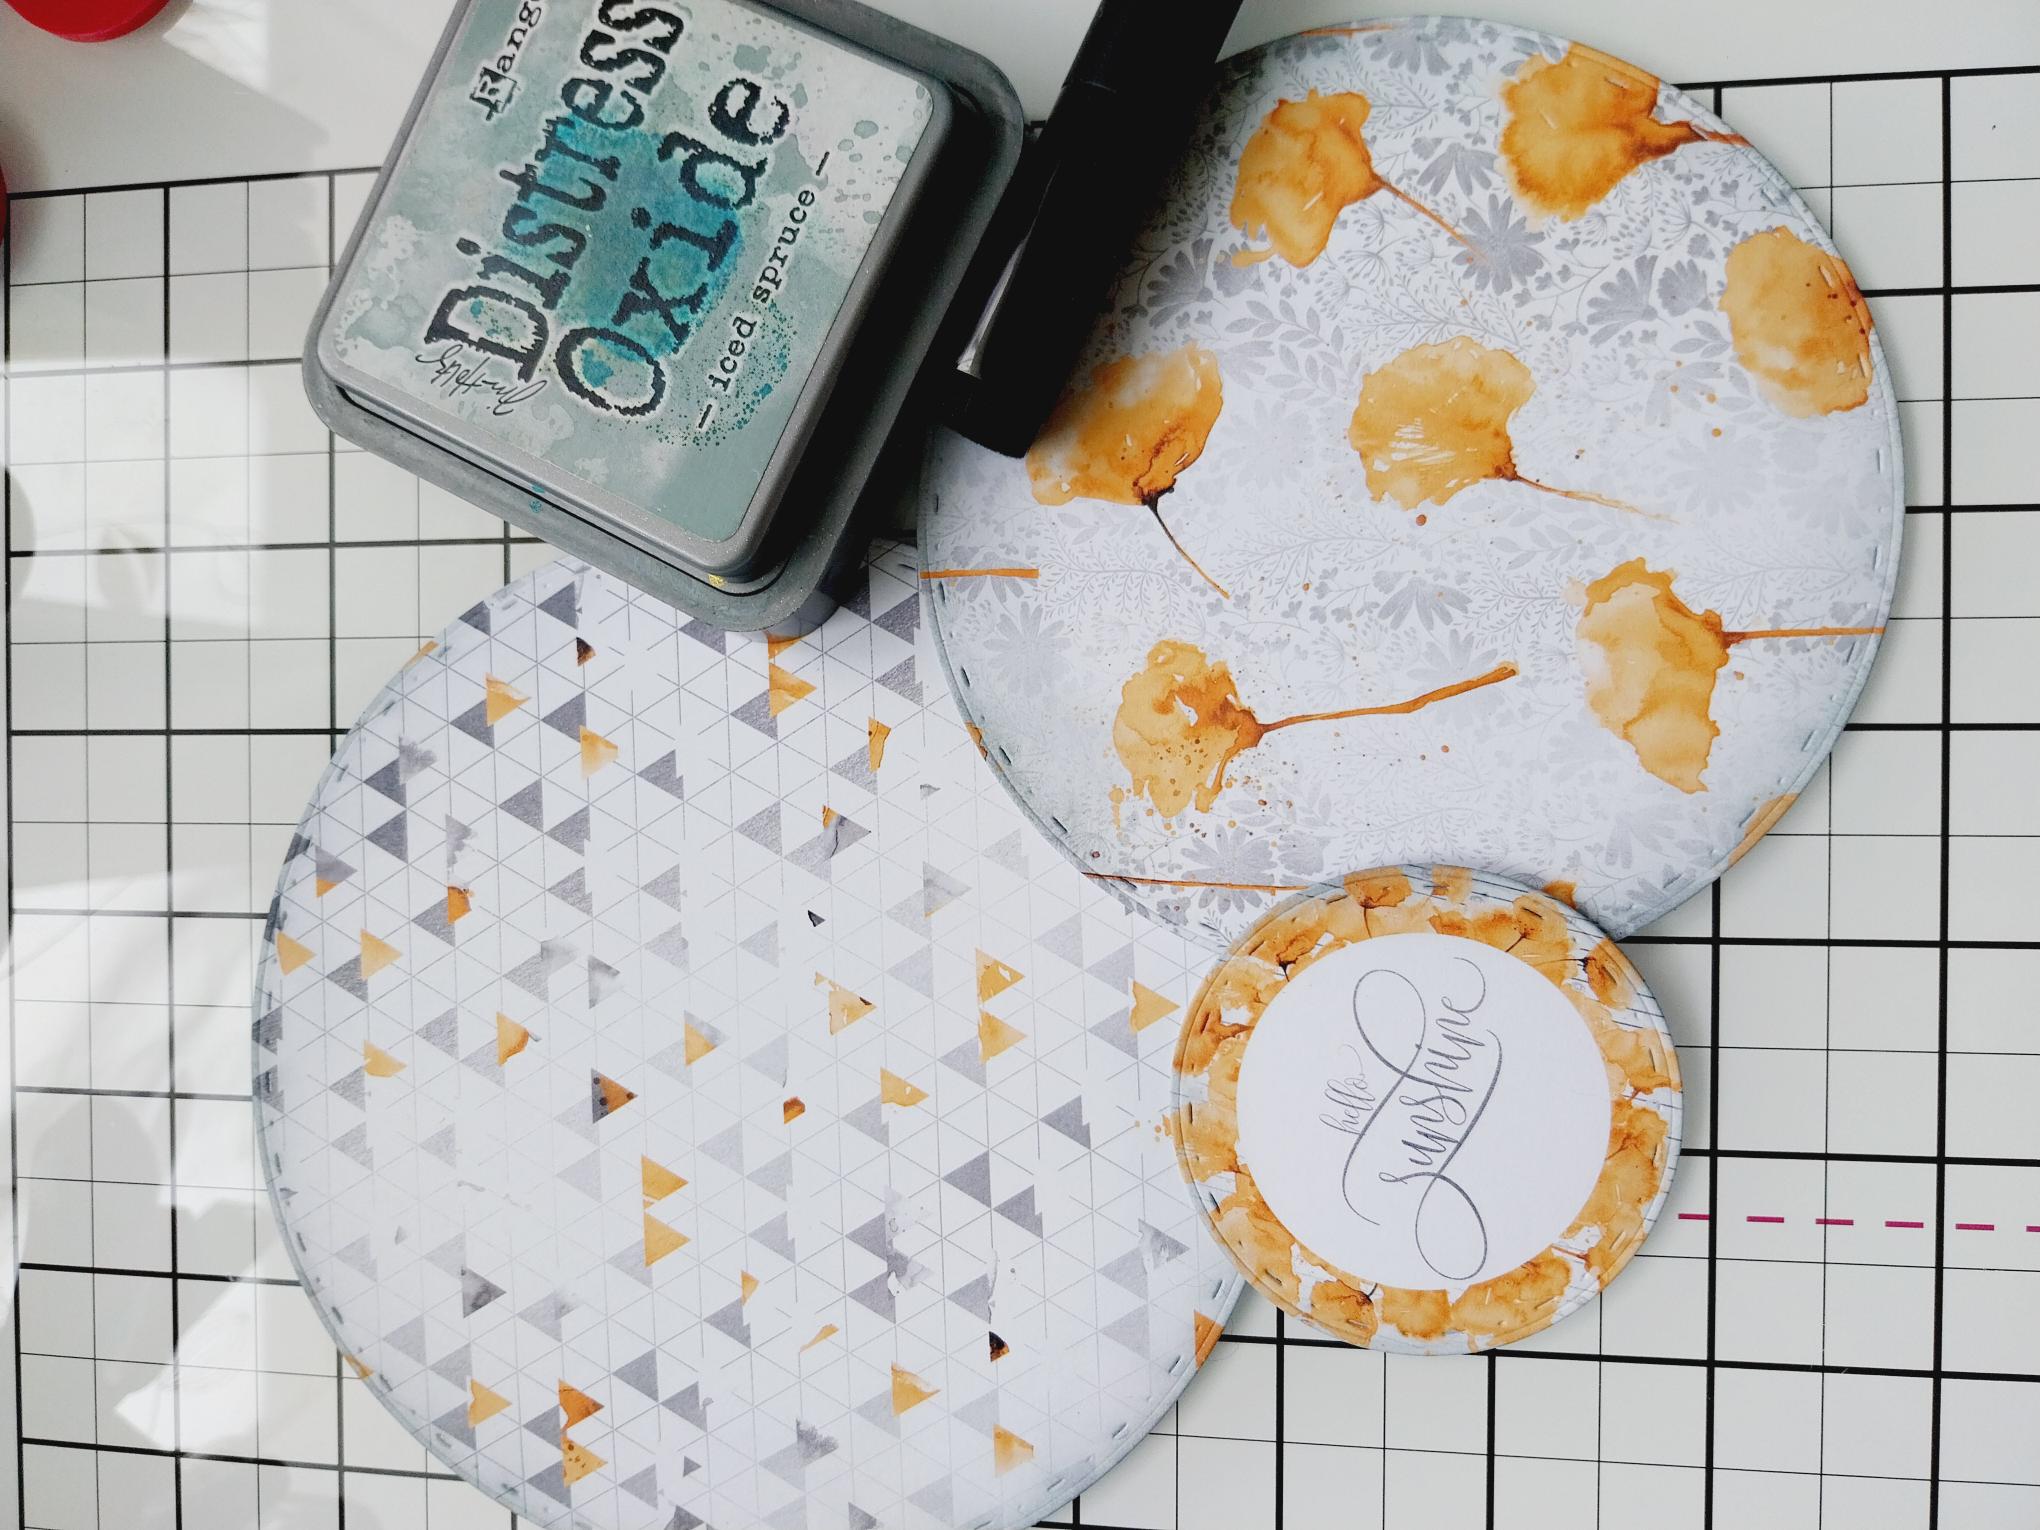
Distress Oxide: Iced Spruce
Blending Tool
Stickles: Star Dust
Liquid Pearl Drops: White Opal
Scoreboard/score tool
Eureka 101 Watercolour Tablet
SBM Magnetic glass mat
Perfect Together Glue
Red liner tape
Foam pads
Die Cutting machine
[click image to enlarge] 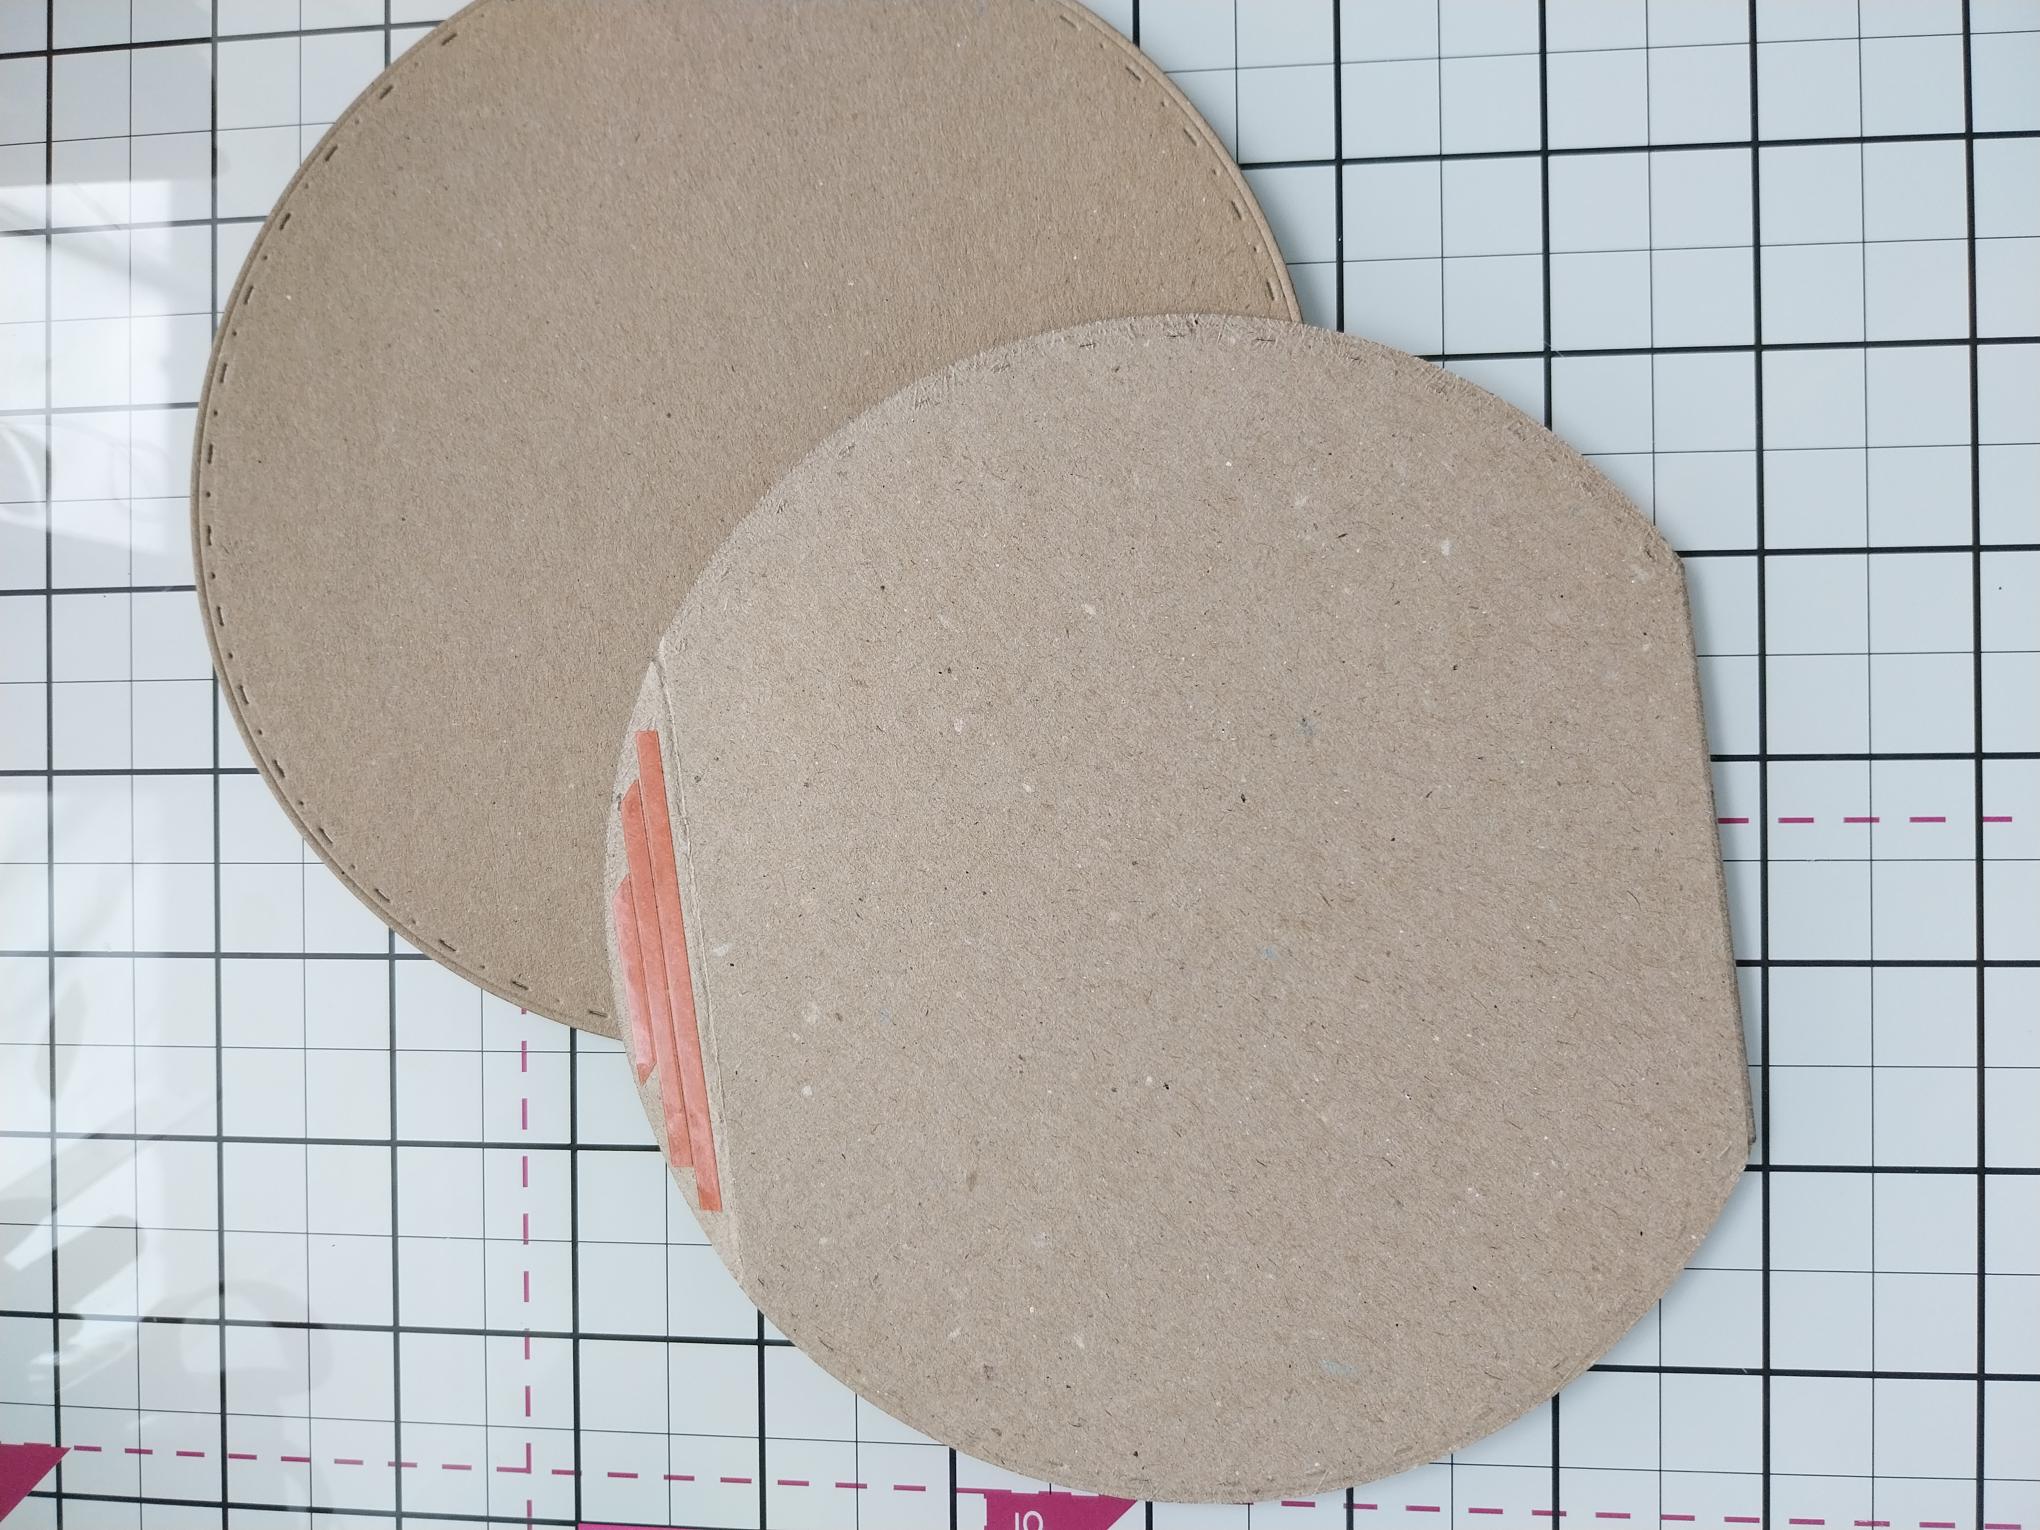
|
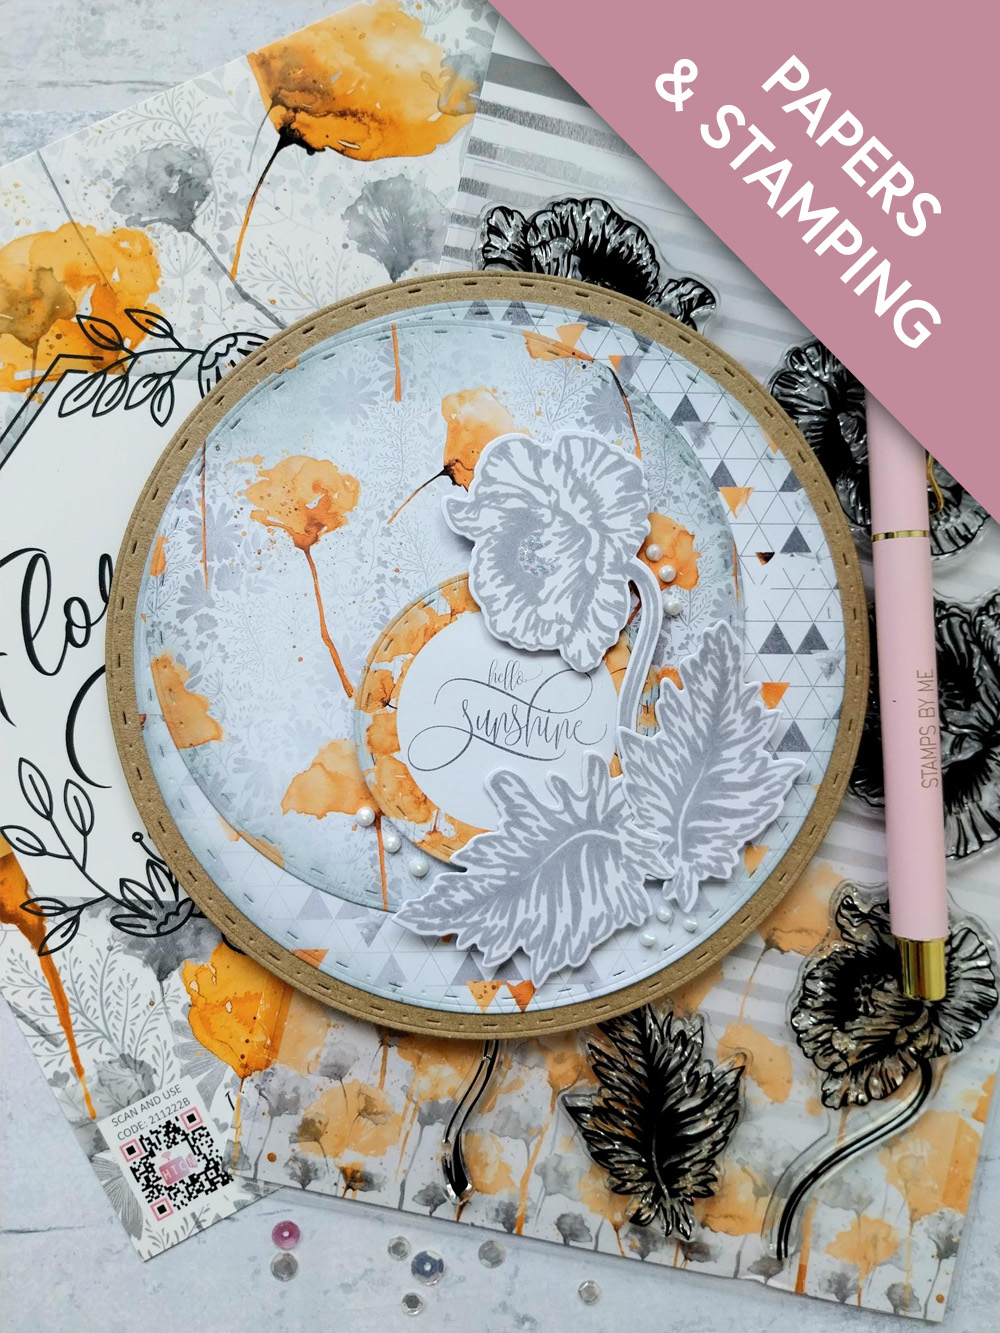
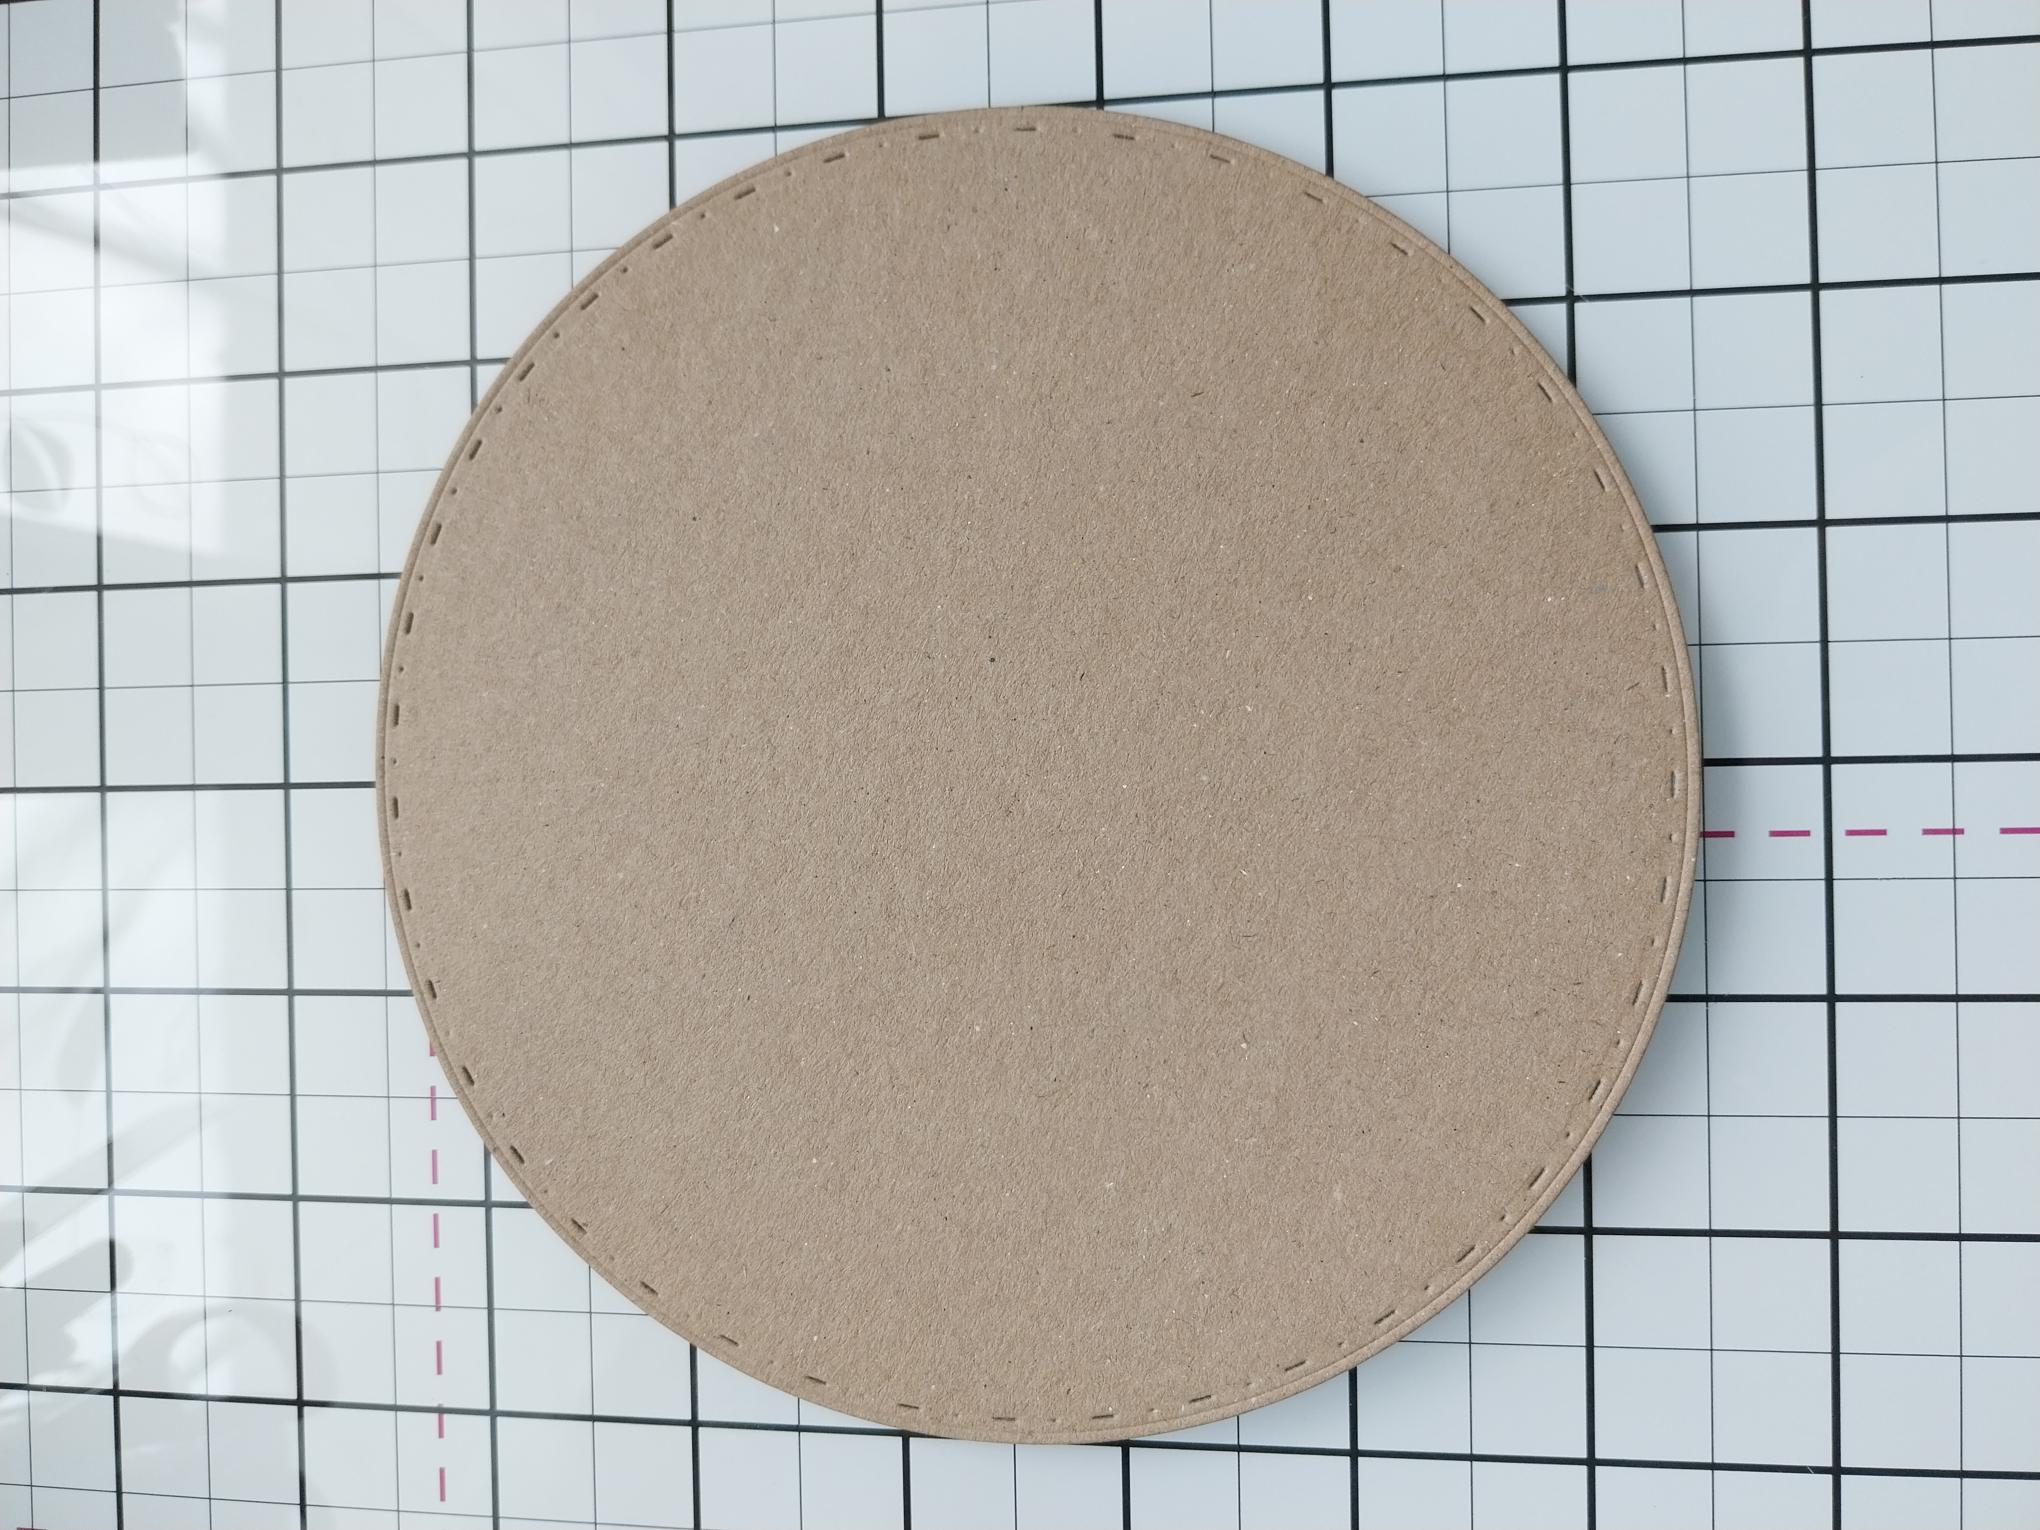
Die cut TWO 6" circles from the kraft card. Score ONE across, about 1cm down from edge and put red liner tape ABOVE the score line. Trim off a sliver from the bottom of this one, to allow your card blank to stand up!
|
|
Remove the backing from the tape and adhere the 2 circles to create your card blank. |
|
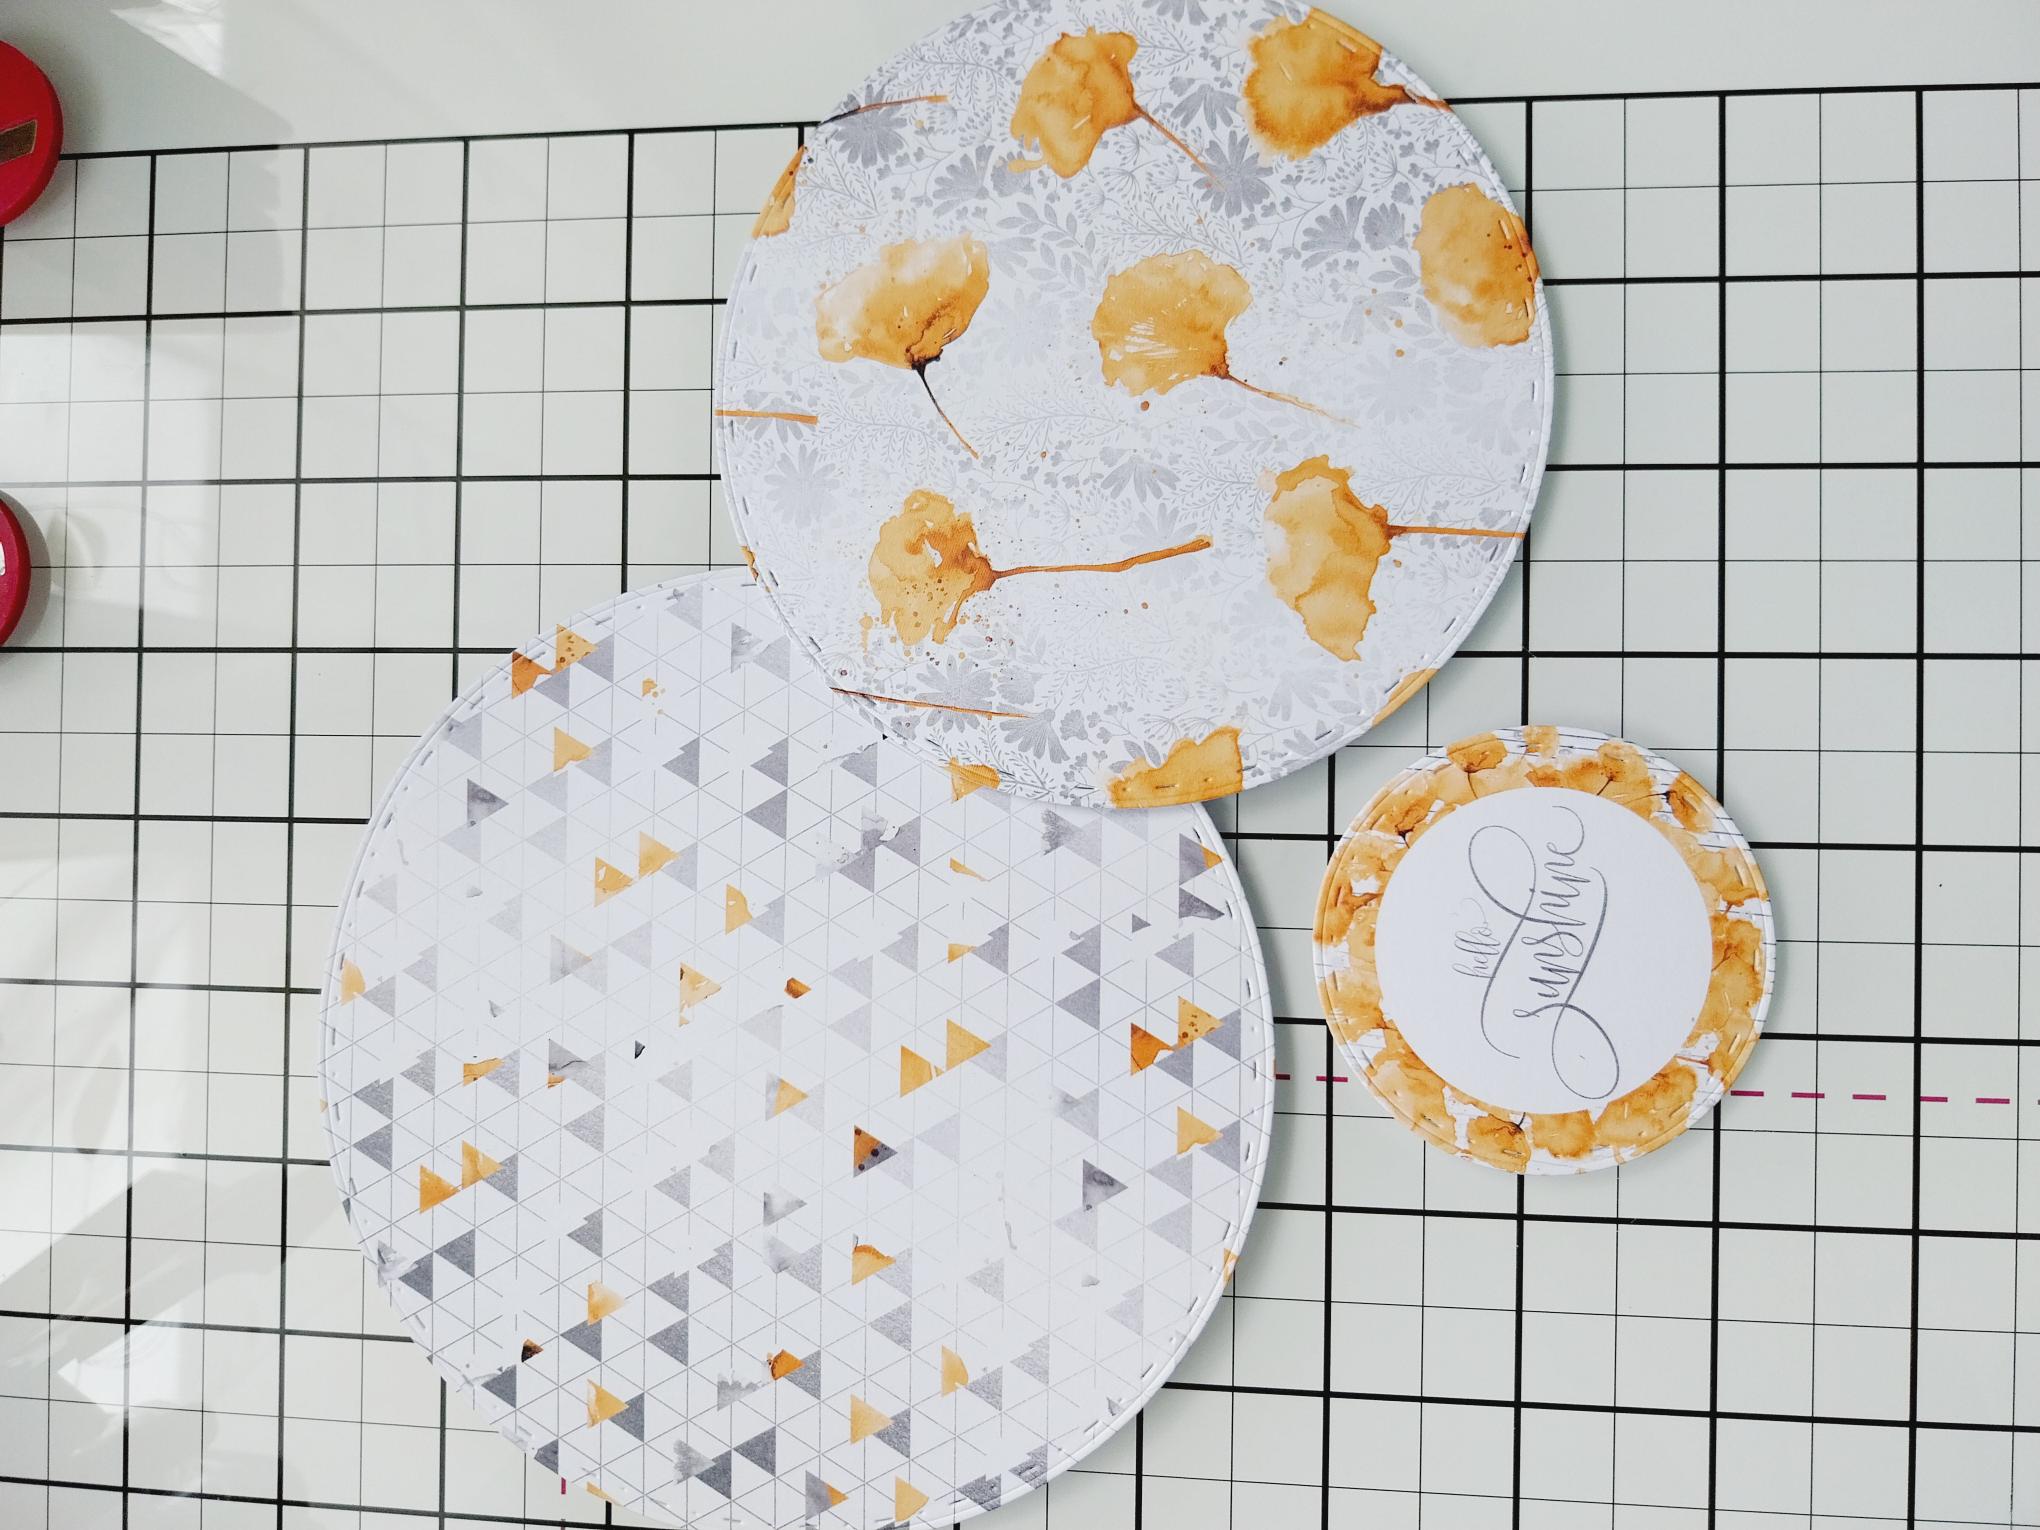
Remove these decorative sheets from the Floral Romance paper pack. Use your circle nesting dies to die cut the "abstract triangle paper to 5 1/2" diameter, the Poppy paper to 4 1/2" and to cut out the Hello Sunshine circle sentiment. |
|
Use your blending tool to ink around the edges with the Iced Spruce Oxide. |
|
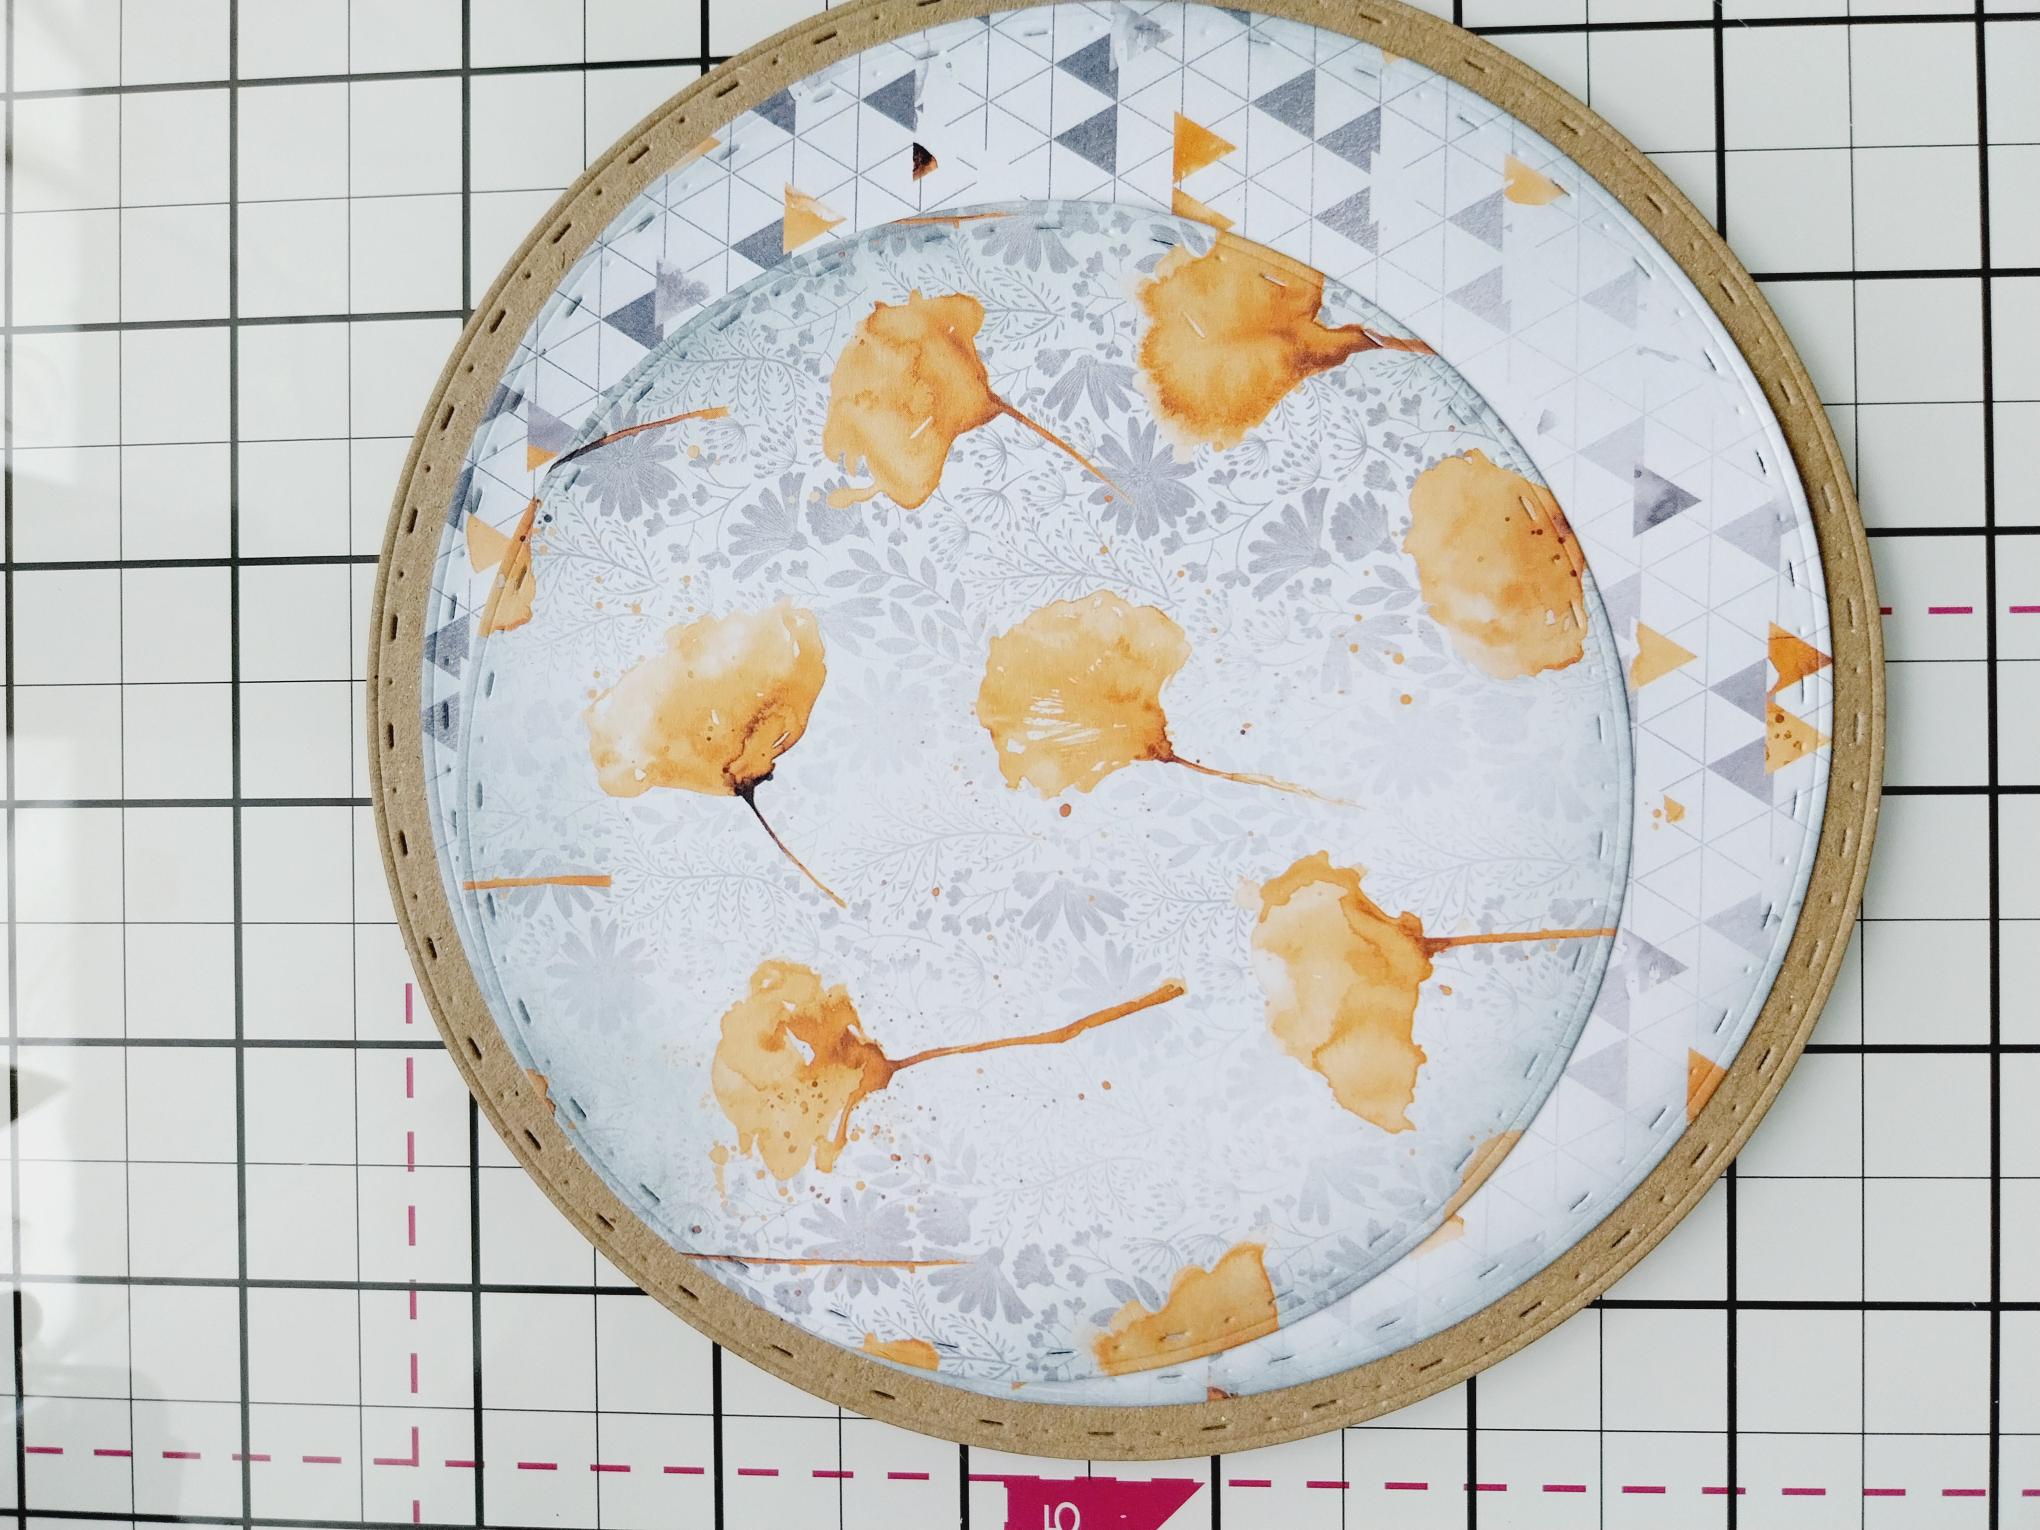
Adhere the abstract paper on to your kraft card blank, then the Poppy paper flush with the top left edge, as seen here. |
|
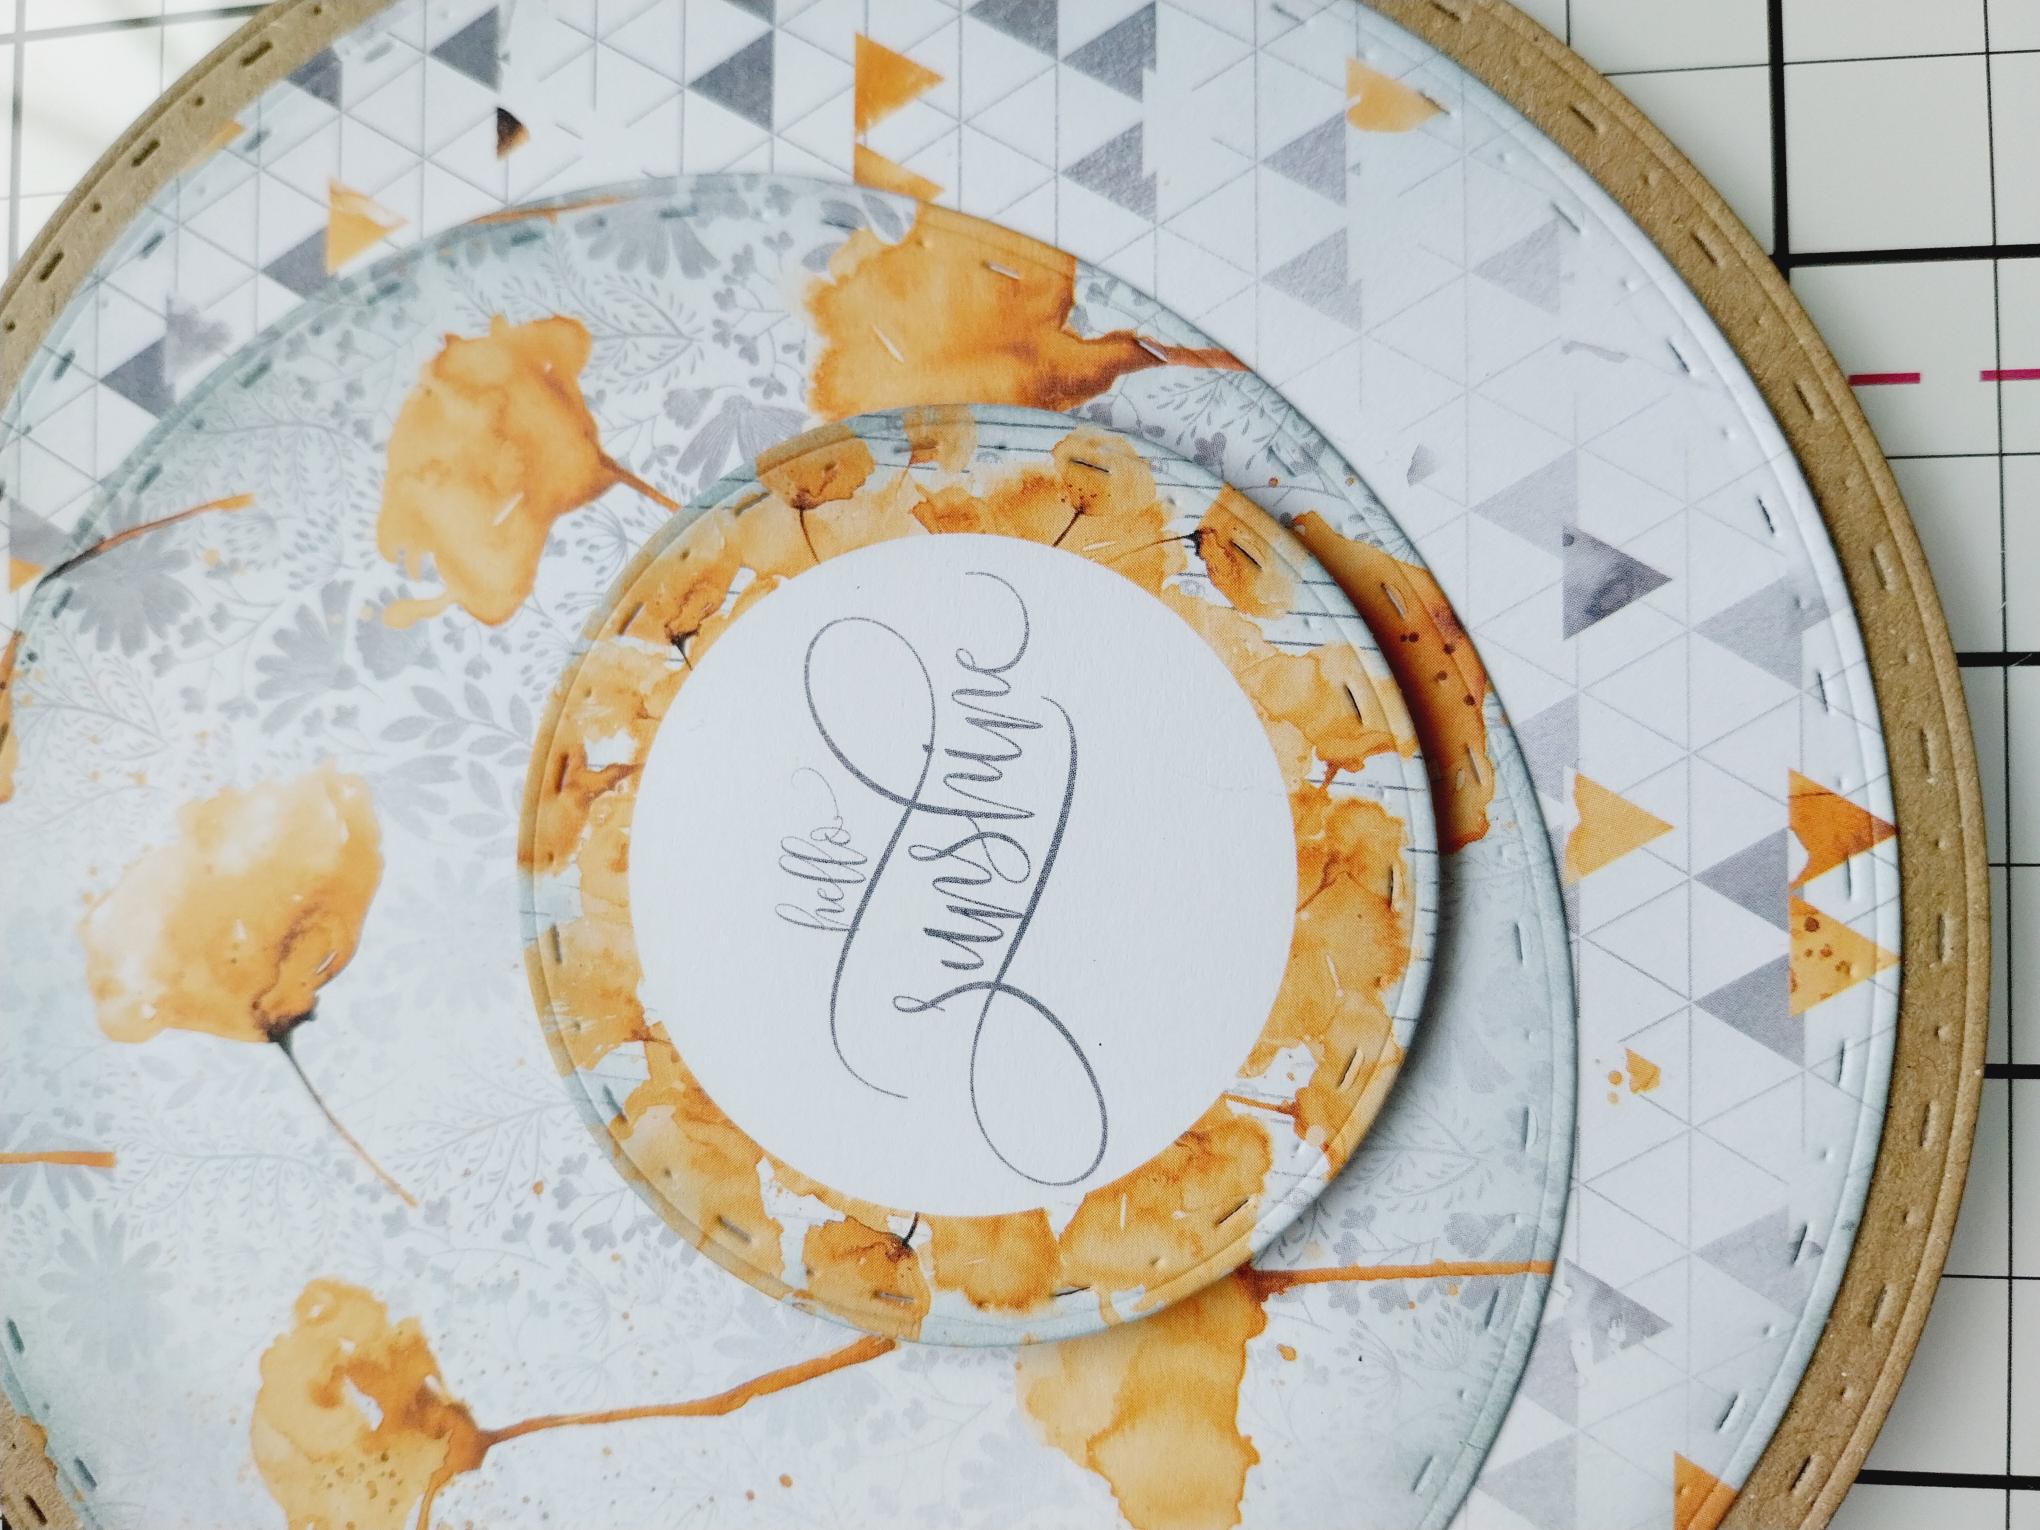
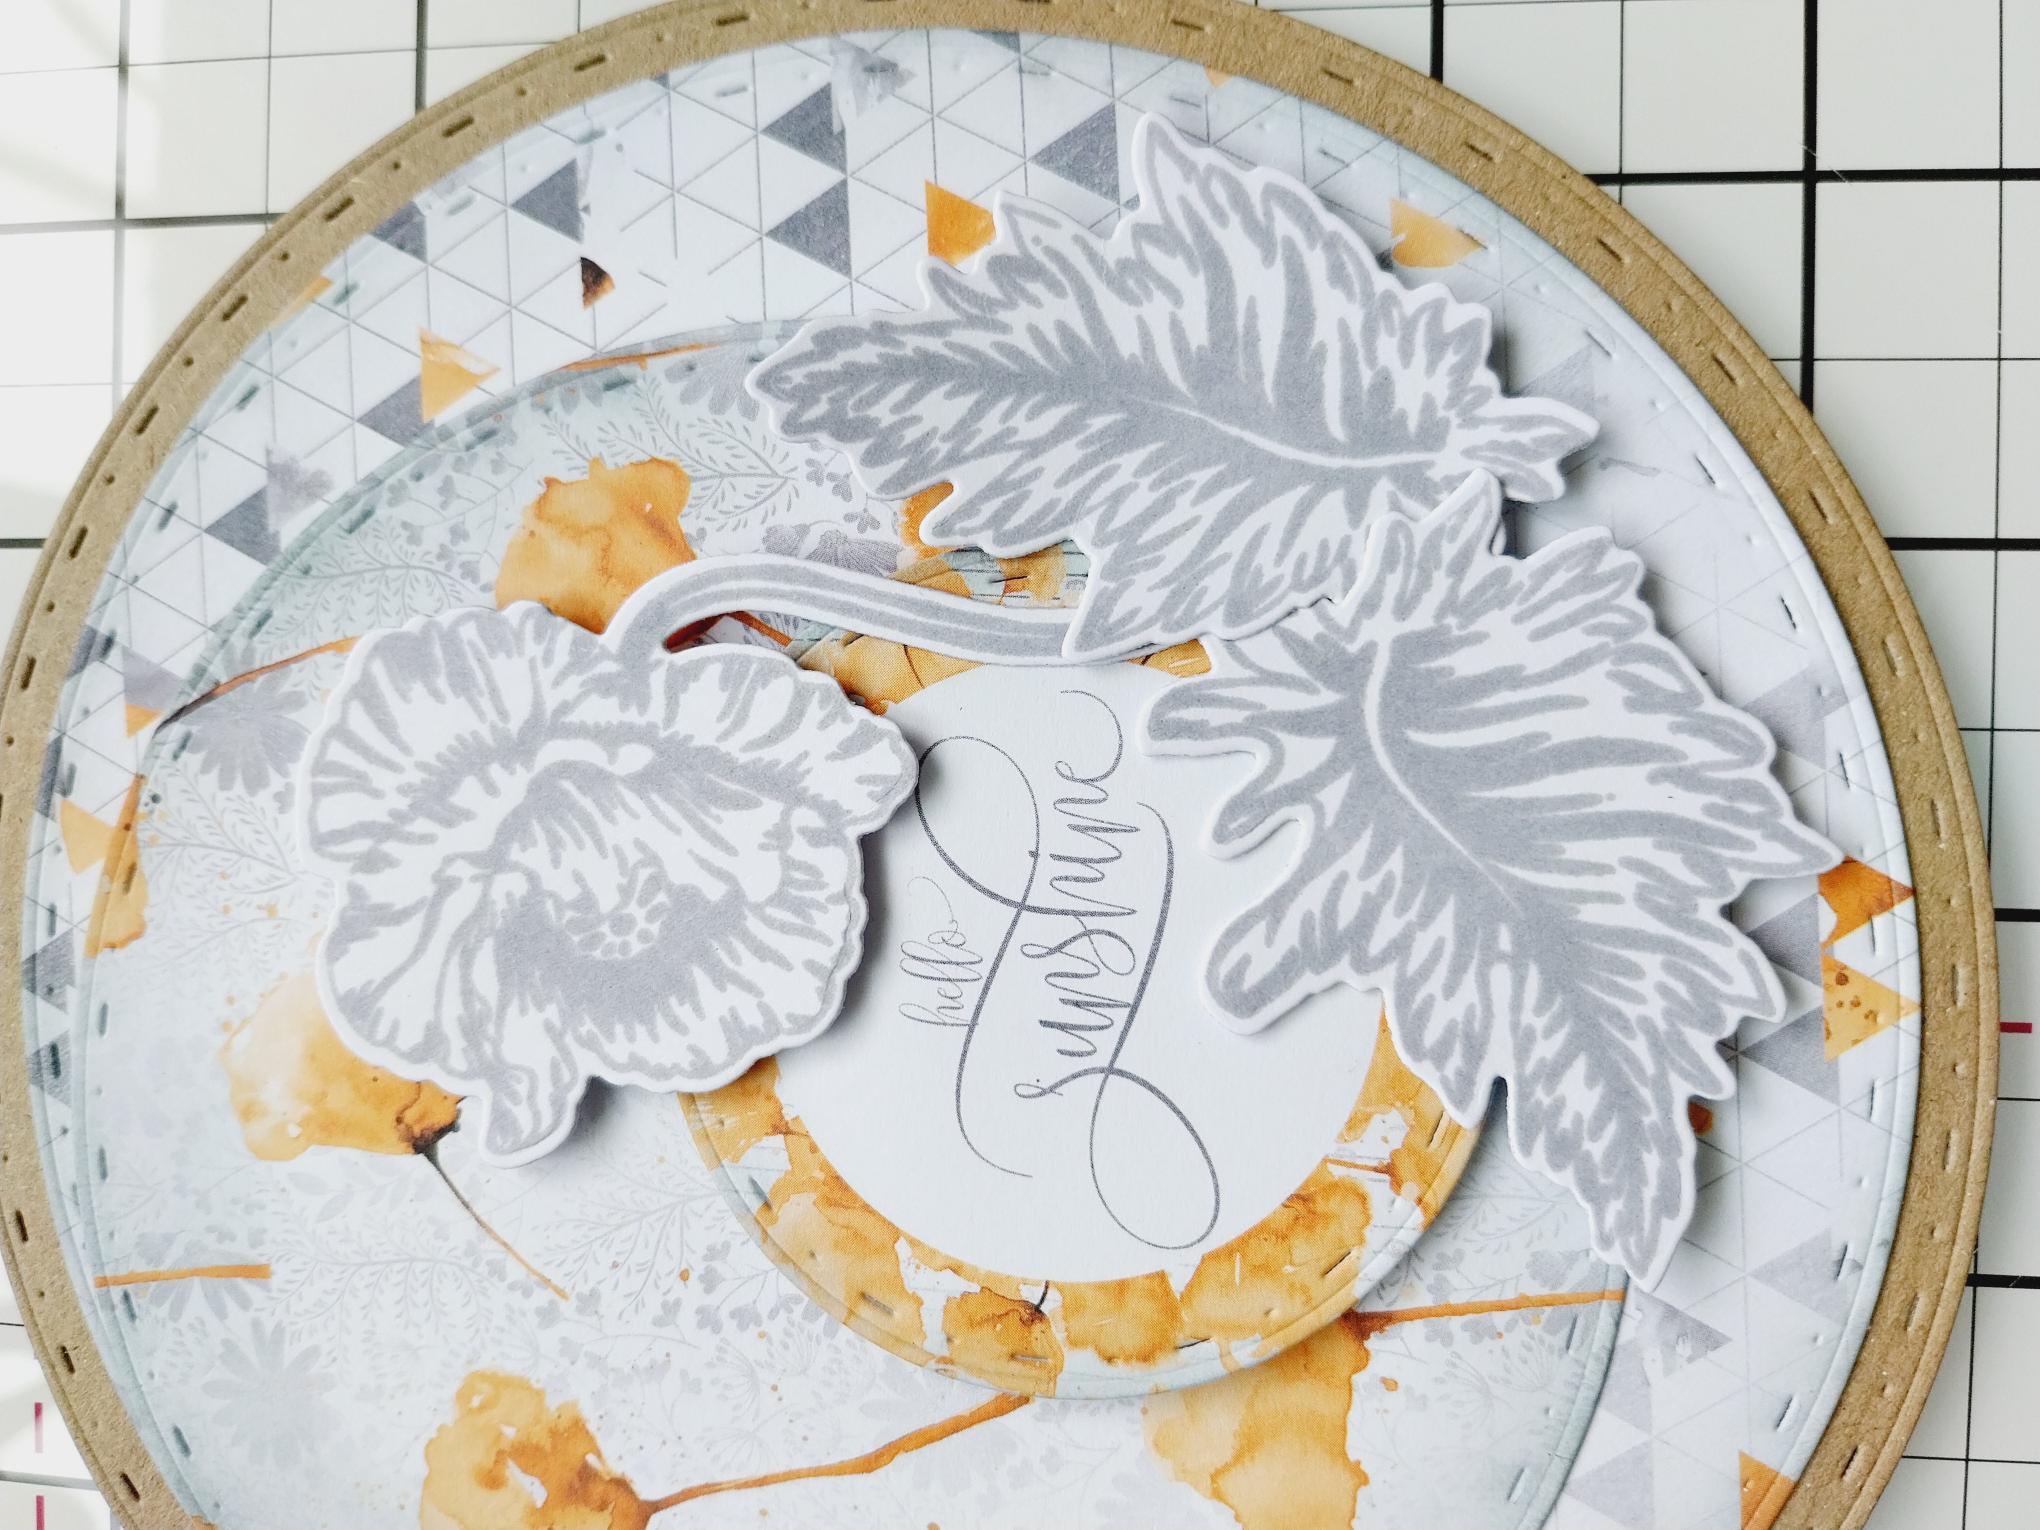
Adhere the sentiment topper, with foam pads, to the bottom right of the Poppy paper. Set your card to one side. |
|
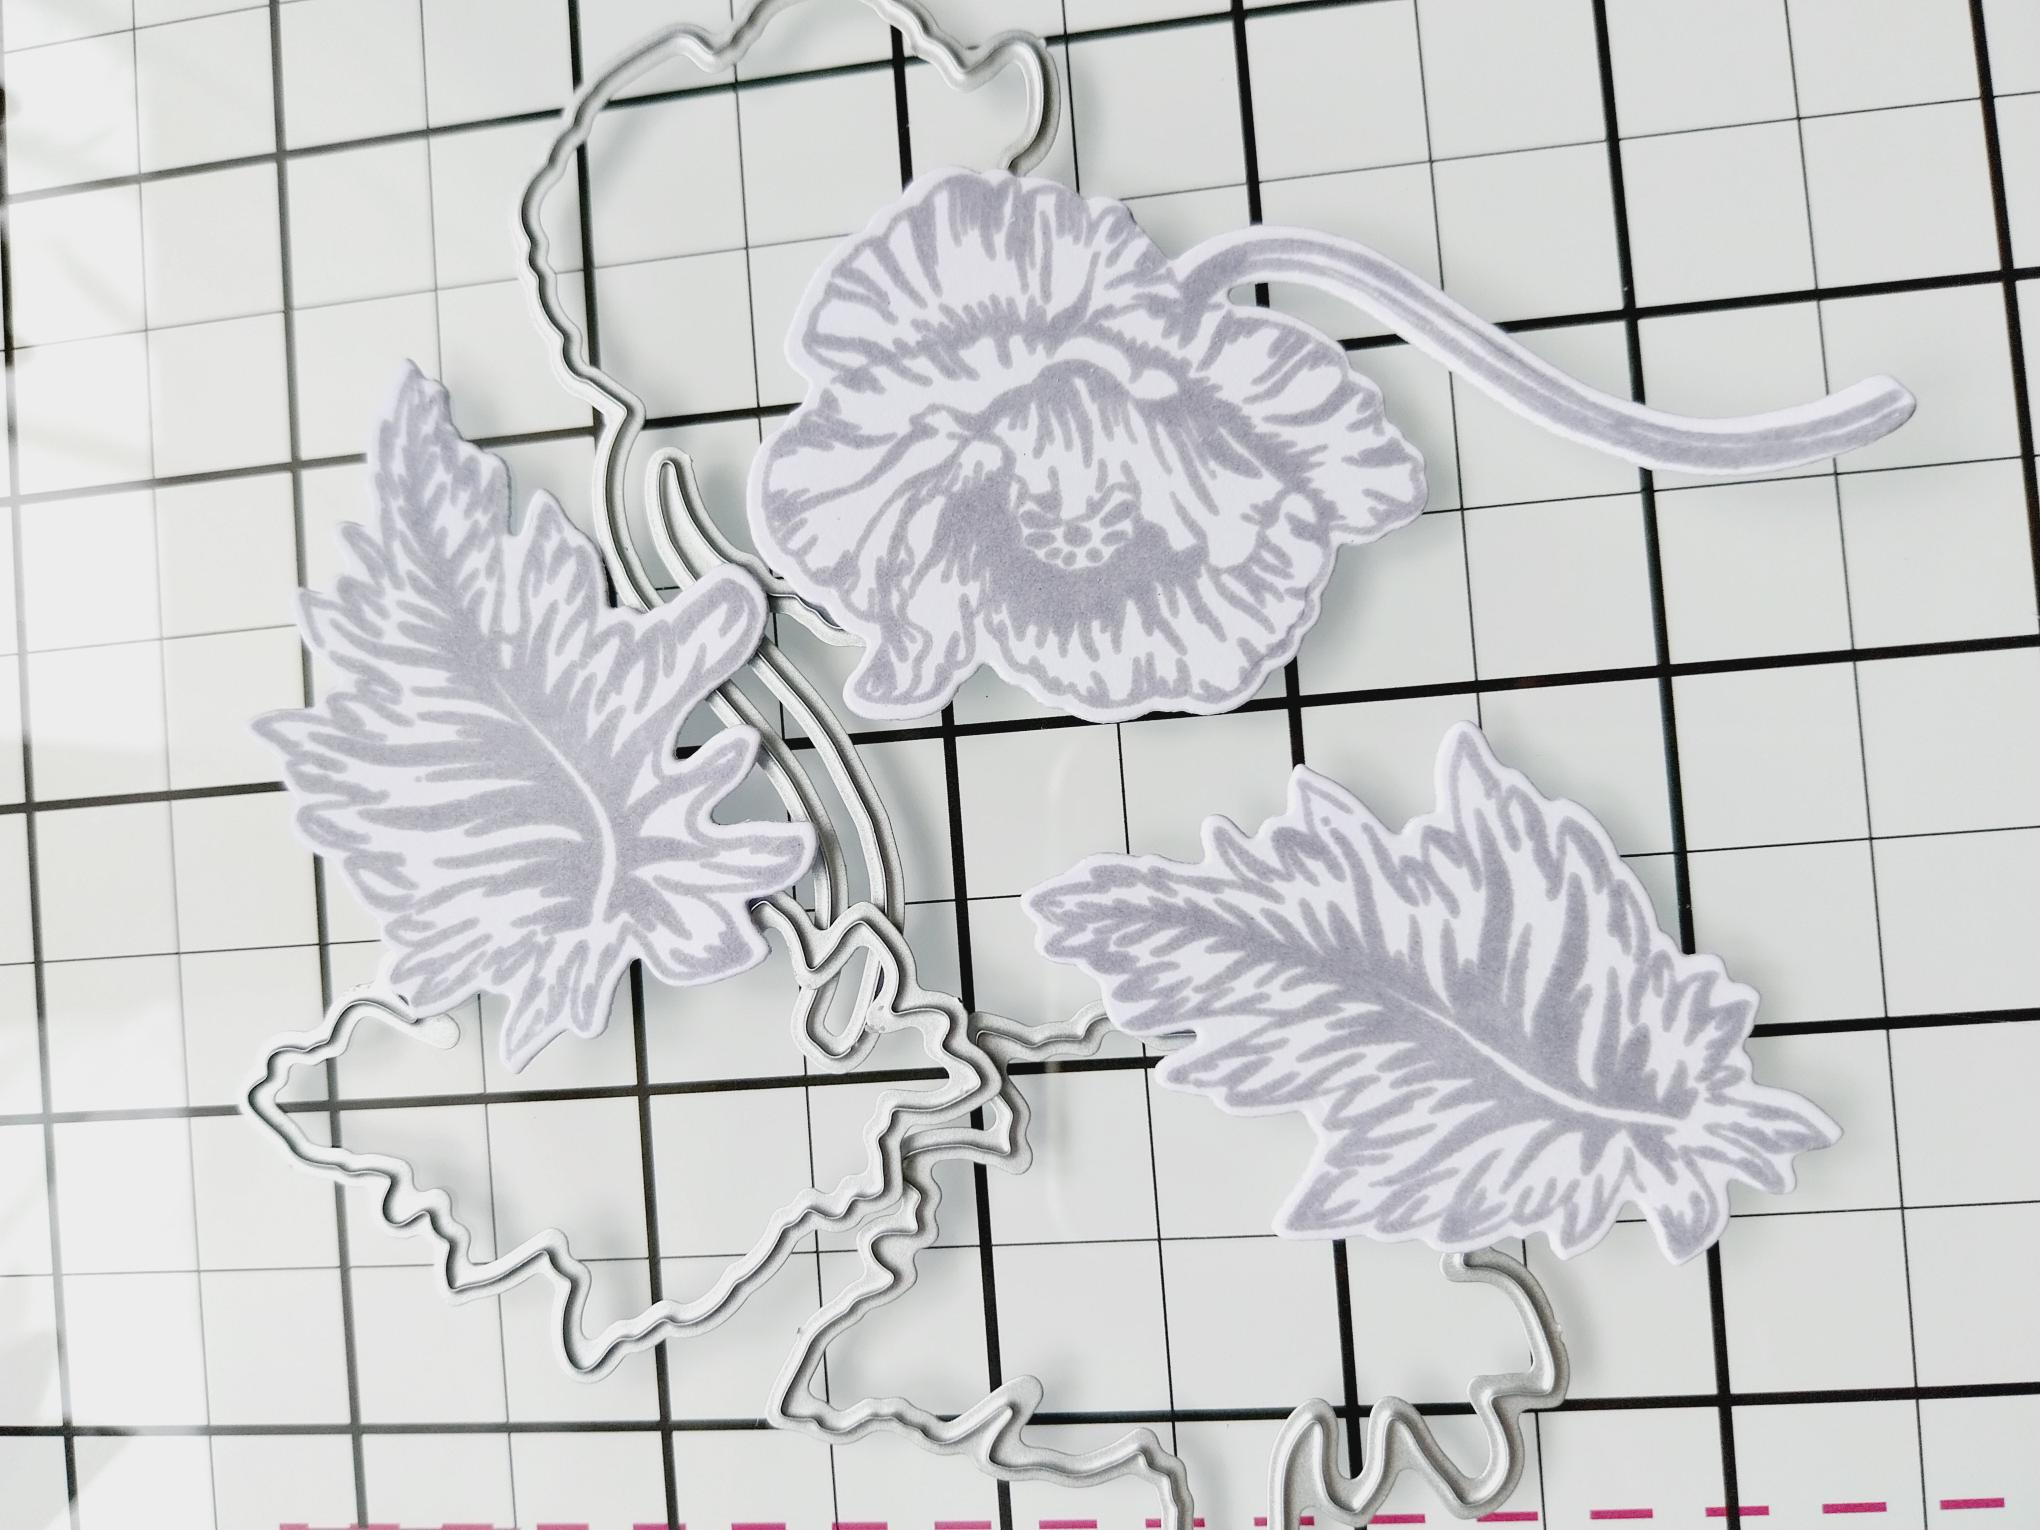
Stamp these floral and foliage images on to white card, using the Archival Shadow Grey ink pad. Die cut with the coordinating dies. |
|
Use foam pads to adhere your 3D elements around the right curve of the papers. |
|
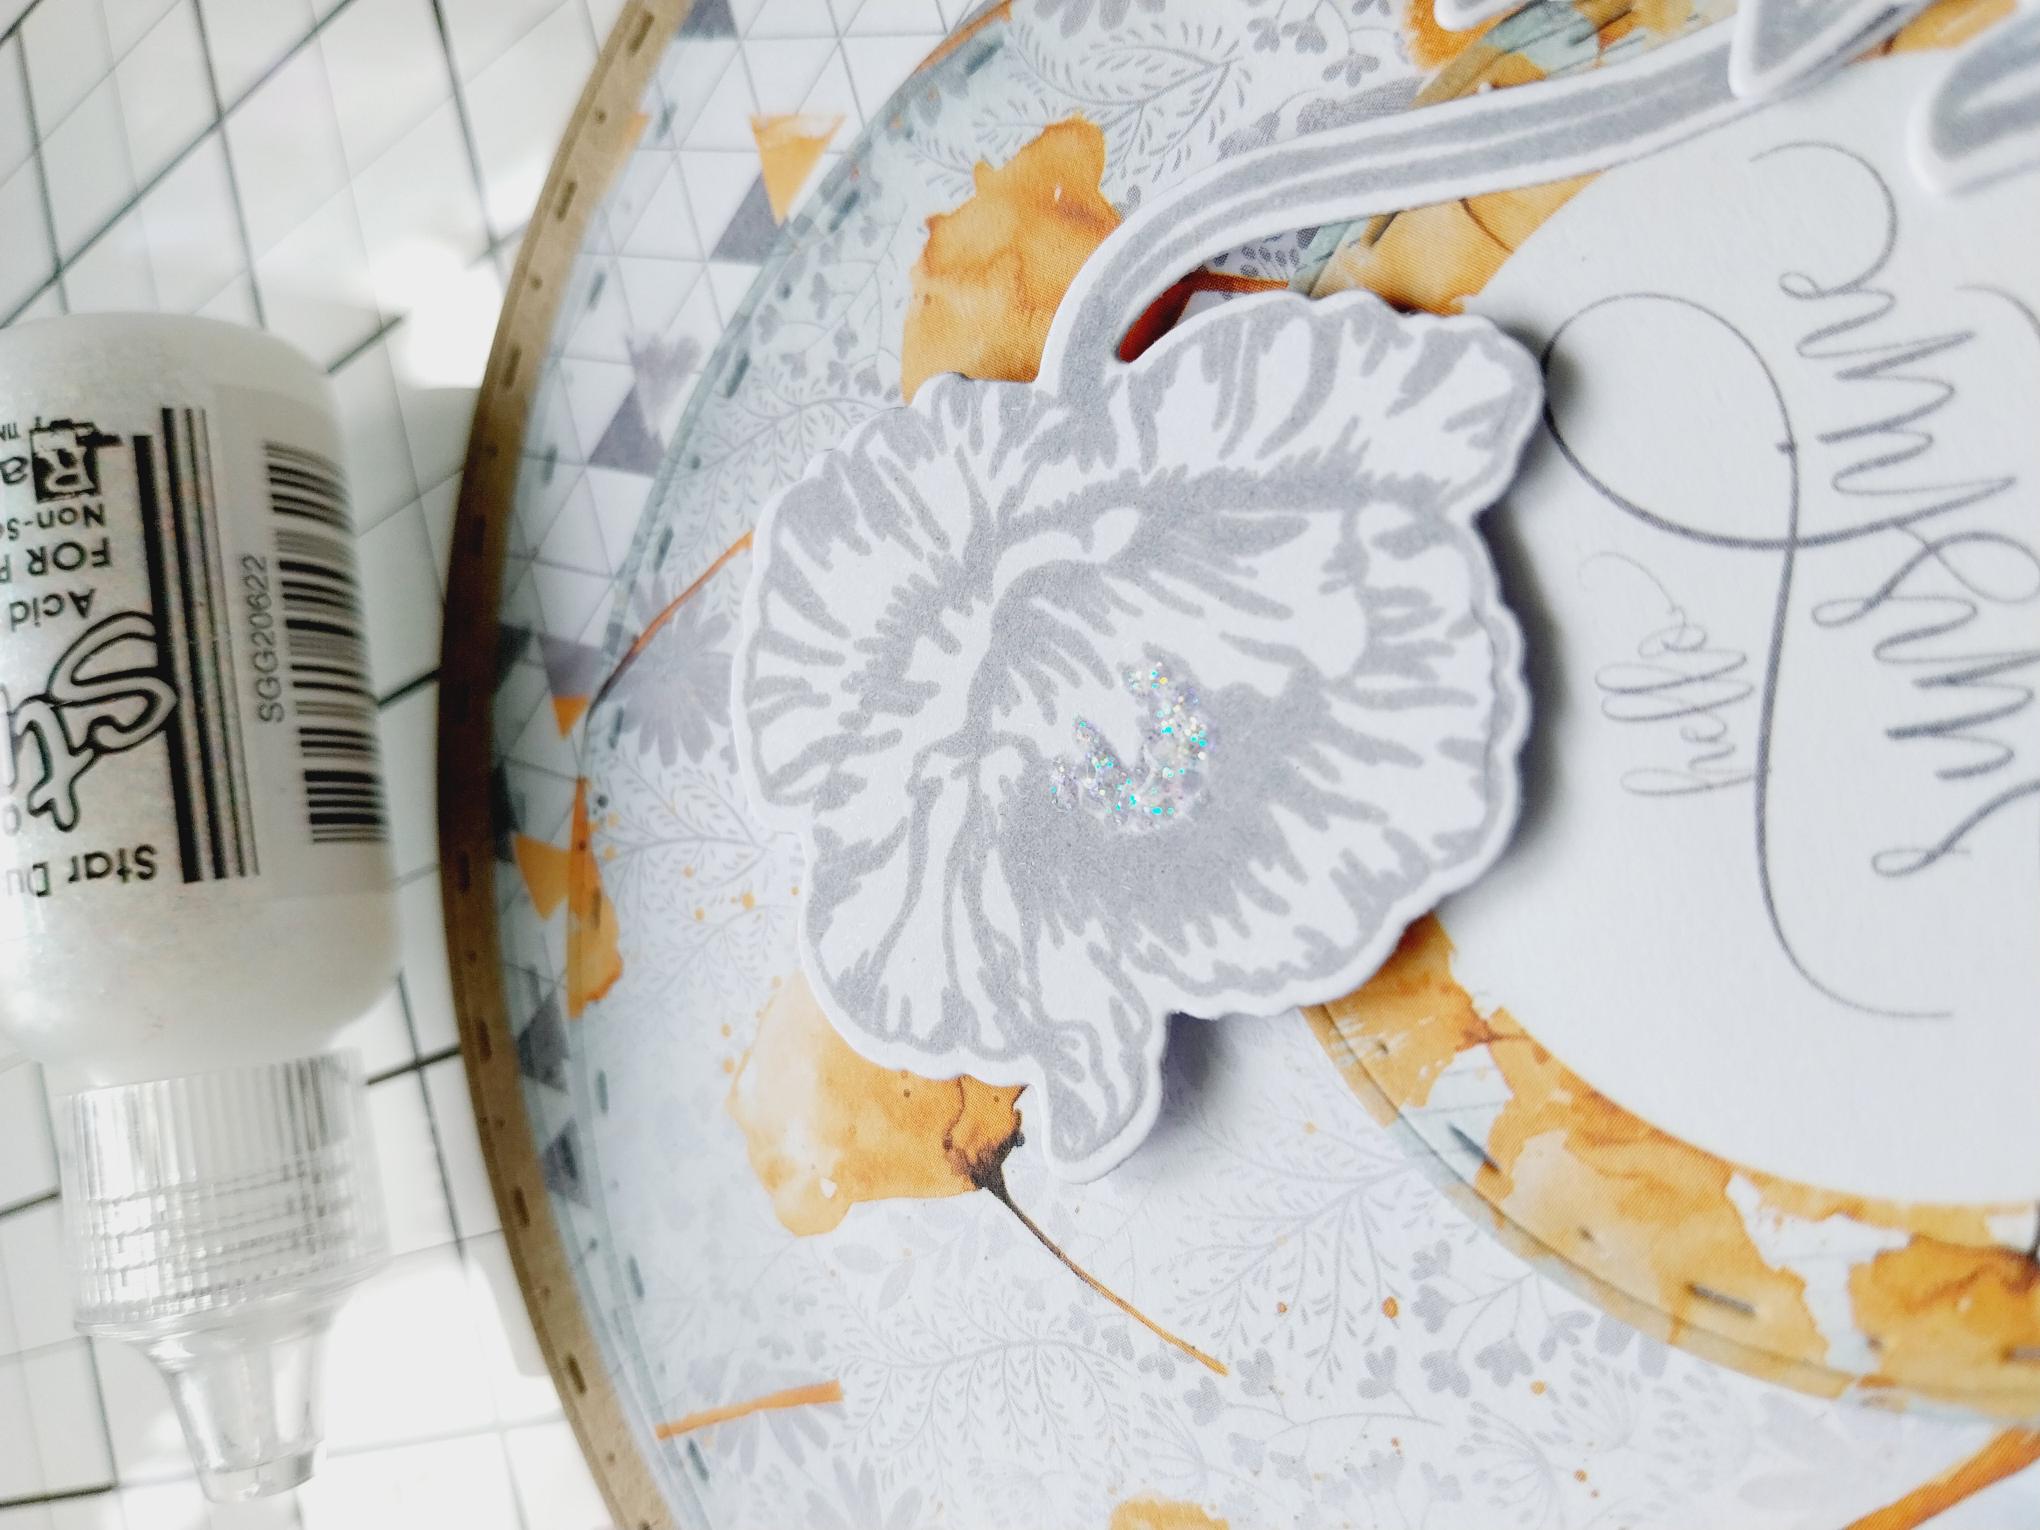
Use the Stickles to add a touch of sparkle to your Poppy. |
|
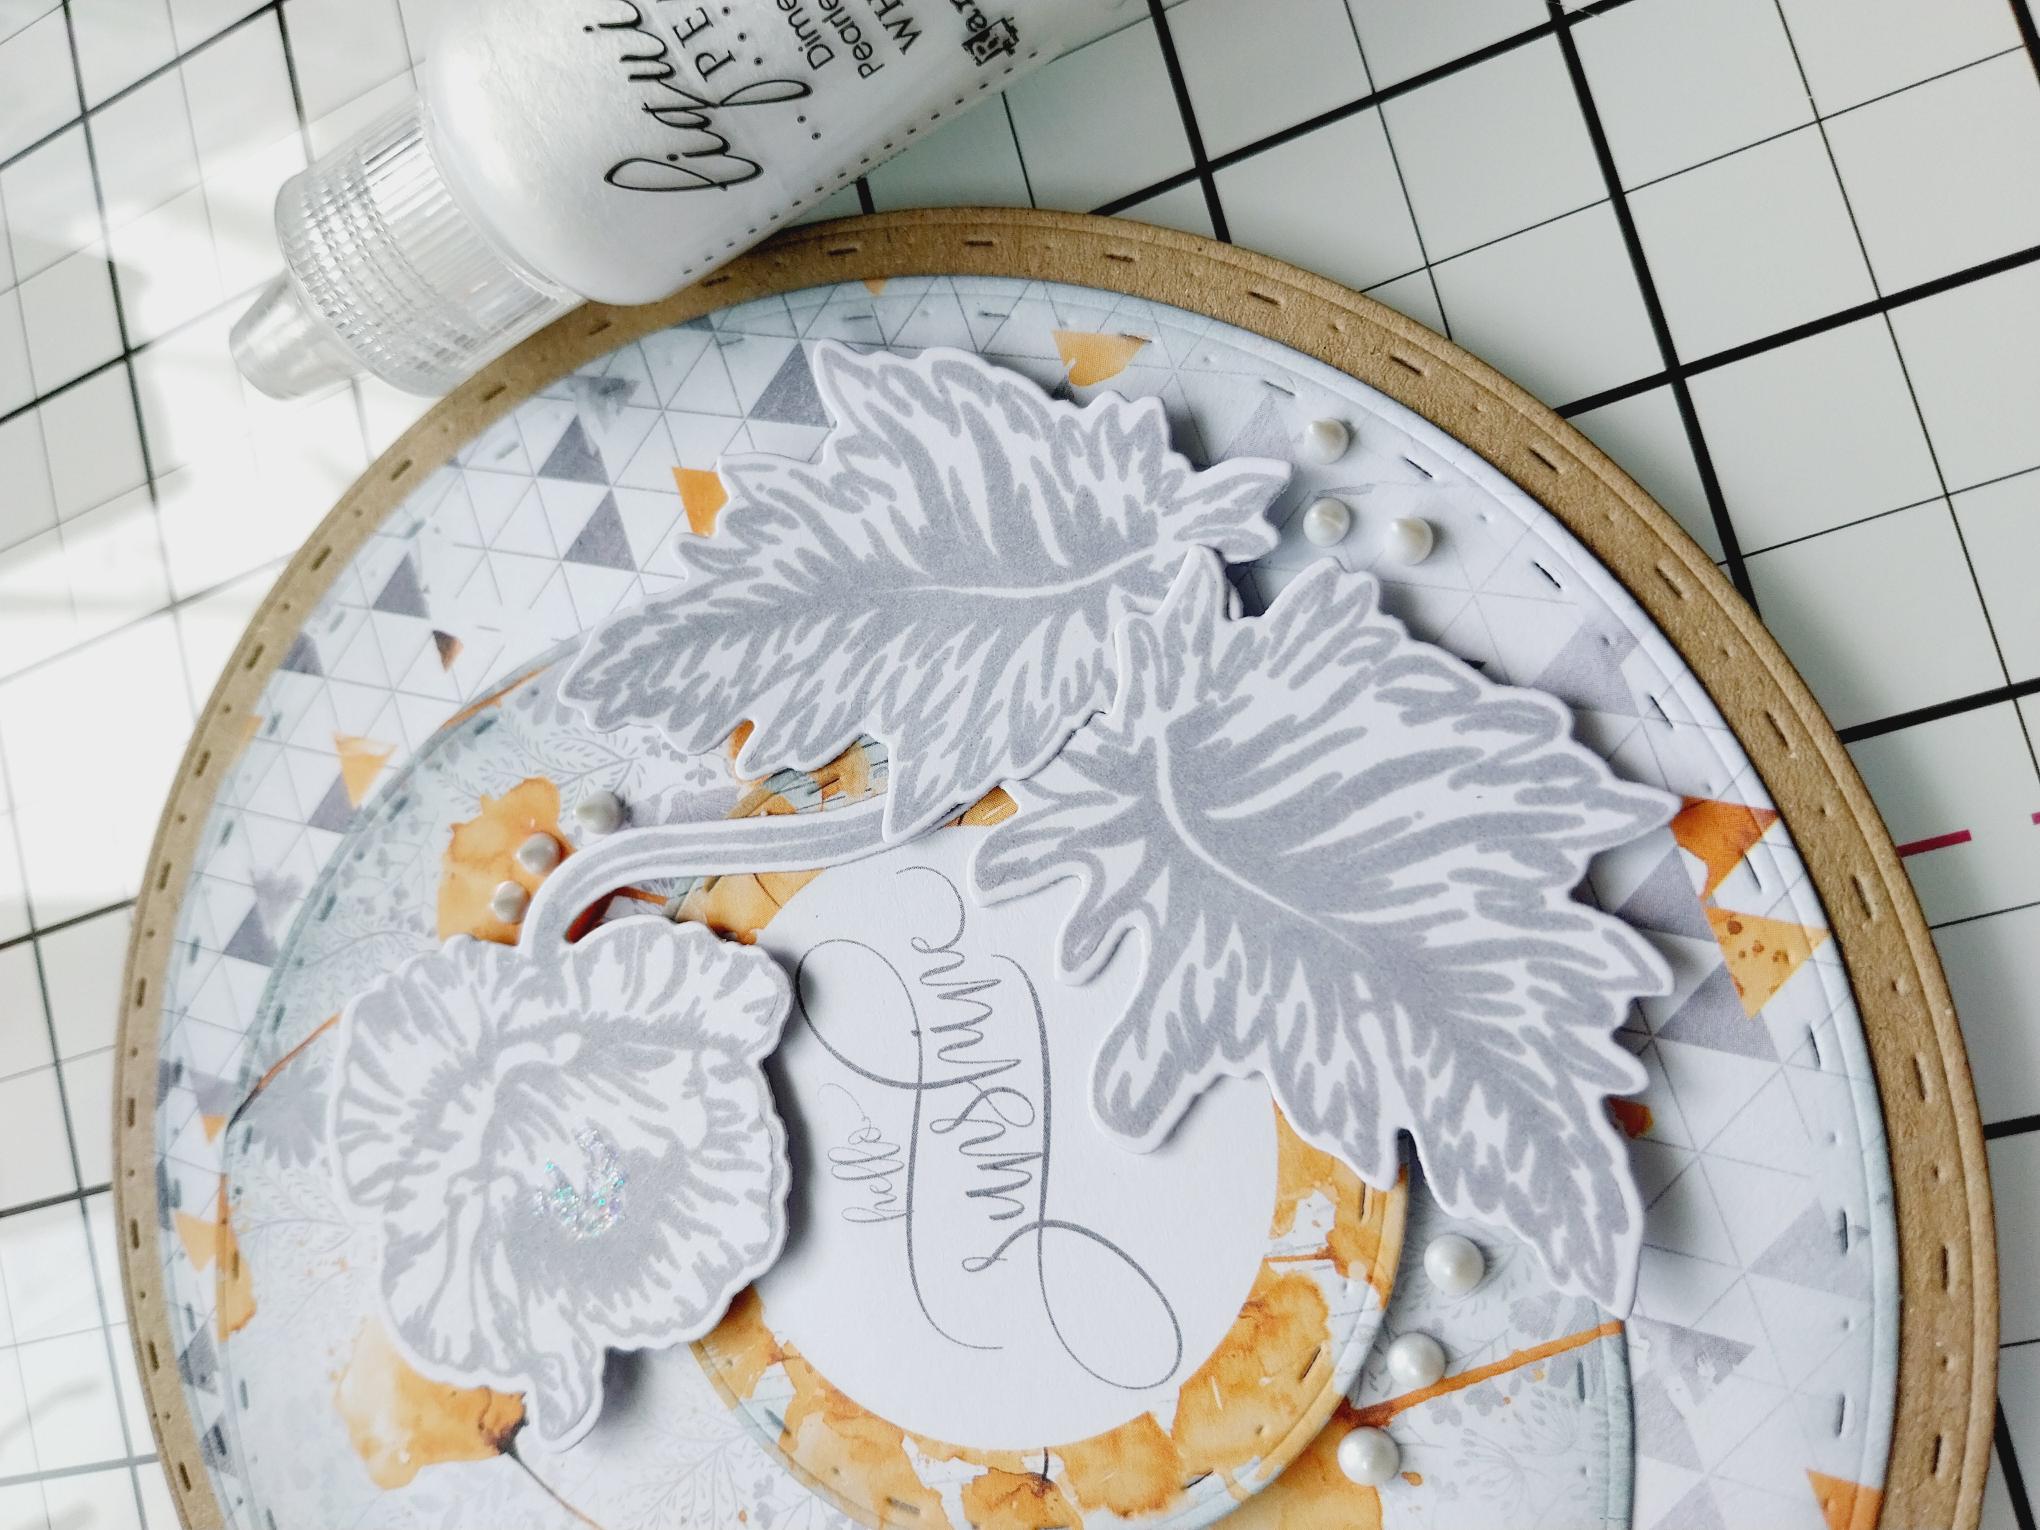
Finish by adding pearl drops around your 3D elements, where required. |