Give your friends $10 off their first order!
Refer a FRIEND


WHAT YOU WILL NEED:
Black/white card
Bloom & Wild 8 x 8" Paper Pack
Perfect Poppy A6 Stamp Collection
Deboss Circle Nesting Die Collection
Saying Hello Stamp and Die Collection
SBM Hybrid Ink Pad: Midnight
Stickles: Diamond
Eureka 101 Watercolour Tablet
SBM Magnetic glass mat
Score board and score tool
Red liner tape
Foam pads
Perfect Together Glue
Die Cutting machine
[click image to enlarge] 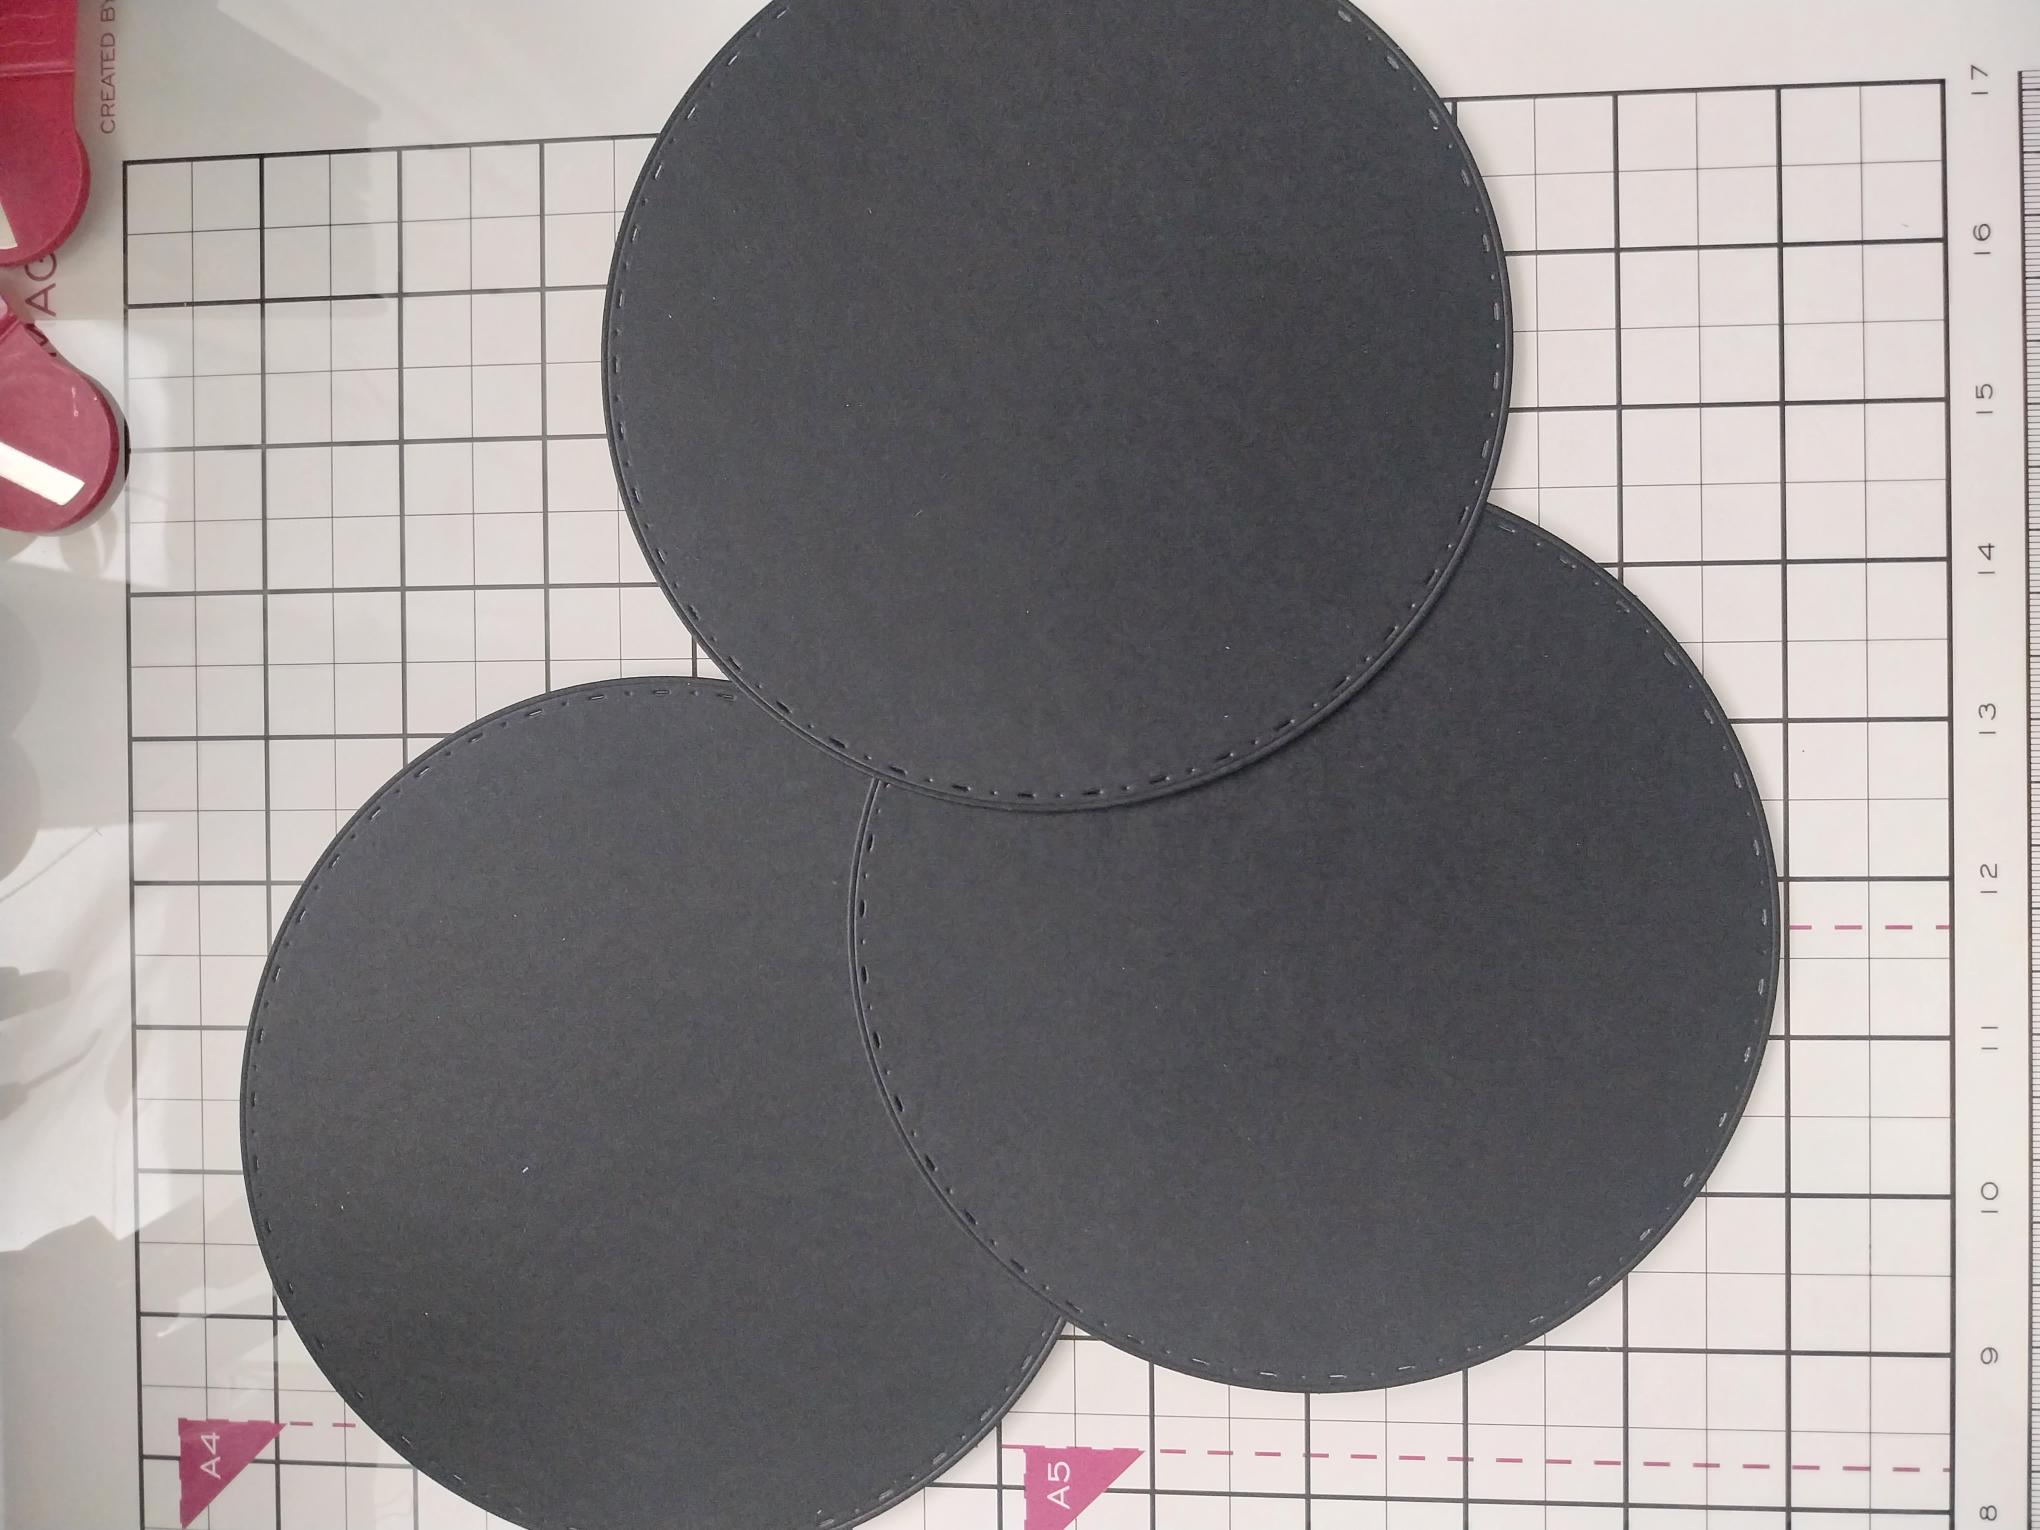
|
Die cut THREE 6" circles from black cardstock, which is at least 250gsm. |
|
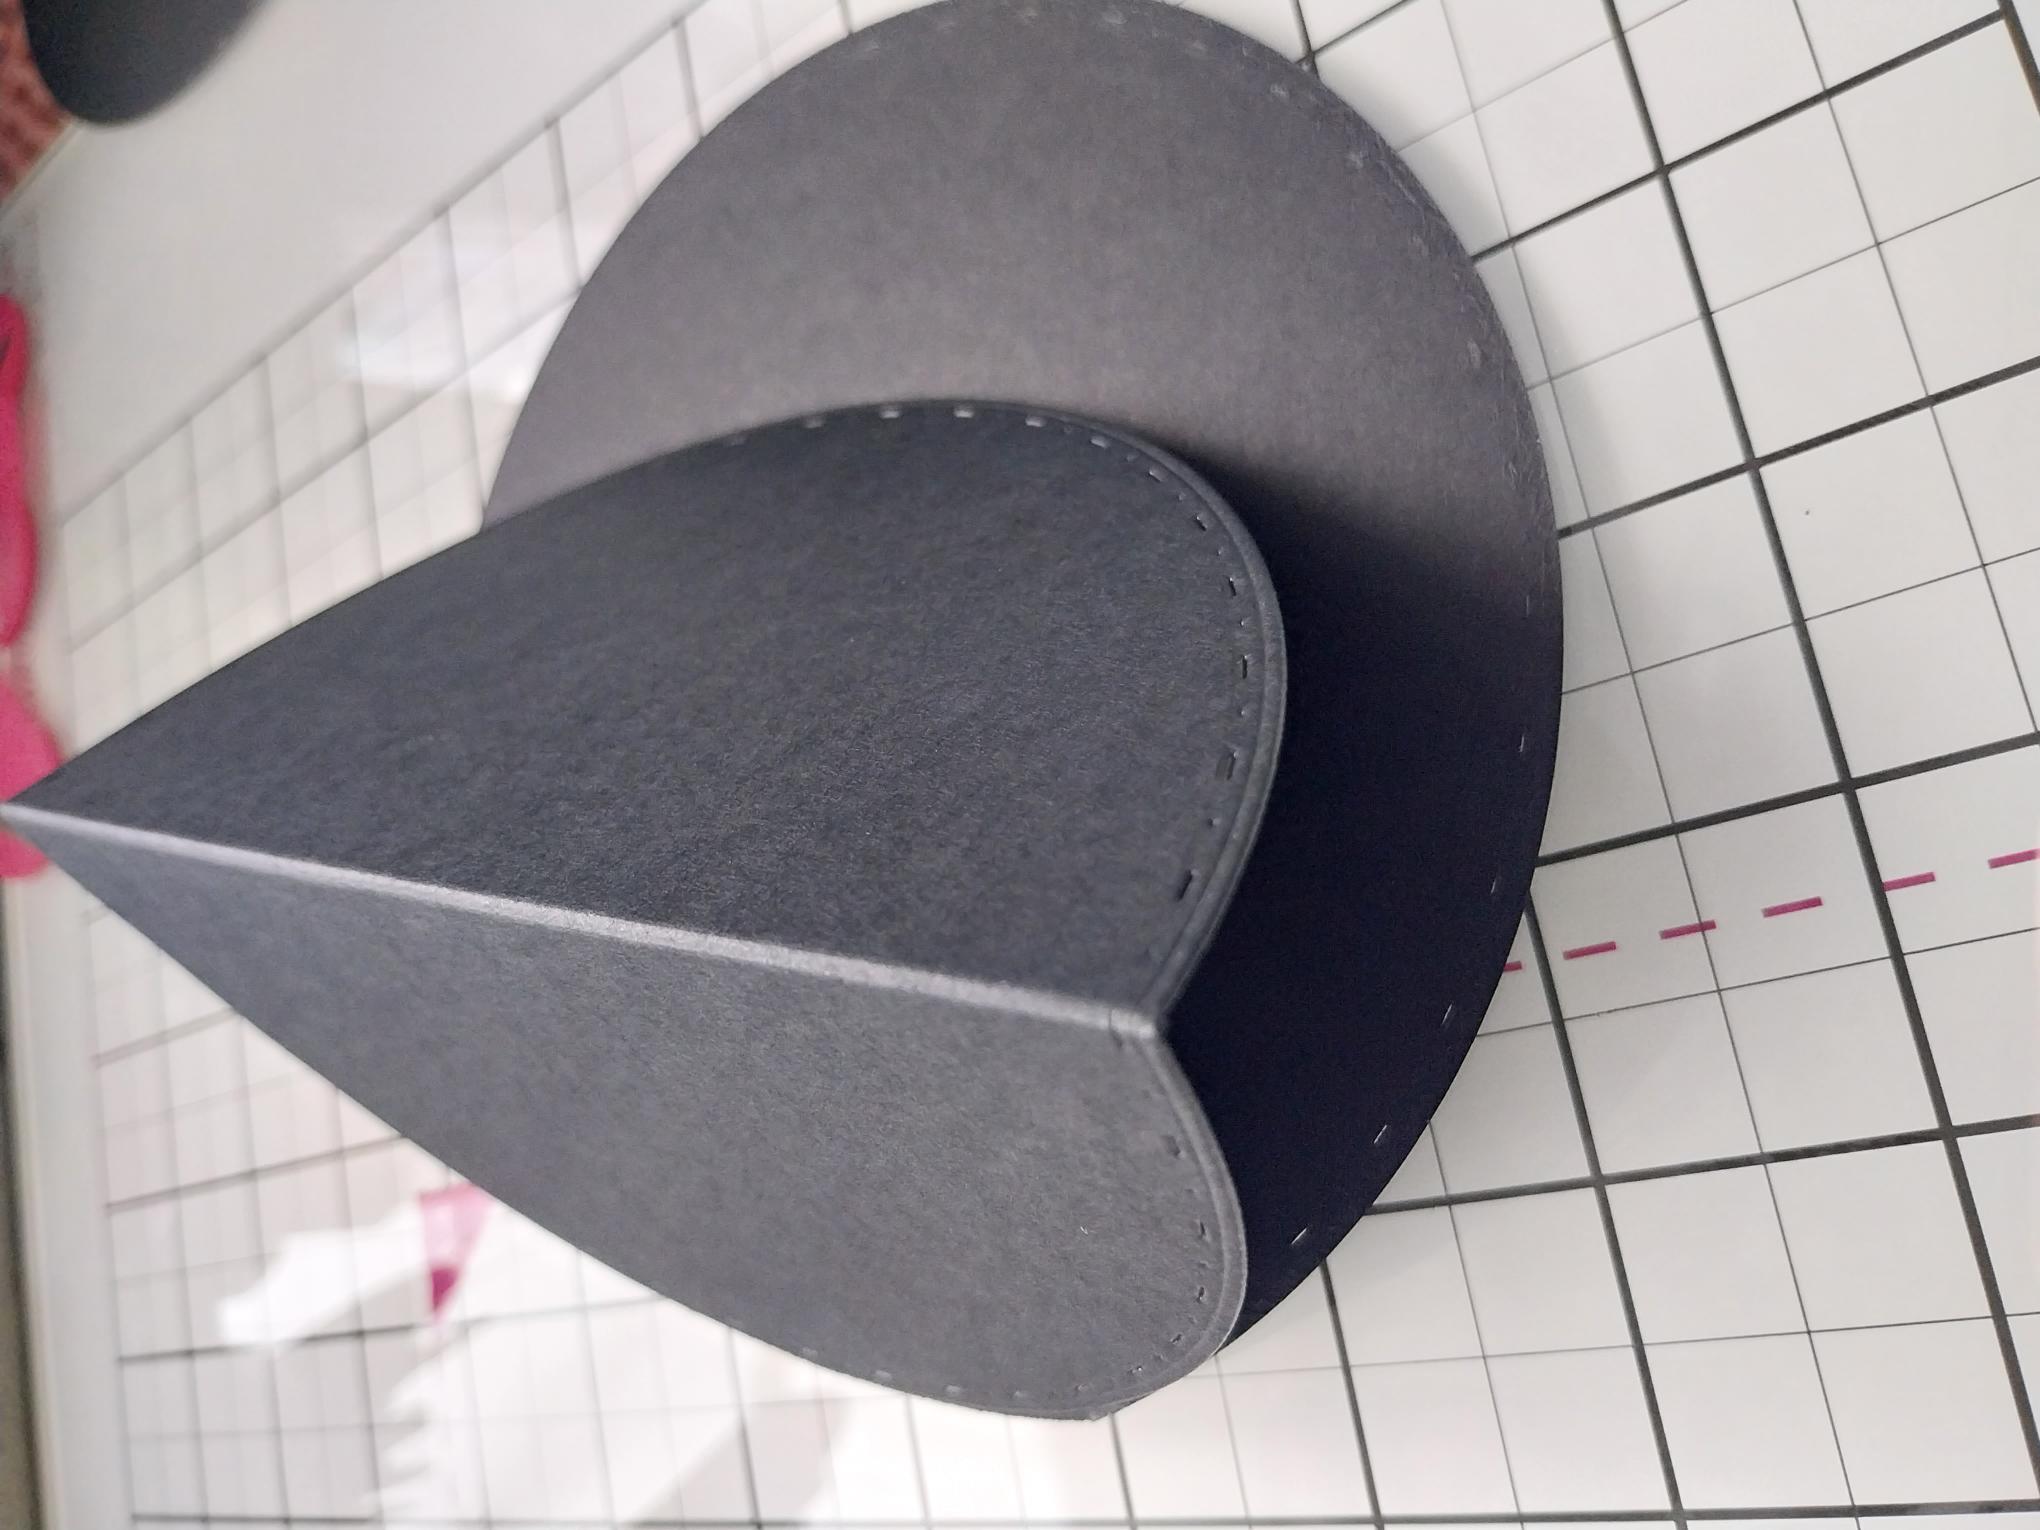
Score across one of the circles, approx 1cm from the edge. Apply red liner tape ABOVE the scored line. Score ONE of the die cut circles in half then adhere this to the first circle, thus creating a card blank, with the top page folding in half, as seen here.
|
|
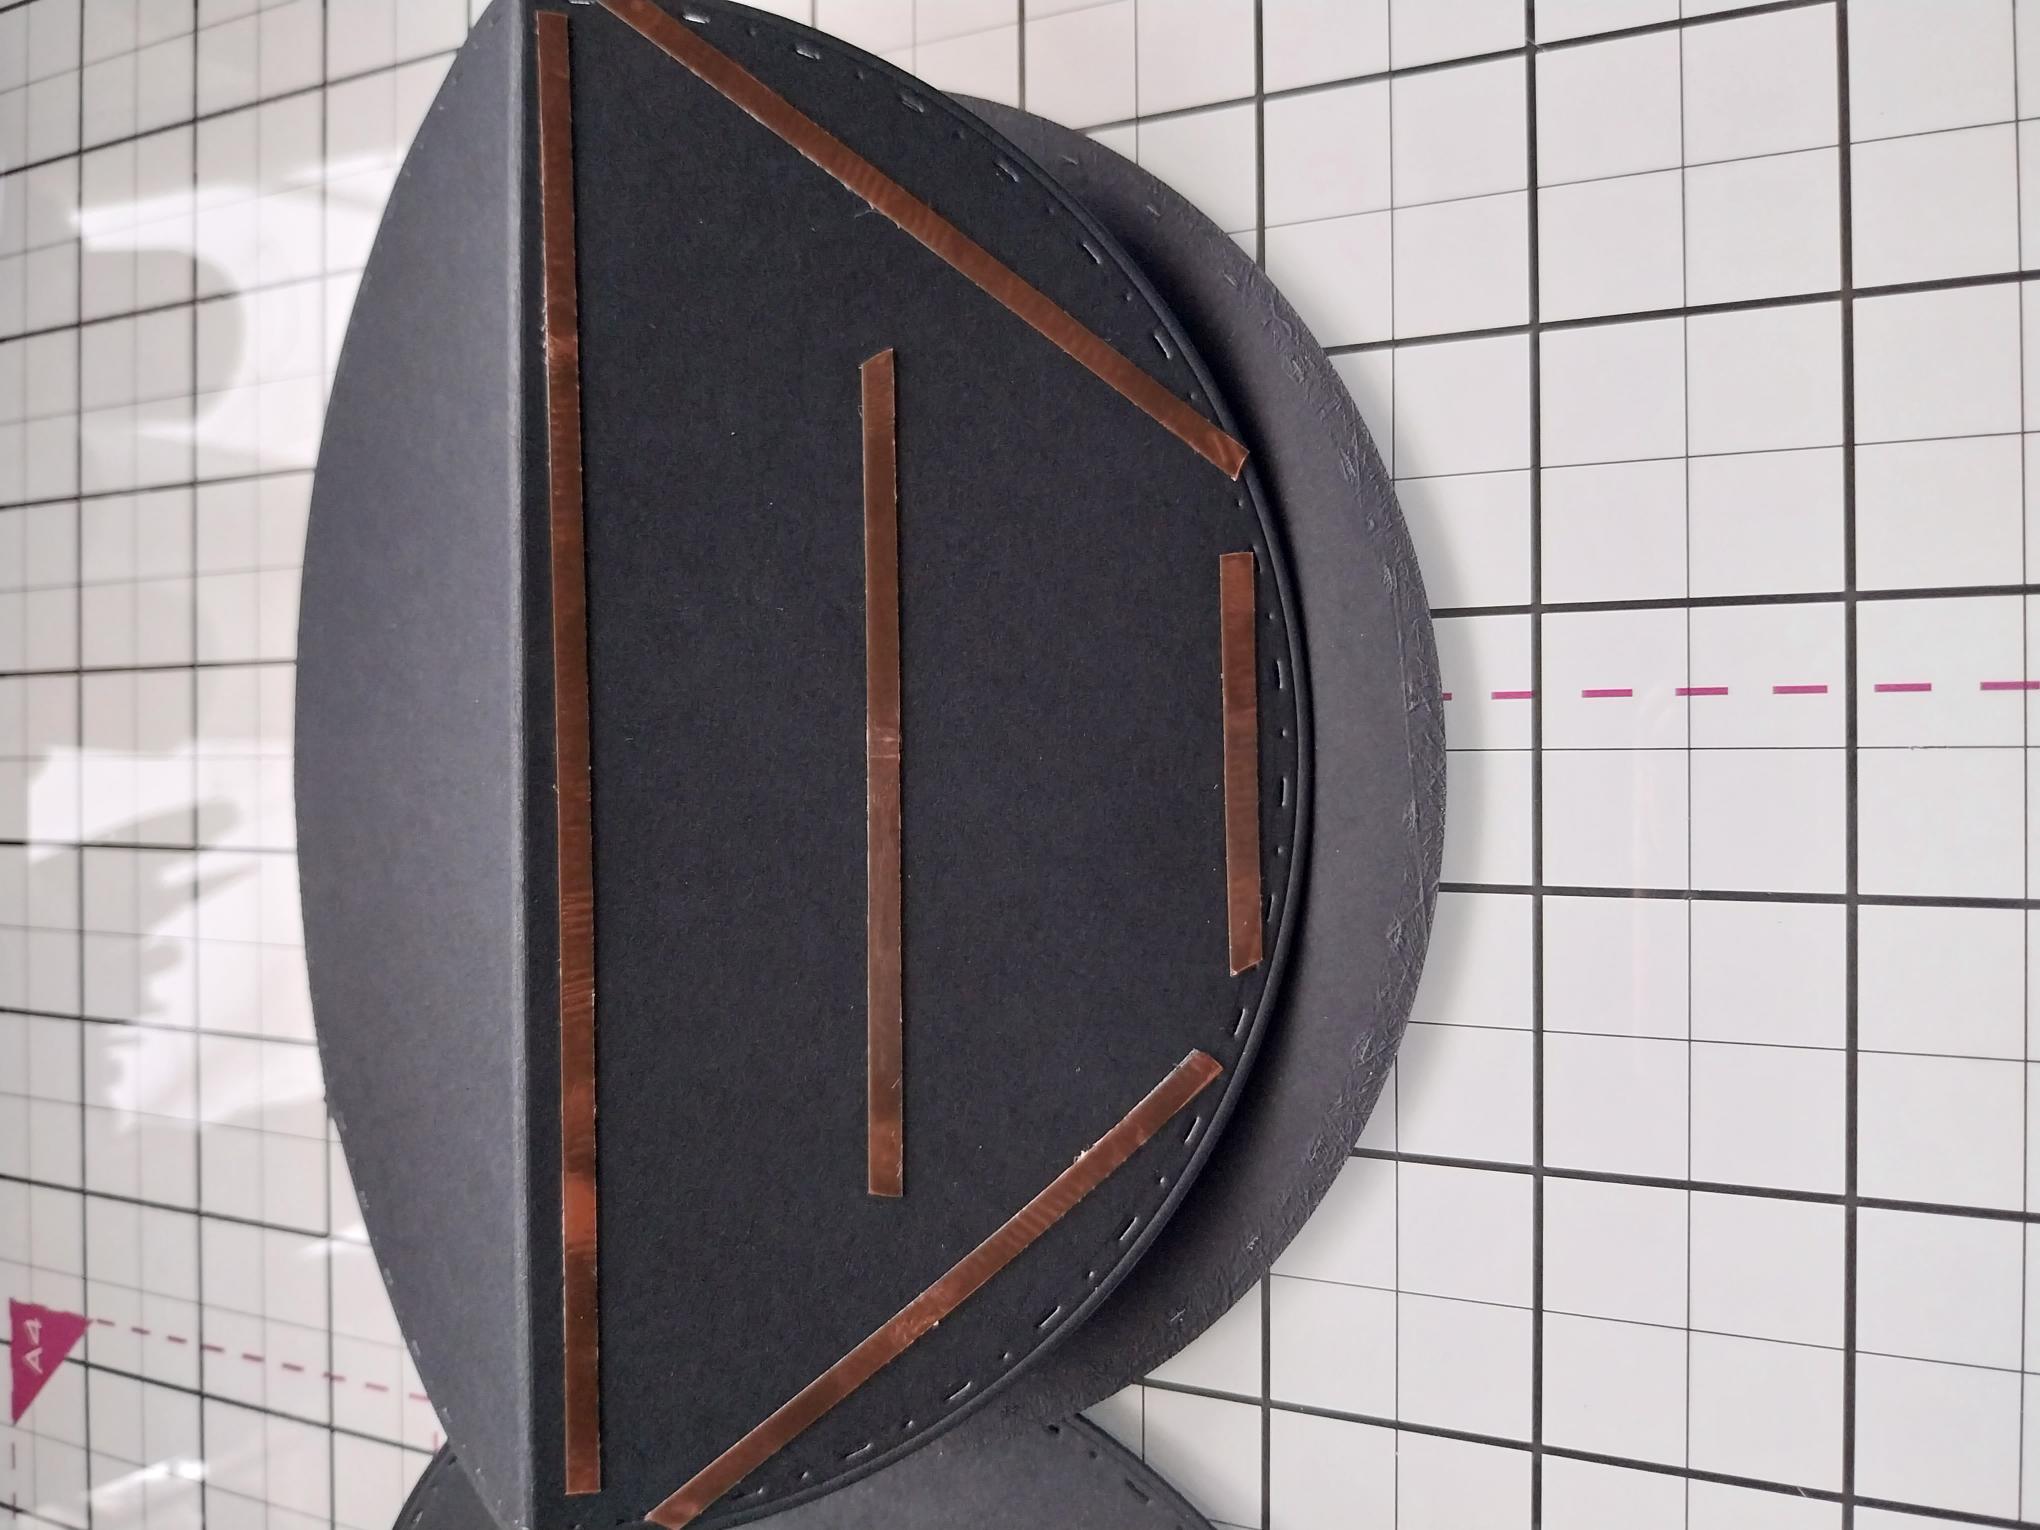
Apply red liner tape to the bottom half of the front page, BELOW the scored line only. Adhere the third die cut black circle on to this, so the bottom is now glued but the top part of the front stands proud. |

|
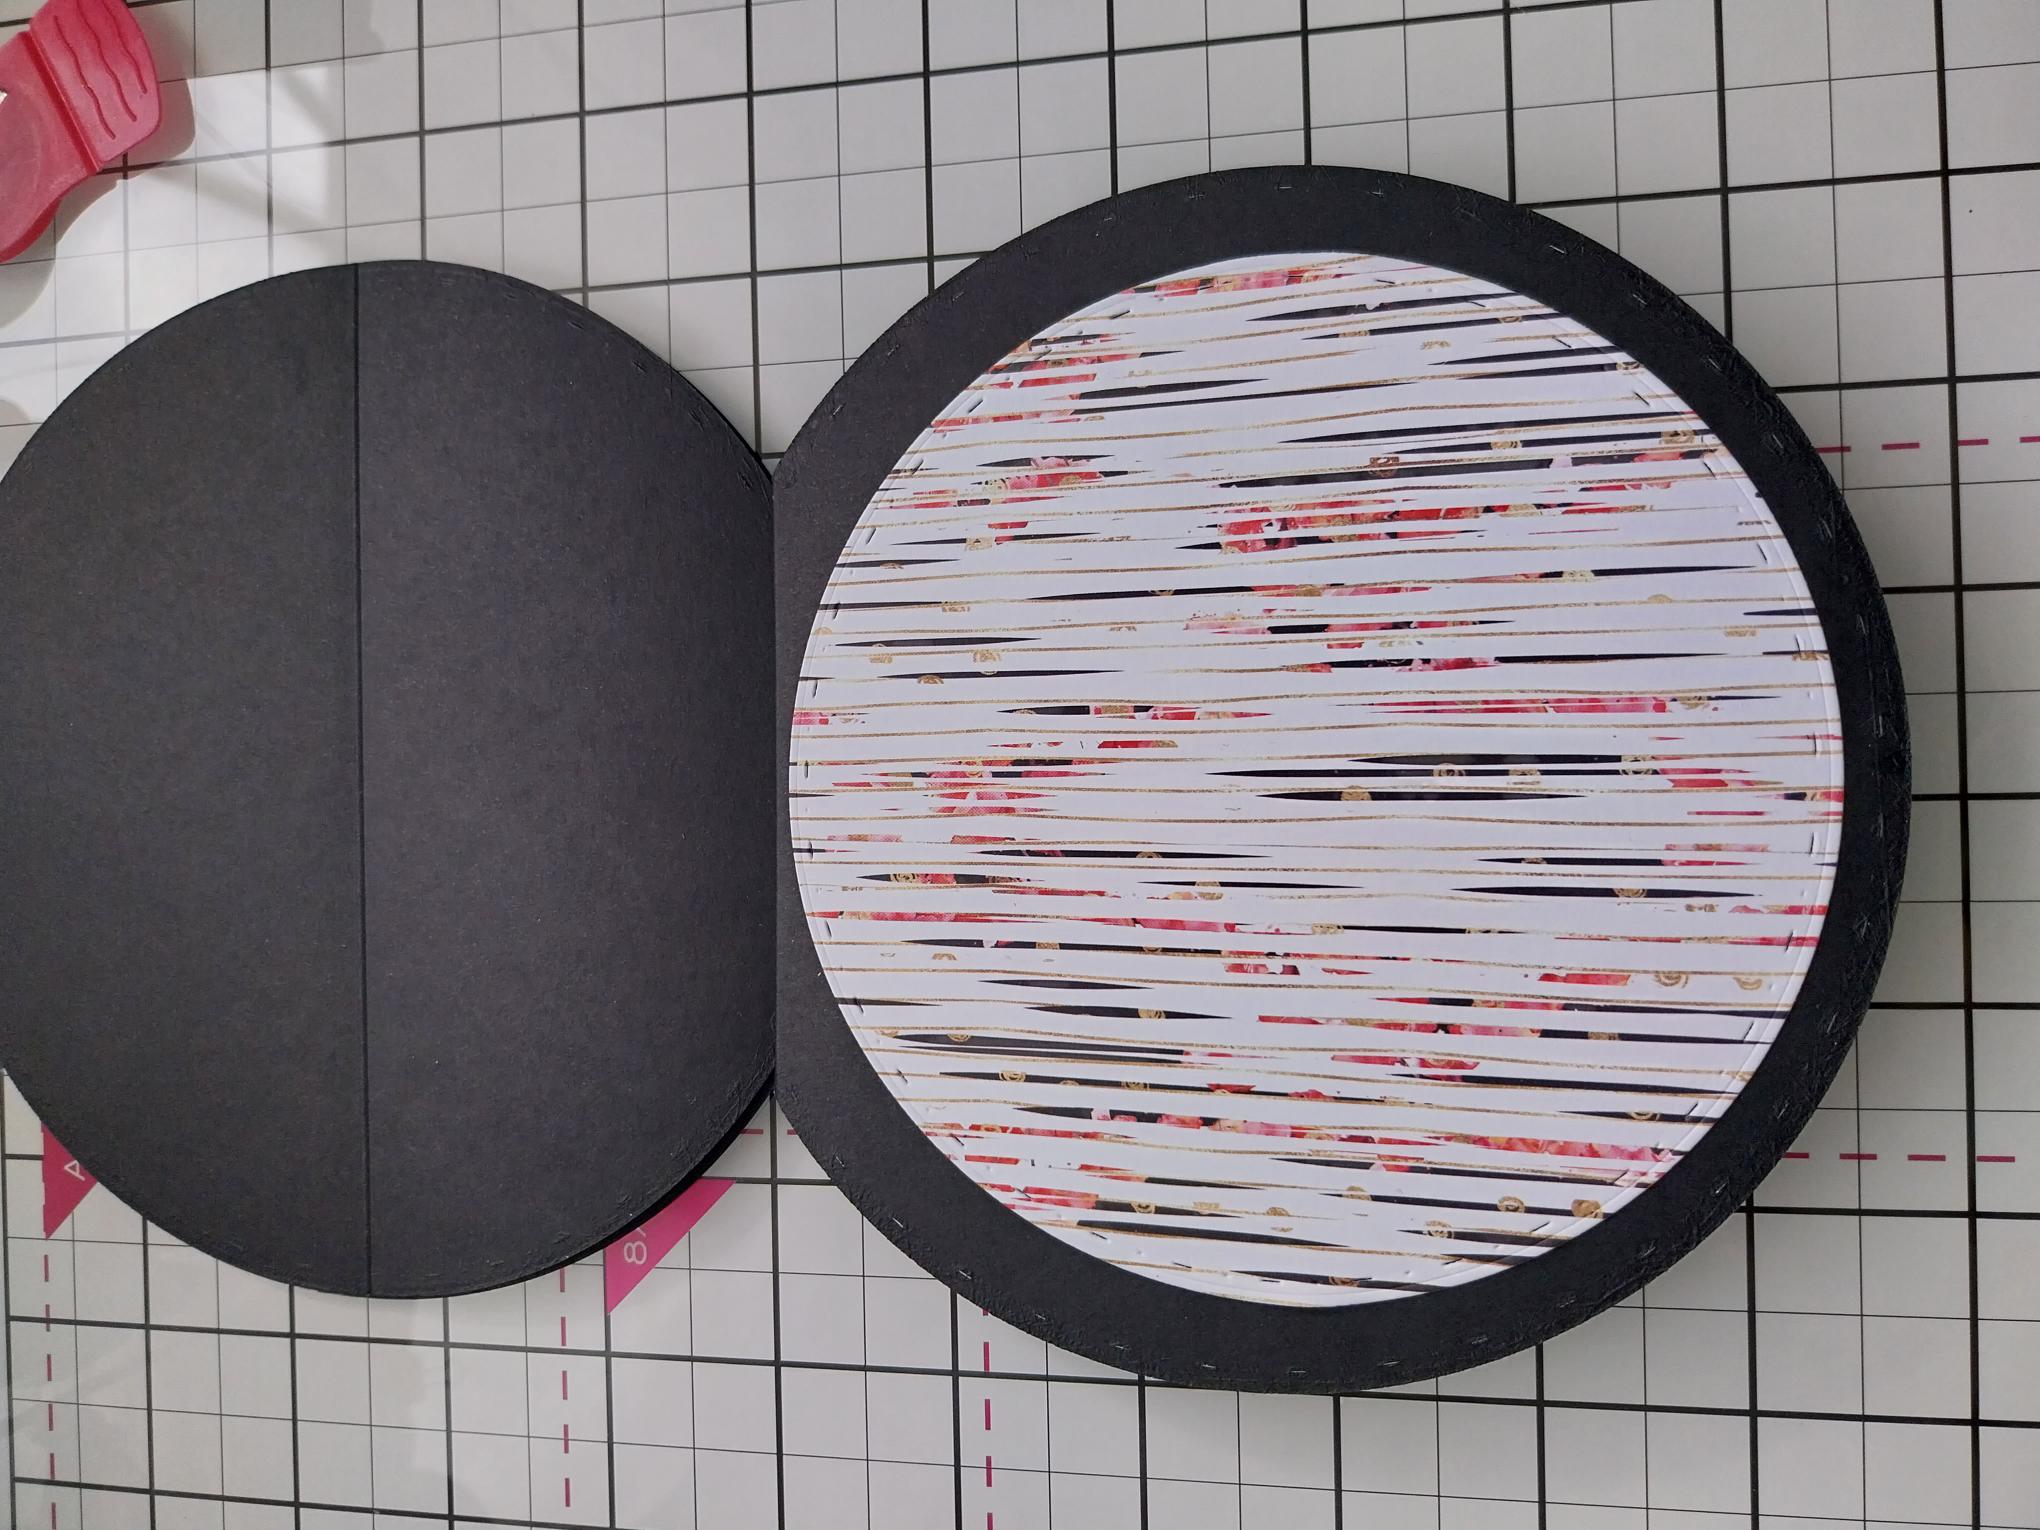
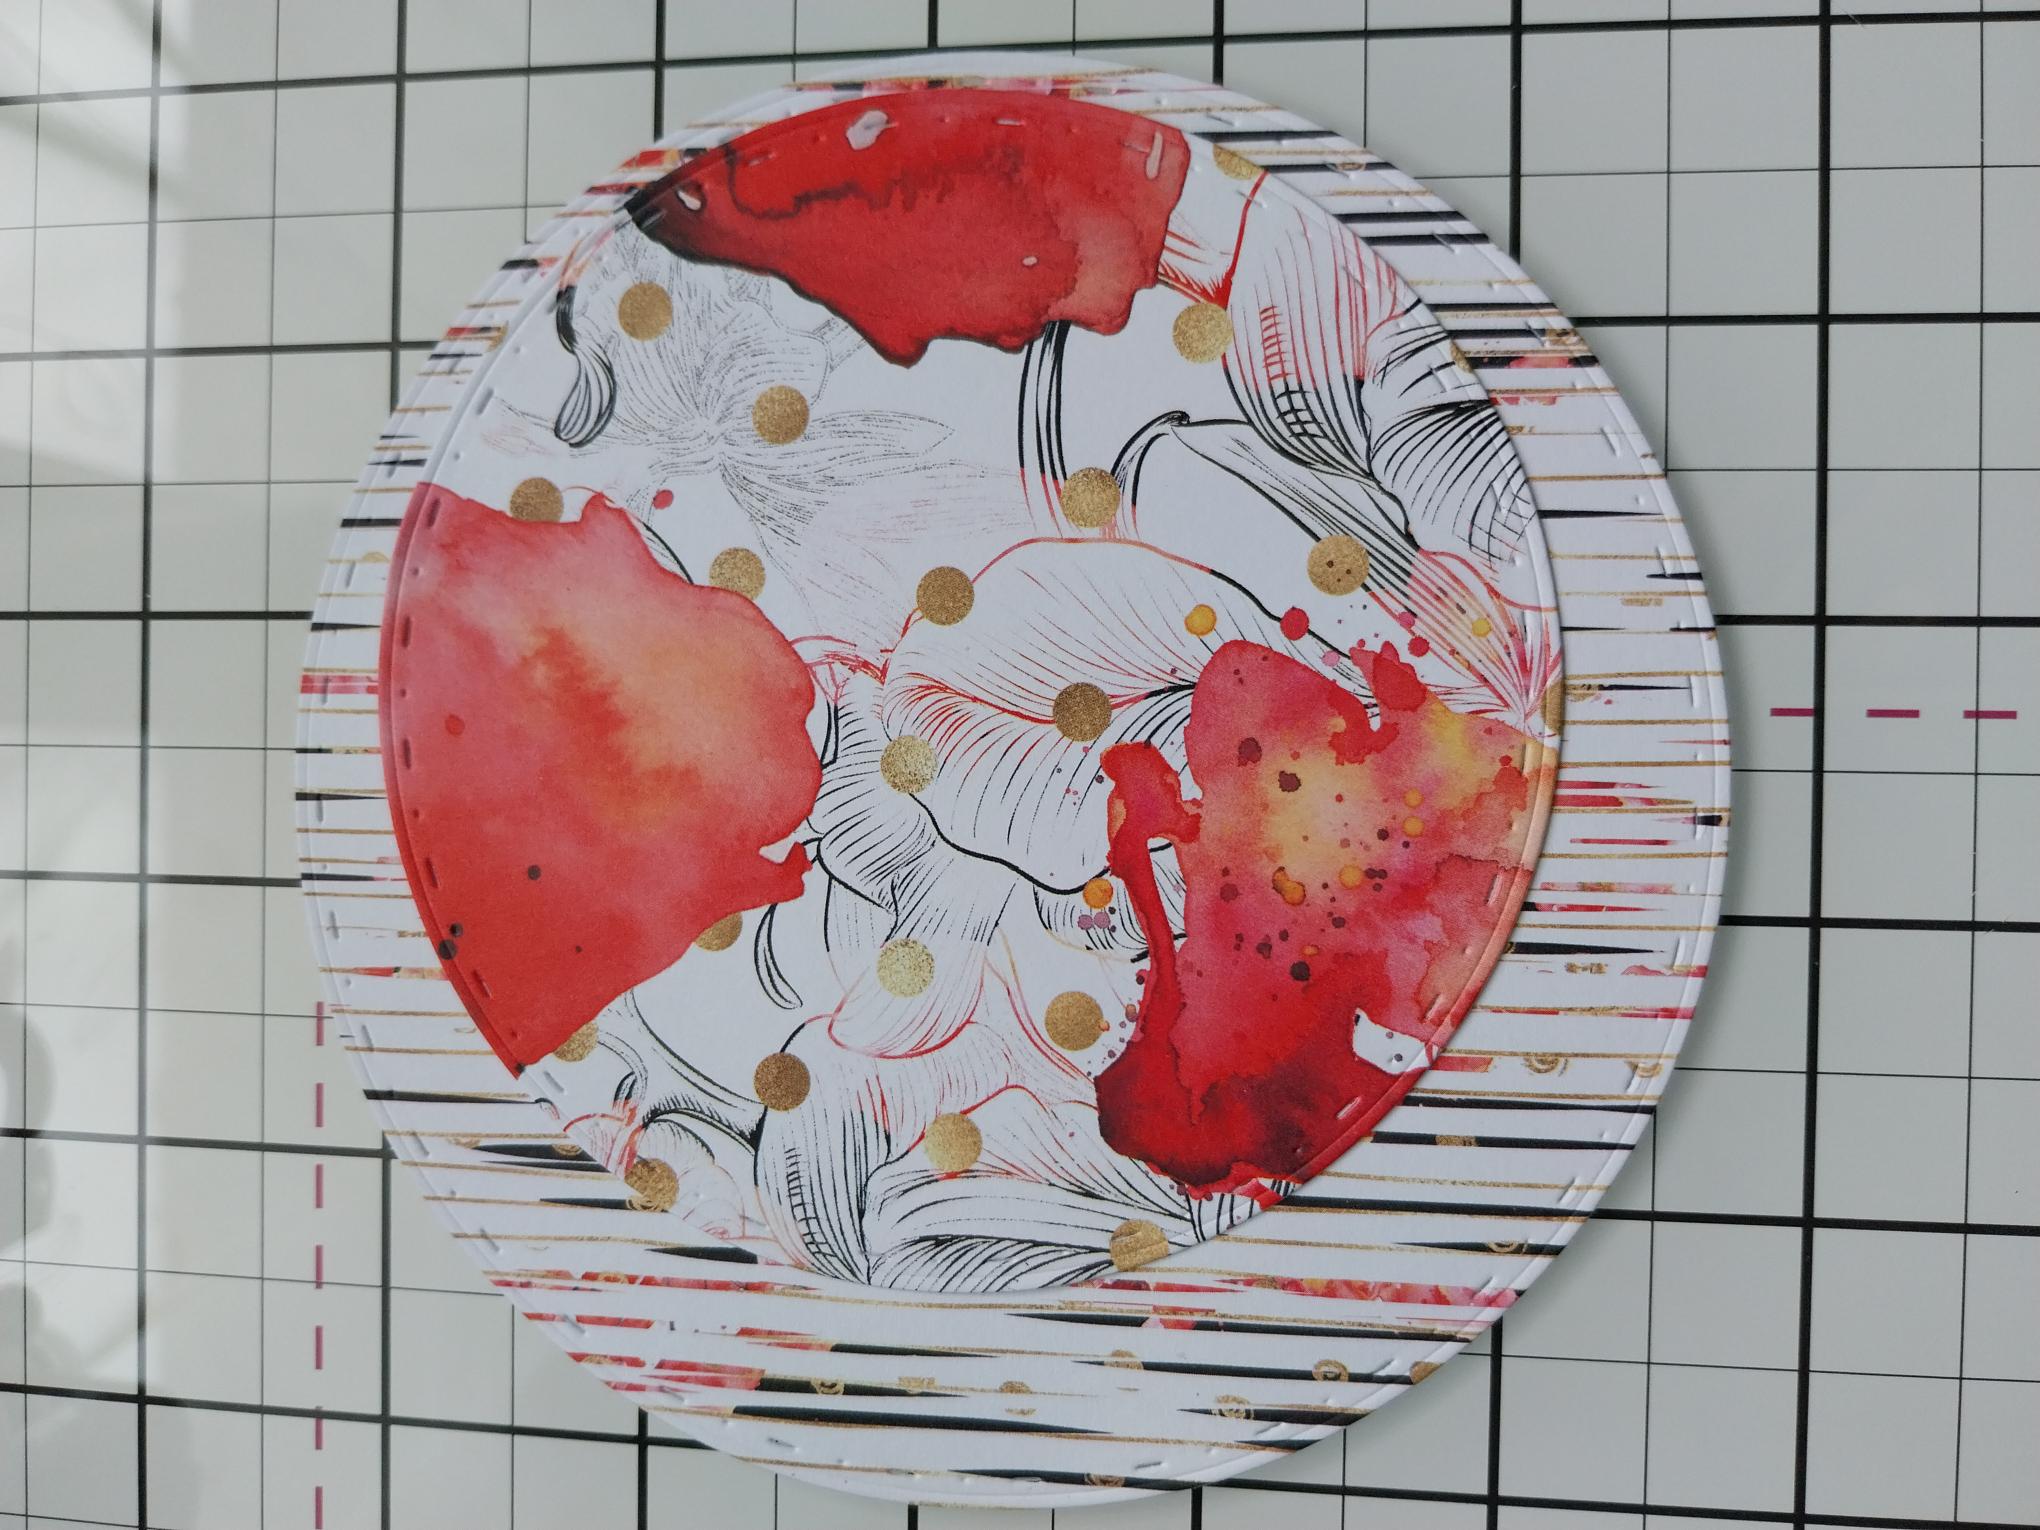
Remove these decorative papers from the Bloom & Wild paper pack. Die cut TWO 5" circles from the striped paper and ONE 4 1/4" circle from the Poppy paper. |
|
Adhere one of the striped papers to the inside page of your stepper card. |
|
Adhere the die cut Poppy paper flush with the top right edge, of the die cut striped paper. |
|
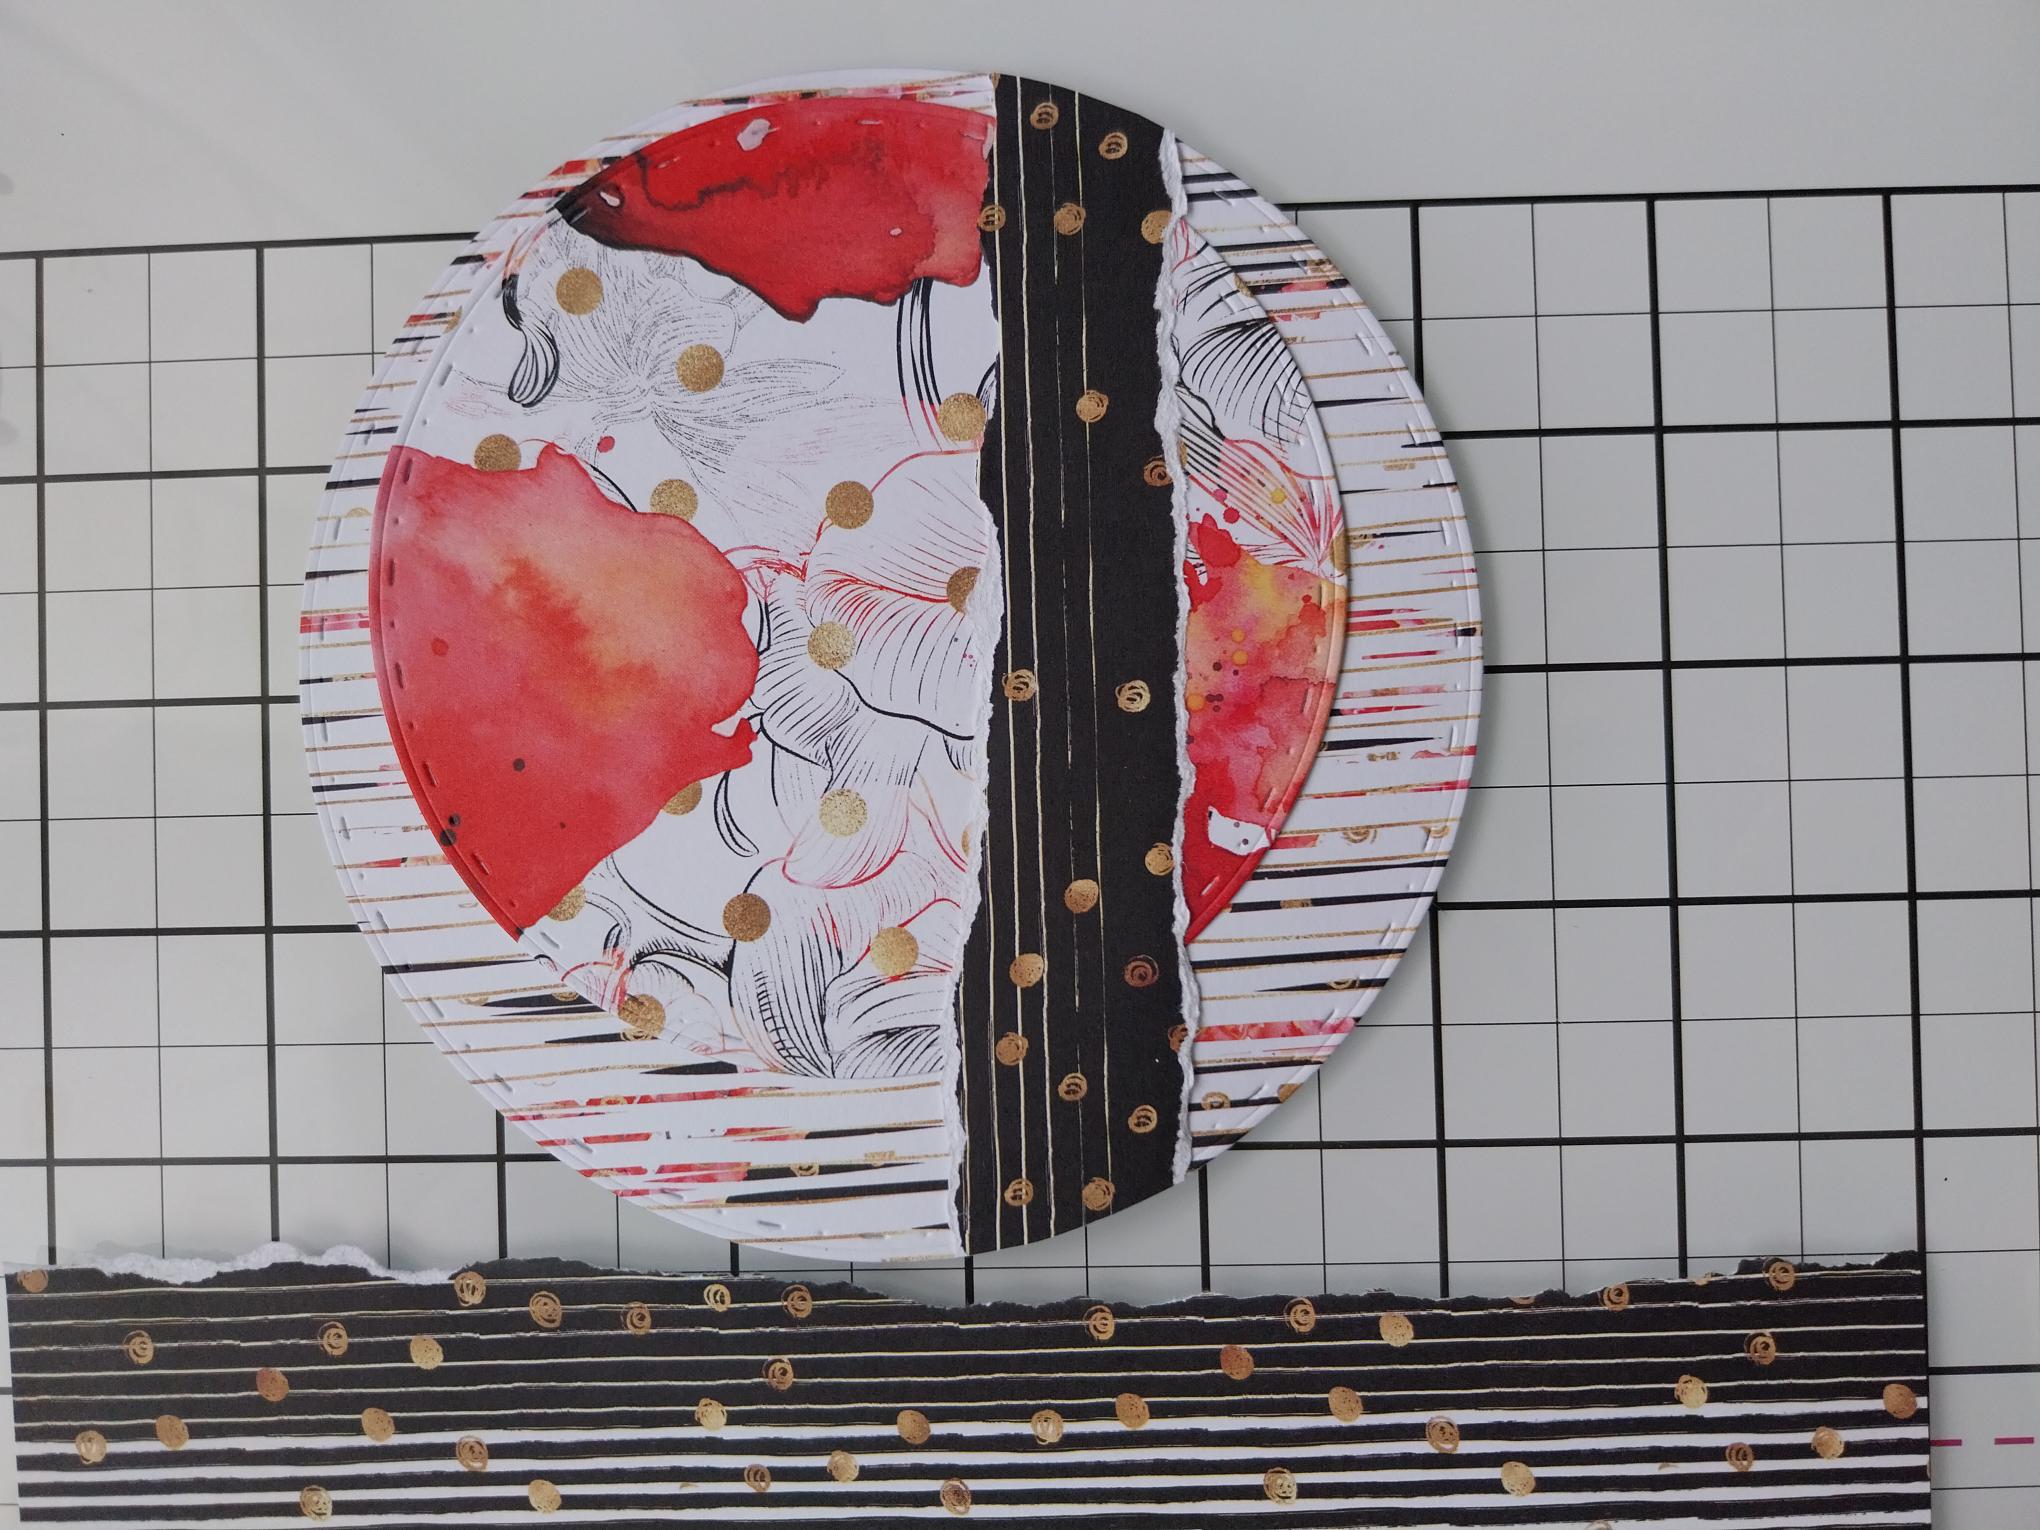
Tear a panel of this patterned paper, adhere across the bottom third of your topper and trim off the edges. |
|
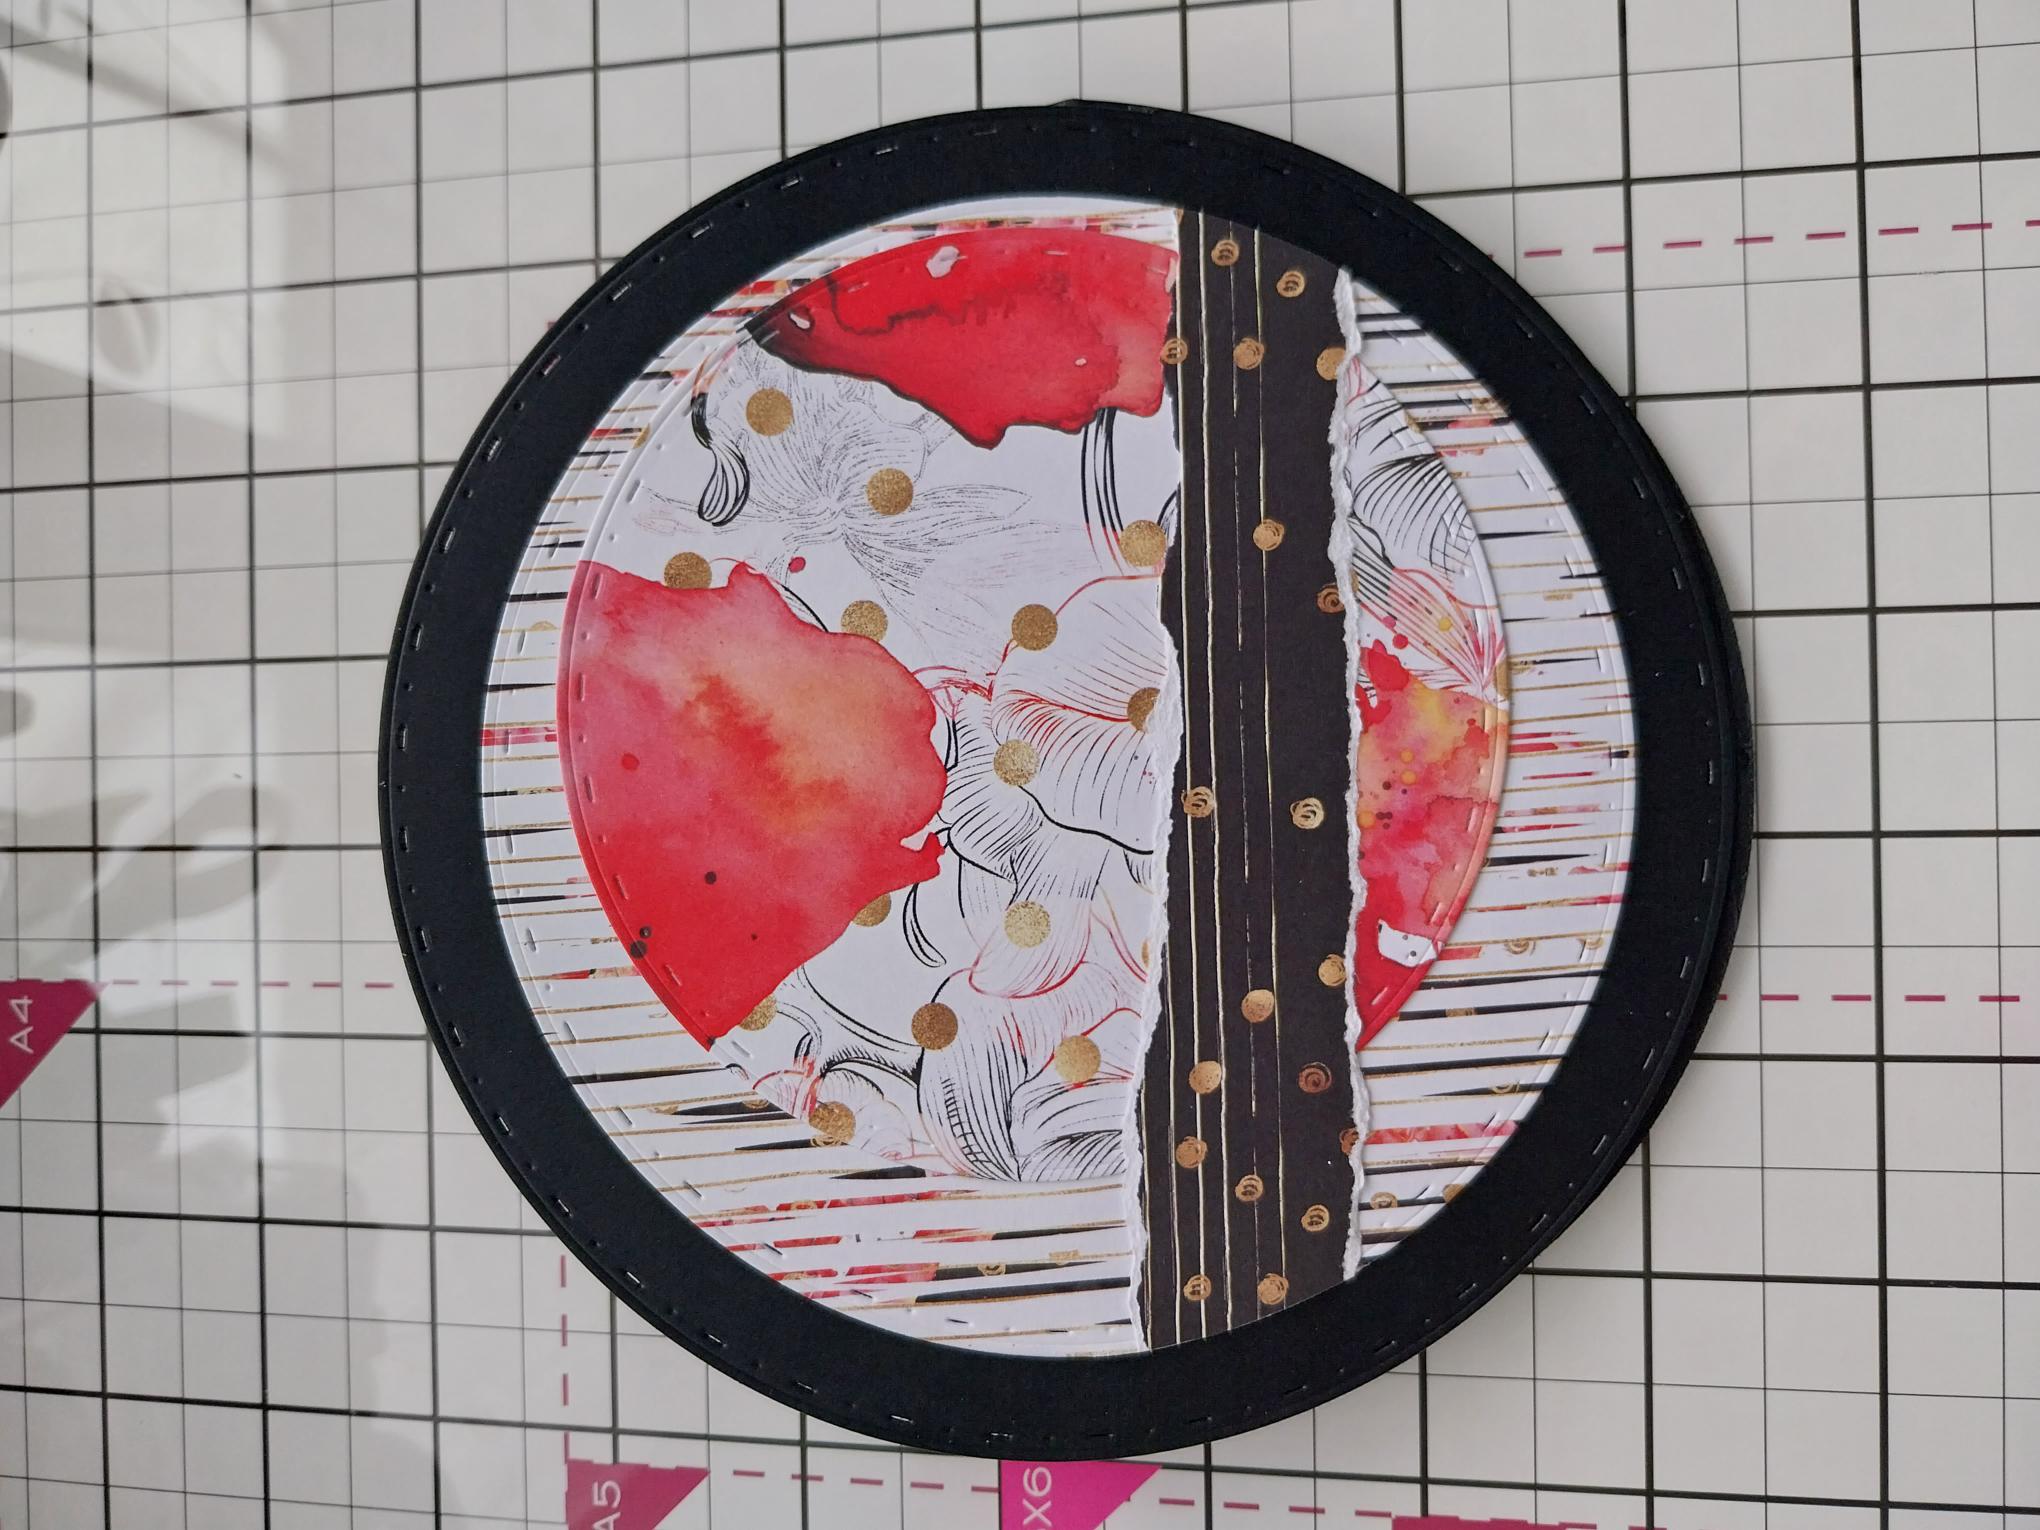
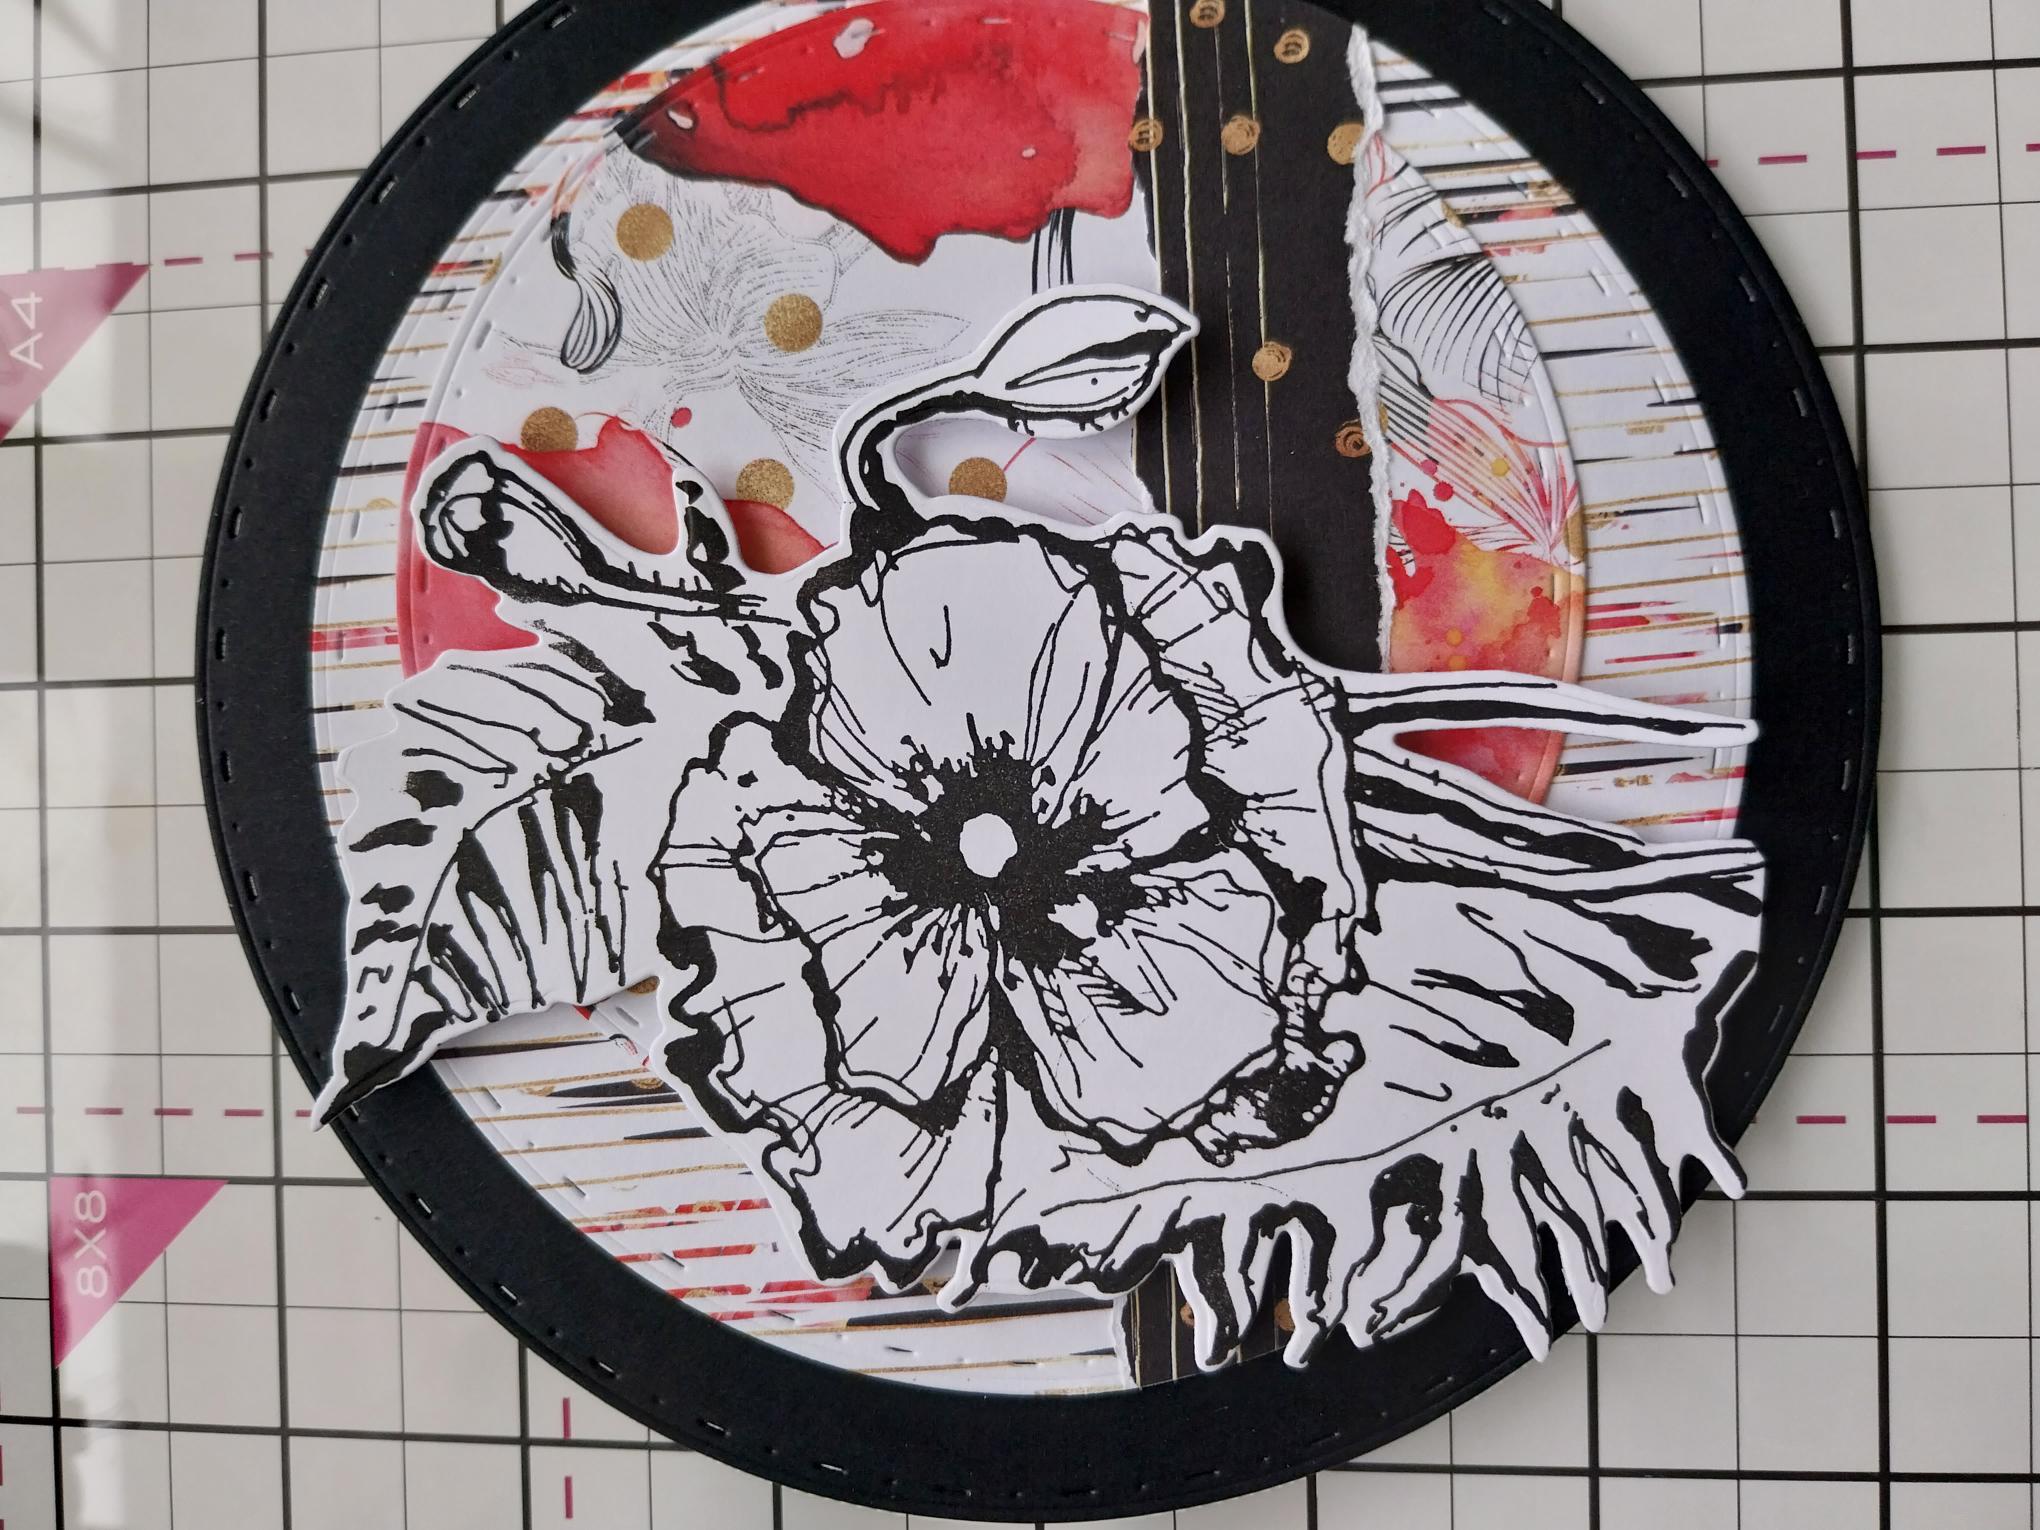
Adhere to the front of your stepper card and set to one side. |
|
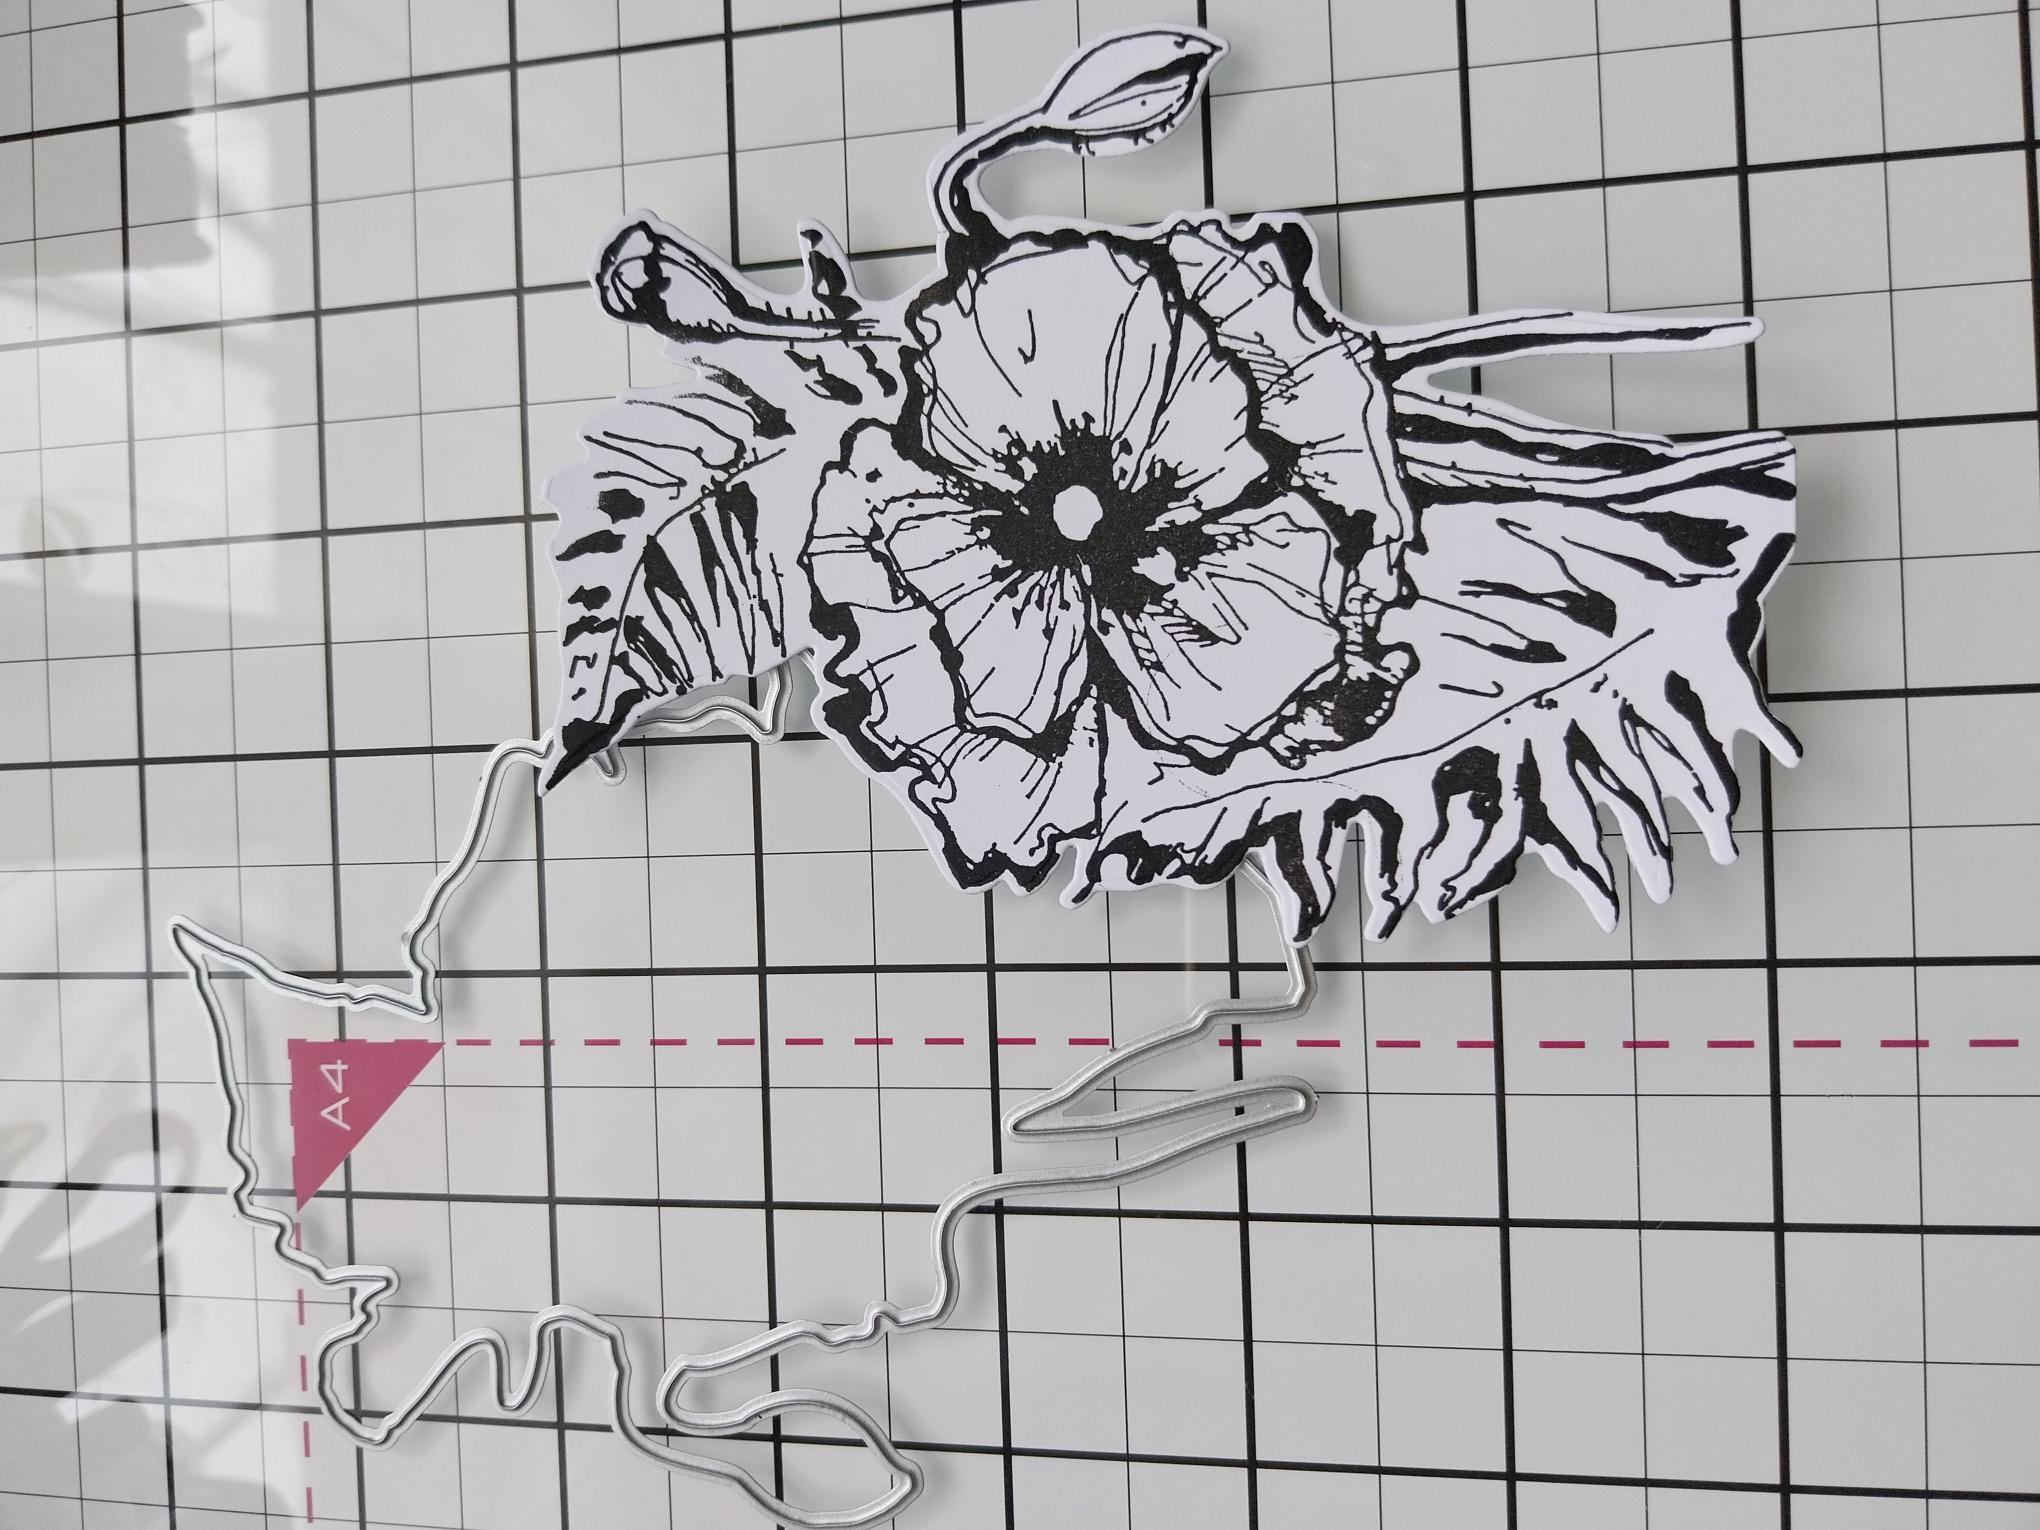
Stamp this beautiful Poppy with the Midnight hybrid ink and use the die to cut it out. |
|
Adhere with foam pads, to the left of your card. |
|
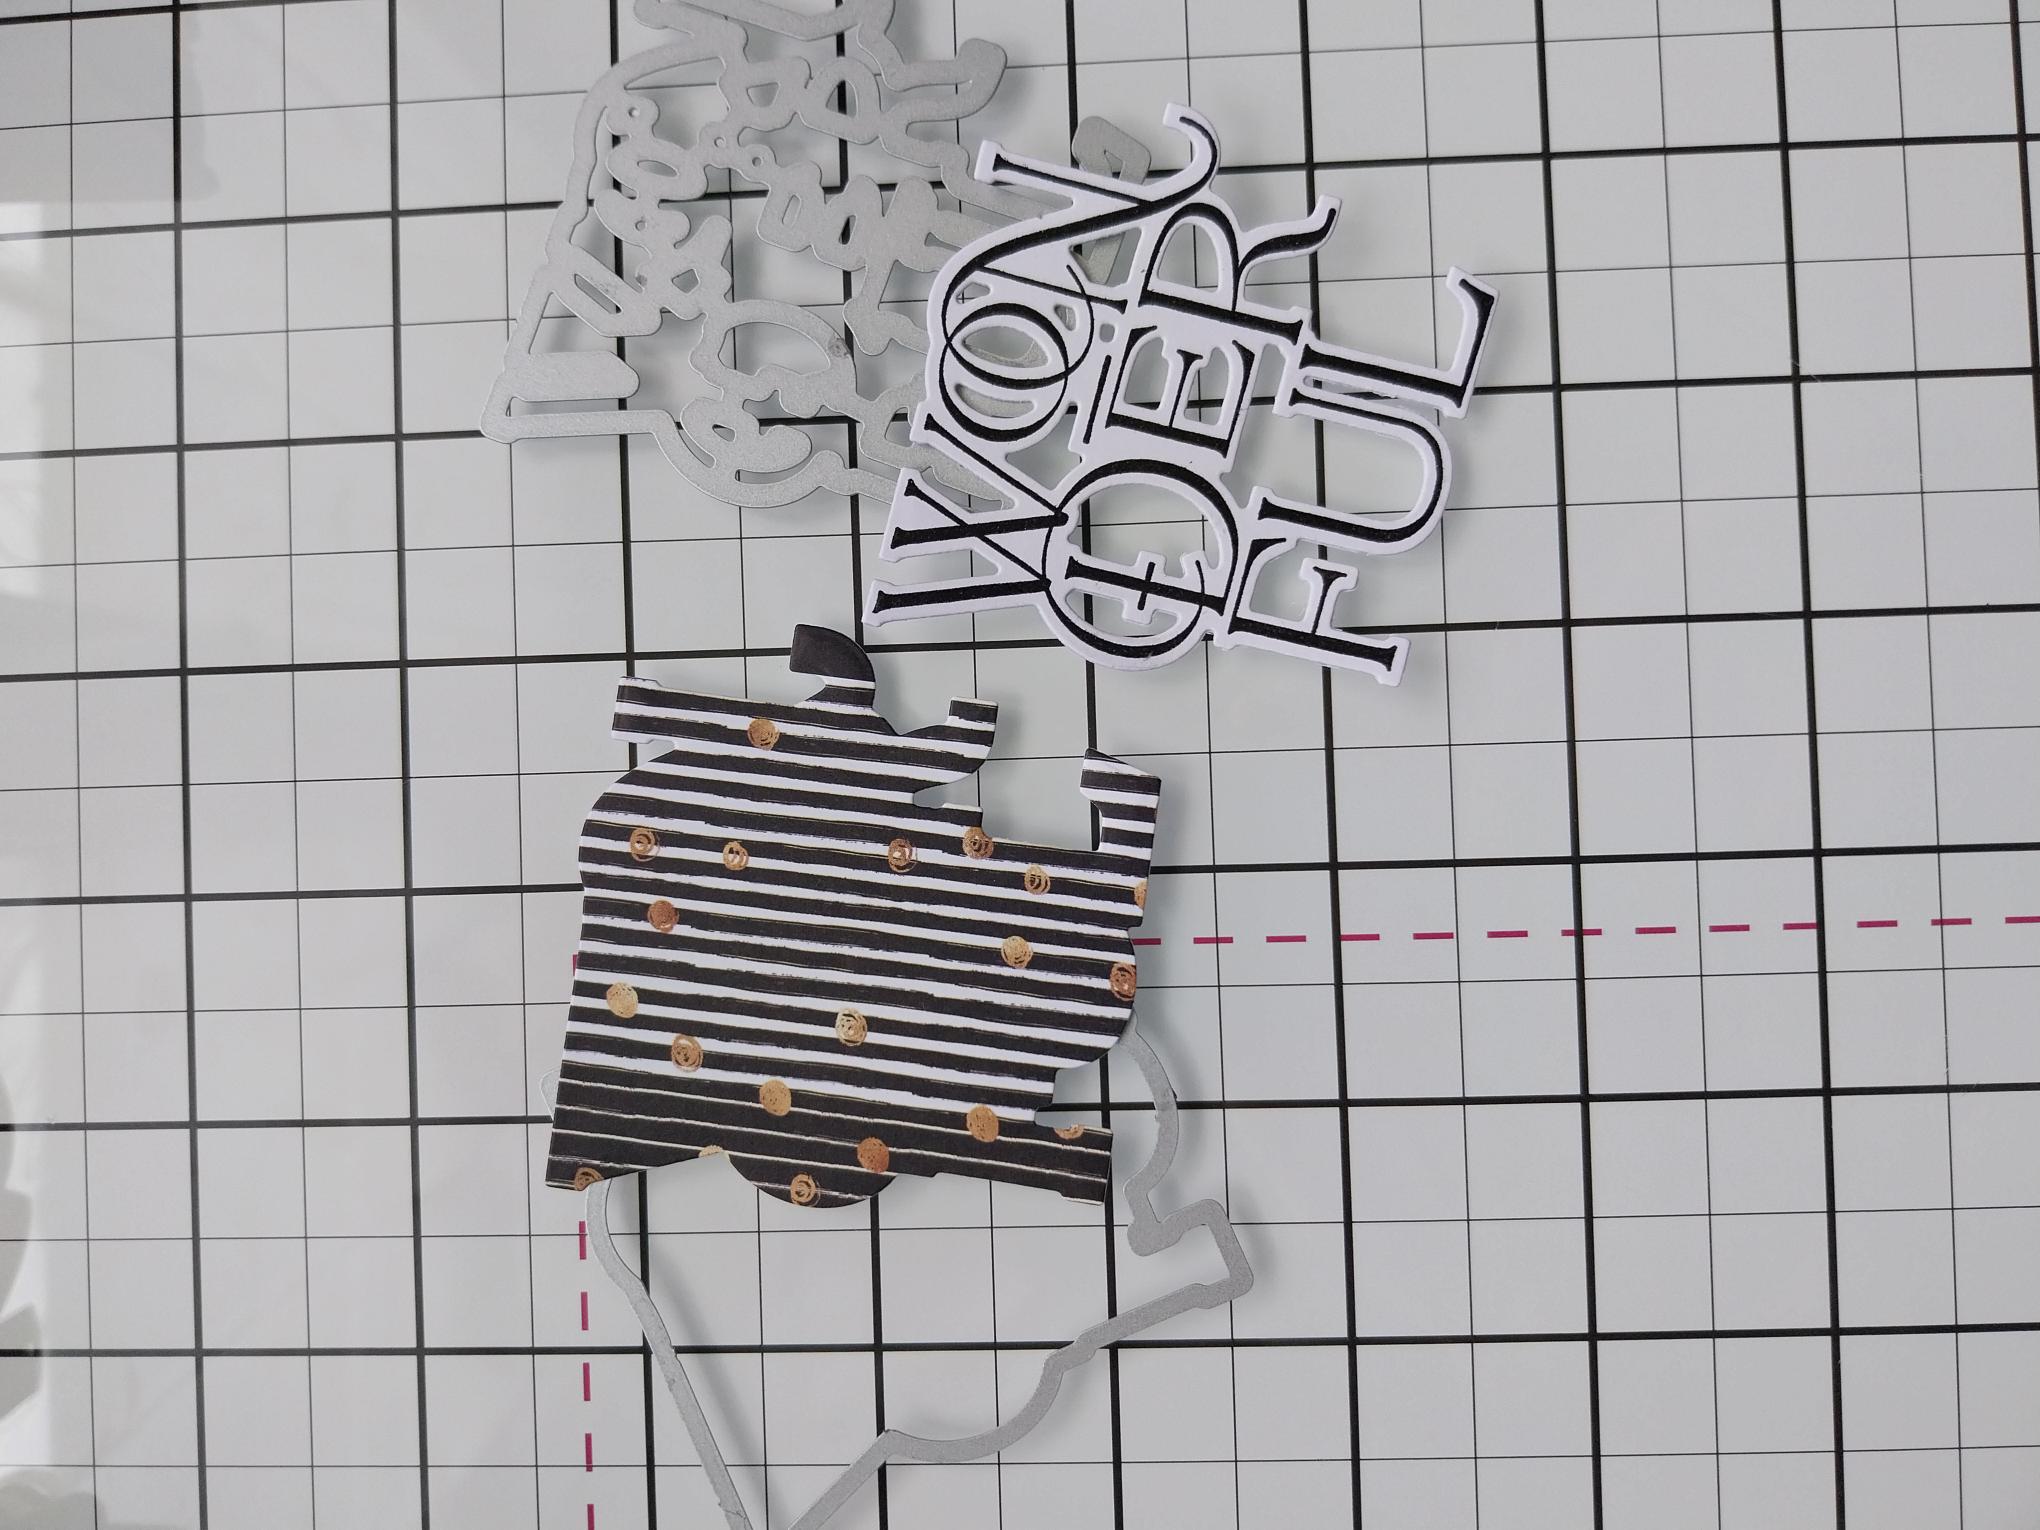
Stamp the "Wonderful", from the Saying Hello Collection, in Midnight on to a piece of white card. Secure the coordinating die in place. Cut a scrap from the black patterned paper set aside earlier and secure the coordinating layering die on top, before running both through your machine. |
|
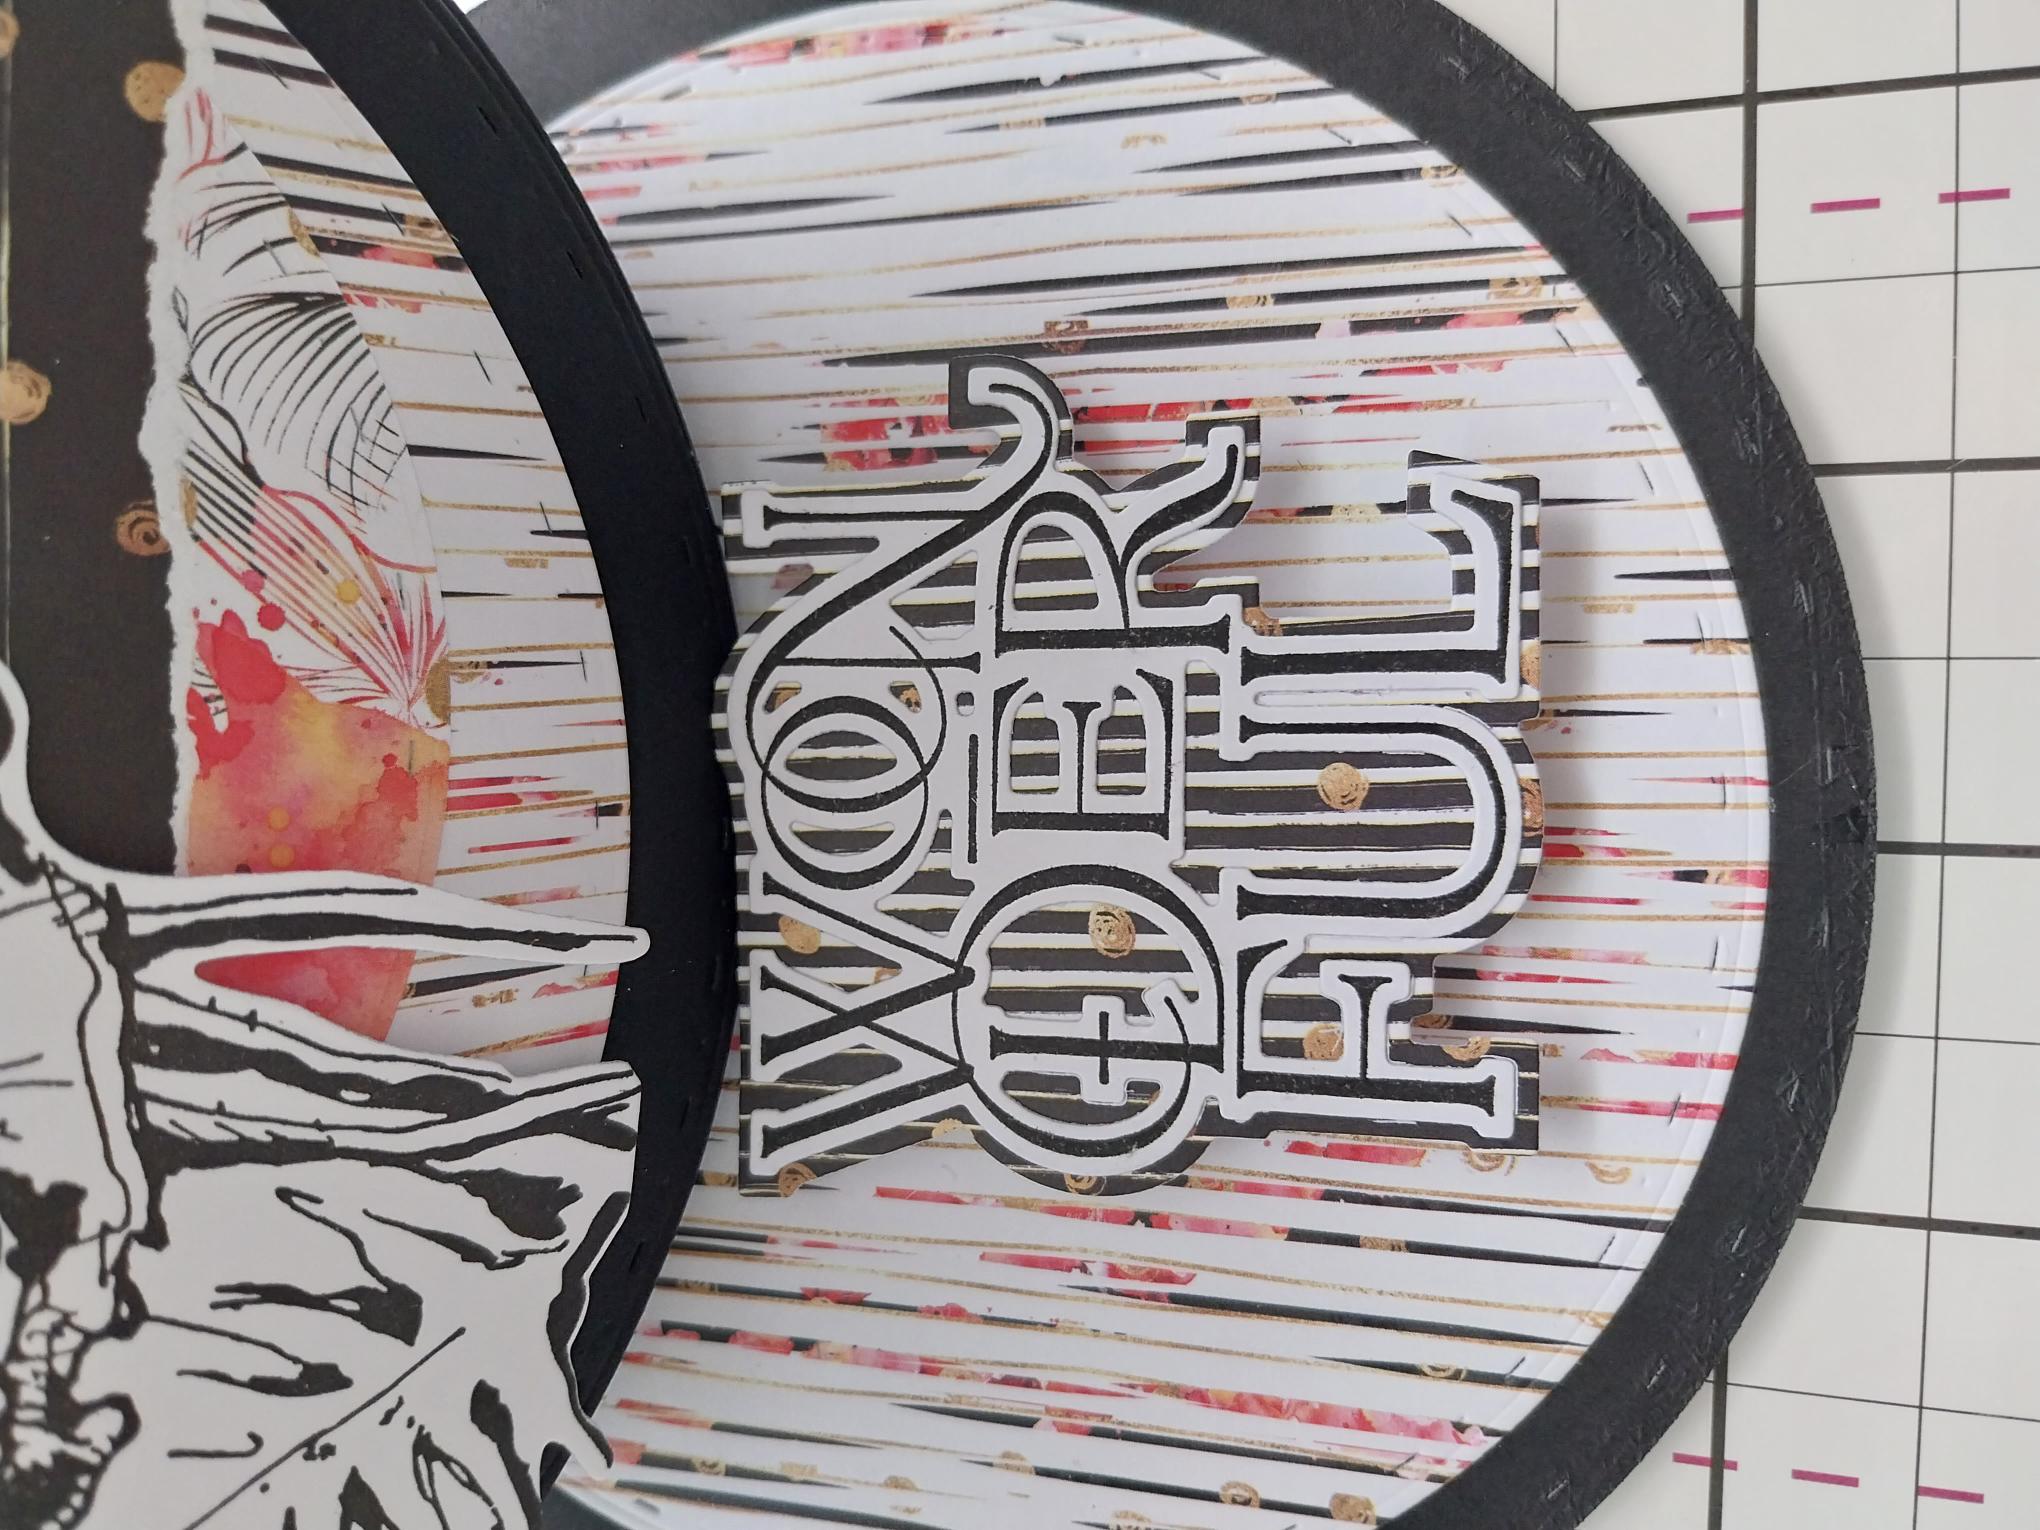
Adhere the detailed sentiment on top of the layering die cut. Holding the stepper front page where you want it to "stop", adhere the sentiment in position using DOUBLE foam pads. This is known as your "stopper" and will allow the front of your stepper card to stand proud. |
|
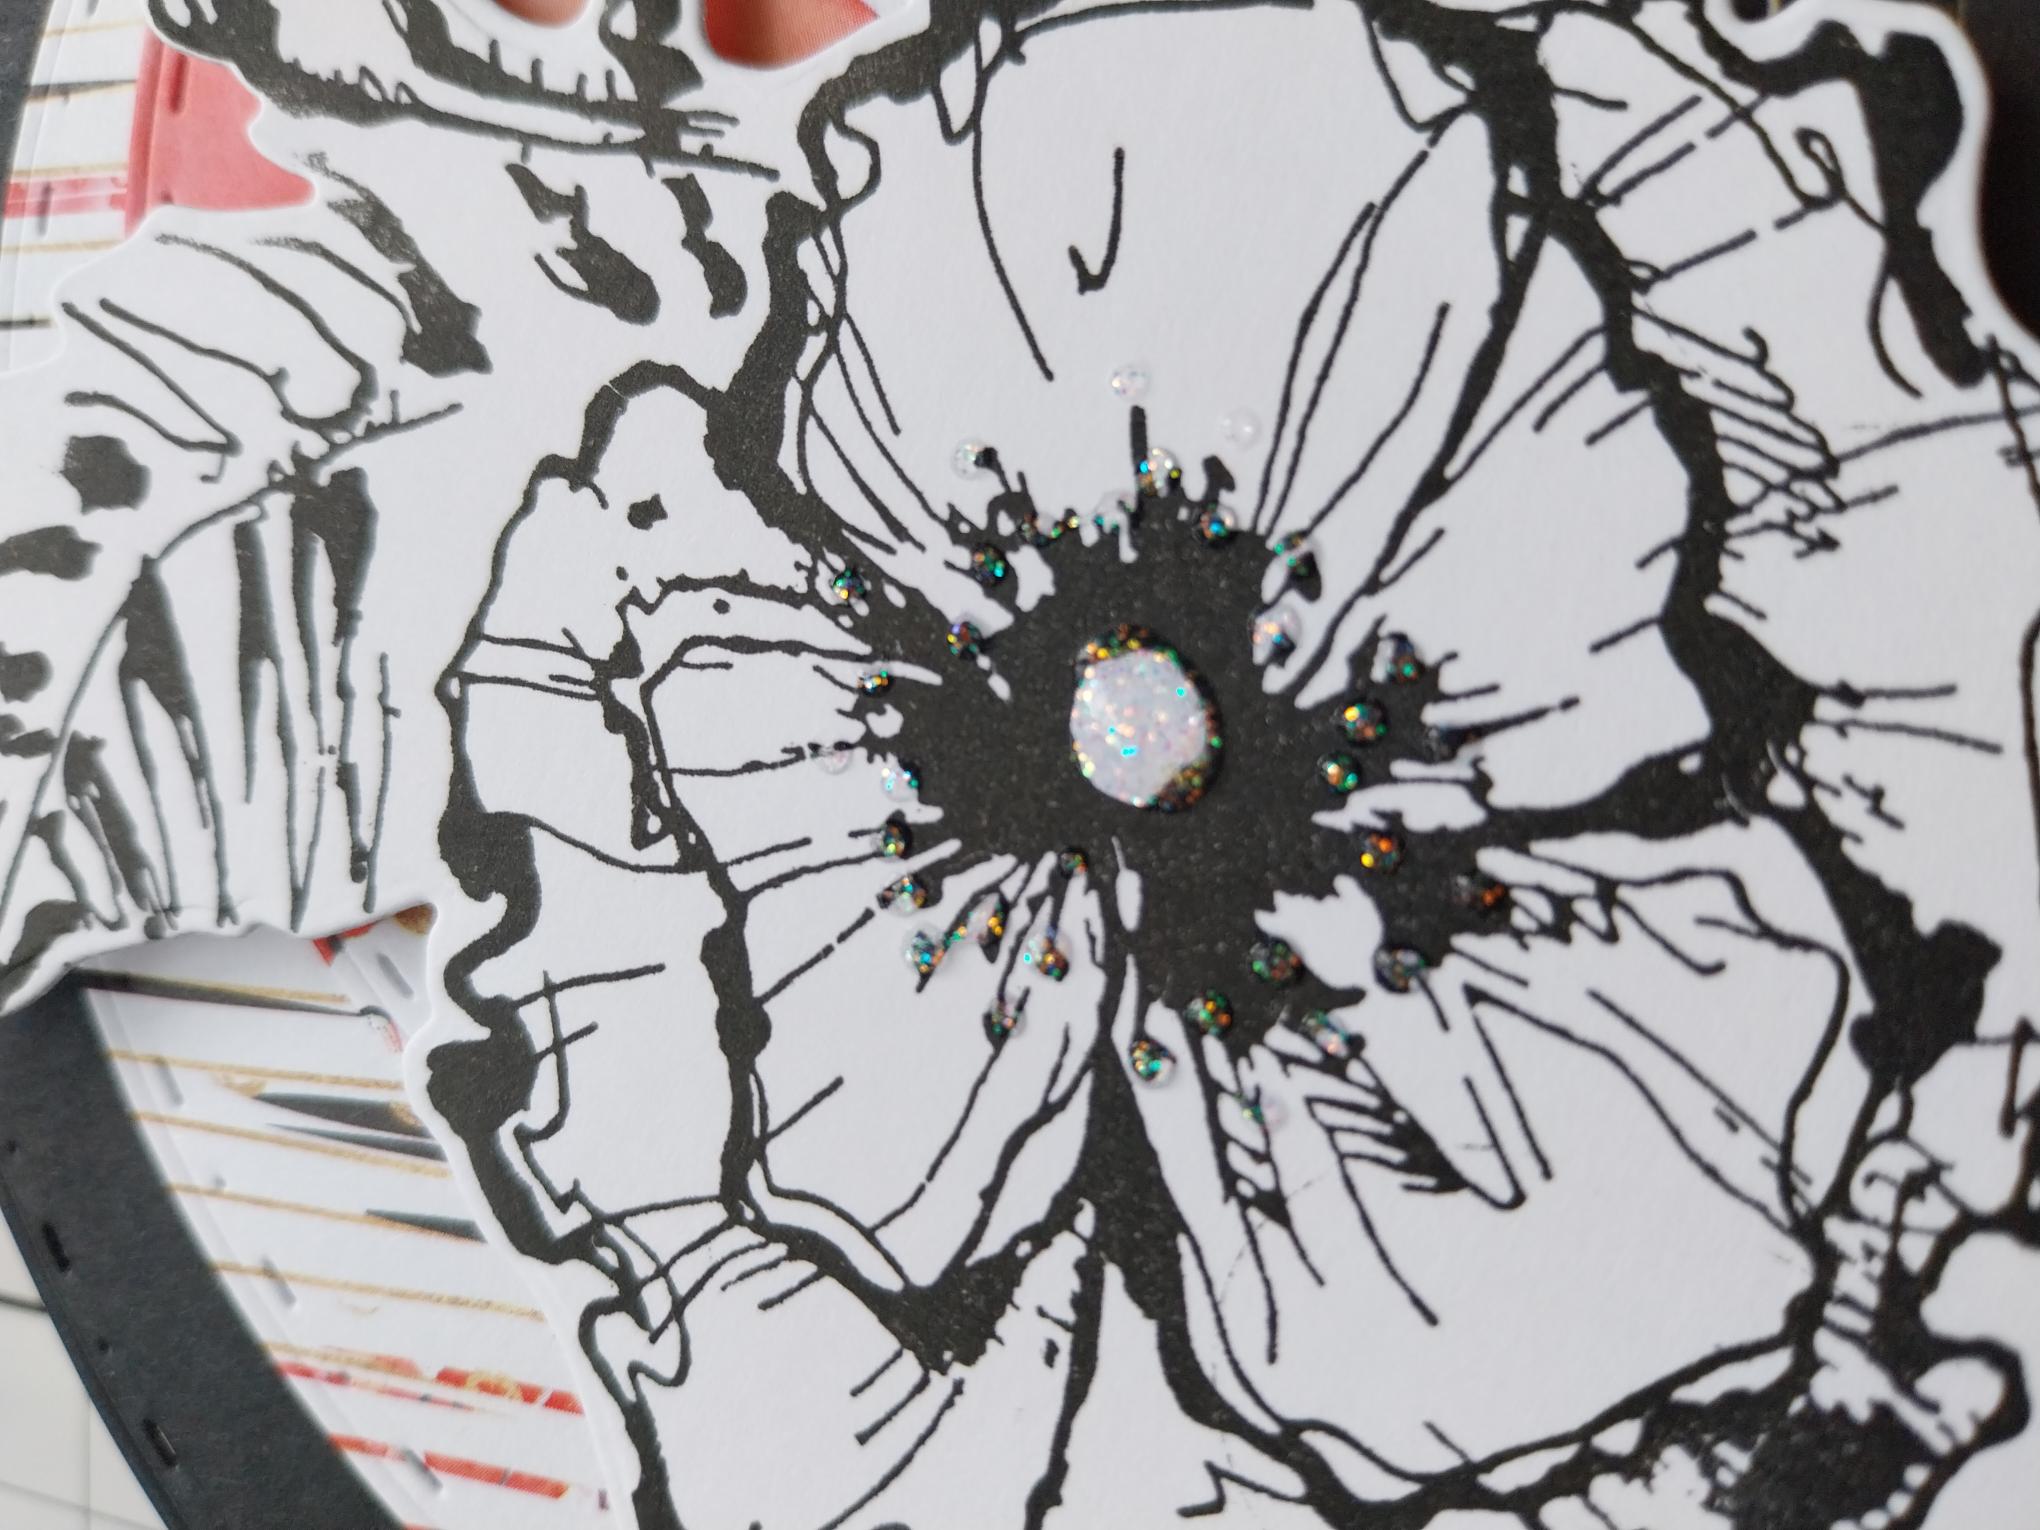
Add a touch of sparkle with your Stickles, to finish your card. |