Step 1 of 10
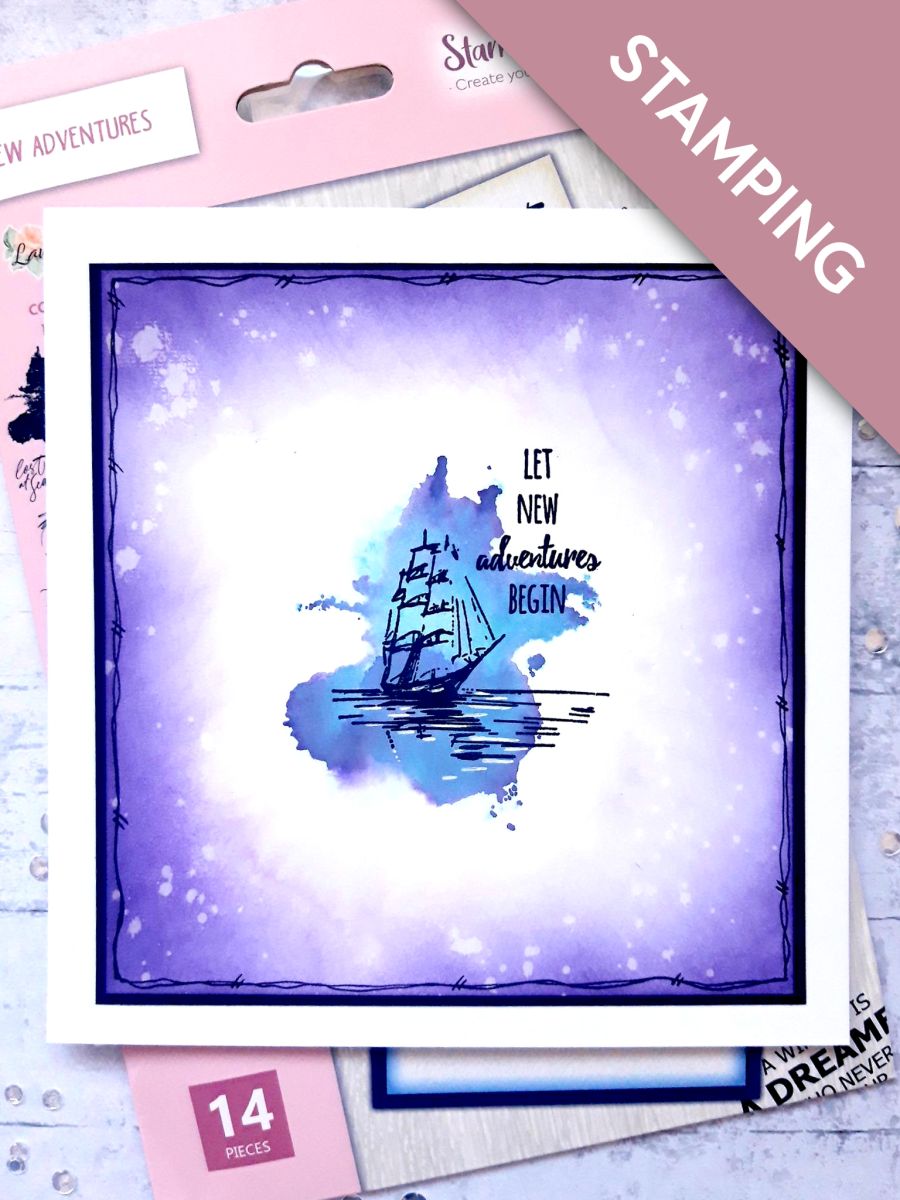
Blend the Villainous Potion Distress Oxide around the edges of the 6x6" white cardstock.








WHAT YOU WILL NEED:
White card blank (7 x 7")
Black cardstock (6 x 6")
White cardstock (5 3/4 x 5 3/4")
Stamps from New Adventures Lamination Stamp Collection
Versafine Ink Pad: Onyx Black
Distress Oxide: Villainous Potion, Salvaged Patina
White gel pen
Black pen
Heat Gun
Eureka 101
Perfect Together Glue
Paper Trimmer
Blend the Villainous Potion Distress Oxide around the edges of the 6x6" white cardstock.
Splatter drops of water over the inked background, wait a few seconds, then mop up the water with a paper towel.
Dry off your background with a heat gun.
Ink up the solid stamp, for the ship image, from the New Adventures Lamination Stamp Collection, in the Salvaged Patina Distress Oxide.
Spritz lightly with water, then stamp in the middle of your inky background.
Allow the water to do its own thing.
Ink up random areas of the same stamp, with the Villainous Potion Distress Oxide.
Spritz with water then stamp over the top of the still wet, stamped design, allowing the water to do its own thing, before drying it off, ready for the next step.
Ink up the coordinating detailed stamp with the Onyx Black Versafine.
Stamp over the stamped ink design. This lamination design is very loose, so there is no right or wrong place to stamp your ship.
Use a white gel pen to add highlights in the sea, and on the ship, as desired.
Ink up the sentiment stamp, from the same set, with the Onyx Black Versafine.
Stamp just to the right of your stamped ship.
Draw a decorative frame around your artwork, with a black pen.
Mat your artwork on to the 6x6" black cardstock.
To finish, mat this on top of your card blank
Share your make with the Stamps By Me community - and keep this guide for next time.
Prefer the previous layout? Open the old page.