Give your friends $10 off their first order!
Refer a FRIEND


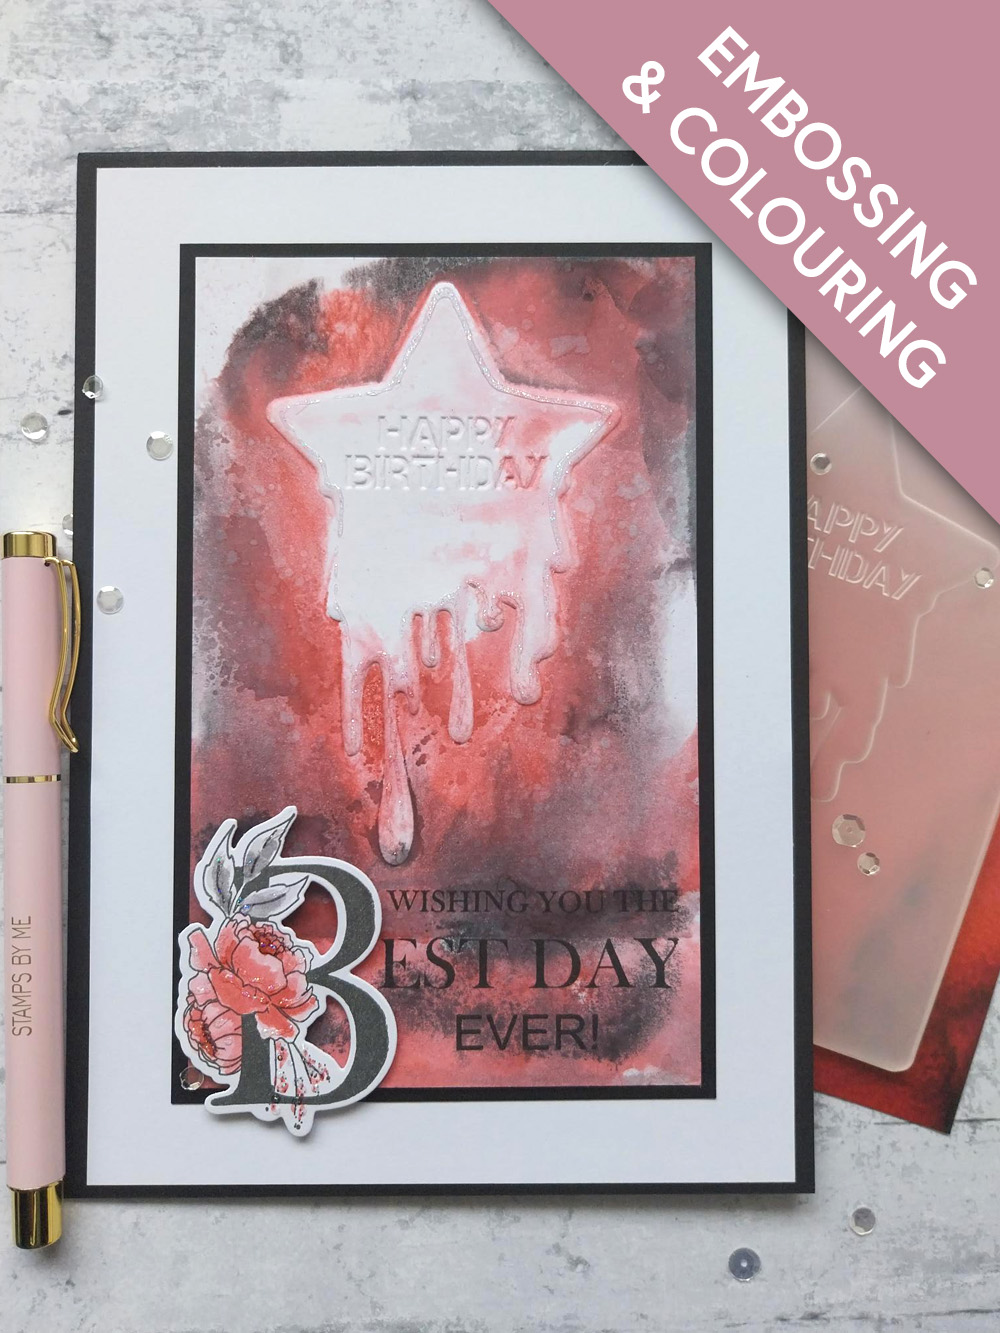
WHAT YOU WILL NEED:
Black card blank 8 1/4 x 5 3/4"
White card 8 x 5 1/2"
Black card 6 3/4 x 4 1/4"
White card 6 1/2 x 4"
White card 4 x 3"
Watercolour 3D Star Icon Embossing Folder
Just Because Stamp and Die Collection
SBM Hybrid Ink Pad: Midnight
SBM Premium Ink Pad: Redwood
Distress Ink Pad: Black Soot
WOW heat tool
Gossip Iridescent Pen: Red
Paint brush
Stickles: Star Dust
Eureka 101 Watercolour Tablet
SBM Magnetic glass mat
Paper Trimmer
Perfect Together Glue
Foam pads
Die Cutting machine
[click image to enlarge] 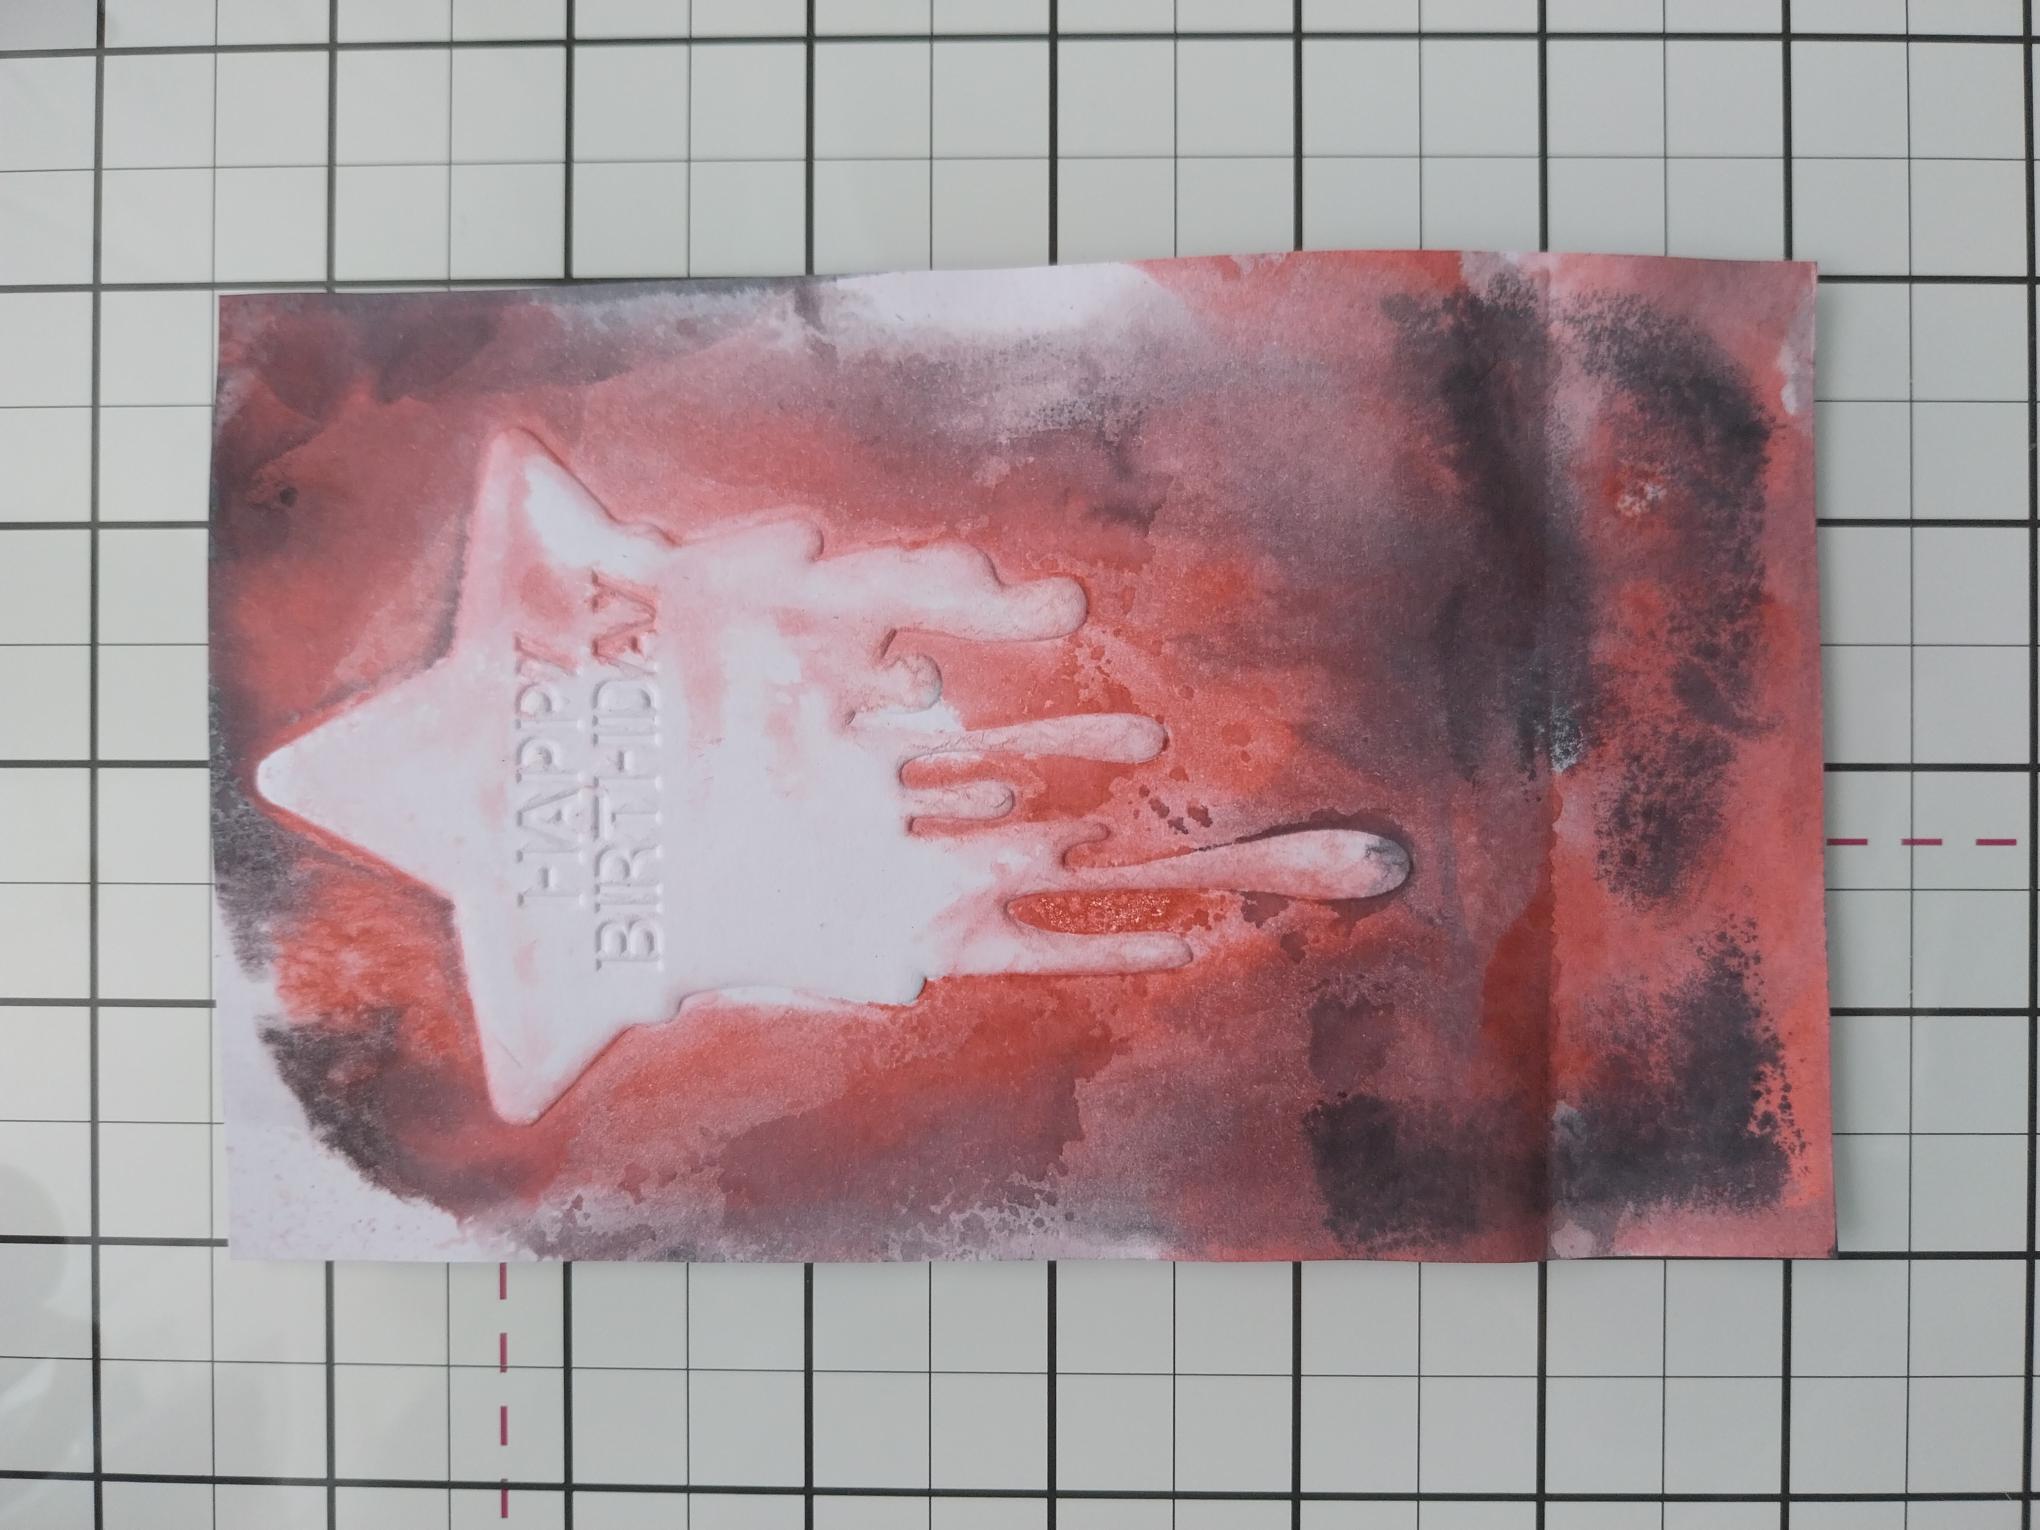
|
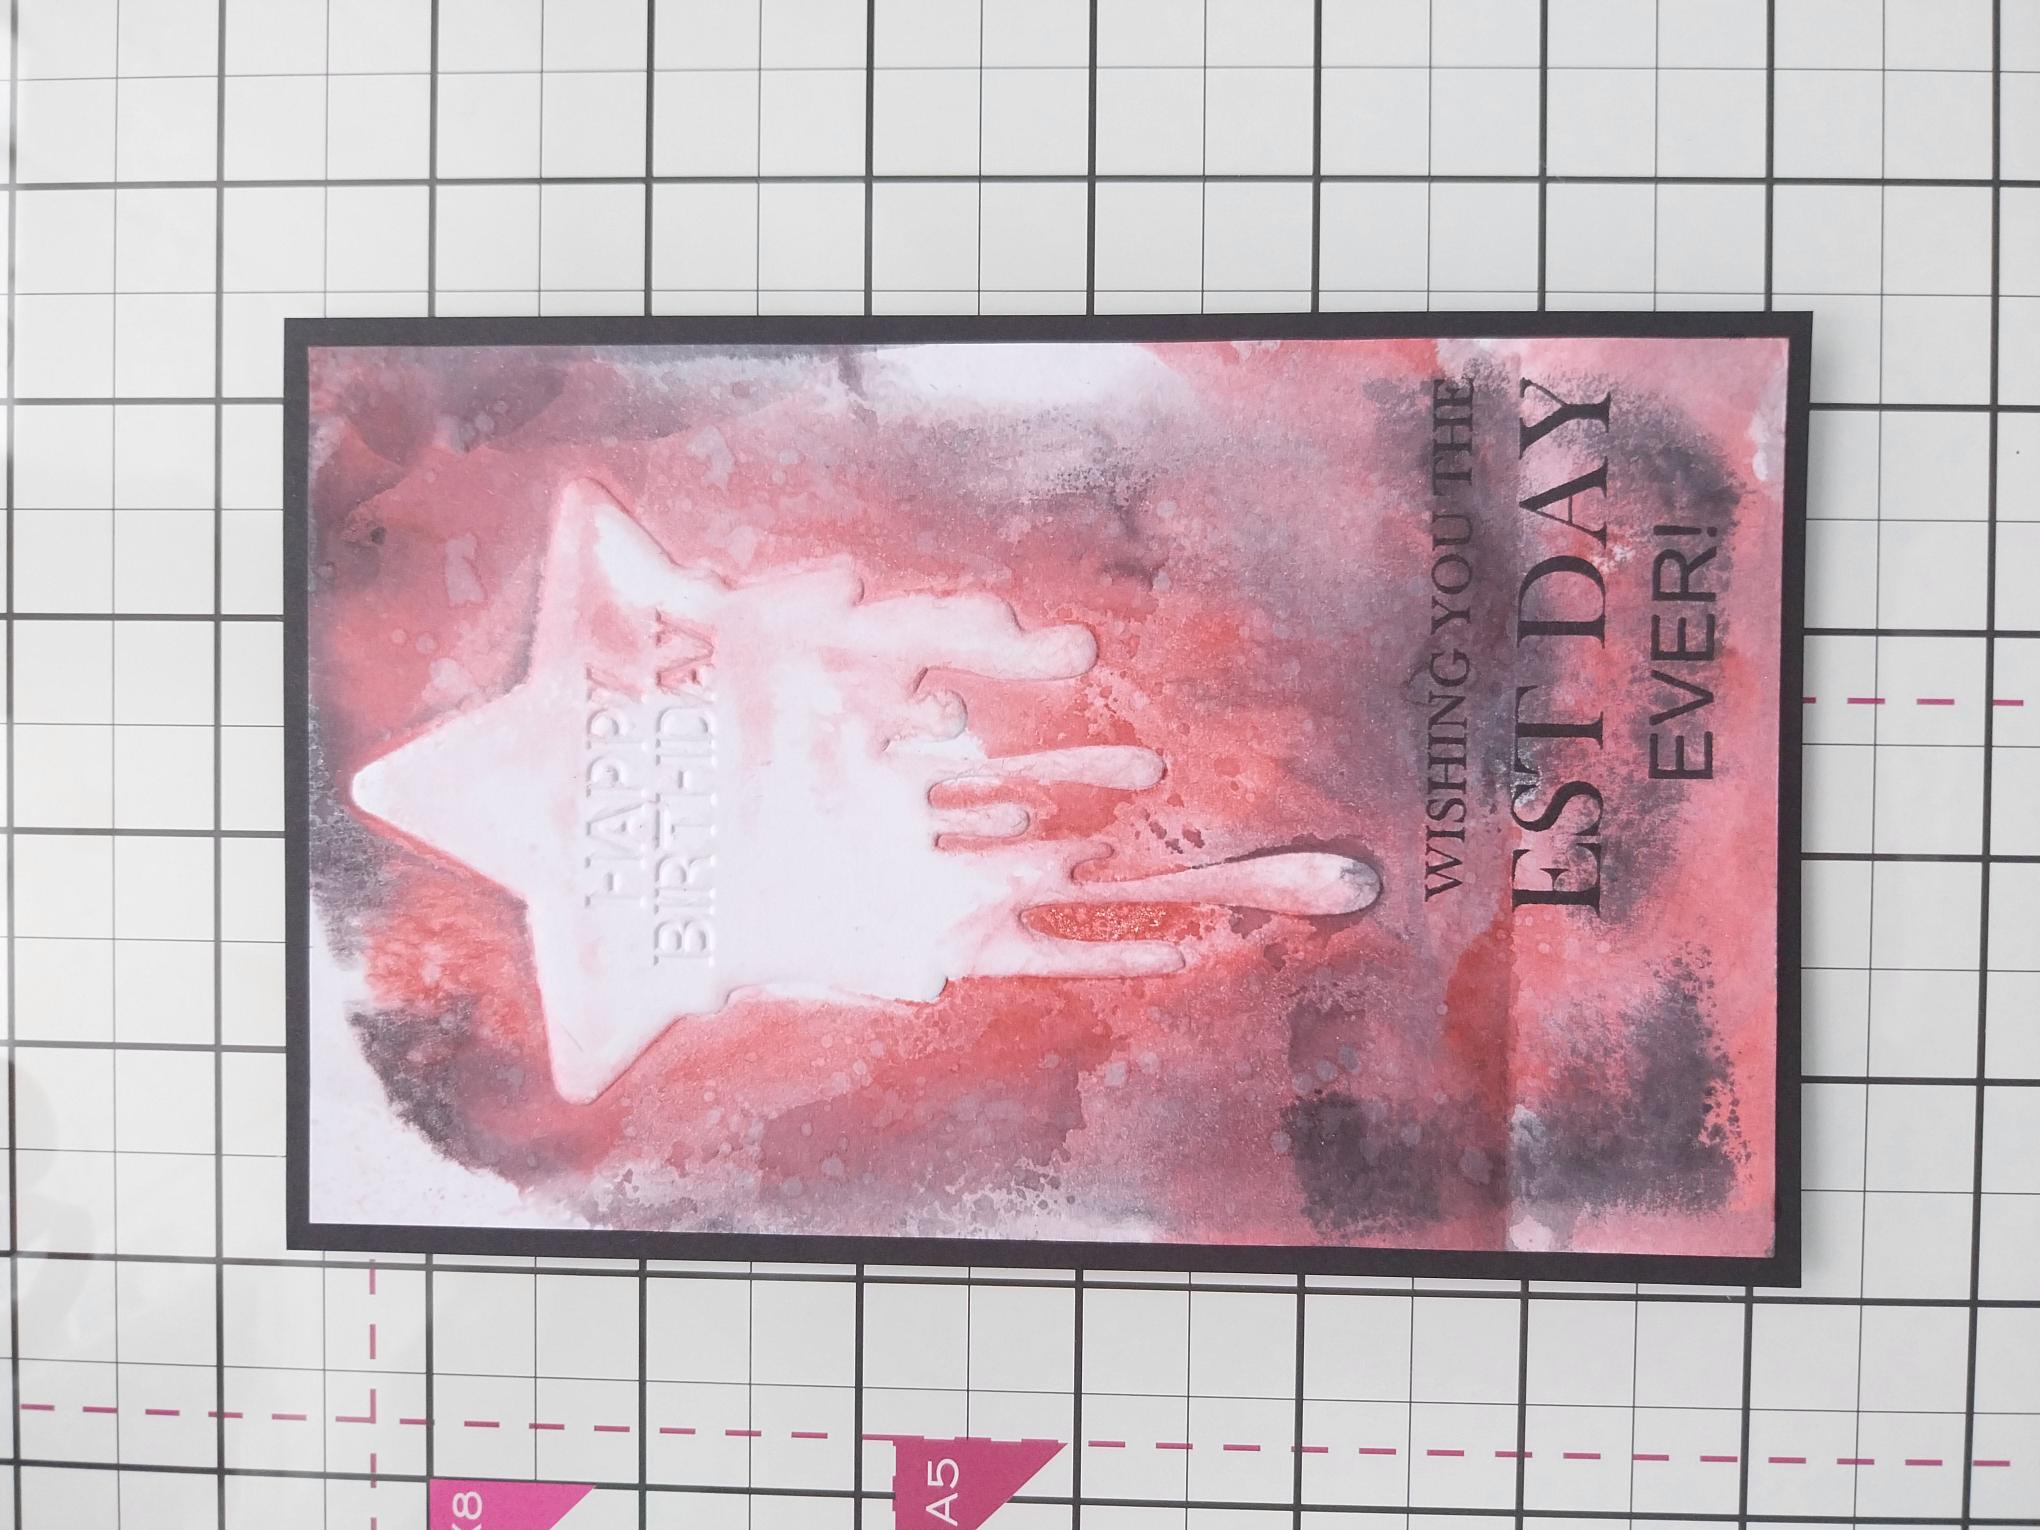
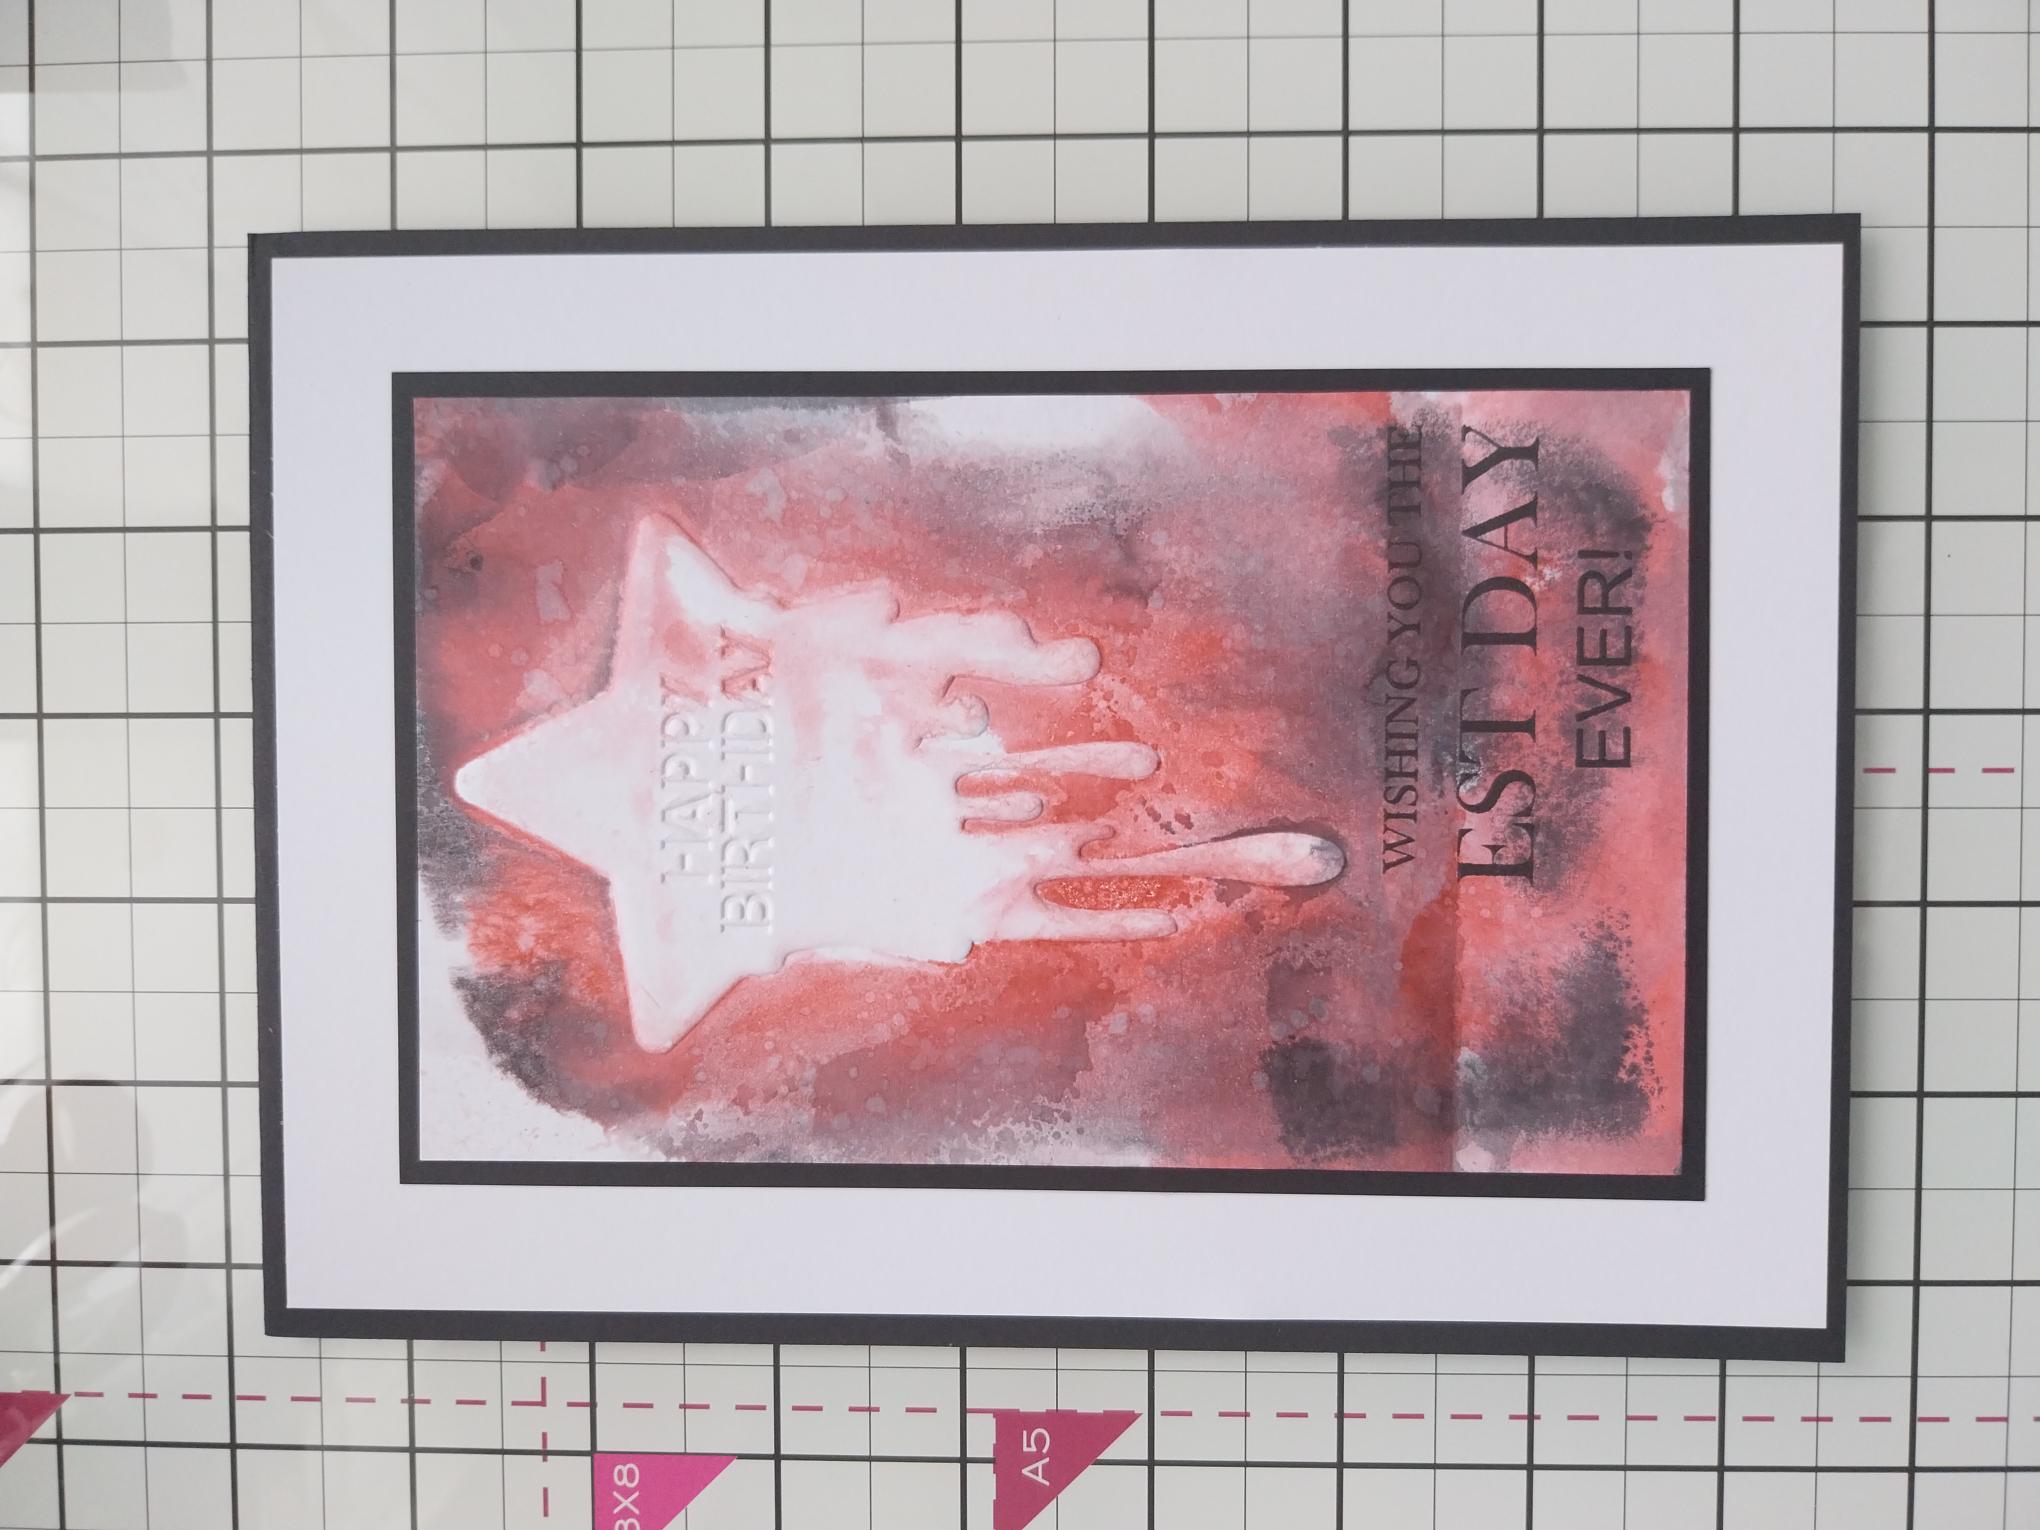
Swipe the Redwood ink pad over the DEBOSSED side of the Star Icon folder, followed by the Black Soot around the outer edges. Spritz with water, place the 6 1/2 x 4" white card inside and run it through your machine. Take out the card, spritz with water and allow the colours to drip and blend. You can add more ink and/or re-emboss, until you are happy with the effect you have achieved. |
|
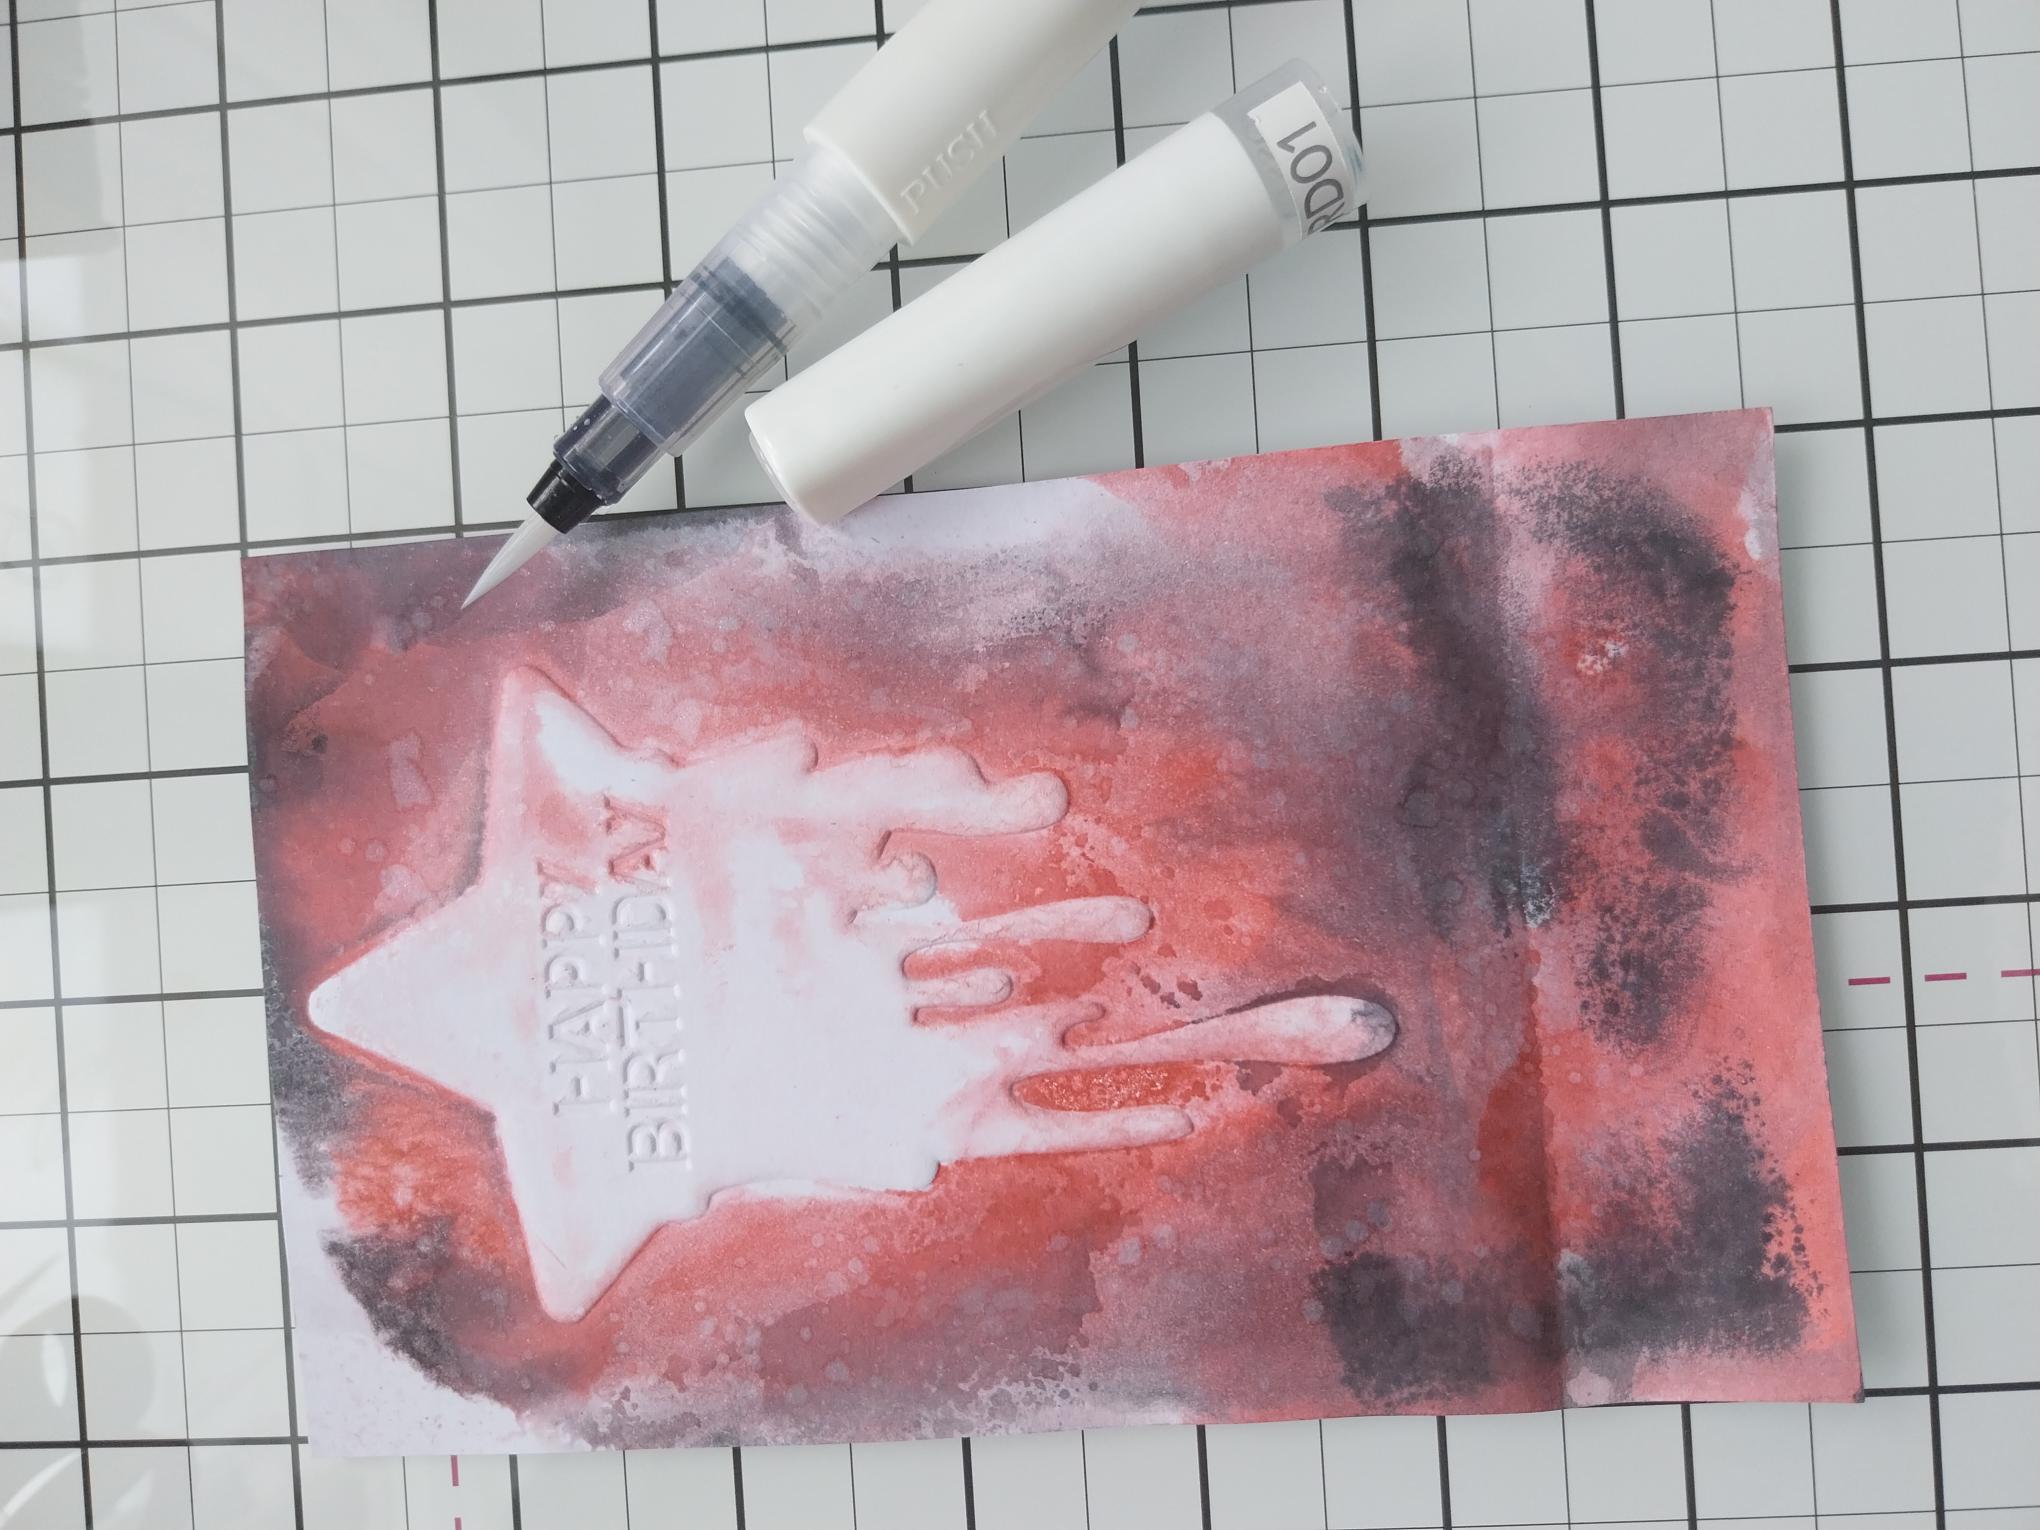
Squeeze some of the Iridescent red glitter on to your glass mat, before splattering all over your inky, embossed background. Blast with your heat tool and set to one side. |
|
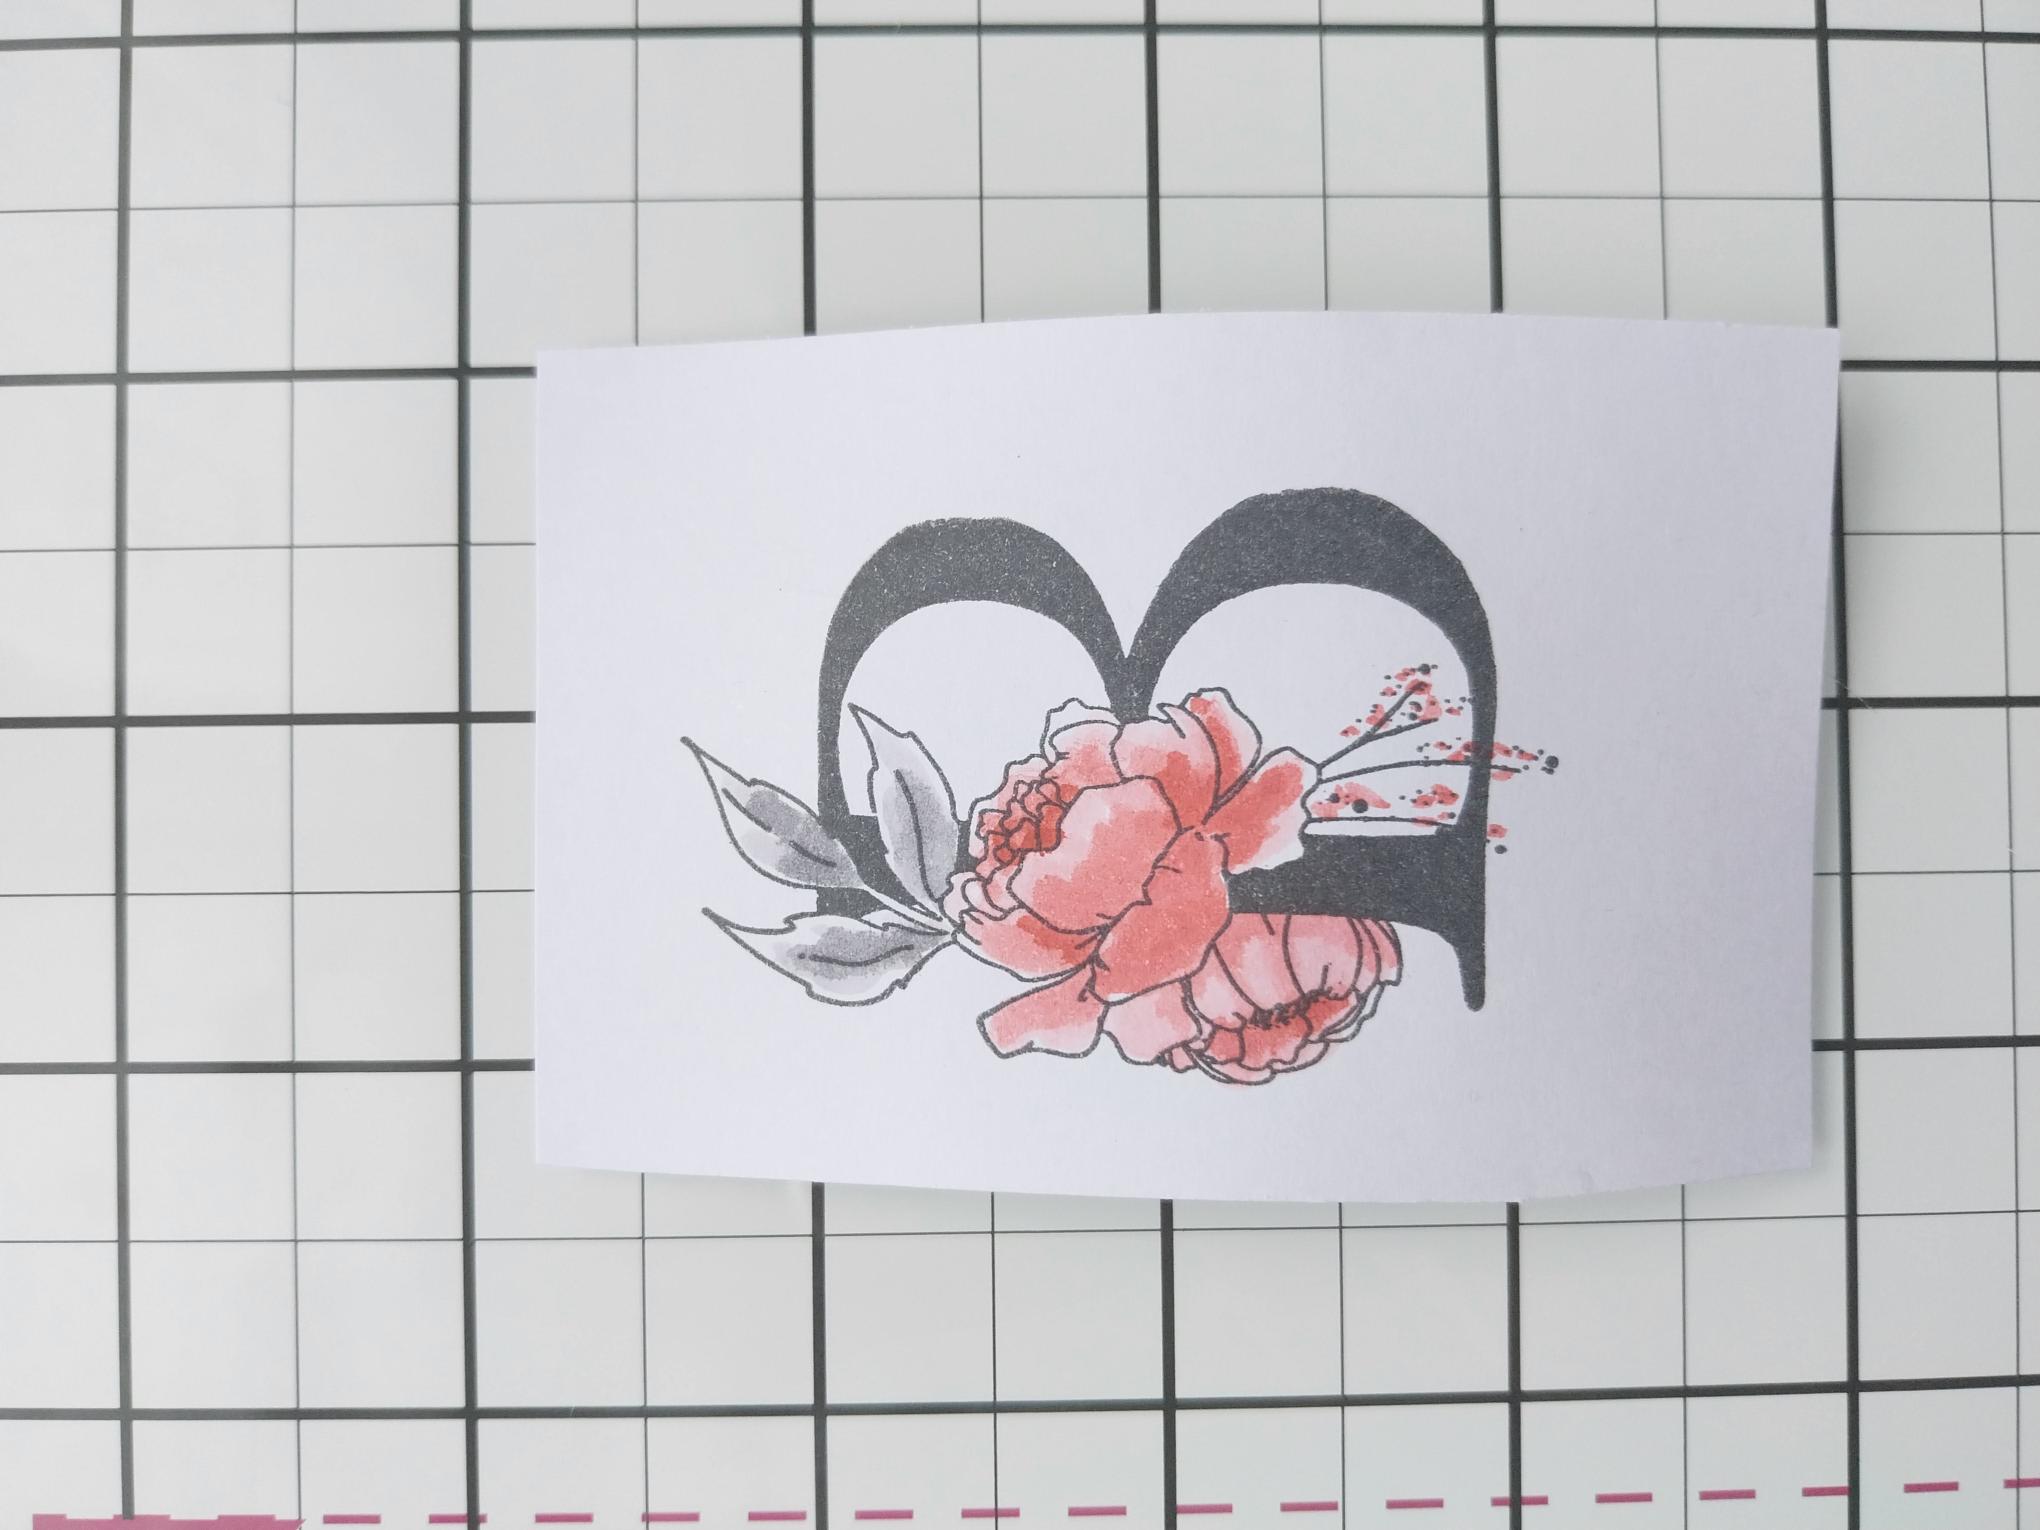
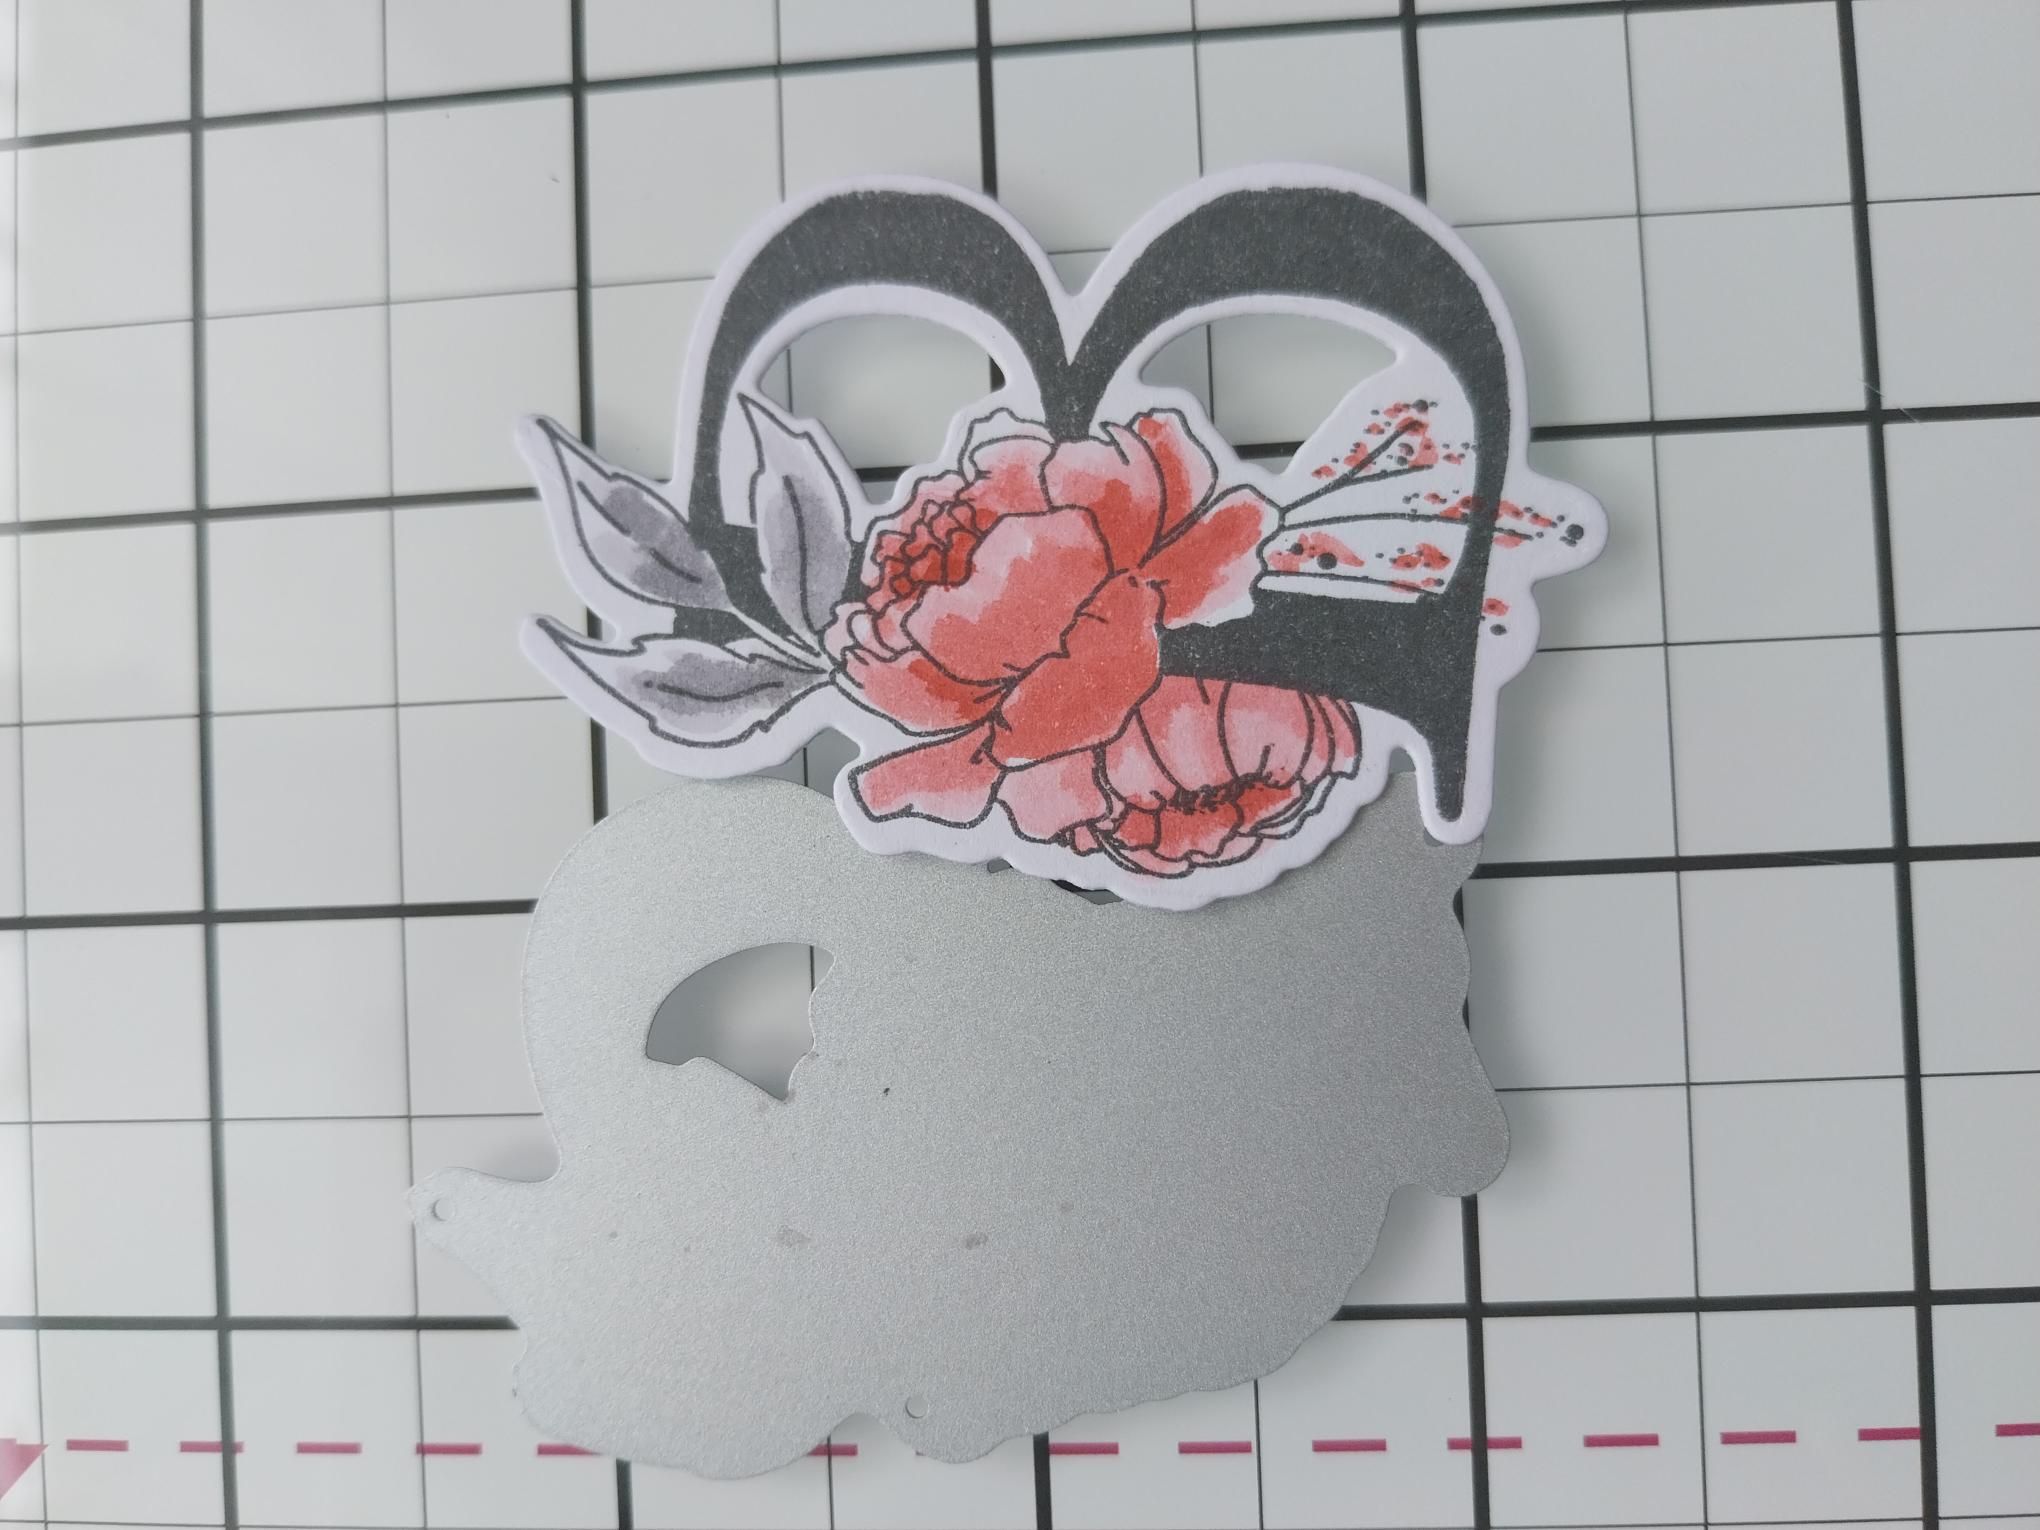
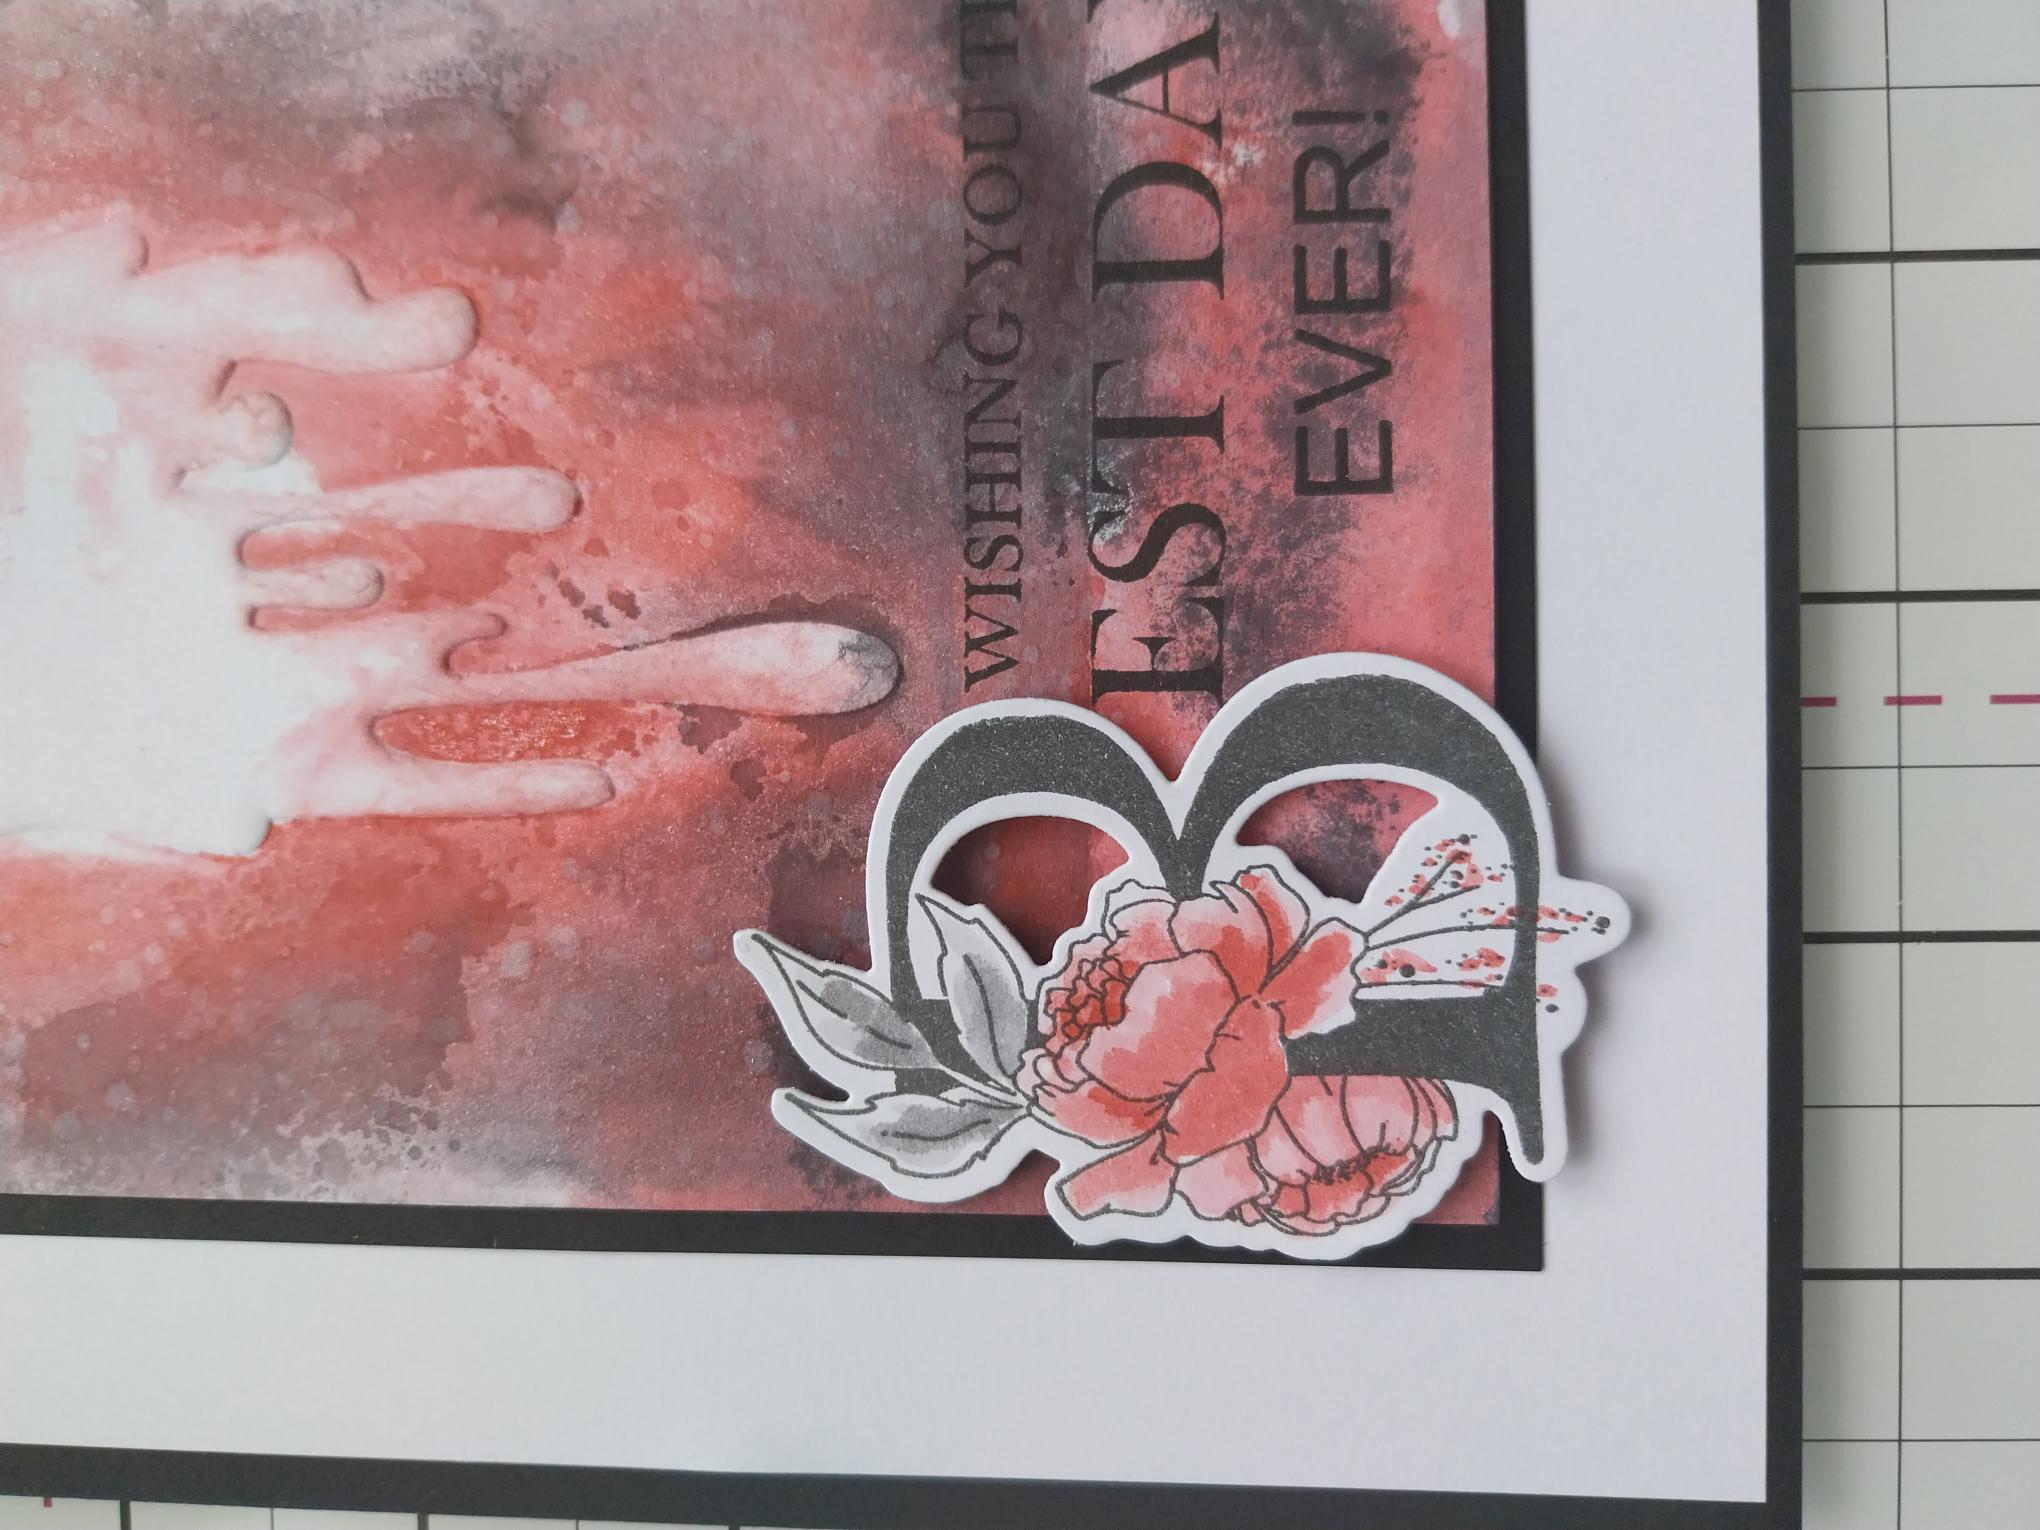
Stamp the "B" floral stamp with Midnight, on to the 4 x 3" white card. Use the Redwood and Black Soot inks, with a little water, to paint your florals. |
|
Once dry, use the coordinating die to cut it out. |
|
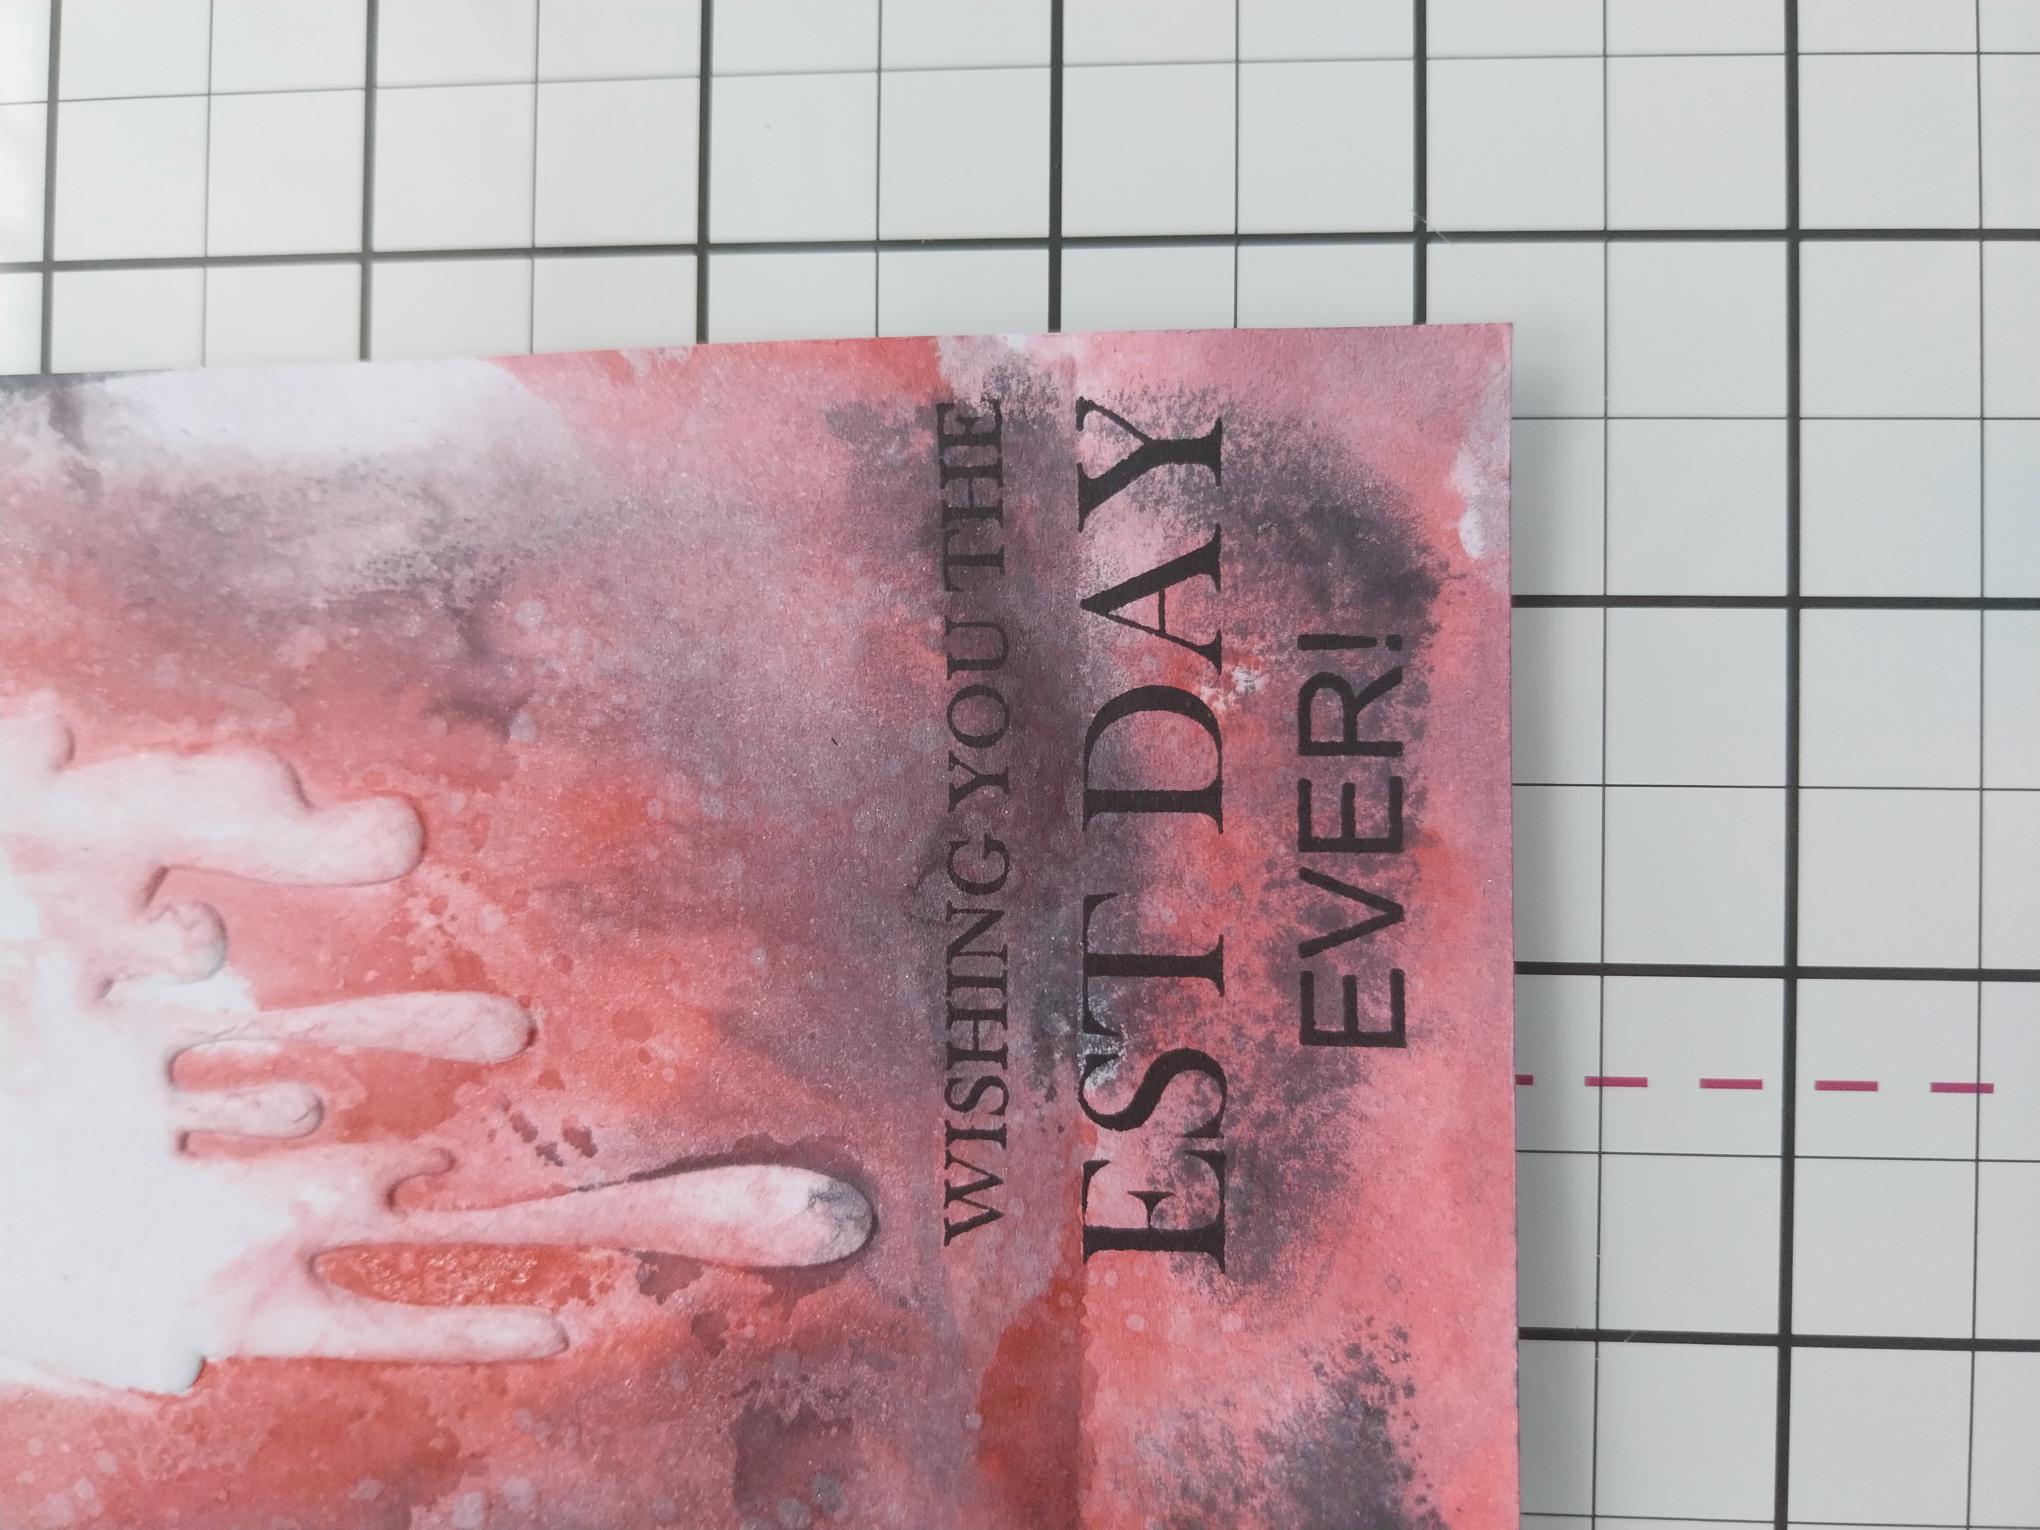
Ink the add-on sentiment stamp with Midnight and using your die cut element as a guide, stamp it to the bottom right of your artwork. |
|
Adhere your artwork on to the black card, trimmed to 6 3/4 x 4 1/4". |
|
Adhere the white card, trimmed to 8 x 5 1/2", on to the front of your black card blank. |
|
Adhere your artwork on to your card blank. |
|
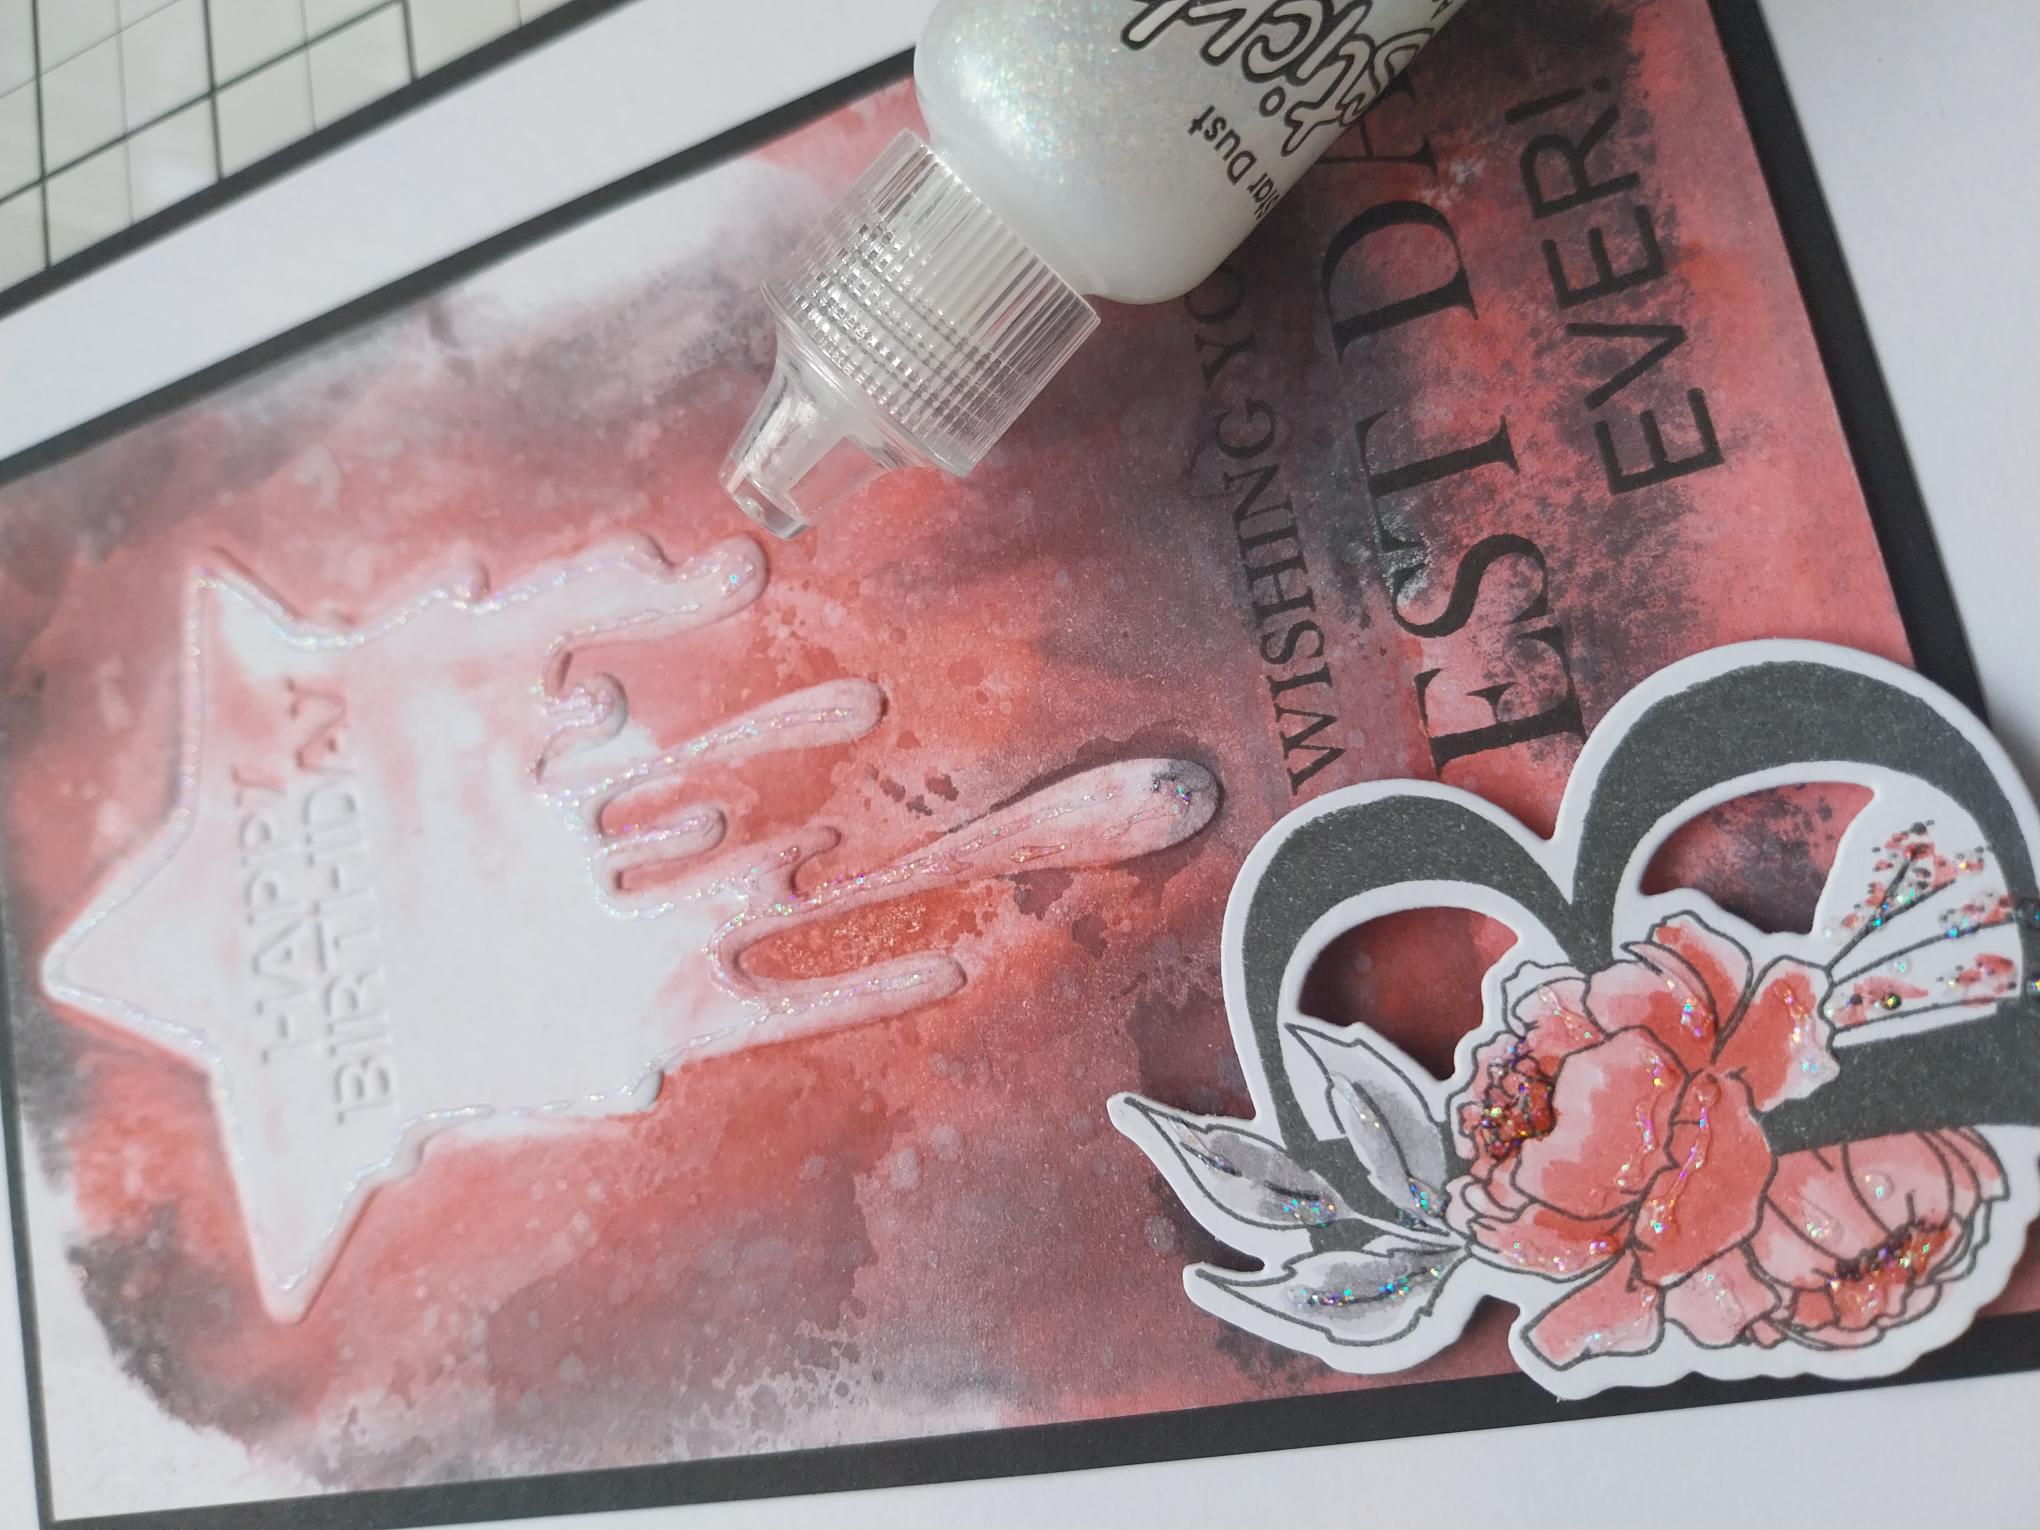
Adhere the 3D element with foam pads, in position to the left of your stamped add-on sentiment. |
|
Finish by using the Stickles to add a touch of sparkle and glitter, to your florals. |