Give your friends $10 off their first order!
Refer a FRIEND


WHAT YOU WILL NEED:
White card blank 7 x 7"
White card 6 x 4"
Premium A4 Card Collection: Blush - pink/lilac textured card 6 1/4" square
Watercolour 3D Circle Icon Embossing Folder
Creative Watercolours 6 x 6" Paper Pack
Magical Frame Stamp Collection
SBM Hybrid Ink Pad: Midnight
SBM Premium Dye Ink Pad: Sherbet, Bittersweet, Heather
Water spray bottle
Blending tool
WOW heat tool
Eureka 101 Watercolour Tablet
SBM Magnetic glass mat
Paper Trimmer
Perfect Together Glue
Foam pads
Die Cutting machine
[click image to enlarge] 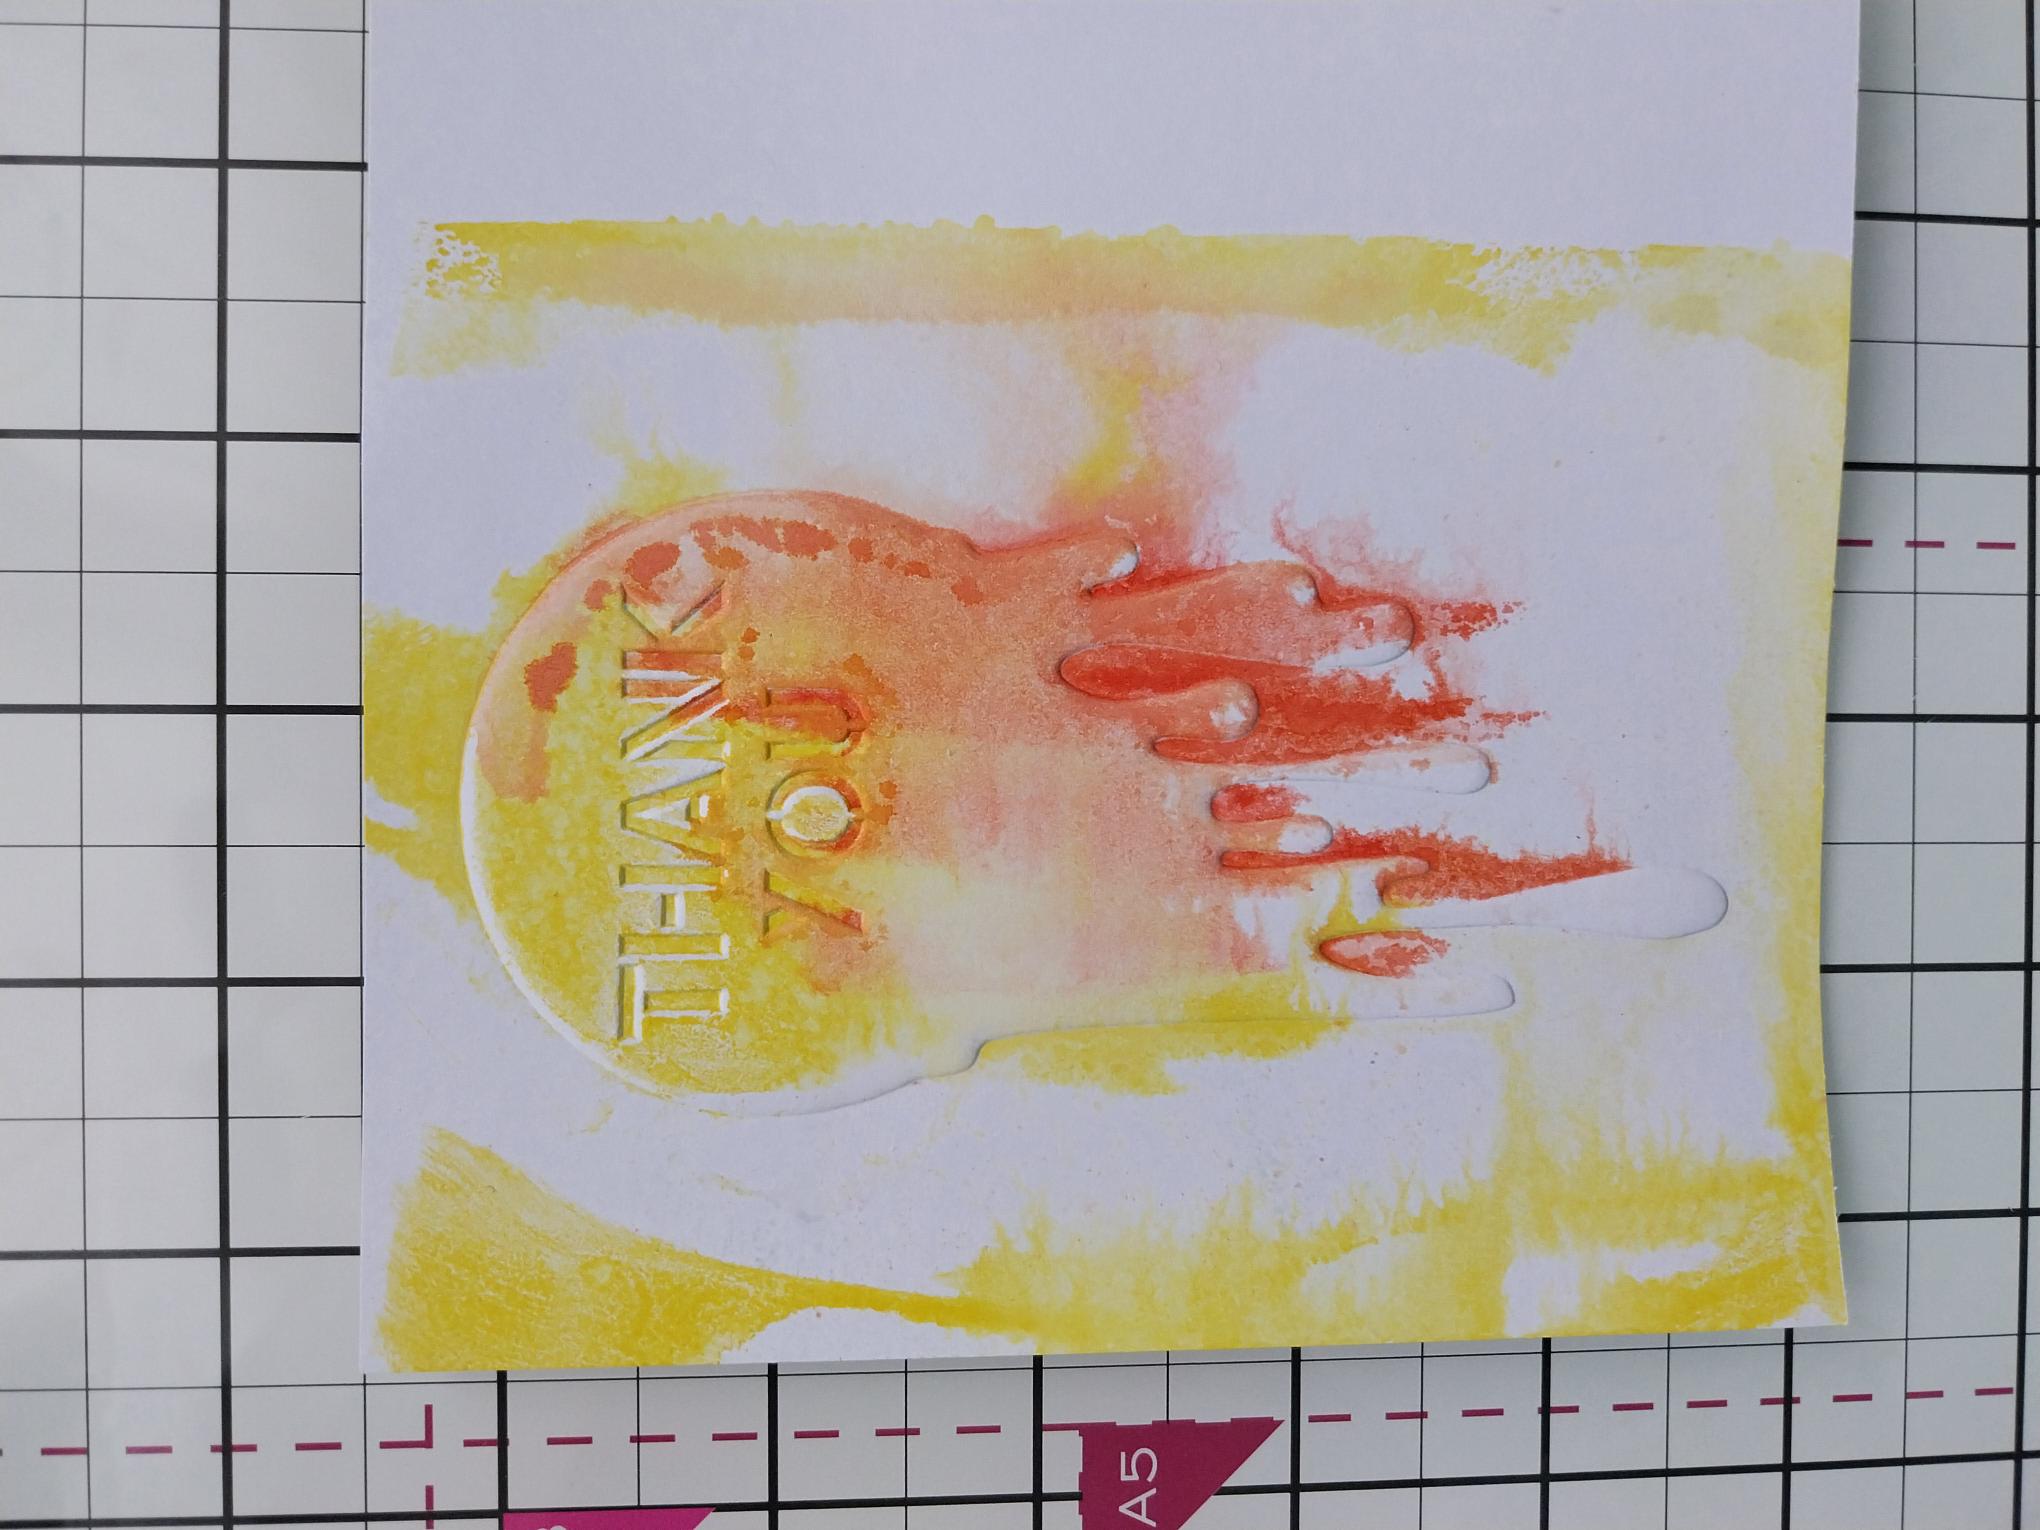
|
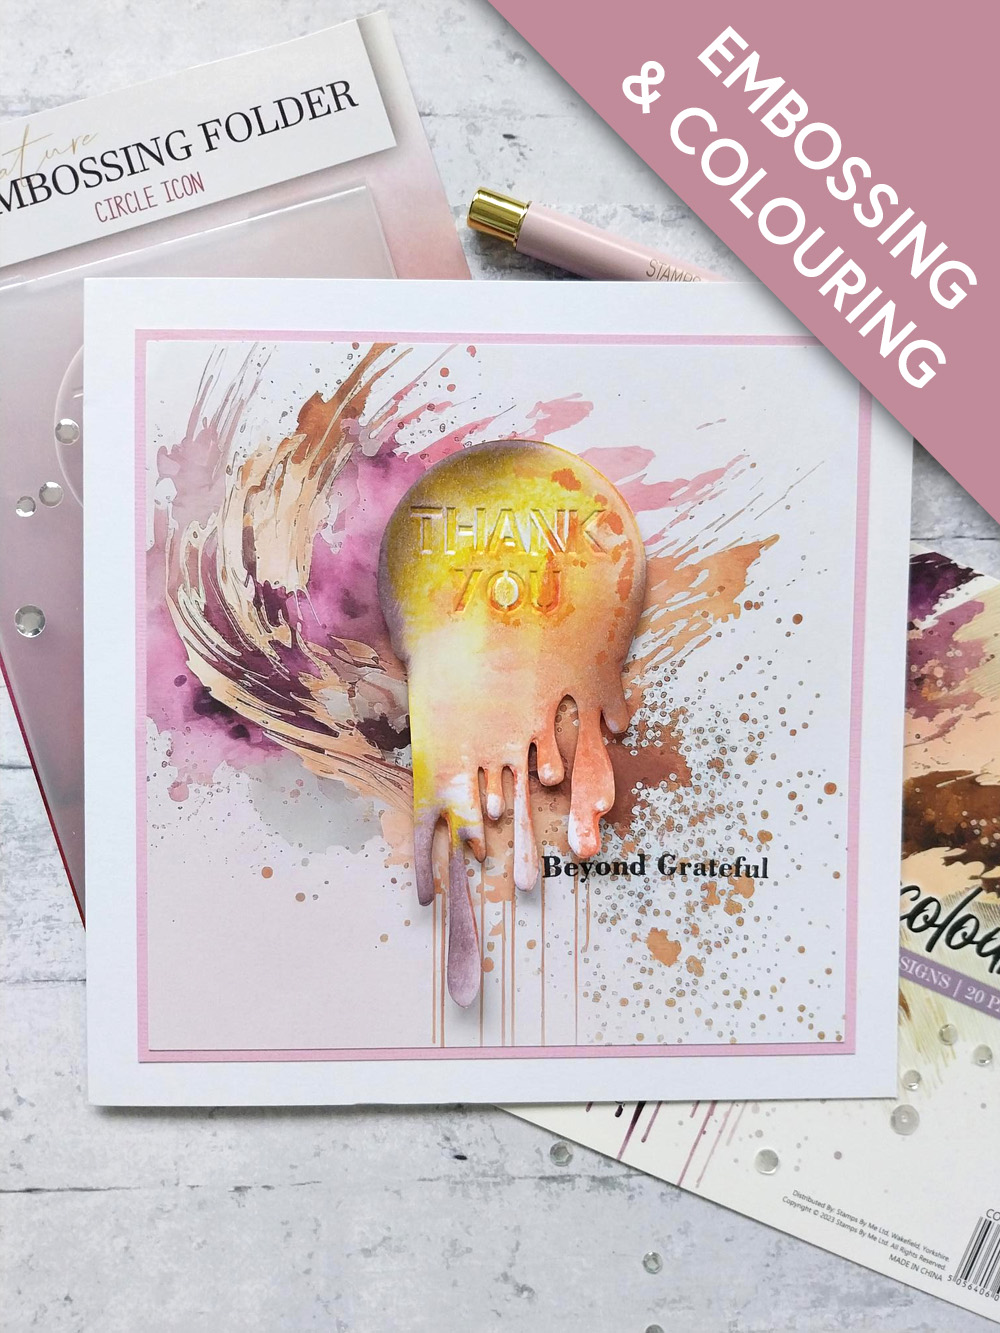
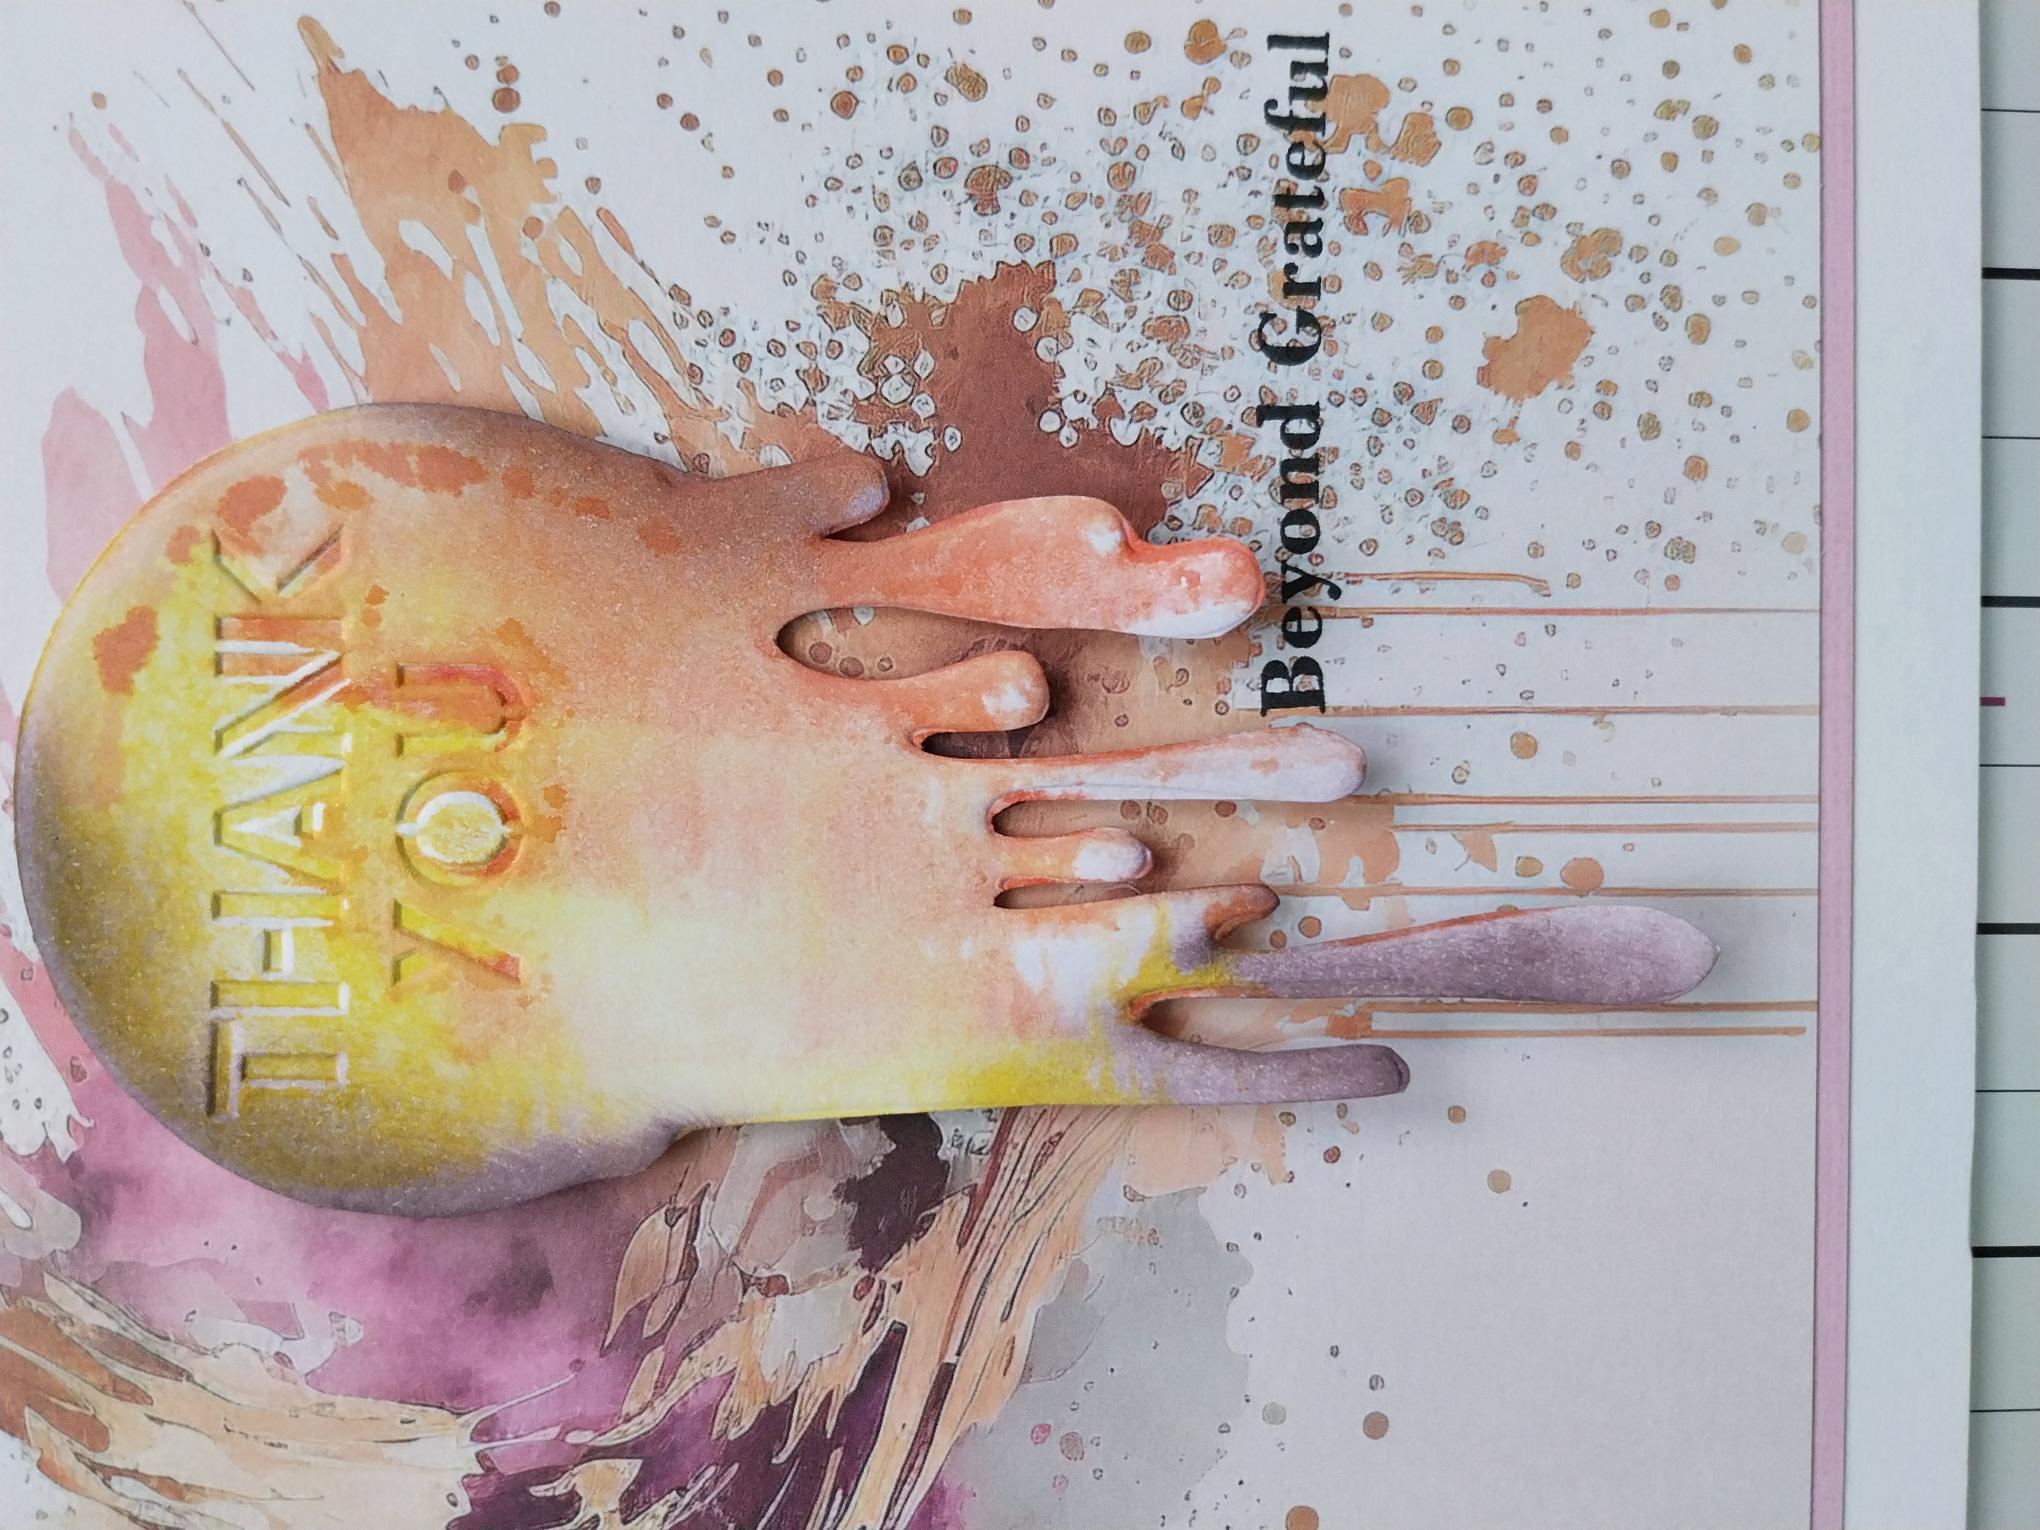
Swipe the Sherbet and Bittersweet ink pads in to the DEBOSSED circle icon on the folder. Spritz with water, place the 6 x 4" white card inside and run it through your machine. Remove the embossed card, hold upright and spray with water, allowing the ink to blend and "drip". Give it a quick blast with your heat tool. |
|
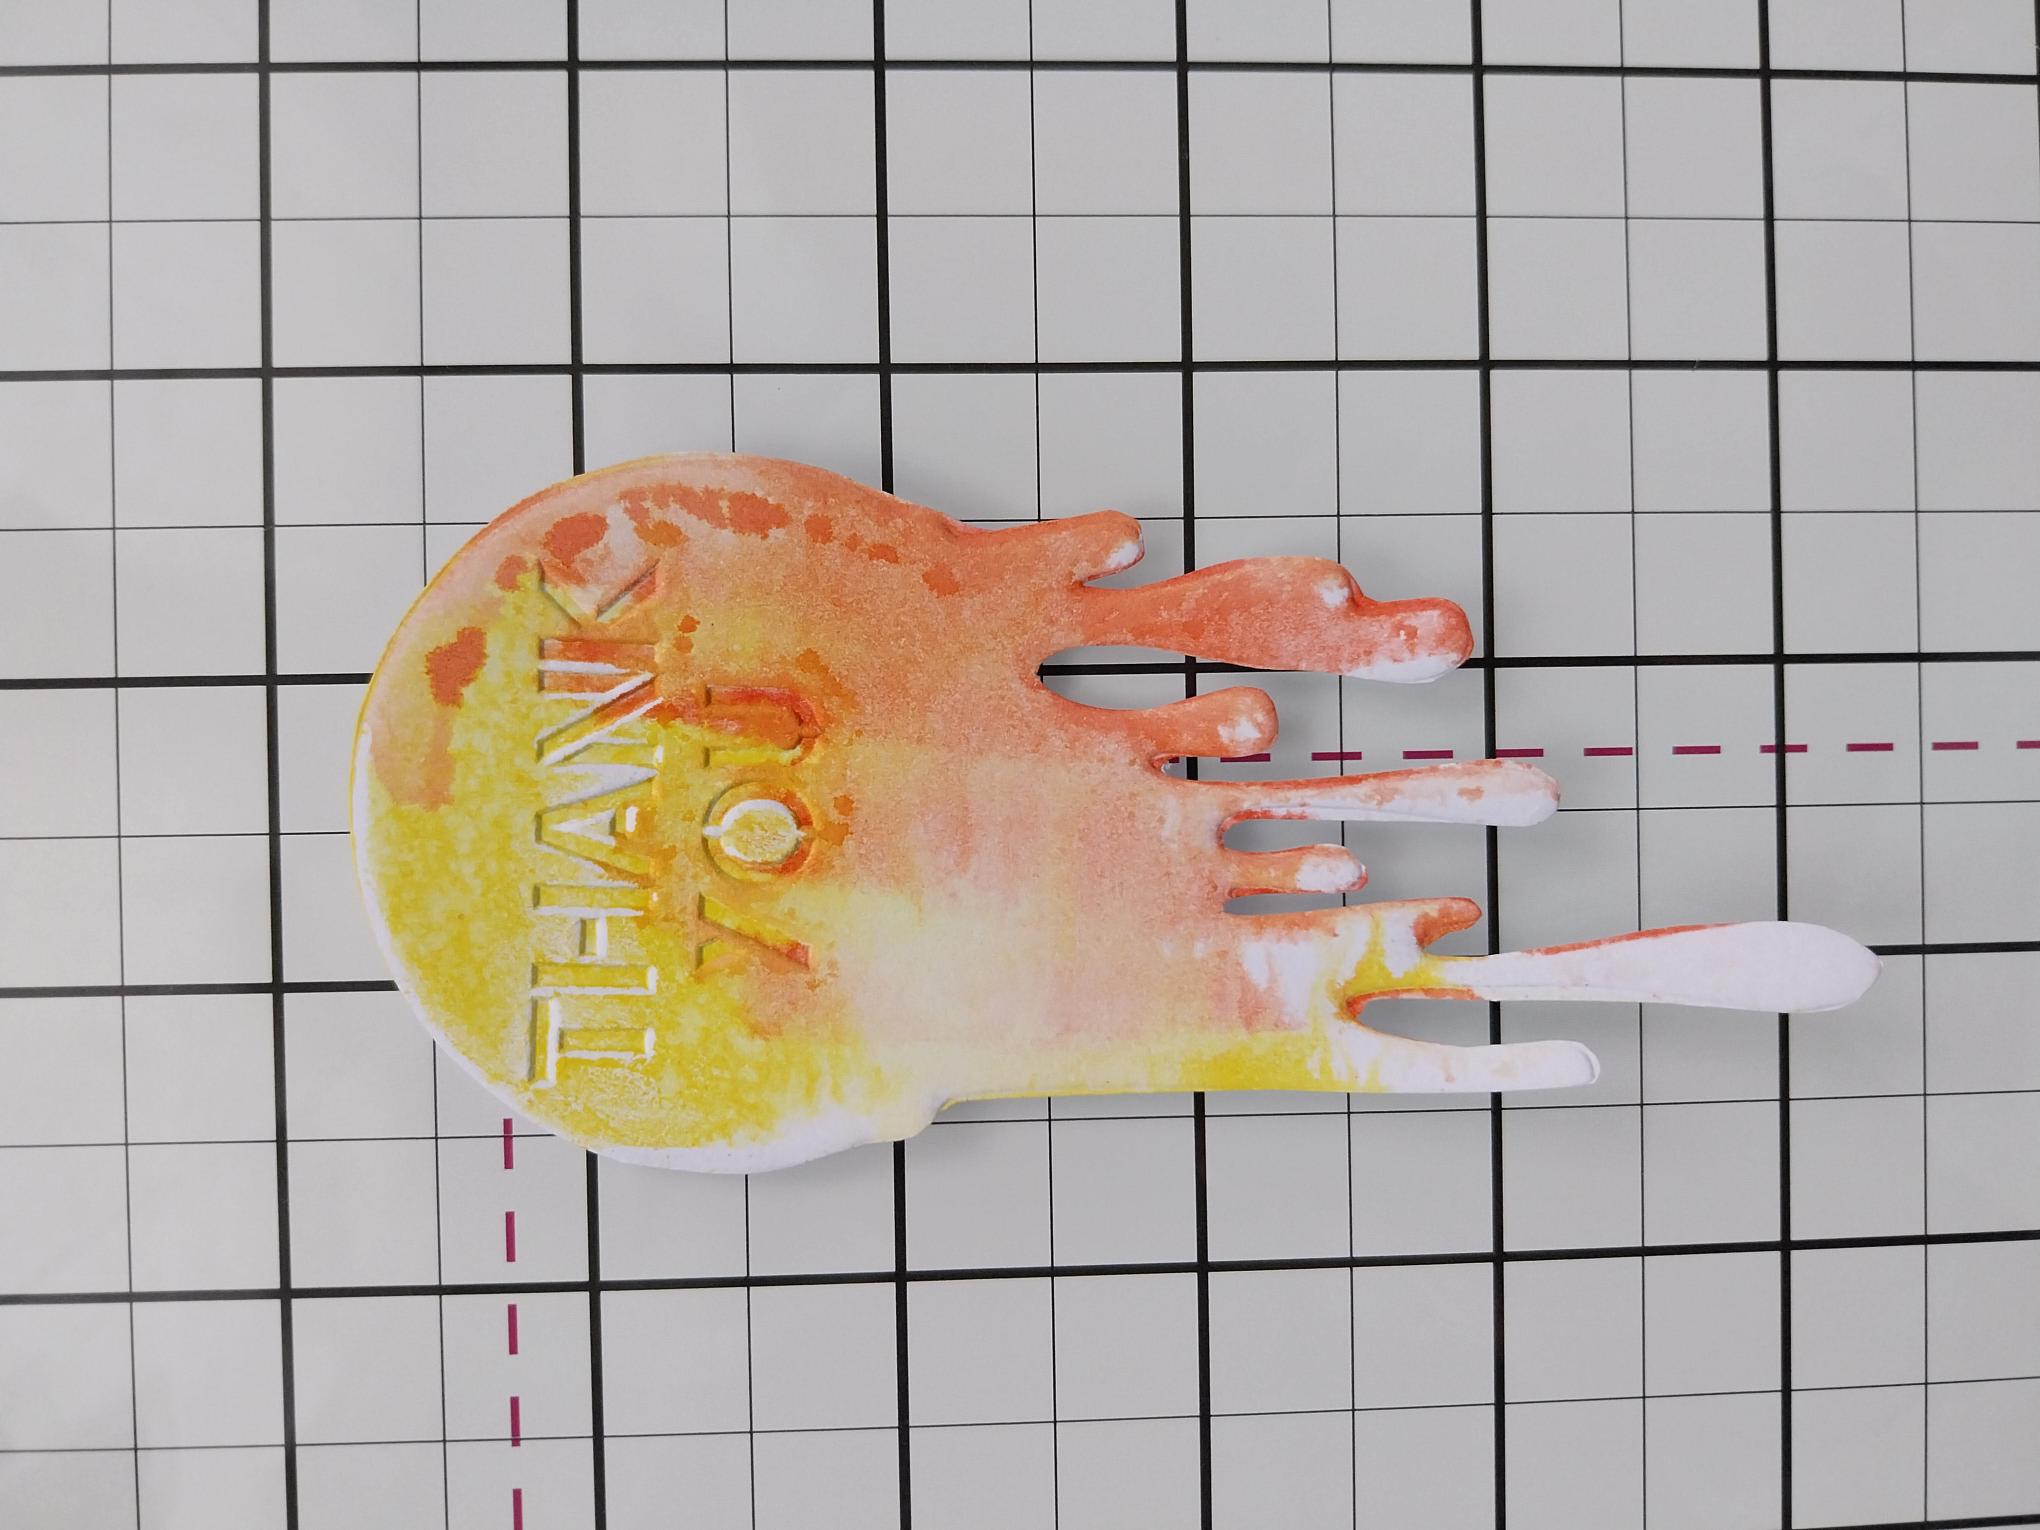
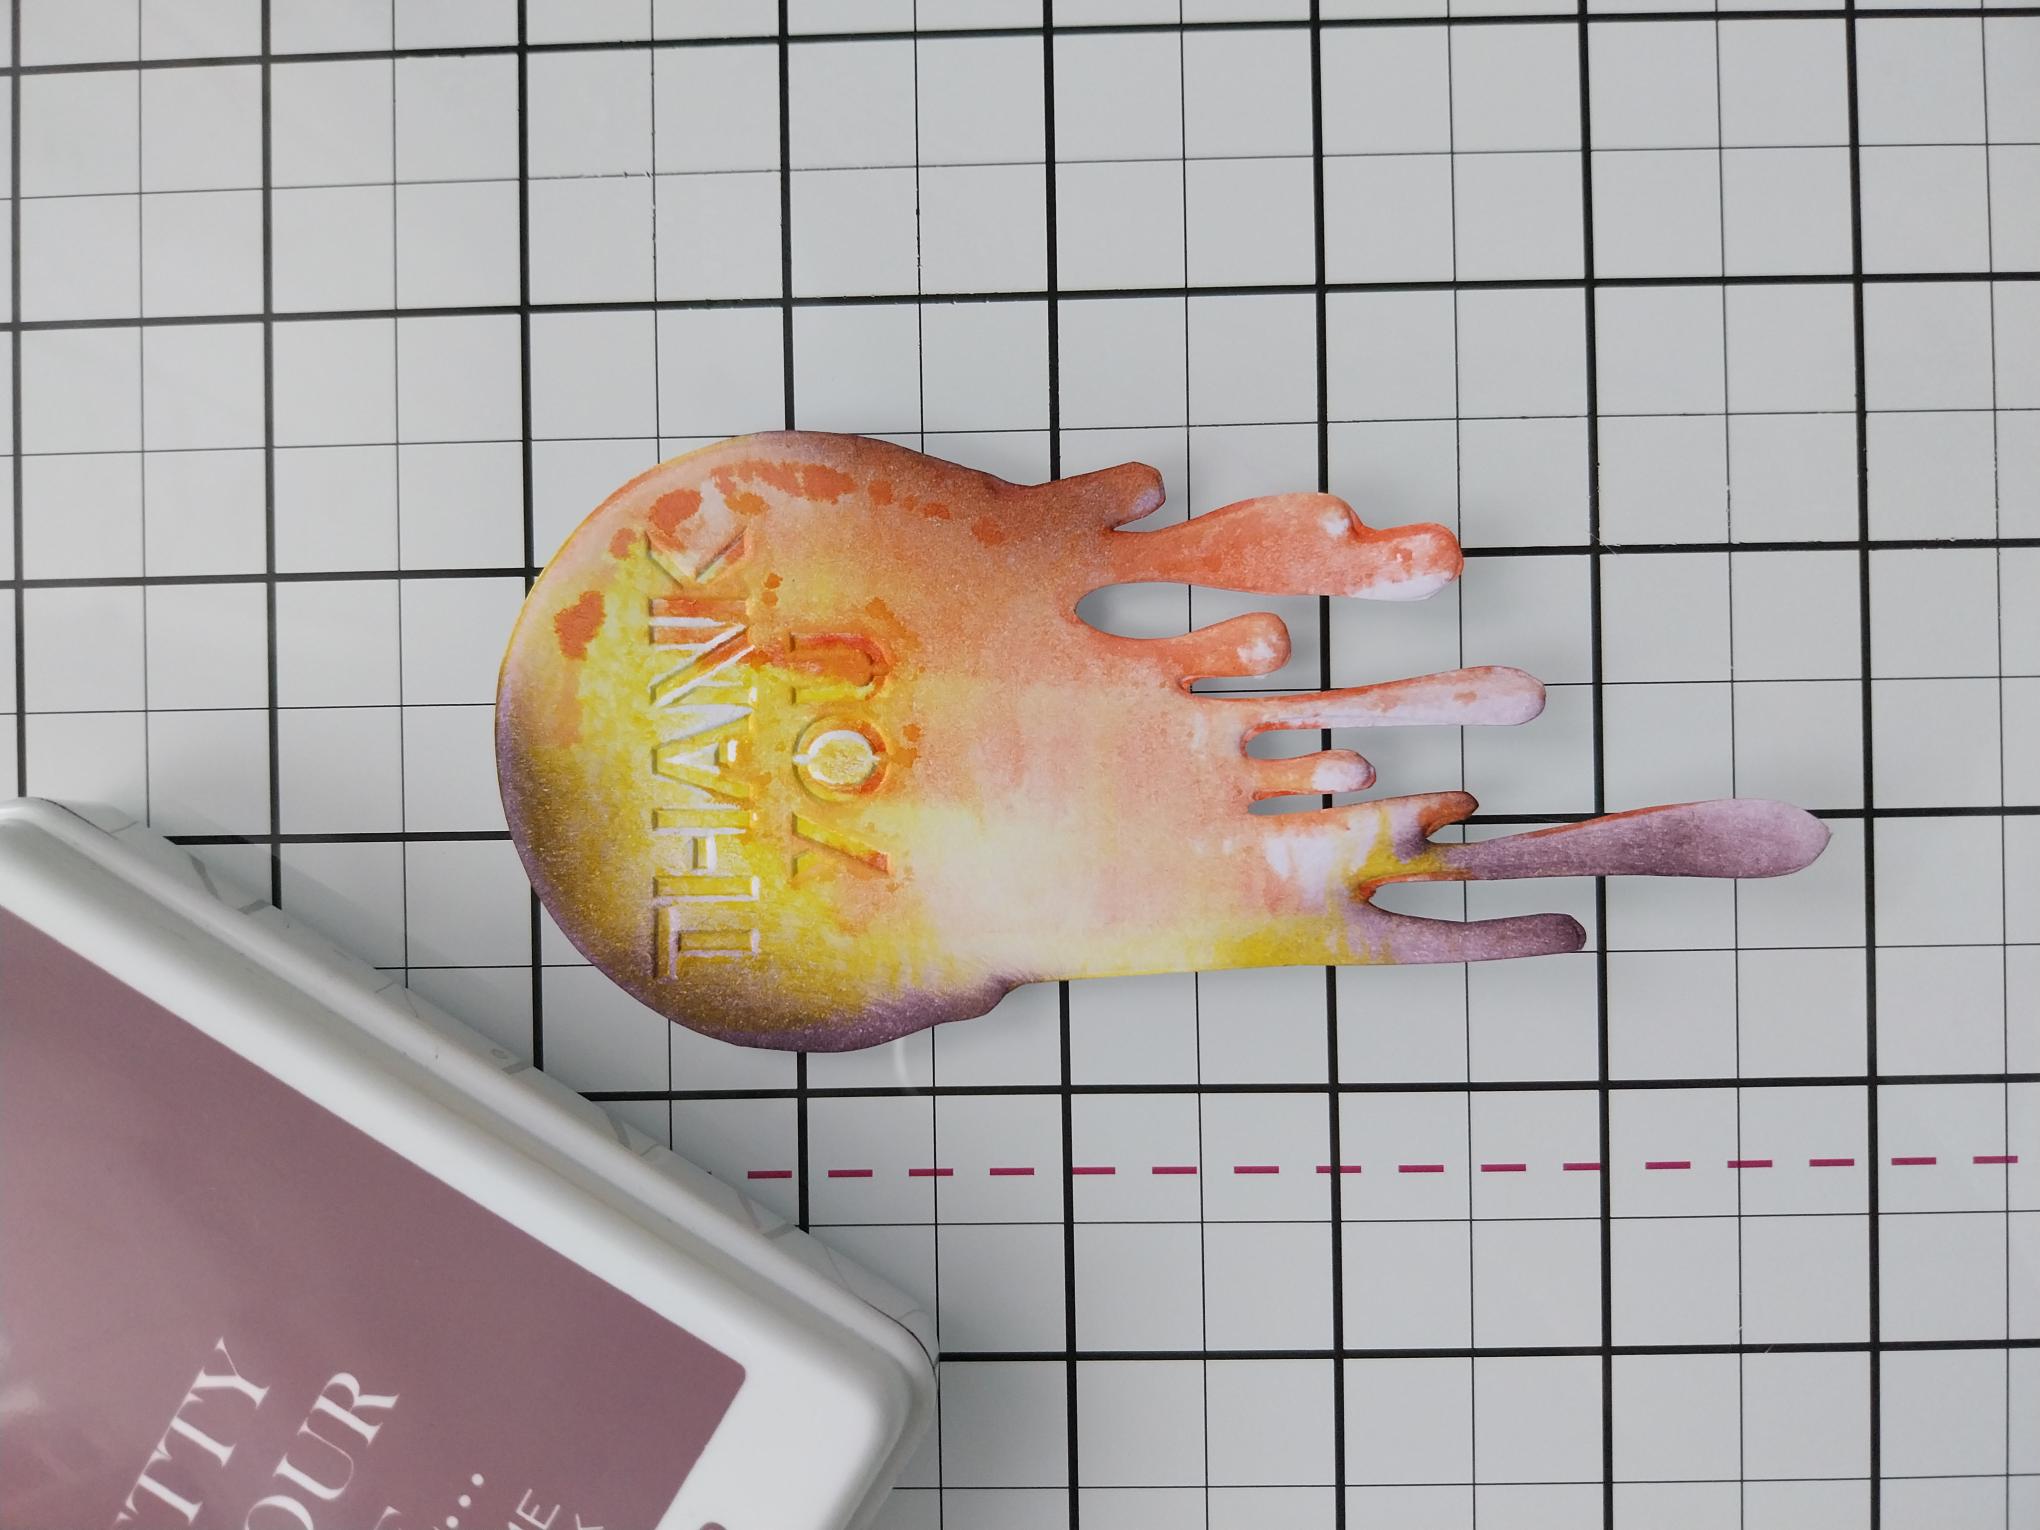
Fussy cut your embossed image. |
|
Use your blending tool to lightly blend Heather around the edges, before popping it to one side. |
|
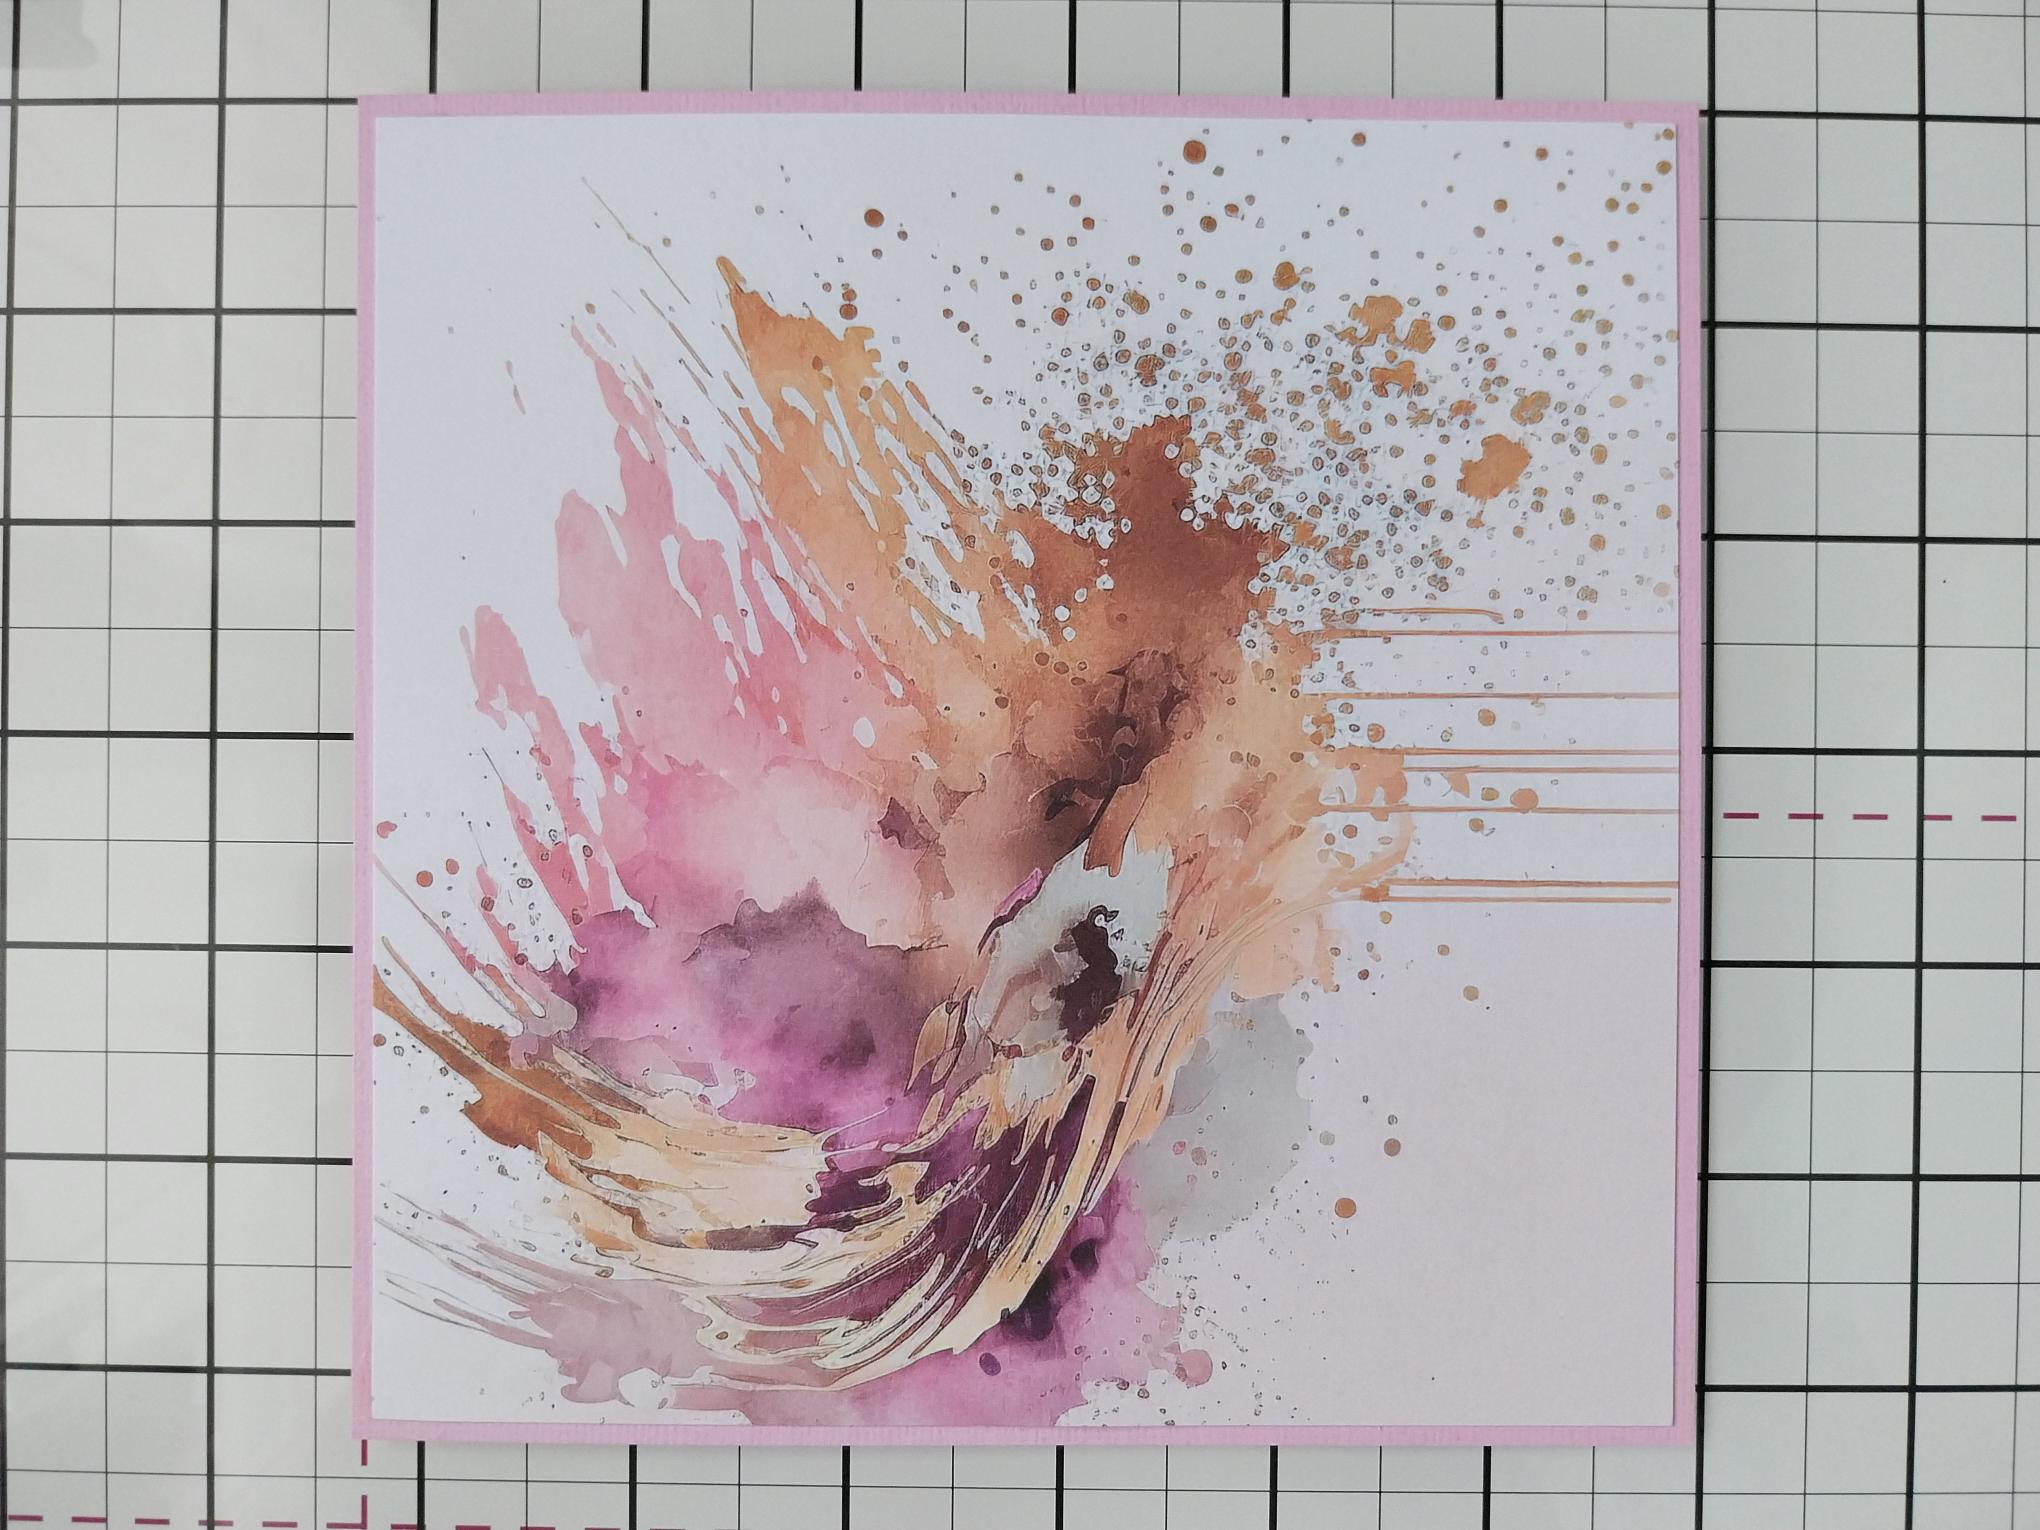
Remove this decorative sheet from the Creative Watercolours paper pack and adhere to the pink textured card, trimmed to 6 1/4" square. Ensure the "paint drips" within the printed design, are placed downwards. |
|
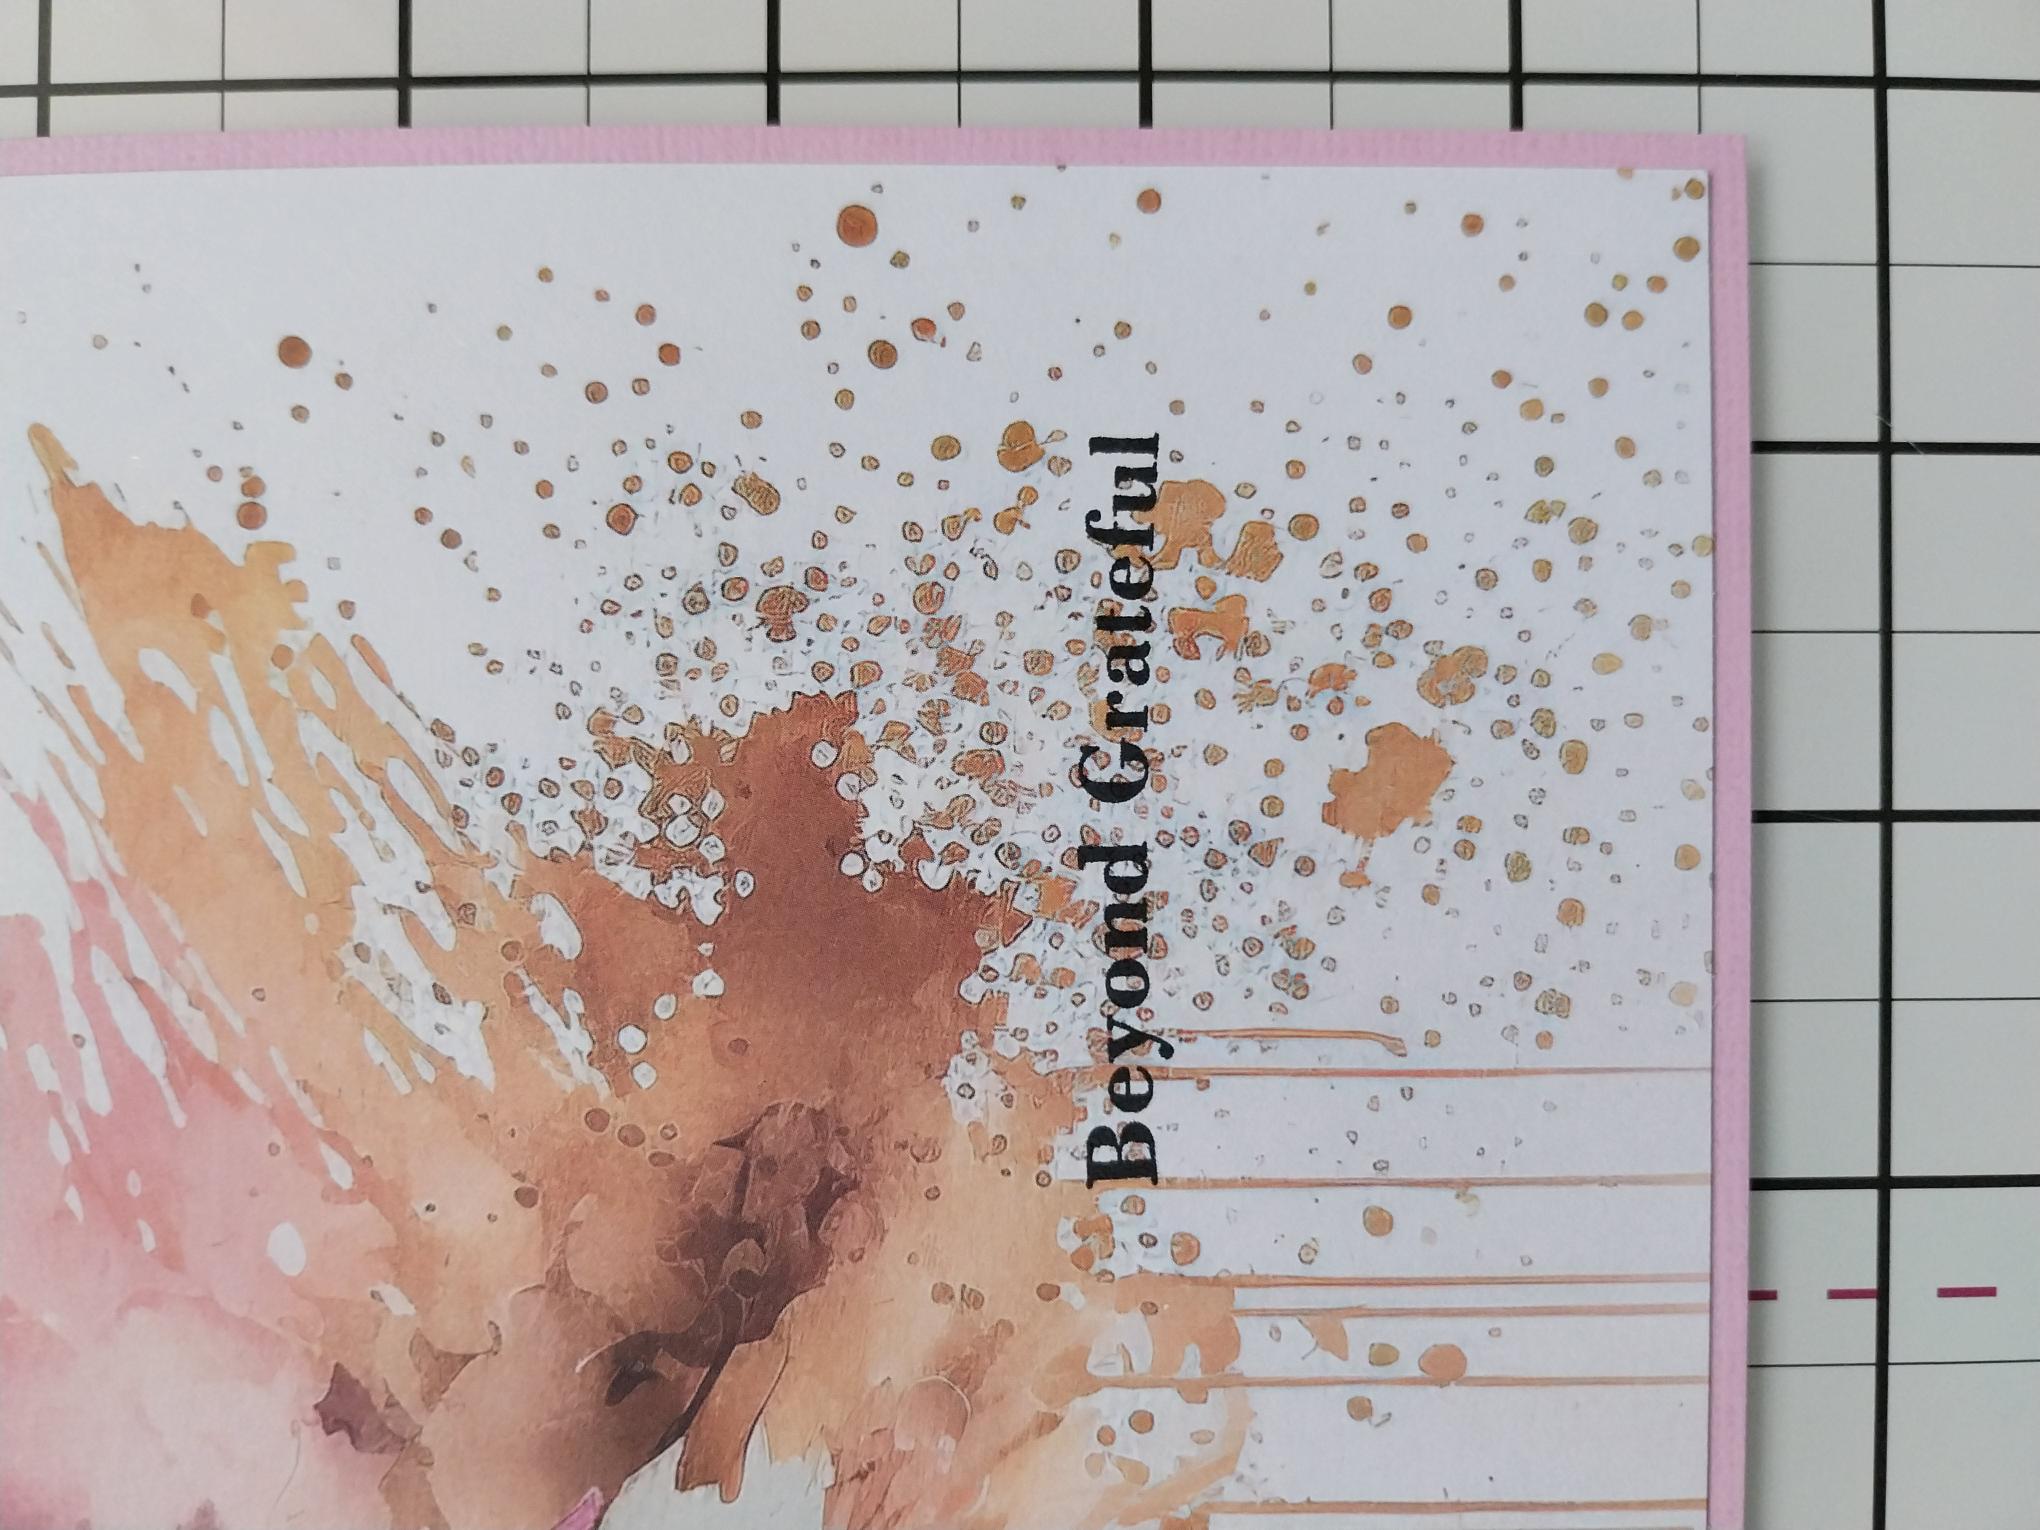
Stamp the sentiment, from the Magical Frame Collection, in the Midnight hybrid ink, to the bottom right of the printed image. |
|
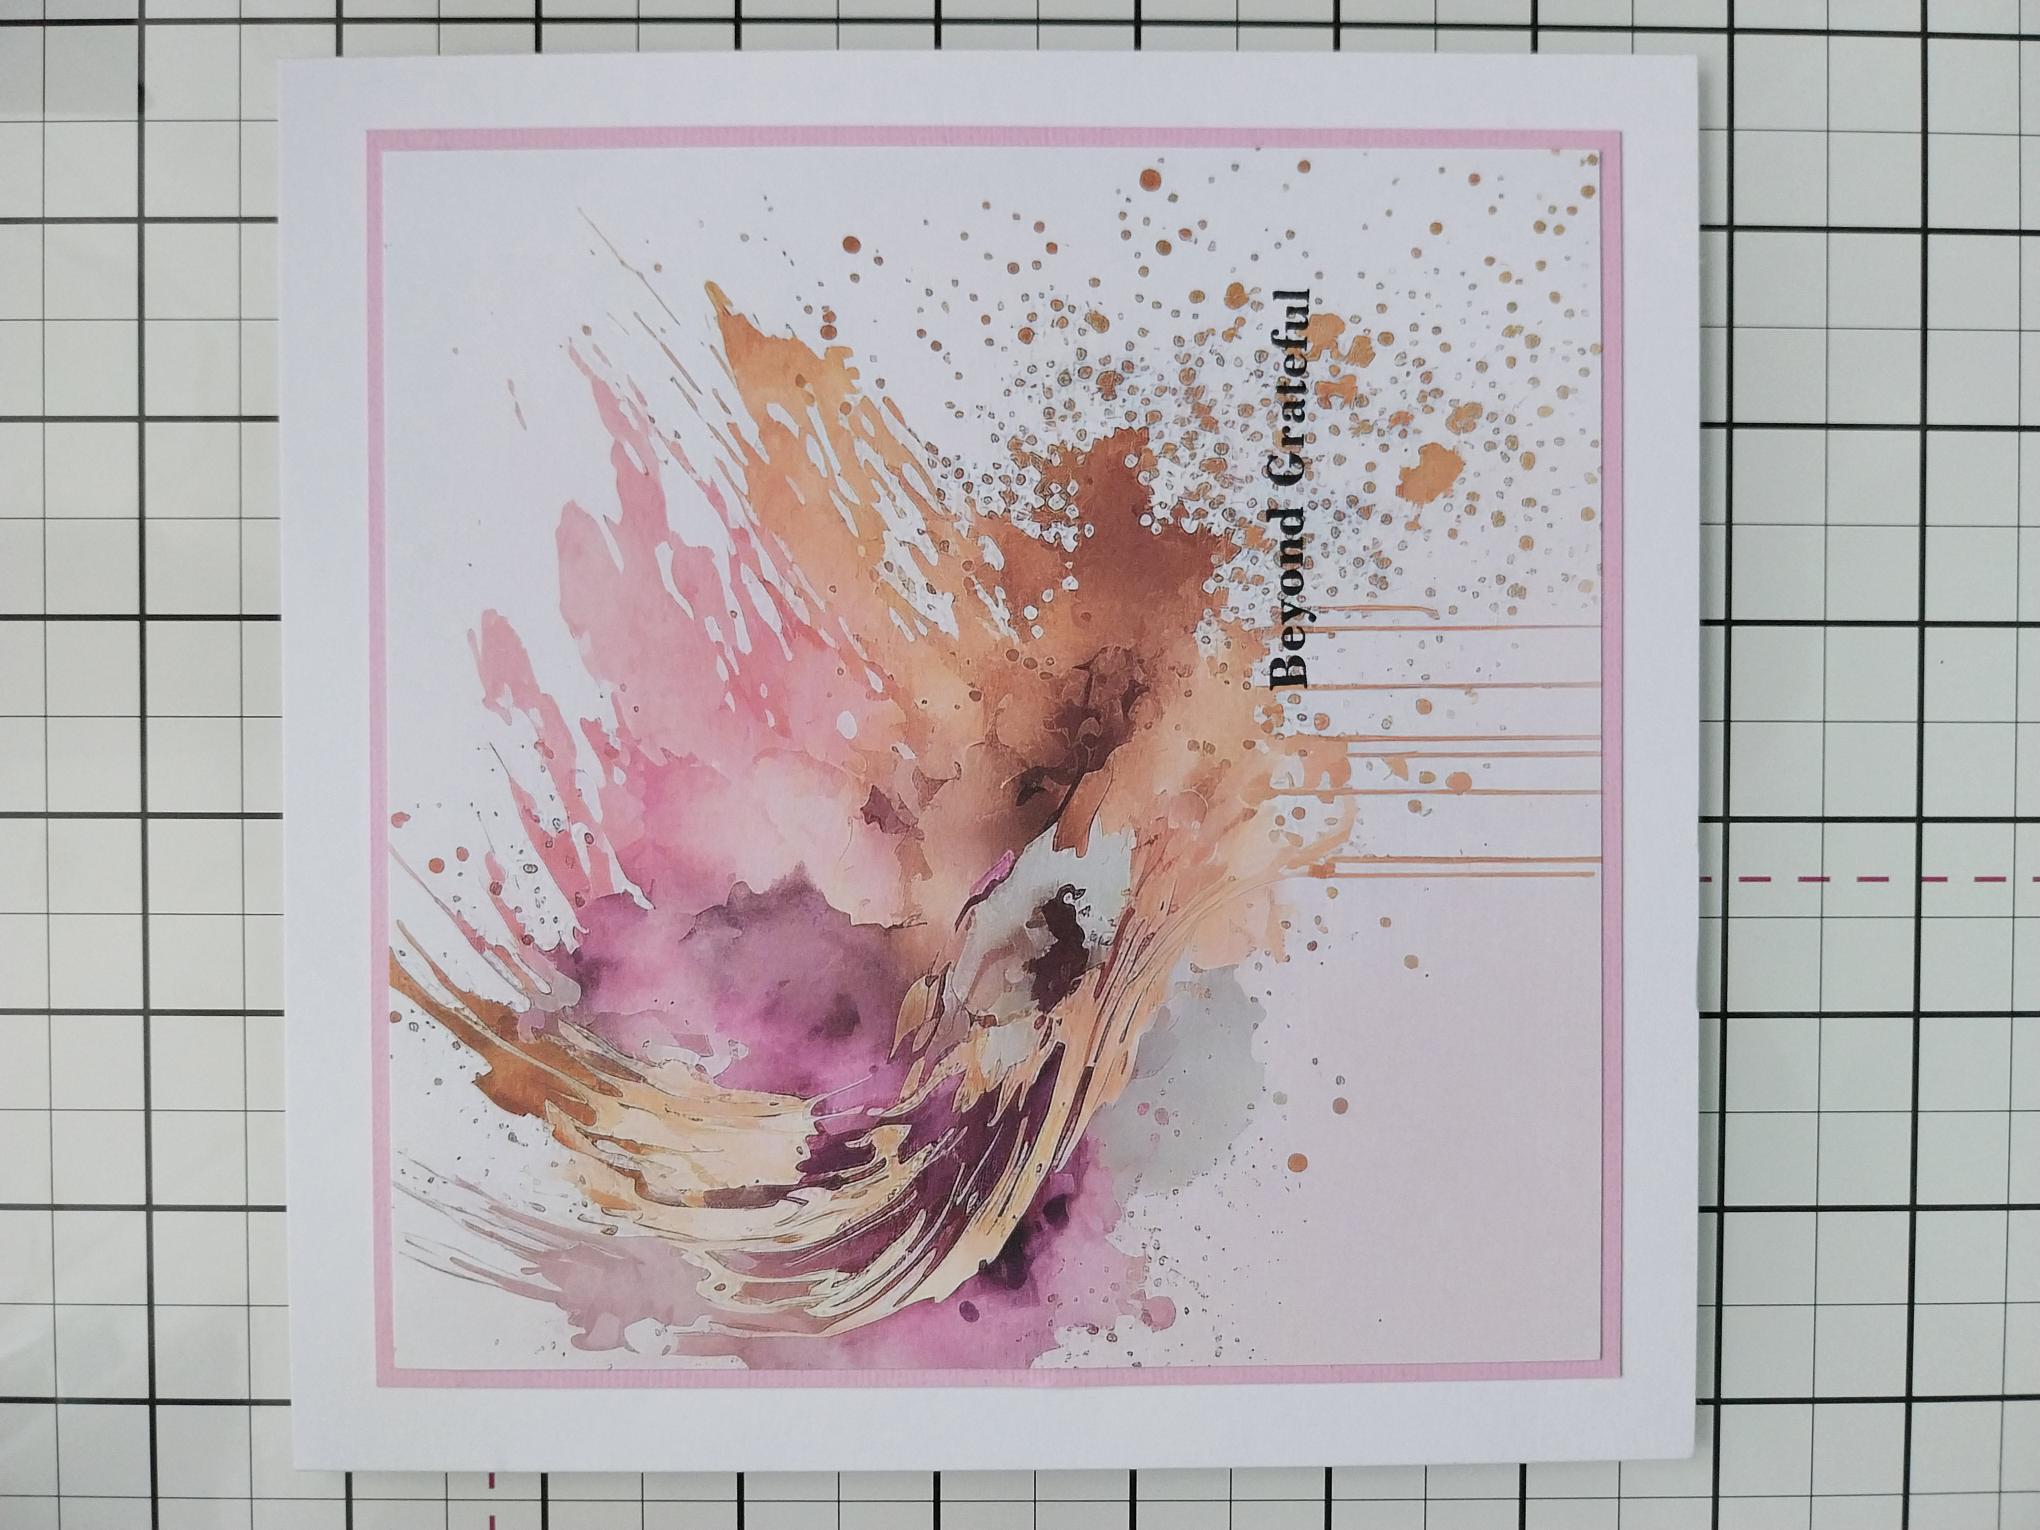
Adhere to your 7" white card blank. |
|
To finish, adhere your embossed 3D element with foam pads, to the centre of your artwork. |