Give your friends $10 off their first order!
Refer a FRIEND


WHAT YOU WILL NEED:
Kraft card blank 7 x 5"
White card 6 1/2 x 4 1/2" (TWO)
White card (for kite dies)
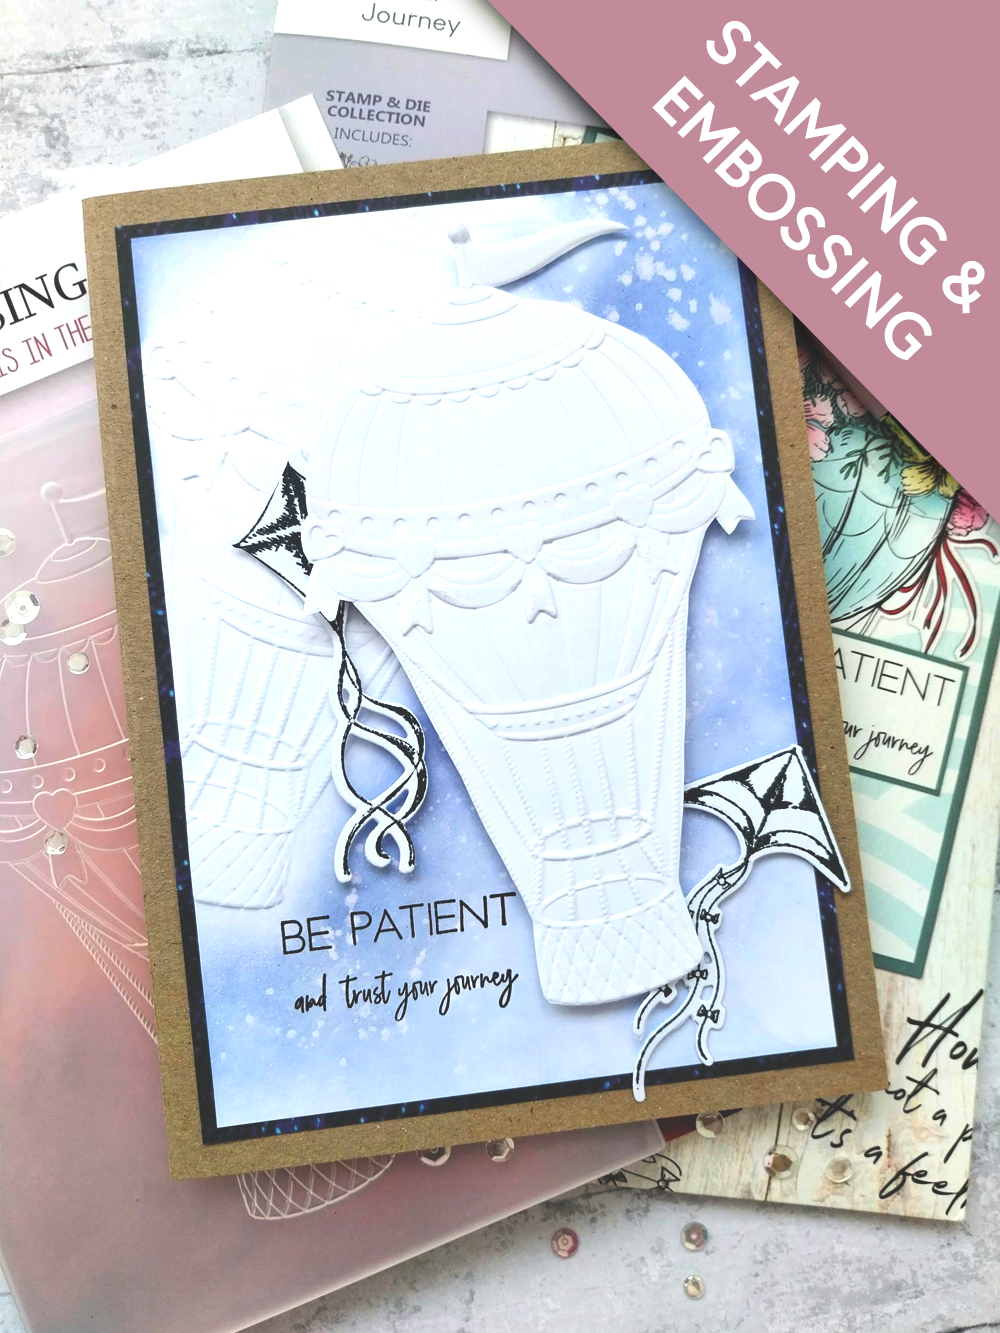
Watercolour HD3D Love Is In The Air Embossing Folder
Trust Your Journey Stamp and Die Collection
All Surfaces 8 x 8" Royal Blue Paper Pack
SBM Hybrid Ink Pad: Midnight
SBM Dye Ink Pad: Surfboard
Blending tool
Paint brush
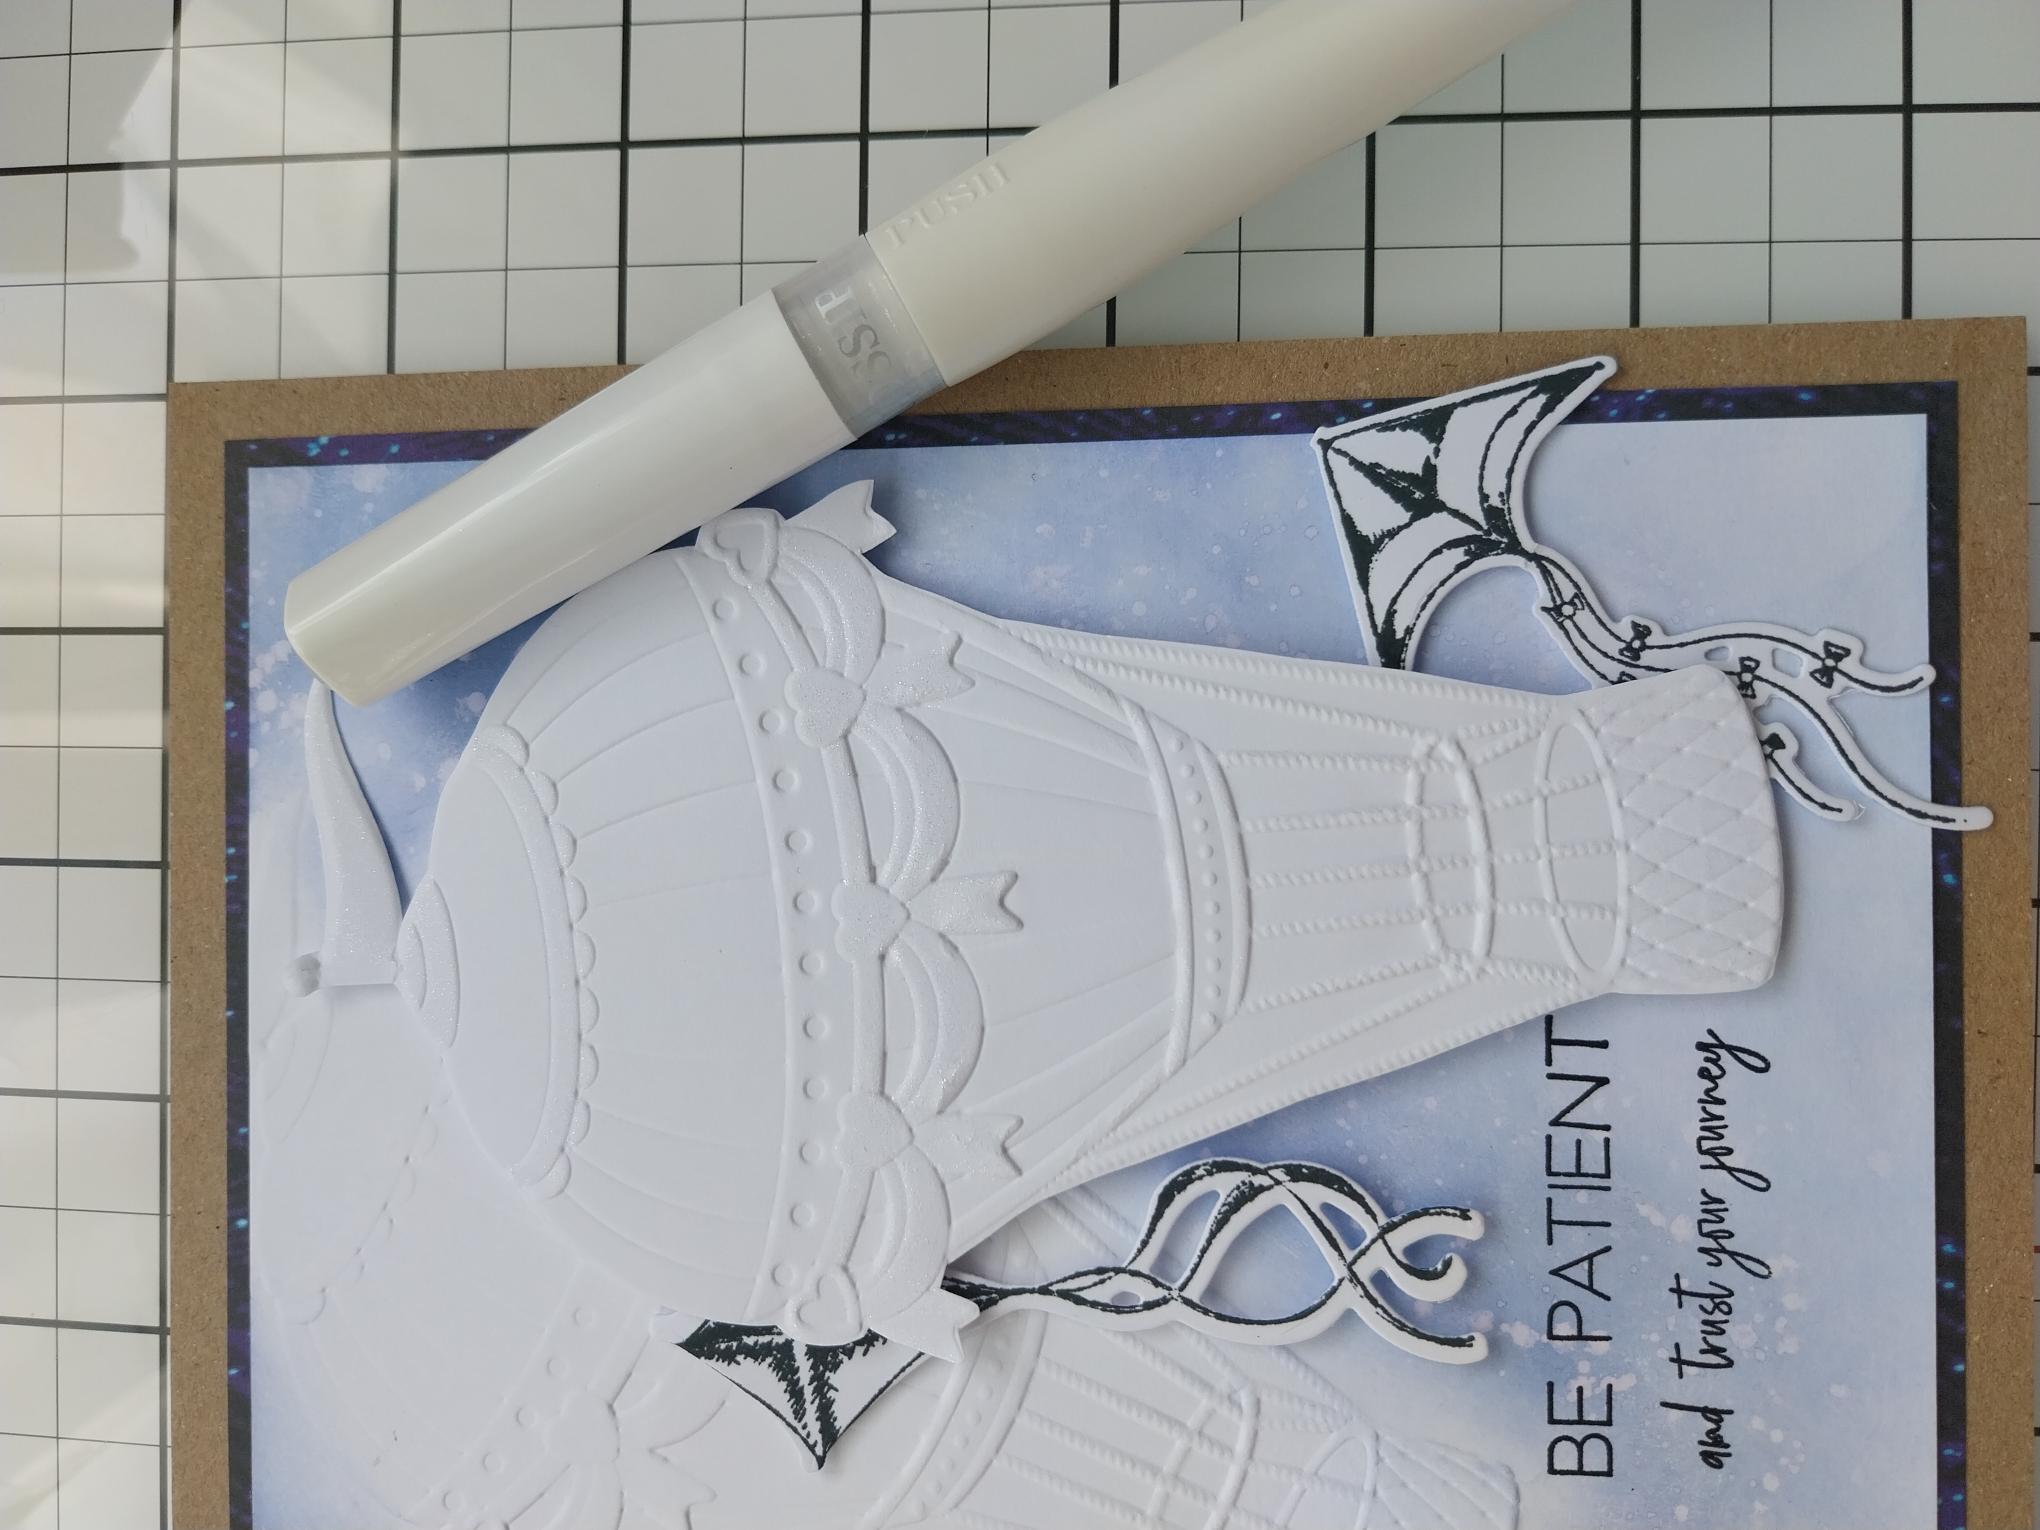
Gossip clear overlay sparkle pen
Eureka 101 Watercolour Tablet
SBM Magnetic glass mat
Paper Trimmer
Perfect Together Glue
Foam pads
Die Cutting machine
[click image to enlarge] 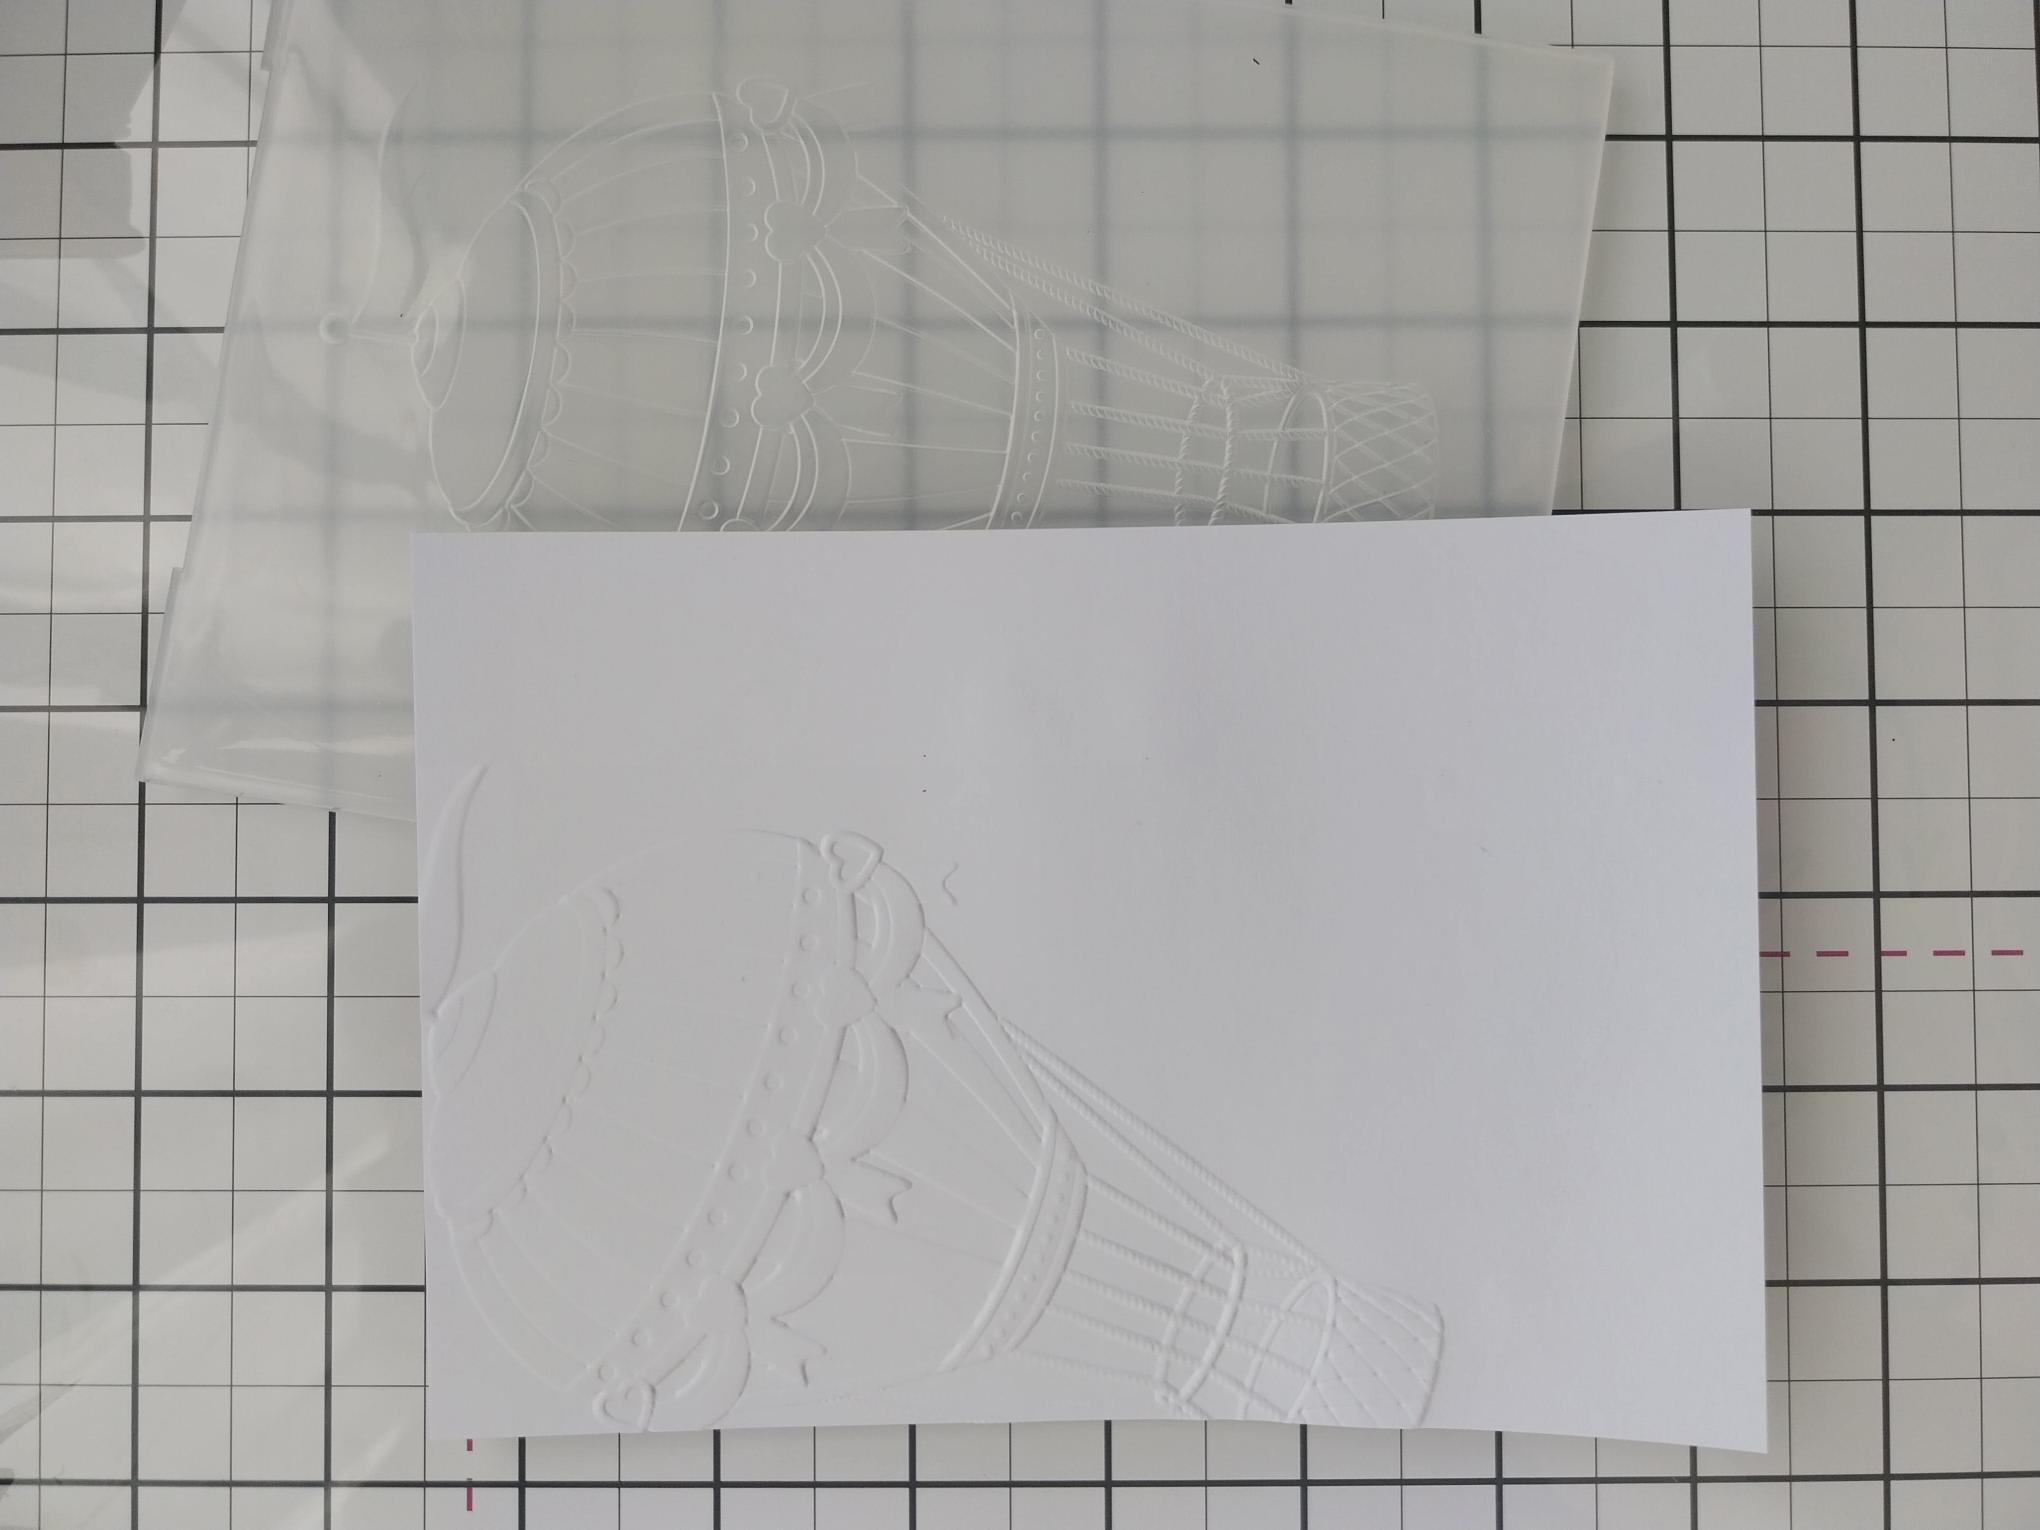
|
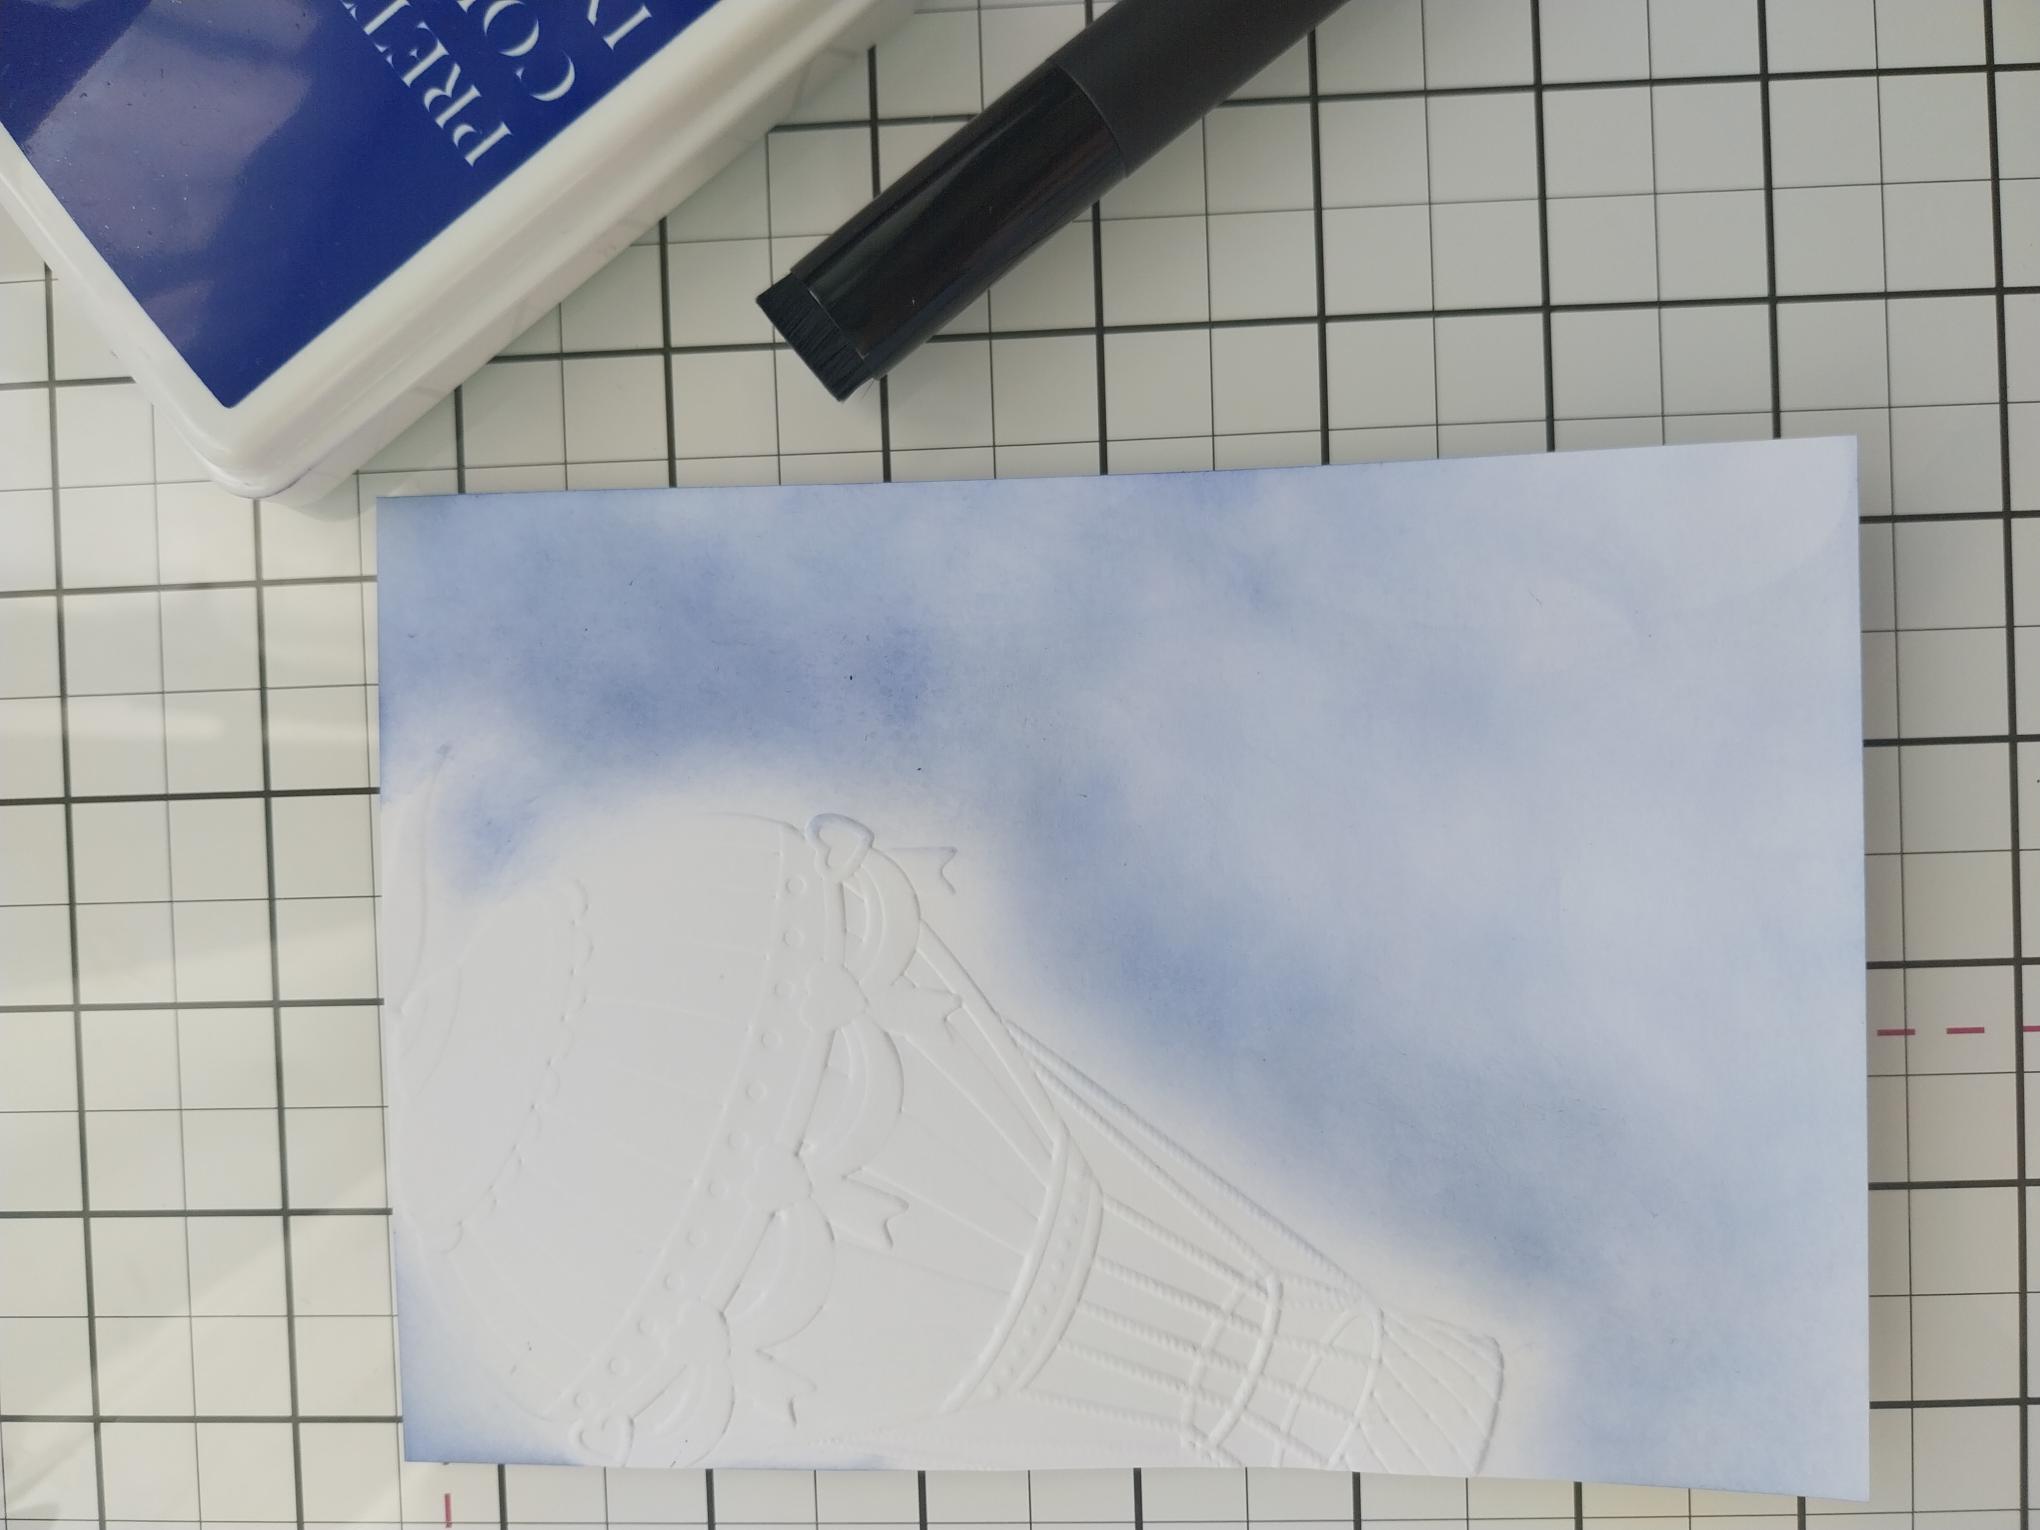
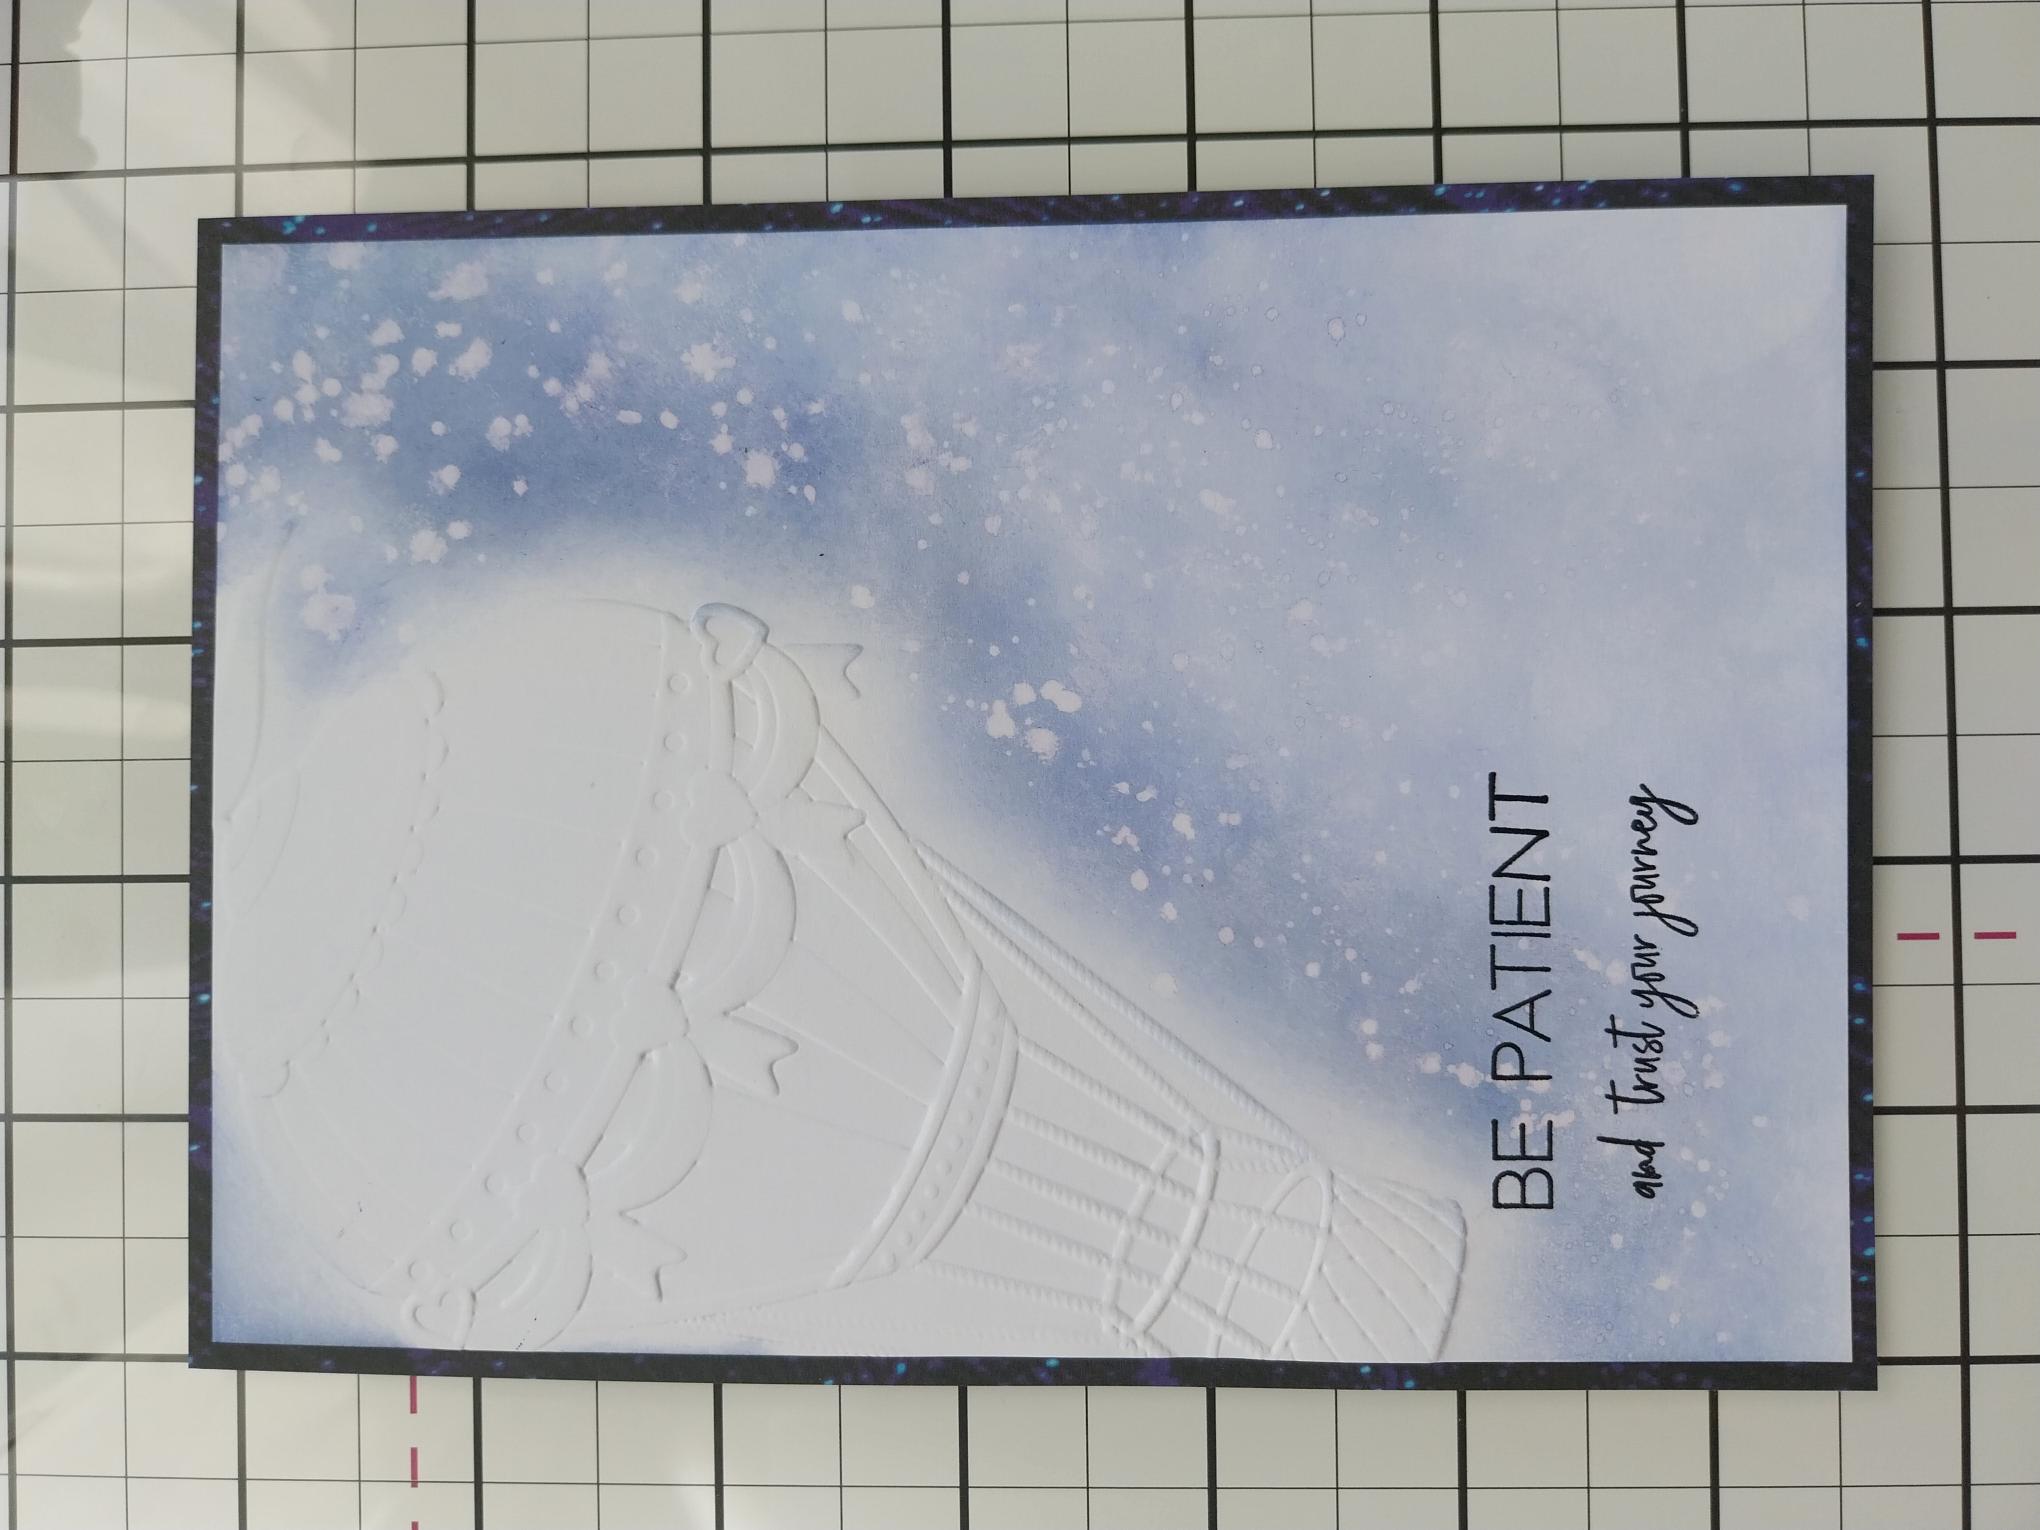
Place one of the white pieces of cardstock, trimmed to 6 1/2 x 4 1/2", inside the embossing folder so the balloon image is captured "flying" in from the side of the card. Run through your machine. |
|
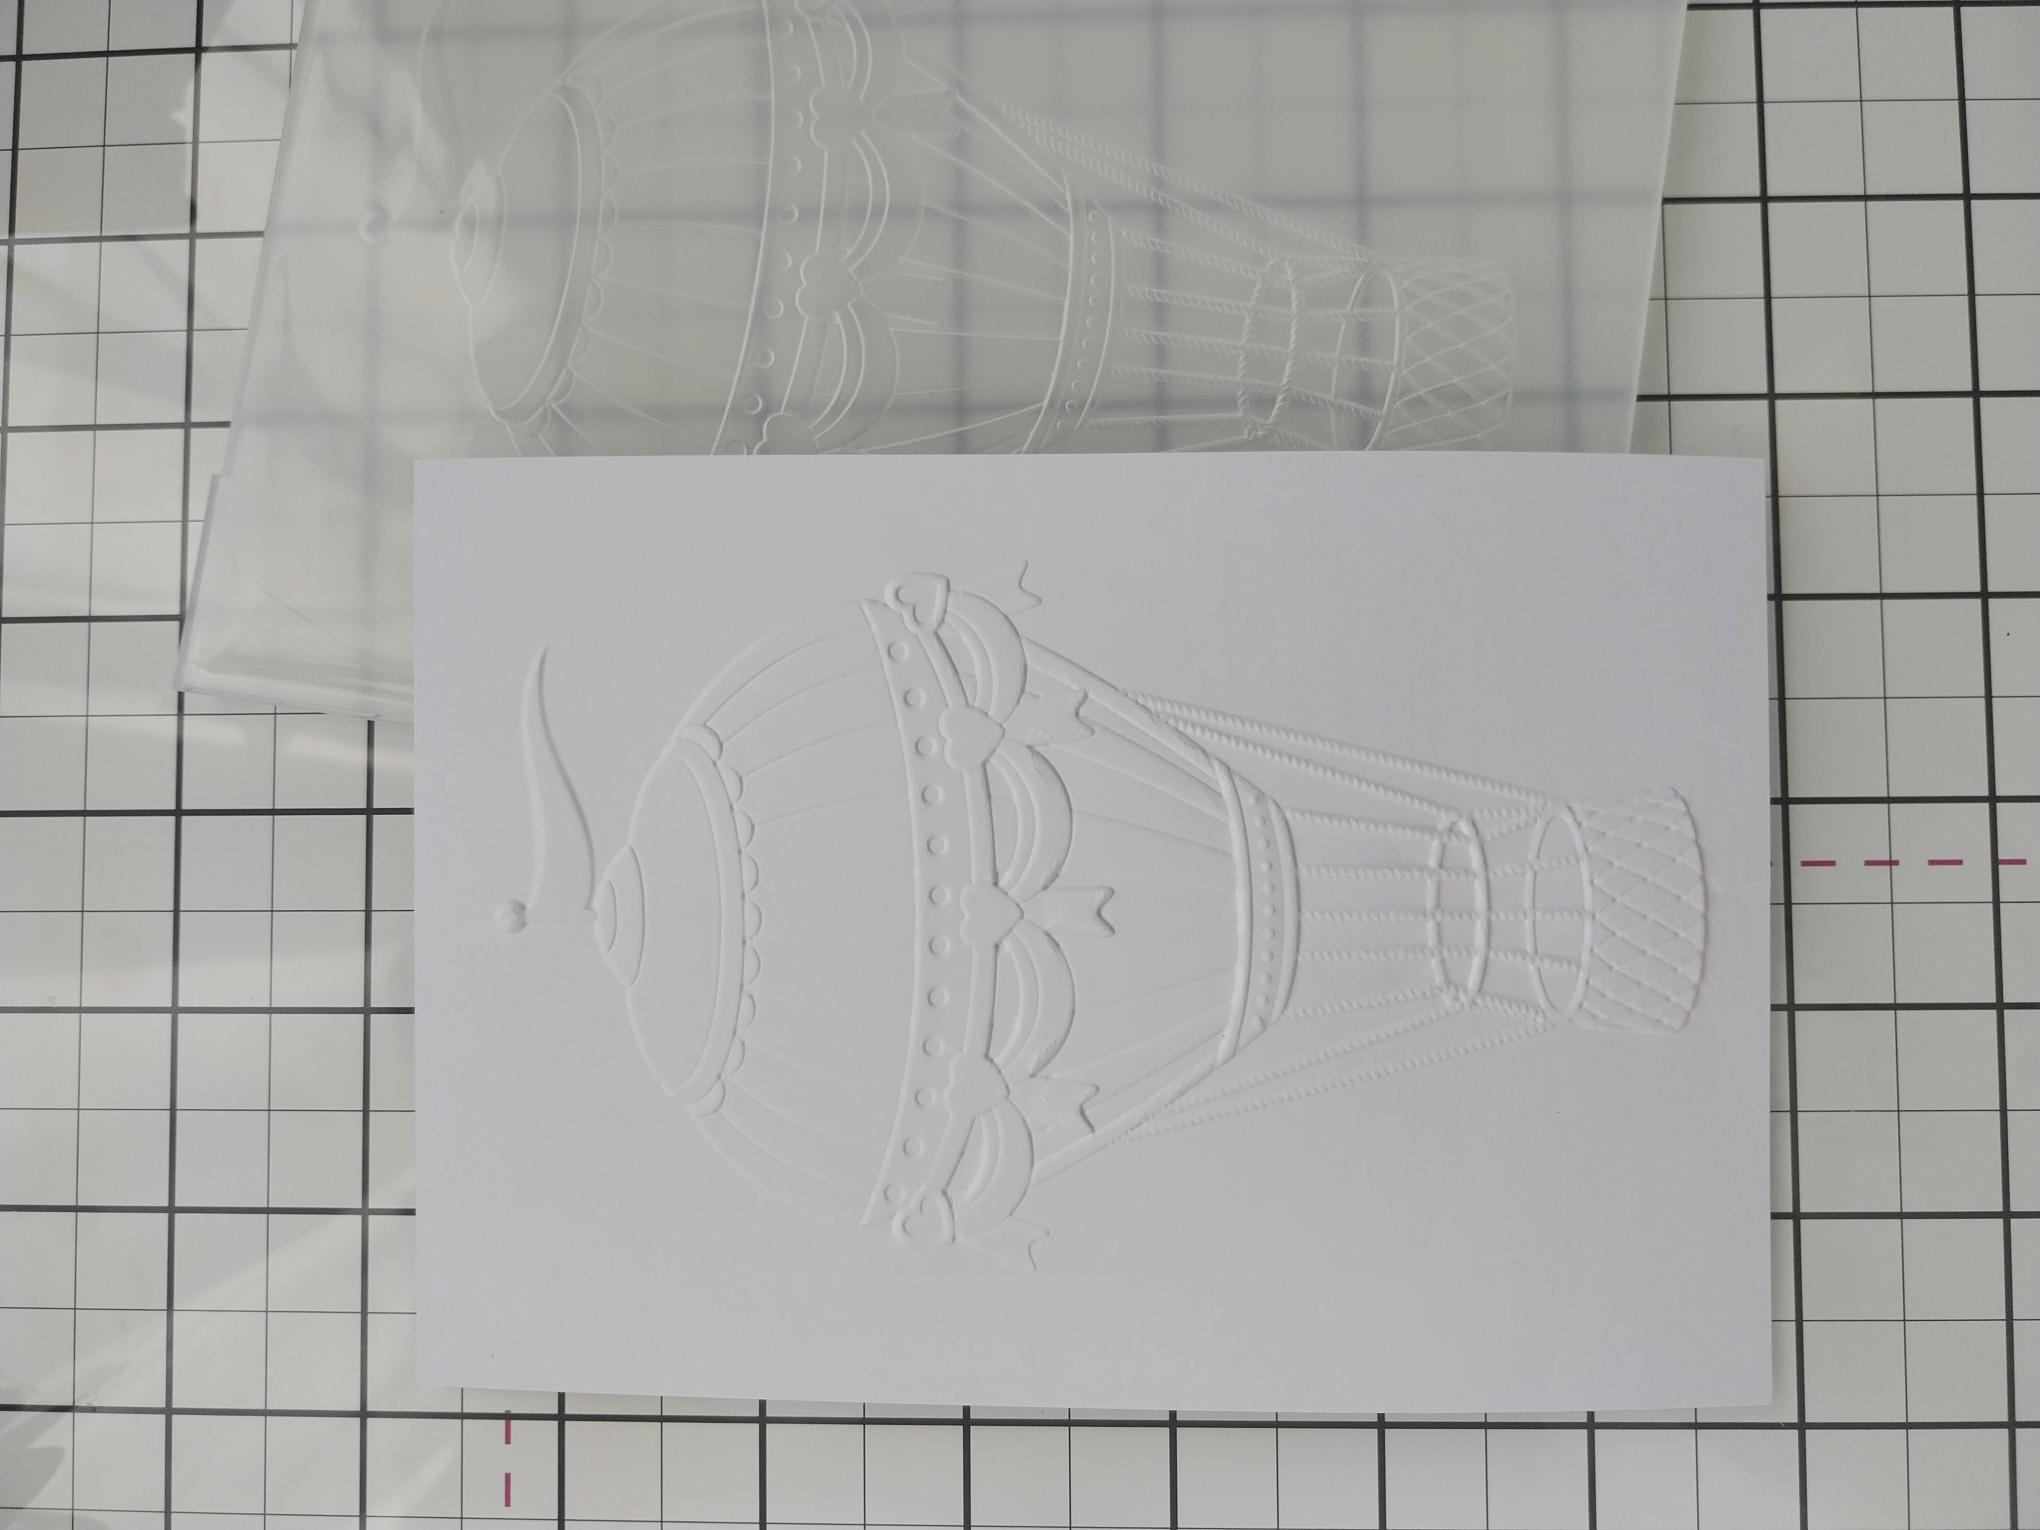
Position the second piece of white card straight, inside the folder and run it through the machine. |
|
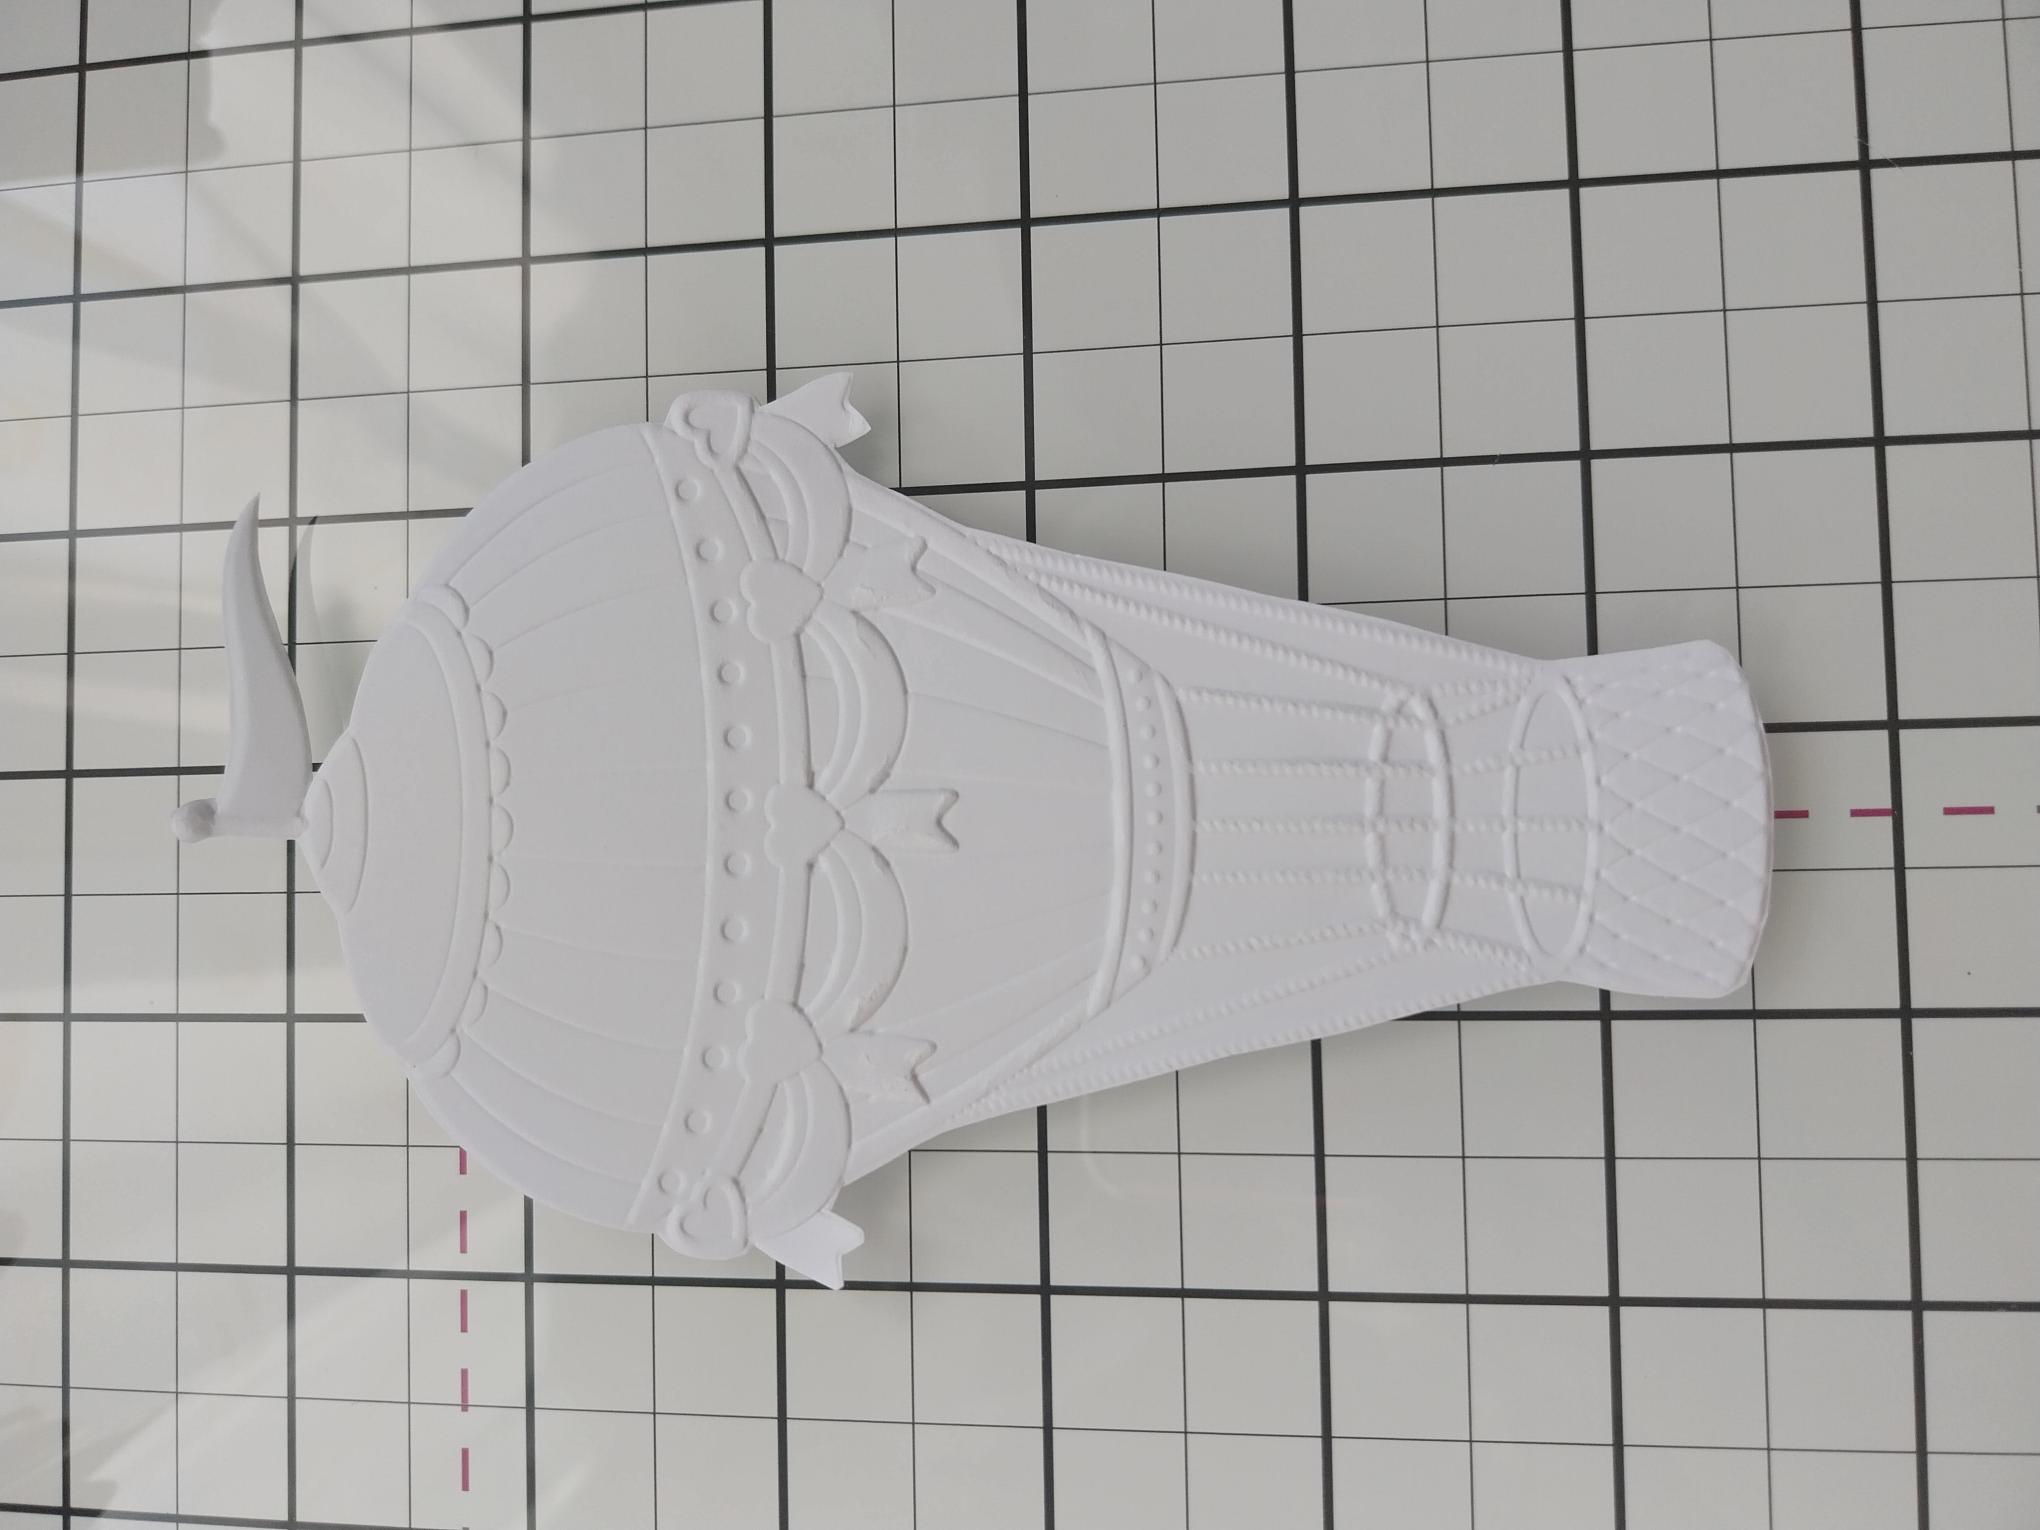
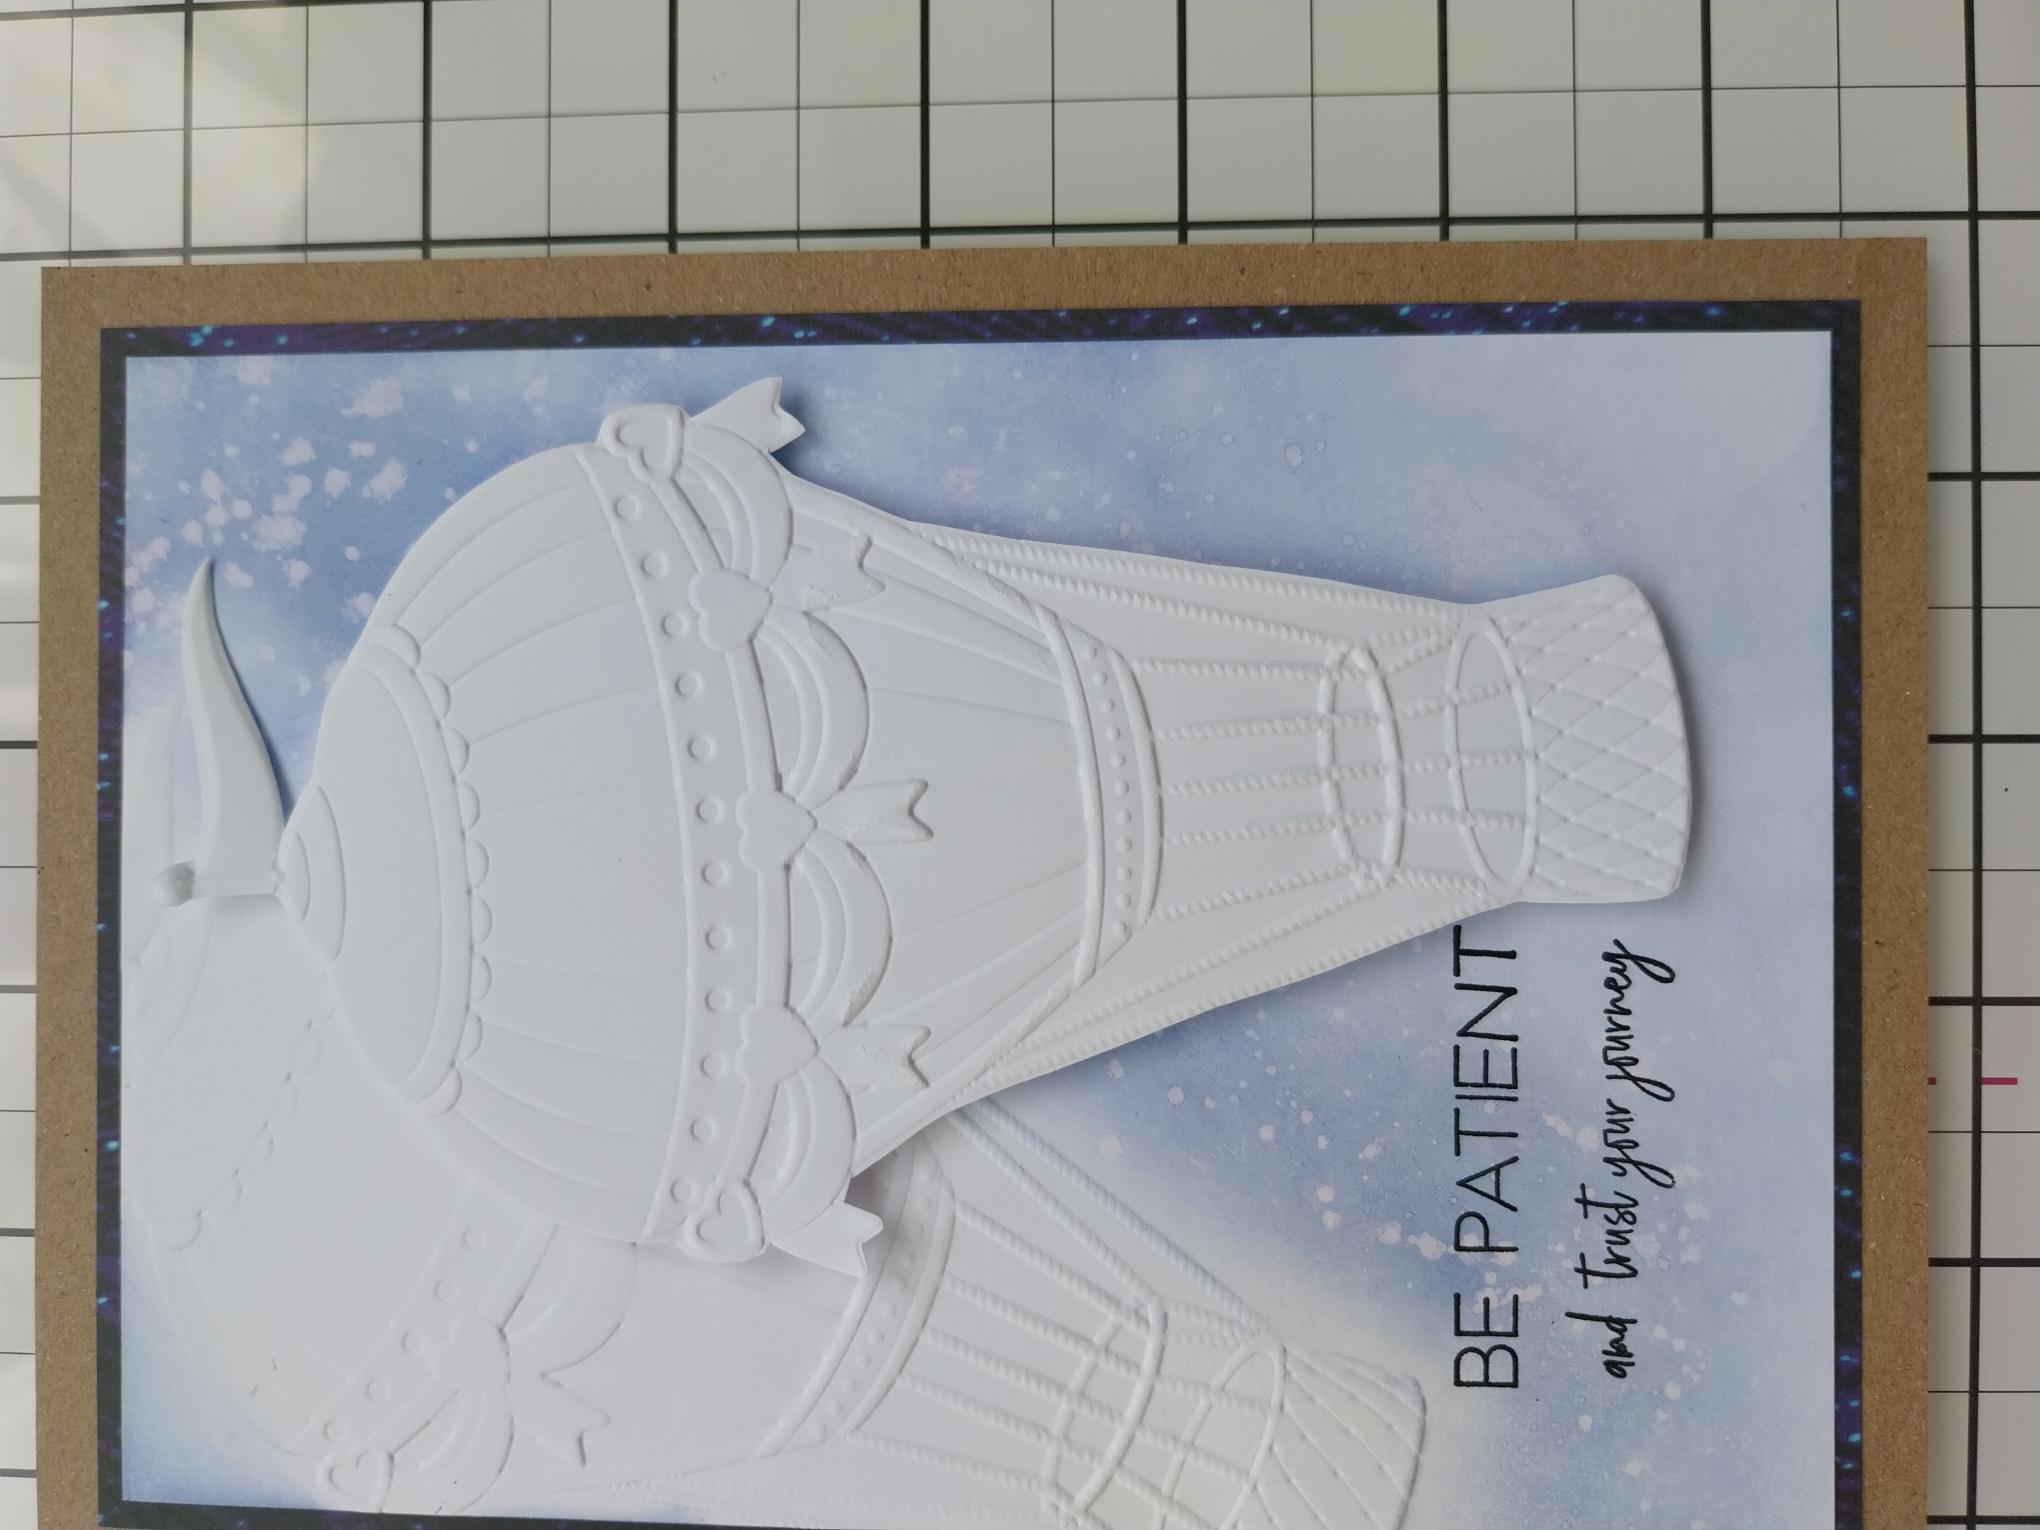
Fussy cut the hot air balloon, from this second piece of embossed card and pop to one side. |
|
Using a blending tool, blend the Surfboard around the embossed image, darker along the edges of the image, fading out as you move away. |
|
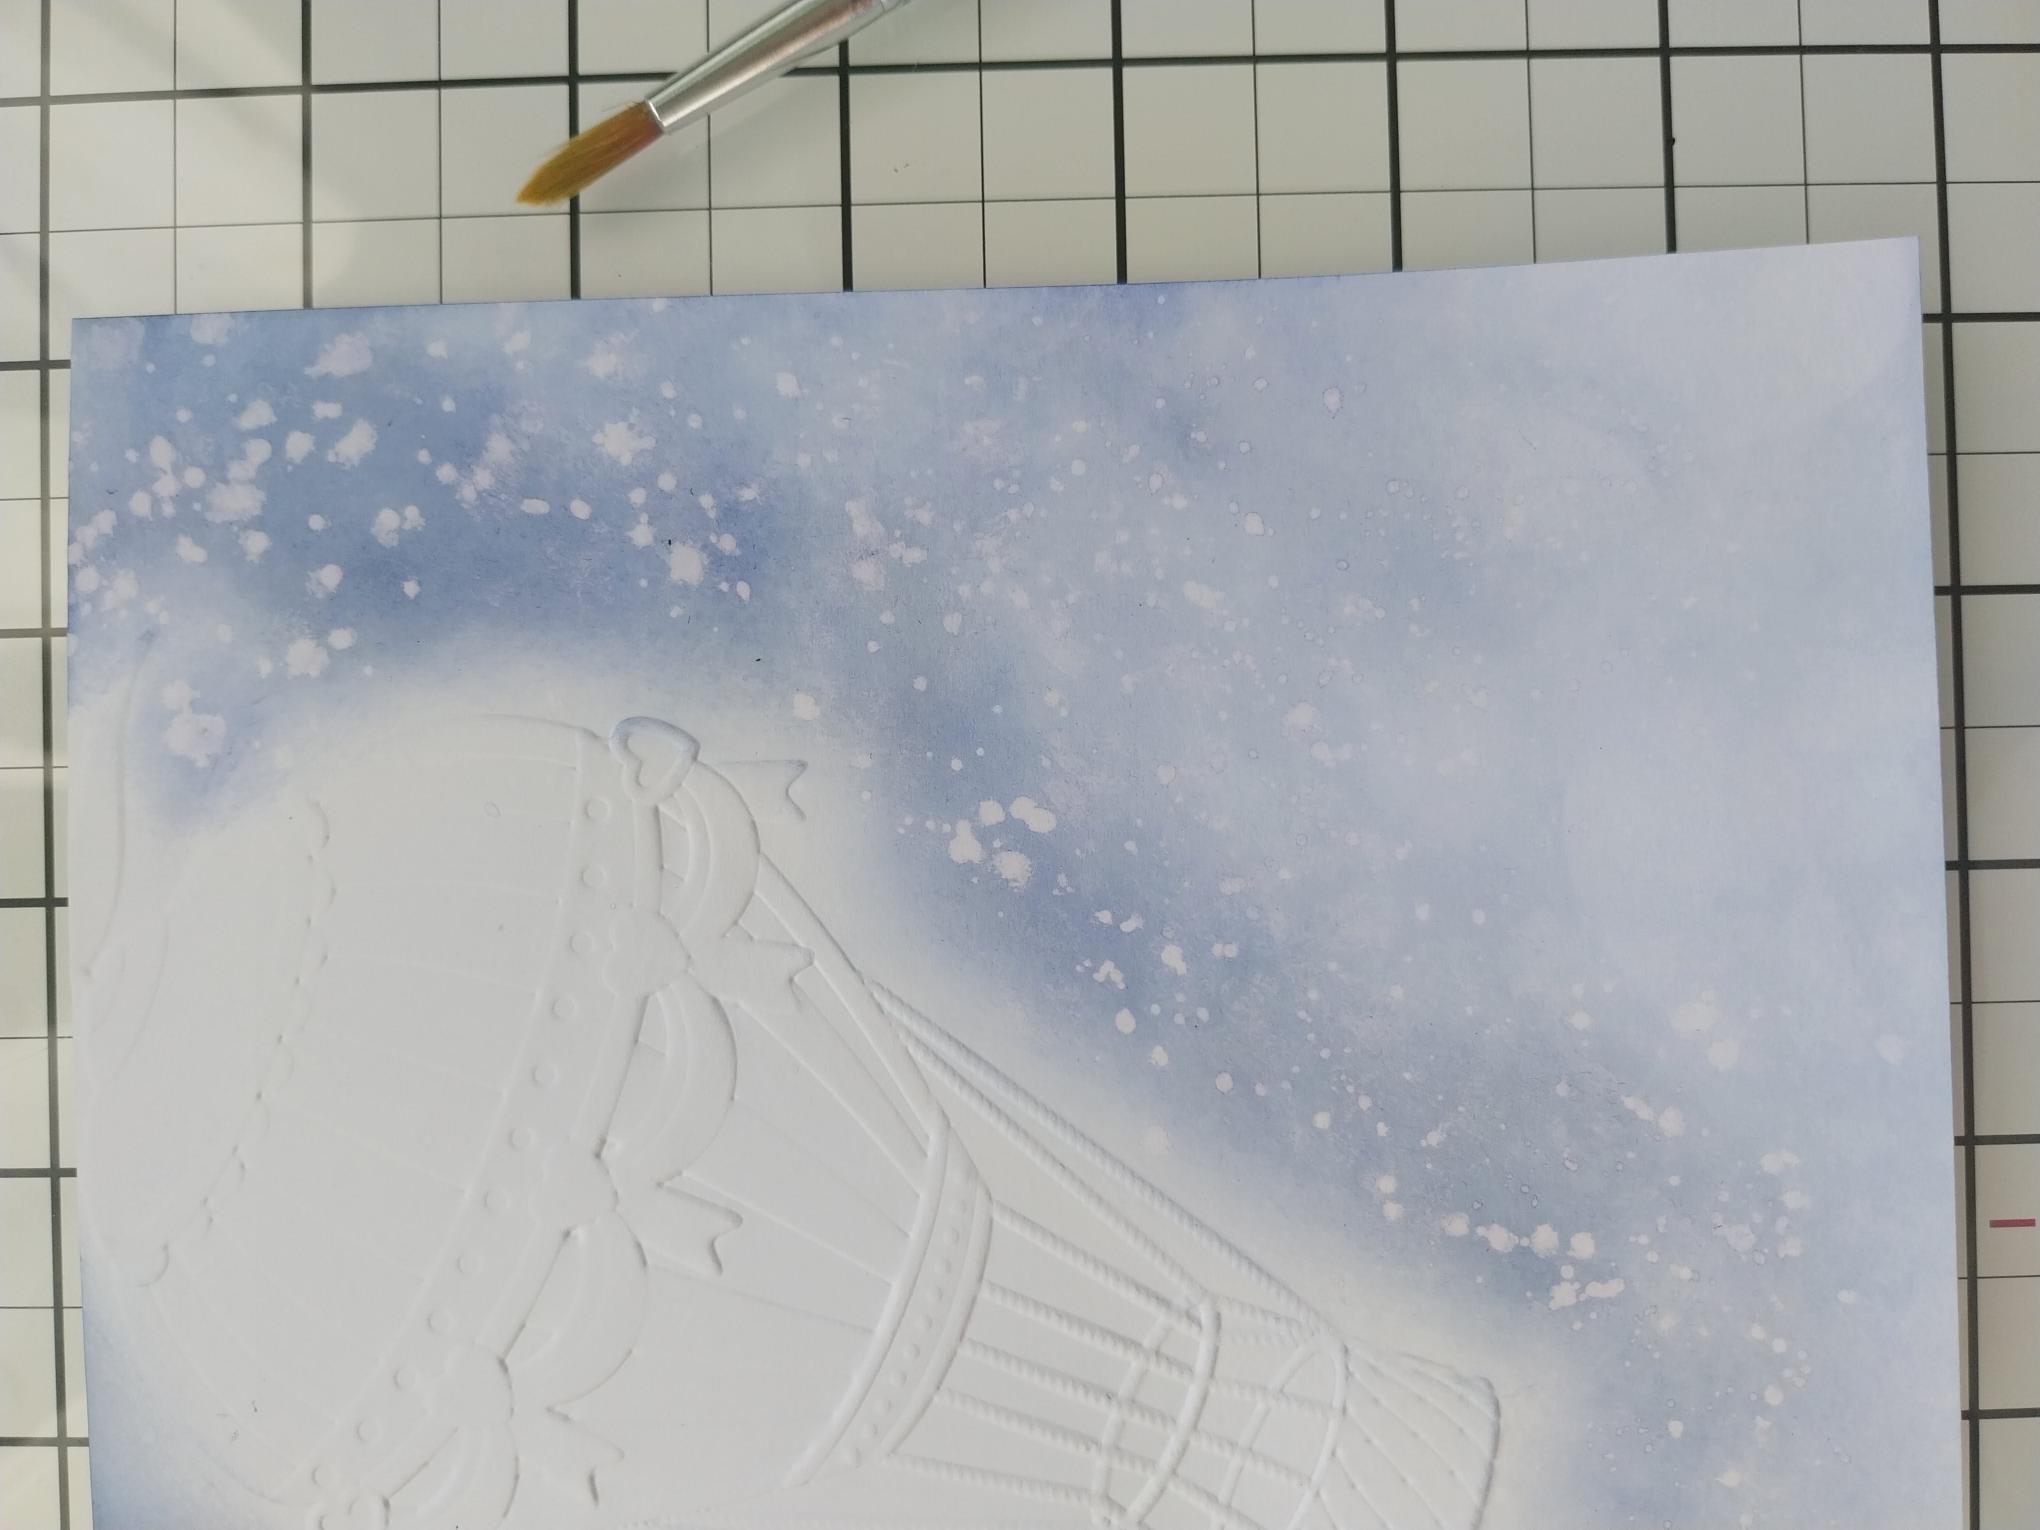
Splatter water over the ink, wait a few seconds then mop it up with a paper towel. Give it a quick blast with your heat tool. |
|
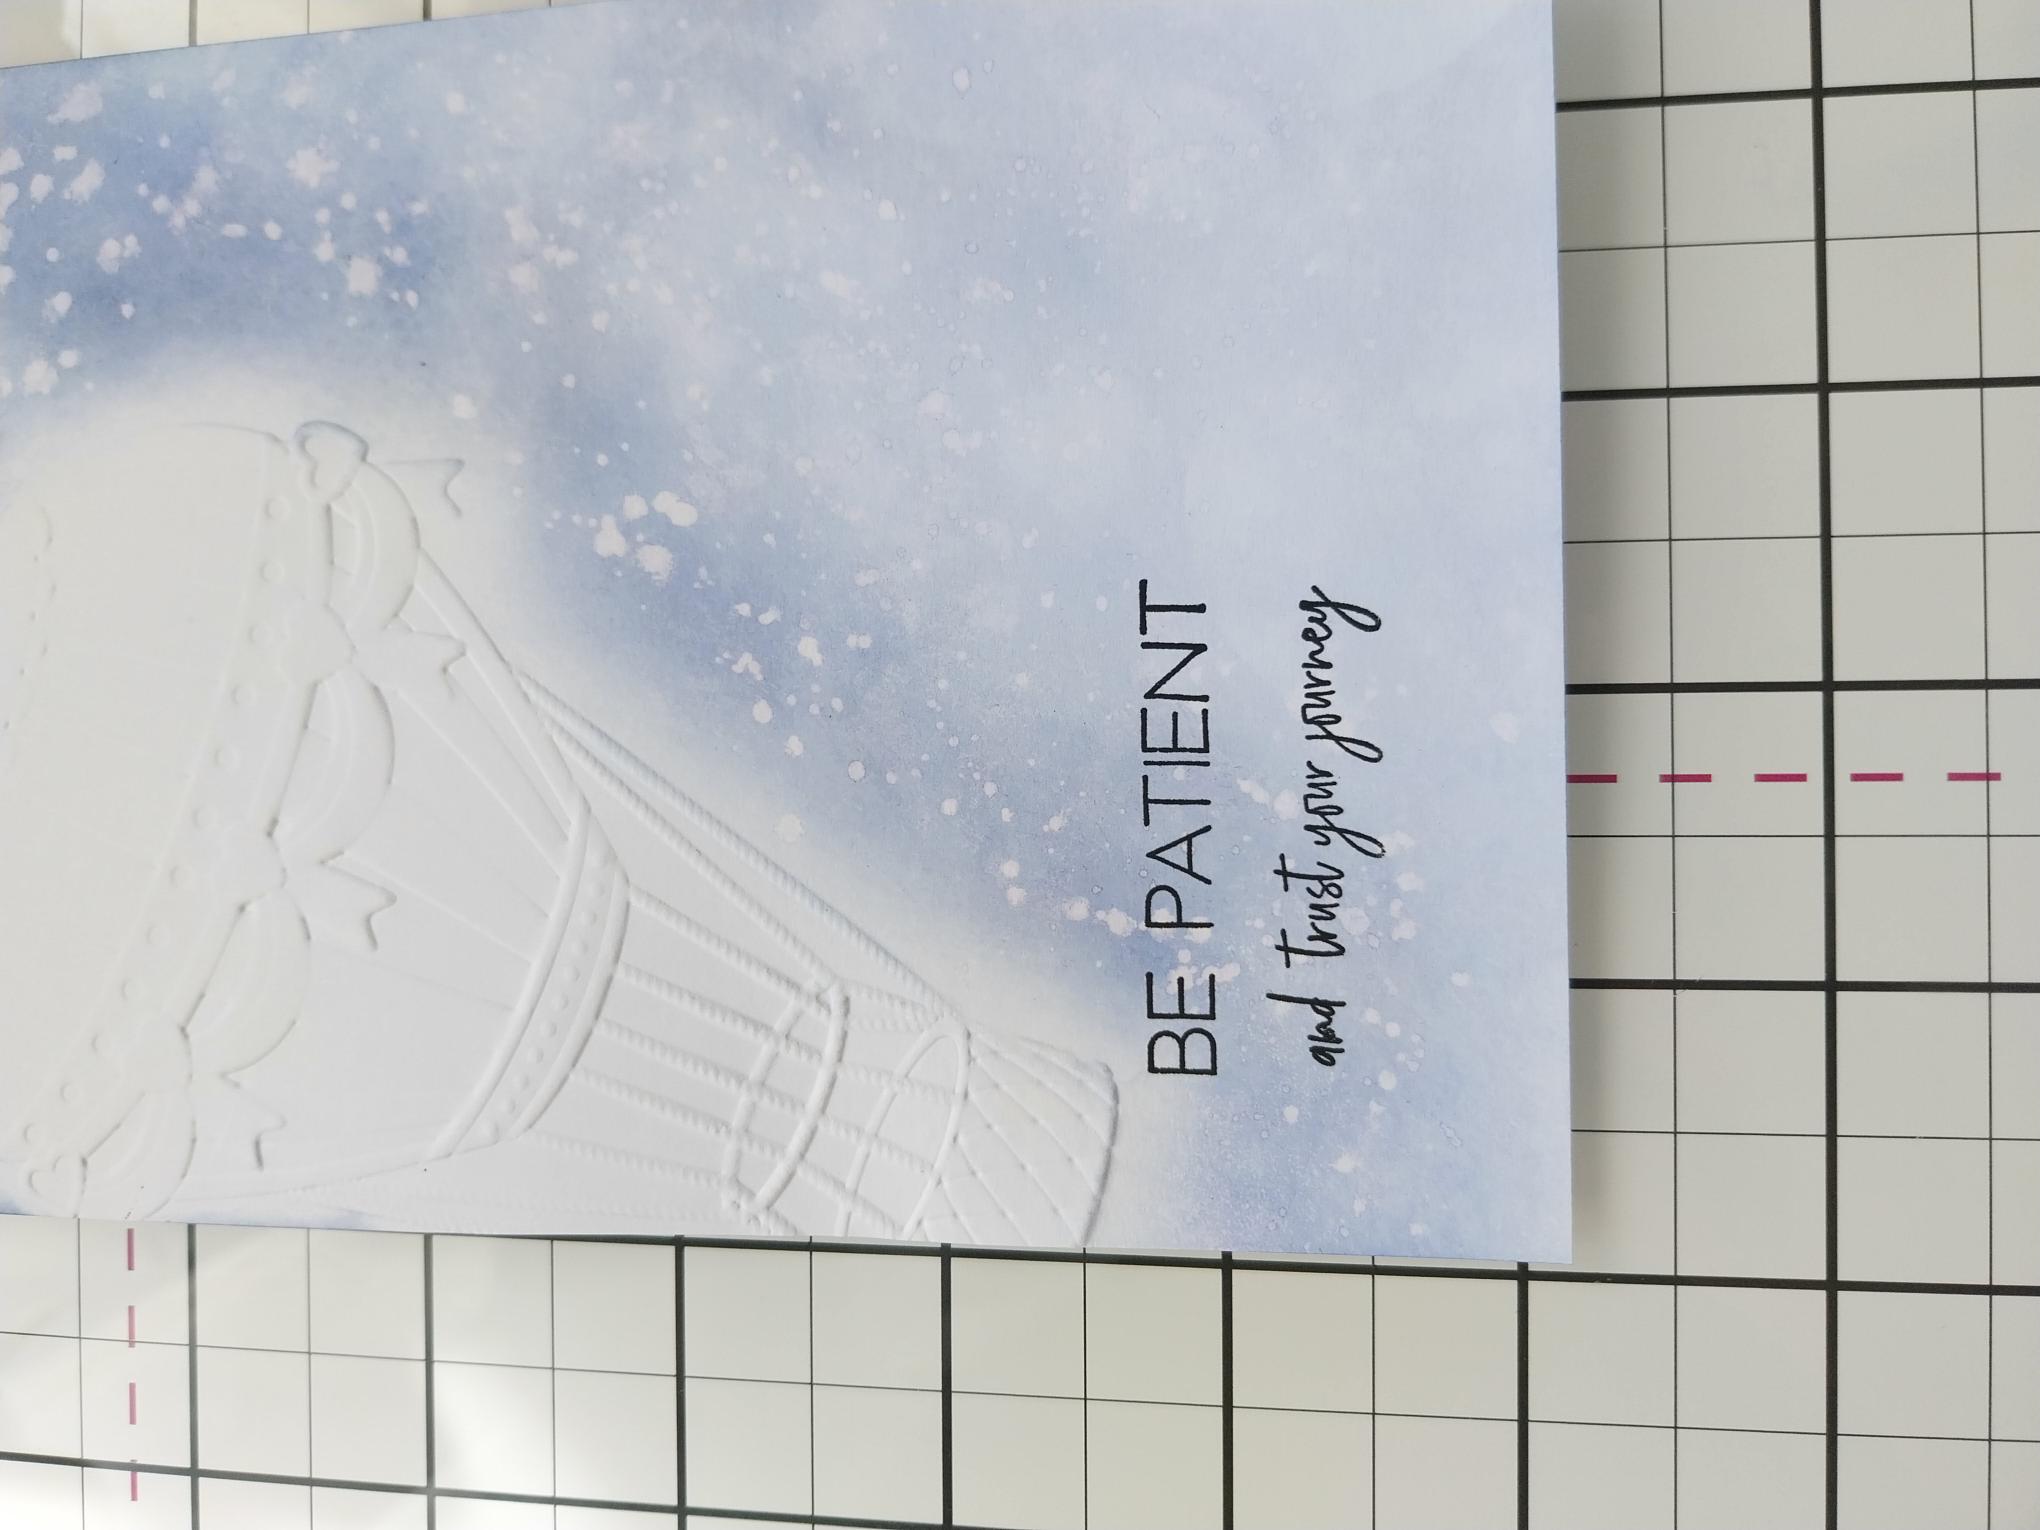
Ink up the sentiment stamp, from Trust Your Journey, with the Midnight hybrid ink and stamp bottom left of your background. |
|
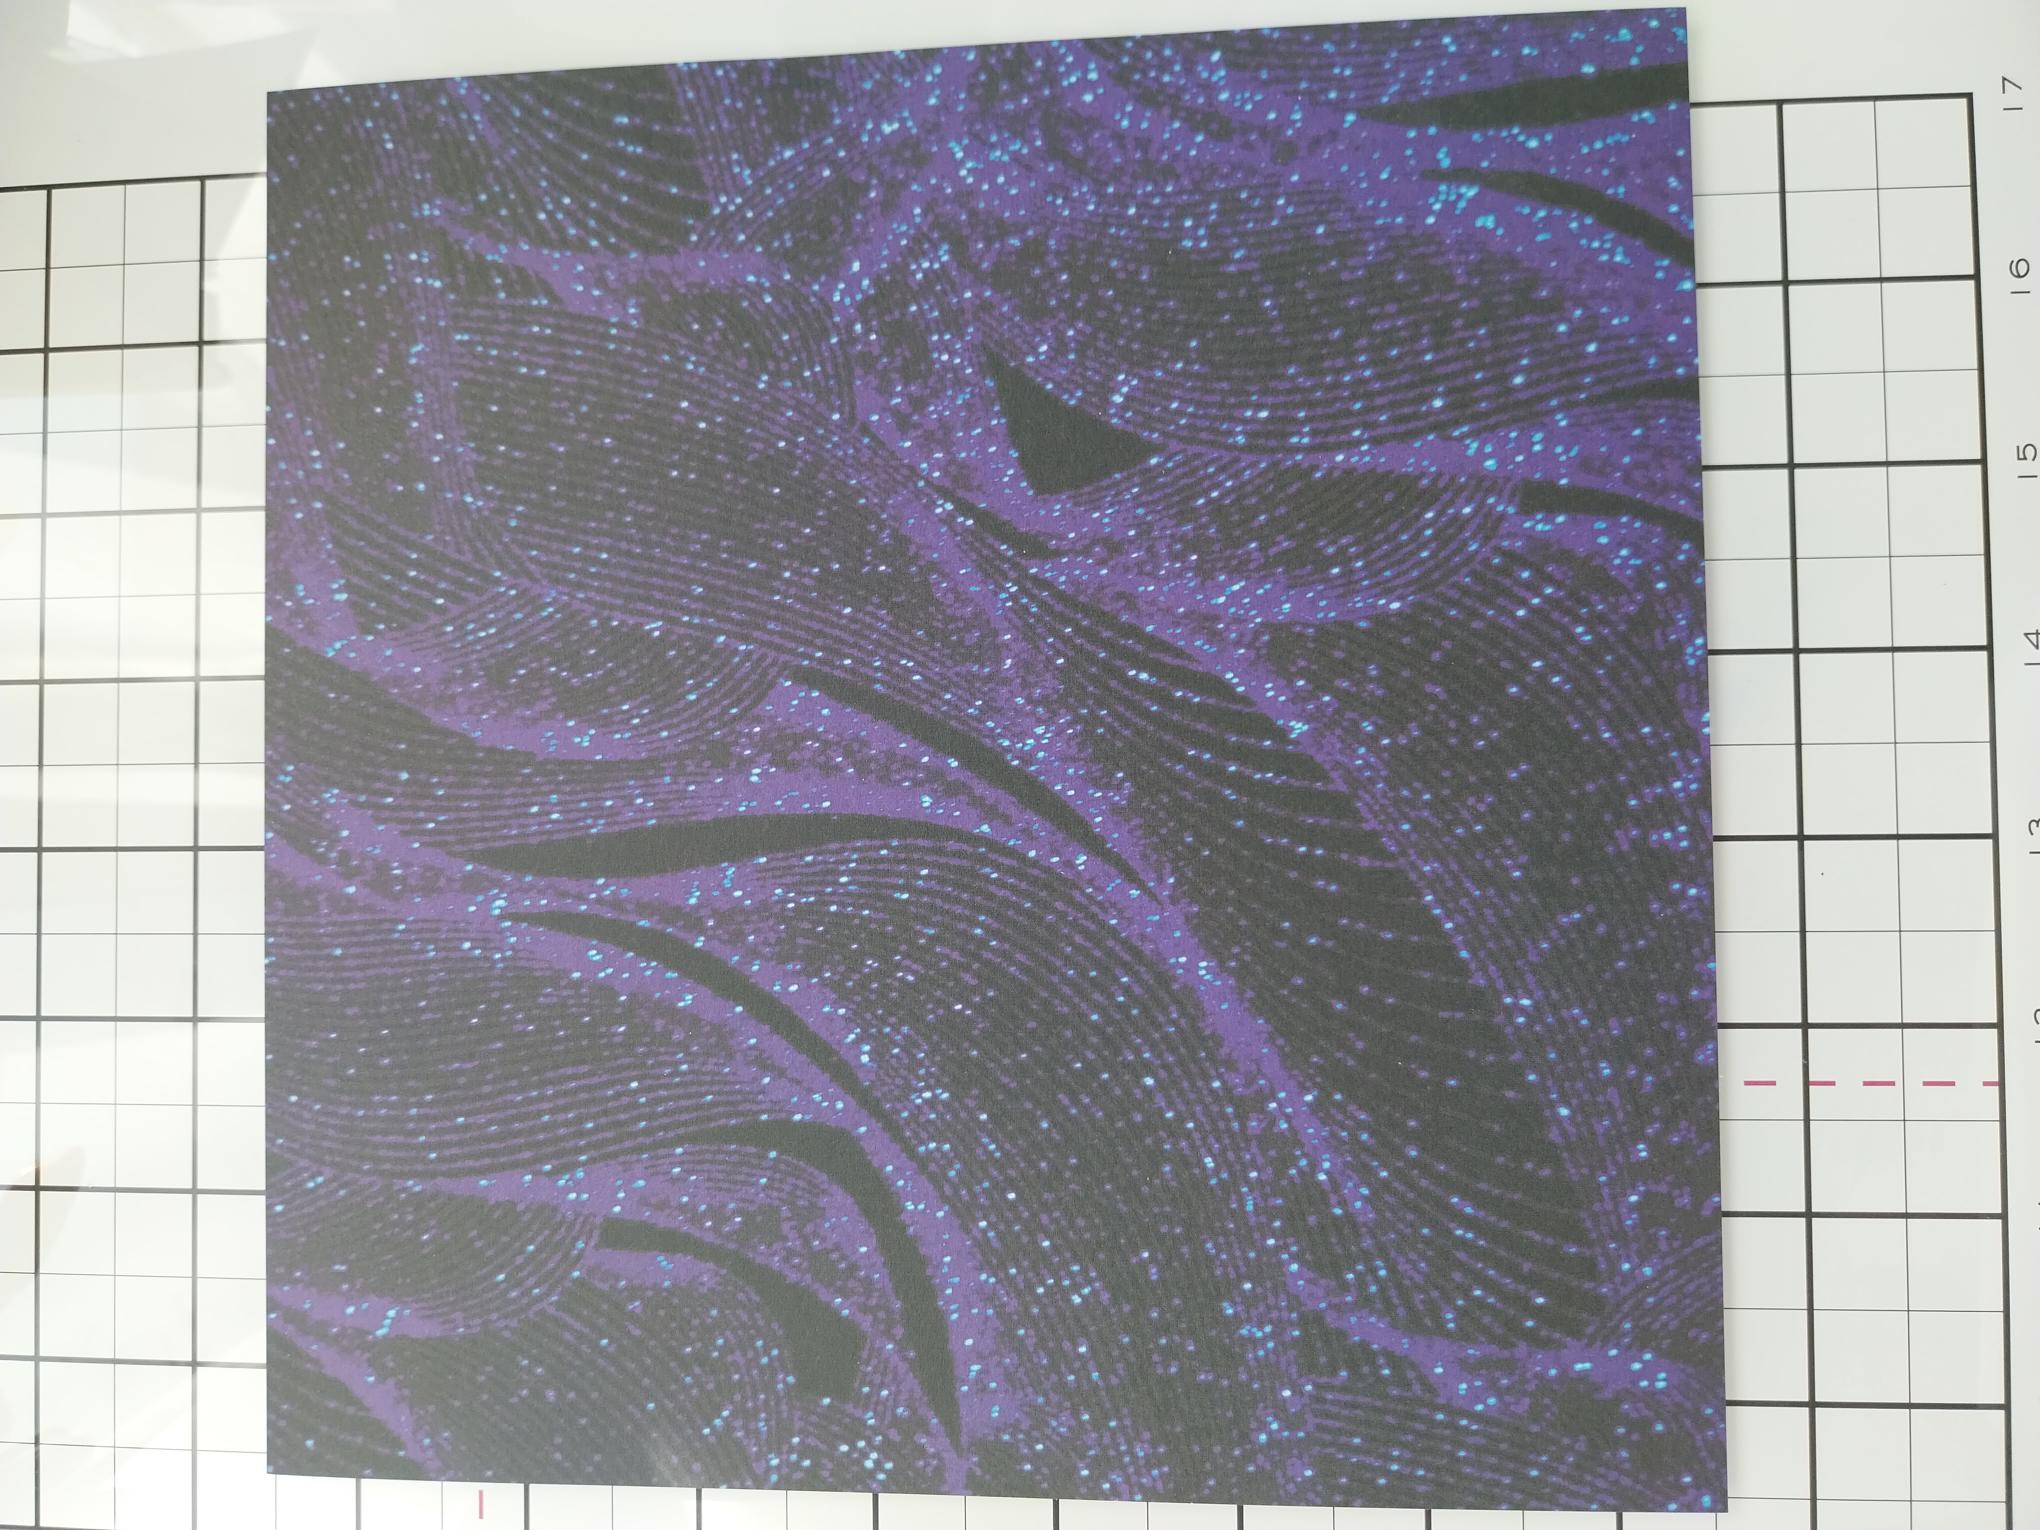
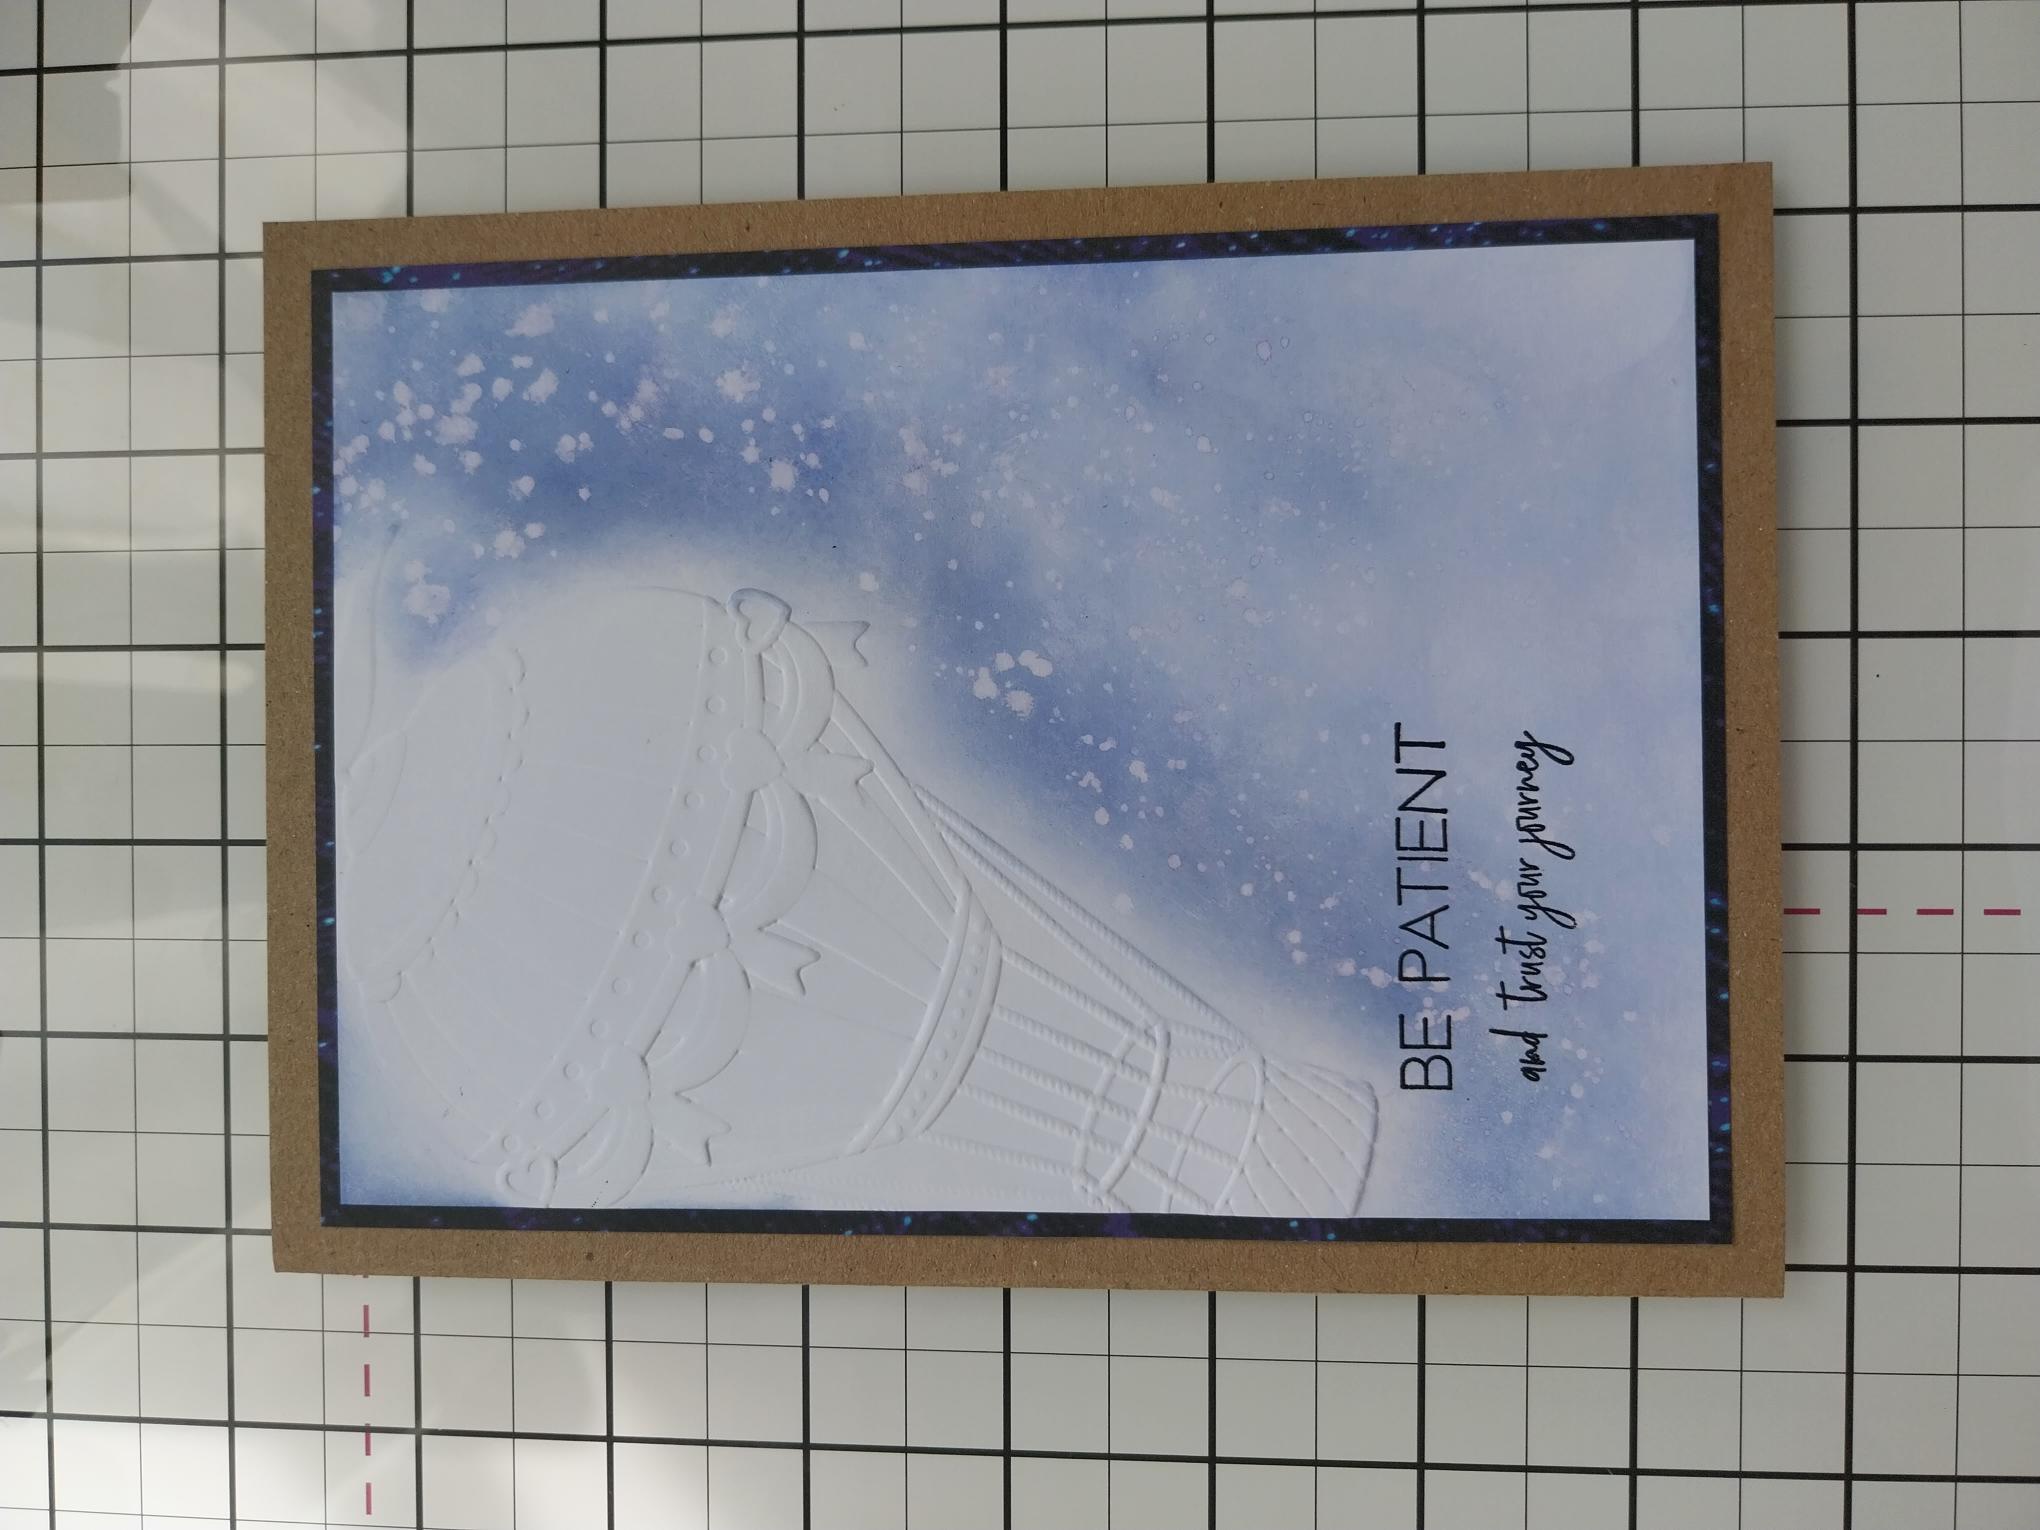
Take this patterned paper, from the Royal Blue paper pack and trim to 6 3/4 x 4 3/4". |
|
Adhere the inky, embossed background on to the patterned paper. |
|
Adhere to the front of your kraft card blank. |
|
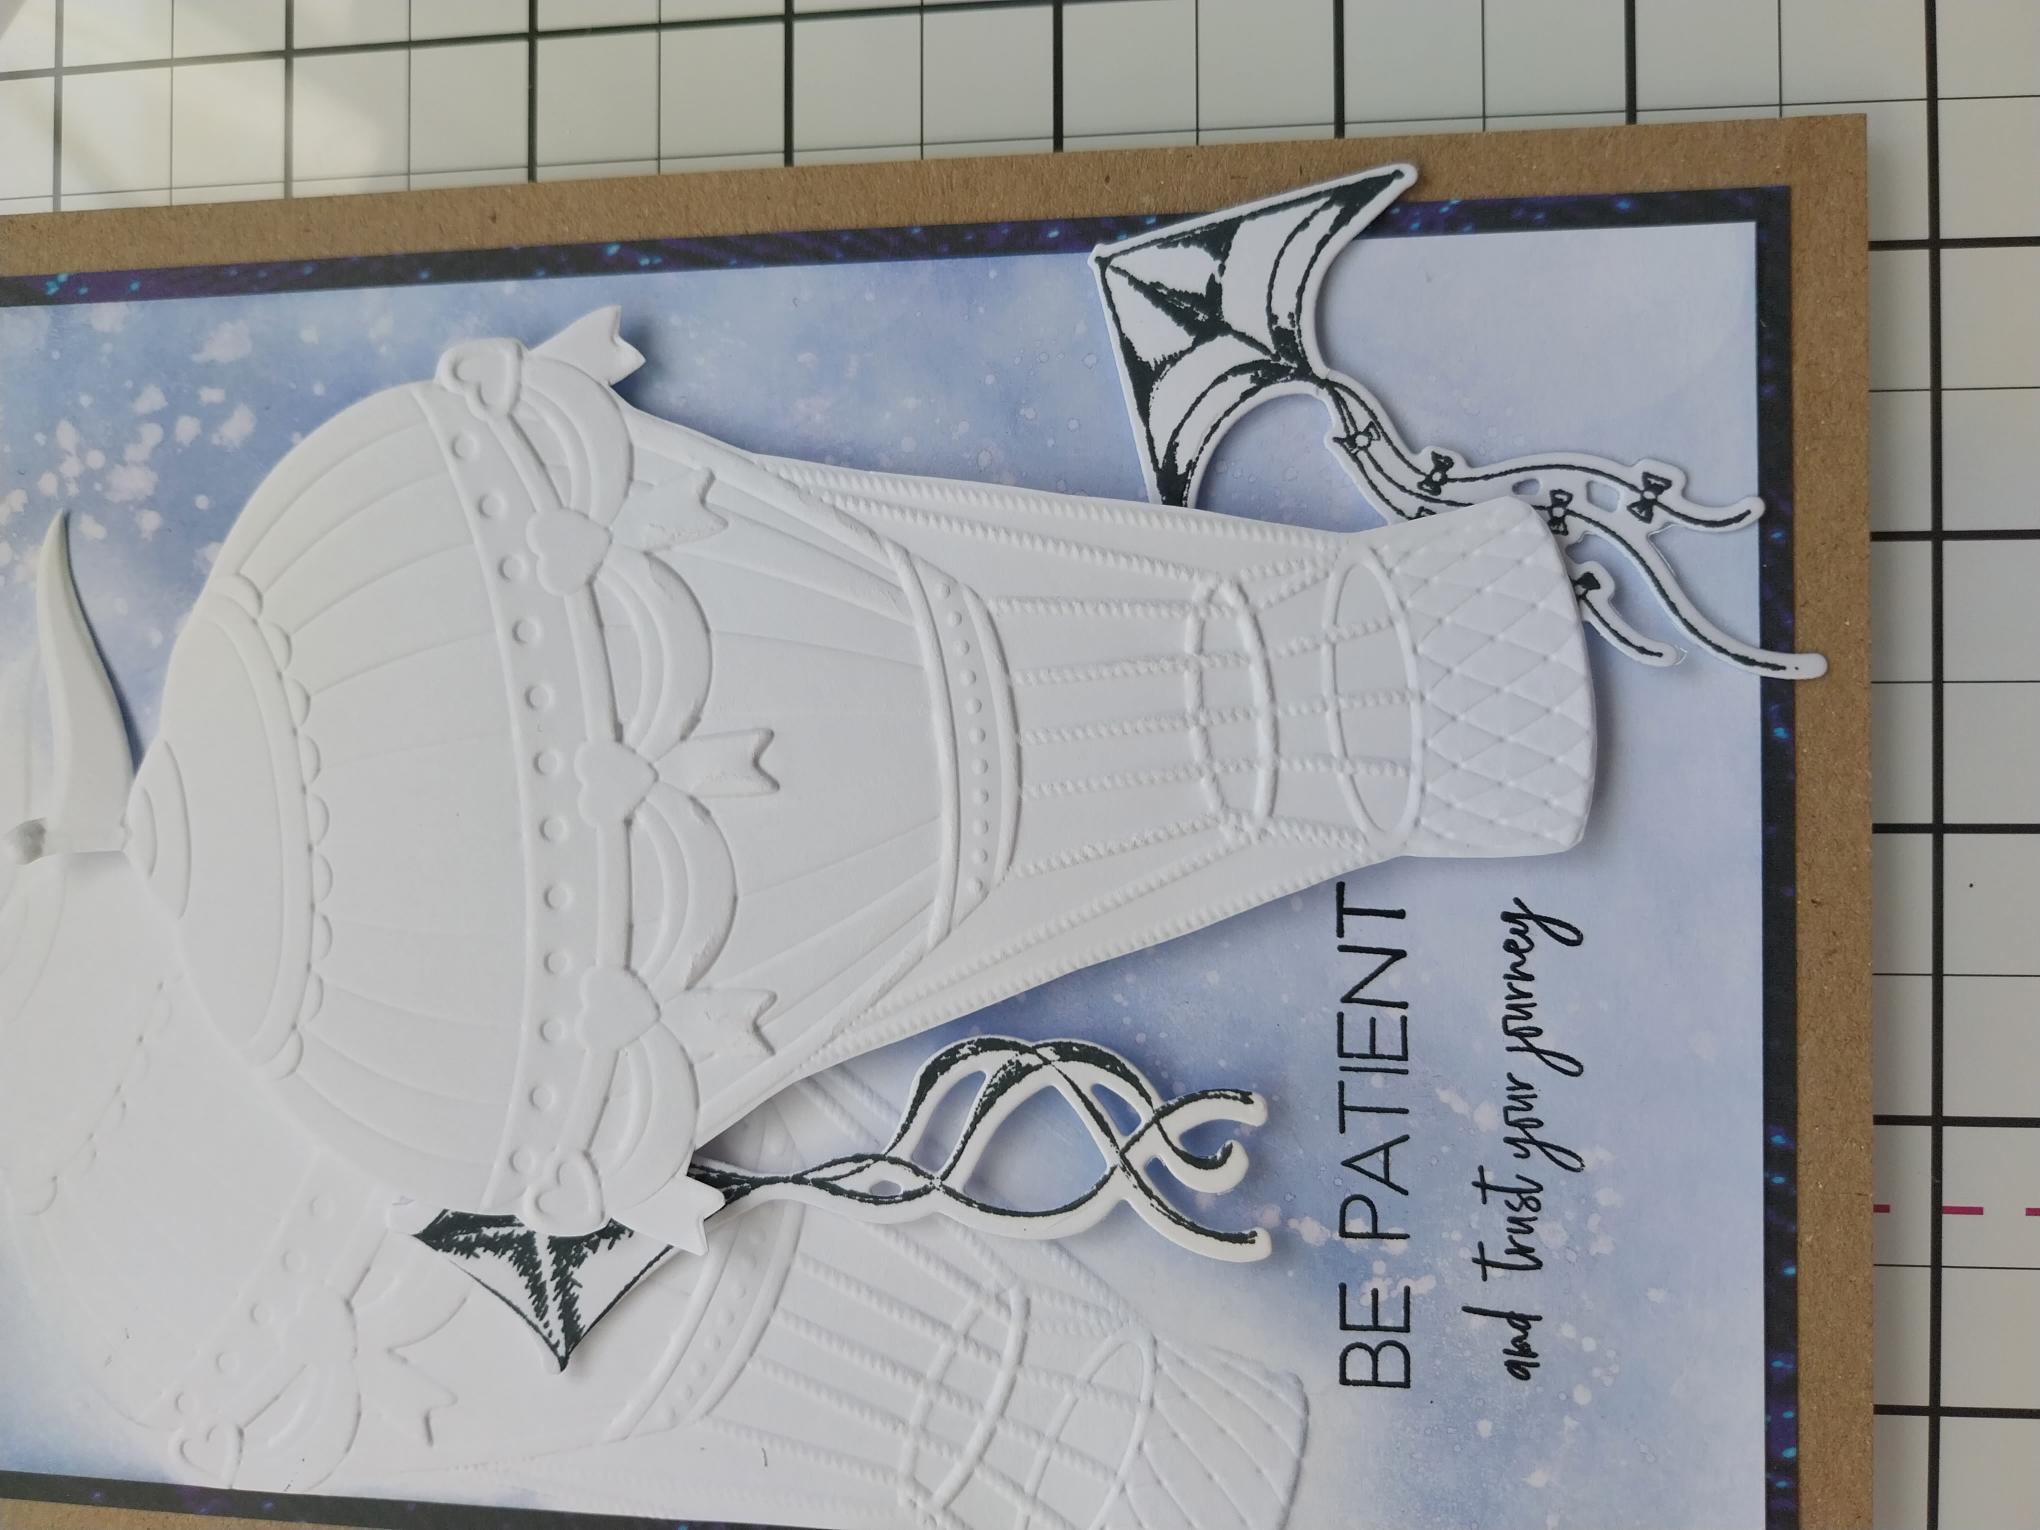
Use foam pads to adhere your cut out, hot air balloon to the right of the background balloon. |
|
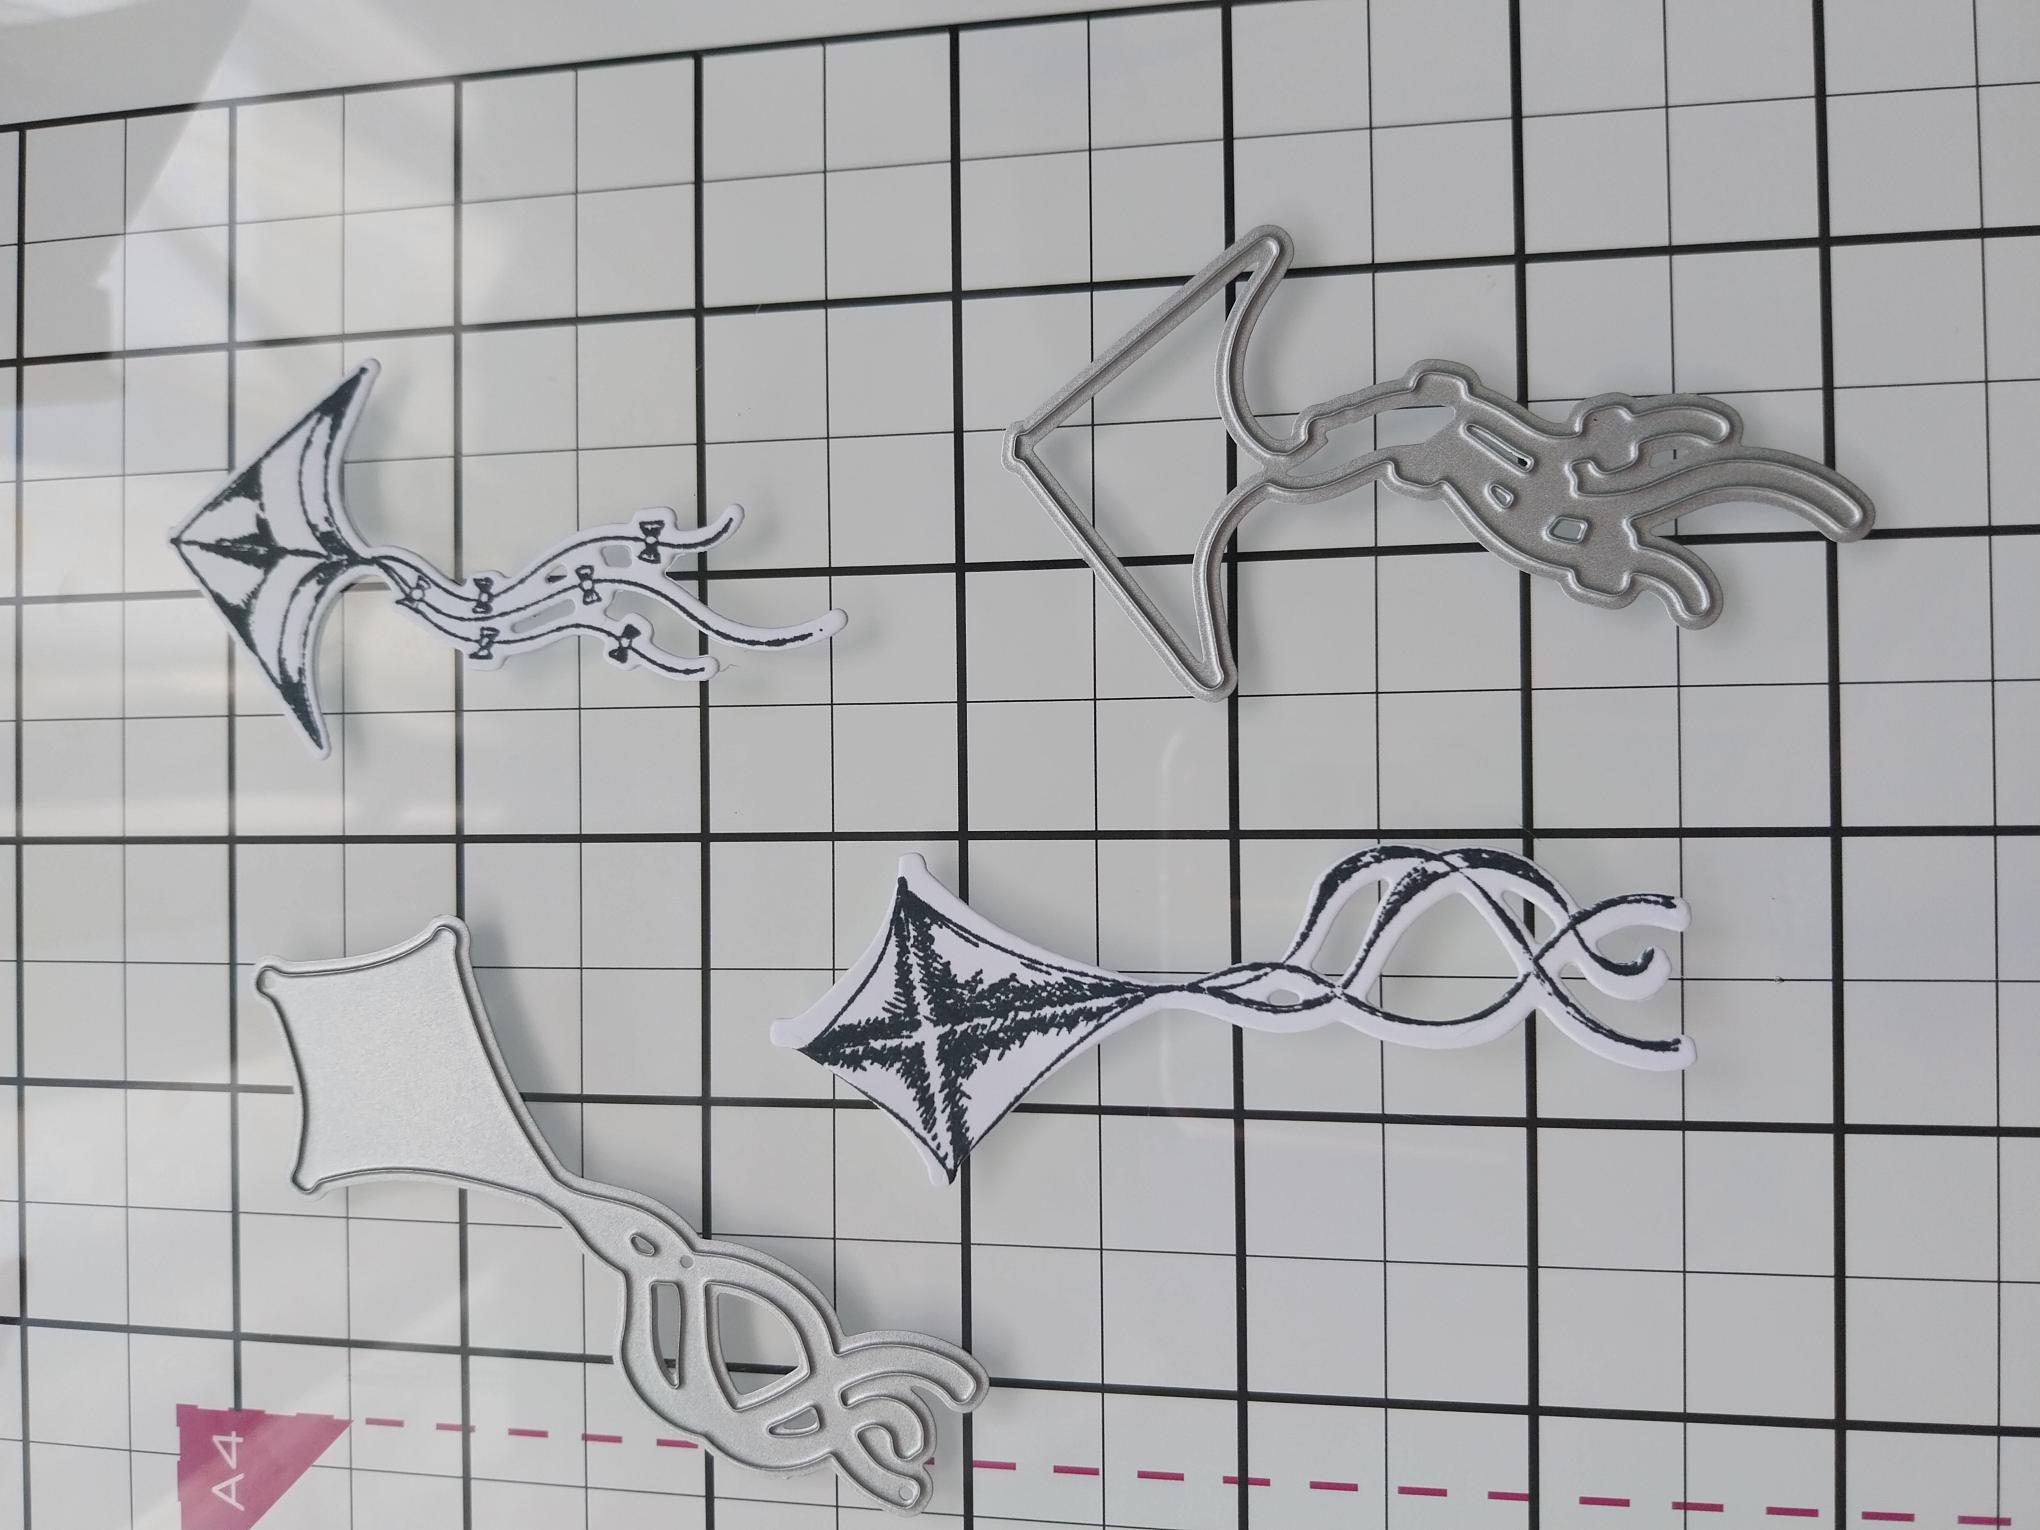
Stamp a couple of the kites, with Midnight, on to a piece of white card and use the coordinating dies to cut them out. |
|
Adhere them around the hot air balloon, leaving the tails of the kites to hang loose. |
|
Finally, add a touch of sparkle to the swags and bows, on your 3D hot air balloon. |